Monthly Archives: July 2013

Another Play Date Tie Dye!!

Who doesn’t love to tie dye?!?!  And who doesn’t love a tie dye shirt?!?!  I know my boys do!

Thanks to my friend Laura Kelly Walters of Laura Kelly Designs and her collection of Rit Dye, she has let us tie dye, not once but twice!

This particular play date only included Benjamin, since Landon is back in year round school.

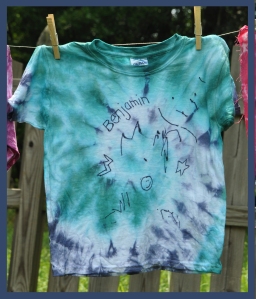
Laura thought it would be a good idea to let Benjamin draw on the t-shirt first.  Then he demanded that she write his name on it!  It couldn’t be mommy, it had to be Mrs. “Wah-Wa”!!  Laura is a part of the Sharpie Squad, so she has her own personalized Sharpie markers!!!!

drawing

I did tie dye a shirt for myself, along with some fat quarters of white fabric that I purchased from A.C. Moore.

All you need is:   Rit dye, rubber bands, bowls or squirt bottles, boiling water and a plastic wrap or a ziploc bag (to heat set).  Oh, and some gloves so your fingers aren’t dyed!!

Rit process

Rit after 1

After we were done tie dying, we hung them to dry in the sun!

tie dye group 1 tie dye B

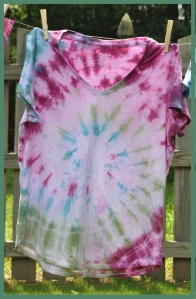
Using three colors: Teal, Green Apple and Fushia, I made this awesome swirl shirt for myself!

tie dye K

With this fat quarter, I placed a rubber band in the middle and then one on each corner.   Then I dipped half in each color.

tie dye fq 2

I love the how the swirl turned out on this fat quarter!

tie dye fq 1

Benjamin loves wearing his!   BENJAMINTYEDYE

Thank you again Laura for letting come Tie Dye with you!!  🙂  And for letting Benjamin play the Wii, even though he had no clue what he was doing!

Me and My Peeps Blog Hop

1039627_10151724801629105_1868196326_o

I feel so honored to have been chosen to participate in the Me and My Peeps Blog Hop!  While a few sponsors helped support this blog hop, two ladies, my friend Laura Kelly and a fellow blogger Niki Meiners from 365 Days of Crafts were gracious enough to put this blog hop together.

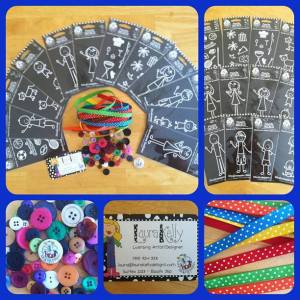
So, a package arrived with lots of goodies…..a great selection of Me and My Peeps Decals, brightly colored ribbon and some buttons!!

1004728_10151724814234105_1560106797_n

Me and My Peeps Little Boy Frames

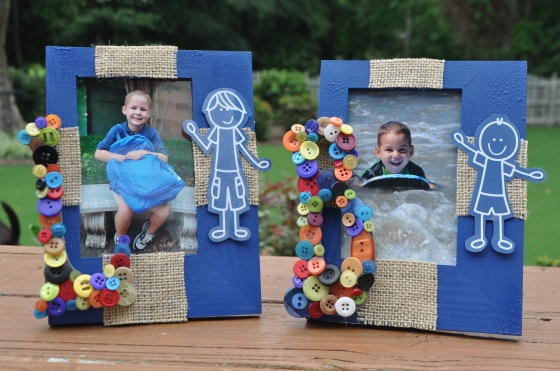
For my project, I made these awesome frames that were created for each of my boys!!

Picture frames

Materials used:

2 Me and My Peeps Little Boy Decals from Plaid Enterprises, available at A.C. Moore

Wooden frames, purchased at JoAnn’s Store

Wooden letters, purchased at JoAnn’s Store

Burlap

Laura Kelly Mix of Buttons from Buttons Galore & More

Blue Krylon paint

Hot Glue Gun and Glue

What I did:

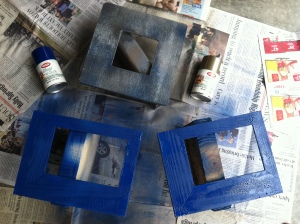
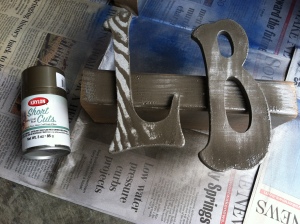
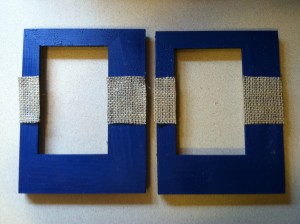
1.  I took the glass out of the frames and then spray painted the frames with Krylon spray paint.  I also spray painted the wooden letters.

IMG_7939

IMG_7938

While doing my spray painting, I realized that I need a little more practice on spray painting!  I got some bubbles in the paint.  But oh well, I made it work!

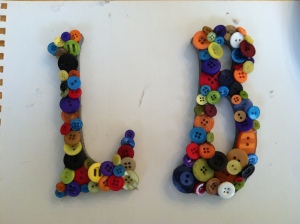
2.   I covered the letters with the awesome Laura Kelly Mix of buttons using hot glue.

IMG_7946

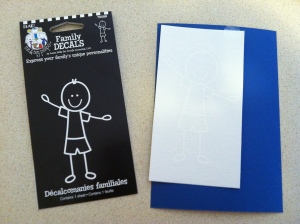
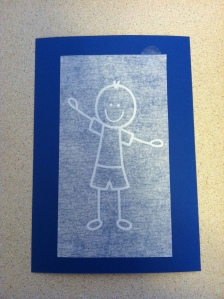
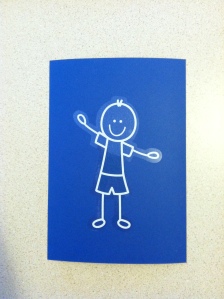
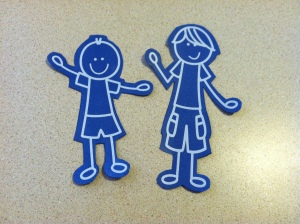
3.  I then transferred the Peep decal onto a blue piece of card stock that was very similar to the spray paint and then cut them out.

IMG_7963

IMG_7964

IMG_7966

IMG_7967

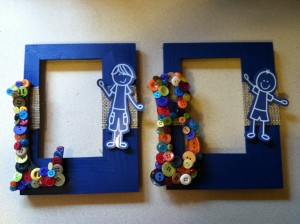
4.  I cut some pieces of burlap and attached them to the frames with hot glue.     I then attached the button covered letters and the Little Boy Peeps to the frames using hot glue!

IMG_7969

IMG_7970After a critique from a friend, in the end, I ended up adding burlap to all four sides.  And this is how it turned out!!!

Picture frames

I love these frames and they are currently sitting in my family room!

Special thanks to our Sponsors and Promoting Partners

Laura Kelly Designs + Niki Meiners + Laura Kelly Buttons + Plaid Enterprises + A.C. Moore + Cre8time

Now, jump over to some of the other designers sites to check them out!

Carla Schaufer

Laura Kelly, Me and My Peeps

Laura Kelly

Tanner Bell

Buttons Galore

Aunesty Janssen – Homeketeers

Doll Diaries

Click here to enter to win an awesome prize pack!