Monthly Archives: March 2019

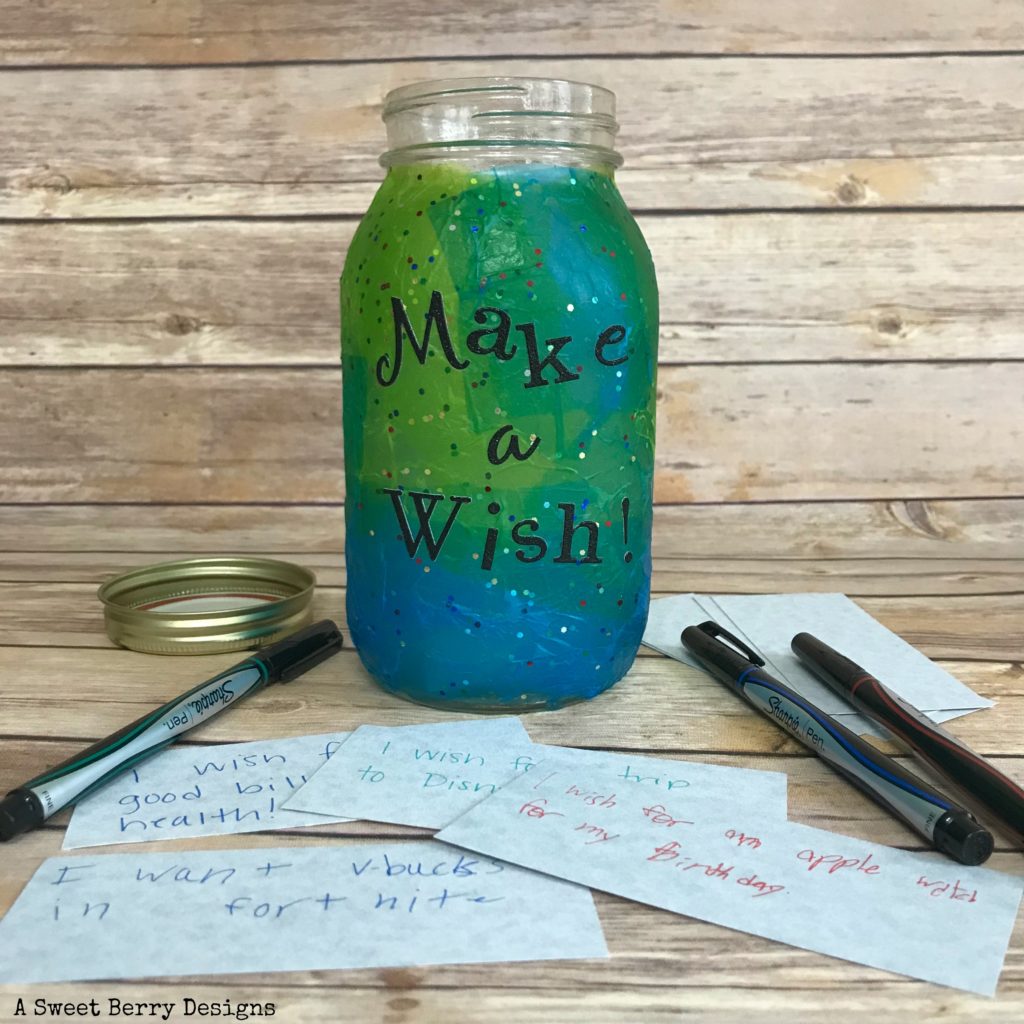
Decoupage Make A Wish Jar

Craft Lightning is here and it’s all about Decoupage! People have been using Decoupage for years and years and years. My grandmother was a big crafter and used Decoupage a lot. She is where I got my love of crafting from. I’m joining in with others to create quick and easy Decoupage projects.
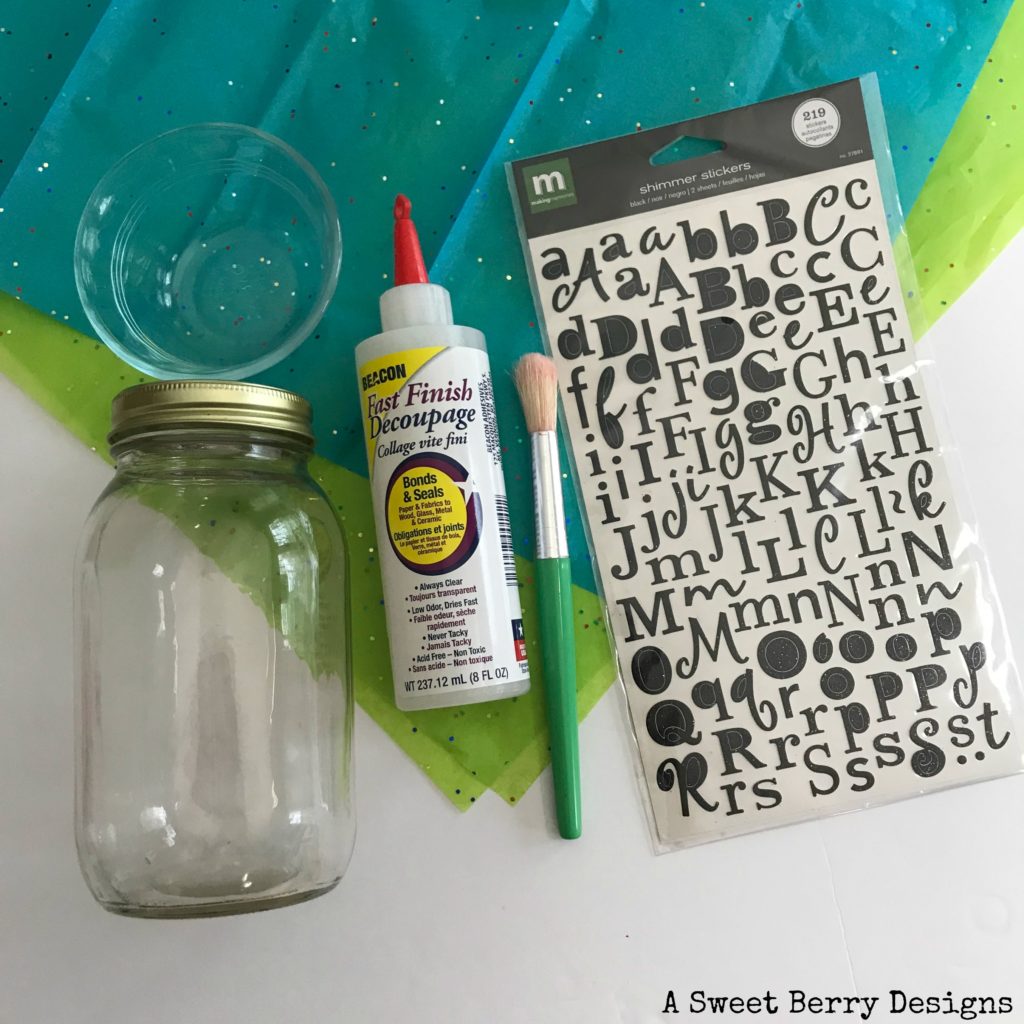
Materials used:

  • Mason Jar
  • Beacon’s Fast Finish Decoupage
  • Bristle Brush
  • Colorful Tissue Paper
  • A tray or bowl for your decoupage
  • Sticker or Cut Out Letters
  • Table Cloth or Paper to protect your workspace
  • Small pieces of paper and pens for wishes!
How I made it:

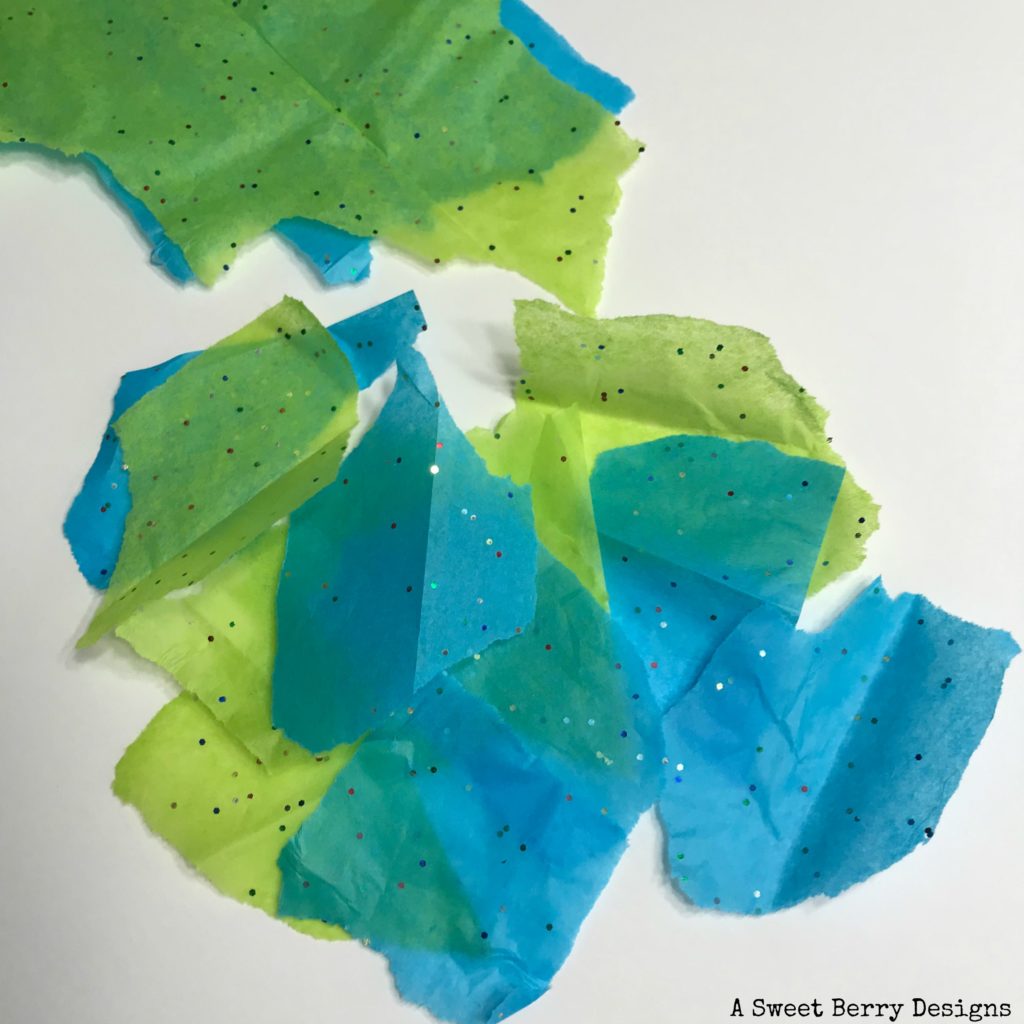
Make sure your mason jar is clean and dry. Tear your tissue paper into small pieces.
Pour Decoupage into your tray or bowl. Lightly dampen your bristle brush with water and apply a layer of the Beacon’s Fast Finish Decoupage to the jar. TIP: Do not cover the threads of the jar for the lid.

Place the small pieces of tissue paper onto the wet surface of the jar.
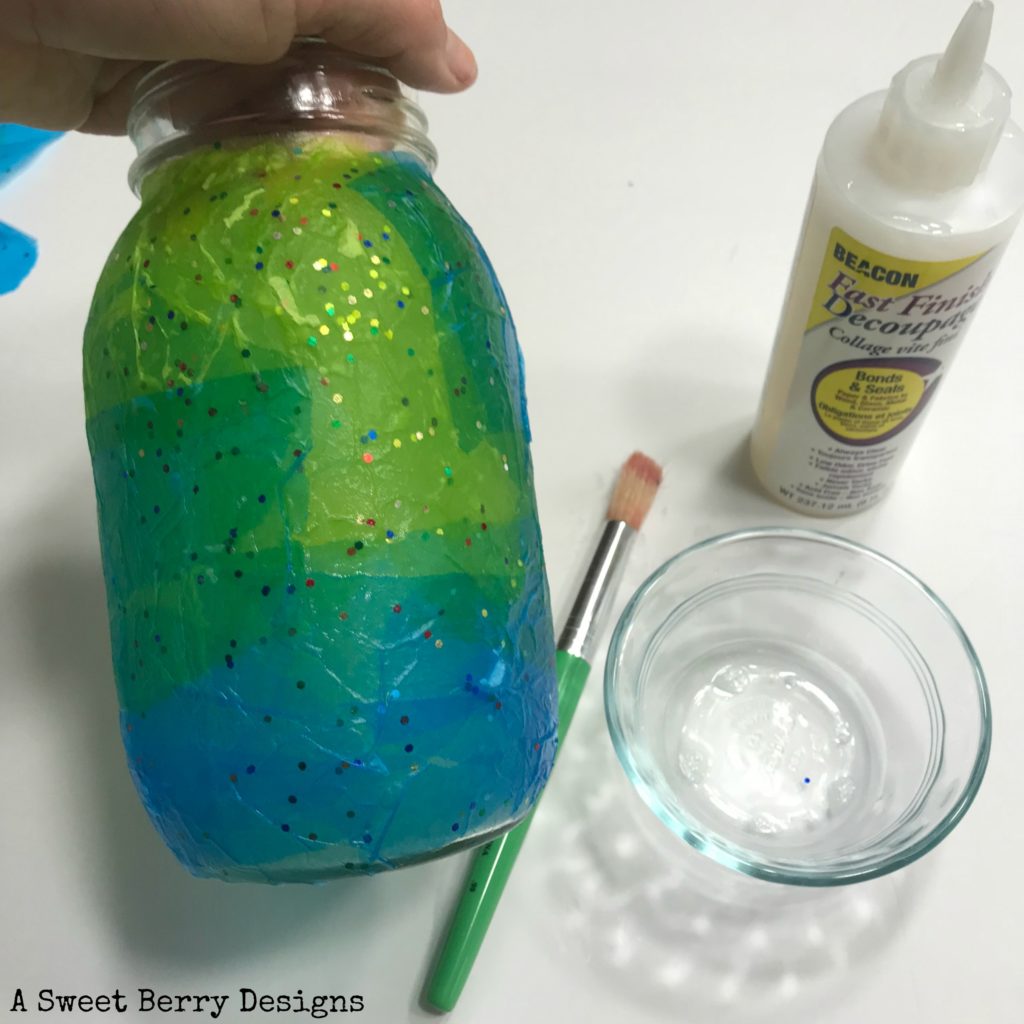
You can do one of two things…..You can take this time to apply your sticker or cut out letters or you can wait until the end. If you choose to apply them now, place them where you’d like to and then apply another layer of Decoupage over the letters and the tissue paper. If you want to apply them at the end, apply the Decoupage all over the tissue paper and allow to dry before you place the letters on the jar.

Set your jar aside to dry.
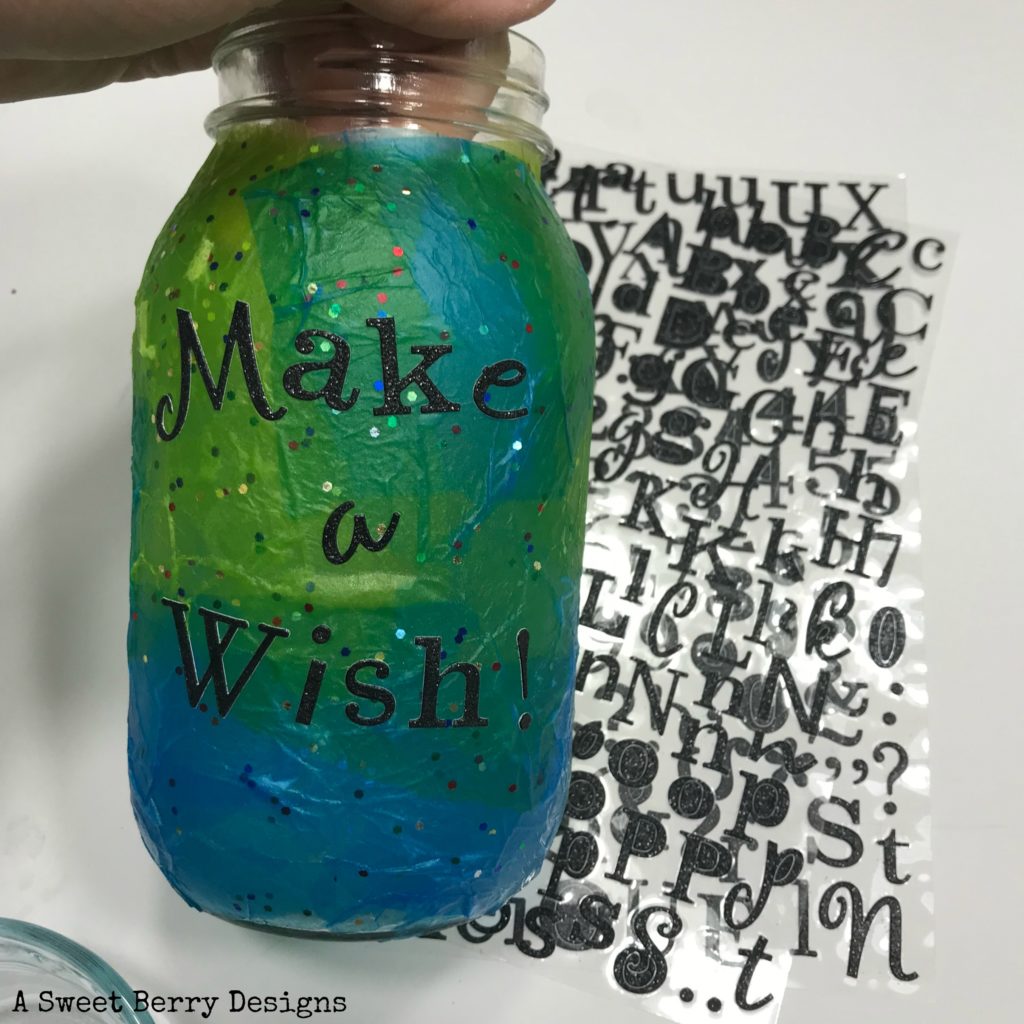
I hope you enjoyed seeing how I made this awesome Make a Wish! Wishing Jar! This was super easy and super quick. The kids could even jump in on helping make it and decorate it however! They can help cut up pieces of paper to added their wishes to! Lots of fun for the whole family and everyone can add their wishes to the jar!

Be sure to click the photo below to see other Craft Lightning Decoupage projects!


Until next time…..

Cricut Mother’s Day Being A Mom Wine Tumbler

This post contains an affiliate link. If you click on the link and purchase something from that site, I will earn a percentage of the sale. Thanks for supporting A Sweet Berry Designs.

Mother’s Day is near and I’ve joined up with some other Cricut users to make awesome Mother’s Day crafts using our Cricut machines.

Being A Mom, I Deserve This... Main Photo

Materials Needed to make your own!

How I created this masterpiece!

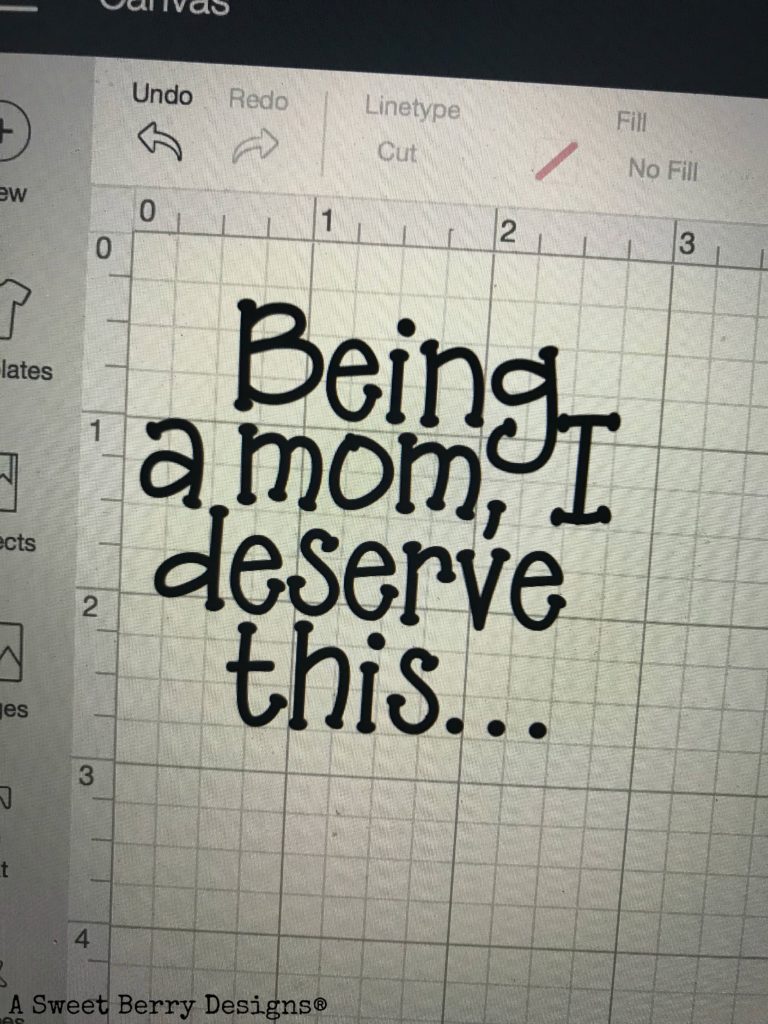
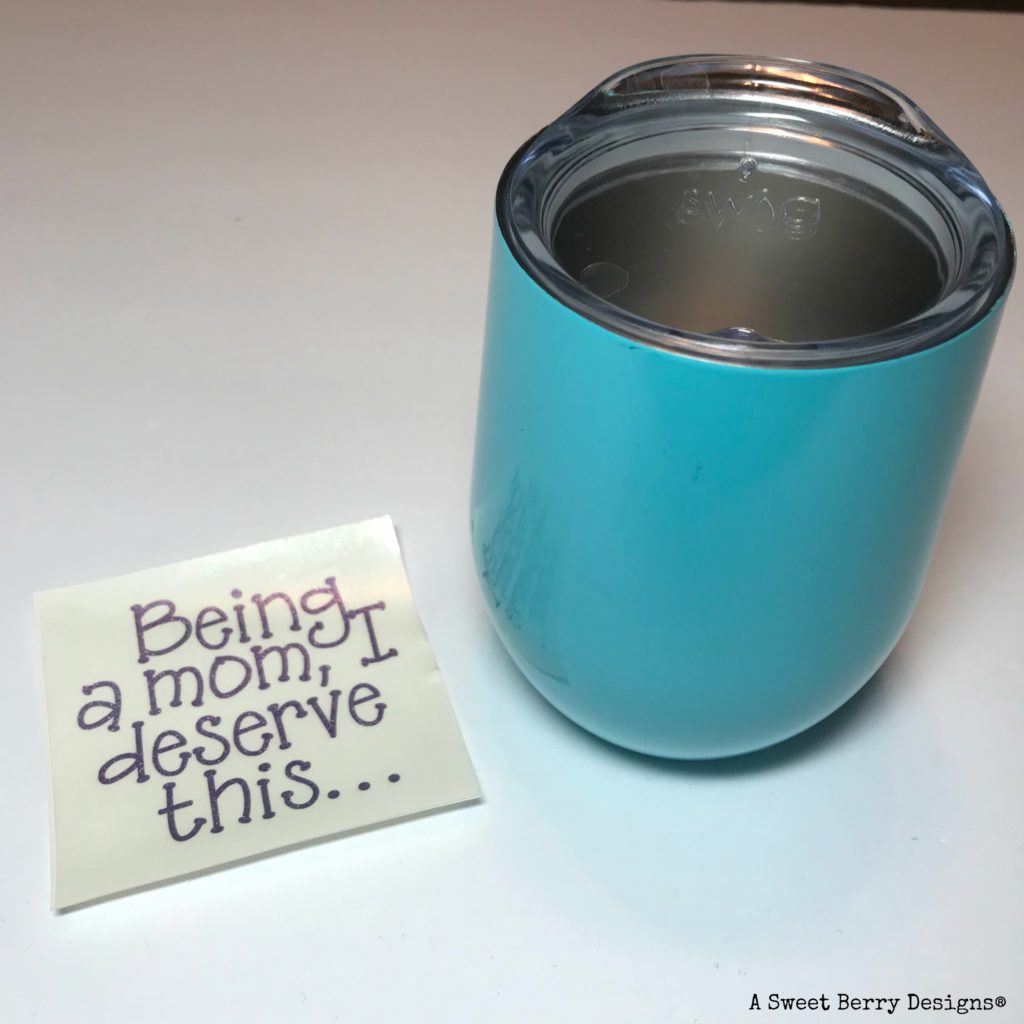
  1. Using my Cricut Design Space, I uploaded the SVG file that I have provided and sized the file so that it would fit on my tumbler.
Cricut Design Space

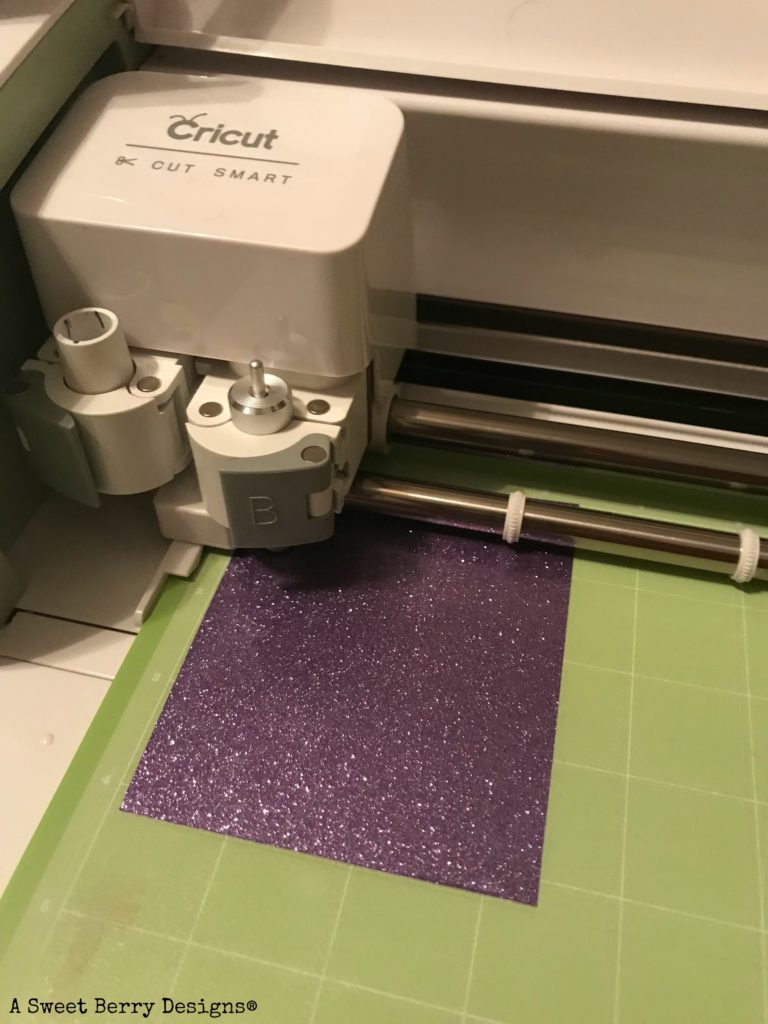
2. I got my mat ready, applying my vinyl to the mat and inserting it into the Cricut.

Cutting Vinyl With Cricut

3. Once my design was cut out, I weeded away the unneeded pieces of vinyl using my weeding tool.

4. I covered my vinyl design with transfer tape and made sure that I burnished it really good using my fingers so that the vinyl adhered to the transfer tape.

Weeded Vinyl Saying and Swig Tumbler

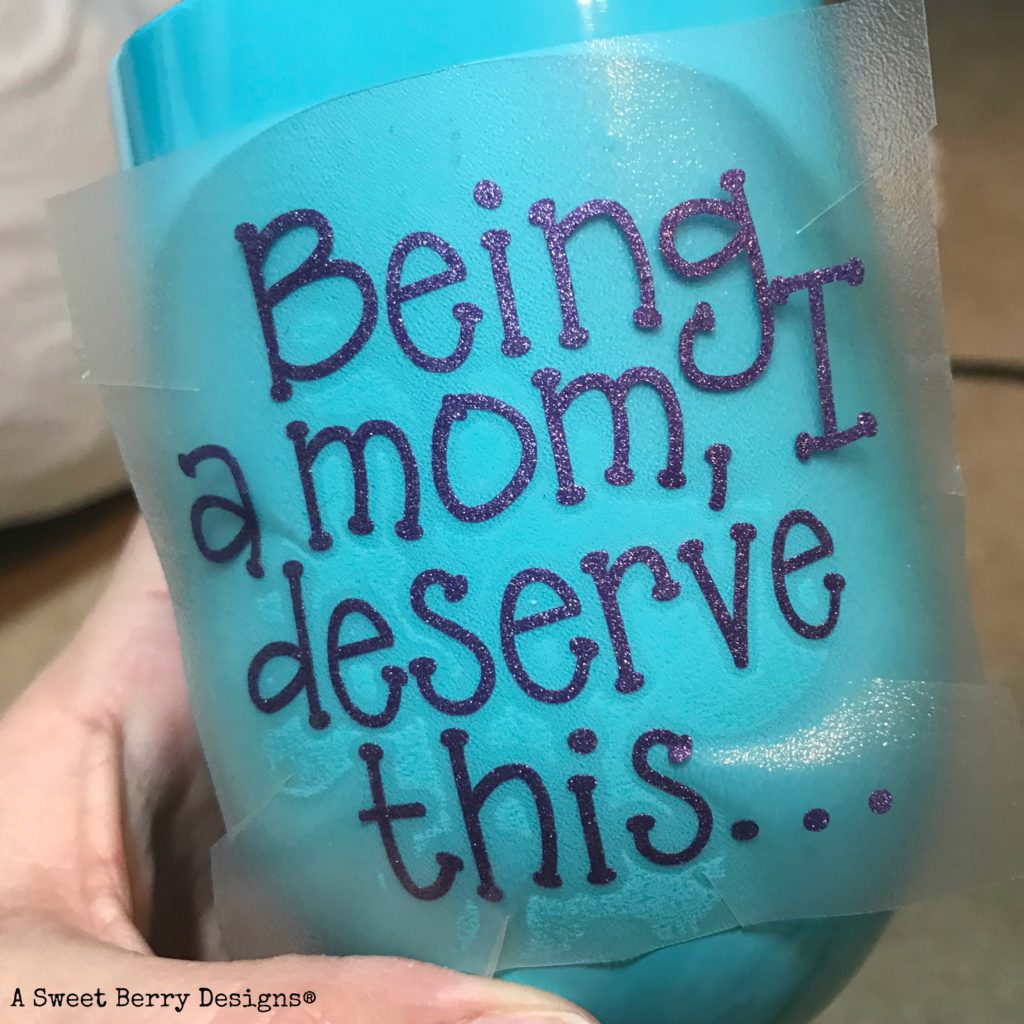
5. I peeled the transfer tape away from the backing. TIP: I snipped the transfer tape in a few different places so that when I laid it on my tumbler, it was easier to work with. Round odd shaped cups can be a little tricky to work with.

Applying Vinyl to Tumbler

6. I started by placing the transfer tape down in the center and then worked my way around the outside making sure all of the letters got placed without any wrinkles. A good rubbing with my fingers to make sure the letters would stick to the tumbler and then it was time to remove the transfer tape.

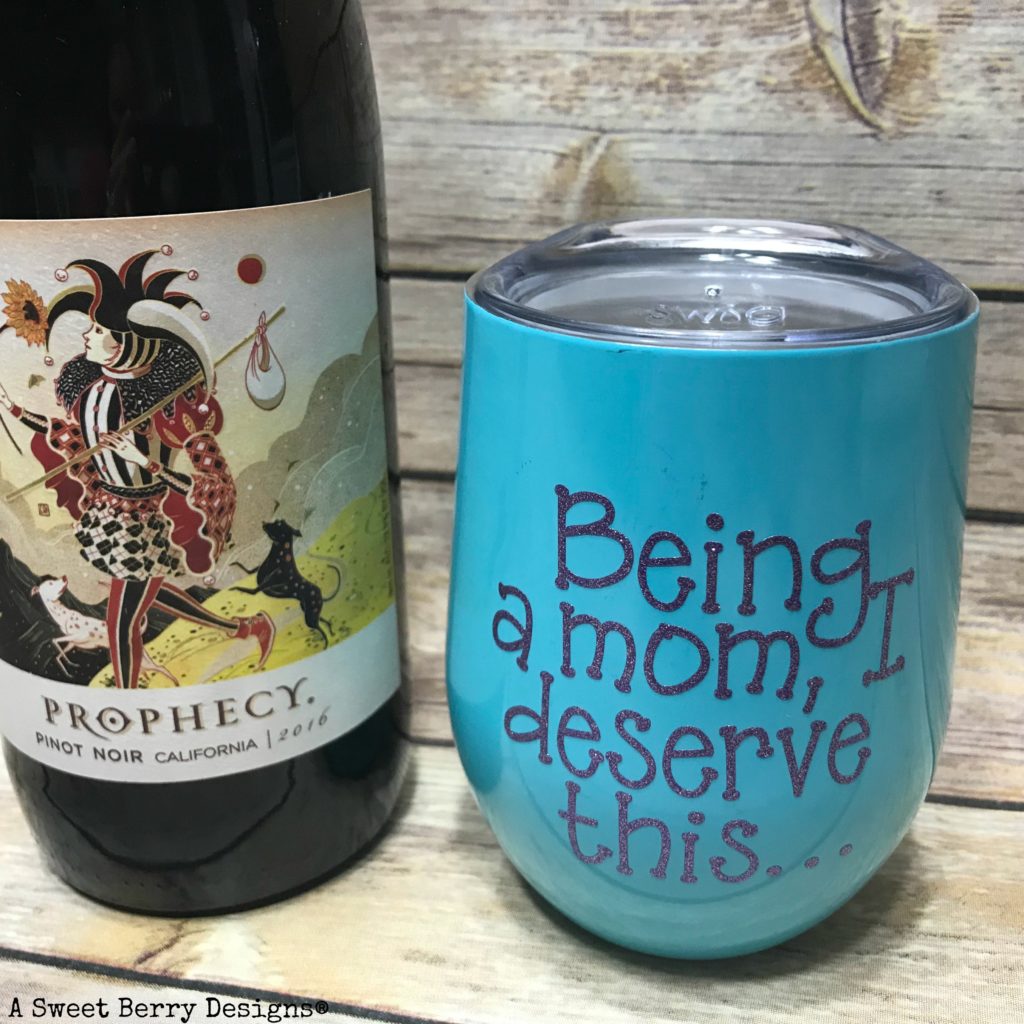
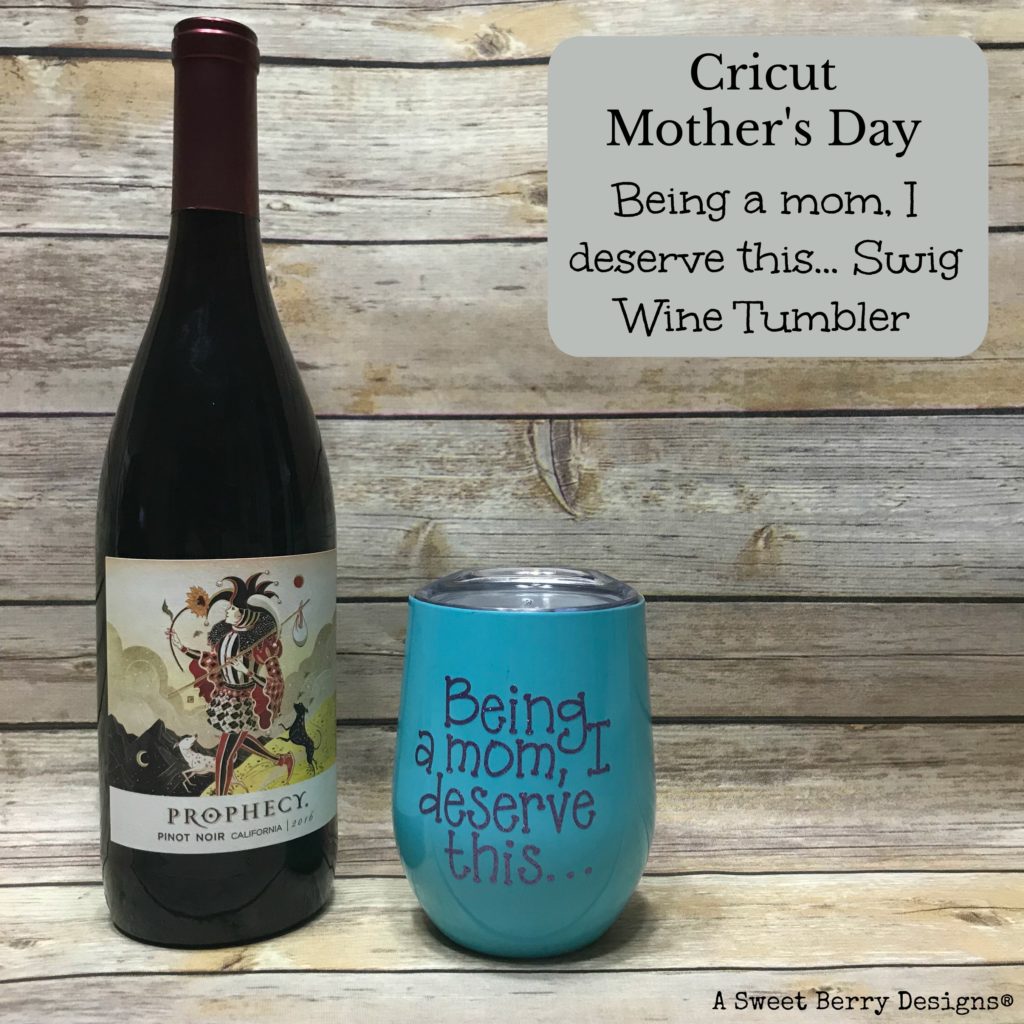
Vinyl Wine Tumbler and Bottle of Wine

My kids can be a handful sometimes, but how true is this statement: Being a mom, I deserve this….. What do you deserve as a mom? Wine? Beer? Chocolate? A vacation? All of the above? Wouldn’t it be nice to have those things on Mother’s Day?

Be sure to check out other Cricut Mother’s Day projects by clicking the photos below and also register to win a Cricut for you and one for your mom, plus two $125 gift cards How amazing is that giveaway?! !

LINKY PARTY CODE
Inlinkz Link Party

RAFFLECOPTER CODE:
a Rafflecopter giveaway

Until next time…..