Author Archives: Katie

Yummy Gluten Free Peanut Butter Cookies

In the last few months, I have become gluten free. It has changed my life…..no more achy joints, less headaches and more energy! As of now, I am 100% gluten free and let me tell you something….it is not fun at all if you happen to eat something that contains gluten. I am the only one in my family of four that is gluten free, but there are things that my kids will eat. For example:

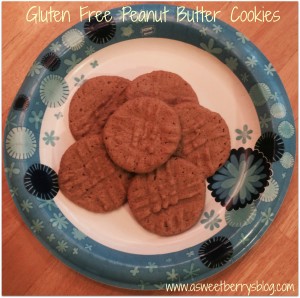
Tonight, I made these delicious gluten free peanut butter cookies for dessert! They were super yummy!
GFPB Cookies

Here is how I made them:

Ingredients:
1 C Peanut Butter
1 C Sugar
1 Egg

Directions:

Preheat your oven to 350 degrees.

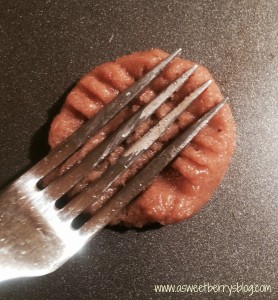
Add the ingredients to a mixing bowl and mix until the ingredients are combined. Roll into 1 inch balls and place on a baking pan. No need to grease the pan. The peanut butter has enough oil in it! Using a fork, press the cookies!!

crosshatch

Bake for 8-10 minutes at 350 degrees.  Remove and let cool before removing from the tray.   Or enjoy them warm!!!

Recipe made 24 cookies at 77 calories each!

These cookies were relish!  And the boys in the house loved them!!!

It’s been very interesting going gluten free.  Before, I had never really looked at nutritional labels, but now I do.  It’s amazing what foods do and don’t contain gluten!

Until next time……

Tulip One-Step Tie-Dye Your Summer Party!!

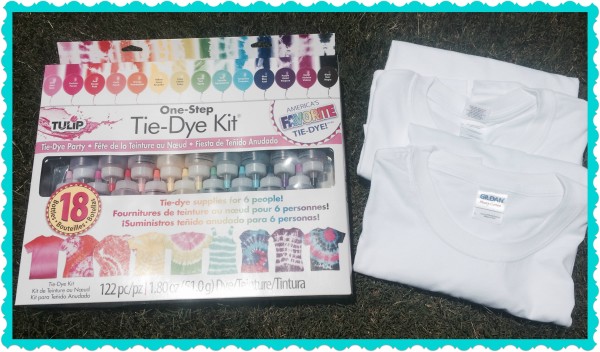
Together with I love to Create, Laura Kelly put together yet another awesome blog hop!  This one is a Tie-Dye Party!  Each blogger was sent an awesome One-Step Tie-Dye Kit for 6 people and two Gildan t-shirts.  The t-shirts could be used for practicing or for the actual project.  I chose to use mine for the project, along with some other size Gildan t-shirts I had.  We had a family tie-dye party!! kit
Tulip Tie-Dye T-Shirt Summer Necklace!
katie

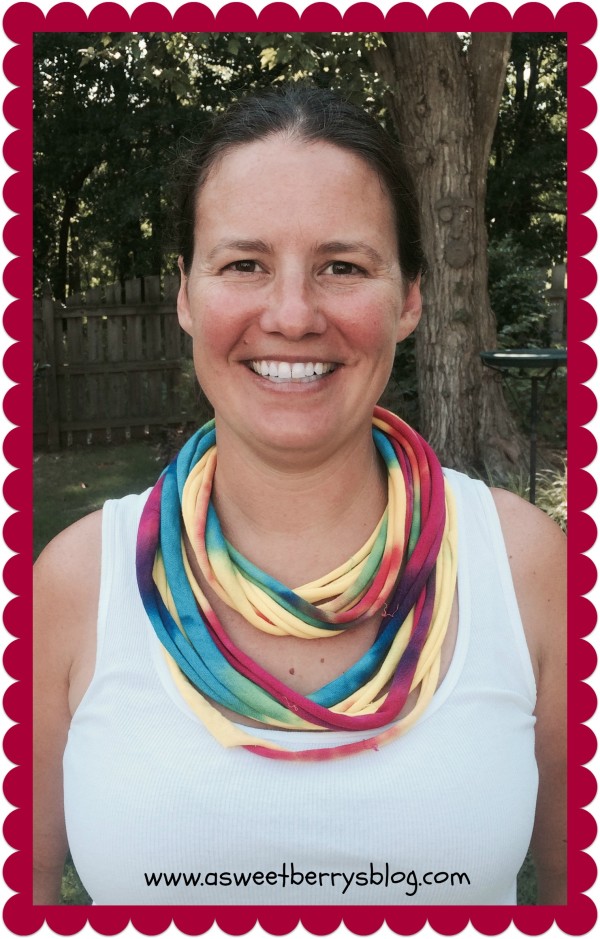
I have always wanted to make a t-shirt necklace!  I love bright and bold colors so I thought I’d tie dye one of my Gilden t-shirt with nice bright Tulip Tie-Dye colors (Fuchsia, Purple, Turquoise, and Yellow)!  I am obsessed with the swirl pattern for some reason, so that’s the one I used.

dye process

After my shirt was tie-dyed, set, washed and dried, I ripped the bottom of the shirt off, cutting just the side of the shirt so that I could get a good start for ripping.  Sometimes ripping through the seam can be a little difficult.  Next I cut just under the arm and ripped it across, so that I was left with just the bottom half of the shirt.  Then I cut 5 cuts on the sides, so that I could rip them across.

first steps

Once I had my strips, I grabbed the top piece of the shirt and did the same thing, making a cut by the seam and ripping it, giving me another strip.  I made one cut on the strip so that it was open.  I then gathered all of my strips, used my cut strip to wrap around my gathered strips, so that they would all stay together.

Last steps

Then my necklace was complete!  It was long enough that I wrapped it around my neck twice and made one shorter than the other, almost like an infinite scarf!!
  katie

Dad 4th of July Shirt!

Dad’s shirt was made using the starburst method. Pieces of fabric were gathered, making sure to grab both the front and the back of the shirt and wrapped a rubber band around it.  The gathered pieces were tie-dyed with red and then the rest of the shirt was tie-dyed with blue!

Dad shirt

Big Brother’s Tie-Dye Master Piece!

Landon wanted to create something different with his shirt.  He loves how it turned out, with his favorite colors of blue, green, yellow and red! big brothers shirt

Little Brother’s 4th of July Shirt

Benjamin loves the swirl method as well, so he will be rocking his shirt come the 4th of July!!!  This kid loves to tie-dye as much as I do! Little Brothers shirt
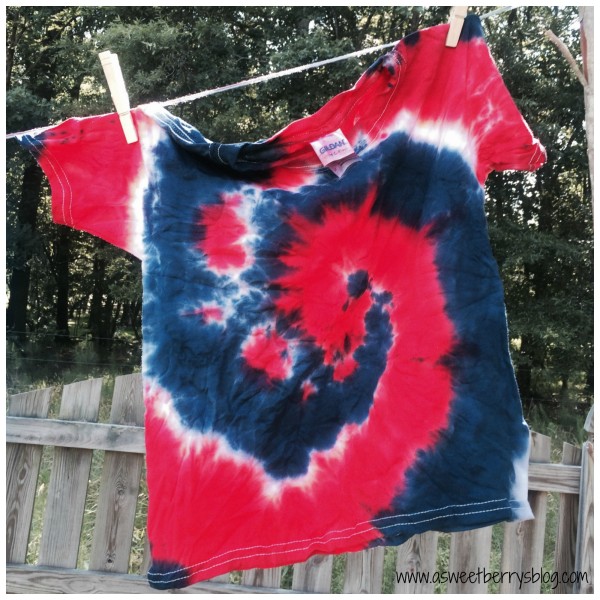
This one-step tie dye kit is perfect for a party of friends!  It comes with everything you need…bottles with dye, rubber bands, gloves and a plastic table cloth.

For other great summer tie dye ideas, hop on over to some other blog sites and see what they created using this great product!

Also, enter for a chance to win a Tulip One-Step Tie Dye Party Kit for 10!
a Rafflecopter giveaway
Expressionery Blog Hop Fun

One of my favorite daily things to do is check the mail.  With all of the modern technology, I could easily send a text or an email, or even a Facebook message.  But, hand written notes are my favorite.

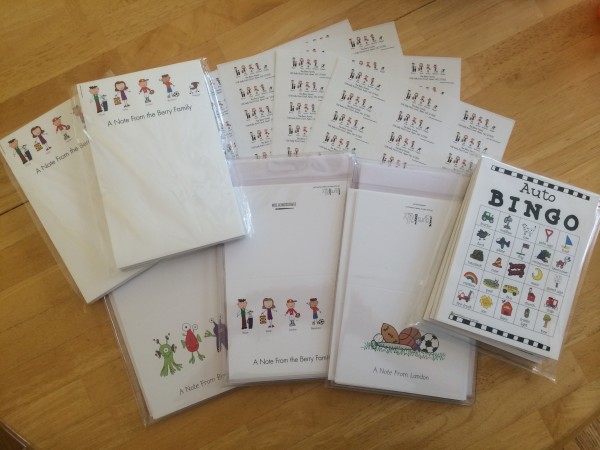
When I received a package in the mail, opened it and found Expressionery Stationary with Laura Kelly’s designs on them, I was in Heaven!  Not only was there stationary in the box for me, but there was also stationary for both of my sons!  And there were some awesome road trip games!

IMG_0241

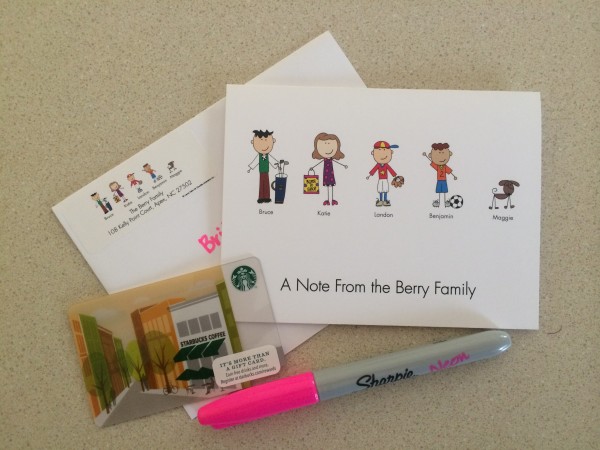
Our family notecards, notepads and address labels were customized using Laura Kelly’s collection of Me & My Peeps.   And it fits us perfectly, all the way to our brown dog!!  Our dog sitter is getting your very first one, along with a Starbucks gift card as a thank you for watching our sweet Maggie while we were at the beach!  And I almost always use Sharpie’s to write my notes!

IMG_0819

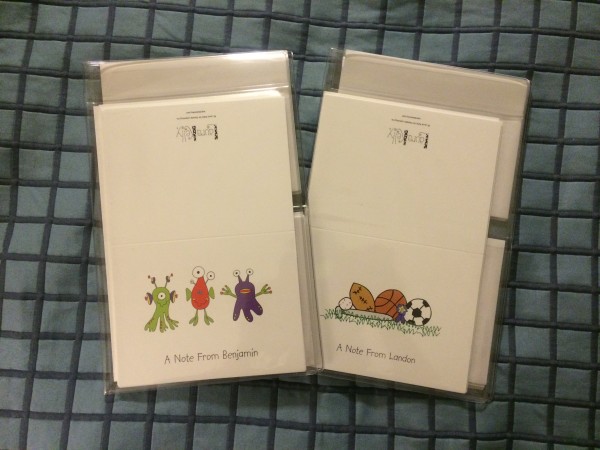
The boys notecards are Laura’s designs, Superstar and Alien Invasion!  They boys love theirs.  Landon is using his to write thank you notes from his birthday party!  Benjamin is using his to write notes to invite friends over for playdates!

IMG_0631

A Re-Purposing Project

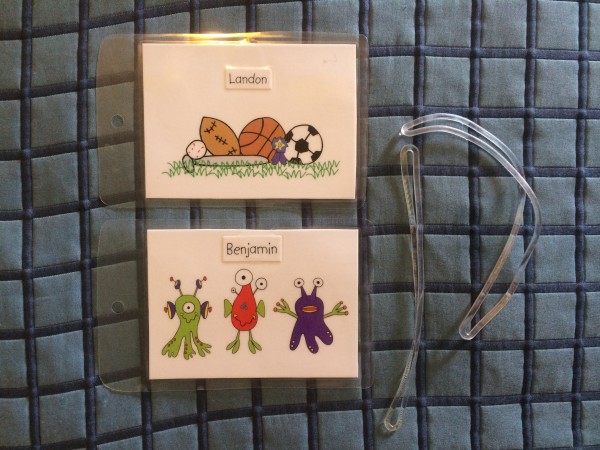
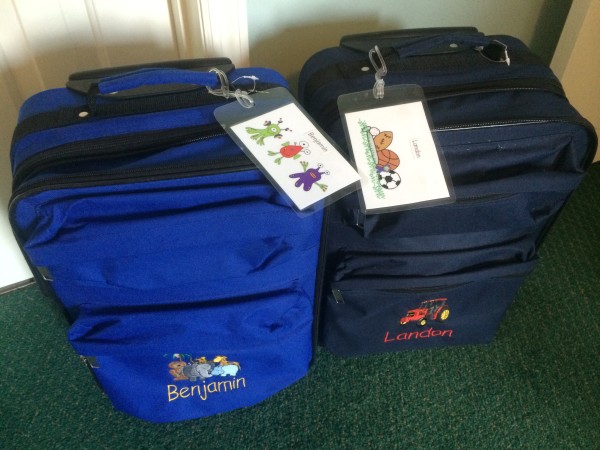
I love the idea of using this custom stationary for a repurposing project, so I did just that!   We were due to leave a week after receiving our Expressionery package, to head to the beach.  I decided to make the kids luggage tags for their suitcases using a notecard from each of their sets.   I cut the cards up, also cutting away their name from the bottom.  I glued their name to the top of the cutout.   Using my computer, I typed up the back of the label with Name, Address, and Phone number.  After printing it, I glued it to the back of the notecard, lamenated it, punched a hole in it and using the Plastic Worm Loops, I attached it to their luggage.

Luggage Tag

IMG_0621

IMG_0628

Leave a comment for a chance to wine a $20 Giftcard to Expressionery.com!!!!

Hop on over to some fellow bloggers participating in this blog hop!!!

Enter for a chance to win a $200 Amazon gift card and an Expressionery.com gift set!!!! a Rafflecopter giveaway
Rainbow Blog Hop 2014 – Little Blue Dude

Laura Kelly invited me to participate in the Rainbow Blog Hop 2014 and of course I RSVP’d “yes”!

RainbowHop_Button

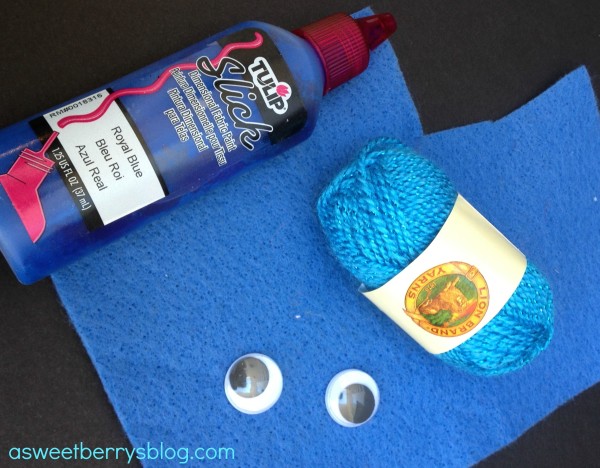
The color I got was blue and the material I received were random.  I sorted through them and chose these to work with.  I LOVE the Tulip Slick Fabric Paint and will be buying a full set of colors on my next crafty shopping spree!

Supplies
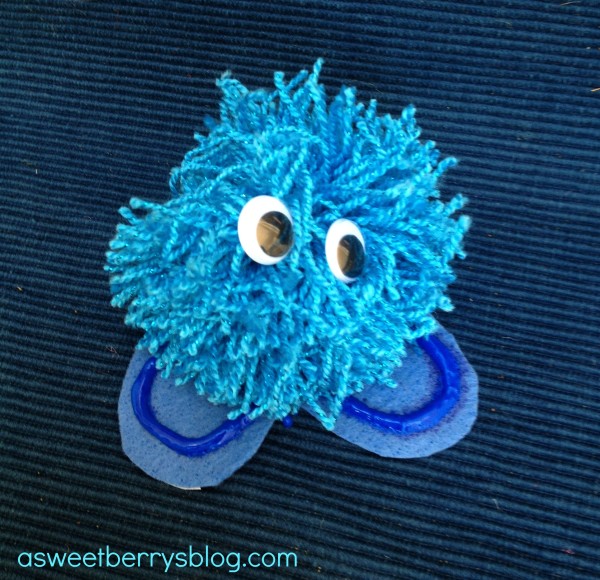
I made a large pompom ball with the yarn then added felt feet embellished with Tulip Slick Paint in Blue and glued on the google eyes with Aleene’s Tacky Glue.

Steps

Cute, don’t you think?!

BlueDudeFinal

There are lots of bright fun projects in this blog hop that create the colors to make a DIY rainbow of creativity.  Check them out!

And if you want to enter to win a prize, go for it. a Rafflecopter giveaway
Until I blog again (which might not be until May when I FINALLY graduate from college),


Katie

Busy, Busy, Busy!!

So, in a post near the new year, I posted that I planned to blog more and do more crafts and fun stuff.  Well, the three classes that I am taking this semester in order for me to graduate in May, have me a lot busier than I thought.   I am amazed at how much work these three classes have me doing.  It’s crazy!  But I am determined to get through them and walk across that stage in May!  As stressful as these classes are, I am really enjoying them!

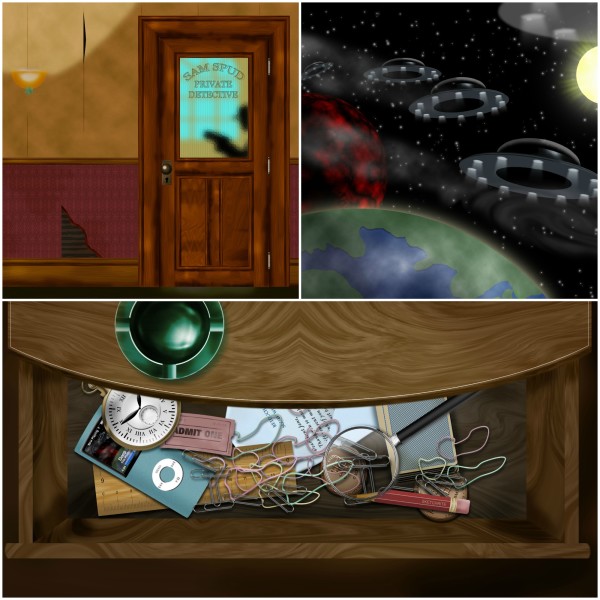
Computer Design Tech II is a fun, but very time consuming class.   There is no instruction in this class, as it is a class where we should be able to accomplish task in Photoshop and Illustrator without any instruction.  The only materials that are available with very little instruction included is our text book (100% Photoshop).   Here are few samples that have been created from scratch using only Photoshop!

DesignTechII


Advertising Copywriting has been a fun class.   It’s all about how to write ads.  Some of the things that I have had to do in this class are:   1.) come up with a candy bar, from the ingredients to the type of packaging it would come in.   2.)  Come up with an ad for a trip to Mars, including what you would do there, how much it cost, etc.   3.)   Writing a 60 second radio ad for that trip to Mars ad.

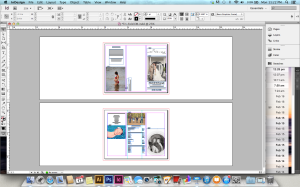
Portfolio……Now, this class has been very time consuming as well.  It is basically putting together our professional portfolio.  As I have not done too many pieces outside of what I’ve had to do for classes, I didn’t have too many pieces to work with.  So, after looking through every single design I have created since starting taking Graphic Design classes, I had 3 pieces that I could work with.  Well, the portfolio is required to have 8 GREAT pieces in it.  The teacher has to critique them, as well as my classmates.  So, a lot of my time has been working on the three pieces that I currently had and then creating 5 more pieces to go into my portfolio.  Along with a  traditional portfolio, we are also required to have an online portfolio.  I still have a lot of work to do, but here are two designs that I have been working on.  One is a 2 page spread for Psychology Today and the other is a Tri-fold brochure that I am working on for a friend’s photography business.

Screen Shot 2014-02-17 at 10.30.50 PM   Screen Shot 2014-02-17 at 11.22.12 PM

God Bless my husband for being very understanding and a great father.  Even after a long day at work, he has to come home to watch the kids, so that I can spend hours in my bonus room away from the noise to work on homework.   He was even willing to alter his work schedule so that I could attend my very last classes of my college career.   Man, I love that man!!!!
So, if you don’t hear from me via my blog for a while, you know why!!  May 3rd can’t get here soon enough!

Until next time………….

ASWEETBERRYLOGO


CHA 2014 – Craft & Hobby Association Mega Show!

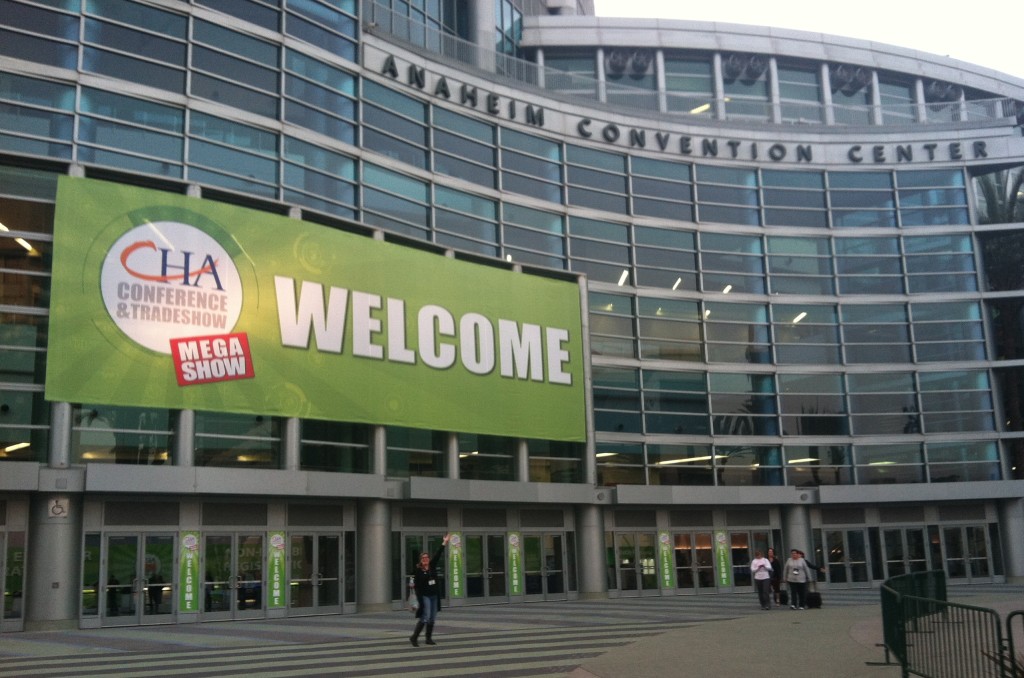
IMG_0231

Thanks to my great friend Laura Kelly, I had the privilege of attending CHA this year in Anaheim, CA!  For those of you that are unfamiliar, CHA is the Craft and Hobby Association.  Every year, they have a huge conference and trade show for exhibitors, buyers and designers in the craft and hobby industry.  I got to meet so many great people, see so many great products and even got to bring home some of those awesome products!  I even made my very first trip to Disney!!!  Stay tuned for more details of my trip to Anaheim and the great CHA!!!!!

Until next time…….

katie-asweetberry

A Whole New Year

HAPPY NEW YEAR!!!!!!

So, as I was a new blogger in the year of 2013, I have just recently updated my blog site and I can do a whole lot more with it now.  With that being said, 2014 is going to be the year that I start blogging more.   You do not see many blog post yet, as my past ones were in 2013 and it’s only January 3, 2014 and some updates are still taking place!

Life is about to get super busy for the Berry Family.   I am starting my final semester of school, taking three classes.  One of which, I have already been informed by my professor that it is going to be a super intense class.  But it is my most important class of the semester, Portfolio.   The hubby is changing his schedule around a little bit to help with getting the kids taken care of during the mornings and allowing me to get to school in the evenings.  I will gladly walk across the stage at the May 2014 graduation!!!

I am also continuing to intern for my fabulous friend, Laura Kelly.  We are getting ready to make the long trip to Anaheim, CA for a week to go to the CHA Mega Show where we will meet lots of new people, some Laura already knows through her many trips to CHA.  Oh, I will most definitely blog through my trip for it will be the first time that I have set foot out of a CA airport!!   Most of all, I am hoping that the hubby can survive the 8 days that I am gone!!!

Our family is also planning a trip to Disney for later in the year.  We are super excited about that.  My awesome friend Heather has offered to help plan that trip for us.   And the fact that Landon is in year round school and is tracked out in September is awesome, since everyone else will be going back to school and the lines should be shorter!!!

Besides Disney, we are planning our yearly beach vacation.  Our destination this year is a trip to Myrtle Beach, SC with my parents, my brother, my sister-in-law and my two adorable nieces!   As commercialized as it is there, there is still lots of fun stuff to do there!   We also have tickets to the US Open Championship in Pinehurst, NC in June.   All of my boys love golf and the US Open Championship on comes to NC every so often.   We’ll get to see some of our favorites!  We also plan to drive back up to Rochester, NY to spend more time with our family there.  We’ll probably venture to the zoo, the museums, and back to Niagara Falls and go over into Canada for a short visit!

I’d say that is a pretty busy year so far!   Keep a look out for upcoming post!

Until next time……

katie-asweetberry


Styrofoam Christmas Tree!

Christmas is my all time favorite time of the year!   And creating Christmas decorations is one of my favorite things to do, along with creating memories!!!

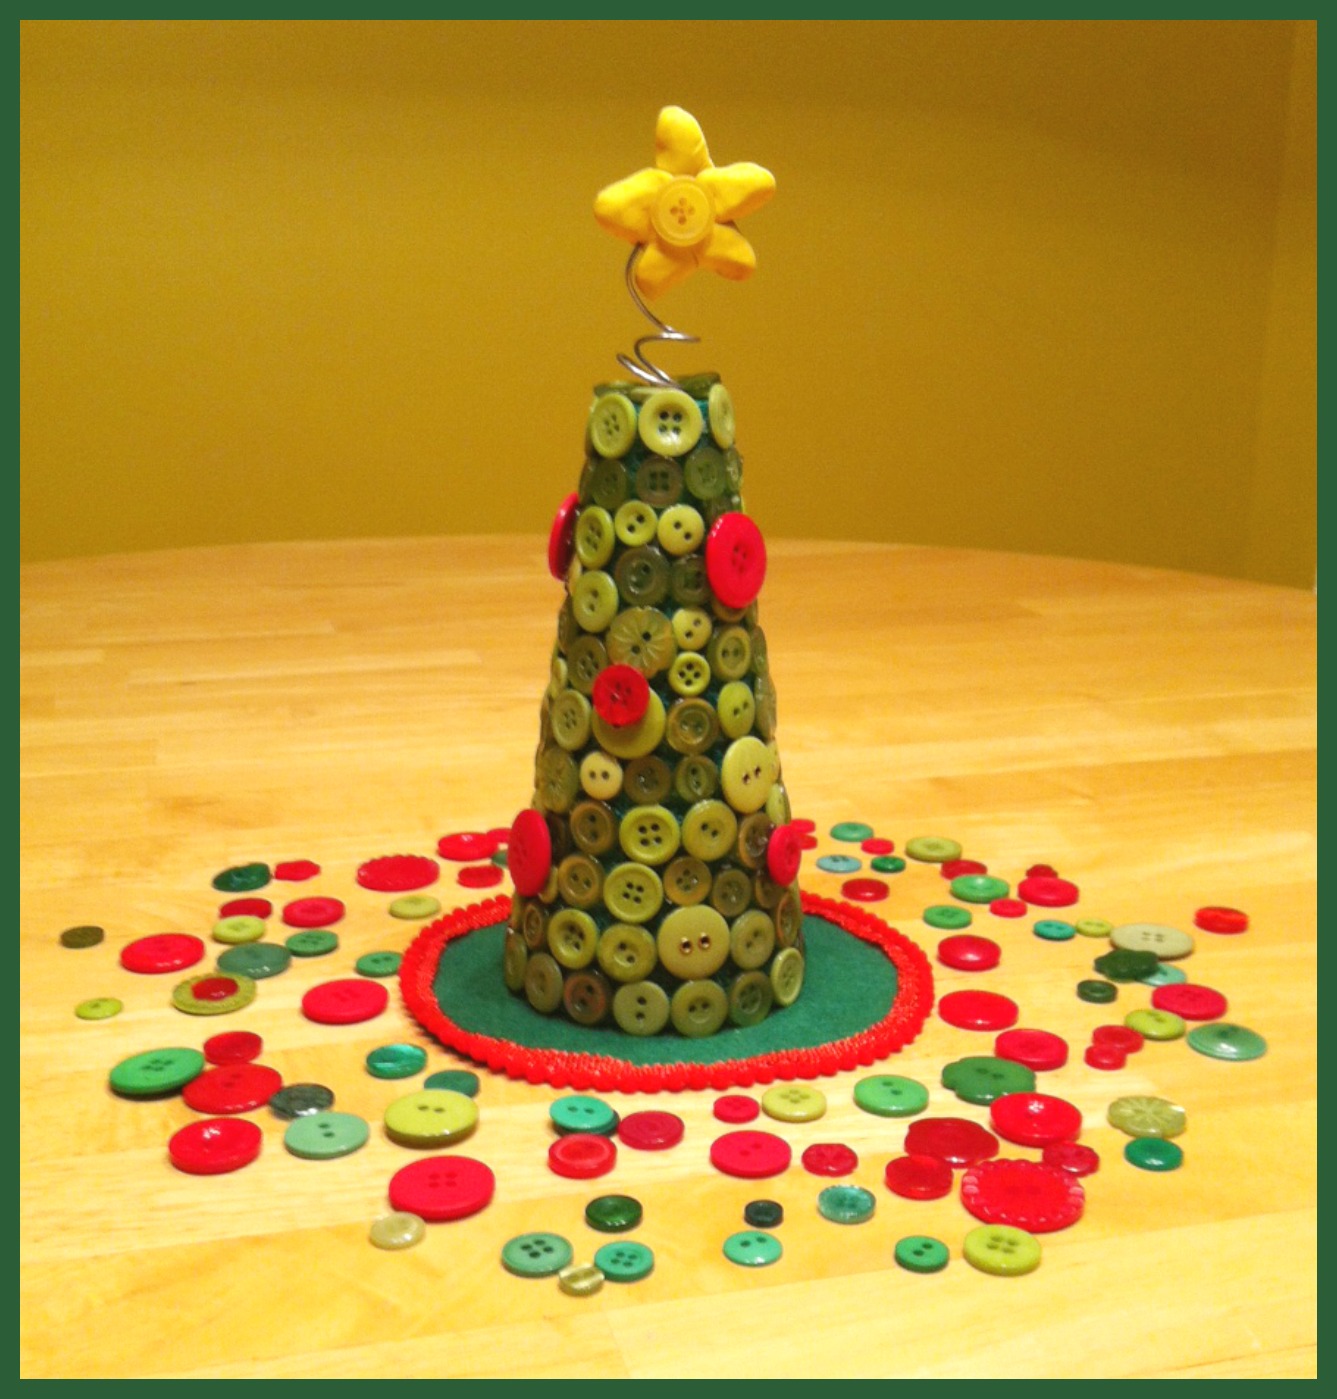
Check out this cute little tree I made using Styrofoam, Laura Kelly’s buttons from Buttons Galore and Sculpey Clay!!!!

tree

suppliesMaterials needed:

Styrofoam Cone

Sculpey Bake Shop Yellow Clay

Laura Kelly’s Radical Red and Candy Apple Green buttons from Buttons Galore & More

Wire

Folk Art Green Paint

Adtech Hot Glue gun and glue

Green Felt

Mini Pom Pom Ribbon from May Arts Ribbon

Fiskars Scissors

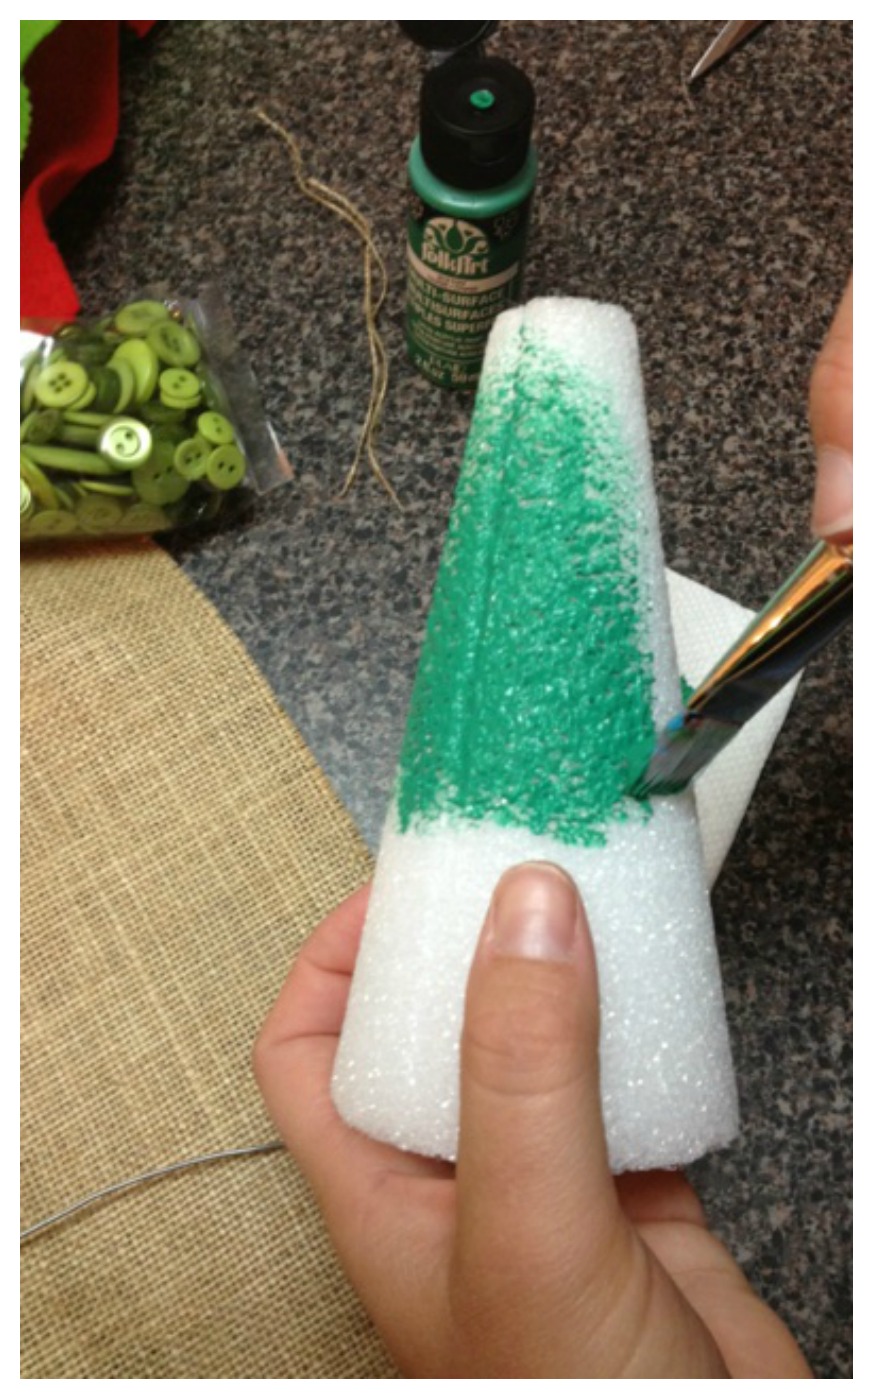
paintingI didn’t want the white cone to show, so I painted it green and let it dry before I started gluing the buttons on!

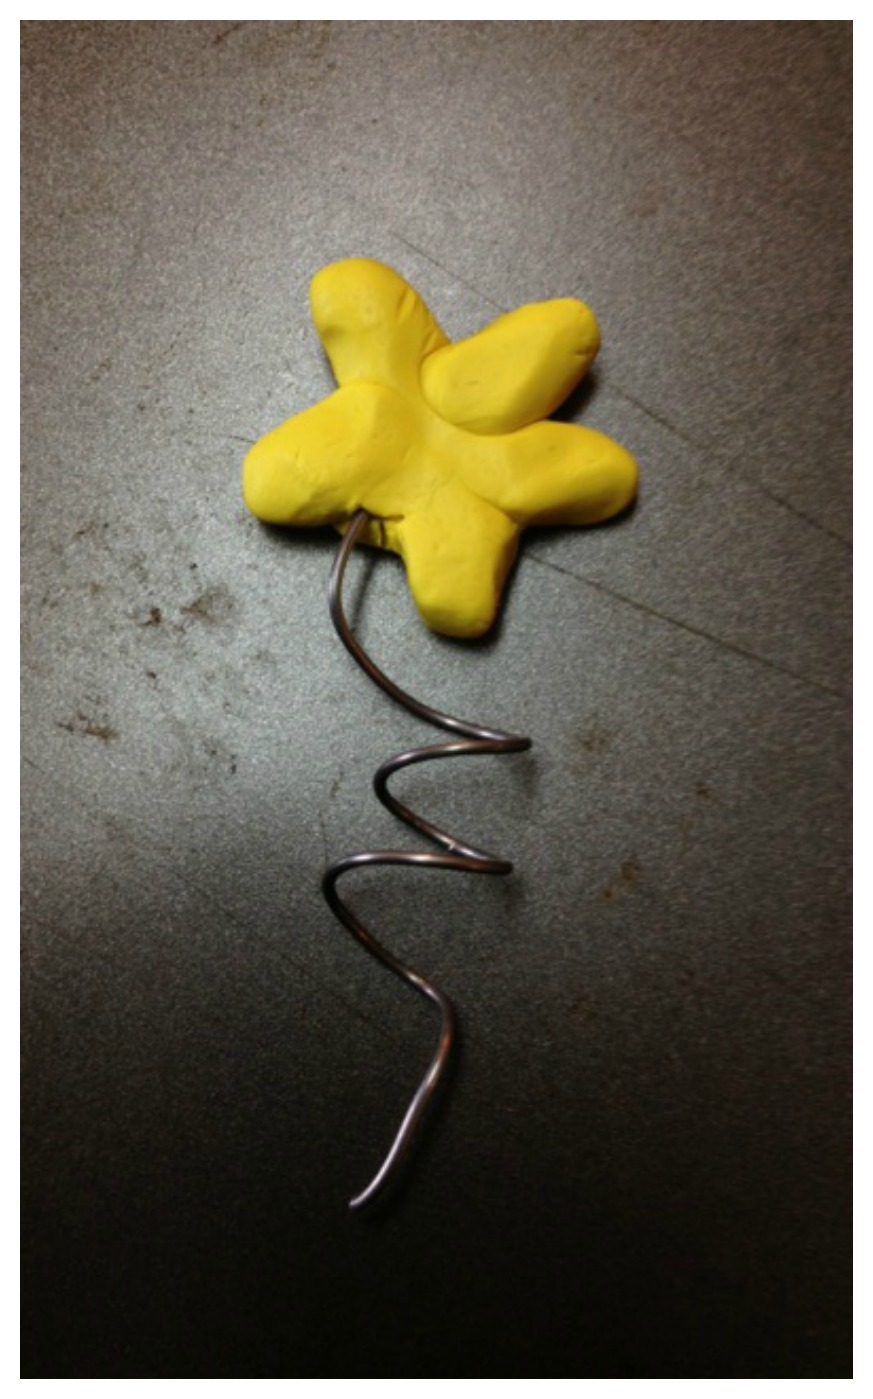
While it was drying, I made a star out of Sculpey Clay and added a curled wire.  I stuck it in the oven and baked it according to instructions.

clay starAfter the cone was dry, I used hot glue to attach the buttons in a single layer to cover the entire cone.  Then I added a few red ones as ornaments!  I also added a yellow button to the center of the star.

applying buttons

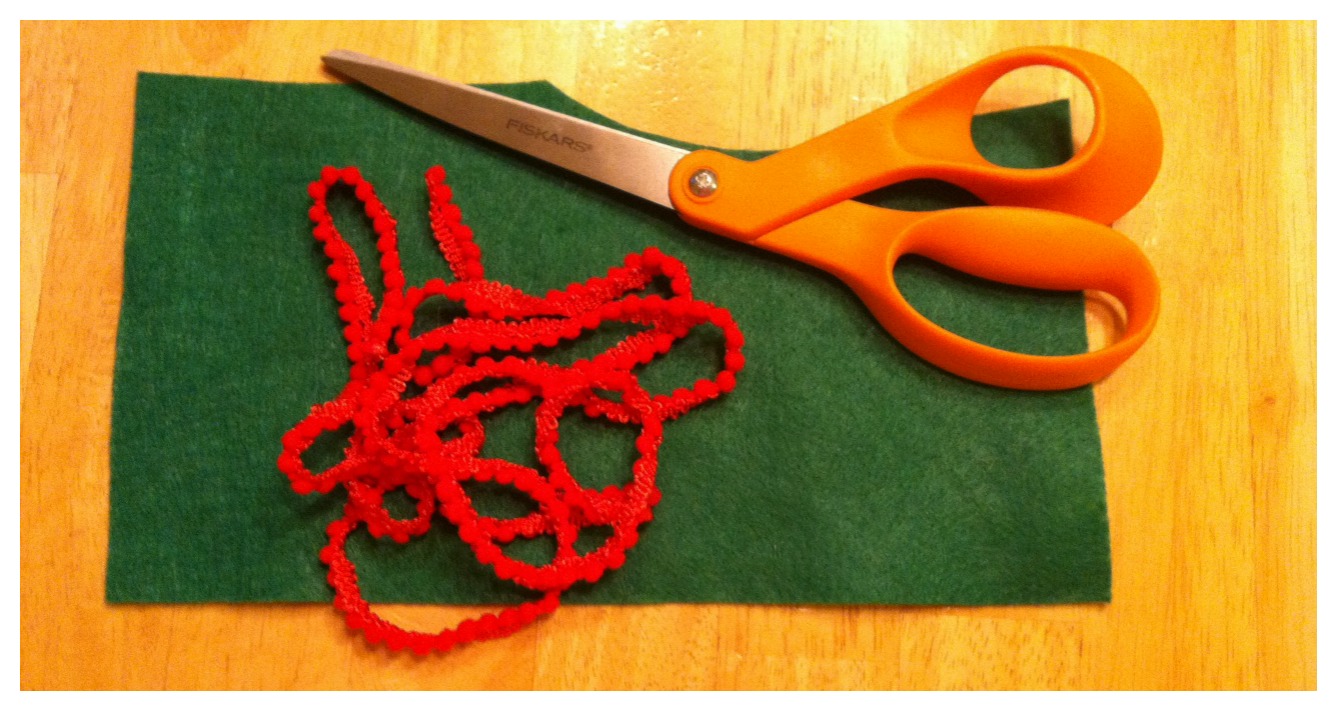
Using a scrap piece of green felt, Fiskars scissors and Mini Pom Pom Ribbon from May Arts Ribbon, I made a tree skirt.  I cut a circle out of the felt and then glued the ribbon around the edge of the circle.   It made a very cute little tree skirt to go with my styrofoam button tree!

skirt

tree

This lovely tree now sits on my dining room table as our center piece!  Hope you like it as much as my family and I do!!!!

I would like to thank my awesome friend Laura Kelly for the opportunity to work with her and to get the chance and the experience of working with so many amazing products!!!  Not only is she a great friend, but she has given me the opportunity to be her intern, as she has become the Resident Designer for Rit Dye!!!  Check her out on Rit Dye’s Blog!!!  Thank you Laura!  I love you!

Until next time……

ASWEETBERRYLOGO

Adorable Little Ornaments Blog Hop!!!!

SculpeyButtonButton

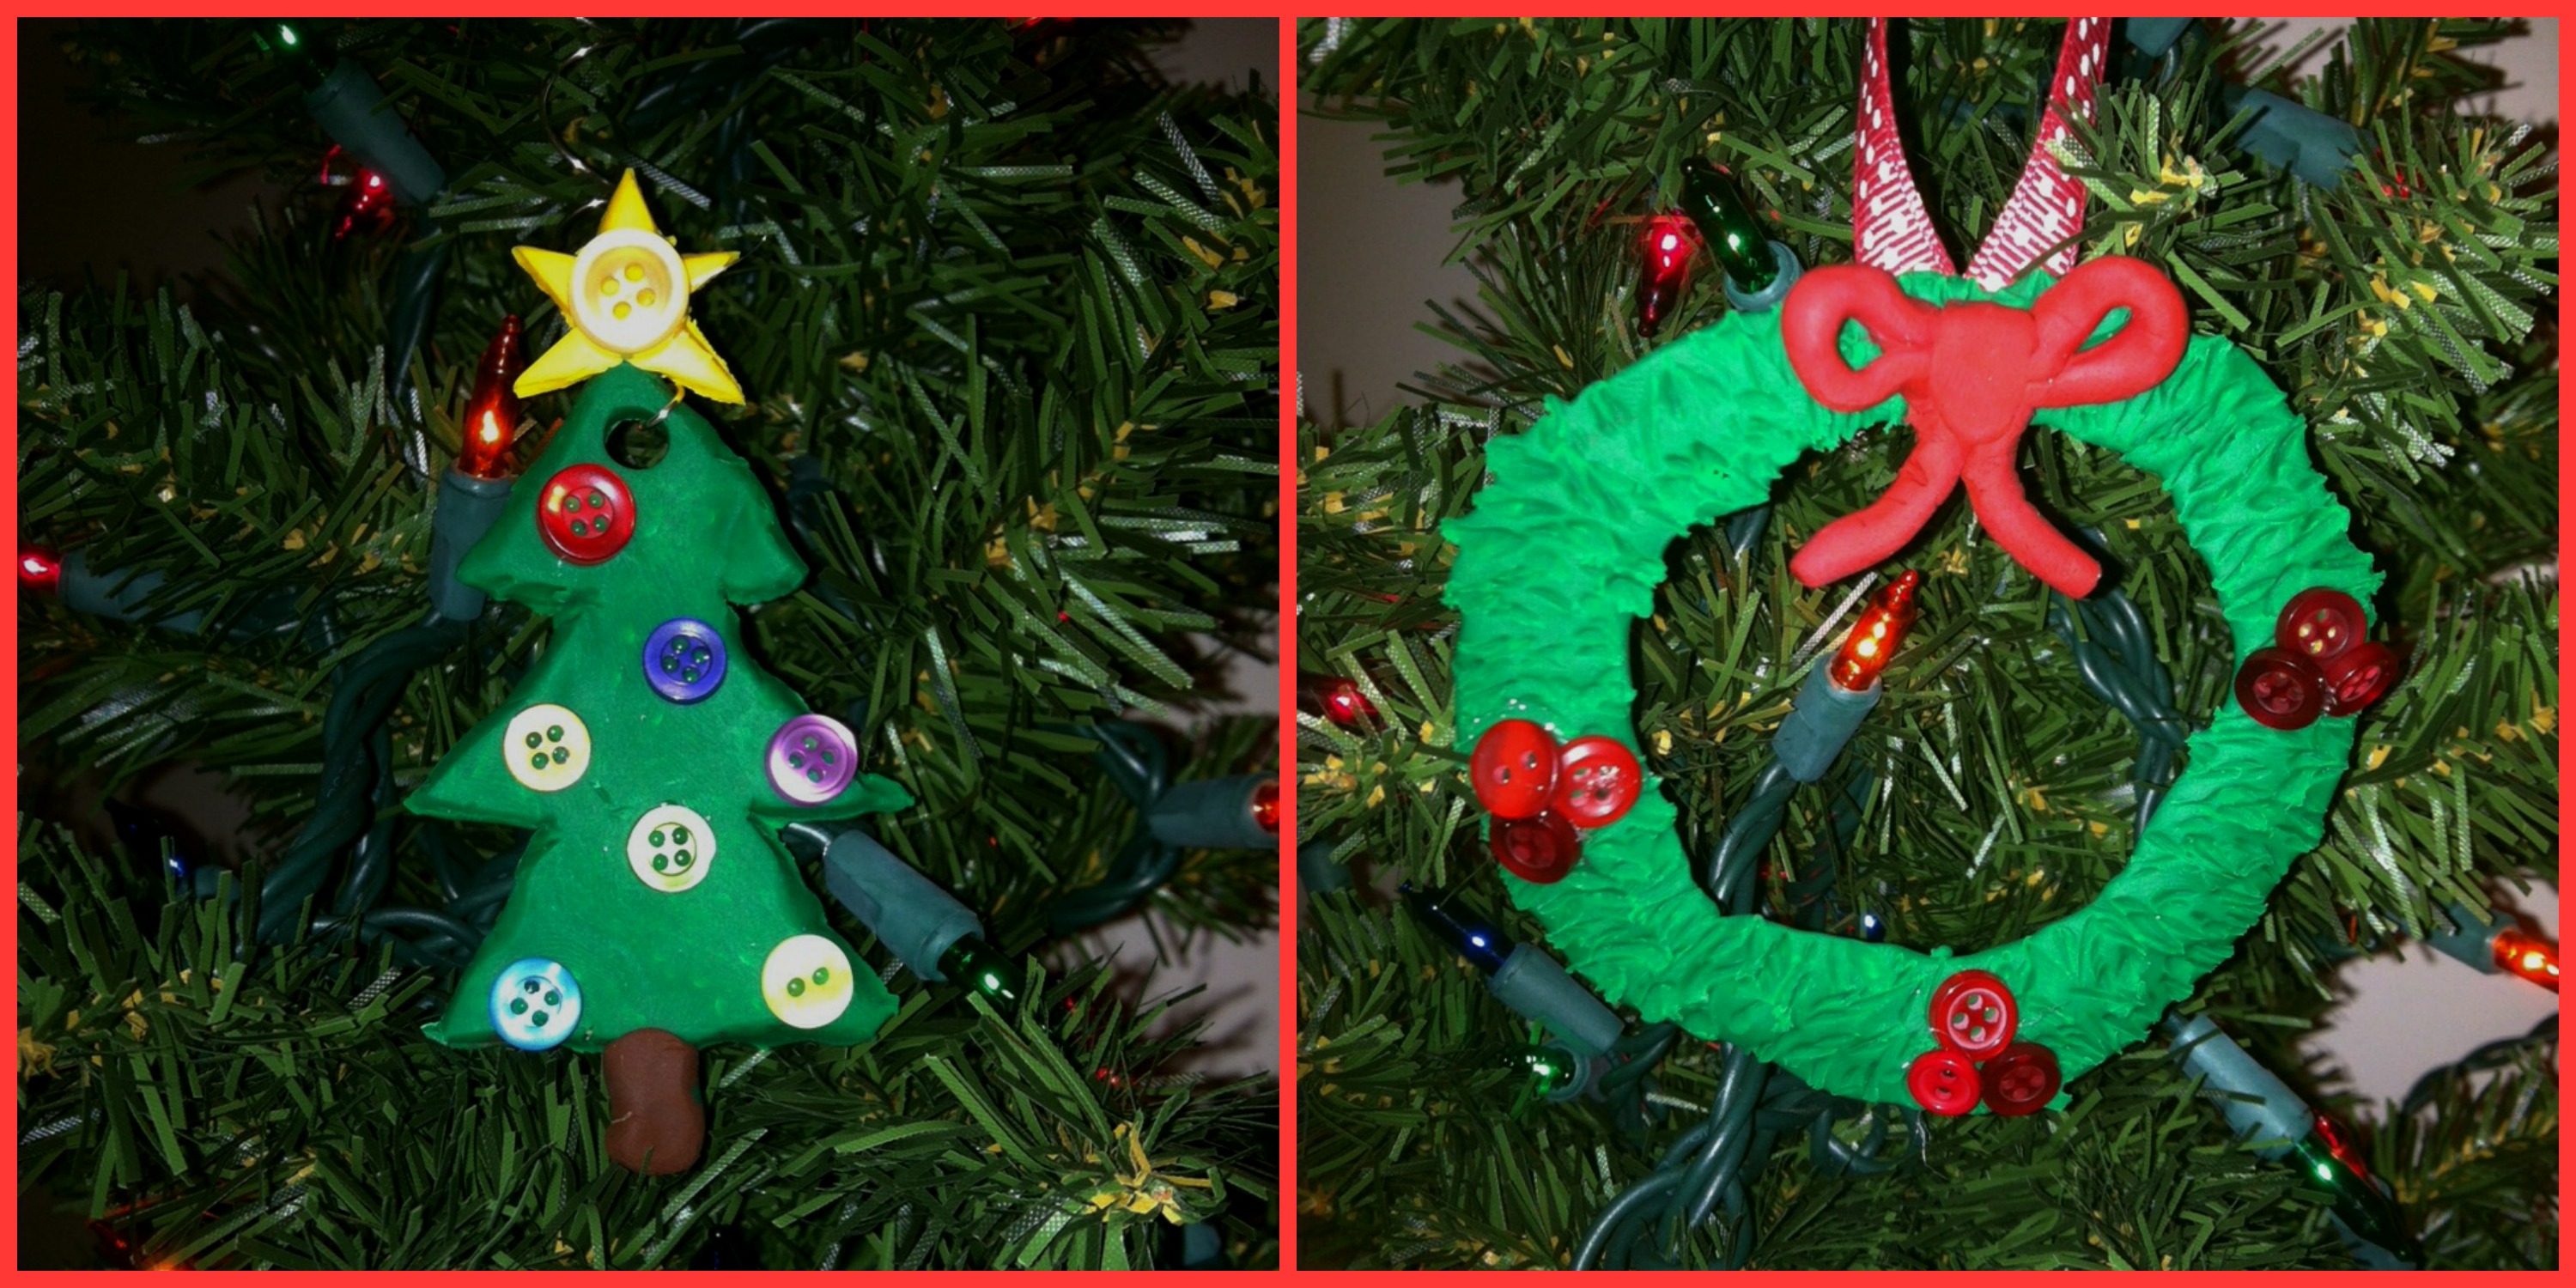
I have to say that after making ornaments with Sculpey Clay, I am in love!!!!   So, what better way to have some fun than to add buttons from Laura Kelly’s collection from Buttons Galore & More?!?!   I had fun creating and so did my six year old son, Landon!!!    I created some traditional style ornaments with the clay and added buttons to embellish!!
Materials Needed:

Sculpey Clay
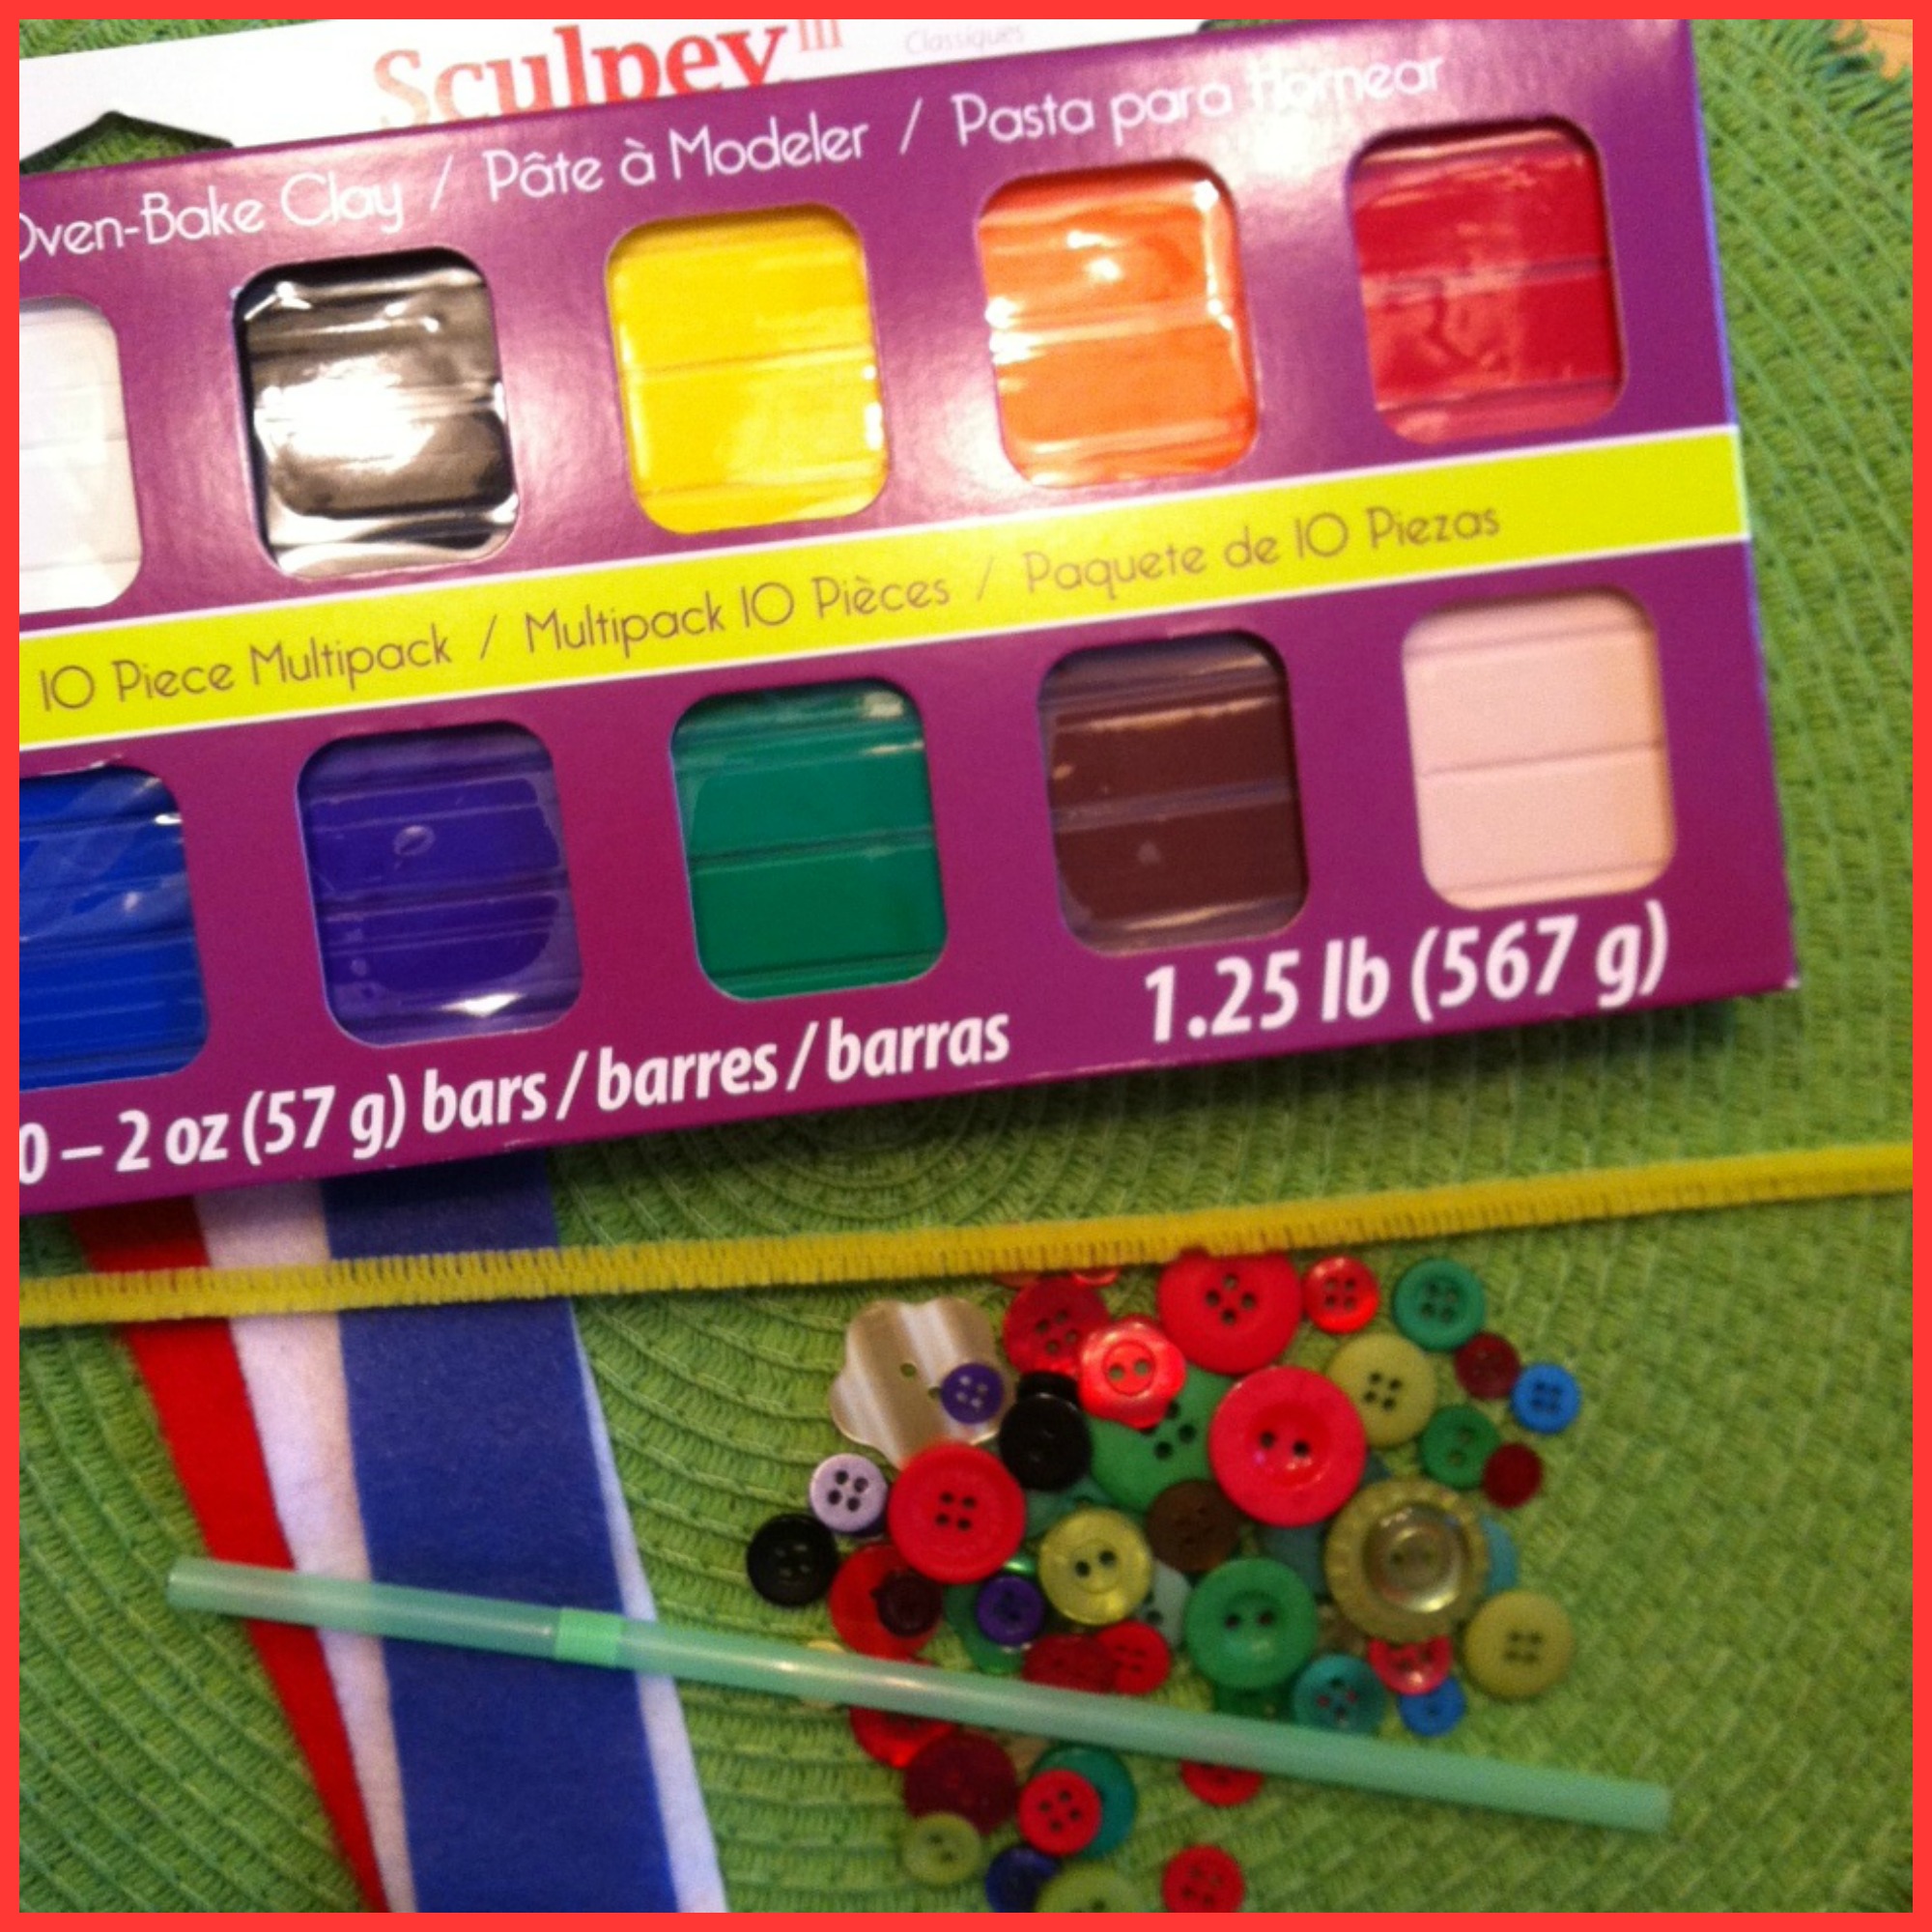
Laura Kelly Buttons

Felt (for the scarf)

A straw (to make a hole for the hook)

Pipe Cleaner

Materials

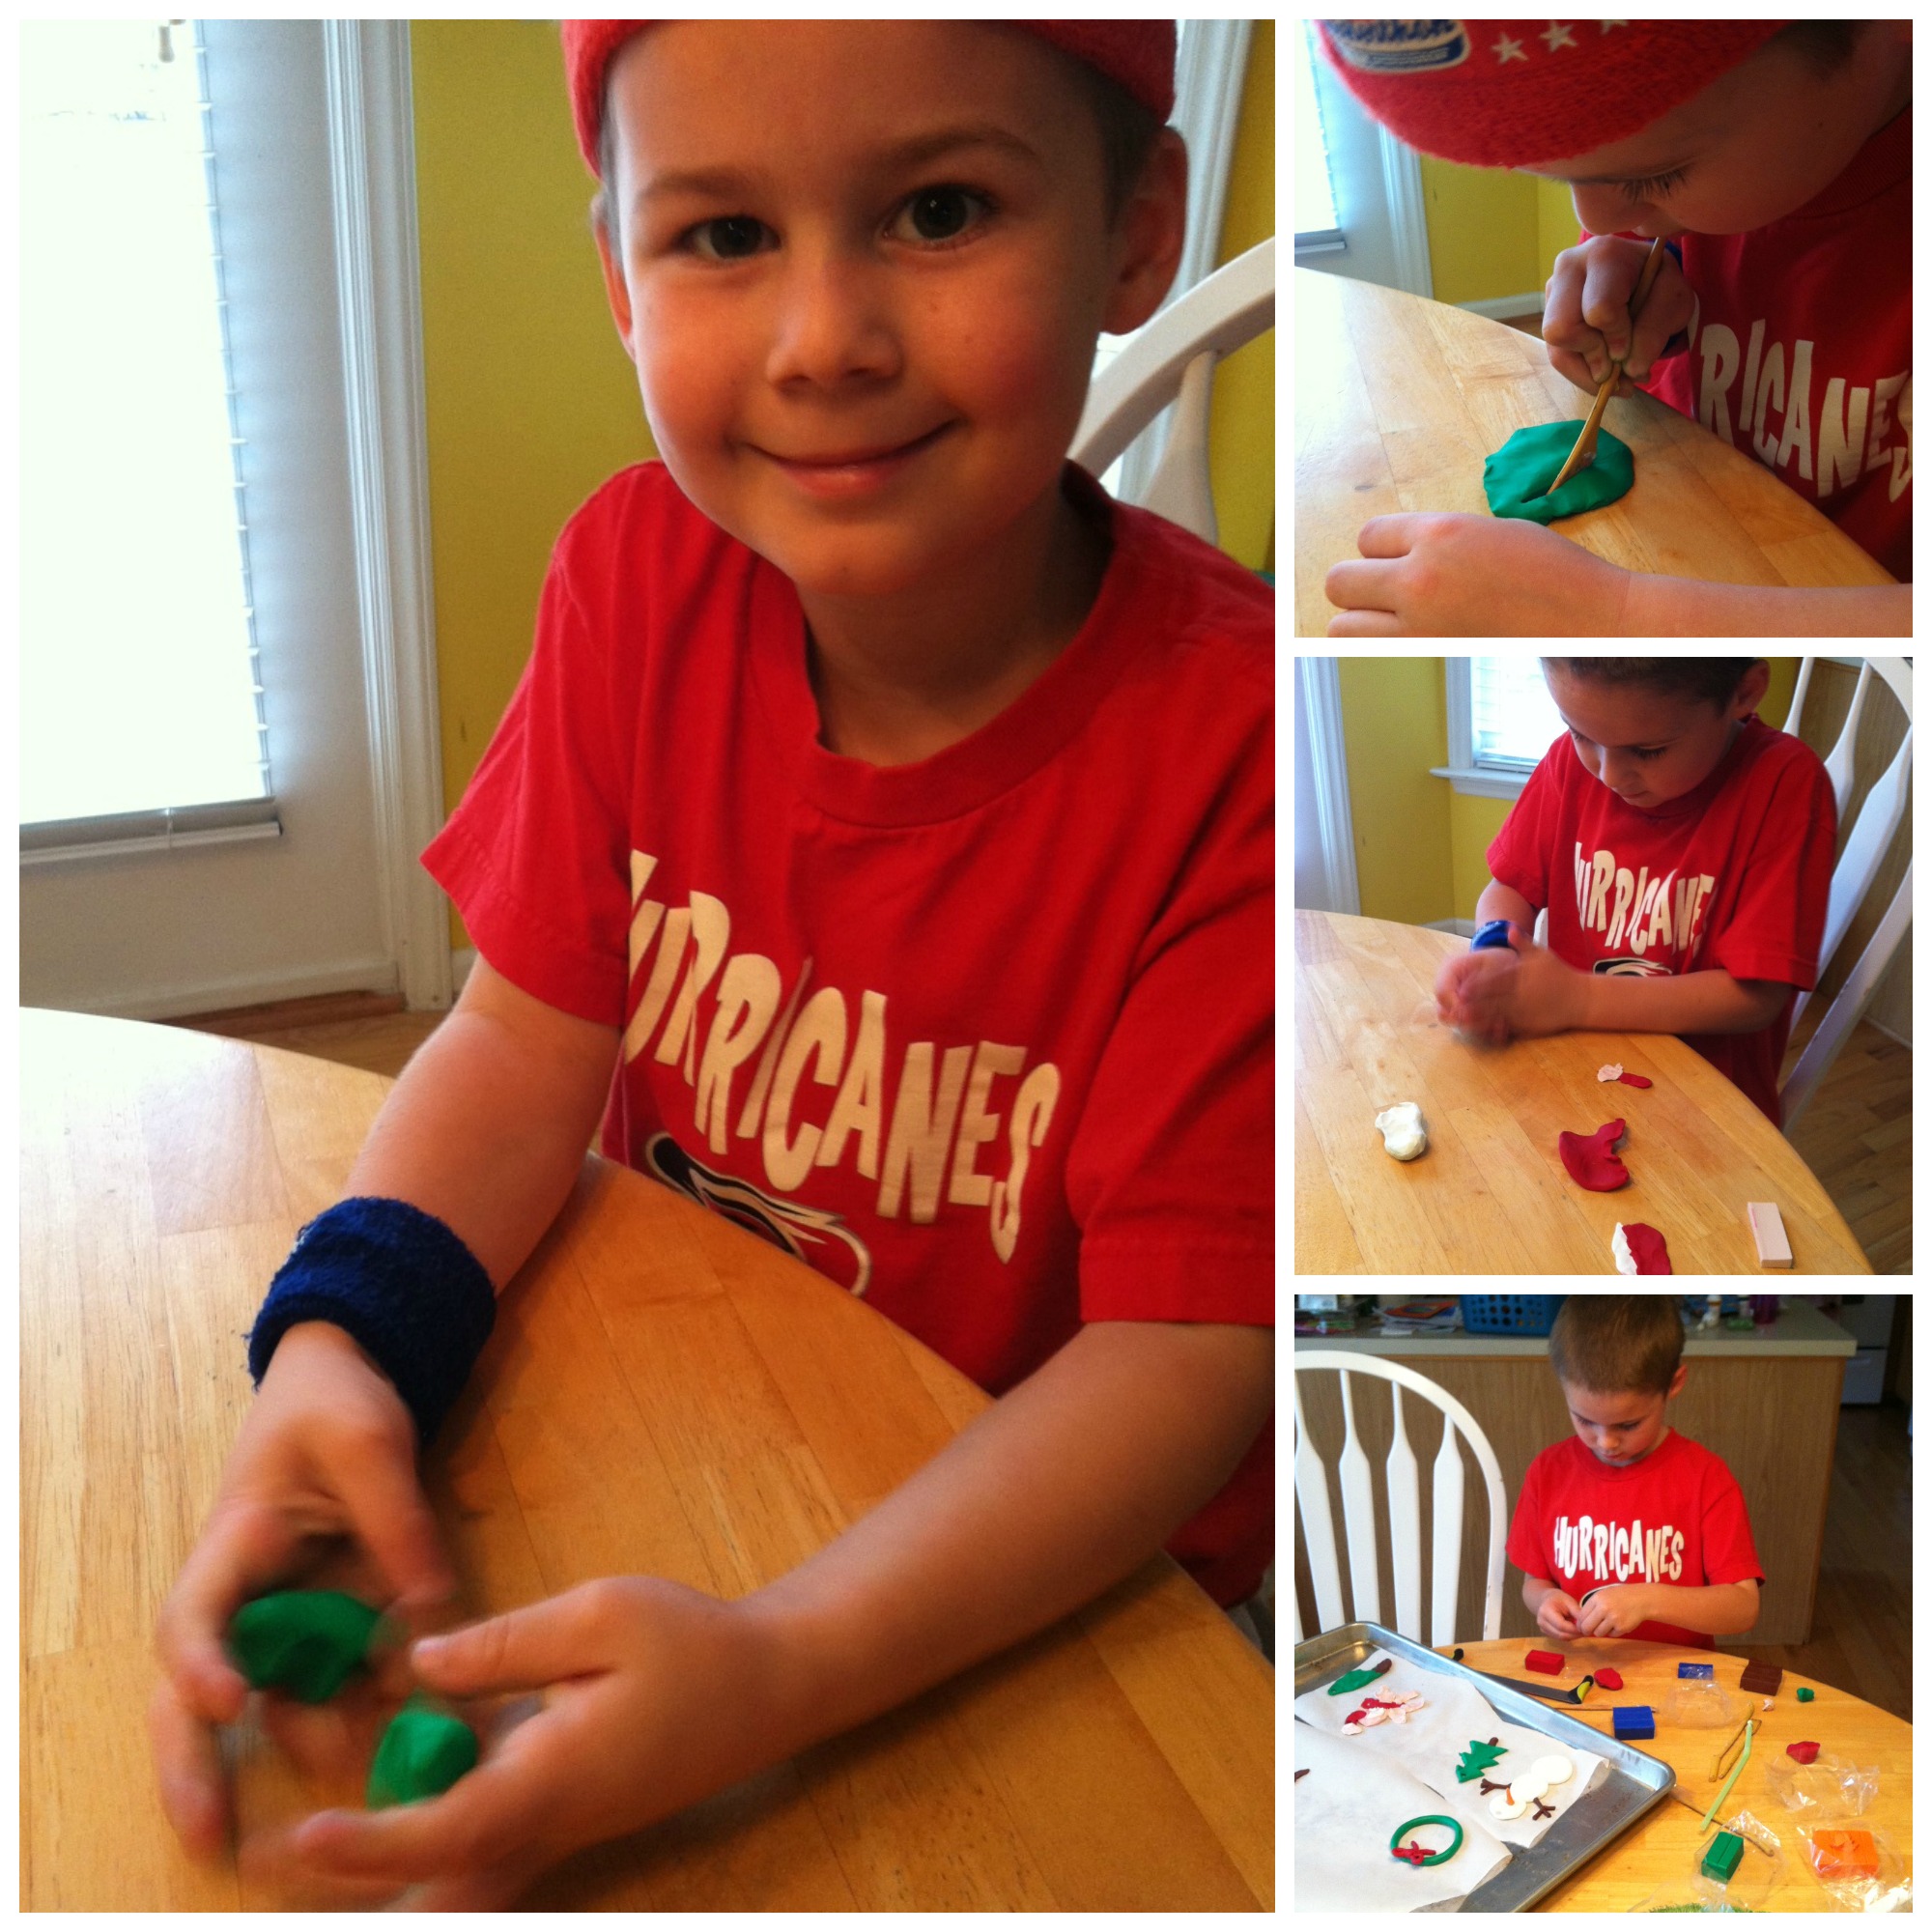
While I was making my ornaments with Sculpey clay, Landon wanted to make some too!   I love his creative ideas!

Landon

One of my favorite ornaments is a snowman.  Who doesn’t love a snowman?!?!  They are simple and just too cute!

snowman

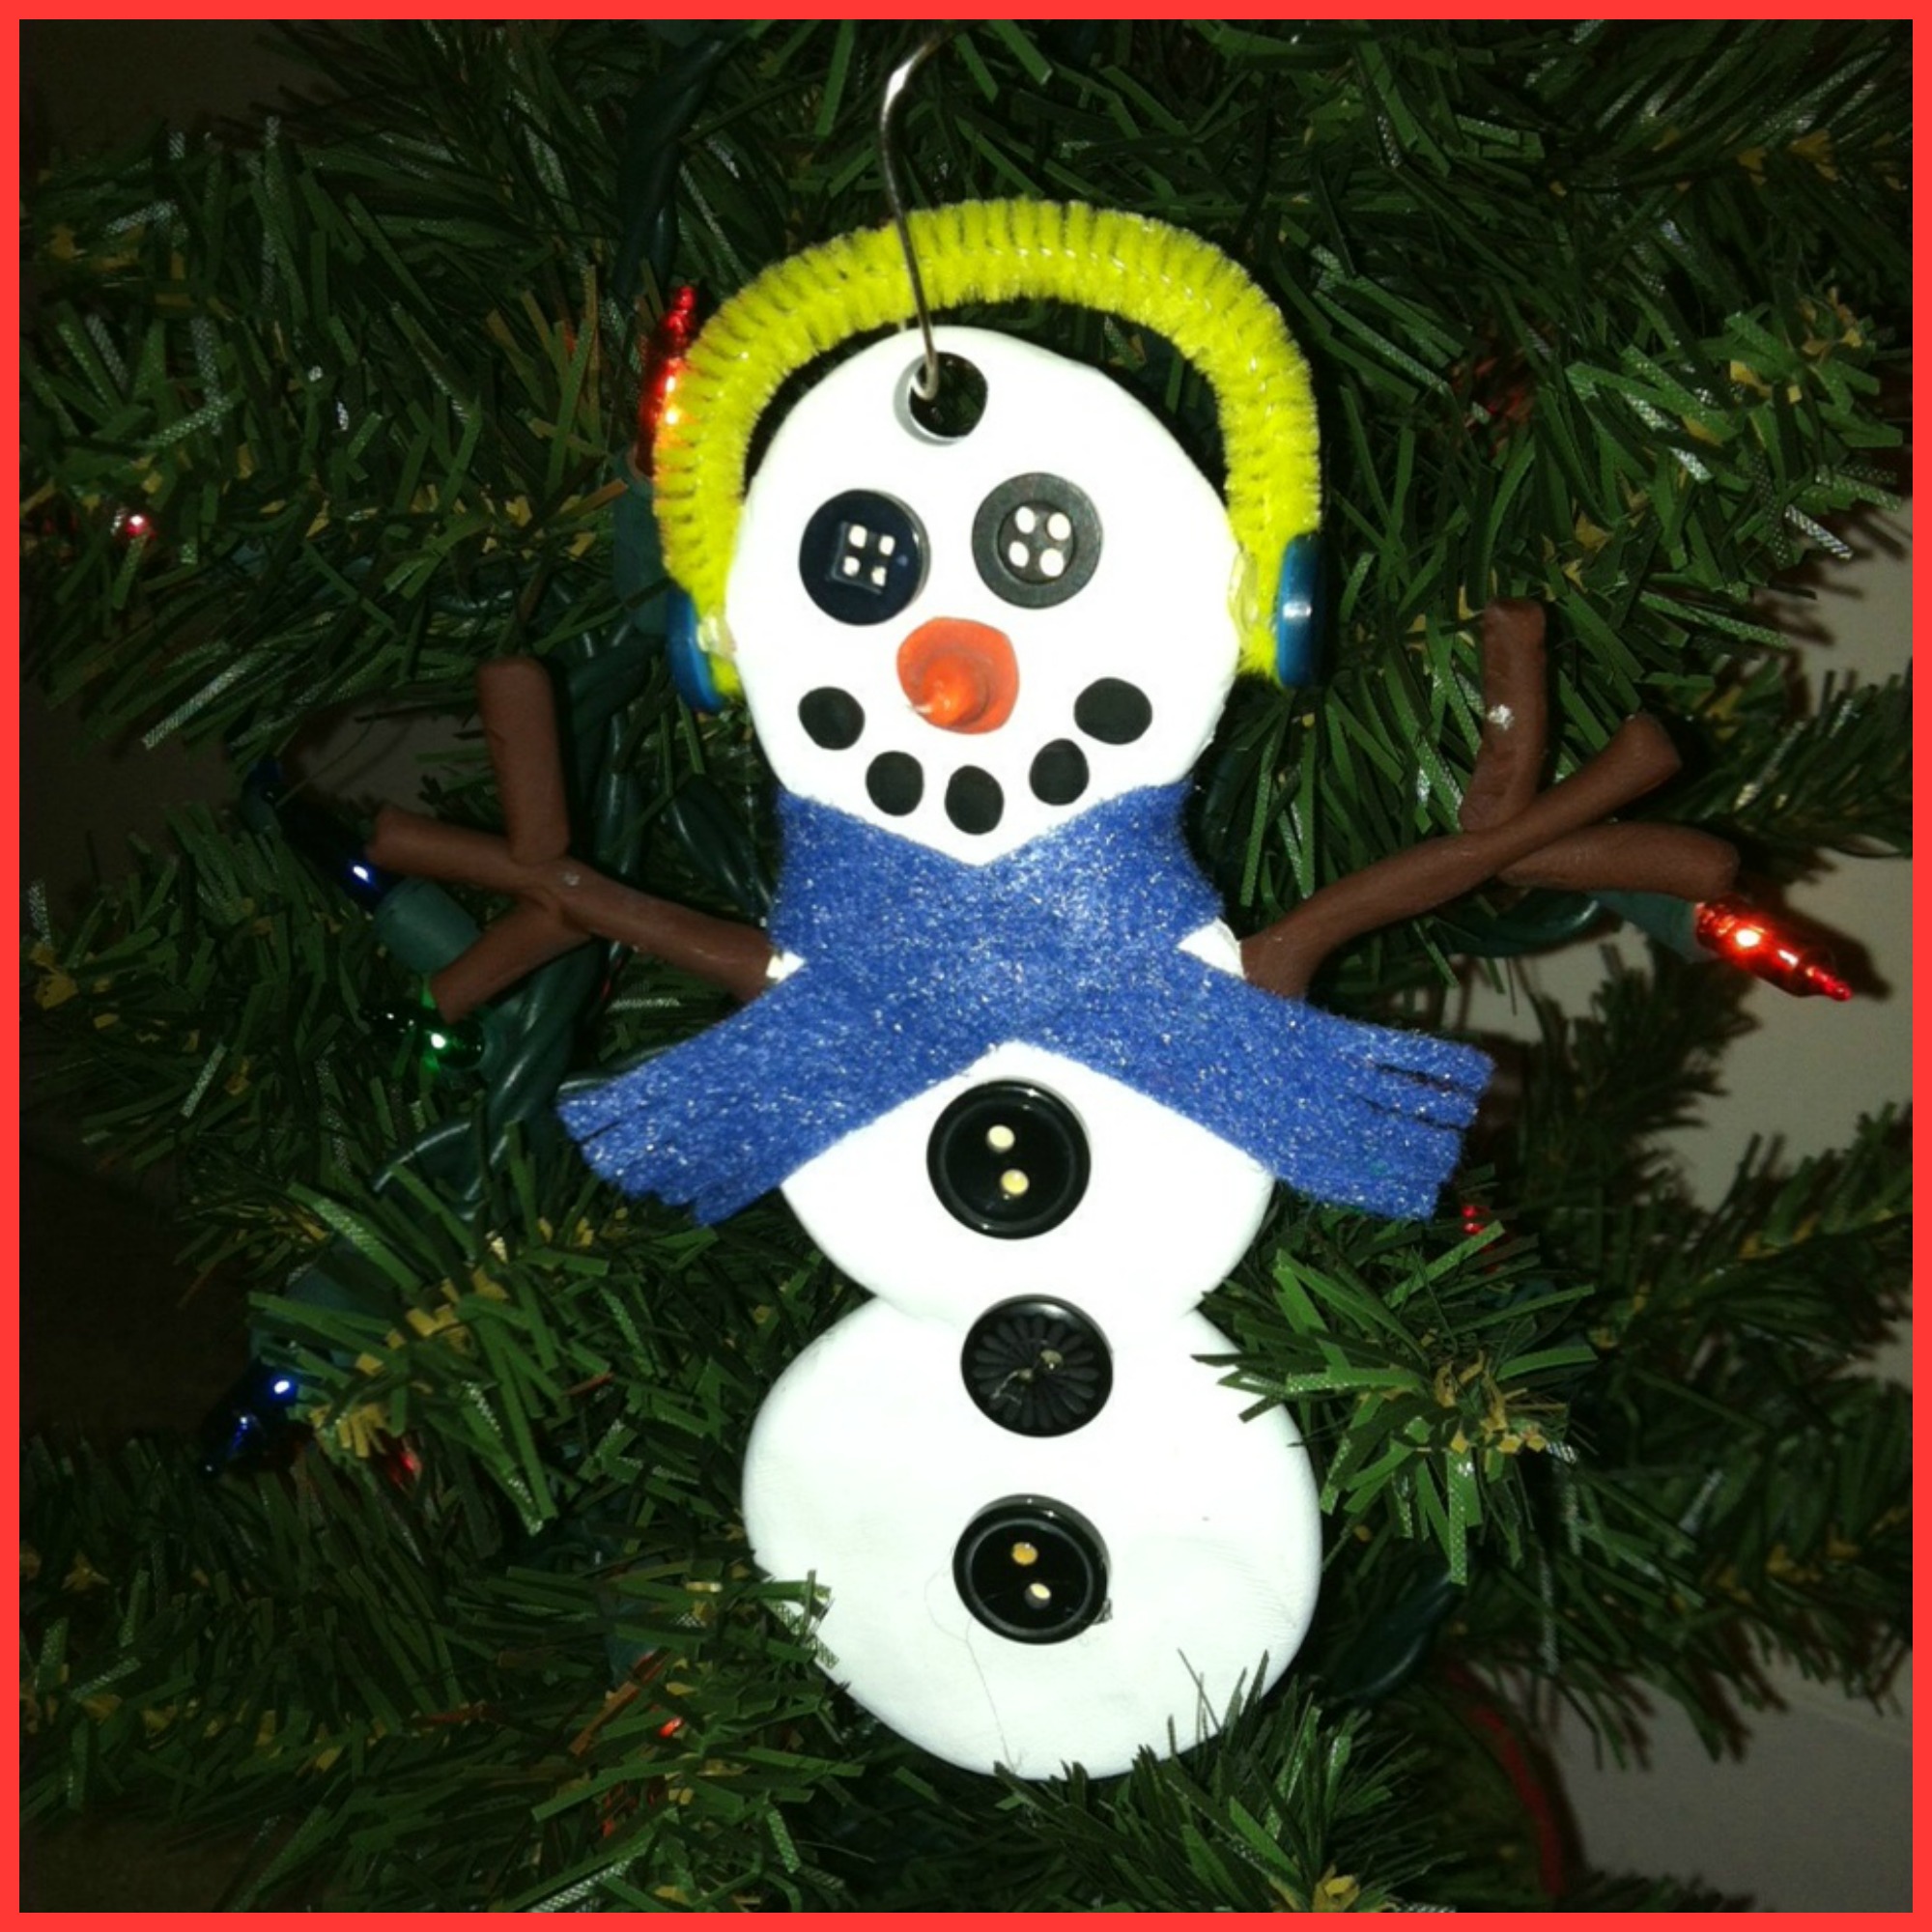
After I was all done with my snowman and he was baked at the recommended baking time and temperature, I decided to give him some earmuffs!!

snowmanfinish

Here are two other cute ornaments I made:

treeandwreath

I always have fun participating in blog hops!  They are so much fun and it’s great to see how creative others are!  I hope you like my ornaments!

Hop over to Laura Kelly’s blog to check out other ornaments for the Adorable Little Ornament Blog Hop!!!

ENTER this RaffleCopter for a chance to win Scupley Clay and Buttons for Kids!!!