Author Archives: Katie

Ooey Gooey CherryMan Granola Bars – Gluten Free

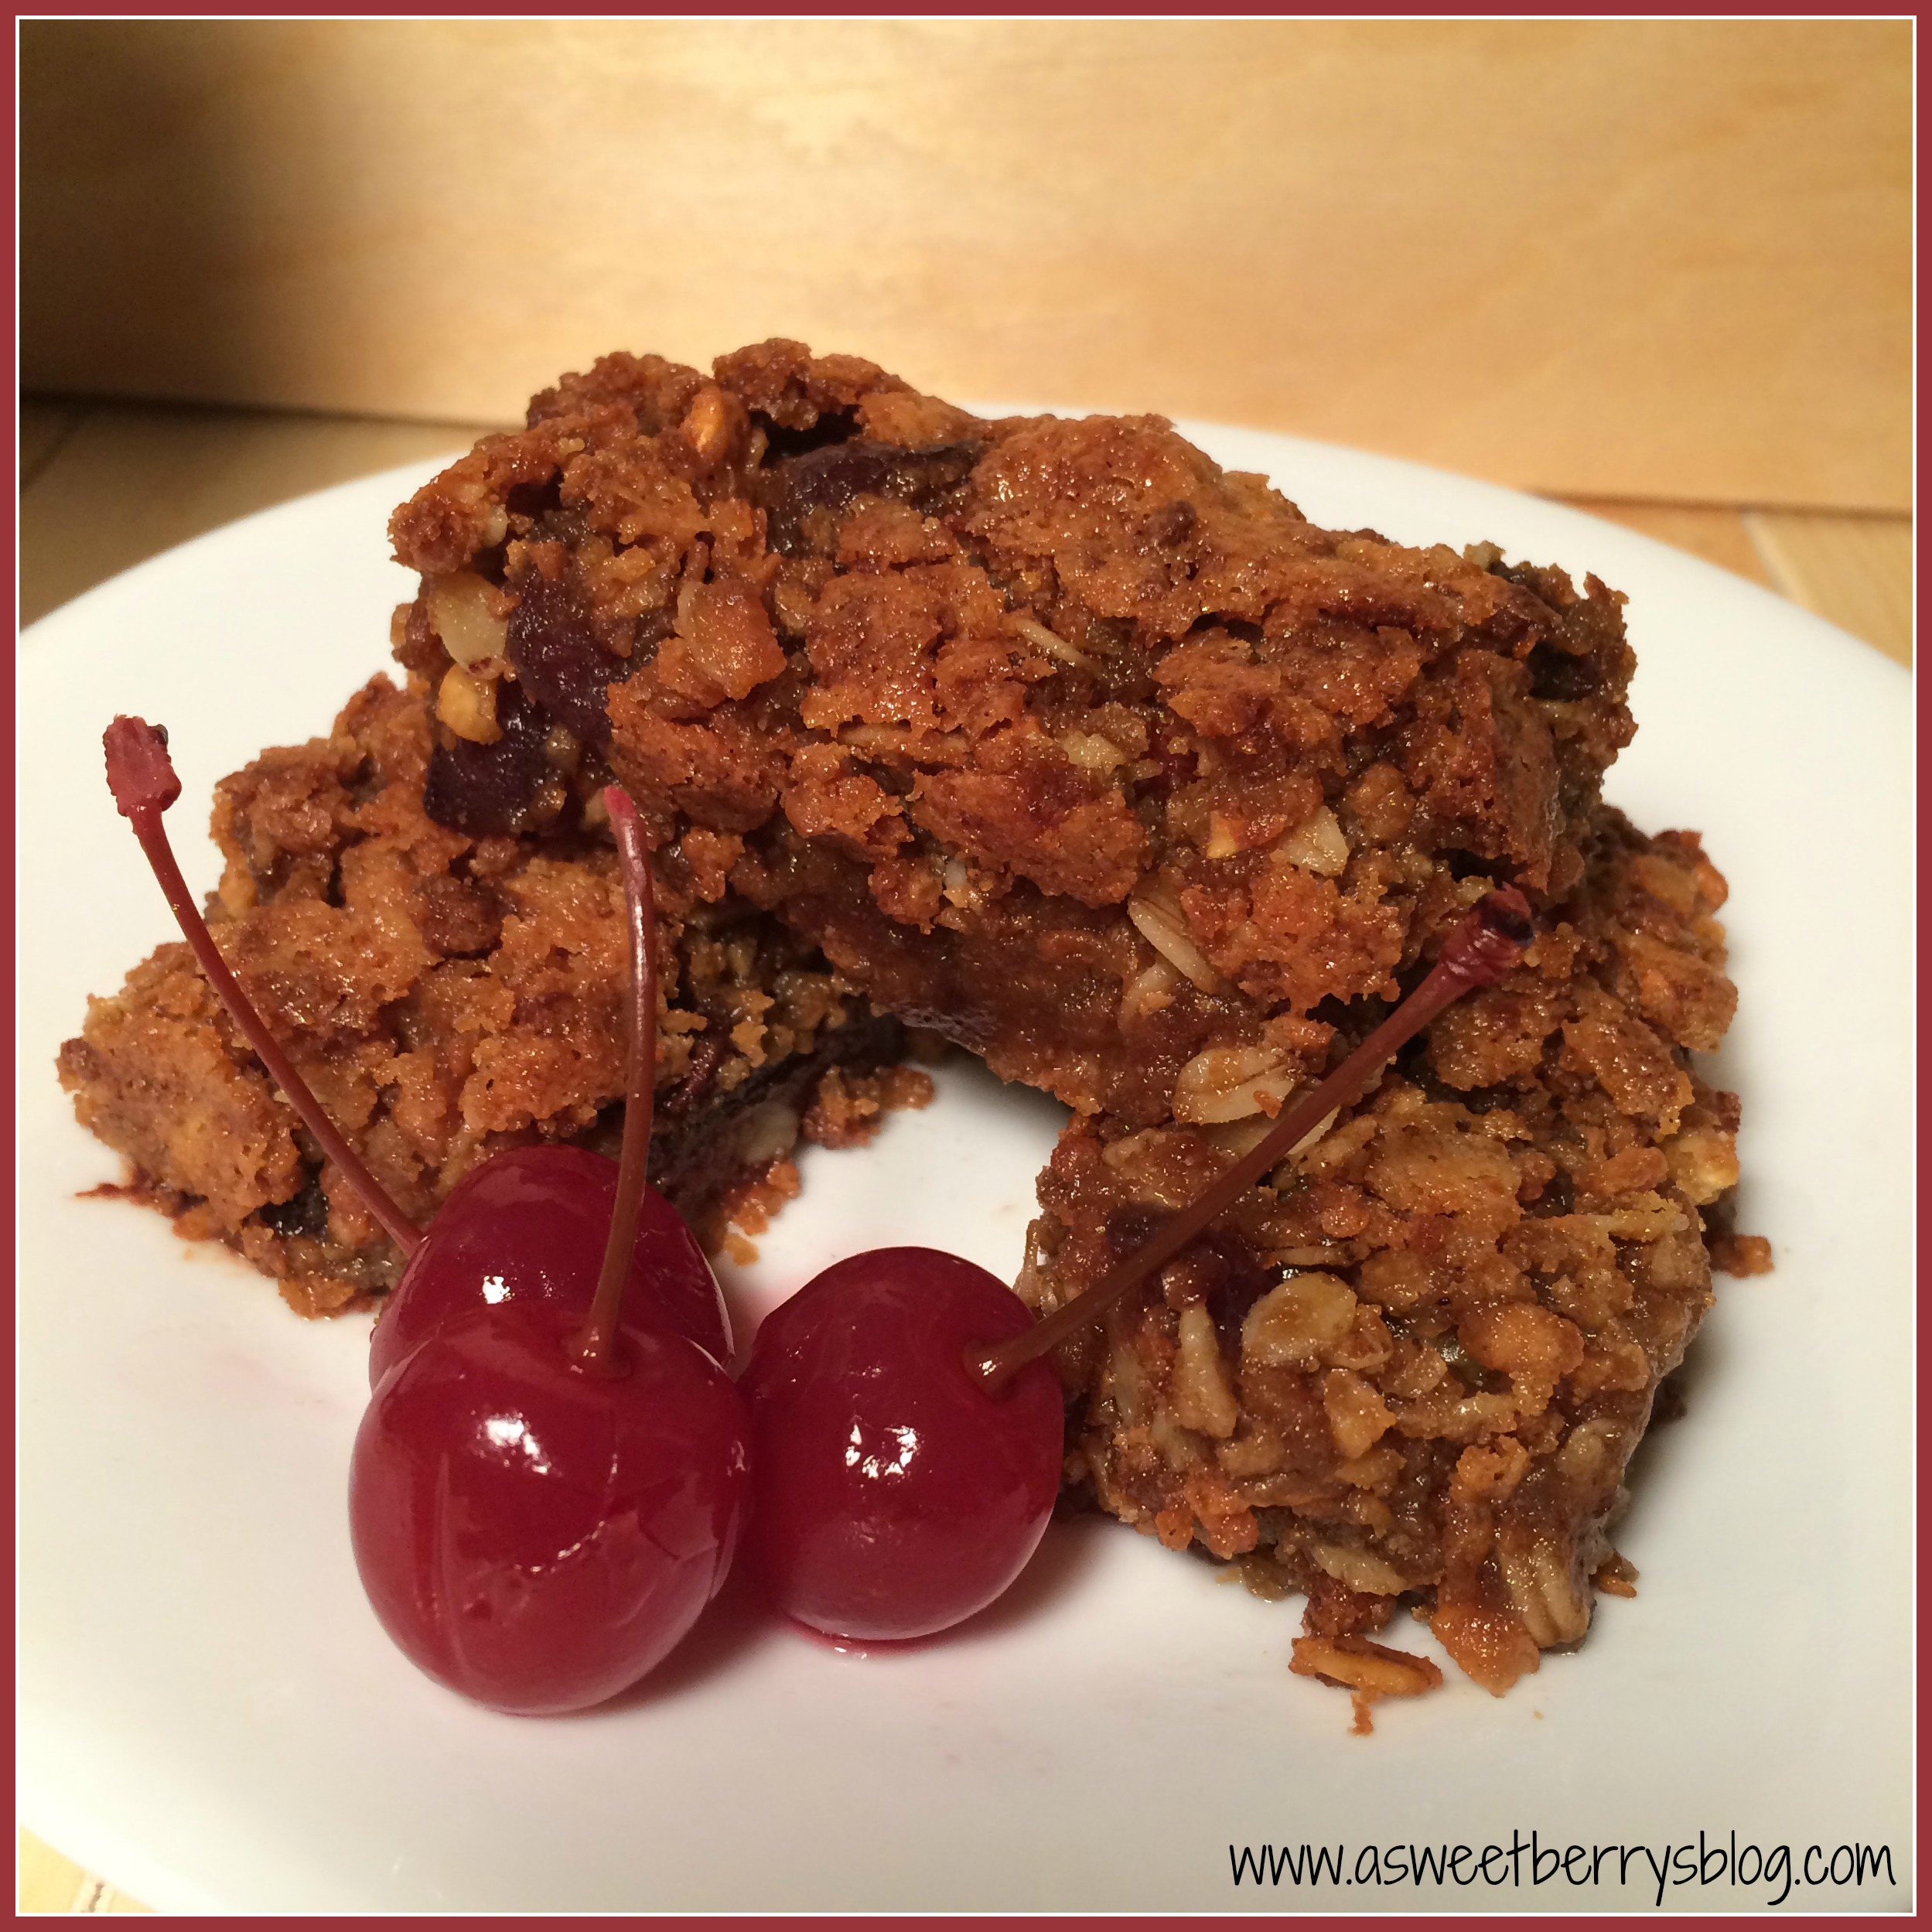
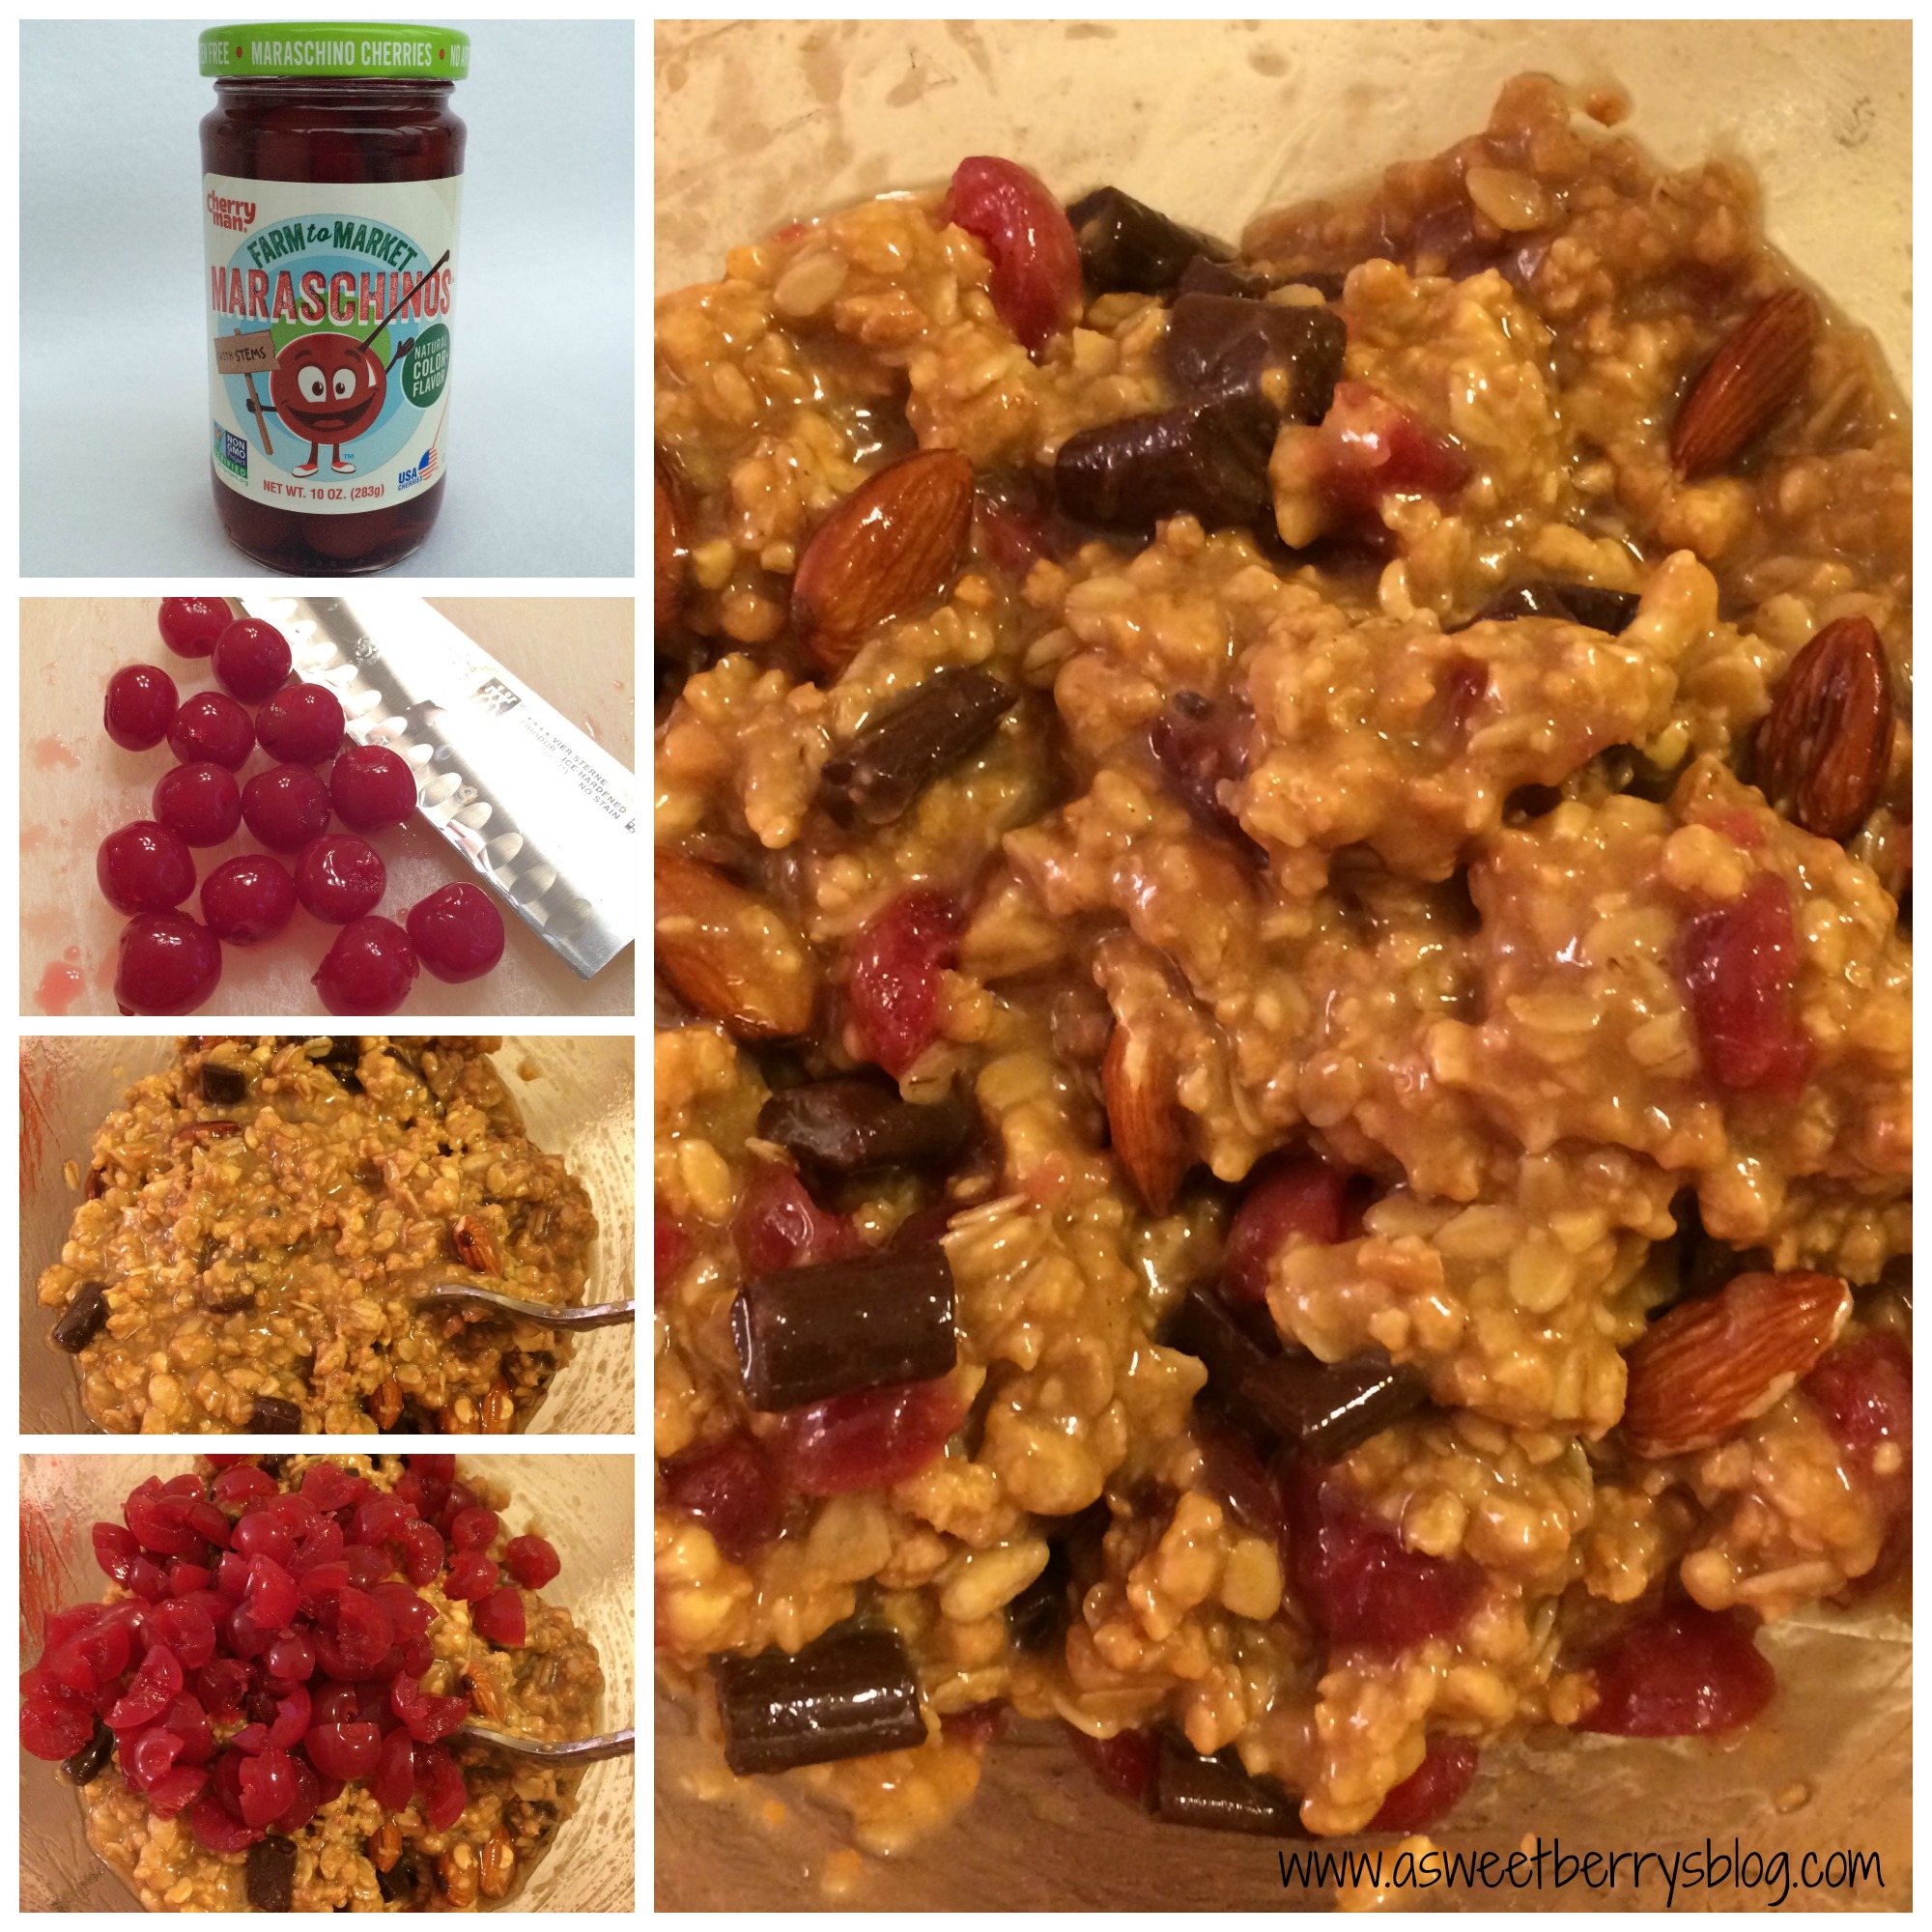
At our house, we love Maraschino Cherries and Cherry Man has some fantastic cherries!  We also love granola bars.  Here is an ooey gooey homemade granola bar recipe that is easy and yummy and the kids can even help!    granola bar
I used Bear Naked Bearly Processed Granola.  It was flavored with Honey and contained almonds.  And it was filled with protein!
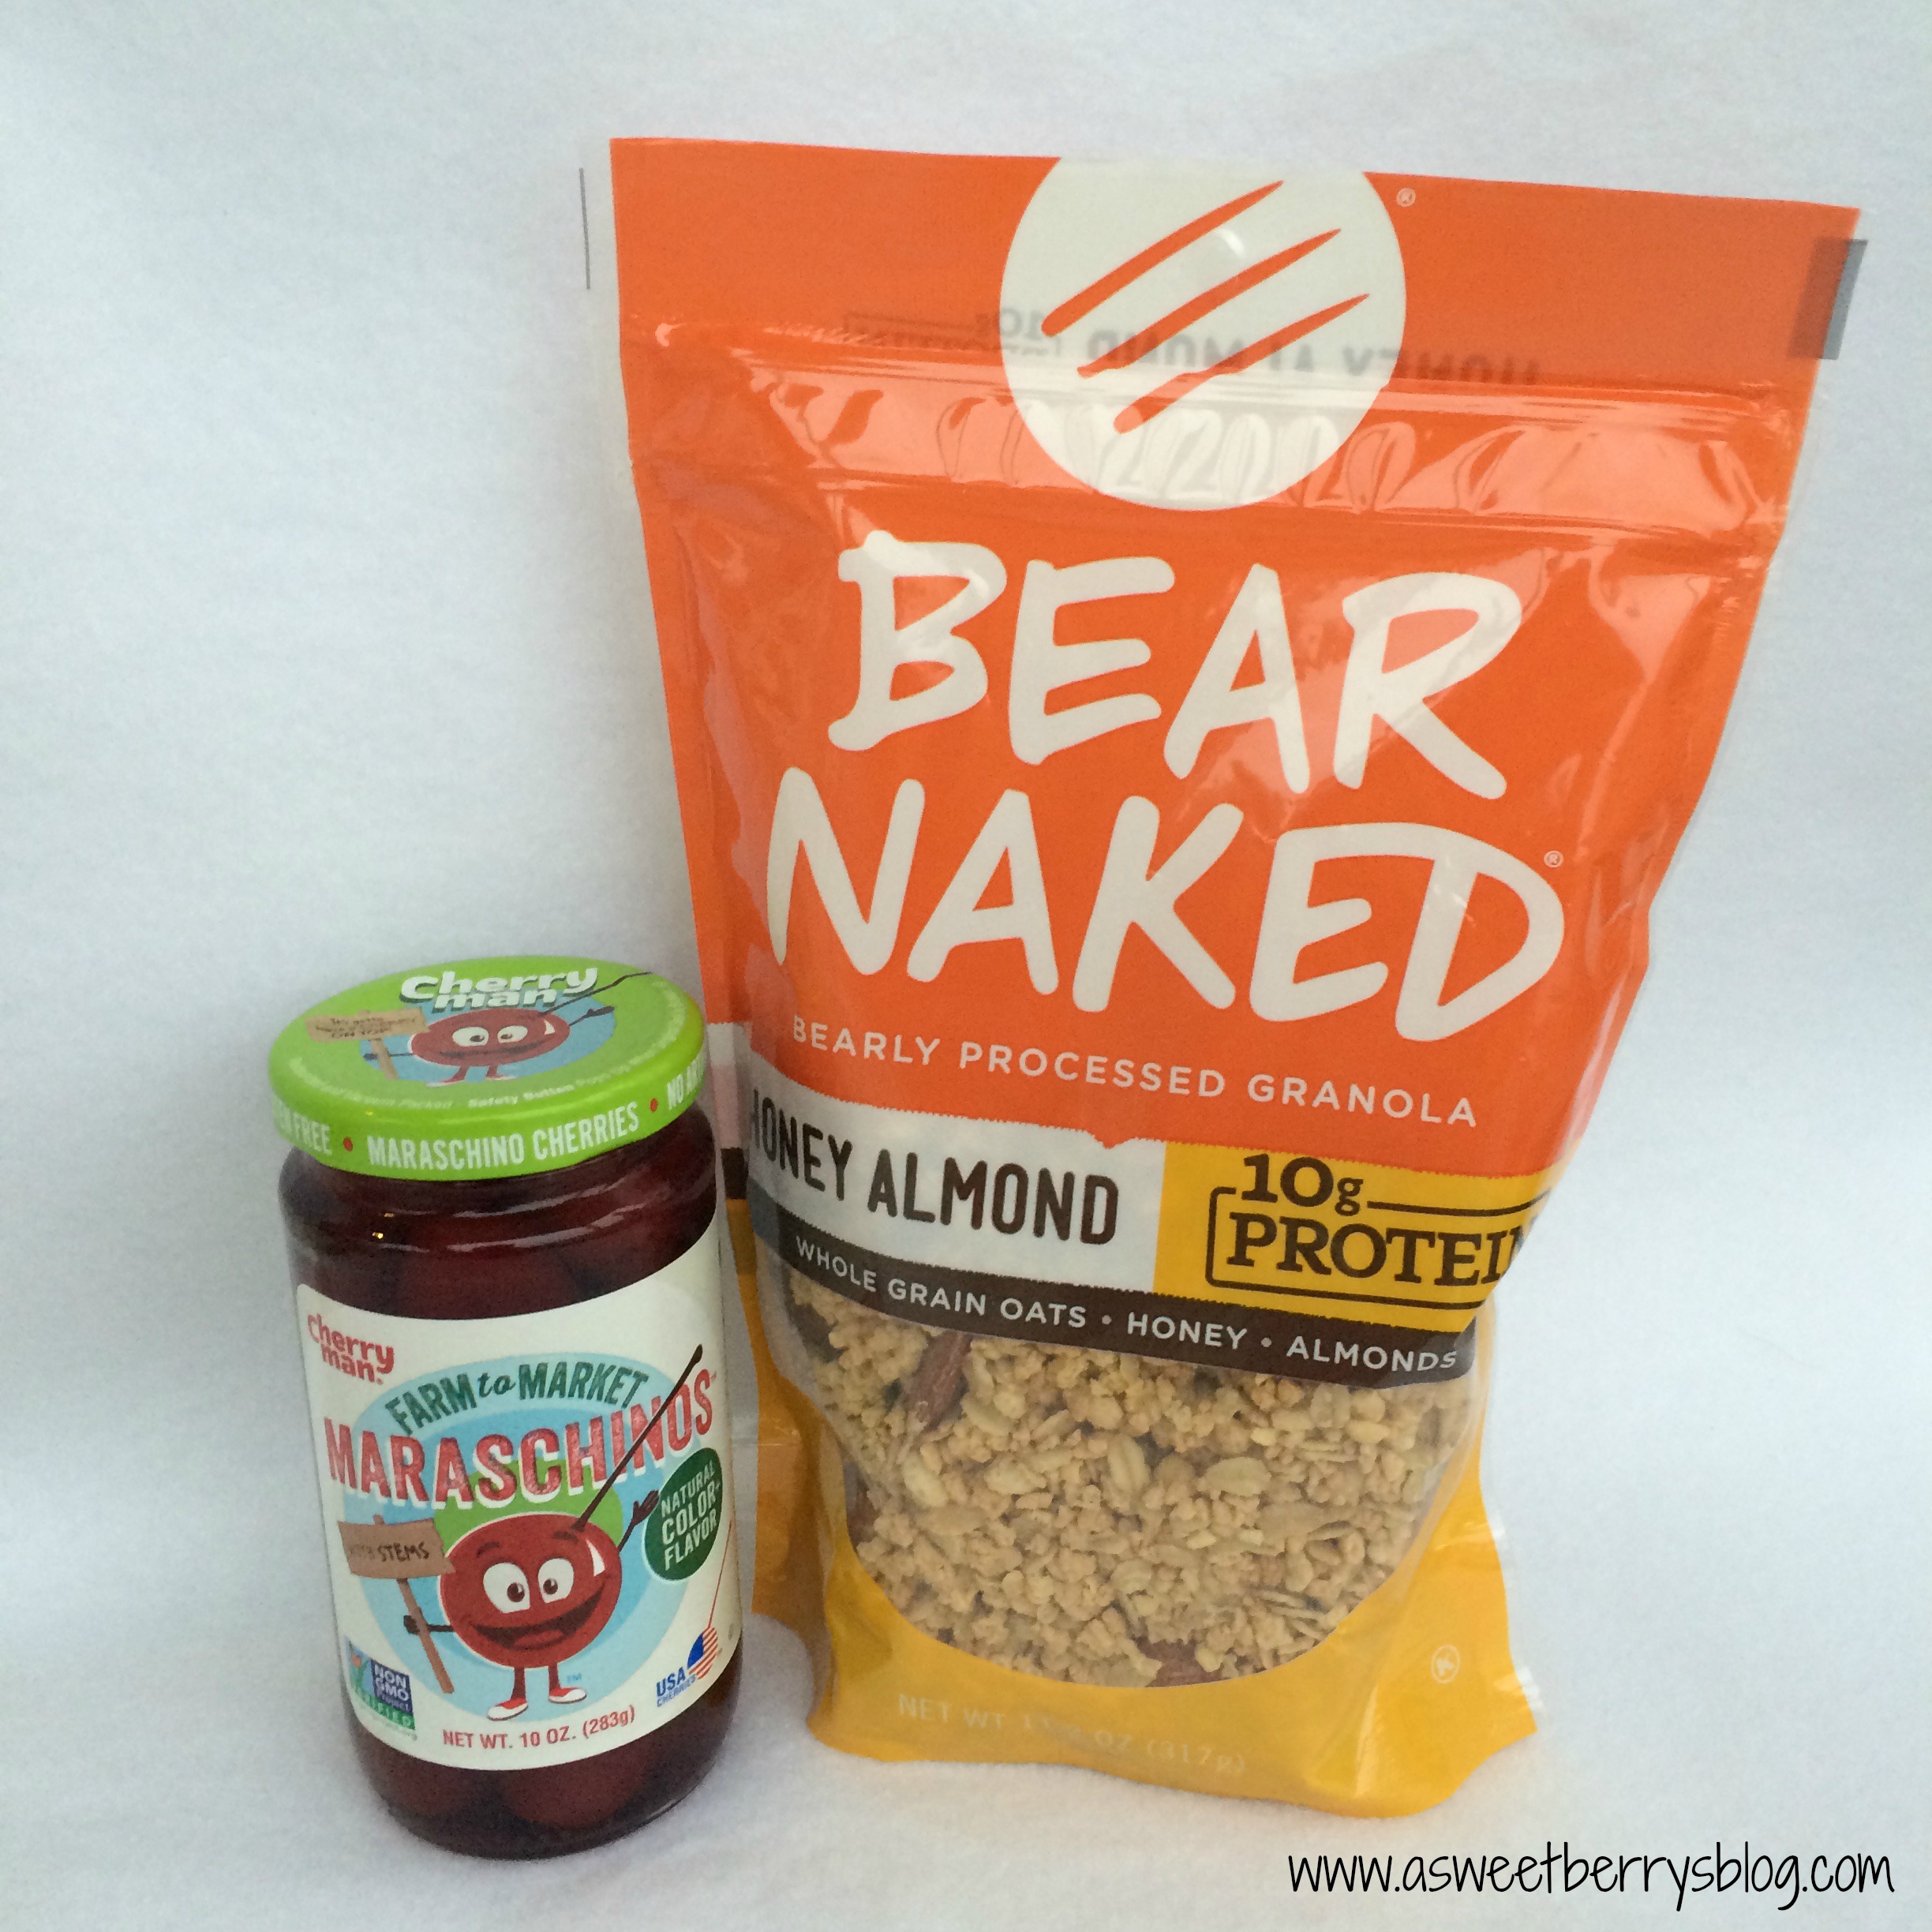
cherries and granola
I removed the stem from each of the cherries and chopped them up.   After everything was mixed, I folded my cherries into my batter.  Oh yeah, I also added Nestly Toll House Chocolate Chunks!  
Mixing
I buttered a baking dish and mashed my granola into the the dish.  I popped it in the oven and baked.  Once it was done, I let it cool and then cut it into bars.  My boys loved it.  From one, I heard “This is the best granola bar I have ever had!”  

Ooey Gooey CherryMan Granola Bars - Gluten Free
A simple and yummy homemade granola bar. The kids can even help!
Write a review
Print
Cook Time
40 min
Cook Time
40 min
Ingredients
  1. 3 cups Granola (or you can use plain oats)
  2. 3/4 cup Gluten Free Flour
  3. 3/4 cup Butter, softened
  4. 1/2 cup chopped Maraschino cherries (I used CherryMan)
  5. 1 tsp vanilla
  6. 3/4 cup light corn syrup or honey
  7. 1 tsp baking soda
  8. 3/4 cup of chocolate chunks
Instructions
  1. Mix granola, flour, baking soda, softened butter, vanilla, corn syrup together. Add the chocolate chunks. Chop cherries and then fold them into the mix.
  2. Butter a baking dish and press the mix into the dish.
  3. Bake, let cool for 10-15 minutes and then enjoy!
A Sweet Berry Designs Blog http://www.asweetberrysblog.com/
Be sure to check out other ways to use CherryMan Cherries!

And enter for a chance to win! a Rafflecopter giveaway

Until next time…..

Tulip Paint Decorated Gift Bags

Christmas is just days away and I know that everyone is busy doing some last minute wrapping!   Here is a super easy way to spiff up some plain gift bags!    Final
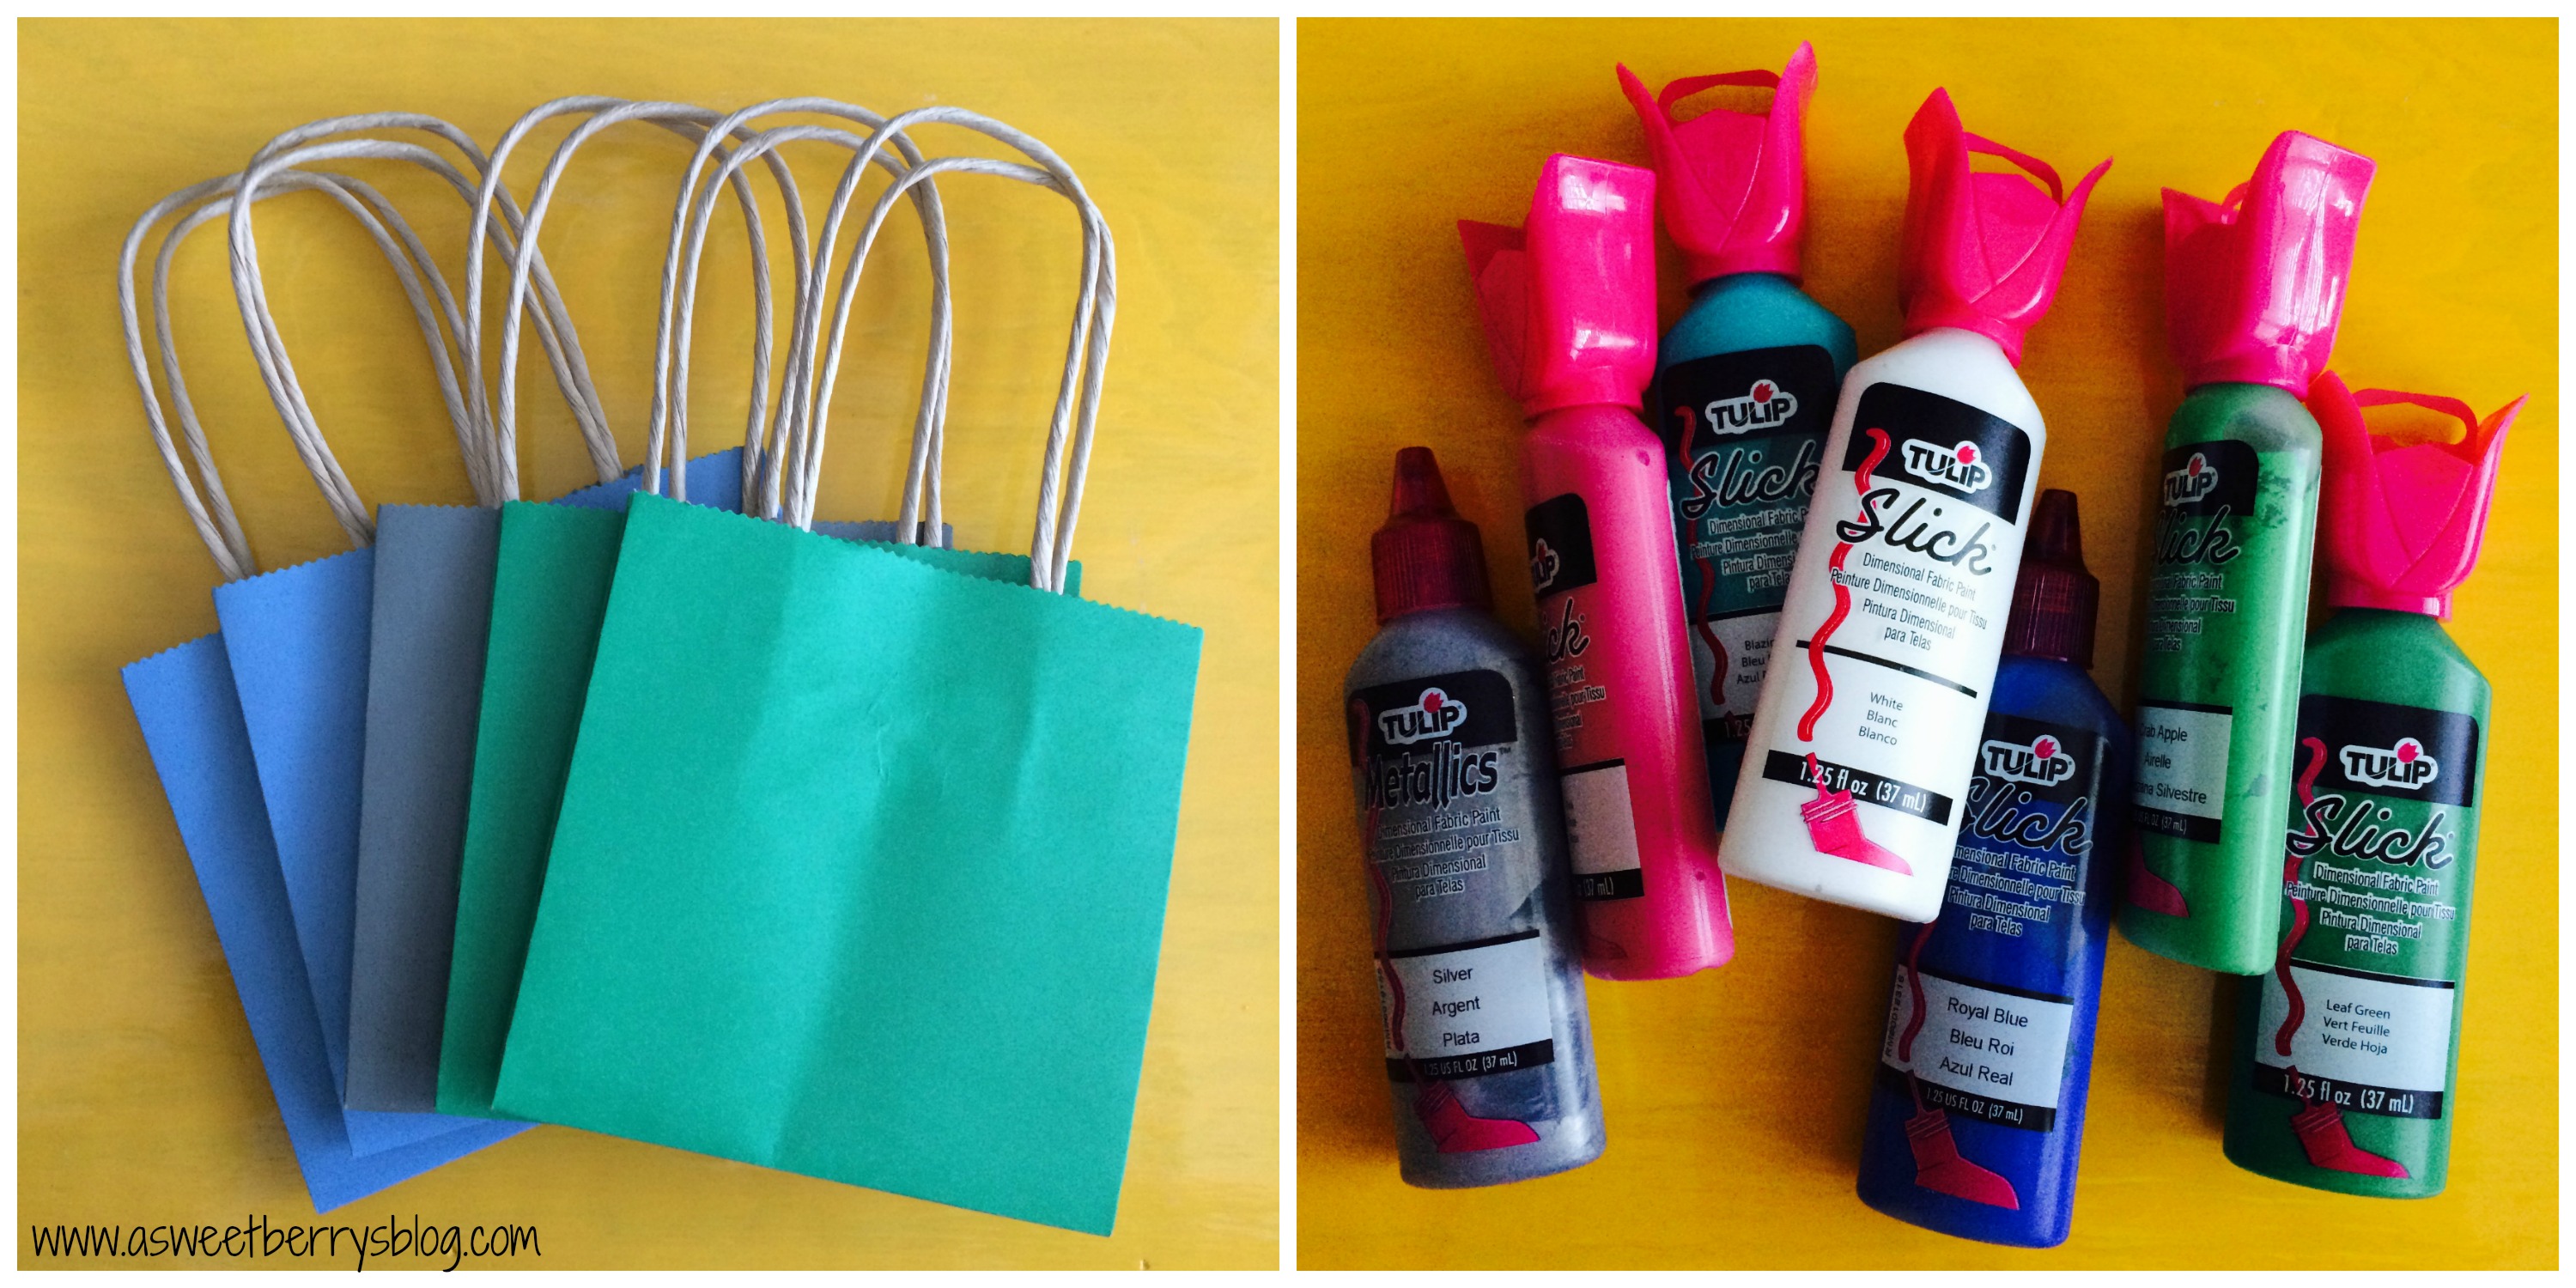
I got these adorable little gift bags from World Market.  They came in a pack of six and are perfect for small gifts.  I used Tulip Slick Dimensional Fabric Paint to decorate them with a monogram and snowflakes and holly!   Super easy! 
bags and paint
The decorated gift bags were perfect for these ornaments I made using my Sizzix Eclips2, a glass ornament and vinyl.   ornaments
Hope you enjoyed this quick and easy gift bag decorating idea!    Merry Christmas!

Until next time……..

Udderly Smooth Gift to a Teacher for the Holidays

Disclosure:  This is part of a compensated campaign by Udderly Smooth.  All ideas, experiences and opinions are my own.

As winter approaches and the weather gets colder, the dry skin immediately seems to happen.  Udderly Smooth lotions and cream definitely helps to ease the dry skin and itchiness!  Udderly Smooth is a staple in our house and everyone here uses it!  

My children are in year round school and are out for the month of December and do not return to school until after the new year.  So, holiday and Christmas gifts have to be given out to teachers before school tracks out at the beginning of December.  Udderly Smooth creams and lotions are a great gift for Teachers!  They are constantly washing their hands or using antibacterials.   And those dry your skin out like crazy.

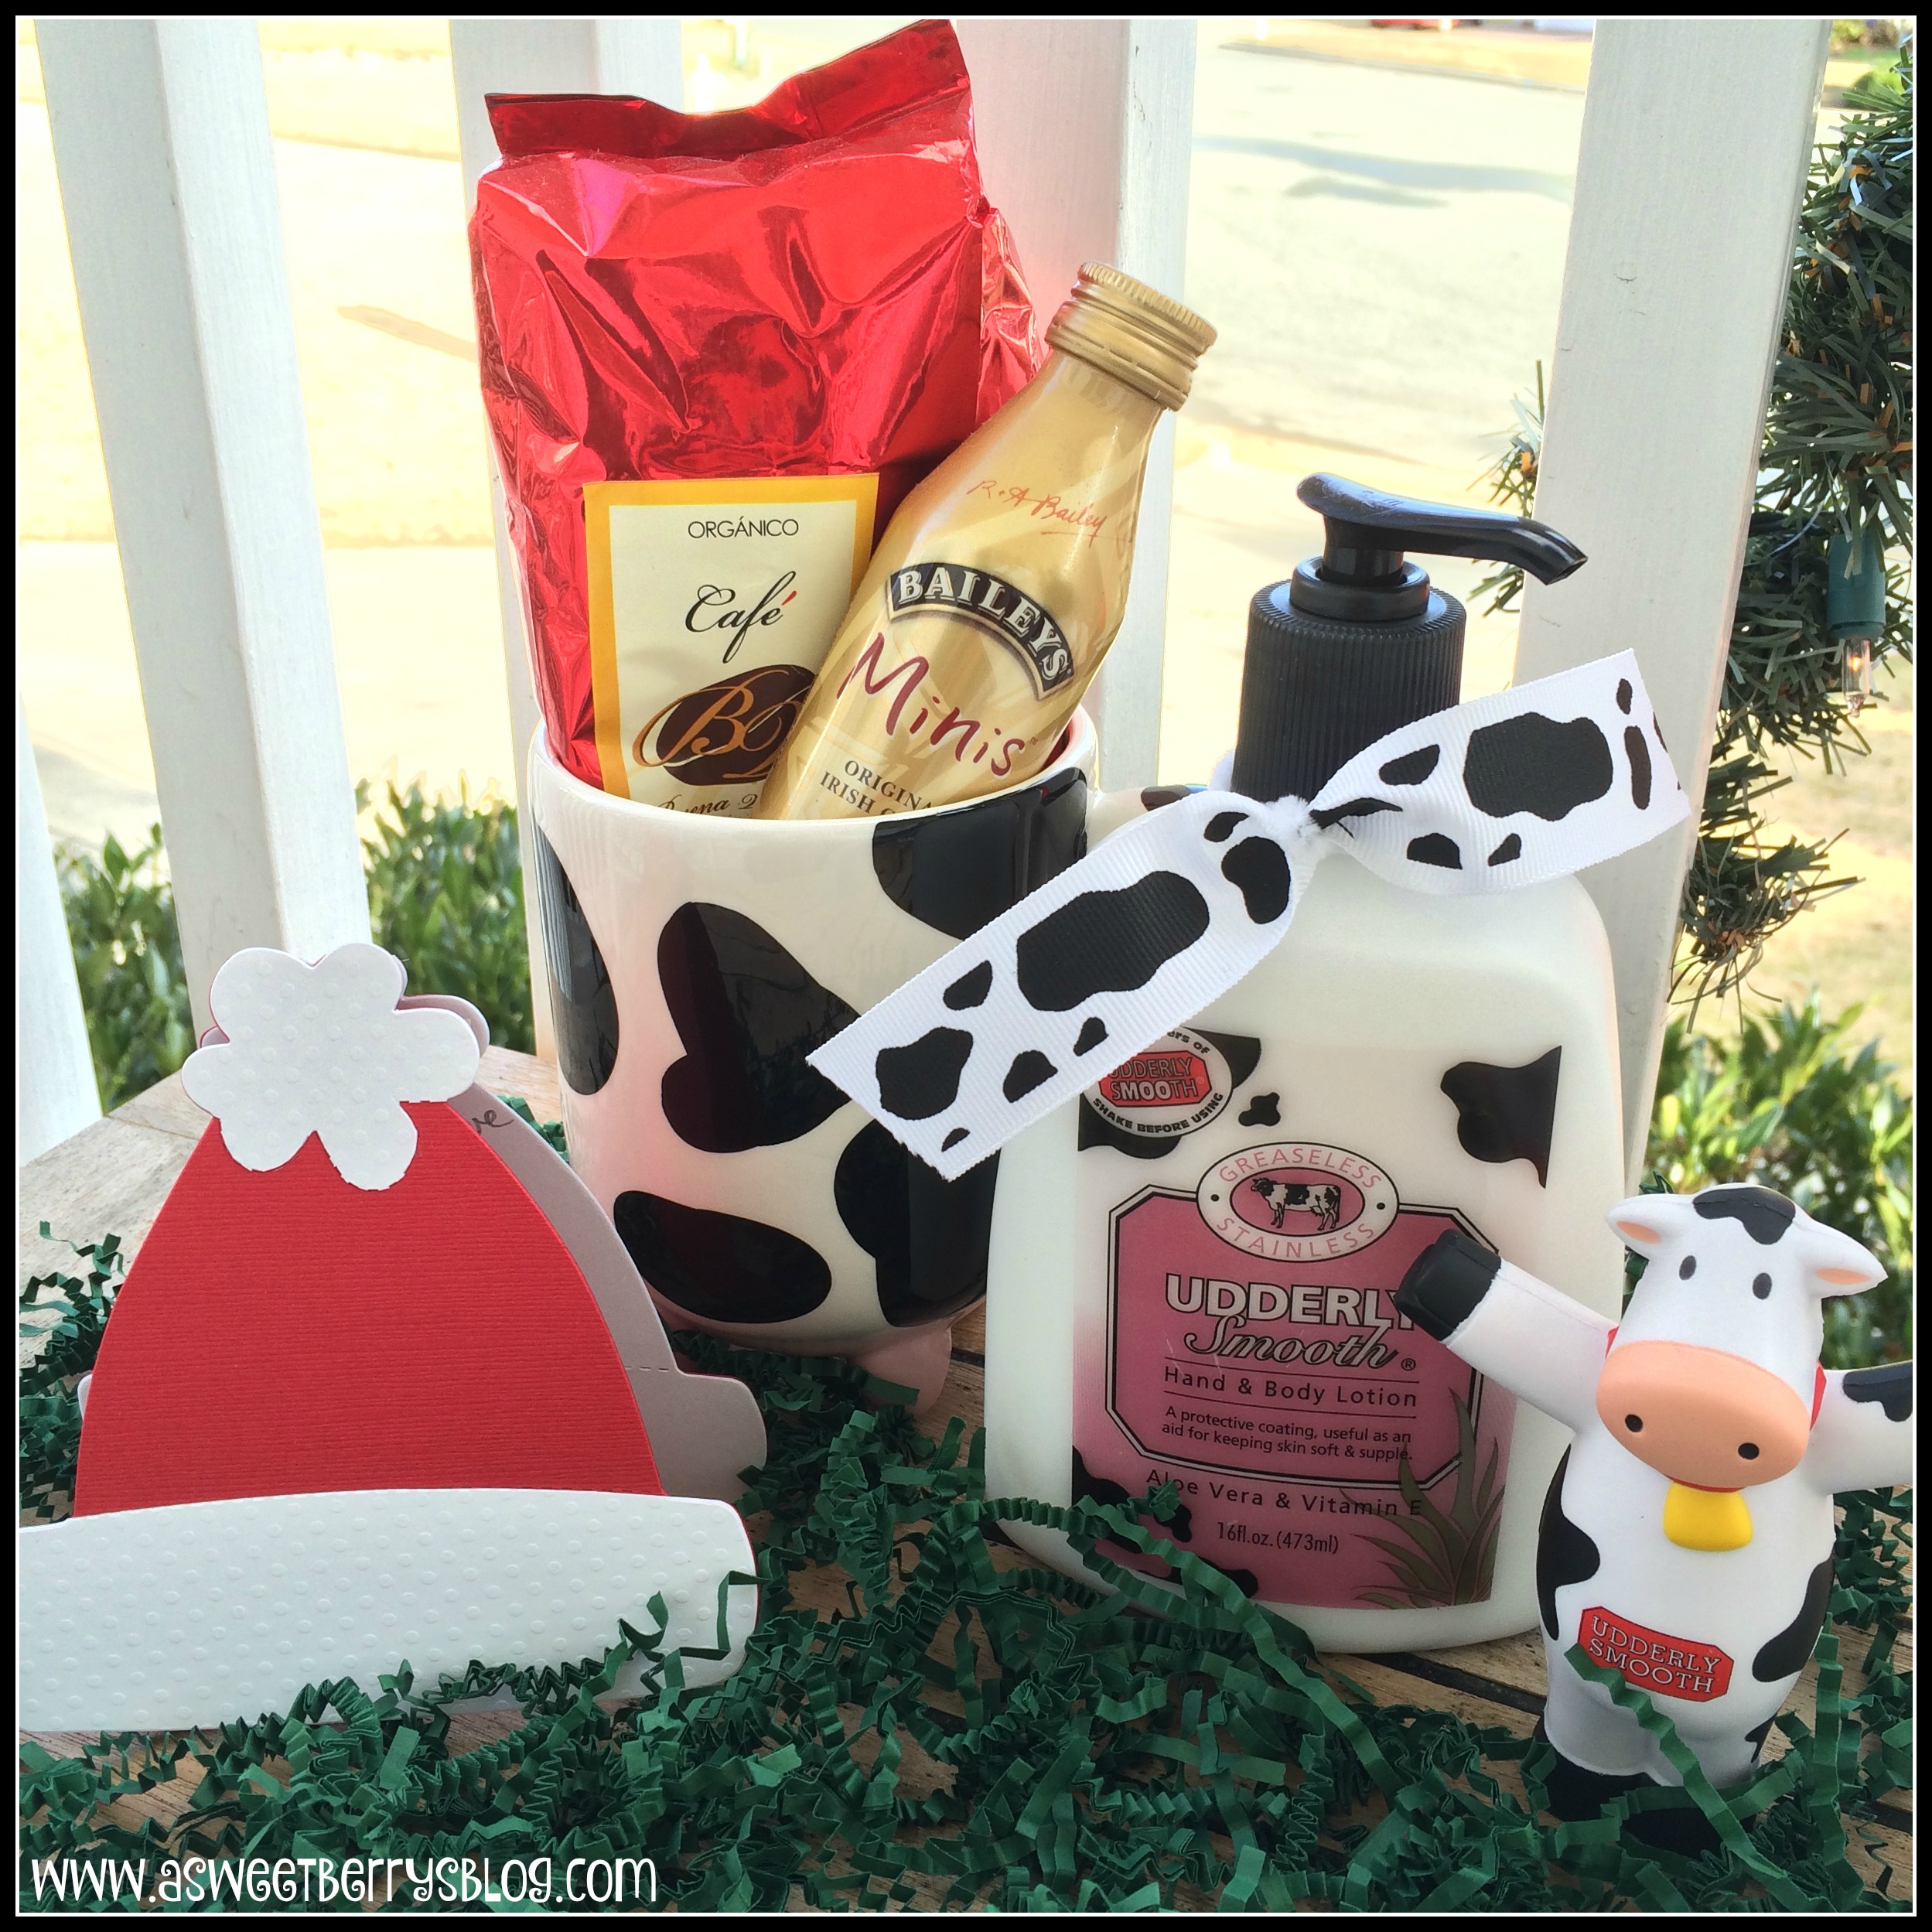
I love this gift idea of Udderly Smooth Hand & Body Lotion and this adorable cow coffee mug.  I’ve paired it with a bag of Mexican Coffee Beans and some Baileys Irish Cream so now that the teachers are tracked out and home with their families, they can enjoy a nice mug of Irish Cream Coffee!  And while they drink away, they can keep their skin nice and smooth!   How about that little Udderly Smooth Squeeze Cow and the cute little Winter Hat Note Card?!?!  They go great with the gift too! UdderlySmooth1
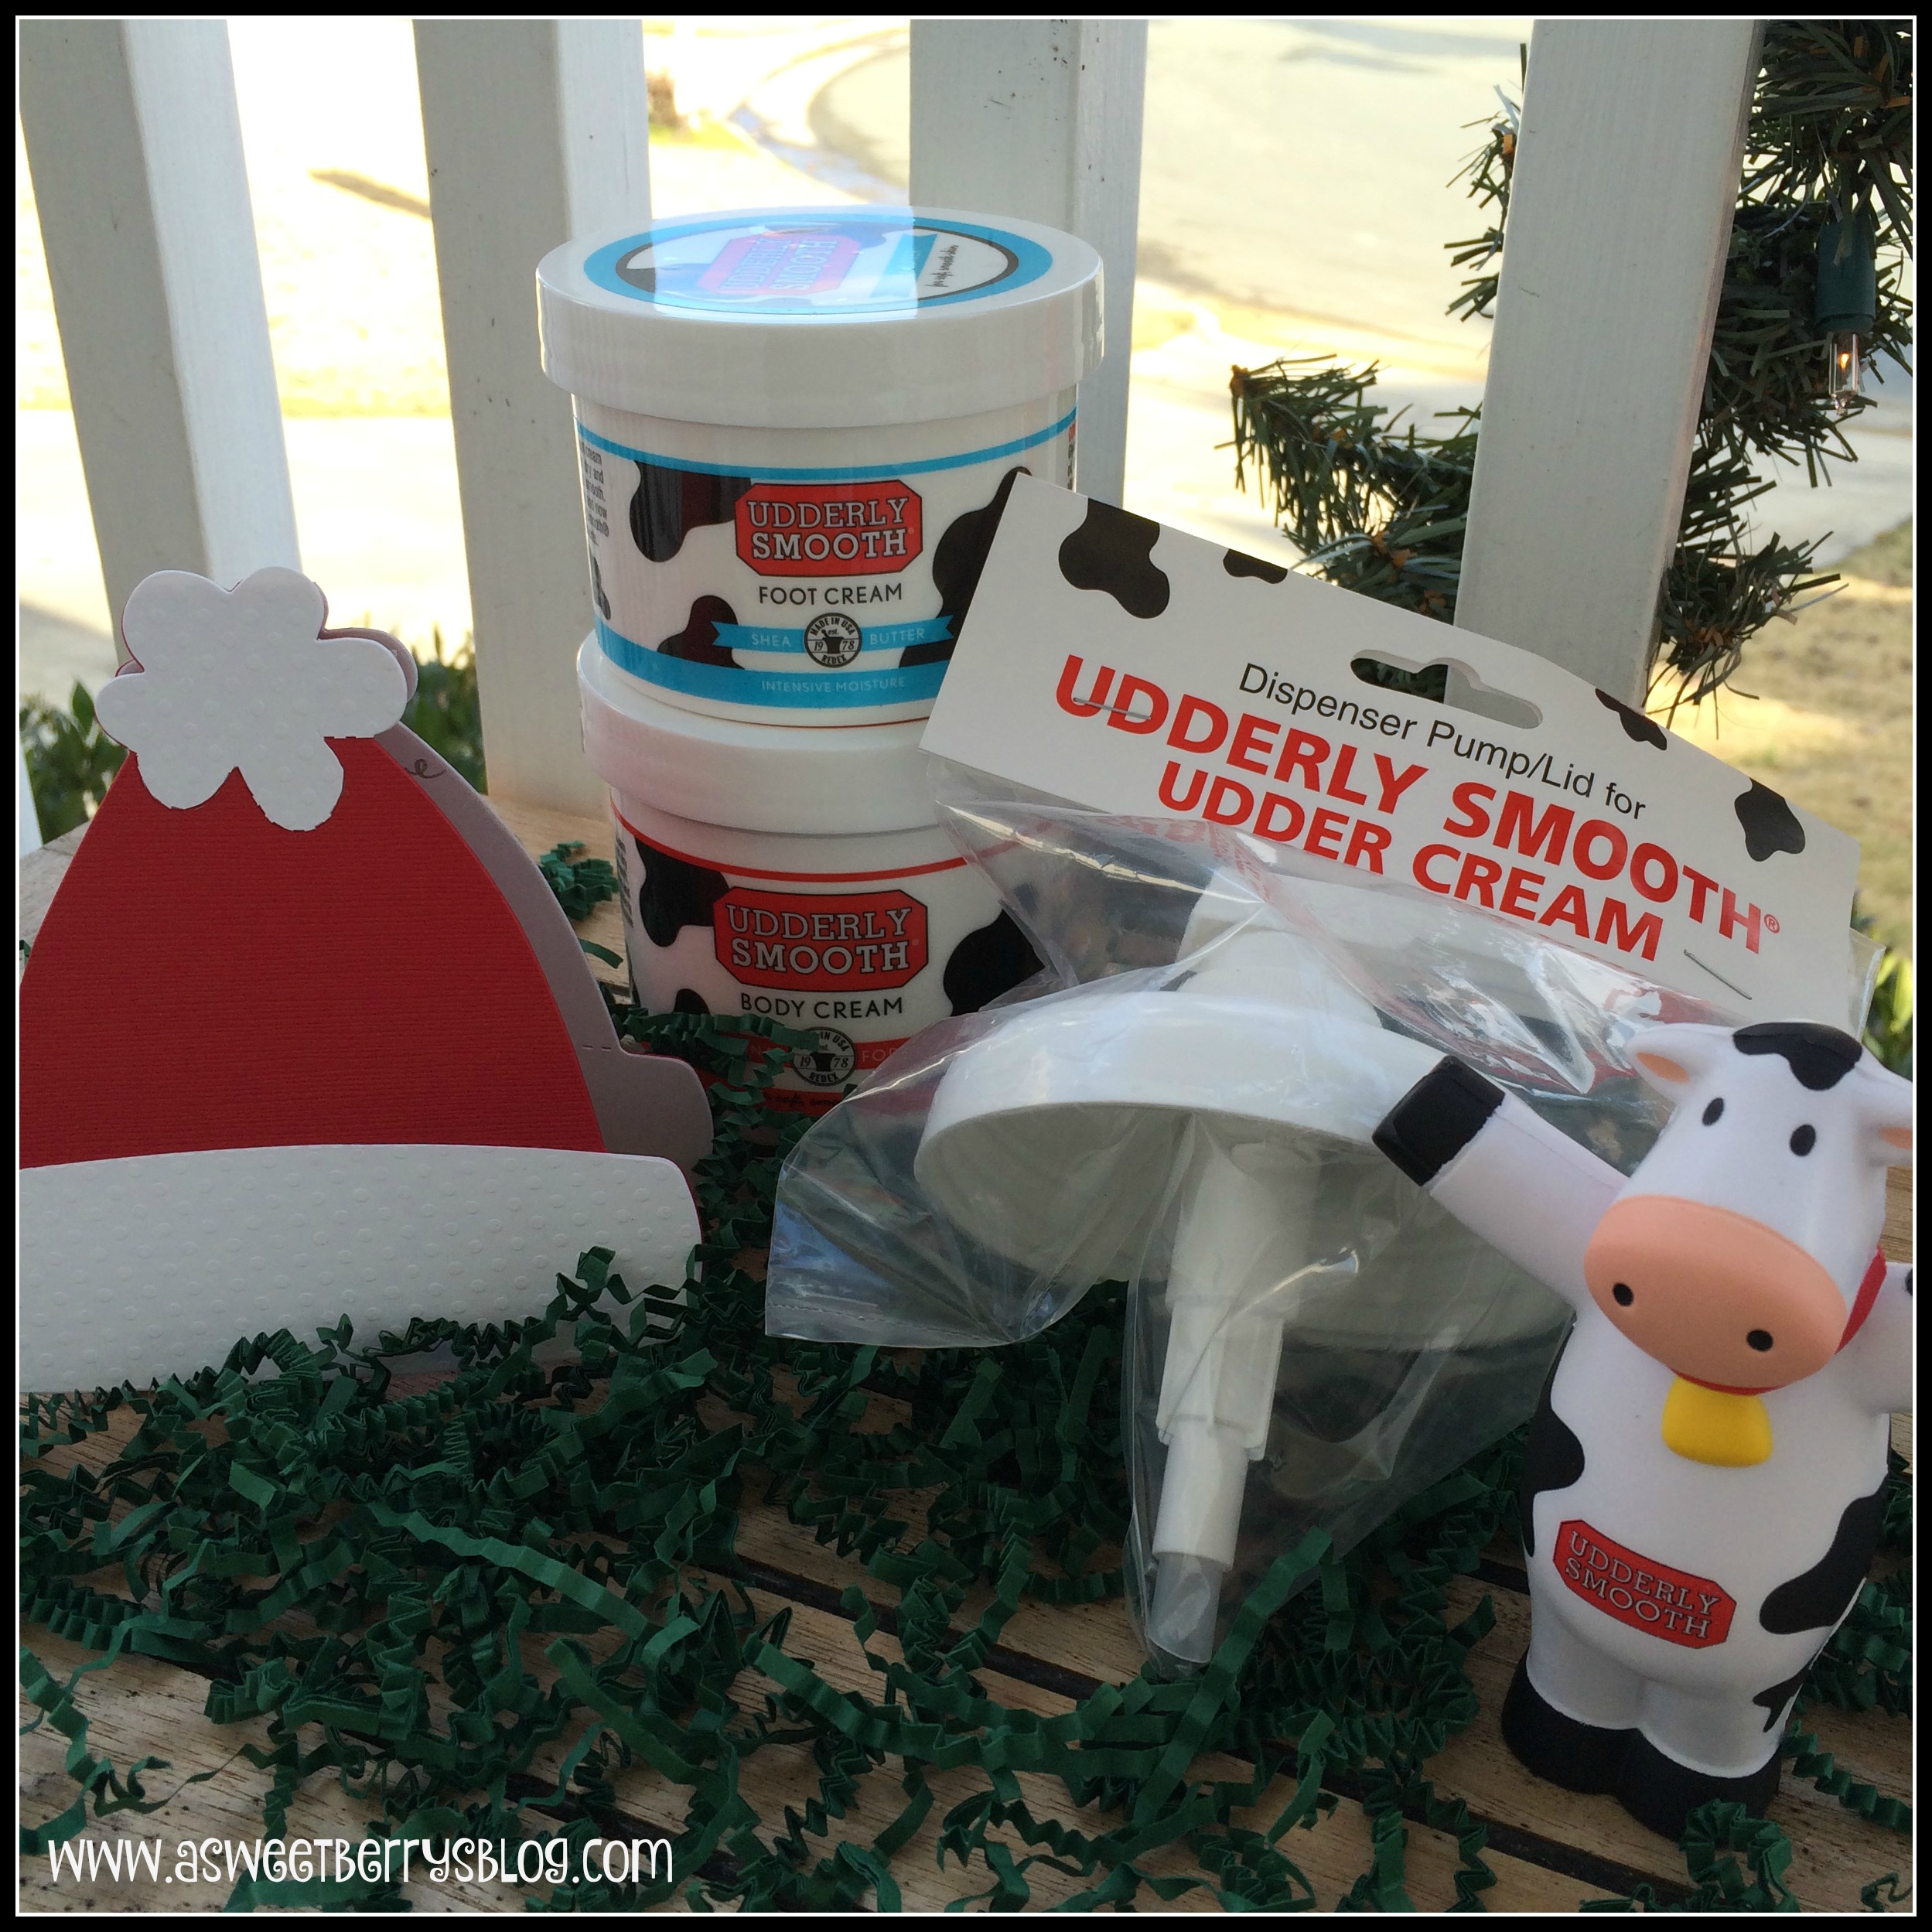
Udderly Smooth has a variety of creams and lotions.  One of my favorites is the Foot Cream.  It is AMAZING!!   You can even get a Dispenser Pump/Lid for the tub of cream.  We keep a tub of the Body Cream on our bathroom counter and use it daily.   It works great on our youngest son’s eczema.   He is always asking “Can I have some of the cow lotion?”
UdderlySmooth2
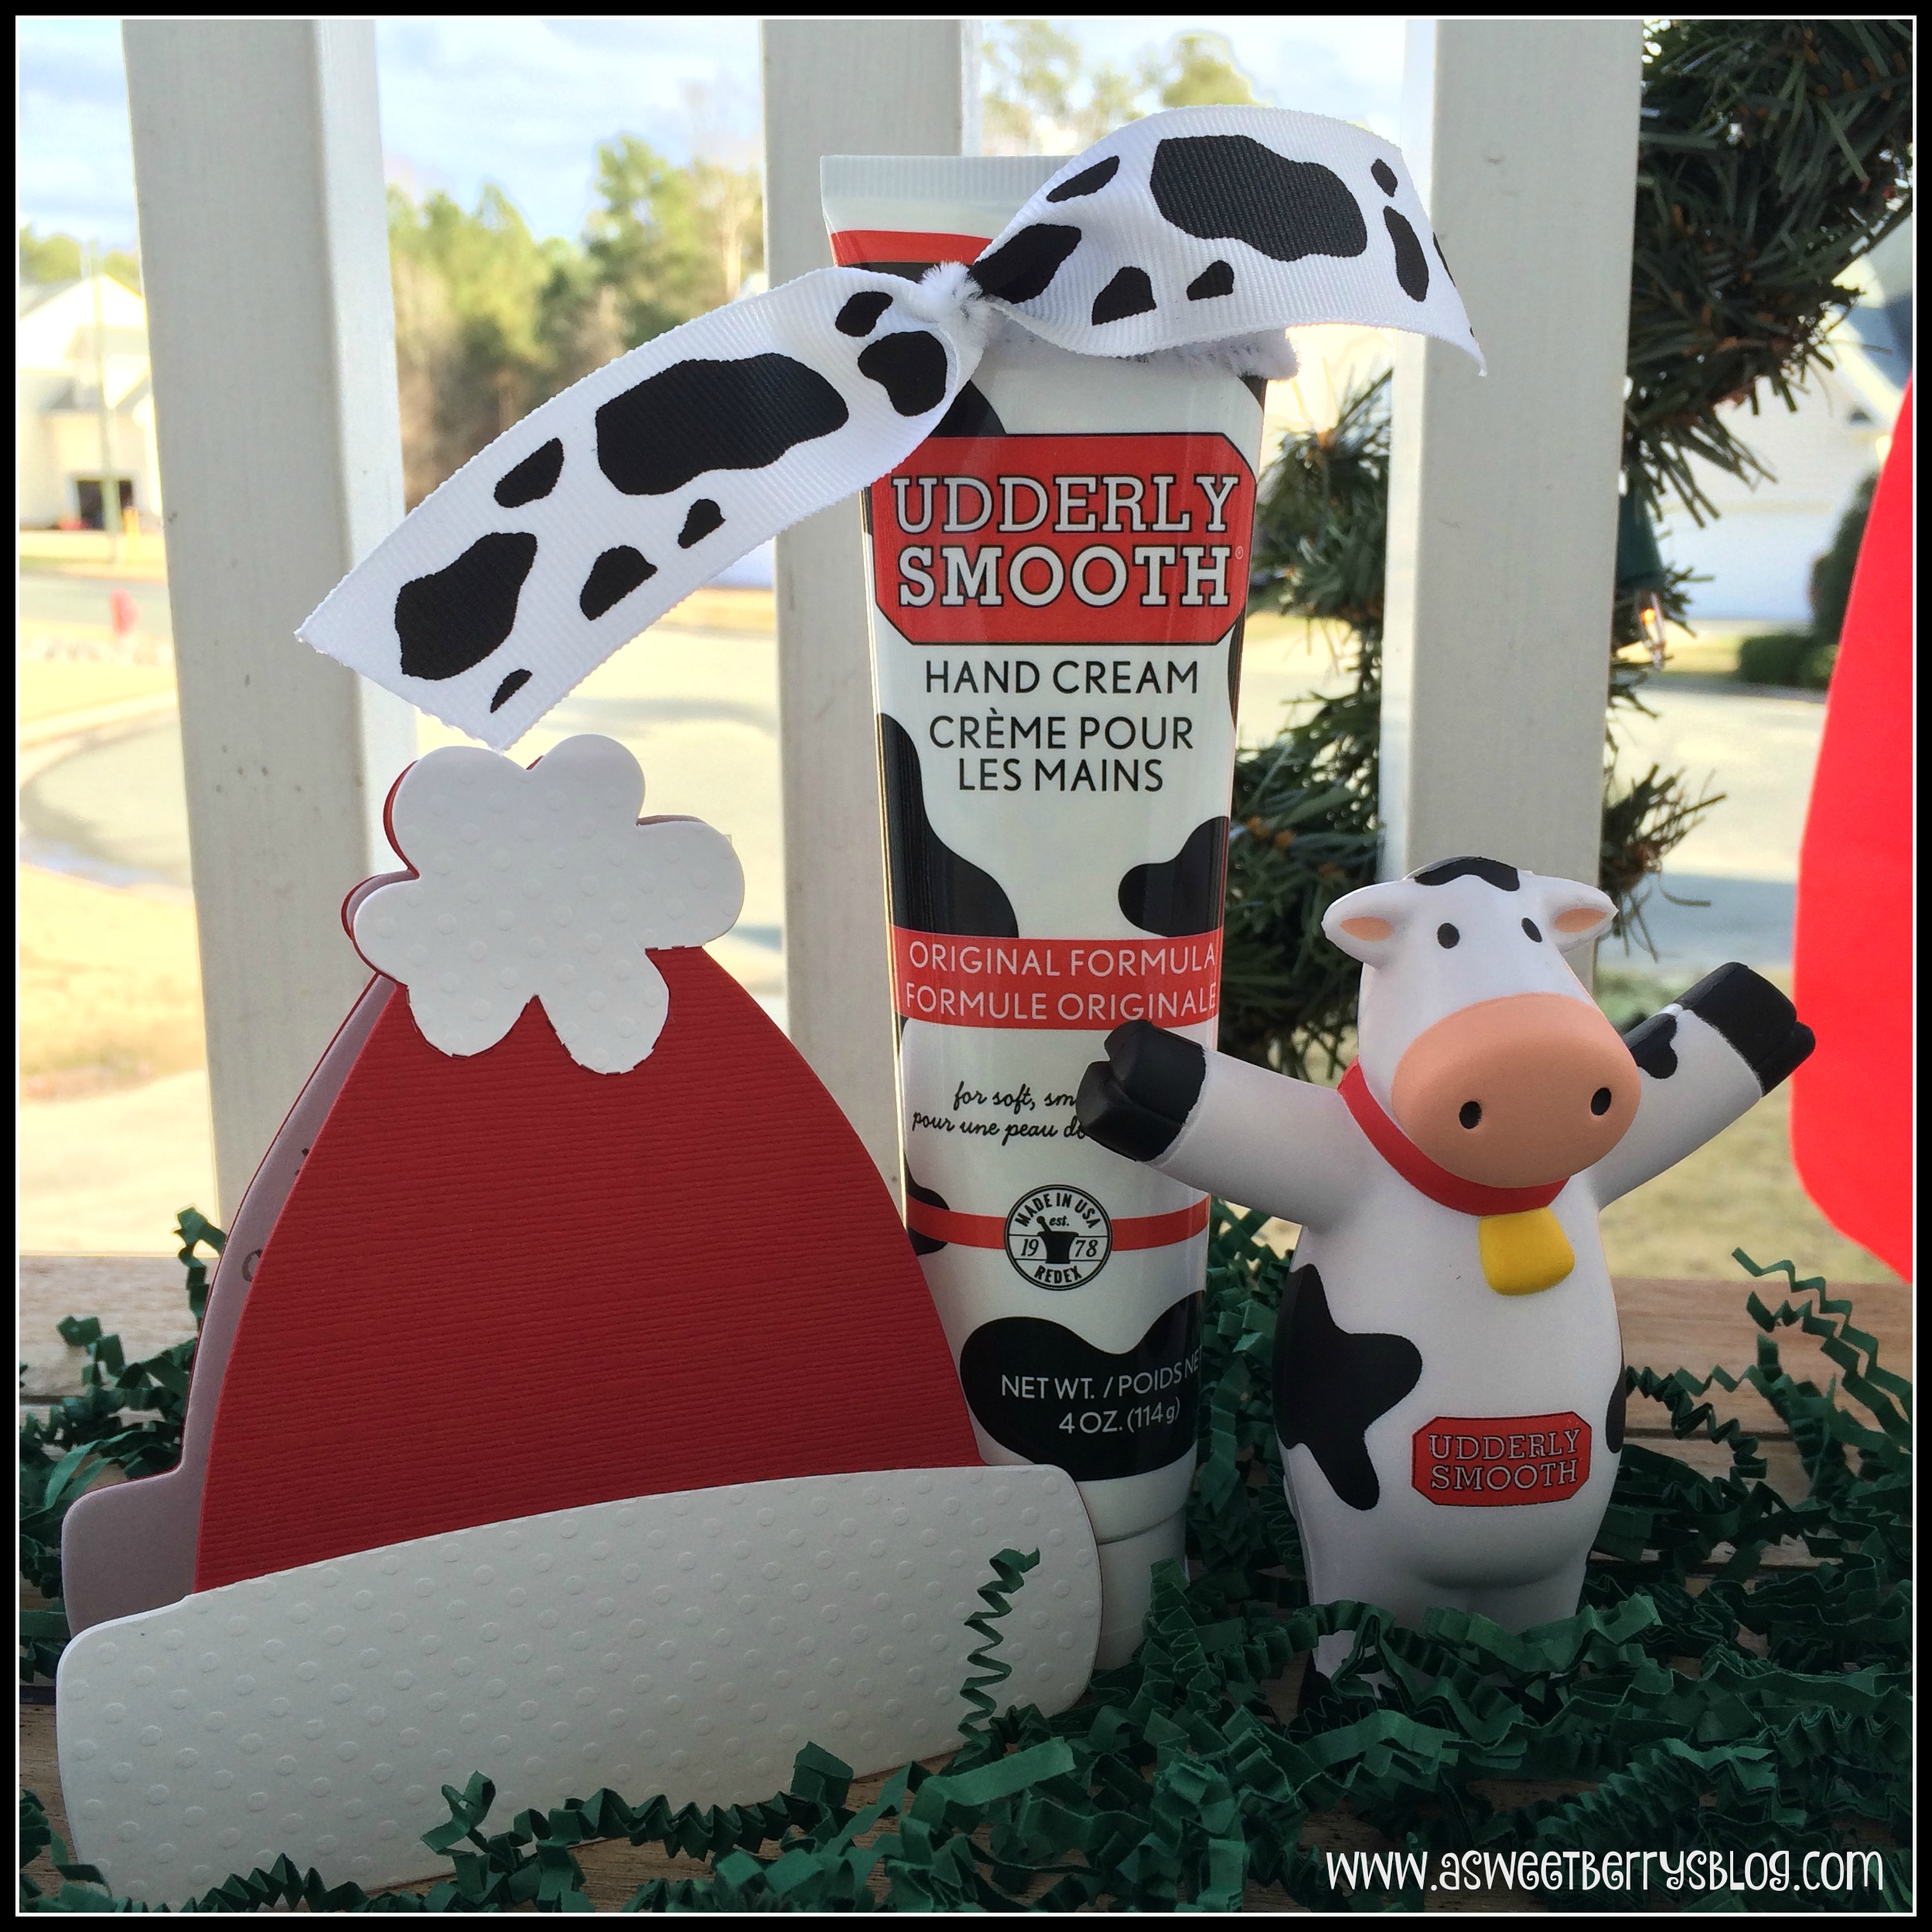
This tube of Udderly Smooth is perfect for your purse or your car or even at your desk.   I always have one with me.   It can be given as part of a gift or even just by itself.  
UdderlySmooth3
For a list of all of the Udderly Smooth products, click HERE!  Udderly Smooth can be purchased at Walgreens, Wal-Mart, Kroger, Dollar General, Big Lots, Ace Hardware, Amazon.com and other retail stores.  

The little Winter Hat Note Card in the photos was made by me.  You can check out how I made those by click on the photo below!  
Winter Hat Note Cards
Enter to Win!!!
a Rafflecopter giveaway
Be sure to check out of there Udderly Smooth Gift giving ideas!


Until next time……..

Winter Hat Note Cards

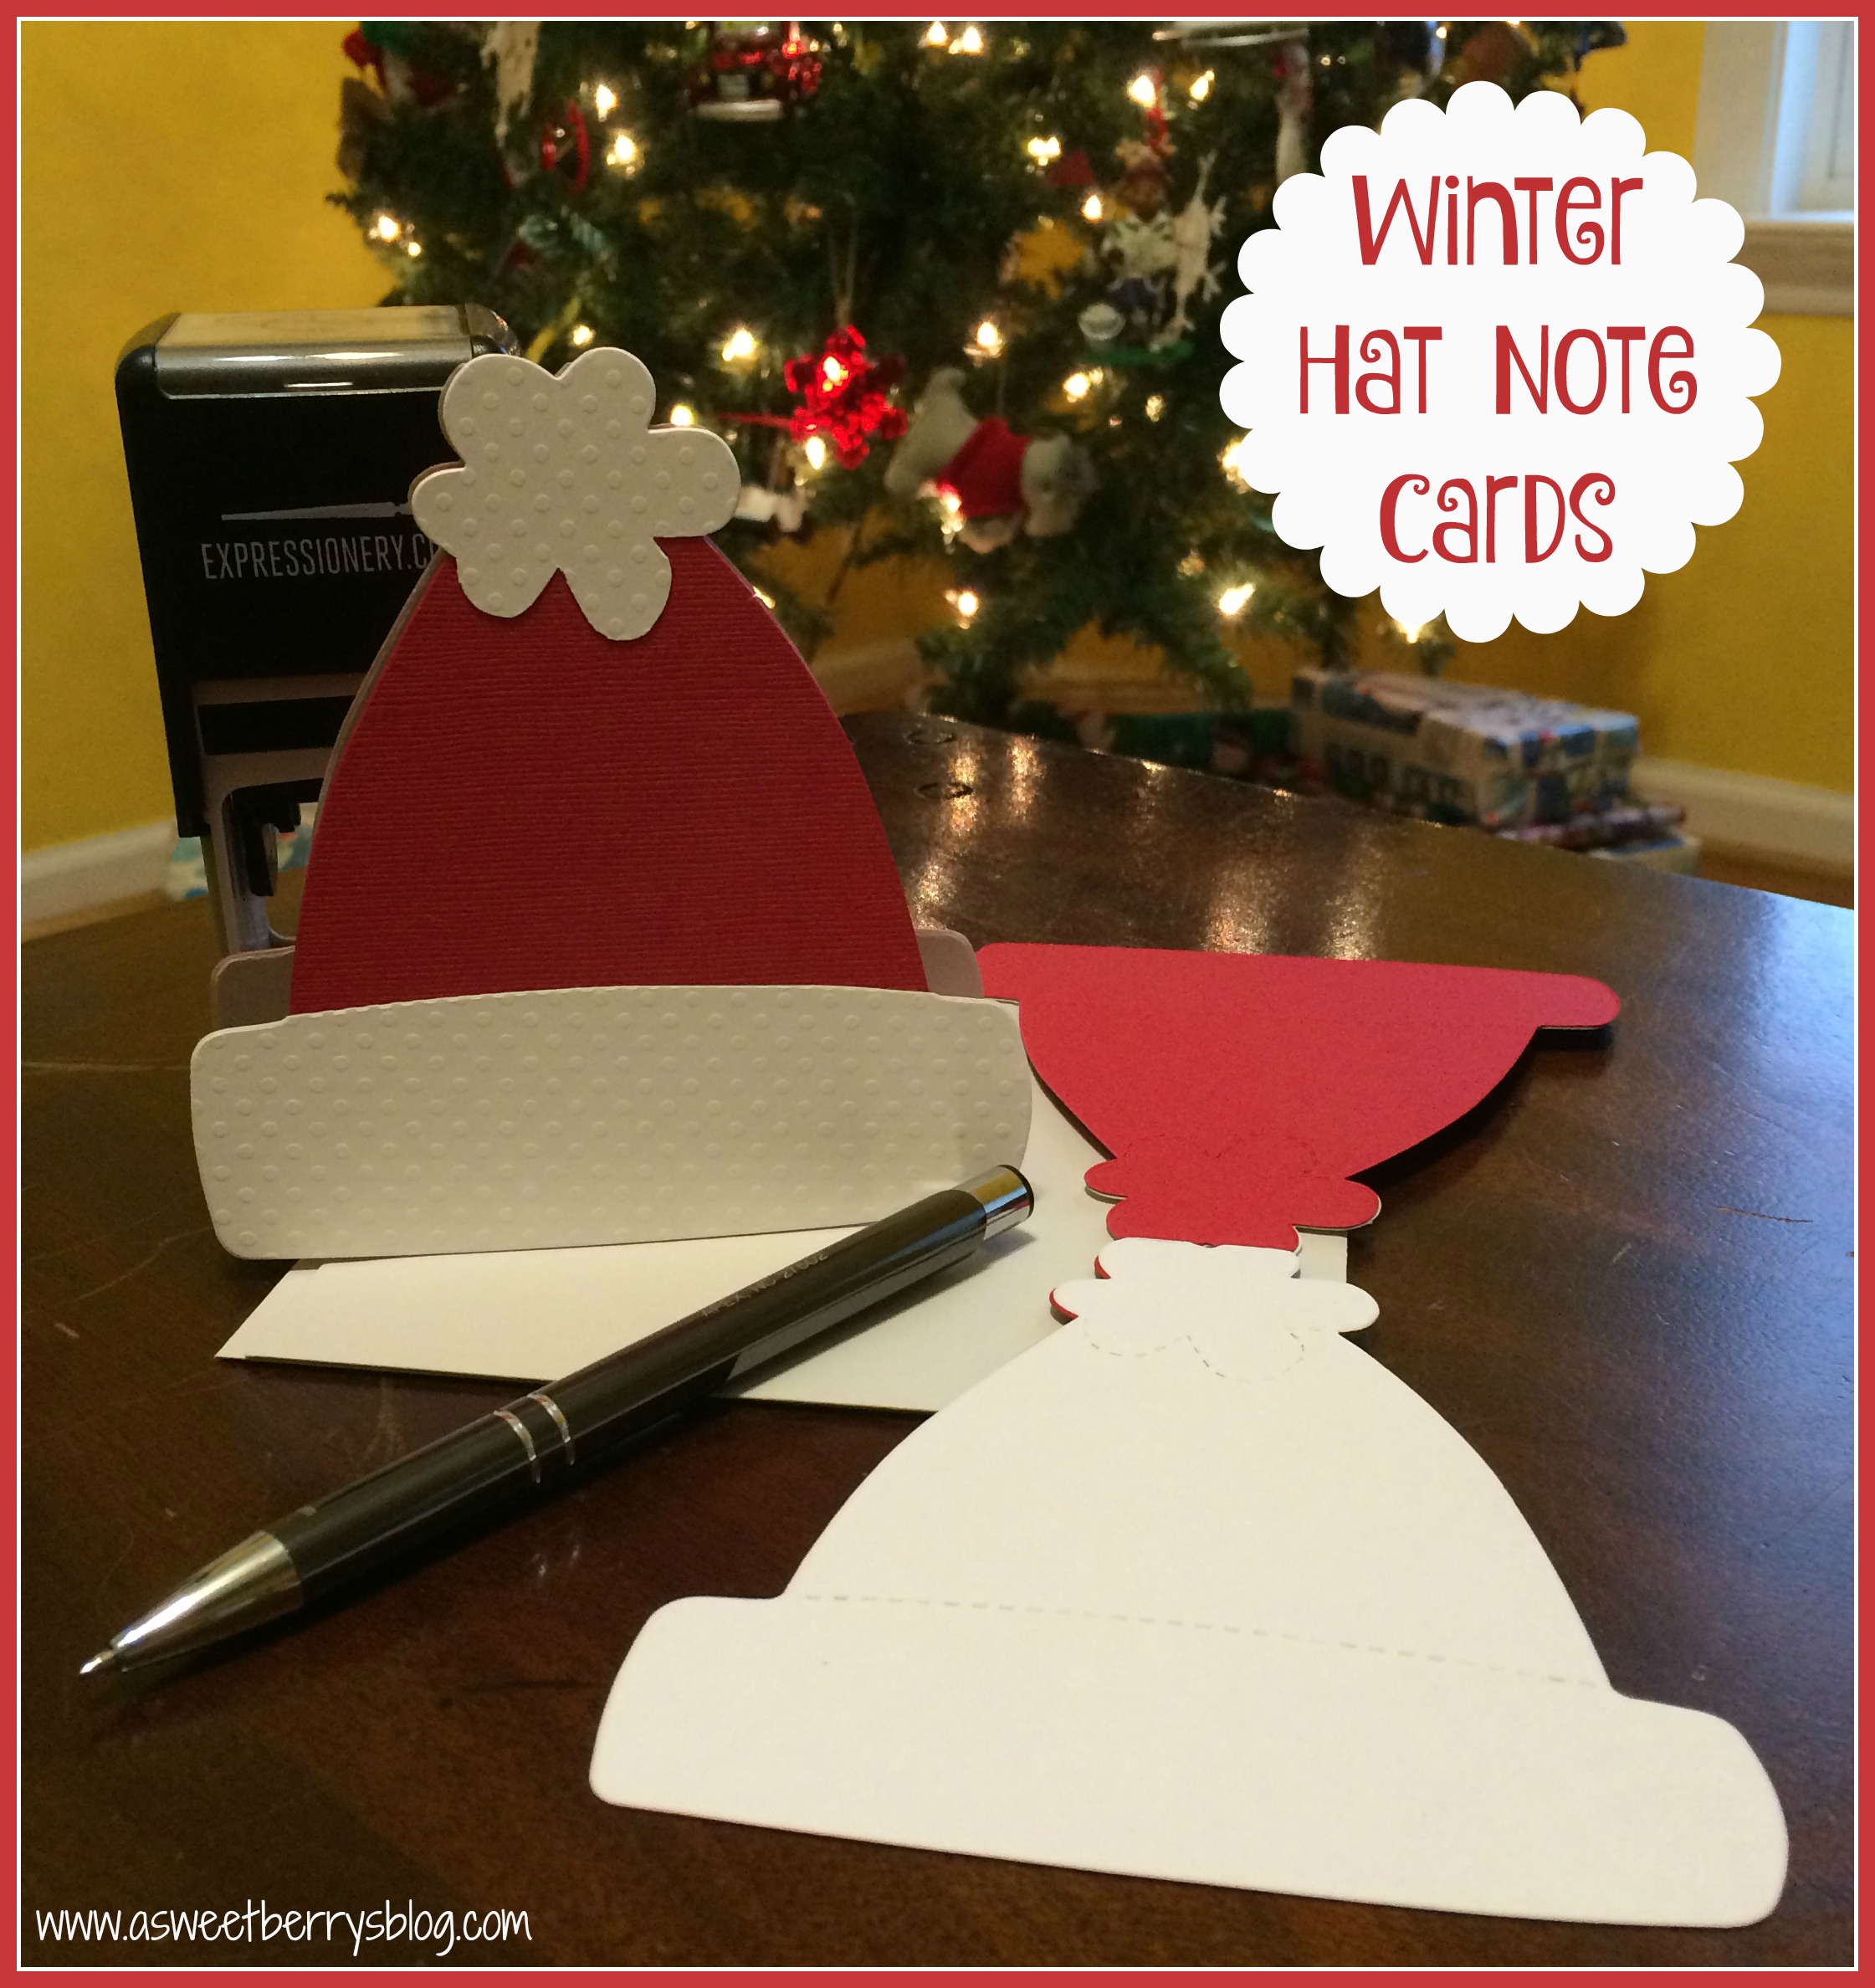
This is the perfect time for an adorable little Winter Hat Note Card.  The weather is getting colder and the holiday gift giving has started.  This cute little note card would be perfect for attaching to a gift to give to someone special! Winter Hat Note Cards
This is how I made them!
Materials:
Sizzix Big Shot
Laura Kelly’s Snow Hat Sizzix Die
Cardstock
Aleene’s Tacky Line Runner or other glue
Plain white printer paper 

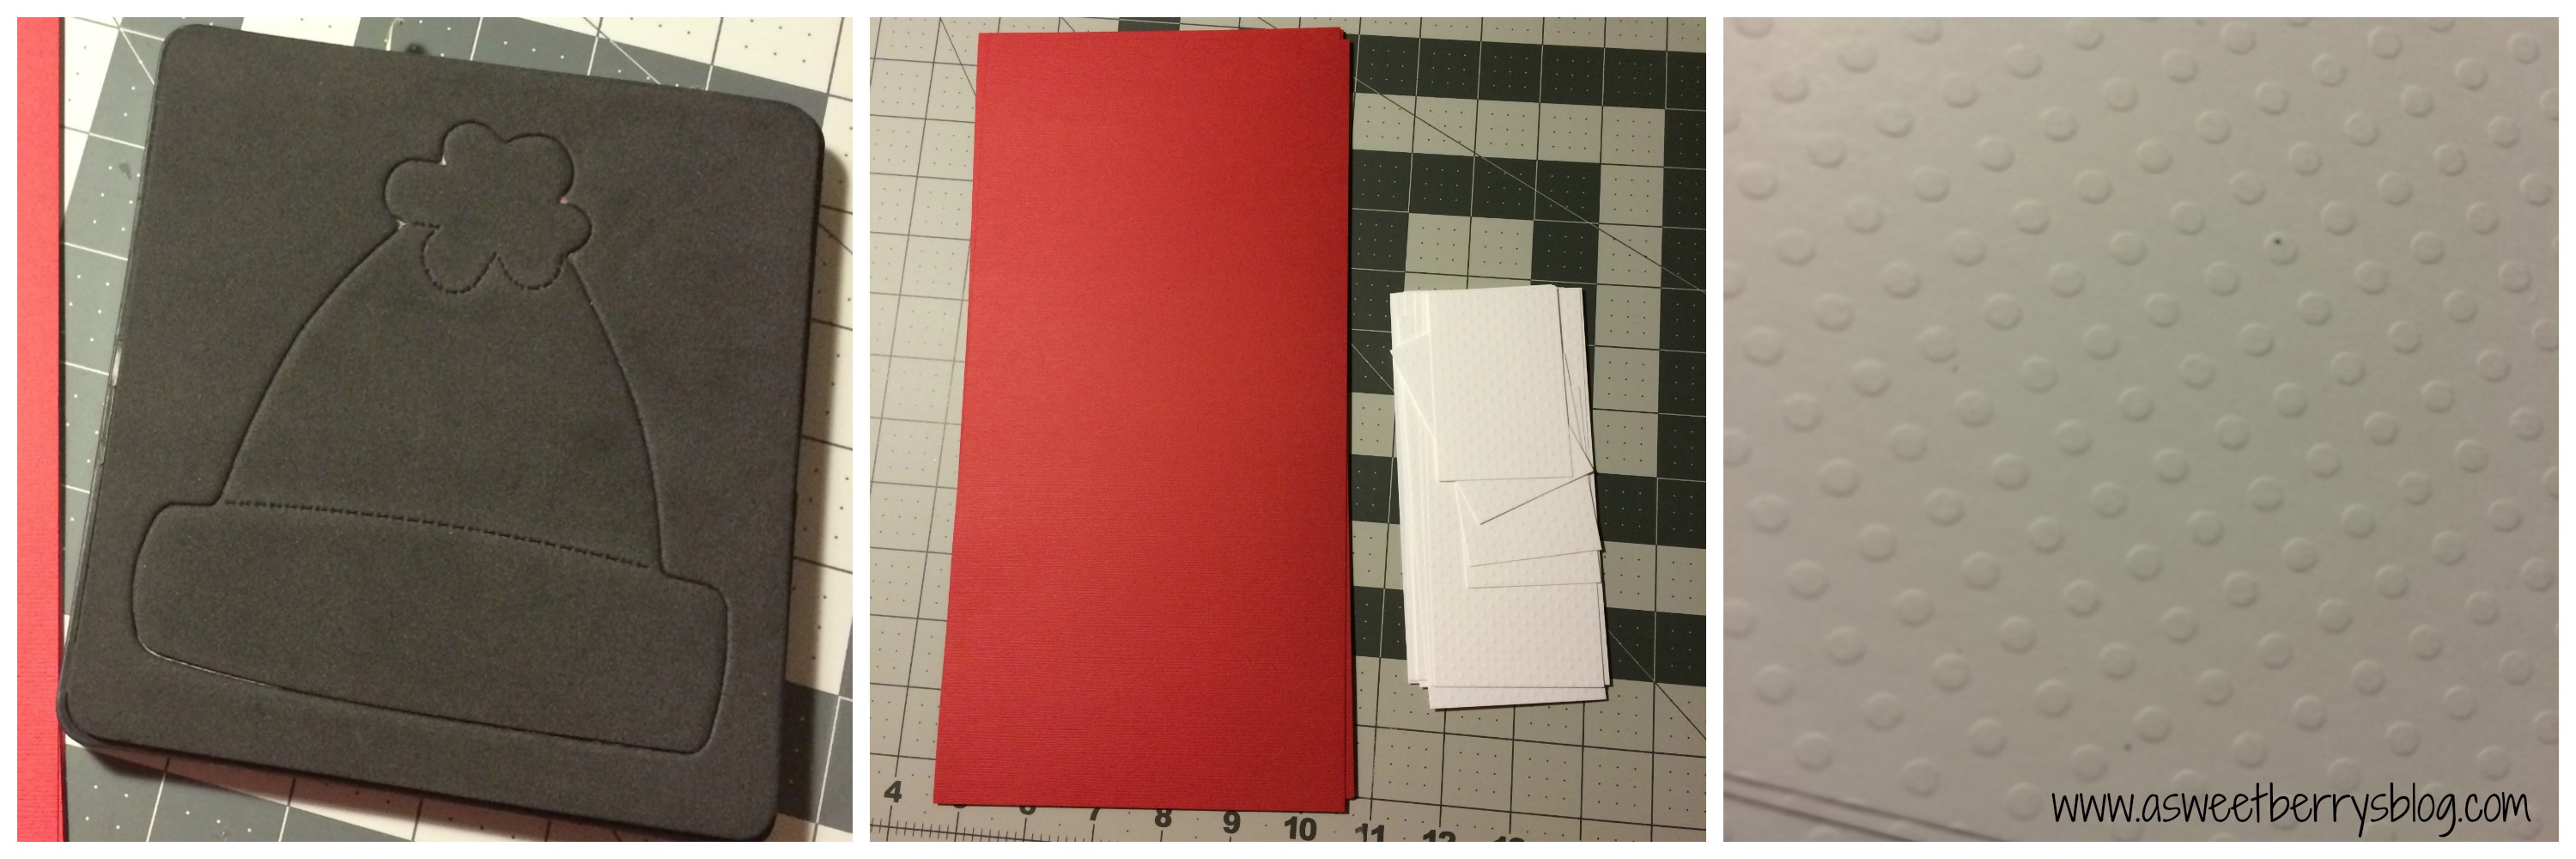
  1.  I cut my red paper to 12″x6″.  For my white paper, I cut it to 2″x6″ and roughly 2″x2″.

die and papers
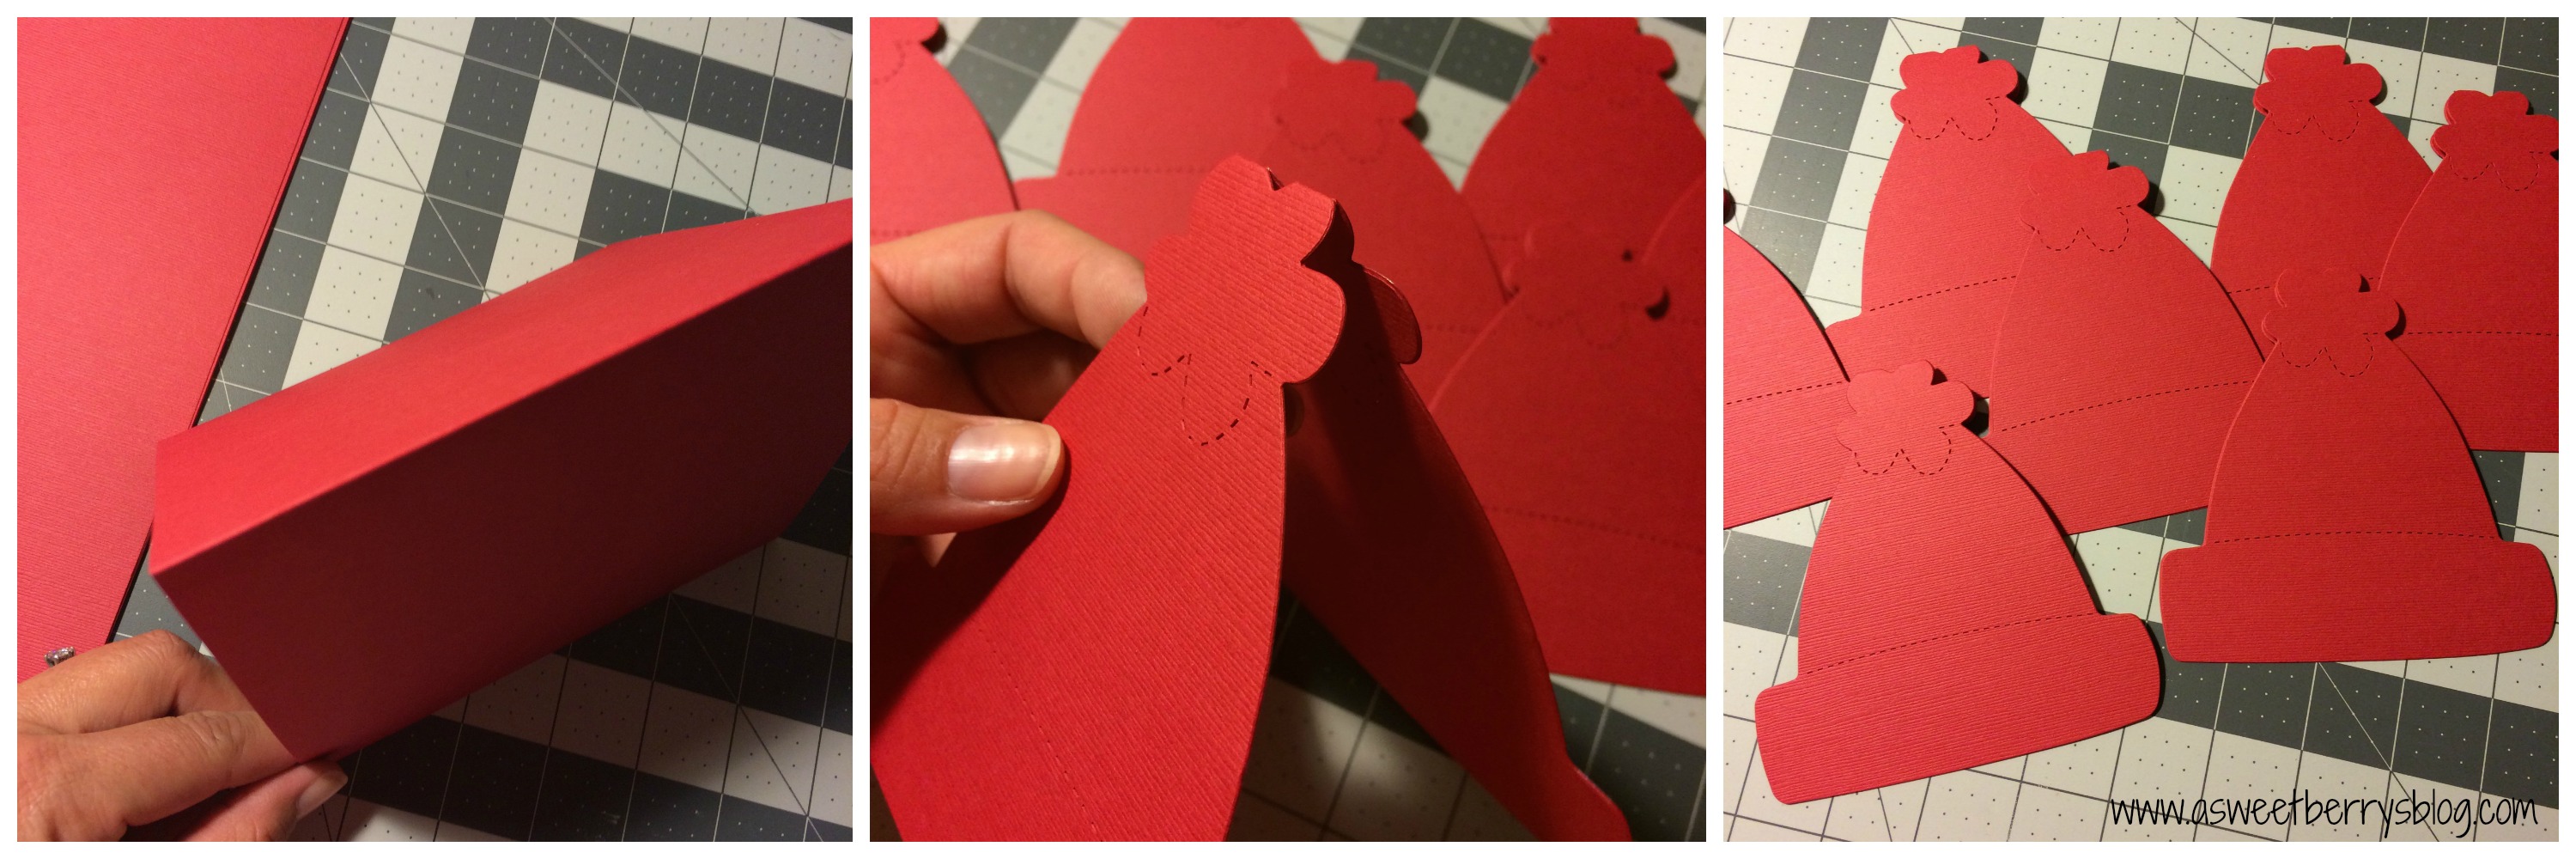
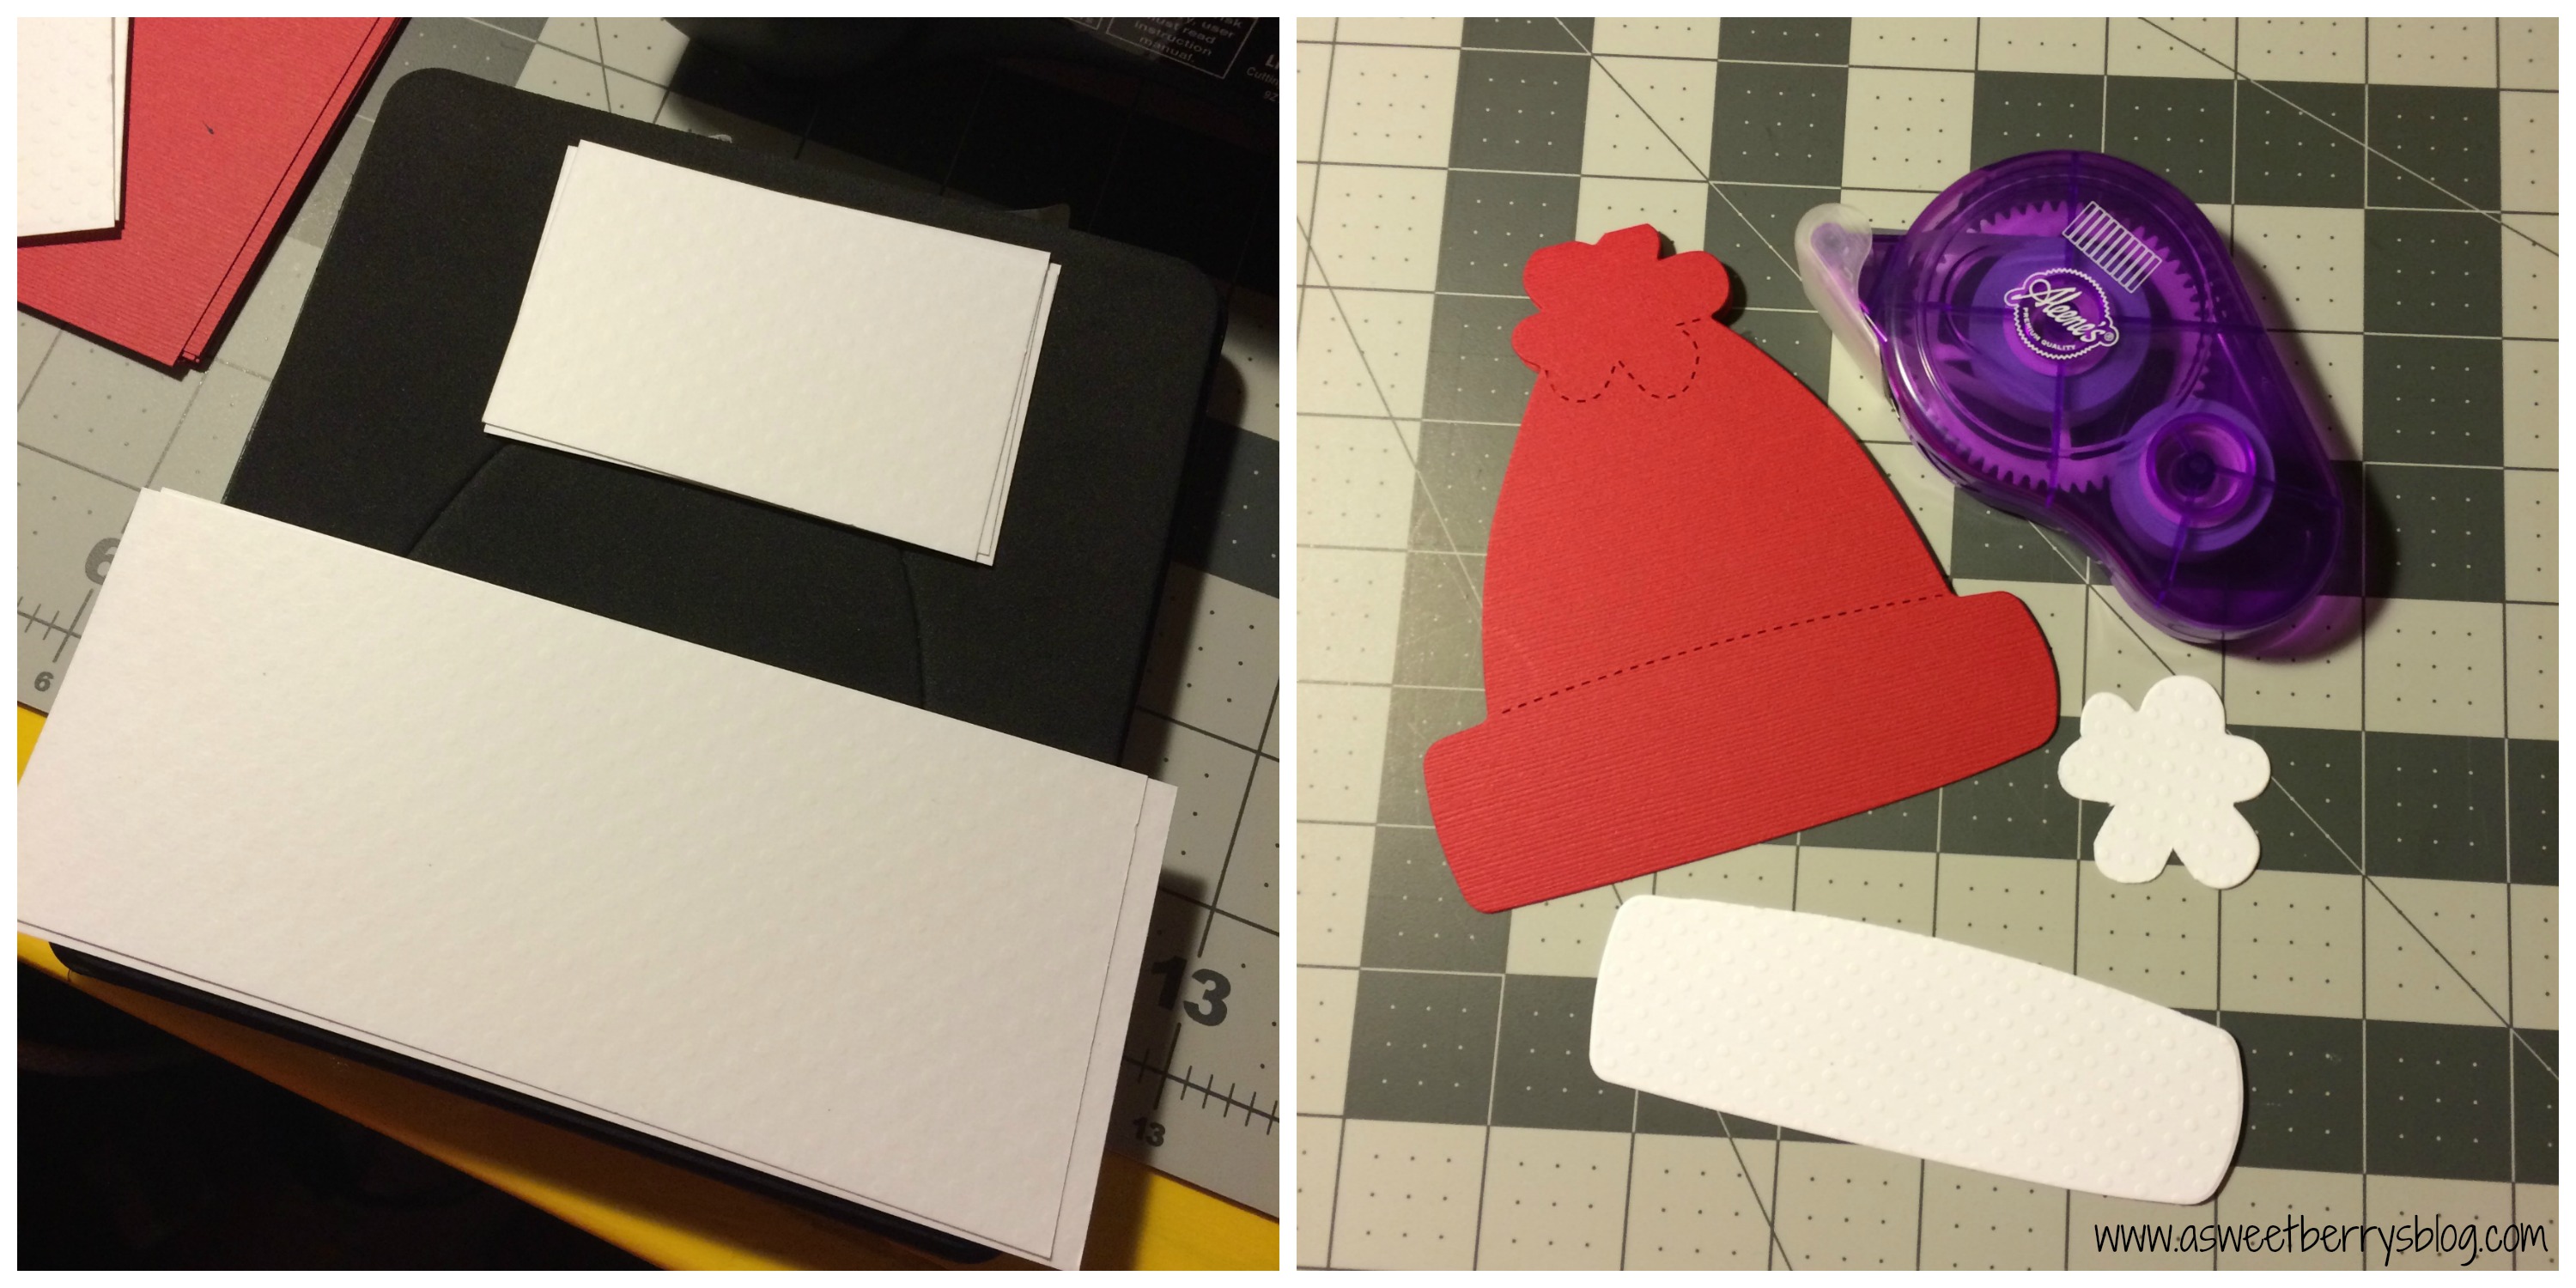
2.  I folded the red pieces in half and placed it on the hat die just at the top edge of the pompom so that it cut just a little “v” into the top of the hat, but didn’t cut all the way through the top curves of the pompom.   red cardstock 3.  Using my little white pieces of paper, I cut just the pompom and the bottom of the hat out.  Then I trimmed at the perforation marks, leaving just the bottom of the hat and the pompom.   
4.  Using my Aleene’s Tacky Line Runner, I attached the bottom of the hat and the pompom to the folded piece.
bottom of hat and puff
5.  Using regular white printer paper, I folded and cut it the same way that I cut the red folded hat.   Once it was cut, I opened it and cut it it in half so that I had half of the cut out.
6.  Using the Aleene’s Tacky Line Runner, I attached the printer paper cut out on the inside of the card.   The white printer paper is to have a place to write your note!
inside
I hope you like these adorable little Winter Hat Note Cards!  I love them.  They were perfect little gifts for my children’s teachers.
Winter Hat Note Cards

You can buy them in my Etsy Shop!   Click HERE!!!
Happy Holidays!!!

Until next time……….

Easy Christmas Gift Tags

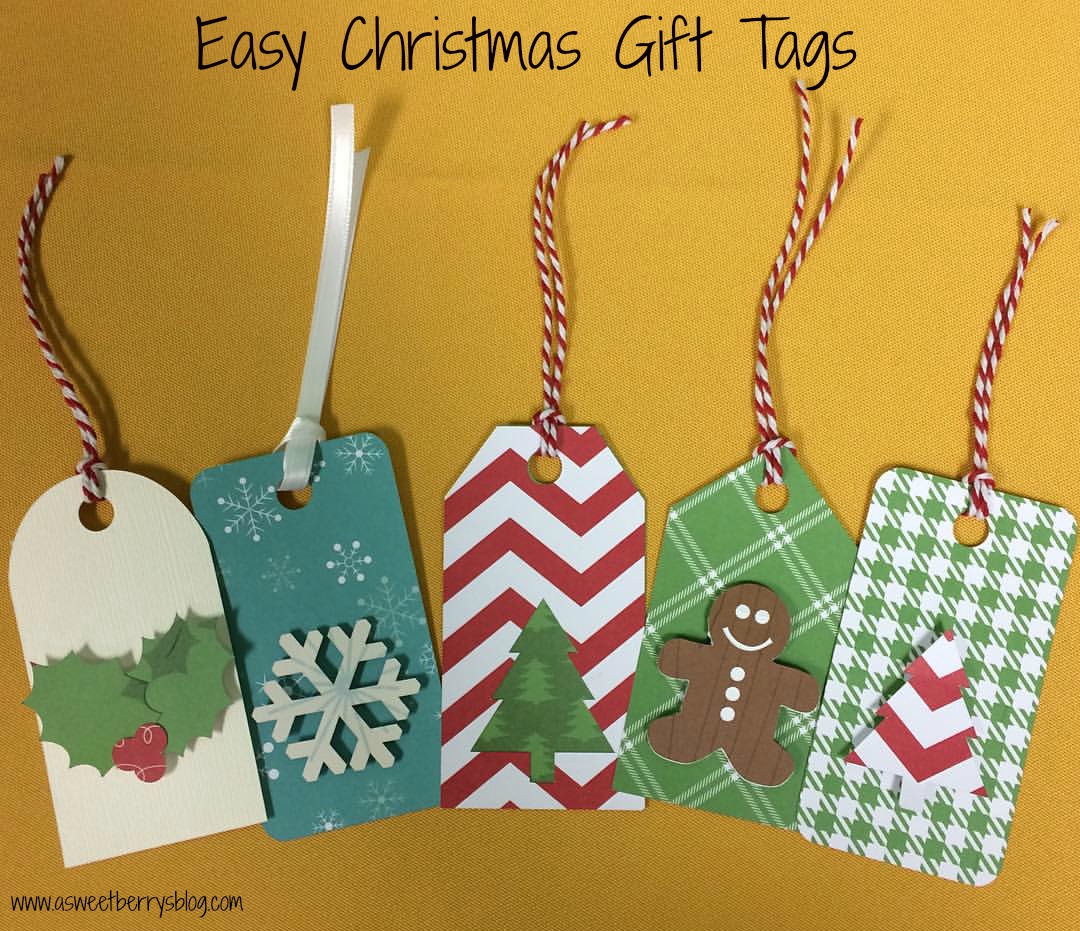
Christmas Tags

Christmas is upon us and the shopping has begun! These adorable and super easy gift tags are going to look awesome on the gifts below my Christmas tree!   If you have a Sizzix Eclips2, then you most likely use Sure Cuts A Lot eCAL2 for your software.  Well, if you do then all of these cut outs are included in the software.

collage

The process was pretty easy……

The snowflake:  I just cut the tag and snow flakes out separately.  I used a foam dot to get the snowflake a little dimension.  Then, I added a white ribbon.

The Christmas tree cutout:  I cut the tags with the Christmas Tree Cut out together and then cut the same tag, minus the tree.  I put them together using an Aleene’s tape runner.  Then, I added a piece of twine.

The Gingerbread Man:  I cut out a tag.  Then I cut out the gingerbread man on brown card stock.  Then, in the software, I removed the face and buttons from the gingerbread man and just cut out the outline on white card stock.   Using the tape runner, I attached the white gingerbread man cut out to the back of the brown one.  Then using a foam dot, I added it to the tag.  To finish it up, I added a piece of twine.

The Raised Christmas Tree:  I cut out some tags.  Using the Christmas Tree scraps from the Christmas Tree cutout tag, I just added a foam dot to the back of the tree and added it to the tag. Then, I added a piece of twine.

The Holly Tag:   I cut out some tags.  Cut the Holly leaves and berries out and used a foam dot on each piece and then attached it to the tag.   Then I added a piece of twine.

Christmas Tags

I hope you like these adorable little Christmas Tree Tags!   I made some last week and sold them at an Artisan Fair that my Church was hosting and everyone loved them!

Until next time………..

Felt Christmas Tree

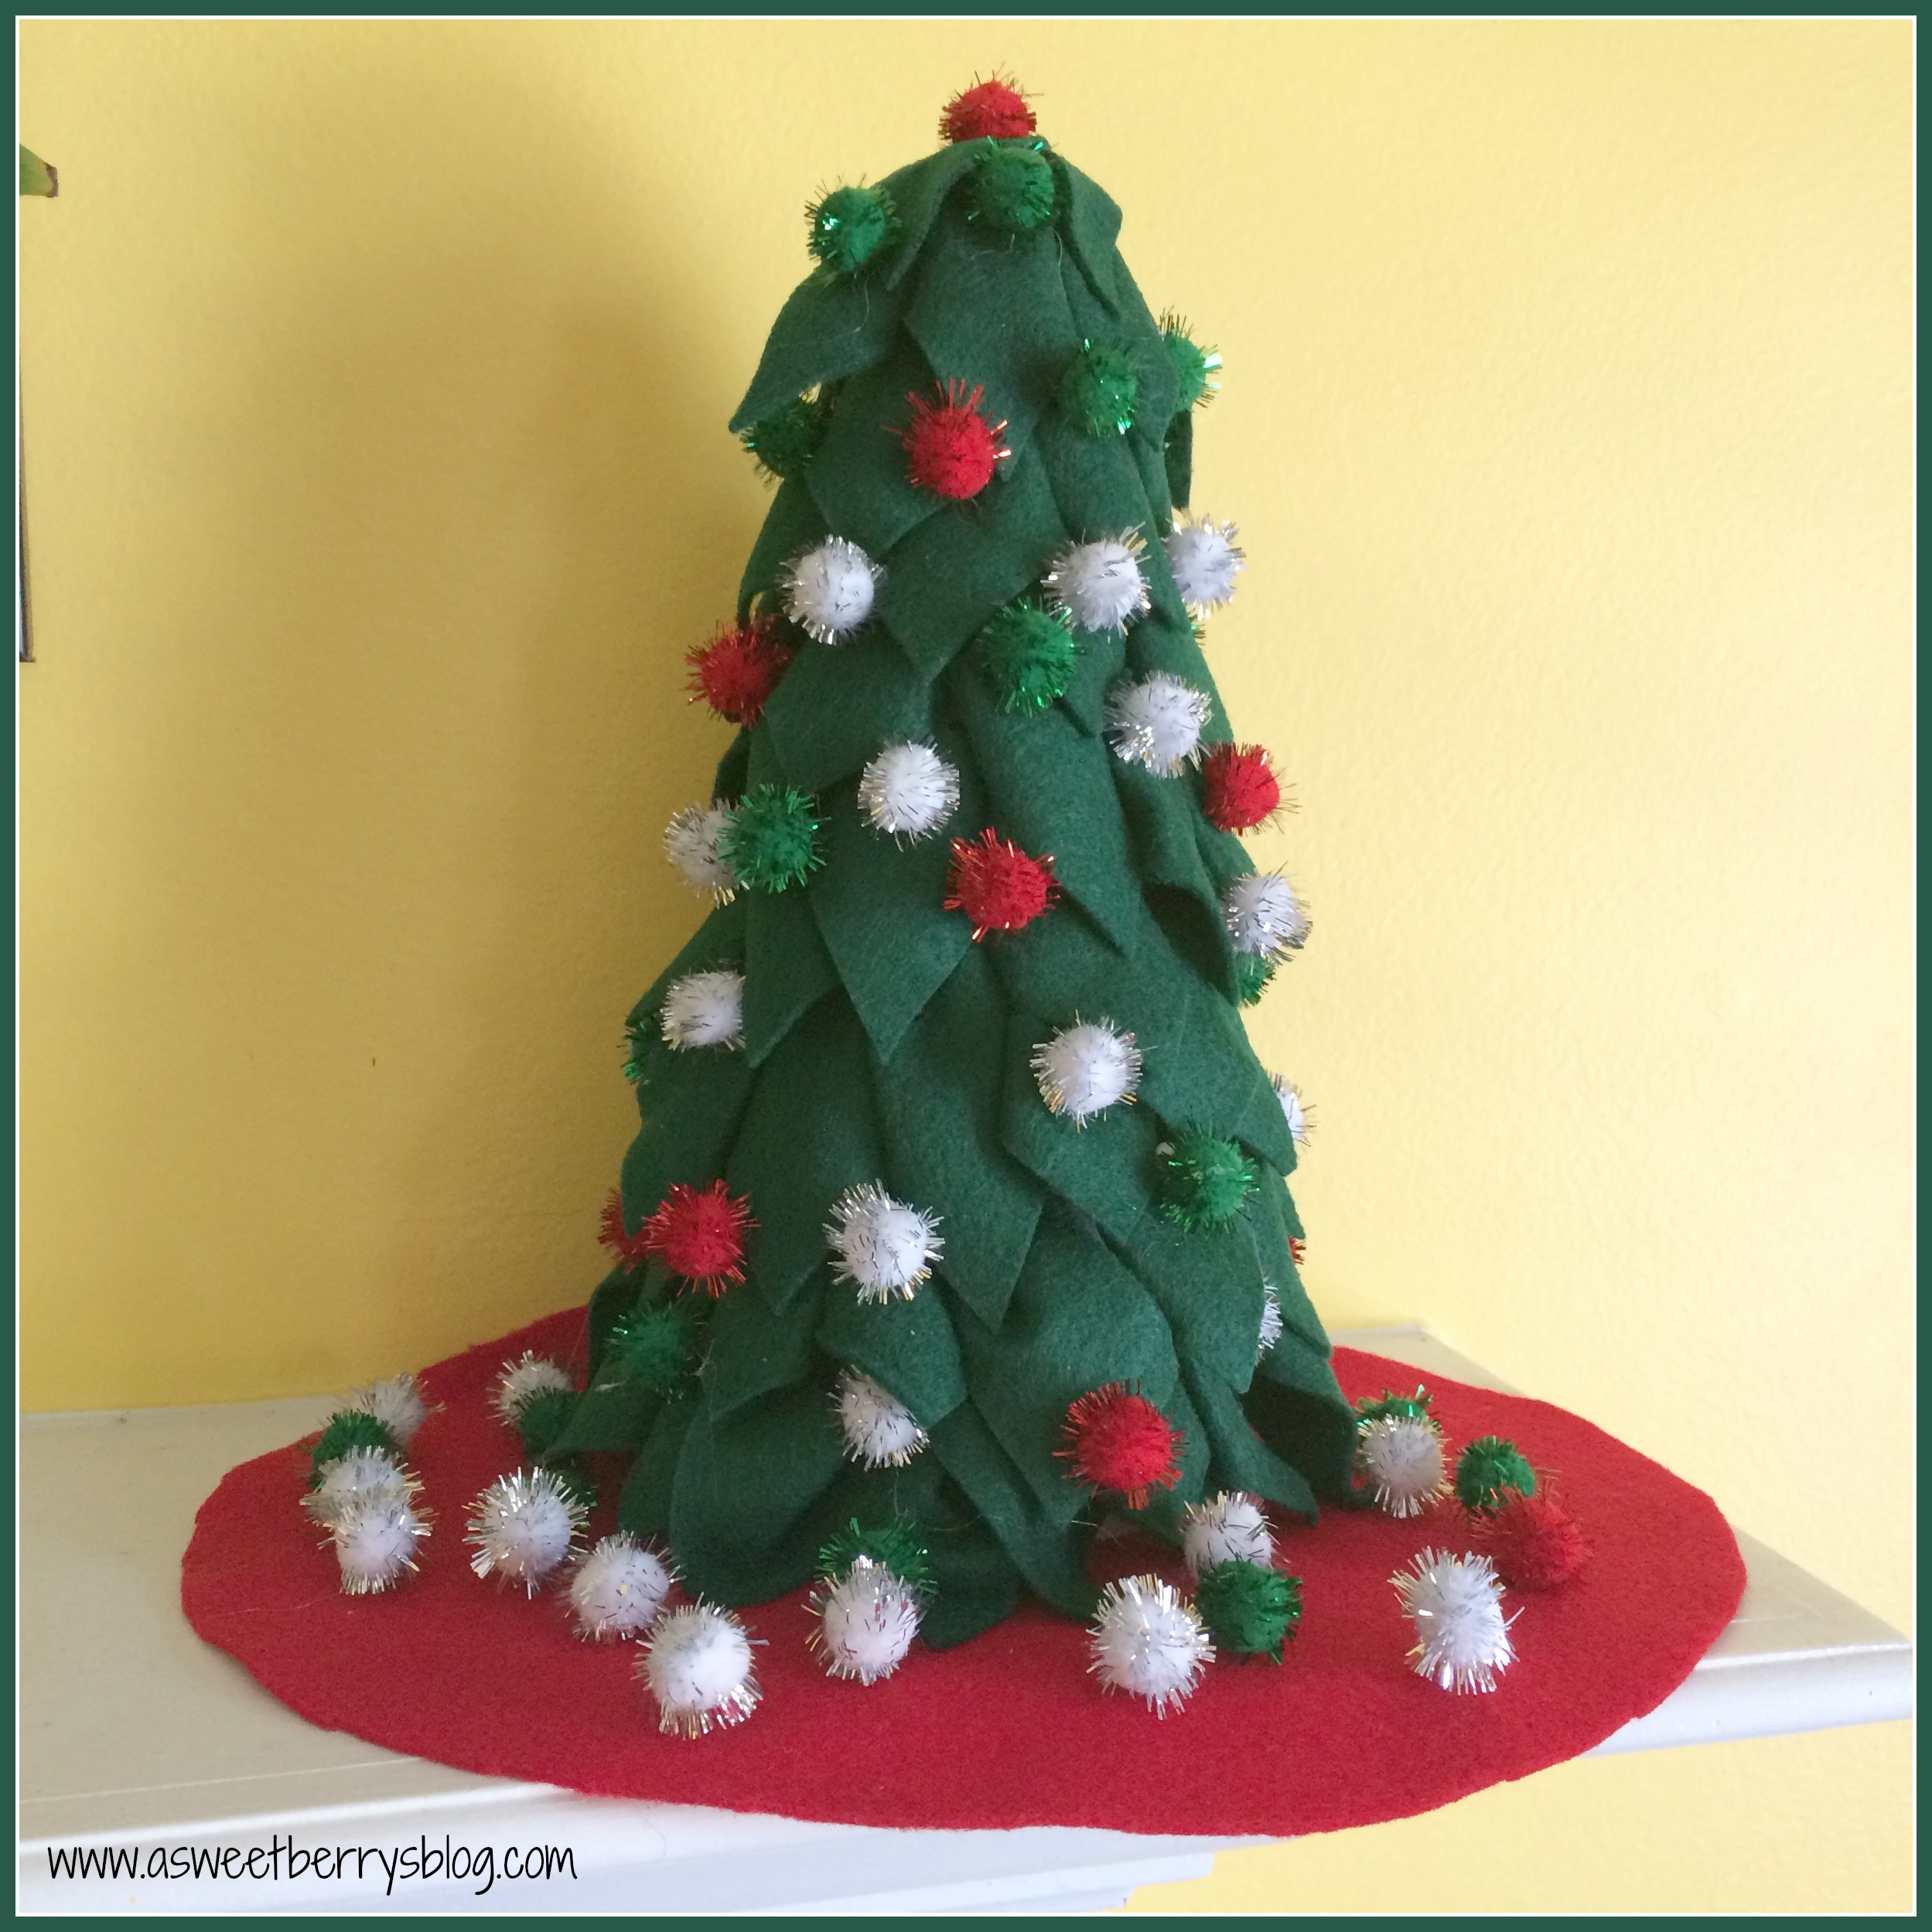
It’s Craft Lightning time again!  And this time it’s a 15 minute Christmas craft!   This super easy and super quick Felt Christmas Tree is an awesome little decoration for the mantel or even the middle of your kitchen table! Main Photo
Supplies:
FloraCraft Styrofoam Cone
Kunin Felt
Hot Glue Gun
Pom Poms 
Rotary Cutter and Cutting Board
Pins
supplies
First, I did a quick cut of some felt, cutting it into strips.  Then I did a super quick cut of triangles.   Folding the triangles in thirds, I added a pin and then stuck it right into the styrofoam.  I started it at the bottom and worked my way up.
process
Using my Pom Poms and my hot glue gun, I added the green, red and white pom pons to cover the pins and added a couple of more to fill in the gaps!
Main Photo
Be sure to check out other creative Craft Lightning ideas by click the Button below!

Hope you like this quick Felt Christmas Tree! 

Until next time………..

Scotch Tape Pumpkin Banner

Halloween is right around the corner!  It’s one of my favorite times of year.  I made this super cute Scotch Tape Pumpkin Banner to hang in my house!  The good thing is…..it can stay up until Thanksgiving! Final
Materials used:
Scrap pieces of paper (at least 6″x6″)
Scotch Expressions Masking Tape and Washi Tape 
Laura Kelly’s Pumpkin die from Ellison/Sizzix
Sizzix Big Shot supplies
Placing my 6″x6″ pieces of paper, I put them on top of the pumpkin die to gauge where the stem of the pumpkin was and how much tape I needed to place on the paper.  Once I got the tape down, I used the Sizzix Big Shot and the pumpkin die to cut out my pumpkins.
pumpkin
Using small clothes pins, I added them to a piece of ribbon to make this cute little pumpkin banner!
Final
Hope you like my adorable Scotch Tape Pumpkin Banner!  It was super easy and super fun!

Until next time……

Washi Tape Pumpkin Popcorn Box

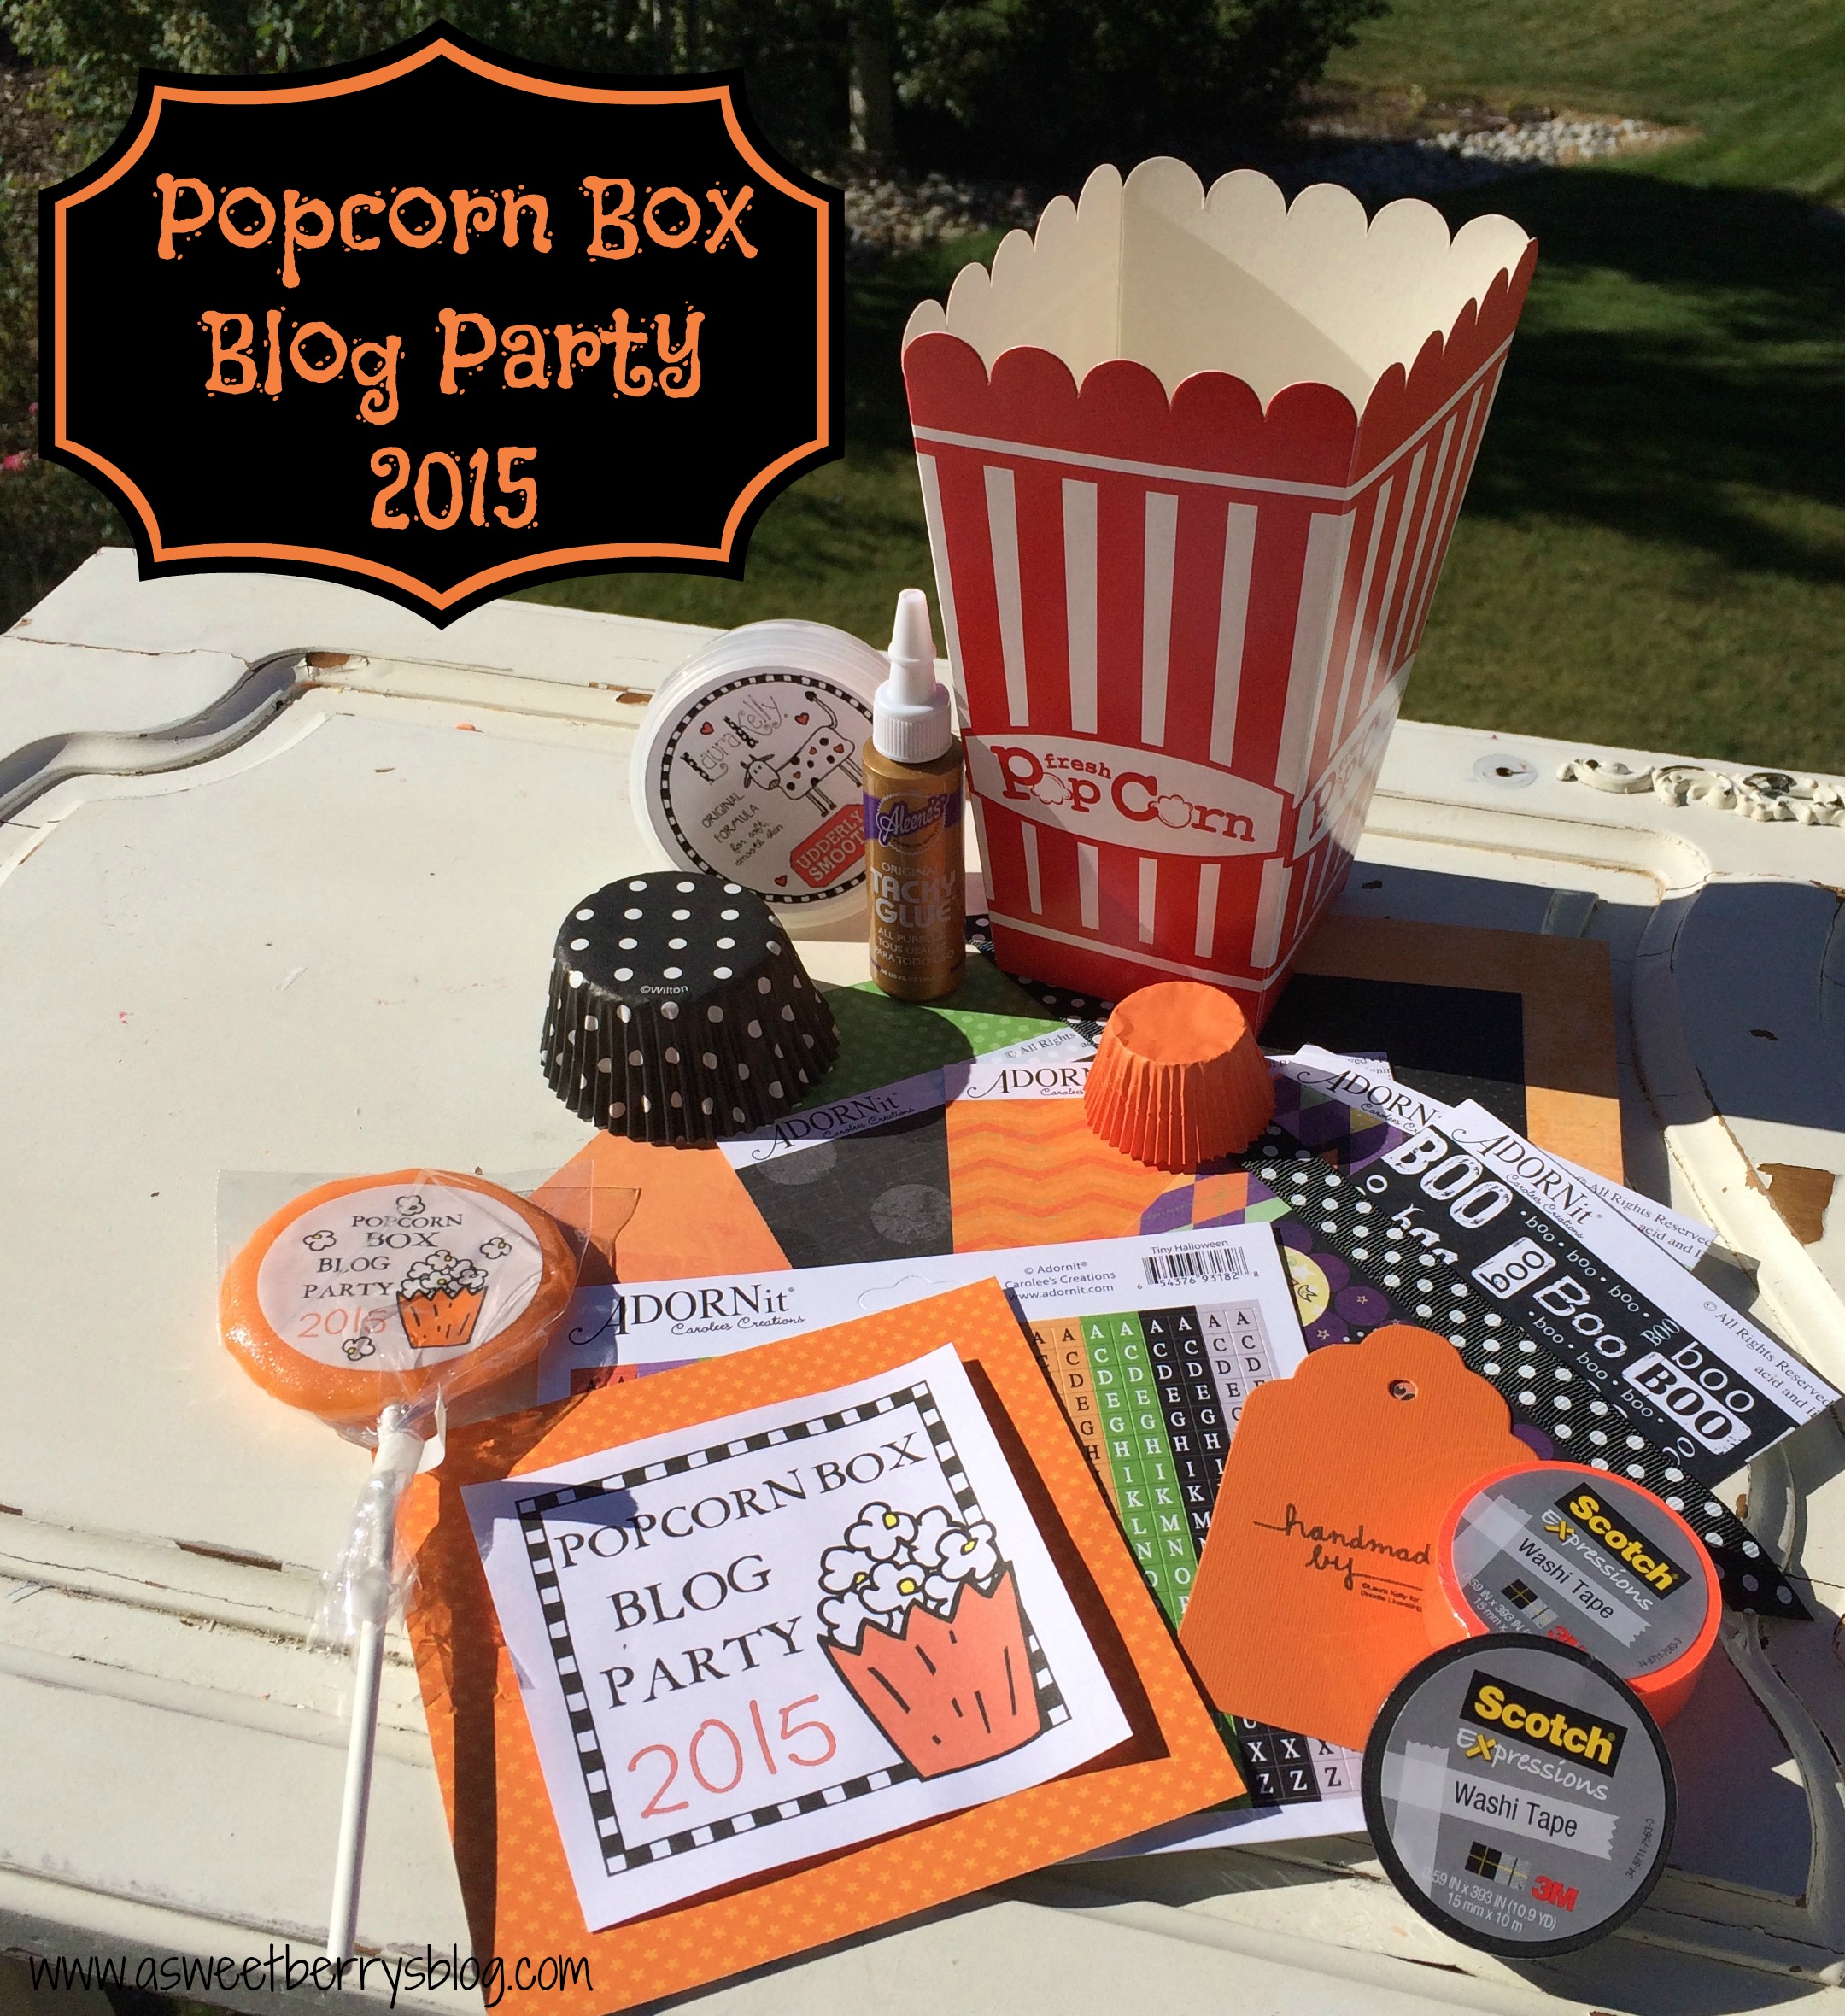
For the last couple of years, my friend Laura Kelly has put together an awesome Popcorn Box Blog Party with a selection of great craft items to help decorate the popcorn box!   She has done it again, and with the help of some great companies!  These awesome Popcorn Boxes came from World Market! blog party
This year, Scotch donated their Expressions Washi Tape!  I thought to myself, why not make a Washi Tape Pumpkin!  
Popcorn Box
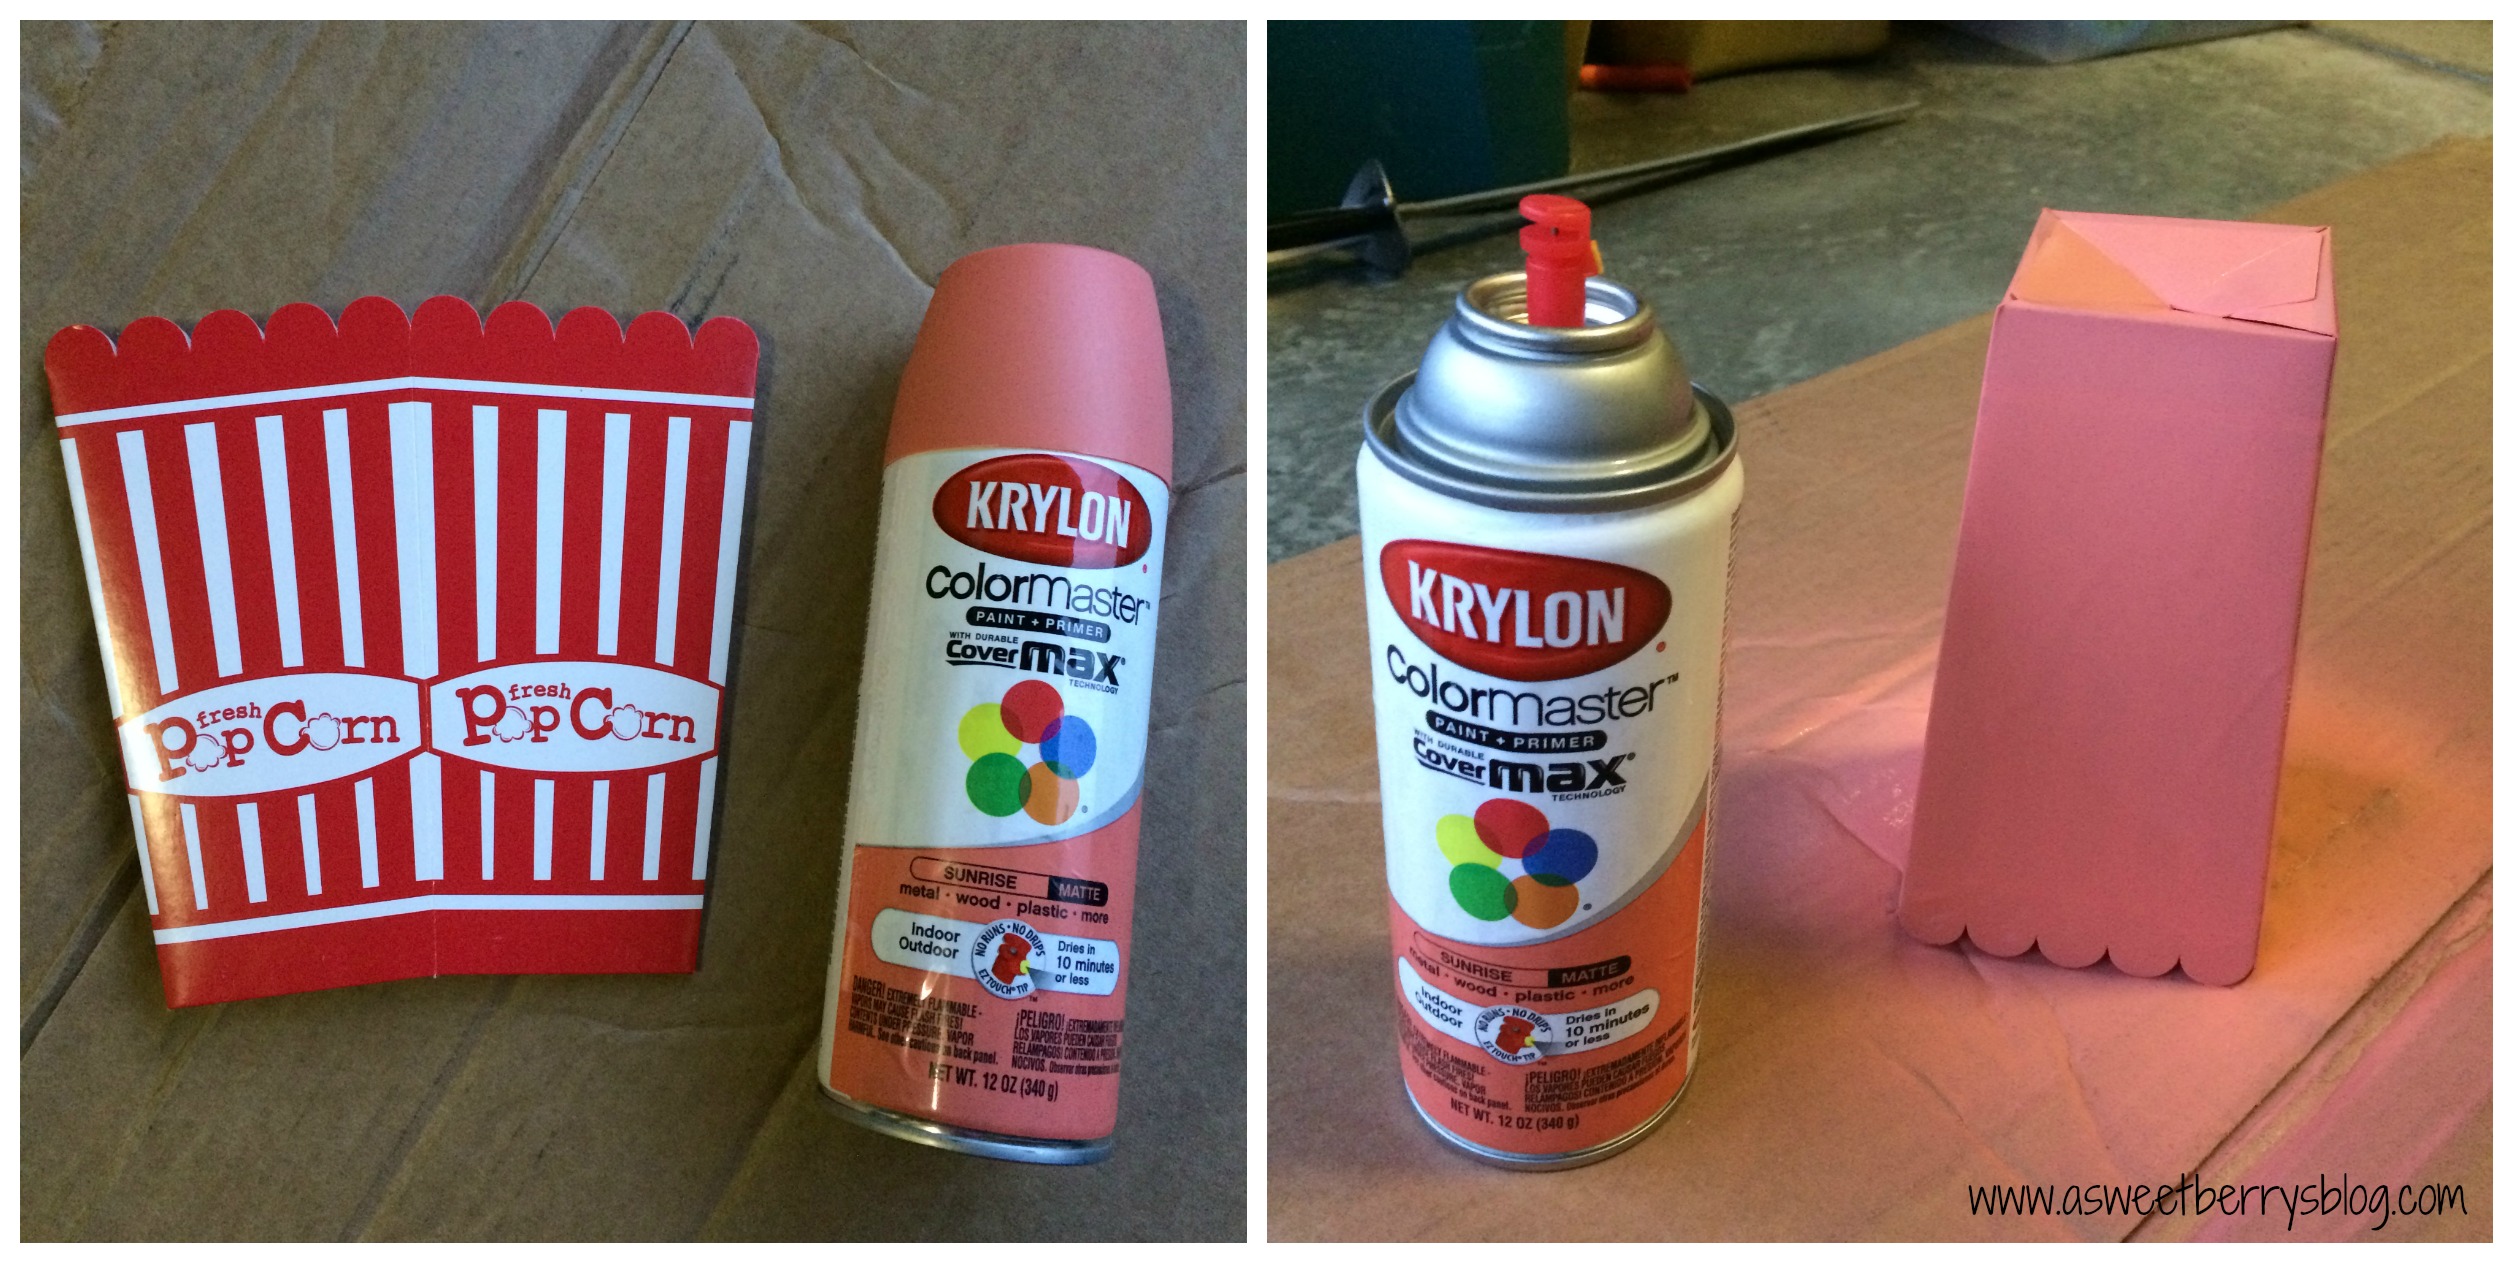
Using Krylon spray paint that I had, I spray painted the box to cover up most of the red designs on the popcorn box.  The color was not quite orange, but it did the trick.
Krylon
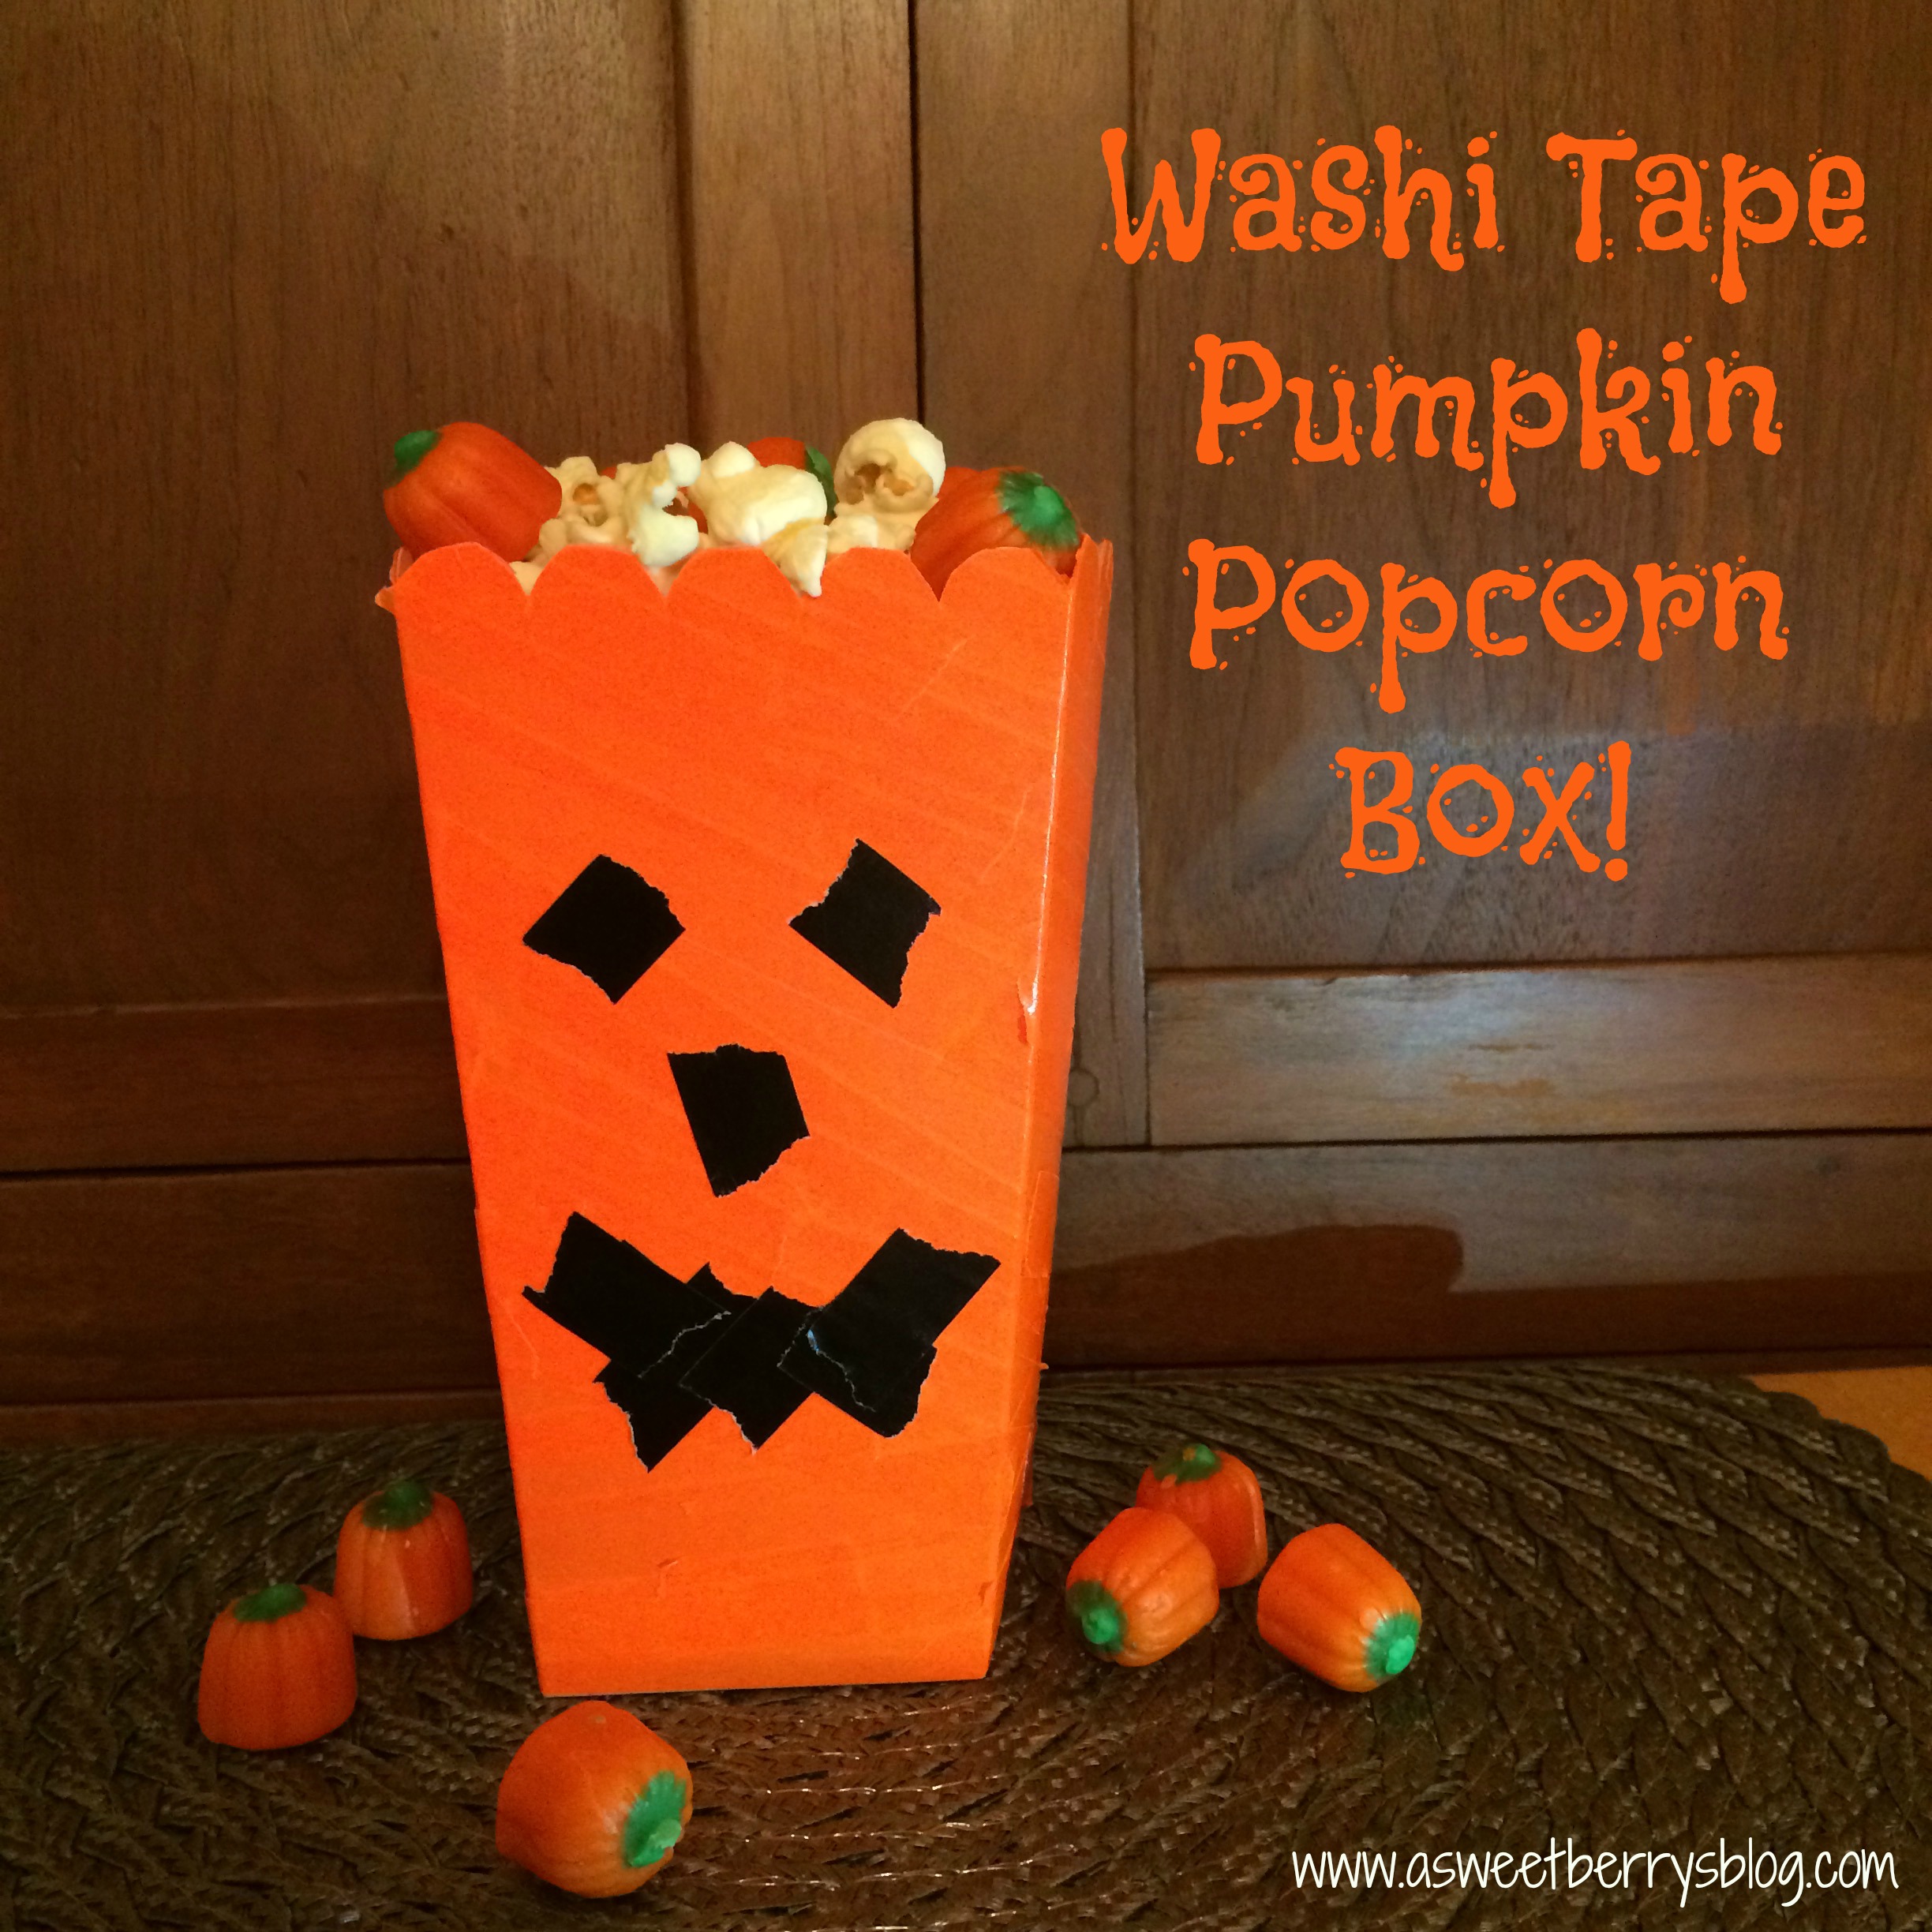
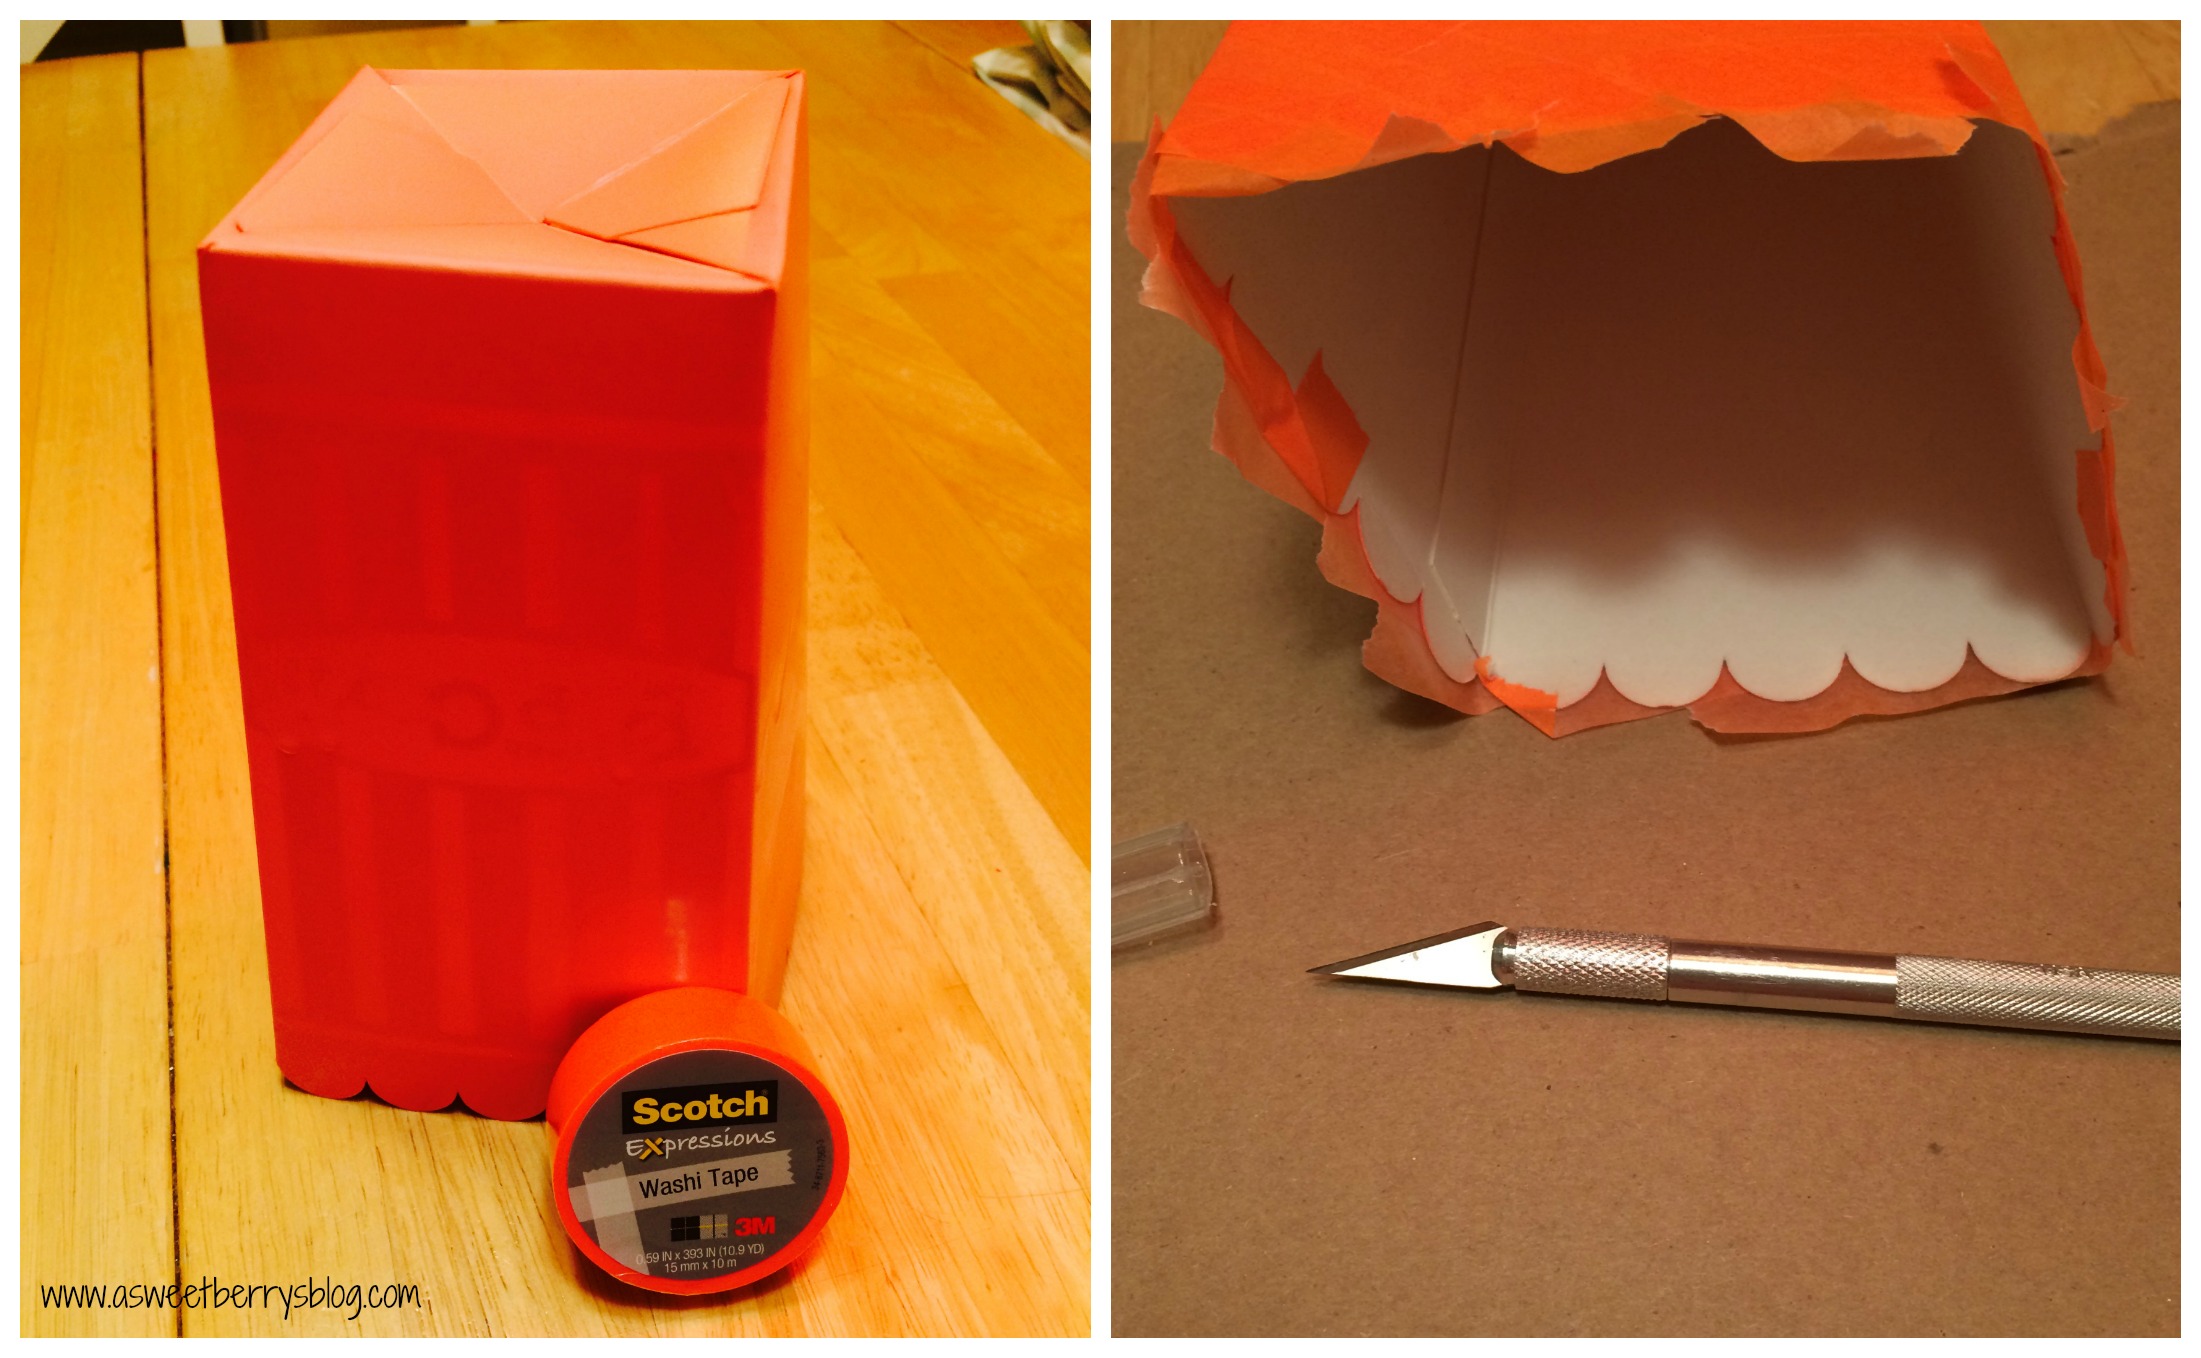
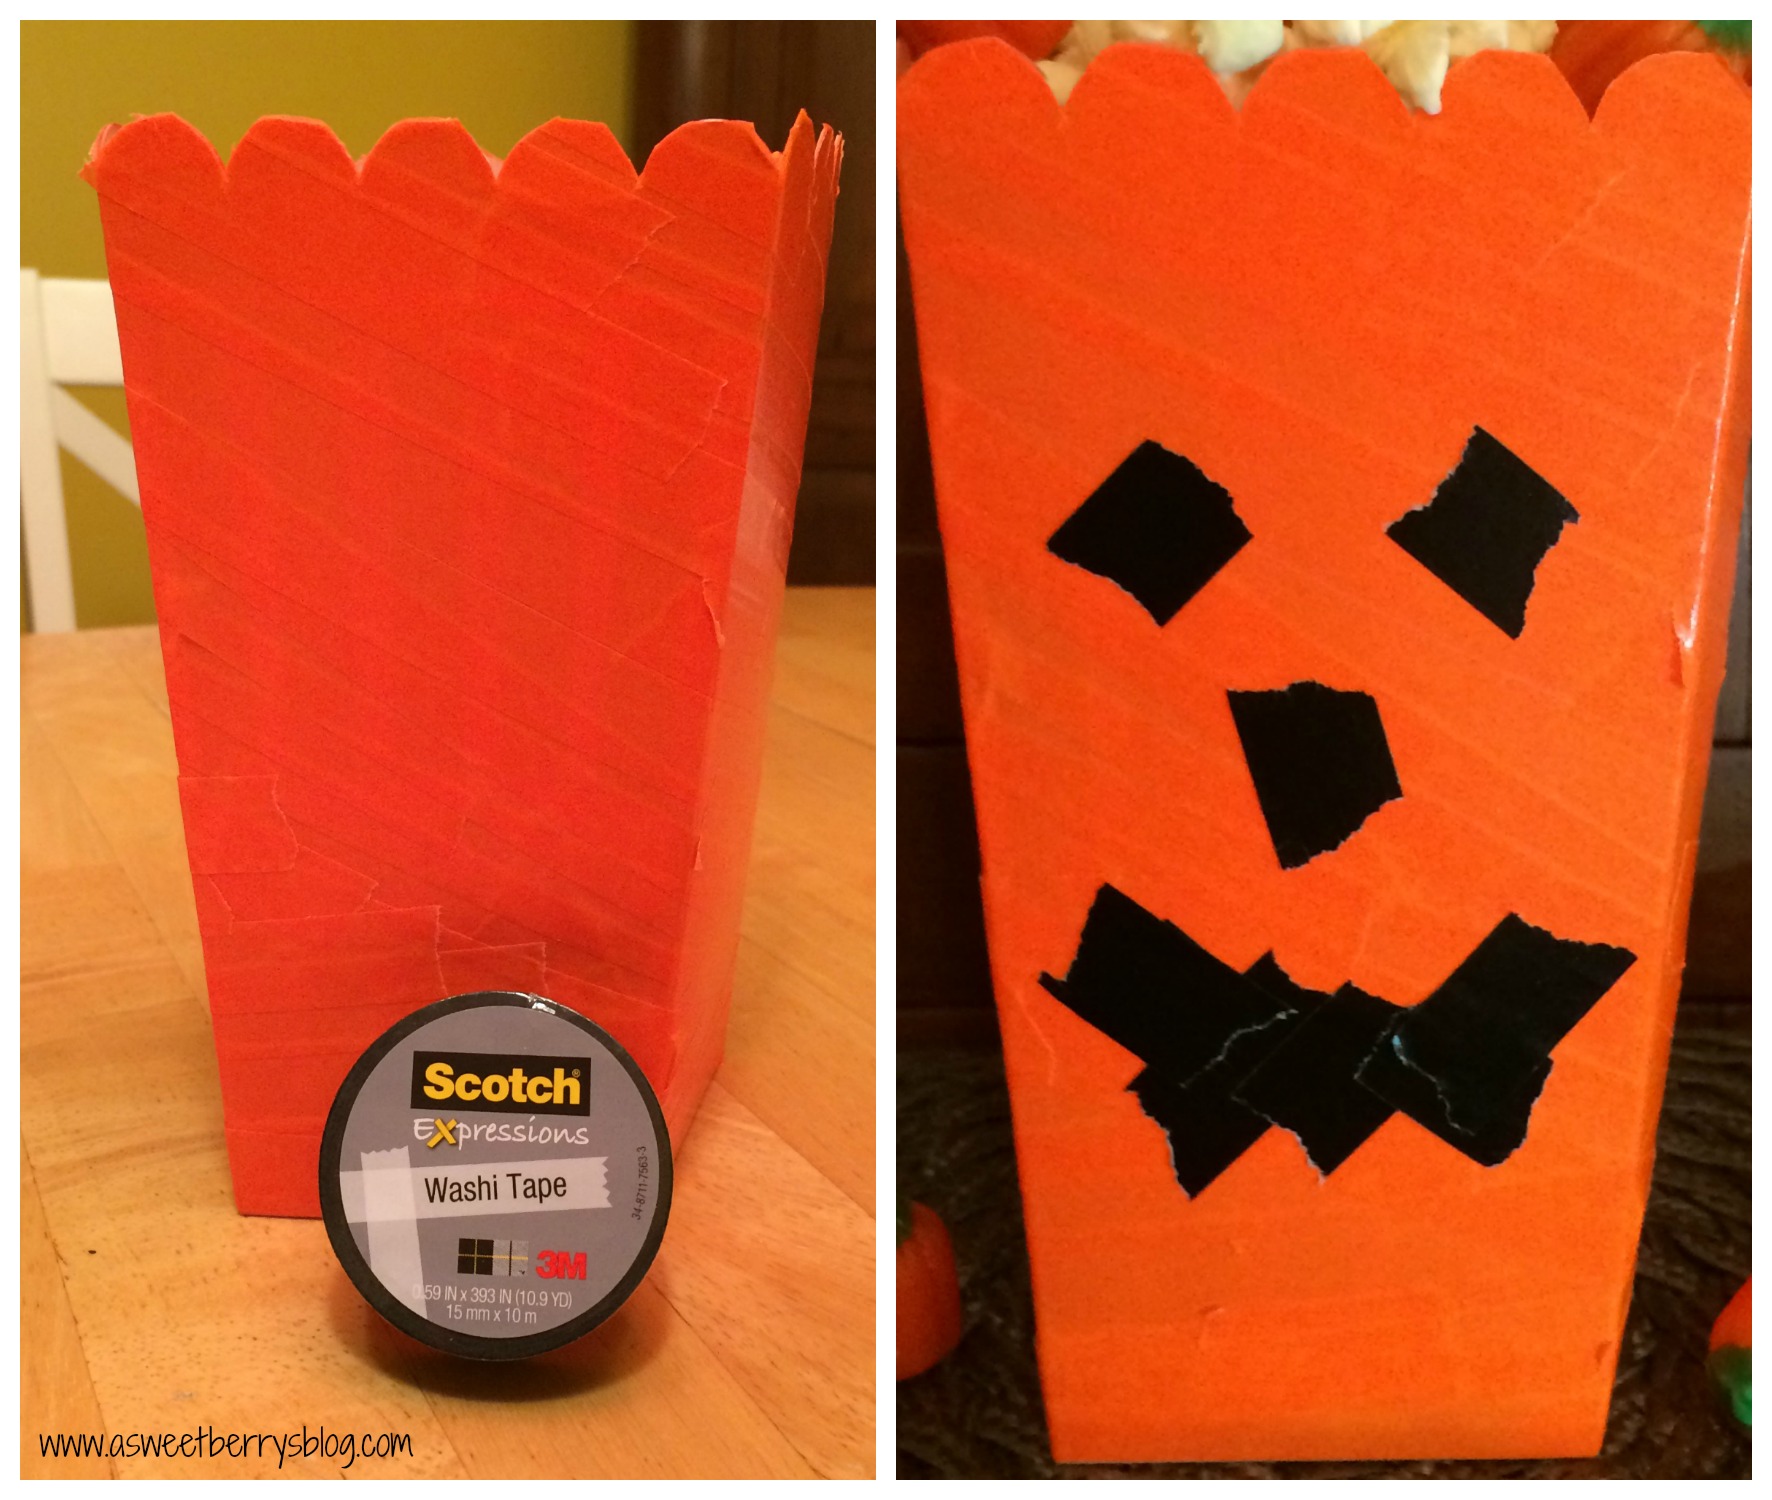
Once the spray paint was dry, I covered the box in orange wash tape.  I didn’t want the lines to be perfect, so I made the tape go in all different ways!  It kind of made it look like an orange mummy!  Once it was covered, I used an Exacto knife to trim around the scalloped top of the box.
Orange Washi Tape
Next, I just tore pieces of black washi tape to make the pumpkin face!
Black Washi Tape
And it was done!  Super easy and perfect for a Halloween movie night with some popcorn!
Popcorn Box
Be sure to check out the other great Popcorn Box Designs.

And be sure to enter to win! a Rafflecopter giveaway

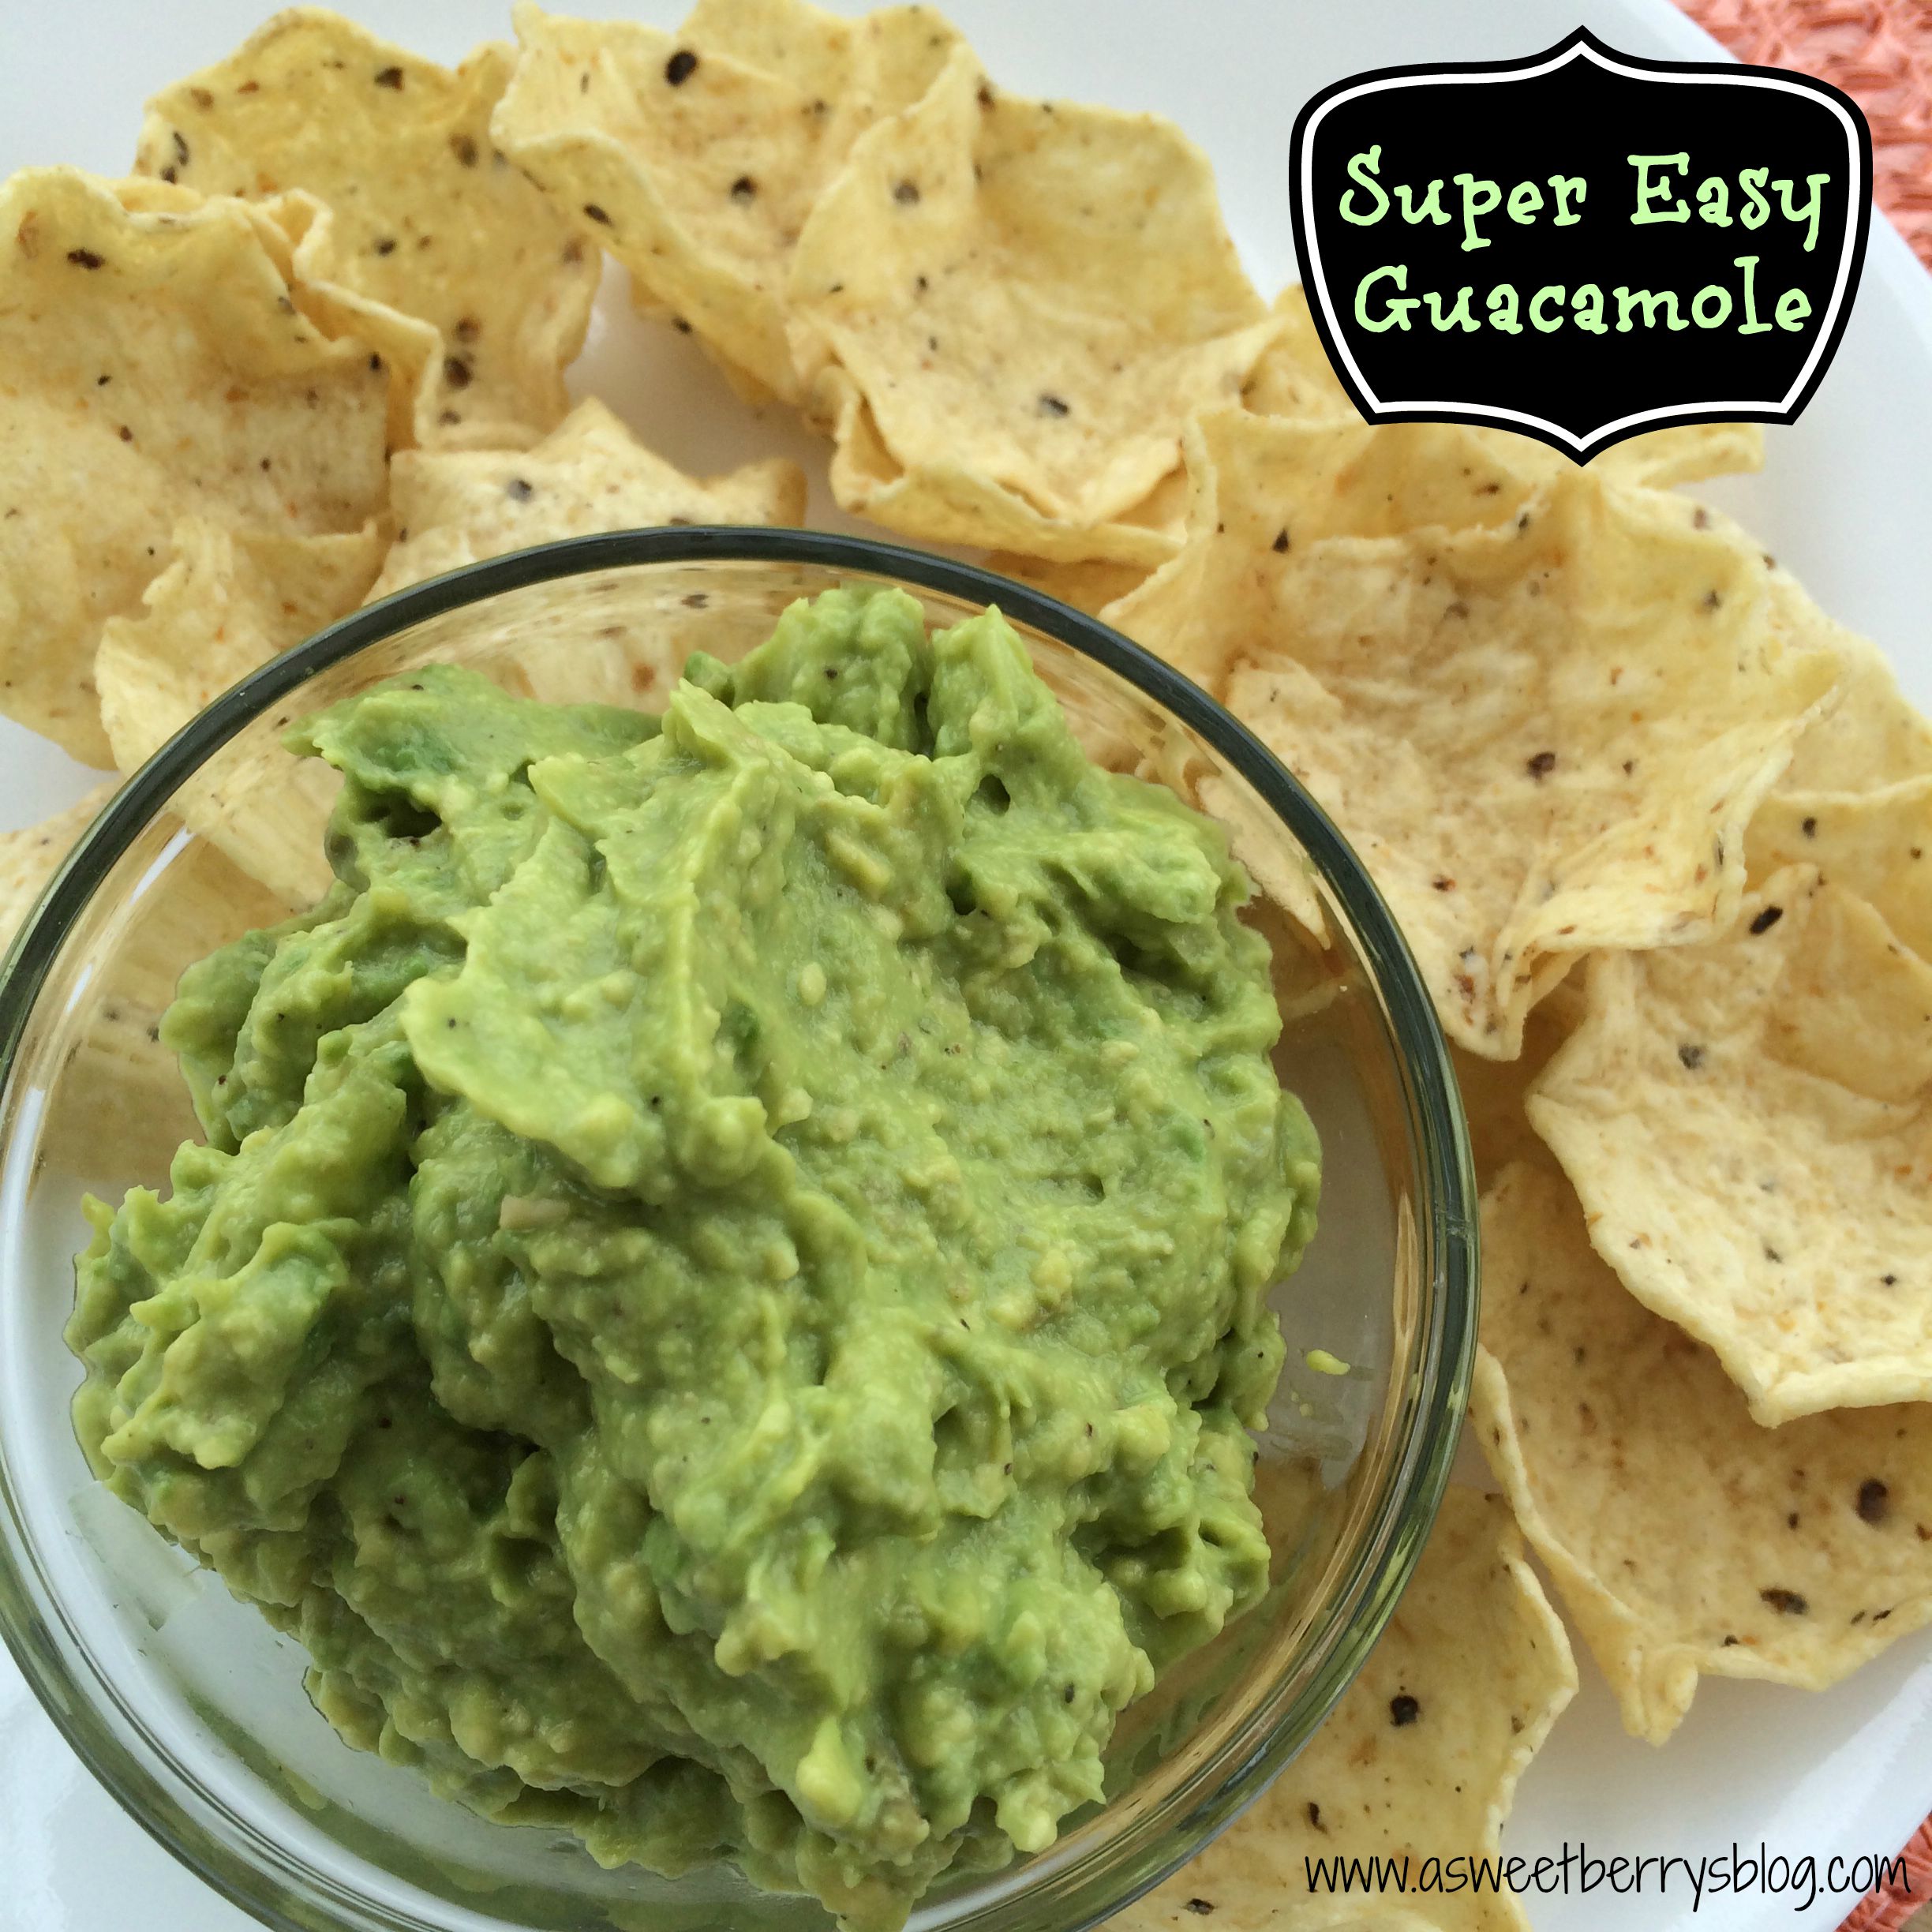
Super Easy Guacamole

guacamole
As I prepare for a trip to Mexico with my hubby for our 10th wedding anniversary, I was in the mood for some homemade guacamole!   I had an avocado at home, but I didn’t have all of the other traditional ingredients for guacamole!  So, I improvised and used what I had and OMG! my whole family loved it!  It was super easy and only took a few minutes!  Even my husband that isn’t a guacamole eater, liked it!
ingredients

Super Easy Guacamole
Easy and Yummy Guacamole made with minimum ingredients!
Write a review
Print
Ingredients
  1. 1 avacado
  2. 2 tbsp. of chopped onions
  3. 1/2 tsp. of diced garlic
  4. salt to taste
  5. pepper to taste
Instructions
  1. Remove the avocado from the peel. Remove the seed. Place avocado in a bowl and mash with a fork. Add the onion, garlic, salt and pepper. Stir together. Enjoy with your favorite tortilla chips!
A Sweet Berry Designs Blog http://www.asweetberrysblog.com/
If you are looking for a super easy guacamole recipe with limited ingredients, or if you don’t like cilantro and tomatoes, then this is your recipe!!

Until next time……

Candy Corn Fun with a Laura Kelly Printable!

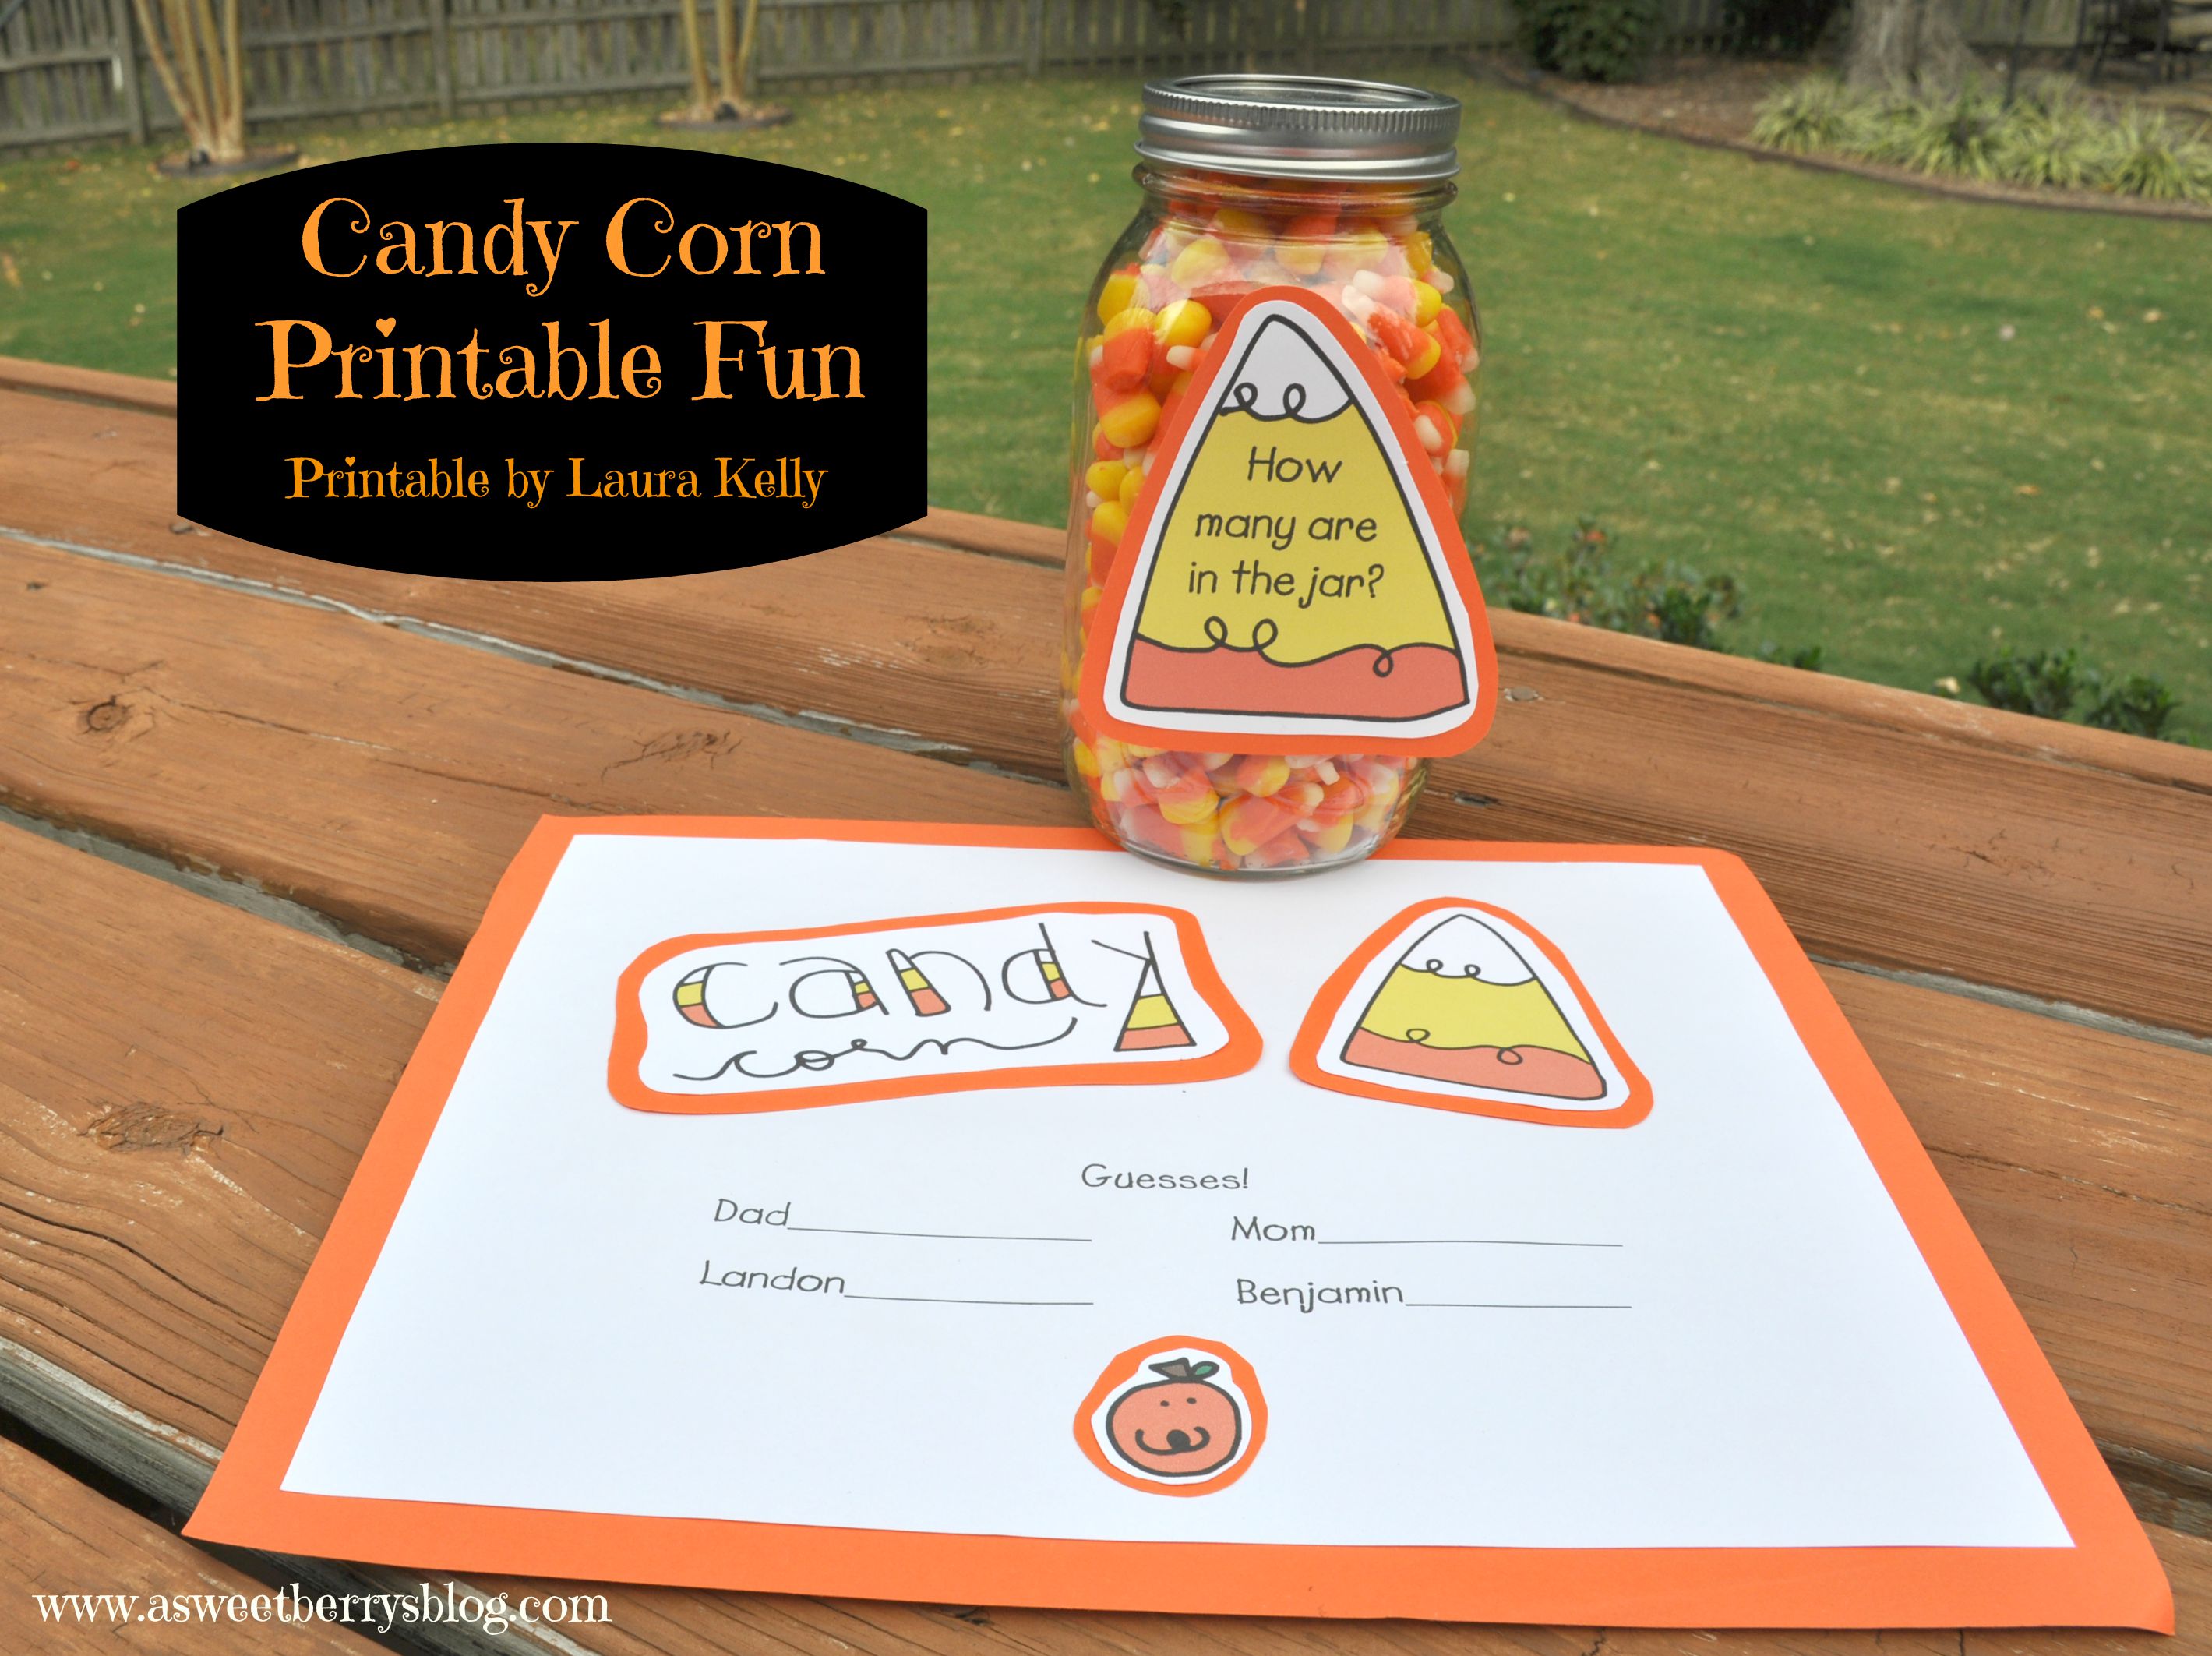
It’s Candy Corn Time!!!! Candy Corn Fun

It’s that time of year again!   It’s now Fall and the weather is changing.   And if you go to your local stores, Halloween displays are out!   With the Halloween displays, comes the Candy Corn!  Yum!
My friend Laura Kelly created a cute little Candy Corn Printable.  You can download it for free!  And if you make something with it, she’d love to see it!

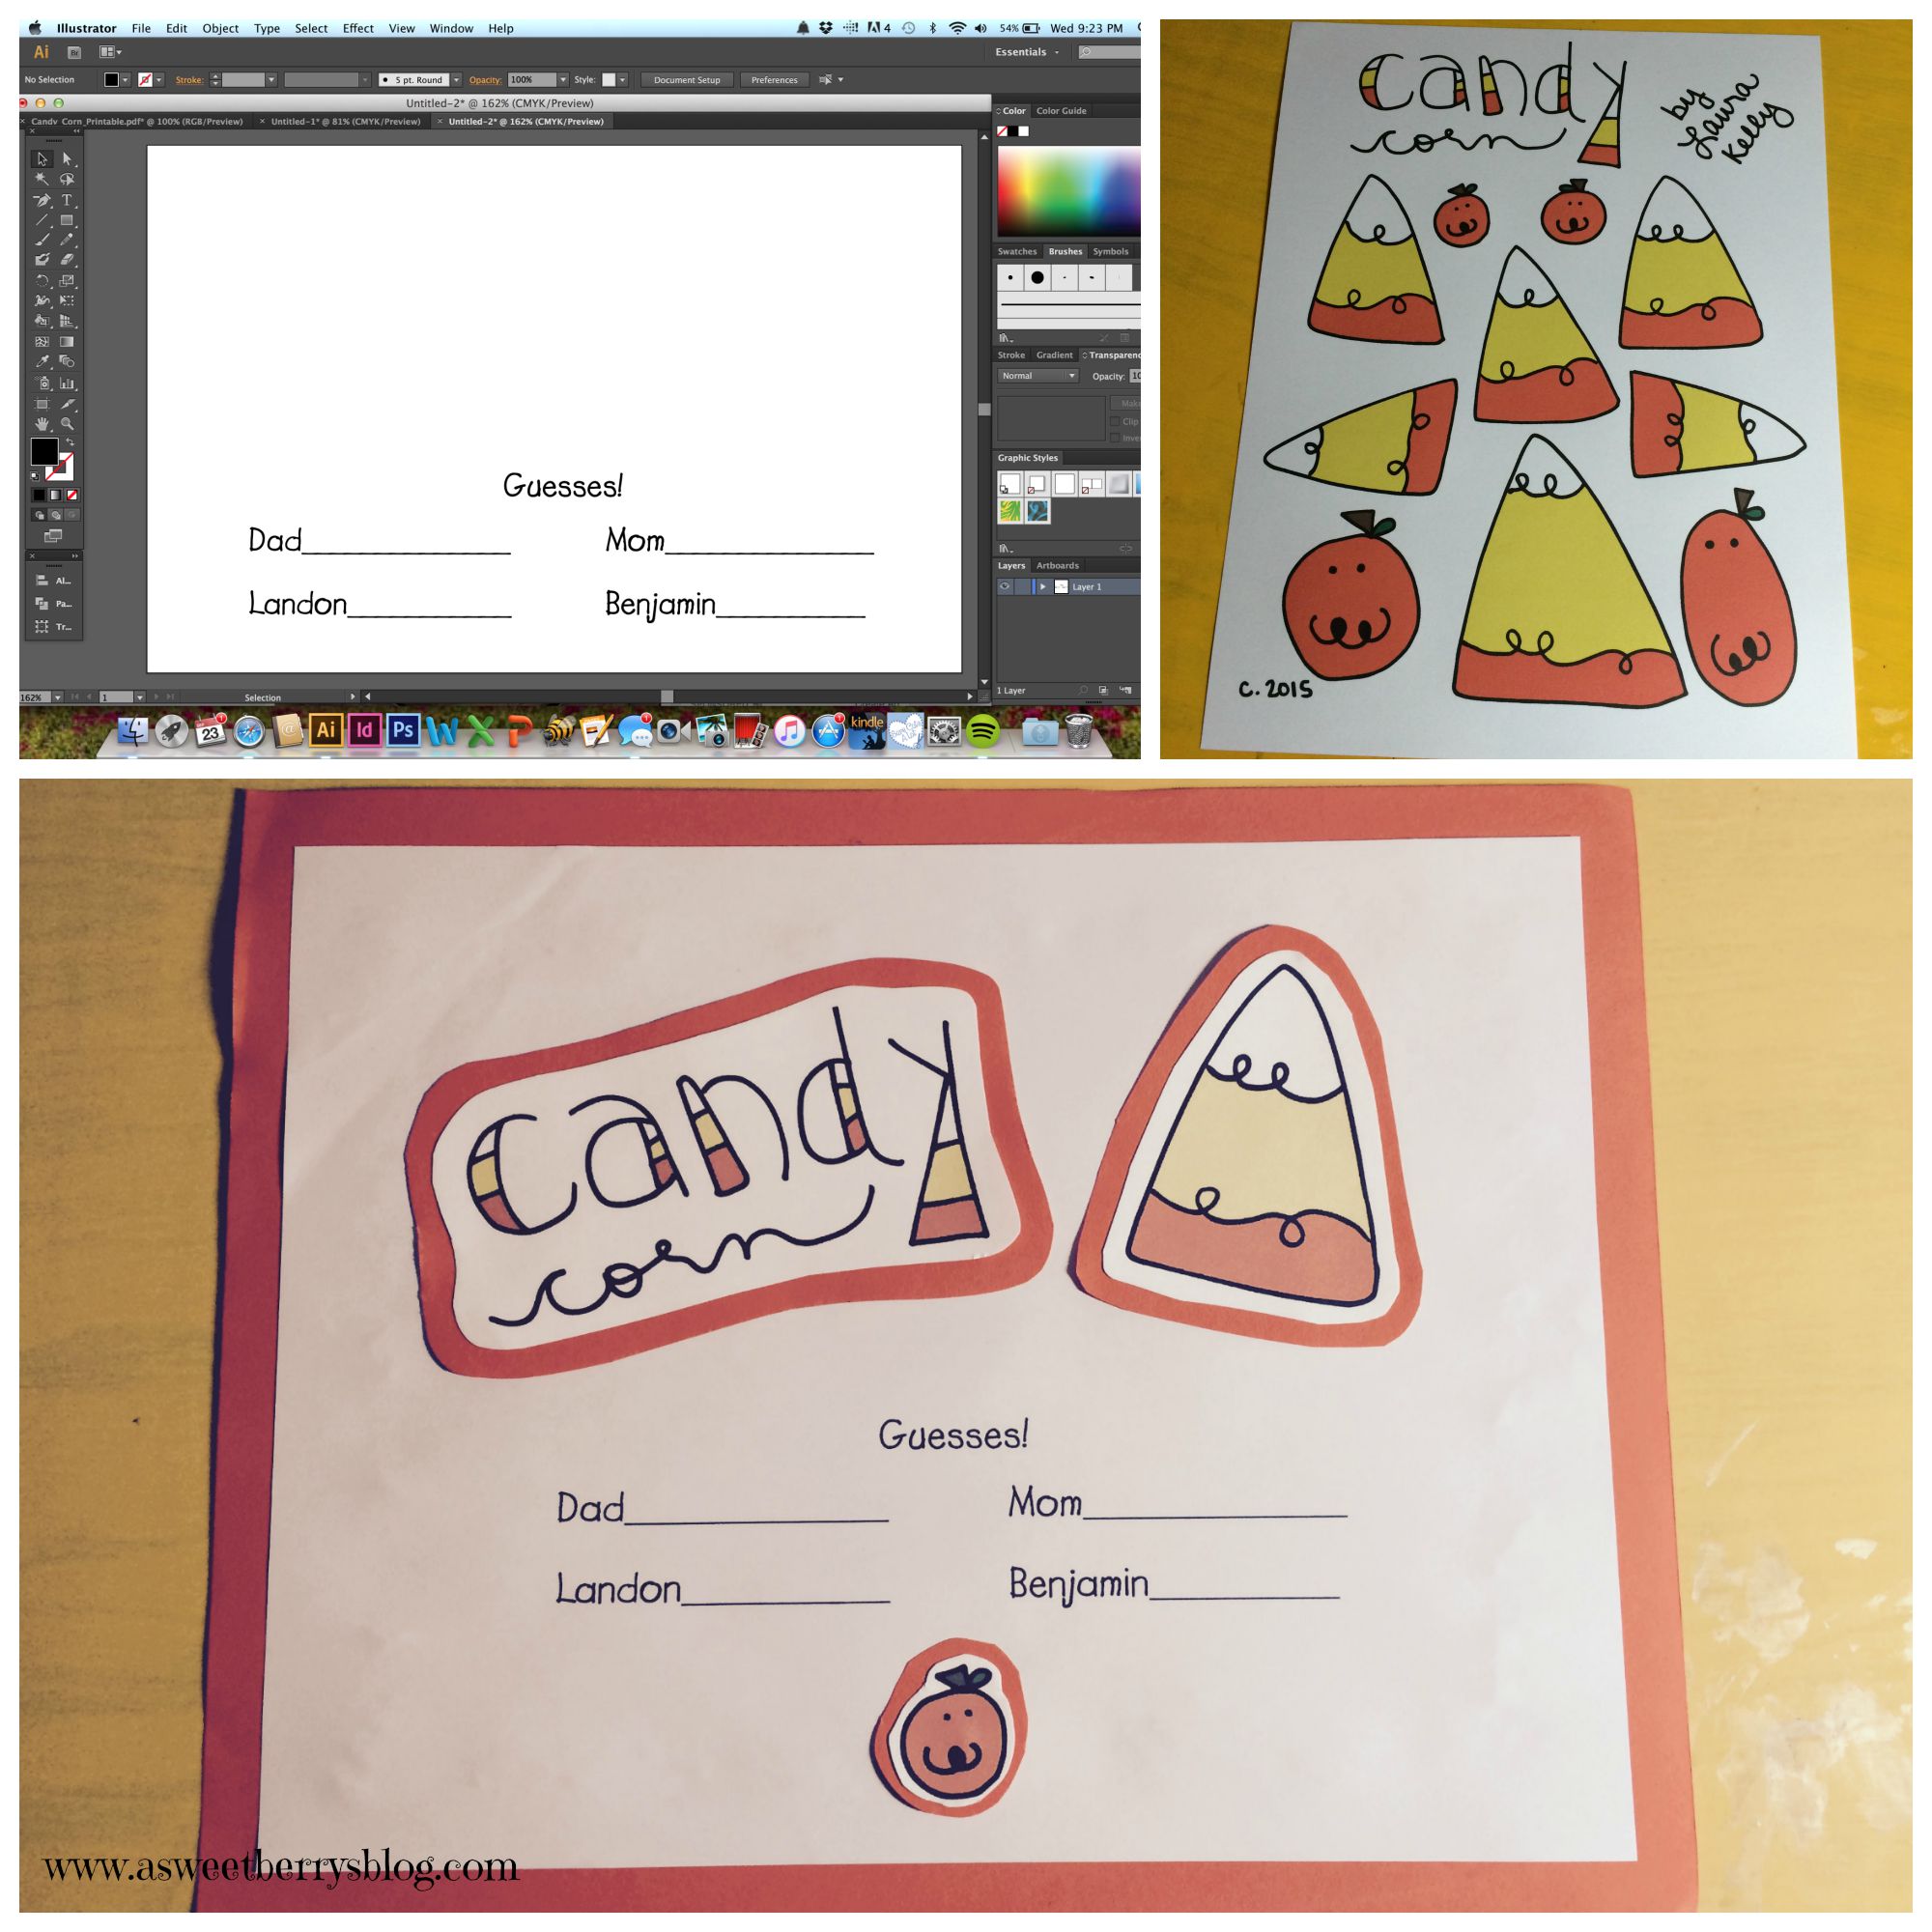
I love to color by hand, but I also love using the Live Paint Bucket in Adobe Illustrator to color!  That’s what I did here with Laura’s printable!   I also added a few words on one of the pieces of Candy Corn that I planned to cut out and use for my Candy Corn guessing game! process
Once the sheet was all colored, I created a “Guesses!” sheet, leaving room at the top to add some of the colored pieces from the sheet.   I printed out my colored Candy Corn Printable, cut some pieces out and glued them to my “Guesses!” sheet! guess sheet
Now it’s time for everyone to make their guesses as to how many pieces of Candy Corn are in my mason jar!   I can’t wait to find out who gets the closest!  I did not count them yet, as I wanted to make a guess too!    Candy Corn Fun Hope you like my quick and fun idea of using Laura’s cute Candy Corn Printable!!!

Until next time………

Click here to check out other Candy Corn Printable Projects!

Also, enter to win!!
a Rafflecopter giveaway