Category Archives: Crafts

Upcycled Welcome Sign Using an Old Sign

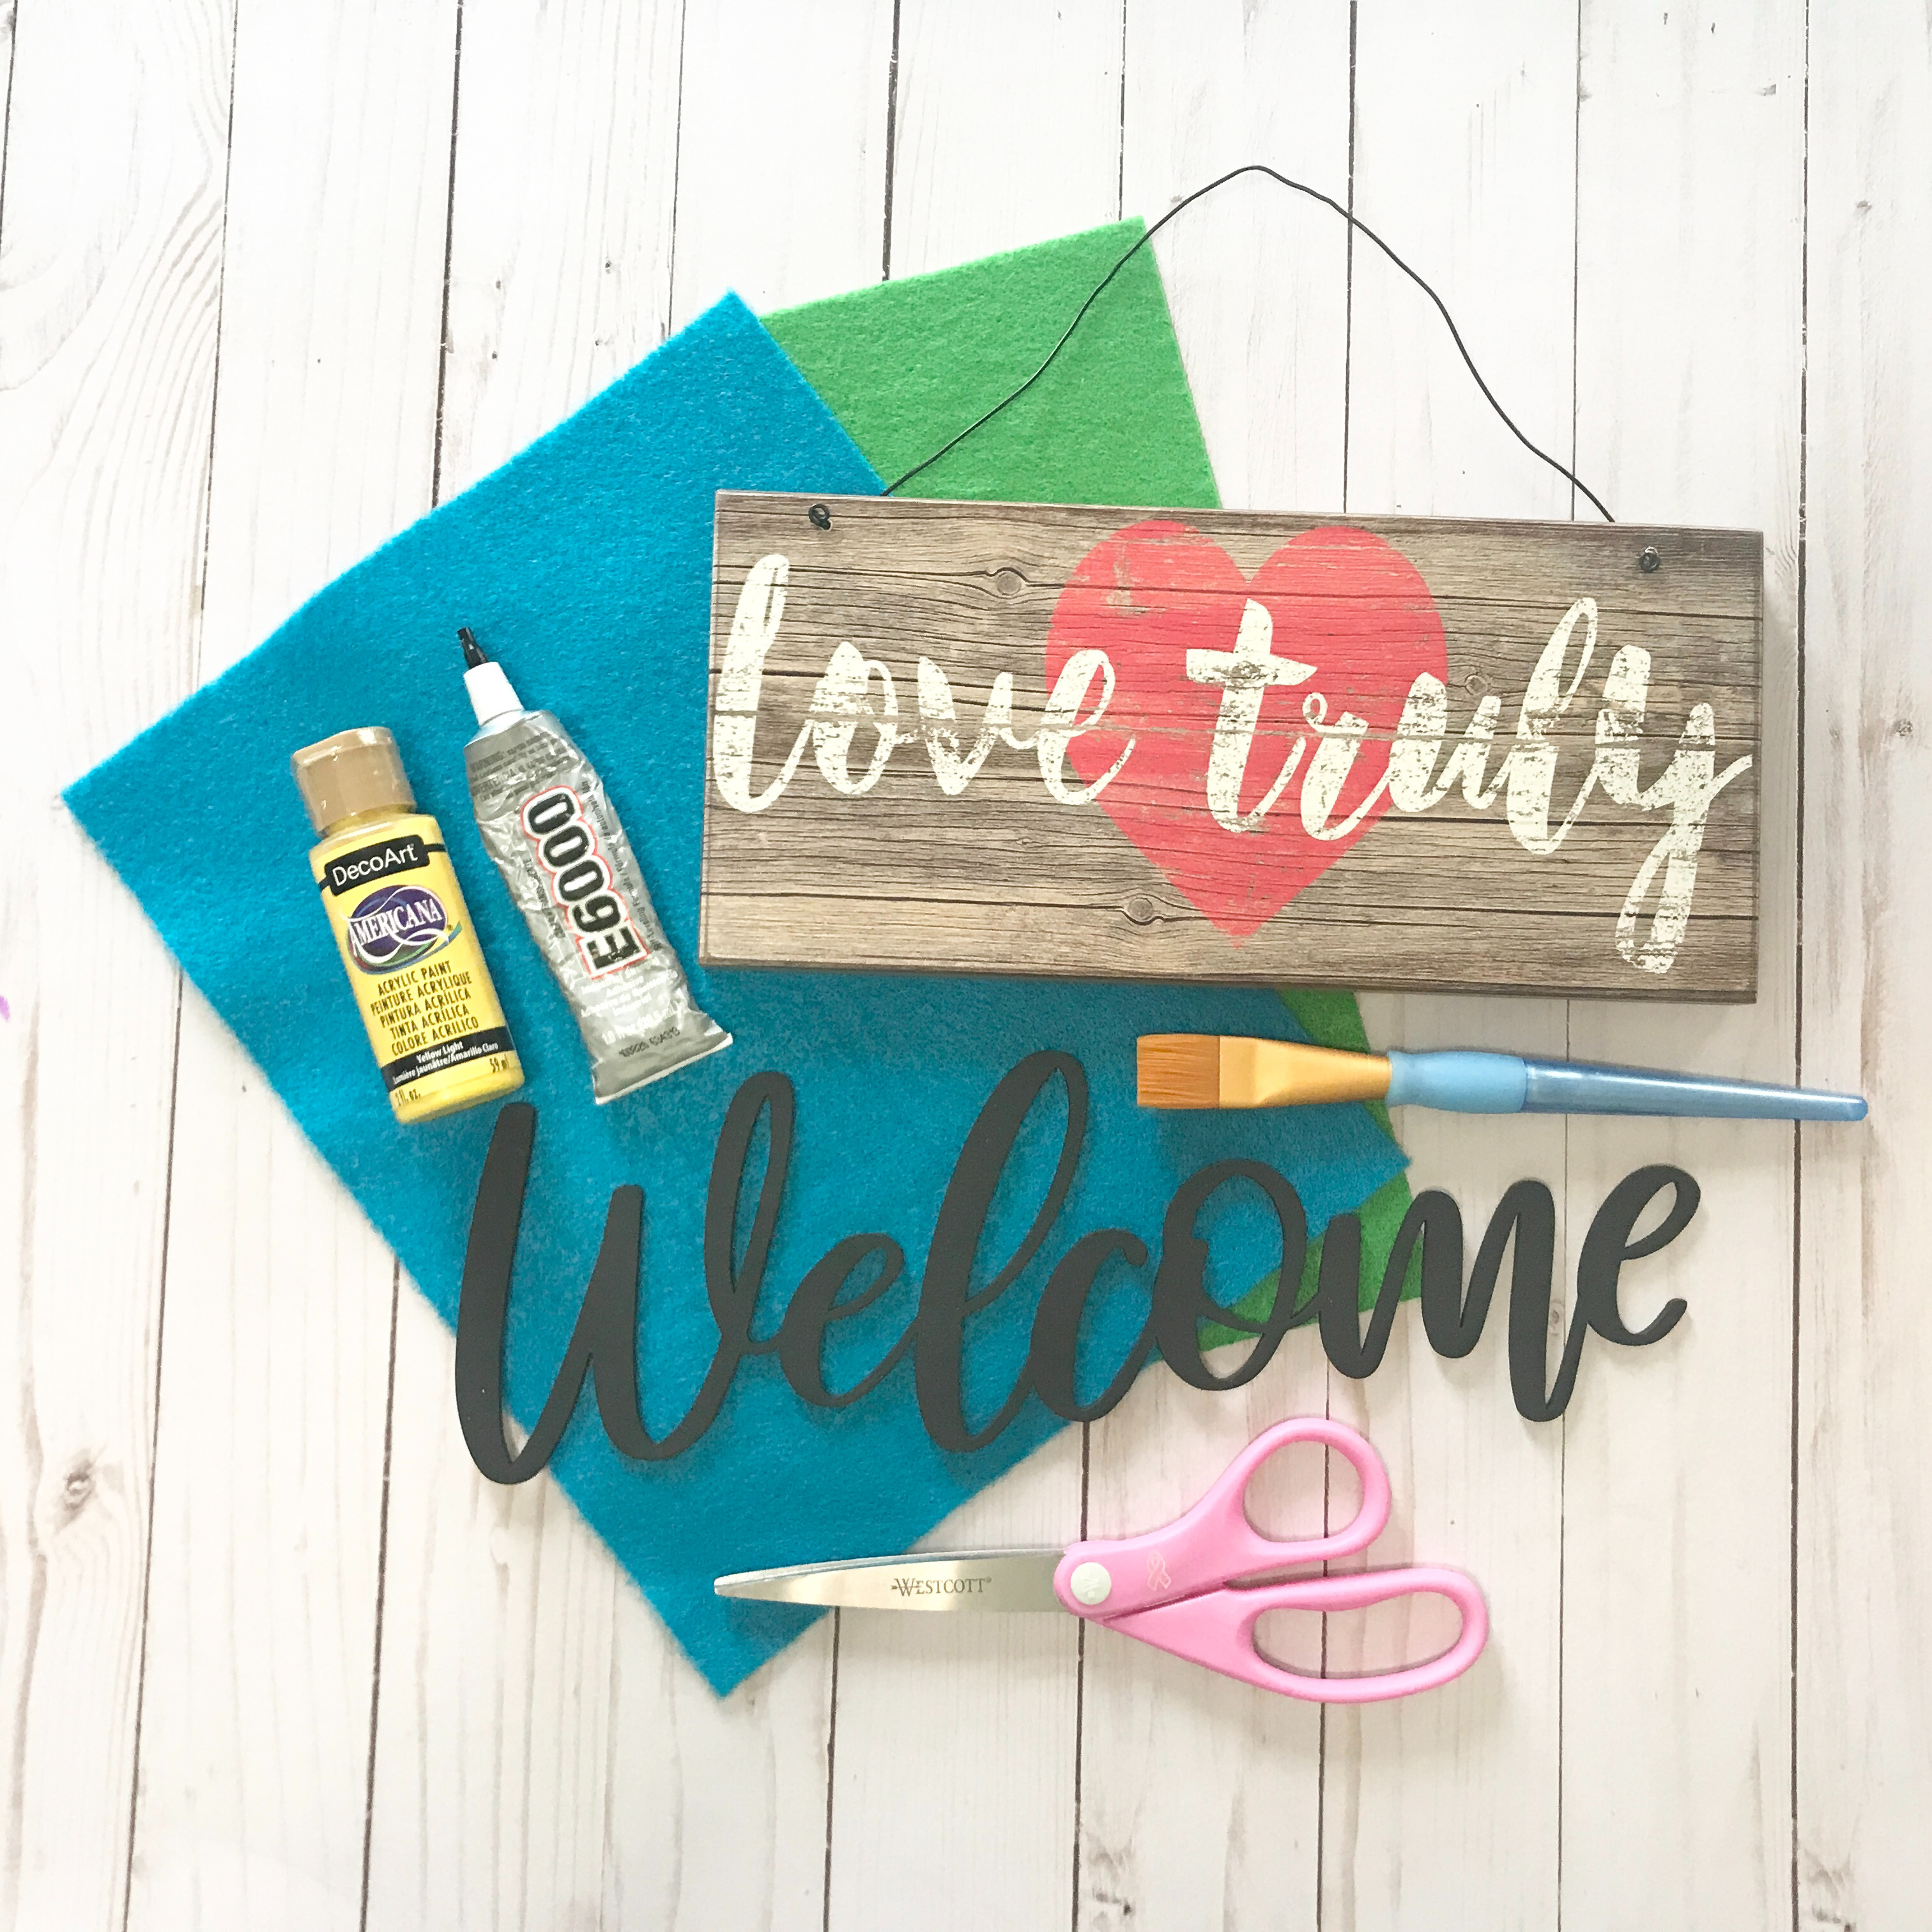
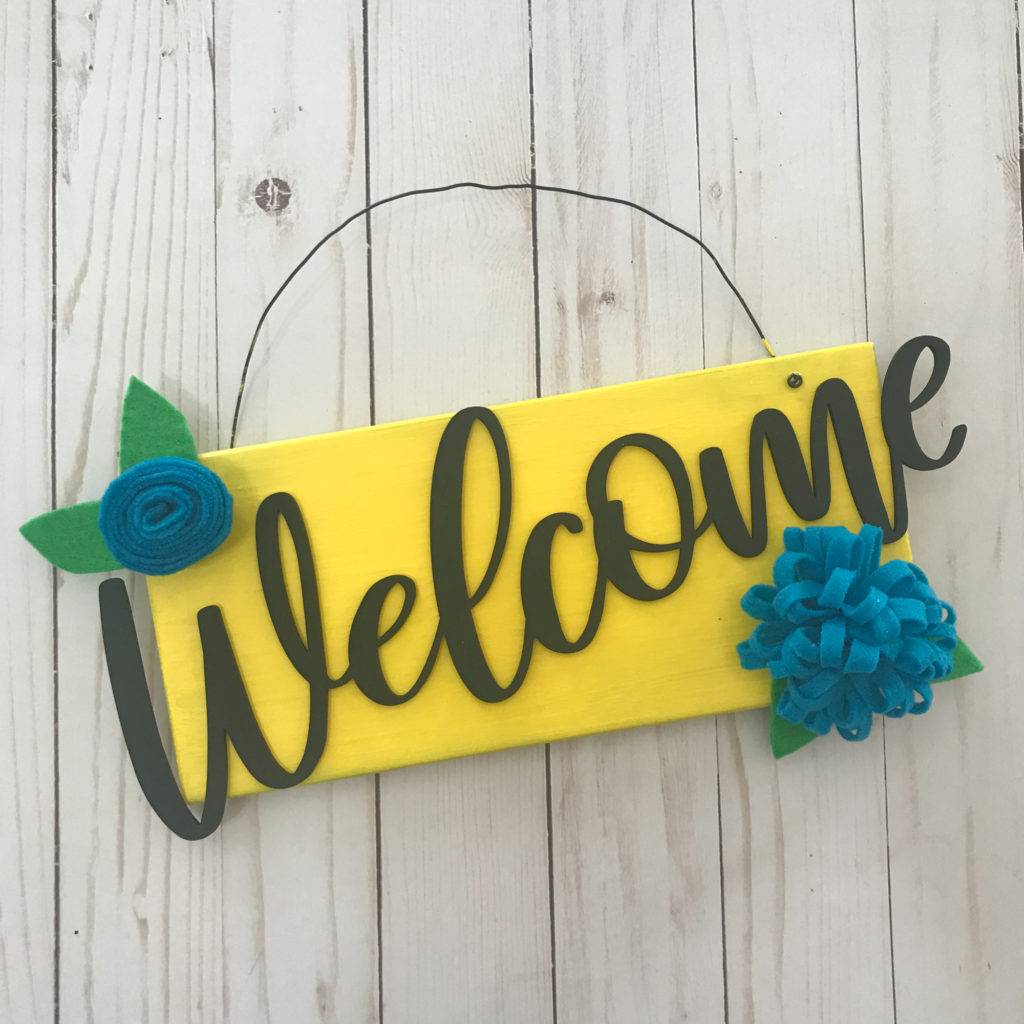
Welcome Signs for front doors are very popular right now and this adorable upcycled welcome sign is perfect on my door! I’m joining some of my favorite crafters for the 9th edition of Creative Crafts – Recycled Crafts Edition to create upcycled crafts. I made this sign from a sign that I recently took down from my craft room.
Materials:

  • An old sign
  • Welcome cut out that I cut on my Glowforge and then painted black
  • 9″ x 12″ craft cut of Kunin Felt® Classicfelt: (1) Peacock, (1) Apple Green
  • Acrylic Paint
  • E6000 glue
  • Paint Brush
  • Scissors

How I made it:

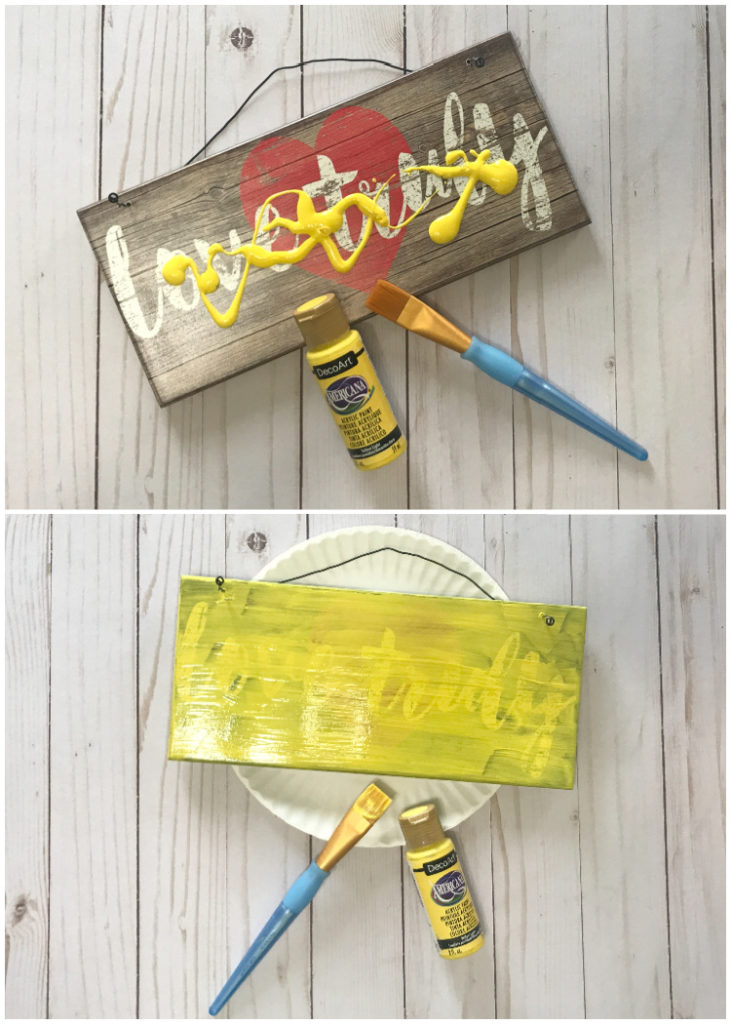
I started by painting my sign. I picked this bright yellow paint from DecoArt. Bright colors are just making me so happy lately! Before painting, I pulled the wire up front the front so that I didn’t paint the little curls in the ends. I ended up having to do three coats of paint to get it covered to my liking.
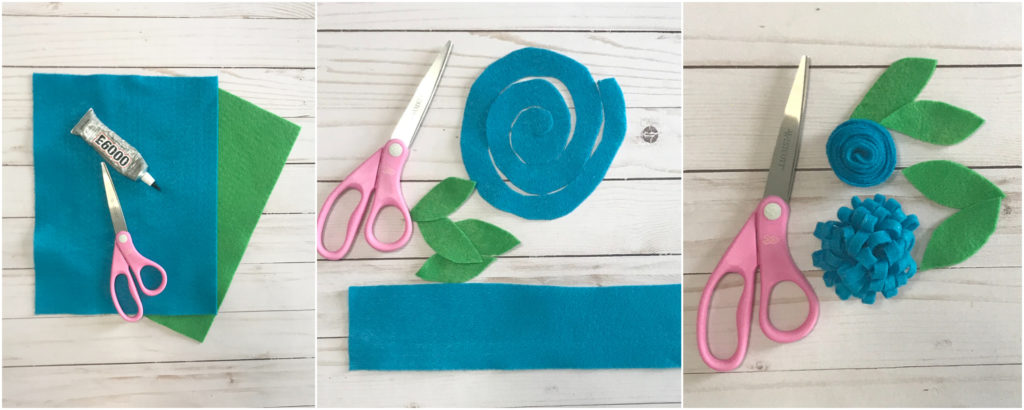
Next, I made felt flowers. There are plenty of options for making felt flowers but these are the ones I picked. The first one I cut a circle from the blue felt and then cut it to create a spiral. I then wrapped it from the center outward, gluing it in place as I went. The second flower I cut a long strip of the blue felt, folded it in half and glued it on the ends and along the edges. Using my scissors, I cut short slits in the folded side, making sure not to cut all the way to the edge of the glued side. I then rolled it up, gluing it as I rolled. I cut leaves from the green felt.
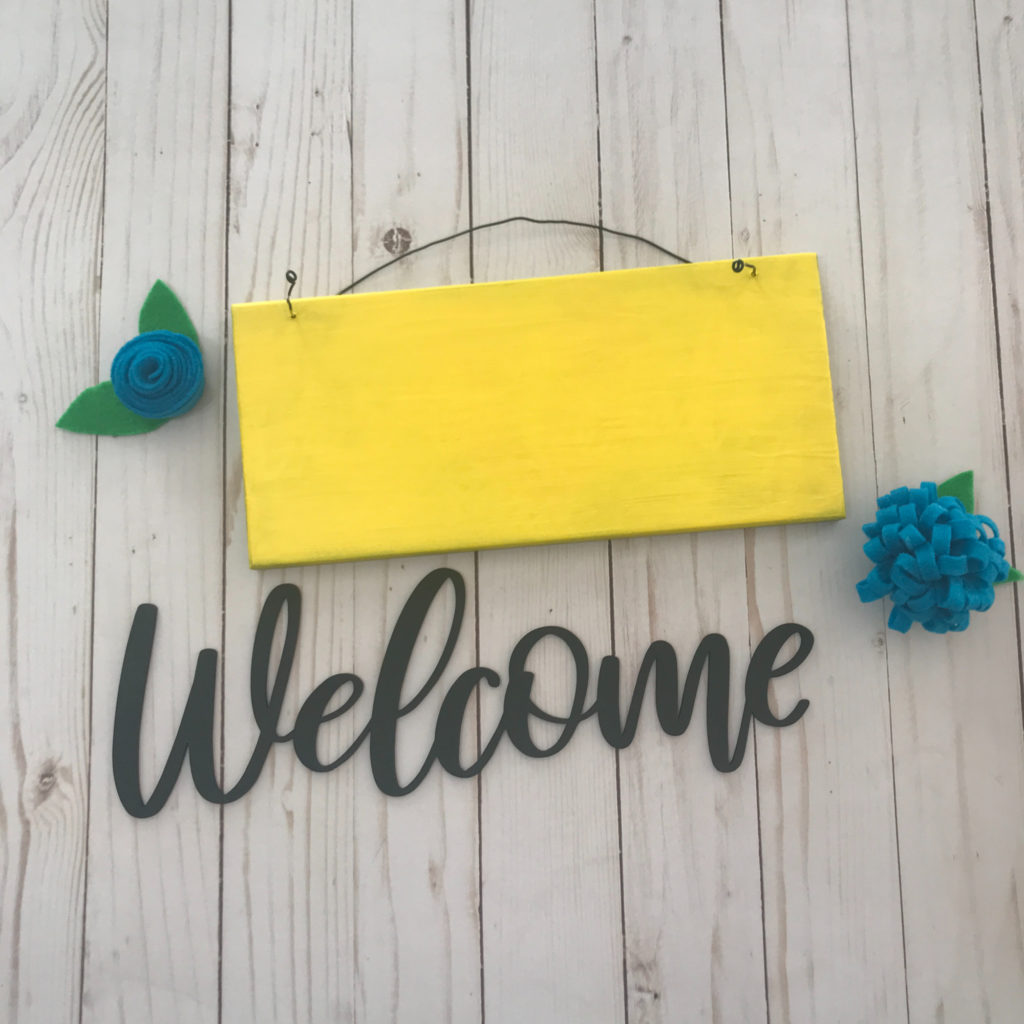
Once everything was ready, it was time to glue everything into place using the E6000. You can use any glue, but E6000 is my favorite glue!
Once the glue was dry, it was ready to hang up on my front door! I love how it turned out! I hope you do too!
Be sure to click on the on the Team Creative Crafts button below to check out other recycled crafts!

Then, enter to win below!

a Rafflecopter giveaway

Until next time….Happy Crafting!
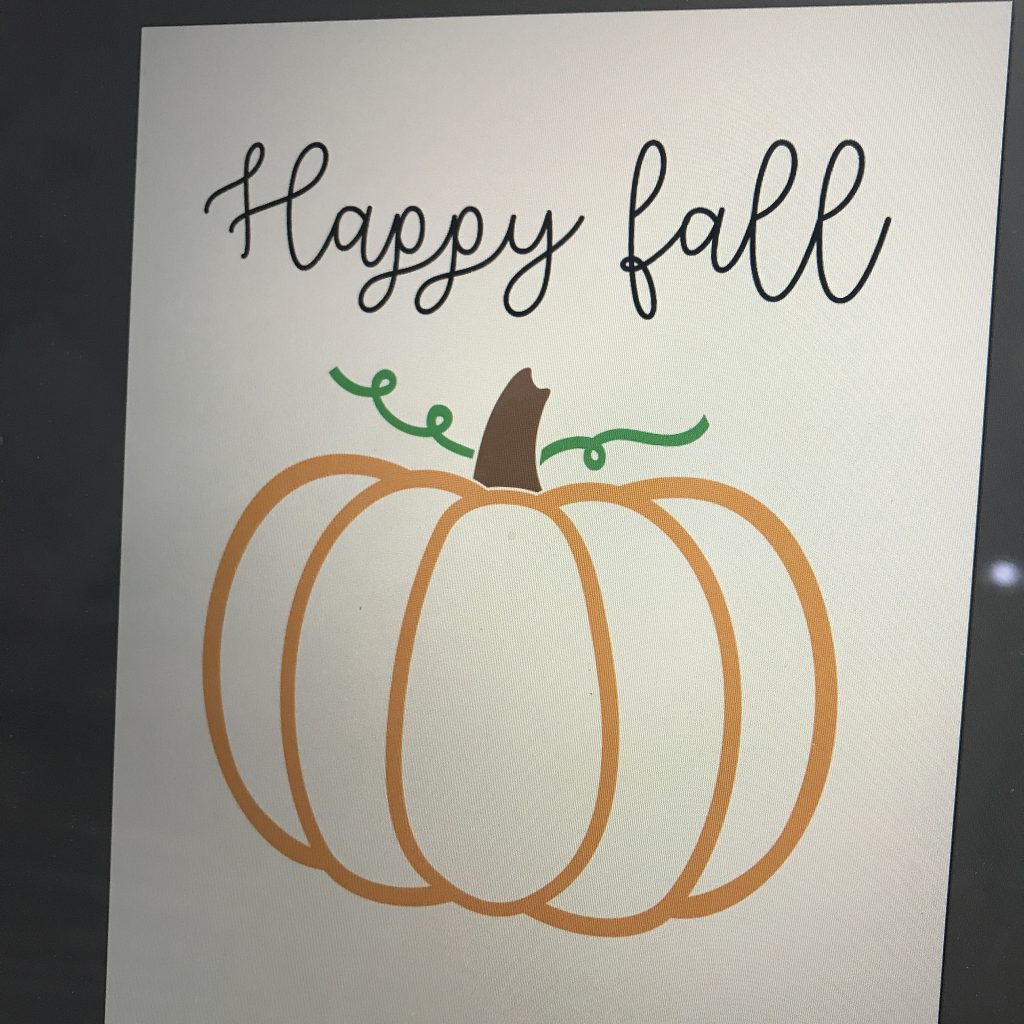
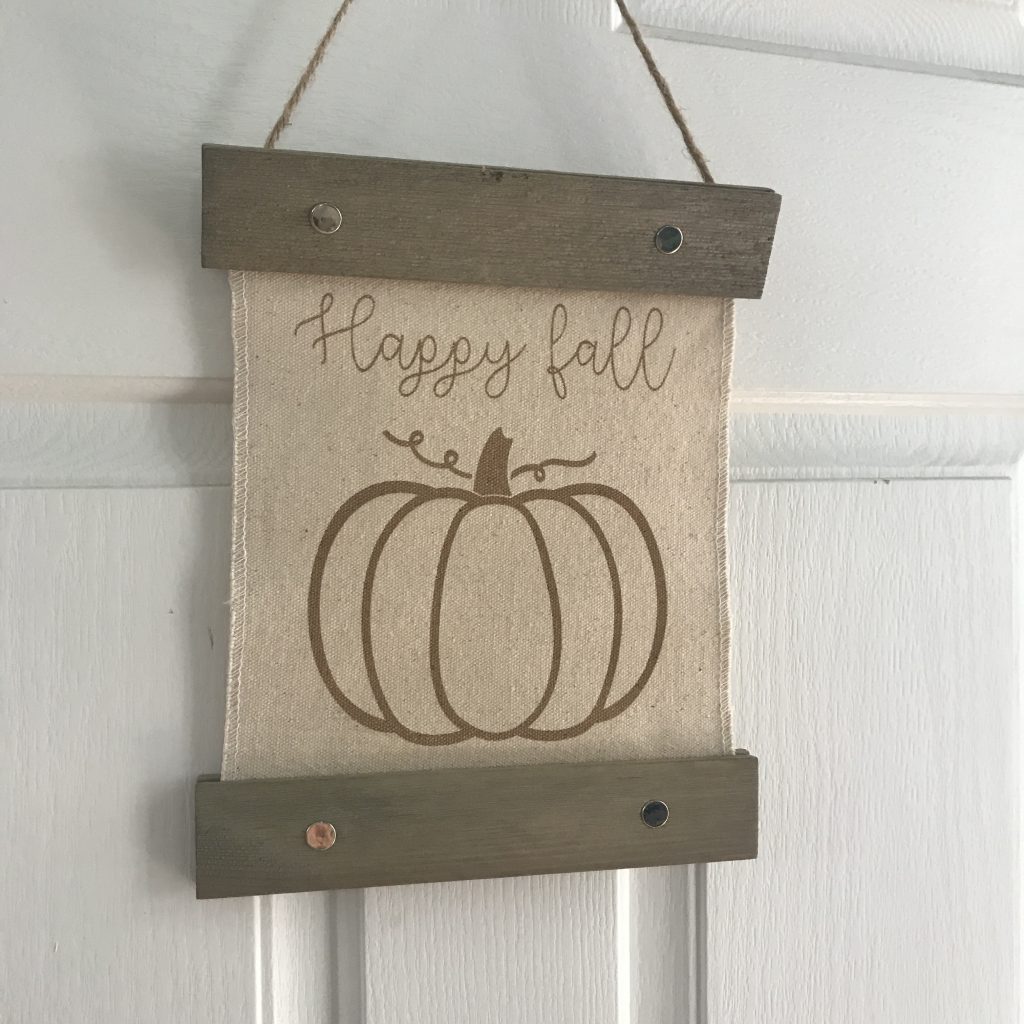
Engraved Happy Fall Pumpkin Canvas Sign

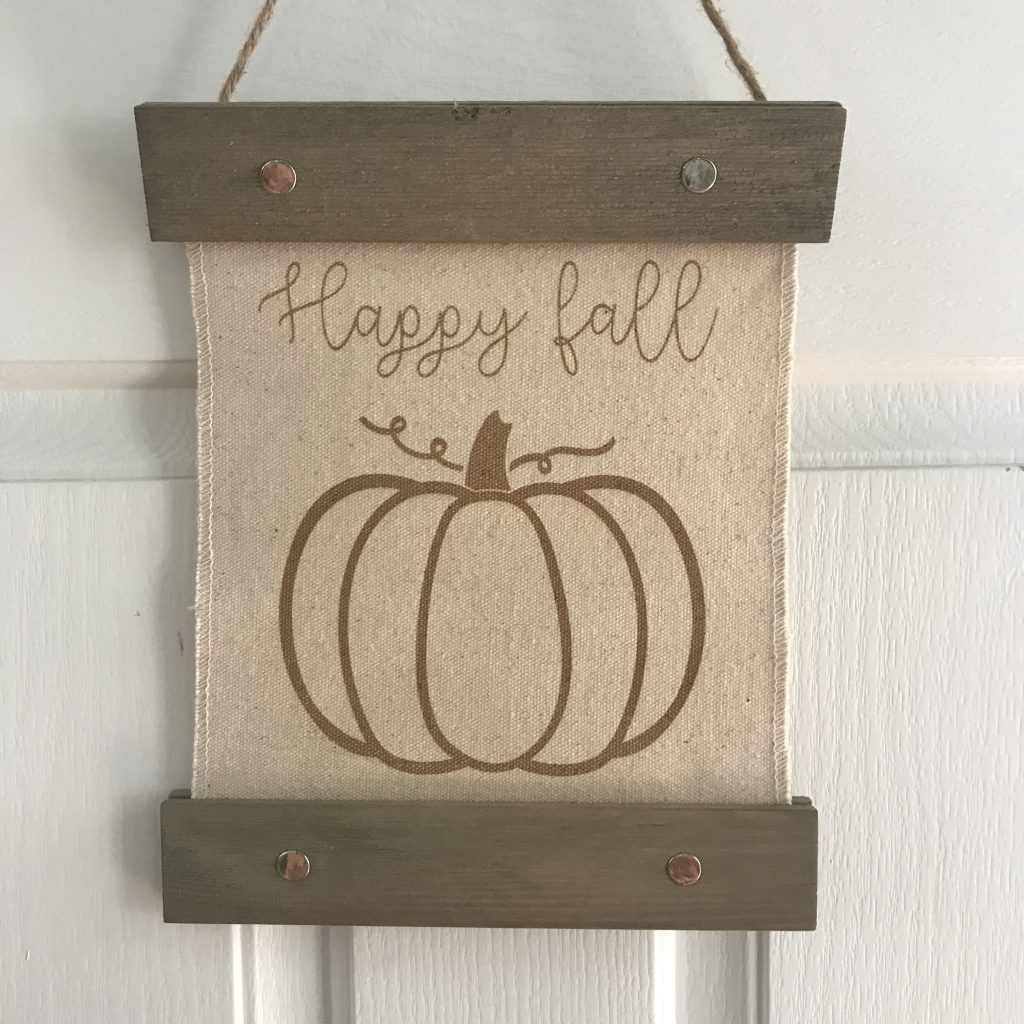
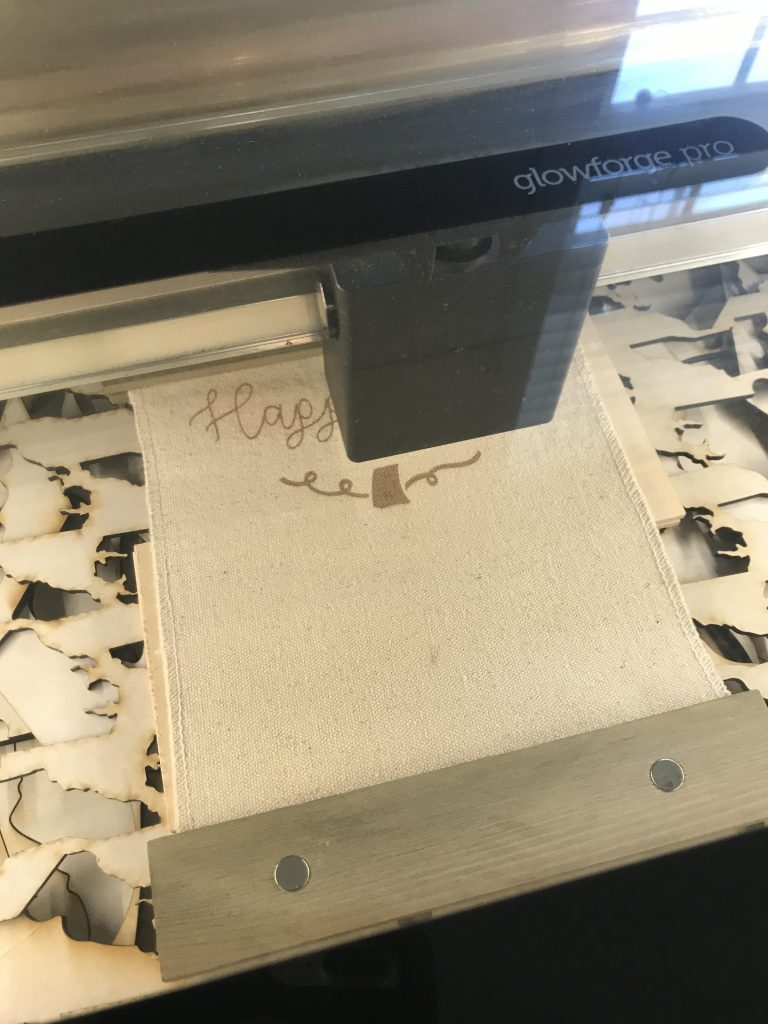
As I have gotten older, fall has become one of my most favorite times of the year and this engraved Happy Fall Pumpkin canvas sign is perfect for a little pop of decor in any space!

As most of you know, I am obsessed with my Glowforge Pro. I’ve found it great that I can engrave, cut or score lots of different items. I mean, come on….who would have thought that you can use a laser to engrave on canvas?! It is amazing!

Materials used:

  • Glowforge Pro (it can be any Glowforge model)
  • Computer with Glowforge software
  • Mix the Media Canvas Sign from Hampton Art
  • Illustrator or any design program
  • Pumpkin SVG (I purchased this one on Etsy)

How I made it!

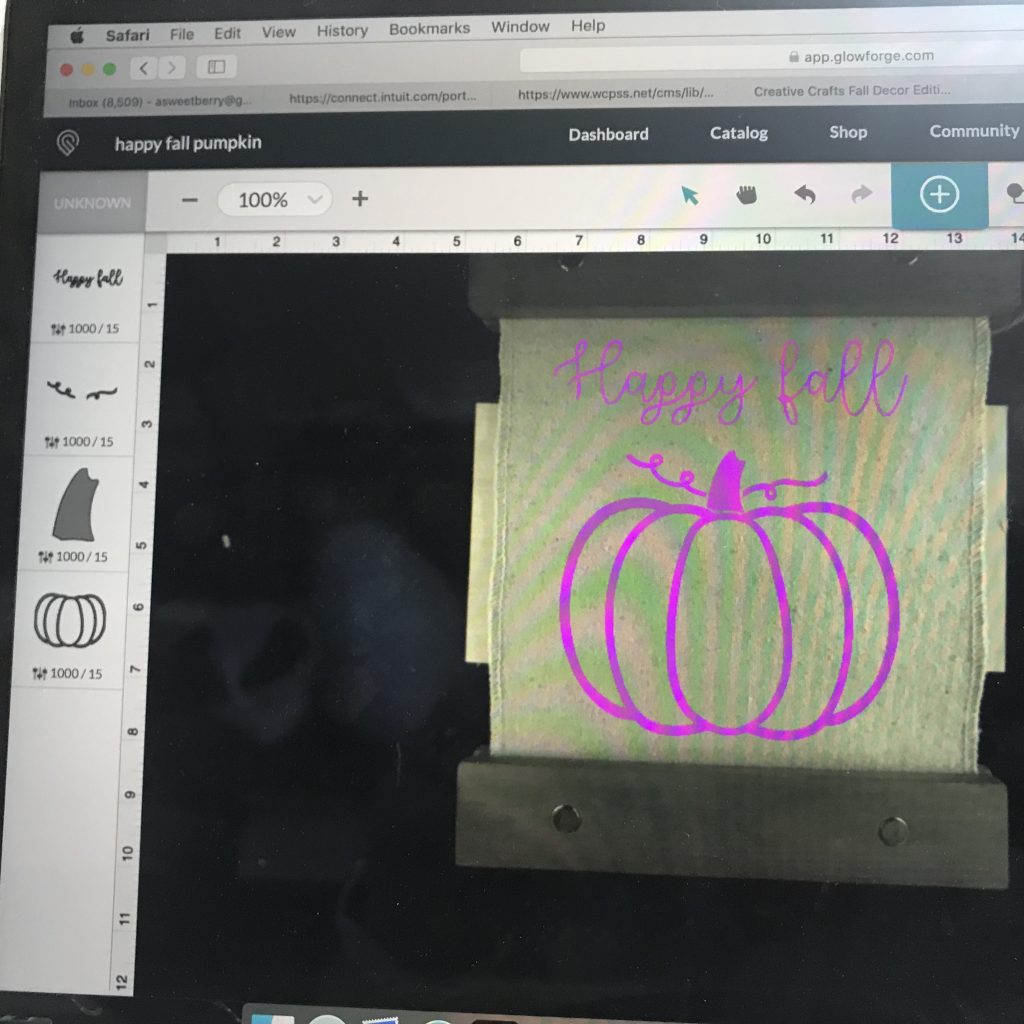
First, I created my file in Illustrator using a font that I have and a pumpkin svg file that I purchased on Etsy.

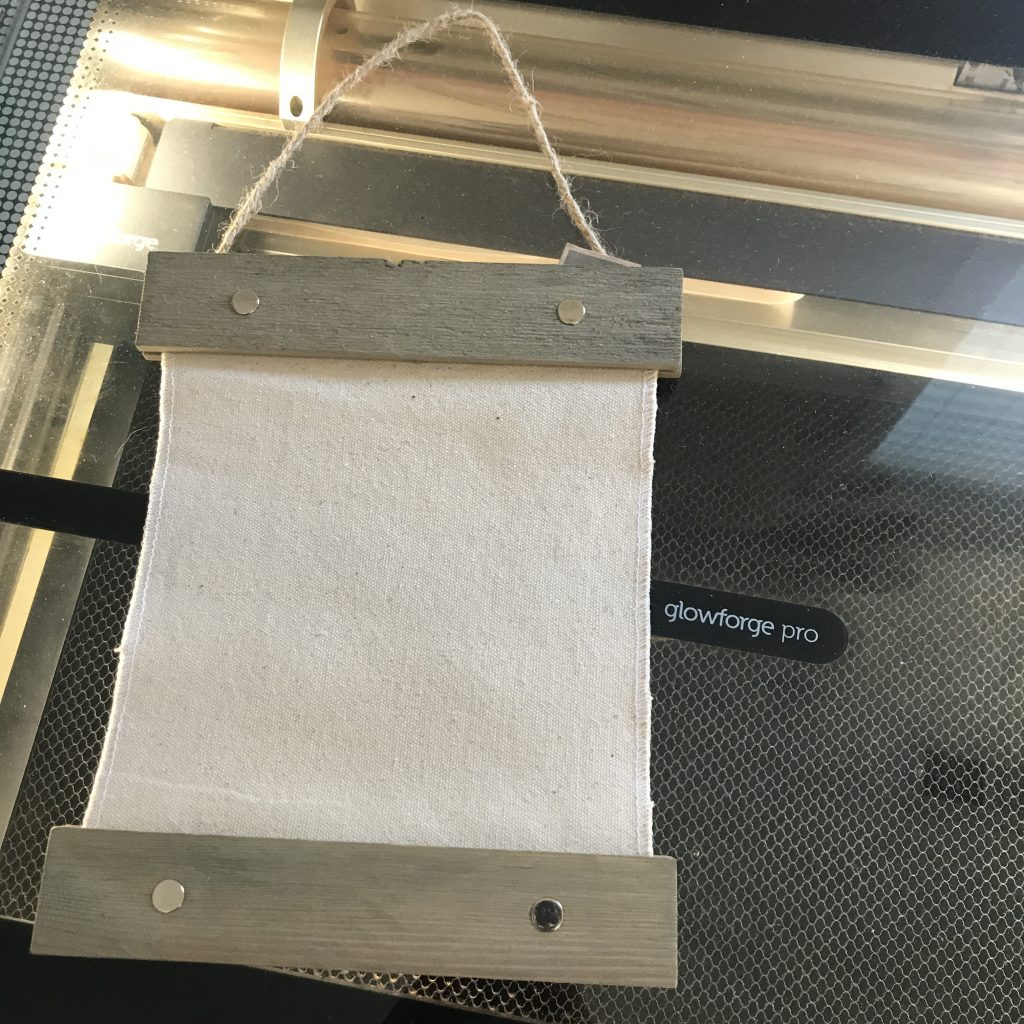
I placed the canvas in my Glowforge Pro, adjusting as needed. I had to remove the Glowforge crumb tray and stack some scrap wood to allow for the height.

I then inserted my file into the Glowforge web based software, got everything lined up and set the appropriate settings for engraving on Canvas. TIP: When engraving on things other than wood, you either must research or do trial and error. I’ve done canvas before so I kind of knew what settings to use.

Settings:

  • Speed: 1000
  • Power: 15
  • LPI: 270

Then I hit the magic button for it to engrave!

After it was done engraving, it was ready to hang. TIP: The kids could also color it!!!

Be sure to click the Create Fall Crafts button below and check out other fall crafts!

Until next time…..

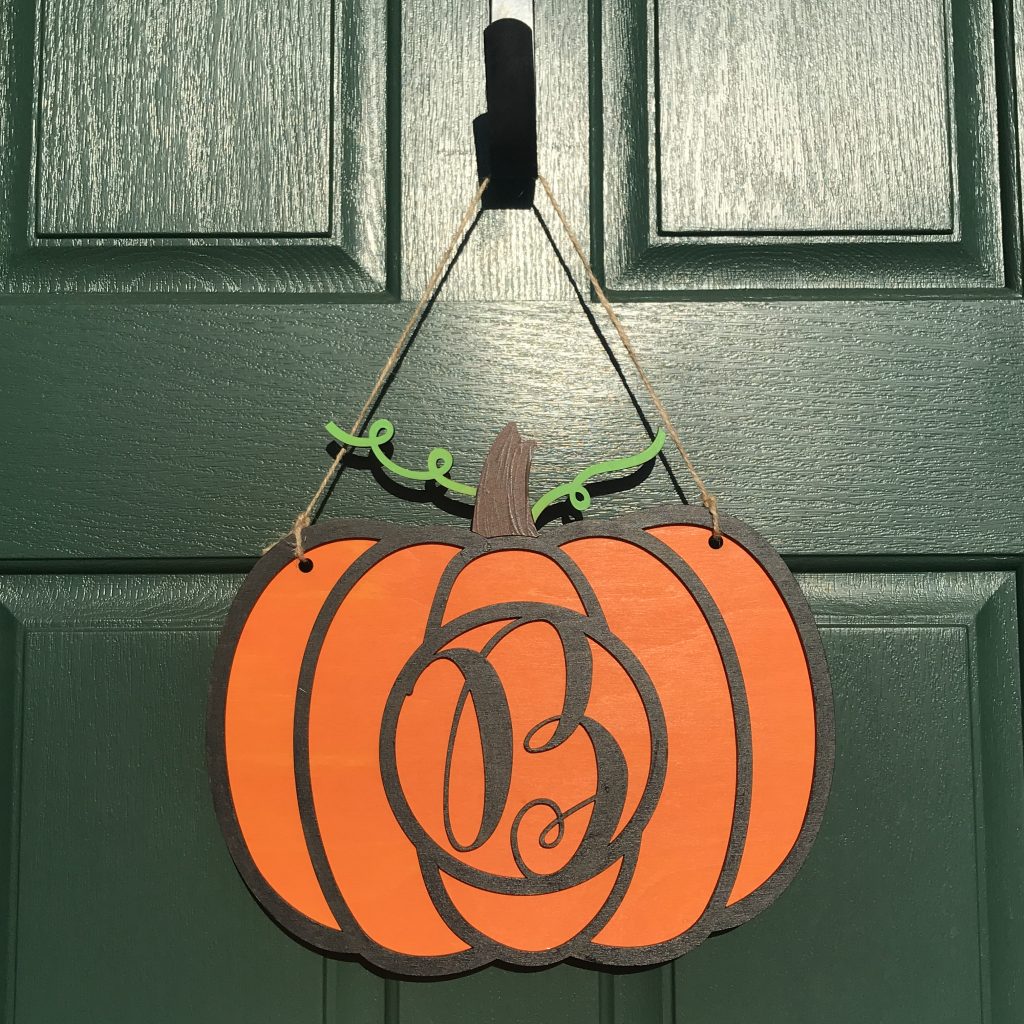
Wooden Pumpkin Door Hanger

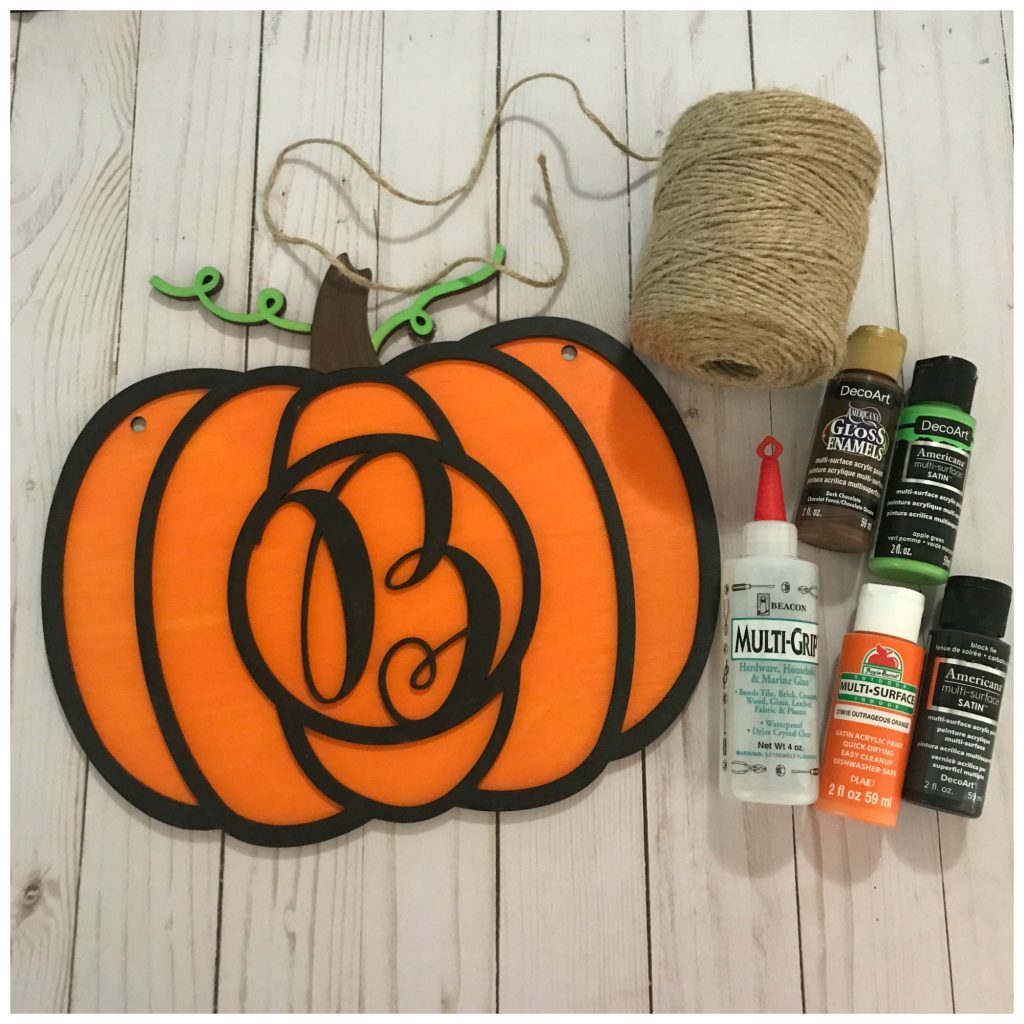
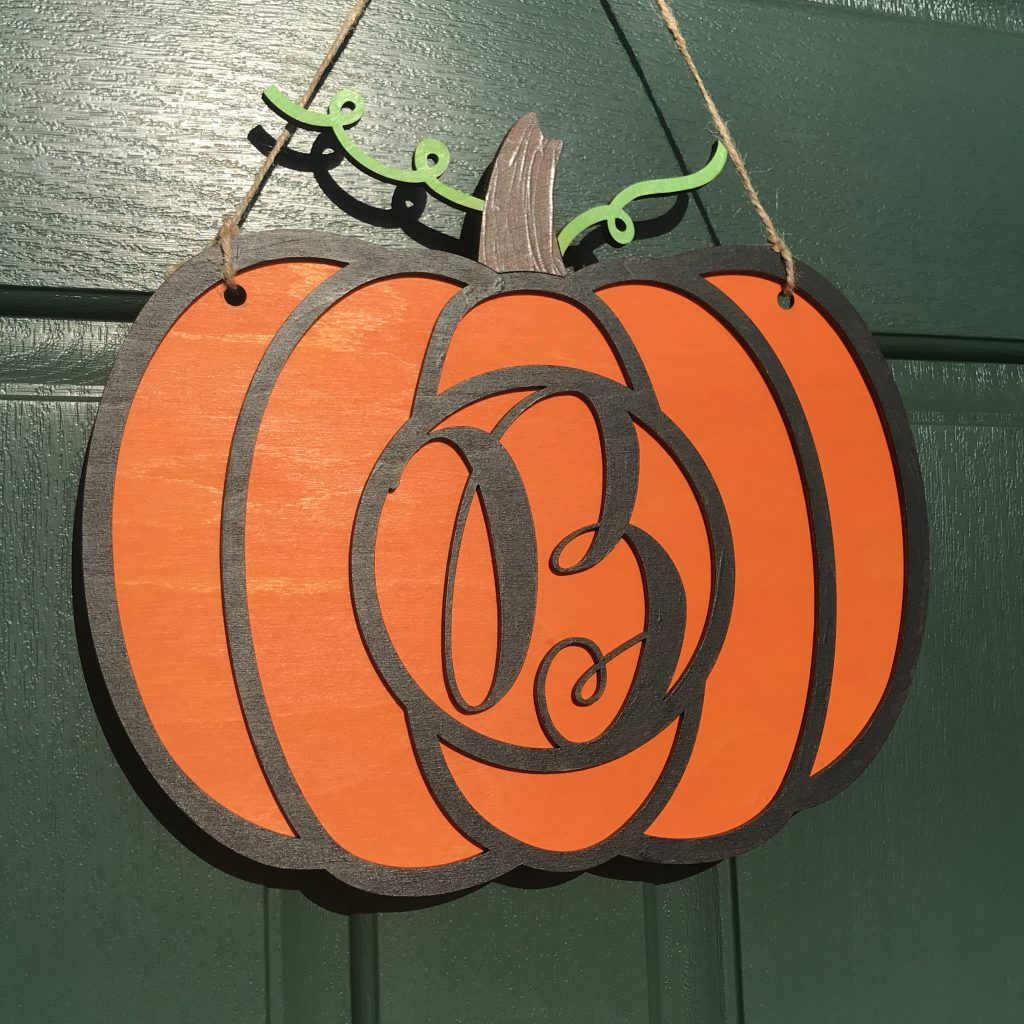
This week I’m joining my creative friends for the Creative Crafts Halloween Edition and my craft is this adorable little wooden pumpkin door hanger with a “B” in the middle. I am one of those crazy pumpkin lovers! I love the way they look, I love the way they taste and I love the way they smell!

As most of you may know, I love to work with wood. My Glowforge laser is like one of my best friends! So, my craft was created using the Glowforge.

Materials:

  • Plywood (This is 1/8″ Baltic Birch)
  • Glowforge or other laser machine. (If you cut thinner wood, you could possibly do this on the Cricut Maker)
  • Computer with software to add letter and weld it (I use Illustrator)
  • Pumpkin SVG file (I got this one from Etsy, and the file comes with 6 different pumpkins!)
  • Paint
  • Paint Brushes
  • Strong gripping glue (I used Beacon Multi-Grip)
  • Twine, Ribbon or String

Here is how I made it:

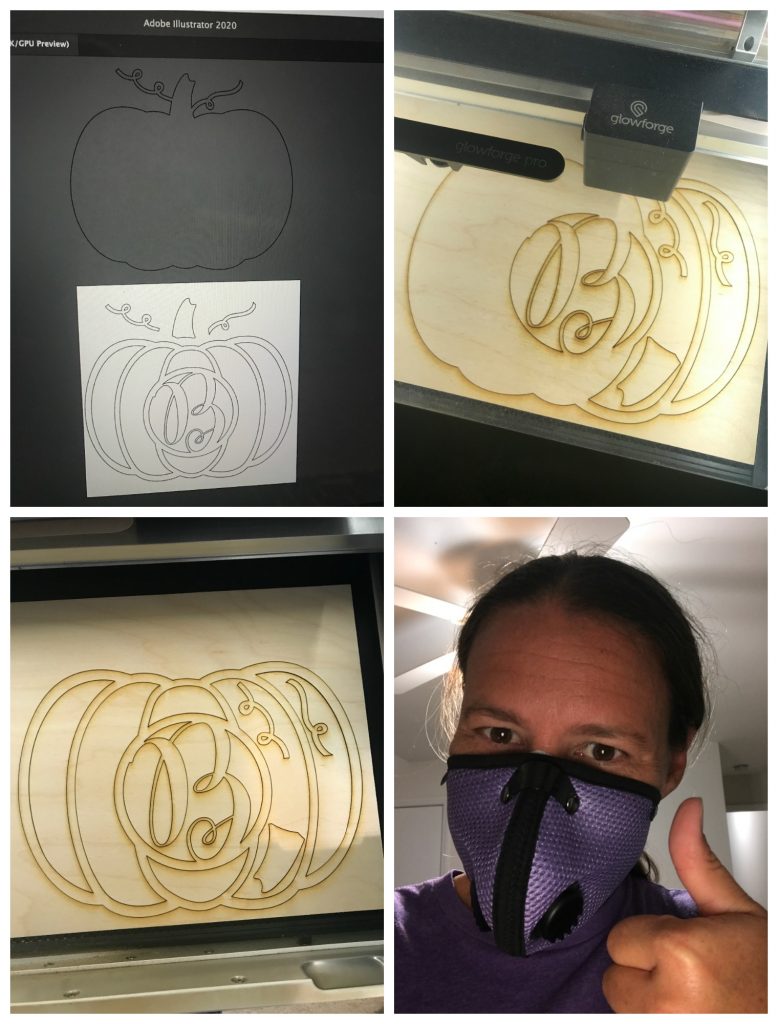
I downloaded the pumpkin svg file that I purchased from Etsy. I added the letter that I wanted in the middle and made sure to weld it to the center circle. I wanted this pumpkin to look layered so I created an offset path (set to 0) the same size as the original pumpkin. That gave me an extra pumpkin to use as a backing. I removed all of the extra pieces from the extra one. I then welded the stem and vines in place. I also added two circles to the solid pumpkin backing.

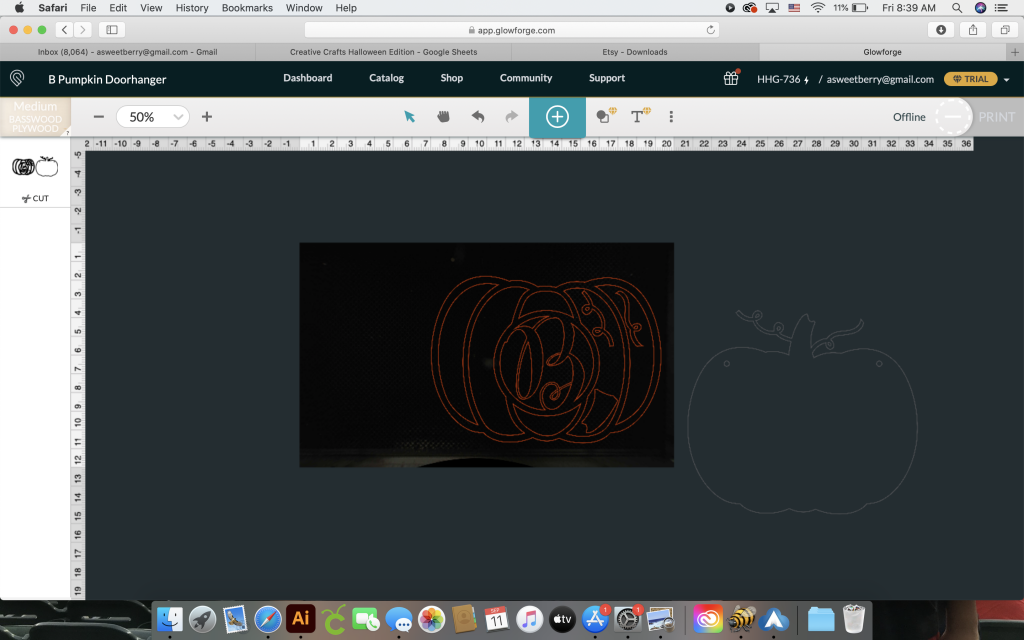
Next, I uploaded the file into the Glowforge Software, resized it to the biggest size that I could make it and hit the magic button to cut.

Don’t mind the silly mask. It keeps me from inhaling the fumes from the Glowforge! And well, mask are a thing now!

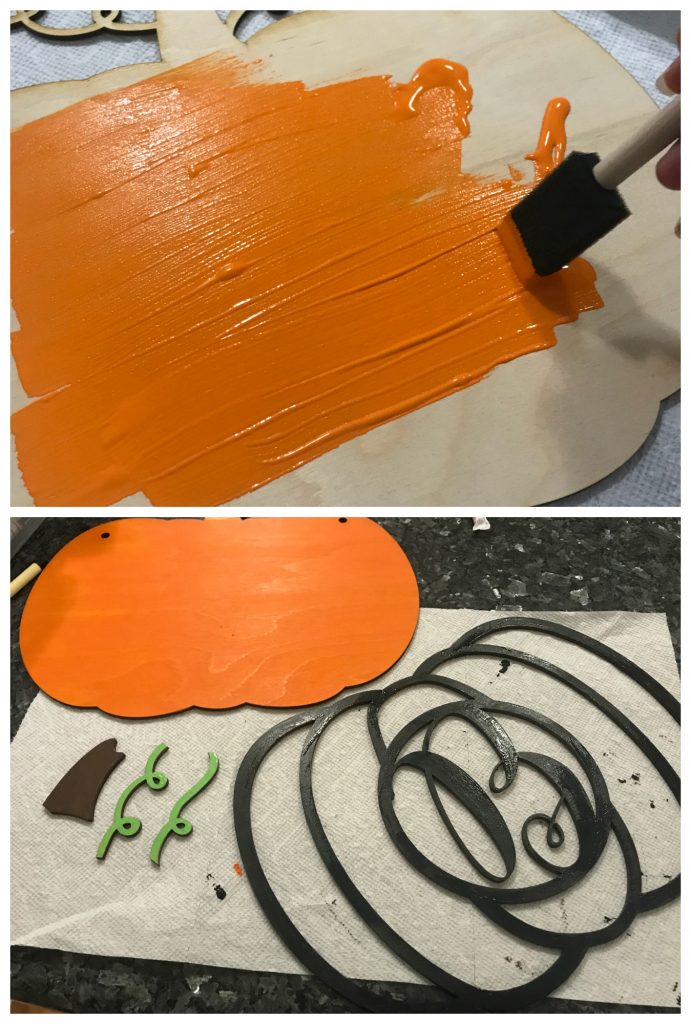
Once everything was cut out , it was time to paint it. I painted each piece individually.

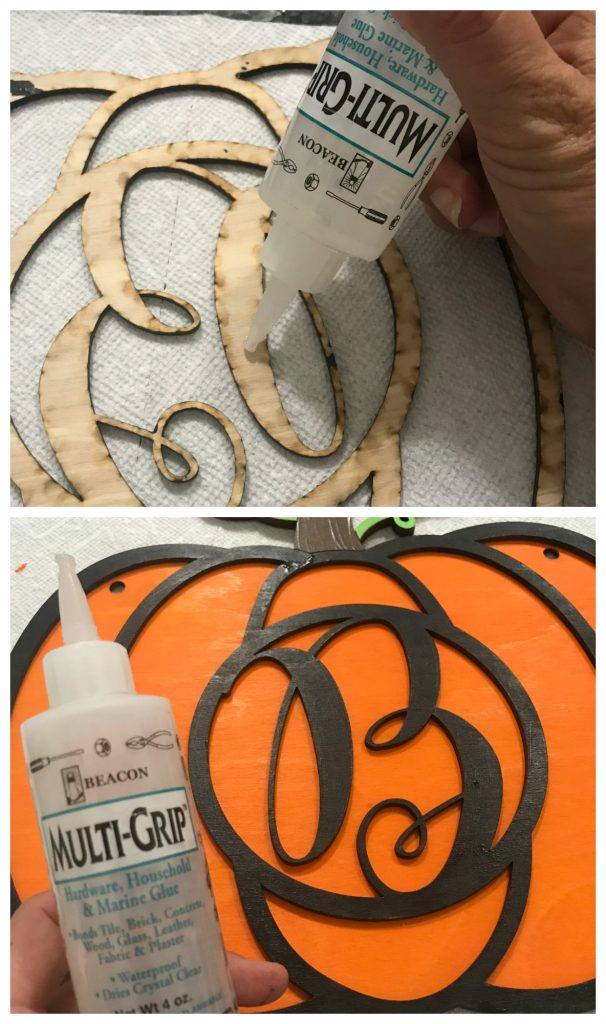
Once the paint was dry, I used Beacon Multi-Grip glue to glue it all together.

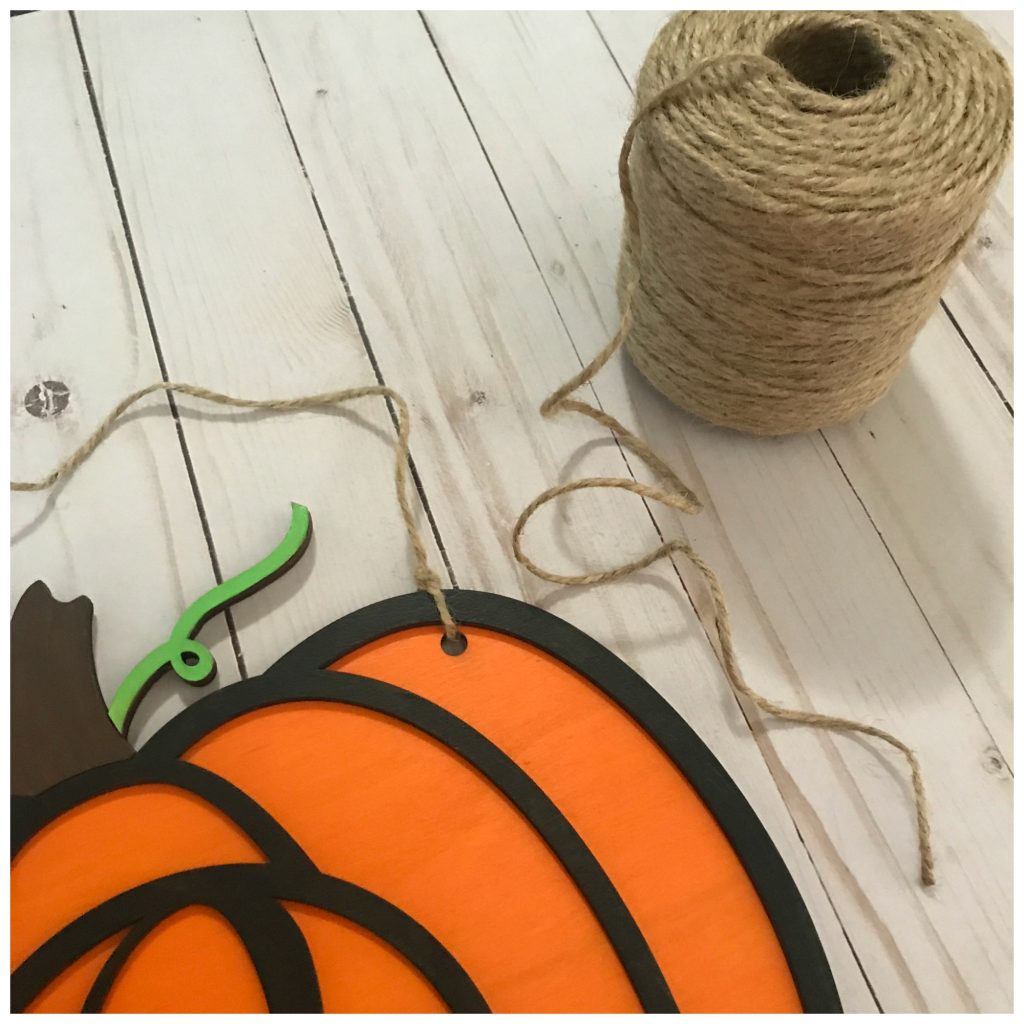
Next was my favorite part…..adding the twine and hanging it up!

Oh my goodness, I love it so much!!!!! It’s definitely going to be hanging on my door for the next couple of months!

Be sure to click below to see other Creative Halloween Crafts.

A special thanks to my crafty friends Laura Kelly Designs, Makeable Crafts, Ann Butler Designs and Creatively Beth for hosting another addition of Creative Crafts!


Until next time……

Clay Pot Cupcake Pin Cushion

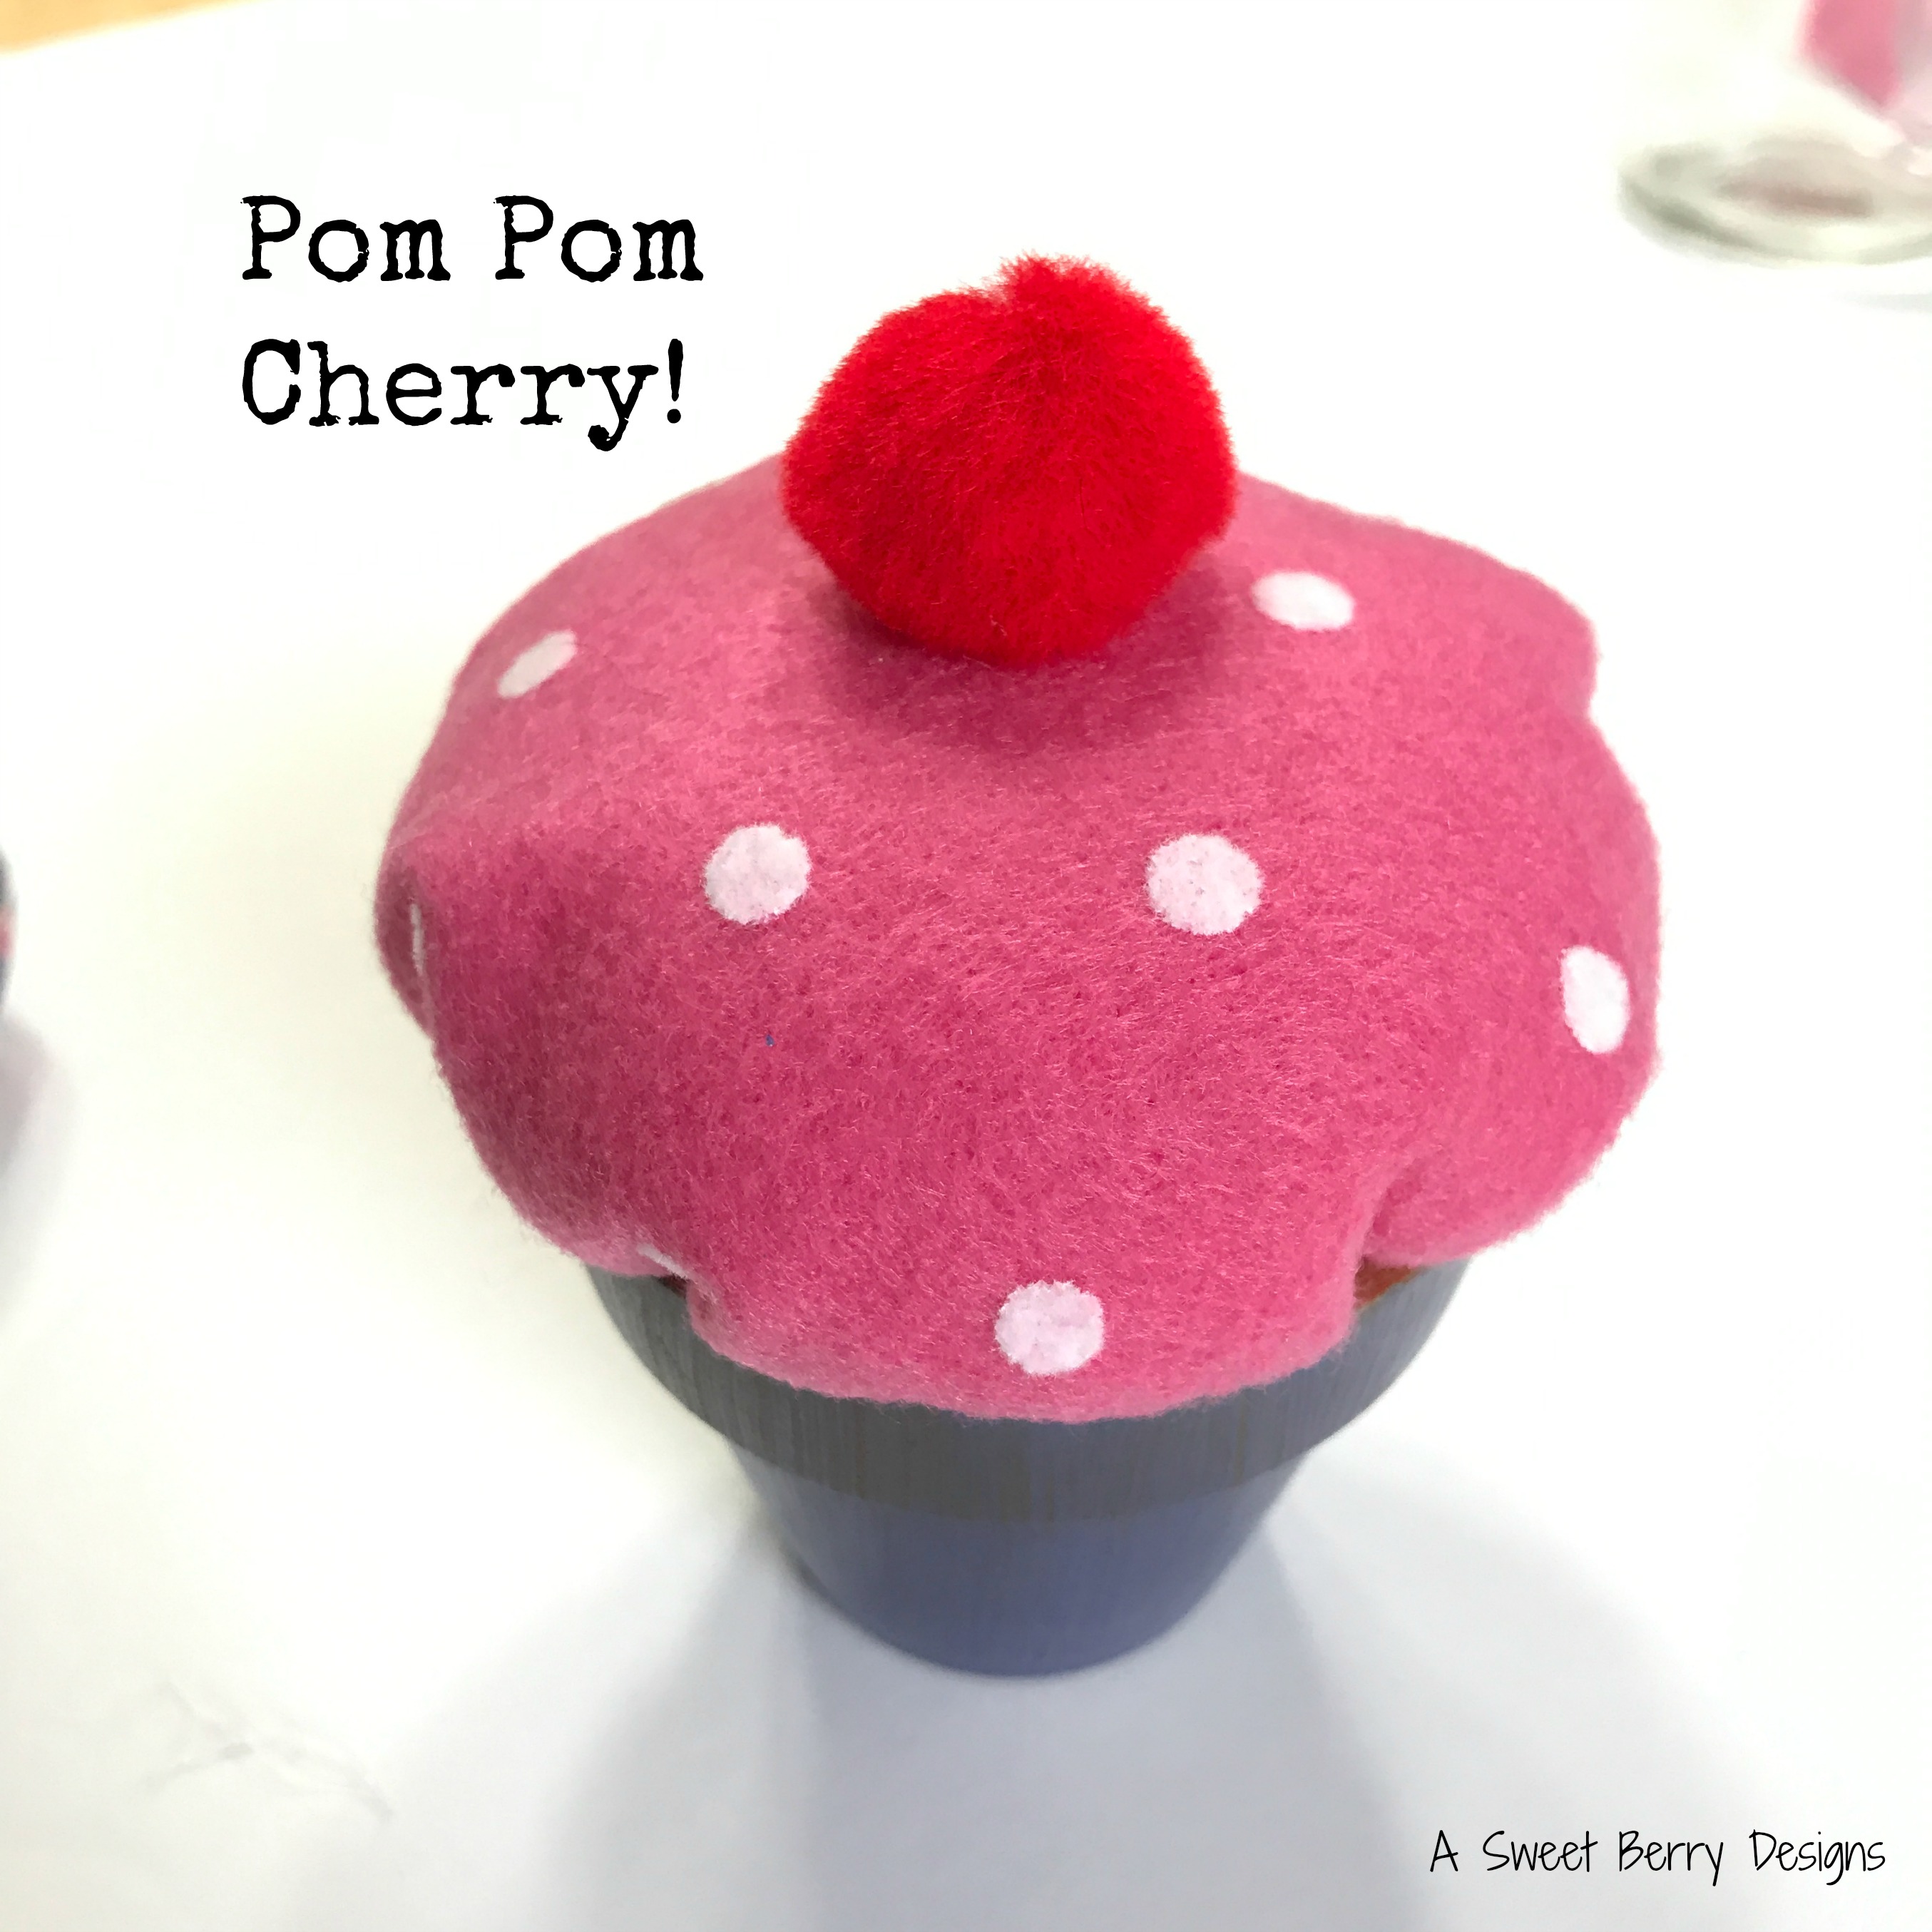
Craft Lightning is here again!!!!   I love it!   The theme this time was Clay Pots!   There are so many things that you can do with clay pots other than using them as flower pots!   I made this adorable little Cupcake Pin Cushion with mine!   It took less than 15 minutes!!!

Materials used:
9″ x 12″ craft cut of Kunin Felt Cooridnates:  1 White Dot of Candy Pink
Fairfield Poly-fil Poly-Pellets
Hot Glue Gun and Hot Glue Stick
Plaid’s FolkArt Color Shift Paint:  Blue Violet Flash
Paint Brush
Embroidery Floss and Needle
Scissors
Red Pom Pom

How I made it:
Paint the Pot!!!  I used this awesome FolkArt Color Shift Paint from Plaid!


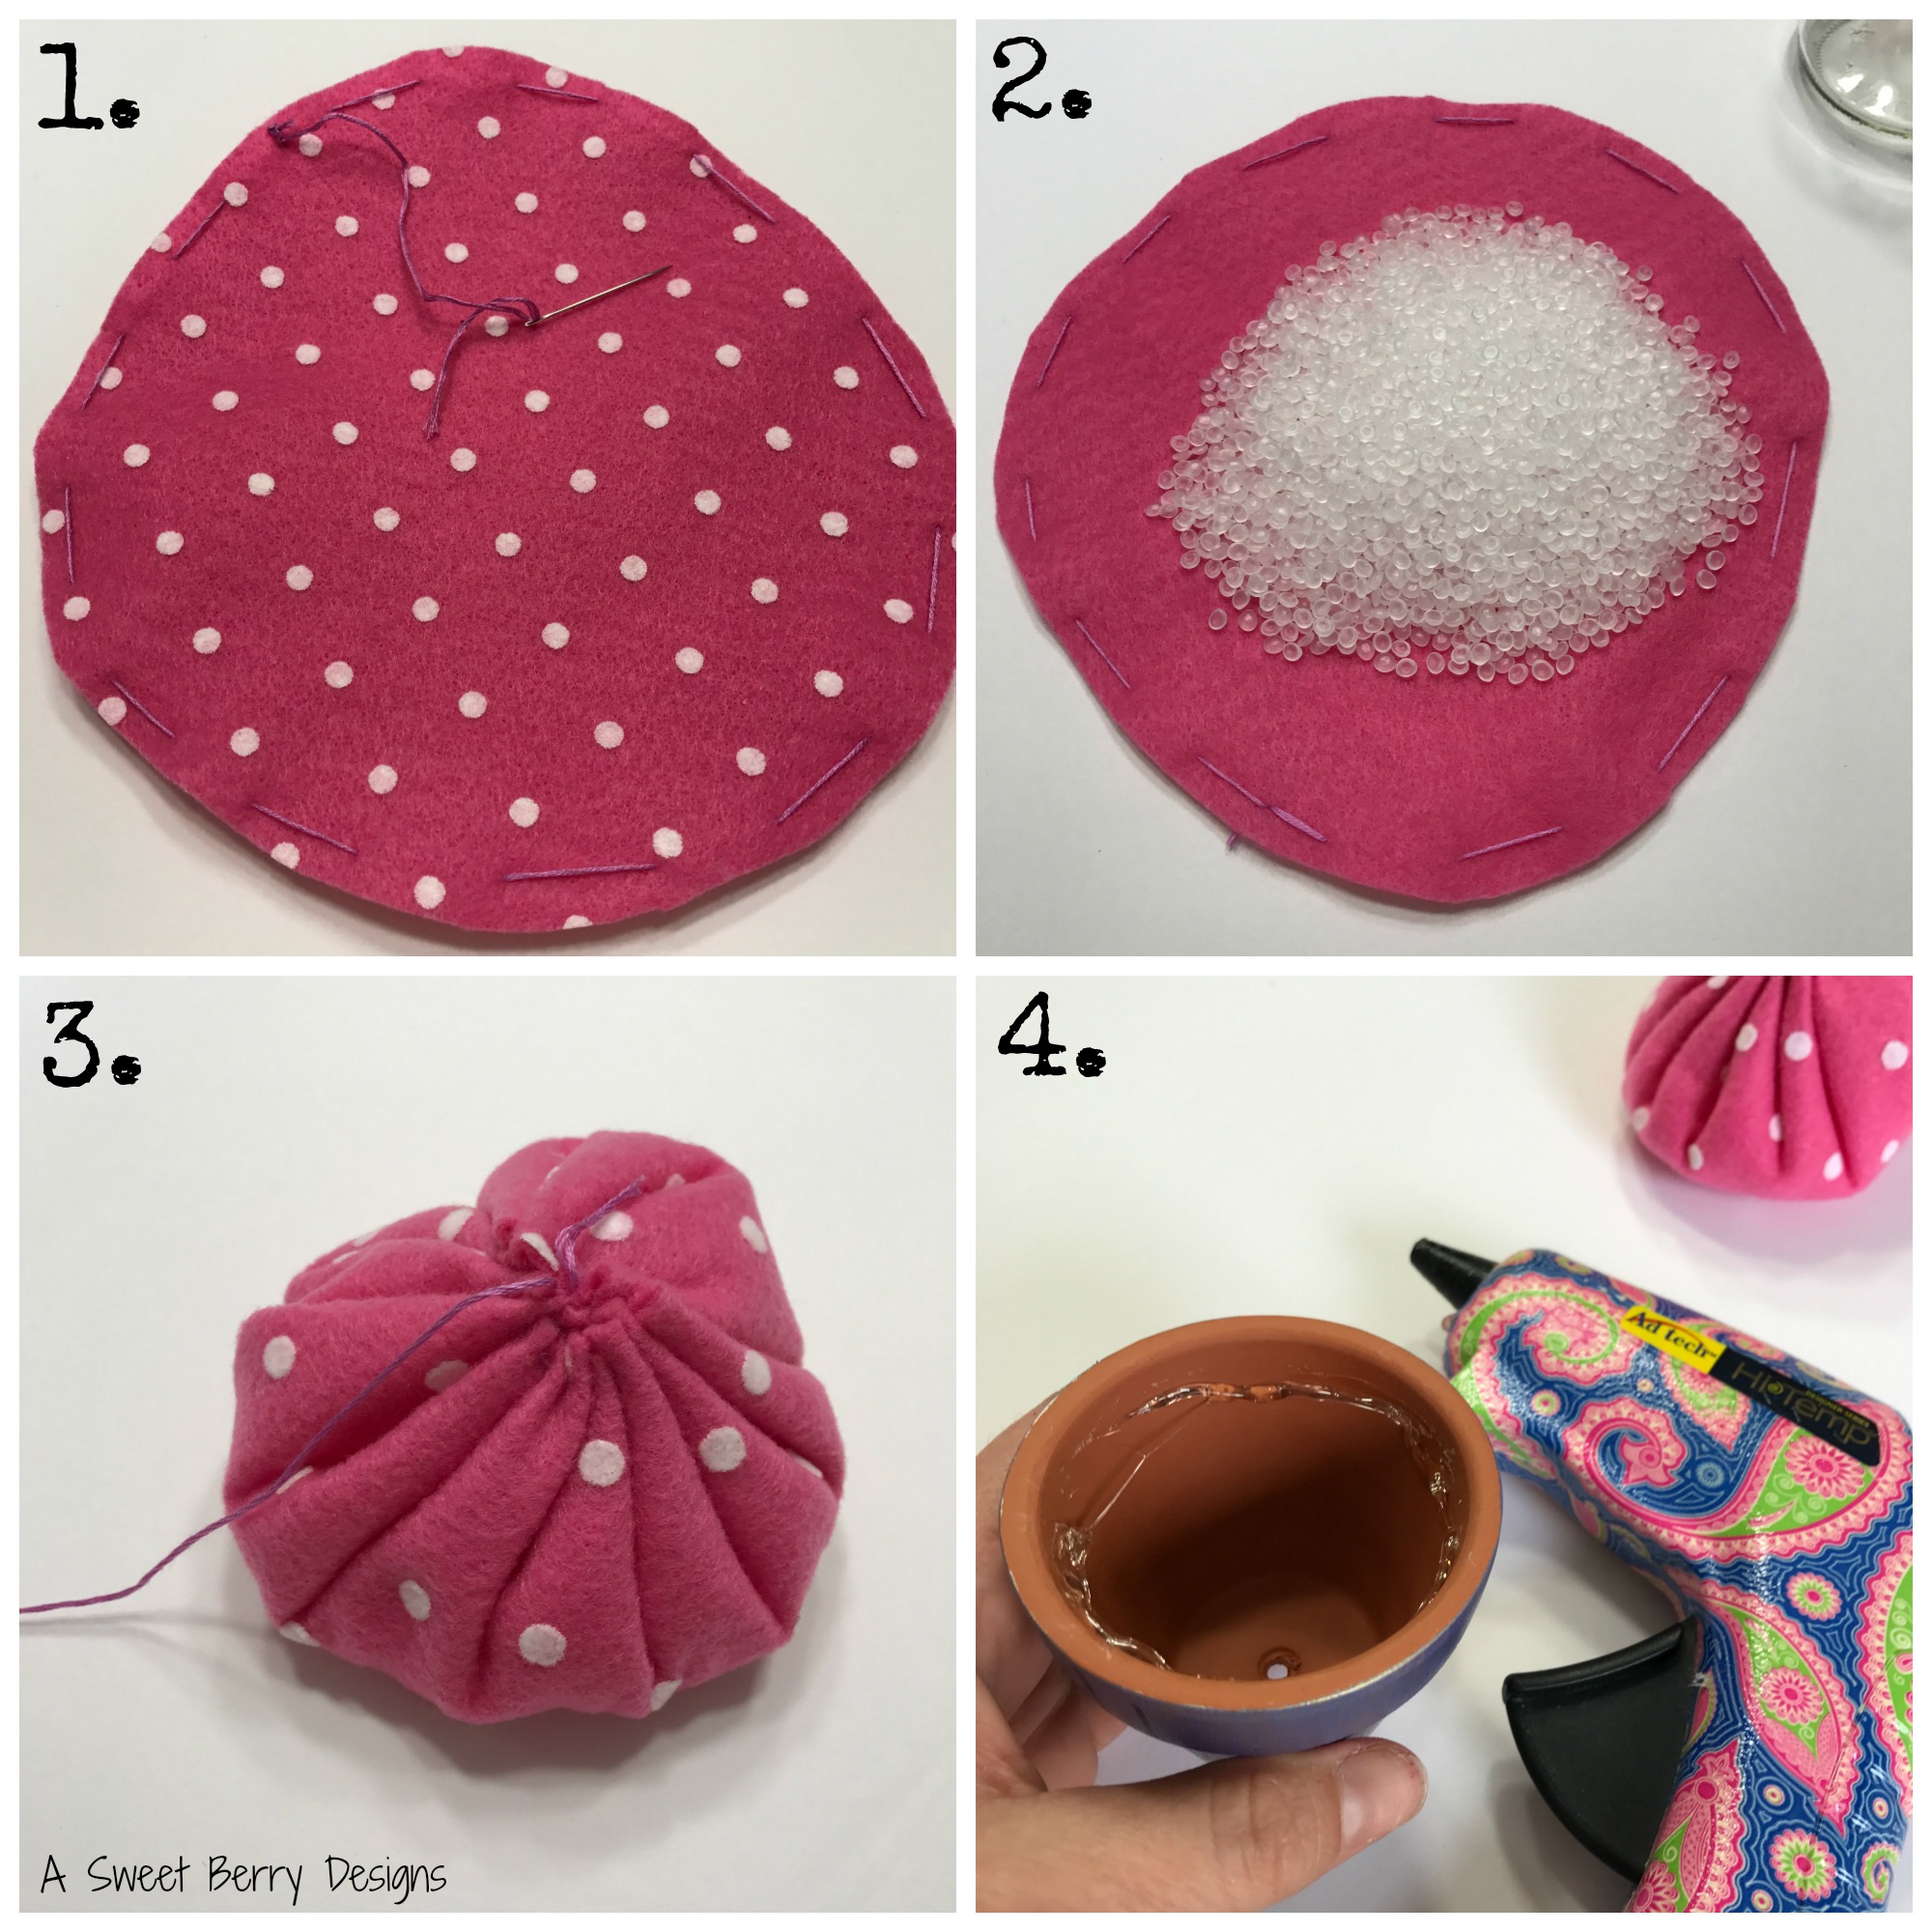
  1. I cut a circle from my felt.  It didn’t have to be a perfect circle.  It’s about 8 inches across.  I also ran a quick stitch around the edge with the embroidery floss.
  2.  I flipped the felt over and added the Poly-pellets to the middle.
  3.  I pulled the embroidery floss until the circle closed up around the Poly-pellets.  I also just did a few quick stitches over the hole to close it up.
  4.  Using the hot glue gun, I added glue to the inside of my pot and stuffed the Poly-pellet filled felt down into the pot.

5.  Using the hot glue gun, I glued the red pom-pom on the top!   And then I added my pins!

I hope you like this Clay Pot Pin Cushion!   

Be sure to check out other Craft Lightning Clay Pot ideas by clicking the photo below!

Until next time……

Freedom Felt Banner

Disclosure:  This post contains affiliate links for Sizzix.com

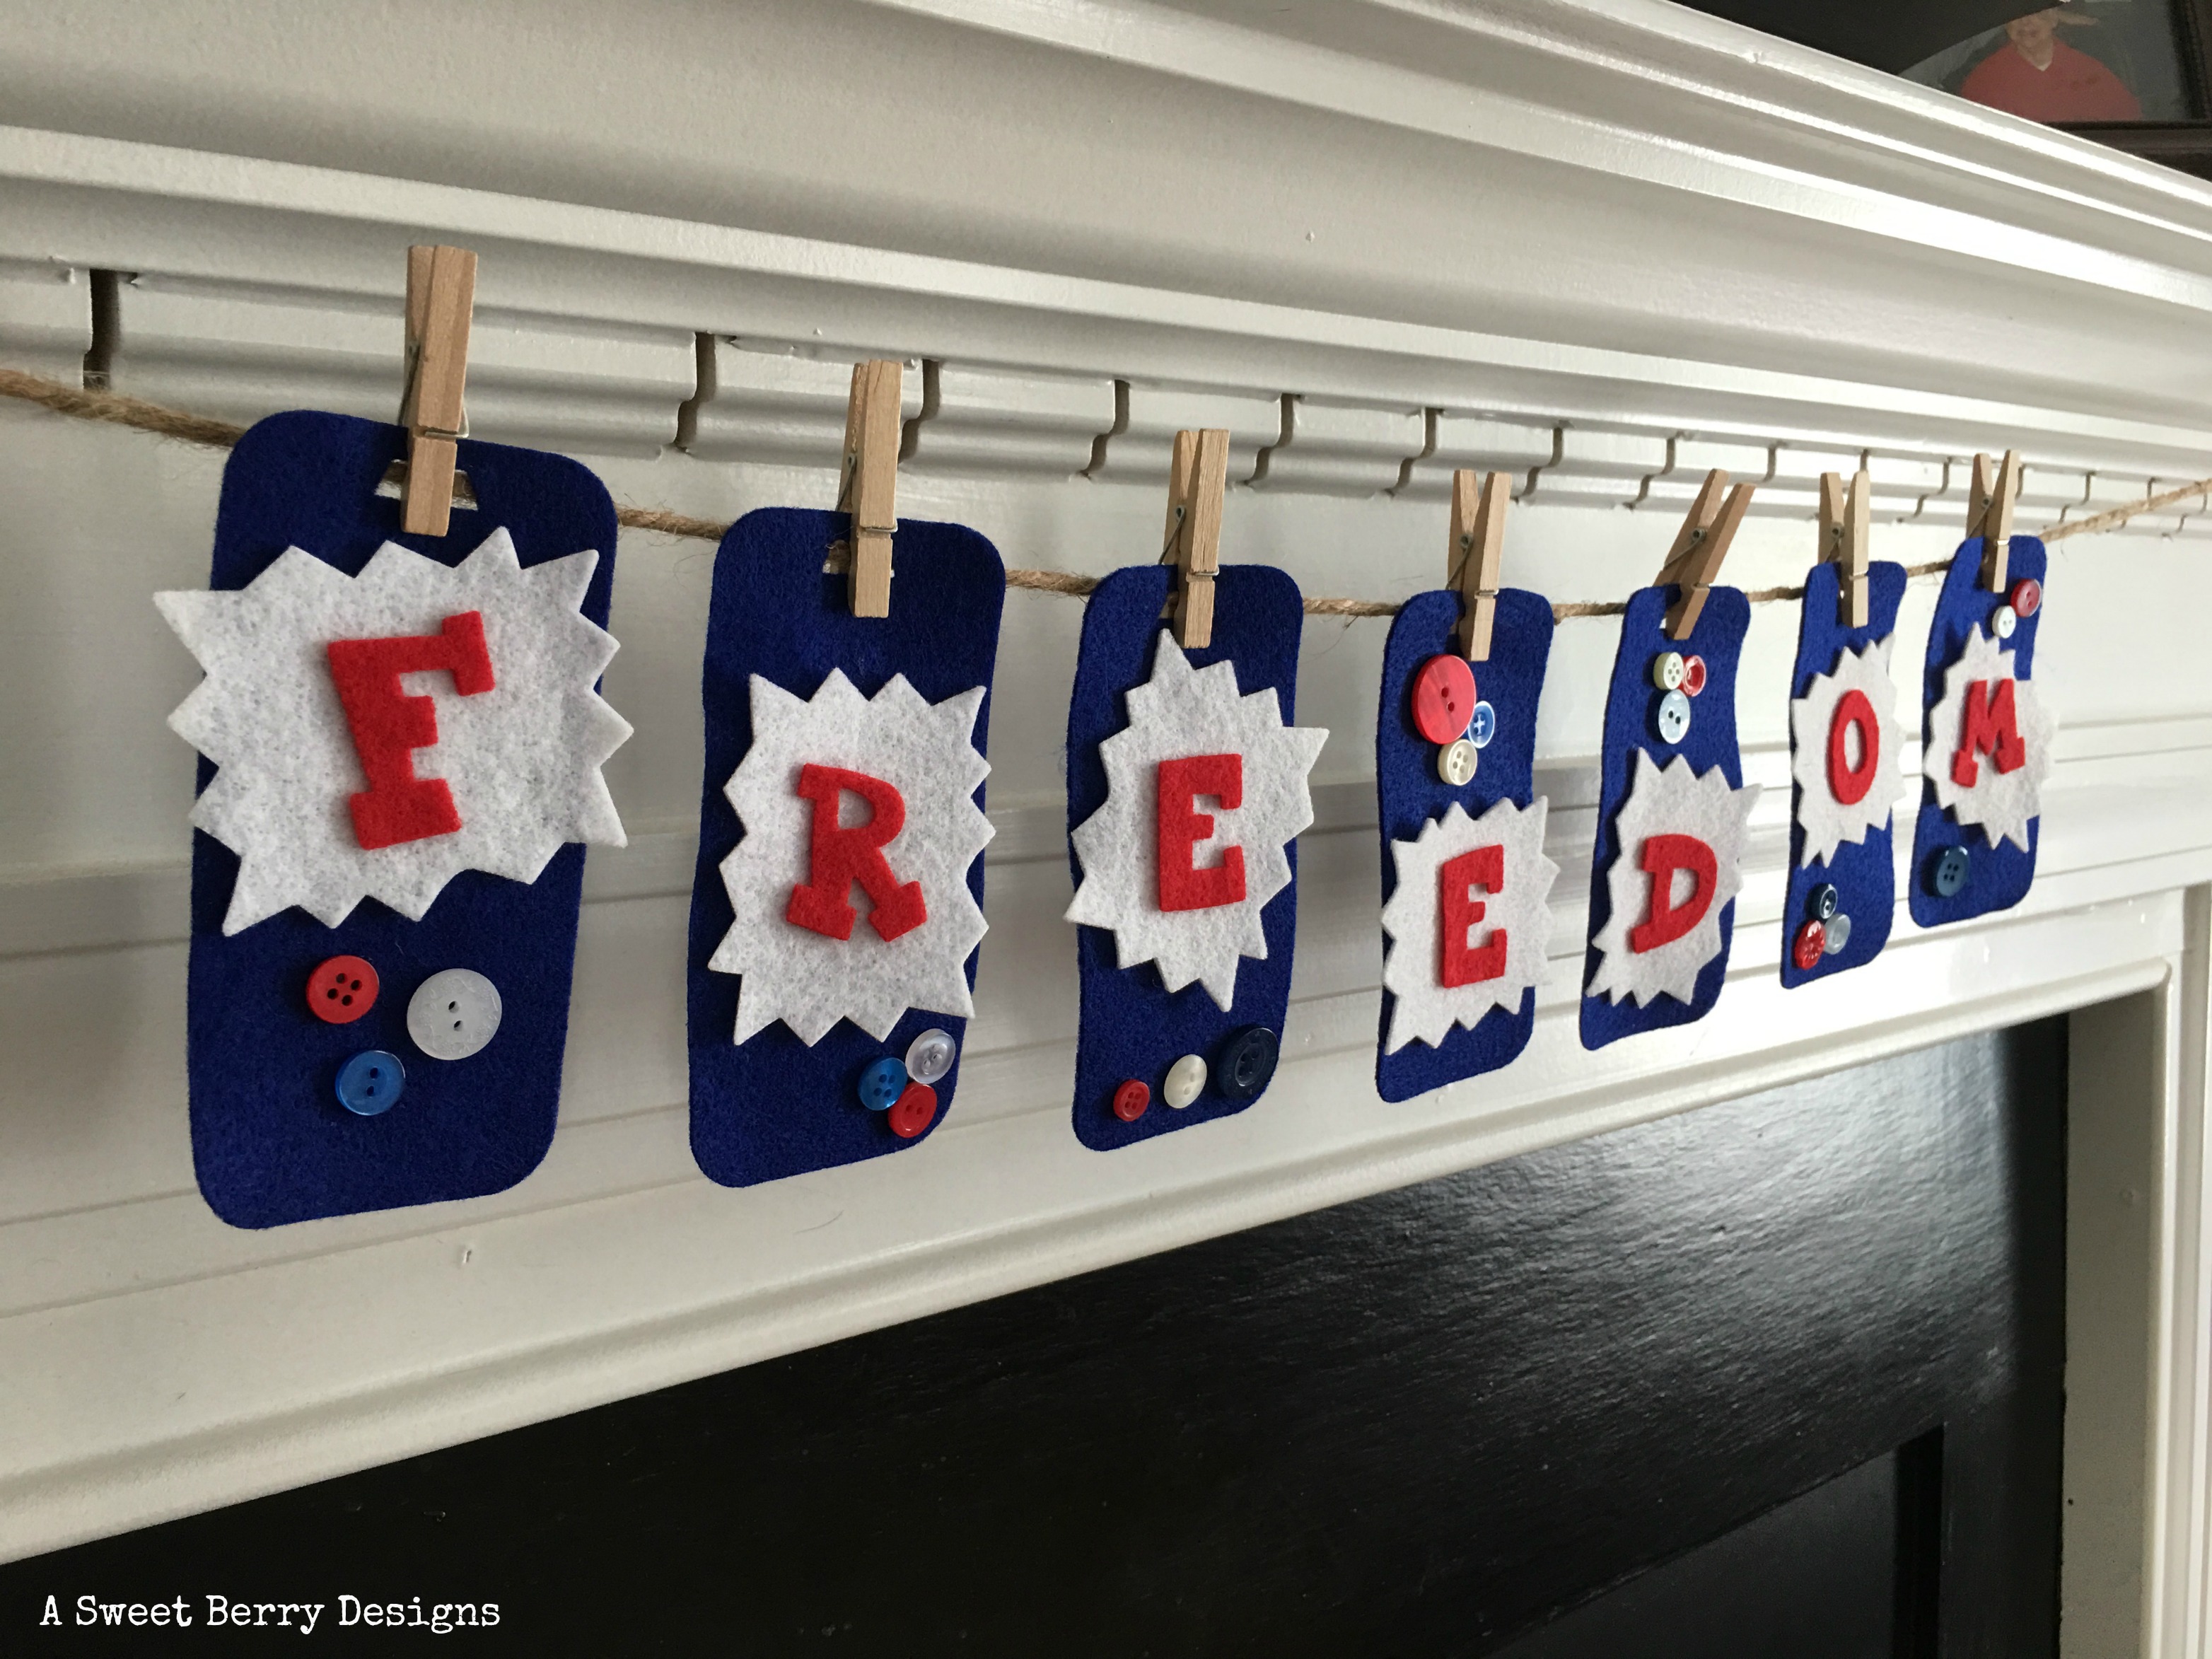
It’s Craft Lightning time again and this one is Patriotic Crafts!  This Freedom Felt Banner was super easy and took barely anytime to make!   And I love a cute seasonal banner!
Materials:


How to make it:

  1.  Using the die cutting machine, cutting pads and dies, cut out each of your pieces!  I cut seven bookmarks, seven badges and the letters to spell Freedom.  I used the rectangular badge because I thought it looked like a burst from a firework!
  2. Assemble your pieces so that you know where your want to glue them!  
  3. Glue your pieces and buttons to the bookmark.
  4. Let dry!
  5. Using twine and small clothespins, hang them up to create a patriotic felt banner! Easy Peasy!!!   Now I have a banner for Memorial Day as well as the 4th of July!  Hope you like this Craft Lightning project!   Be sure to click the photo below and check out other Patriotic Craft Lightning projects!


Initial Cork Boards

Sometimes cork boards can look boring and blah.  I decided to brighten them up!  These Initial Cork Boards were super easy and turned out super cool!

Complete
Materials:
4 Cork Tiles
Letter Stencils
Exact-o Knife
Pins to hold the letters in place
Spray Paint
Command Strips
cutting
Using my Sizzix Eclips2, I cut out the letters “K” and “B”.  Using pins, I placed my letters on the cork boards.  Then, I used an Exact-o Knife to cut the letters out.
painting
I chose two different colors of Krylon and spray painted the boards.  Krylon is by far my favorite brand of spray paint and these two colors are from the 2015 color palette!  
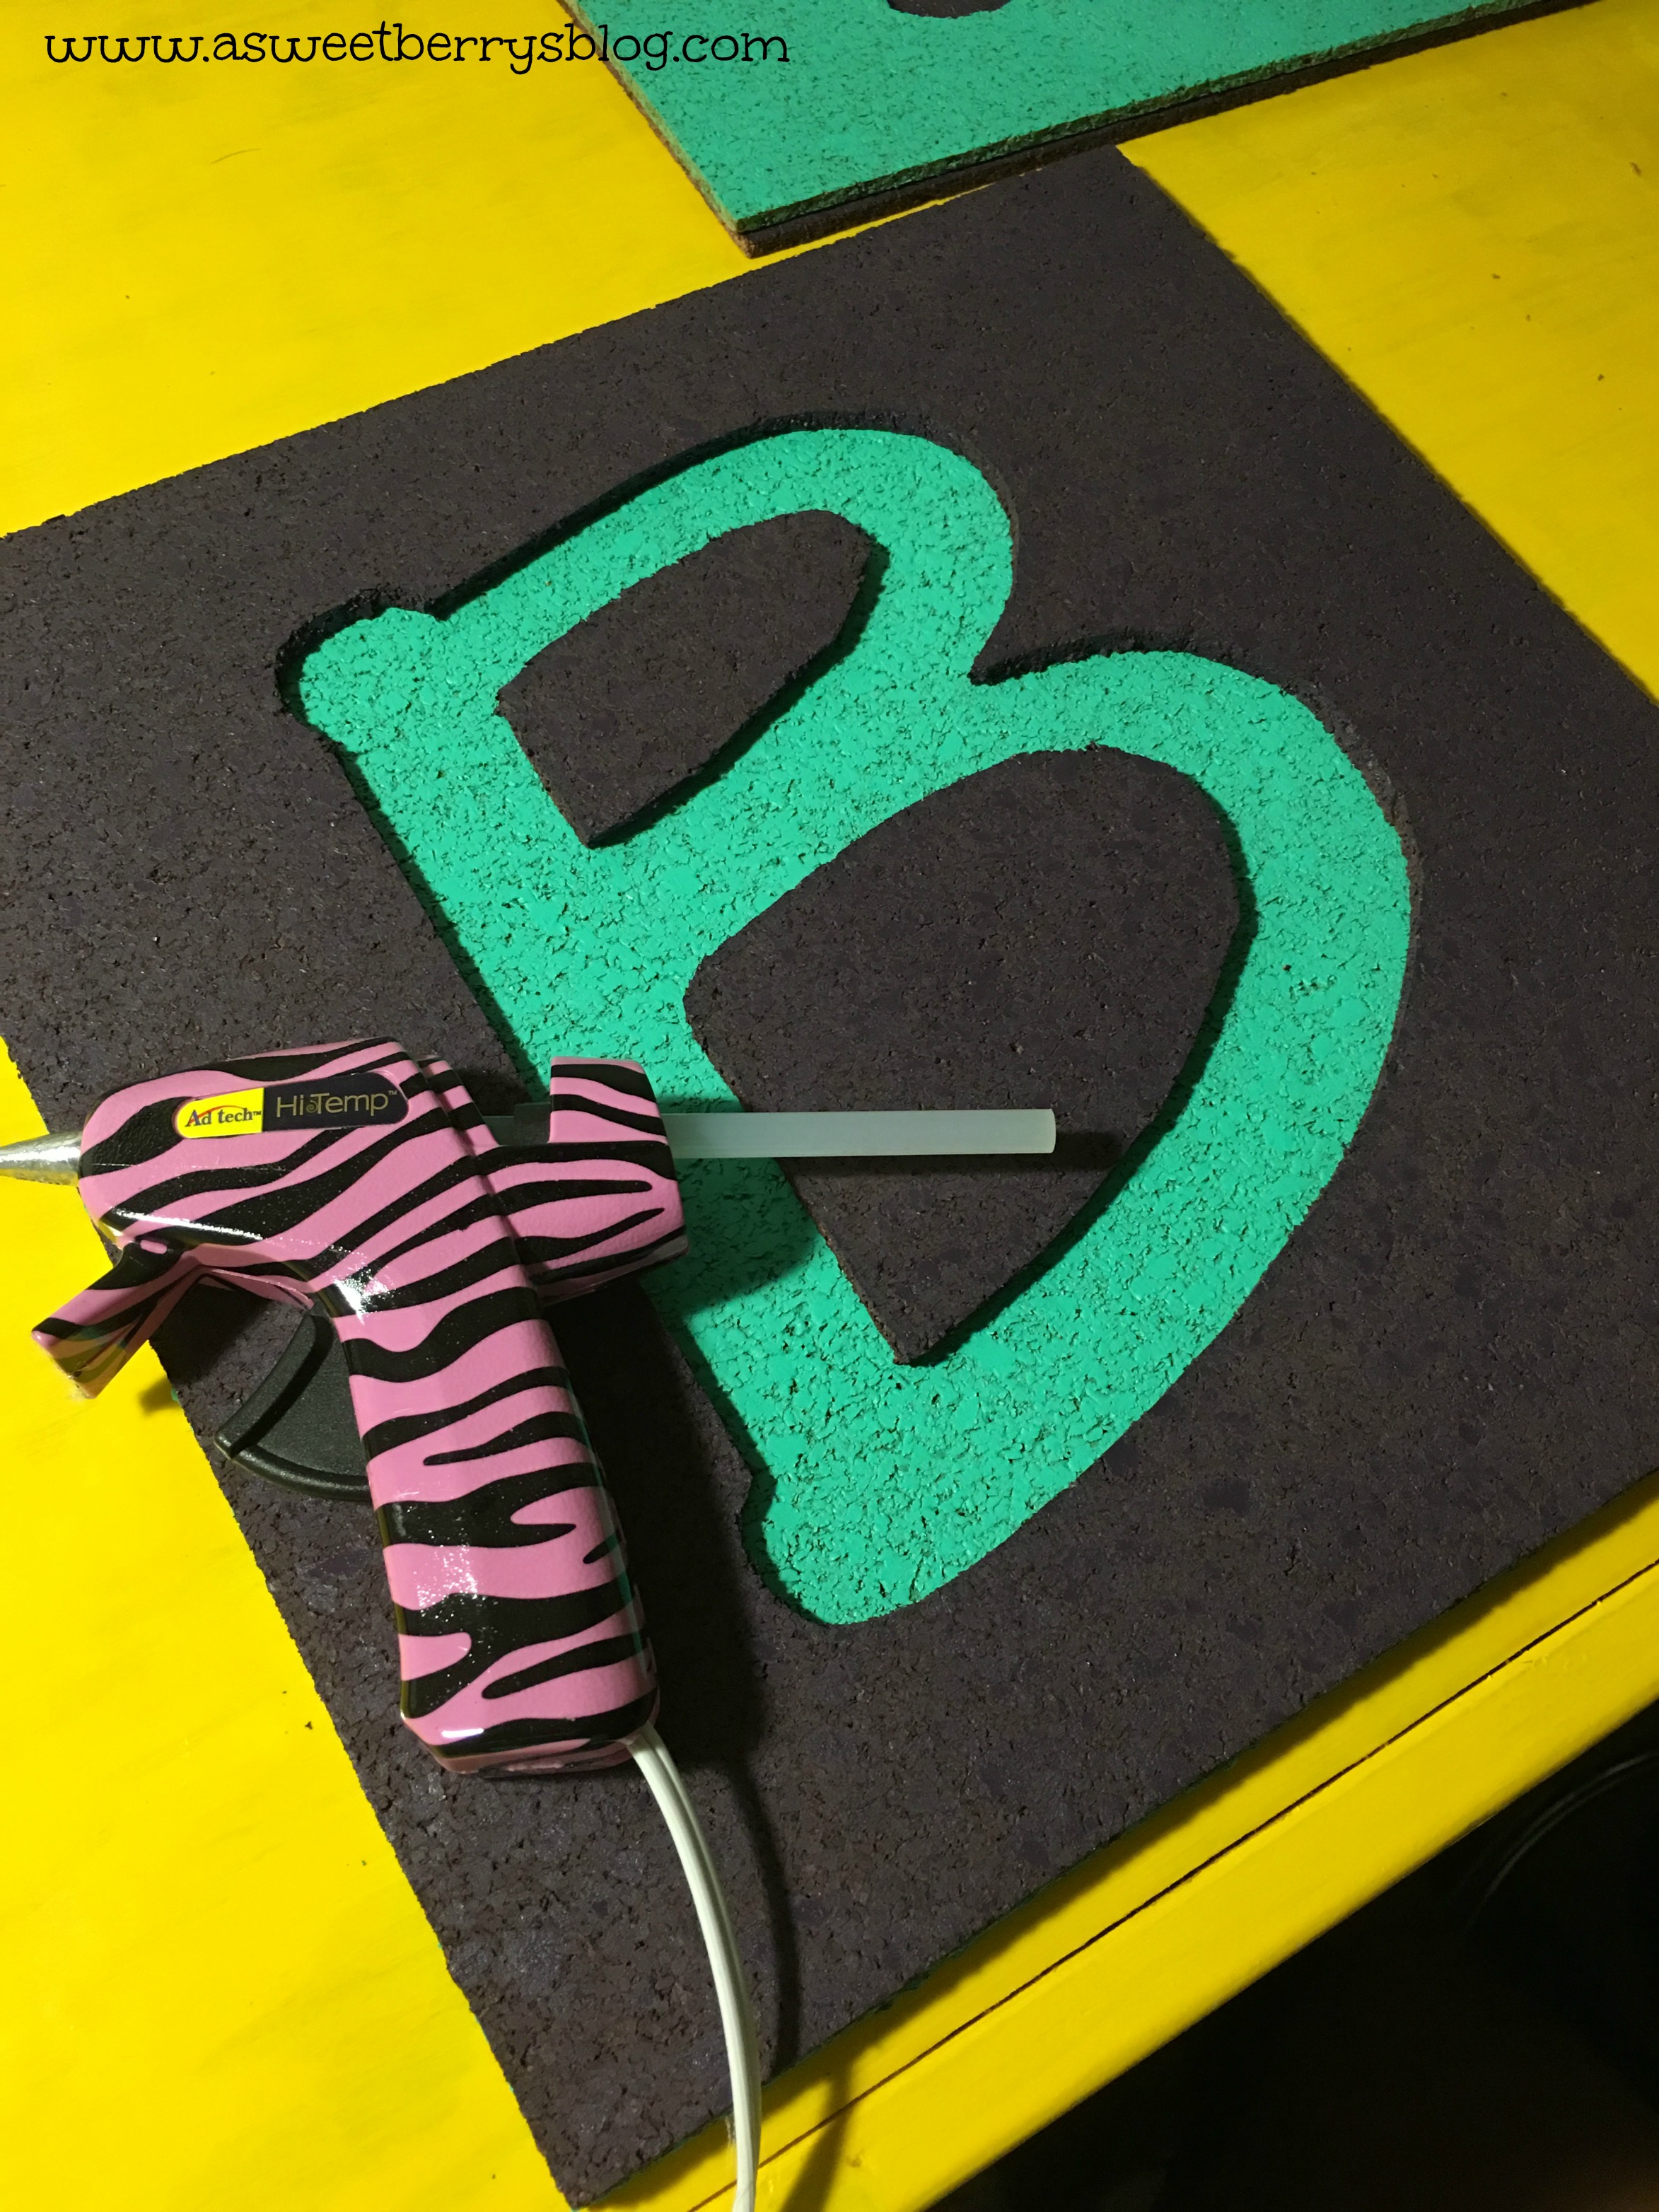
hot glue
Once my boards were dry, I used my hot glue gun to glue the letter boards to the solid ones.  Then I attached a Command Strip to the back and hung them on the wall.
command strip
These cork boards added a nice pop of color to my workspace!  Hope you like!

Until next time……

Craft Lightning Paint Chip Pumpkin Card and Party Bag


I’m so excited to be joining 15 minute Craft Lightning again!   The theme for this Craft Lightning by The Country Chic Cottage, 30 Minute Crafts and 100 Directions is Halloween!   My 15 minute craft was inspired by my awesome friend Laura Kelly!
Paint Chip Pumpkins
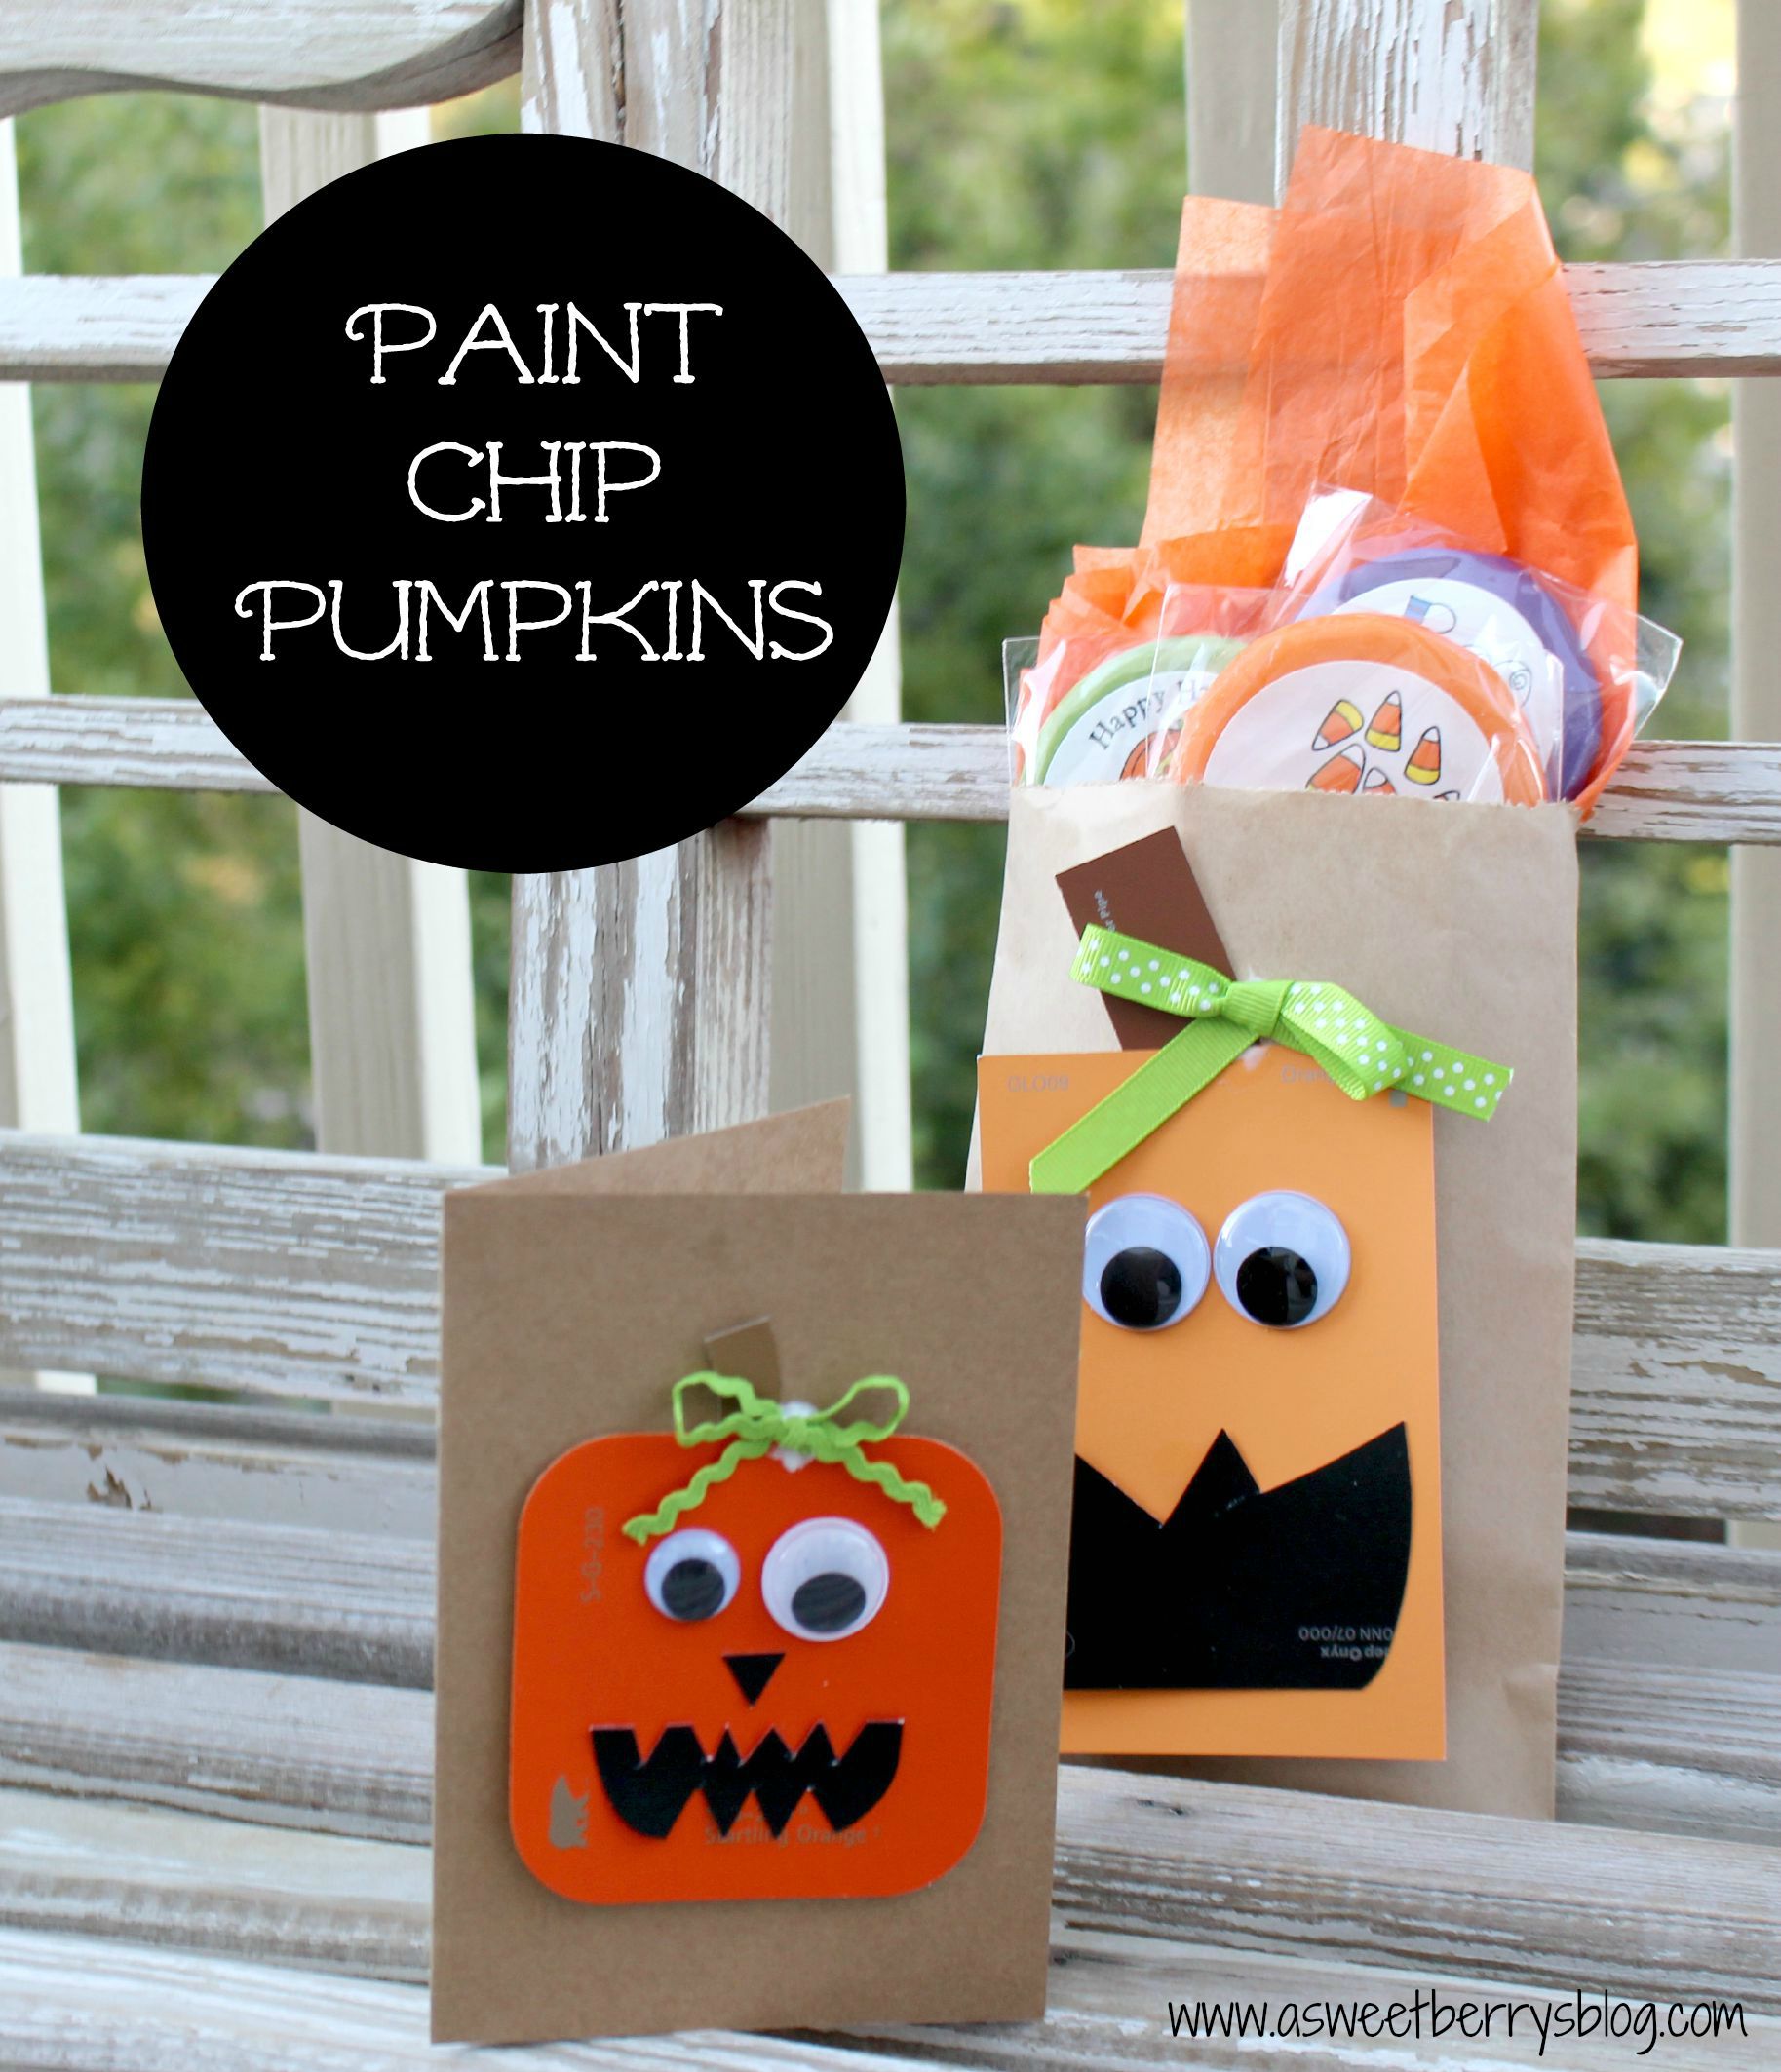
If you are like me, you probably have paint chips lying around in your house!  These orange, black and brown ones were perfect for these quick and super easy Paint Chip Pumpkins! materials
All you have to do is create your little pumpkin with the paint chips, goggly eyes, ribbon and glue (I used Aleene’s!) and stick it right on to your blank card!   And then write you a spooky little note inside!
card
The same was done here using a cute little brown paper party bag!  Perfect for Halloween Party Goody Bags!   Inside this little party bag are a few little Halloween Lollipops from Lollipics! bag
Hope you liked these cute little Paint Chip Pumpkin Card and Bag decorations!    These are quick and easy and perfect for the little ones to do!

Until next time……..

Be Mine Crafty – MineCraft Valentine’s

It’s finally the week of Valentine’s Day!  And my boys are super obsessed with Minecraft, so this year they wanted Minecraft Valentine’s!  Well, after looking, homemade Minecarft Valentine’s were the only ones that could be found.  No stores sold them!  So, I decided to make them!   Final
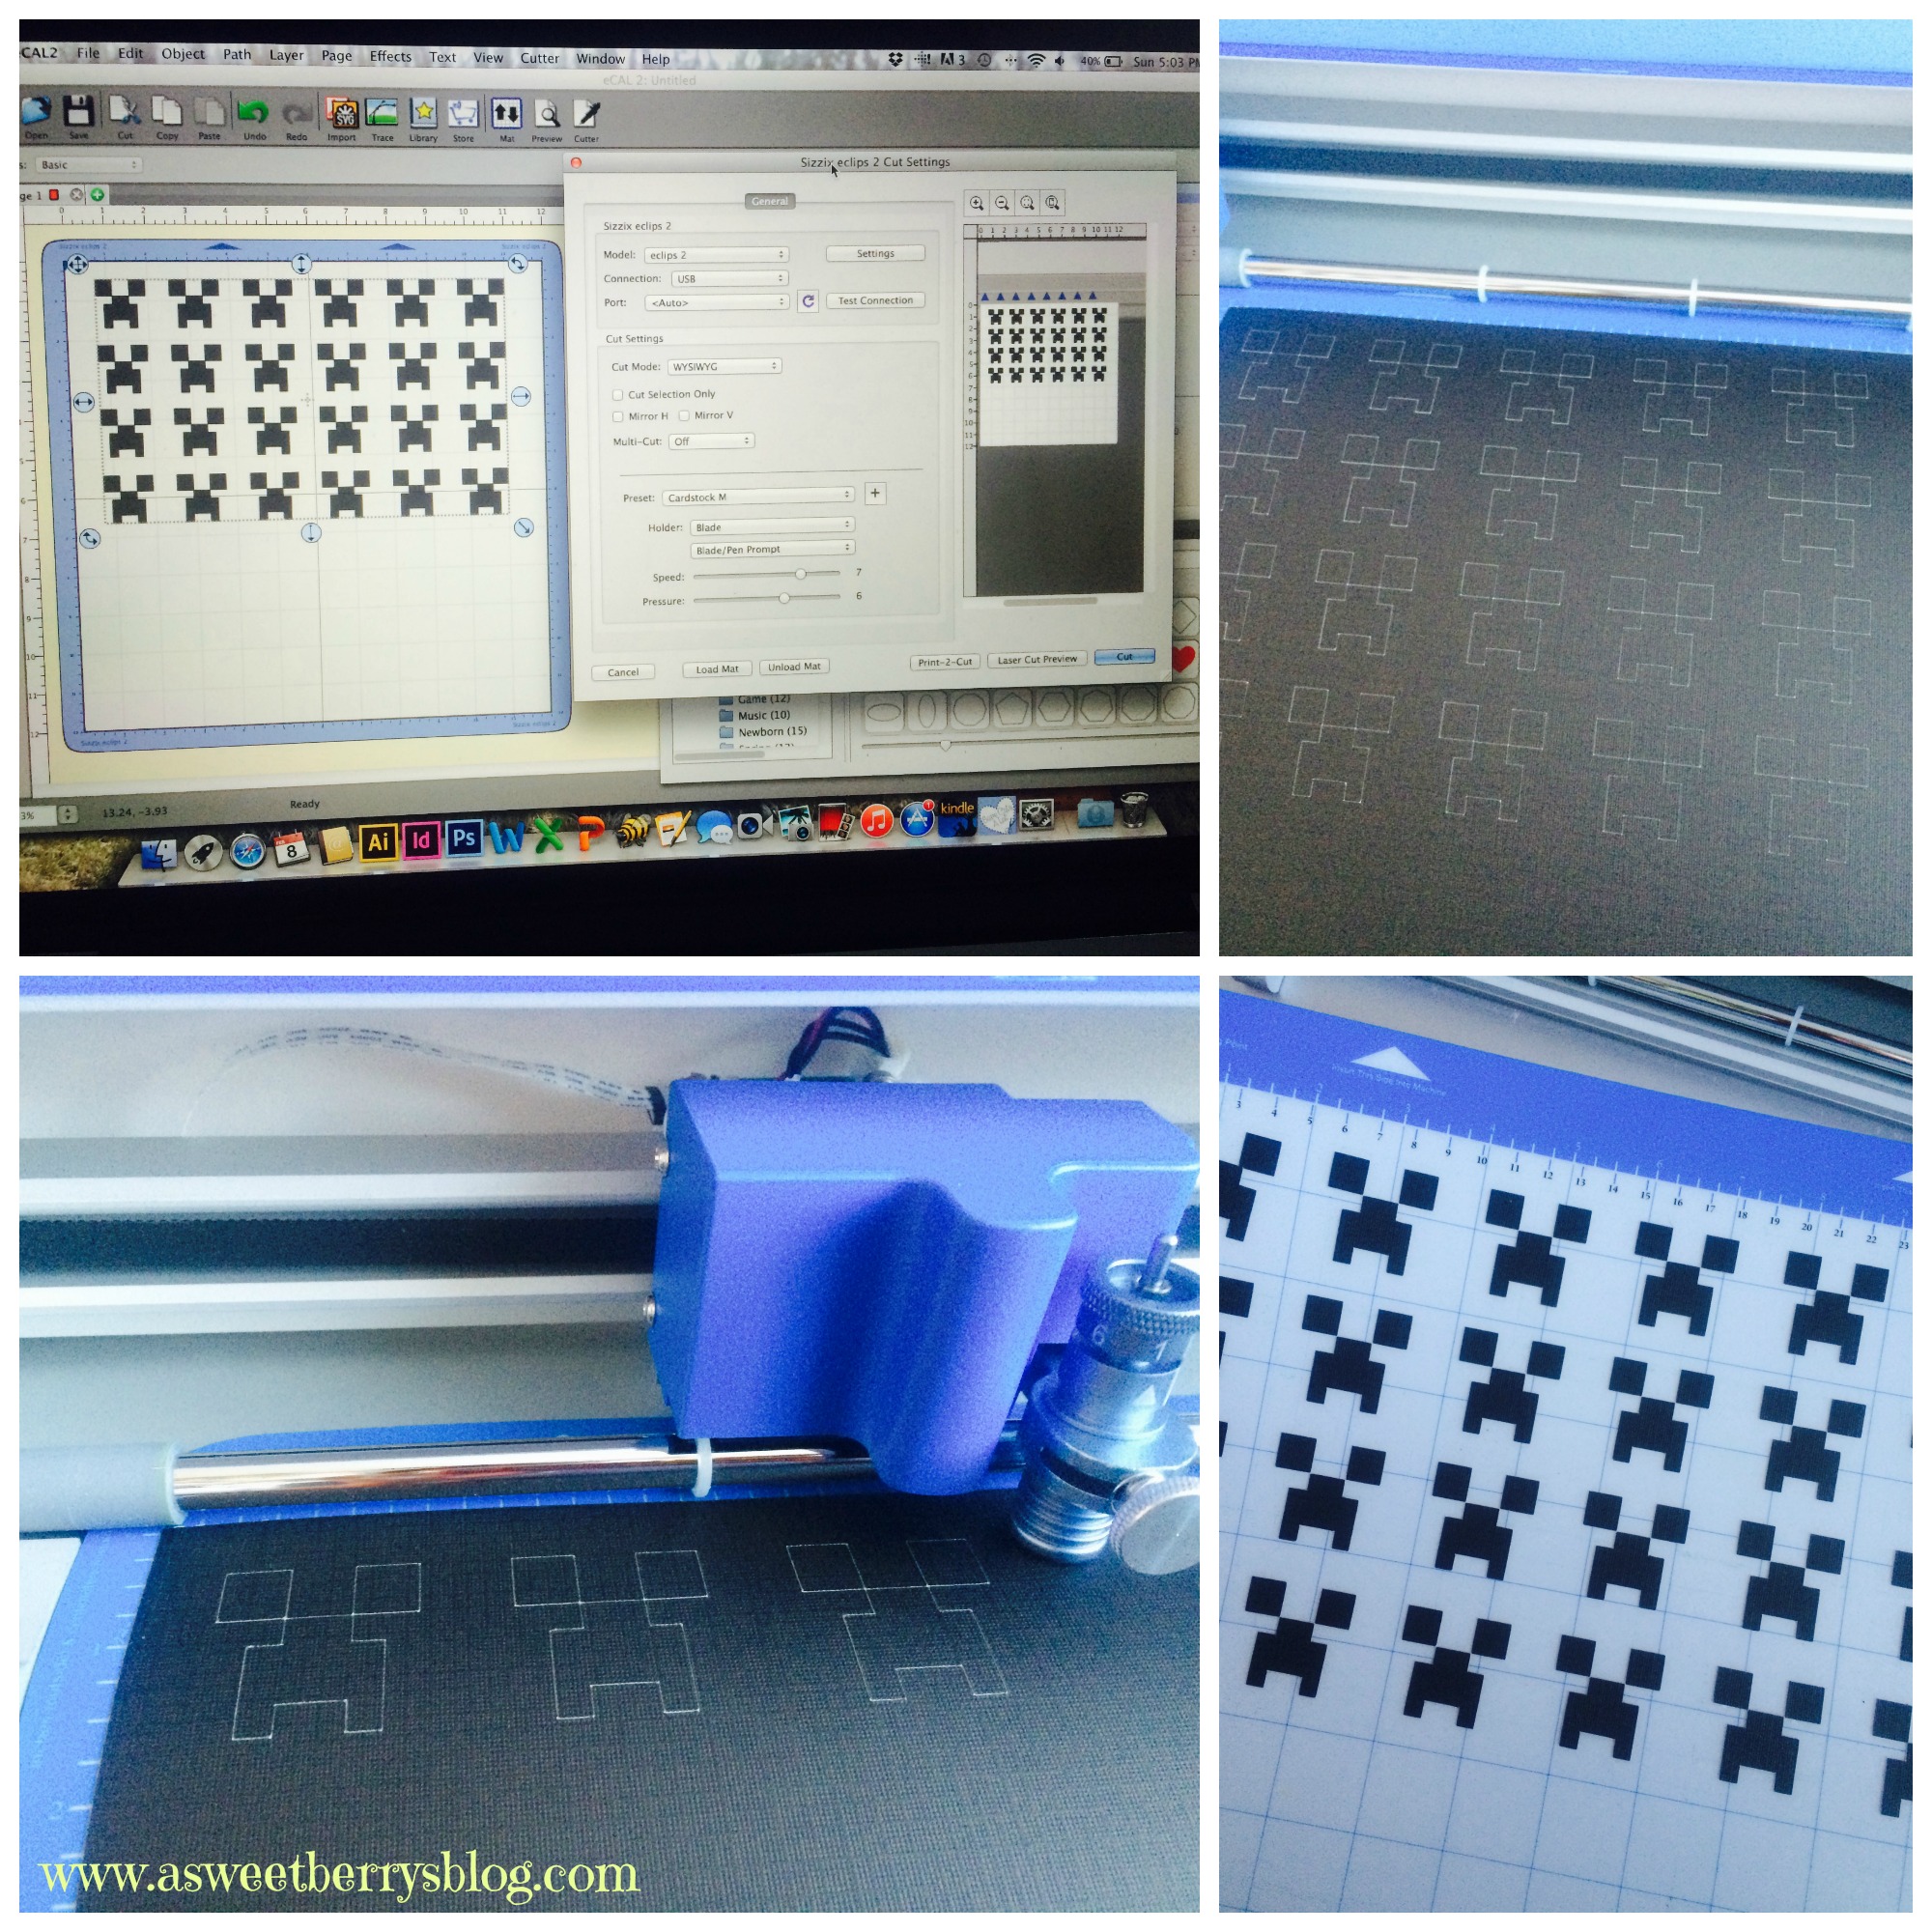
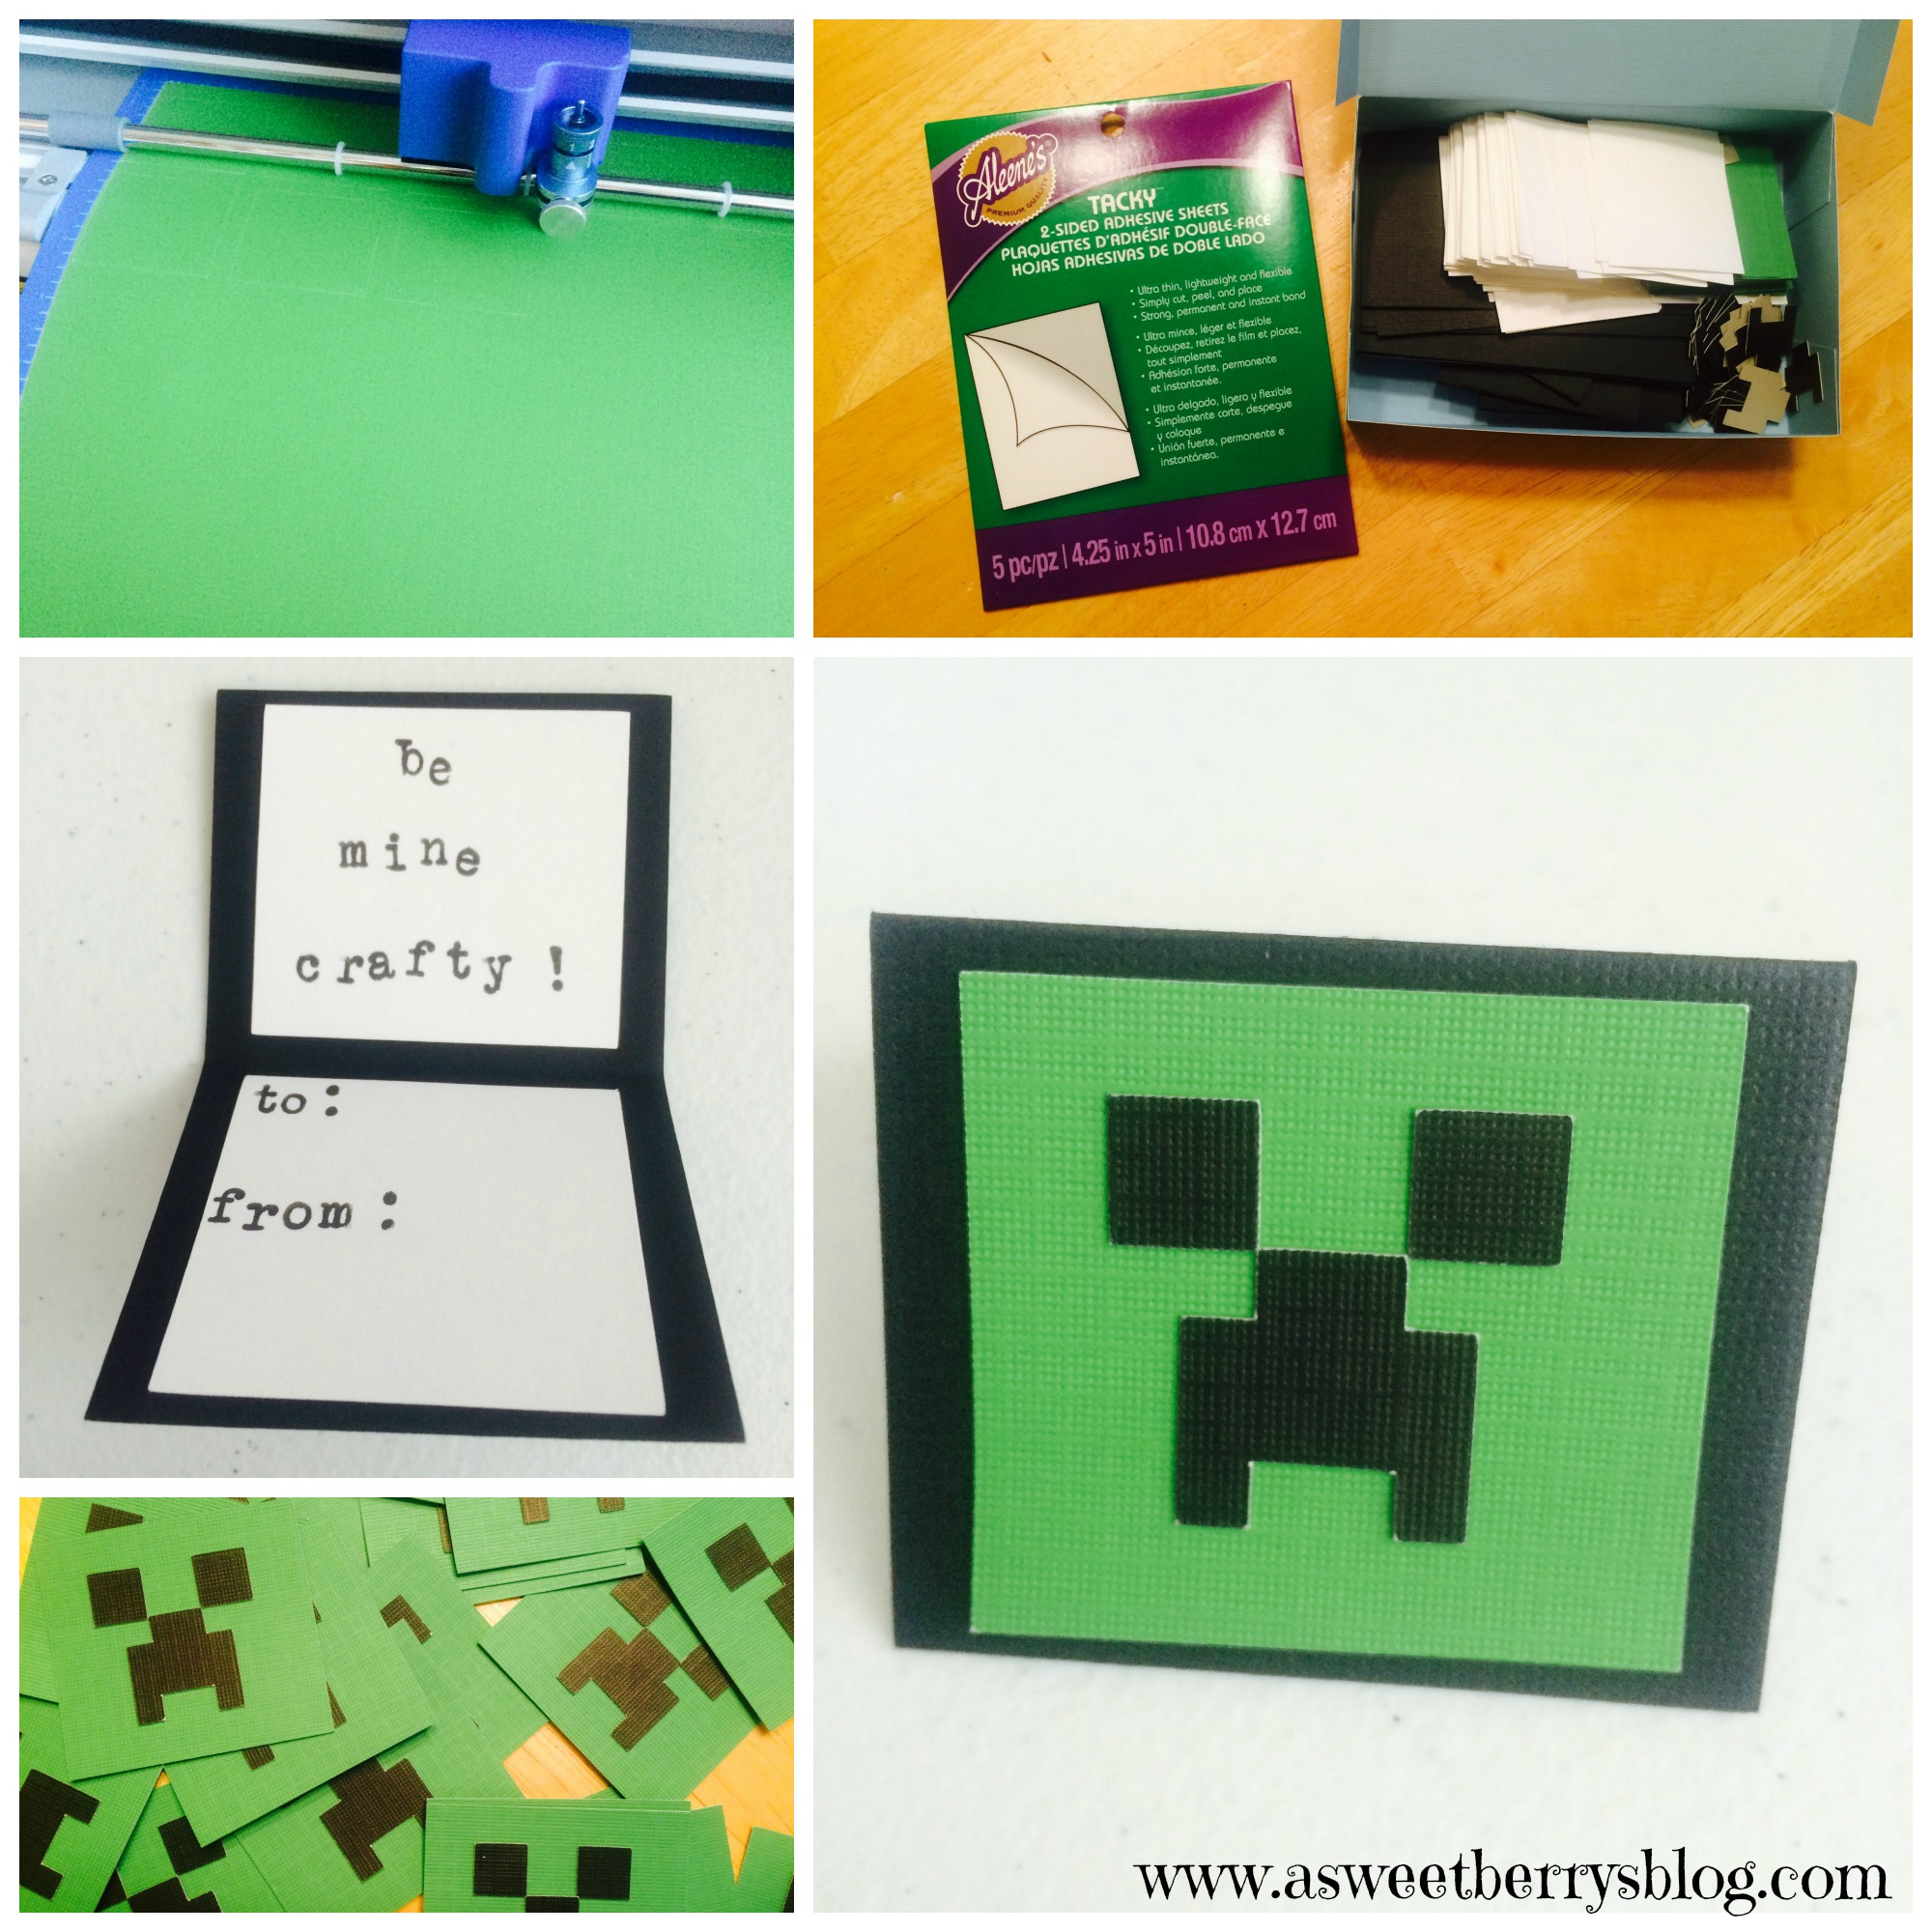
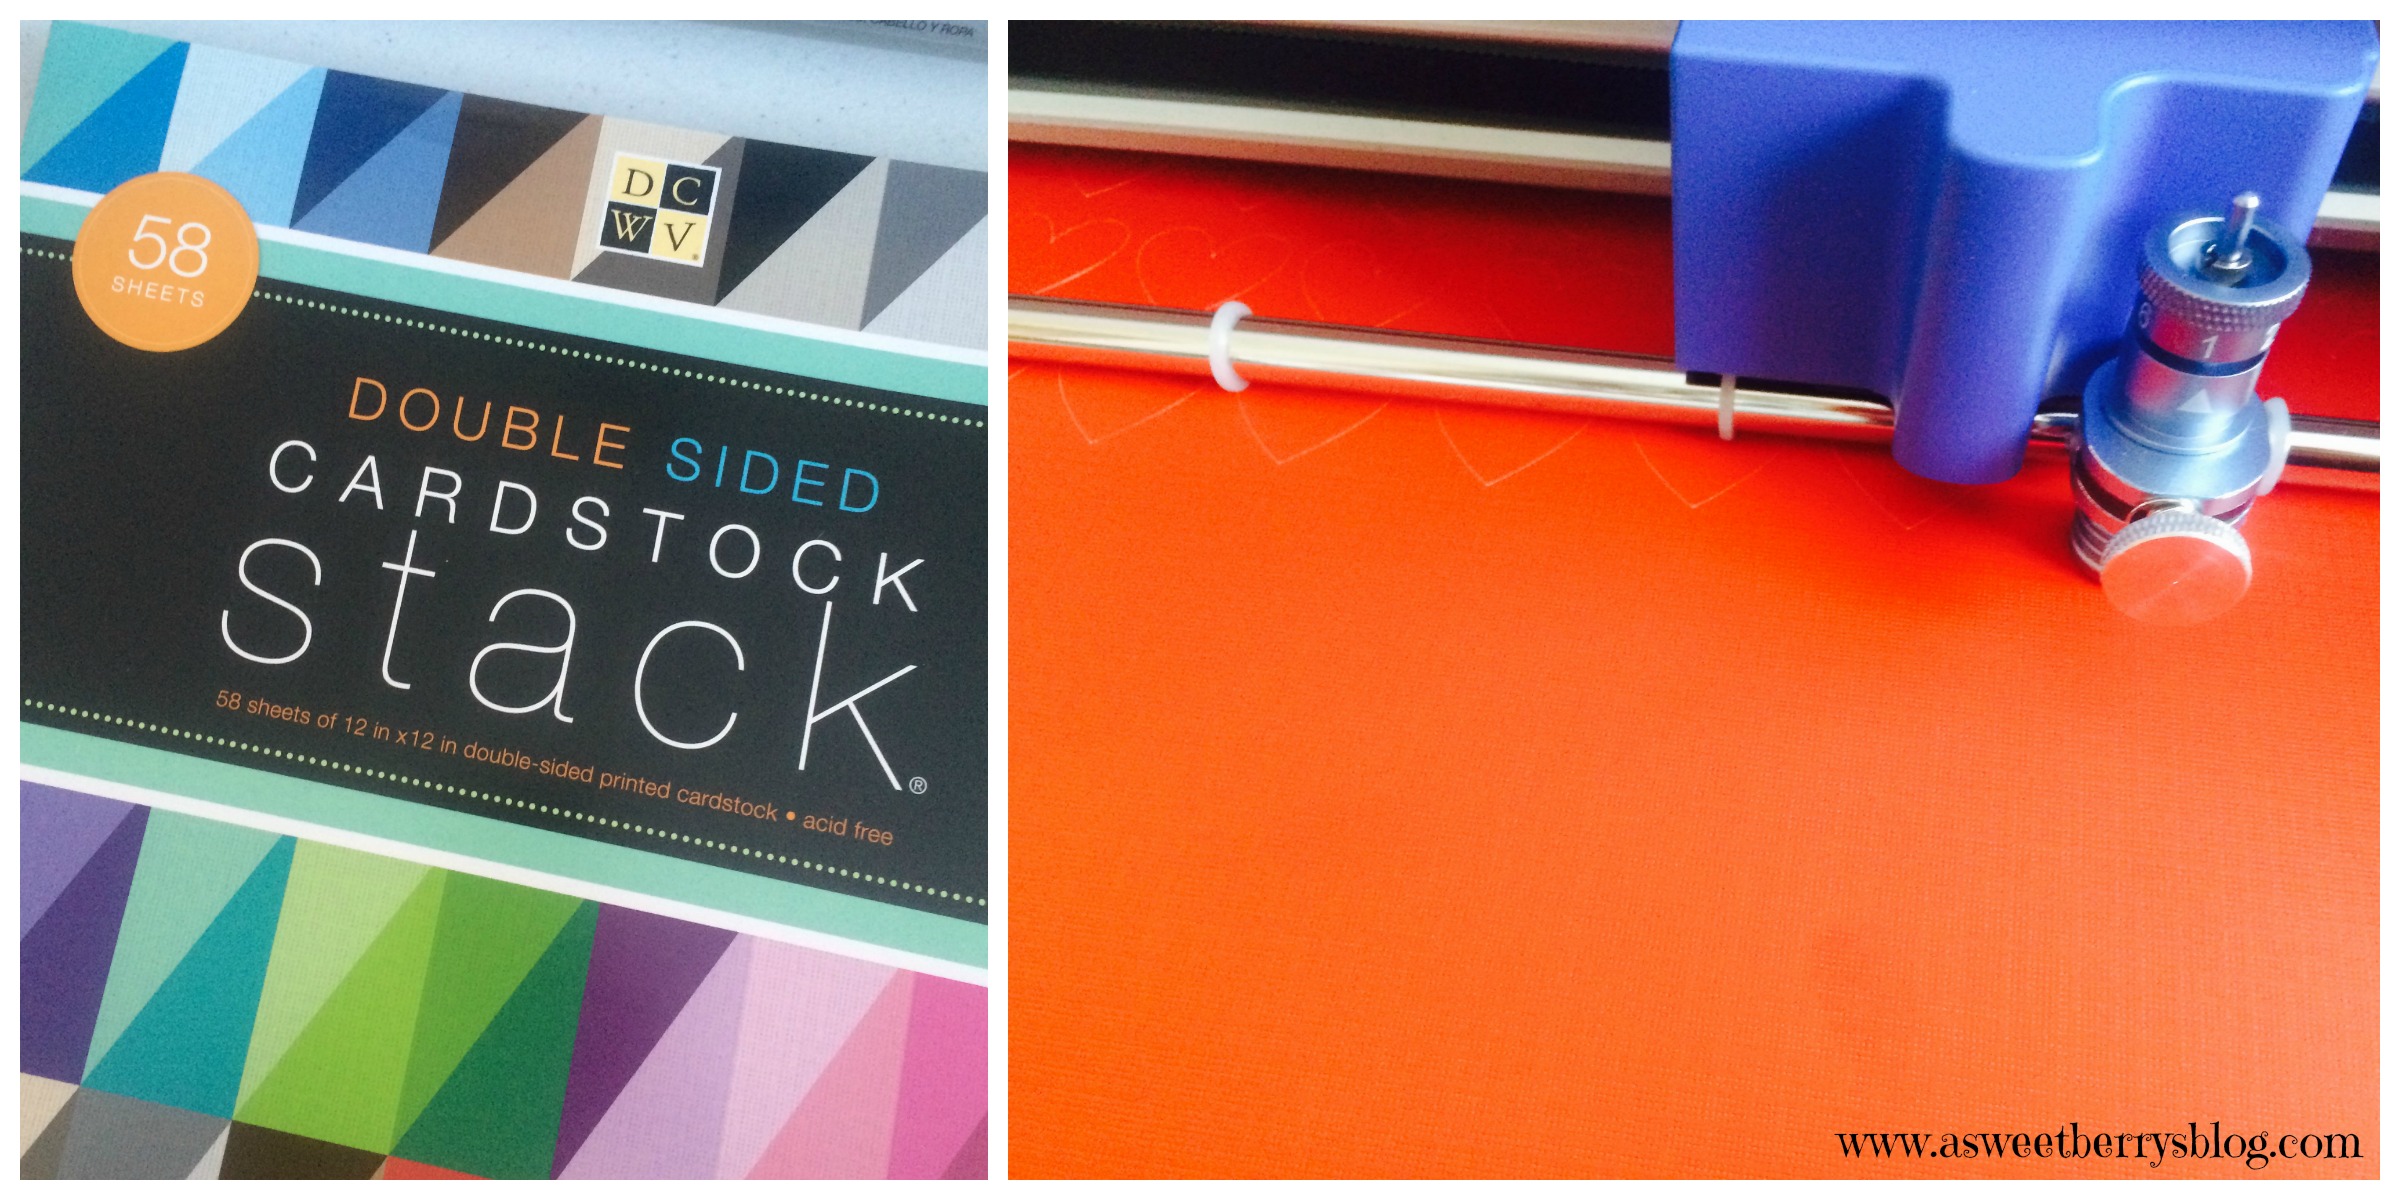
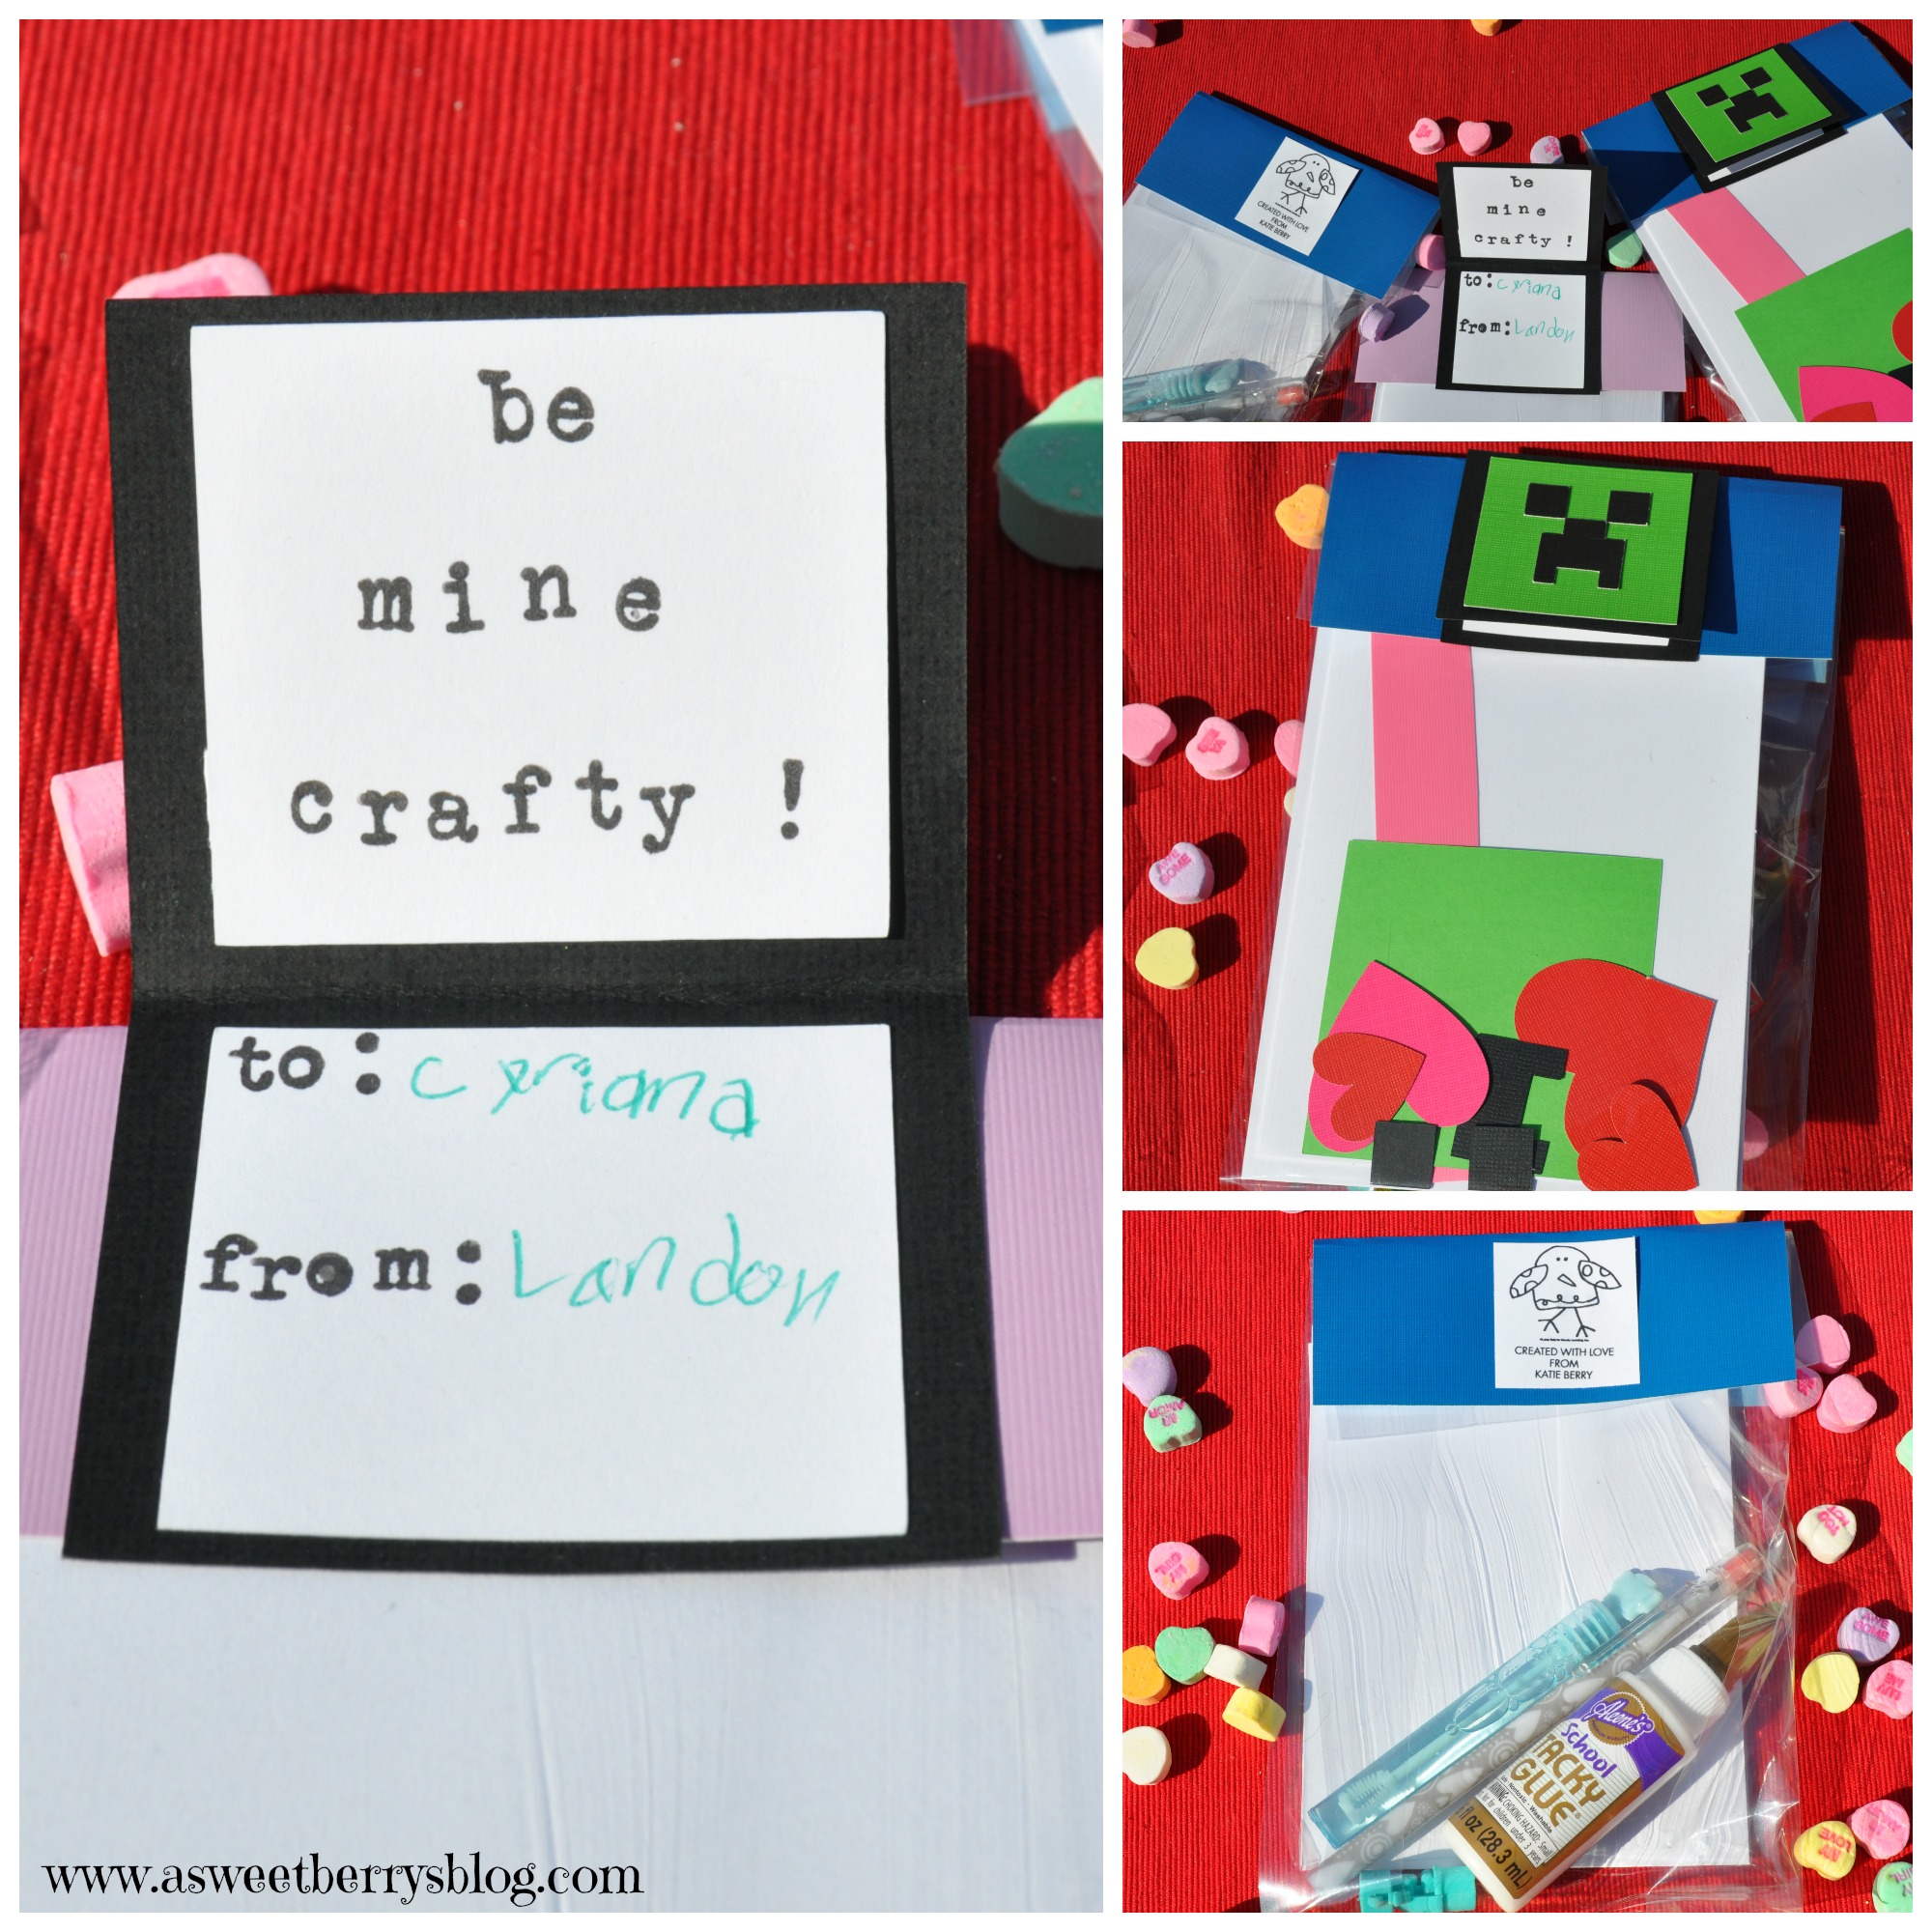
Recently, I was sent a Sizzix Eclips2!  And let me tell you…..I AM IN LOVE!!!!!   It makes cutting super easy!  So, I created my little Minecraft creeper faces in Adobe Illustrator, which I have as a graphic designer.  I converted the file to an .SVG file, imported it into the ECal2 software that works with the Sizzix and got right to cutting!  I also cut black rectangles for the cards, green squares for the creepers face and white light card stock (not DCWV) squares for the inside of my cards, since the cards were black.  I used DCWV card stock, in which ACMoore sells and they sell it in a pack of 12×12 inches pieces.   creeper faces
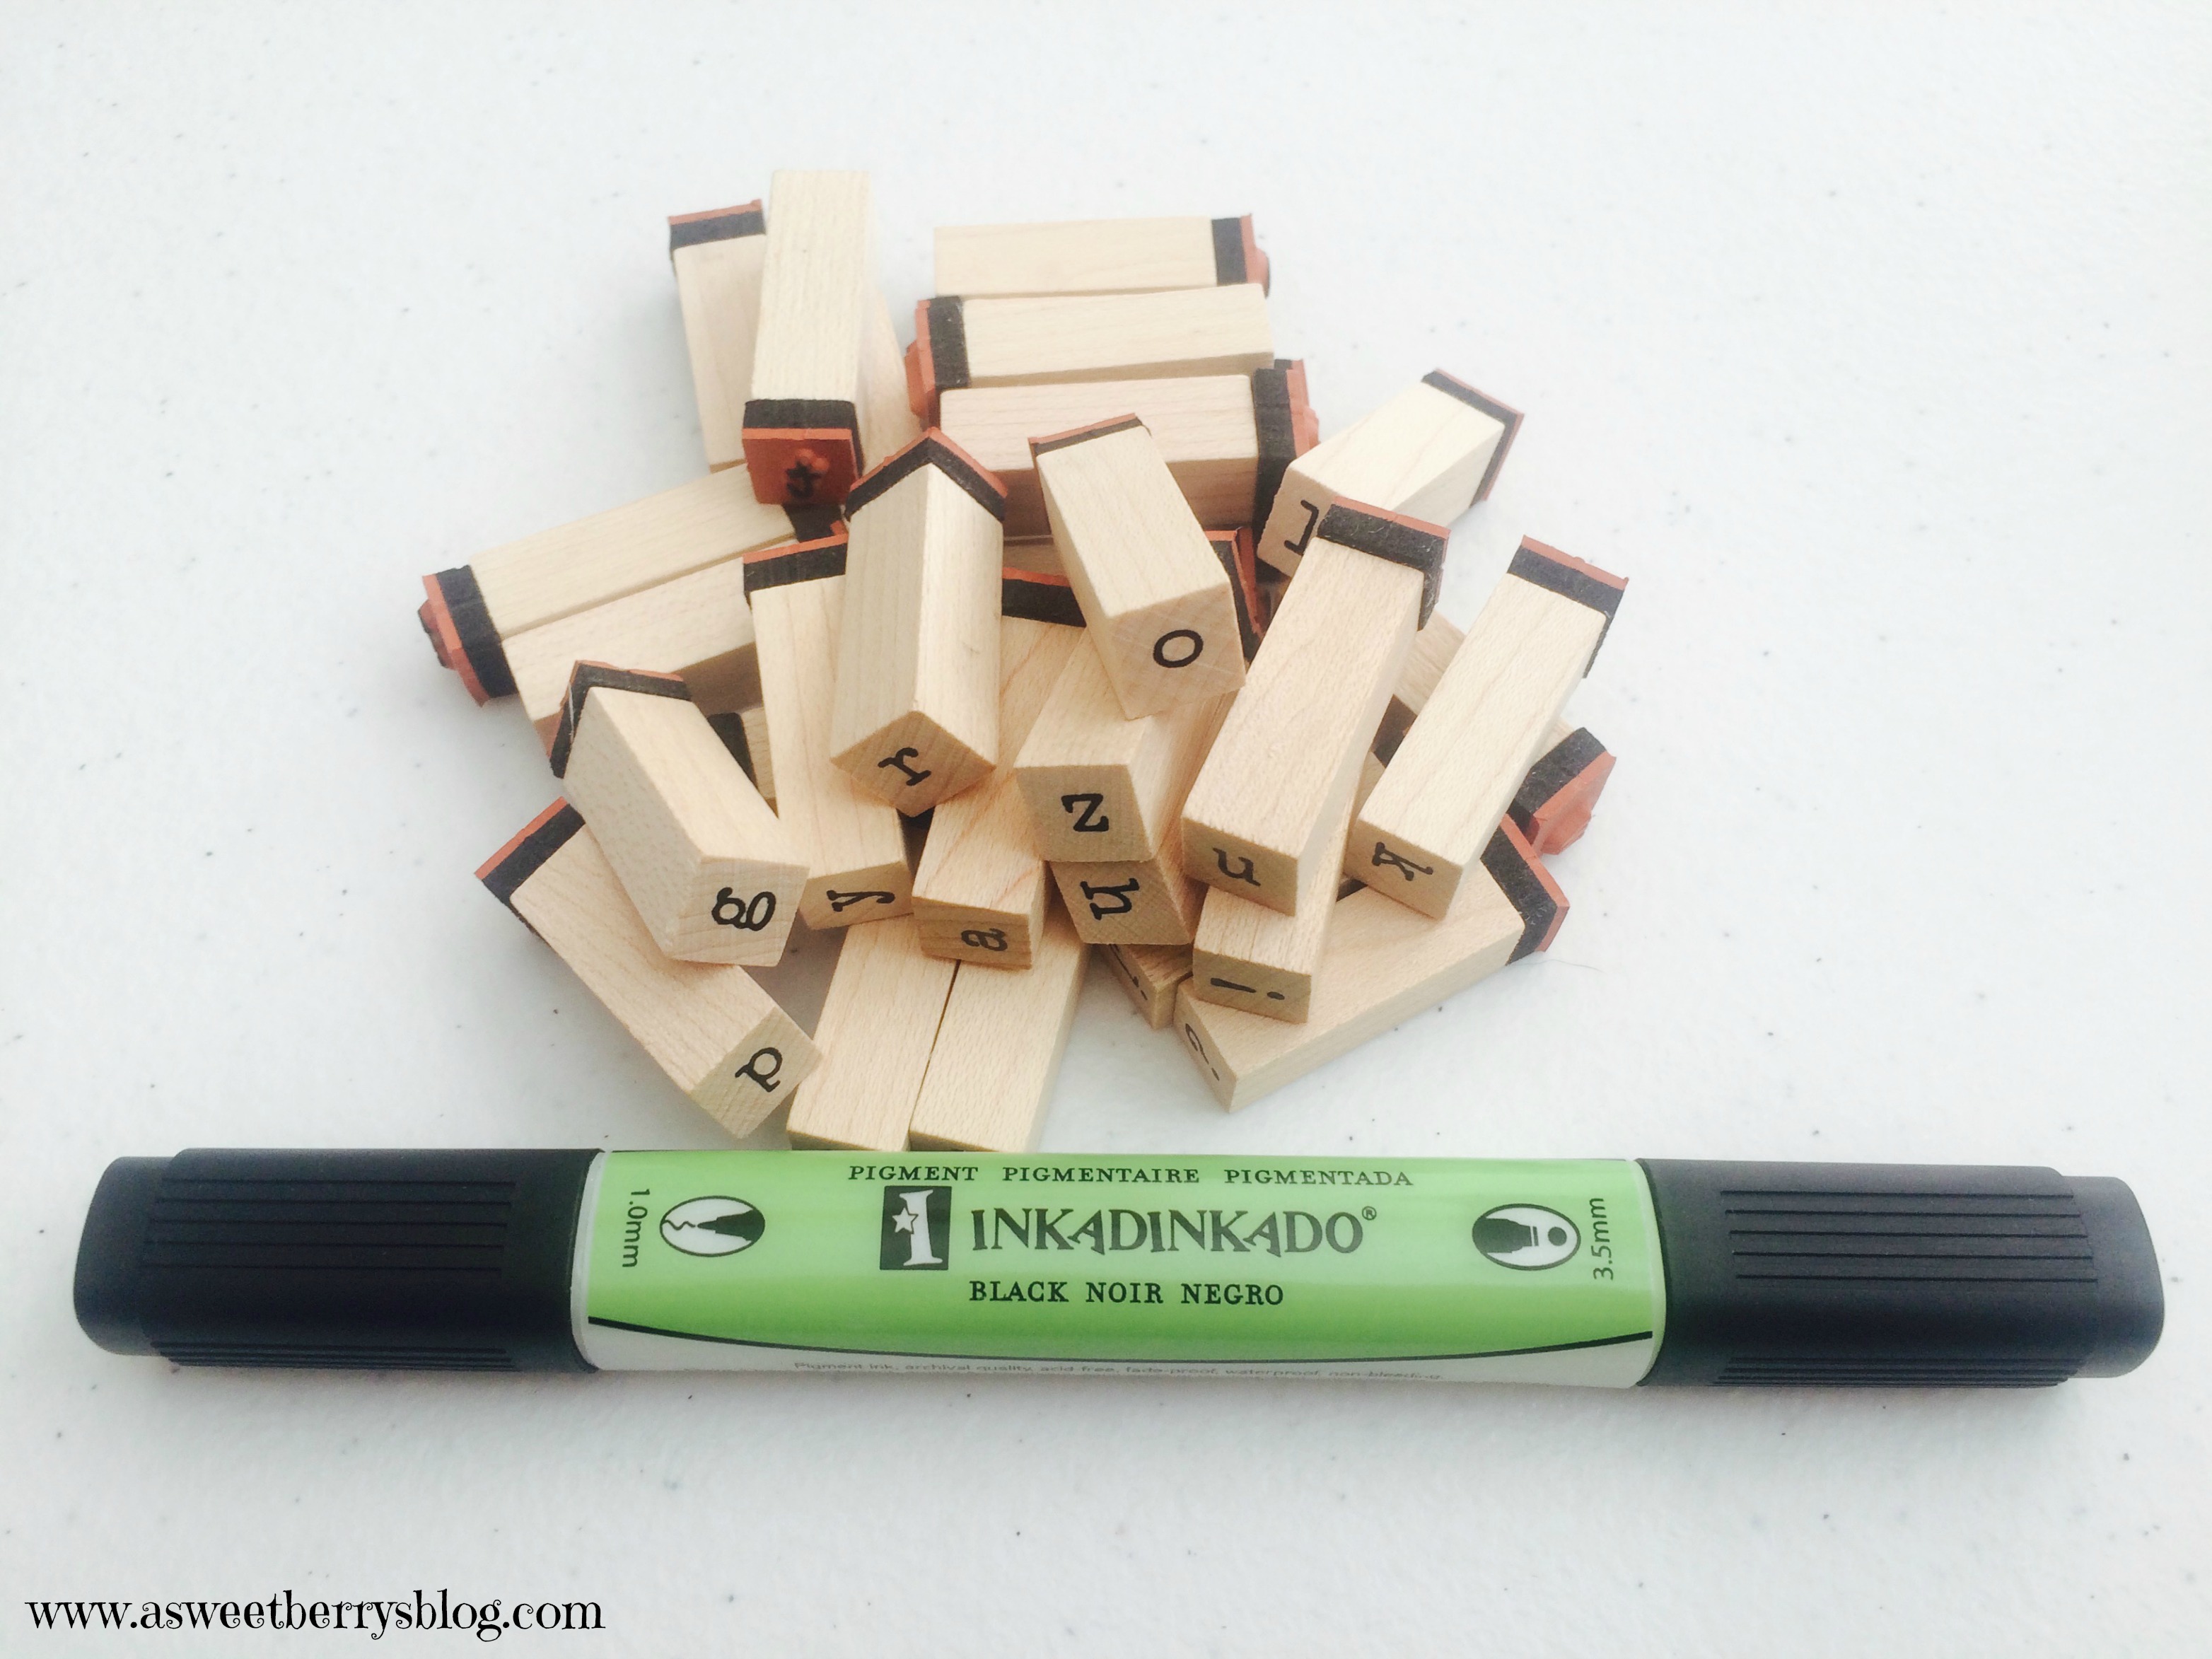
Using Inkadinkado stamps and ink, I stamped the inside of the cards.  I knew that my treats were going to be a craft, so I used a crafty saying:  “Be Mine Crafty!”  Inkadinkado
After getting everything cut out for my cards, I used Aleene’s Tacky 2-sided adhesive sheets to put the cards together.  I just cut the sheets up into smaller pieces and it worked great! creeper card
So, the treats to go along with the cards are Make It Yourself Cards.  I included a green square, a creeper face, some hearts and some scrap pieces of the DCWV card stock from what had already been cut. paperandhearts
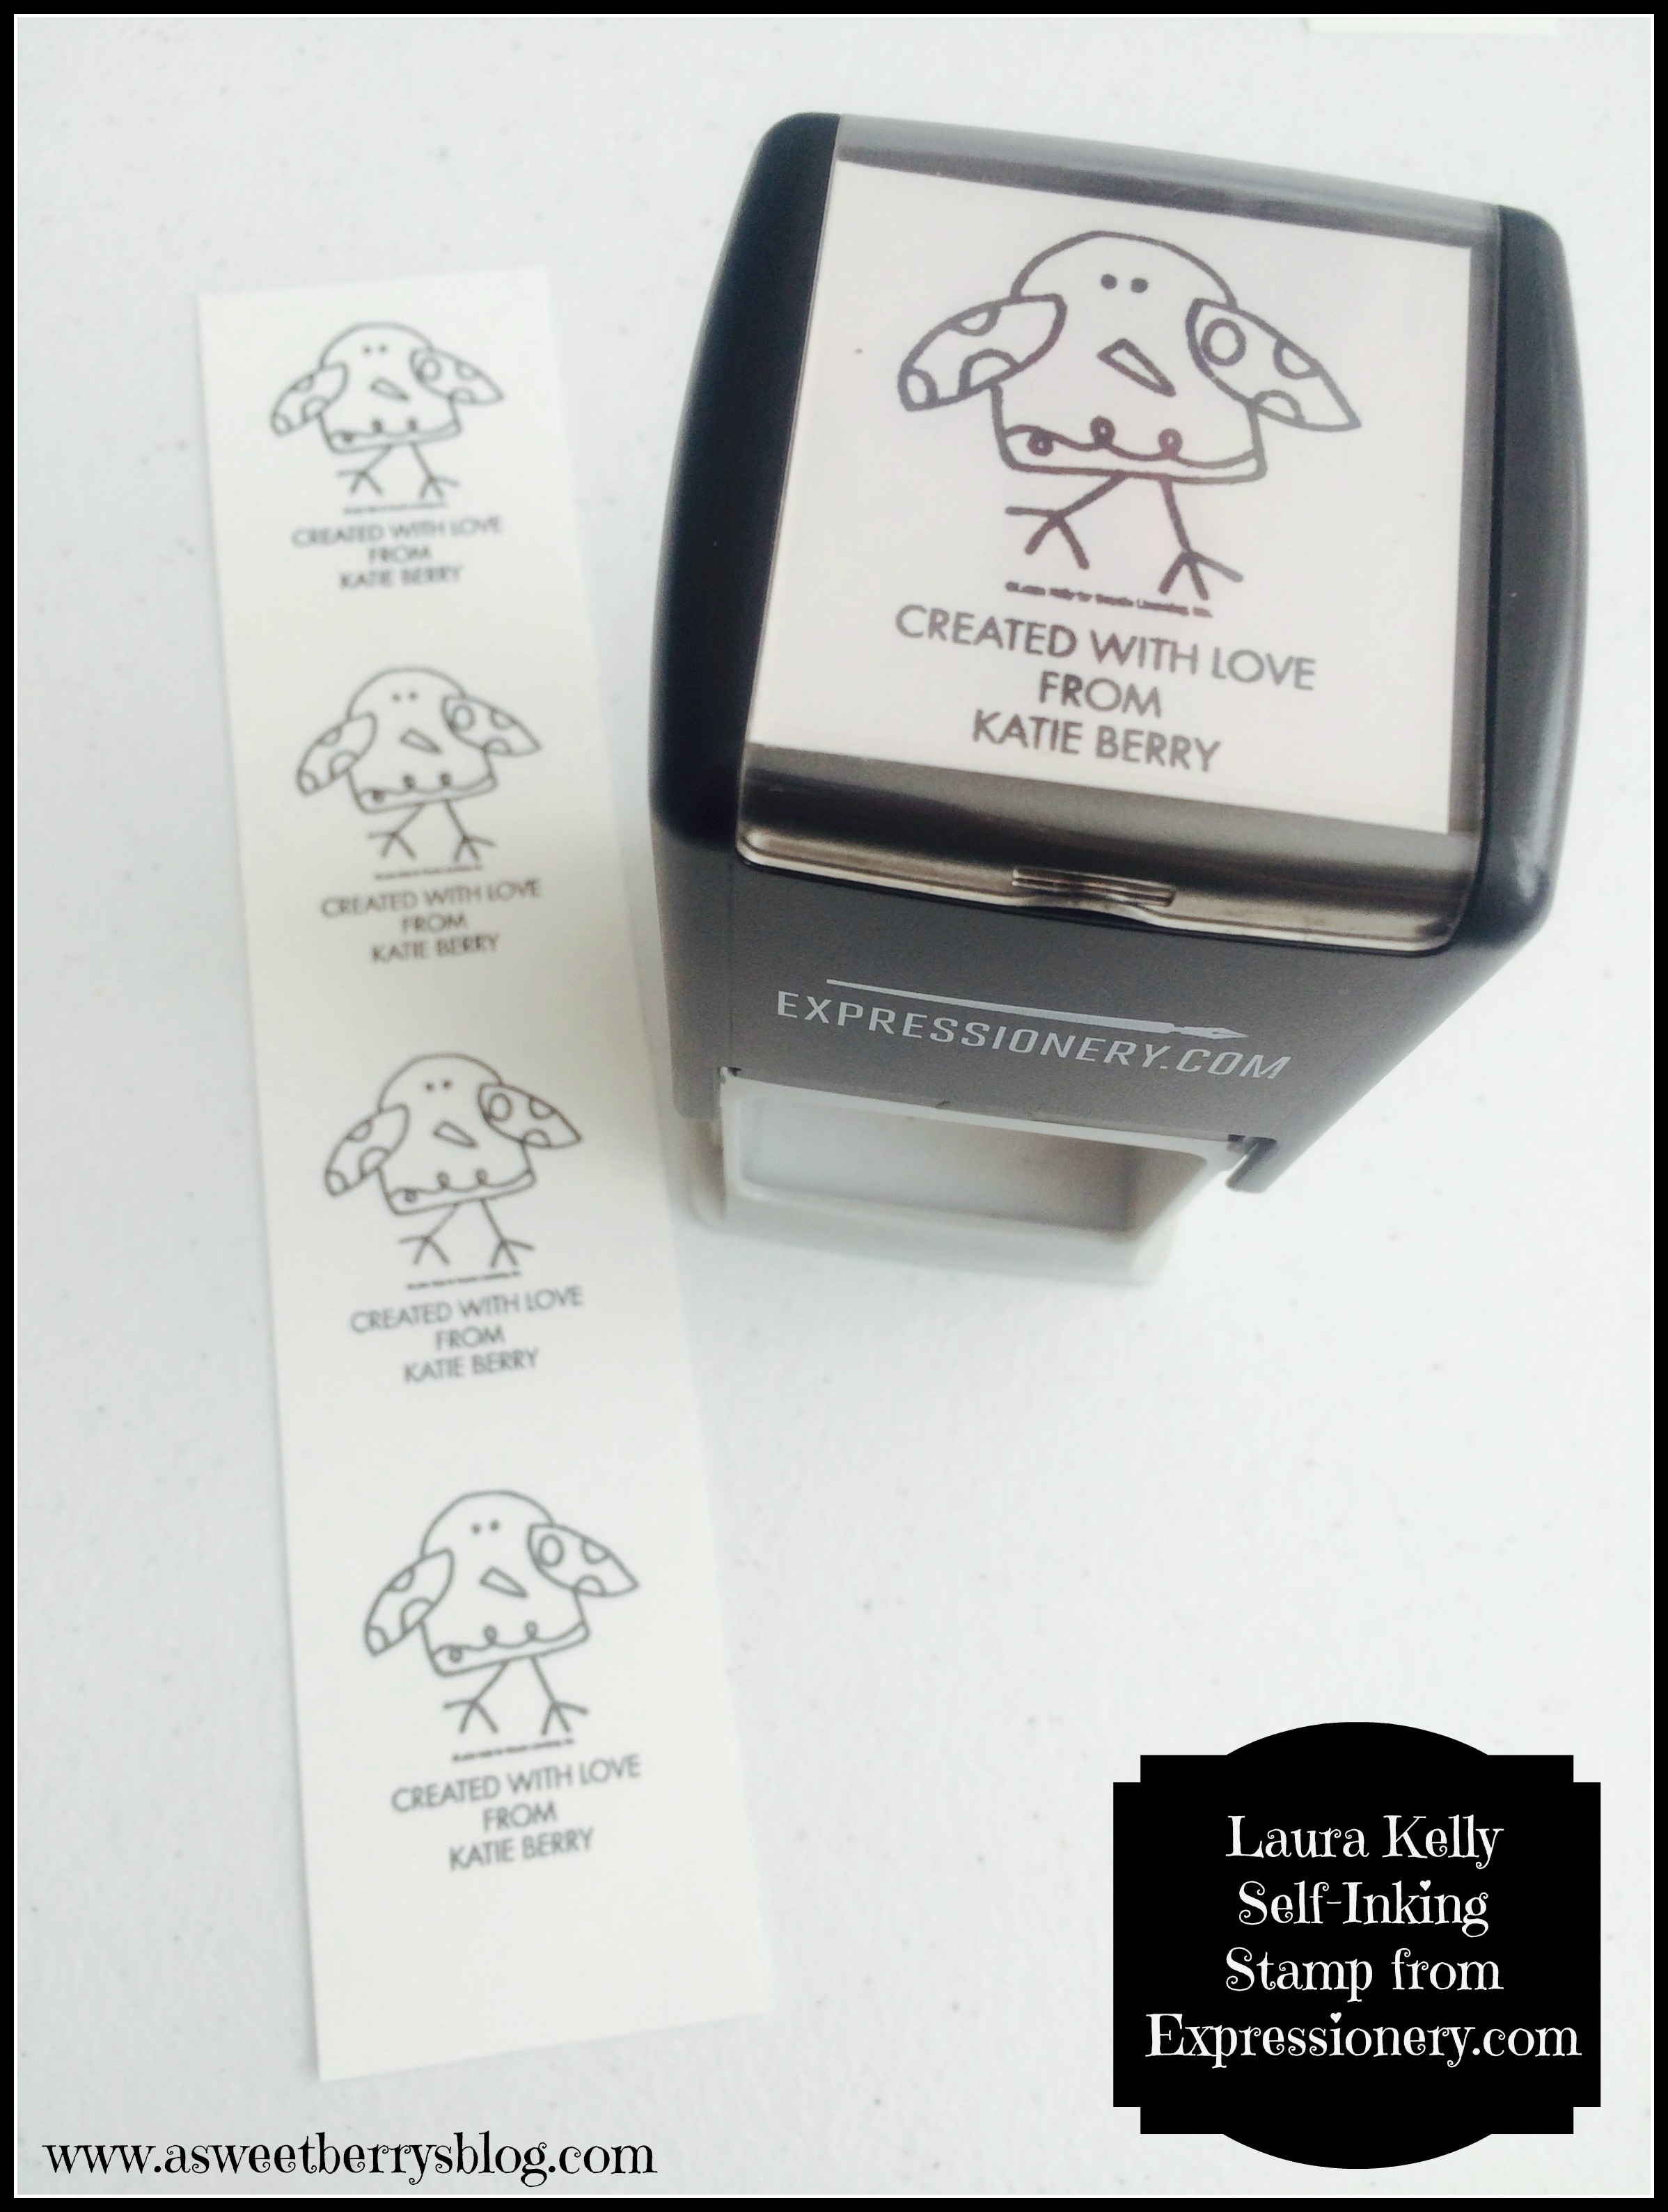
On the left over white scraps that I had from the squares inside my cards, I used my adorable Laura Kelly Self-Inking Stamp from Expressionery.com!  How cute is that stamp?!?!
Stamp
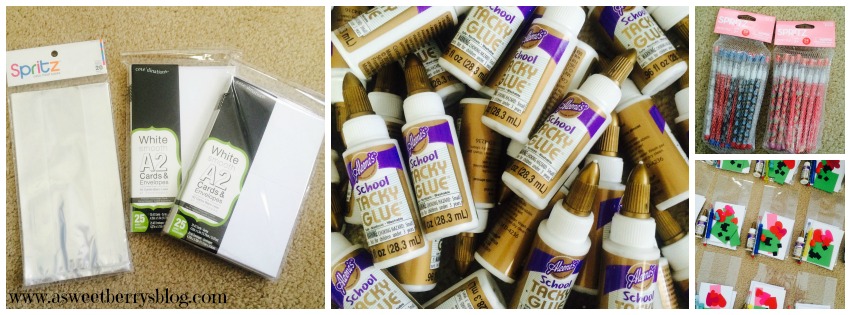
Then it was time to stuff my bags.  I just picked up some clear bags from the party section at Target.  I also got plain white cards with envelopes from ACMoore.  I also included an mini bottle of Aleene’s School Tacky Glue for their card making, a pencil, a small thing of bubbles and a pencil topper eraser!    I decided that I wanted this years Valentine’s to be Candy Free because we also end up having way too much candy anyway and it ends up going to waste.  I folded the bags and stapled a folded piece of DCWV card stock rectangle to close the bag and added the card and the piece white cardstock with my stamp on it to the front and back to cover the staples puttingtogetherbags
How cute did these turn out?   I hope the kids like them!   all shots My idea for a Make It Yourself Card idea came from my super crafty friend Mothership Scrapbook Gal, Rina Gonzales!  Check out her Facebook page and her Etsy Shop!!!!!

Until next time…..

XOXO

The Gingerbread Bear Book and Sculpey and Scribbles Ornament

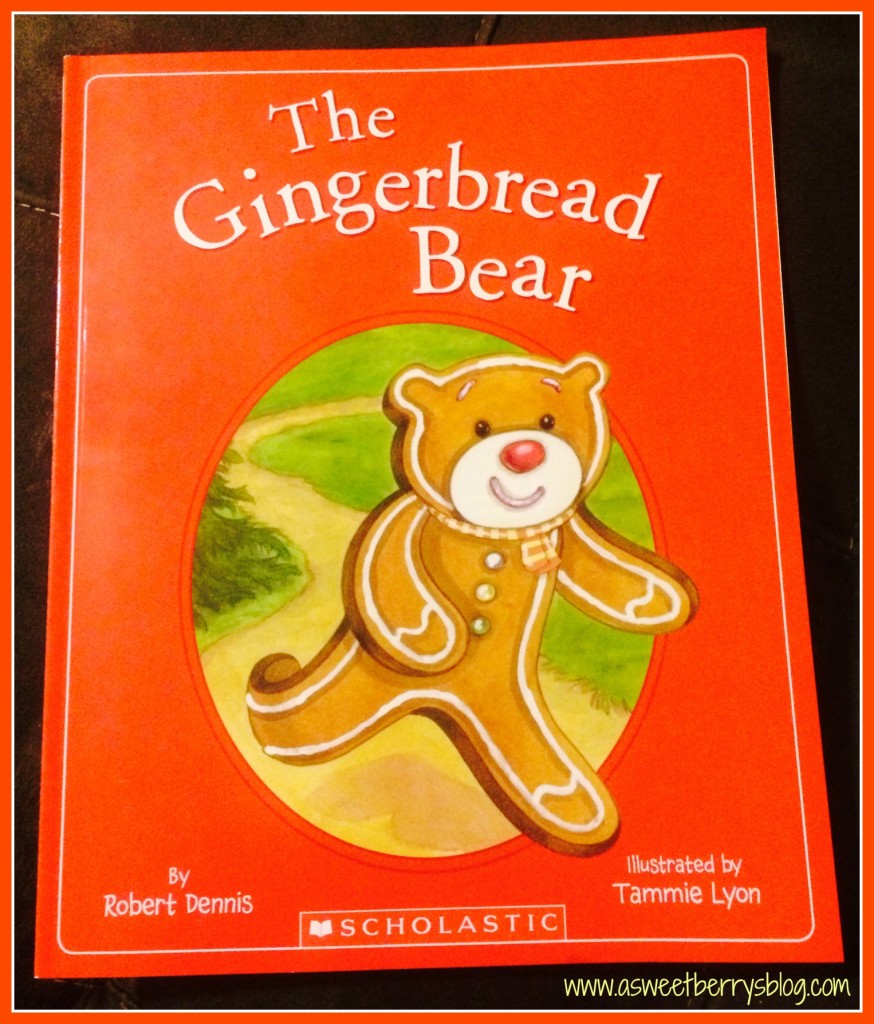
While walking through the Scholastics Book Fair at my oldest son’s school, I stumbled across The Gingerbread Bear book by Robert Dennis and Illustrated by Tammie Lyon.
book
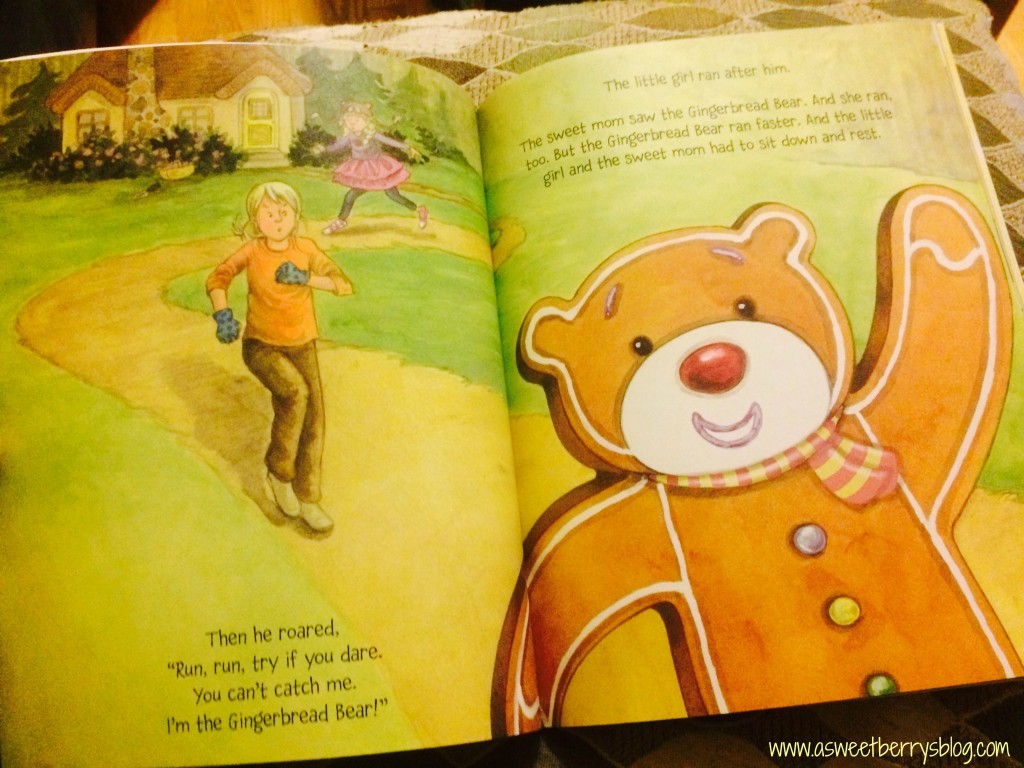
In the story, a little girl and her mother are baking a gingerbread bear.  After daddy goes to work, mom goes into the garden to do some work and the little girl is left to watch after the oven.  Out of curiosity, the little girl opens the oven to have a look, and guess what happens?   Out jumps the Gingerbread Bear!   And away he runs……

Of course, no one can catch him, because after chanting “Run, Run, try if you dare.  You can’t catch me.  I’m the Gingerbread Bear!”, he runs away.  Throughout the book he runs into different people and animals that think they can catch him.  Gingerbread Bear is much to quick for them.
insidebook
You have to read the book to find out what happens at the end!   What a cute little change up to the Gingerbread Man.   My boys loved it!  The illustrations were awesome!

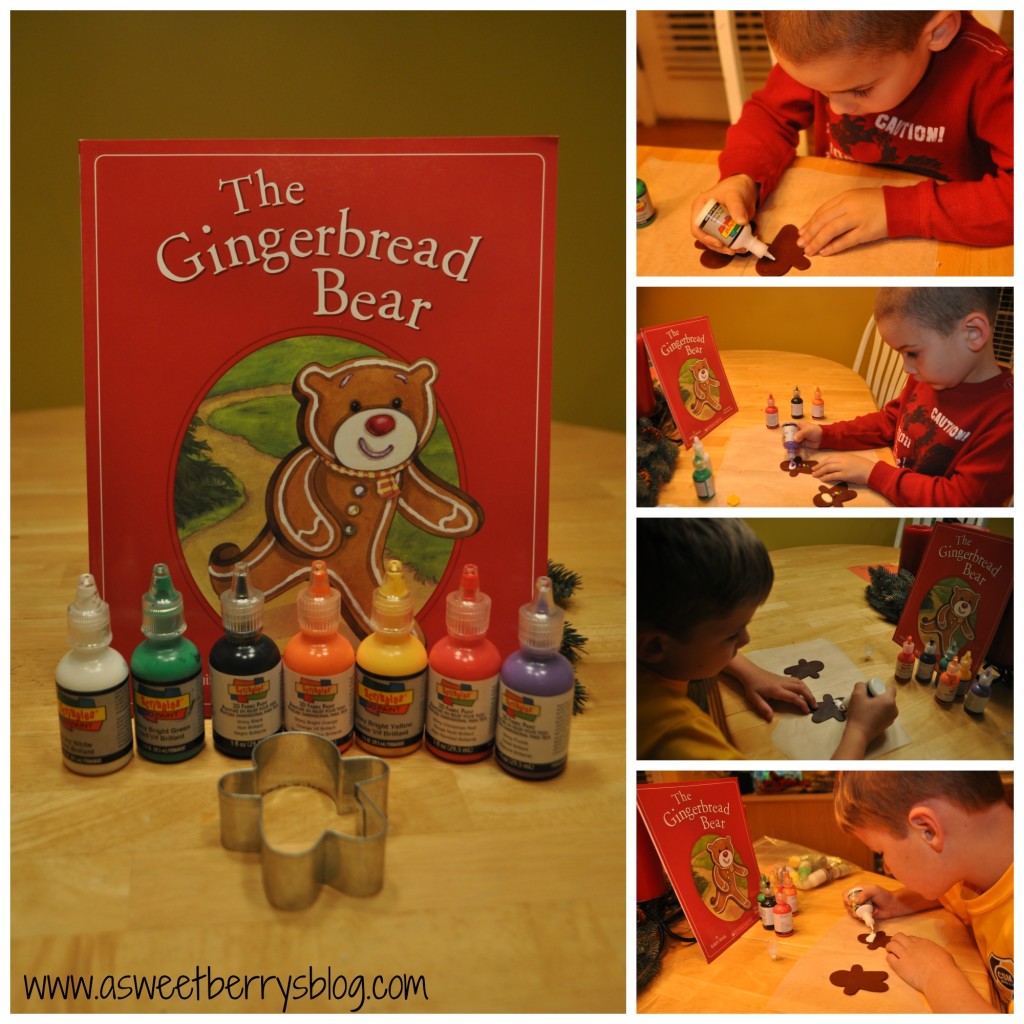
After we read the book, we decided to make our own Gingerbread Bears, using Sculpey clay and Scribbles paint.
sculpey
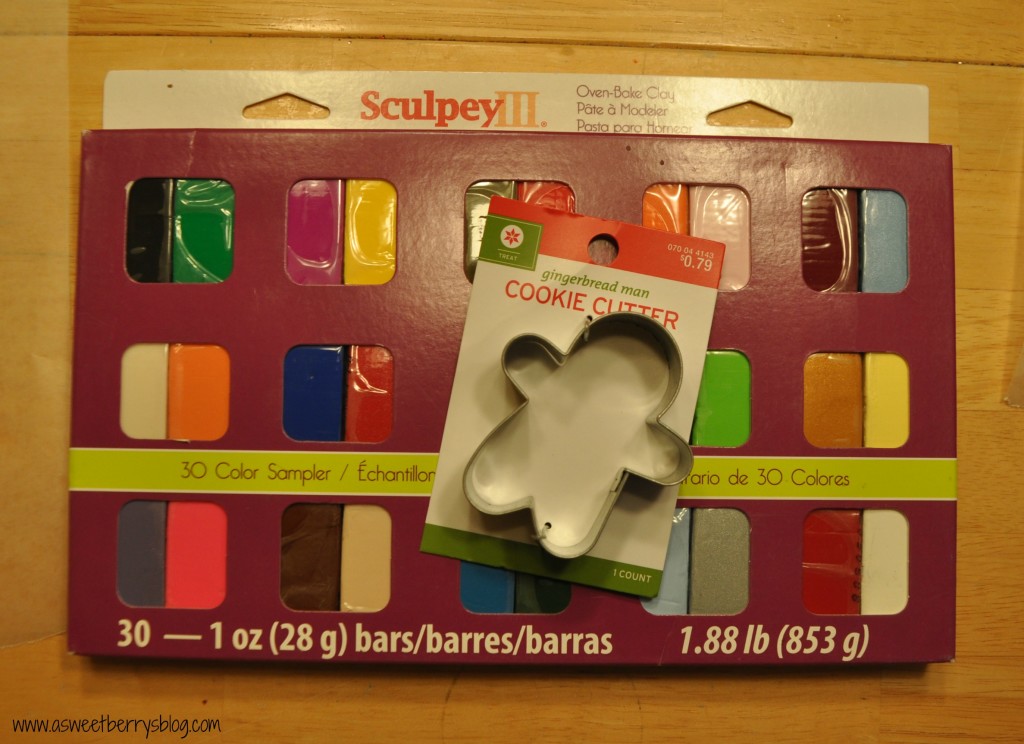
We picked out a brown Sculpey clay, ran it through the clay conditioning machine and then used our gingerbread man cookie cutter to cut them out.   After we had them cut out, I used a sharp pick to punch a whole in the top of their heads for ribbon.  Then it was time to bake them.  I stuck them in the oven for about 13 minutes. gingerbreadbear
Once they came out of the oven and cooled, We used Ilovetocreate’s Scribbles Fabric Paint (yes, I know it’s fabric paint, but it works on other things too!) to decorate our gingerbread bears! Scribbles
Once they were dry, they were ready for ribbon and then to be hung on the tree! 🙂 complete So, go out and pick up this adorable book.   The kids are sure to love it!   And then go get some Sculpey clay and a gingerbread man cookie cutter and create your own Gingerbread Bear!

Check out these other Christmas time books to read with kids:

  And the enter to win a great prize! a Rafflecopter giveaway
Until next time…….

Button Christmas Tree Earrings

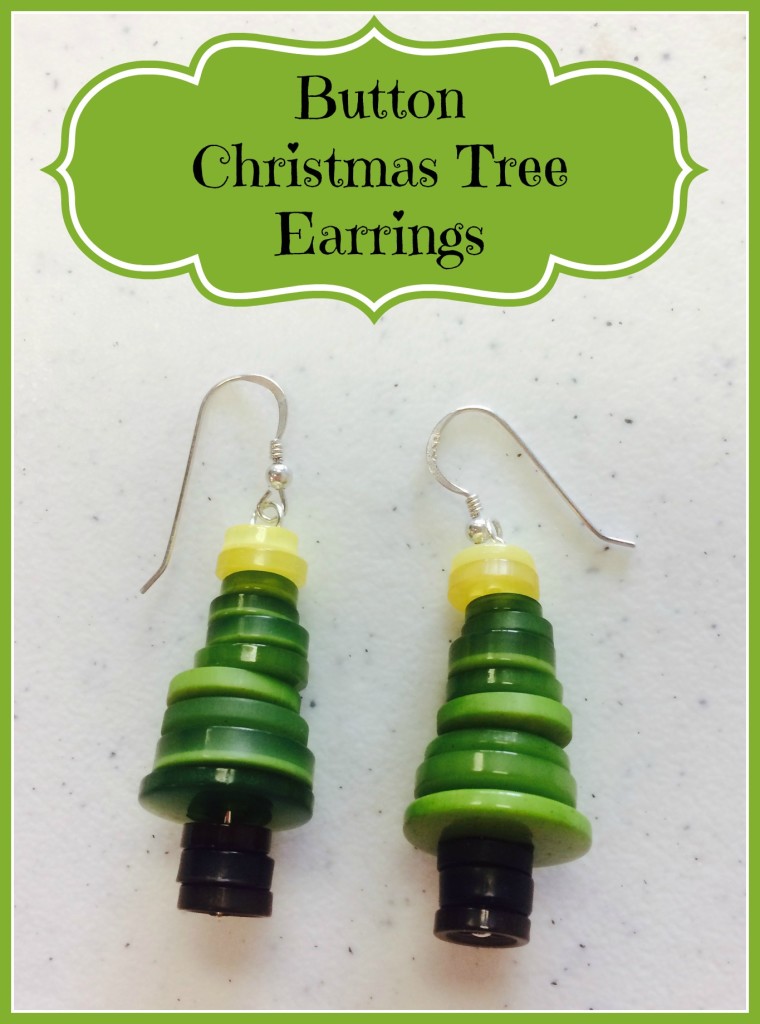
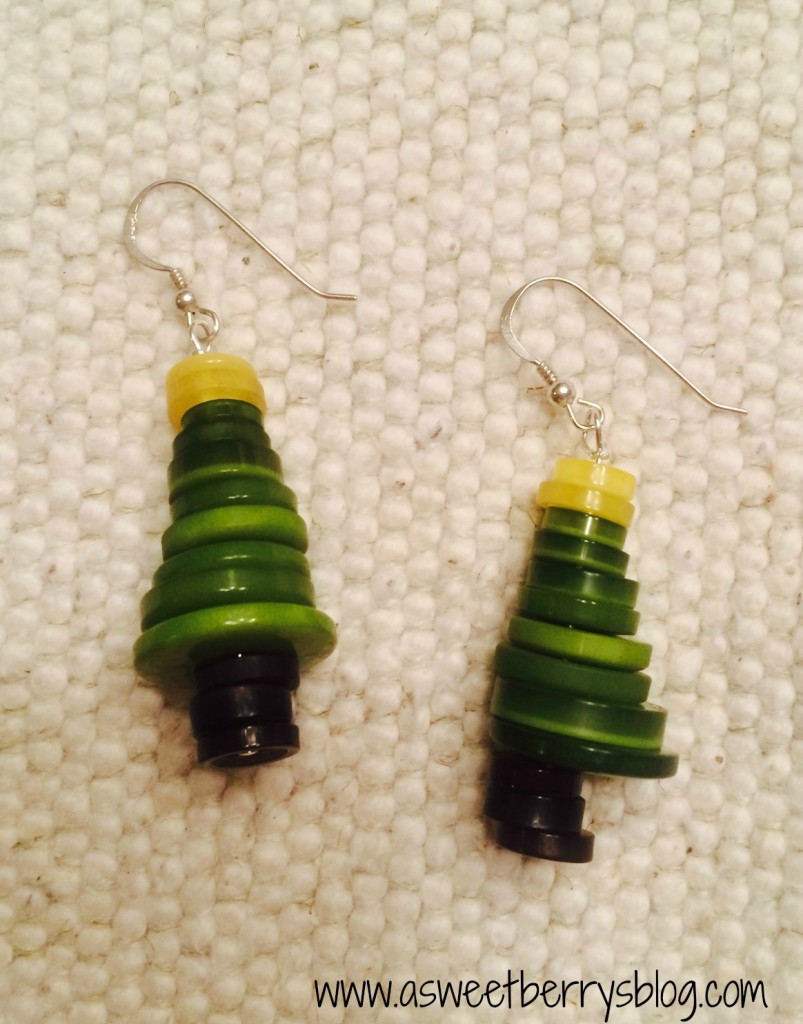
Check out these adorable Button Christmas Tree Earrings that I made using Laura Kelly’s collection of buttons from Buttons Galore and More!   I have a great love for buttons and Laura’s are awesome!
Final
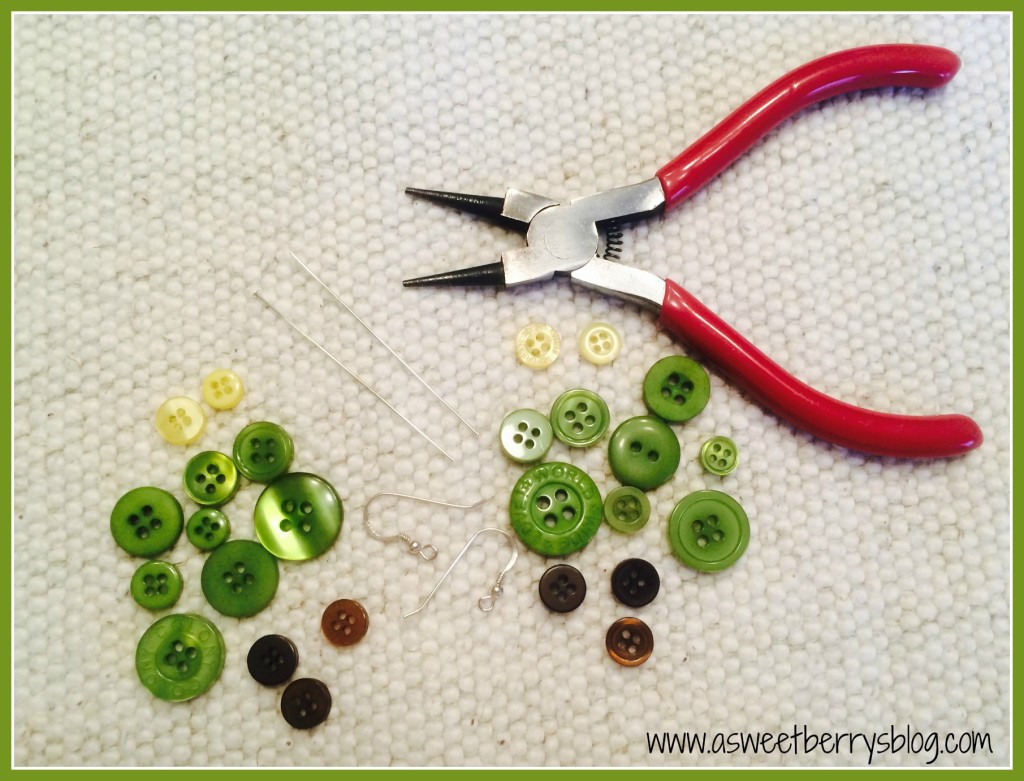
Materials used:
Laura Kelly Buttons from Buttons Galore & More
Head Pins
Earring Hooks
Round Nose Pliers
materials
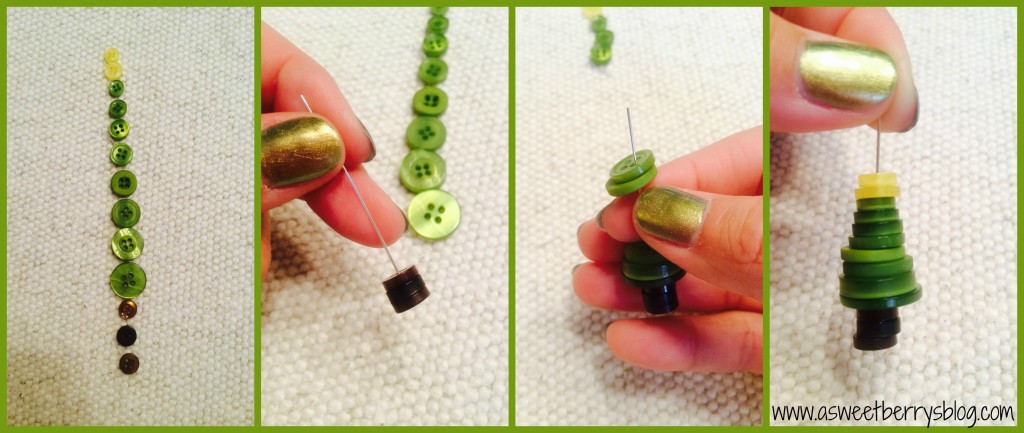
First, I started out by picking out my buttons.  I made sure that the green ones were somewhat graduated, so that they made a tree shape.  Then, I chose some brown ones for the trunk and then yellow to represent the star.  Once I laid them out the way I wanted them, I placed them on the head pin. makingthetree
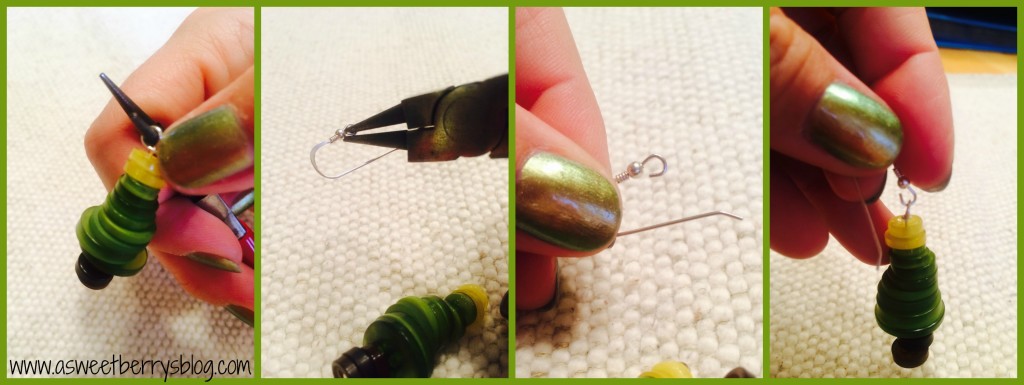
When all of my buttons were on the head pin, I used my round nose pliers to create a loop.  I then opened up the end of the earring hook and placed it on the head pin loop and then closed it using the pliers.  Then I did the other one the same way! earring
Easy Peasy Lemon Squeezy!   And they turned out super cute!   I plan to wear them a lot during the month of December! earrings Hope you liked my Button Christmas Tree Earrings!   Now you can make your own!

Until next time……….