Category Archives: Crafts

Adorable Little Ornaments Blog Hop!!!!

SculpeyButtonButton

I have to say that after making ornaments with Sculpey Clay, I am in love!!!!   So, what better way to have some fun than to add buttons from Laura Kelly’s collection from Buttons Galore & More?!?!   I had fun creating and so did my six year old son, Landon!!!    I created some traditional style ornaments with the clay and added buttons to embellish!!

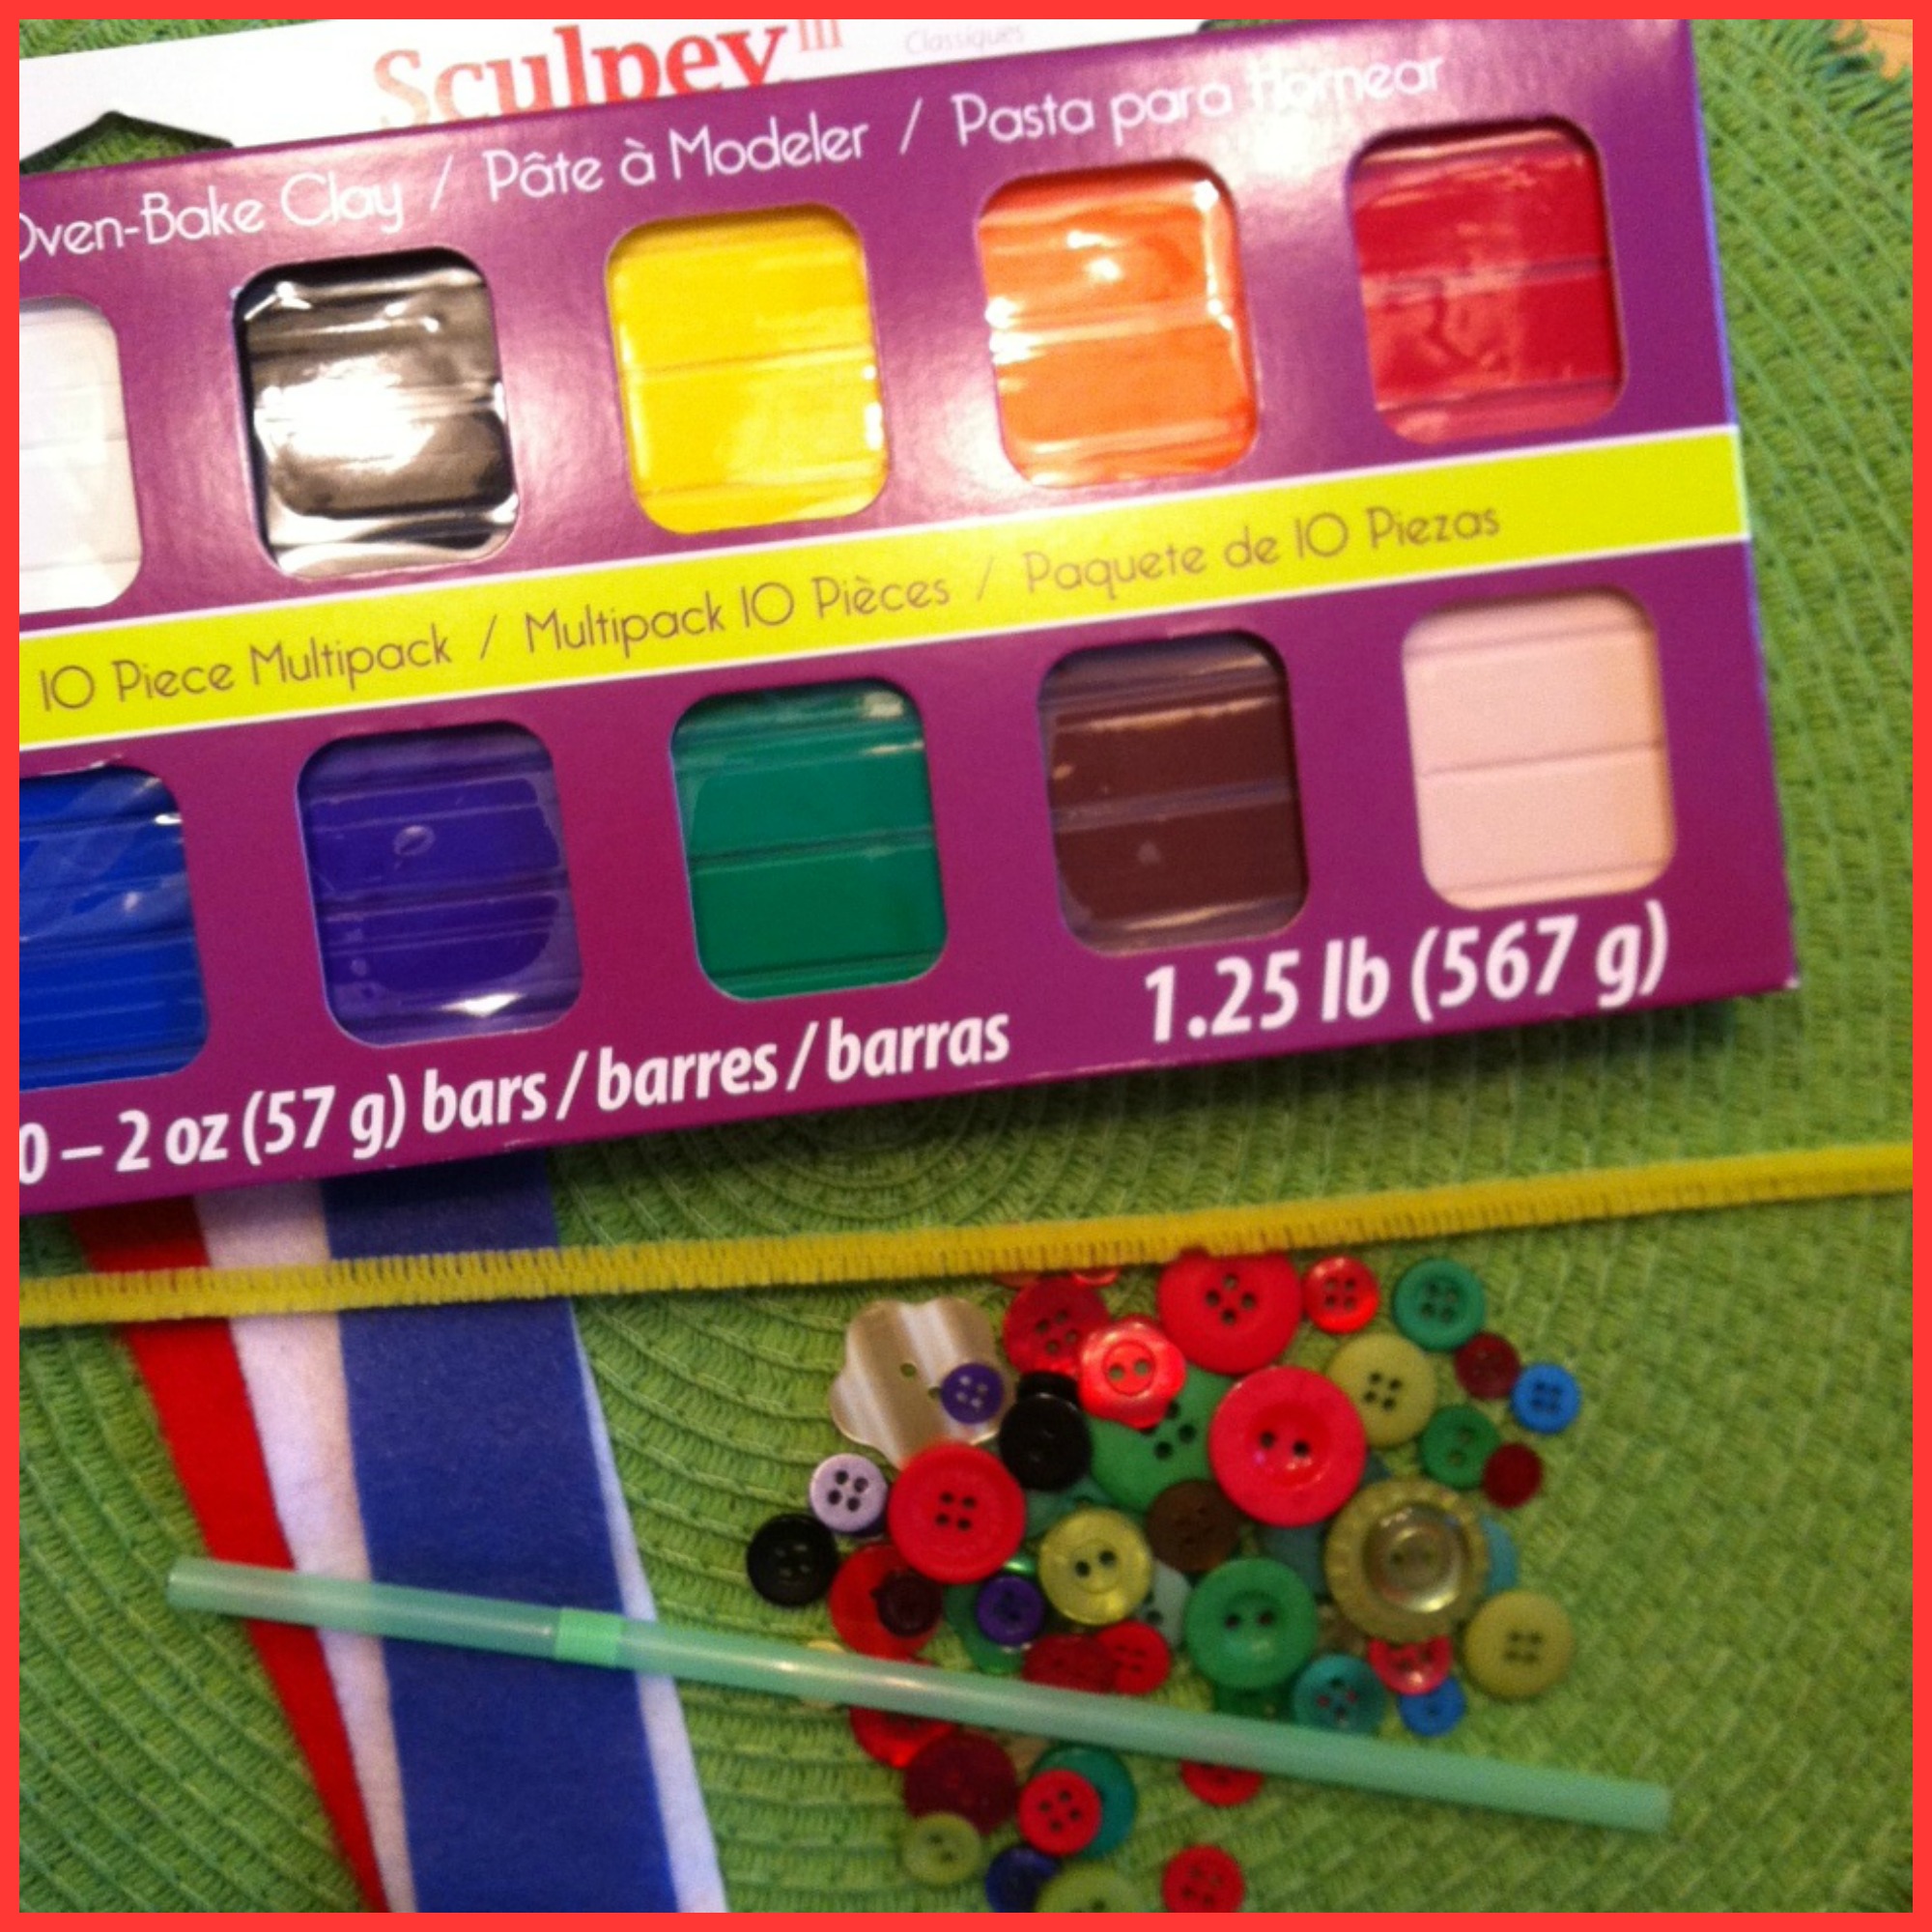
Materials Needed:

Sculpey Clay

Laura Kelly Buttons

Felt (for the scarf)

A straw (to make a hole for the hook)

Pipe Cleaner

Materials

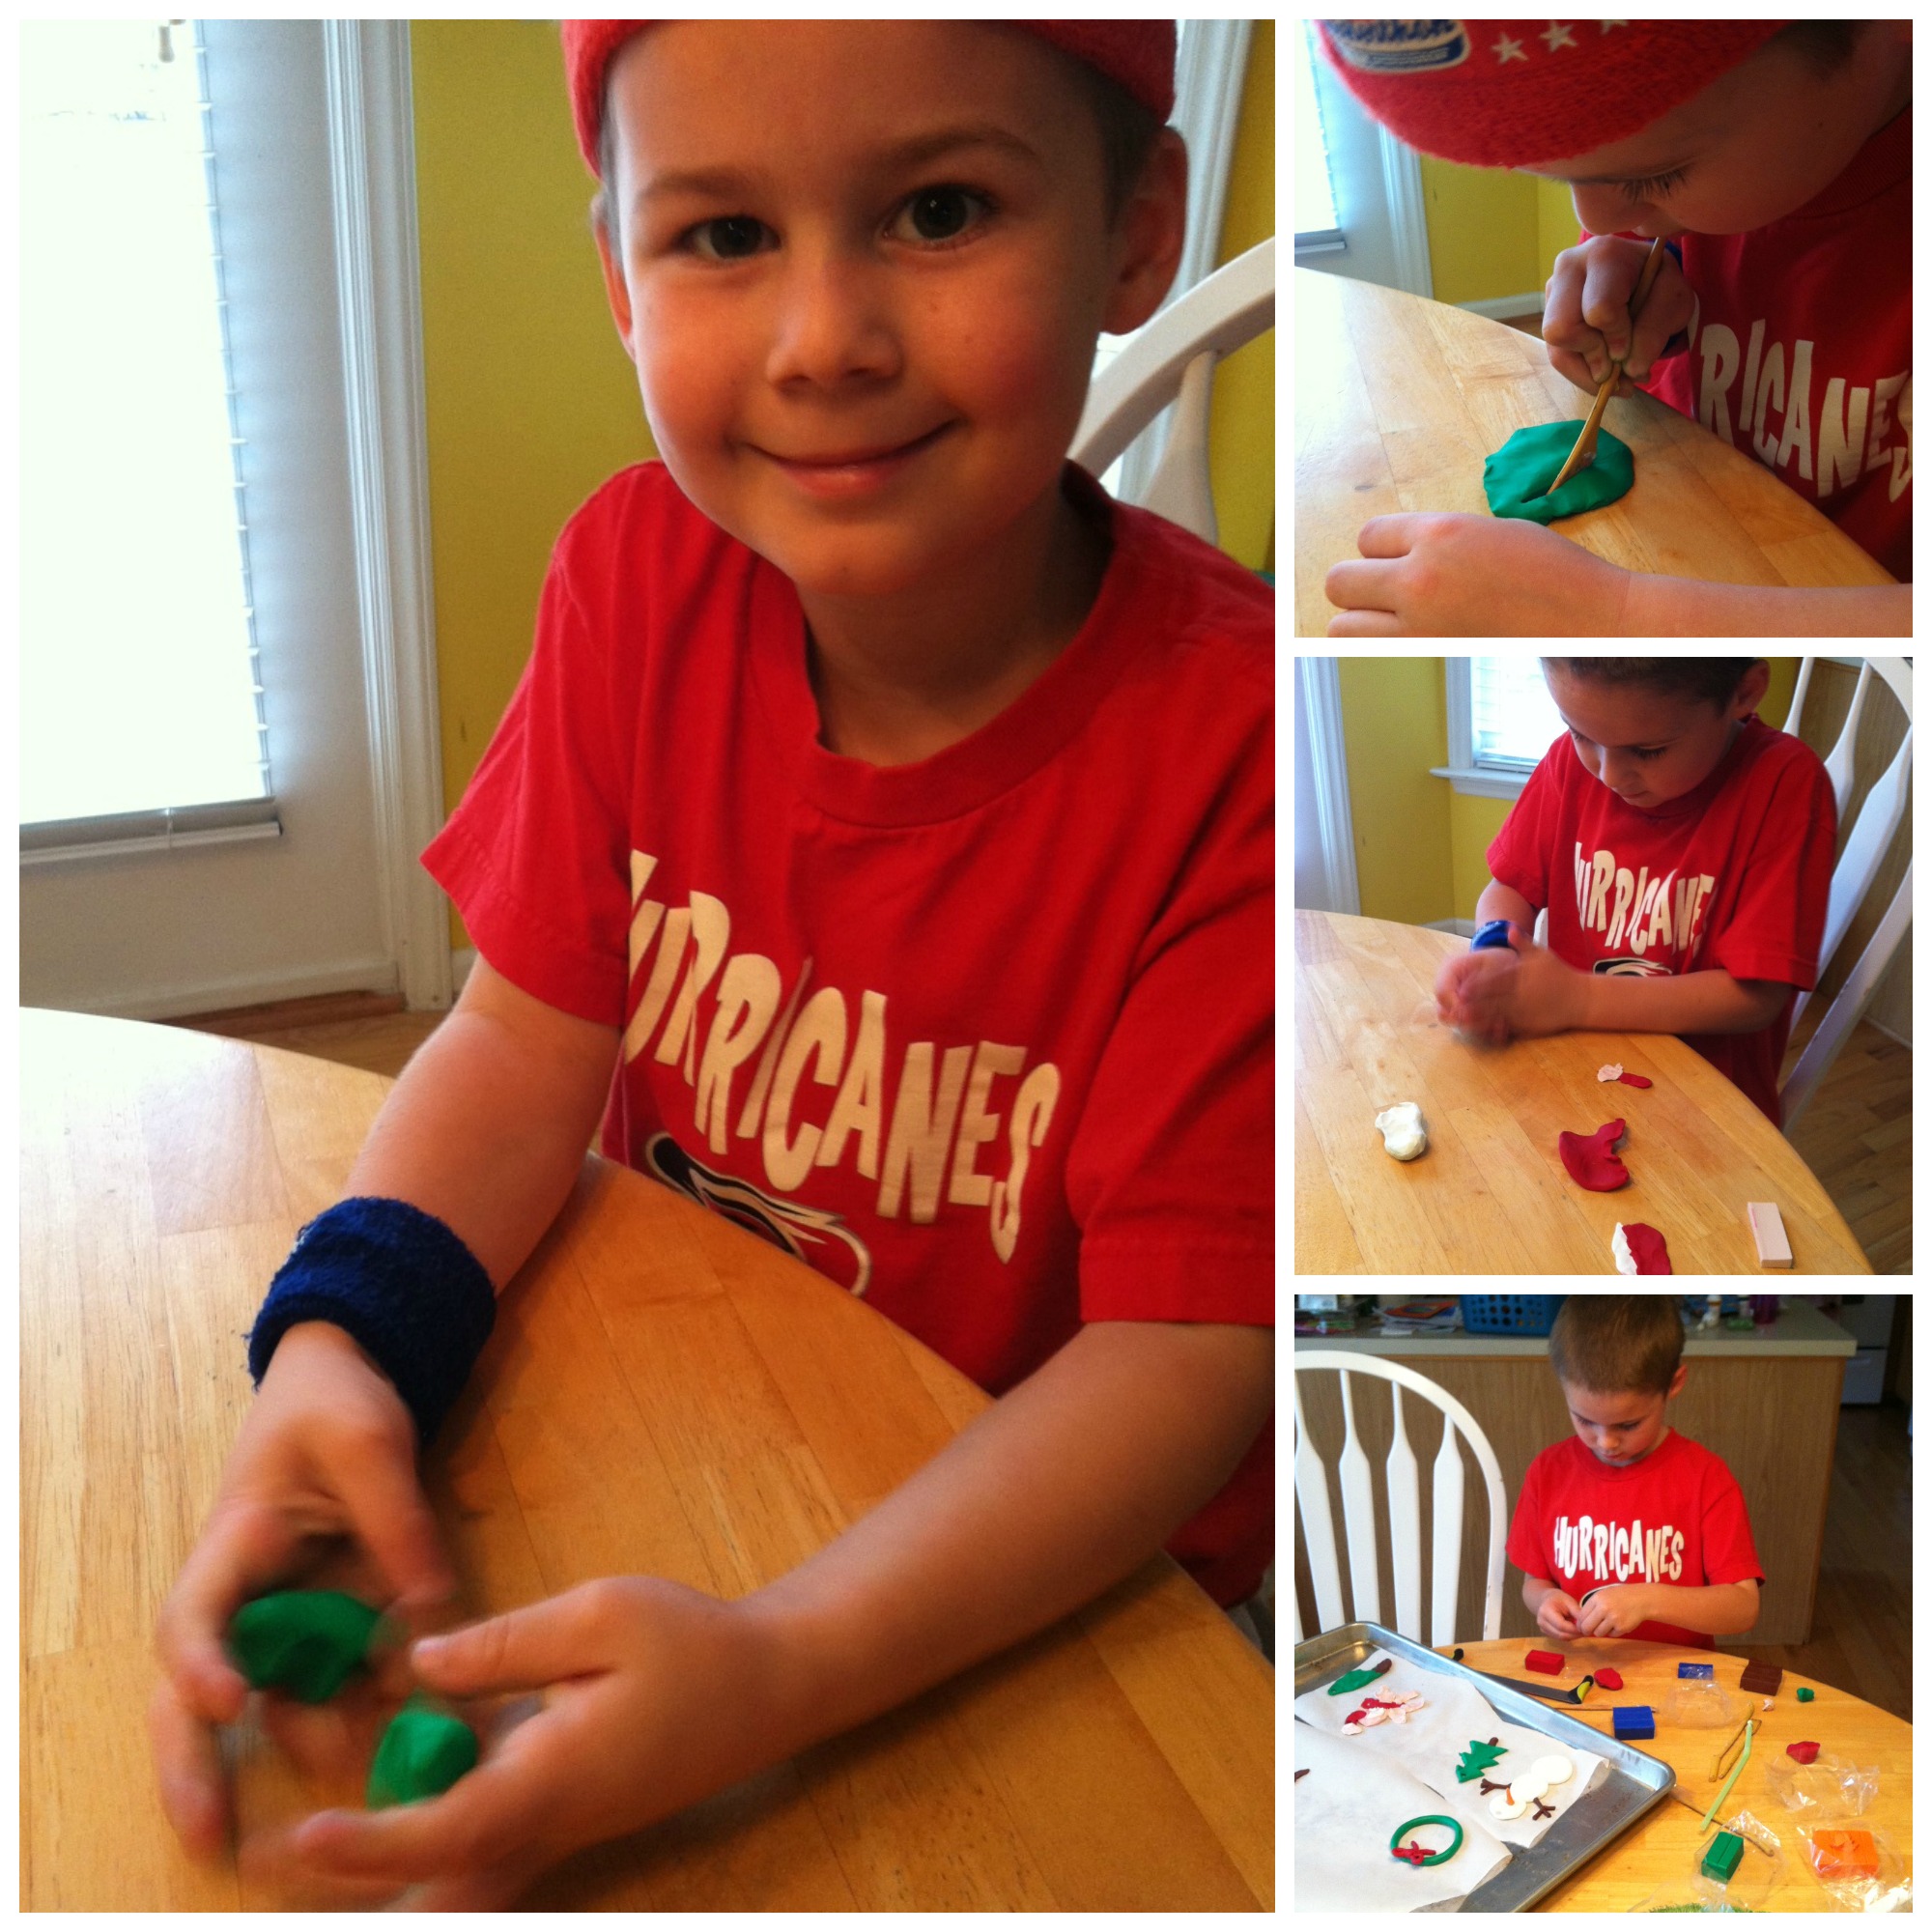
While I was making my ornaments with Sculpey clay, Landon wanted to make some too!   I love his creative ideas!

Landon

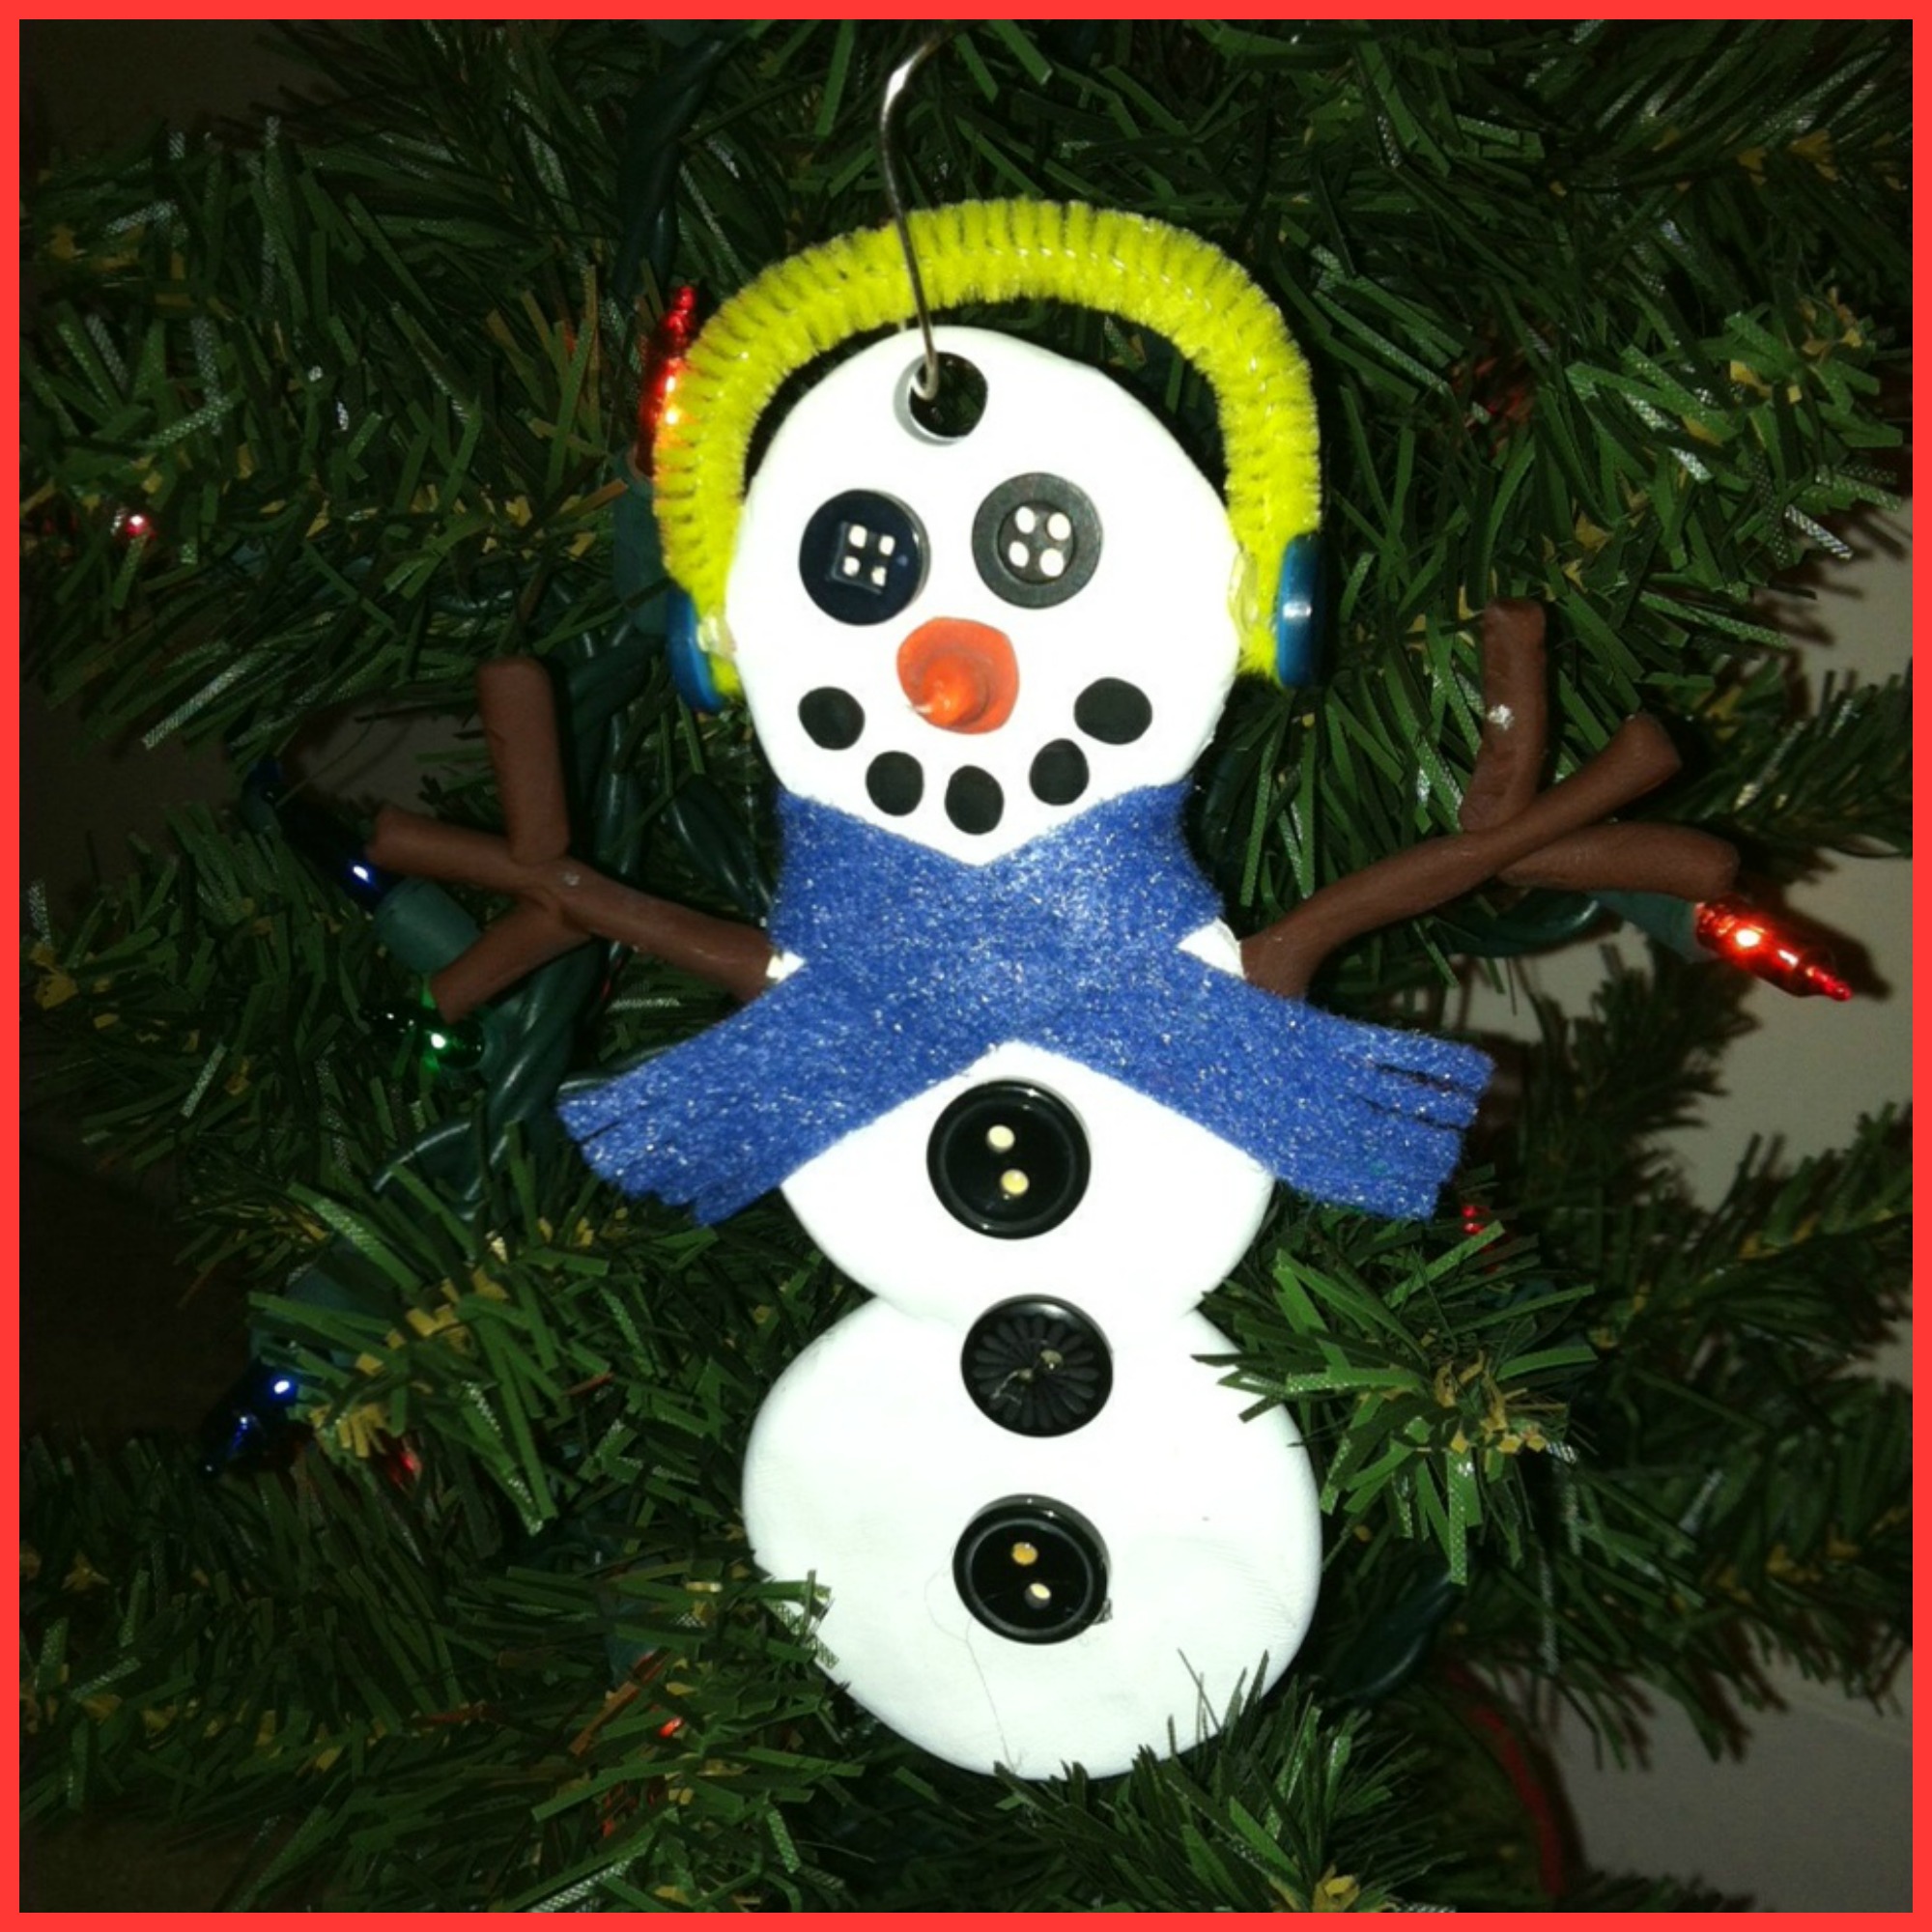
One of my favorite ornaments is a snowman.  Who doesn’t love a snowman?!?!  They are simple and just too cute!

snowman

After I was all done with my snowman and he was baked at the recommended baking time and temperature, I decided to give him some earmuffs!!

snowmanfinish

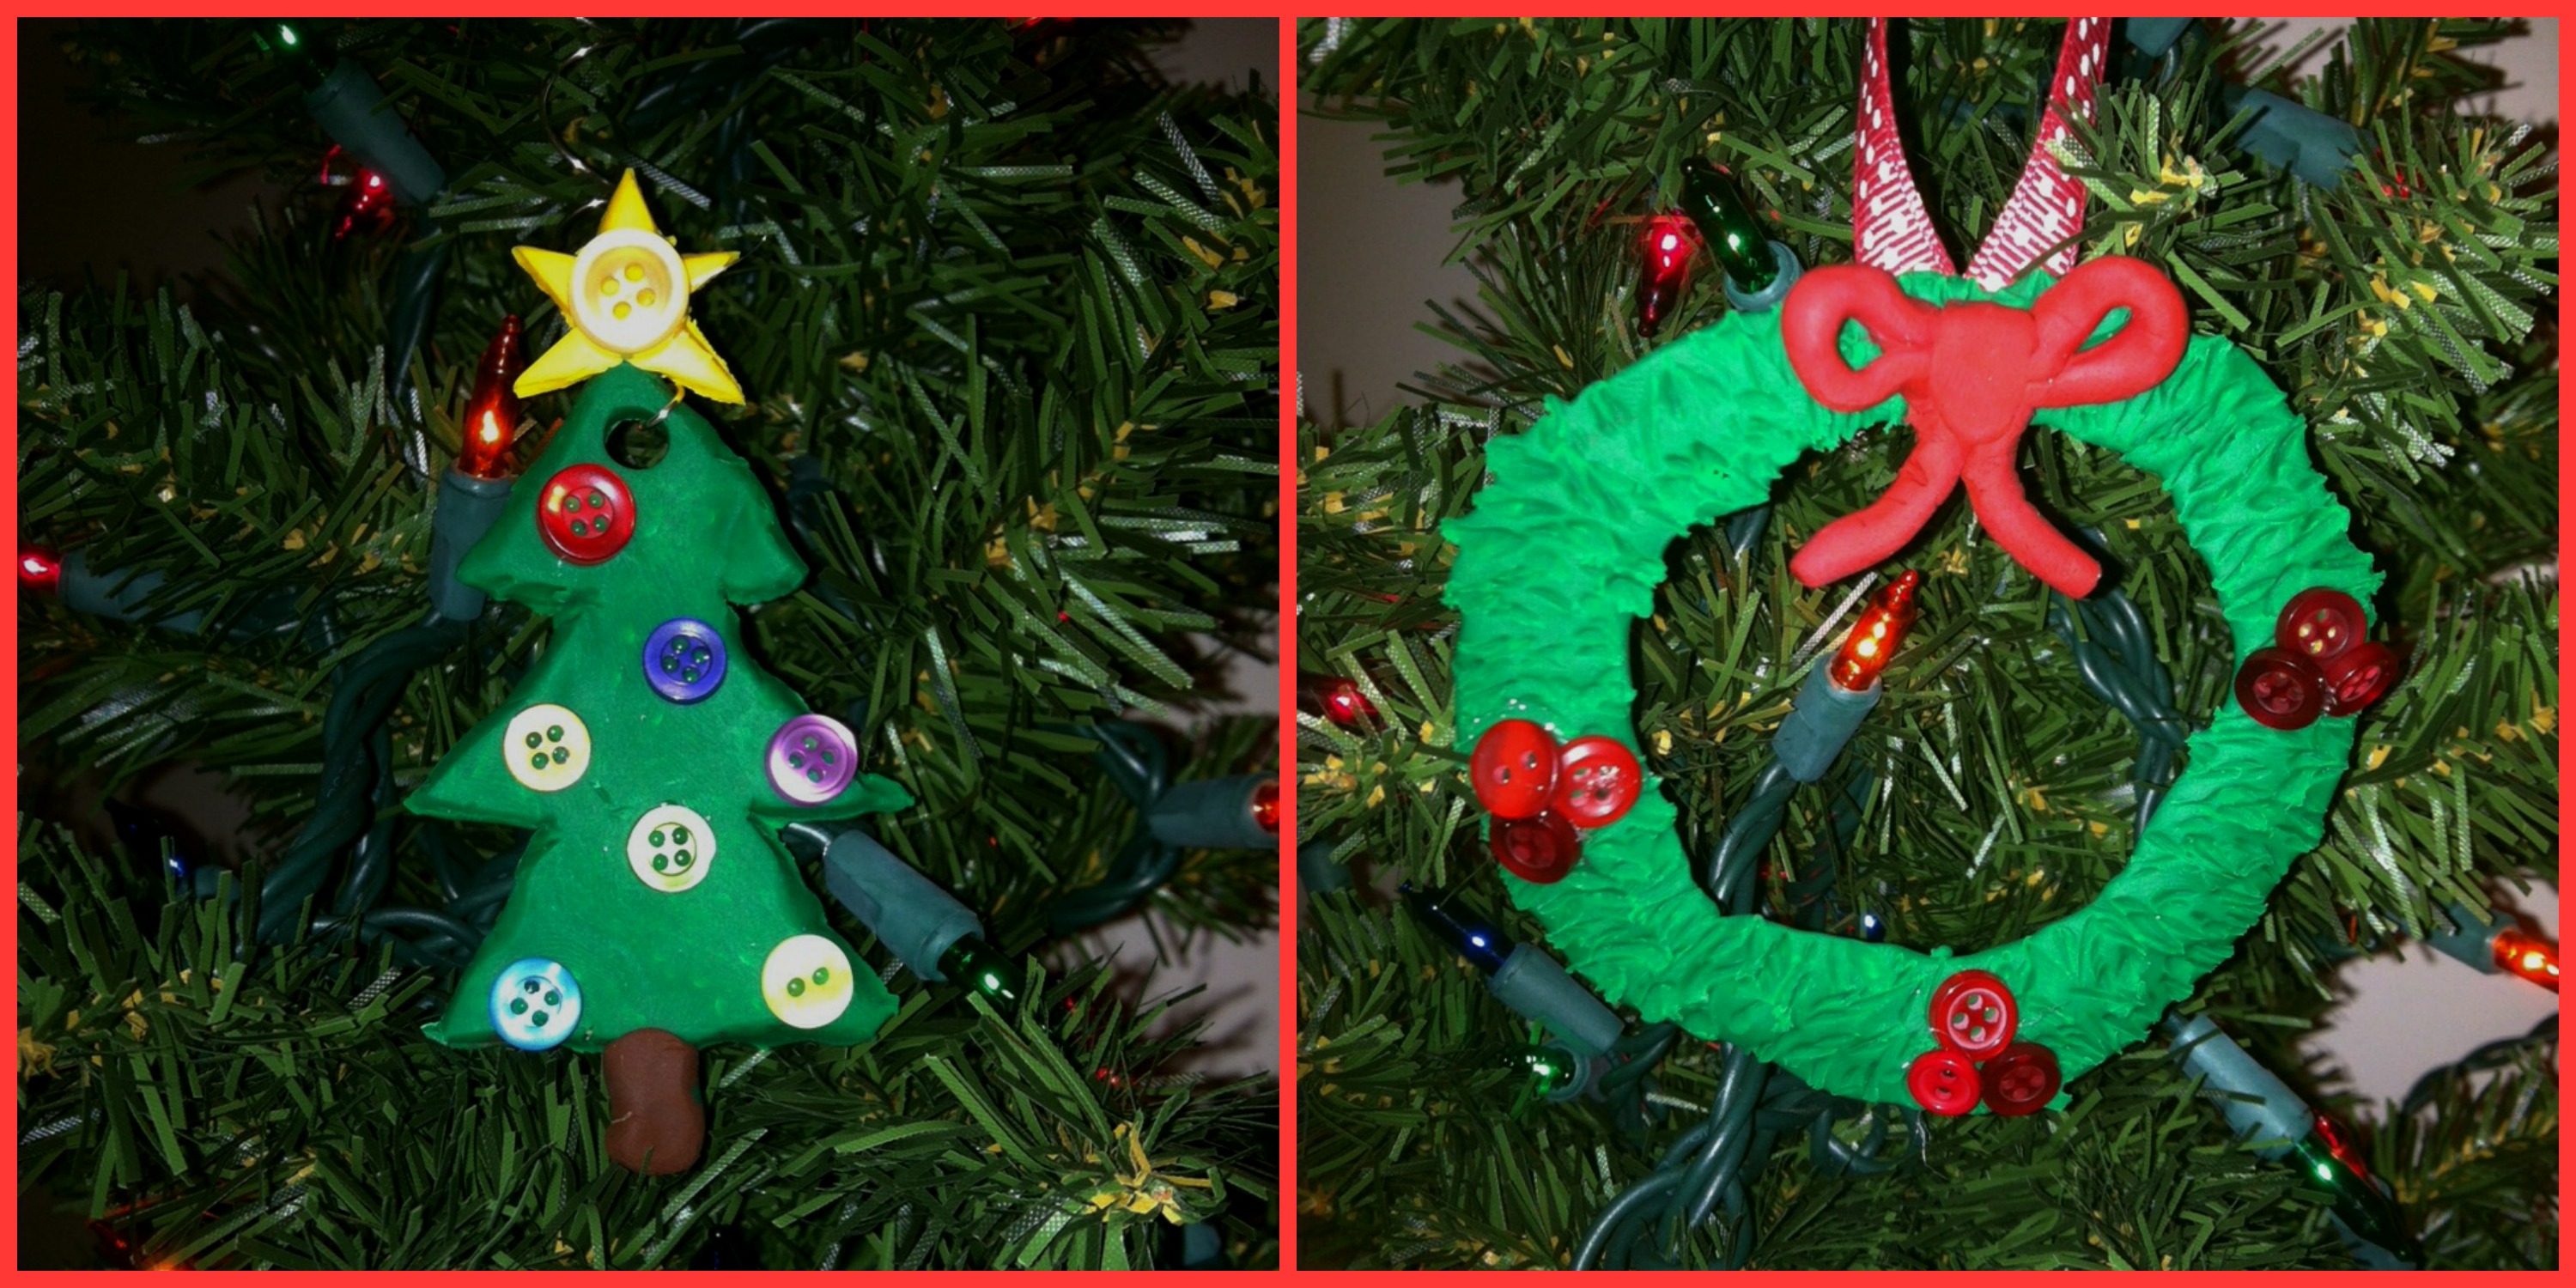
Here are two other cute ornaments I made:

treeandwreath

I always have fun participating in blog hops!  They are so much fun and it’s great to see how creative others are!  I hope you like my ornaments!

Hop over to Laura Kelly’s blog to check out other ornaments for the Adorable Little Ornament Blog Hop!!!

ENTER this RaffleCopter for a chance to win Scupley Clay and Buttons for Kids!!!

Halloween Popcorn Blog Hop

Halloween is just around the corner and will be here before we know it!

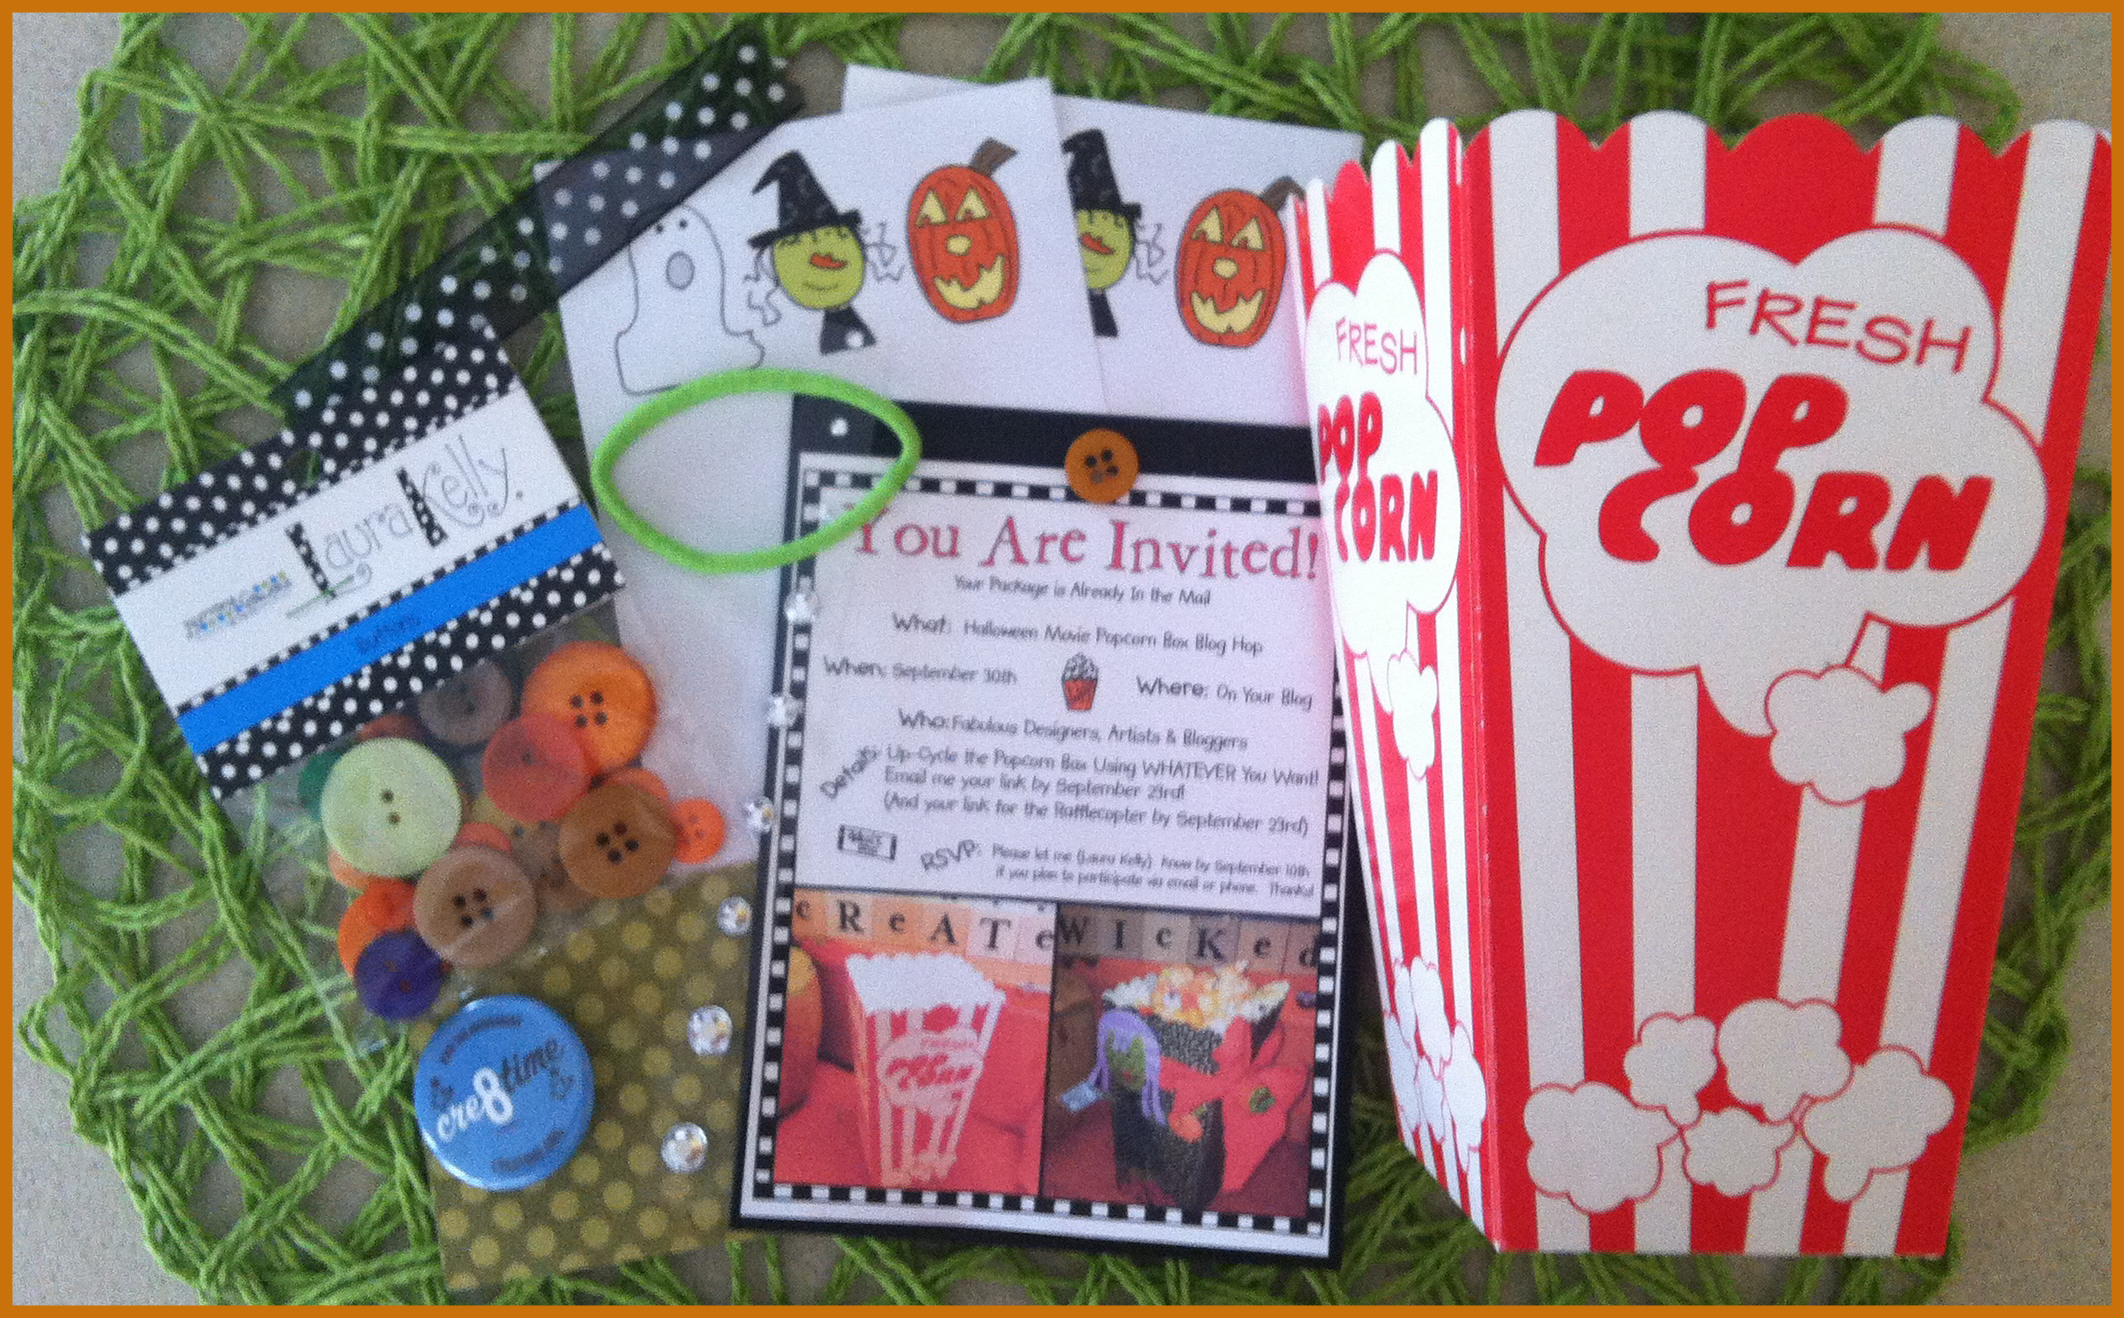
My friend, Laura Kelly put together this cute and creative blog hop, sending out an envelope of goodies which included a popcorn box and some embellishments to go with it.  package
In our directions for this blog hop, it said:

“The objective is to create in whatever way you like best with whatever products you like to feature and simply be a part of something fun…something that connects your passion to those passions of others.”

So, with that being said, I decided to use some things I had lying around in my craft area.

picstitch3

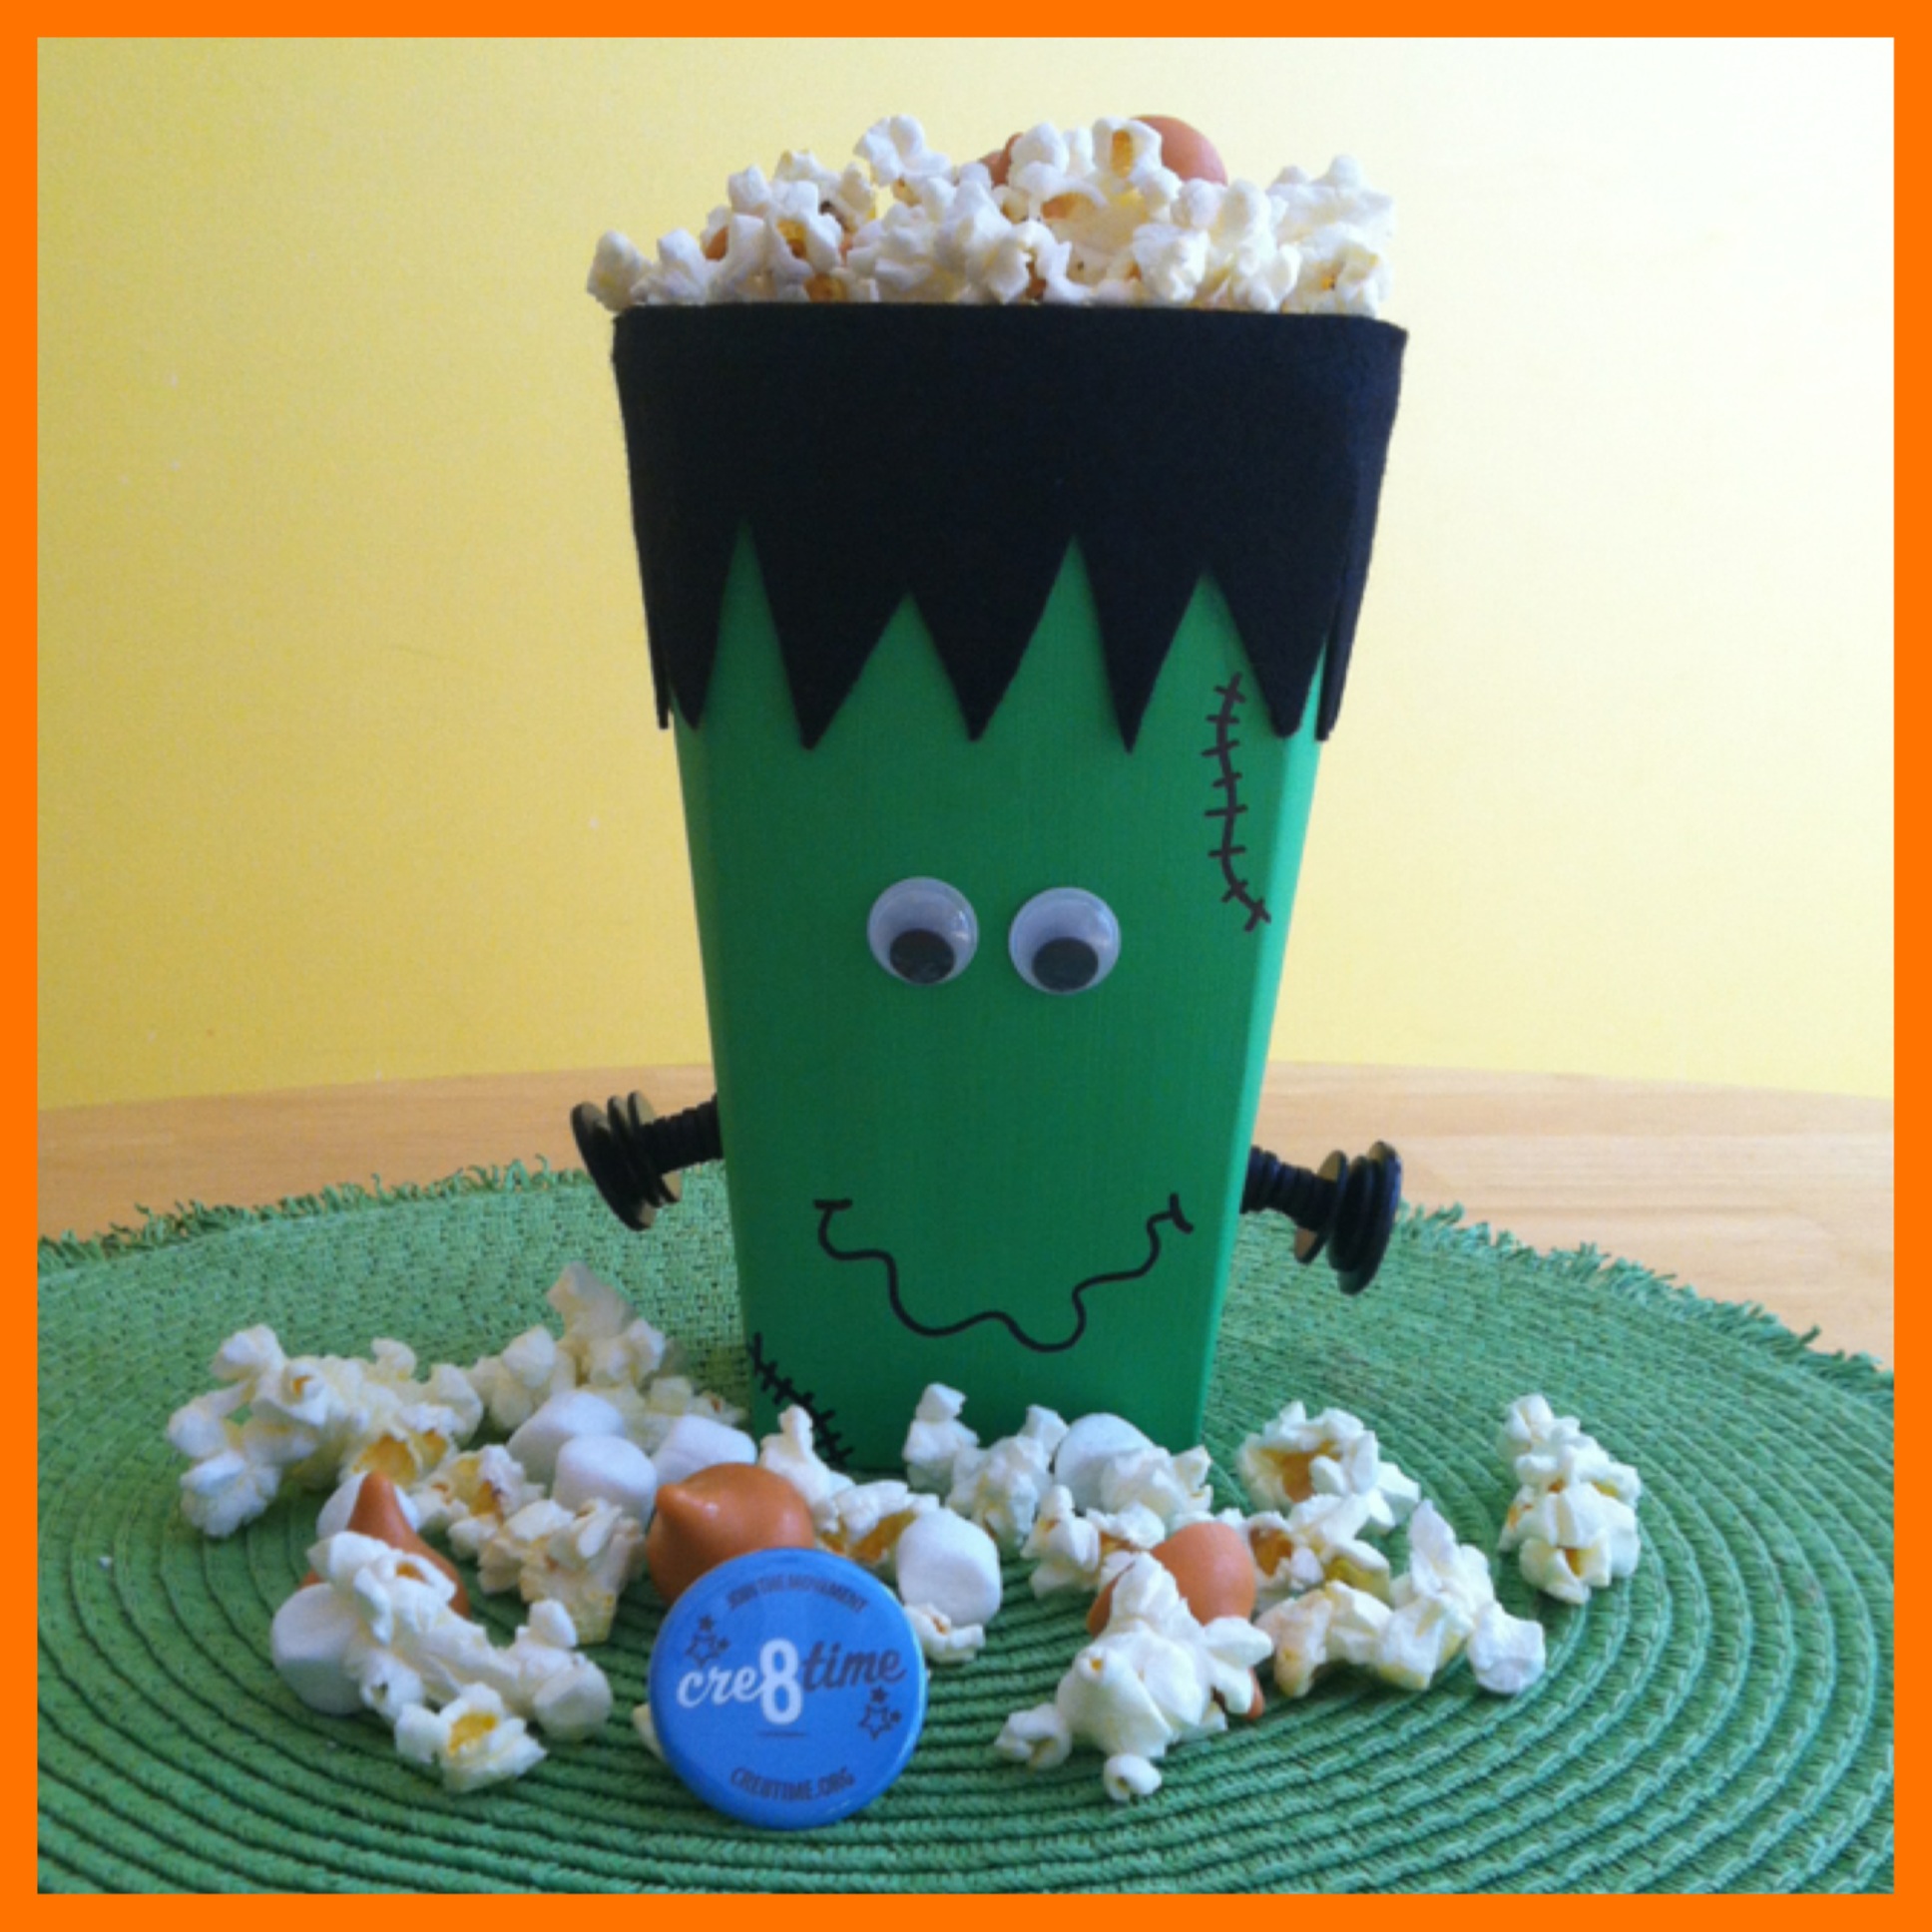
I decided to make a Frankenstein Popcorn Box!

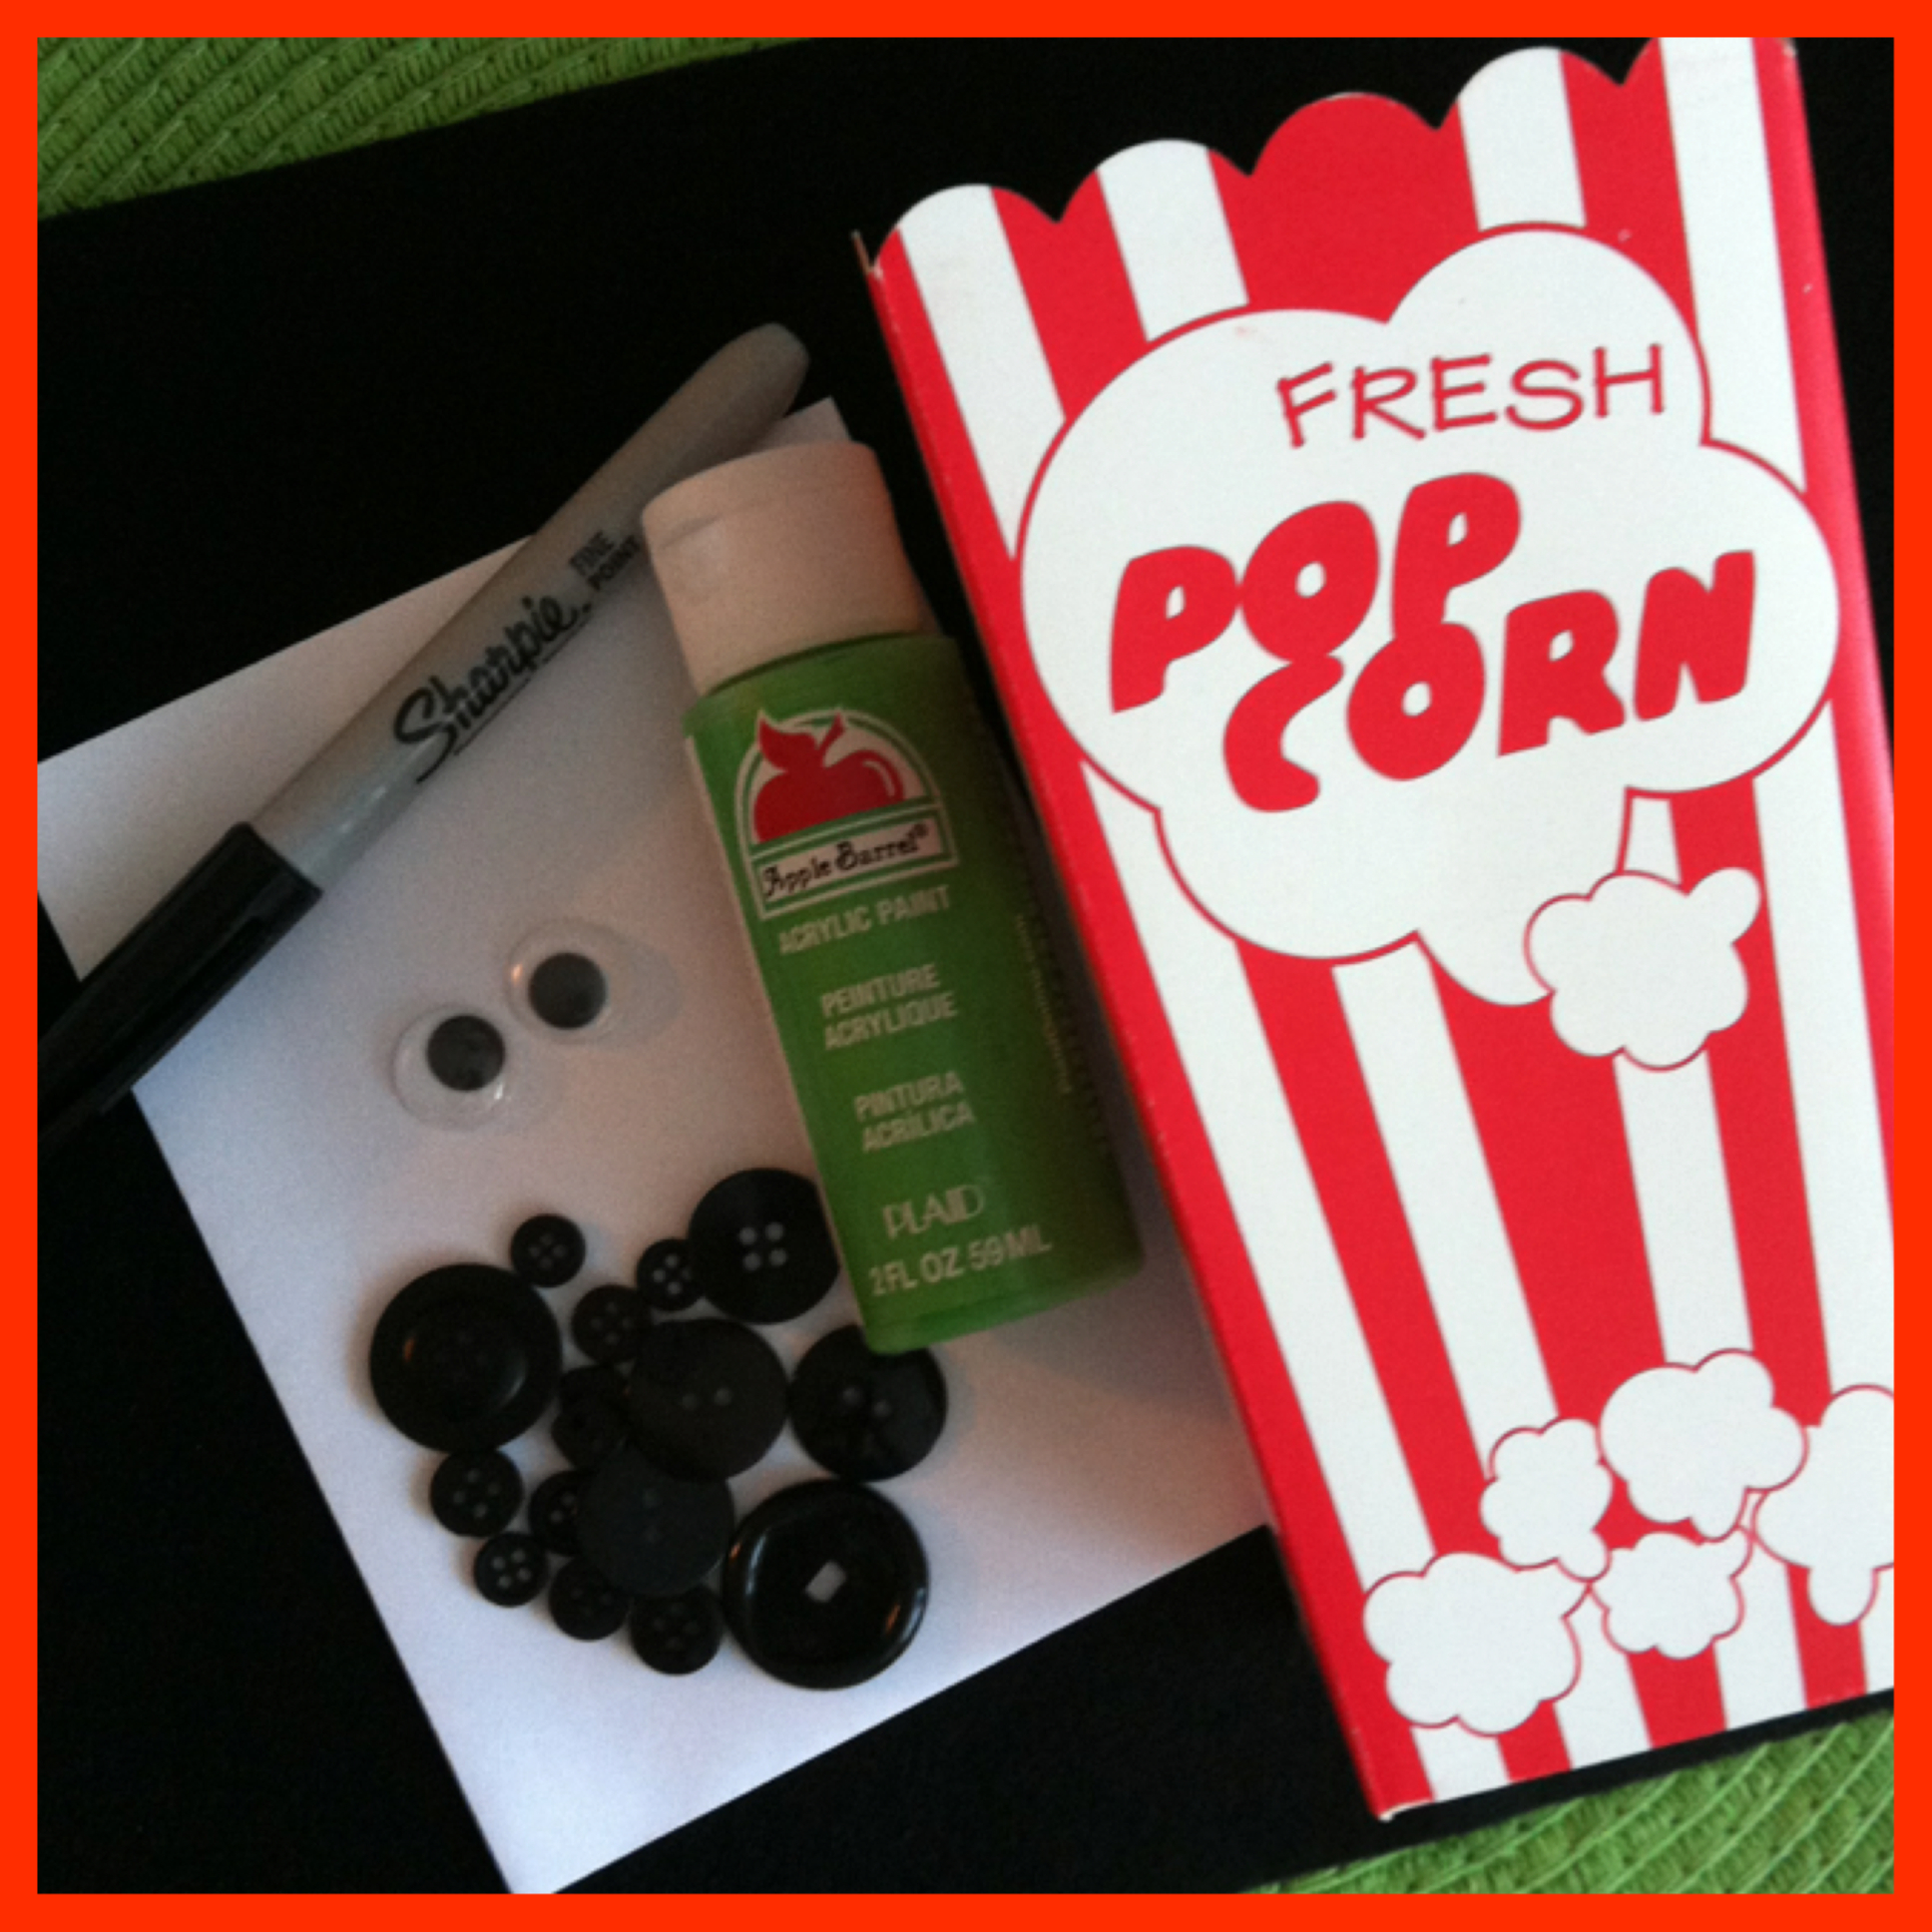
Materials used:

The Popcorn box, provided by Laura

Black Buttons from Laura Kelly’s mix buttons from Buttons Galore & More

Apple Barrel Spring Green Acrylic Paint by Plaid

Googly eyes

Black felt, purchased from JoAnn Stores

Beacon’s 527 Multi-use Glue

Mini Glue Dots

Fiskars Scissors

Black Sharpie Marker

a paint brush

Instructions:

1.  I painted the popcorn box green.  I did three coats (letting it dry between coats) to make sure everything on the box was covered up.

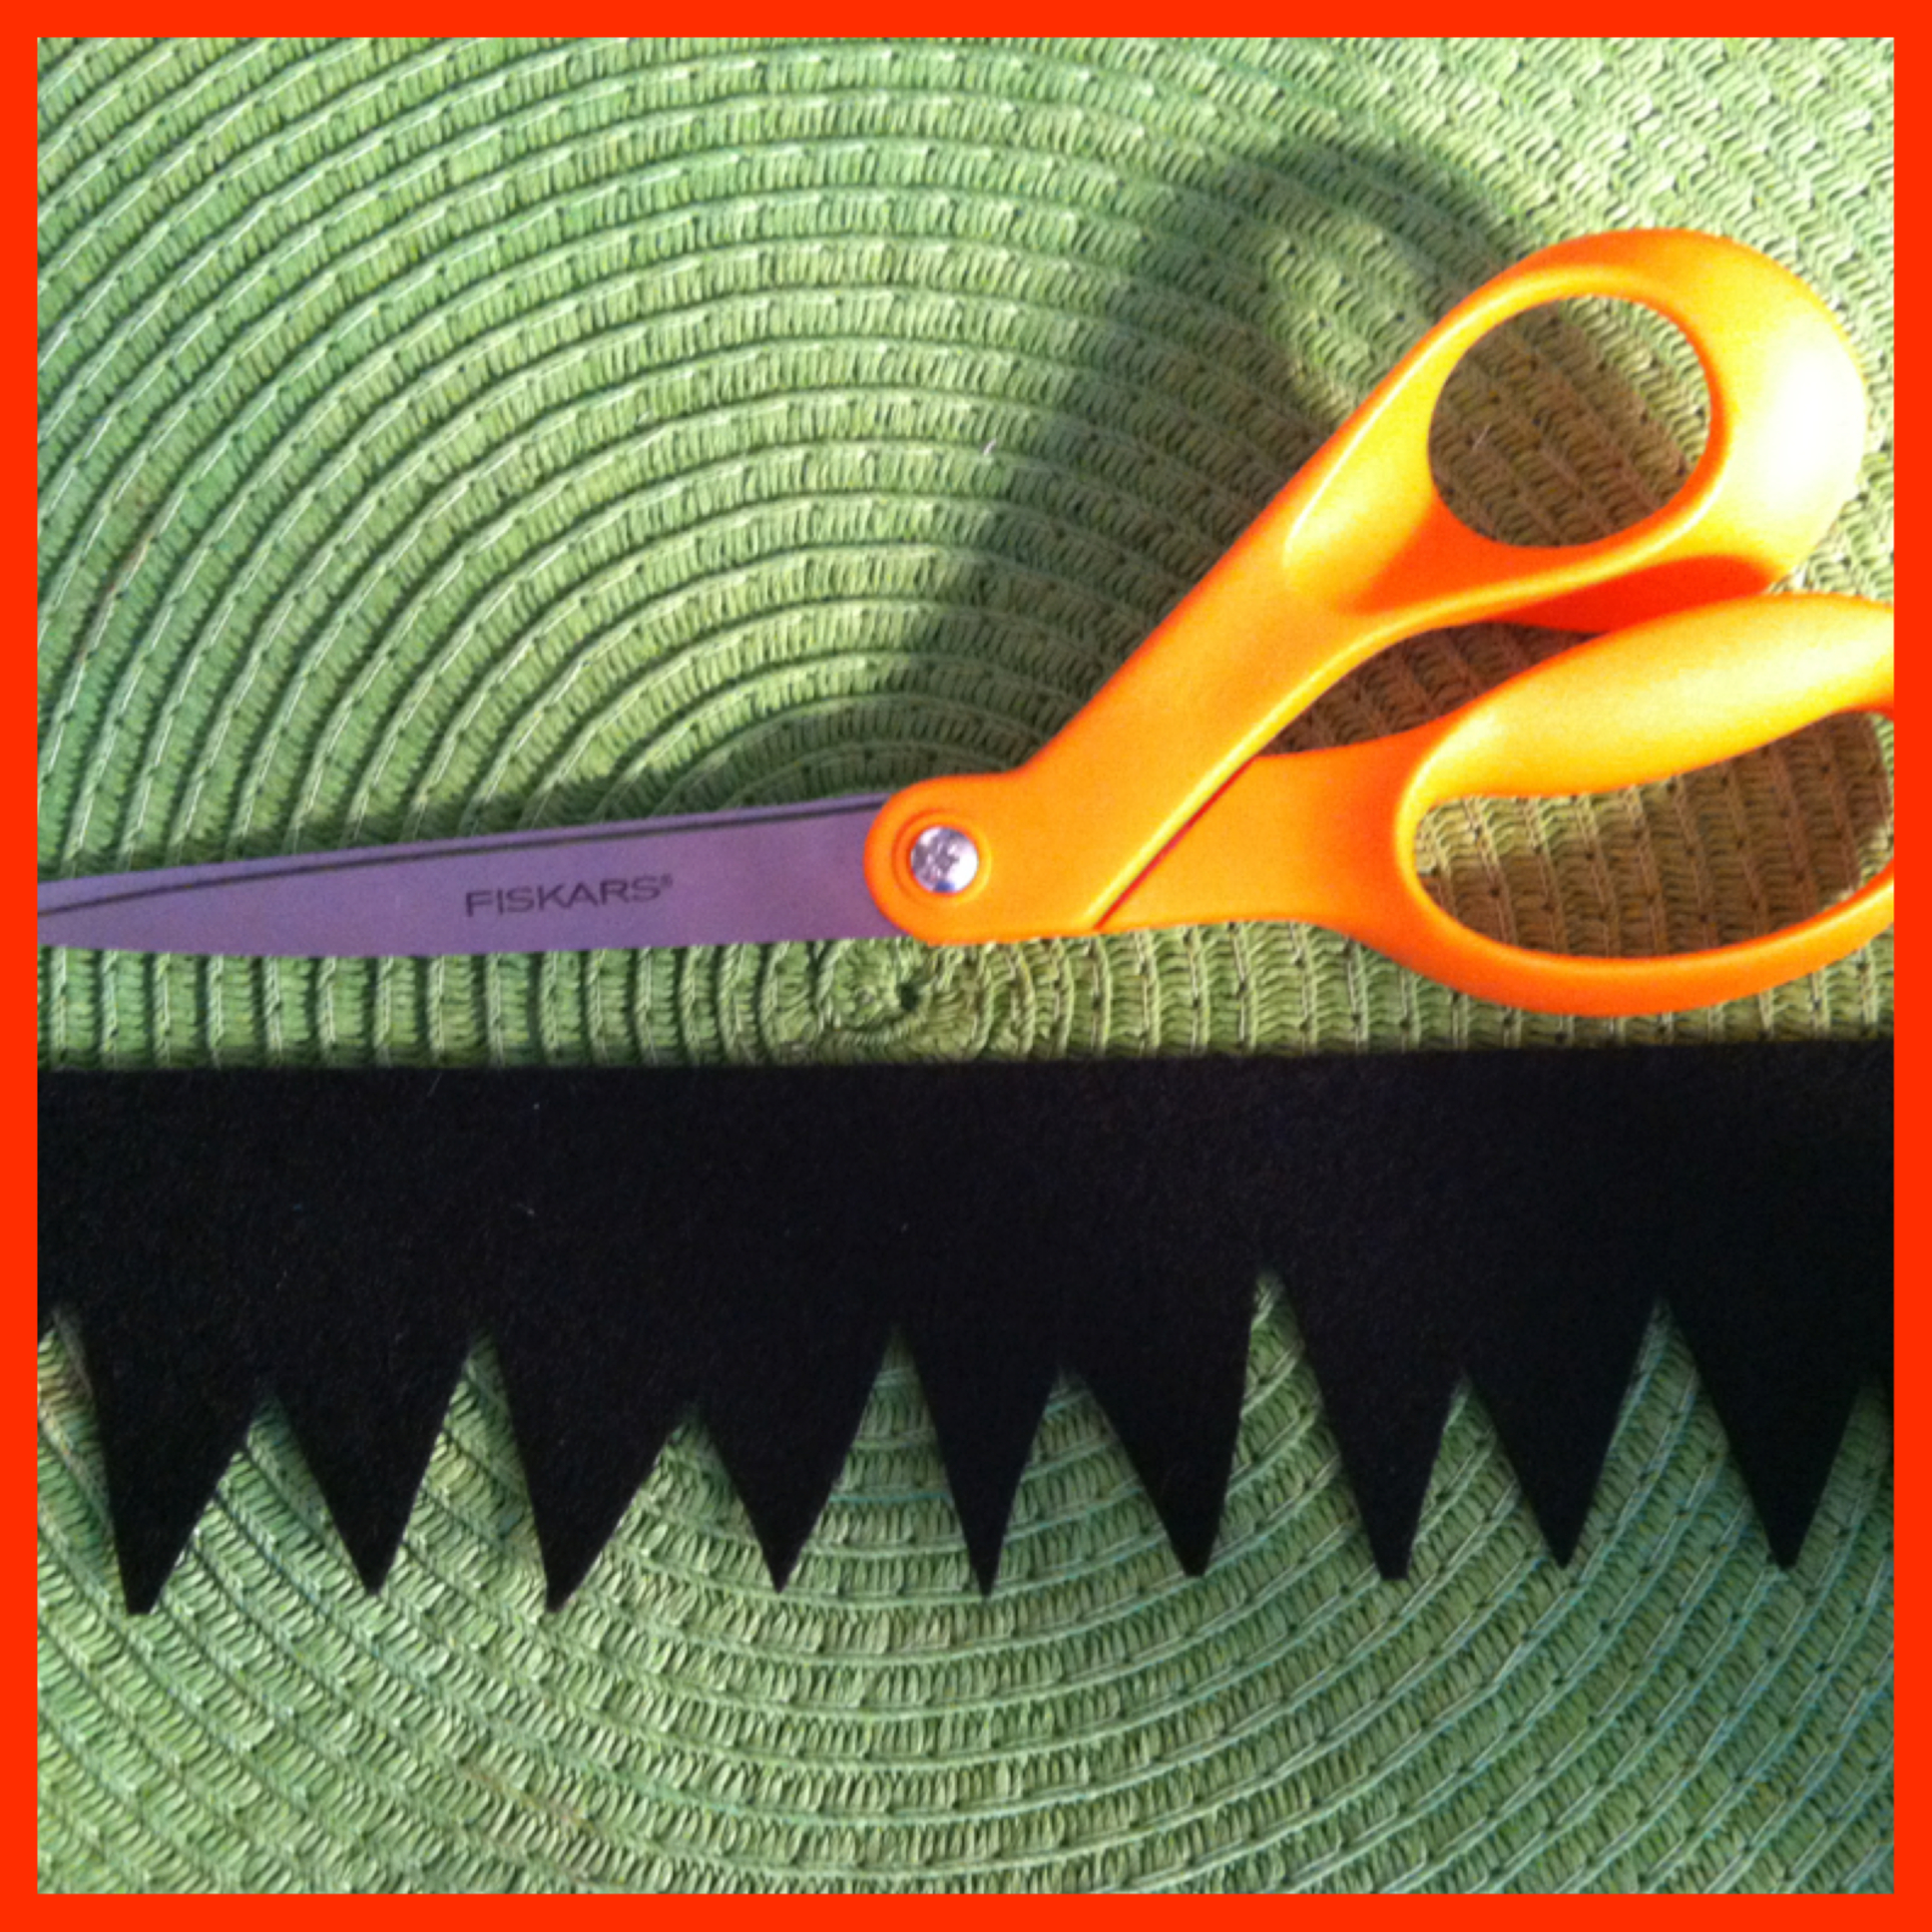
2.   I cut two strips from the black felt and then cut triangles out of one side of the strips to make it look like hair.  Then I glued it on to the top of the box using the Beacon’s 527 multi-use glue.

picstitch2

3.  Using glue dots, I glued the black buttons together to make them look like bolts.   I used about 6 small buttons and three larger ones for the bolt heads.  I then used glue dots to attach the bolts to the sides of the box.

picstitch4

4. Using a black Sharpie marker, I drew on the mouth and the stitches.

5.  Then I glued the googly eyes on.

Super easy and so much fun!   And he got filled with yummy goodness of popcorn, marshmallows and Pumpkin Spice flavored Hershey kisses!   🙂

photo

My children love Halloween just as much as I do!  And they love popcorn too!   So when I got to making my Halloween Popcorn Box for this blog hop, they were loving it!   And since I only made one, I now have to go buy the contents to make another one, unless Laura has any extra boxes lying around!!!!  🙂

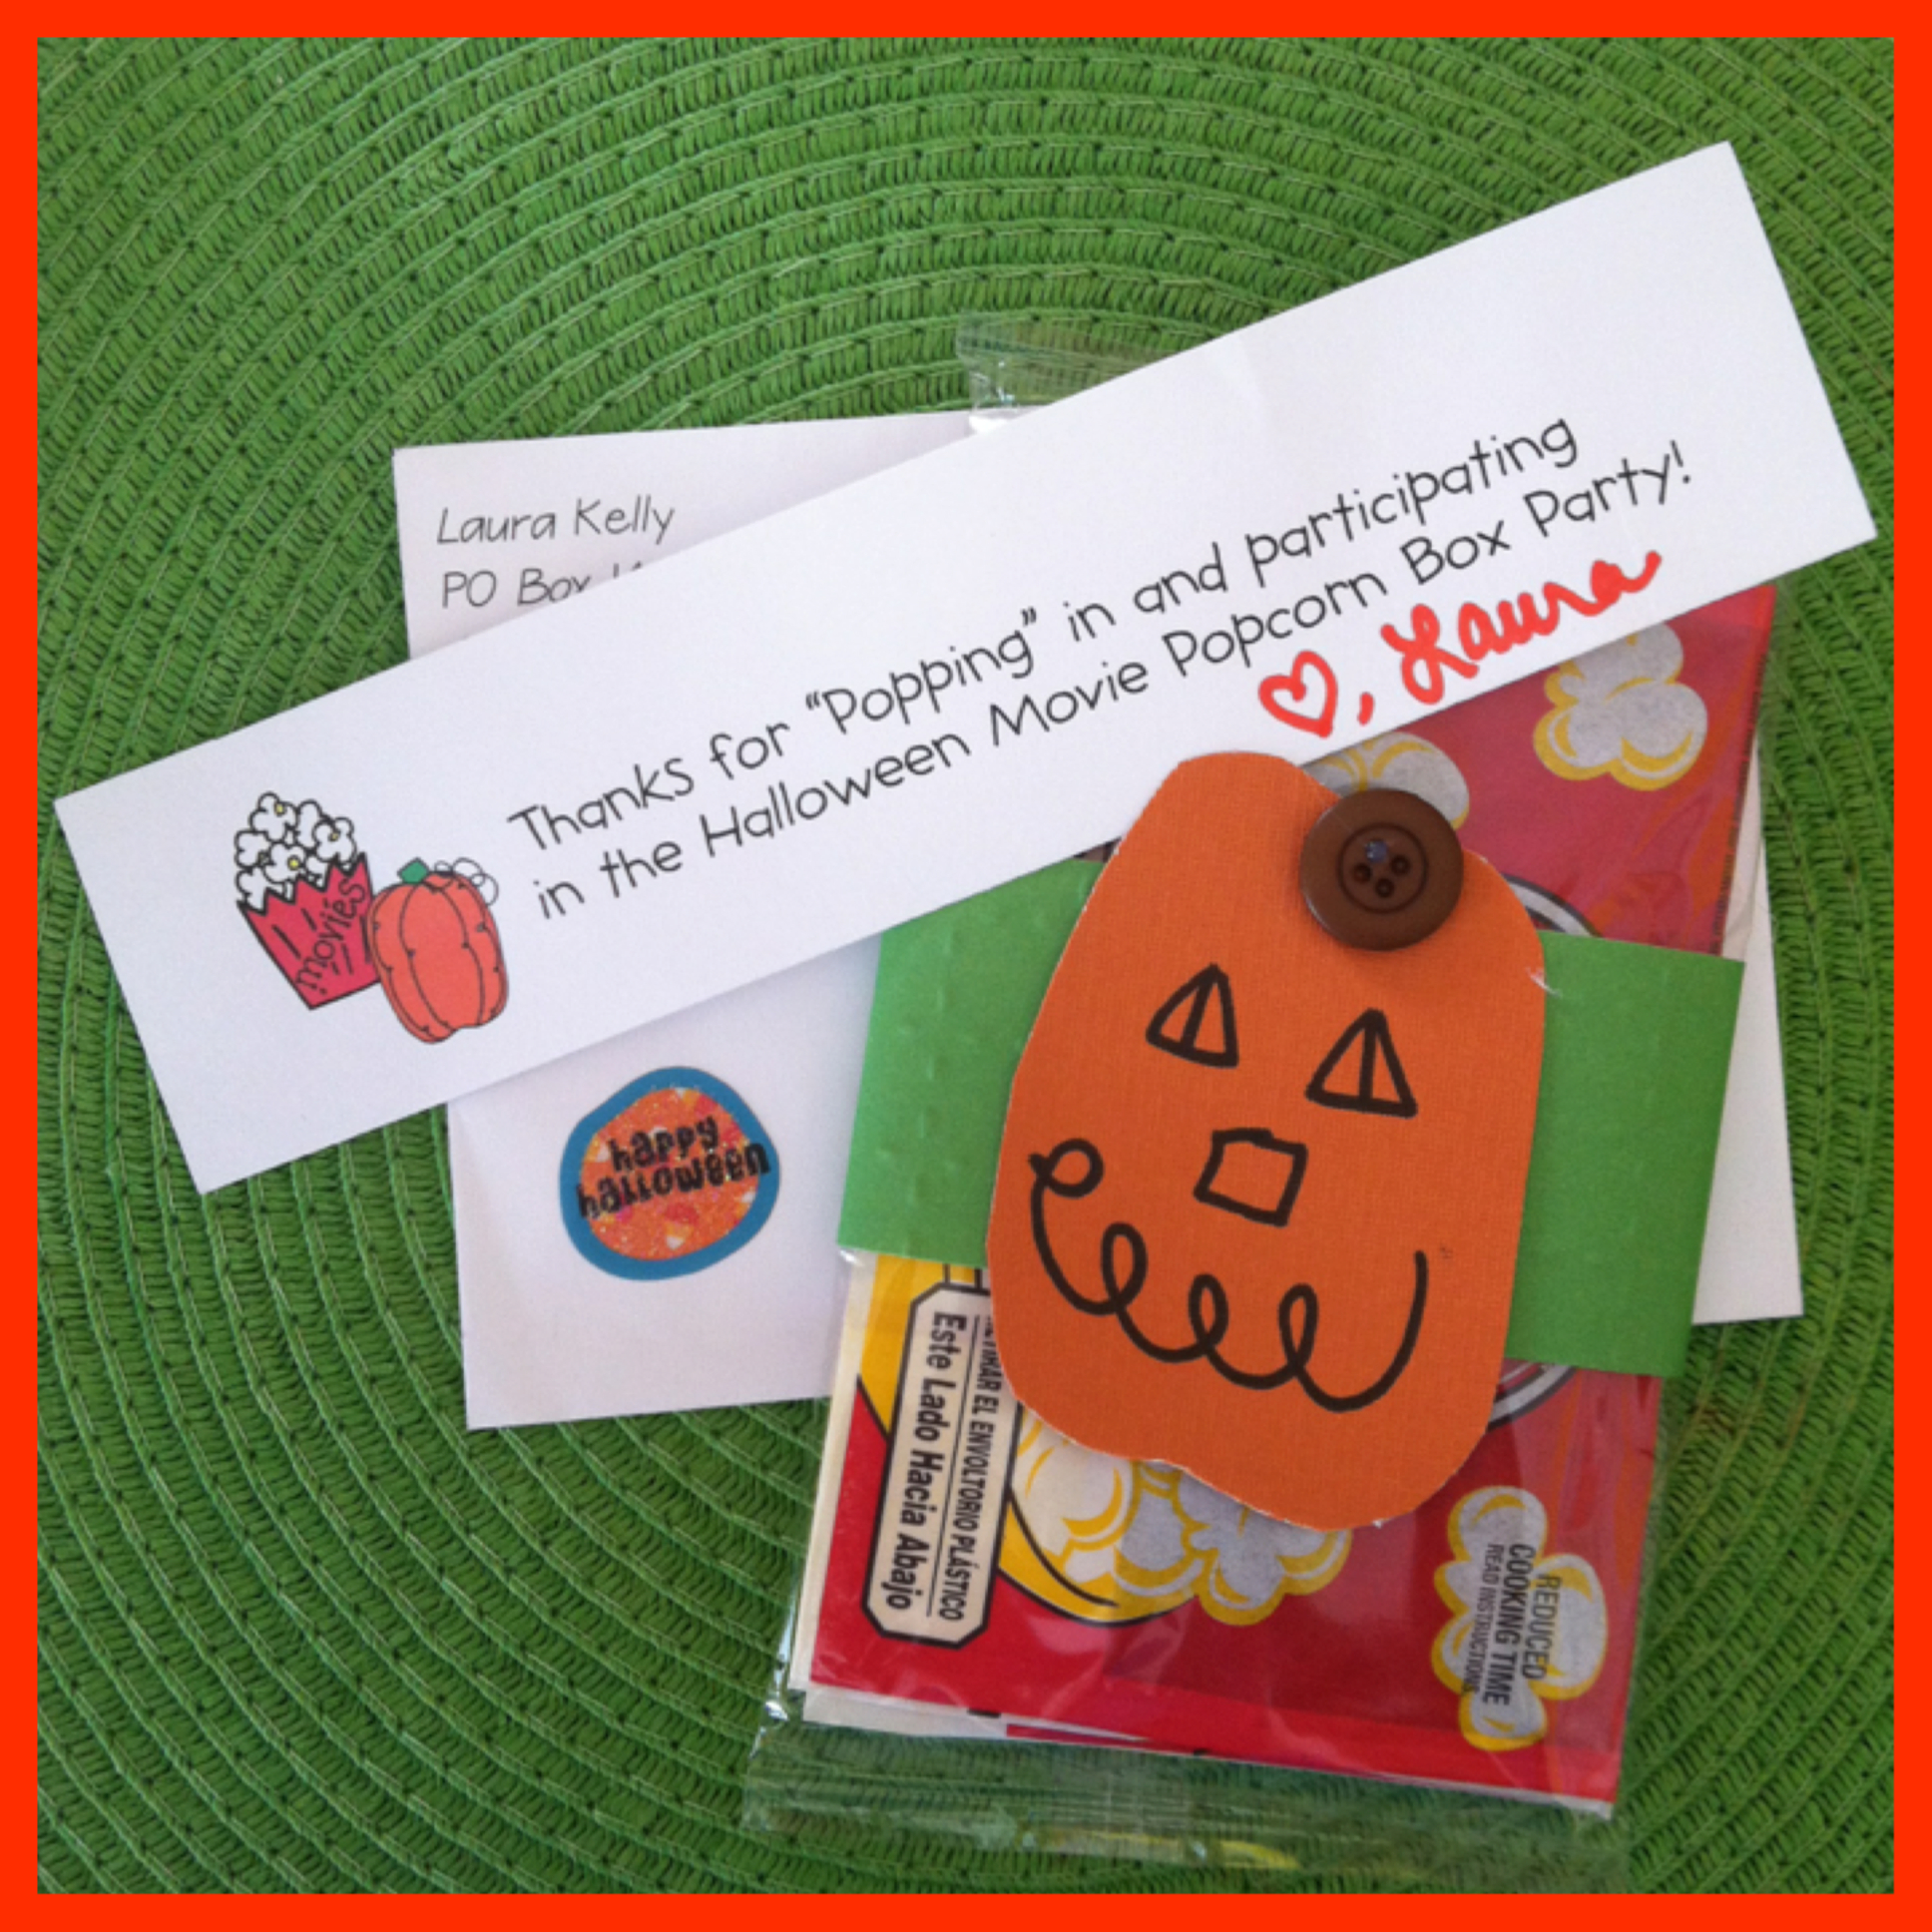
This past week, Laura sent out a special little thanks for being a part of this blog hop!   She is super sweet!     Thanks my friend!  🙂

picstitch1

There were quite a few other blog hoppers that joined in on this blog hop, so hop over to Laura Kelly’s blog to check out the rest of the participants!!  A special thanks to Cre8time for supporting the Halloween Popcorn Box Blog Hop!  And to Laura Kelly for allowing me the chance to participate!

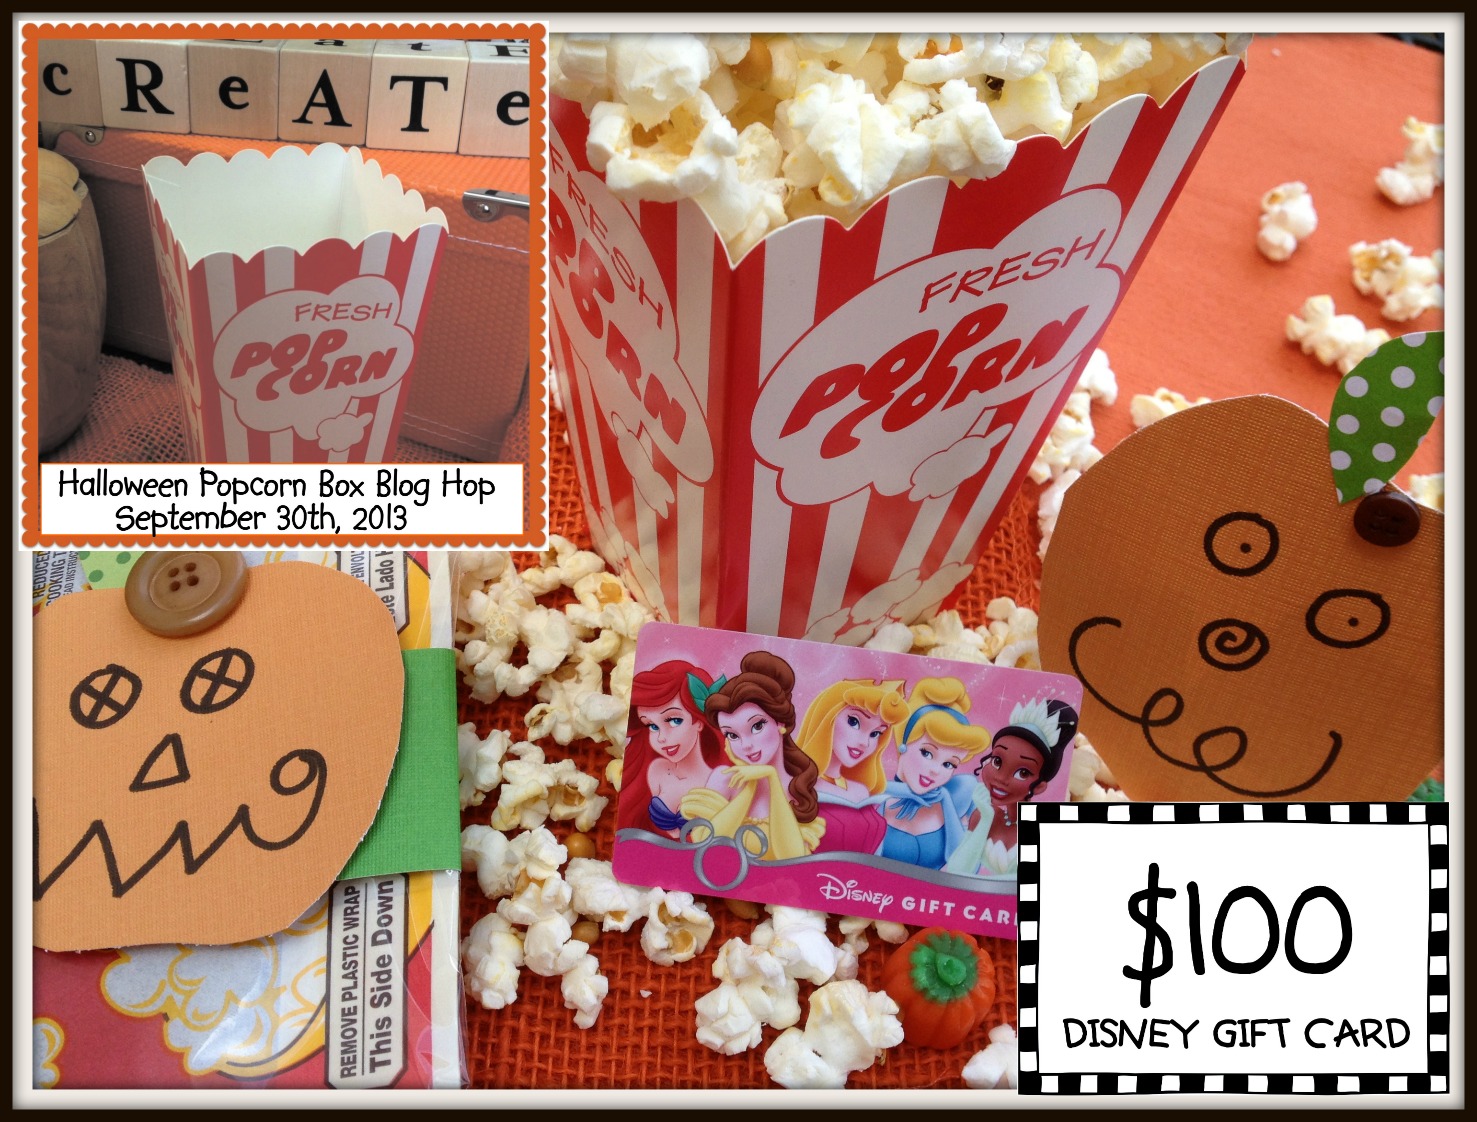
Be sure to click on the picture below for a chance to win a $100 gift card to Disney (park, store, or online)!!PopcornBlogHopPrize

I hope you like my Frankenstein Popcorn Box!  I’d love to hear what you think in my comments section!!

And until next time……

katie-asweetberry

Halloween Blog Hop Preview!

Halloween is just around the corner.

What’s more fun than getting in the spirit than a Halloween Blog Hop?!?!

PopcornBlogHop_Badge

Halloween is one of my favorite holidays, so when Laura Kelly asked me to join this blog hop, I quickly agreed!

My package arrived and inside was a Popcorn Box and some other craft materials!

package

The object of this blog hop is to decorate the popcorn box however we want to with any medium that we want!

So, check back on September 30th to see what I came up with!   And feel free to hop along to the other participants pages!  🙂

And oh yeah, once the Blog Hop starts, enter the giveaway, with the chance to win a $100 Disney gift card!

Happy Fall Everyone!

katie-asweetberry


Ahoy there Matey! iPad Mini Travel Cases

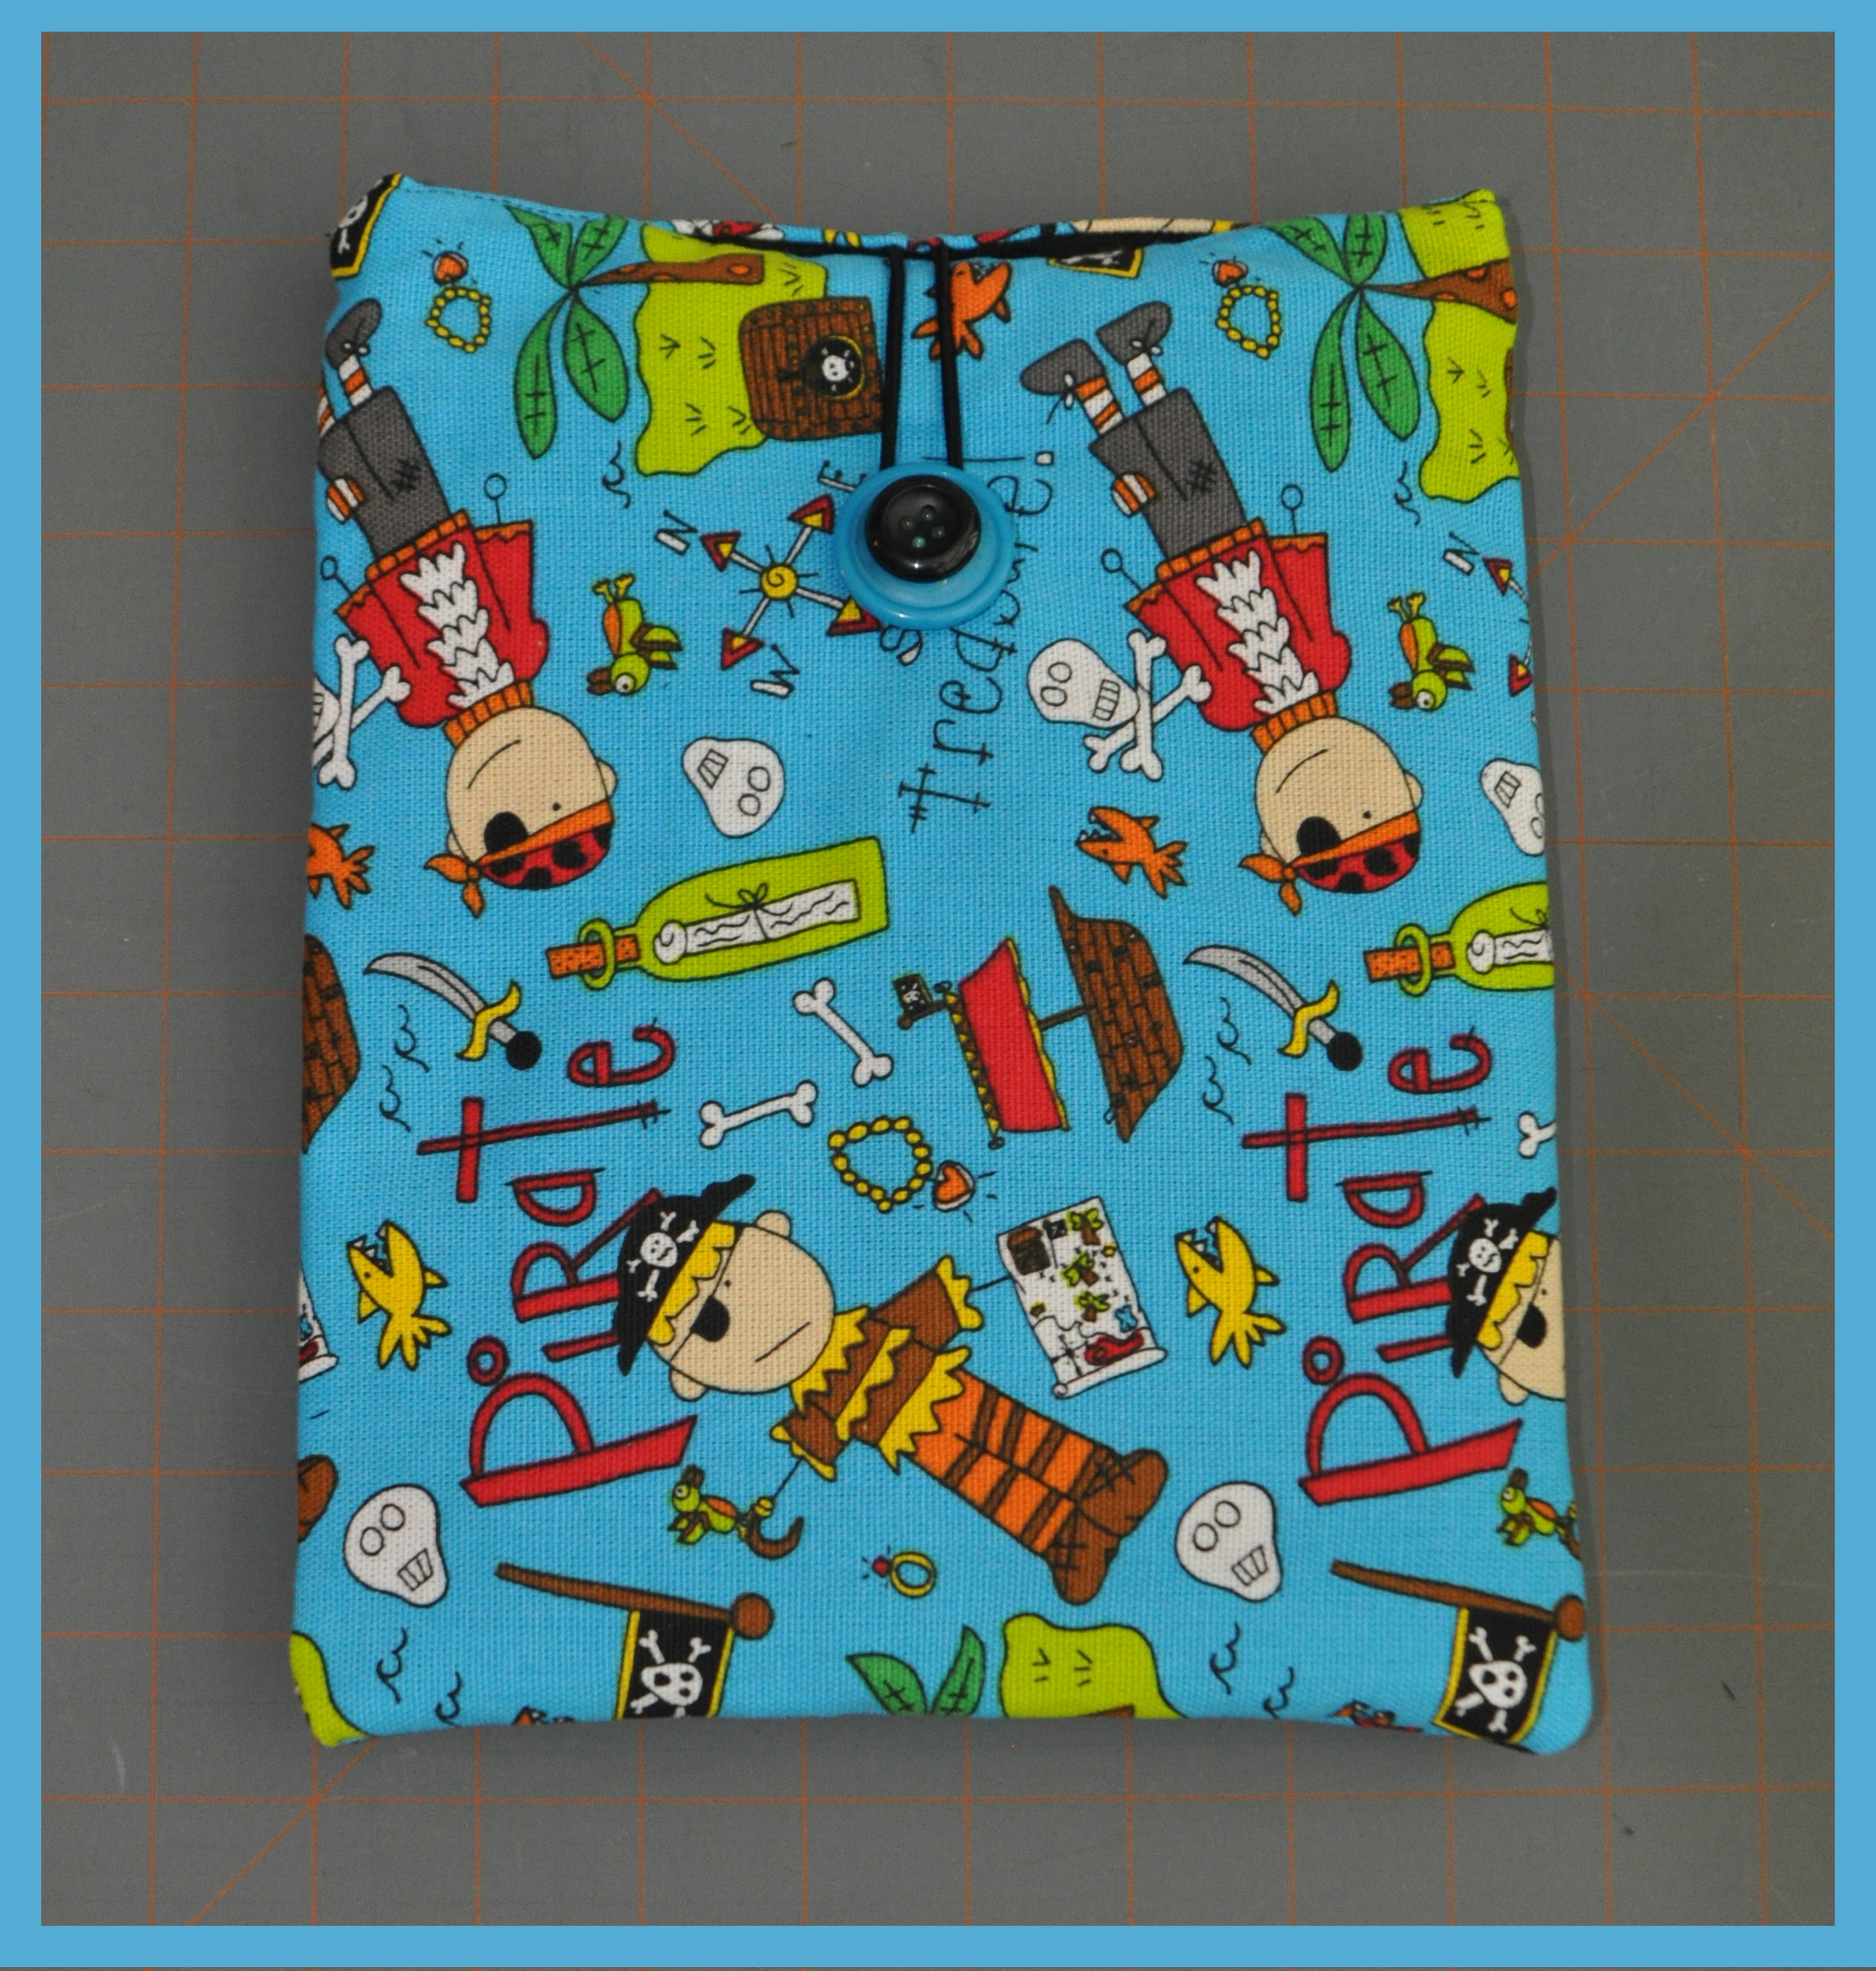
So, in preparing for a trip to New York, I knew we’d be taking the boys iPad Minis with us.  Since they were going to be going into their backpacks to carry on the plane, I wanted to make sure that they weren’t going to get all scratched up.  So, I put together these super cute little iPad covers.   As some of you may know, my friend Laura Kelly Walters has an awesome array of different products, including a few different fabric designs and buttons.   I just happen to love her Tossed Pirate fabric!  It’s so fun and so boy!!!    She is such a creative person and I truly admire her!   But here is how I made these awesome iPad Mini travel cases!!!

image3

Materials used:

Laura Kelly’s Tossed Pirate on Blue Cotton Fabric, available online at Hancock Fabrics

Black Quilt Material

Guterman thread

A metal-less Hair rubberband

Laura Kelly Mix Buttons, from Buttons Galore & More

materials

First, I measured the iPad mini itself and the cut my fabrics (8.5×11 inches).  I then pinned the quilted fabric together.  And since these are the same on both sides, it doesn’t matter which way you pin them.

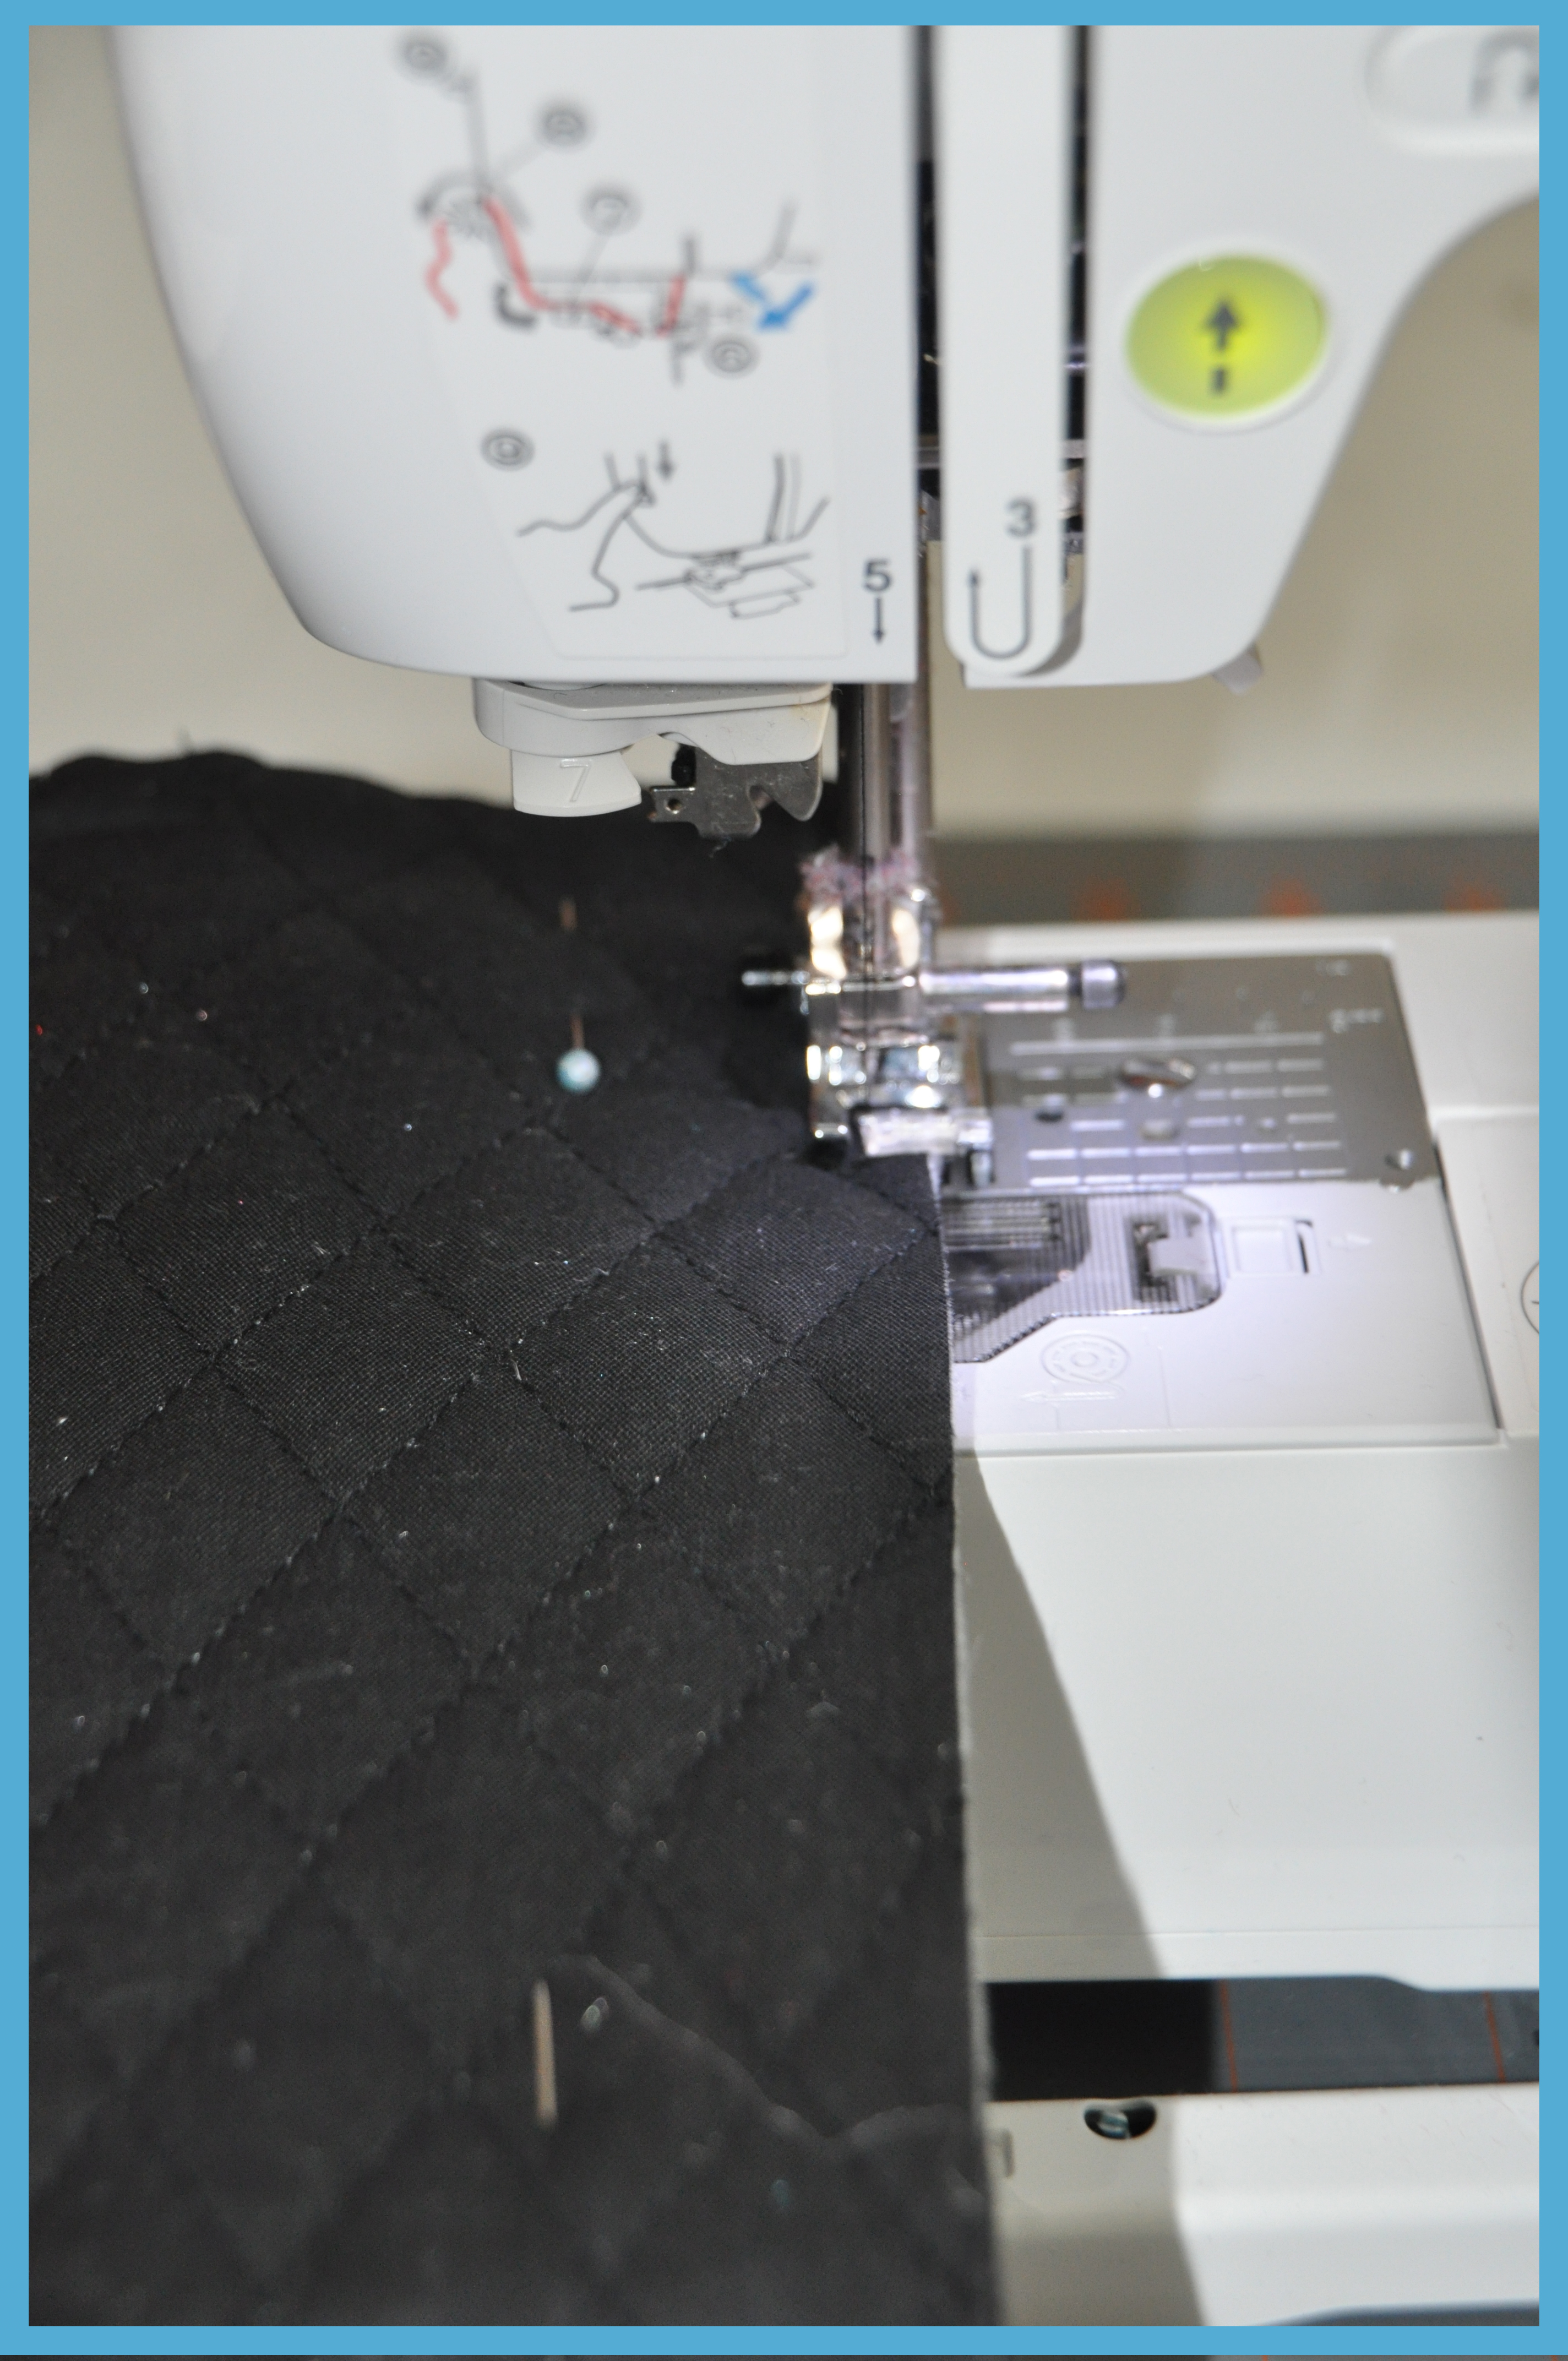
quilted insidesI then sewed them together using the sewing machine, leaving the top open.

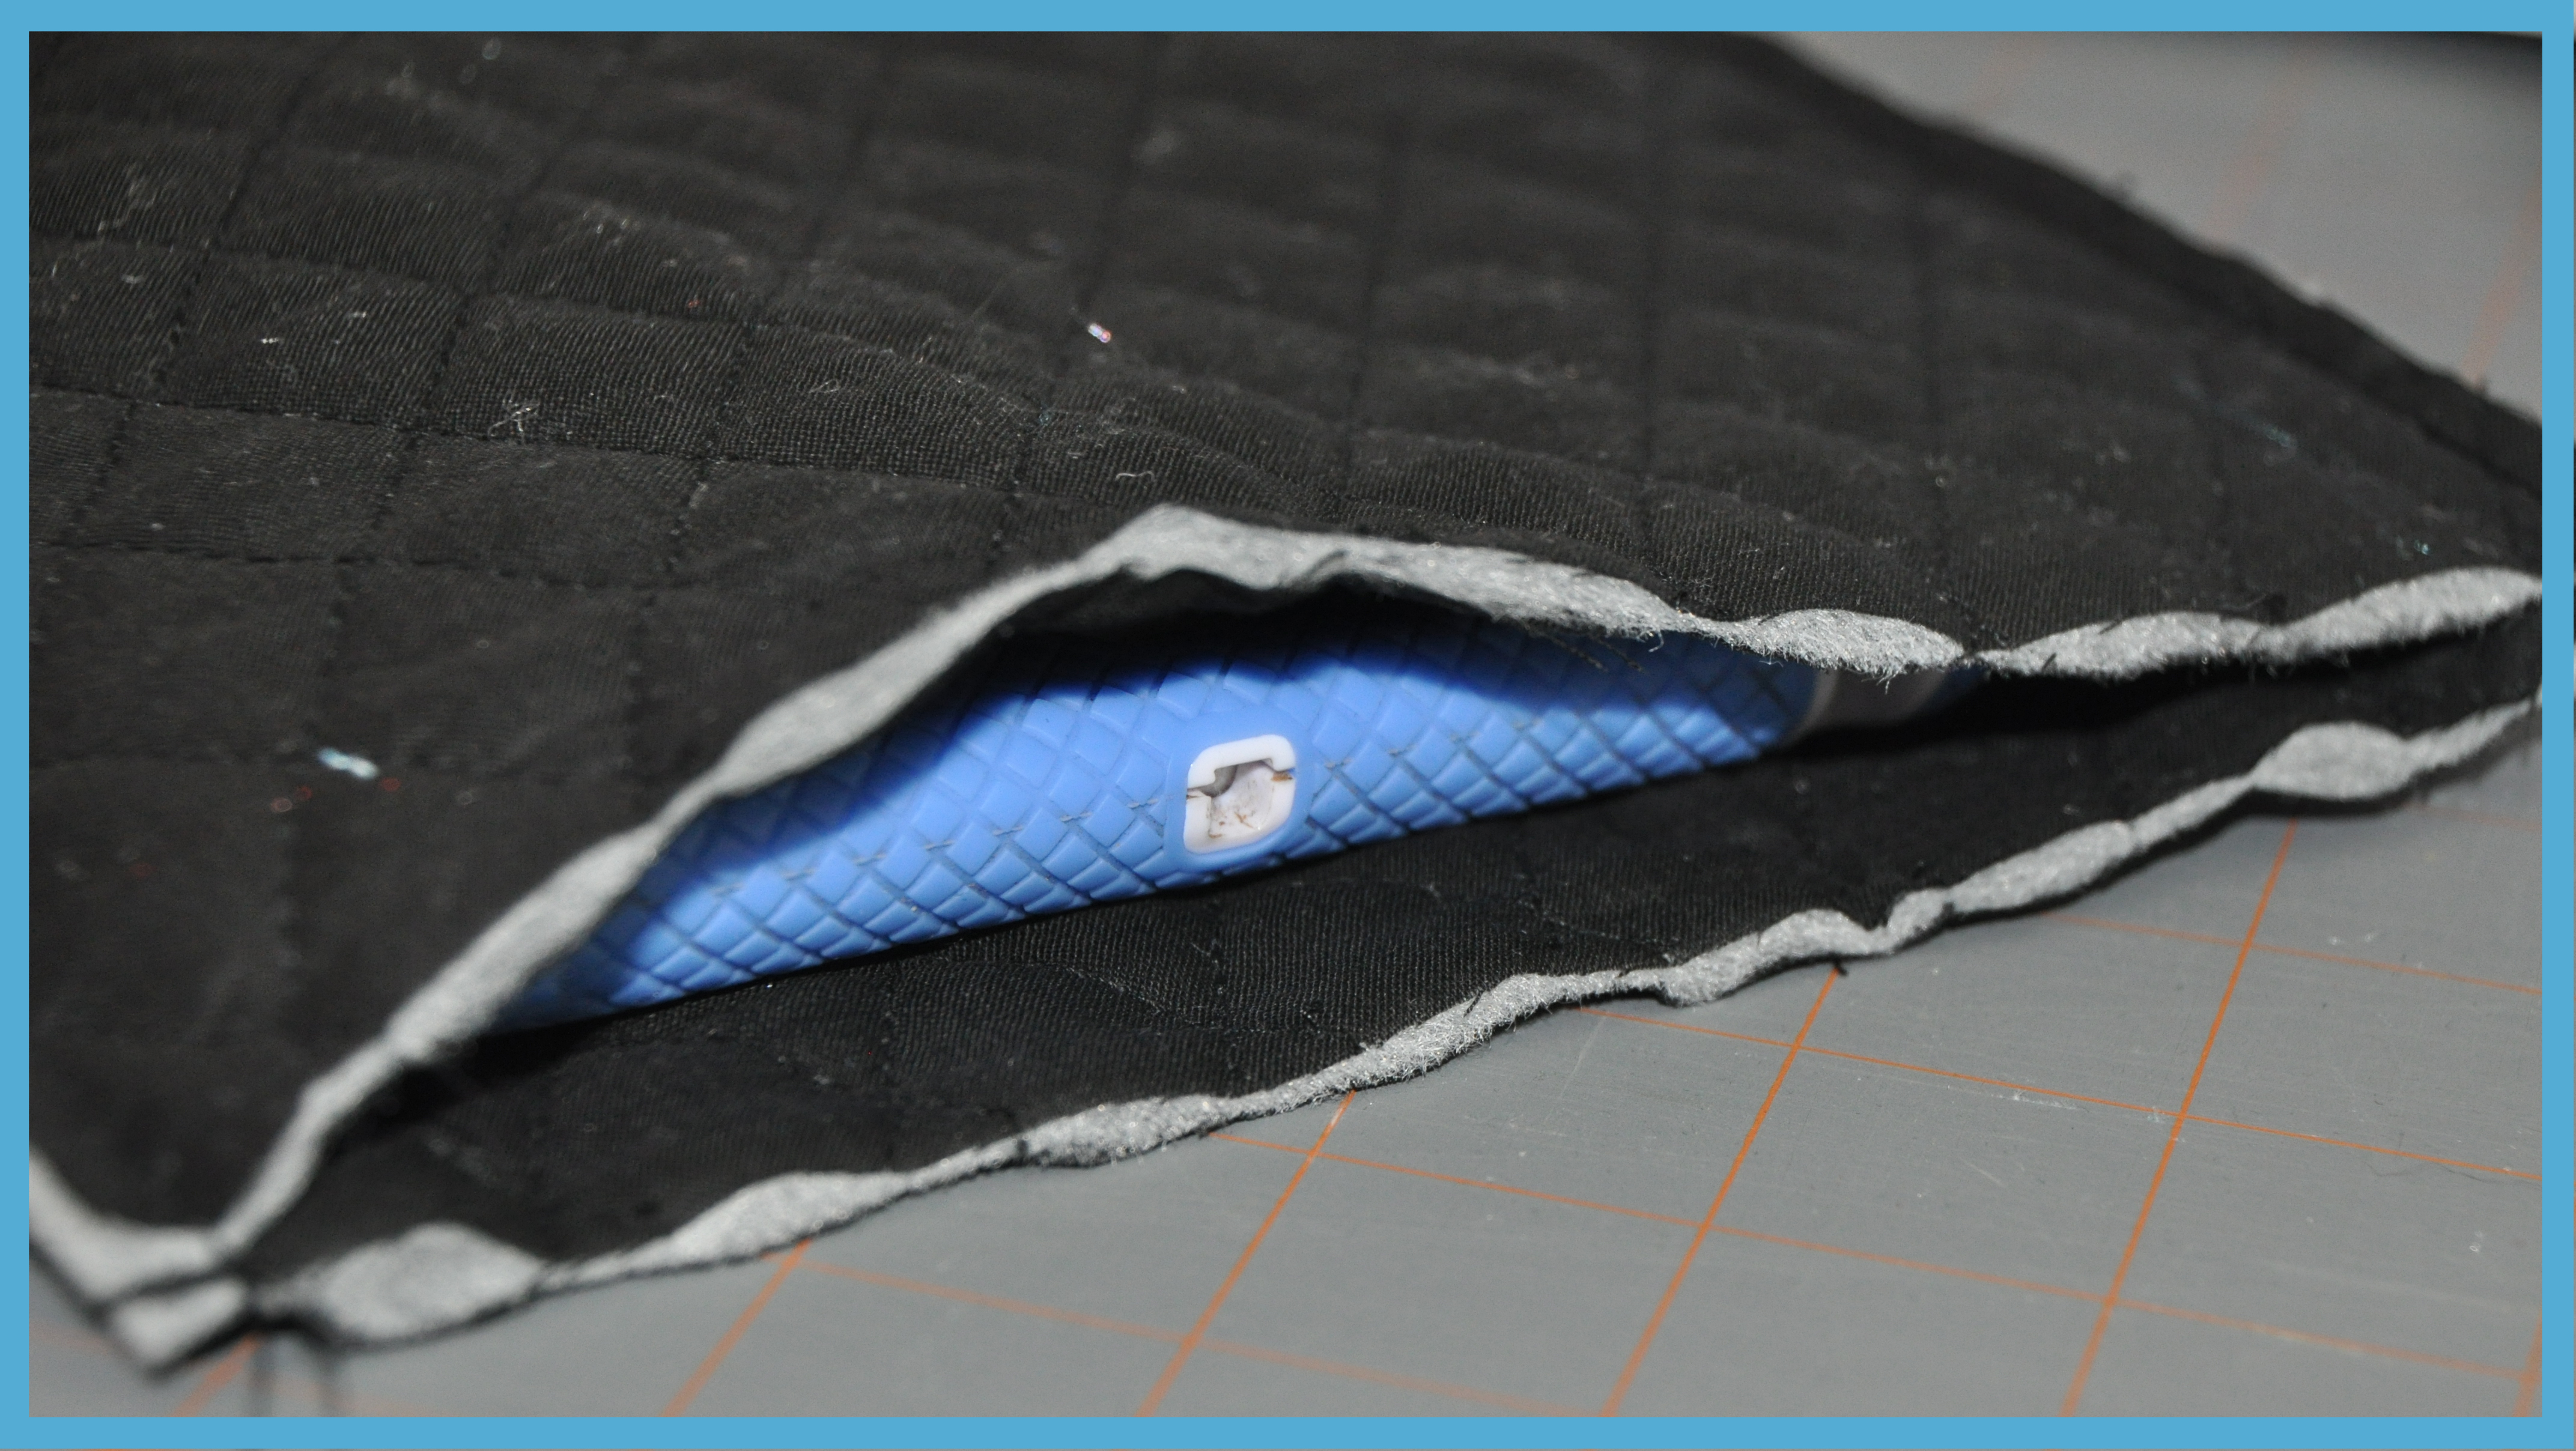
quilt sewingI wanted to make sure the iPads themselves would fit and of course they did, just right!!

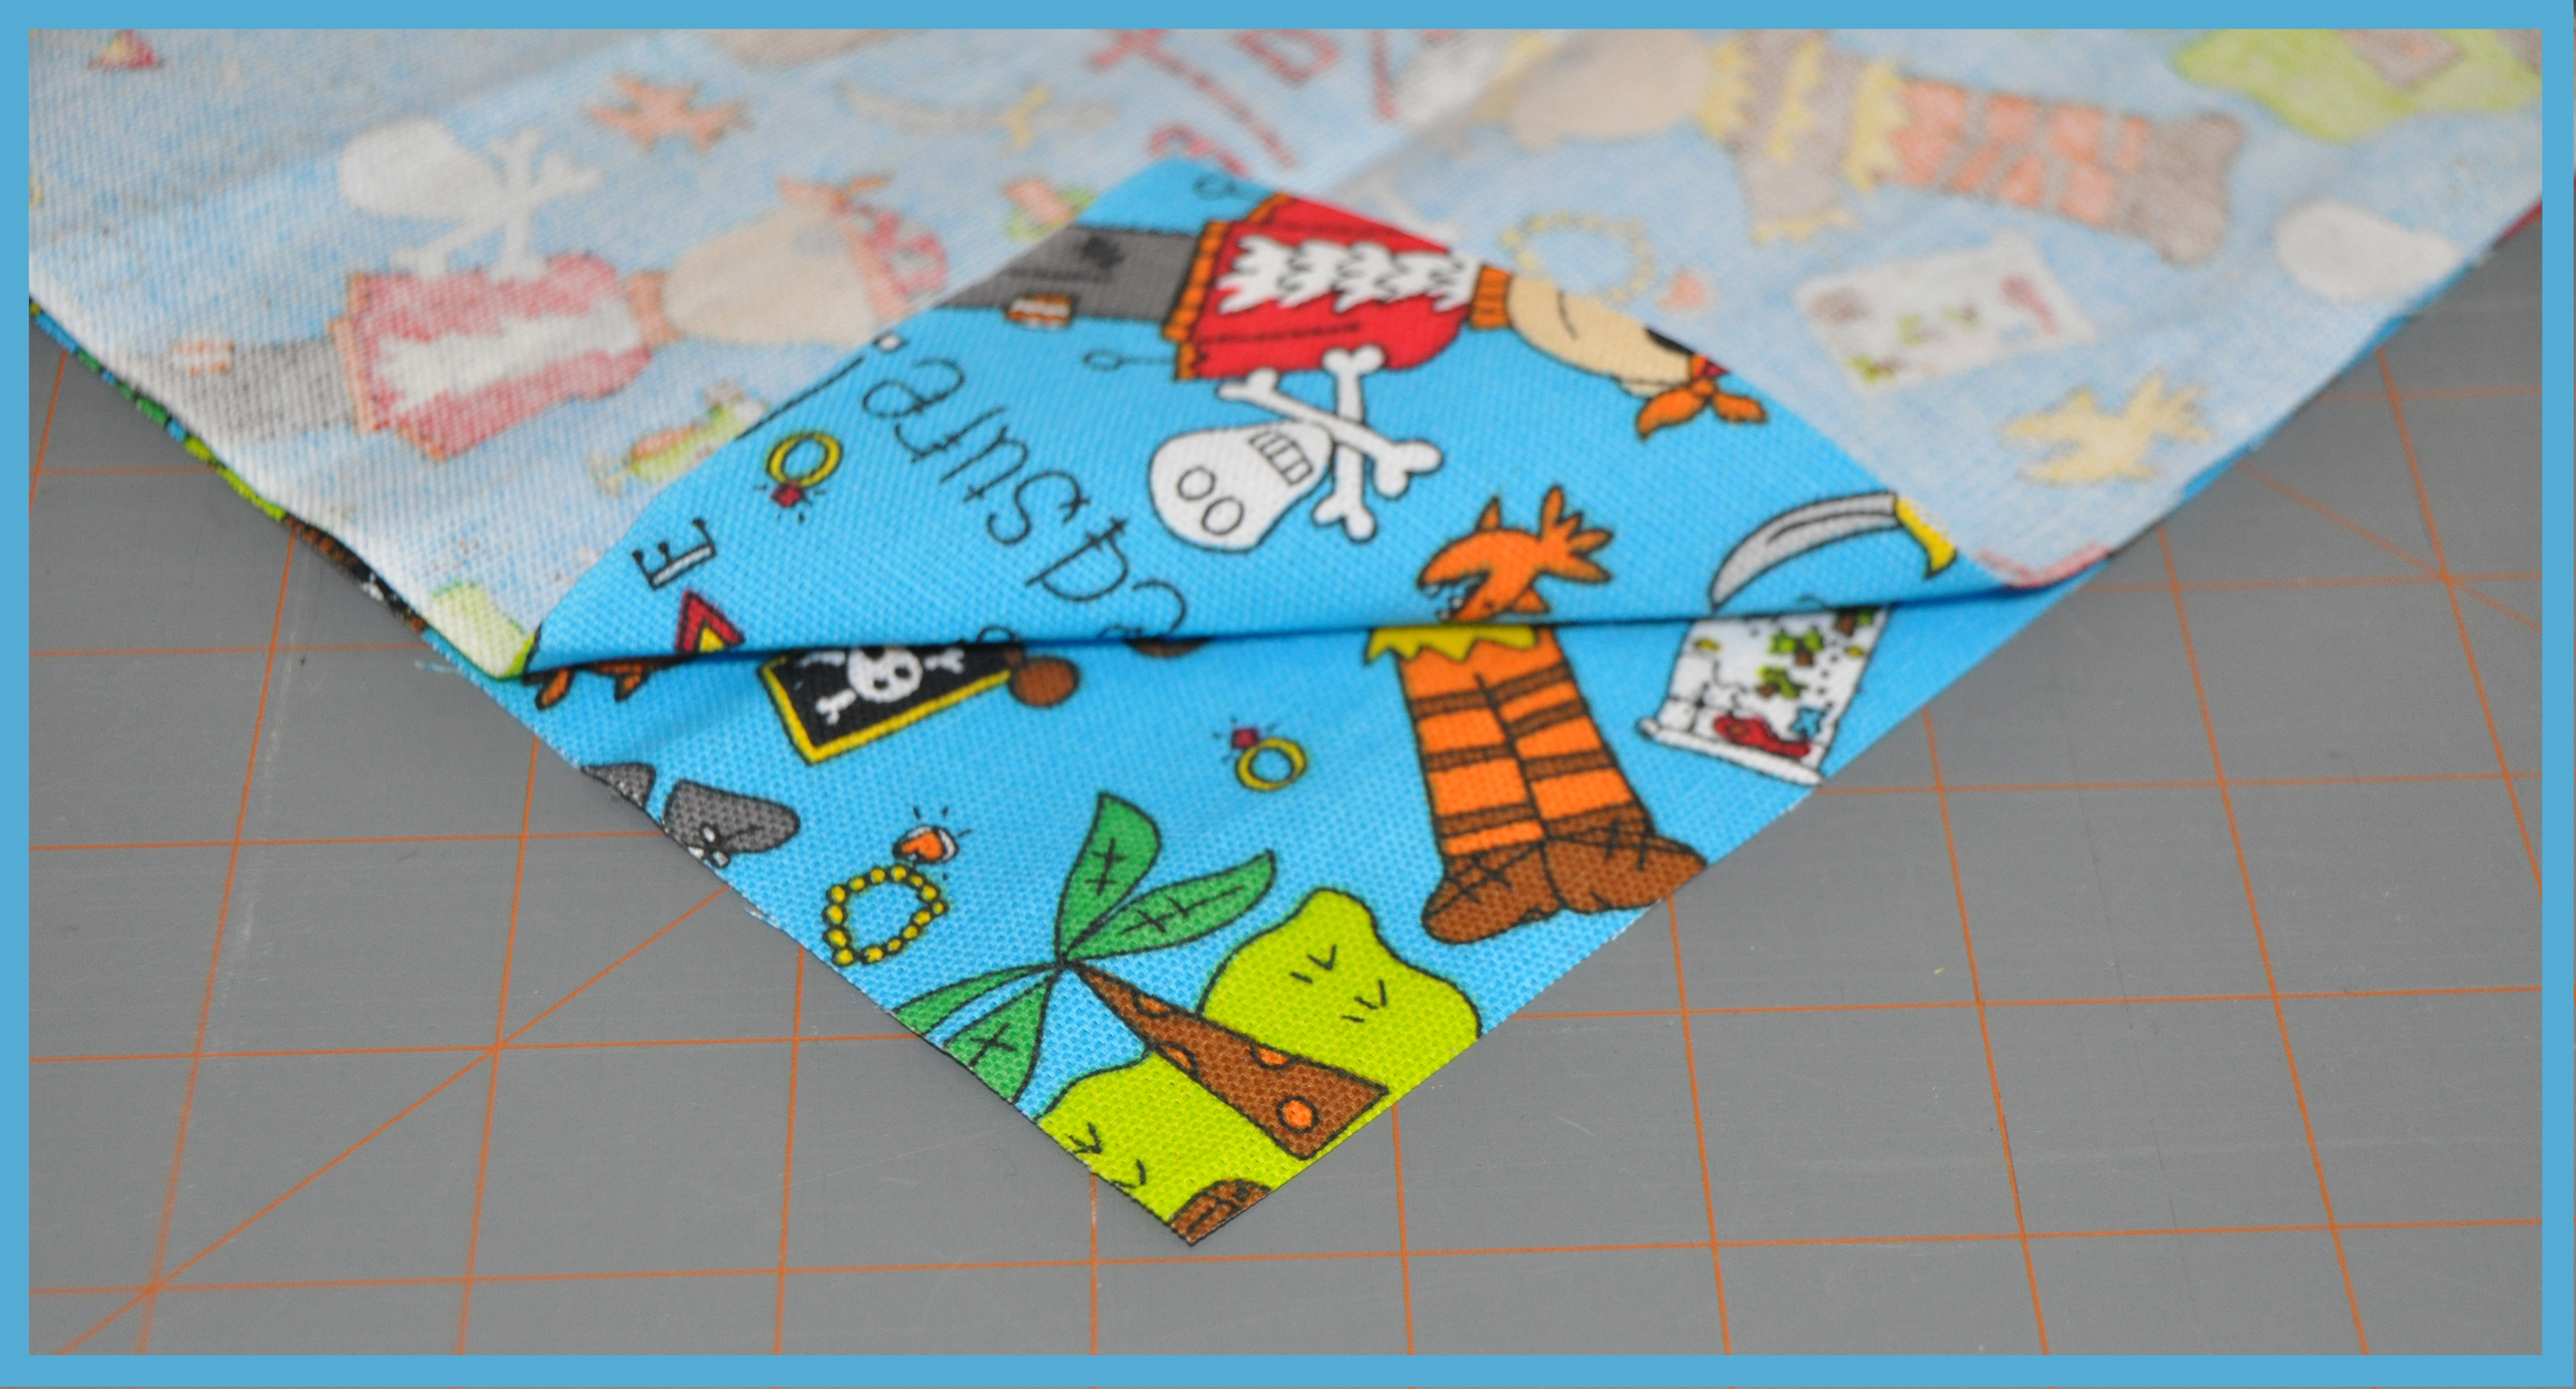
measuringThen it was on to sewing the fabric together.  For the pirate fabric, I put the sides together with the right sides facing together.

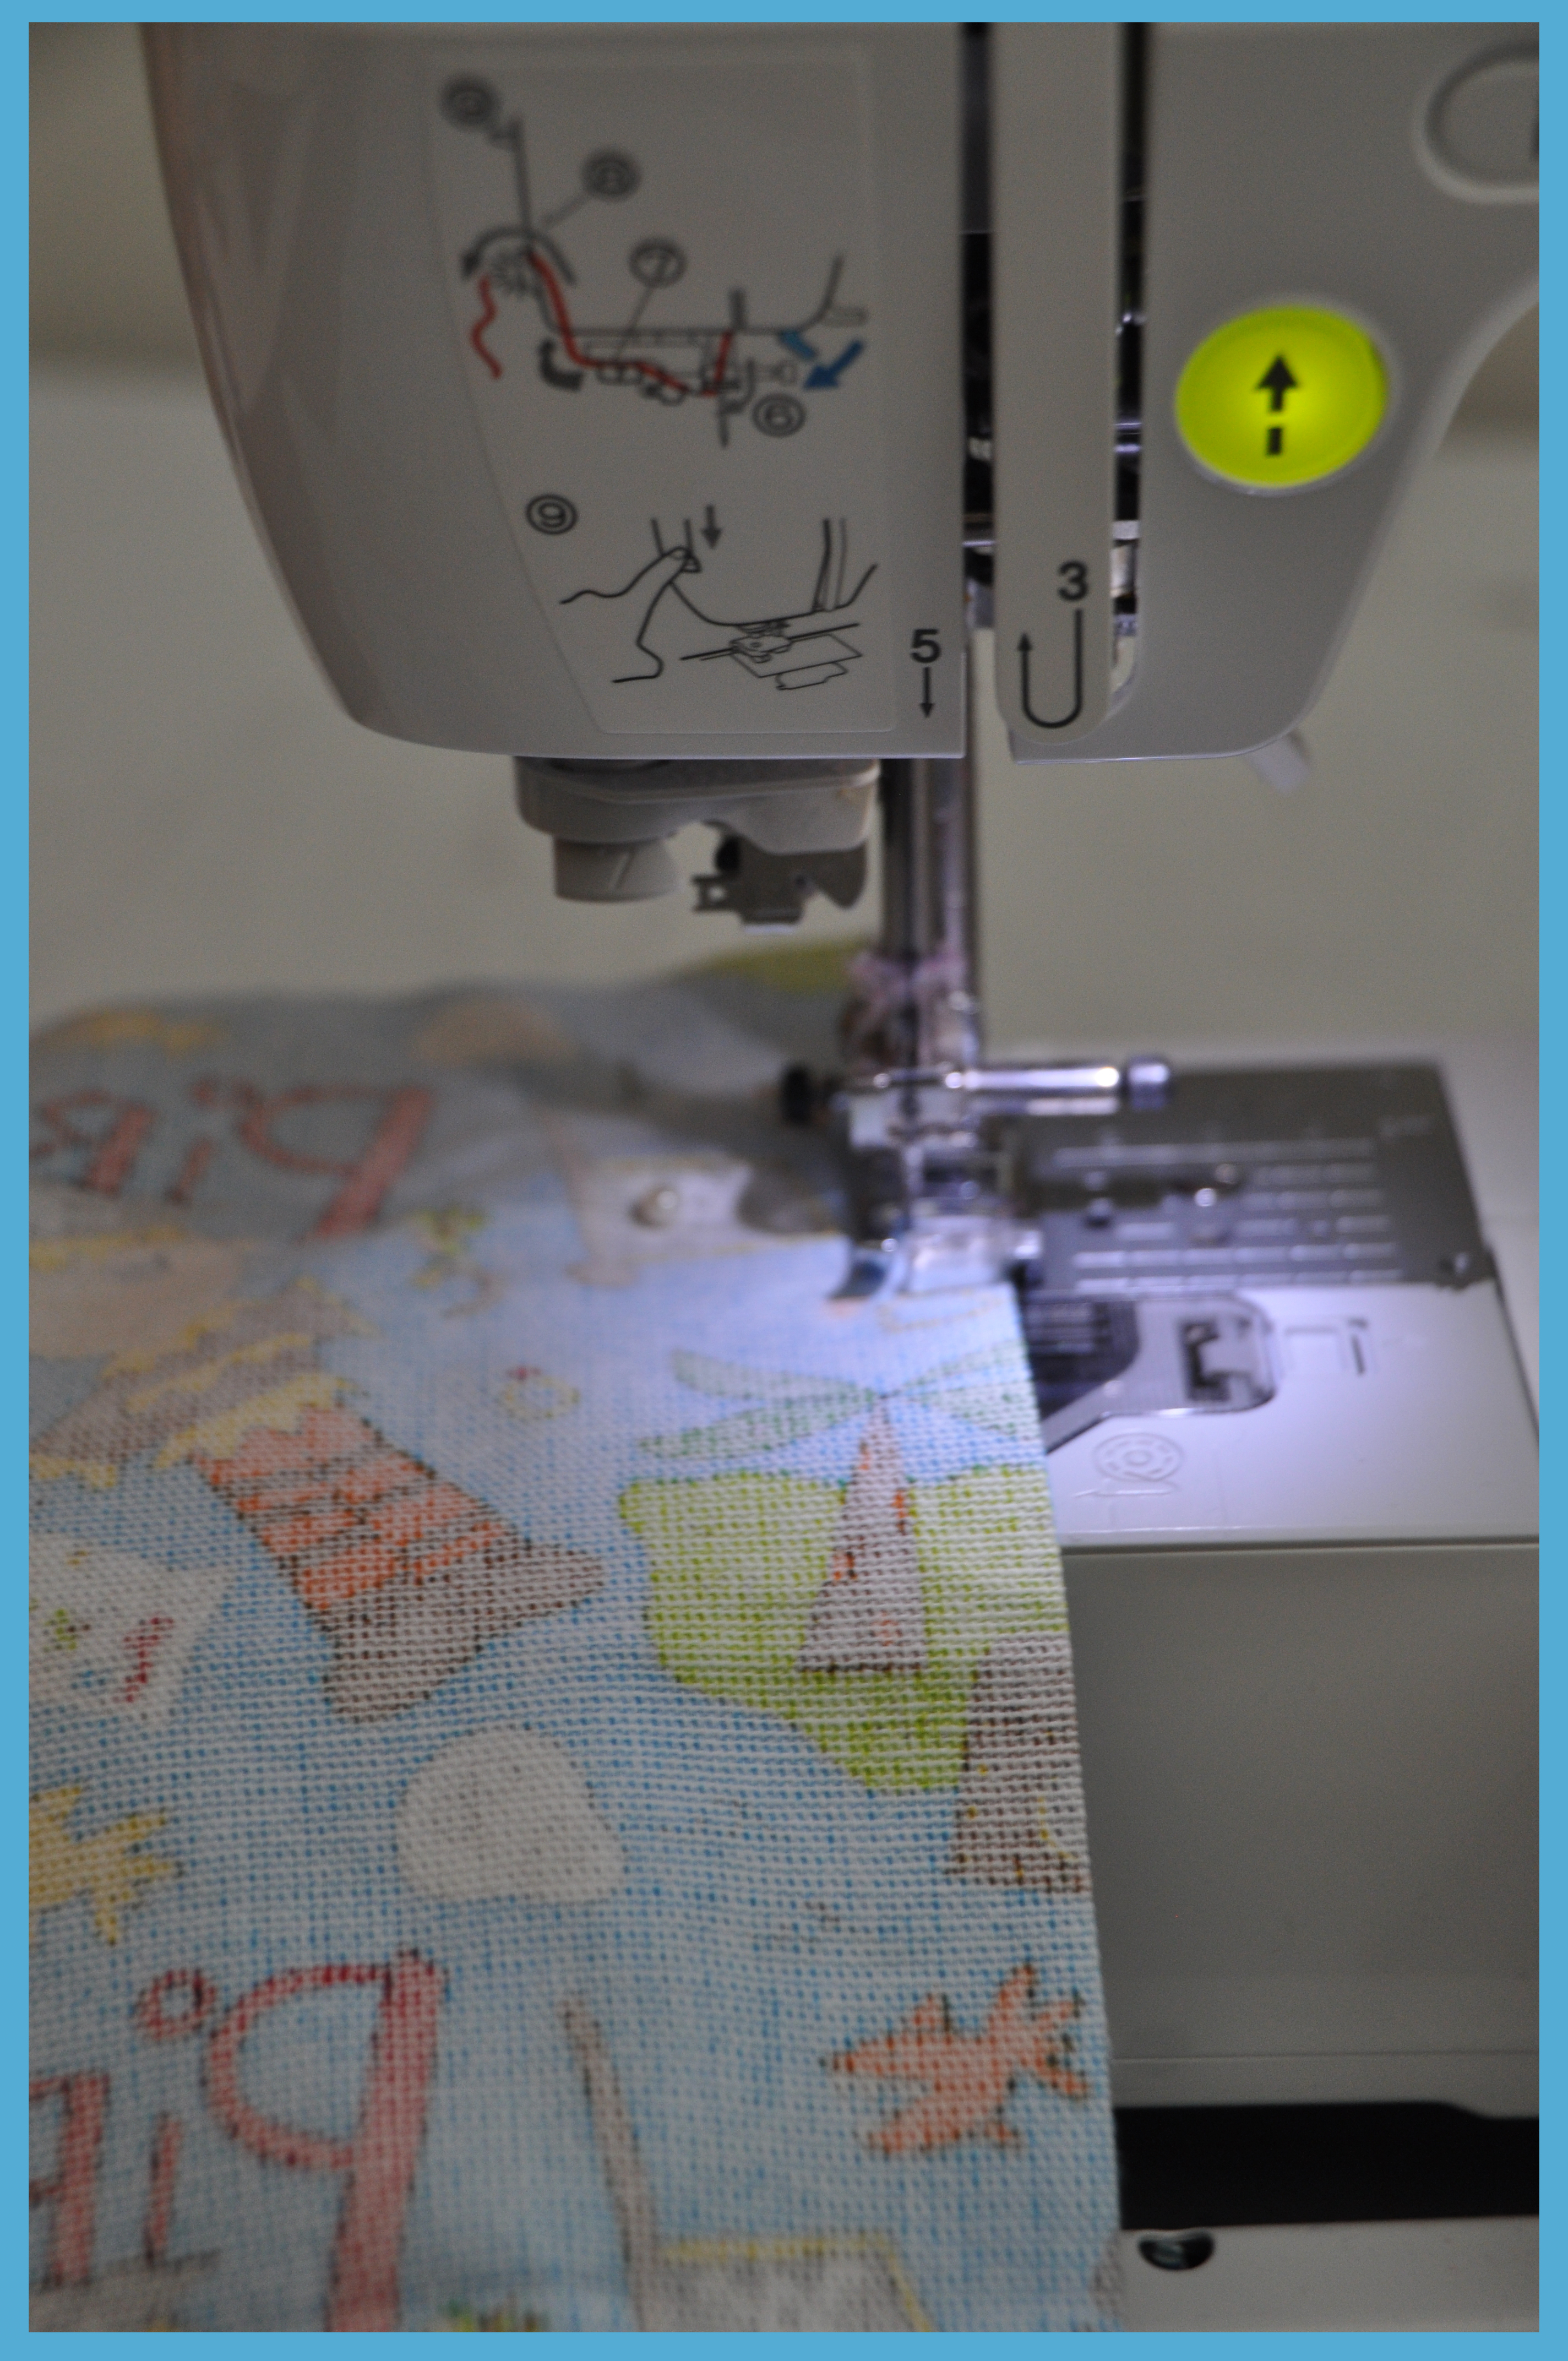
fabric right sides togetherAnd then I sewed those together, again leaving the top open.

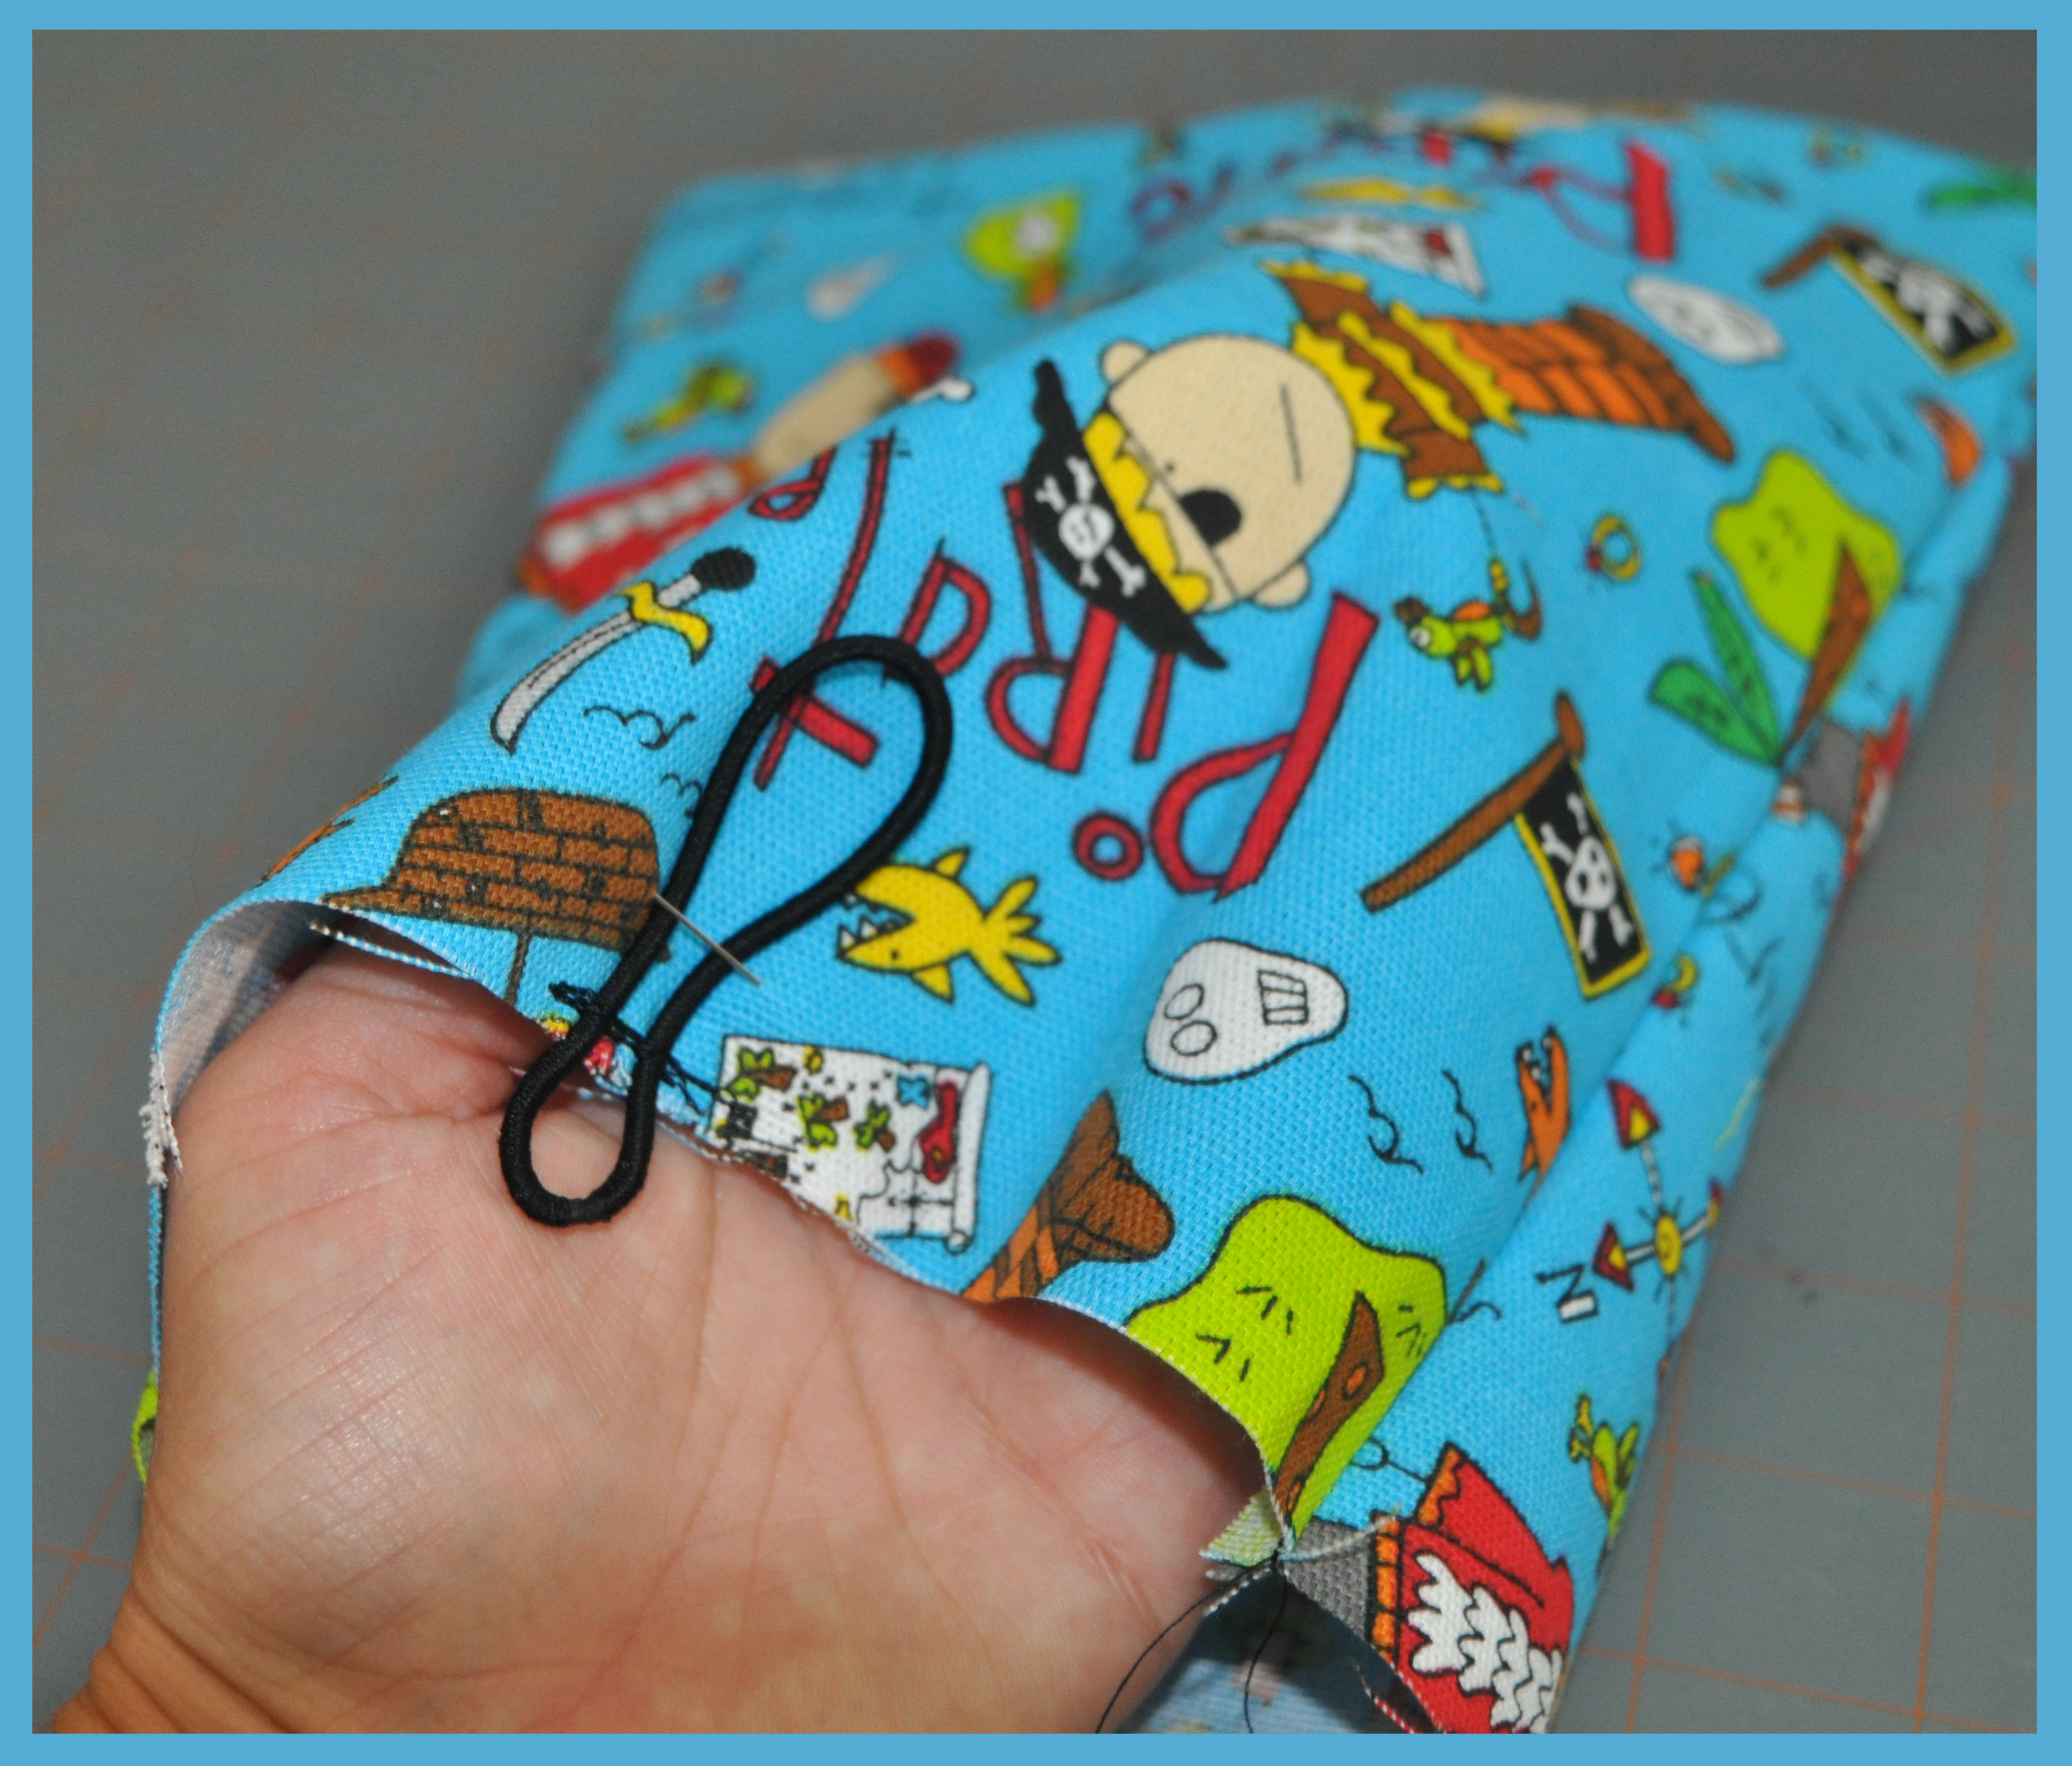
sewing fabricThen, taking my metal-less hair rubberband, I pinned it in place and sewed it to the outside of the fabric.

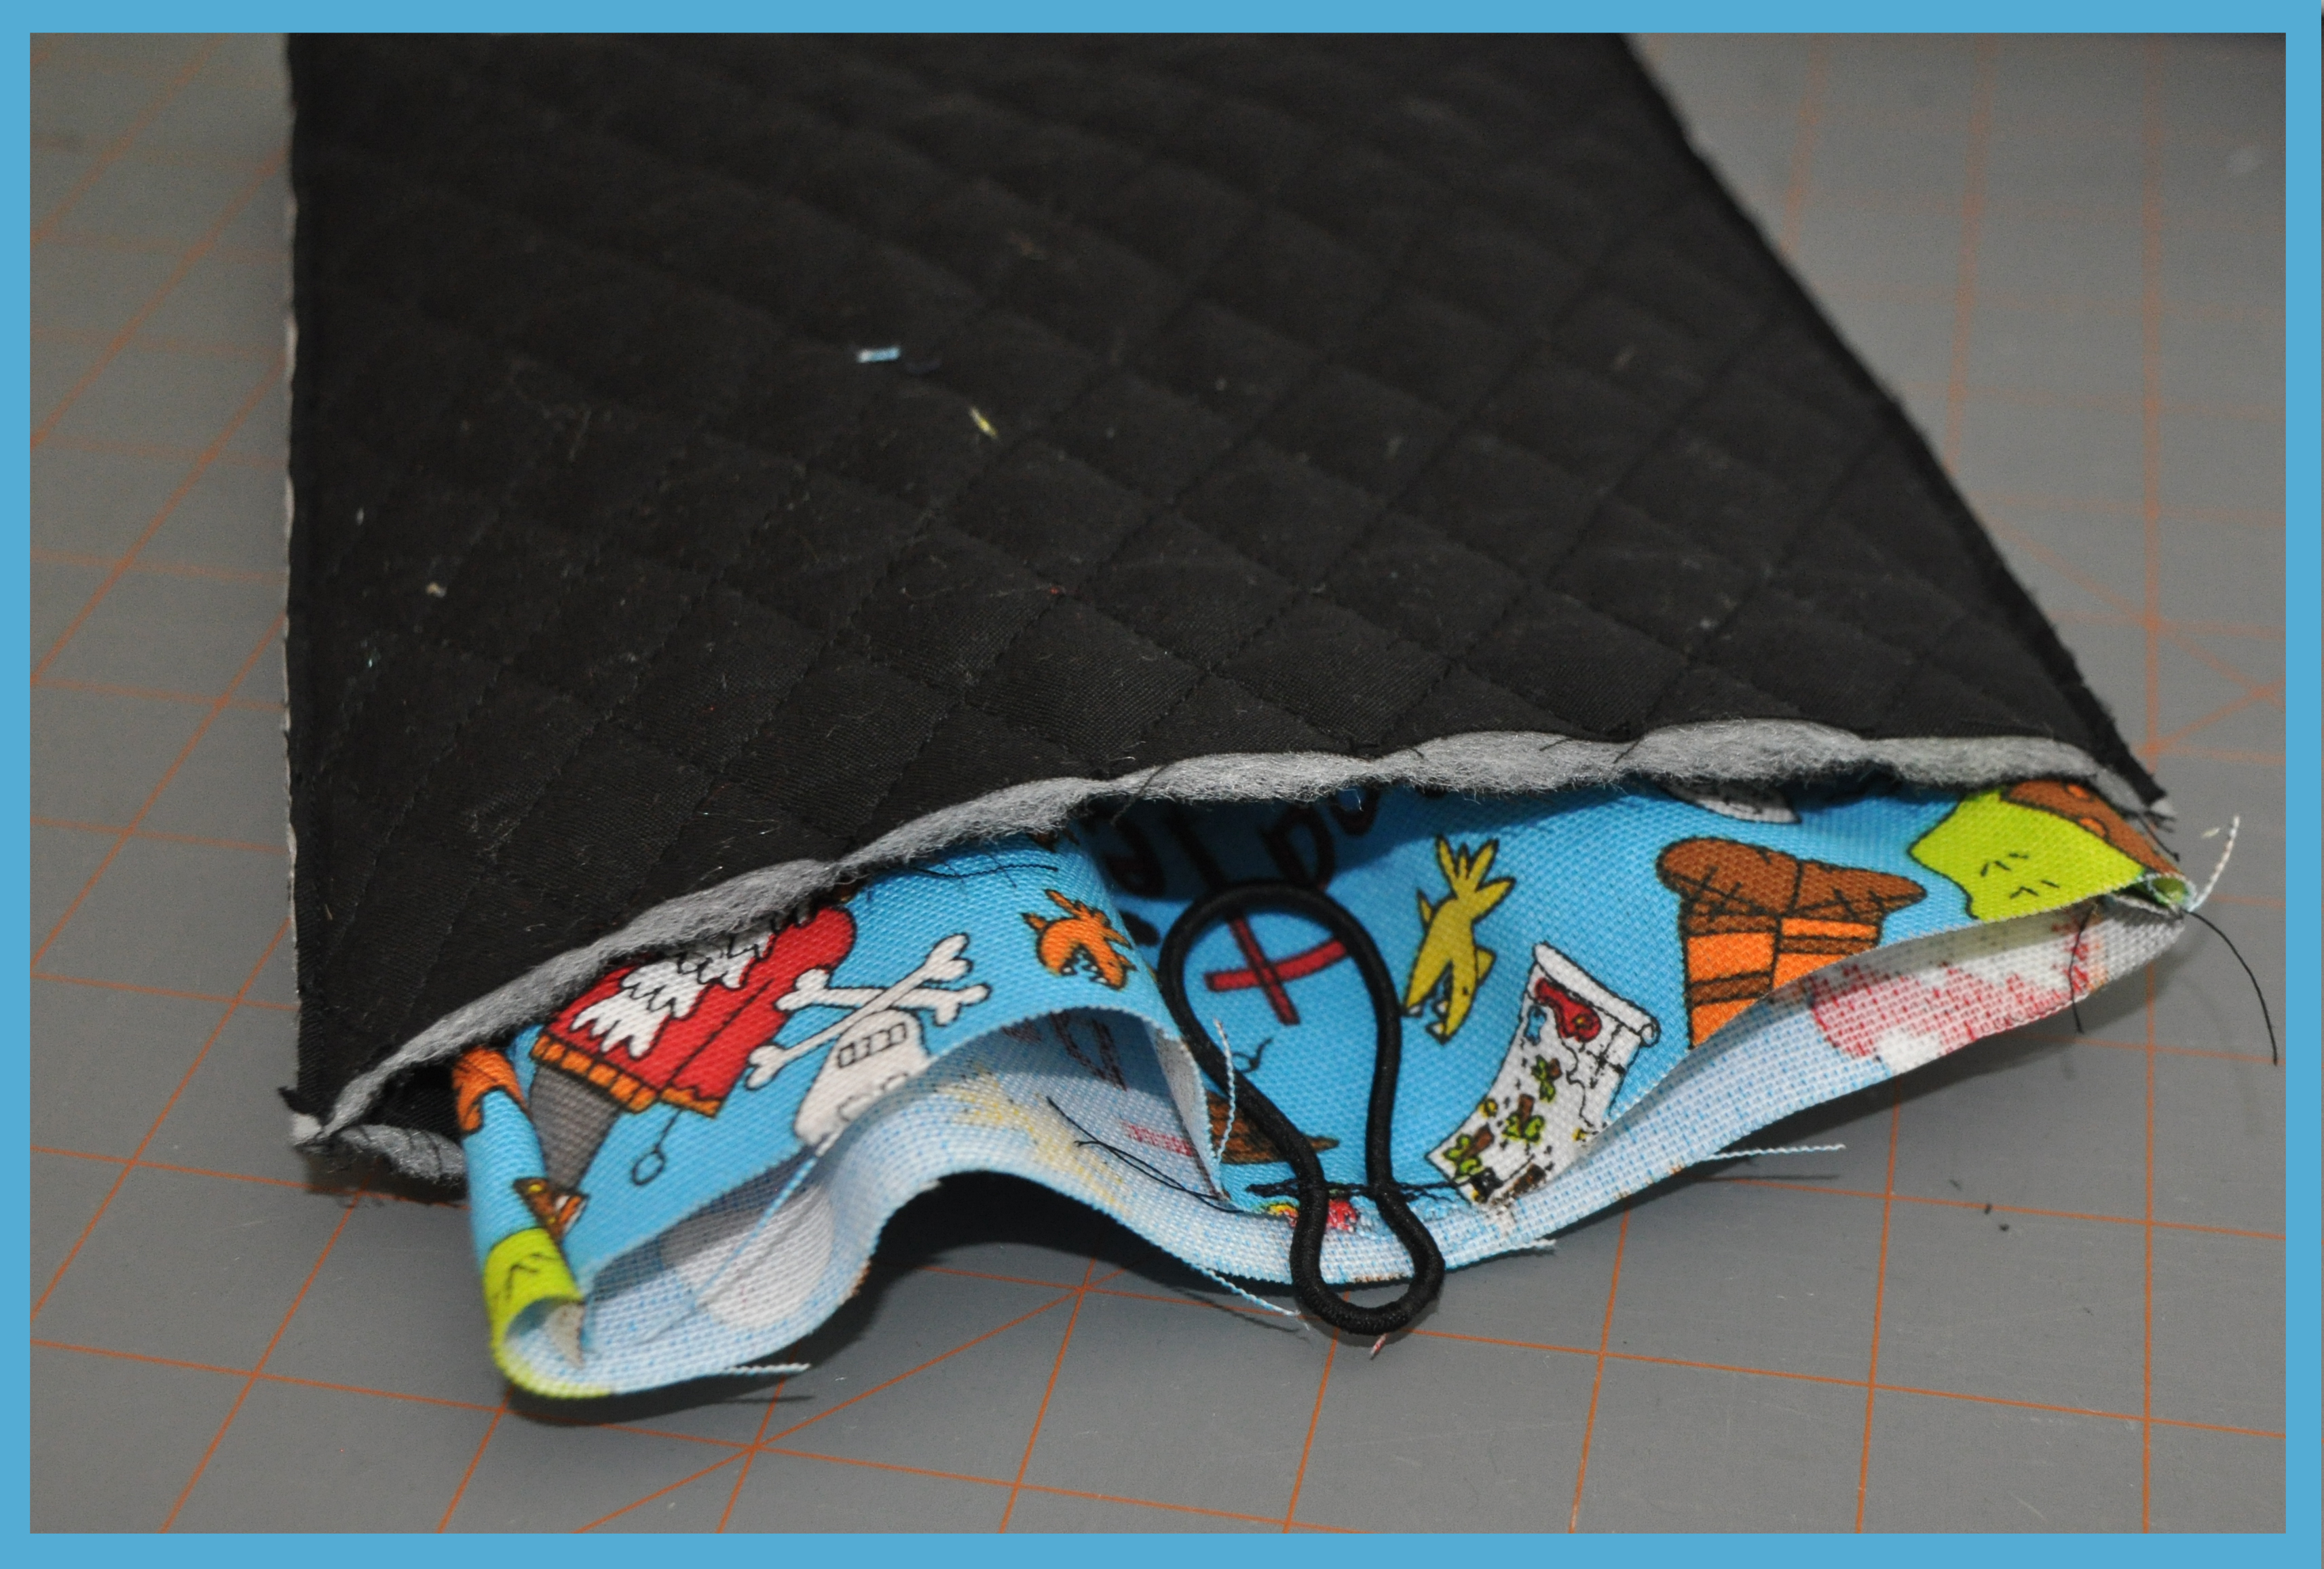
rubberband With the pirate fabric the turned right side out, I placed it inside the quilted pocket, making sure that the rubberband was tucked down in between the pockets.

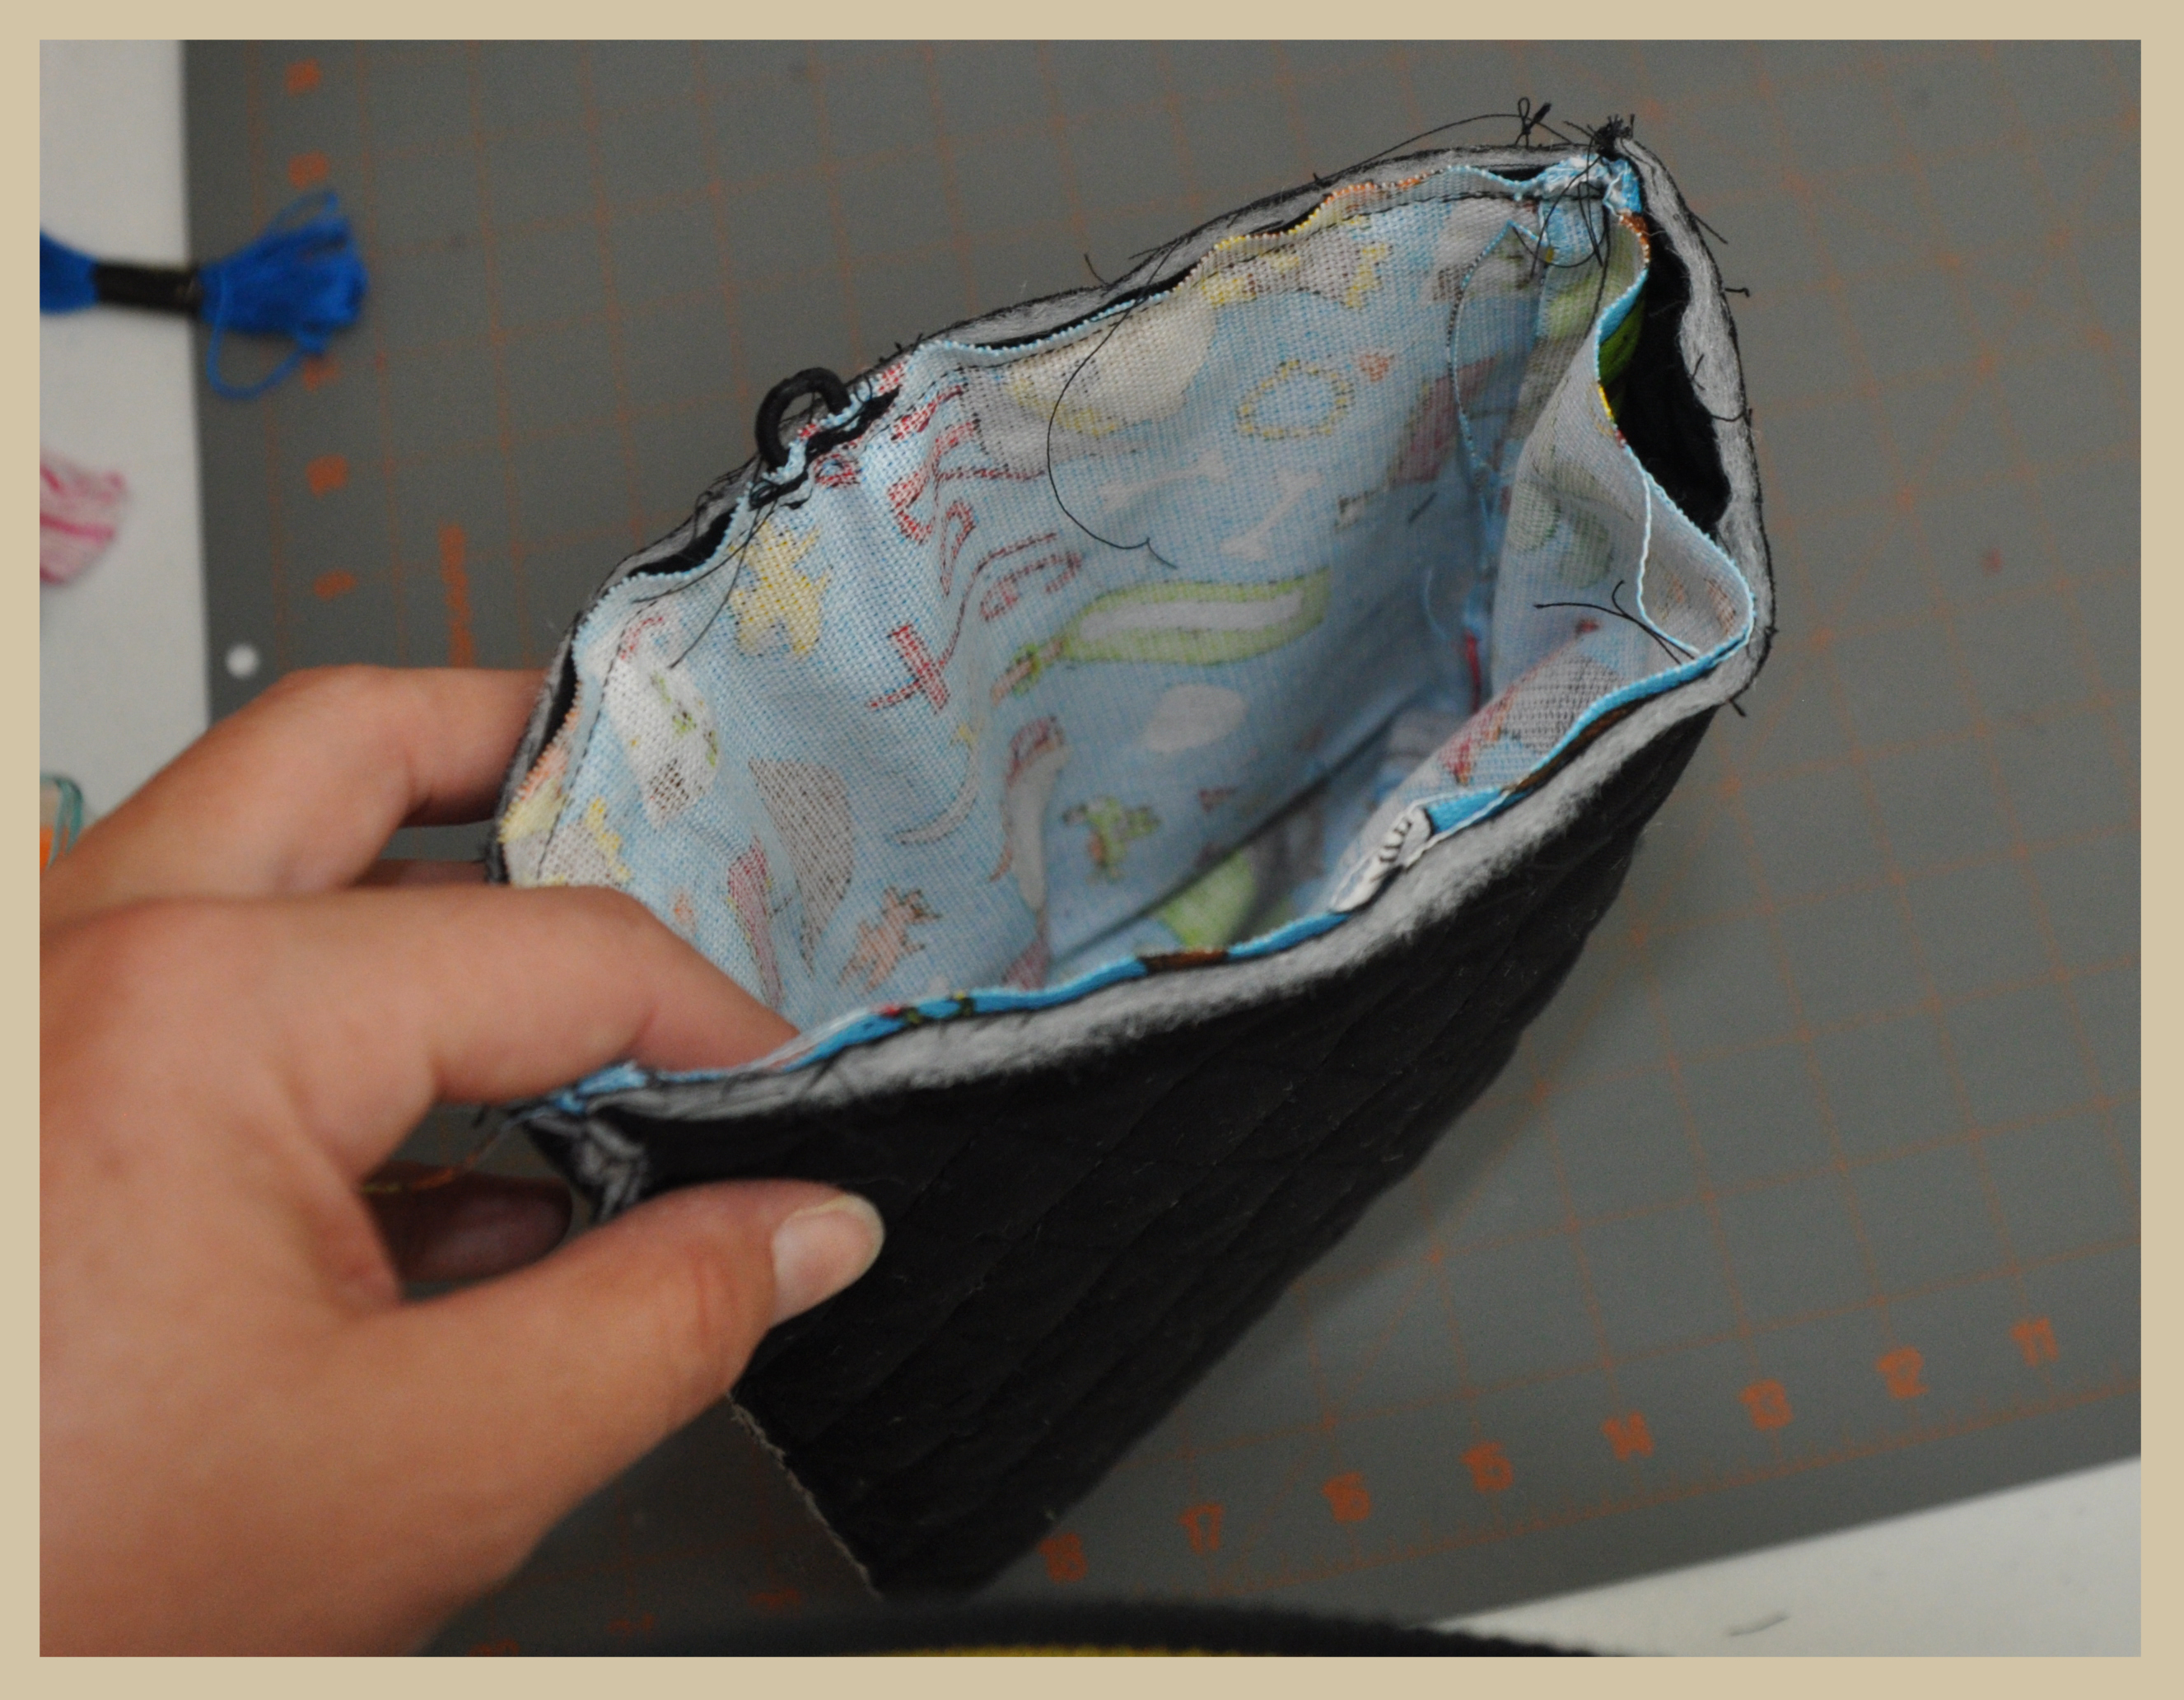
rightside to right sideThen, I pinned the pockets together and began to sew around the top, leaving about two inches open so that I could turn the pirate fabric right side out and then stuff the quilted fabric into the pirate fabric, creating a quilted pocket!

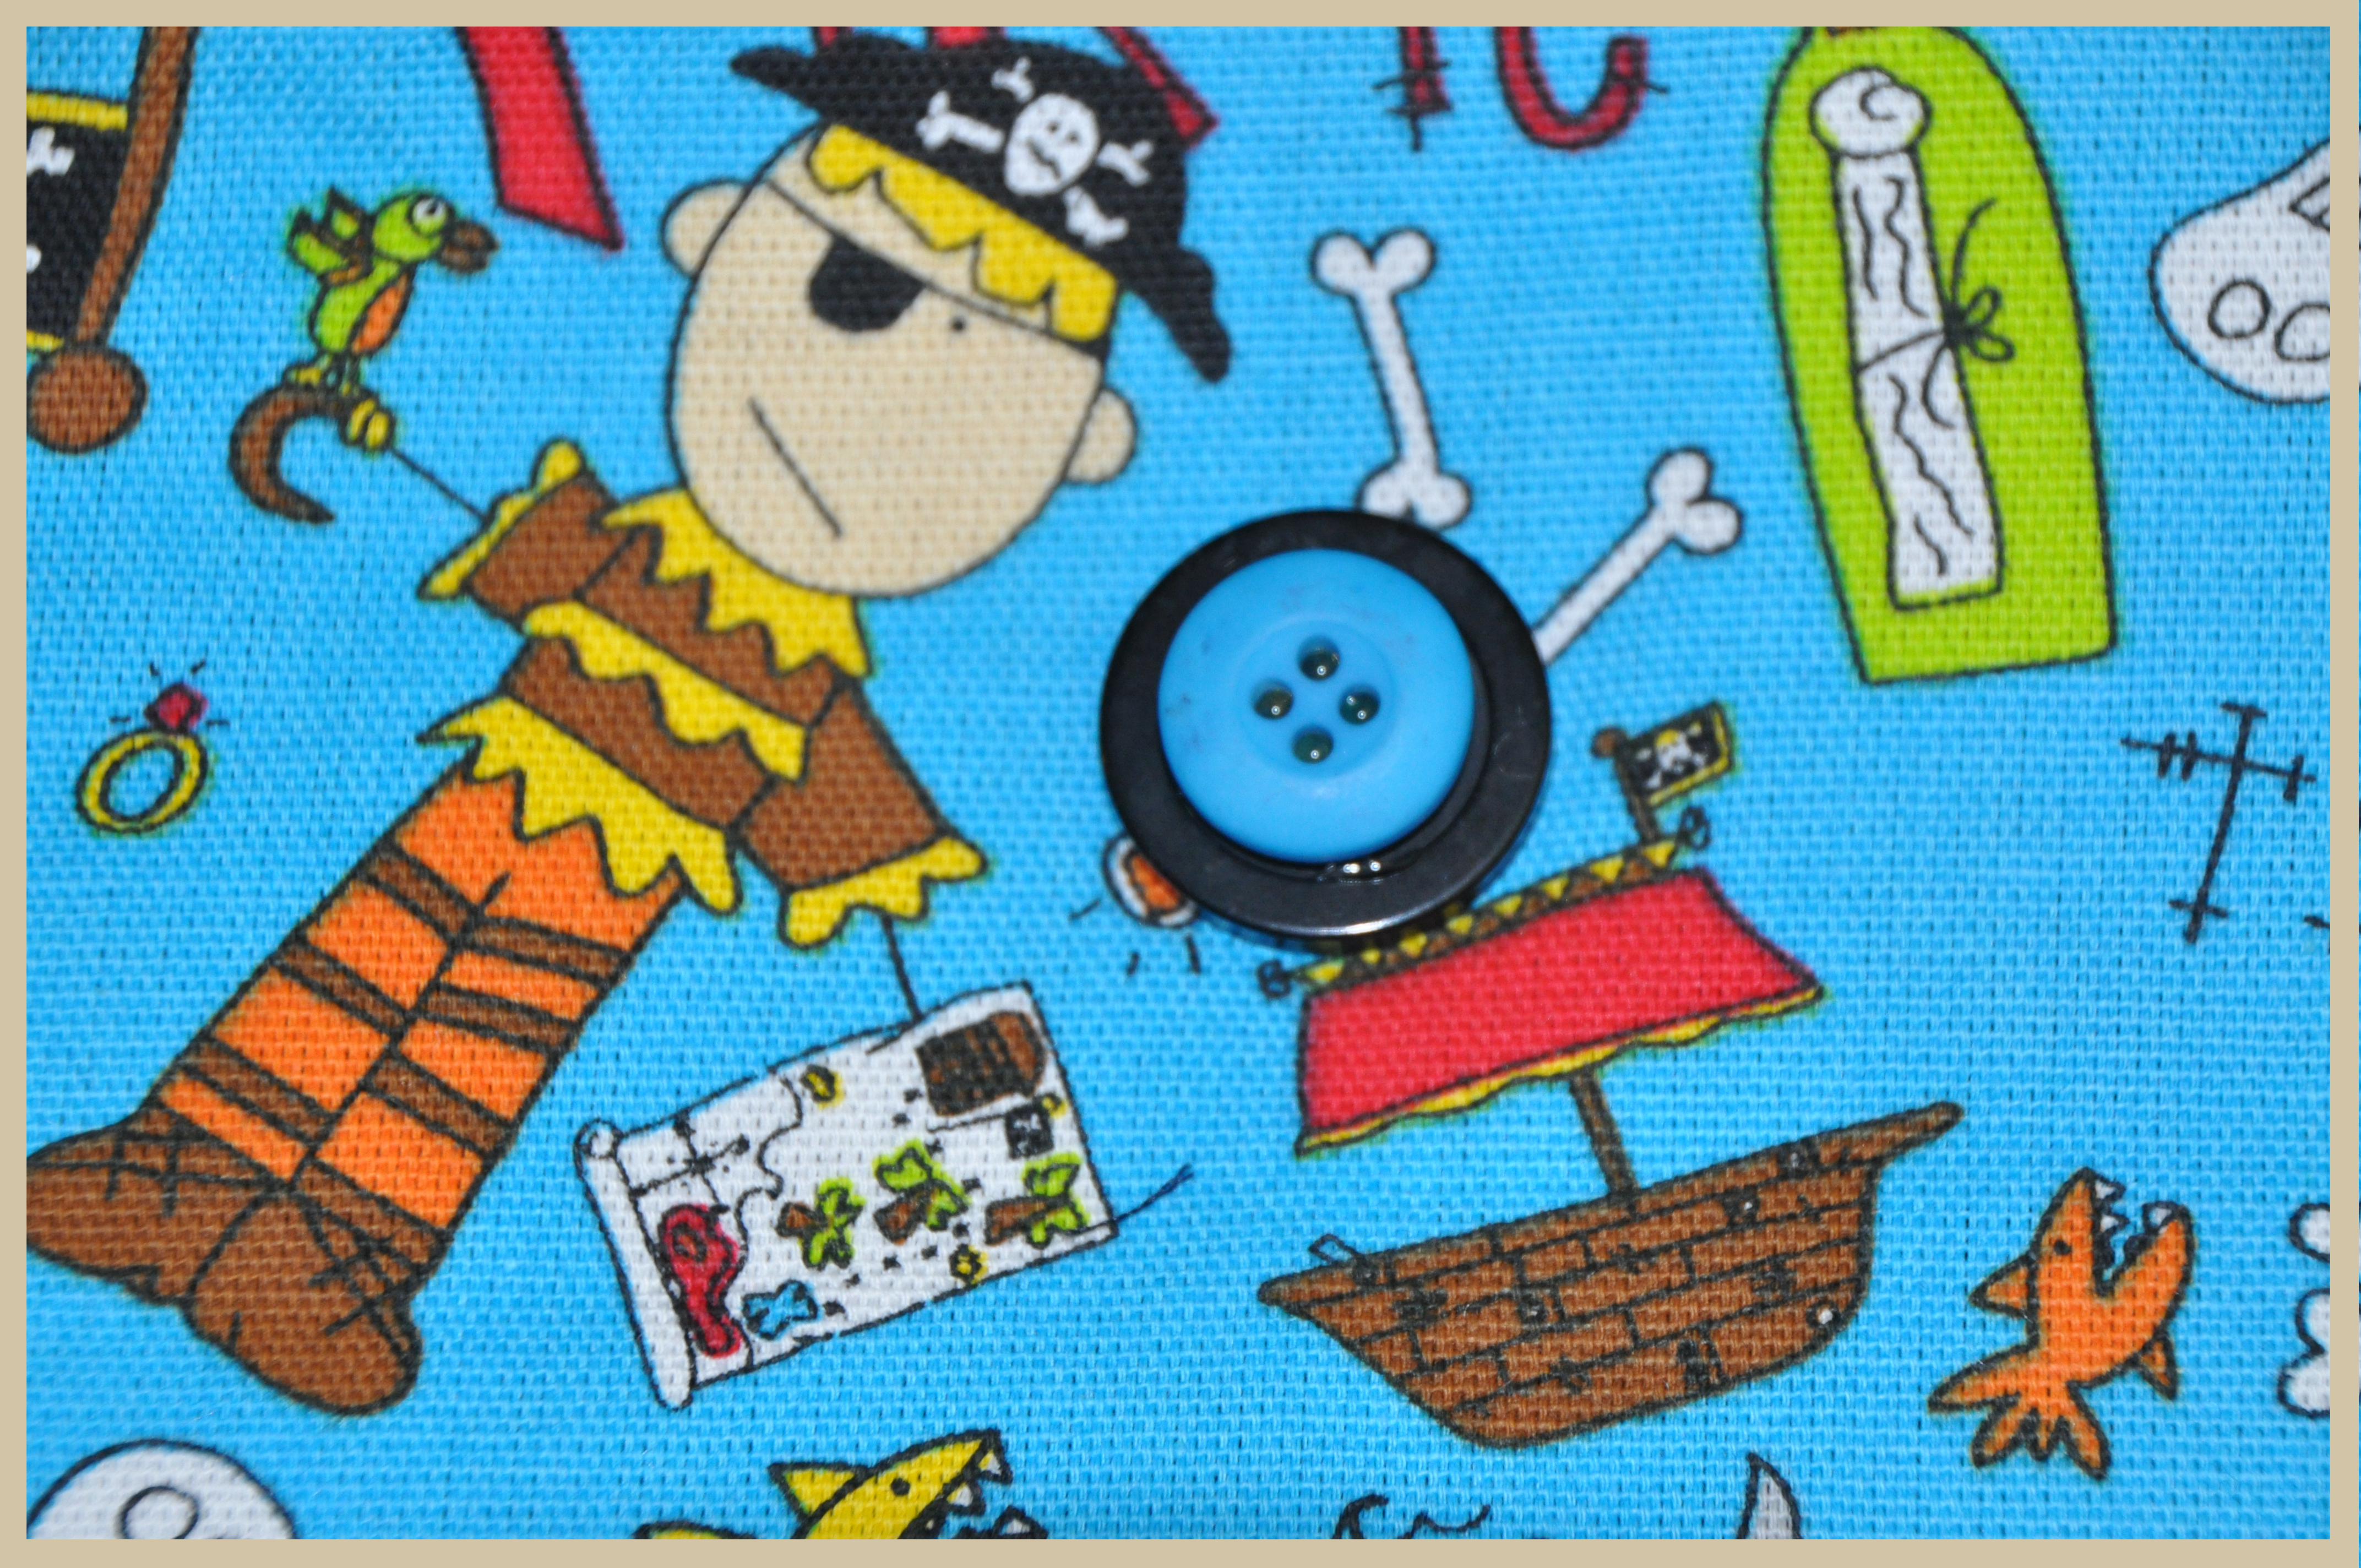
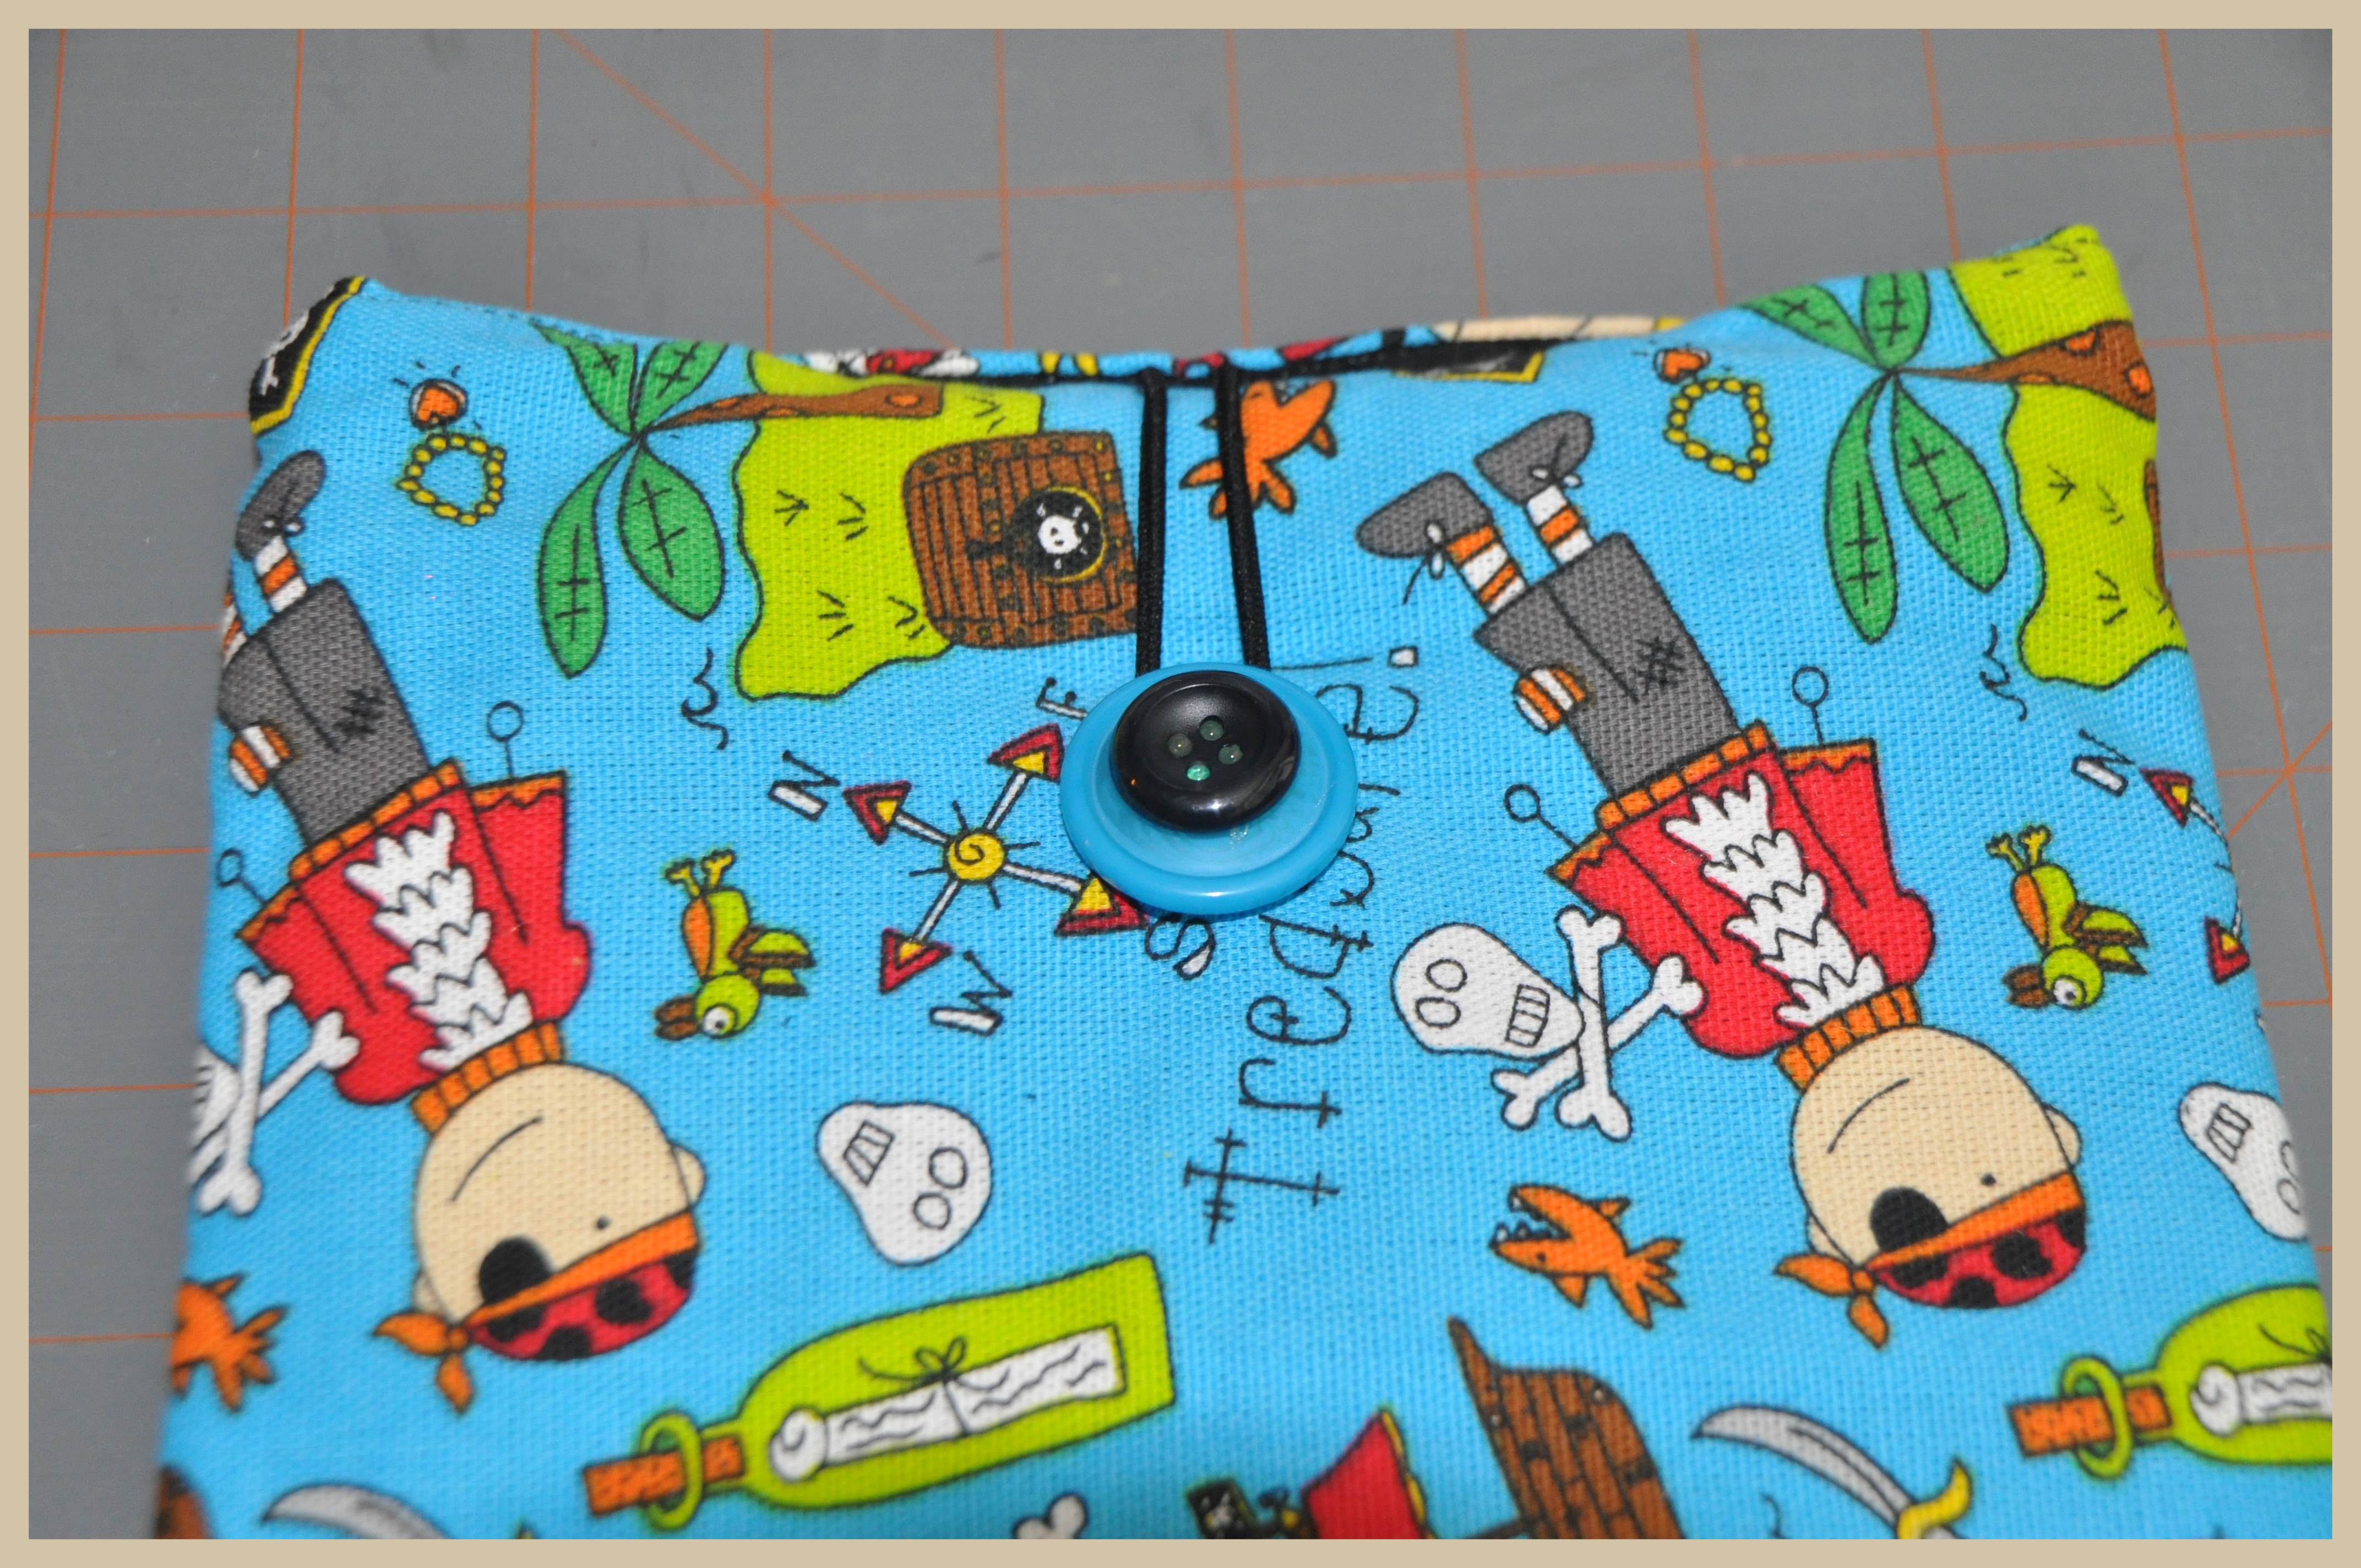
baginbagLastly, I sewed on a big button from Laura Kelly’s Mix Button collection and then hot glued a coordinating button on top so that the thread was hidden.

buttonAnd Voila!  After inserting the iPad Mini, you can fold over the top just enough to cover the iPad Mini and hook the rubberband onto the button!

closedAnd there you have it!!! And there you have it!!! finished

Hope you like my iPad Mini Travel Covers!  They were fun to make and were quite easy!  I love them and so do the boys!!

Until next time…….

Tooth Fairy Pillow

Waiting for the Tooth Fairy!

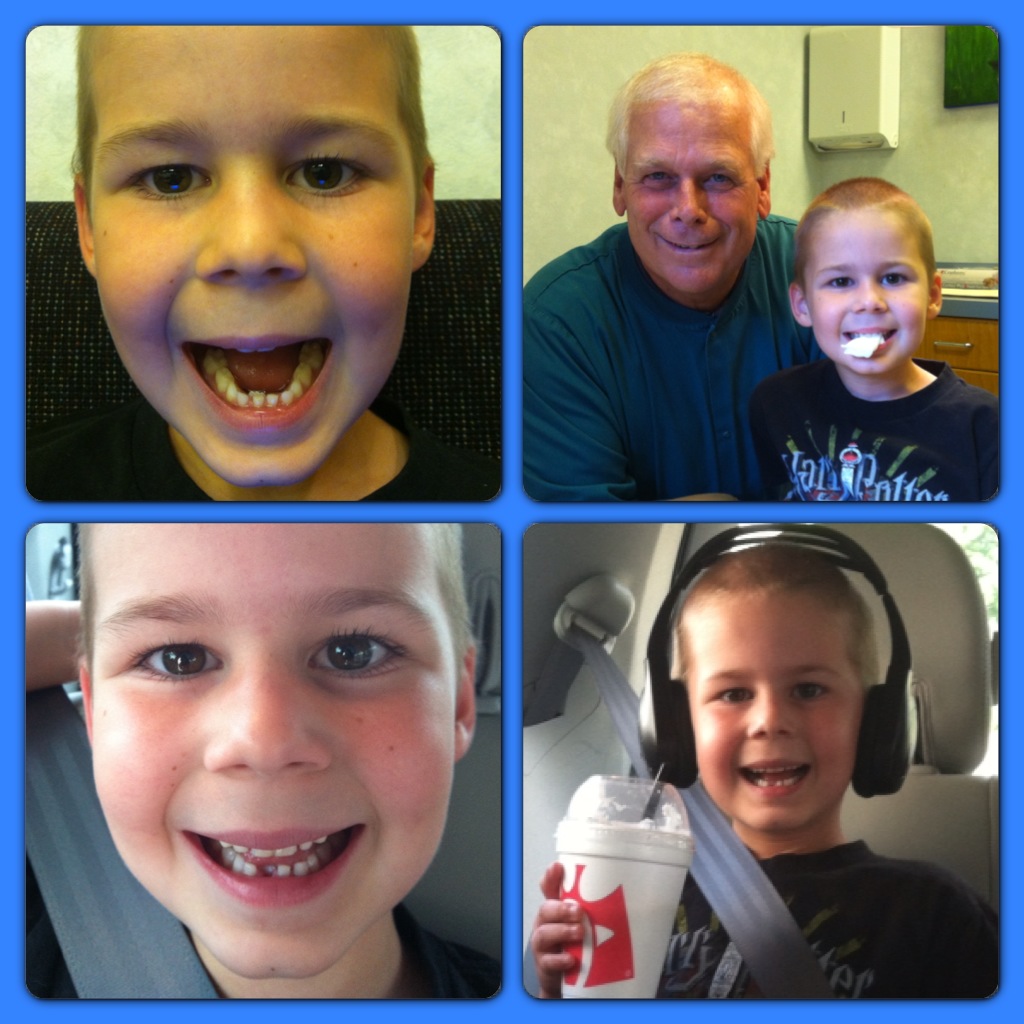
My six year old, Landon is to the age where it’s time for those good old baby teeth to start falling out.  Luckily for him, the dentist had to pull his very first baby tooth because his new adult teeth were coming in behind his baby teeth.  After some x-rays, the great Dr. Dan said that the baby tooth would not come loose, so it would have to be pulled.  Landon was actually excited because this meant that the tooth fairy was going to come!  IMG_8342
I have had the idea of making a Tooth Fairy Pillow on my mind for quite a while.  And now the time is here!!!

Materials I used:

An embroidery machine

Felt, purchased from JoAnn Fabrics

Planet Applique’s Tooth Applique

Coats & Clark Thread

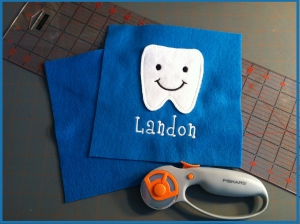
Fiskars Rotary Cutter and Cutting Mat/Ruler

Blue Ribbon

Laura Kelly Mix Buttons from Buttons Galore & More
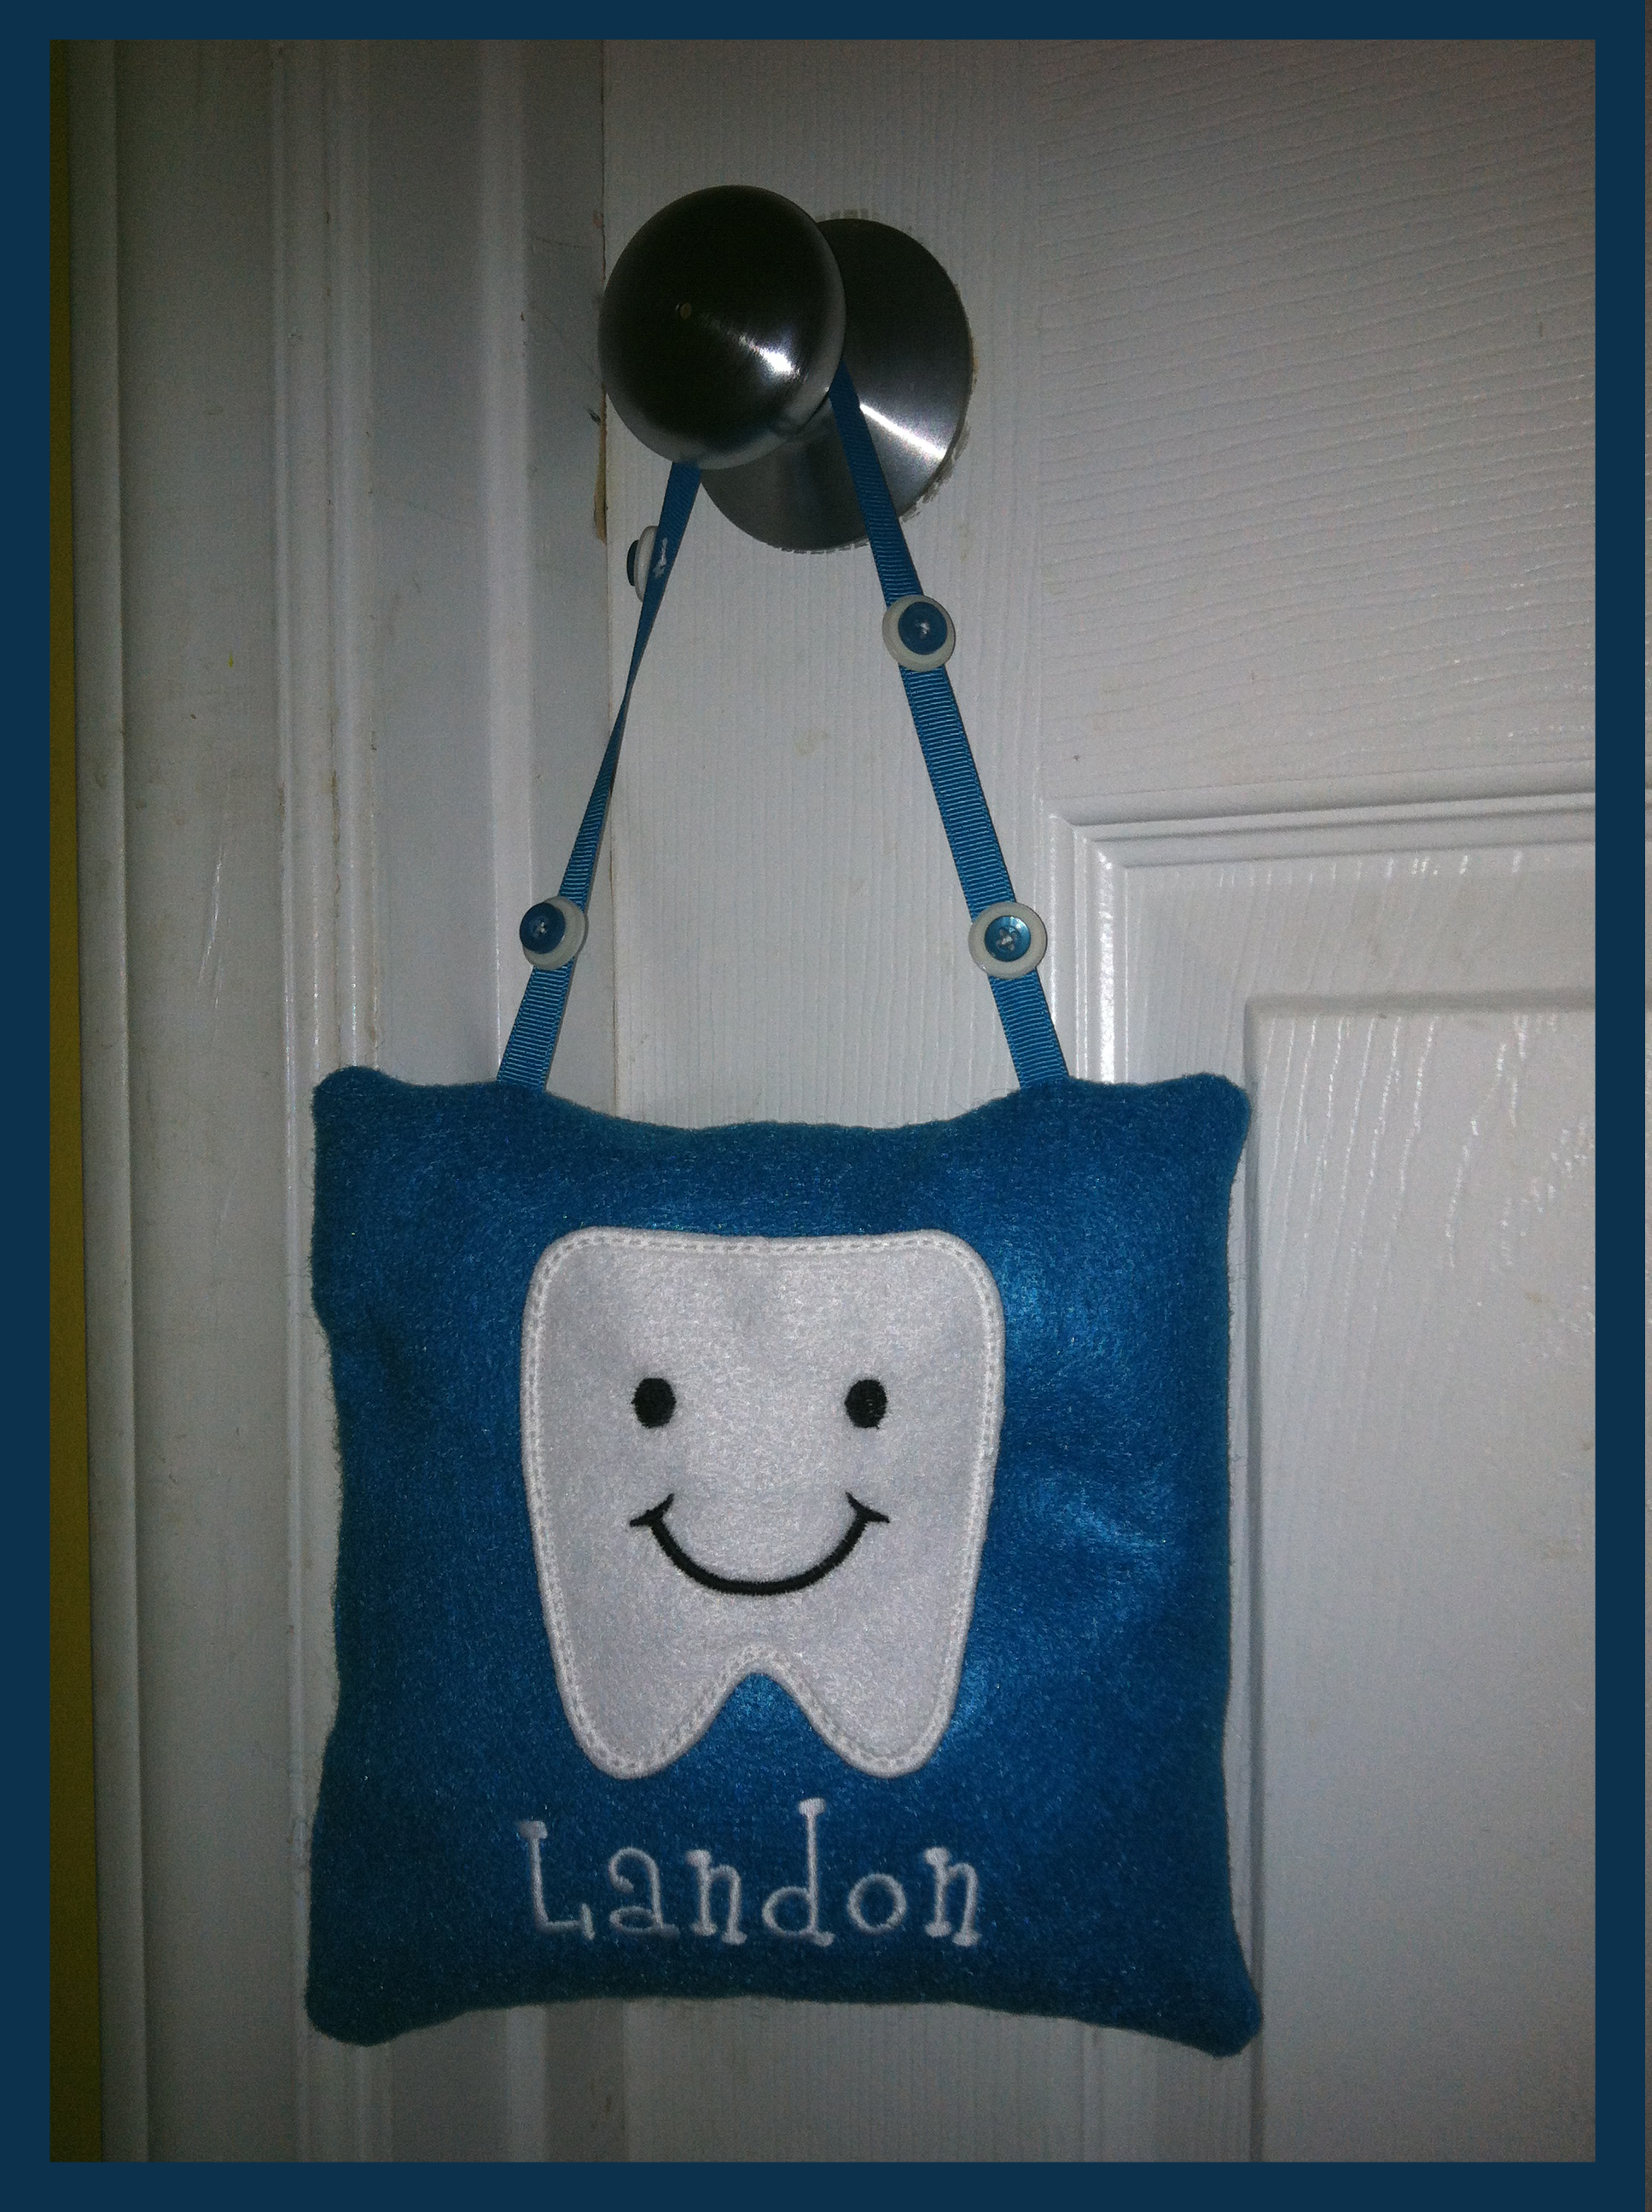
finished pillow

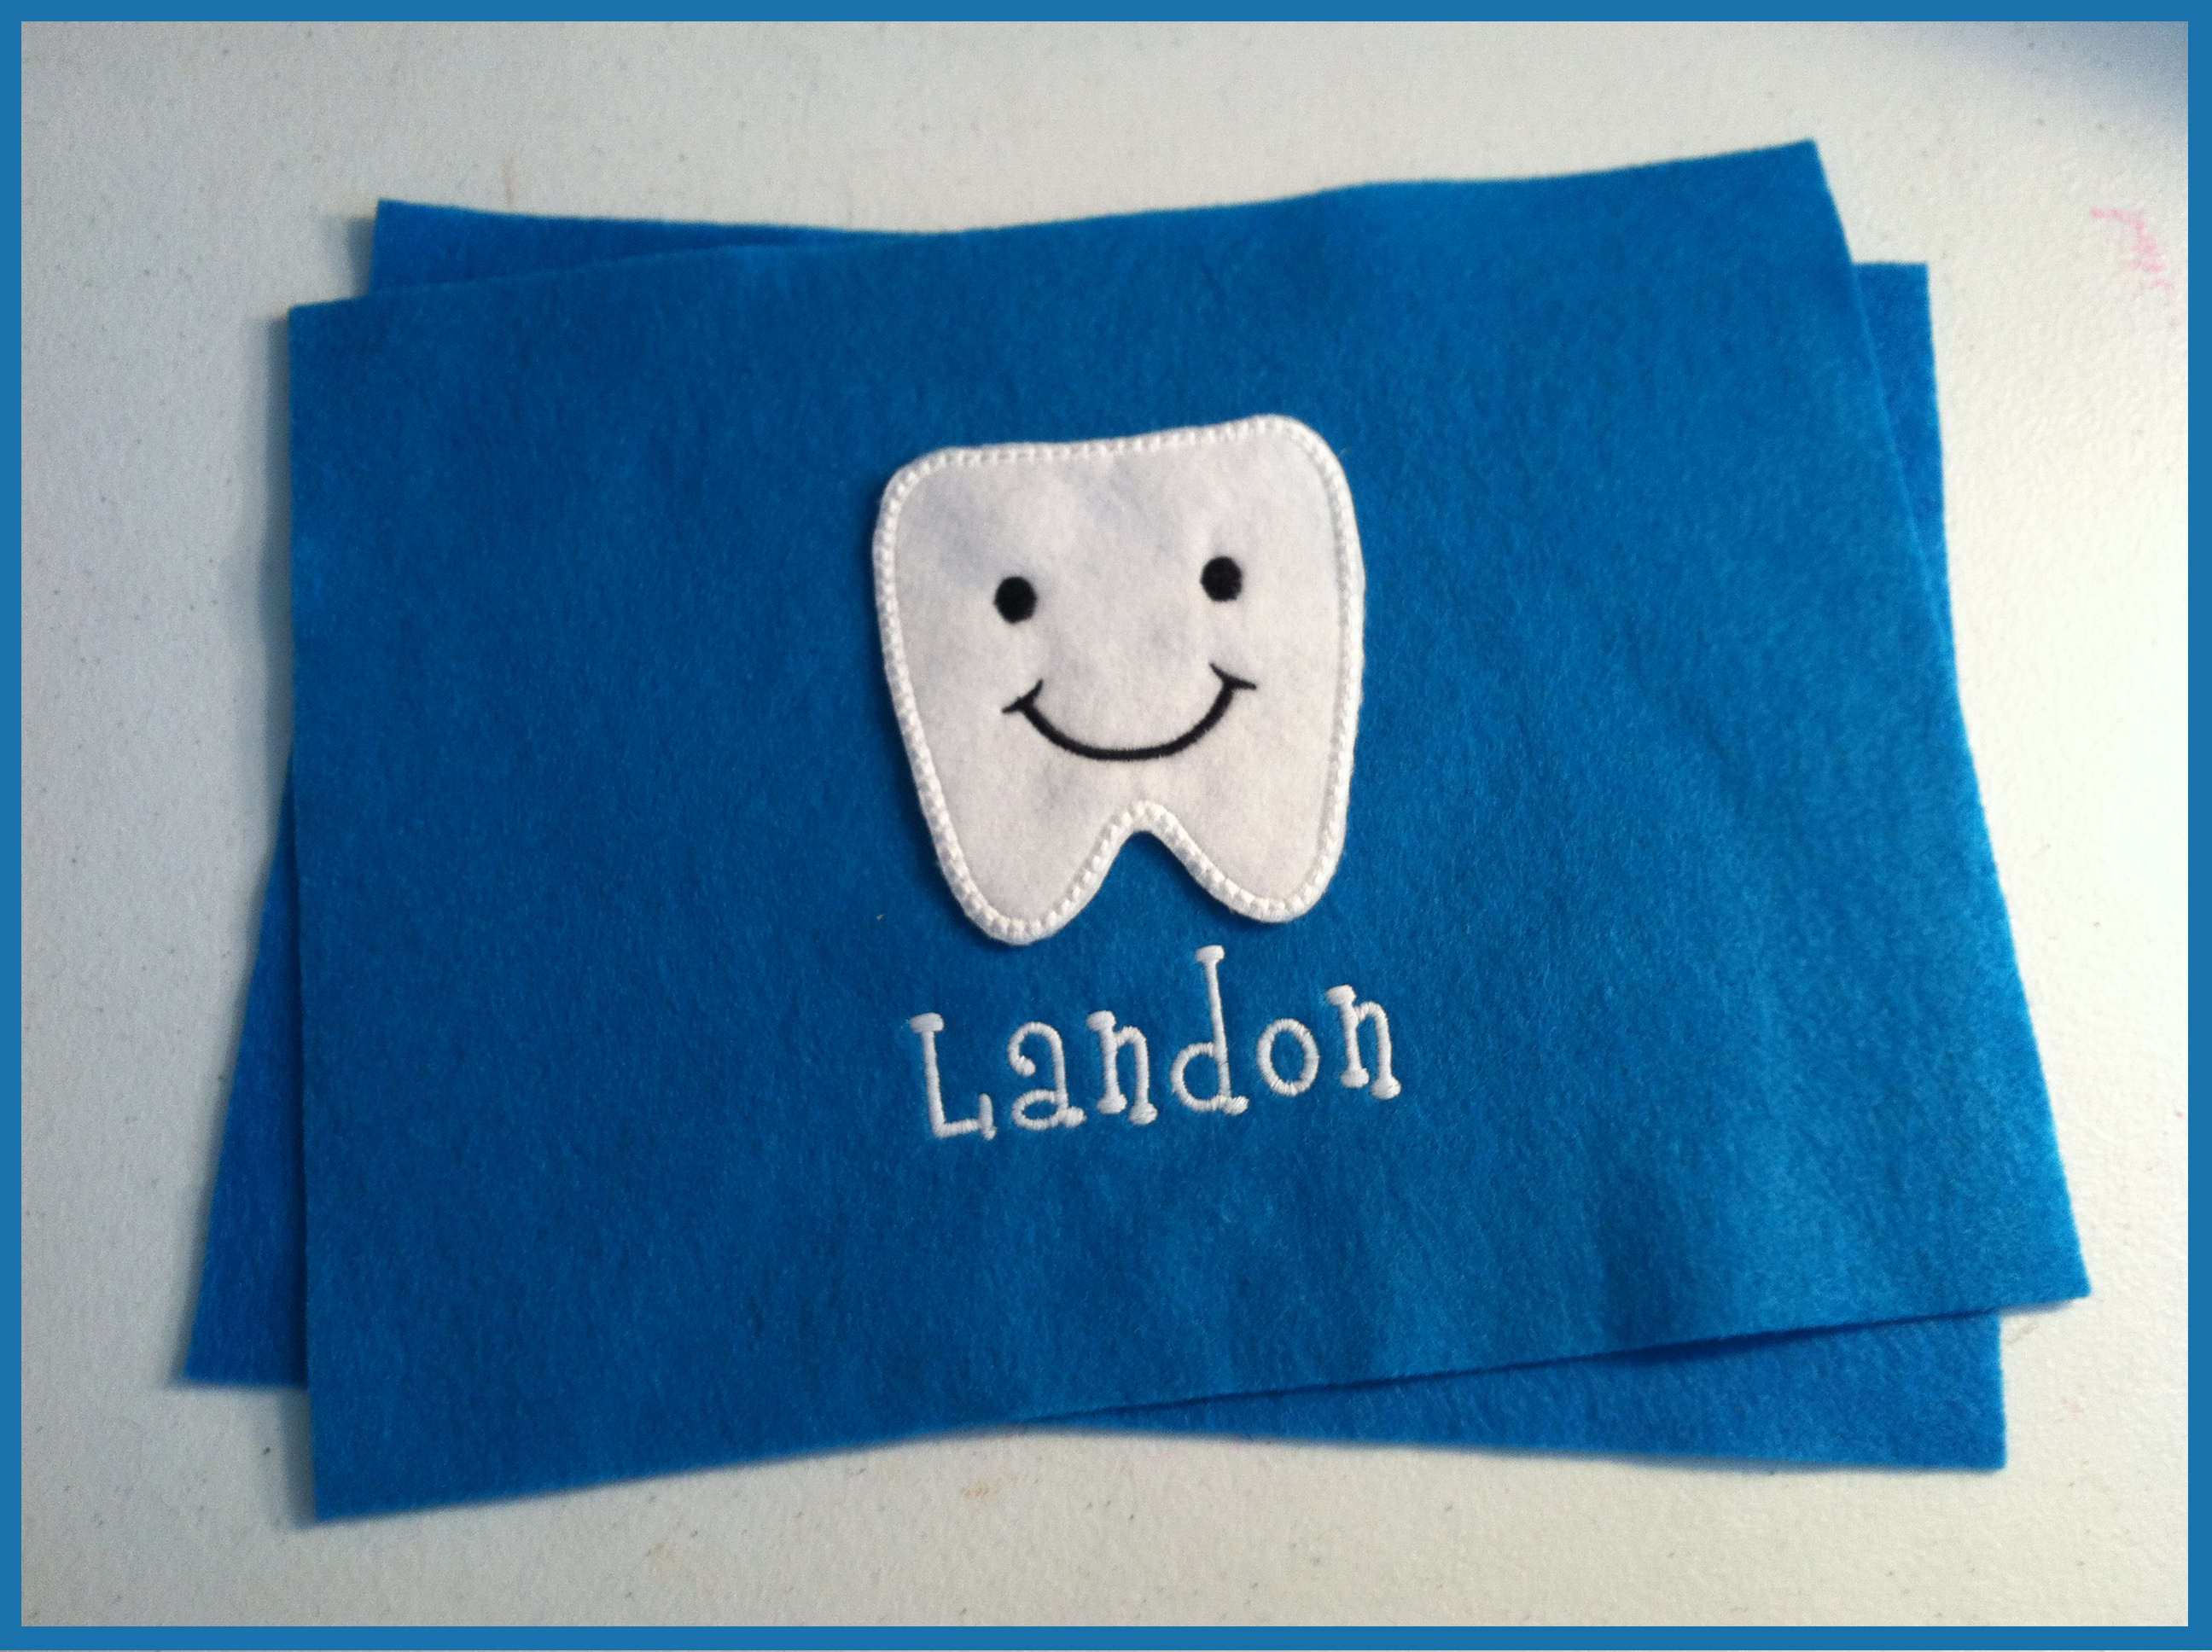
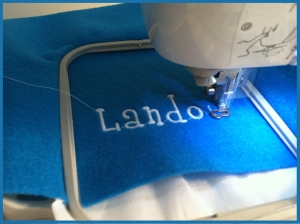
First, using white felt, I appliqued the tooth.  I then cut it out right at the edge of the applique.   Next, I embroidered Landon’s name onto the blue felt.
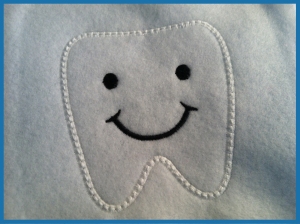
tooth applique namingAfter his name was done, I lined up the tooth cutout and then using my sewing machine, I sewed it on, leaving the top unsewn so that it would create a pocket!
time to assemble

The it was time to cut it to the exact size I wanted it.  I cut it at 8×6 inches.
fiskars and trimmedI used ribbon to hang it, so I pinned the ribbon to the right side of the pillow and stitched it back and forth a couple of times at the top of the pillow so that it would stay in place once I began to sew it.
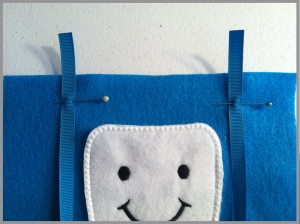
ribbon pinned

Before sewing the actual pillow together, I put the right sides of the felt together.  I guess the back doesn’t really matter since it is plain, but both the tooth and the ribbon needed to be on the inside of the two pieces.
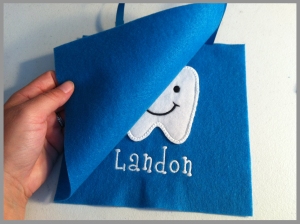
right sides togetherThen, I sewed the edges together leaving about a 2 inch opening on the side, so that I could flip it right side out and stuff it.
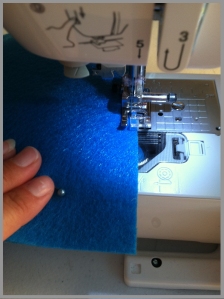
sew togetherOnce it was flipped right side out, it was ready for some stuffing!

ready to be stuffedI used Poly-fil, which you can get from any fabric store, even Wal-mart carries it. I used Poly-fil, which you can get from any fabric store, even Wal-mart carries it. stuffing
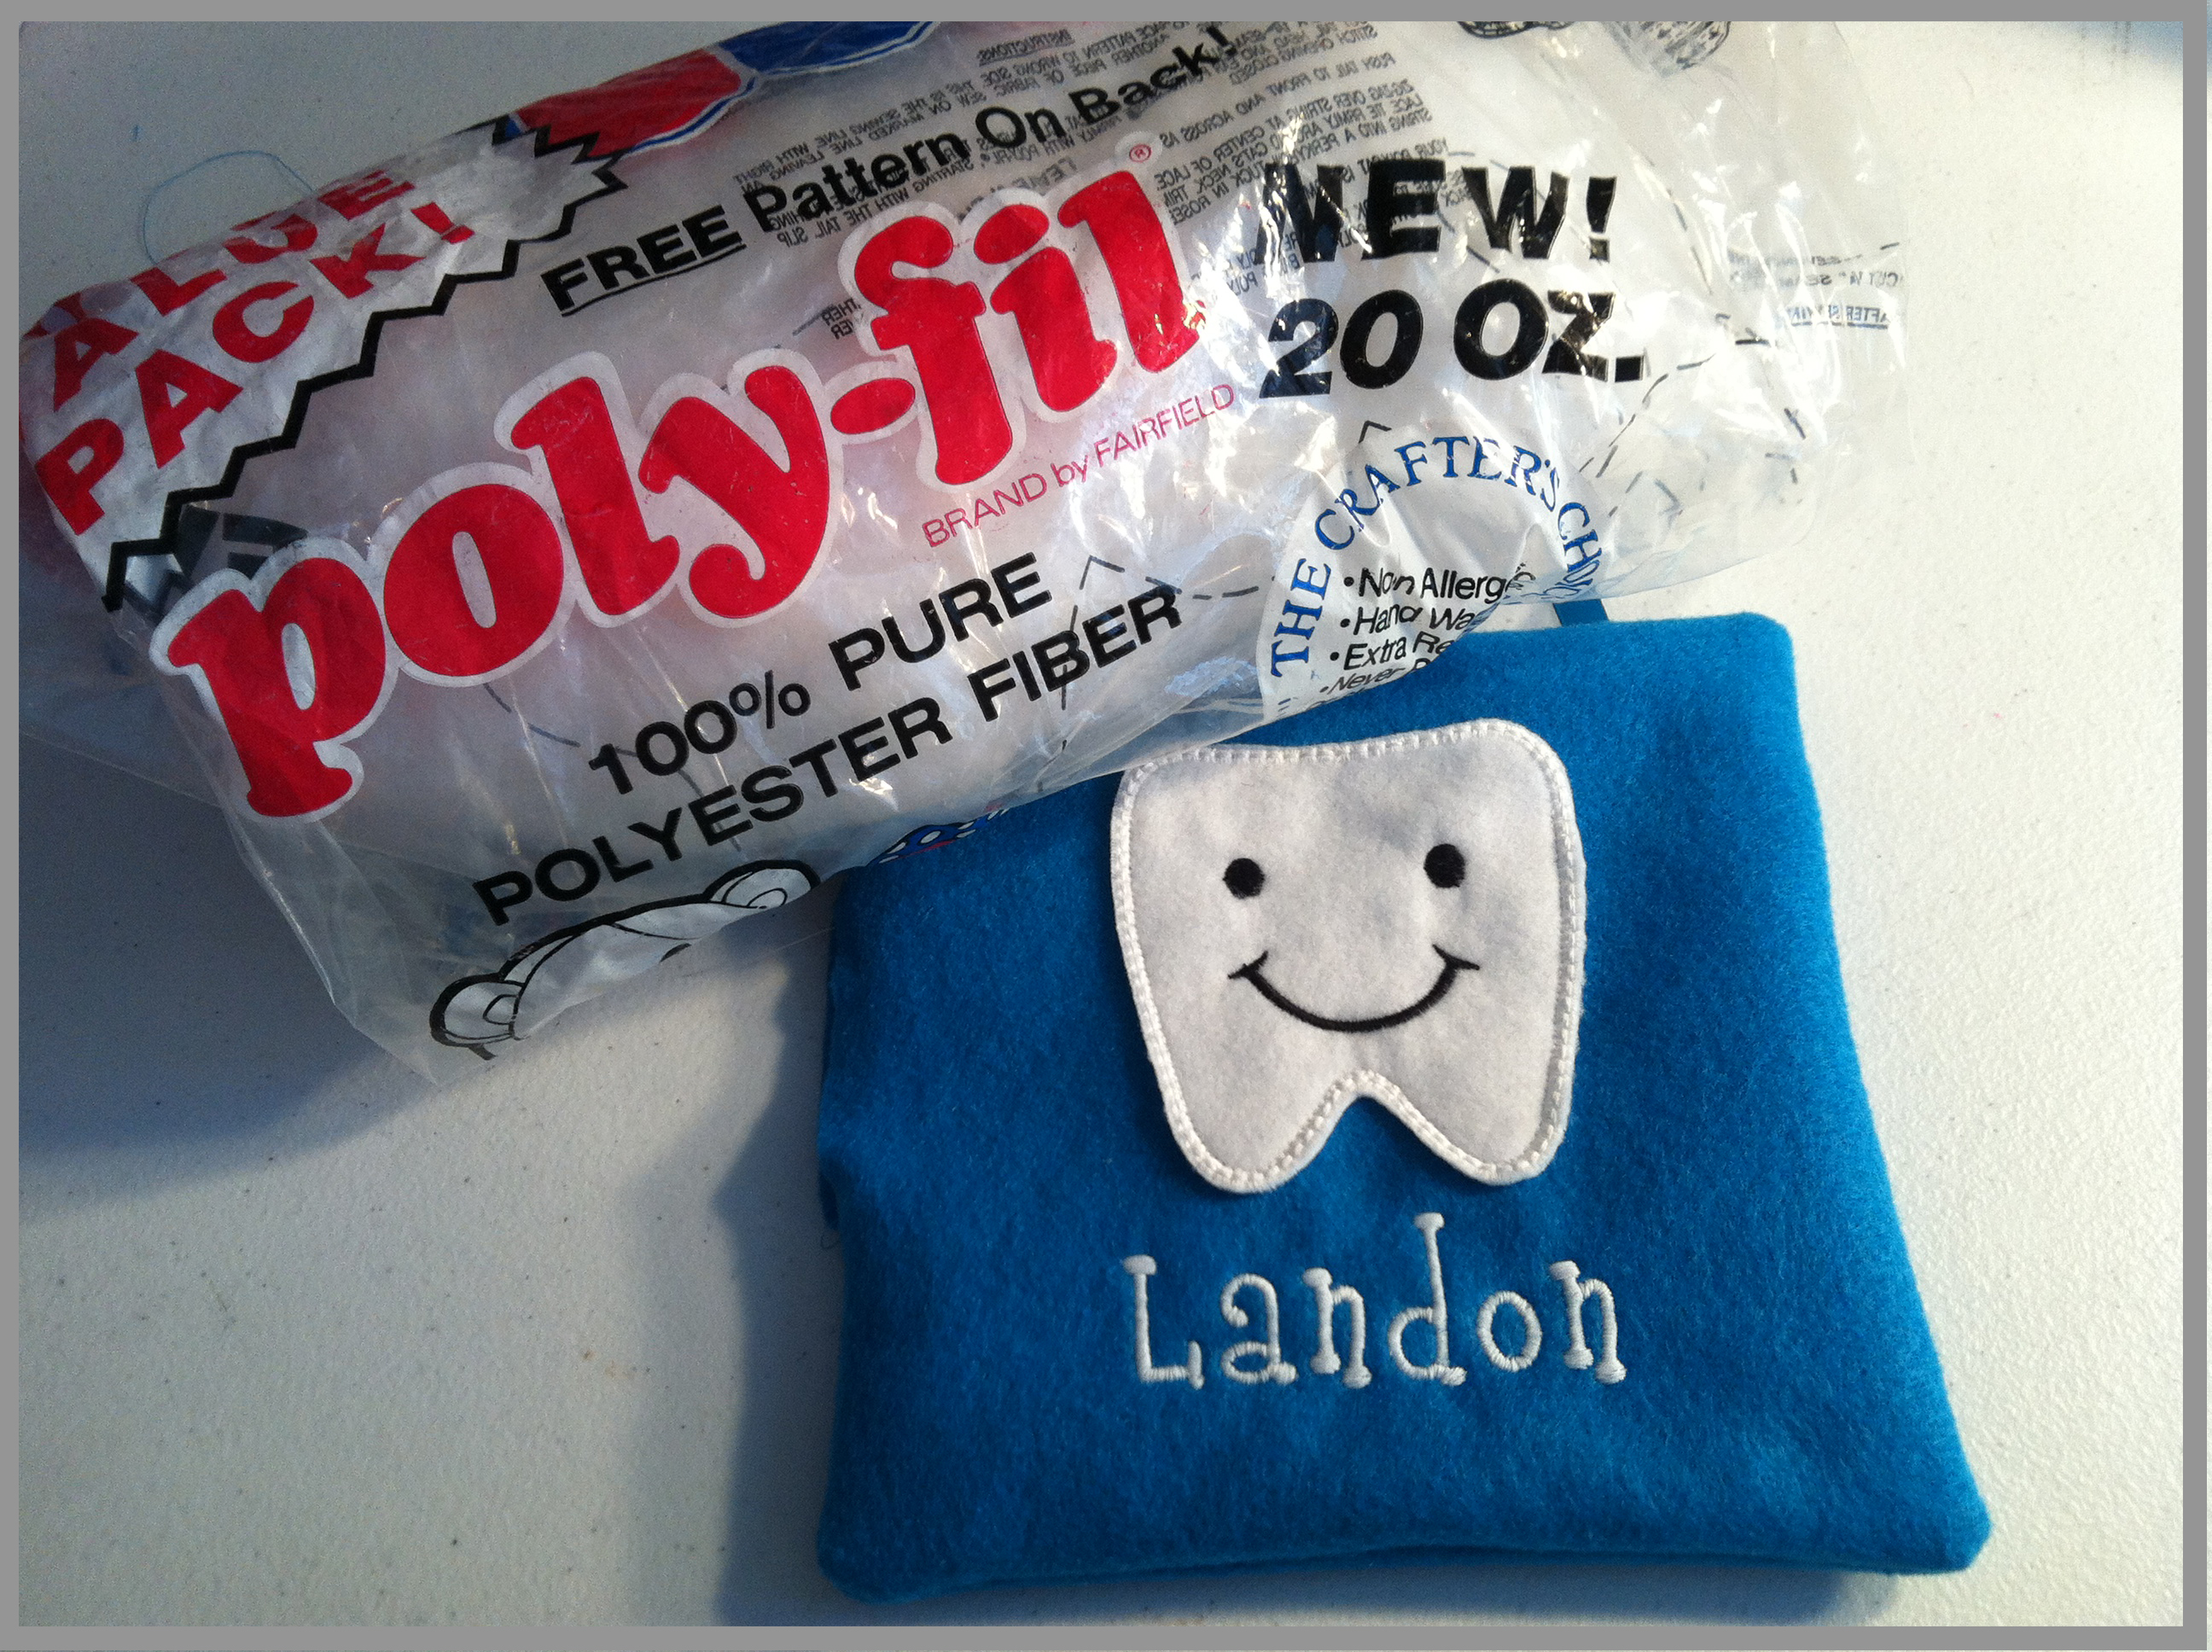
I stuffed the pillow to my liking.  I didn’t want it too thick, but I didn’t want it too thin.stuffed
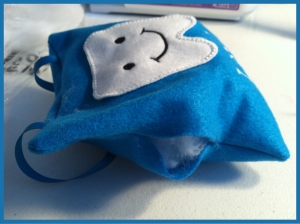
I wanted to add something to the ribbon so that it didn’t look so bare,….time to emblish
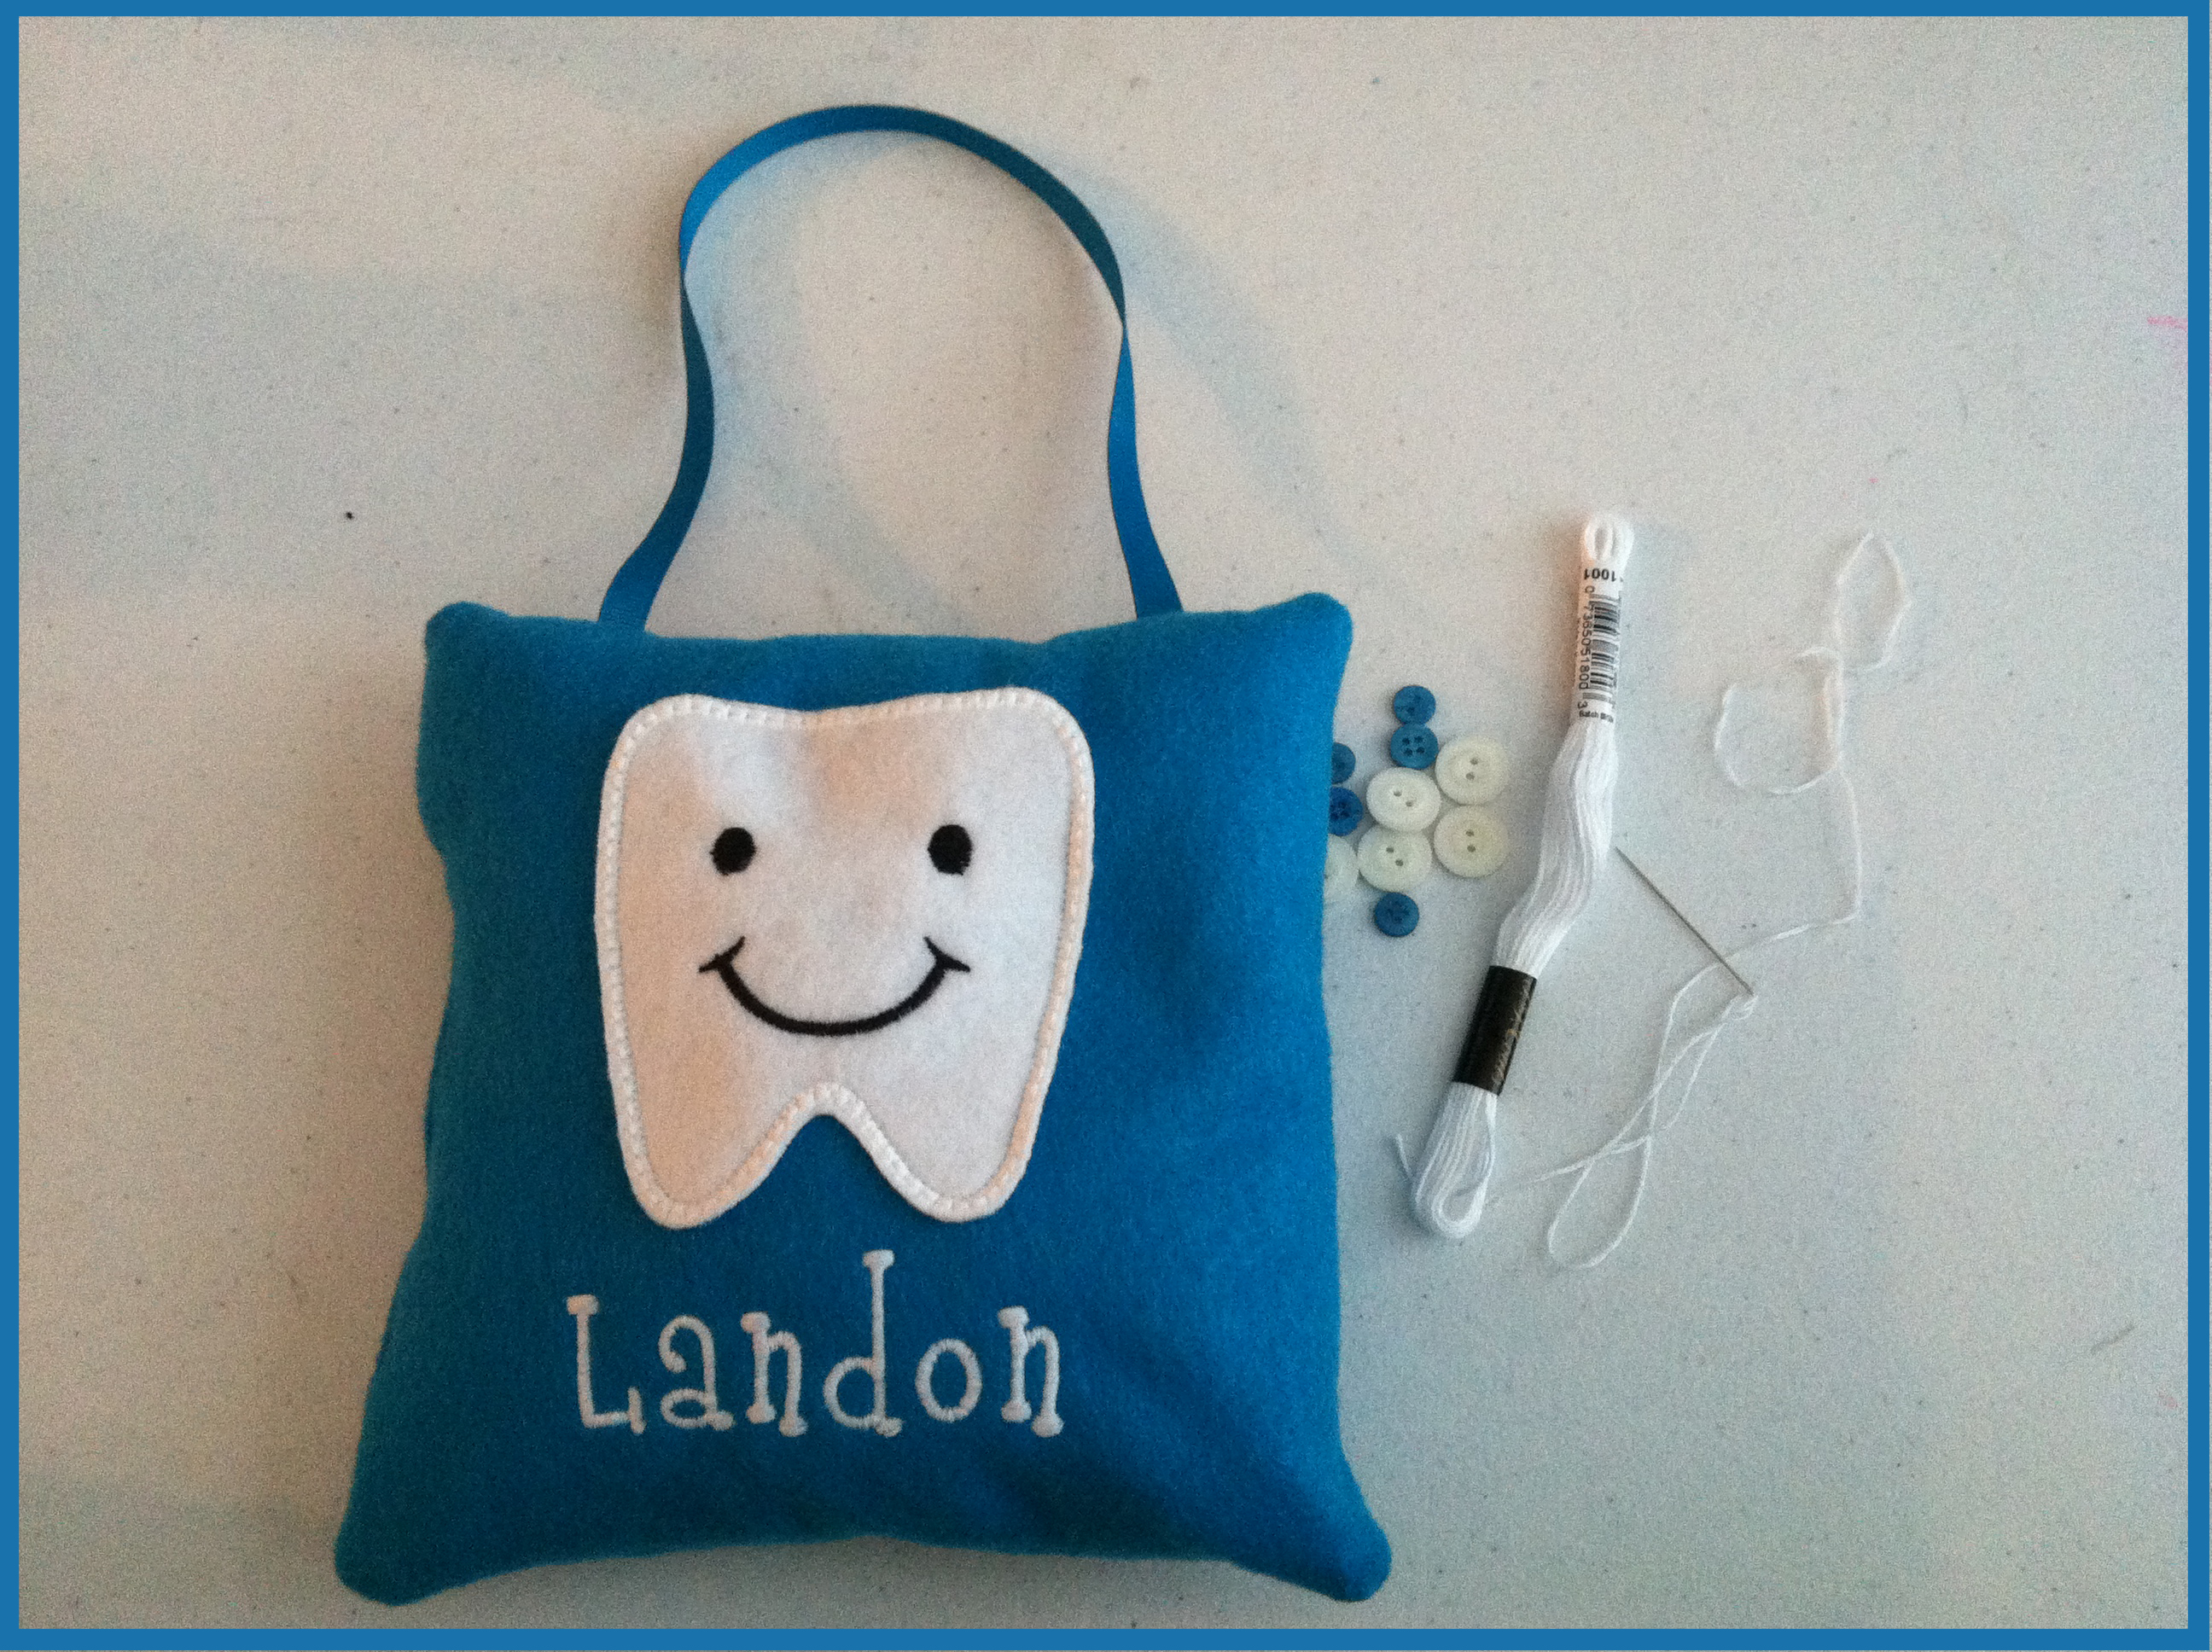
So, I added some of Laura Kelly’s Mix Buttons from Buttons Galore.emblish with buttons

All Done, with a cute little tooth pocket!!!a tooth pocketIn went the tooth in a little baggie that the dentist put it in.
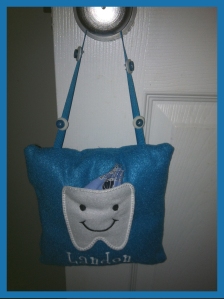
tooth stuffed with tooth

And guess what the tooth fairy left?!?!?!tooth stuffed with money
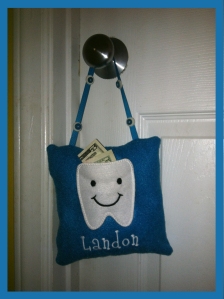
$5 for the Big Boy that did an awesome job at the dentist getting his shots to numb it up and then to have it pulled!!!!wahoo money
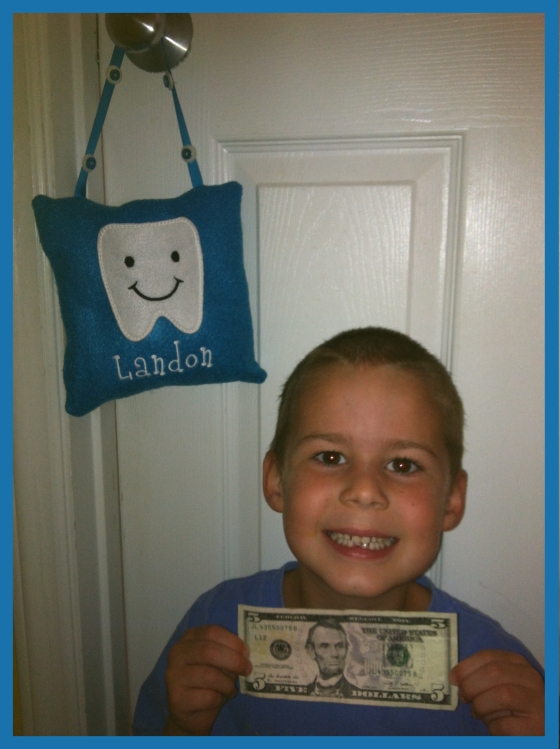
Hope you enjoyed my little Tooth Fairy Pillow.   It beats the tooth fairy having to go searching under those pillows for the tooth, in which she could accidently wake the child!!!

Until next time……

a Rafflecopter giveaway

Me and My Peeps Blog Hop

1039627_10151724801629105_1868196326_o

I feel so honored to have been chosen to participate in the Me and My Peeps Blog Hop!  While a few sponsors helped support this blog hop, two ladies, my friend Laura Kelly and a fellow blogger Niki Meiners from 365 Days of Crafts were gracious enough to put this blog hop together.

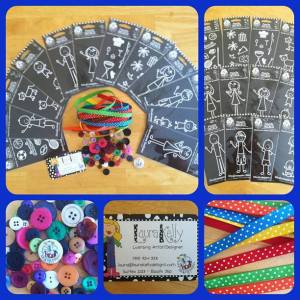
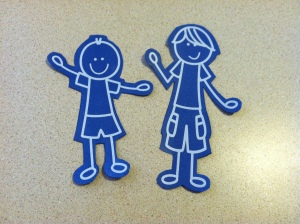
So, a package arrived with lots of goodies…..a great selection of Me and My Peeps Decals, brightly colored ribbon and some buttons!!

1004728_10151724814234105_1560106797_n

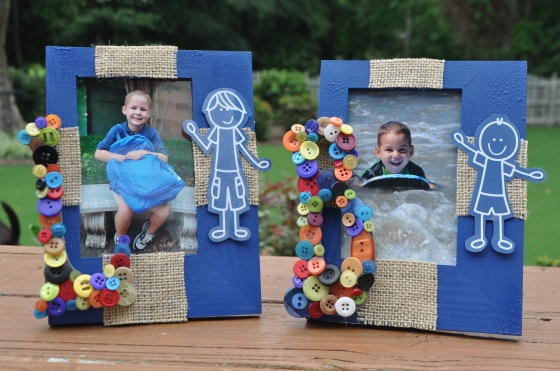
Me and My Peeps Little Boy Frames

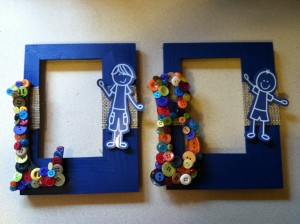
For my project, I made these awesome frames that were created for each of my boys!!

Picture frames

Materials used:

2 Me and My Peeps Little Boy Decals from Plaid Enterprises, available at A.C. Moore

Wooden frames, purchased at JoAnn’s Store

Wooden letters, purchased at JoAnn’s Store

Burlap

Laura Kelly Mix of Buttons from Buttons Galore & More

Blue Krylon paint

Hot Glue Gun and Glue

What I did:

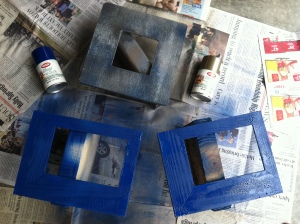
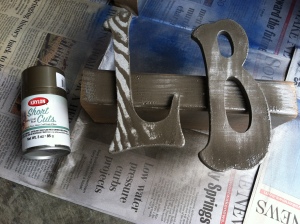
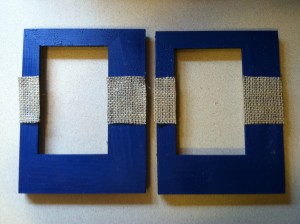
1.  I took the glass out of the frames and then spray painted the frames with Krylon spray paint.  I also spray painted the wooden letters.

IMG_7939

IMG_7938

While doing my spray painting, I realized that I need a little more practice on spray painting!  I got some bubbles in the paint.  But oh well, I made it work!

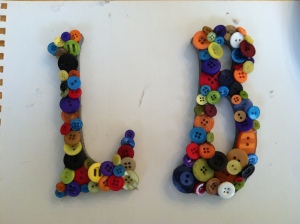
2.   I covered the letters with the awesome Laura Kelly Mix of buttons using hot glue.

IMG_7946

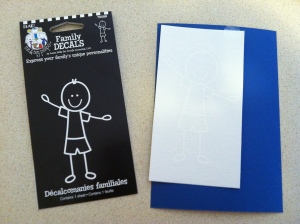
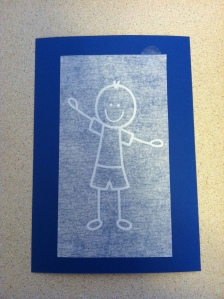
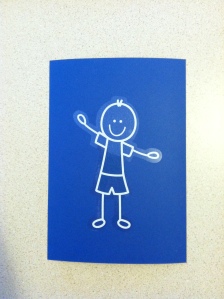
3.  I then transferred the Peep decal onto a blue piece of card stock that was very similar to the spray paint and then cut them out.

IMG_7963

IMG_7964

IMG_7966

IMG_7967

4.  I cut some pieces of burlap and attached them to the frames with hot glue.     I then attached the button covered letters and the Little Boy Peeps to the frames using hot glue!

IMG_7969

IMG_7970After a critique from a friend, in the end, I ended up adding burlap to all four sides.  And this is how it turned out!!!

Picture frames

I love these frames and they are currently sitting in my family room!

Special thanks to our Sponsors and Promoting Partners

Laura Kelly Designs + Niki Meiners + Laura Kelly Buttons + Plaid Enterprises + A.C. Moore + Cre8time

Now, jump over to some of the other designers sites to check them out!

Carla Schaufer

Laura Kelly, Me and My Peeps

Laura Kelly

Tanner Bell

Buttons Galore

Aunesty Janssen – Homeketeers

Doll Diaries

Click here to enter to win an awesome prize pack!

Me and My Peeps Blog Hop ~ Info

1039627_10151724801629105_1868196326_o

Yay!  So, I have been asked to participate in another blog hop!   This time, it’s the “Me and My Peeps Blog Hop”, put together by Laura Kelly of Laura Kelly Designs and Niki Meiner of 365 Days of Crafts!   And I can’t wait!  I’ve been thinking about what I plan to do!!!

Here’s what all was included in the Blog Hop package:

1004728_10151724814234105_1560106797_n

Me and My Peeps Family Decals from Plaid Enterpises

Laura Kelly Mix  Buttons from Buttons Galore & More

Colorful Polka Dotted Ribbon

Me and my Peeps Button

Laura Kelly is the creator of the Me and My Peeps Decal Collection.  You may have seen them on the back windows of cars, but they can truly be used on pretty much anything!  You can also find them at ACMoore!  Our goal is to create something fun from at least one of the decals and the buttons!

The actual Blog Hop is July 16-18, so be on the look out!!!

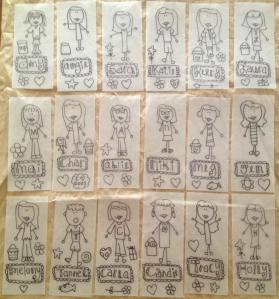
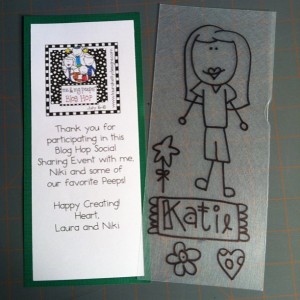
Also, Laura is so creative, she used Shrinky Dinks plastic to design a Peep for everyone participating in the Blog Hop!   She left them colorless so that everyone could color their own!!

1040087_10151725896284105_1270237267_o

Here’s me as a Peep!  Now, to color it!!!!

1044811_10151686517053955_1875731717_n

Until next time………..

Little Boys Play Date with Rit Dye

So, the boys and I were invited over to my friend, Laura’s house for a little play date!   The boys were super excited, because of course they love venturing over to Laura’s house!!!   Laura has lots of toys (She has 2 boys and 2 step daughters) and she has lots of crafts stuff!  Some may know her as Laura Kelly from Laura Kelly Designs!  But I am glad to call her my friend!

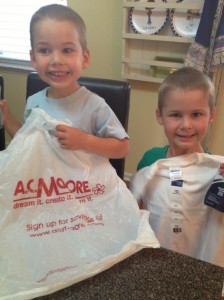
Anyways, this particular day, the boys and I stopped off at ACMoore to pick up some white t-shirts.   Laura was all set up for us to tie dye the shirts with Rit dyes!

IMG_7365

IMG_7364

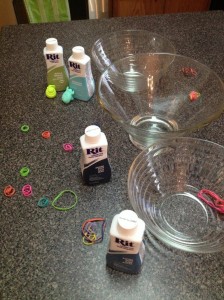
Materials needed:

Rit Dyes (liquid or powder), available where crafts are sold

White t-shirts (we got ours at ACMoore)

Rubberbands

Boiling Hot Water

Bowls

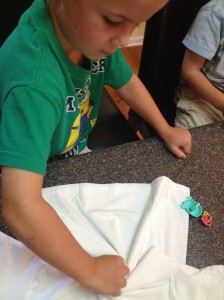
After Laura concocted the right amount of dye with hot water, we talked to the boys about the type of design they wanted on their shirts.  They both decided on the swirl!   So, after a little online research, Laura and I figured out how to get the swirl effect.  It’s super easy.   The shirt needs to be a little damp (we just used the sprayer in the sink, but a spray bottle can be used).   Lay if flat and pinch the middle.  Then twist and keep twisting until its all bunched.

IMG_7366

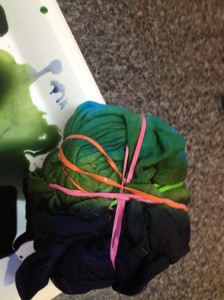
After it is all bunched together, place a rubber band around it to hold it together and then add a couple more in different directions.

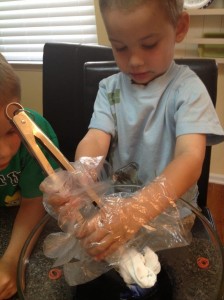
Next, put on some gloves because if not, your fingers will change colors!   Because boiling hot water was used to mix the dye, a set of tongs is helpful, especially for the little ones.

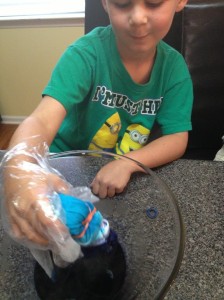
Depending on how many different colors you want to use on the shirt, dip the shirt the dye, but no more than half of the shirt, unless you want it all the same color.

IMG_7367

Once it has been in the dye for at least 2-3 minutes, turn the shirt and dip it into another color.   You can also experiment with multiple colors on top of each other to see what you get!

IMG_7369

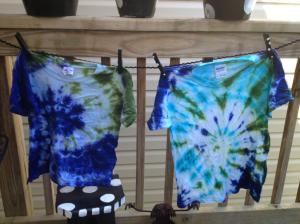
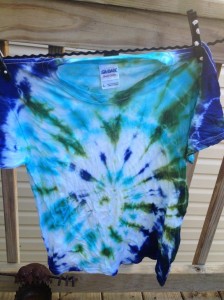
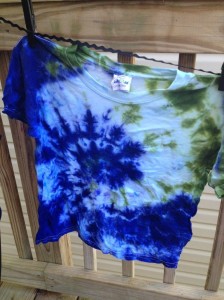
This is what it should look like once you are finished!

IMG_7371

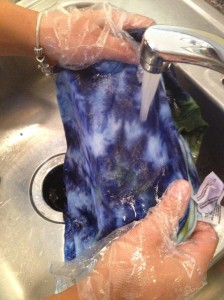
After all of the shirt has been dyed to your liking, it’s time to heat set it.  So, wrap it in some plastic (we used a ziploc bag) and stick in the microwave for about 30 seconds.  Remove it from the microwave and then remove the rubber bands.   Now it’s time to wash out all of the excess dye.   Leaving your gloves on, run the shirt under running water

until there is no dye visible in the sink after squeezing the shirt.

IMG_7374

After it is all free of the excess dye, hang it outside to dry in the sun!  And the Voila, you have a tie dyed shirt!!!

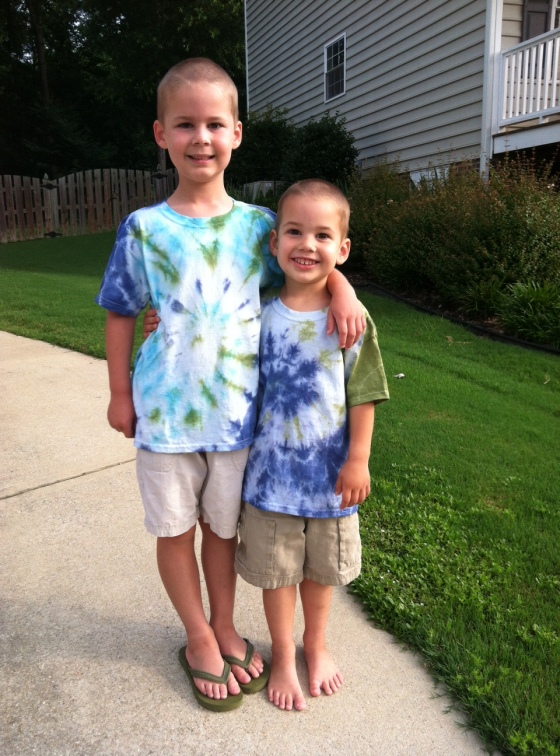
IMG_7379Don’t these look awesome!  The boys love them!

IMG_7380

IMG_7381

Rit dyes are super easy to use and the colors are so bright!

Thank you Laura for having us over for a Rit Tie Dye Play Date!  It was so much fun!

photo

I Love the USA Blog Hop!

20130507-171121.jpg

Wahoo, the Blog Hop has arrived! I am so excited to share some of the projects I have completed from my box of goodies that arrived in the mail back in April!

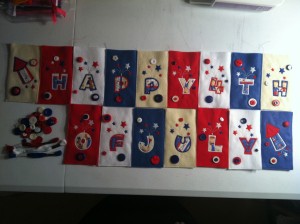
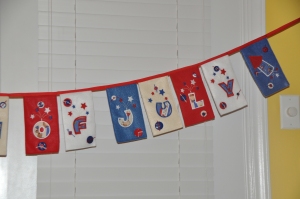
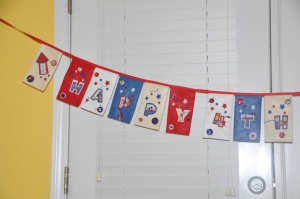
I made a few different pieces! And I am most proud of my awesome “Happy 4th of July” Banner! I love it!

banner

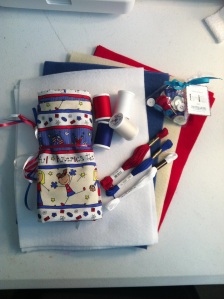
Materials used to make this awesome banner:
Fabric designed by Laura Kelly, available at Jo-Ann Stores

Laura Kelly’s Patriotic Mix of Buttons, available at Button’s Galore & More
Red, White, Cadet Blue, and Antique White Classic felt from The Kunin Group, available at Jo-Anns
Coats & Clark thread
Coats & Clark Embroider Floss
Pure Color Grosgrain Ribbon

Planet Applique’s Firecracker Applique Alphabet and Firework Applique

IMG_6738

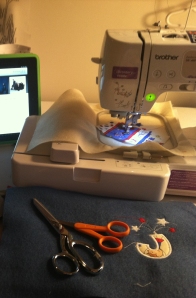
Using my embroidery machine, I embroidered each letter from Planet Applique’s Firecracker Applique Alphabet and Firework Applique.  This took the most time because of having to change the thread.

IMG_7260_crop

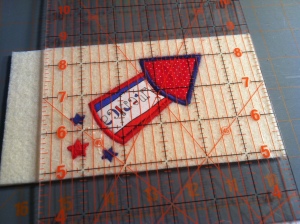
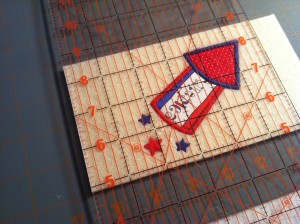
After all of my letters and fireworks were done, I folded my pieces of felt in half so that my rectangles would be double.   I then used a piece of cardboard cut to my desired size, a ruler, mat and a Fiskars rotary cutter to cut the sides evenly.

IMG_7262

IMG_7264

Because the designs were not even on the felt, I wanted to measure them to make sure they were all even once they were cut out.  I knew that all of my appliques were approximately 4 inches square, I decided to cut them at roughly 1.5 inches from the applique tops and bottoms.  That way, once they were all cut out and lined up, the appliques were all even!

IMG_7265

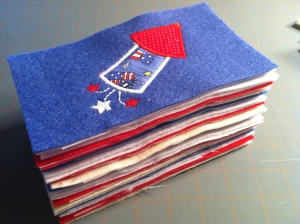
After they were all cut, I did trim the stabilizer from the back of the felt that was used for the applique.

IMG_7266

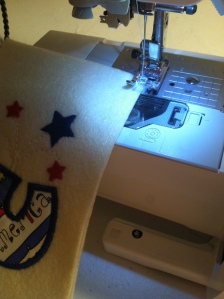
Then it was time to sew the two pieces together.  I lined them up and sewed them up at about 1/8″ away from the edge.

IMG_7268

IMG_7267

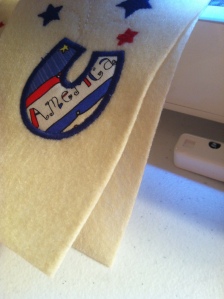
Once they were all sewn, I used the Coats & Clark embroider floss and added some buttons from Laura Kelly’s Patriotic Mix.

IMG_7270

The next step was the put the banner together, attaching it to the ribbon.   Before sewing it, I folded the grosgrain ribbon in half and ironed it so that it would stay.  I laid it all out and put my desired amount of space between each letter and the fireworks.  I tucked the top edges between the ribbon, pinned them in and then it was time to sew!!

DSC_0089

DSC_0090

I hope that you like my 4th of July banner using Laura Kelly’s fabric and buttons!  I can’t wait for it to be July!!!

Here are a few of my other pieces that I created with Laura Kelly’s Patriotic Fabric:

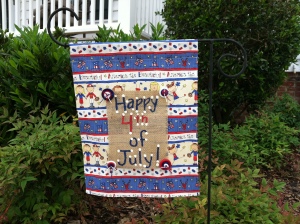
Happy 4th of July Garden Flag

IMG_6929

Patriotic Peeps Decorated Bag

IMG_7072

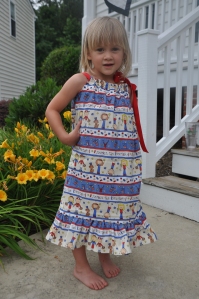
A Patriotic Peep Pillow Case Dress

DSC_0081

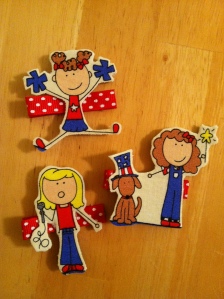
Peeps Hair Clips

IMG_7408

Thanks for stopping by!

Now, Hop on over to some of the other designers participating in the I Love The USA Blog Hop!

The Country Chic Cottage – Angie Holden

The CEO Blog – Debra Quartermain

Major Hoff Takes a Wife – Sara Hoffman

Doll Diaries – Char Polanosky

You can find a full list of all of the designers that participated in the Blog Hop at 100 directions!!!

Here is an awesome Rafflecopter Giveaway you should definitely take part in!!
Patriotic Peeps Decorated Bag

20130606-221033.jpg

Patriotic Peeps Decorated Bag

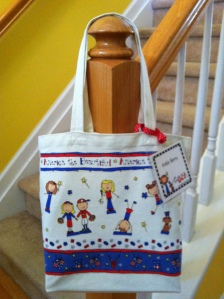
Another addition to my I Love the USA Blog Hop projects is a Patriotic Peeps Decorated Bag!

IMG_7072

Materials used:

Canvas Bag

Laura Kelly’s Patriotic Peeps Fabric, available at JoAnns Stores

Heat’n Bond Ultrahold 

Iron

Fiskars Scissors

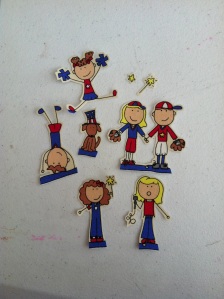
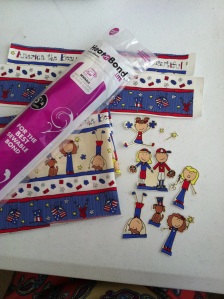
First, I ironed the Heat’n Bond Ultrahold to the back of the fabric.  I then cut out the Peeps and a few of the stars and pompoms and wands!  I also cut out strips from the fabric.
IMG_6802

Once everything was cut out, I then lined it up on the canvas back, removed the backing of the Heat’n Bond and then ironed it to the bag!

IMG_6801

This was a super simple project, but it turned out really really cute and I am currently using it to carry around some books and other things!  Oh, and I also attached my personalized bag tag that was made for me by Laura Kelly!

321415_10151600483123955_505616037_n

Click here to go back to my original I Love the USA Blog Hop page.