Category Archives: Oly*fun™

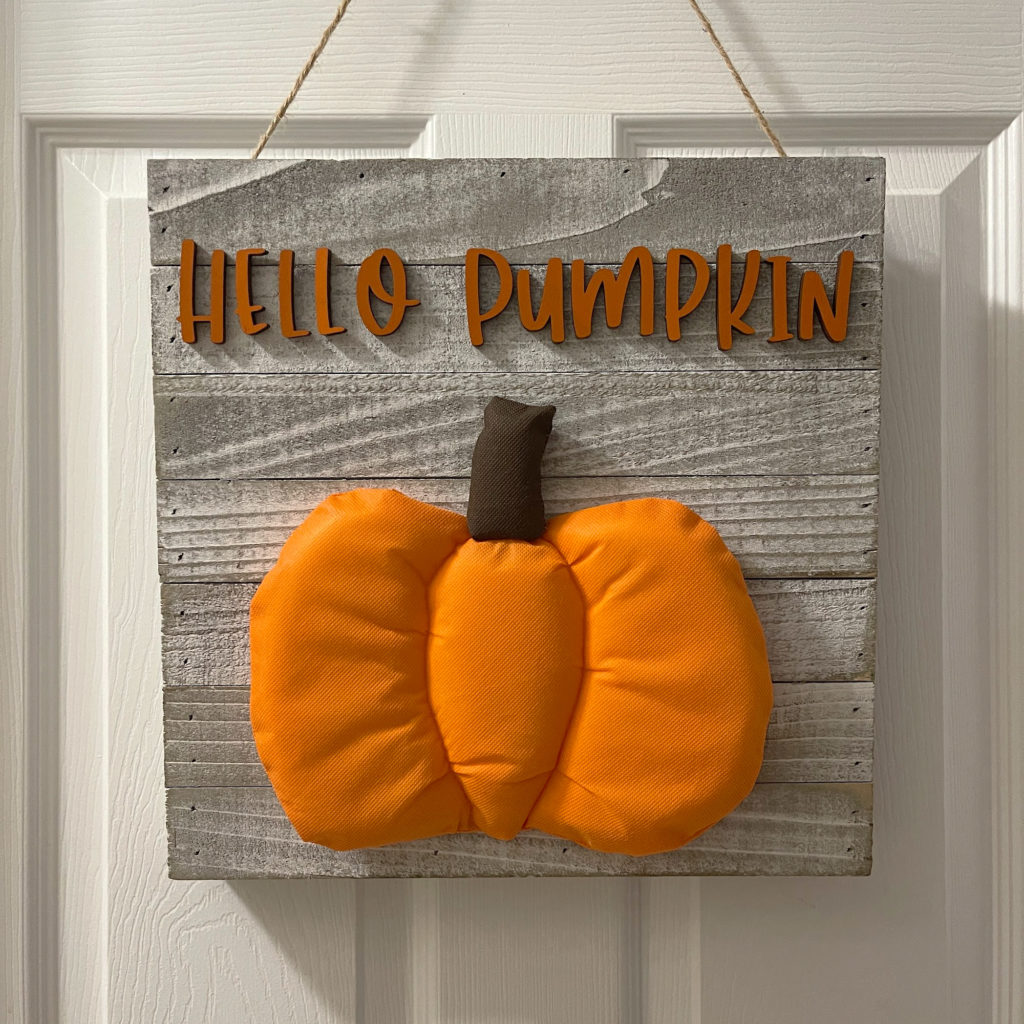
Hello Pumpkin Sign featuring Fairfield World’s Oly*Fun® and Project Foam

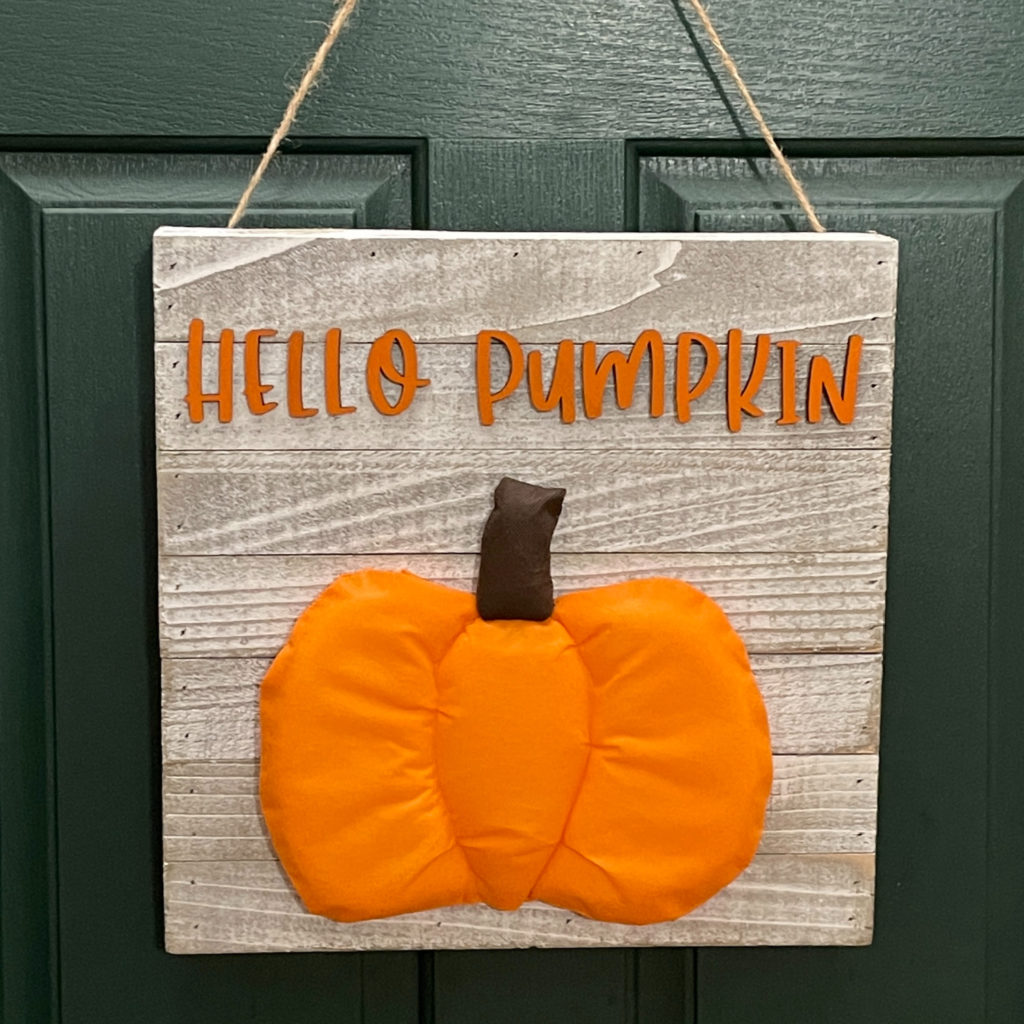
Pumpkin season is here and this Hello Pumpkin sign made with Fairfield World’s Oly*Fun® and Project Foam is perfect to add to your decor! It can be hung on the wall, the door or set on a shelf or table. I love it as a door hanger!
Materials used:

How I made it:

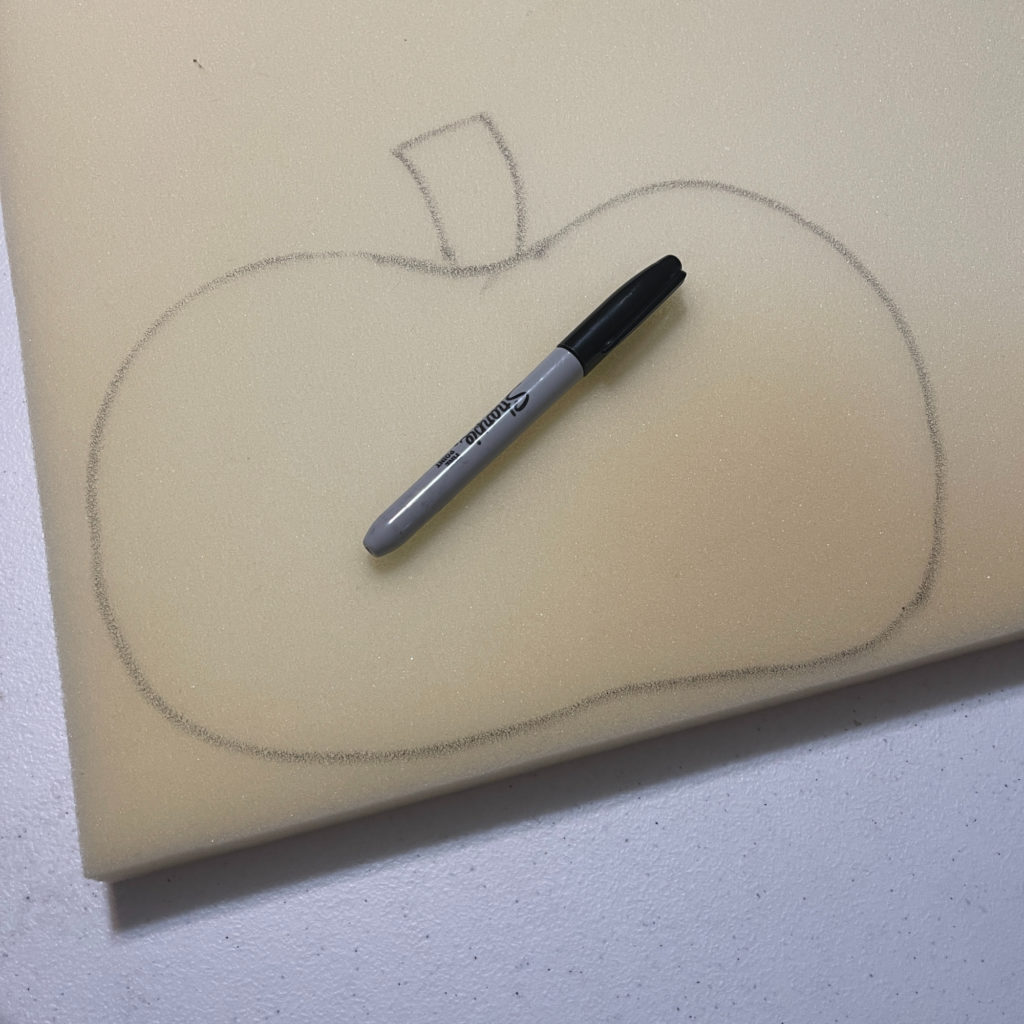
I first started by drawing a pumpkin and stem with a marker on the Project Foam. I knew that my sign was only 14″x14″ so I needed to make it smaller than that. I cut it out with my scissors.
I laid the foam pumpkin and stem shapes on the orange and brown Oly*Fun® and traced around them, adding about a 1/2″.
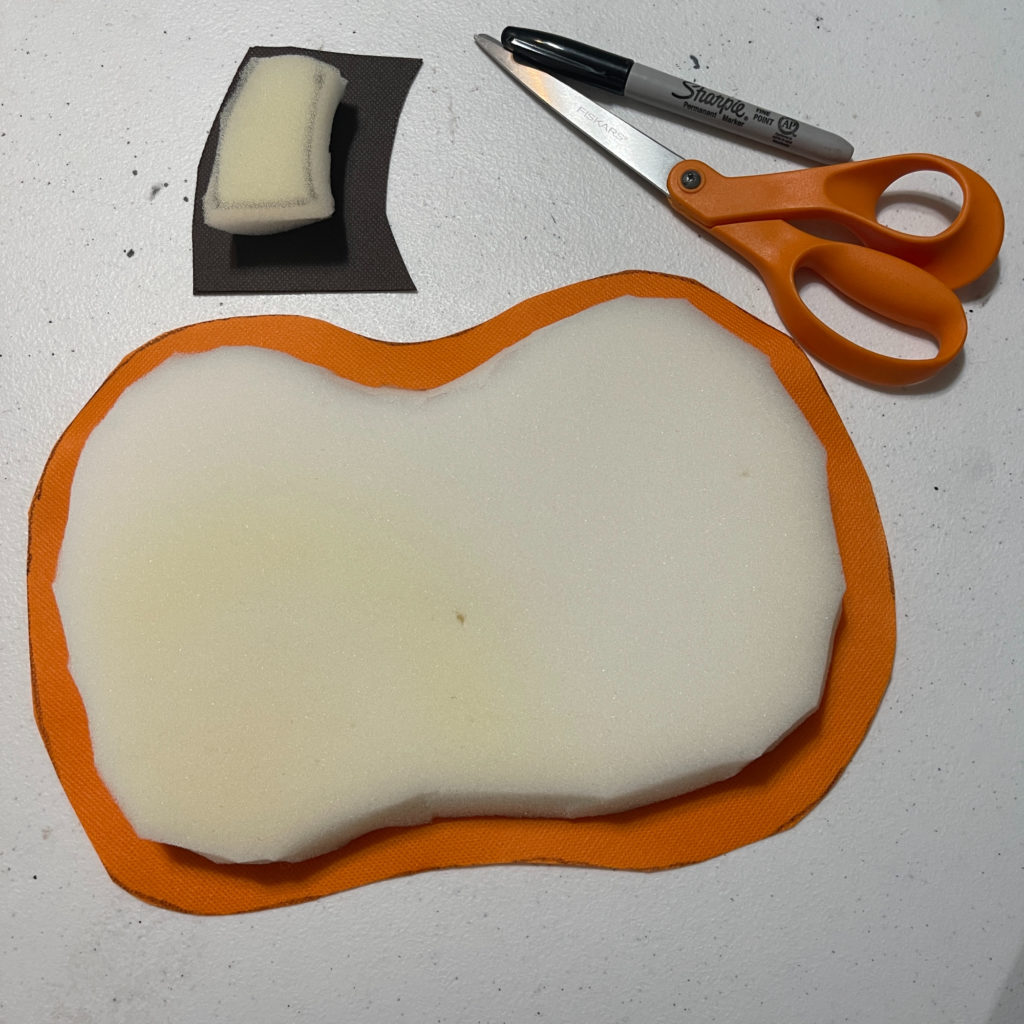
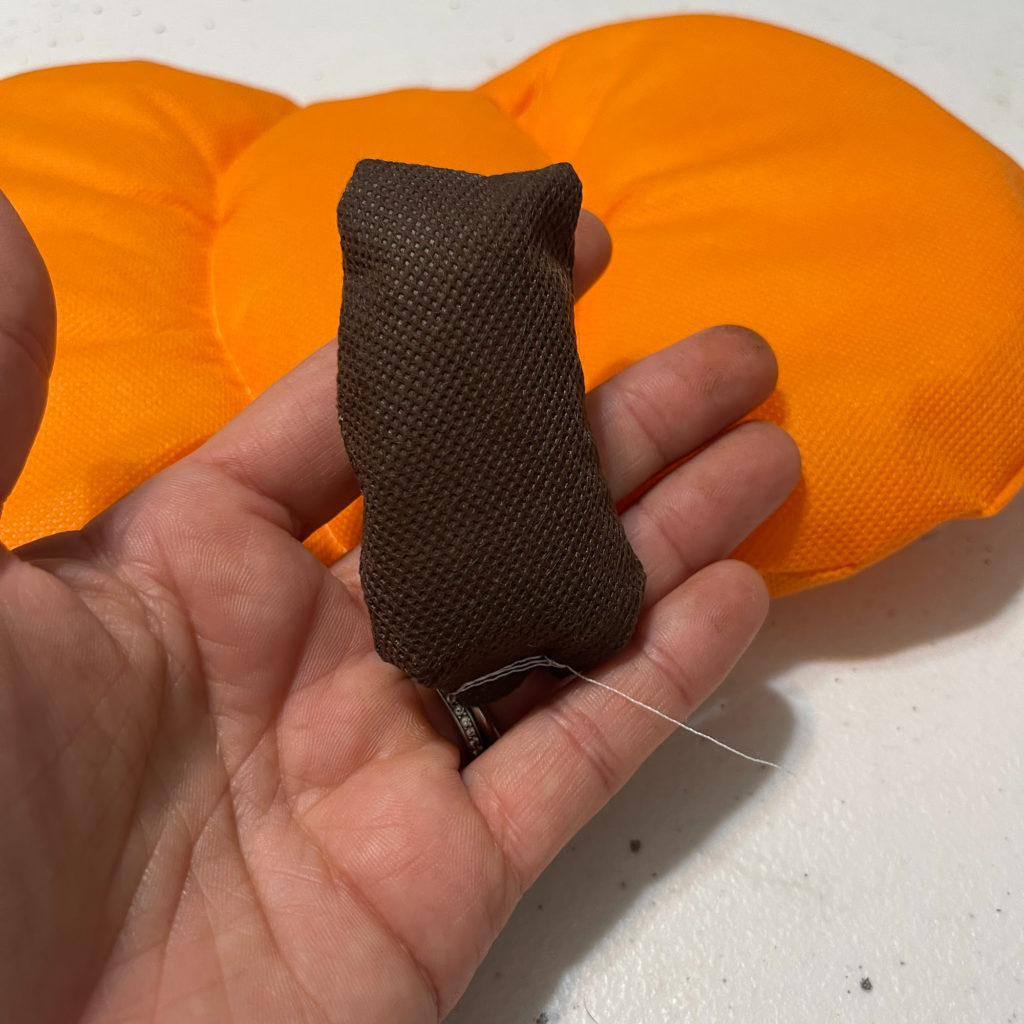
Once everything was cut out, I sewed the pieces together with a 1/4″ seem and leaving an opening for inserting the foam.

I flipped the sewn Oly*Fun® so the seam was inside and them inserted the foam.
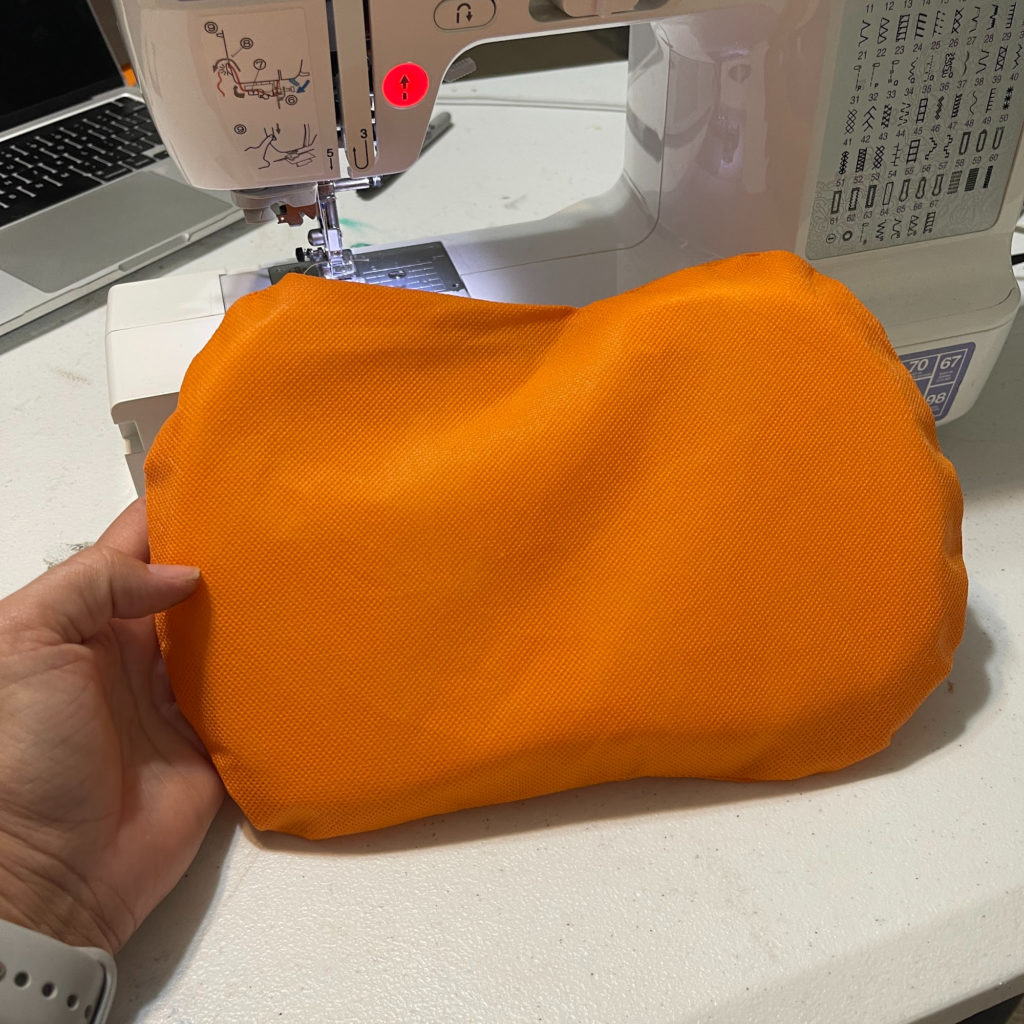
I sewed the openings closed. I then sewed a curved line on each side, giving it a more realistic pumpkin look.
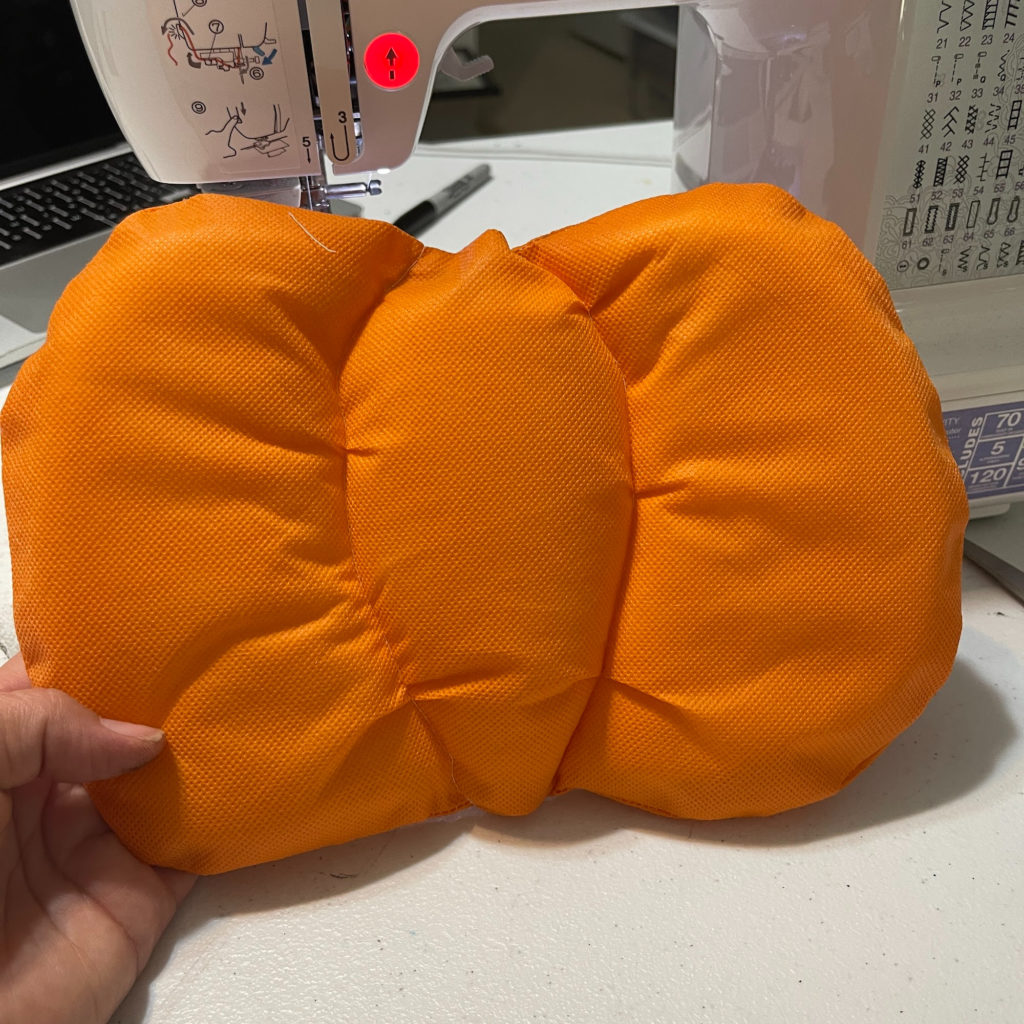
Then I glued the stem to the pumpkin.

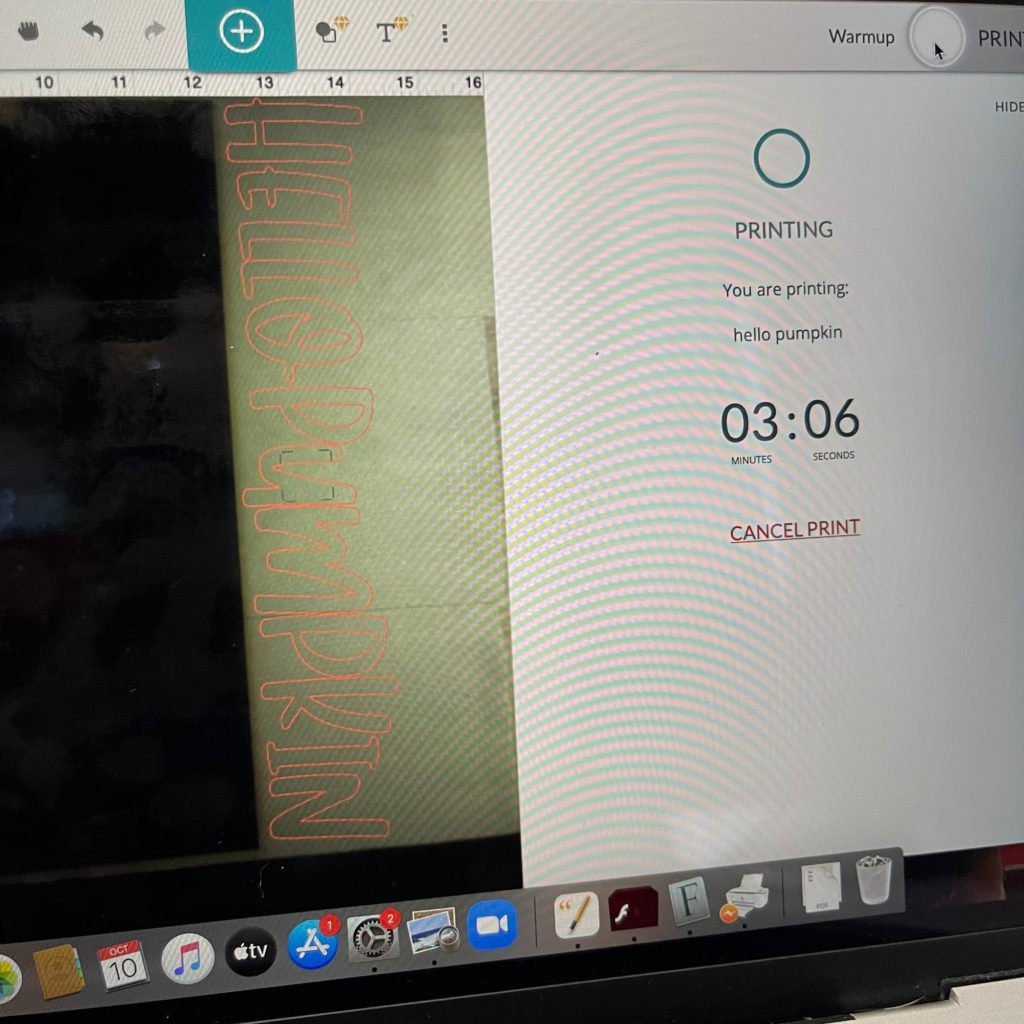
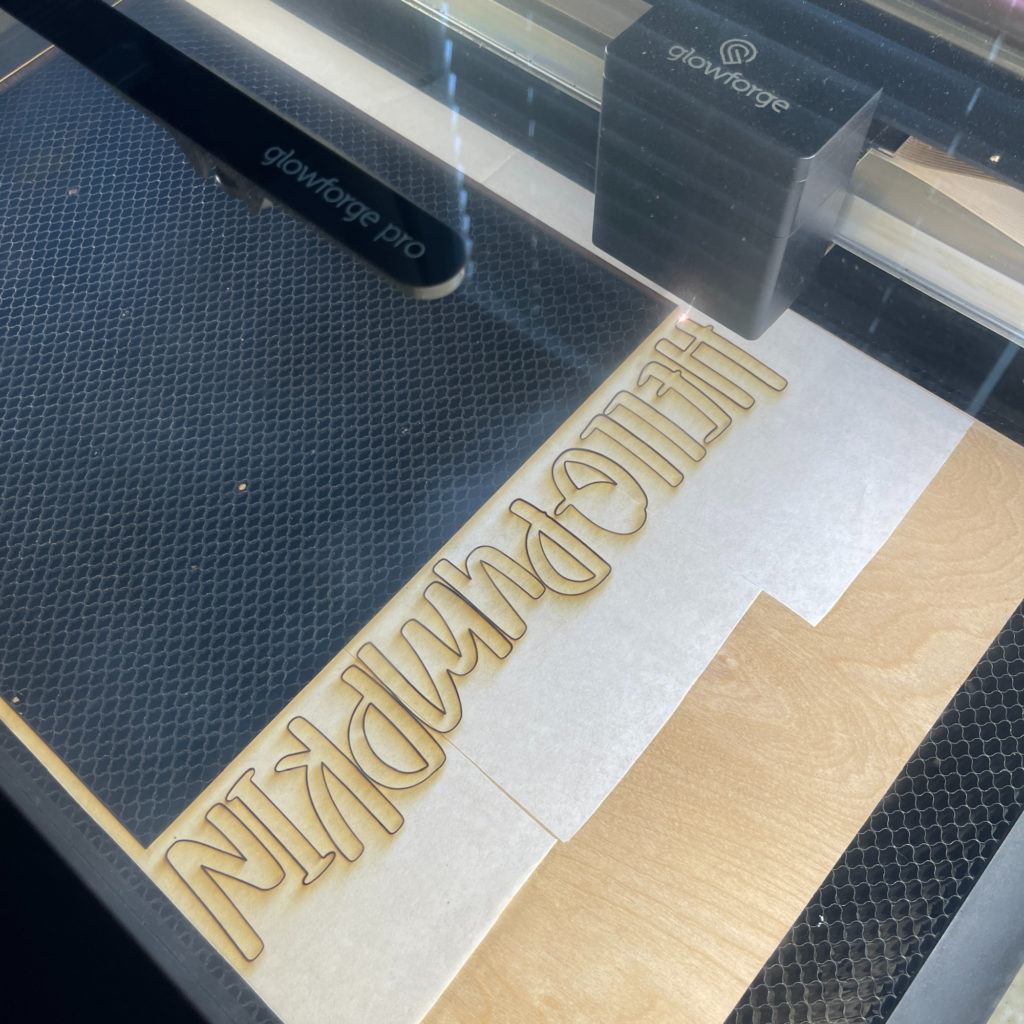
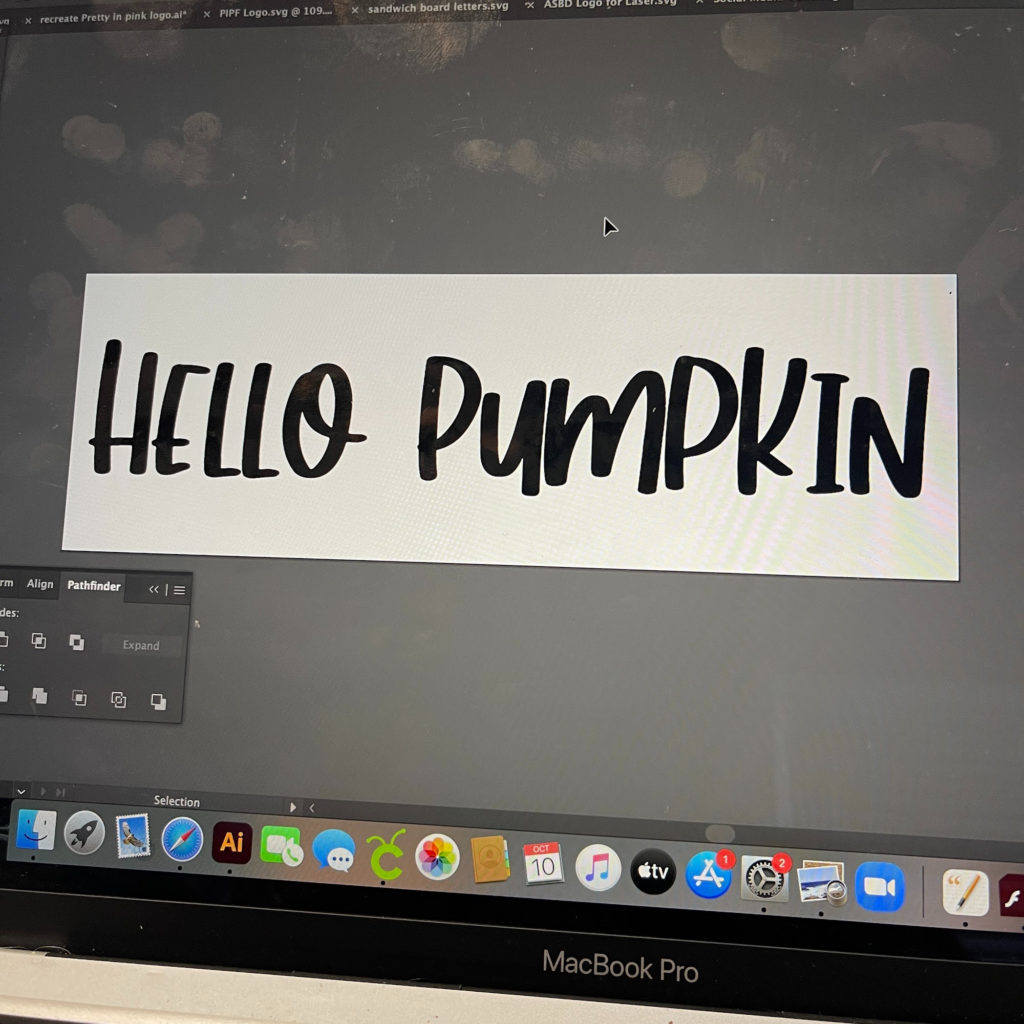
Using my Glowforge, I cut out the Hello Pumpkin letters and painted them orange.
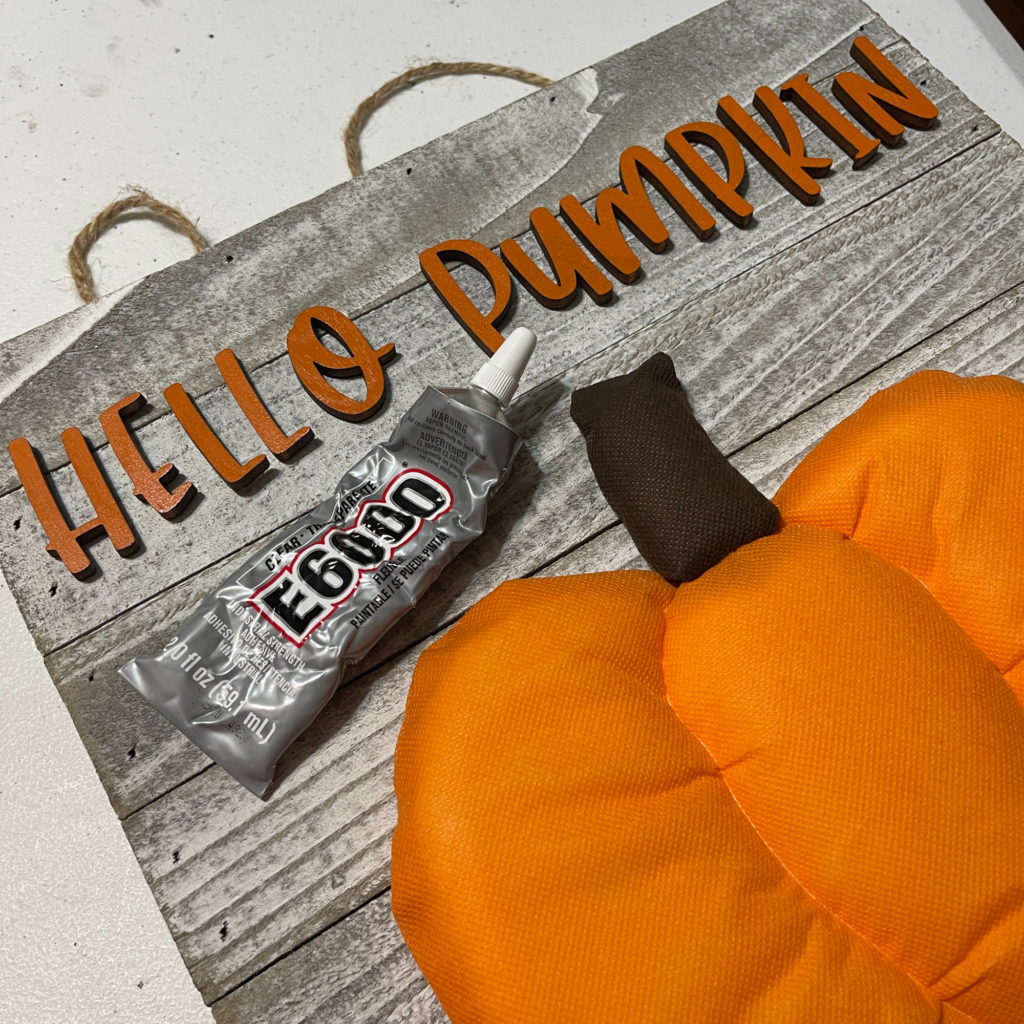
Then it was time to glue everything down to the sign.
I love how the sign turned out! Fall decorations are my favorite decorations! I hope you like it too! You could make lots of different size pumpkin signs and make a collage! There is a variety of Oly-Fun® colors!
Until next time….Happy Crafting!

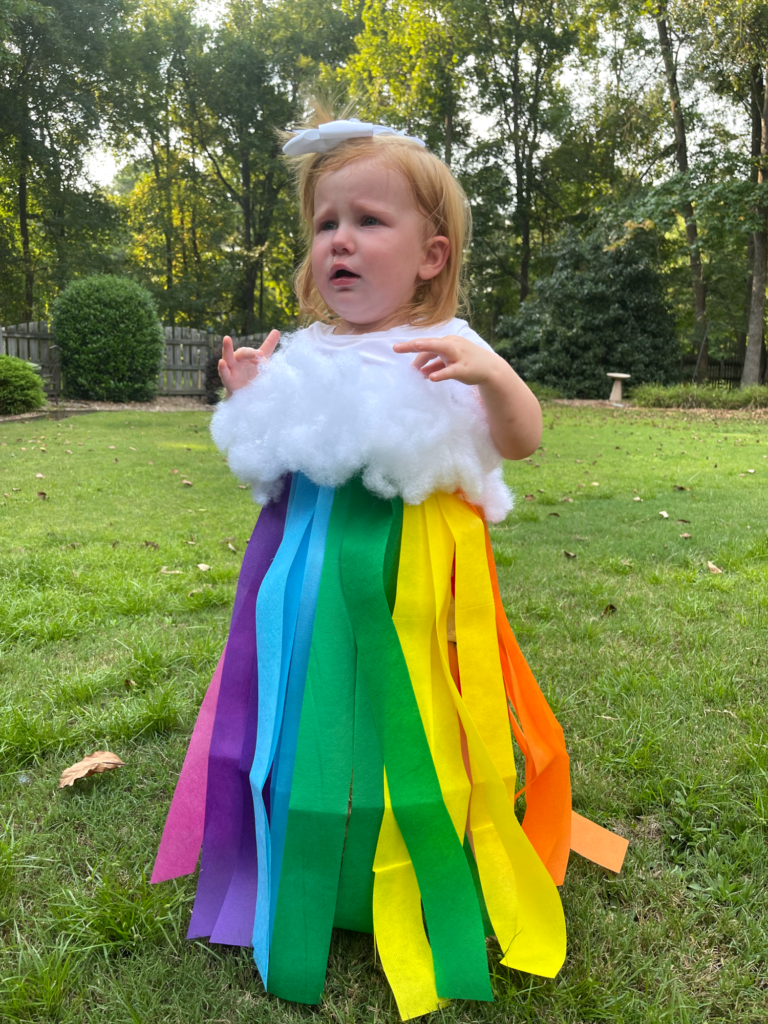
Easy No Sew Kids Rainbow Costume featuring Fairfield World’s Oly*fun

Halloween is around the corner and an easy no sew kids rainbow costume is perfect for a pop of color on October 31st. Rainbows are all the rage this year so I knew this little cutie would be a perfect model for this costume.

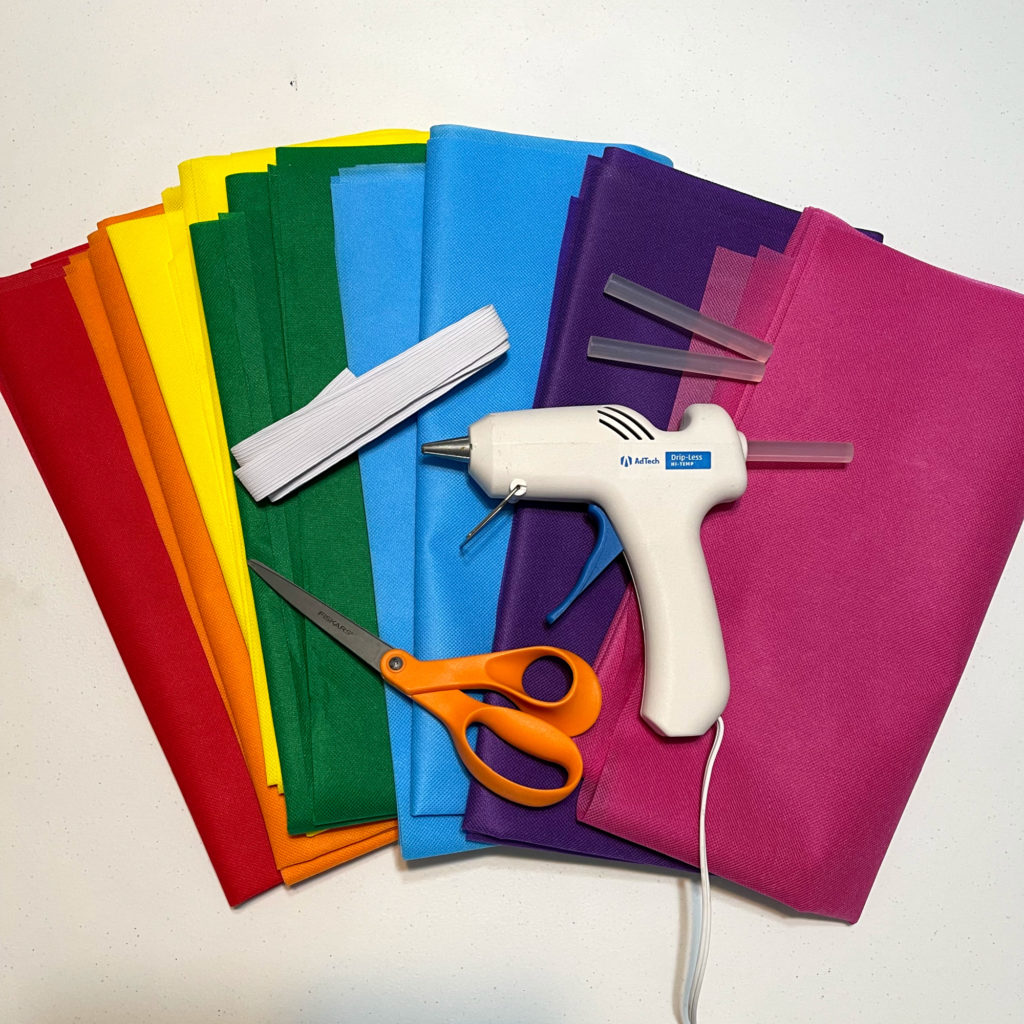
Materials:

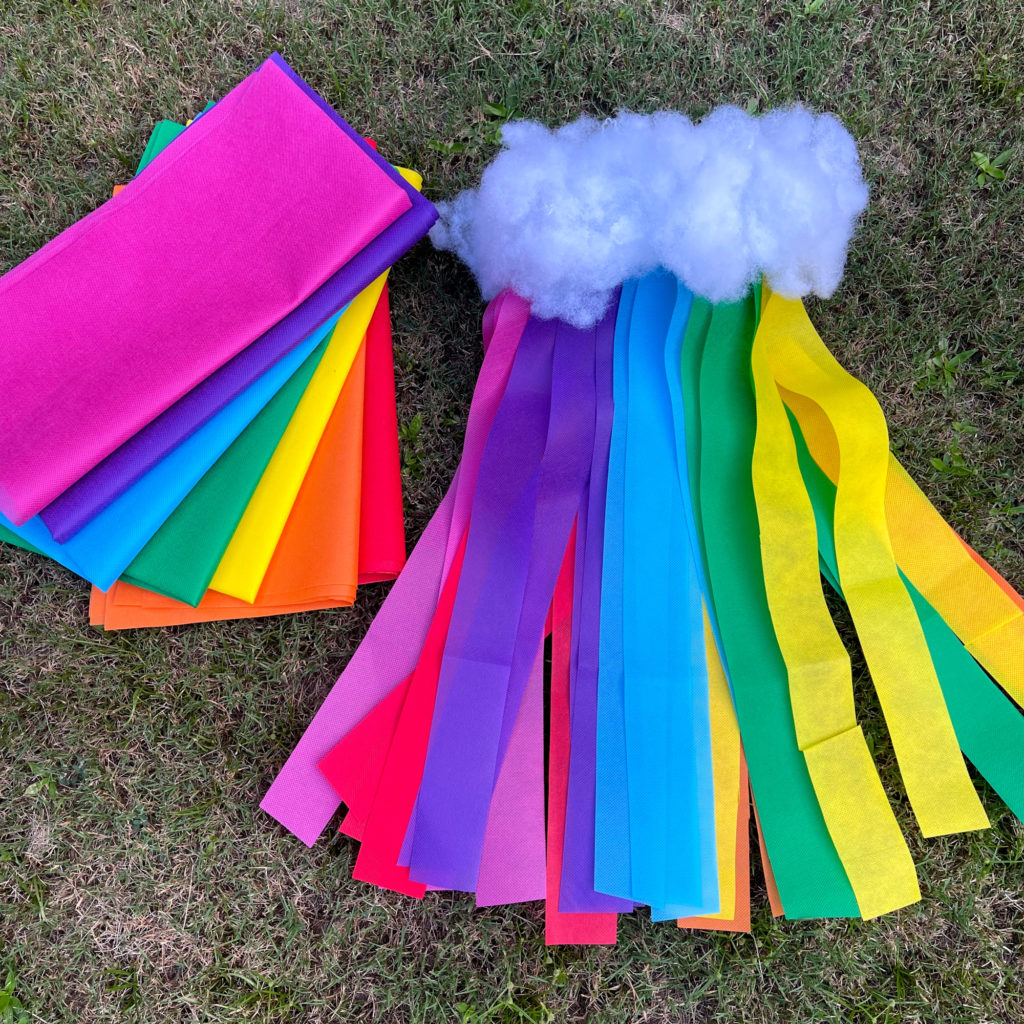
  • 1/2 yard of Fairfield World’s Oly*fun™: Cherry Pop, Orange Crush, Lemon Drop, Clover, Sky Blue, Jelly, Bubble Gum
  • Fairfield World’s Poly-fil® Fiber Fil
  • Cutting Mat
  • Rotary Cutter
  • Ruler
  • Scissors
  • Elastic
  • Hot Glue Gun & Glue Sticks
  • Adhesive Velcro

How I made it:

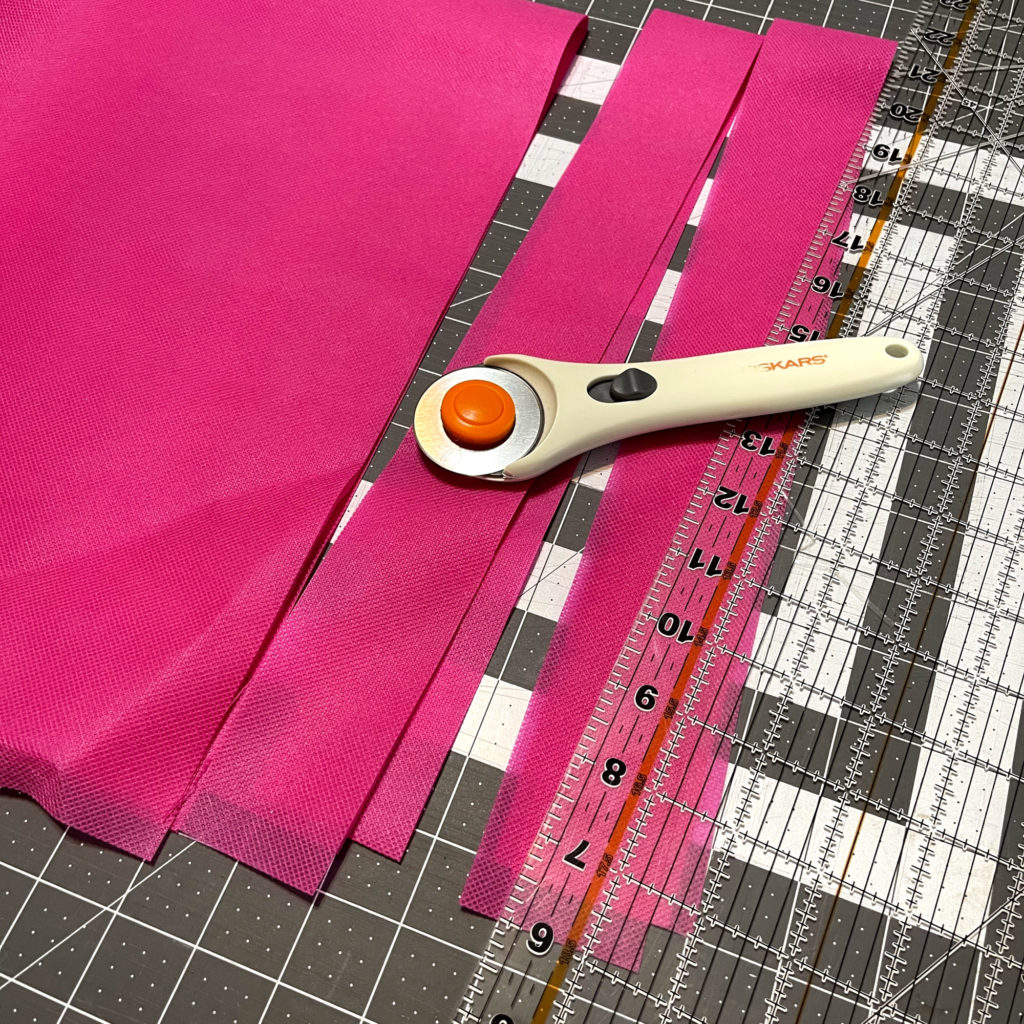
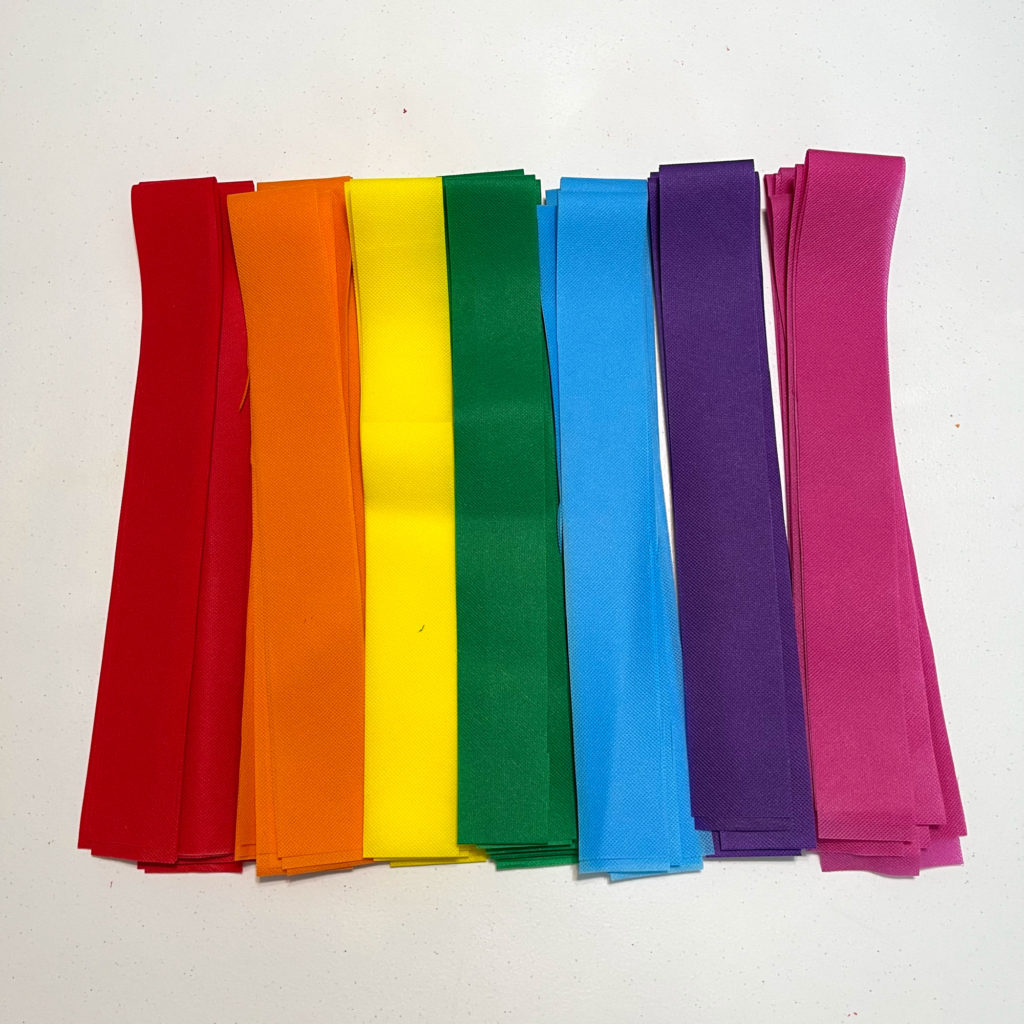
First, I started by cutting the Oly*fun™ into five 2″ strips using the cutting mat, rotary cutter and ruler. I later trimmed them down once I knew how long I needed them to be to fit the child.

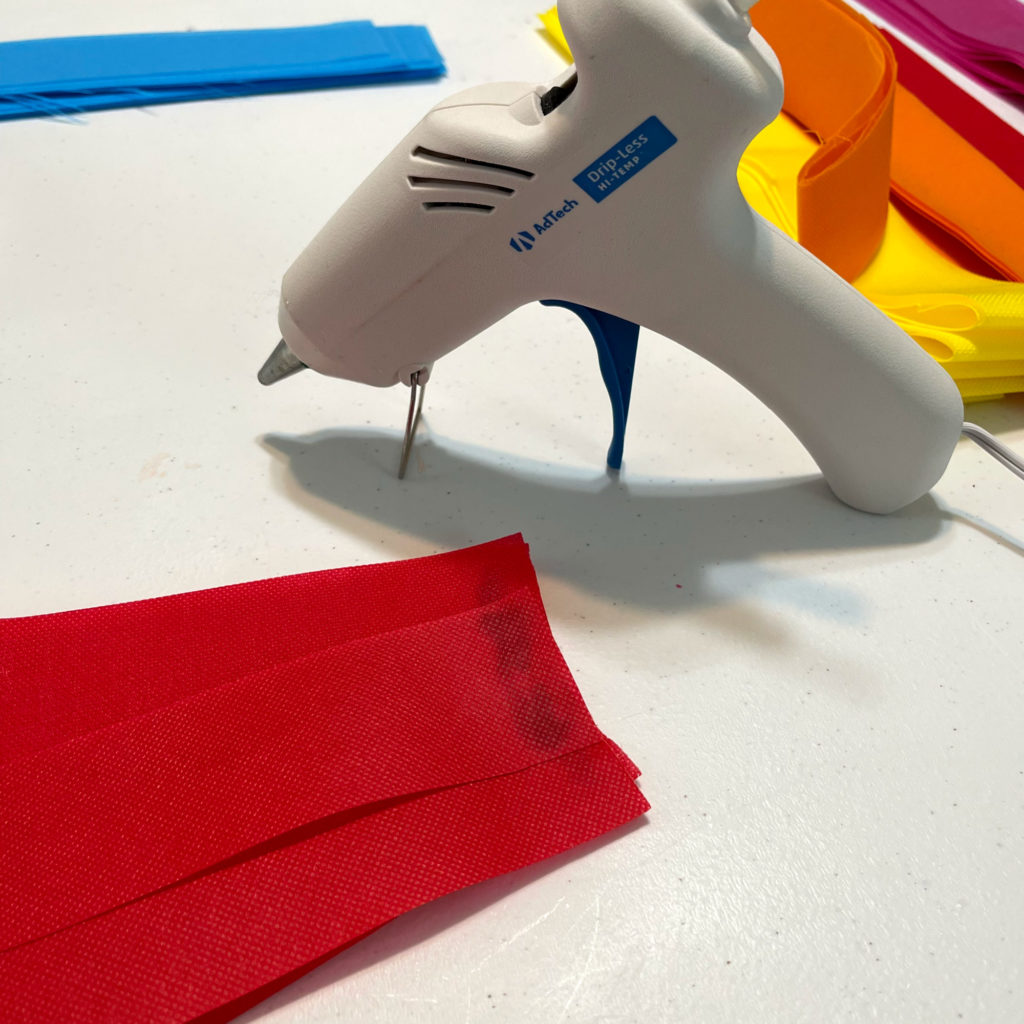
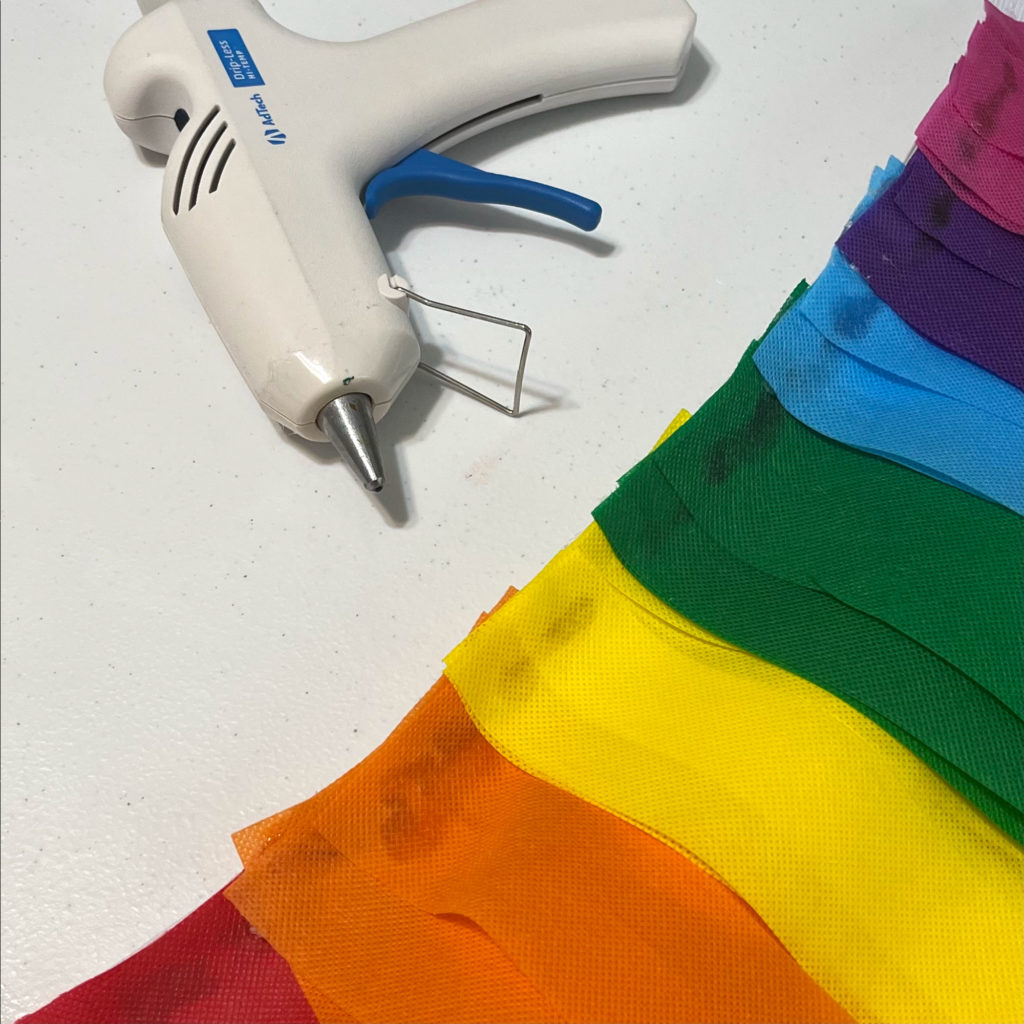
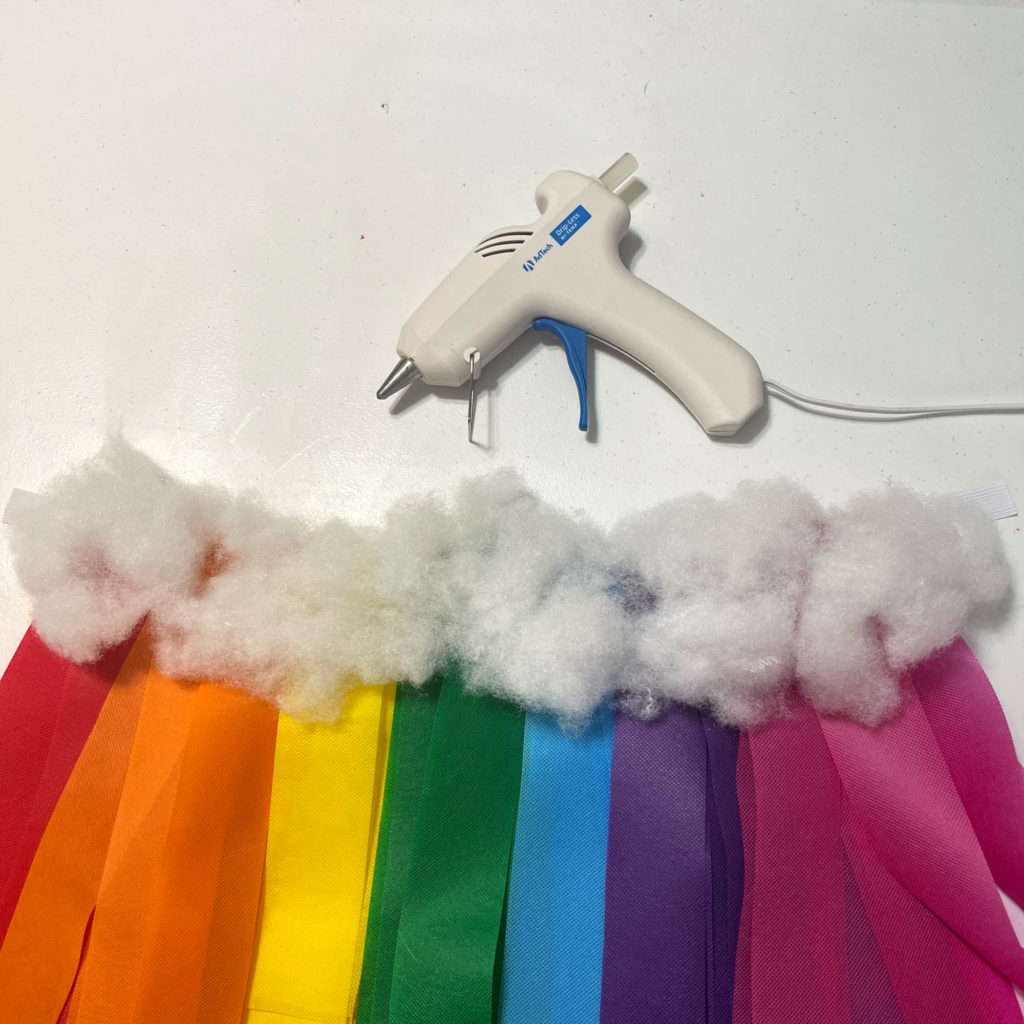
Using my hot glue gun, I glued each of the colors together so that they were layered but not directly on top of one another.

Then I glued the groups of five strips together in the order of the rainbow with bubble gum being the last color.

Next, I glued Fiber Fill to the top of the strips where I glued the layers together, creating a cloud for the rainbow. This was a great way to hide the glue! I added more Fiber Fill to make it a full cloud so that you couldn’t see through it.

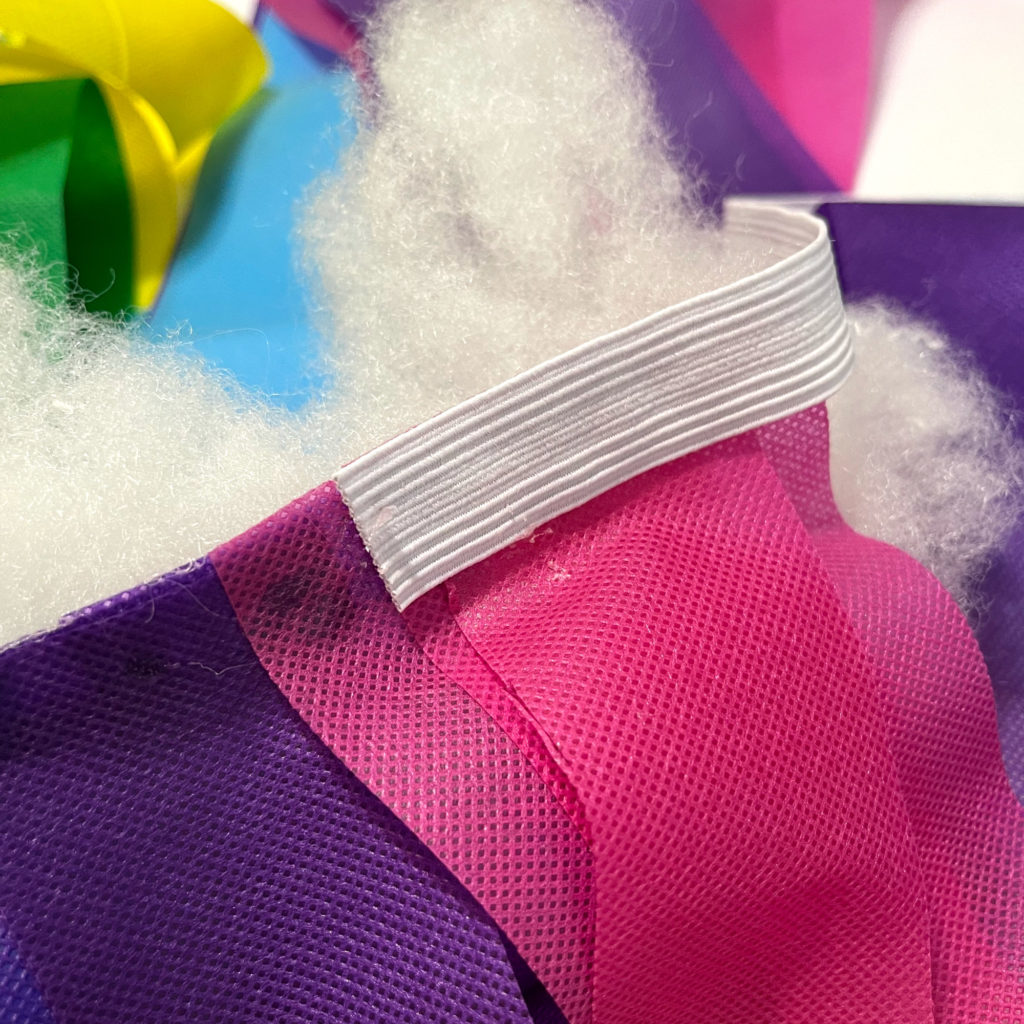
I cut a piece of elastic at 12 inches and glued it to one end of the rainbow.

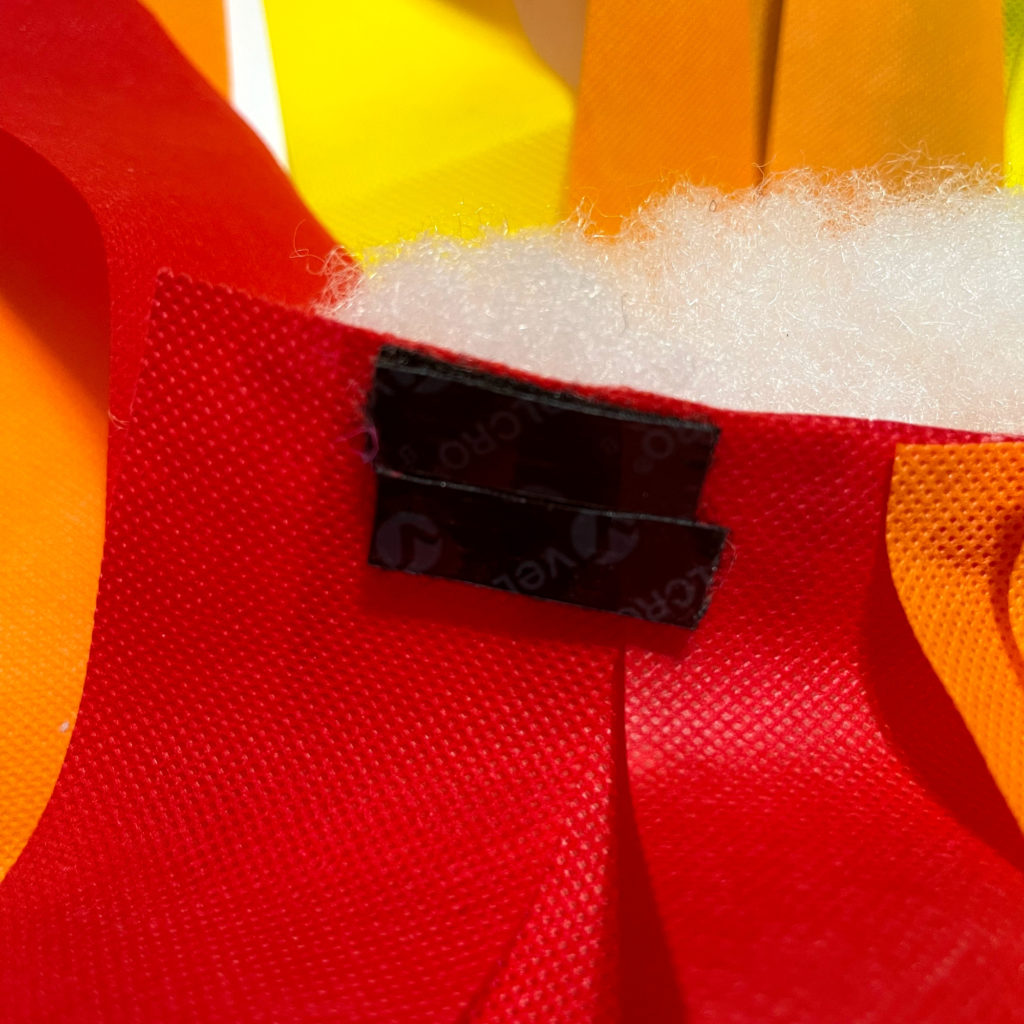
I added the adhesive velcro to the other side of the rainbow. I wanted to make sure that the costume fit the child, so I put it on the child and then adhered the elastic to the velcro. That way it fits her perfectly and it will be in the right place in the case that it needs to be taken off.

Once all of the glue was dry and cooled, it was ready to be put on the cutie!

I love how this adorable little no sew kids rainbow costume turned out. It was so fun and easy to make and could even be made it an adult size! I hope you like it as well!

Until next time, Happy Crafting!