Category Archives: Kunin Felt

Upcycled Welcome Sign Using an Old Sign

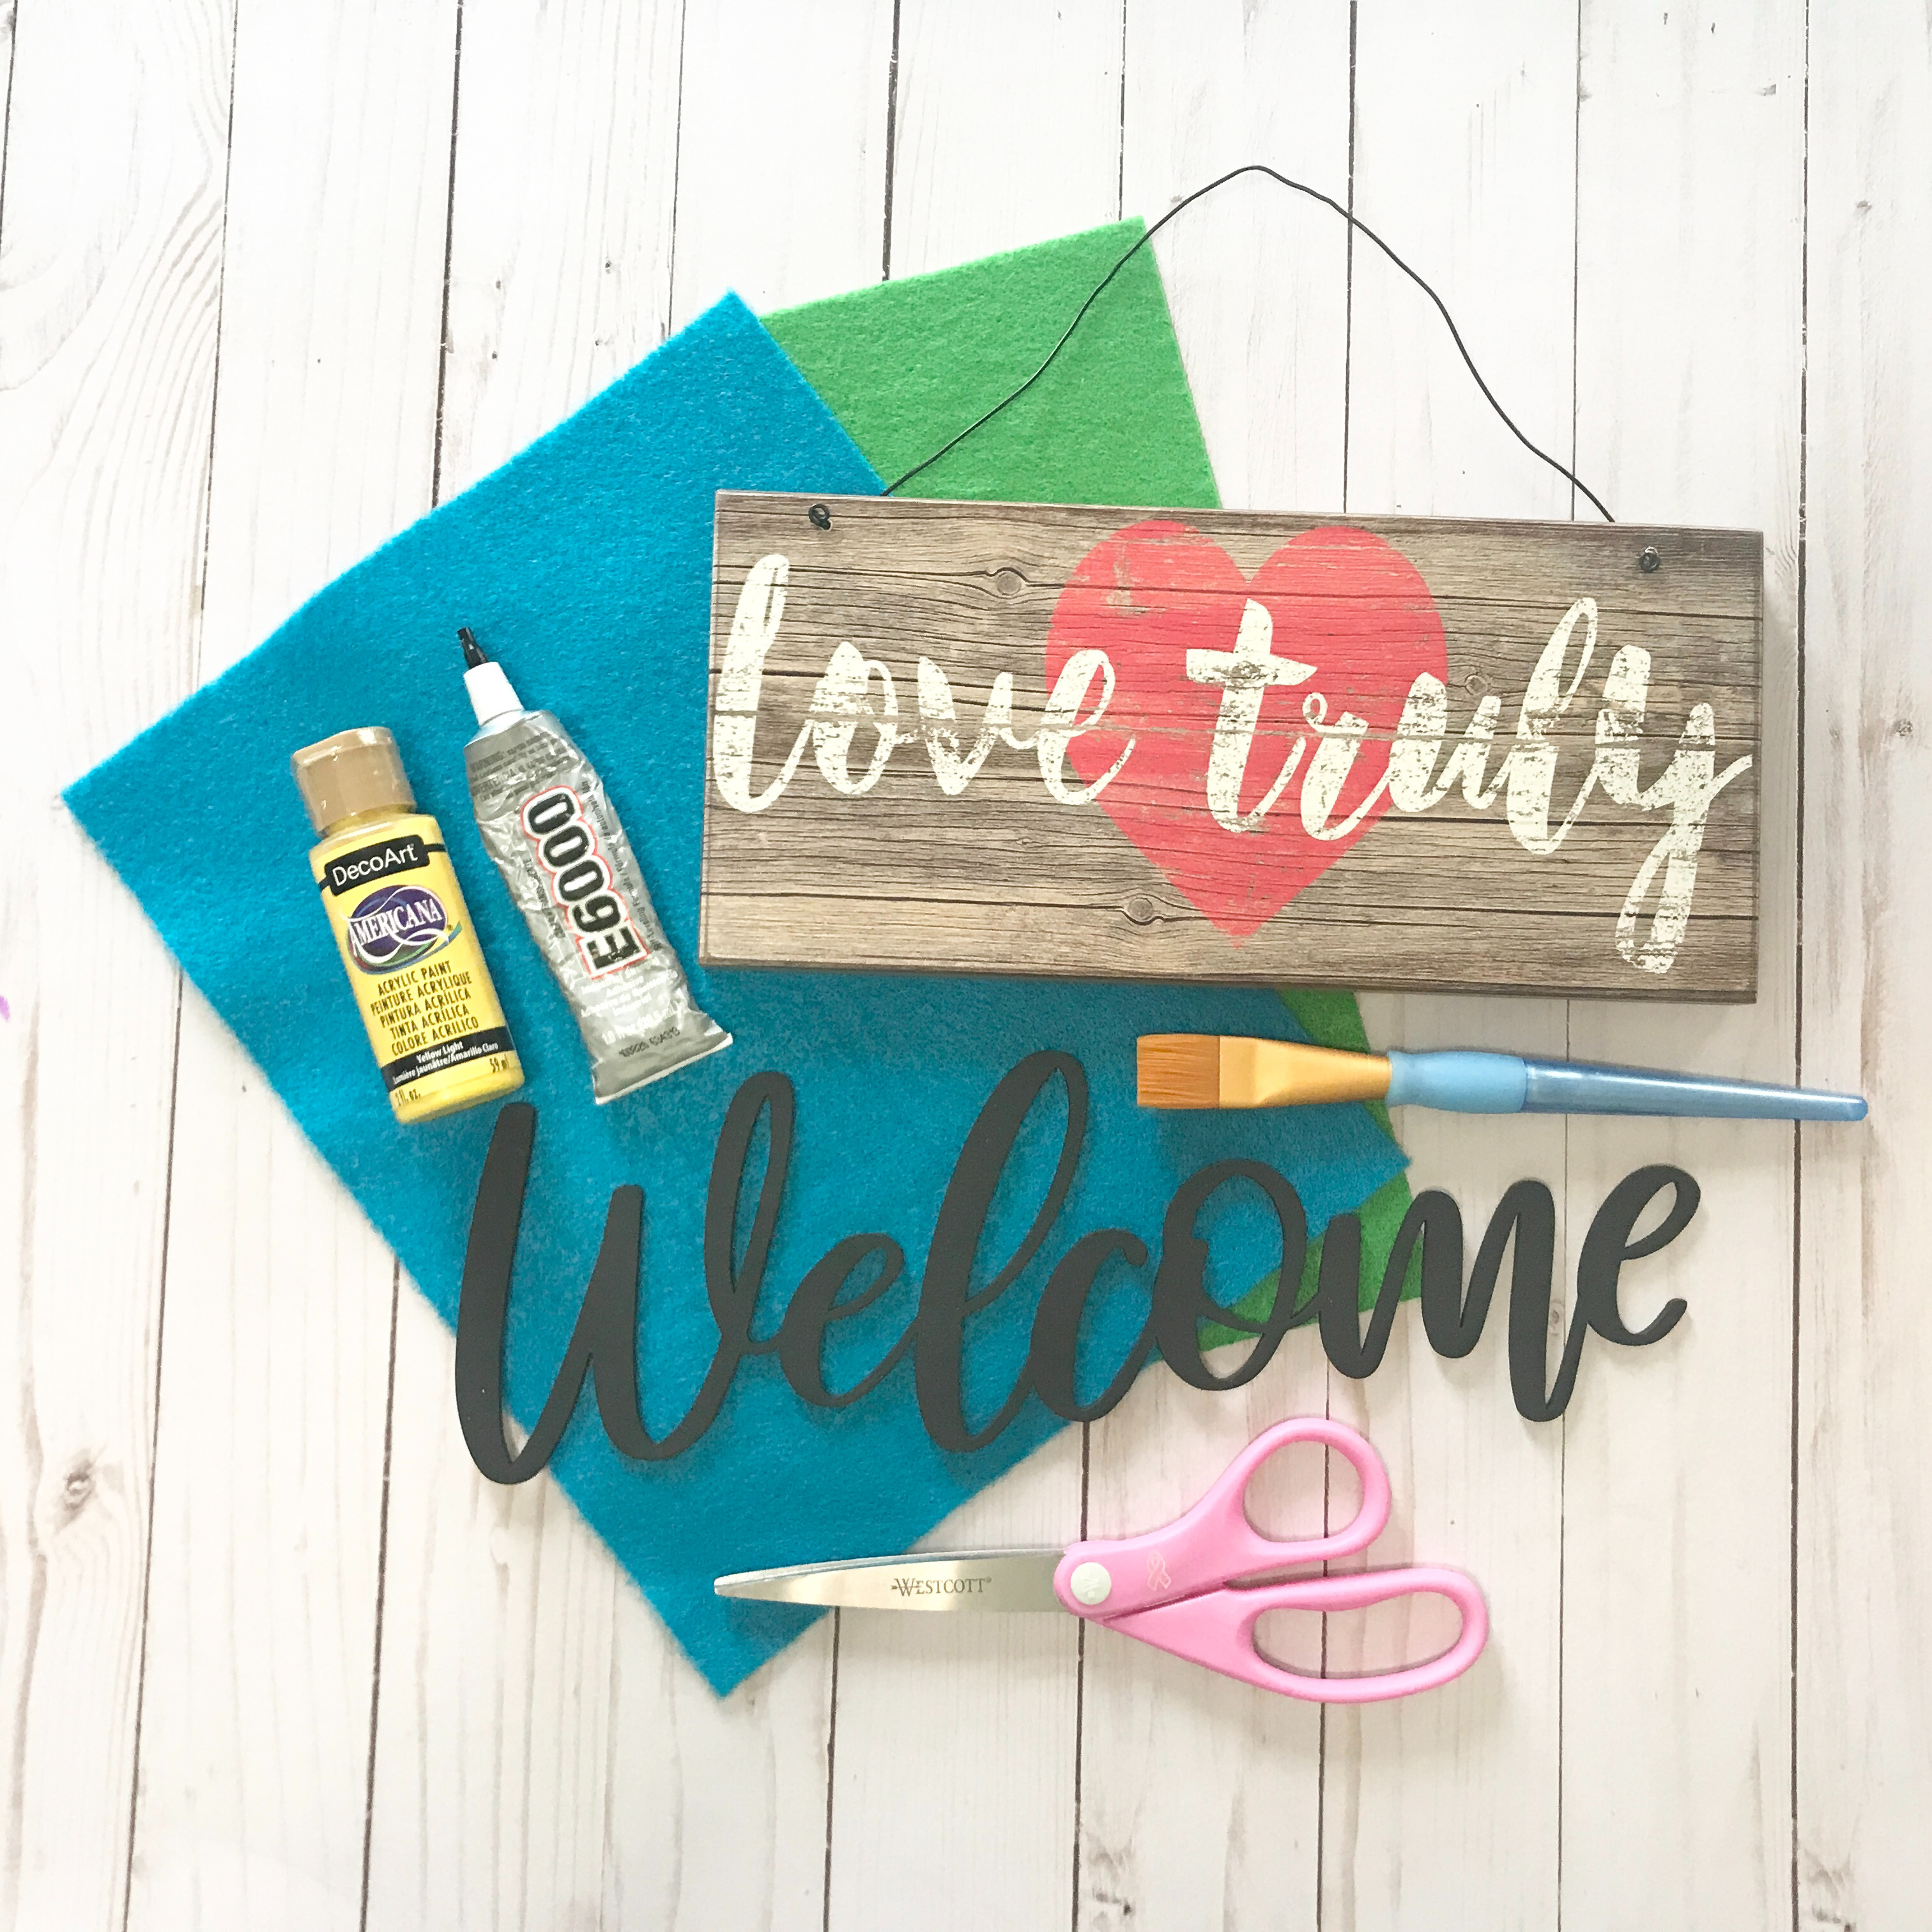
Welcome Signs for front doors are very popular right now and this adorable upcycled welcome sign is perfect on my door! I’m joining some of my favorite crafters for the 9th edition of Creative Crafts – Recycled Crafts Edition to create upcycled crafts. I made this sign from a sign that I recently took down from my craft room.
Materials:

  • An old sign
  • Welcome cut out that I cut on my Glowforge and then painted black
  • 9″ x 12″ craft cut of Kunin Felt® Classicfelt: (1) Peacock, (1) Apple Green
  • Acrylic Paint
  • E6000 glue
  • Paint Brush
  • Scissors

How I made it:

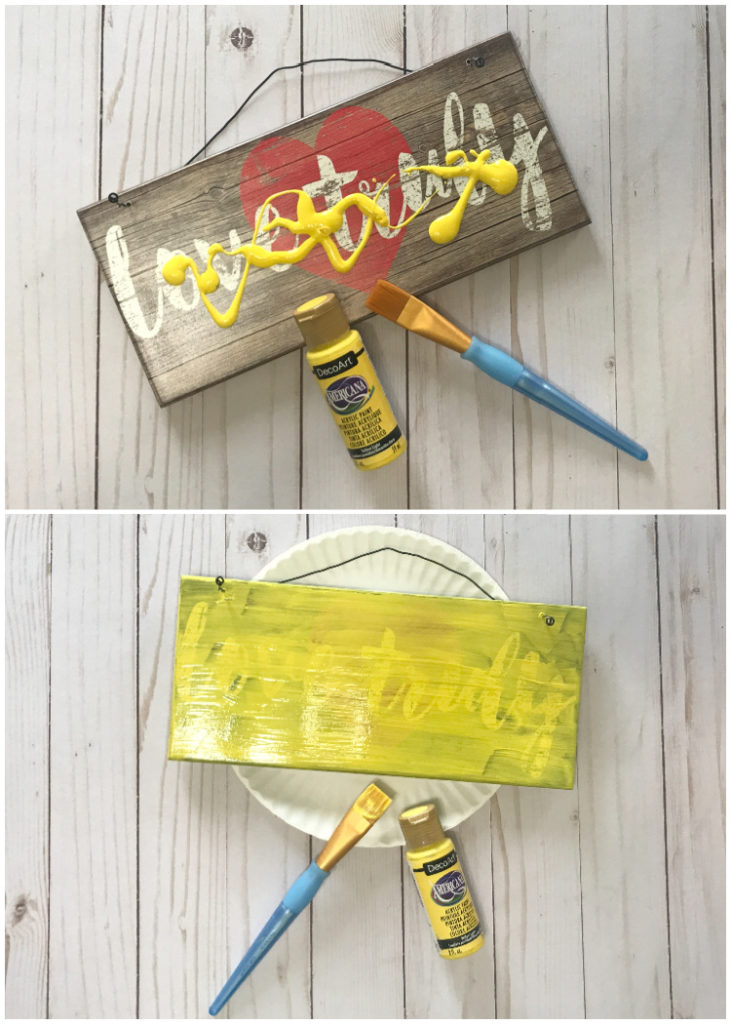
I started by painting my sign. I picked this bright yellow paint from DecoArt. Bright colors are just making me so happy lately! Before painting, I pulled the wire up front the front so that I didn’t paint the little curls in the ends. I ended up having to do three coats of paint to get it covered to my liking.
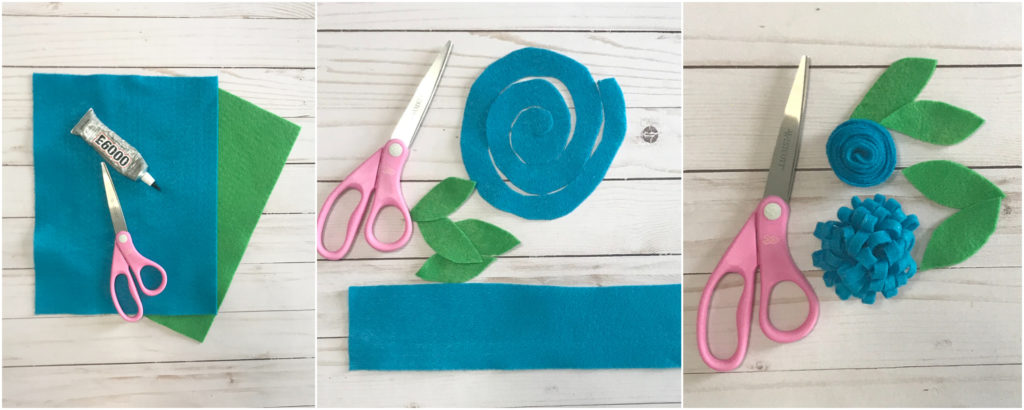
Next, I made felt flowers. There are plenty of options for making felt flowers but these are the ones I picked. The first one I cut a circle from the blue felt and then cut it to create a spiral. I then wrapped it from the center outward, gluing it in place as I went. The second flower I cut a long strip of the blue felt, folded it in half and glued it on the ends and along the edges. Using my scissors, I cut short slits in the folded side, making sure not to cut all the way to the edge of the glued side. I then rolled it up, gluing it as I rolled. I cut leaves from the green felt.
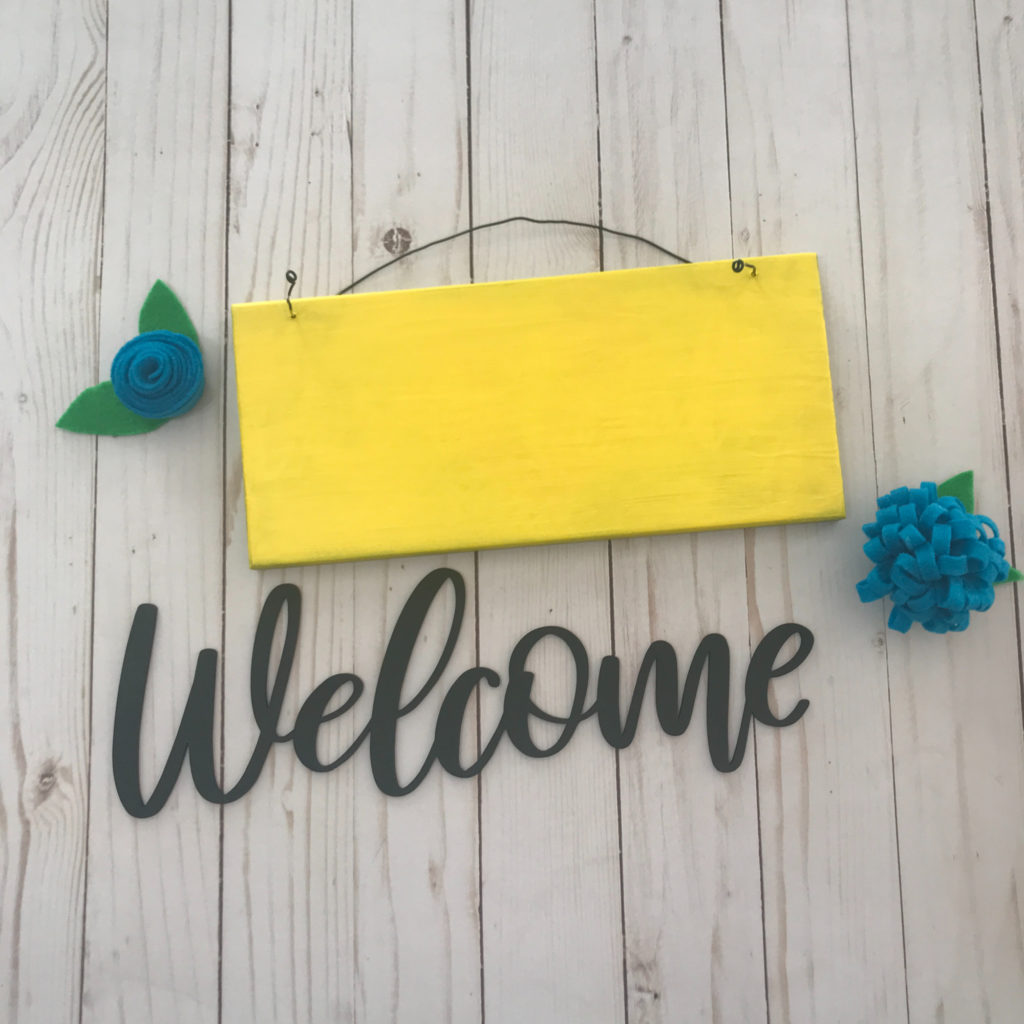
Once everything was ready, it was time to glue everything into place using the E6000. You can use any glue, but E6000 is my favorite glue!
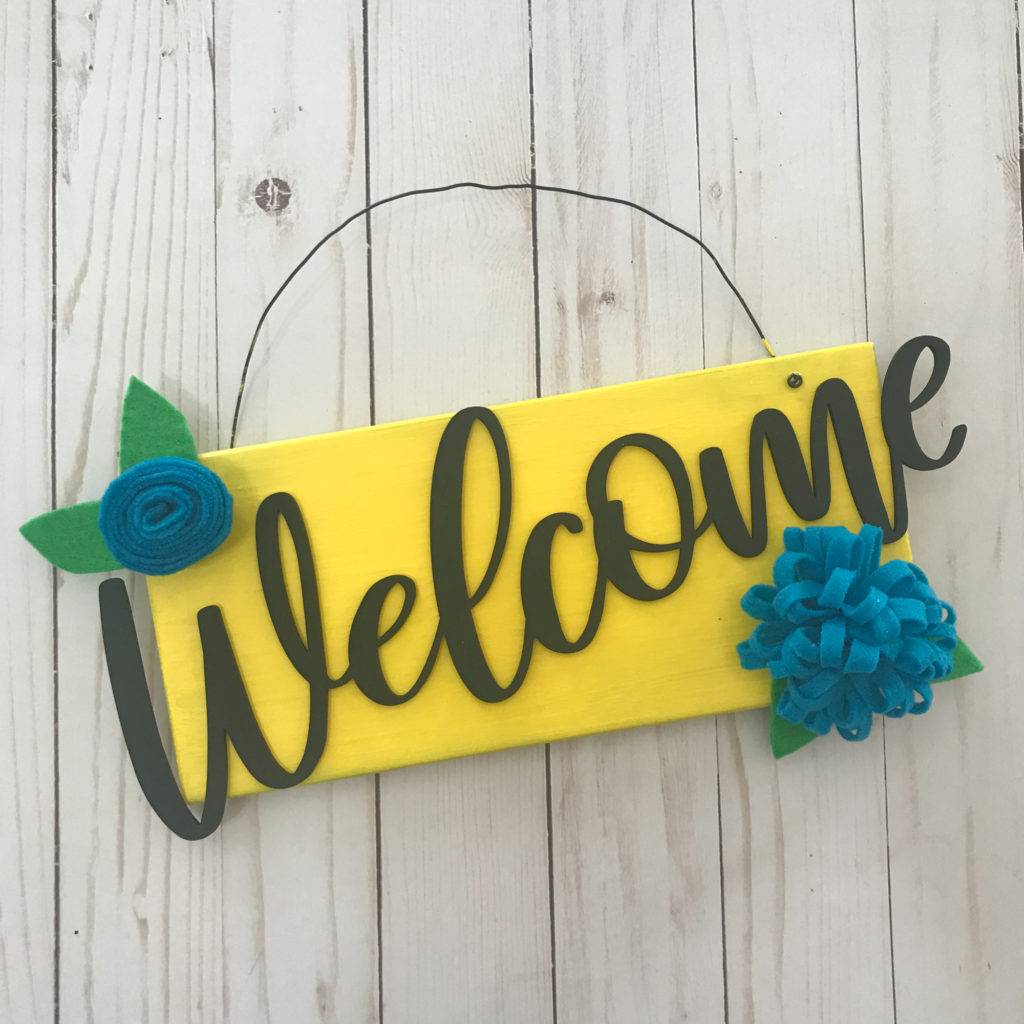
Once the glue was dry, it was ready to hang up on my front door! I love how it turned out! I hope you do too!
Be sure to click on the on the Team Creative Crafts button below to check out other recycled crafts!

Then, enter to win below!

a Rafflecopter giveaway

Until next time….Happy Crafting!
Weighted Desk Sitter

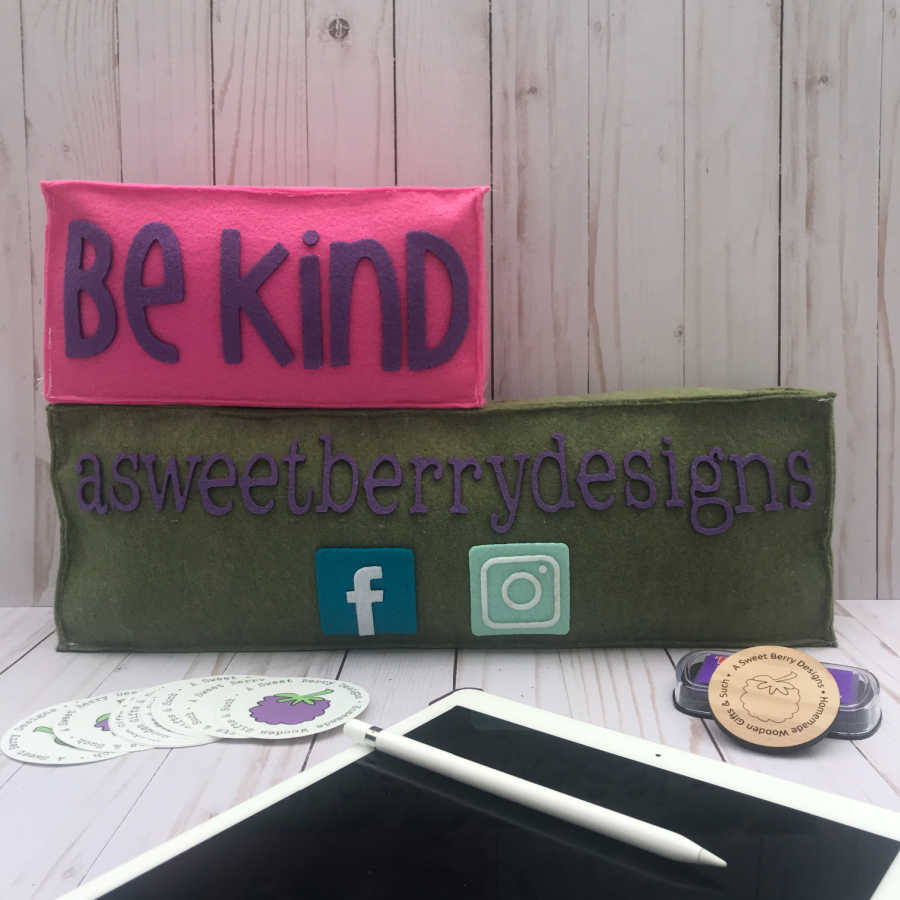
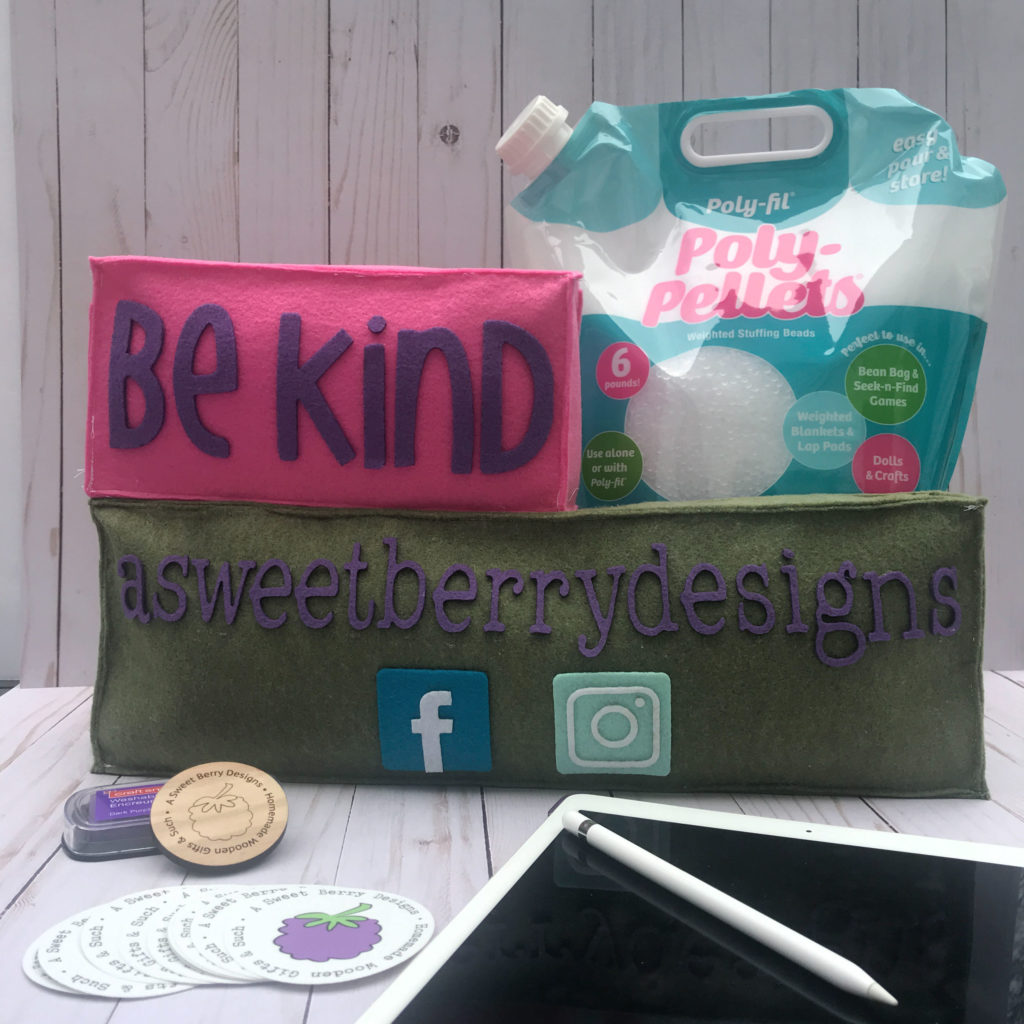
I’ve been really into making desk or shelf sitters lately, especially if it’s words of wisdom or kindness or a word of the year and these weighted desk sitters are perfect!. I created these two desk sitters, one for business and one for fun using Fairfield World’s Poly-fil® Poly-Pellets®! I can even use the one for business at vendor events by sitting it on my table; that way everyone will know how to find me on social media! They can even be placed on a shelf!
Materials used:

How I made it:

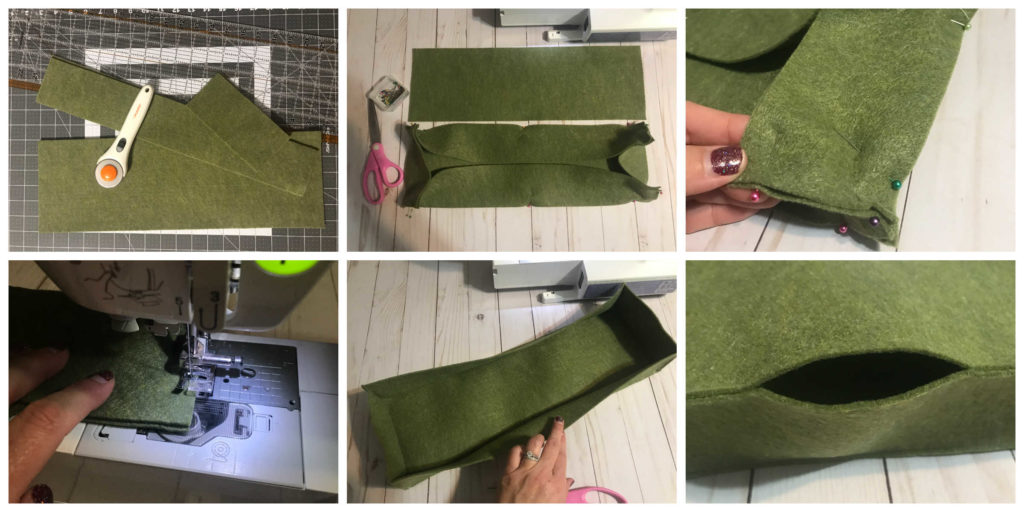
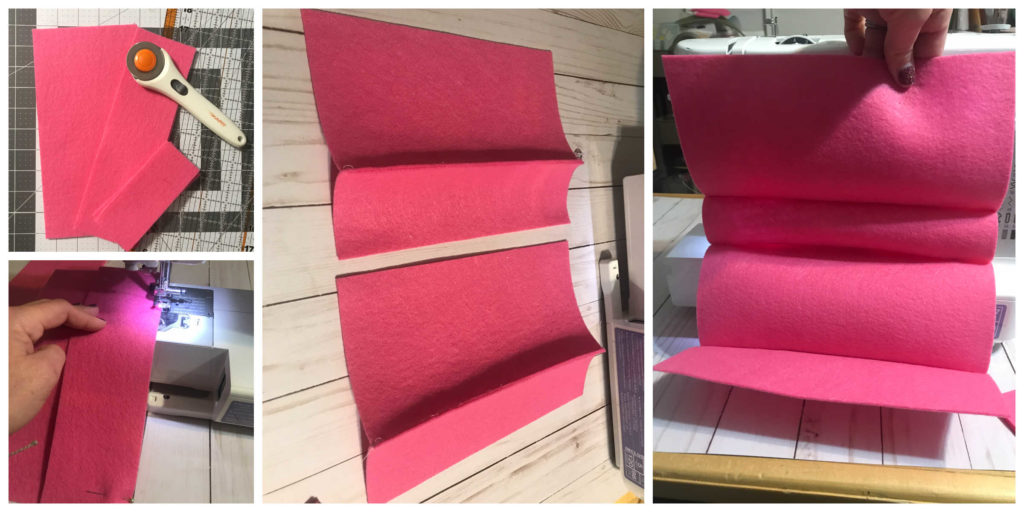
Step 1: Cut the pieces needed to create the boxes. Two for the front and back, two for the sides and two for the top and bottom. You can make the box any size that you’d like.

Step 2: Using pins, pin the pieces together at the edges. For the green one, I pinned all of the pieces together except for the back. For the pink one, I pinned all of the pieces together except for the sides.

Step 3: Sew the pieces together. I did my stitches on the outside. You could do the stitches on the inside and then turn it right side out after you have stitched it. A two inch gap needs to be left opened so that it can be filled with the poly-pellets® and fiber fill.

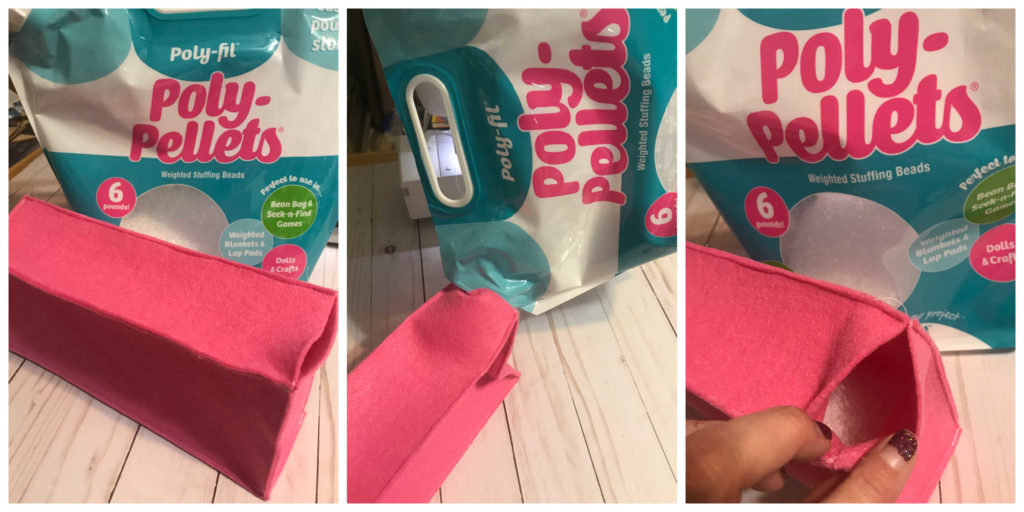
Step 4: Once all of the sides are sewn, except for the 2 inch opening, pour the Poly-Pellets® into the opening. I filled it about half way.

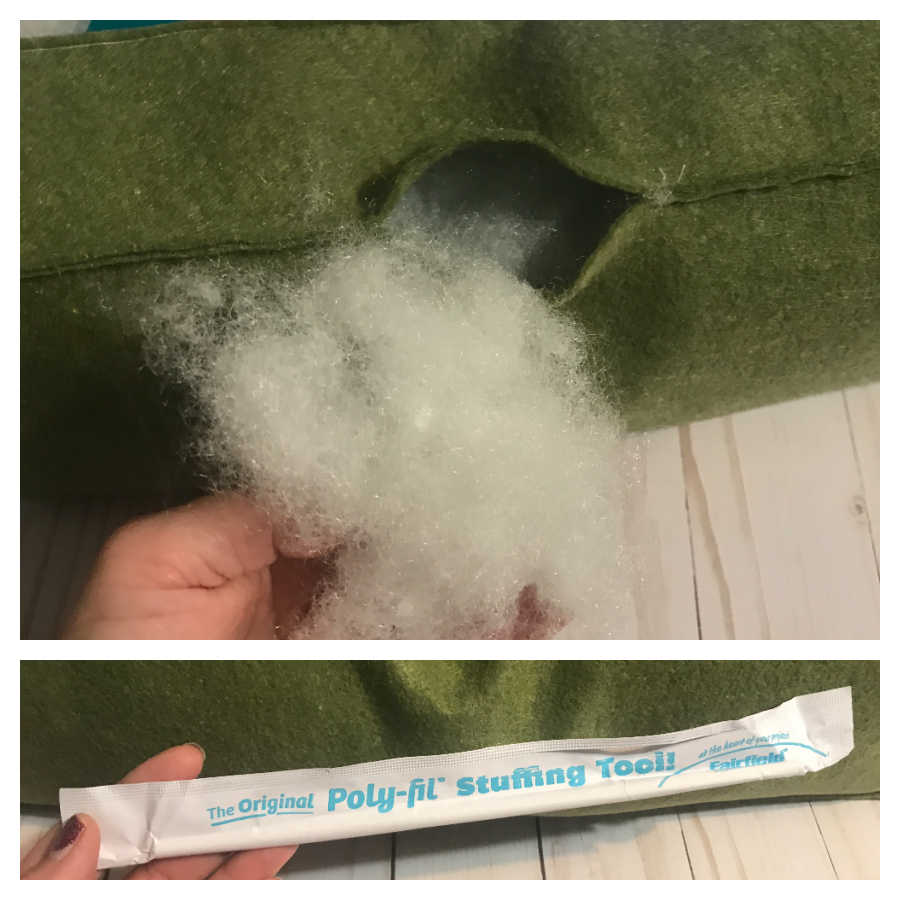
Step 5: I filled the rest of box with Poly-fil Fiber Fill. I used the handy little stuffing tool to push the Fiber Fill to the sides and corners.

Step 6: Once it is stuffed to liking, the two inch gap gets sewn closed.

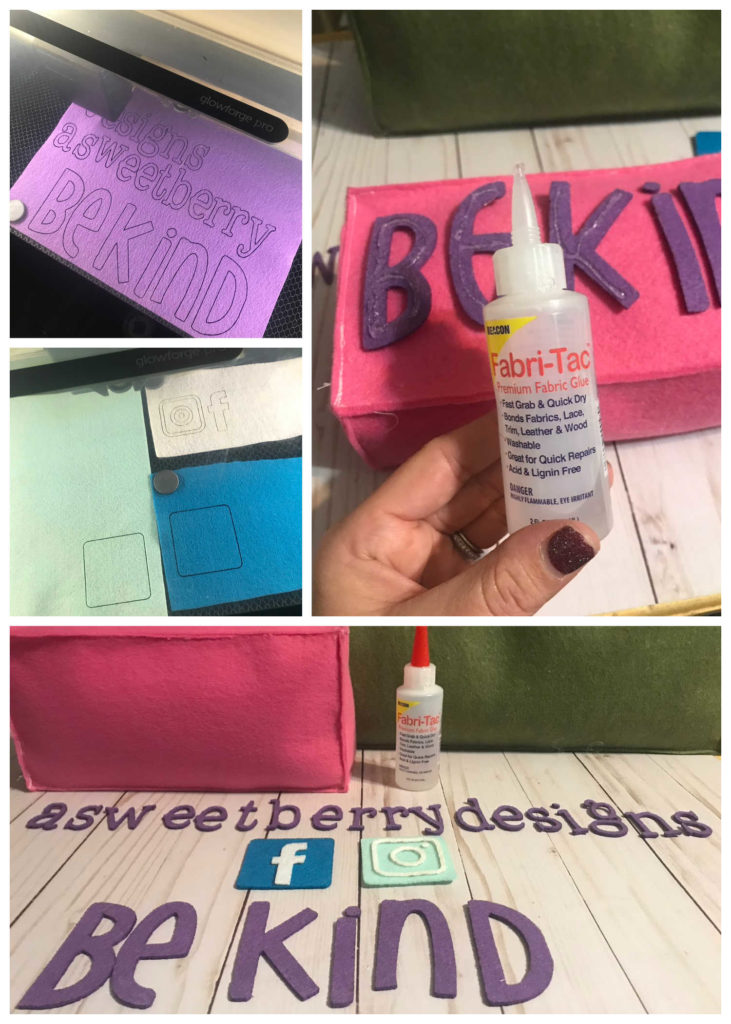
Step 7: Using either scissors or a dye cutting machine, cut letters to put on the box. I used my Glowforge laser to easily cut my letters. TIP: You can print out your letters on printer paper, cut them out and use them as templates for your felt.

Step 8: Use Fabric or Felt Glue to adhere the letters to the box and then let it dry flat.

When it’s completely dry, put it on your desk or a shelf and enjoy!

Be Kind A Sweet Berry Designs Desk Sitter

Hope you liked this little tutorial on how to make a felt desk sitter filled with Poly-pellets®!

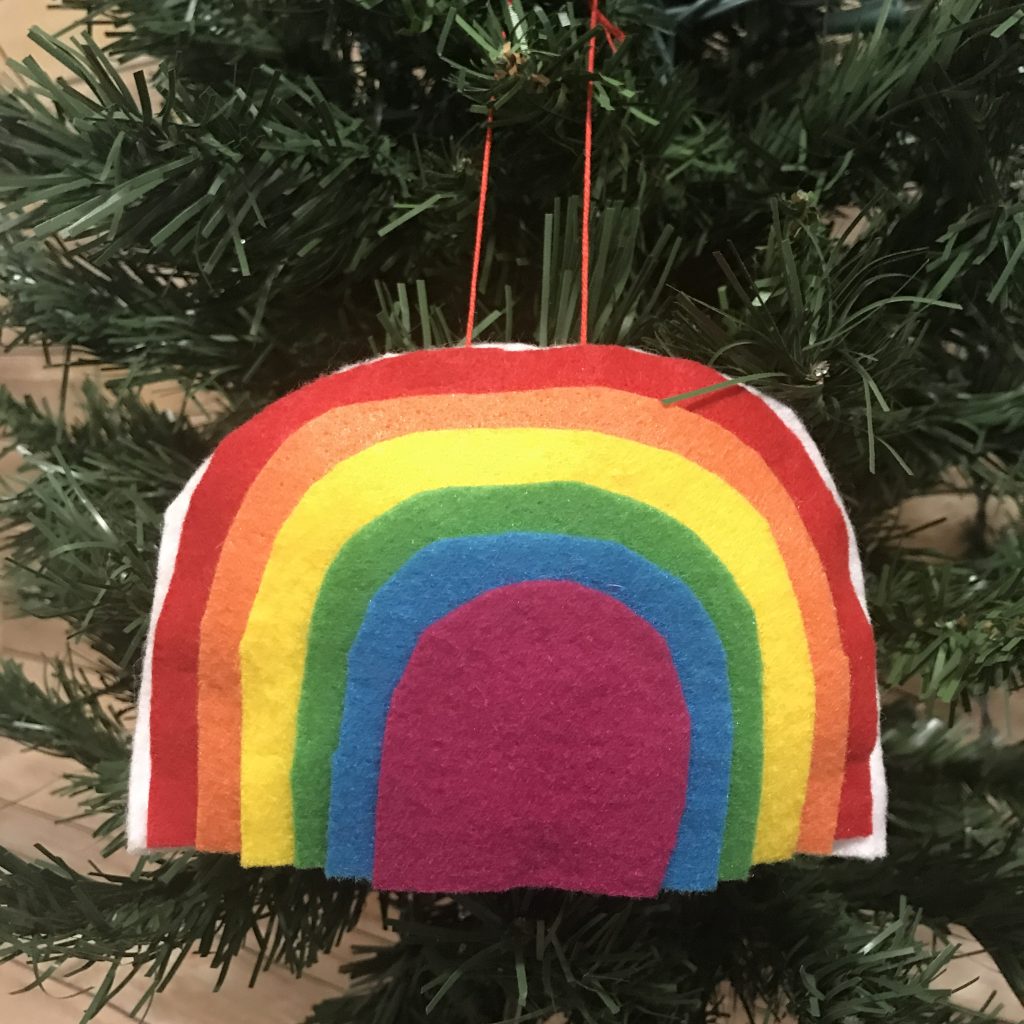
Felt Rainbow Ornament featuring Fairfield World Poly-fil

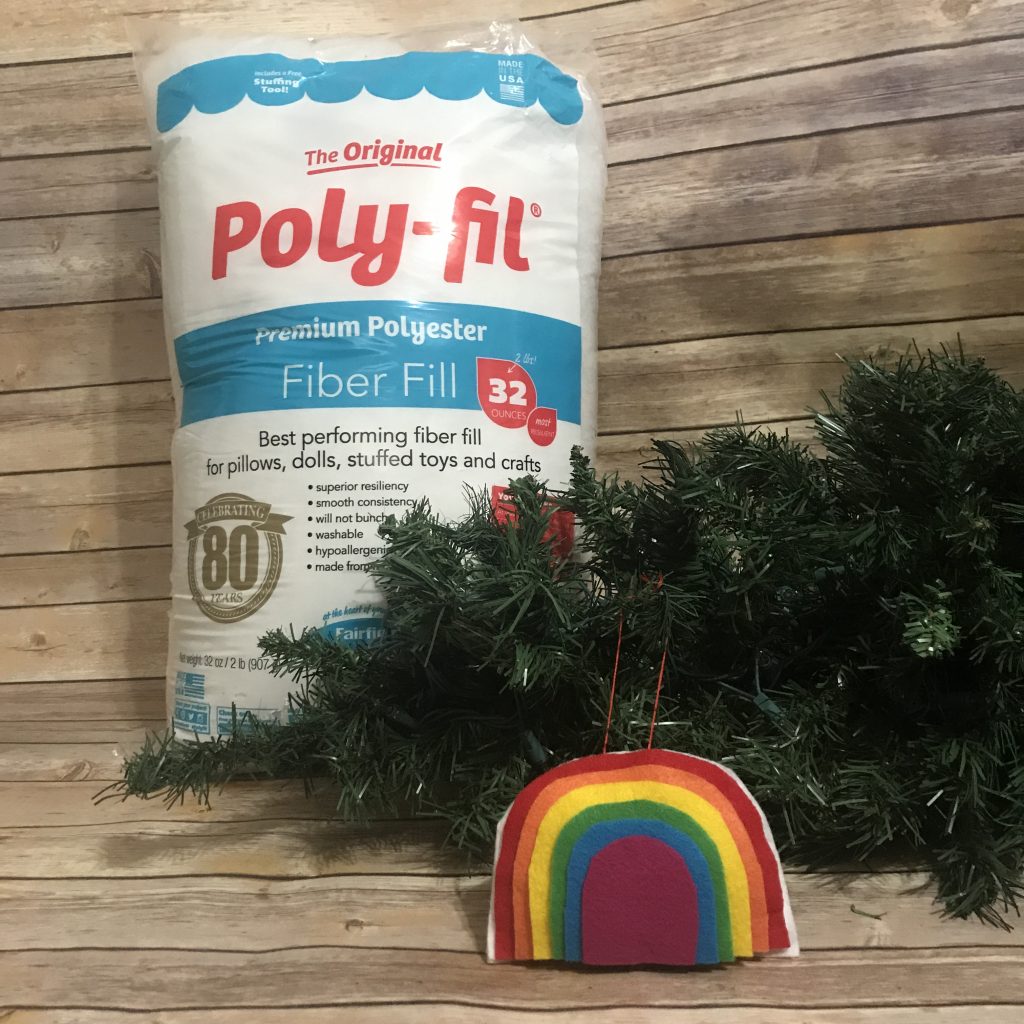
Fairfield World is celebrating their 80th birthday, so I’m celebrating with them by making a felt rainbow ornament filled with Fairfield Poly-fil Fiber Fill! I absolutely love Fairfield World products and I have been using the fiber fill forever!

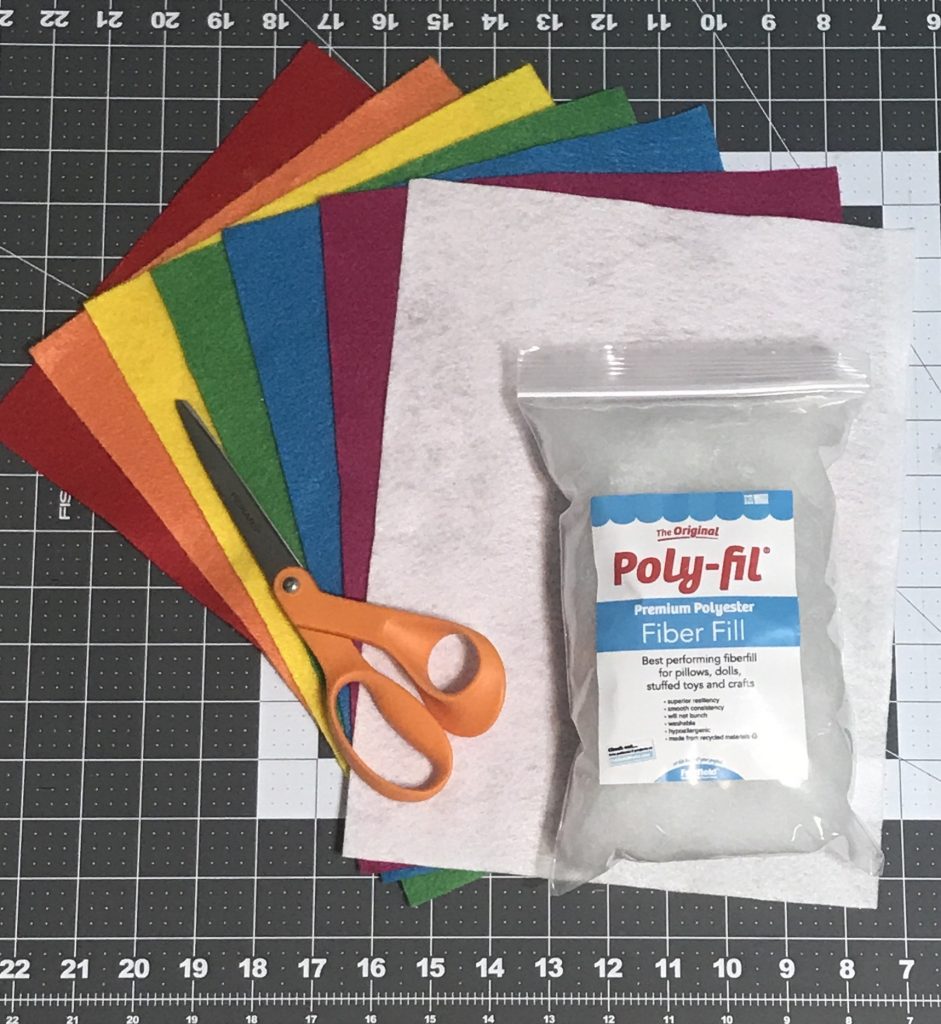
Materials used:

  • Fairfield World Poly-fil Fiber Fill
  • Kunin Felt Classic Felt 9″x12″ craft cuts: (1) Red, (1) Orange, (1) Yellow, (1)Apple Green, (1) Peacock, (1) Fuchsia, (1) White
  • Scissors
  • Felt Glue (I use Beacon Felt Glue)
  • Sewing Machine
  • Embroidery Floss
  • Needle

How I made it:

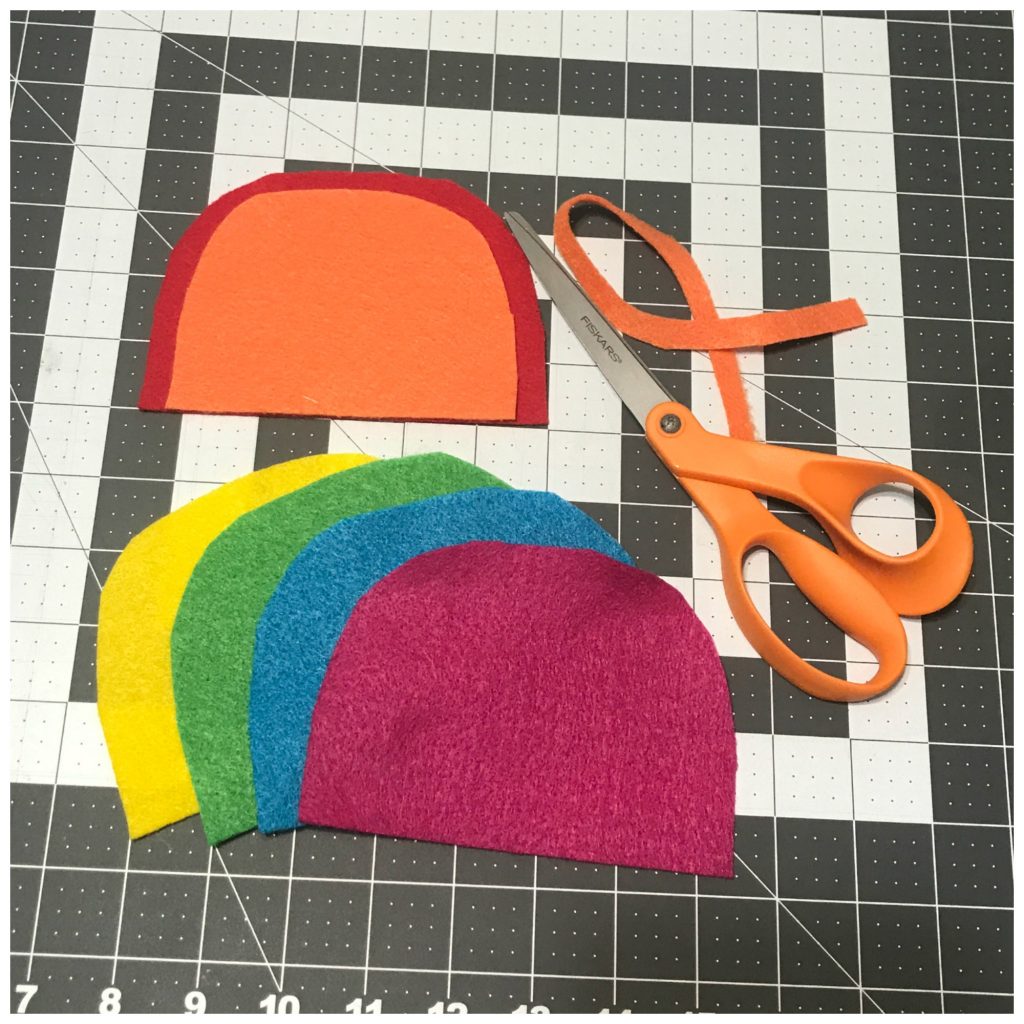
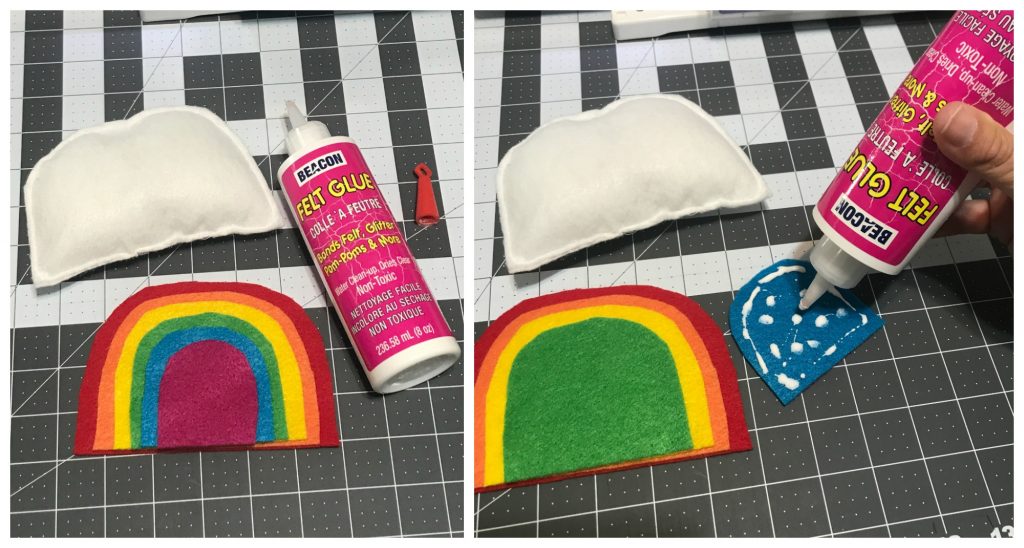
I began by cutting my red felt into to half circles at a length of 5.5 inches. I then cut the orange, yellow, green, blue and fuchsia into the same size half circles using the red one as a pattern.

Then I arranged them in the order of the rainbow and then cut each one a little smaller, creating a rainbow look. Then I cut two white half circles at six inches, slightly larger than the red one.

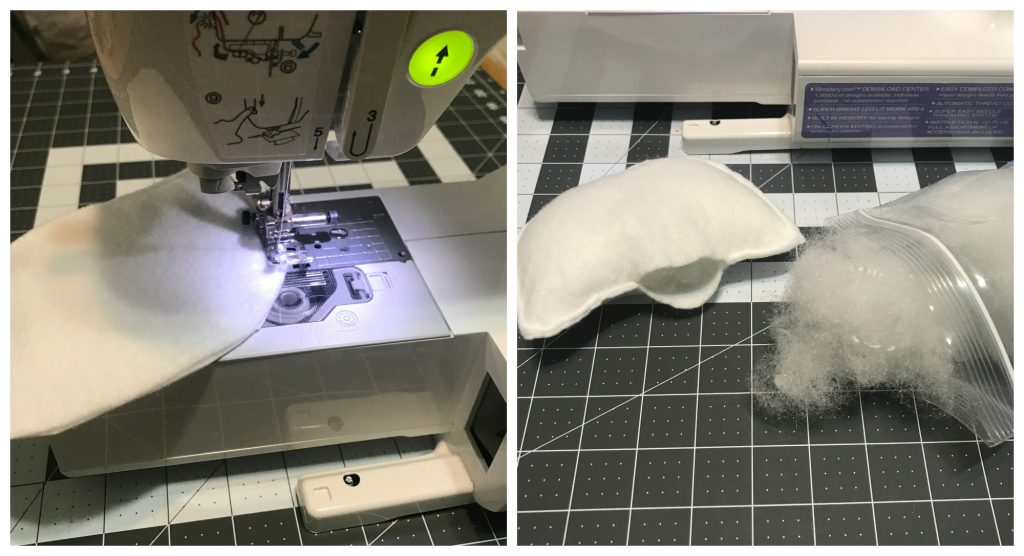
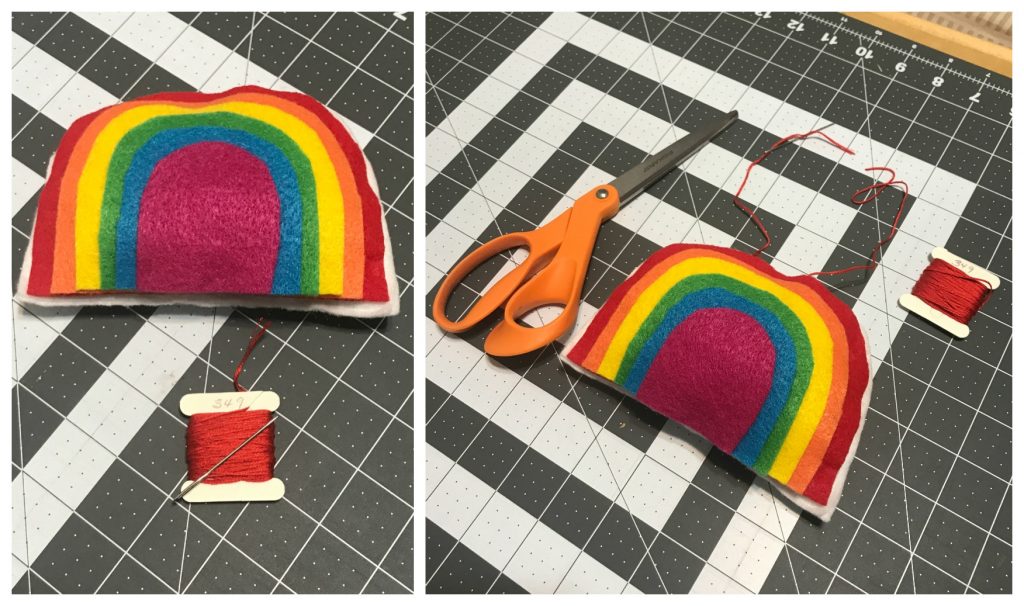
Using my sewing machine, I sewed the two white pieces together, leaving just a quarter inch seam and a two inch opening at the bottom. I then stuffed it with the Fairfield Poly-fil Fiber Fill and sewed it up!

I glued together the rainbow using Beacon Felt Glue. Next I glued the rainbow to the stuffed white piece and let it dry completely.

Once it was dry, using the needle and embroidery floss, I put the floss through the seam of the white pieces and tied the ends together so that I could hang it on the tree!

Happy 80th Birthday Fairfield World!!!!

Happy Crafting. Until next time…..

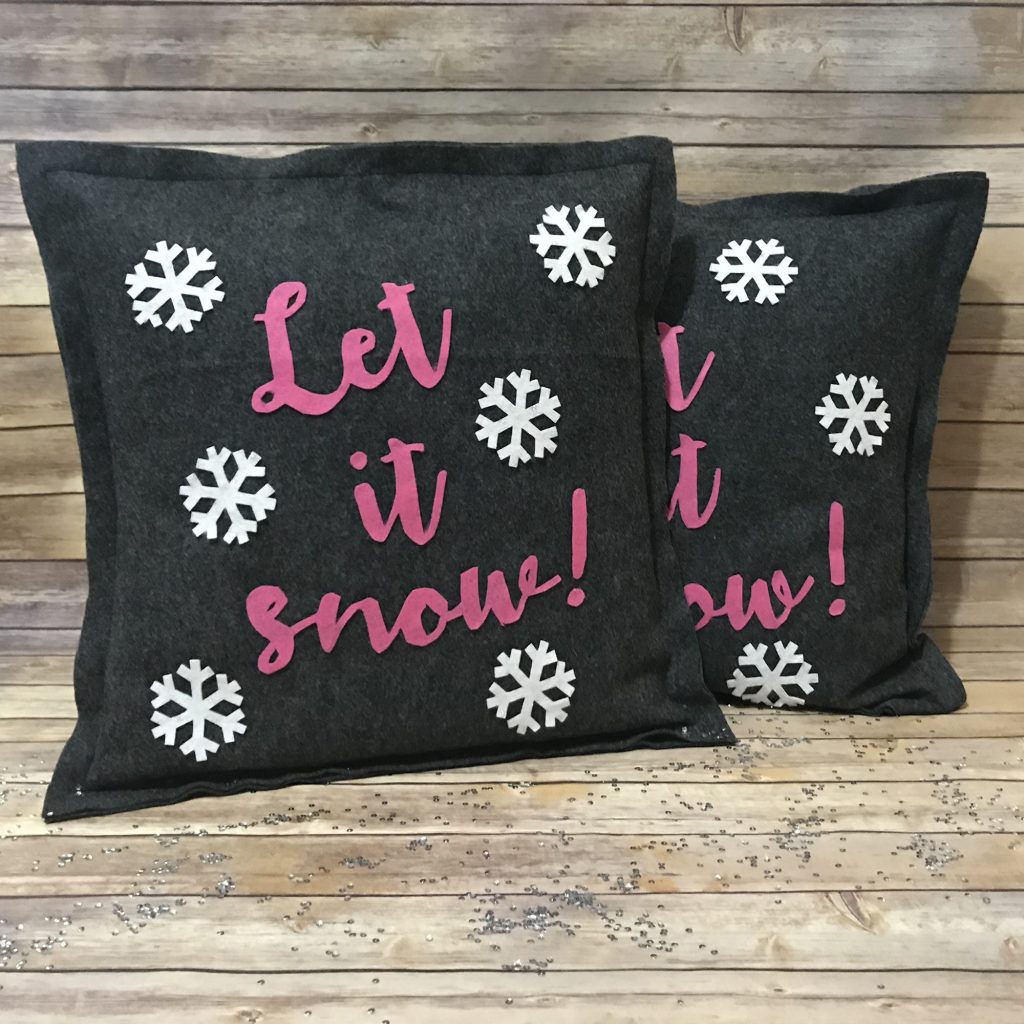
Fairfield World Pillow Party 2019 Let It Snow Pillow

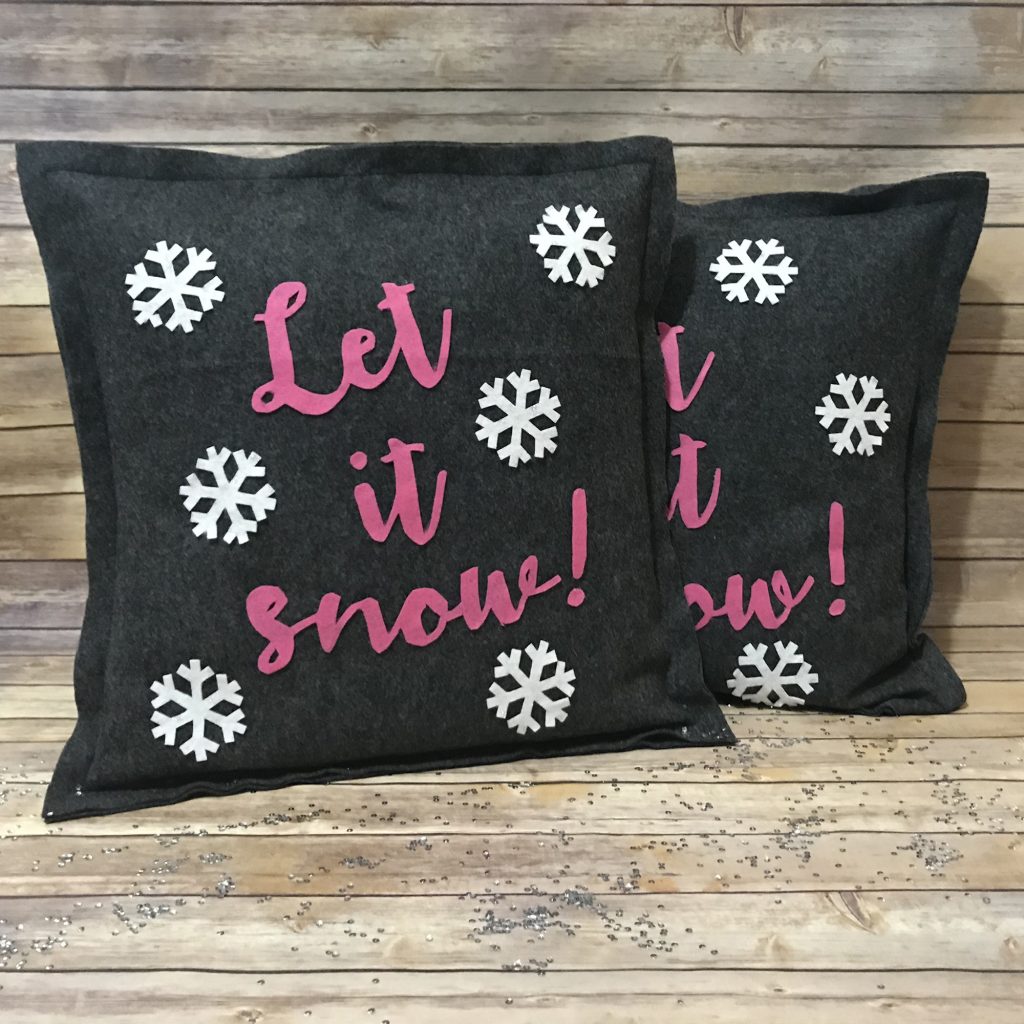
The Fairfield World Pillow Party has been so much fun and these Let it Snow! pillows were super fun and easy to make. My friends over at Fairfield World, Laura Kelly Designs, The Hedgehog Hollow put together this fun Holiday Pillow Party blog hop.

What’s needed:

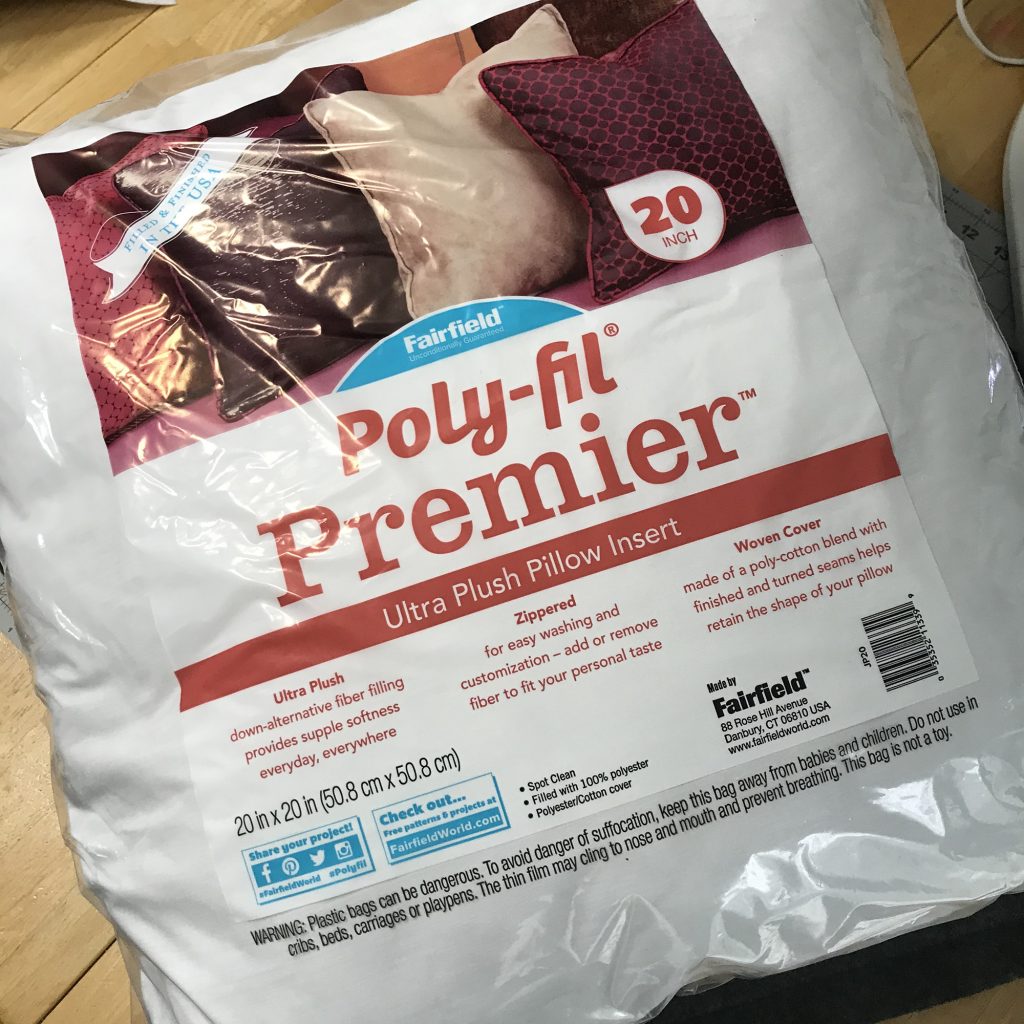
  • Fairfield Poly-fil Premier Ultra Plush Pillow
  • 1.5 yards of Kunin Premium felt cut from a bolt: Charcoal
  • 9″x12″ Kunin Premium felt: Candy Pink
  • 9″x12″ Kunin Coordinate felt: Silver Dot on White
  • pins
  • Snowflake Pattern
  • Let it Snow! Pattern
  • Scissors
  • Beacon Fabri-Tac Premium Fabric Glue
  • Cutting Mat, Cutting Ruler and Rotary Cutter
  • Sewing Machine

Fairfield has great pillows to add to any pillow case. They provided these awesome Poly-Fit Premier Ultra Plush Pillow Inserts. I created my very own pillow cases to go over them. Here is how I made them!

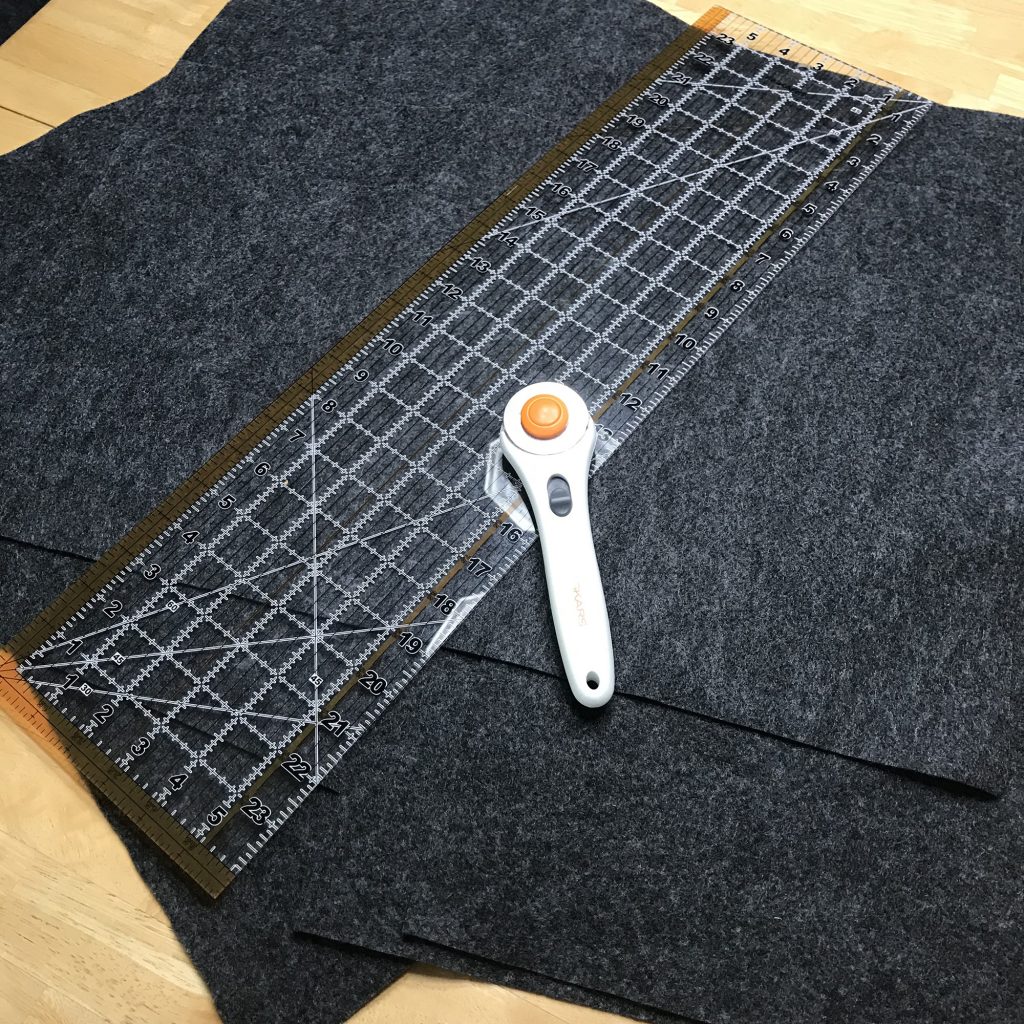
The pillows were 20″x20″ so I cut my felt at 21″x21″. I cut 4 squares and then cut 2 of them in half.

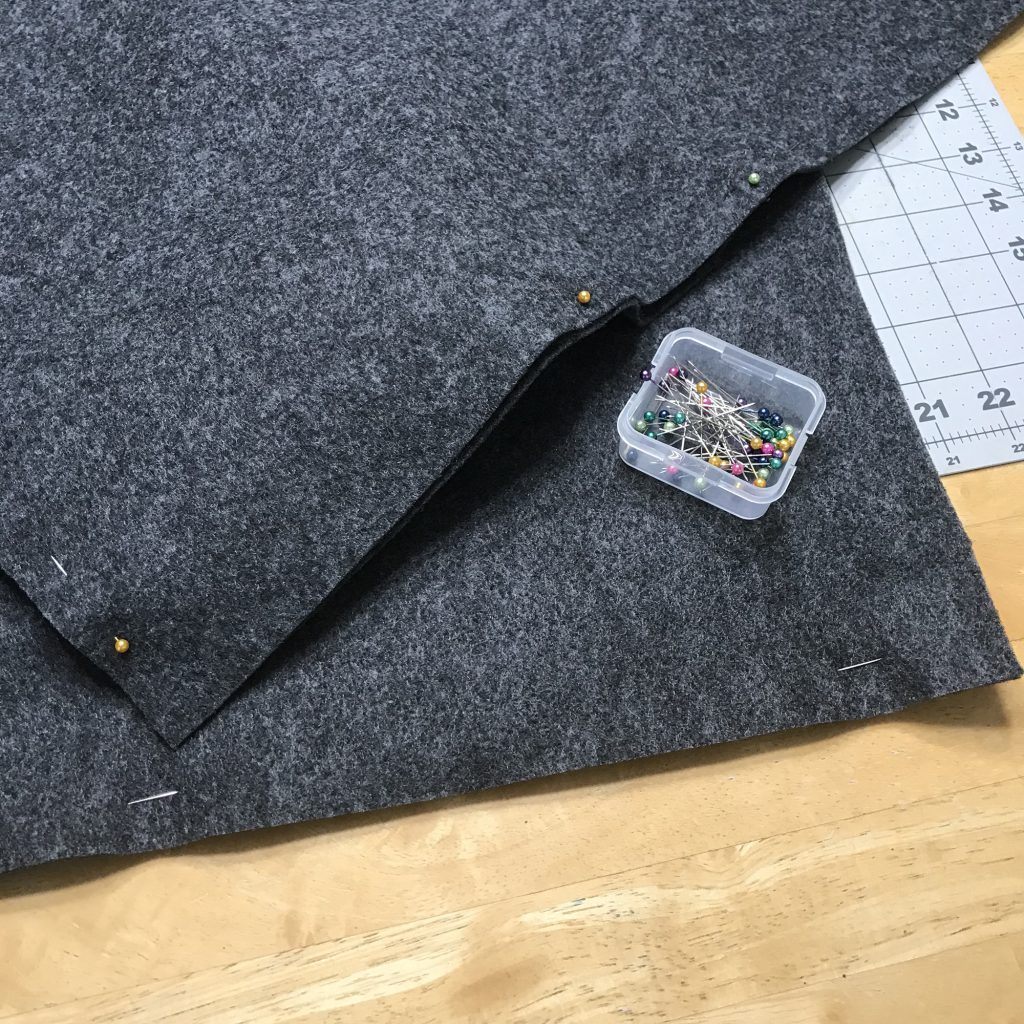
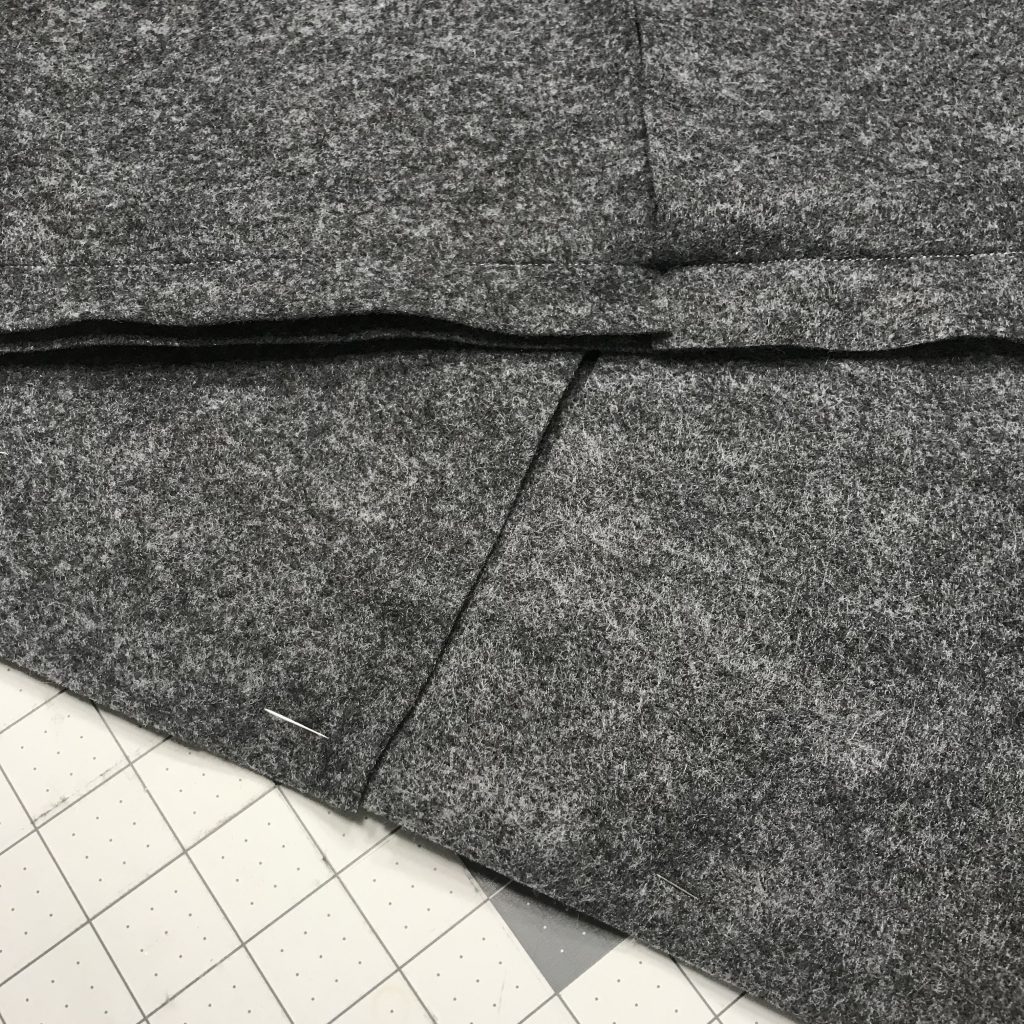
Each pillow should have 3 pieces of Charcoal fabric, (1) 21″x21″ and (2) 10.5″x21″. Pin the two smaller pieces to the bigger piece. This leaves an opening in the middle of the back of the pillow.

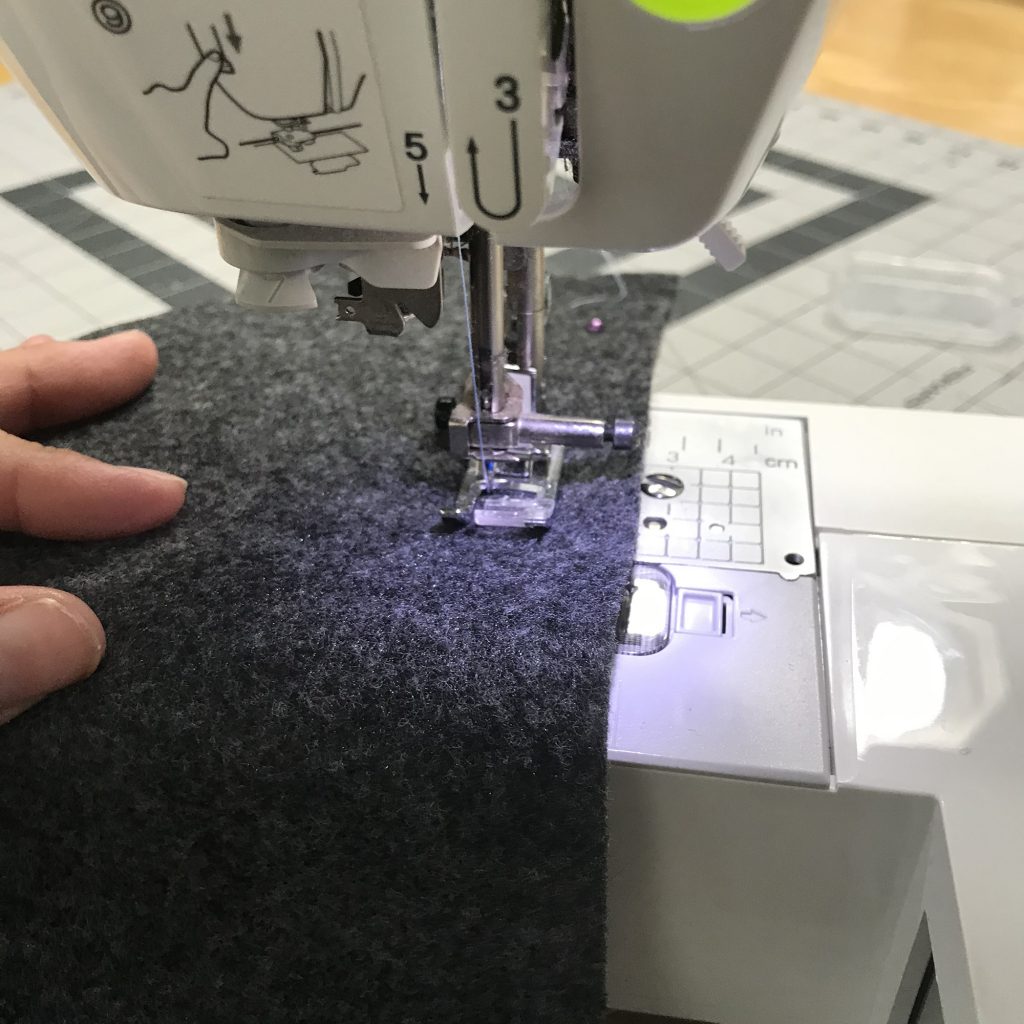
Leaving 1″ around the edge, sew all the way around the pillow case.

Once the pillow cases are all sewn, remove all of the pins and put the insert in the pillow case.

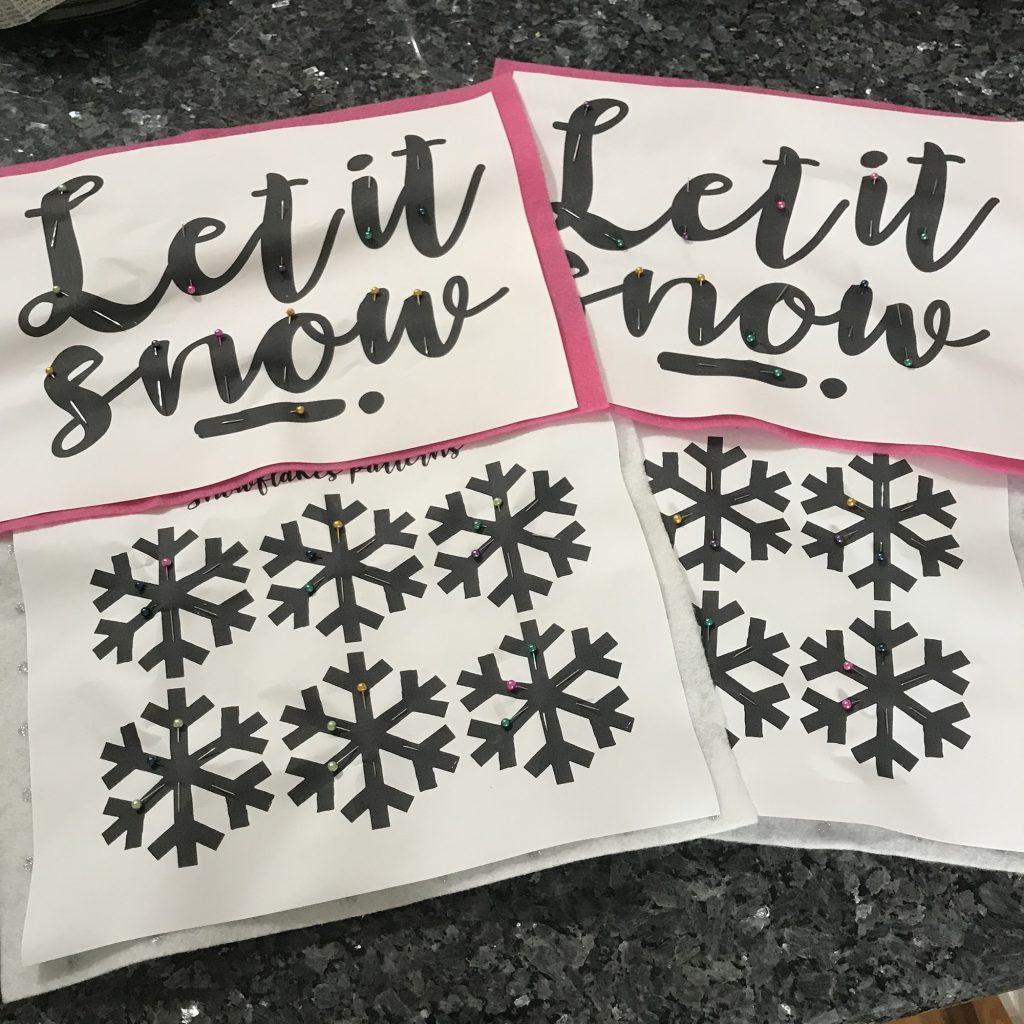
Print out the patterns and pin them to the felt.

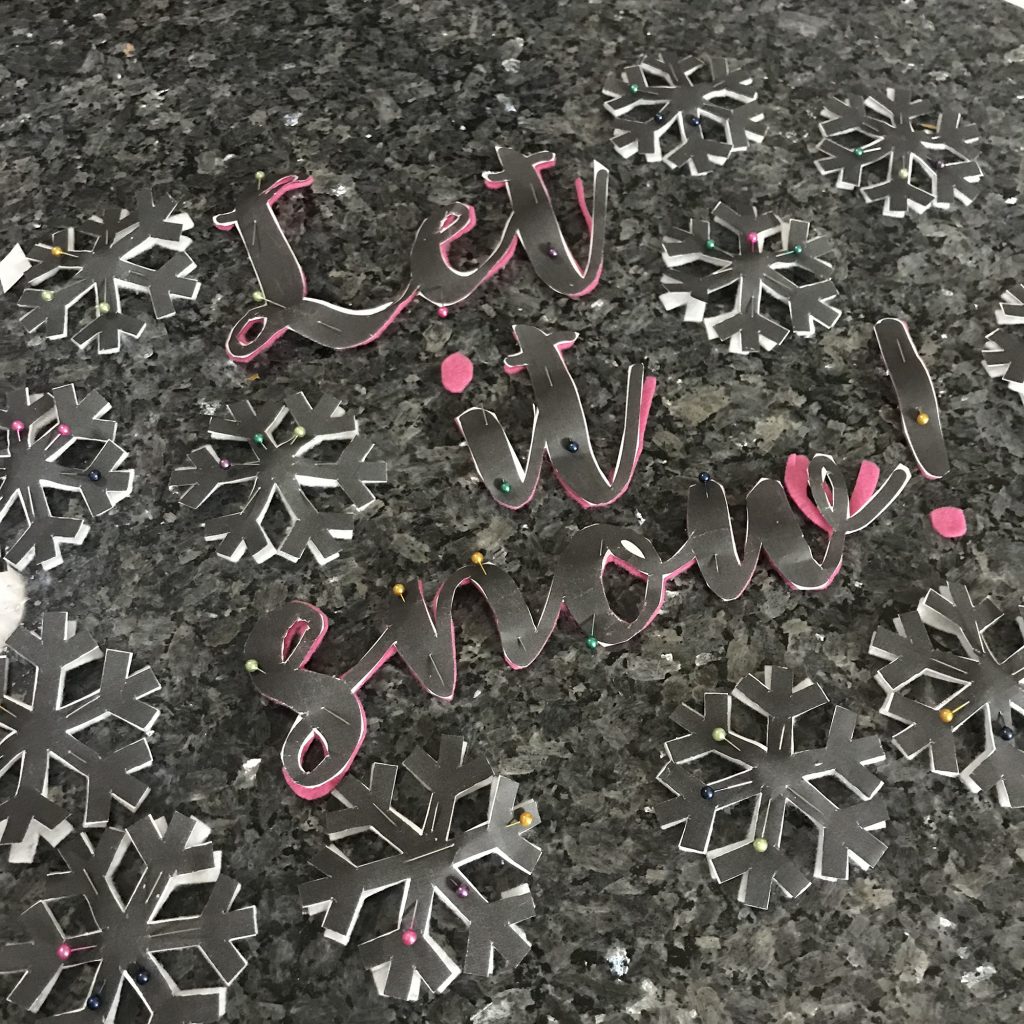
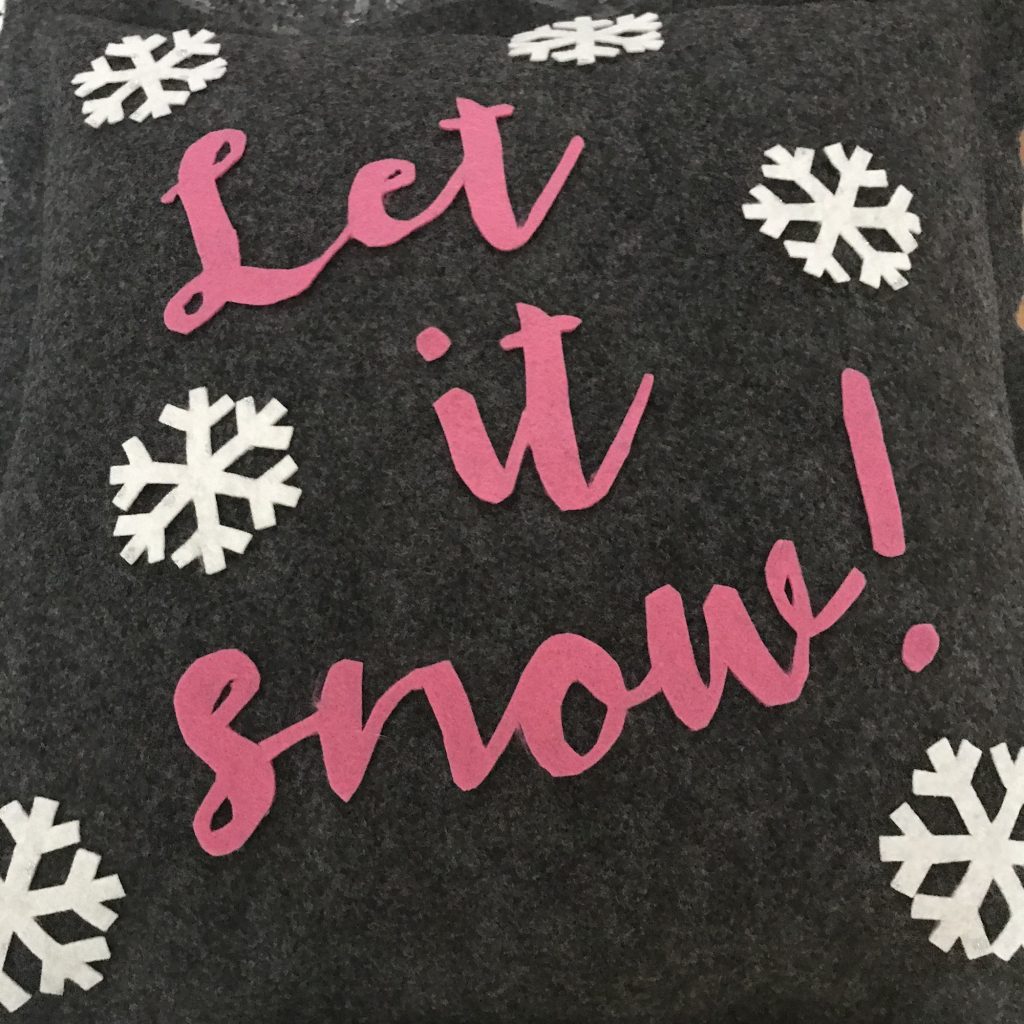
Cut the snowflakes and the letters from the felt.

Once everything is cut out, lay the pieces out on the pillowcase to make sure you have it where you want it.

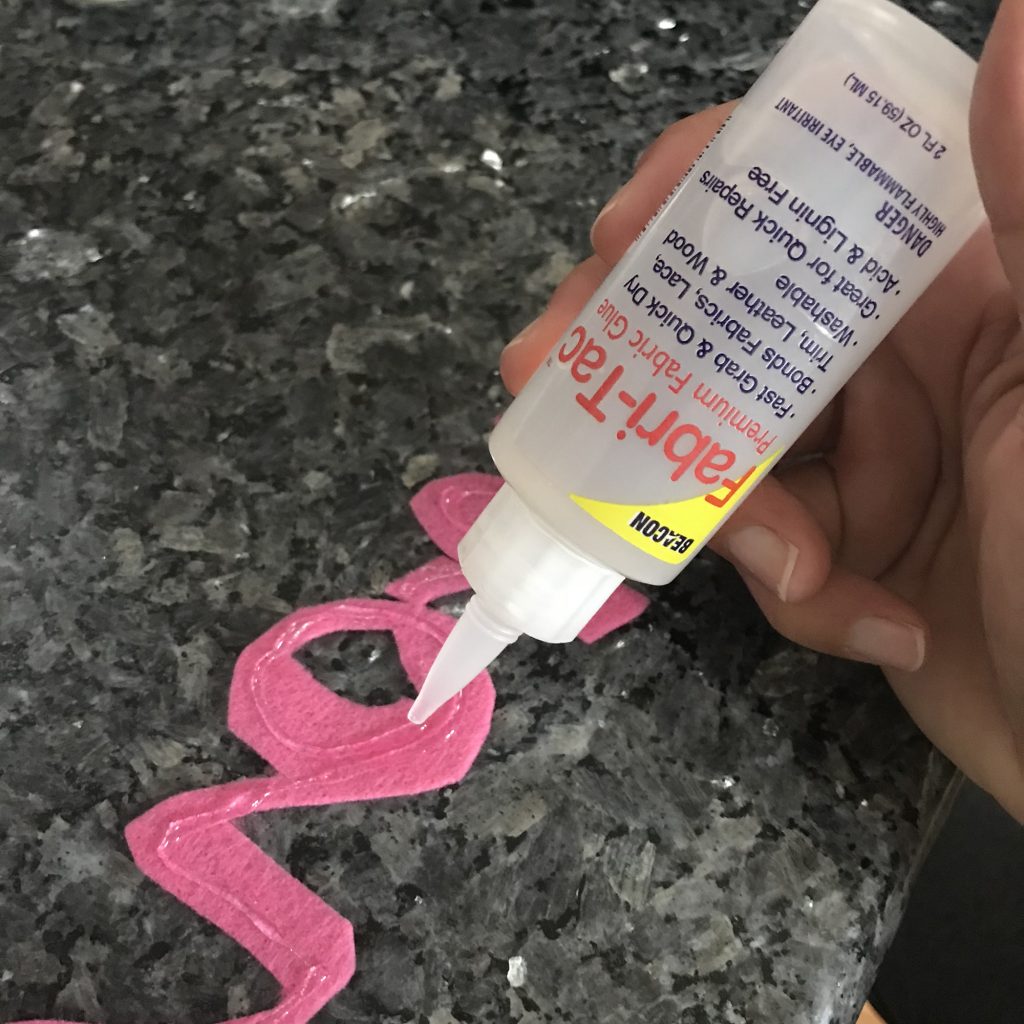
Using Beacon’s Fabric-Tac Premium Fabric Glue, glue your pieces in place.

Let the glue dry and then your pillows are ready to use!

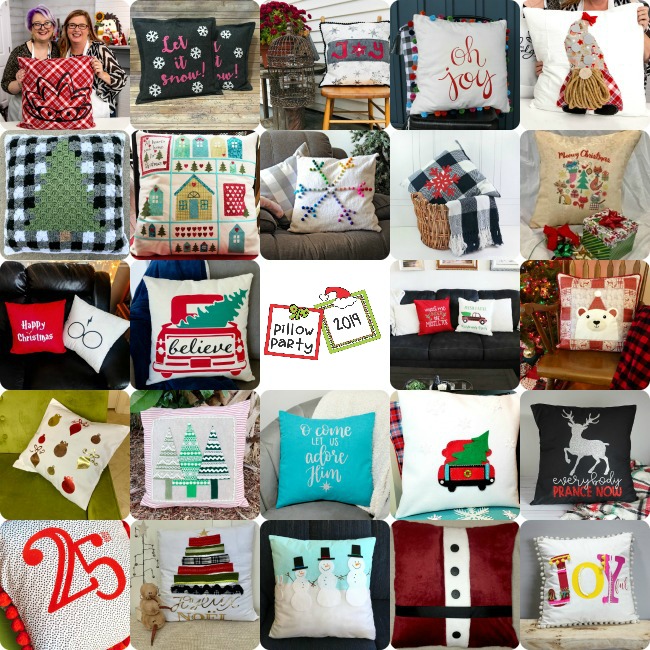
Hope you like these adorable Let it Snow! Pillows that I created for the Fairfield World Pillow Party 2019. Be sure to check out the other pillows that were created!

Also, enter below to win a $100 gift card to Michael’s and 10lbs of Poly-Fil.

a Rafflecopter giveaway

Until next time…..

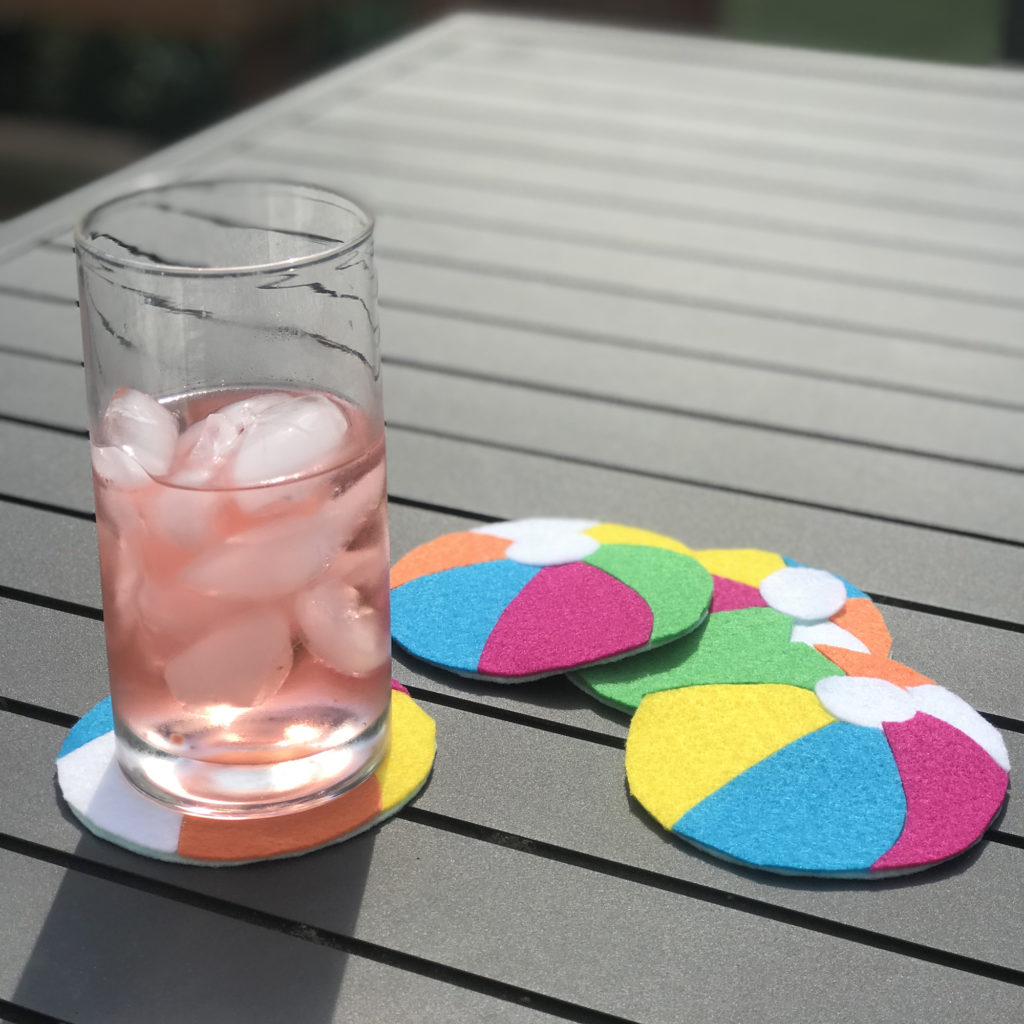
Felt Beach Ball Coasters

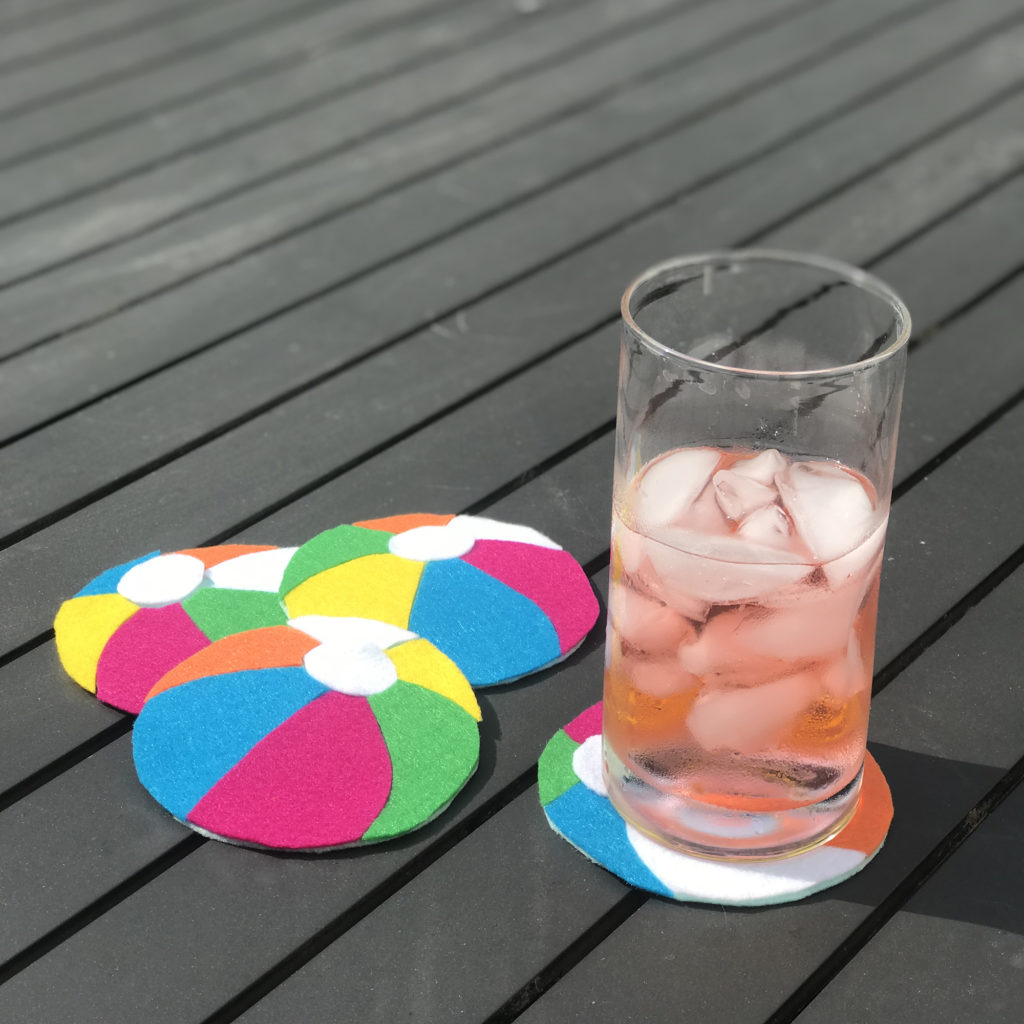
Beach and Pool season is here. These adorable felt Beach Ball Coasters would be perfect by the pool.

Skill Level:  Easy

Time to Complete:  1 hour

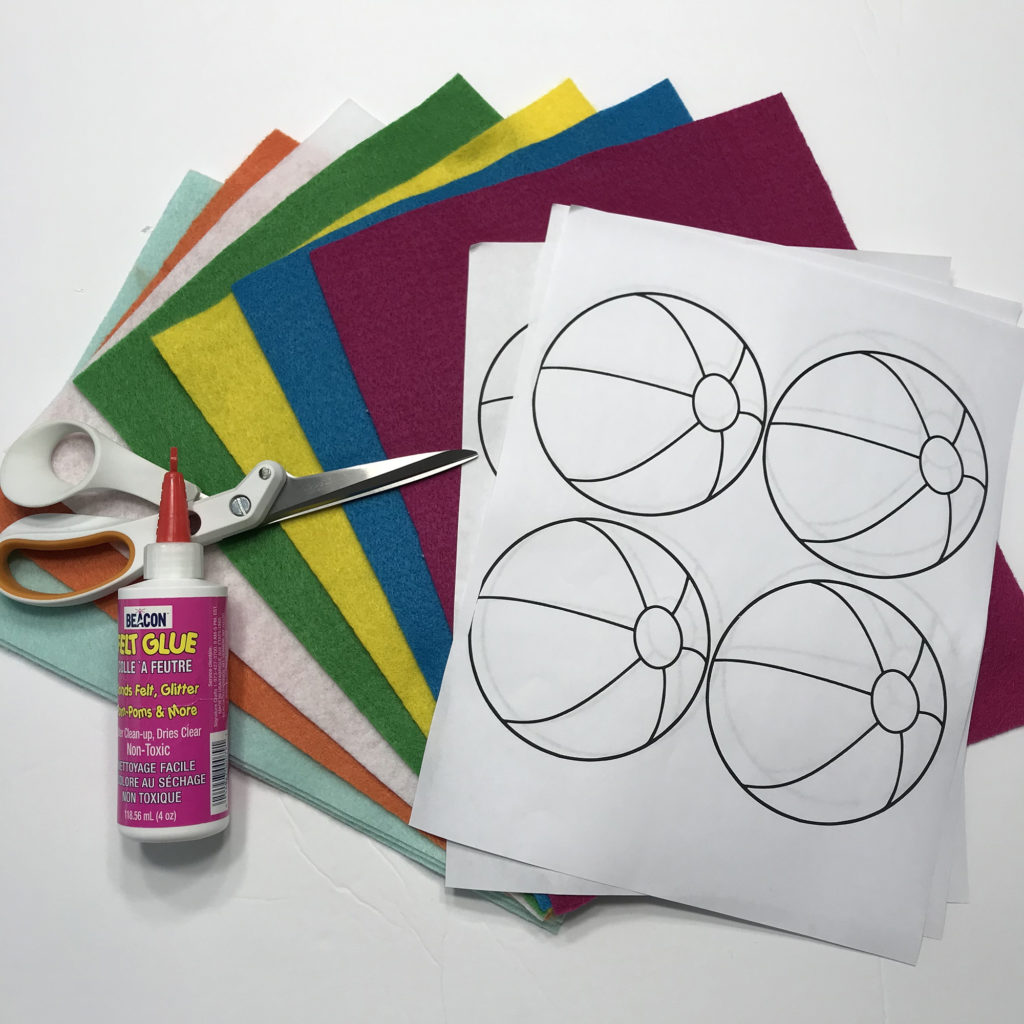
Materials:

  • 9” x 12” Craft Cut of KuninFelt Classic felt:  (1) Minty, (1) Yellow, (1) Orange, (1) Peacock, (1) Apple Green, (1) Fuchsia , (1) White
  • Scissors
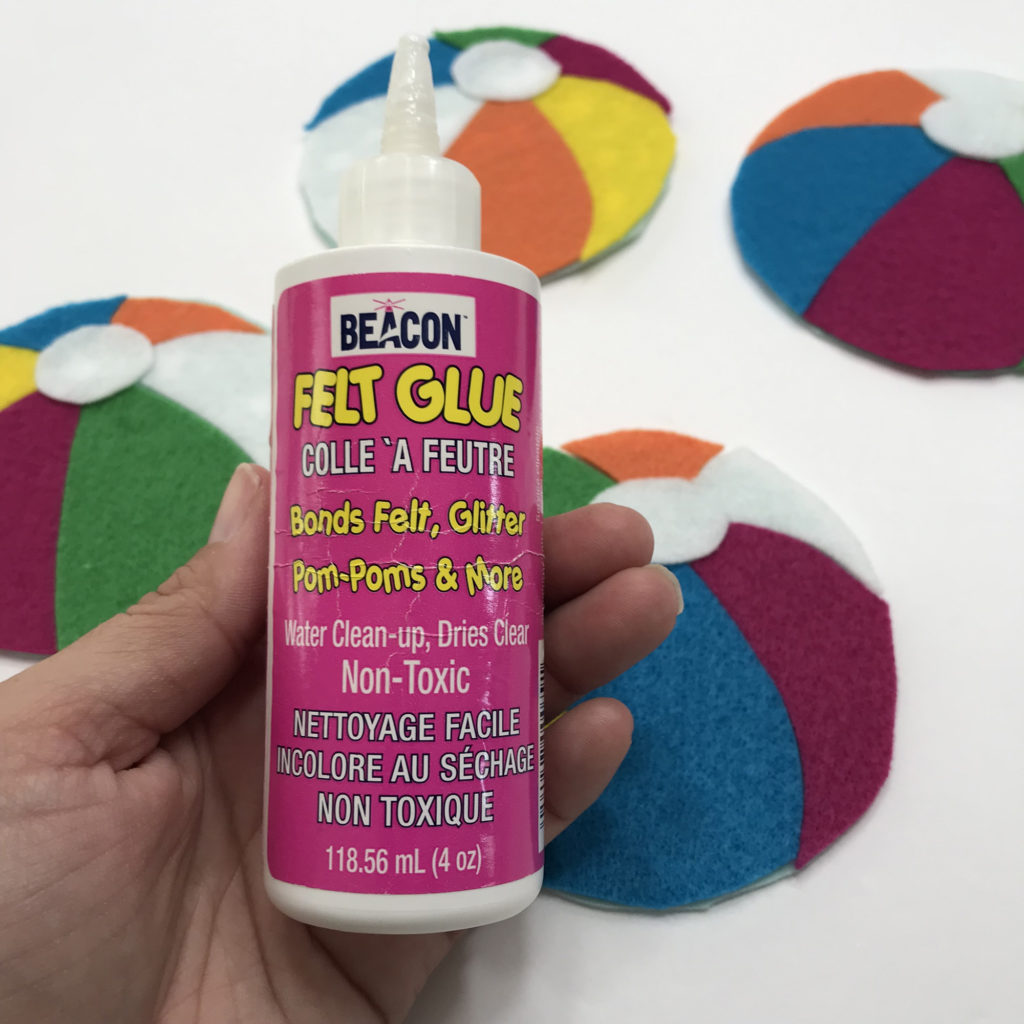
  • Felt Glue
  • Pins (optional)

How I made it:

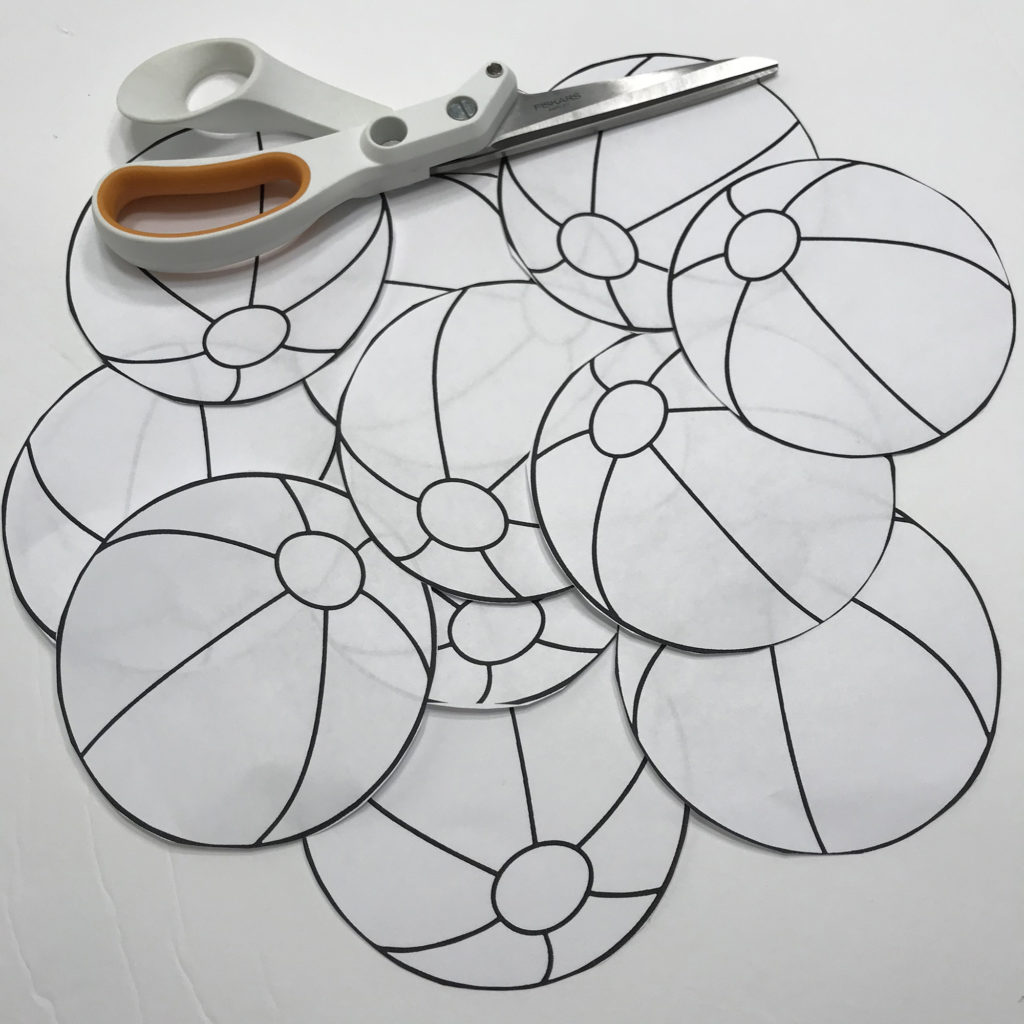
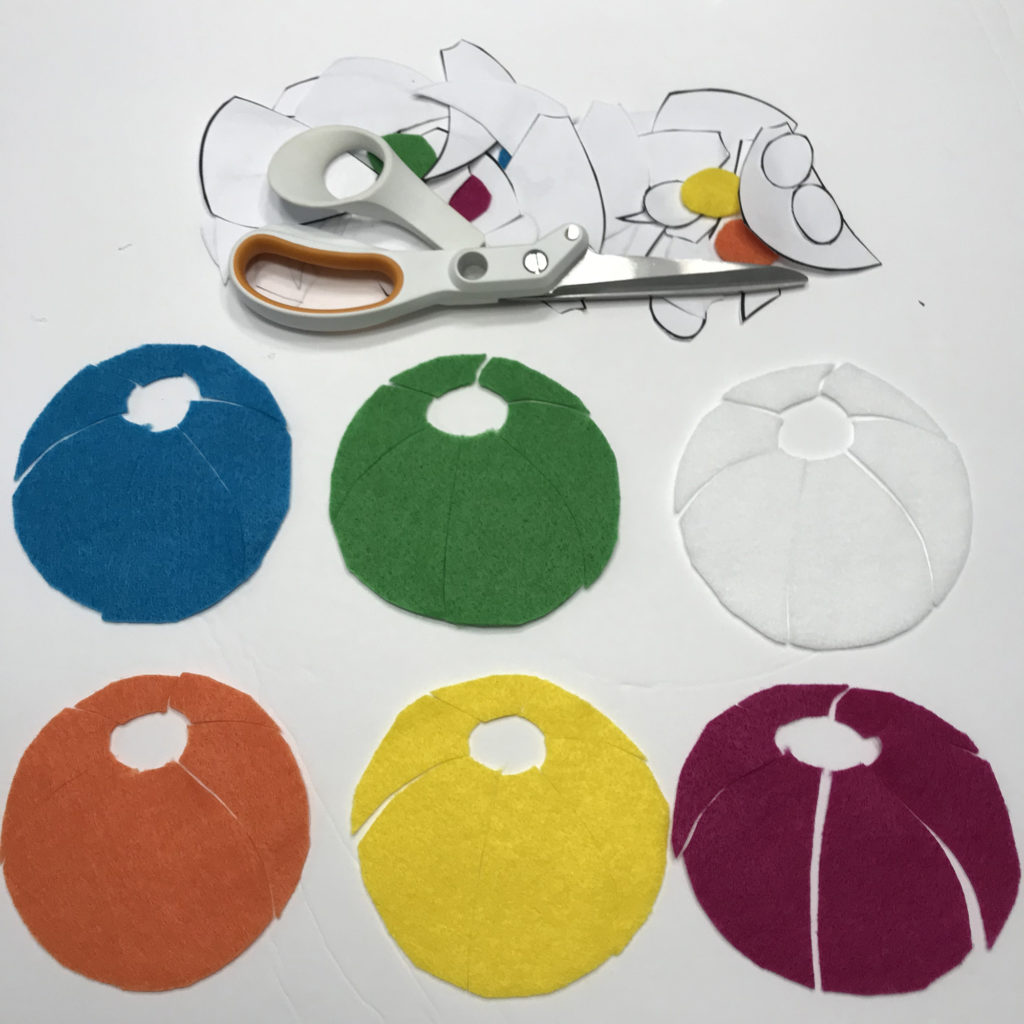
Print the Beach Ball PDF pattern out.  You will need a total of 7 balls so you may have to print 2 sheets.  Cut out the balls.

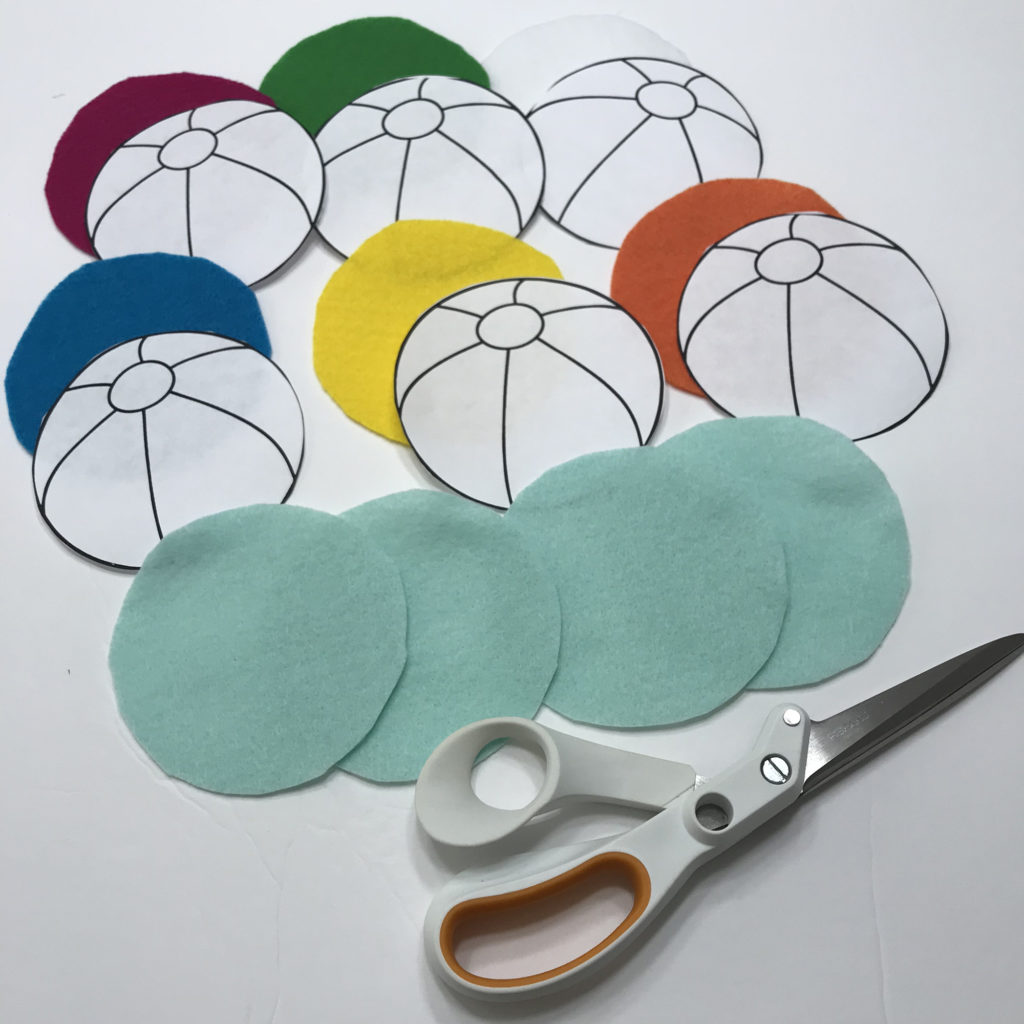
Using one of the patterns, cut out the base of the coasters from the Minty felt.  

If you want to use pins, pin one circle to each of the other colors of felt or you can just hold the pattern in place.  Cut the circle out first and then cut the pieces of each ball following the lines.  Be sure to cut the small round pieces too.

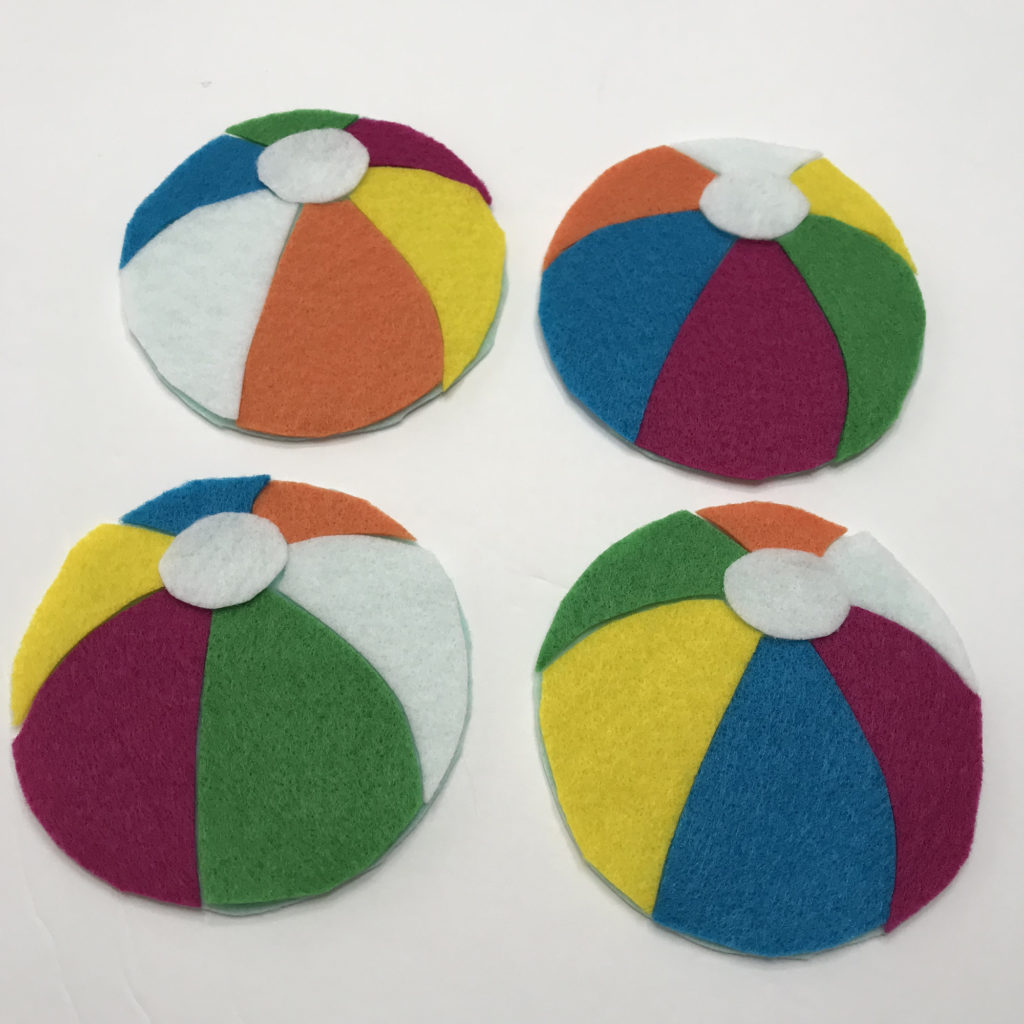
Alternating colors, place the pieces on the Minty base pieces to make it look like a beach ball.  

Glue everything in place and let them dry! You can trim off any pieces that are hanging over the Minty base piece.

Then they are ready to use by the pool or on your beach umbrella table!

Hope you enjoy these super simple felt Beach Ball coasters.  

You can now find an expanded color line of Kunin® Classicfelt; Kunin® Premiumfelt and Corduroy non-wovens fabrics in cut by the yard at your local Walmart; please inquire as to what is available in your area.

Happy Crafting,
Katie Berry
A Sweet Berry Designs

www.asweetberrysblog.com    
FB: A Sweet Berry Designs
IG: asweetberrydesigns

Decorated Letter Decor

Craft Lightning is happening and the theme this month is Wood.  Wood is my favorite material to work with.   I usually like to do the cutting and designing, but today I’m using a wooden letter that I got from my local craft store.

Materials used:

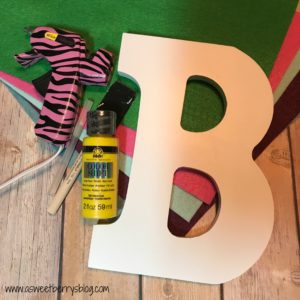
Wooden Letter
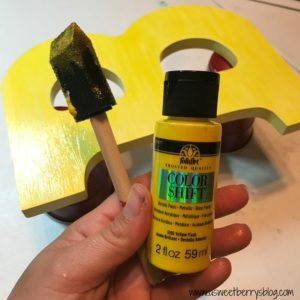
Paint (I used Plaid’s FolkArt Color Shift in Yellow Flash)
Paint Brush
Felt (I use KuninFelt)
Hot Glue Gun and Hot Glue Stick
Scissors

How I decorated it:

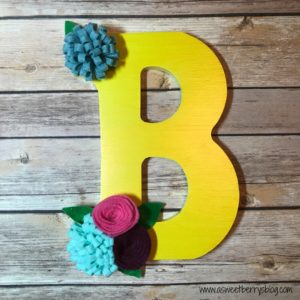
I applied two coats of paint to the letter, allowing the first coat to dry before applying the second coat.

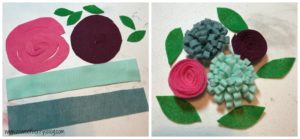
I cut the felt for my felt flowers.  I just used a simple tutorial that I found online.

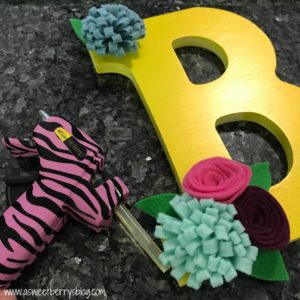
Then I put the flowers together using the hot glue gun.

I glued the flowers to the letter.

And then it was time to hang it up!!!!   This particular letter had a hanging hole on the back but you could also hang it by using ribbon or jute rope! 

This decorated flower decor took less than 15 minutes, excluding the drying time.  This would be a super easy project for a kids party or a girls night in!

Be sure to click the photo below for more Craft Lightning Wood projects!

Until next time….


Clay Pot Cupcake Pin Cushion

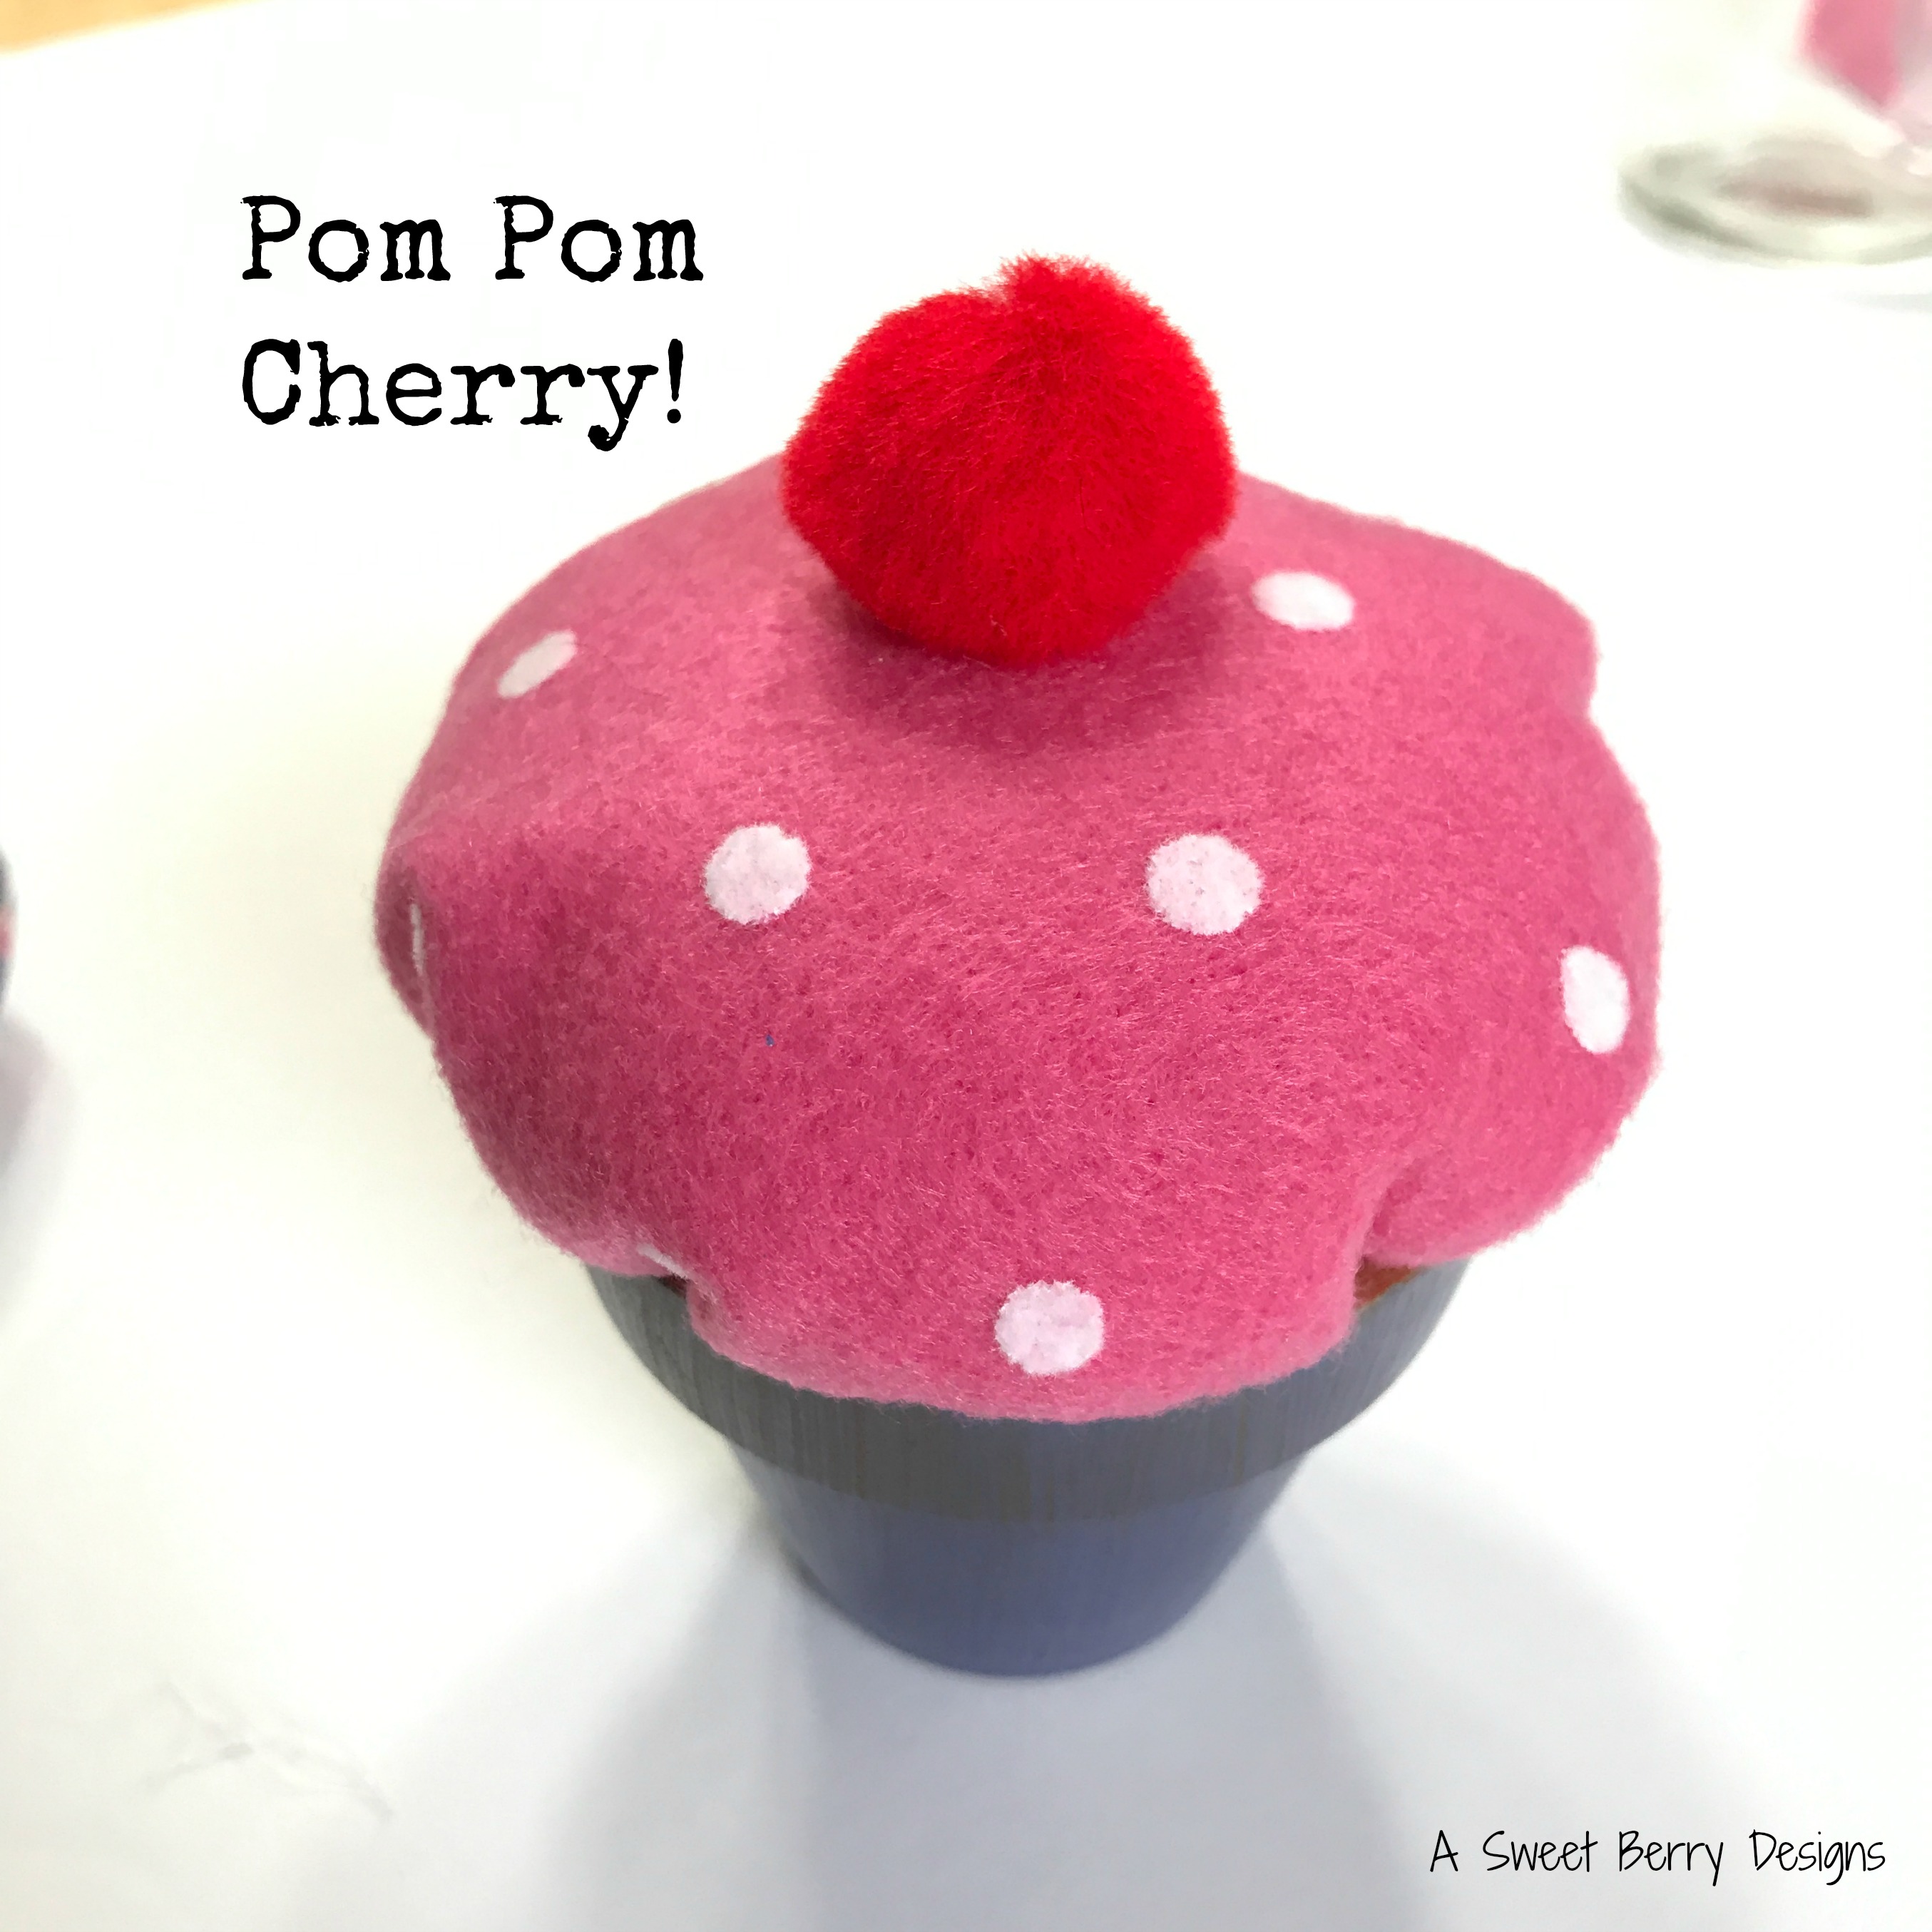
Craft Lightning is here again!!!!   I love it!   The theme this time was Clay Pots!   There are so many things that you can do with clay pots other than using them as flower pots!   I made this adorable little Cupcake Pin Cushion with mine!   It took less than 15 minutes!!!

Materials used:
9″ x 12″ craft cut of Kunin Felt Cooridnates:  1 White Dot of Candy Pink
Fairfield Poly-fil Poly-Pellets
Hot Glue Gun and Hot Glue Stick
Plaid’s FolkArt Color Shift Paint:  Blue Violet Flash
Paint Brush
Embroidery Floss and Needle
Scissors
Red Pom Pom

How I made it:
Paint the Pot!!!  I used this awesome FolkArt Color Shift Paint from Plaid!


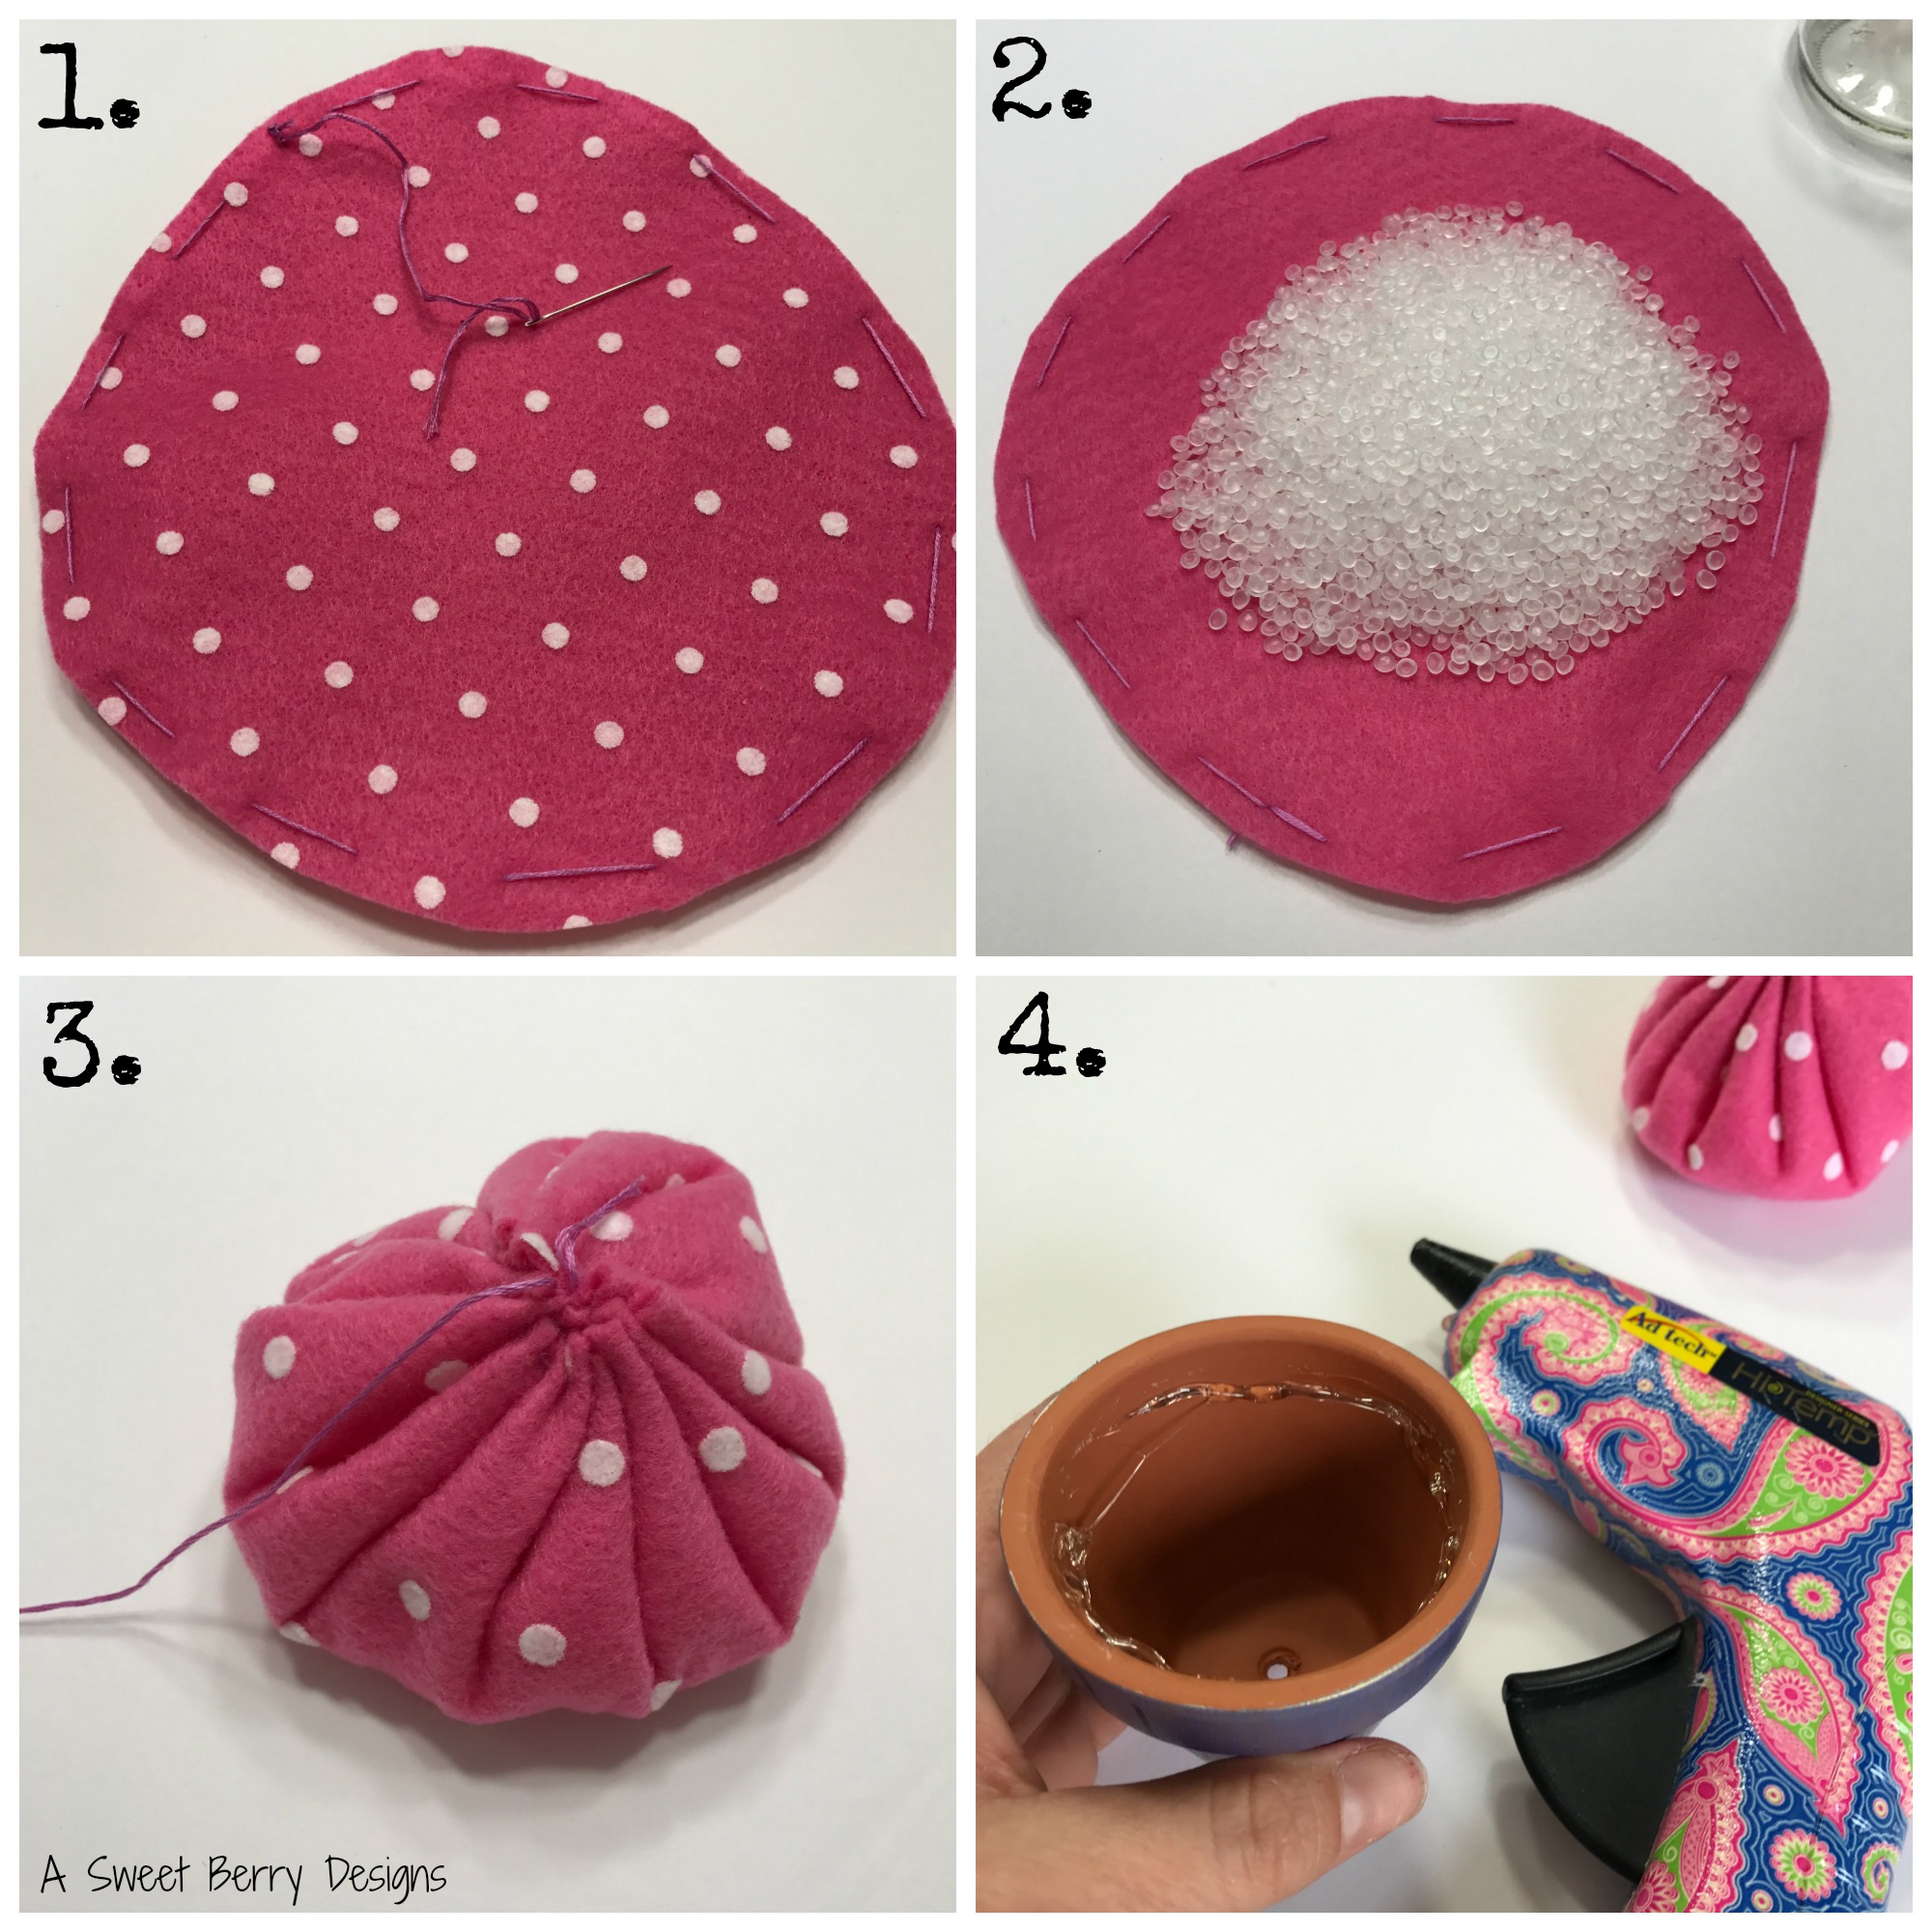
  1. I cut a circle from my felt.  It didn’t have to be a perfect circle.  It’s about 8 inches across.  I also ran a quick stitch around the edge with the embroidery floss.
  2.  I flipped the felt over and added the Poly-pellets to the middle.
  3.  I pulled the embroidery floss until the circle closed up around the Poly-pellets.  I also just did a few quick stitches over the hole to close it up.
  4.  Using the hot glue gun, I added glue to the inside of my pot and stuffed the Poly-pellet filled felt down into the pot.

5.  Using the hot glue gun, I glued the red pom-pom on the top!   And then I added my pins!

I hope you like this Clay Pot Pin Cushion!   

Be sure to check out other Craft Lightning Clay Pot ideas by clicking the photo below!

Until next time……

For The Love of Coffee Felt Coffee Cozy

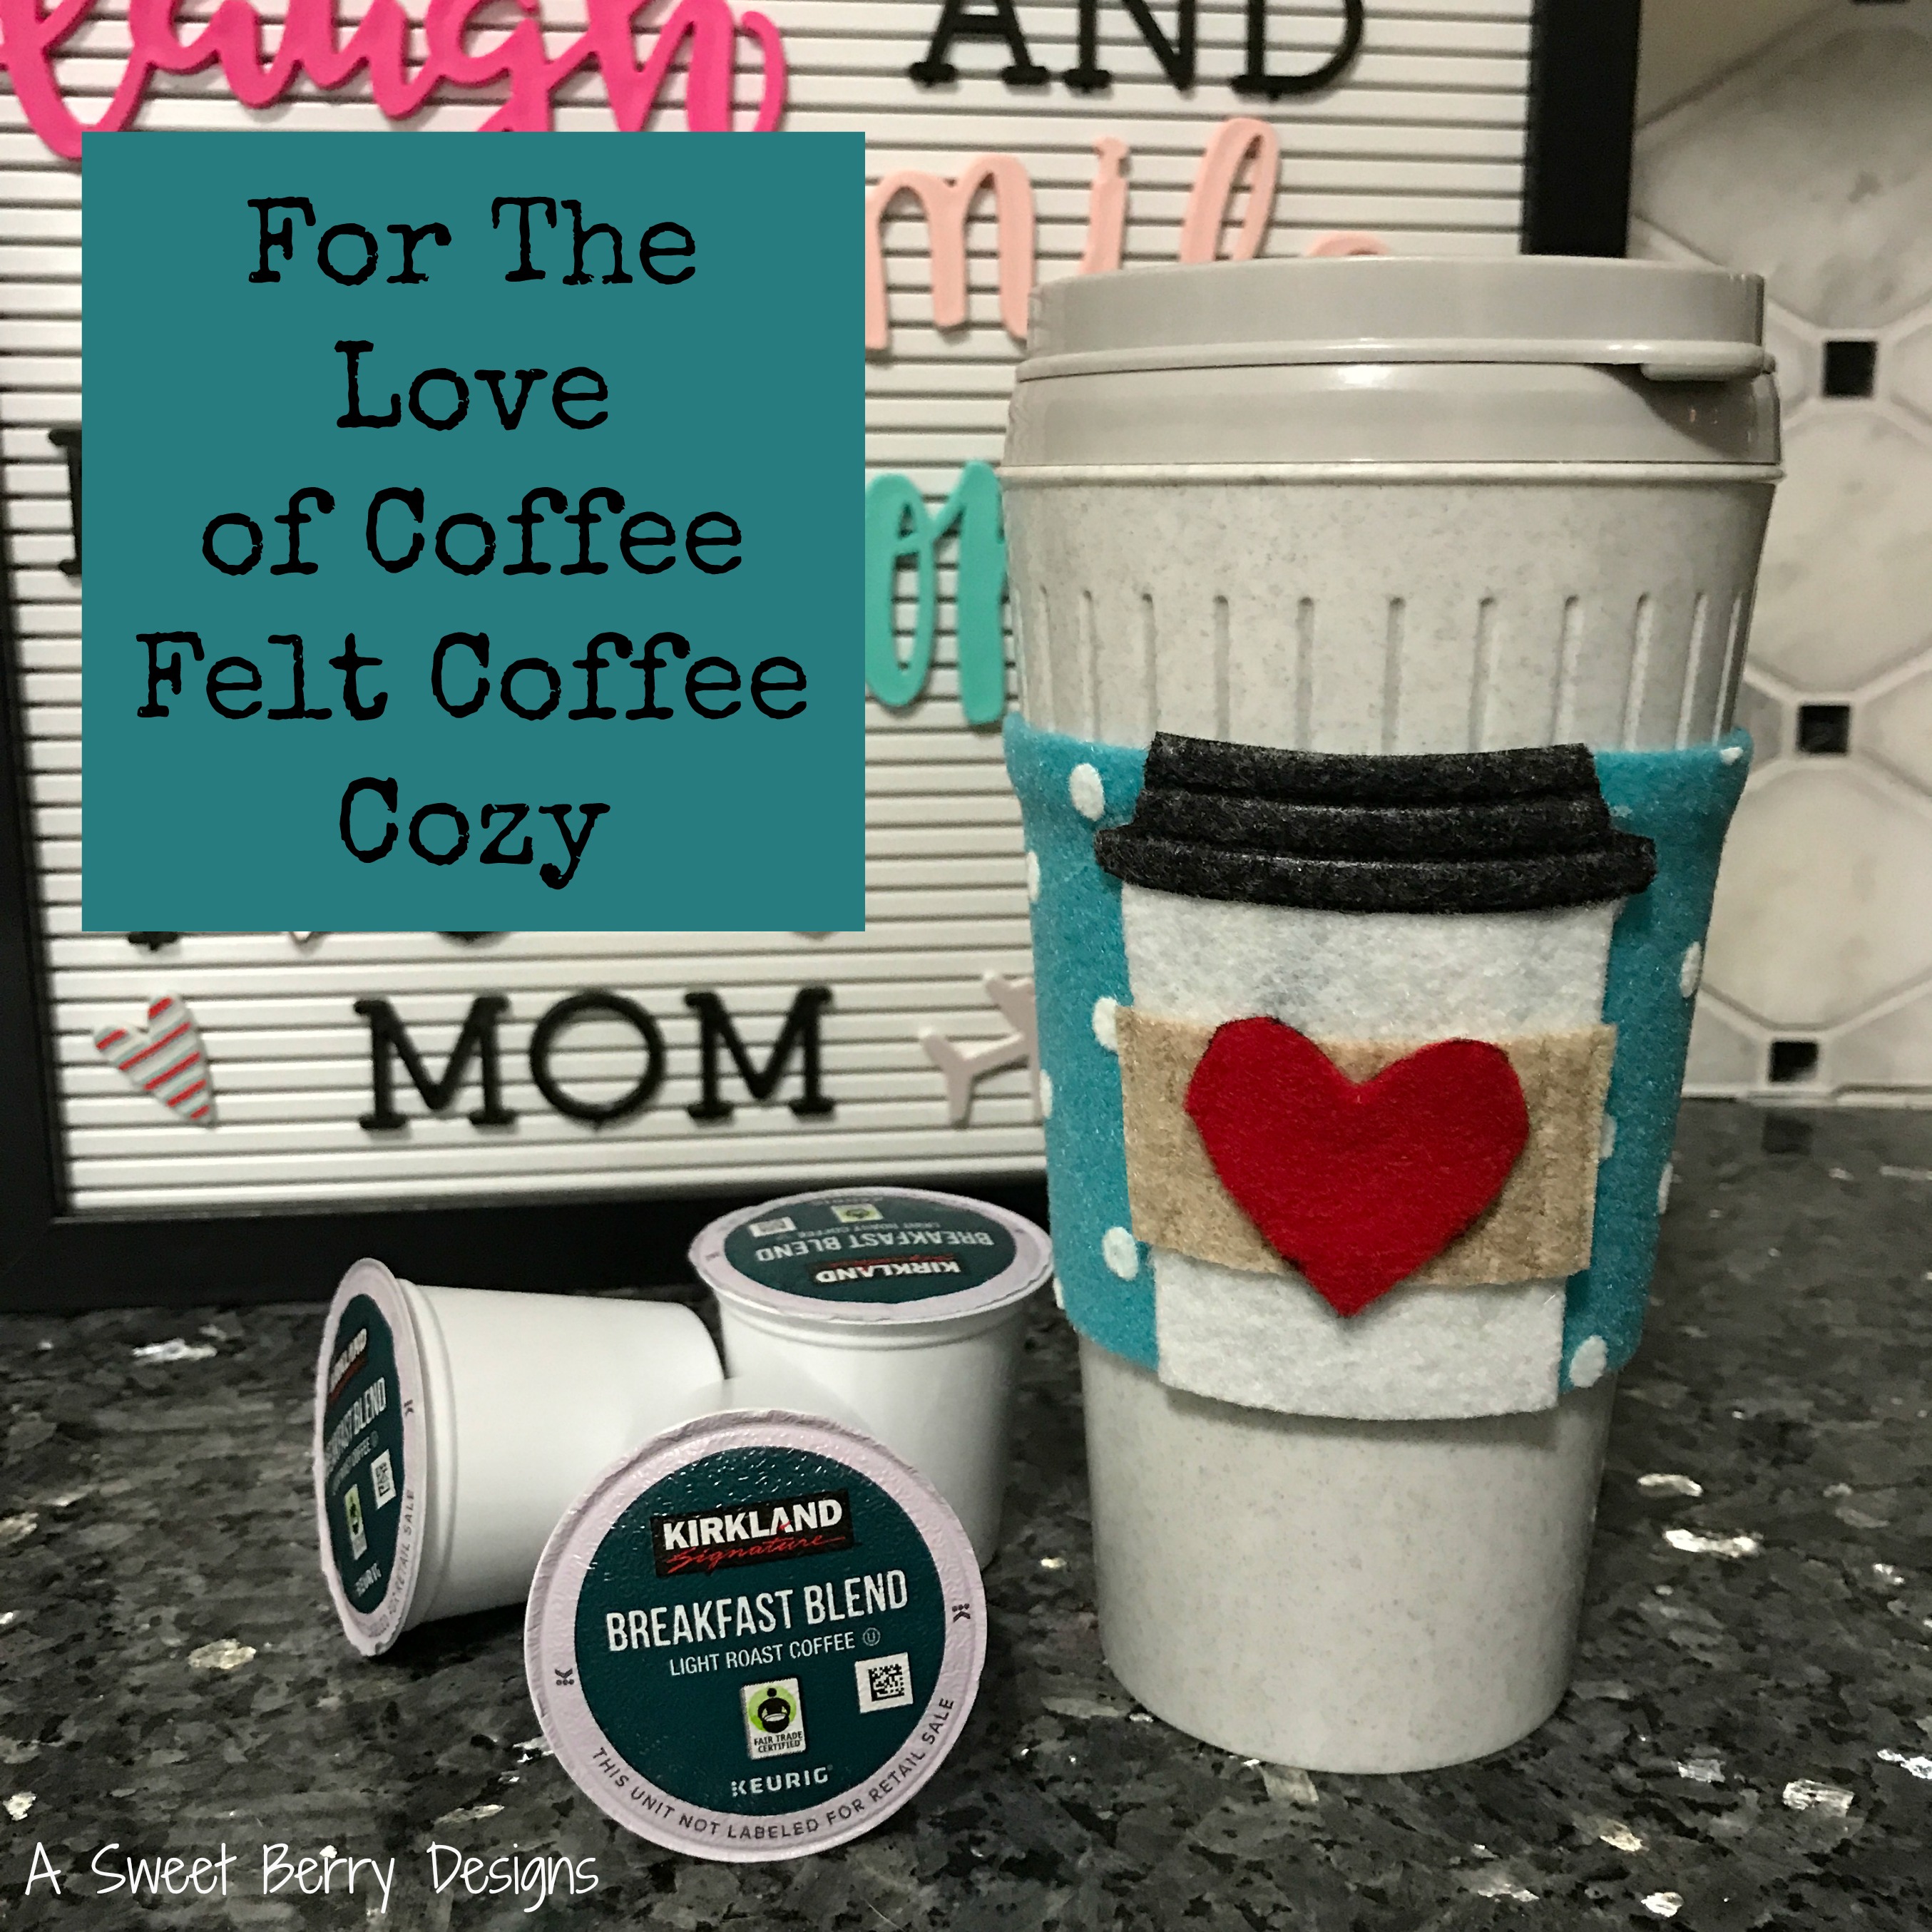
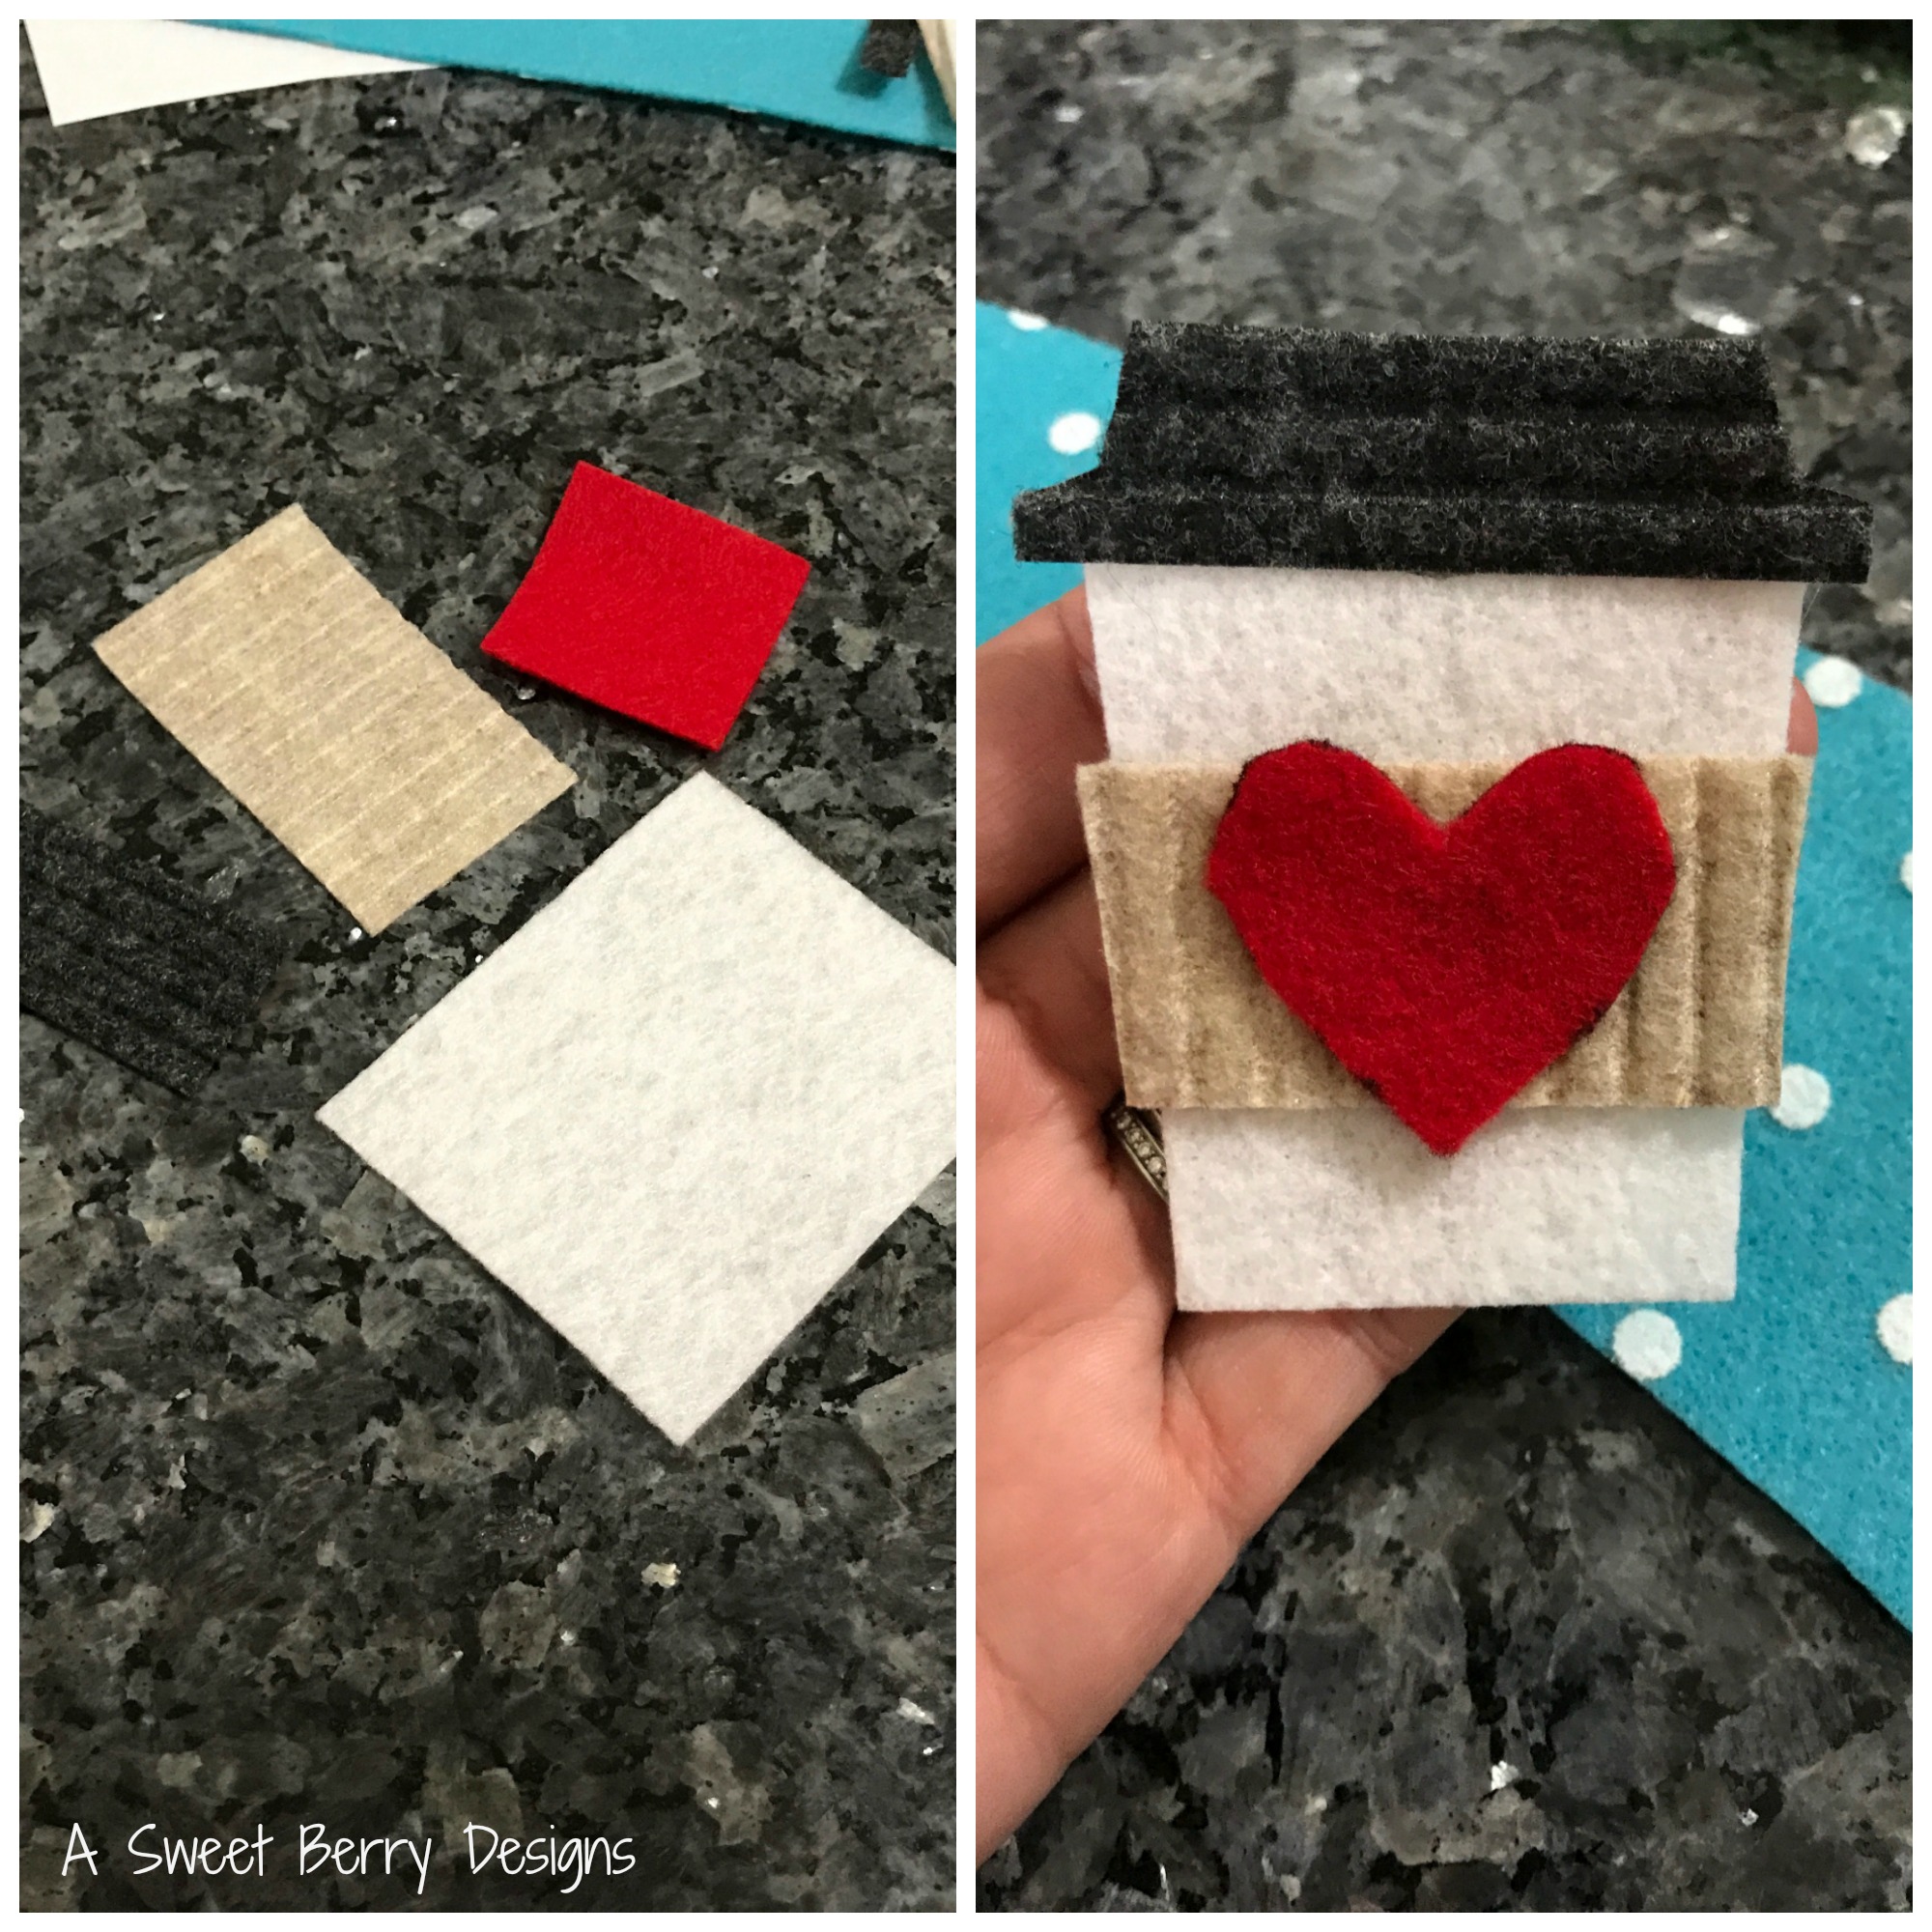
It’s Craft Lightning time again and this one is using felt!   I absolutely LOVE felt.  I’m even on the Kunin Felt Design Team and use felt frequently!!!!  I just recently made a felt coffee gift card holder with a coffee cup on it and I thought that same coffee cup would be super cute on a coffee cozy.  With that, I made a For The Love of Coffee Felt Coffee Cozy!!!  Check it out!

Materials Needed:

9″ x 12″ craft cut of Kunin Coordinates Felt White Dot on Lagoon
9″ x 12″ craft cut of Kunin Classic Felt in White and Red
9″ x 12″ craft cut of Kunin Corduroy Felt in Sandstone and Charcoal 
Coffee Cozy Pattern
Scissors
Hot Glue Gun and Hot Glue Sticks
Velcro

How I made it:

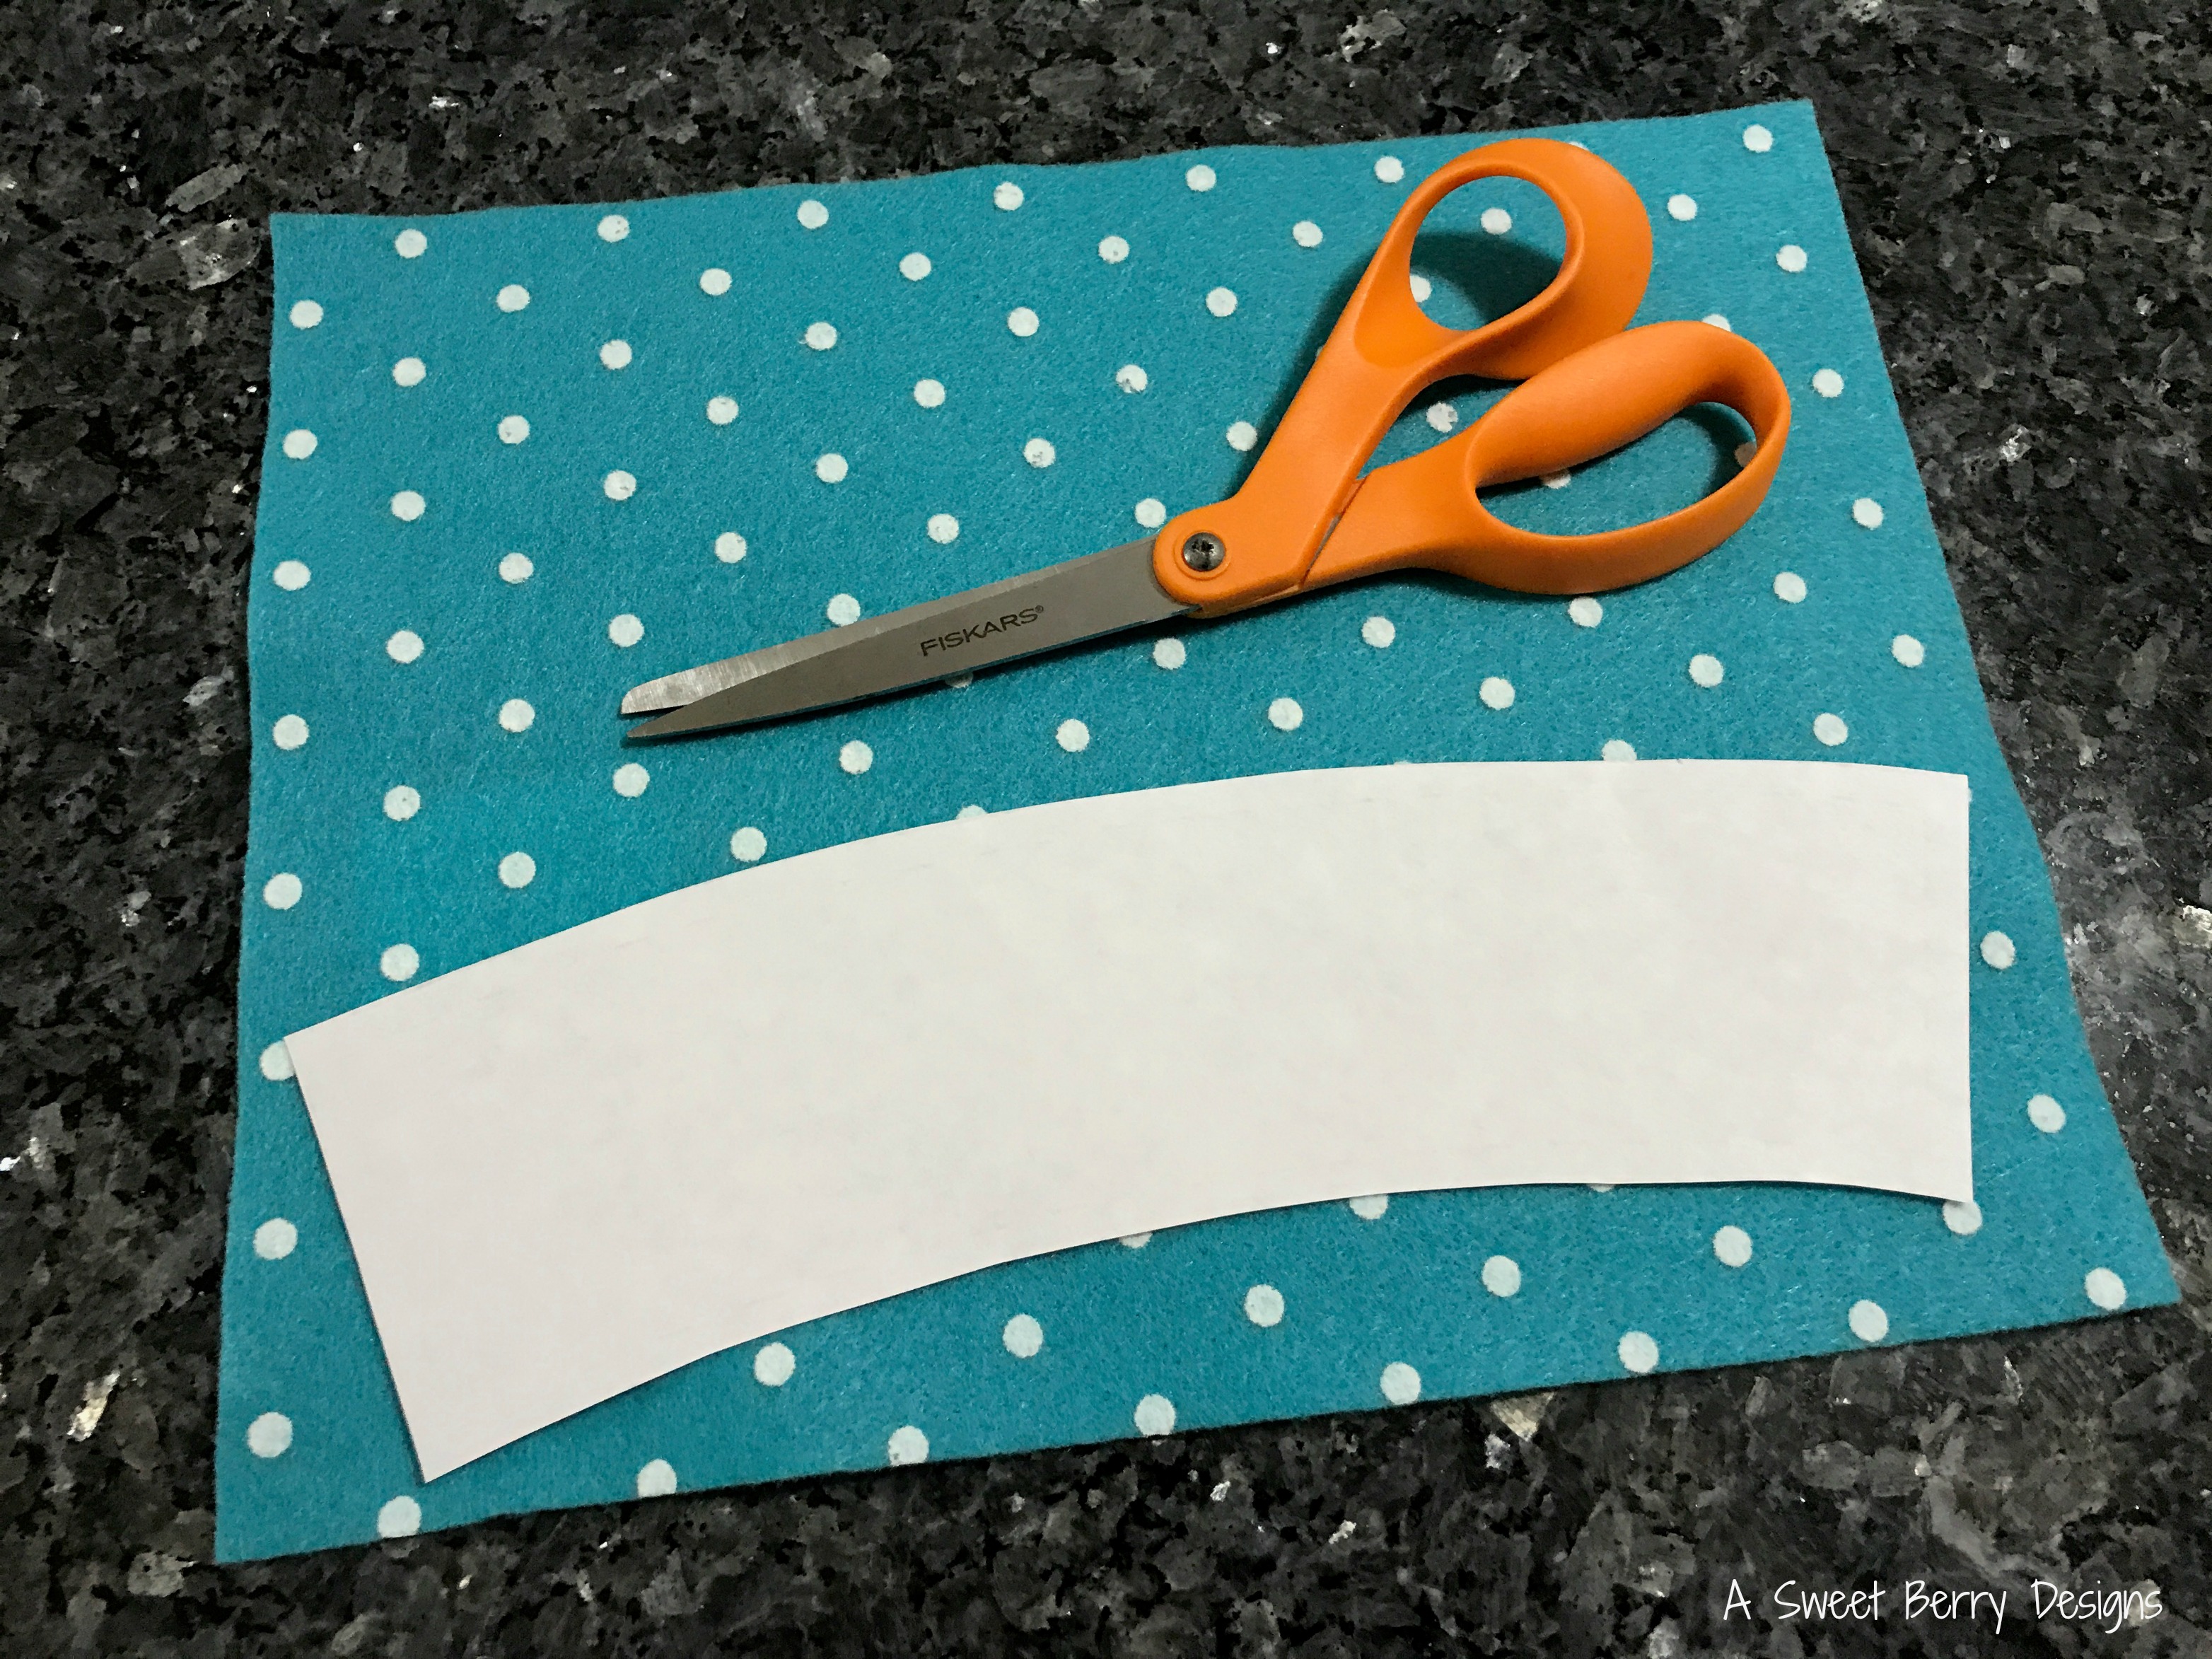
1. Print out the pattern and cut the pieces out.

2.  Cut the felt pieces out using the pattern pieces.

3.  Using your hot glue gun and hot glue stick glue the coffee cup together and then glue it to the middle of the cozy.

4. Using a coffee cup, wrap the cozy around the cup to determine where your velcro pieces need to go.  Attach the velcro to the front of one end of the cozy and the other piece to the back of the other end.

5. Place the cozy around your favorite cup and enjoy!!!

Hope you enjoyed this coffee cozy tutorial.  With the weather being so cold, I’ve been really enjoying coffee!  Now I have this adorable little For The Love of Coffee Felt Coffee Cozy!

Be sure to click the Craft Lightning photo below and check out all of the others quick and easy crafts made with felt!


Until next time……