Category Archives: outdoors

Poly-Pellets® Bird Bath Bowl

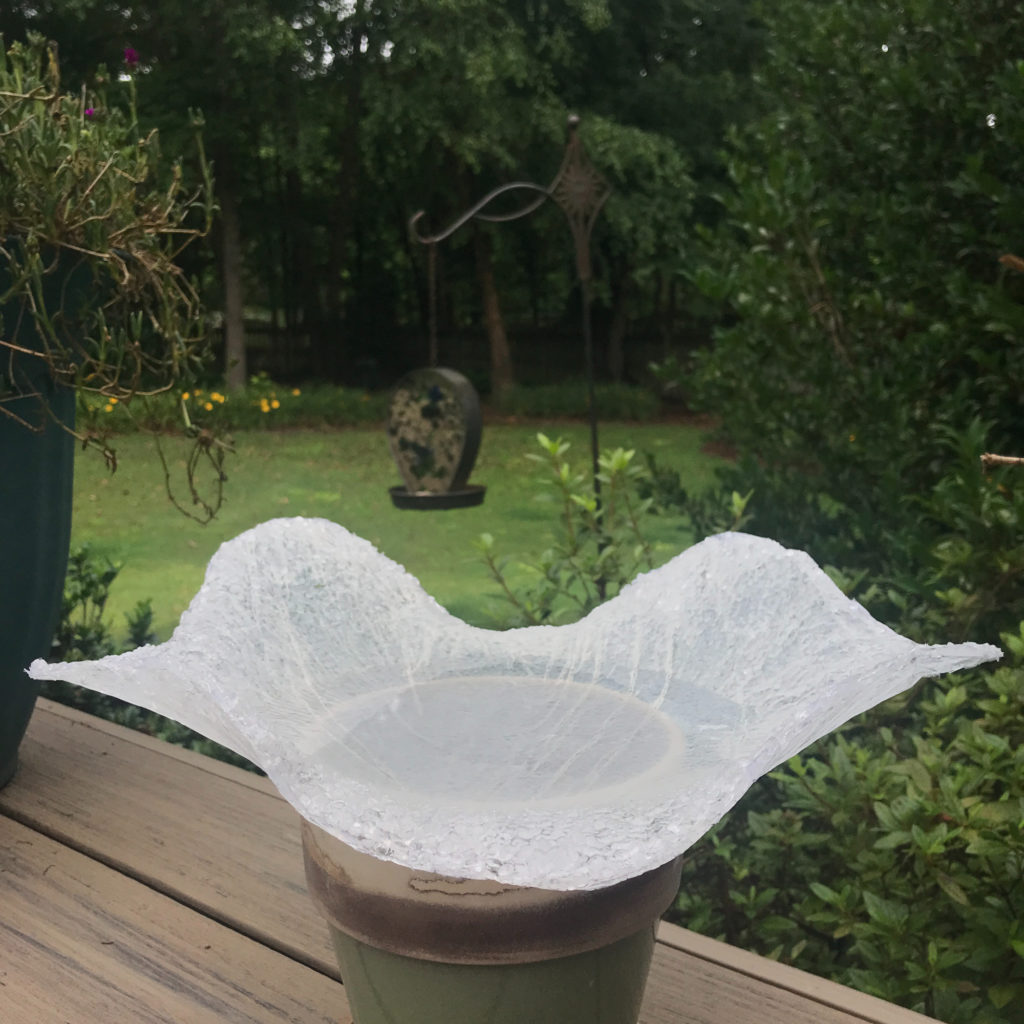
Lately I’ve been playing around with resin and Fairfield World’s Poly-Pellets® to see what all I could possibly make with the combination. One idea I came up with was to create a bird bath bowl! It could also be used as a bird feeder bowl.
Materials used:

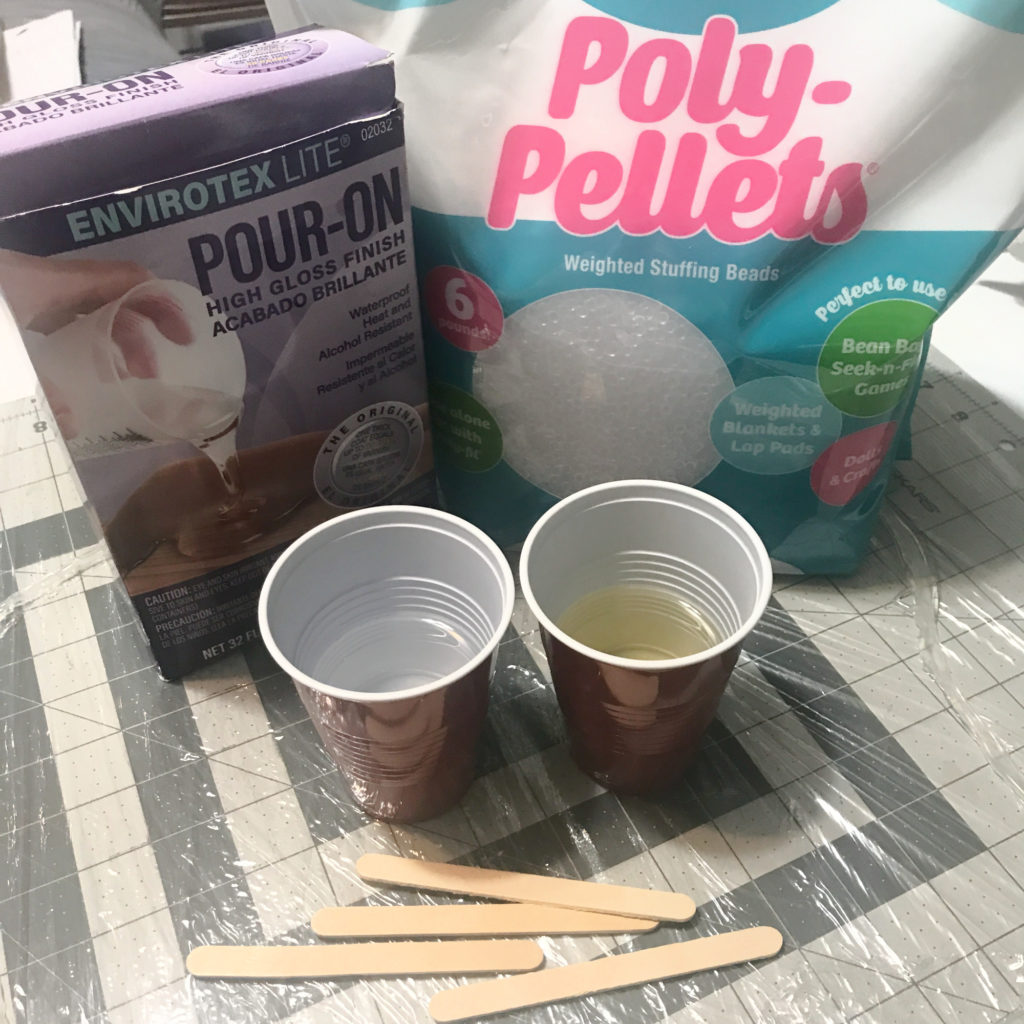
  • Fairfield World Poly-Pellets®
  • Two Part Resin (I use Envirotex Lite®)
  • 3 Mixing Cups (2 small and 1 bigger)
  • Mixing Sticks
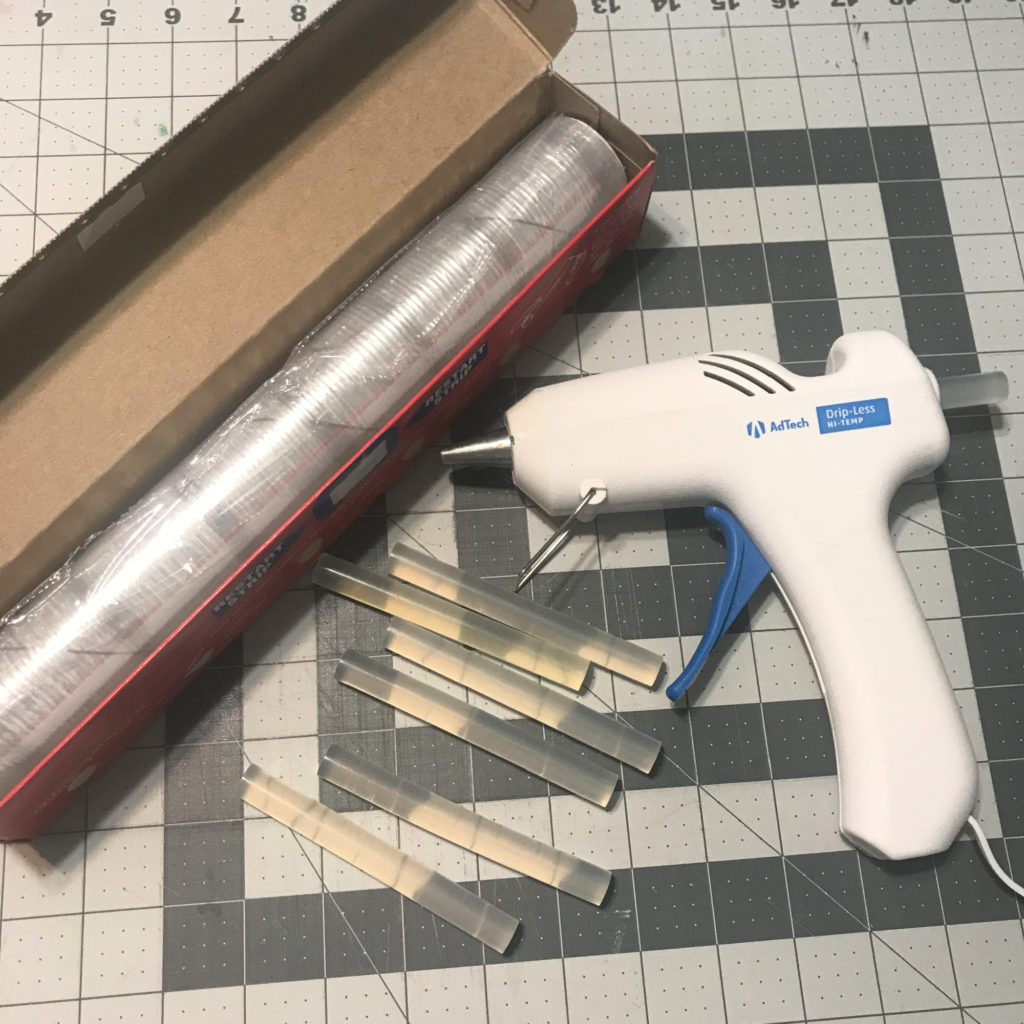
  • Plastic Wrap
  • Hot Glue Gun and Glue Sticks
  • Mixing Bowl
  • Heat Gun
  • Sharpie marker
  • Scissors

How I made it:

First, I mixed my two part resin. I measured out equal amounts of the resin and the hardener in two separate cups. I then poured both into a larger cup. Following the instructions, I let it sit for a few minutes before mixing it so that the bubbles could rise to the top.
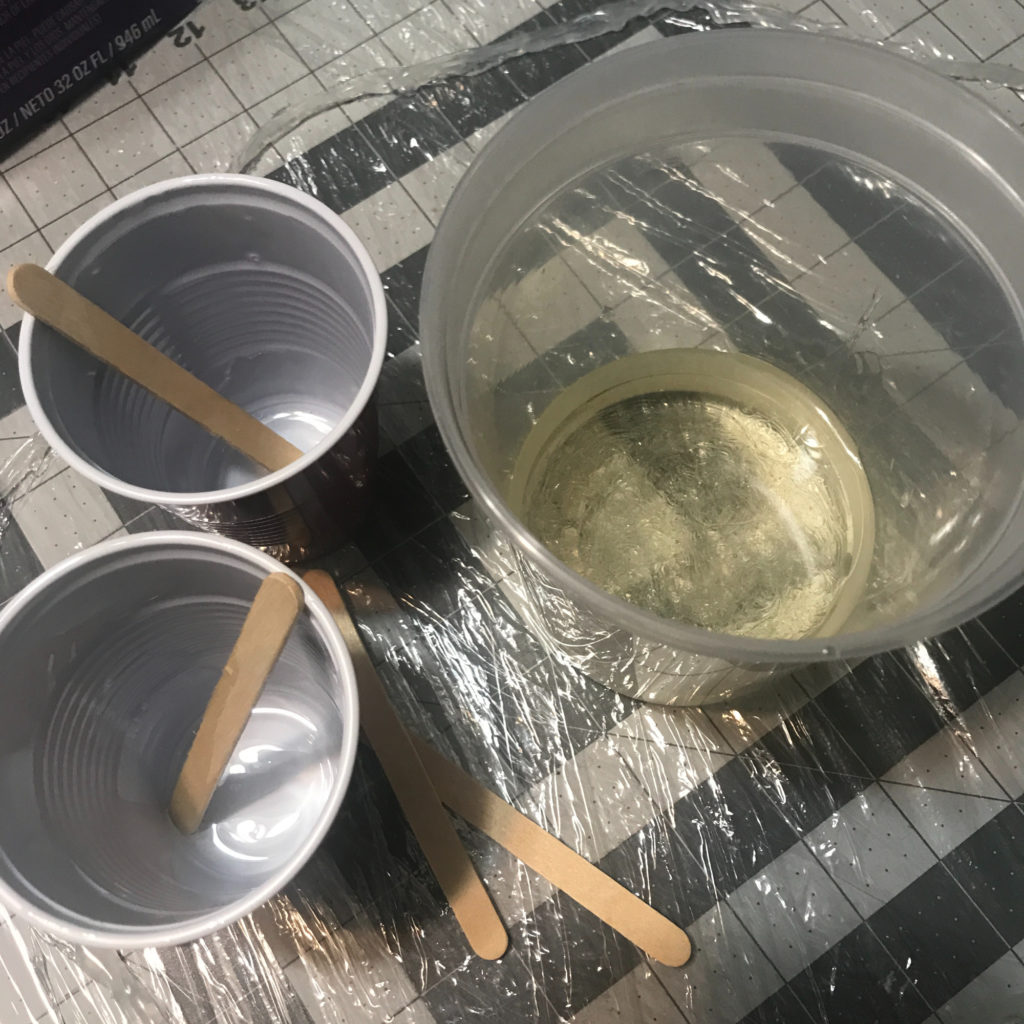
While I let the mix sit, I wrapped plastic wrap around my cutting mat. I used the mat to protect the table. You don’t have to use it. I used a marker to draw out my bowl pattern.
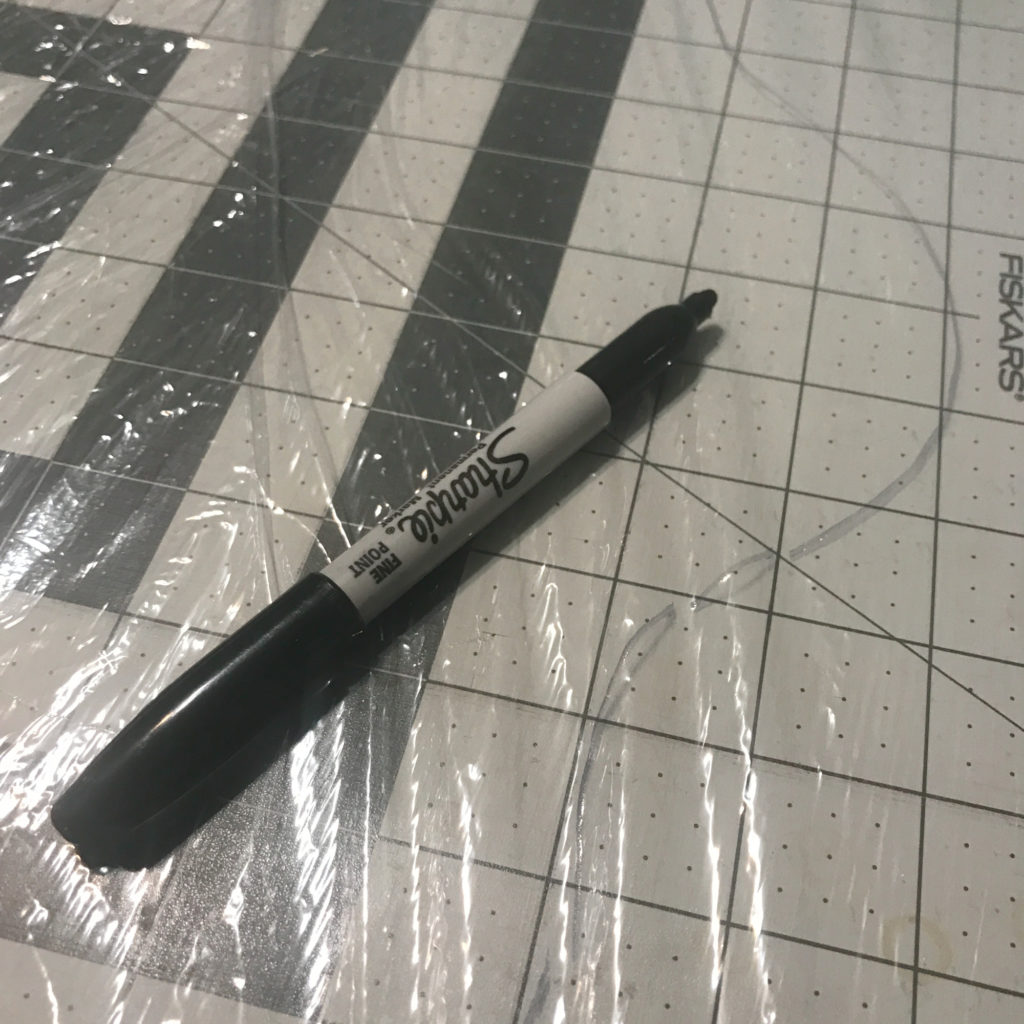
With the hot glue gun and glue sticks, I went over the marker line with the hot glue, building it up so that I have a wall to keep the resin and poly-pellets® in.
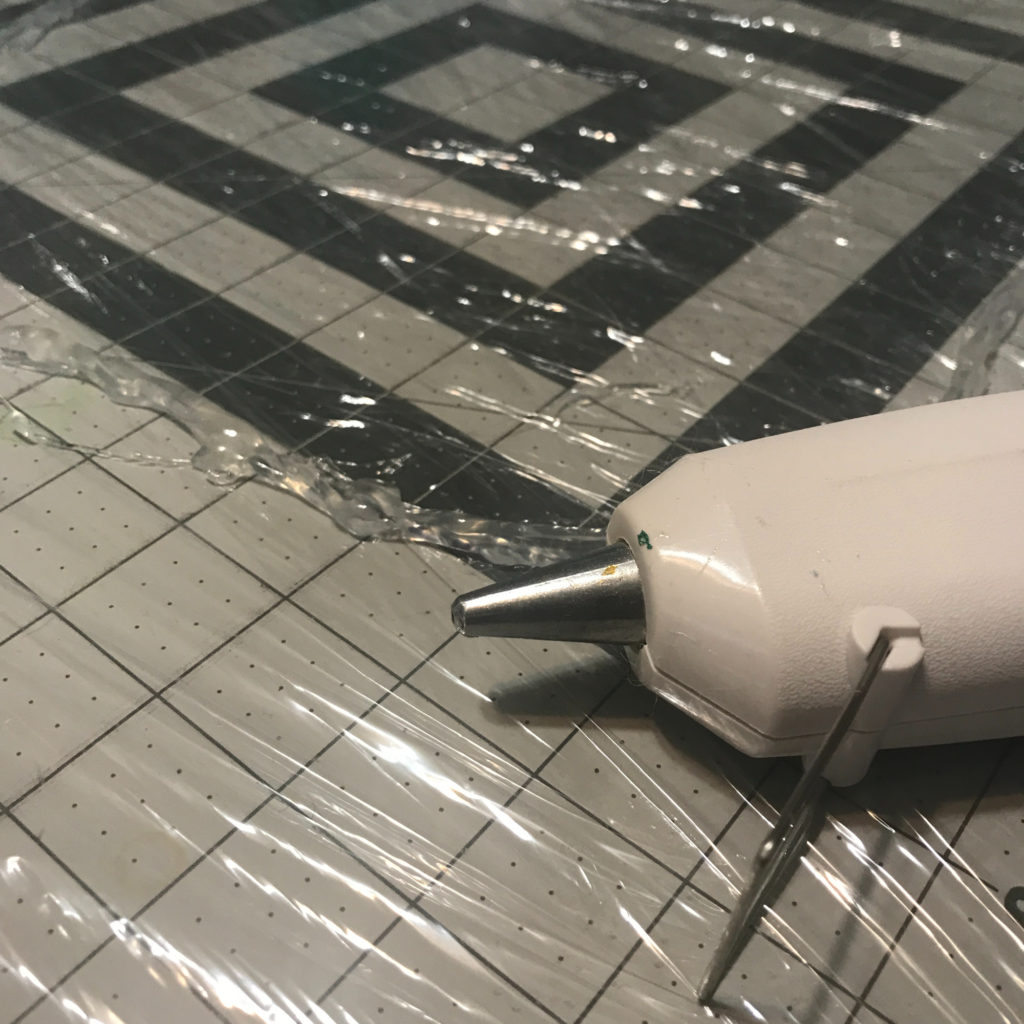
Once I was done building the wall of glue, I mixed up the resin and hardener until it was completely mixed, about 2 minutes.

To measure how many poly-pellets I would need, I poured them out onto my plastic wrap, within the walls of the glue. I then poured them into the mixed resin and then mixed them in, coating the poly-pellets® with the resin.
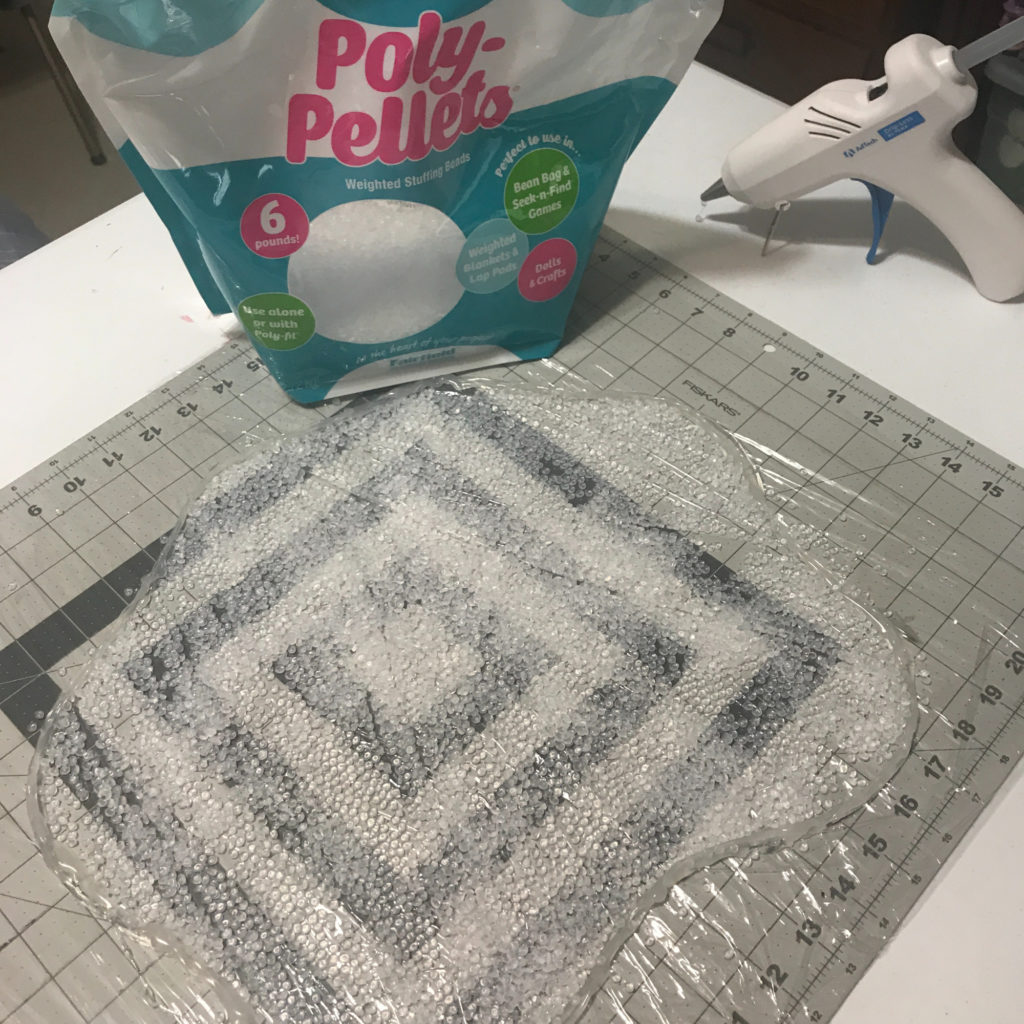
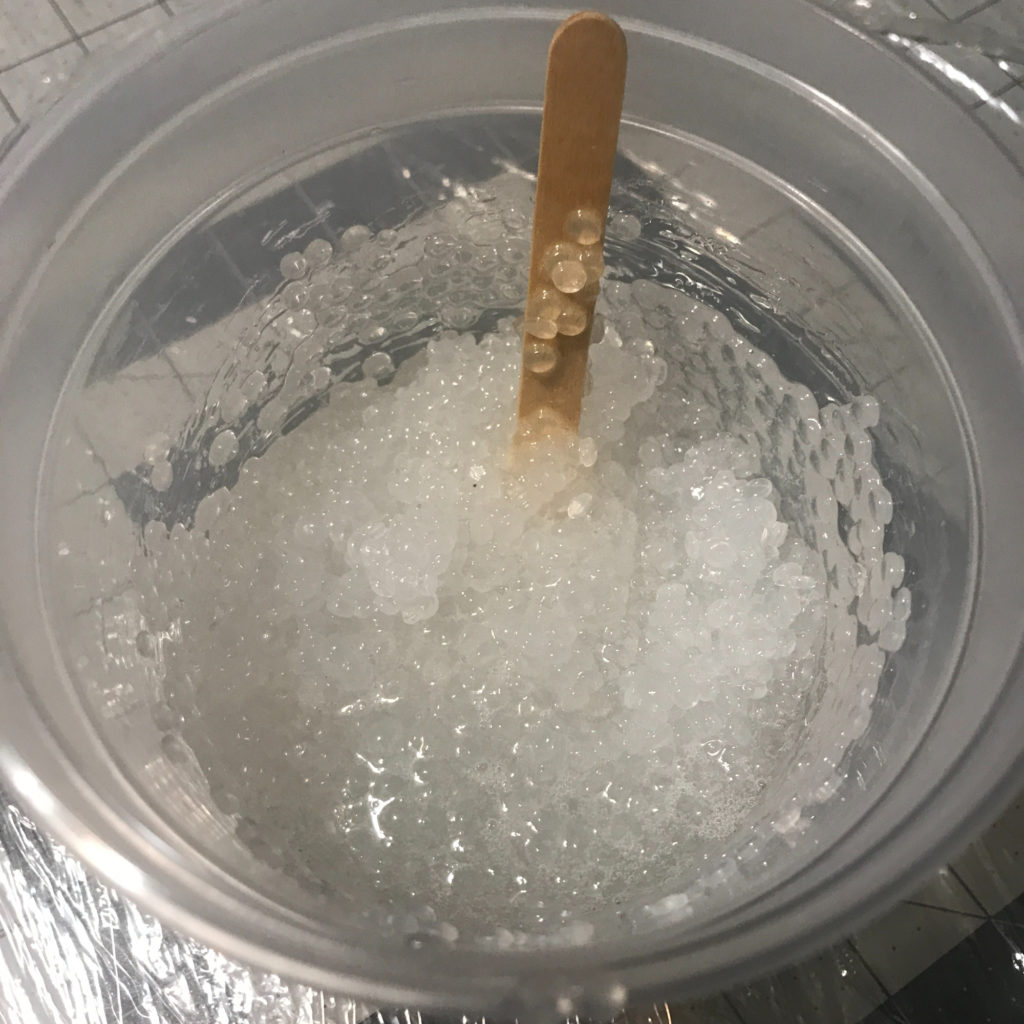
Using a mixing stick, I spread out the mix until it was all the way to the edges and even.
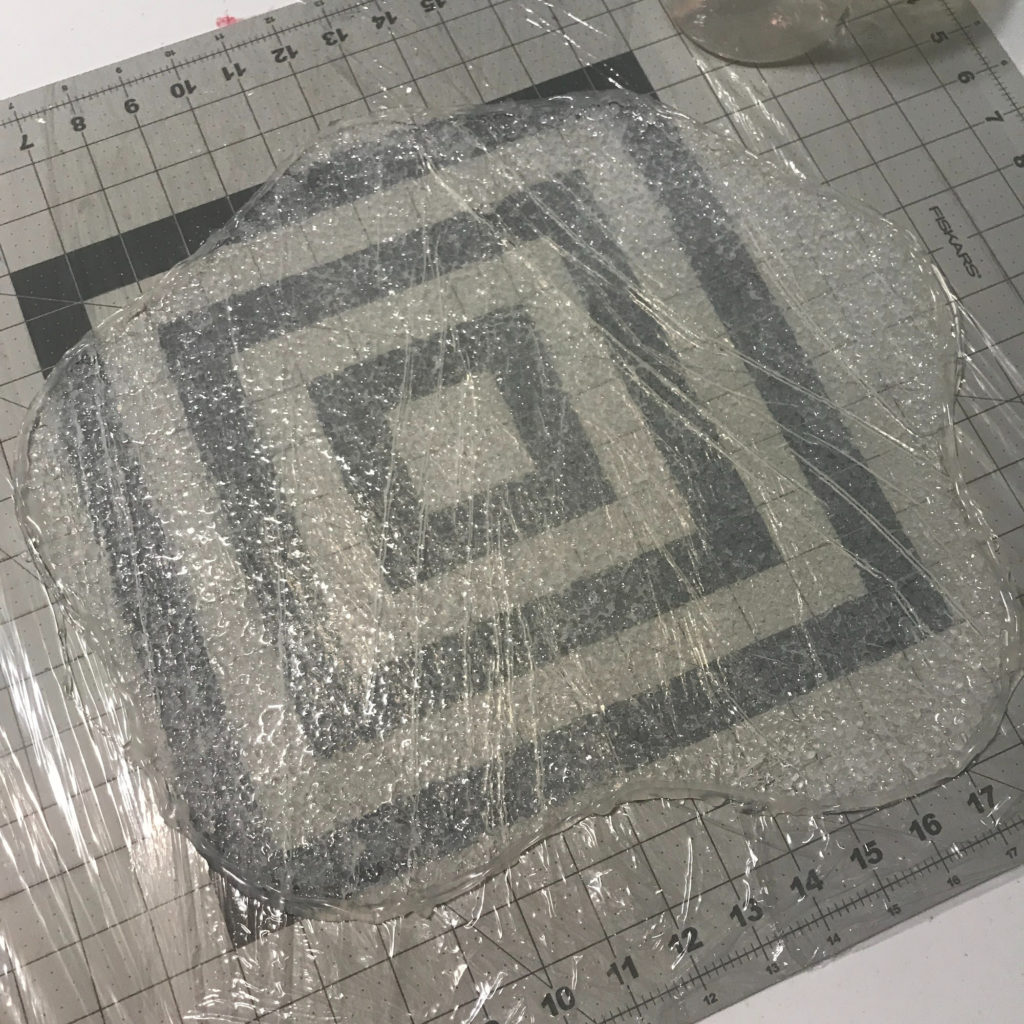
With my heat gun on high, I waved it above the resin to help pop any bubbles that had developed. Then I left it alone to harden.

After it has started to harden for a few hours, I covered a mixing bowl with plastic wrap and turned it upside down. I then picked up the almost hardened resin with poly-pellets® and turned it over onto the bottom of the bowl. I molded it around the mixing bowl creating an upside down bowl.
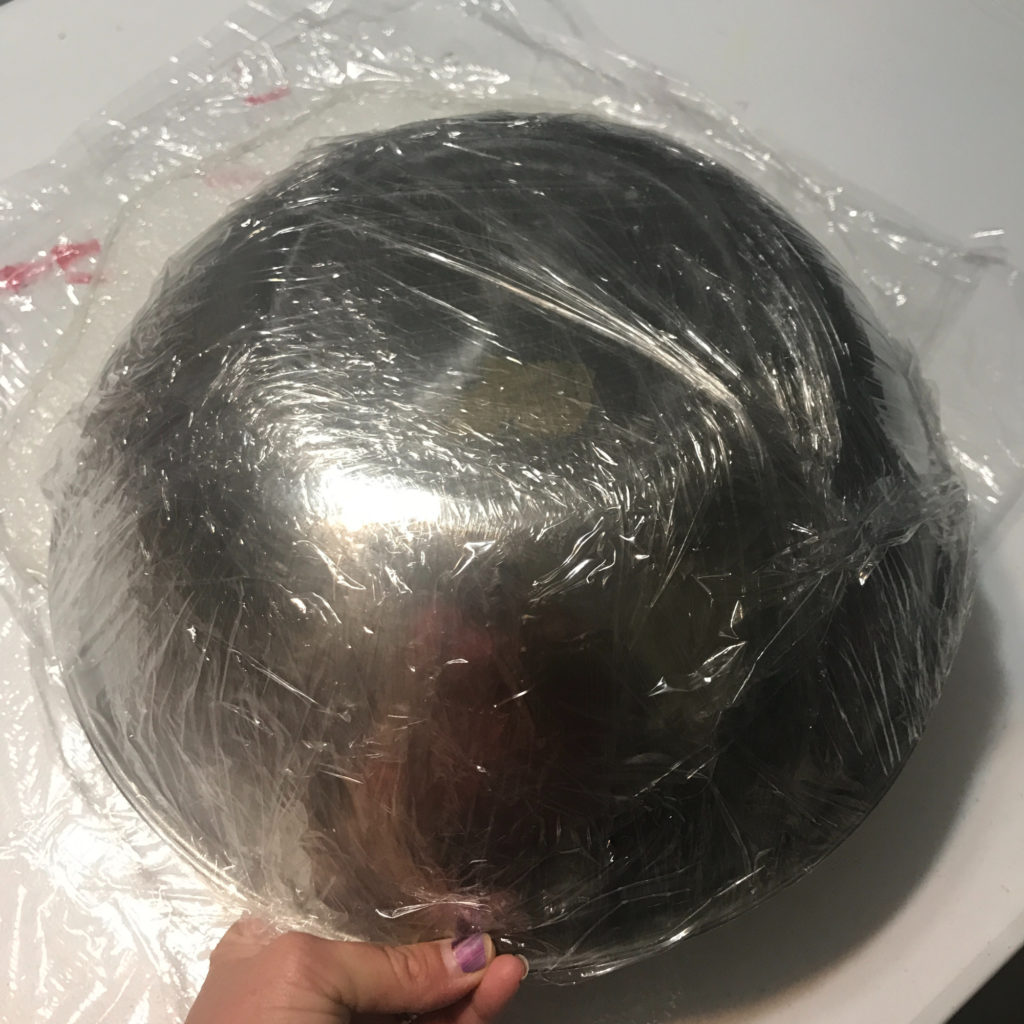
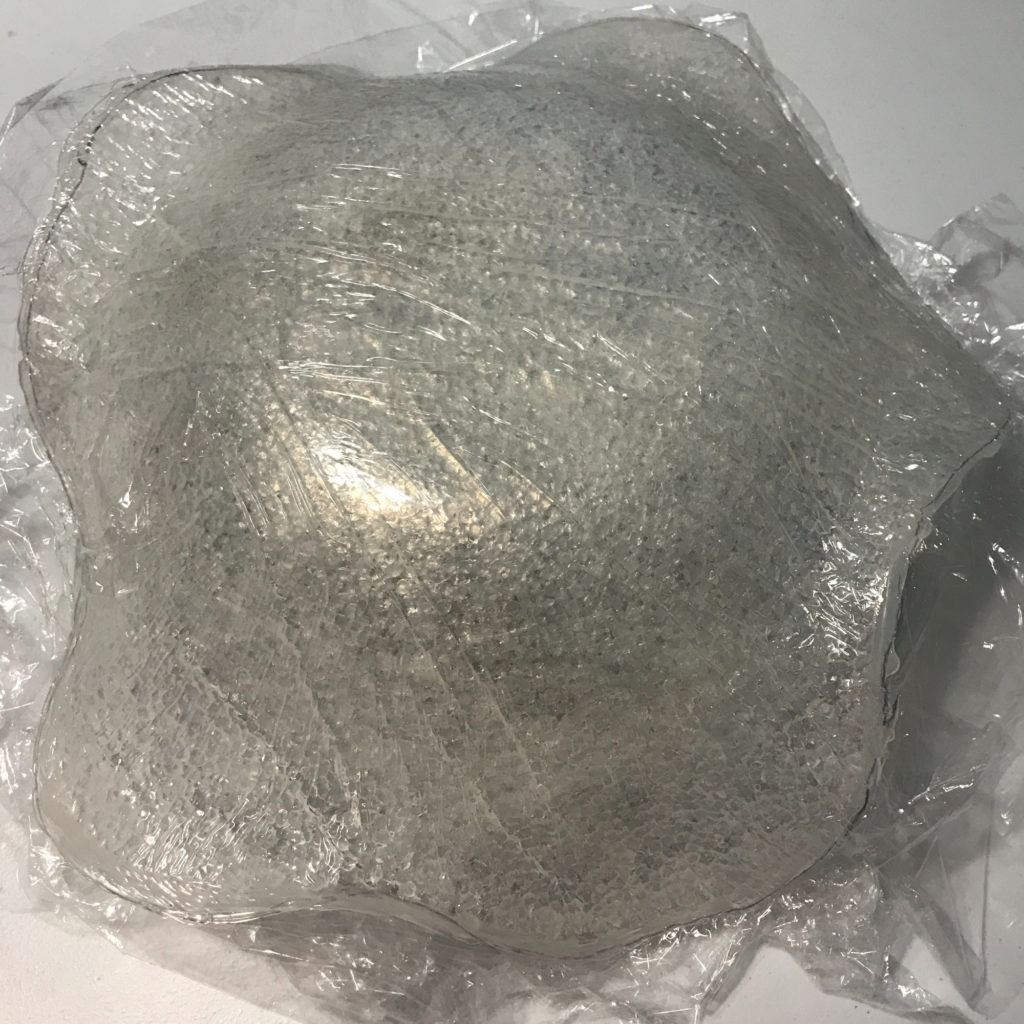
Then I left it alone to completely dry overnight. The next morning, I pulled all of the plastic wrap away from the bowl.
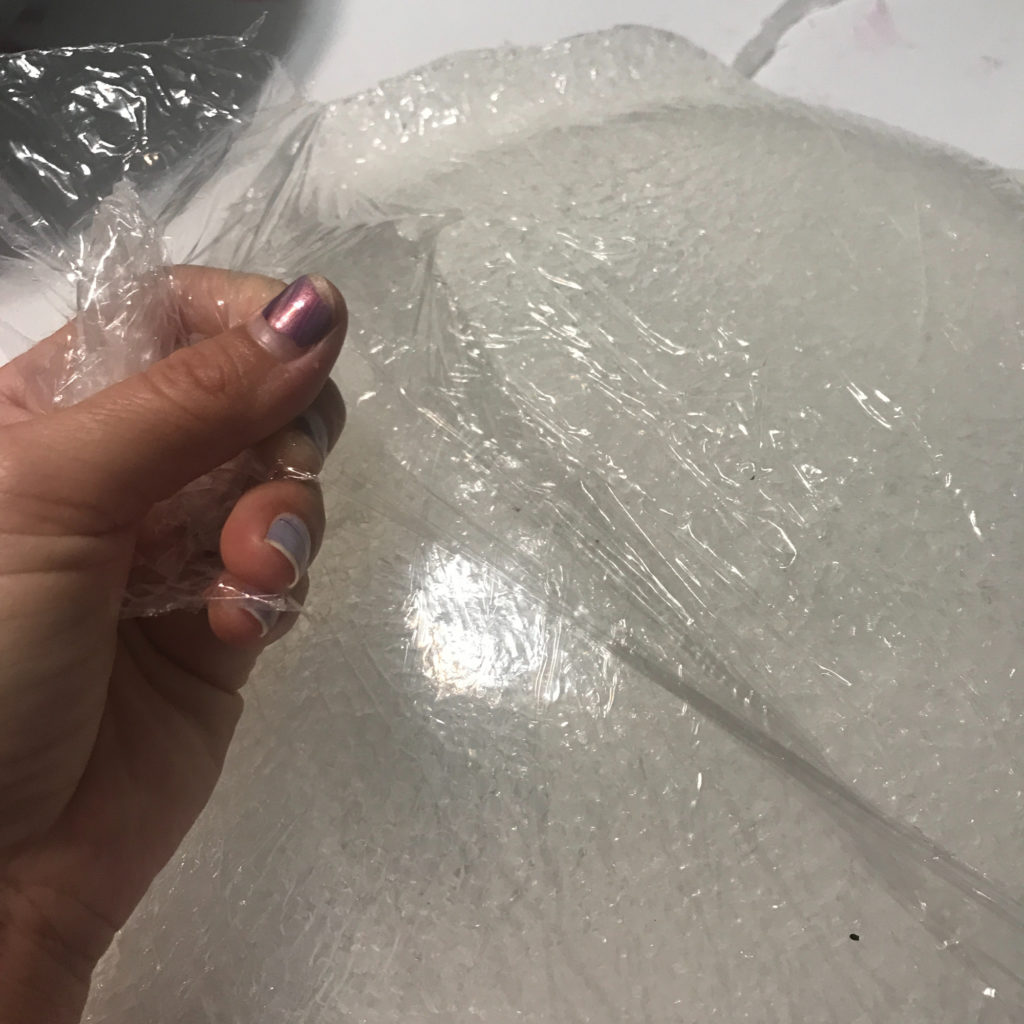
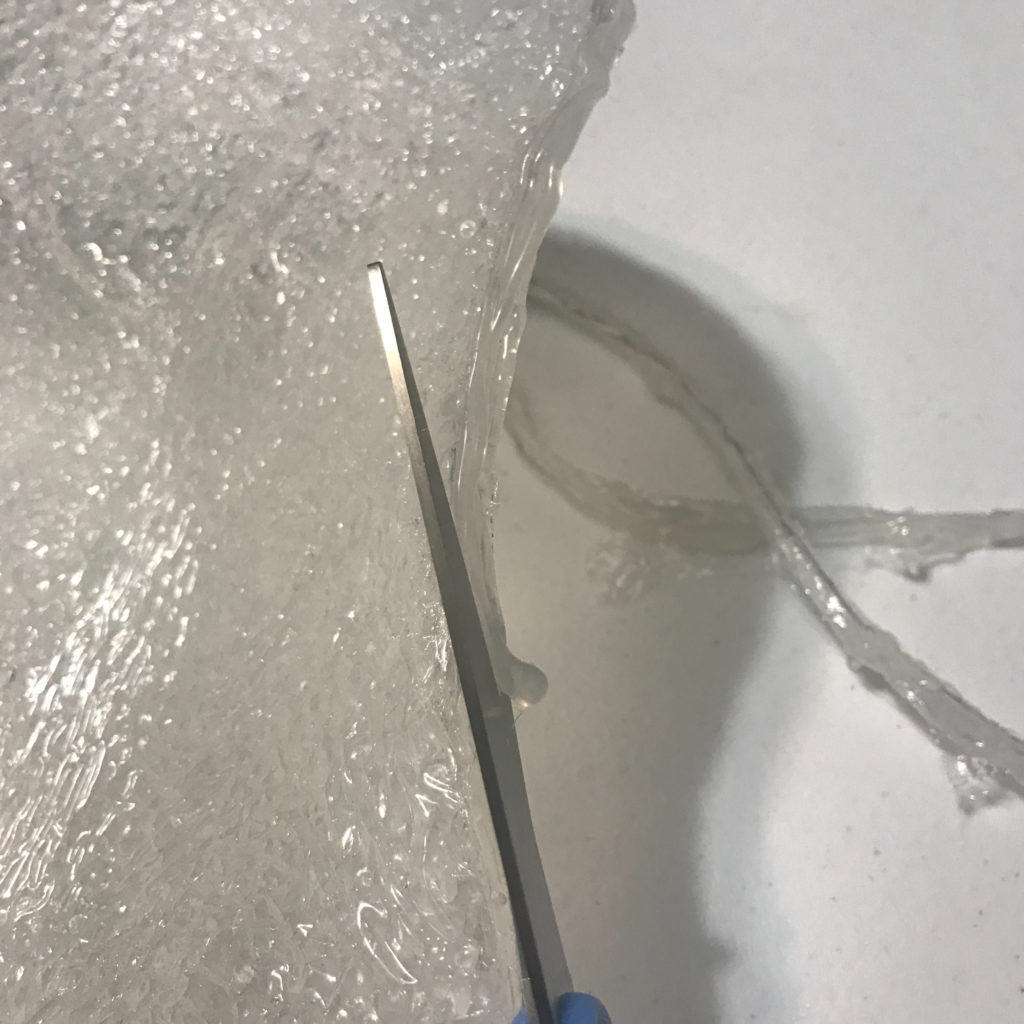
After I pulled all of the plastic wrap off, I used scissors to cut away the hot glue from the edge.
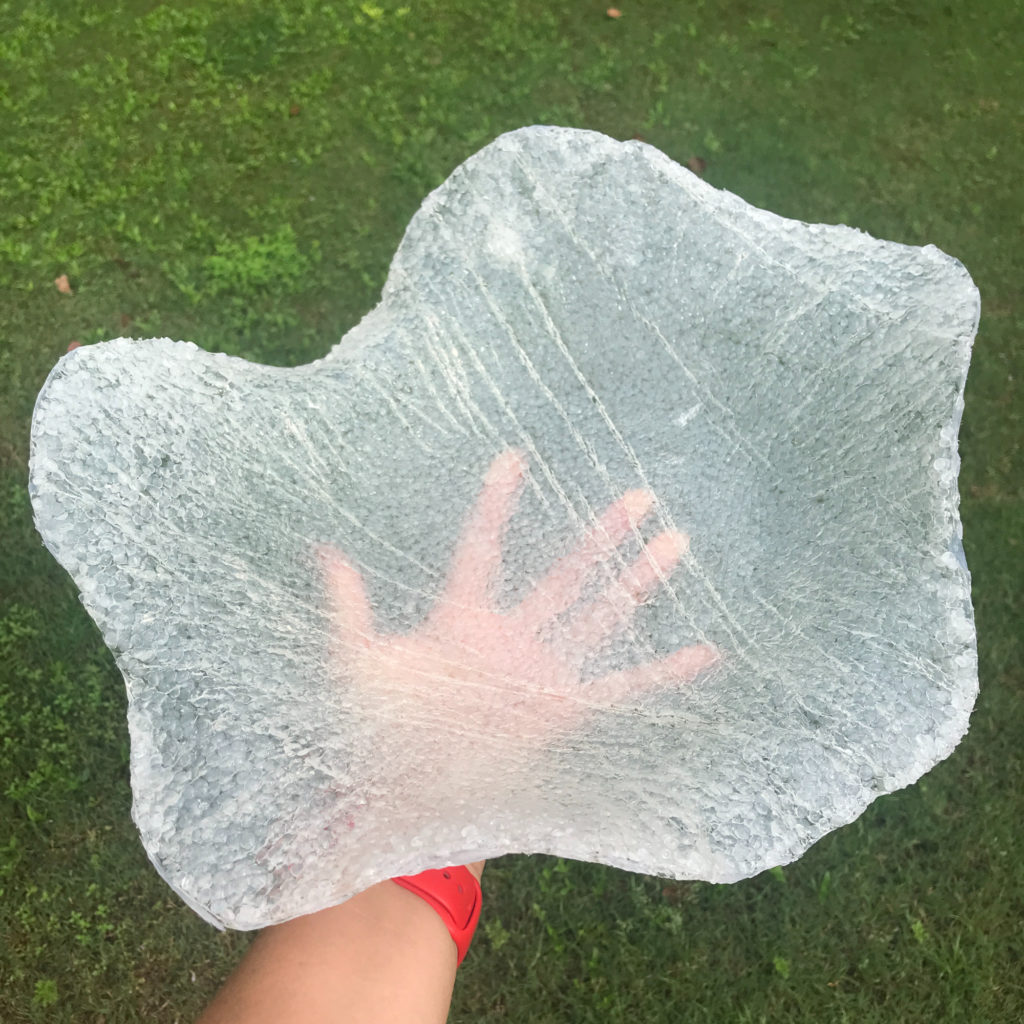
I used an old flower pot as the base, but the bowl could just sit on the deck or the table.
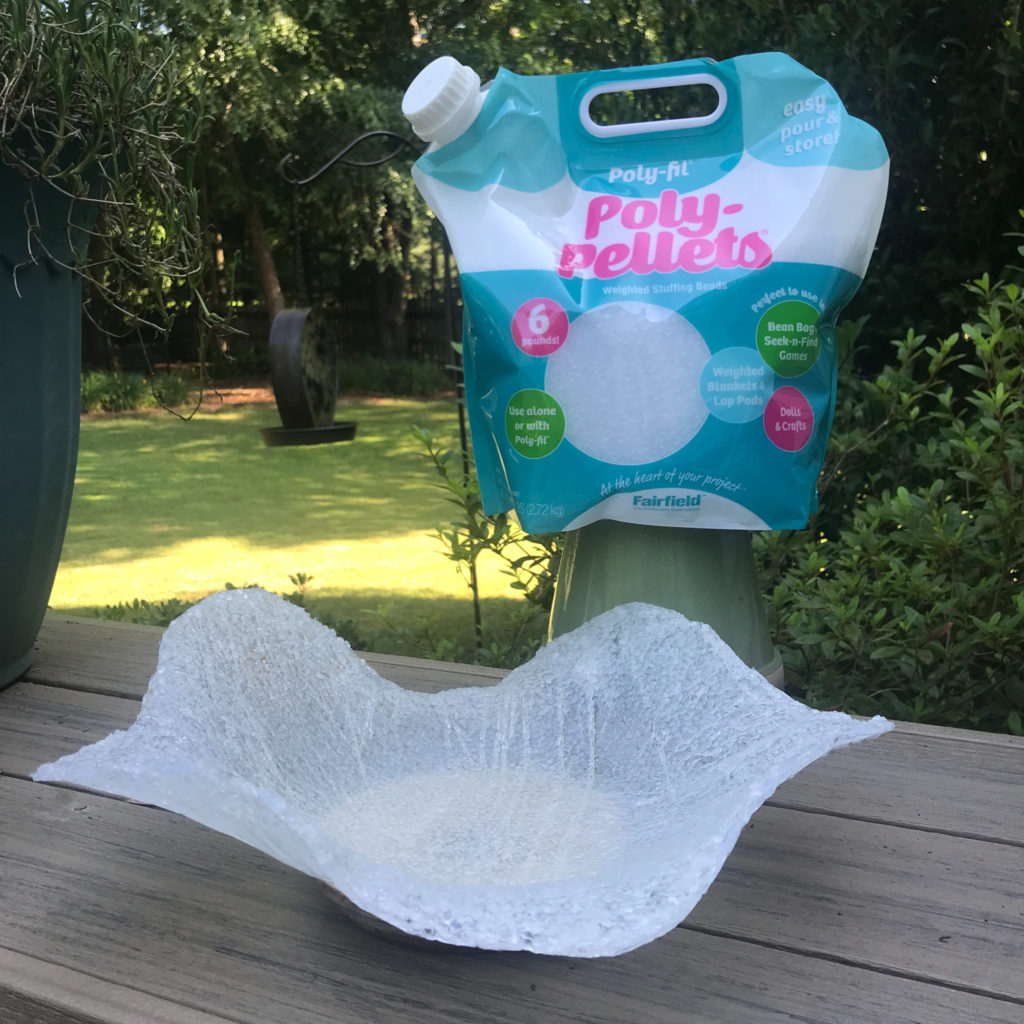
The birds love it! I’m thinking about making another one just for bird seed!

Until next time, Happy Crafting!

Tulip For Your Home

pillow
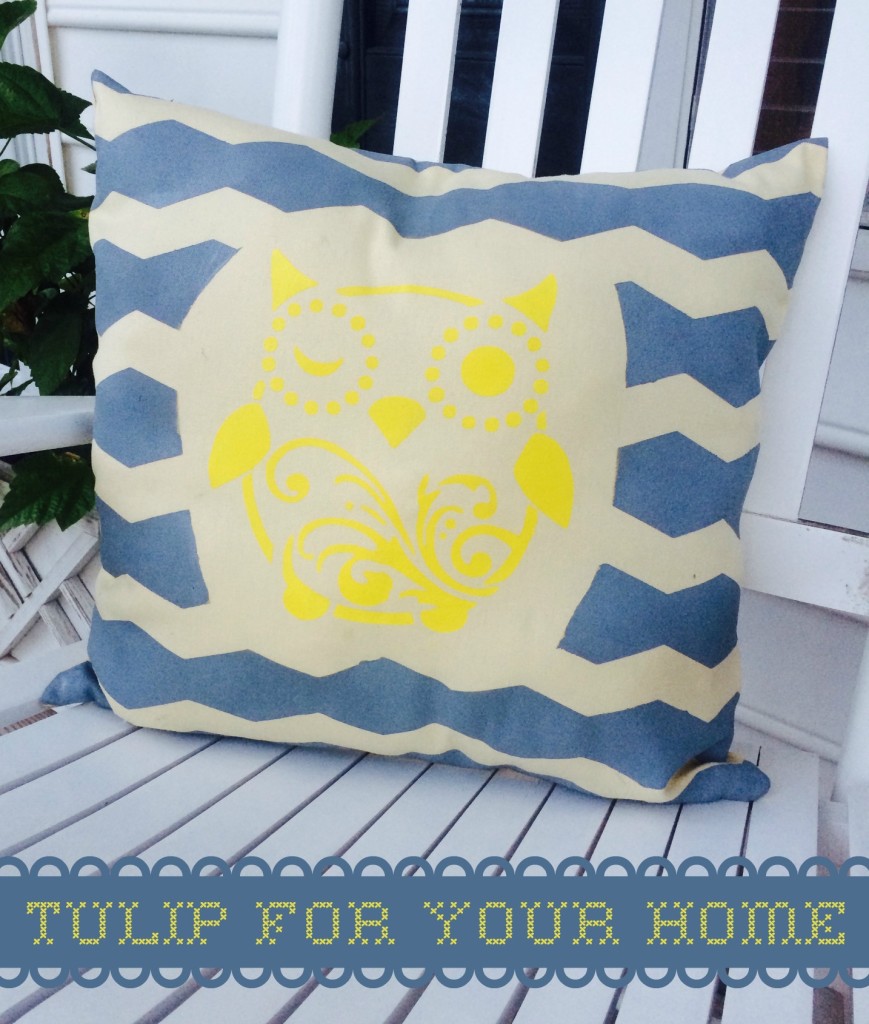
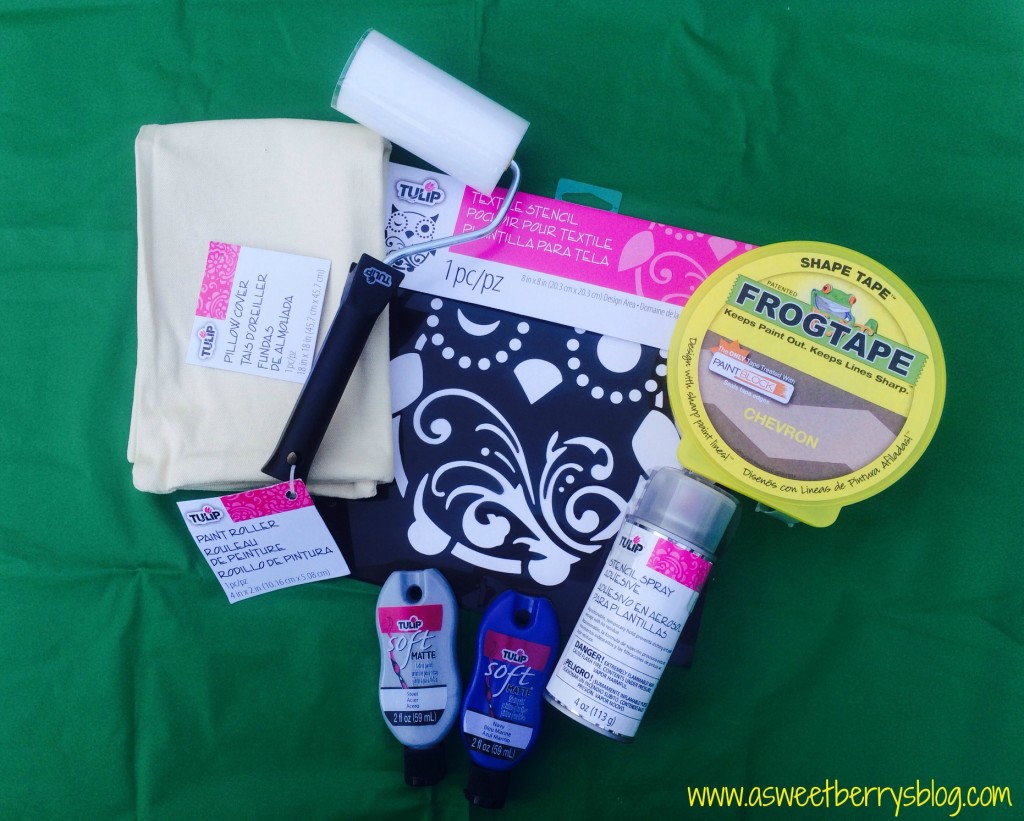
I love Tulip brand by ilovetocreate!  I have been using this brand forever!  This project is a Tulip For Your Home project. It is a pillow that I decorated with a Tulip stencil and Tulip Soft Fabric Paint.   Below is a photo of everything that I used for this project, with the addition of FrogTape to help create my Chevron background.
Materials:
Tulip Pillow Cover
Tulip Paint Roller
Tulip Textile Stencil
Tulip Stencil Spray Adhesive
Tulip Soft Matte Fabric Paint
FrogTape
materials
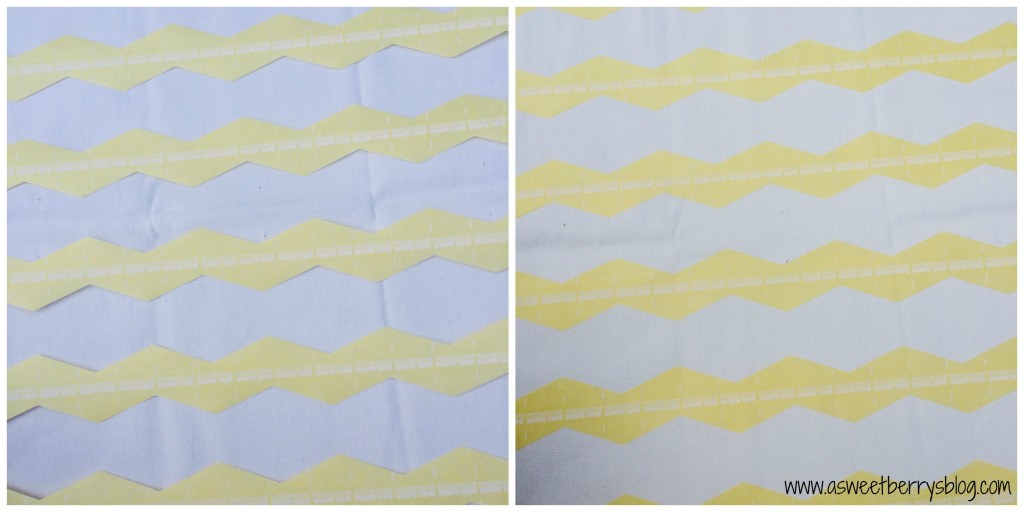
So, using the Chevron FrogTape, I created a Chevron pattern.  I did my placing with the backing still on before I actually removed the paper and stuck it to my pillow. FrogTape
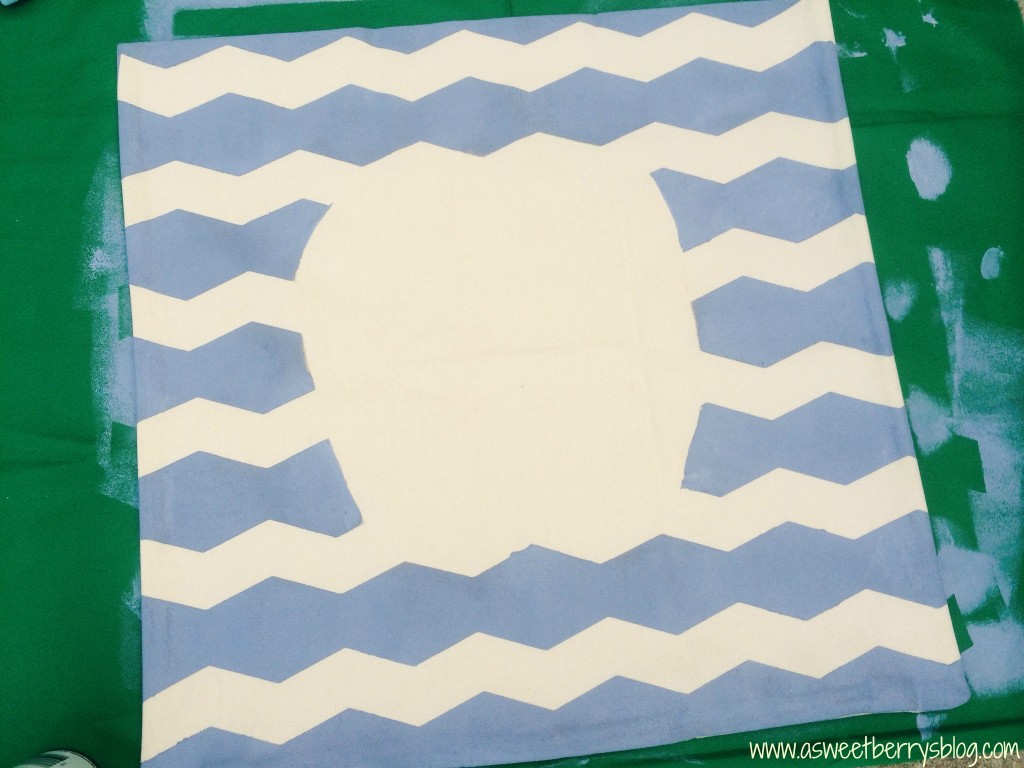
Once I was done placing my chevron pattern, I laid the owl stencil onto and then marked where my owl overlapped the FrogTape.  I only marked the tape, not the pillow.  After I made my marks, I removed the stencil and cut a section of the tape out so that I’d not have the chevron pattern behind my owl. owl cutout
Using my roller, I applied the fabric paint around the cut out where my owl will be placed. painting chevron
After the paint dries, I removed the chevron FrogTape. readyforowl
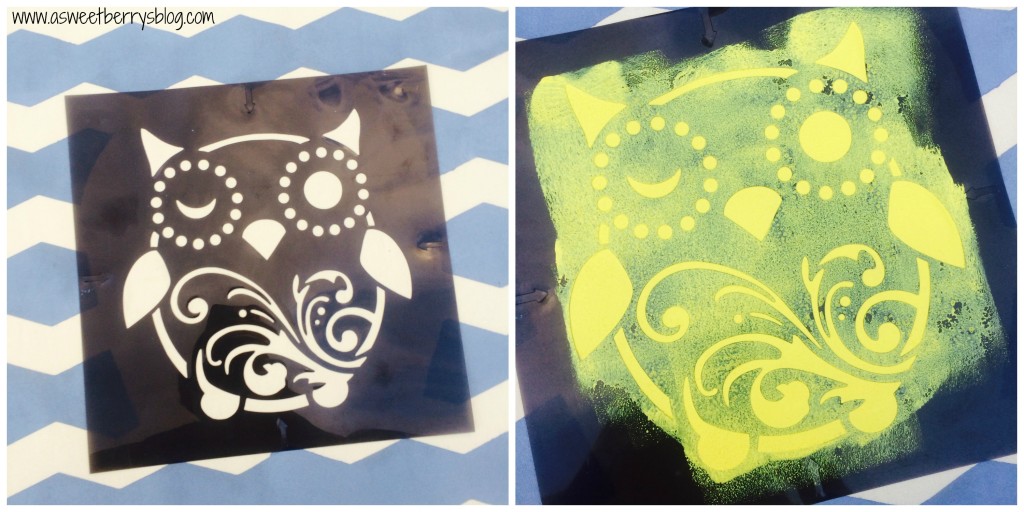
Using my Tulip Stencil Spray Adhesive, I sprayed it on the back of the stencil and placed it in the open space on the pillow.   Don’t worry if you misplace it, the spray allows you to reposition the stencil.  Then it was time to paint the owl.   I did this using the roller after I cleaned it. painted owl
Instead of using a pillow to insert into the cover, I used some Poly-fil that I had at home! polyfil
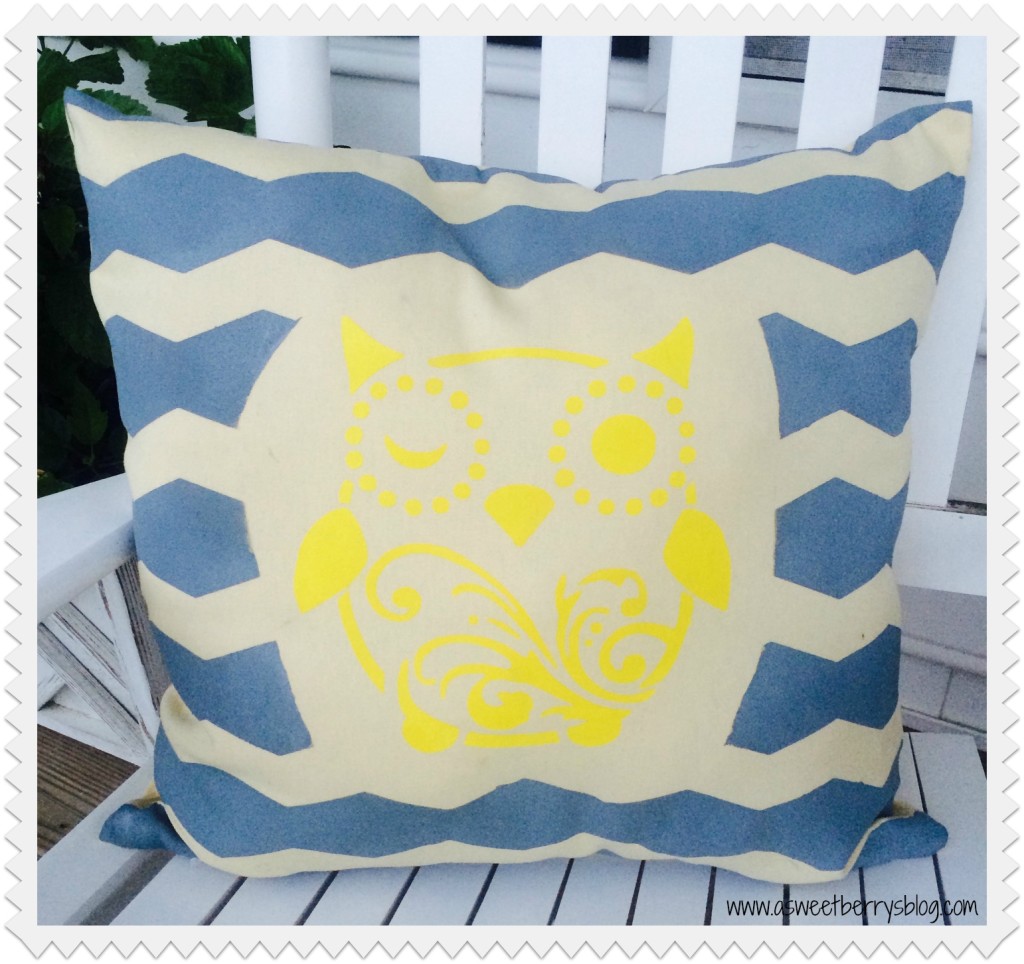
I am totally obsessed with the results of my decorative Tulip pillow!  It was super easy and super fun!   So, why not create your own fun decorative pillows instead of buying them!!! IMG_4768
I hope you liked my Chevron Owl Pillow made using Tulip For Your Home!

Halloween Wreath Re-do

So, I love the $1/$3 section at my local Target.   Every time I go into Target, I have to take a peek at what is there.  I don’t usually buy anything, but on occasion I can find something that I can use!

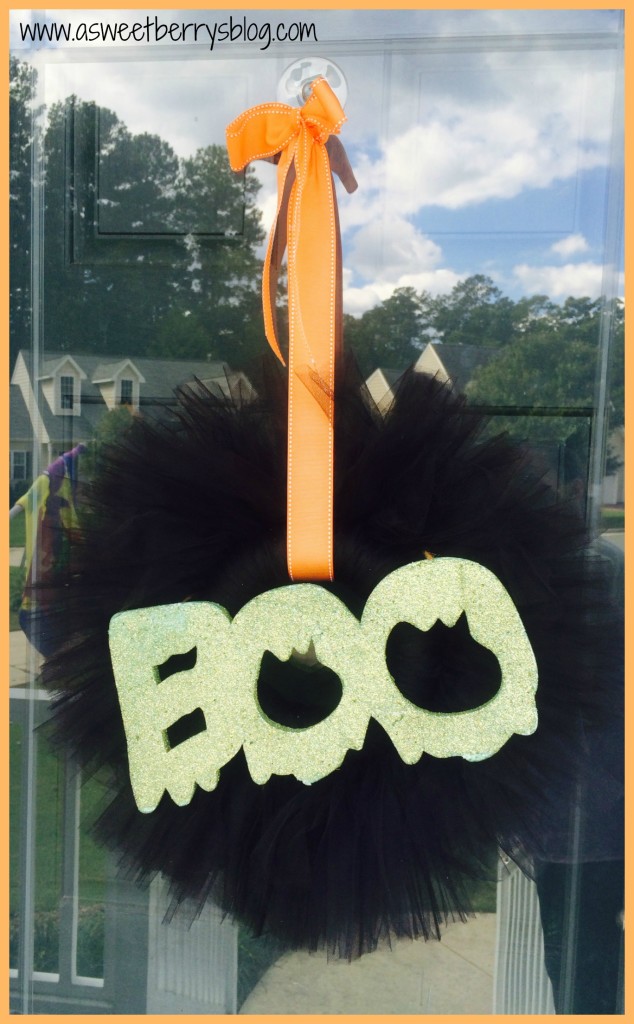
The wreath pictured below is one that I made a few years ago, using a styrofoam wreath, black tulle, some ribbons and a styrofoam “BOO” that I found in the $1 section at Target.  In the past few years of using this wreath, the styrofoam “BOO” has started to wear away.  So…….. old wreath

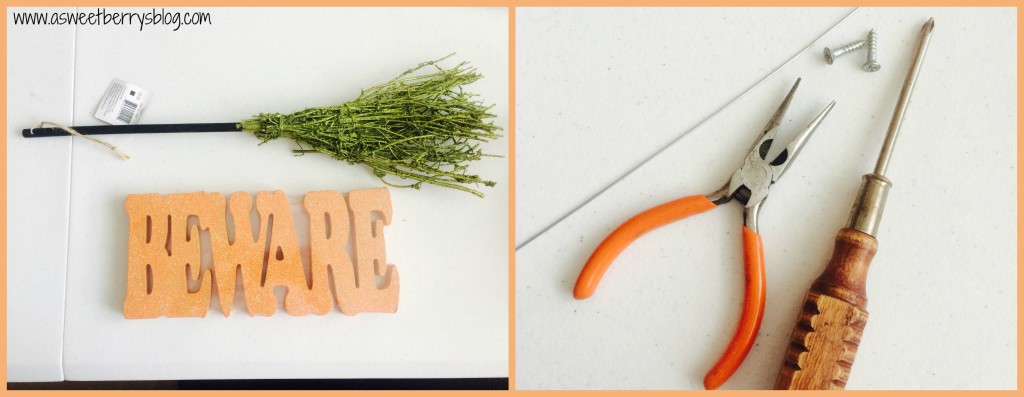
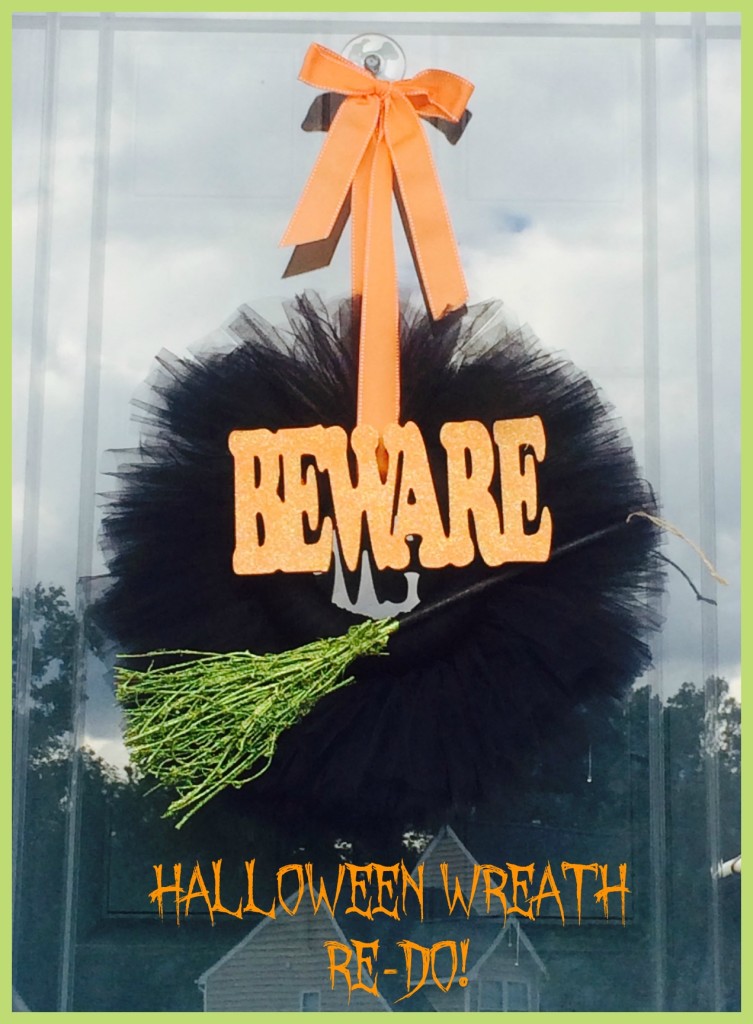
I just happened to walk through the $1/$3 section at Target the other day and saw some things I could use to spruce up my Halloween Wreath!   I found a wooden “BEWARE” and a witches broom.  Wondering how I was going to attached these new items to my wreath, I knew I had the materials to do that at home.

materials Wooden “Beware”, witches broom, garden wire, wire cutters, small screws and a screwdriver

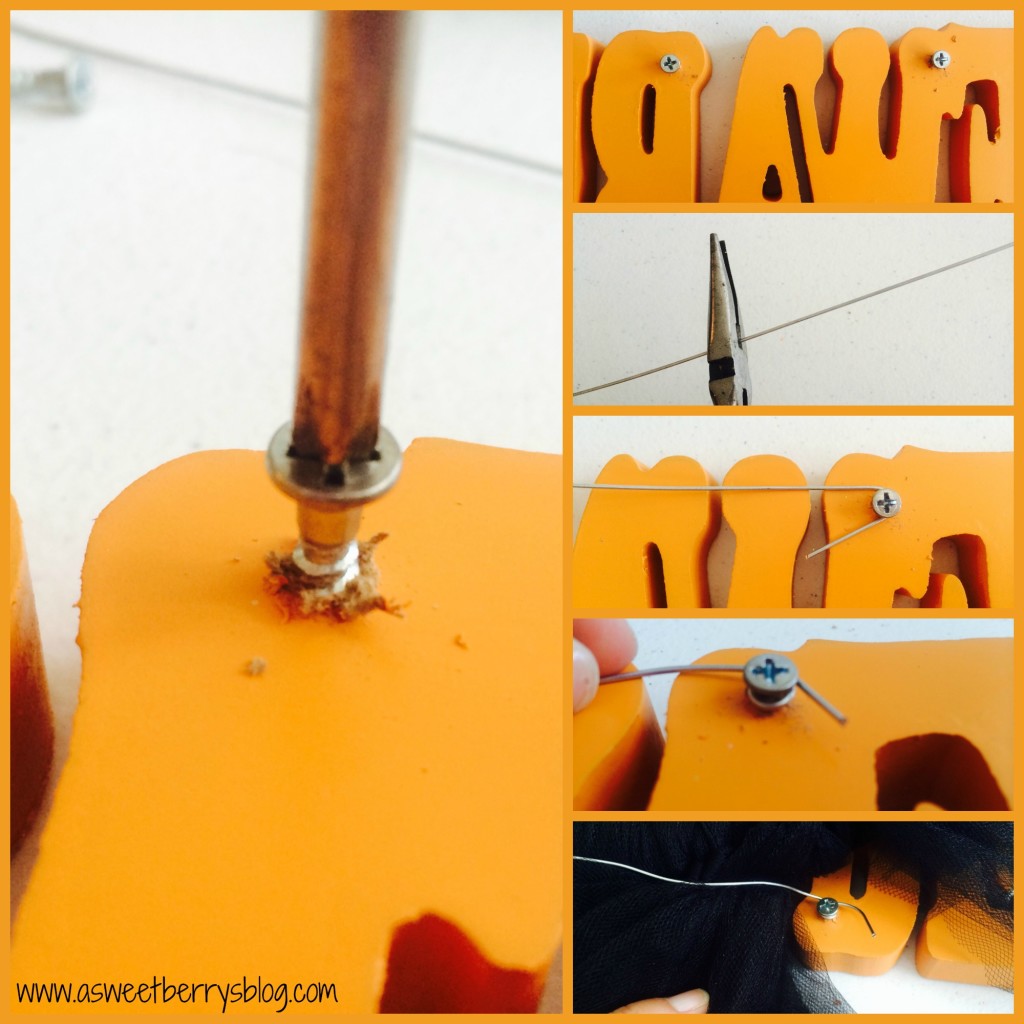
Using my screwdriver, I screwed my two small screws into the back of the “BEWARE”.   I then cut my wire to size so that I could attached it to the word and then to the wreath.  I twisted the wire around the screws and then attached it to my wreath.

beware

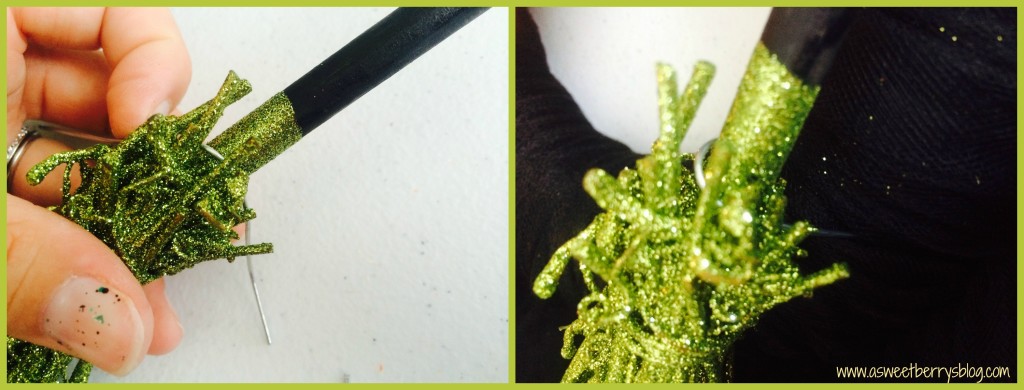
Using a piece of the gardening wire, I twisted it around the broom and then stuck the ends of the wire into the foam of the wreath. broom

Then, I hung it up and how the rest of the Halloween decorating begins!!!   Isn’t it cute?!?!?!

Halloween Wreath

Hope you like my Halloween Wreath Re-do, using items for the Target $1/$3 section!!!

Until next time…………

Print


Repurposed Fabric Coasters

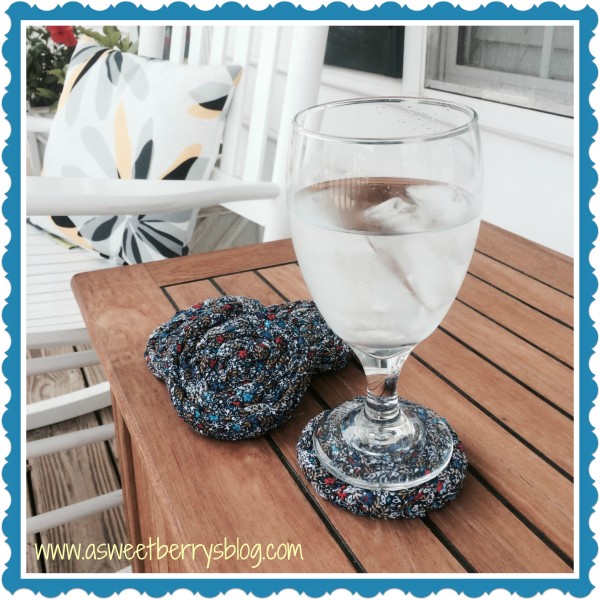
So, in trying to clean up my crafting area, I realized that I have a lot of scrap fabric laying around.  A lot of it is still good and enough fabric to do something with.  So, I decided to make fabric coasters with some of mine.

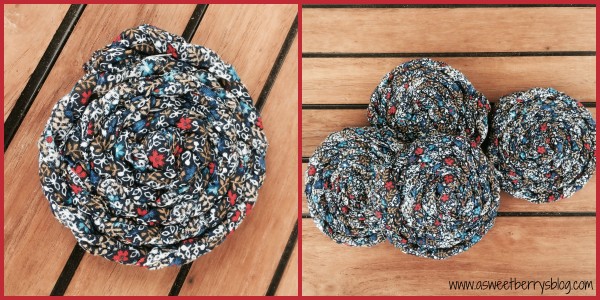
finals

 These coasters were super easy and even kids can help making them!

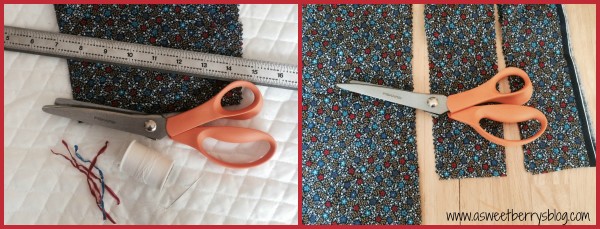
To make these awesome coasters, you will need:
-scrap fabric
-scissors
-a ruler
-thread (I used Coats & Clark) and needle
-bread ties

First, you are going to want to cut strips of fabric, roughly 3 inches by 24 inches.

needs

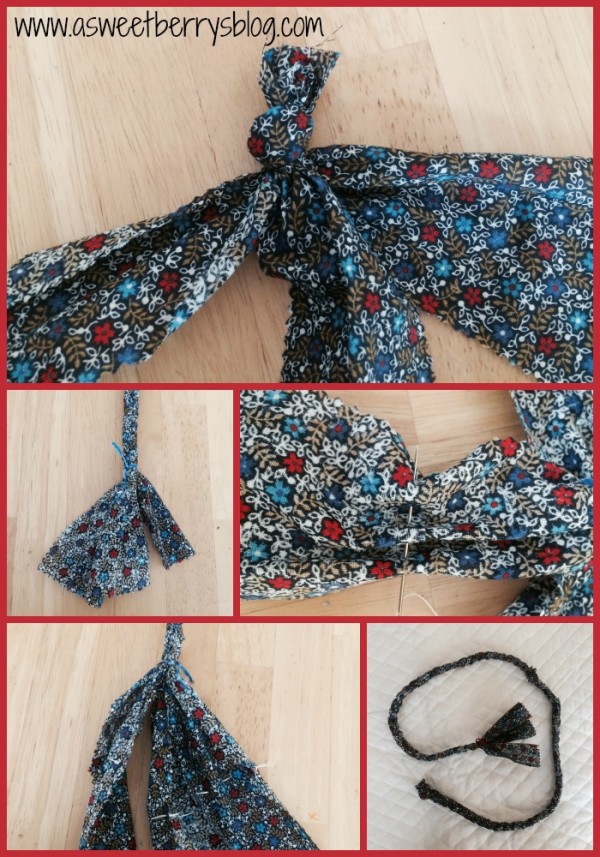
 Then, tie three strips together in a tight knot at one end.  Braid the strips until you get about three inches from the bottom.  Place the bread tie at the end of the braid to hold it into place.   Using a needle threaded so that you have double thread, sew another strip to each of the three braided strips.  This stitch can be loose, it’s just needed to make the strips longer and it will be braided in, so it won’t come apart.  After all three extra strips are sewn on, continue to braid until you are near the end.  Using another bread tie, secure it around the braid to hold it in place.

steps

After you have your braided strand, start with the end that has the knot.  Begin winding it. Run your needle and thread through the knot and then the part that is wound up, to hold it in place.  Continue winding your strand flat and place stitches through the strand as you keep winding it.  This will help hold everything in place and keep it from falling apart.  Once you get to the end, fold in and under the extra fabric and sew it to the wound up fabric to again hold it in place.

Then, place it on your table and put your glass on it!!!!!

CoastersFinal

I just love these and they look great on my front porch table for our evening rocks while the boys play!!!!

Hope you like these as much as I do!

Until next time……………

Sunny Skies bring….

….Beautiful bits of Nature!!!

I love this time of year, when baby animals are born and flowers start to bloom!

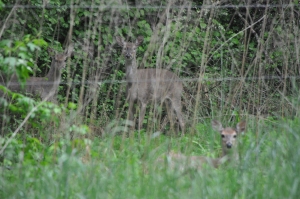
This morning, I happened to walk by the window upstairs and caught a glimpse of a doe laying in the grass. It wasn’t until I got my camera, did I see a buck laying in the grass not far behind her.  And then while taking some pictures, another guy walked up!

DSC_0820

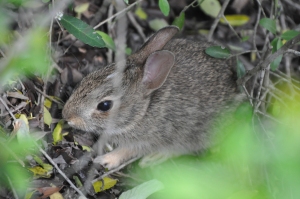
This afternoon, the kids and I were outside enjoying the sunshine when I saw Maggie sniffing around a tree near the house and then I heard a little scurrying underneath the limbs of the tree. It was the little bunny rabbit that has been torturing the dogs for the last week or so. Unfortunately, his brother or sister did not make it. He was found under one of our bushes this past weekend.

DSC_0834

DSC_0839

I became quite the photographer after these pictures of the bunny!   Which, I am still afraid that he may not survive.  I did indeed contact the town to see if they had any suggestions for maybe relocating this little guy.  Unfortunately, their response did not offer any suggestions because it’s a wild animal and will either survive or not.  But anyways, I went on to photograph some other things throughout my backyard.

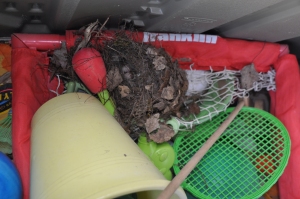
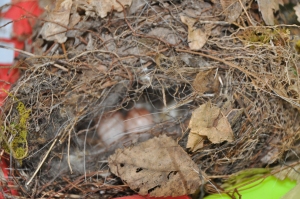
In the boys outdoor toy box, I discovered this big pile of leaves and sticks and such, so I picked it up hoping that something wasn’t living in it.  But guess what?  It was a birds nest, with eggs inside.  So, as soon as I realized what it was, it went back into it’s place and I am hoping that Mommy bird will come back to her lovely little pink and white eggs.

DSC_0842

DSC_0841

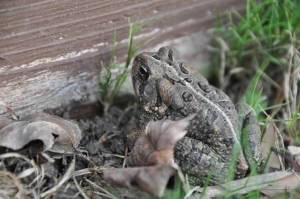
For some reason, this little guy likes to hang out in or around the sand box.  I know this is good because he keeps the spiders and other pesky insects away, but then to think he’s probably peeing all over the sand.  But oh well, he is a helpful little guy.  I have had to strongly encourage my children not to bother him, because if they were to get a hold of him, he may have bulging eyes and his life will probably be over.  Of course, I don’t tell them that, but I do tell that he likes to eat the bugs.   In the past, we used to put them in a bucket and guide them towards the shrubs in the natural area, but last year we discovered a snake living in the shrubs and we assumed it was because we were supplying him with the frogs that we were putting there.

DSC_0844

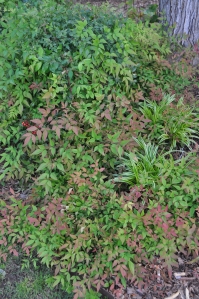
We absolutely love our backyard.  If we never move, the backyard will be the reason we stay.  That and the cul-da-sac that we live in!  But our backyard is our favorite part of owning this house!  With the help of a landscape design friend, Victor did an awesome job, minus one plant that we can’t stand, the Nandina shrub.  It’s apparently in the bamboo family and it spreads and shoots up, everywhere and quickly.

DSC_0854

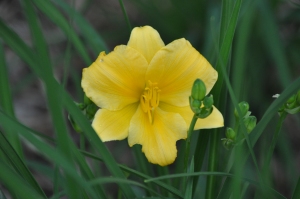
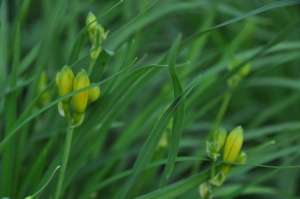
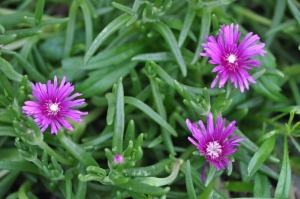
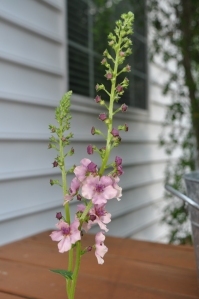
We do have some very lovely plants though, especially the ones that bloom with pretty flowers.  I did discover today that our first day lily bloomed and there are many many more to come!   We have a very nice ice plant that has beautiful purple flowers and a few other plants that are in bloom.  Oh, and our hostas are full and will probably get much bigger!

DSC_0846

DSC_0851

DSC_0853

DSC_0855

DSC_0847

DSC_0849

I am so happy for the sunshine!   The weather has been a little blah lately, but I am hoping that warm weather and sunny skies are on the way!Hope everyone is having a very happy May.  My oldest will be turning 6 this Sunday and will be finished with Kindergarten at the end of May.  Until next time…….