Category Archives: seasonal

Hello Pumpkin Sign featuring Fairfield World’s Oly*Fun® and Project Foam

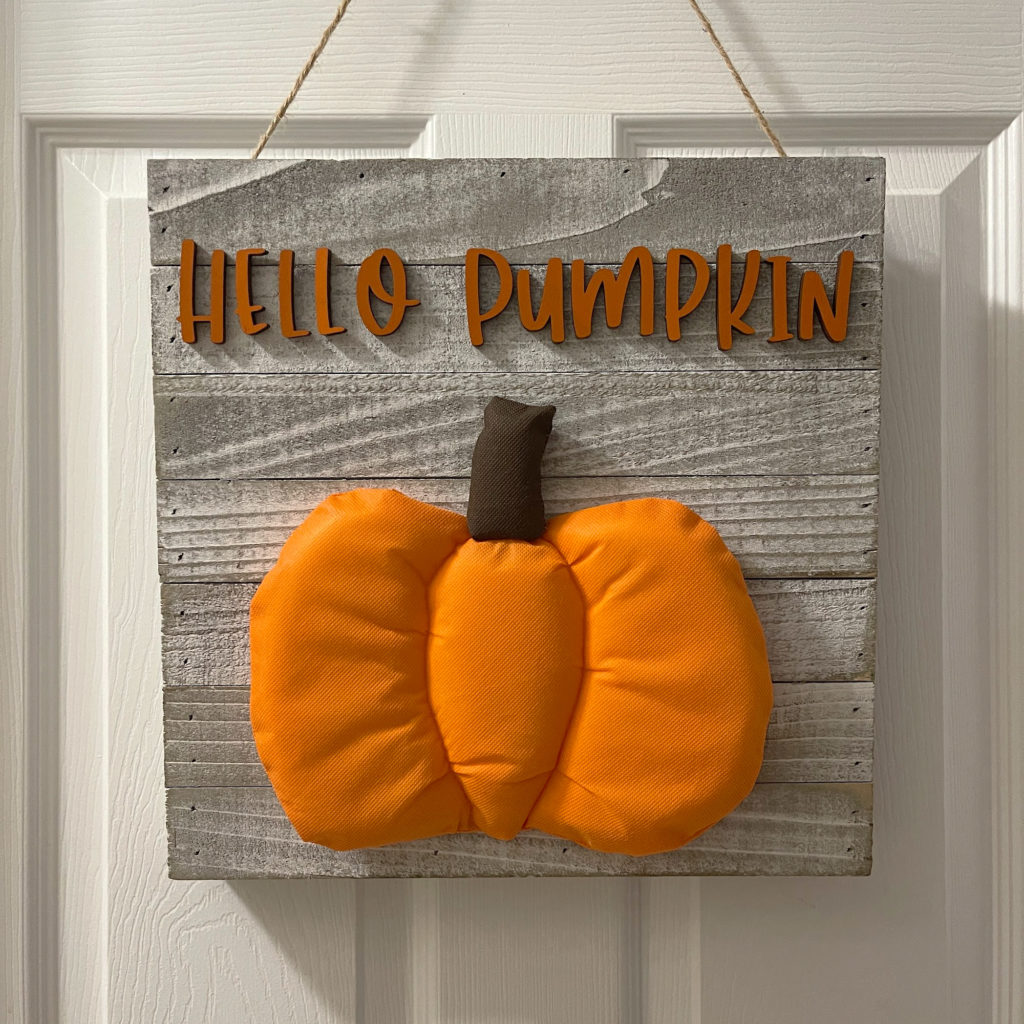
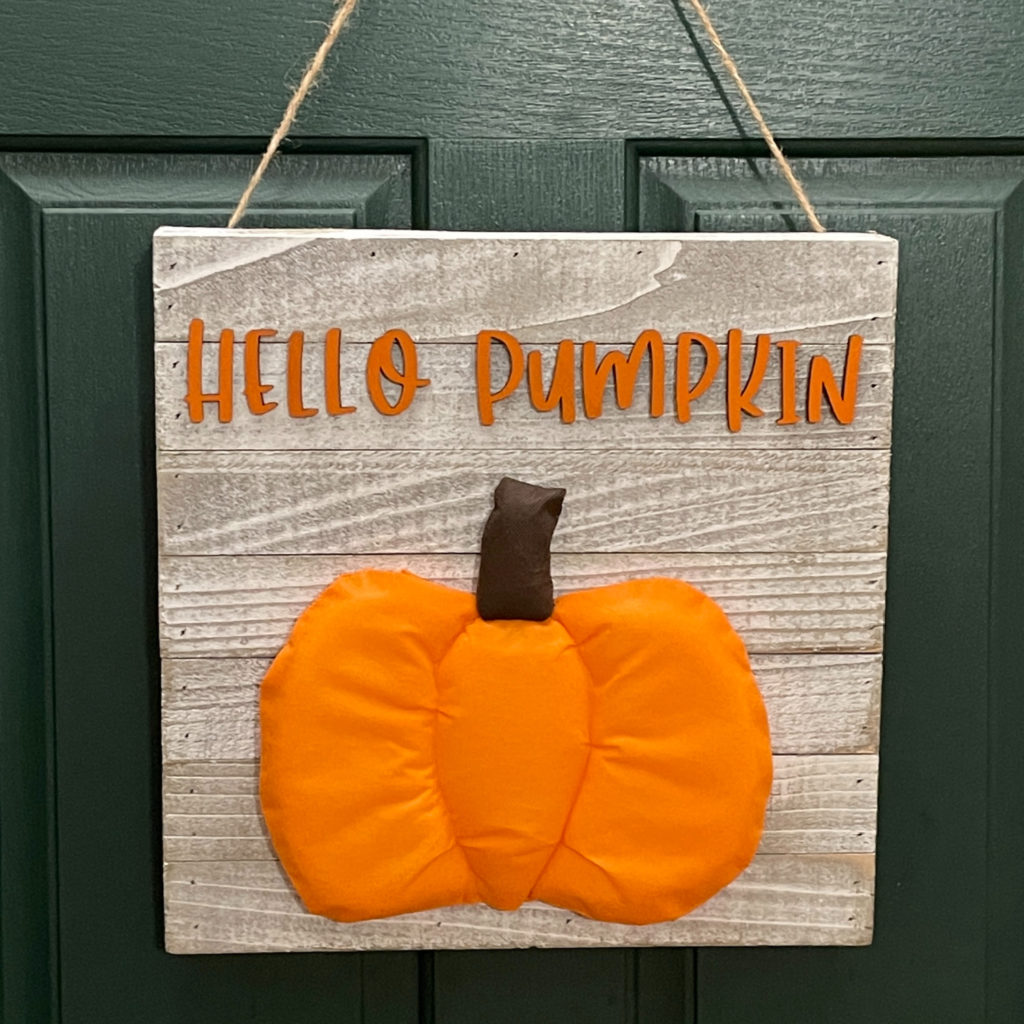
Pumpkin season is here and this Hello Pumpkin sign made with Fairfield World’s Oly*Fun® and Project Foam is perfect to add to your decor! It can be hung on the wall, the door or set on a shelf or table. I love it as a door hanger!
Materials used:

How I made it:

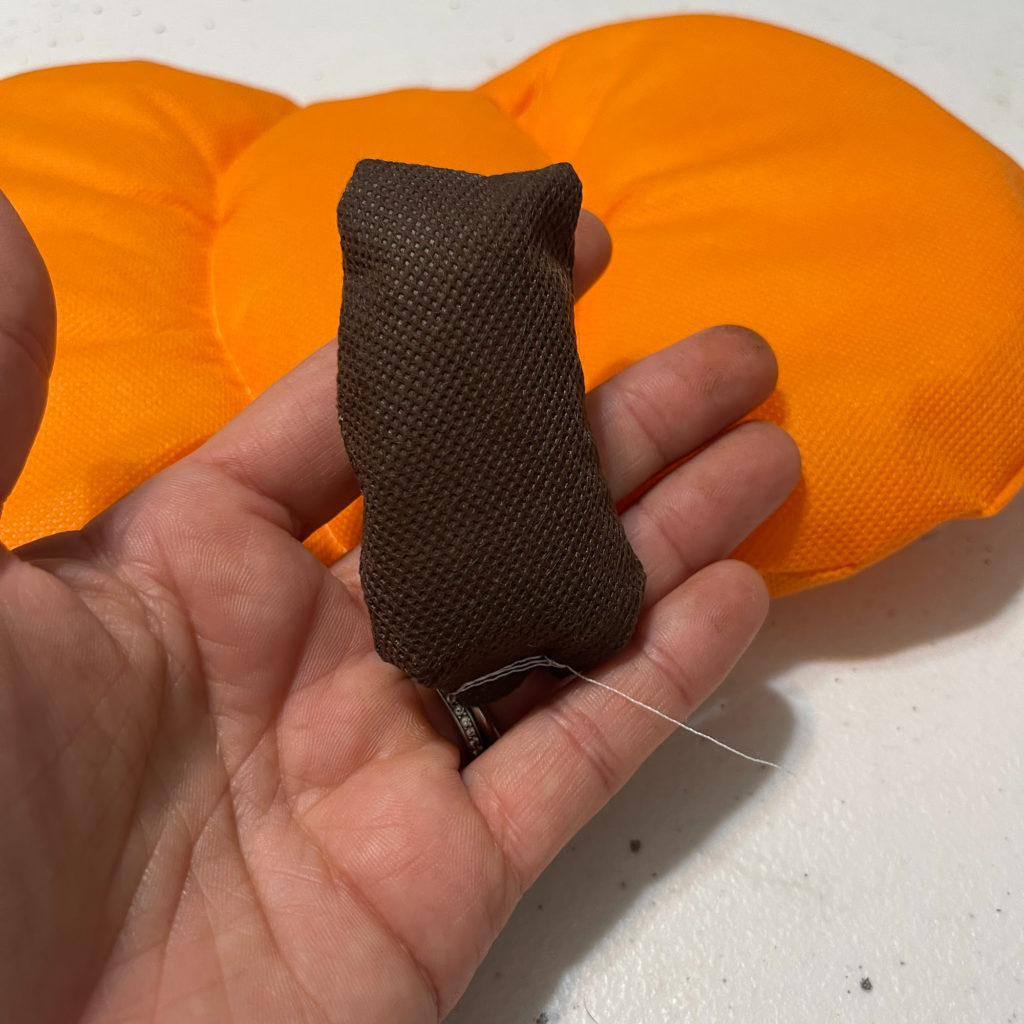
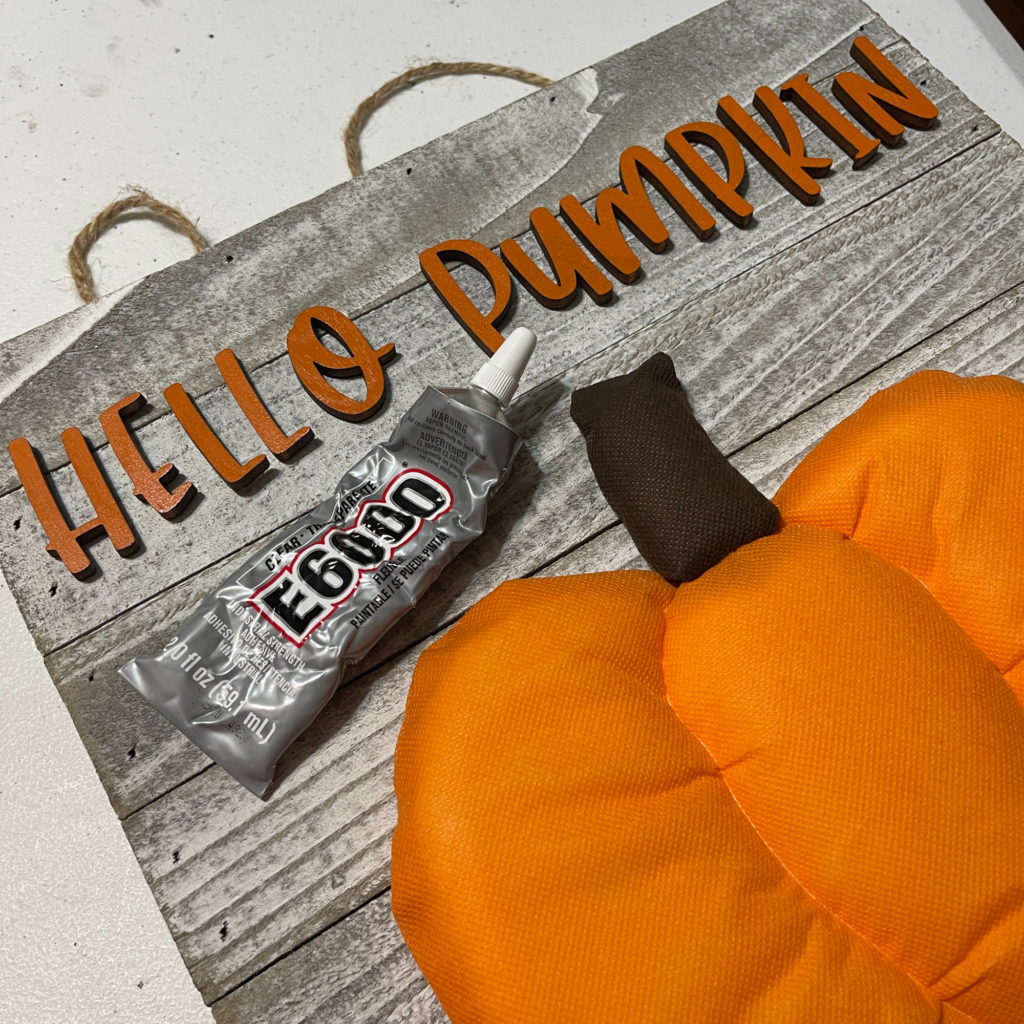
I first started by drawing a pumpkin and stem with a marker on the Project Foam. I knew that my sign was only 14″x14″ so I needed to make it smaller than that. I cut it out with my scissors.
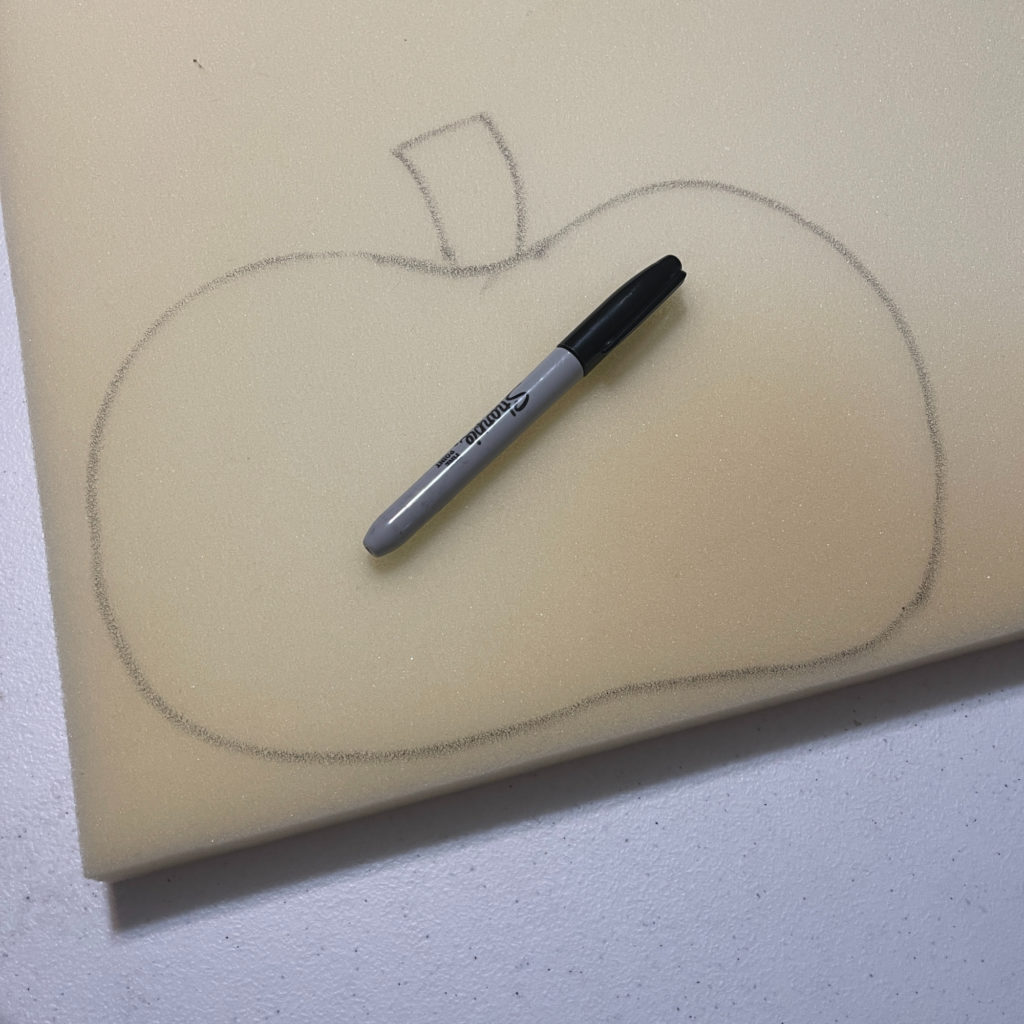
I laid the foam pumpkin and stem shapes on the orange and brown Oly*Fun® and traced around them, adding about a 1/2″.
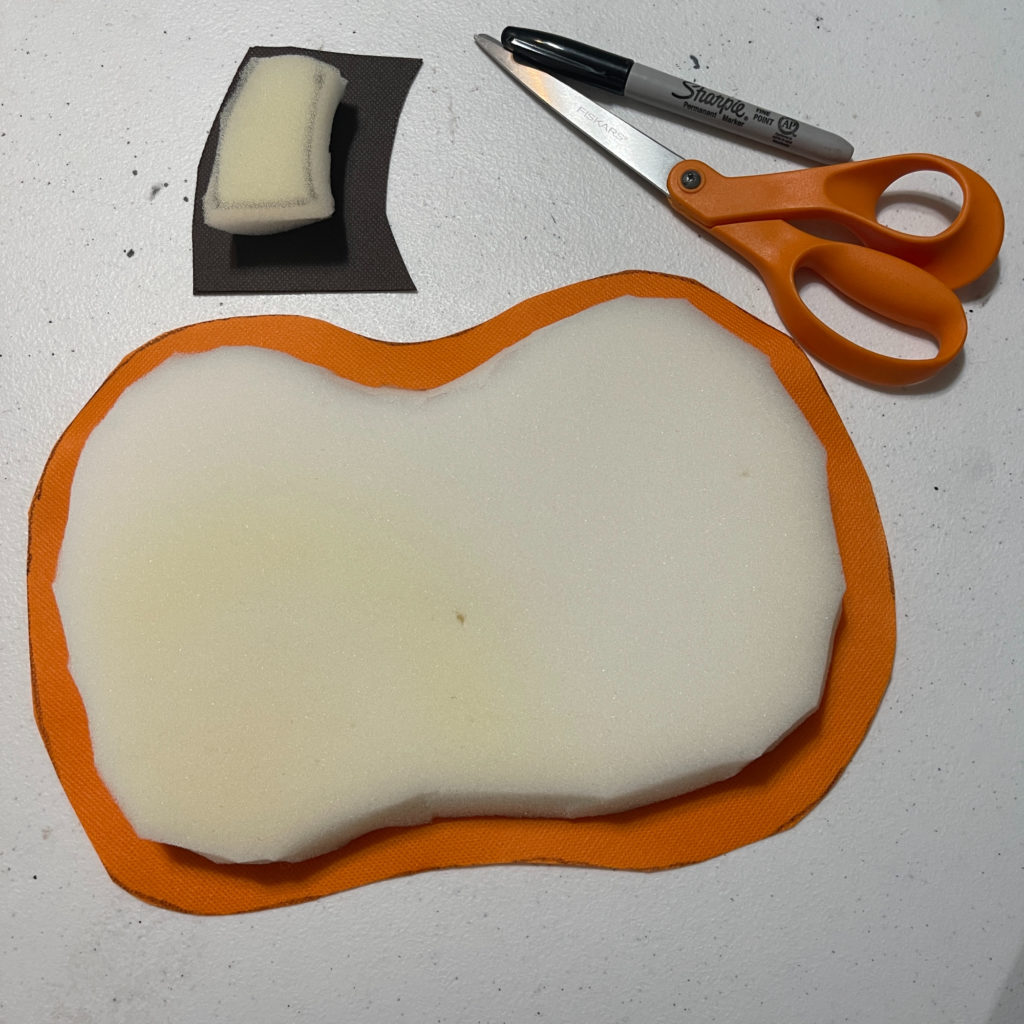
Once everything was cut out, I sewed the pieces together with a 1/4″ seem and leaving an opening for inserting the foam.

I flipped the sewn Oly*Fun® so the seam was inside and them inserted the foam.
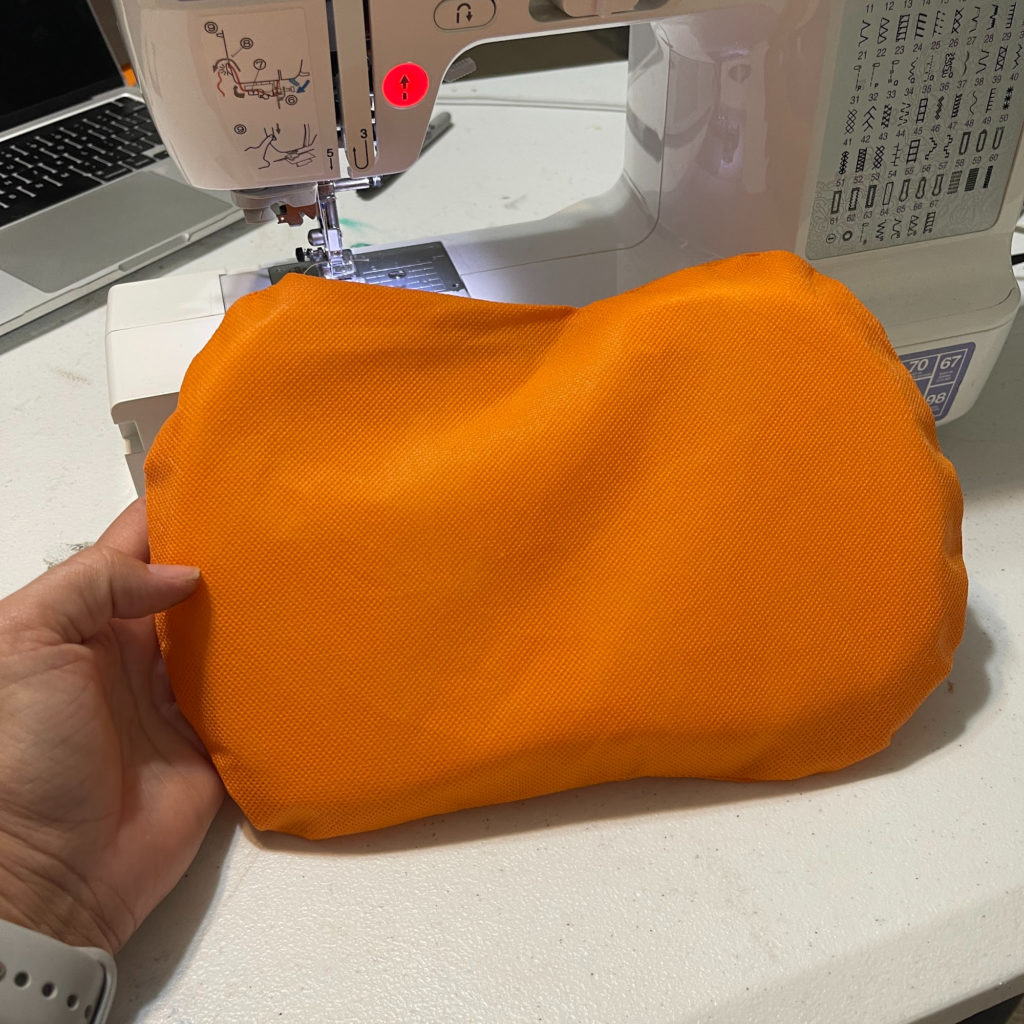
I sewed the openings closed. I then sewed a curved line on each side, giving it a more realistic pumpkin look.
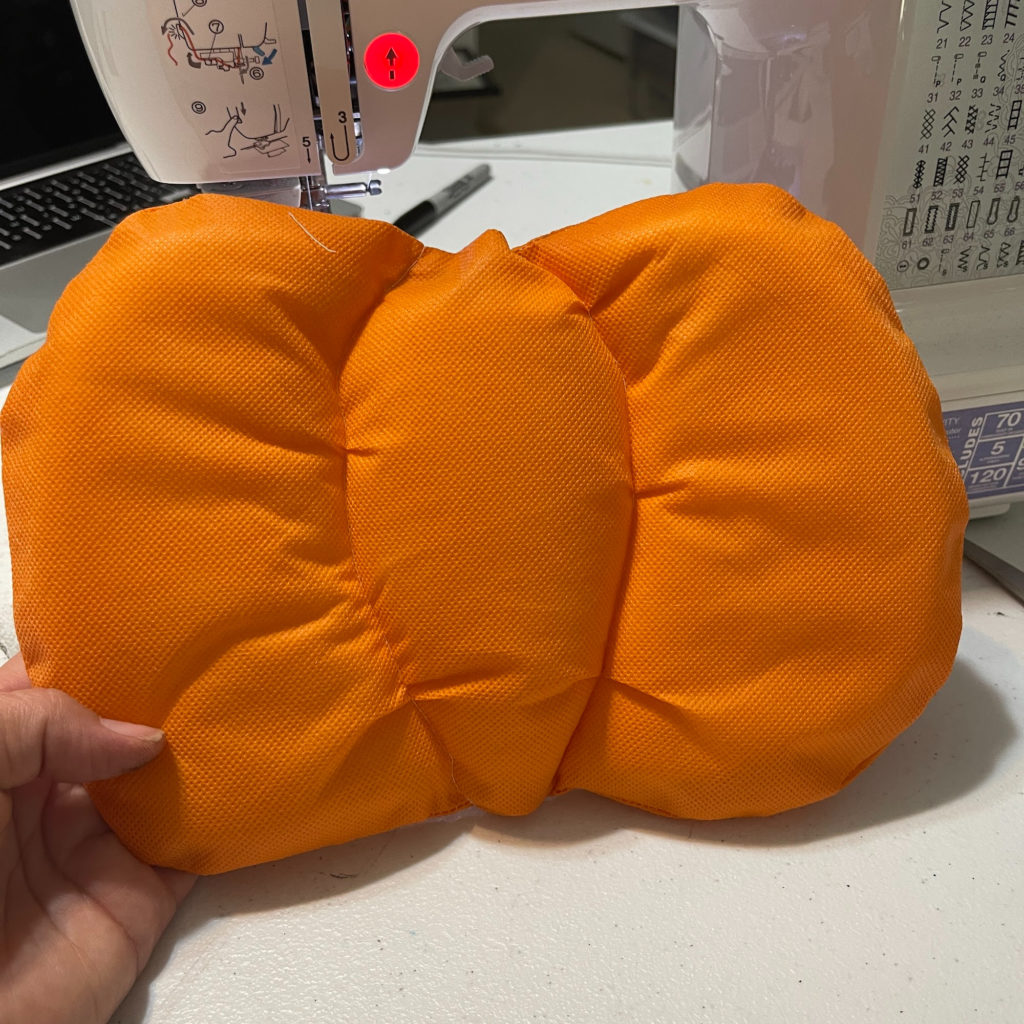
Then I glued the stem to the pumpkin.

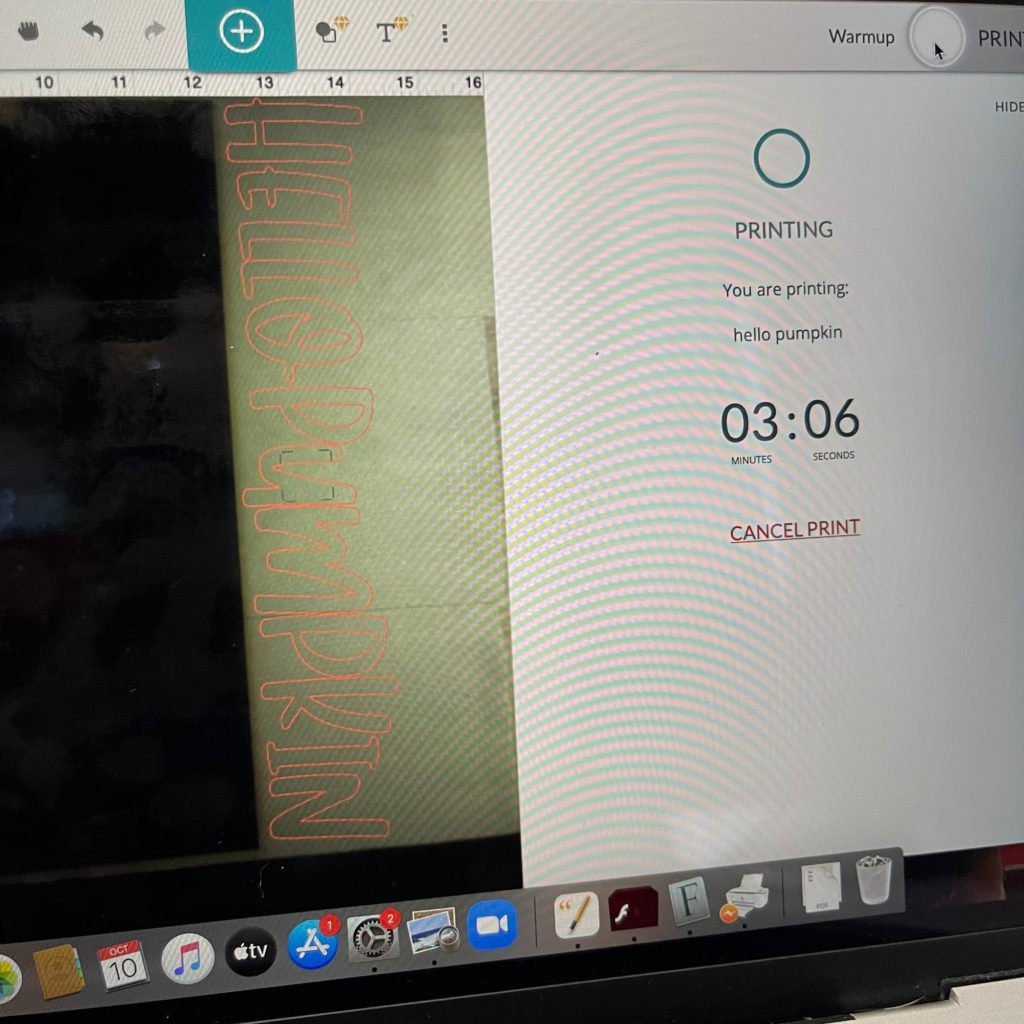
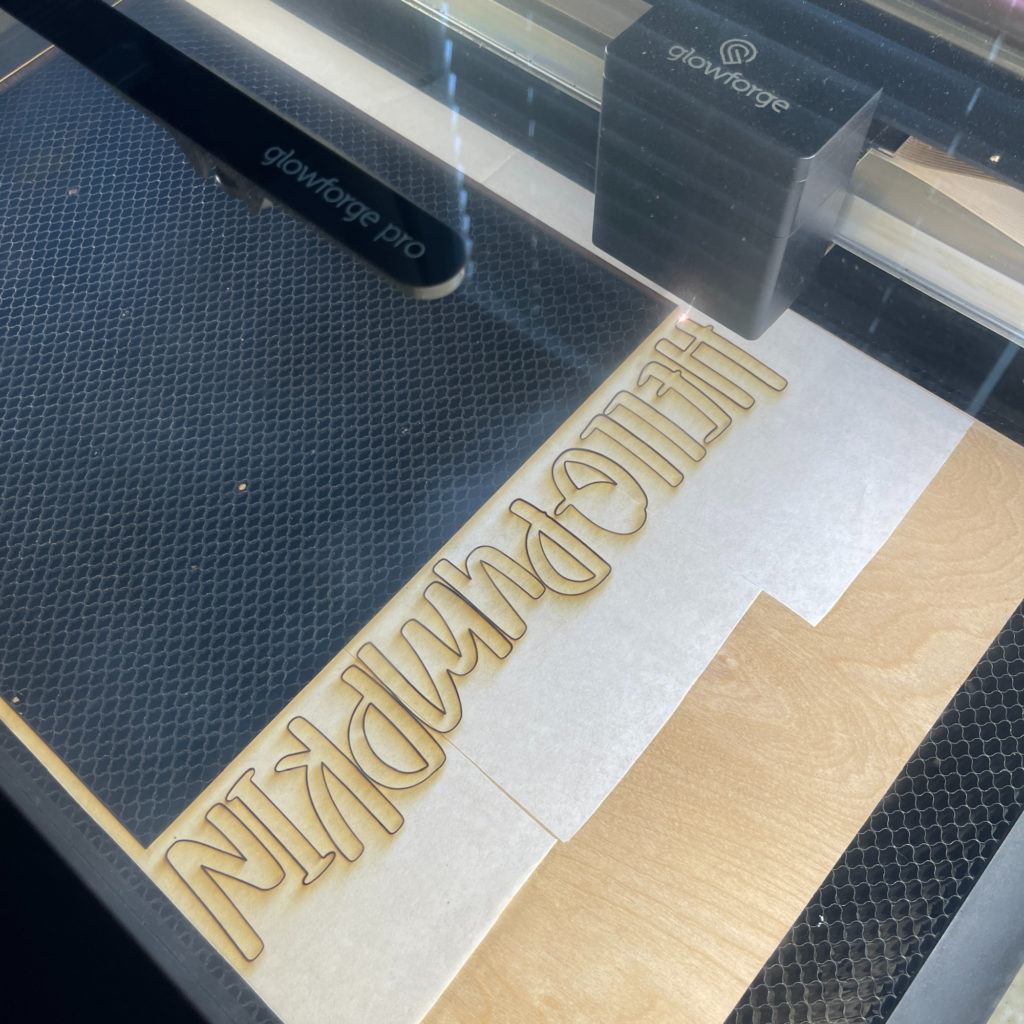
Using my Glowforge, I cut out the Hello Pumpkin letters and painted them orange.
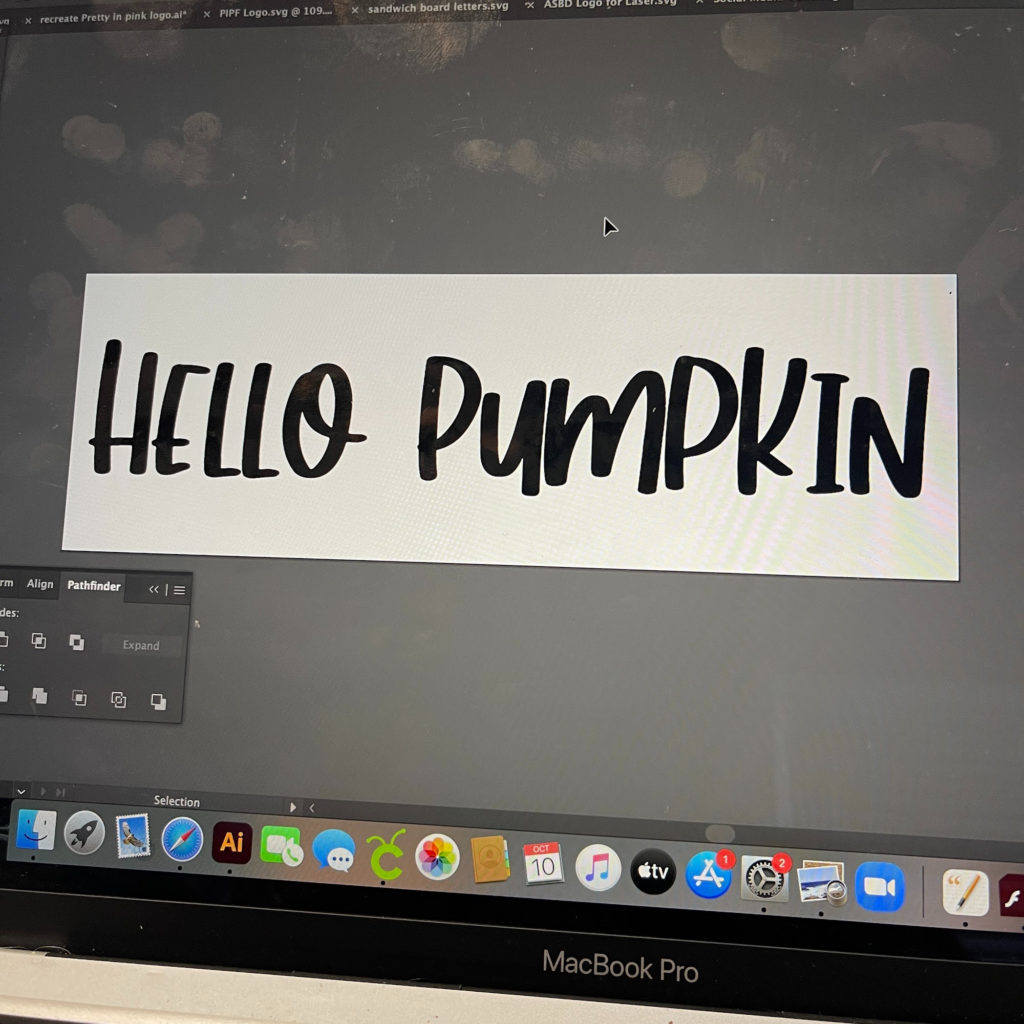
Then it was time to glue everything down to the sign.
I love how the sign turned out! Fall decorations are my favorite decorations! I hope you like it too! You could make lots of different size pumpkin signs and make a collage! There is a variety of Oly-Fun® colors!
Until next time….Happy Crafting!

Happy Halloween Banner featuring Cricut

Disclosure:  This blog post contains affiliate links.

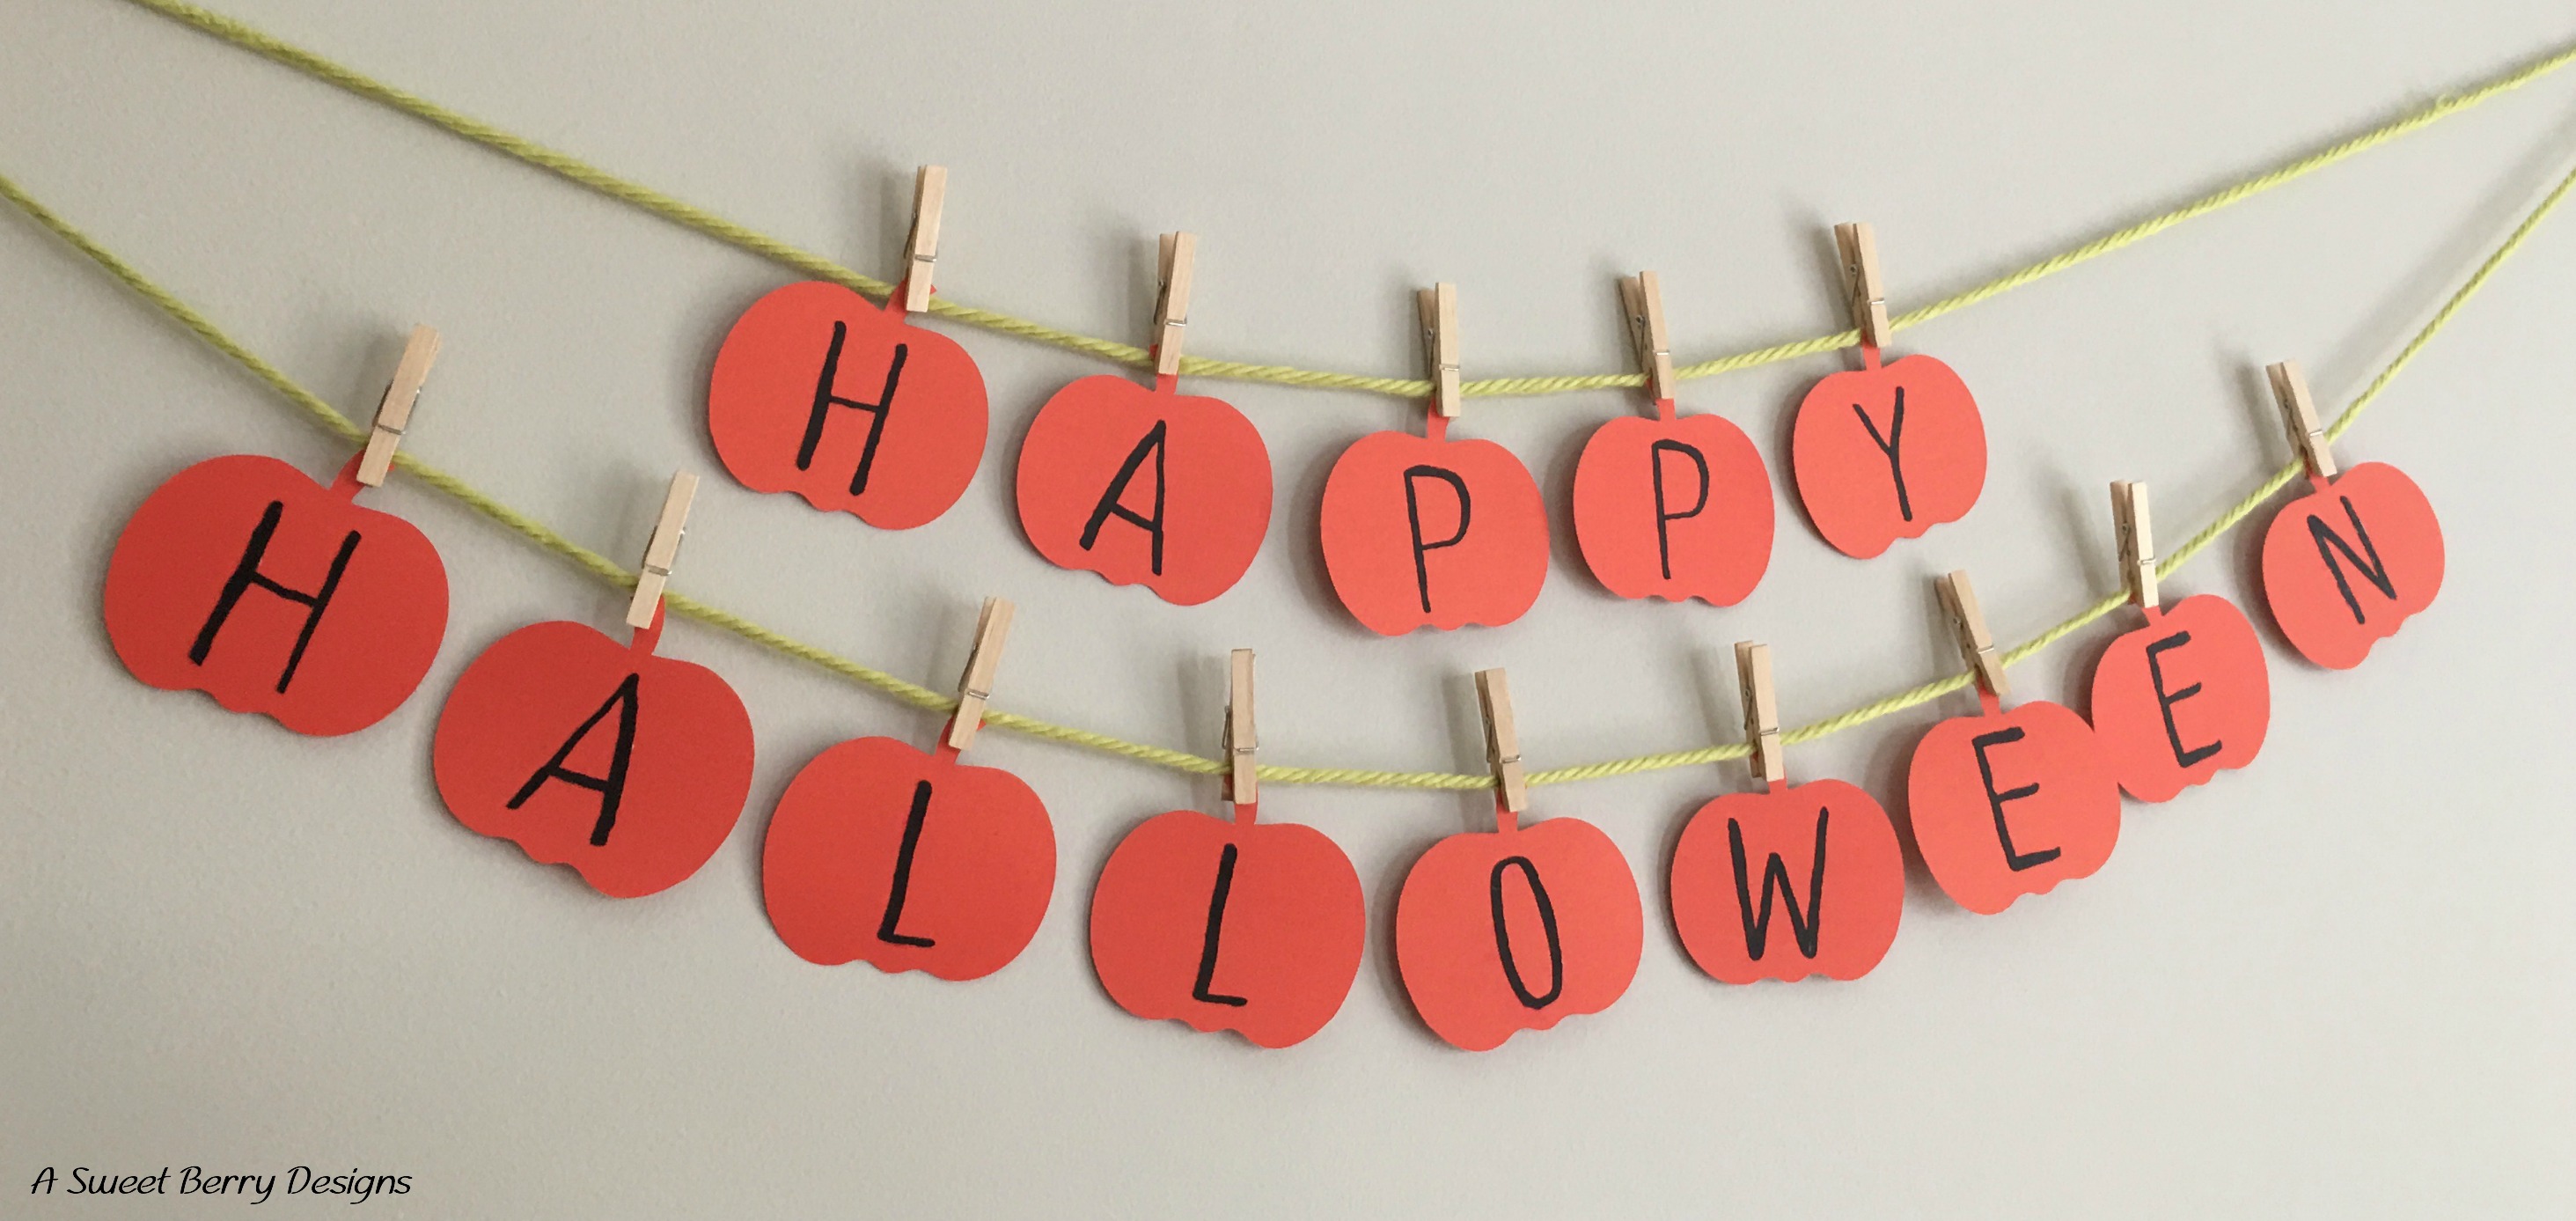
Halloween in near and it’s also Craft Lightning time!  This Craft Lightning features Cricut!   So, I made a Happy Halloween Banner with pumpkins and letters cut with my Cricut Explore.  It was quick, easy and fun.  Even the kids could get in on helping making this adorable Happy Halloween Banner!  And this banner is perfect for a kids party!

Materials needed:
Cricut Explore, Air or Maker
Cricut Cutting Mat
Cricut Tools for removing yardstick from mats
Computer with Cricut Design Space installed
Cardstock (orange and black)
Yarn
Small Clothespins
Glue

How I made it:

  1.  I chose a pumpkin from the Images category.  This pumpkin was free with Cricut Access.  I also chose a font for my letters.  This particular font is from my font book via my computer.  I picked one that looked a little spooky.  I laid everything out in Design Space and then cut it all out, the pumpkins first and then the letters.  I hid the letters while I cut out the pumpkins.  And then I hid the pumpkins while I cut the letters.   I cut out two sheets of pumpkins.

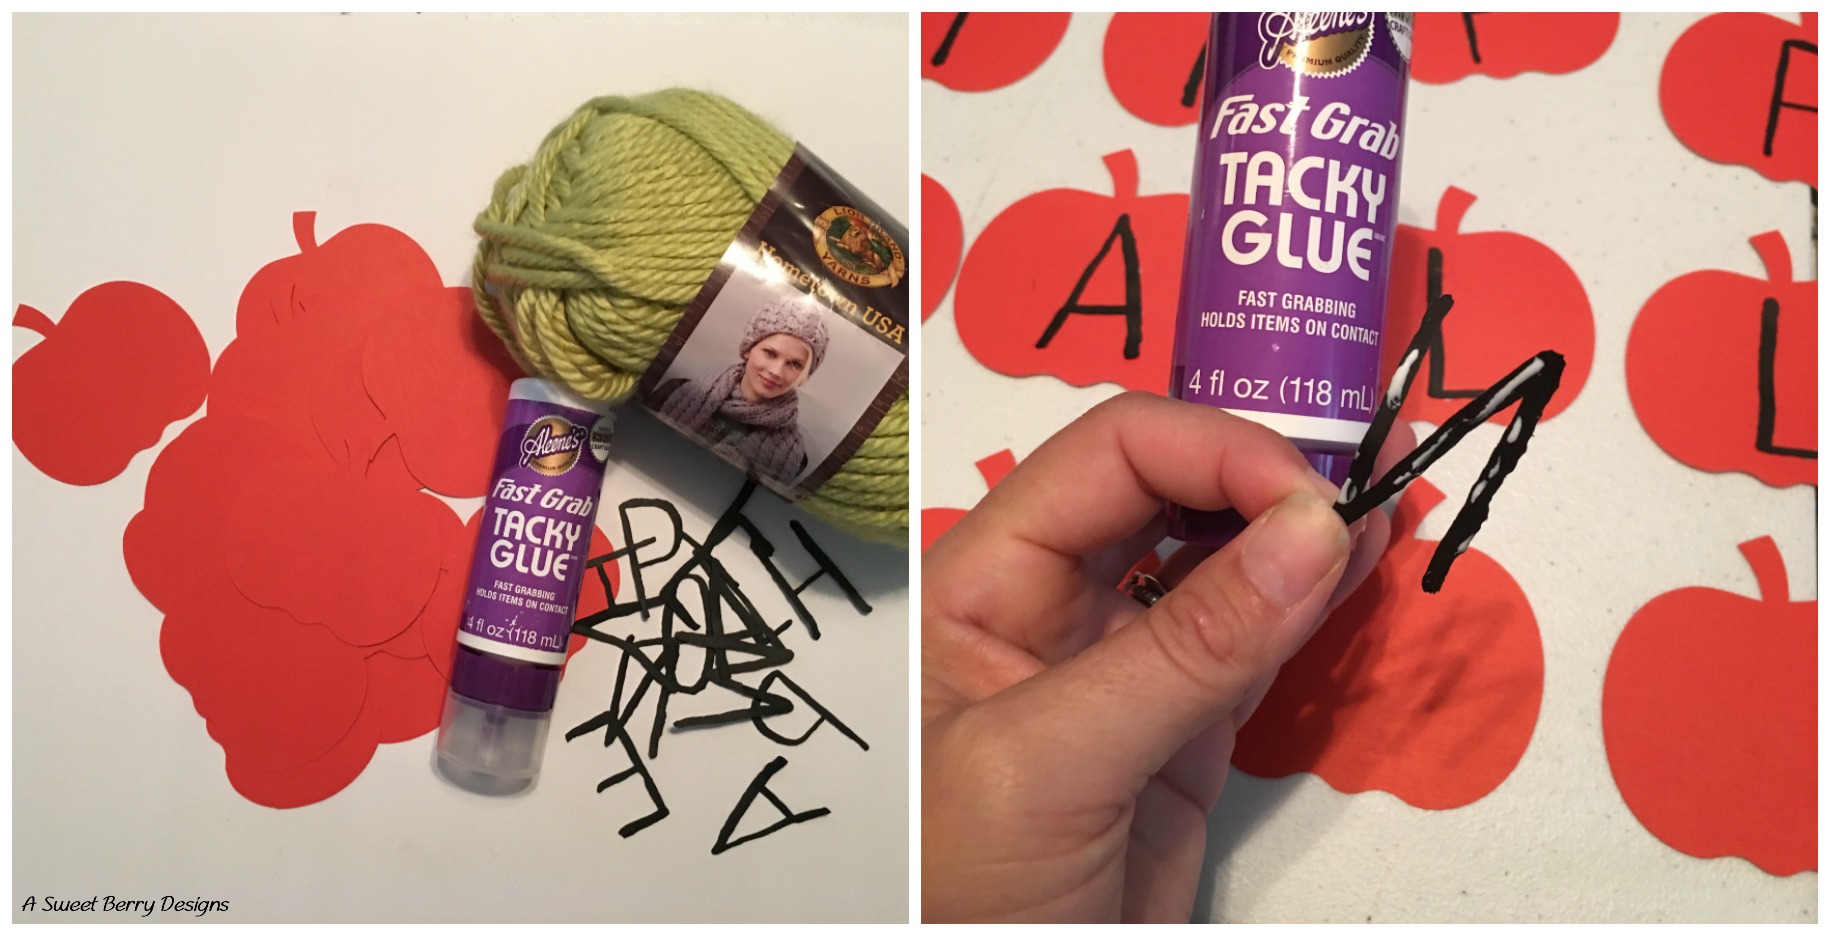
2.  Once everything was cut out, I glued the letters to the pumpkins using Aleene’s Fast Grab Tacky Glue.

3.  I let the glue dry and then it was time to hang it up using the yarn and the small clothespins.

I love a good banner, so I keep Command Hooks in my dinning area where we have gatherings and such.  It’s super easy to throw up a cute banner for whatever the occasion is.  This Happy Halloween Banner is perfect for a Halloween Party for the kids.  I hope you like it!   

Side note:  The pumpkins can be decorated.   That may take a little longer than the fifteen minutes allowed for Craft Lightning!  🙂

Click the button below to check out other quick Craft Lightning Cricut Halloween ideas!

Also, be sure to enter to win a new Cricut Maker!

a Rafflecopter giveaway

Until next time…….

 
Cricut Maker Machine

Pikachu Popcorn Box

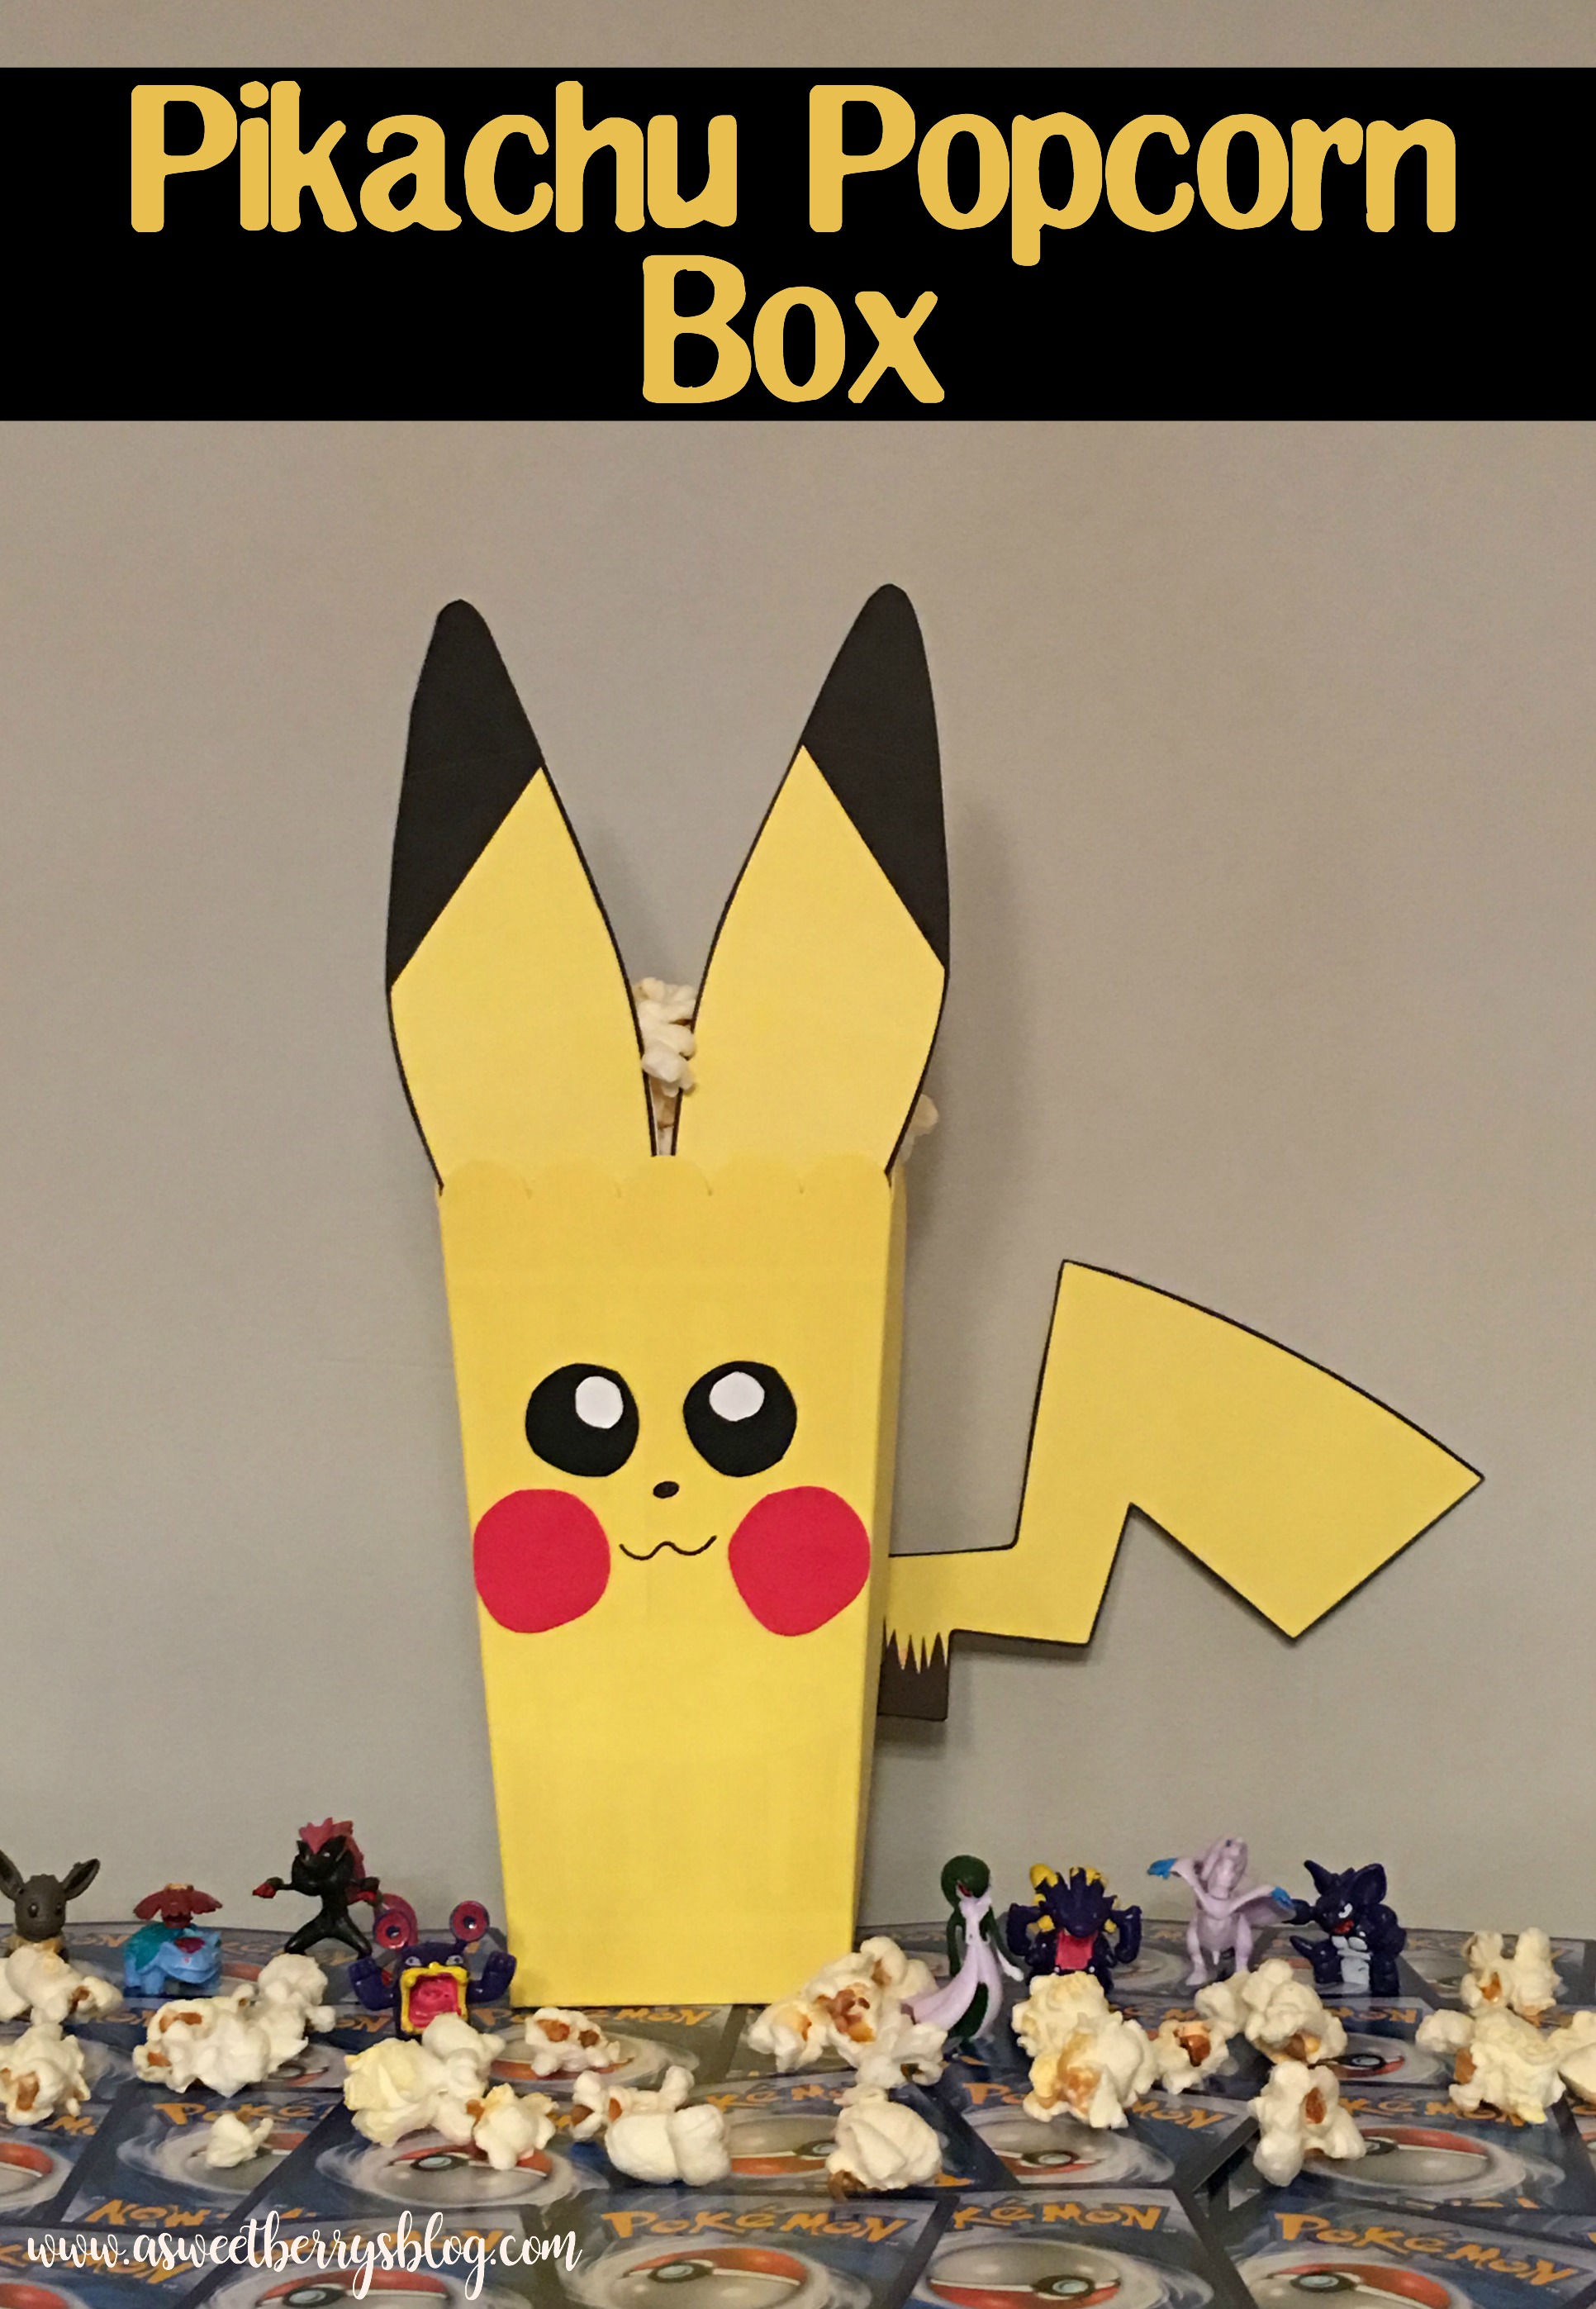
It’s time for Laura Kelly’s annual Popcorn Box Blog Hop!  Pokemon has been really popular in our house this year, especially with the release of the PokemonGo app.  My youngest son just had a Pokemon themed birthday party.  So, for this years blog hop, I thought I’d dress my popcorn box up as Pikachu!
box-final
Materials:
Popcorn Box from Cost Plus World Market
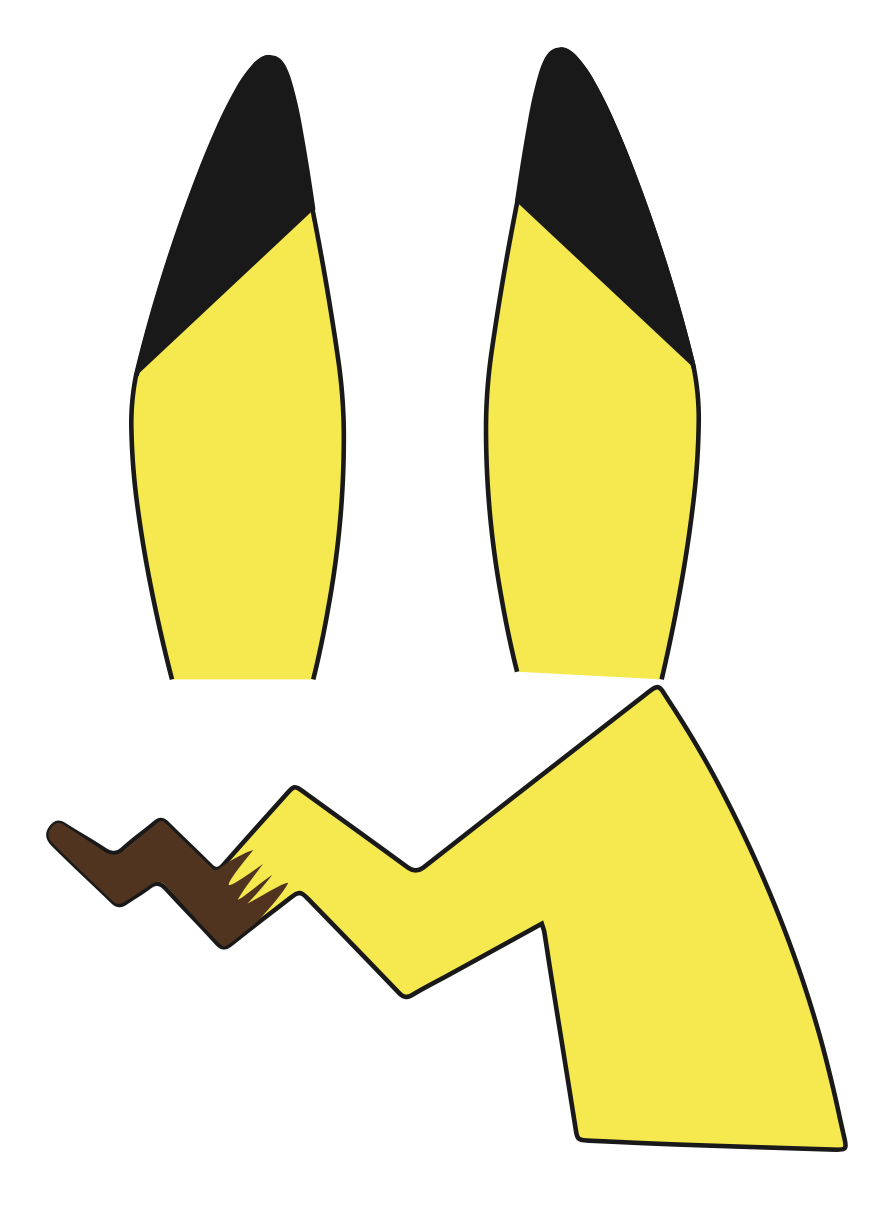
Pikachu Ears and Tail PDF (I created the tail and ears pdf, so click the photo below to print your own!)
Yellow Paint (I used DecoArt Americana Sunny Days)
Paint Brush
Red, black and white scrap paper
Scissors
Marker (I used a Tomboy Mono Twin Marker)
Glue (I used Aleene’s Fast Grab Tacky Glue
screen-shot-2016-10-16-at-8-54-31-pm
First, you need to paint the popcorn box.  I did three layers to cover the red lines really good.  Once it was dry, I cut out the ears, tail, cheeks and eyes.   When everything was cut out, I glued everything to the box and then I had an adorable little Pikachu Popcorn Box!
instructions
I hope you enjoyed my Pikachu Popcorn Box!  It was super quick and easy!

Be sure to click below to check out other awesome 2016 Popcorn Box ideas!


<!– end InLin>kz script —
Also, enter to win
a Rafflecopter giveaway

Green Peppermint Shake

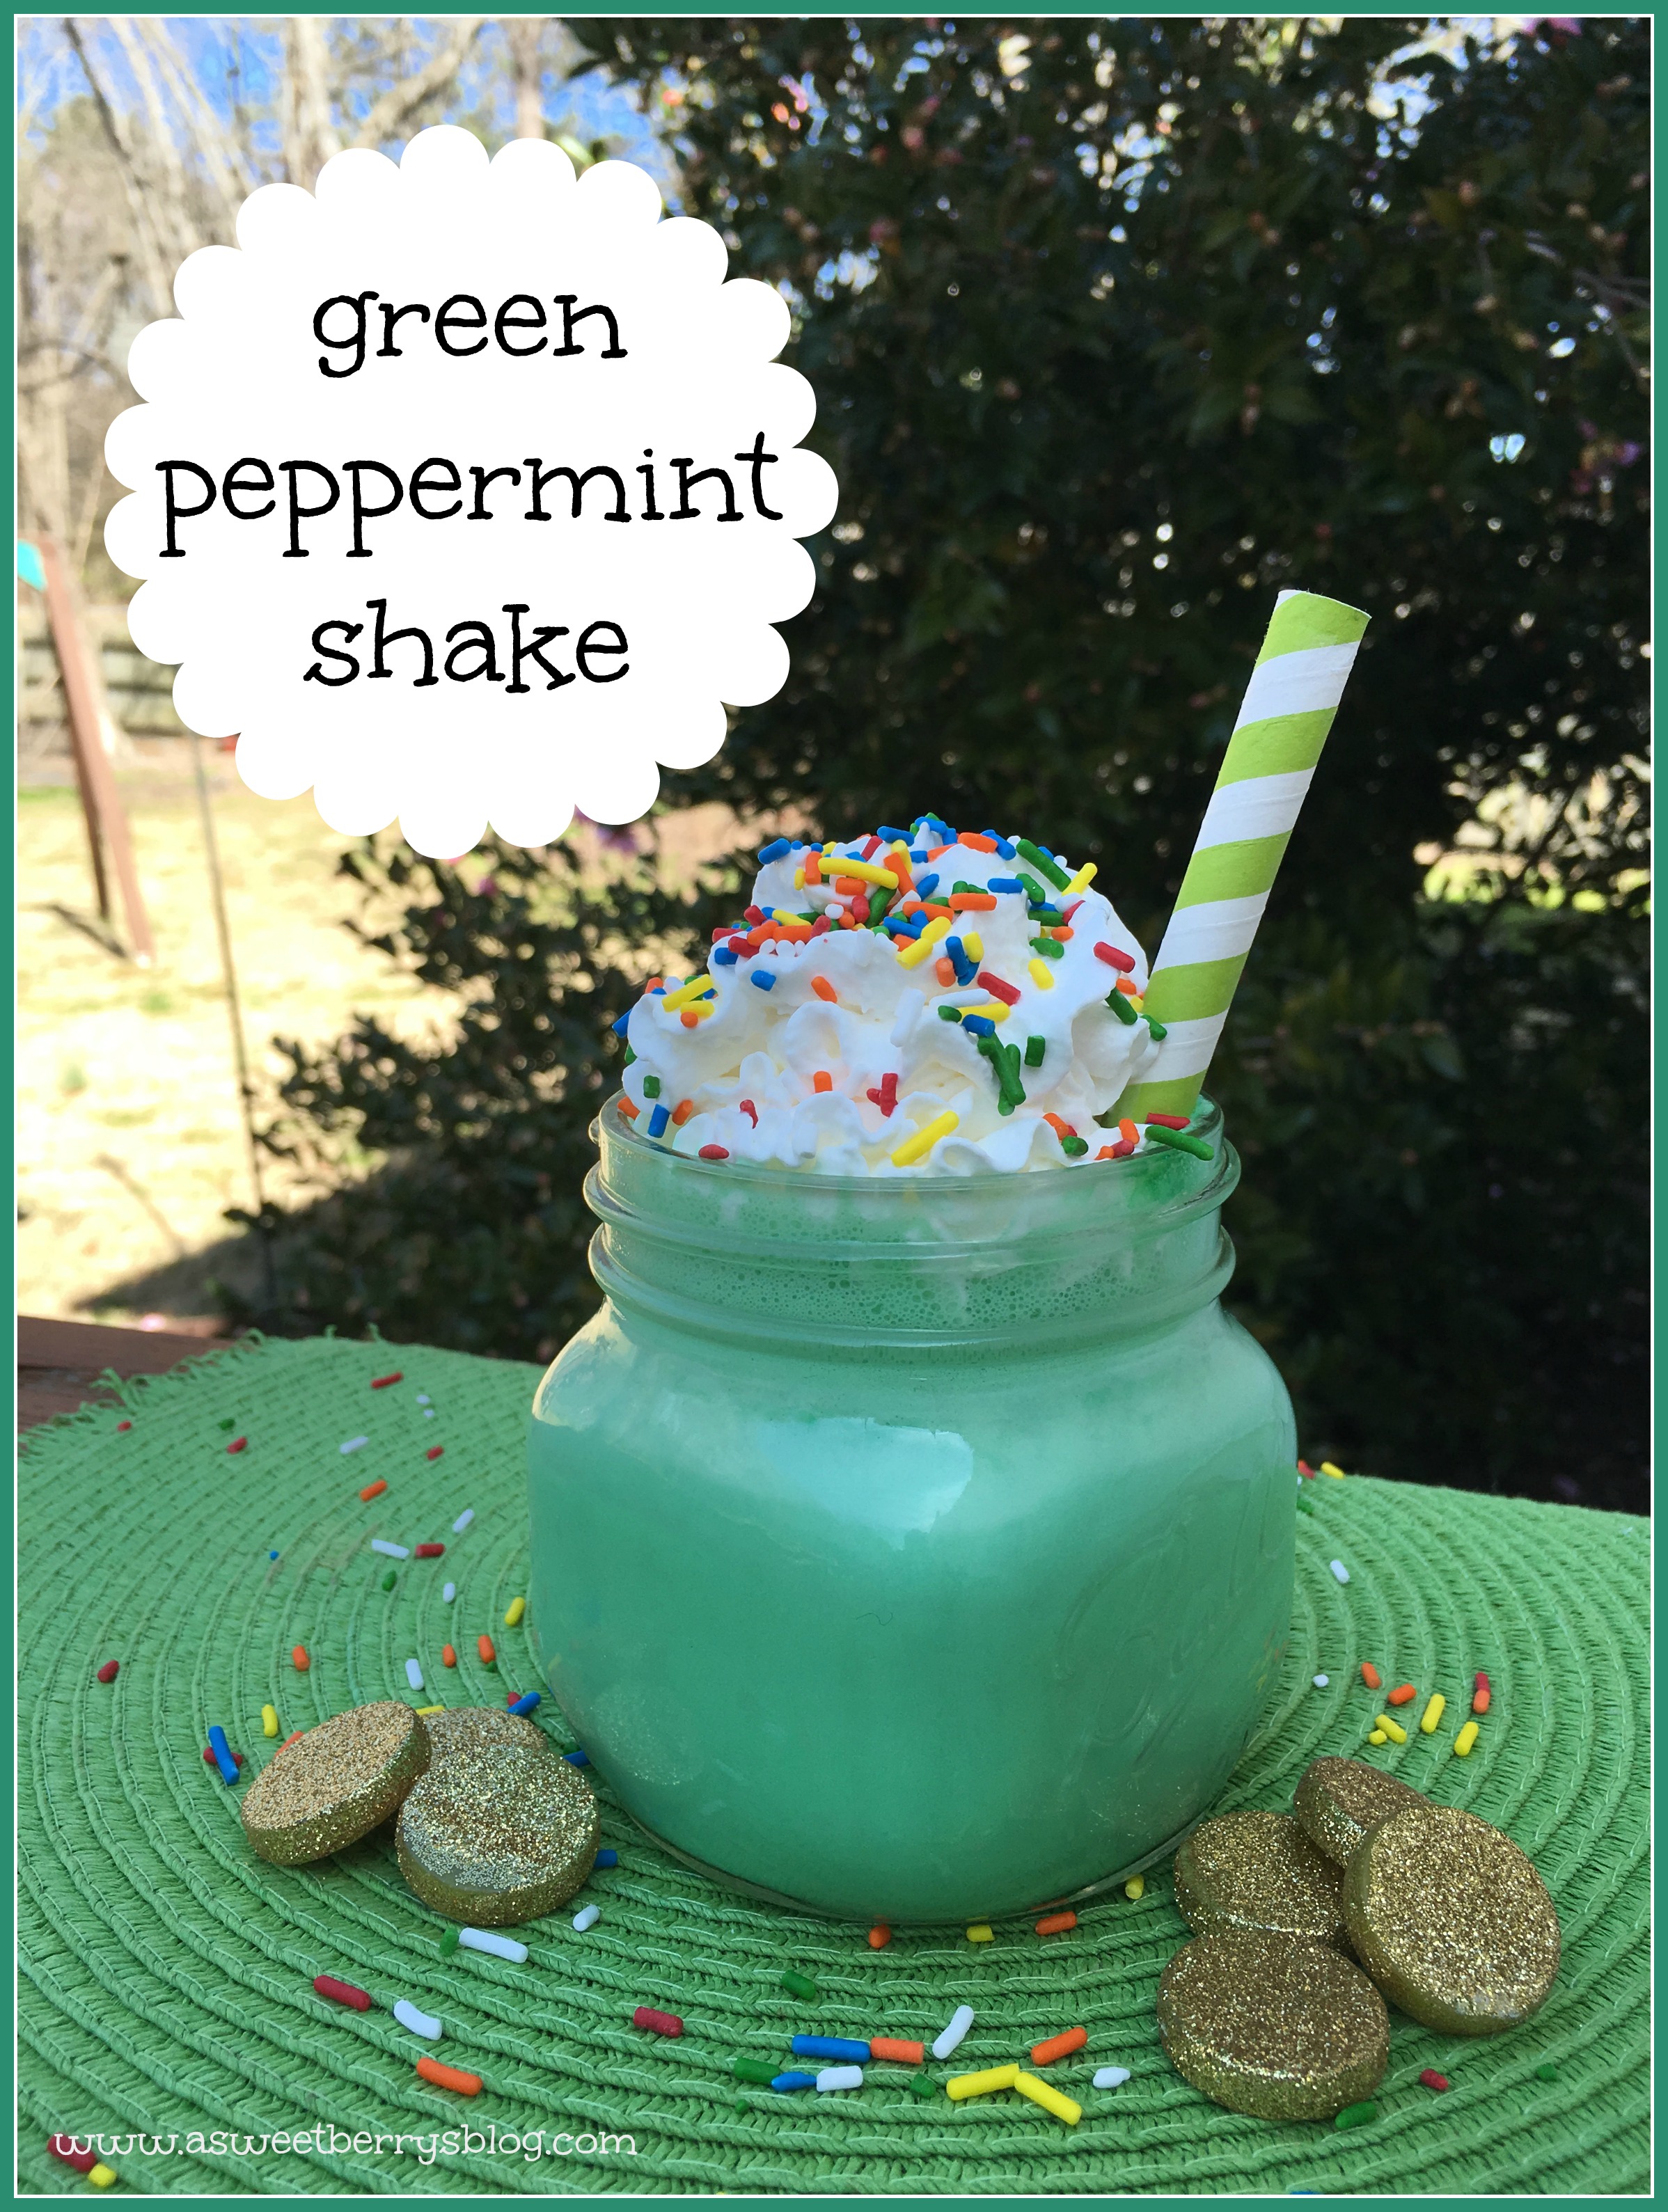
With St. Patrick’s Day around the corner, the McDonald’s Shamrock Shake is the craze right now!!!  I decided to try to make my own, using Peppermint Essential Oil and let me tell you……it was FANTASTIC!!!!!   And I love these cute thick paper straws from Baker’s Party Shop!
peppermint shake
It was super easy to make and so festive!   Here are all of my ingredients!!! ingredients
You can make the shake as light or dark green as you would like.   Beware, you may have a green mouth if you go too dark!!!   With the essential oil, I only added 2 drops.   I didn’t want it to  be overwhelming!   You can always add more, depending on how minty you want it!
putting it together
Here is the recipe!

Green Peppermint Shake

Green Peppermint Shake

Ingredients

  • 1 cup of milk
  • 3 scoops of ice cream
  • Green food coloring (you choose the color of green you want)
  • 1-2 drops of Peppermint Essential Oils
  • Whipped Cream
  • Sprinkles

Instructions

  1. Put milk, ice cream, food coloring and Peppermint Essential Oil into the blender. Mix and then pour into a cute jar or bottle. Top with the whipped cream and sprinkles. Add a cute straw and then Enjoy!!!
Schema/Recipe SEO Data Markup by Yummly Rich Recipes

http://www.asweetberrysblog.com/2016/03/03/green-peppermint-shake/

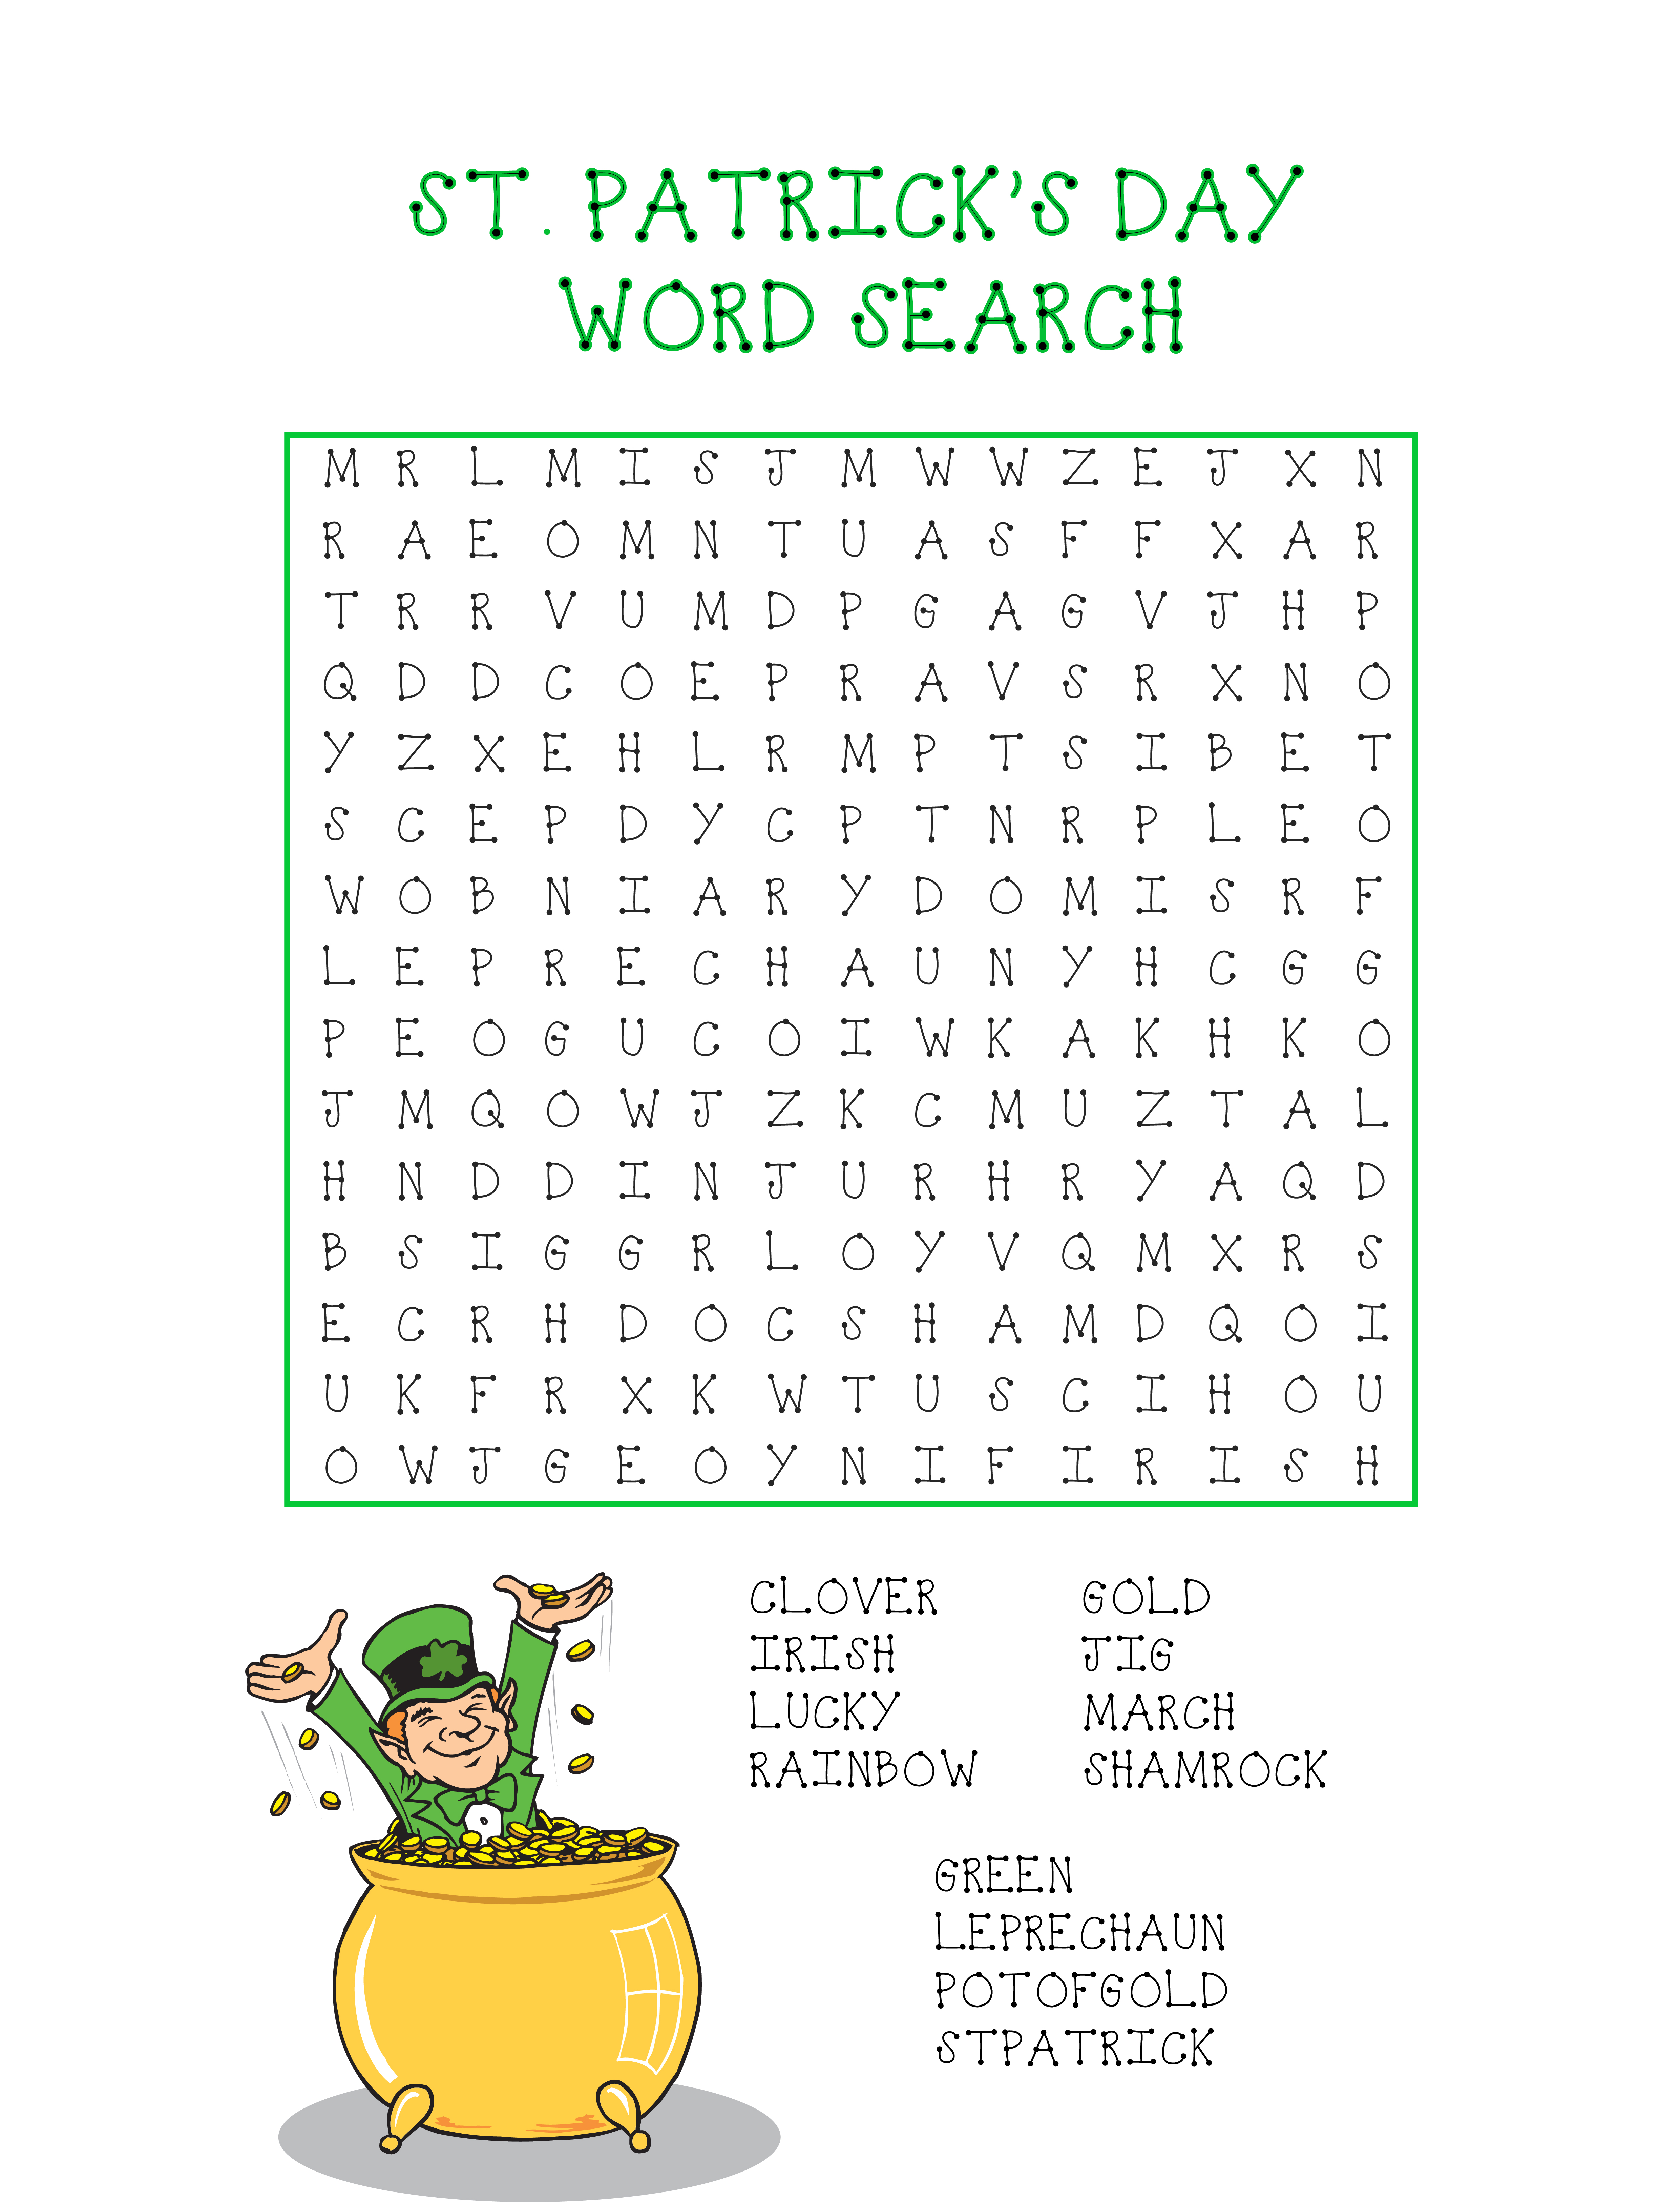
If you’d like a St. Patrick’s Day Word Search, click HERE!!!!
St. Patrick's Day Puzzle
Happy March and until next time…….

Easy Christmas Gift Tags

Christmas Tags

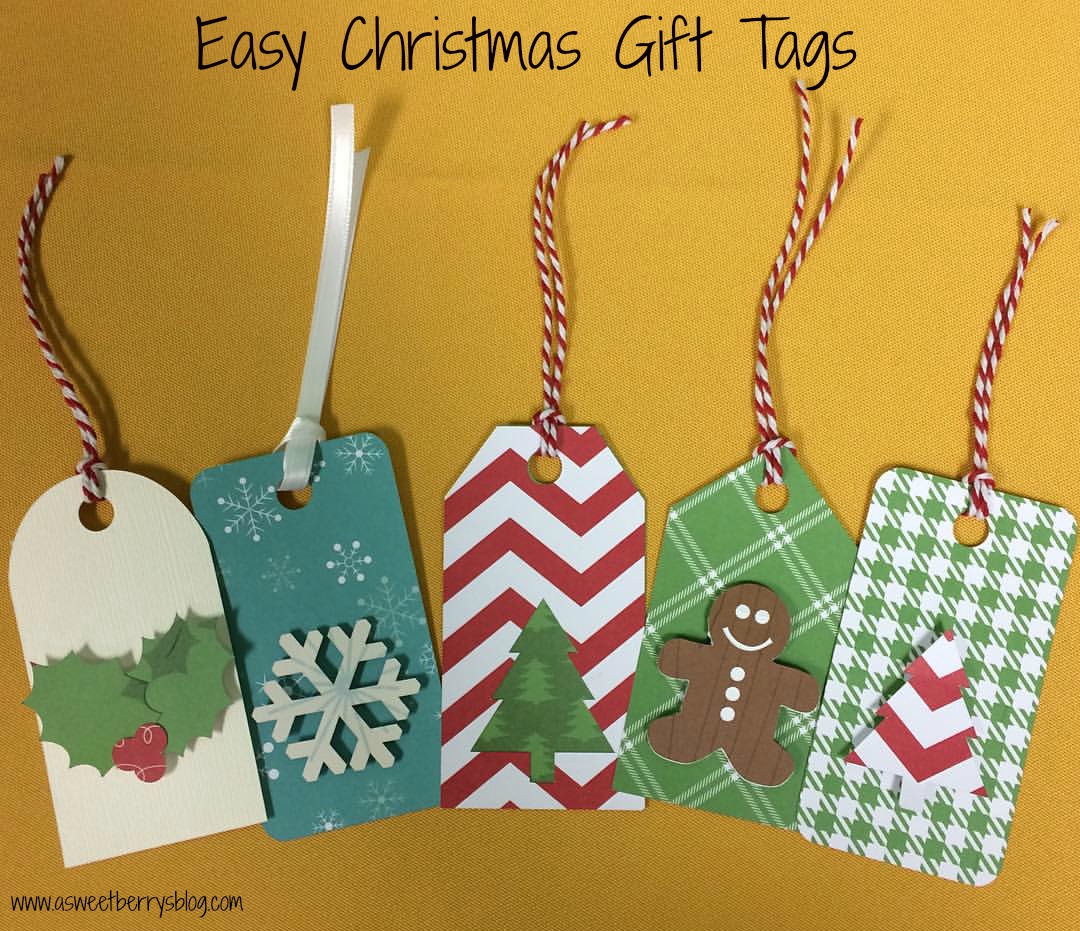
Christmas is upon us and the shopping has begun! These adorable and super easy gift tags are going to look awesome on the gifts below my Christmas tree!   If you have a Sizzix Eclips2, then you most likely use Sure Cuts A Lot eCAL2 for your software.  Well, if you do then all of these cut outs are included in the software.

collage

The process was pretty easy……

The snowflake:  I just cut the tag and snow flakes out separately.  I used a foam dot to get the snowflake a little dimension.  Then, I added a white ribbon.

The Christmas tree cutout:  I cut the tags with the Christmas Tree Cut out together and then cut the same tag, minus the tree.  I put them together using an Aleene’s tape runner.  Then, I added a piece of twine.

The Gingerbread Man:  I cut out a tag.  Then I cut out the gingerbread man on brown card stock.  Then, in the software, I removed the face and buttons from the gingerbread man and just cut out the outline on white card stock.   Using the tape runner, I attached the white gingerbread man cut out to the back of the brown one.  Then using a foam dot, I added it to the tag.  To finish it up, I added a piece of twine.

The Raised Christmas Tree:  I cut out some tags.  Using the Christmas Tree scraps from the Christmas Tree cutout tag, I just added a foam dot to the back of the tree and added it to the tag. Then, I added a piece of twine.

The Holly Tag:   I cut out some tags.  Cut the Holly leaves and berries out and used a foam dot on each piece and then attached it to the tag.   Then I added a piece of twine.

Christmas Tags

I hope you like these adorable little Christmas Tree Tags!   I made some last week and sold them at an Artisan Fair that my Church was hosting and everyone loved them!

Until next time………..

Felt Christmas Tree

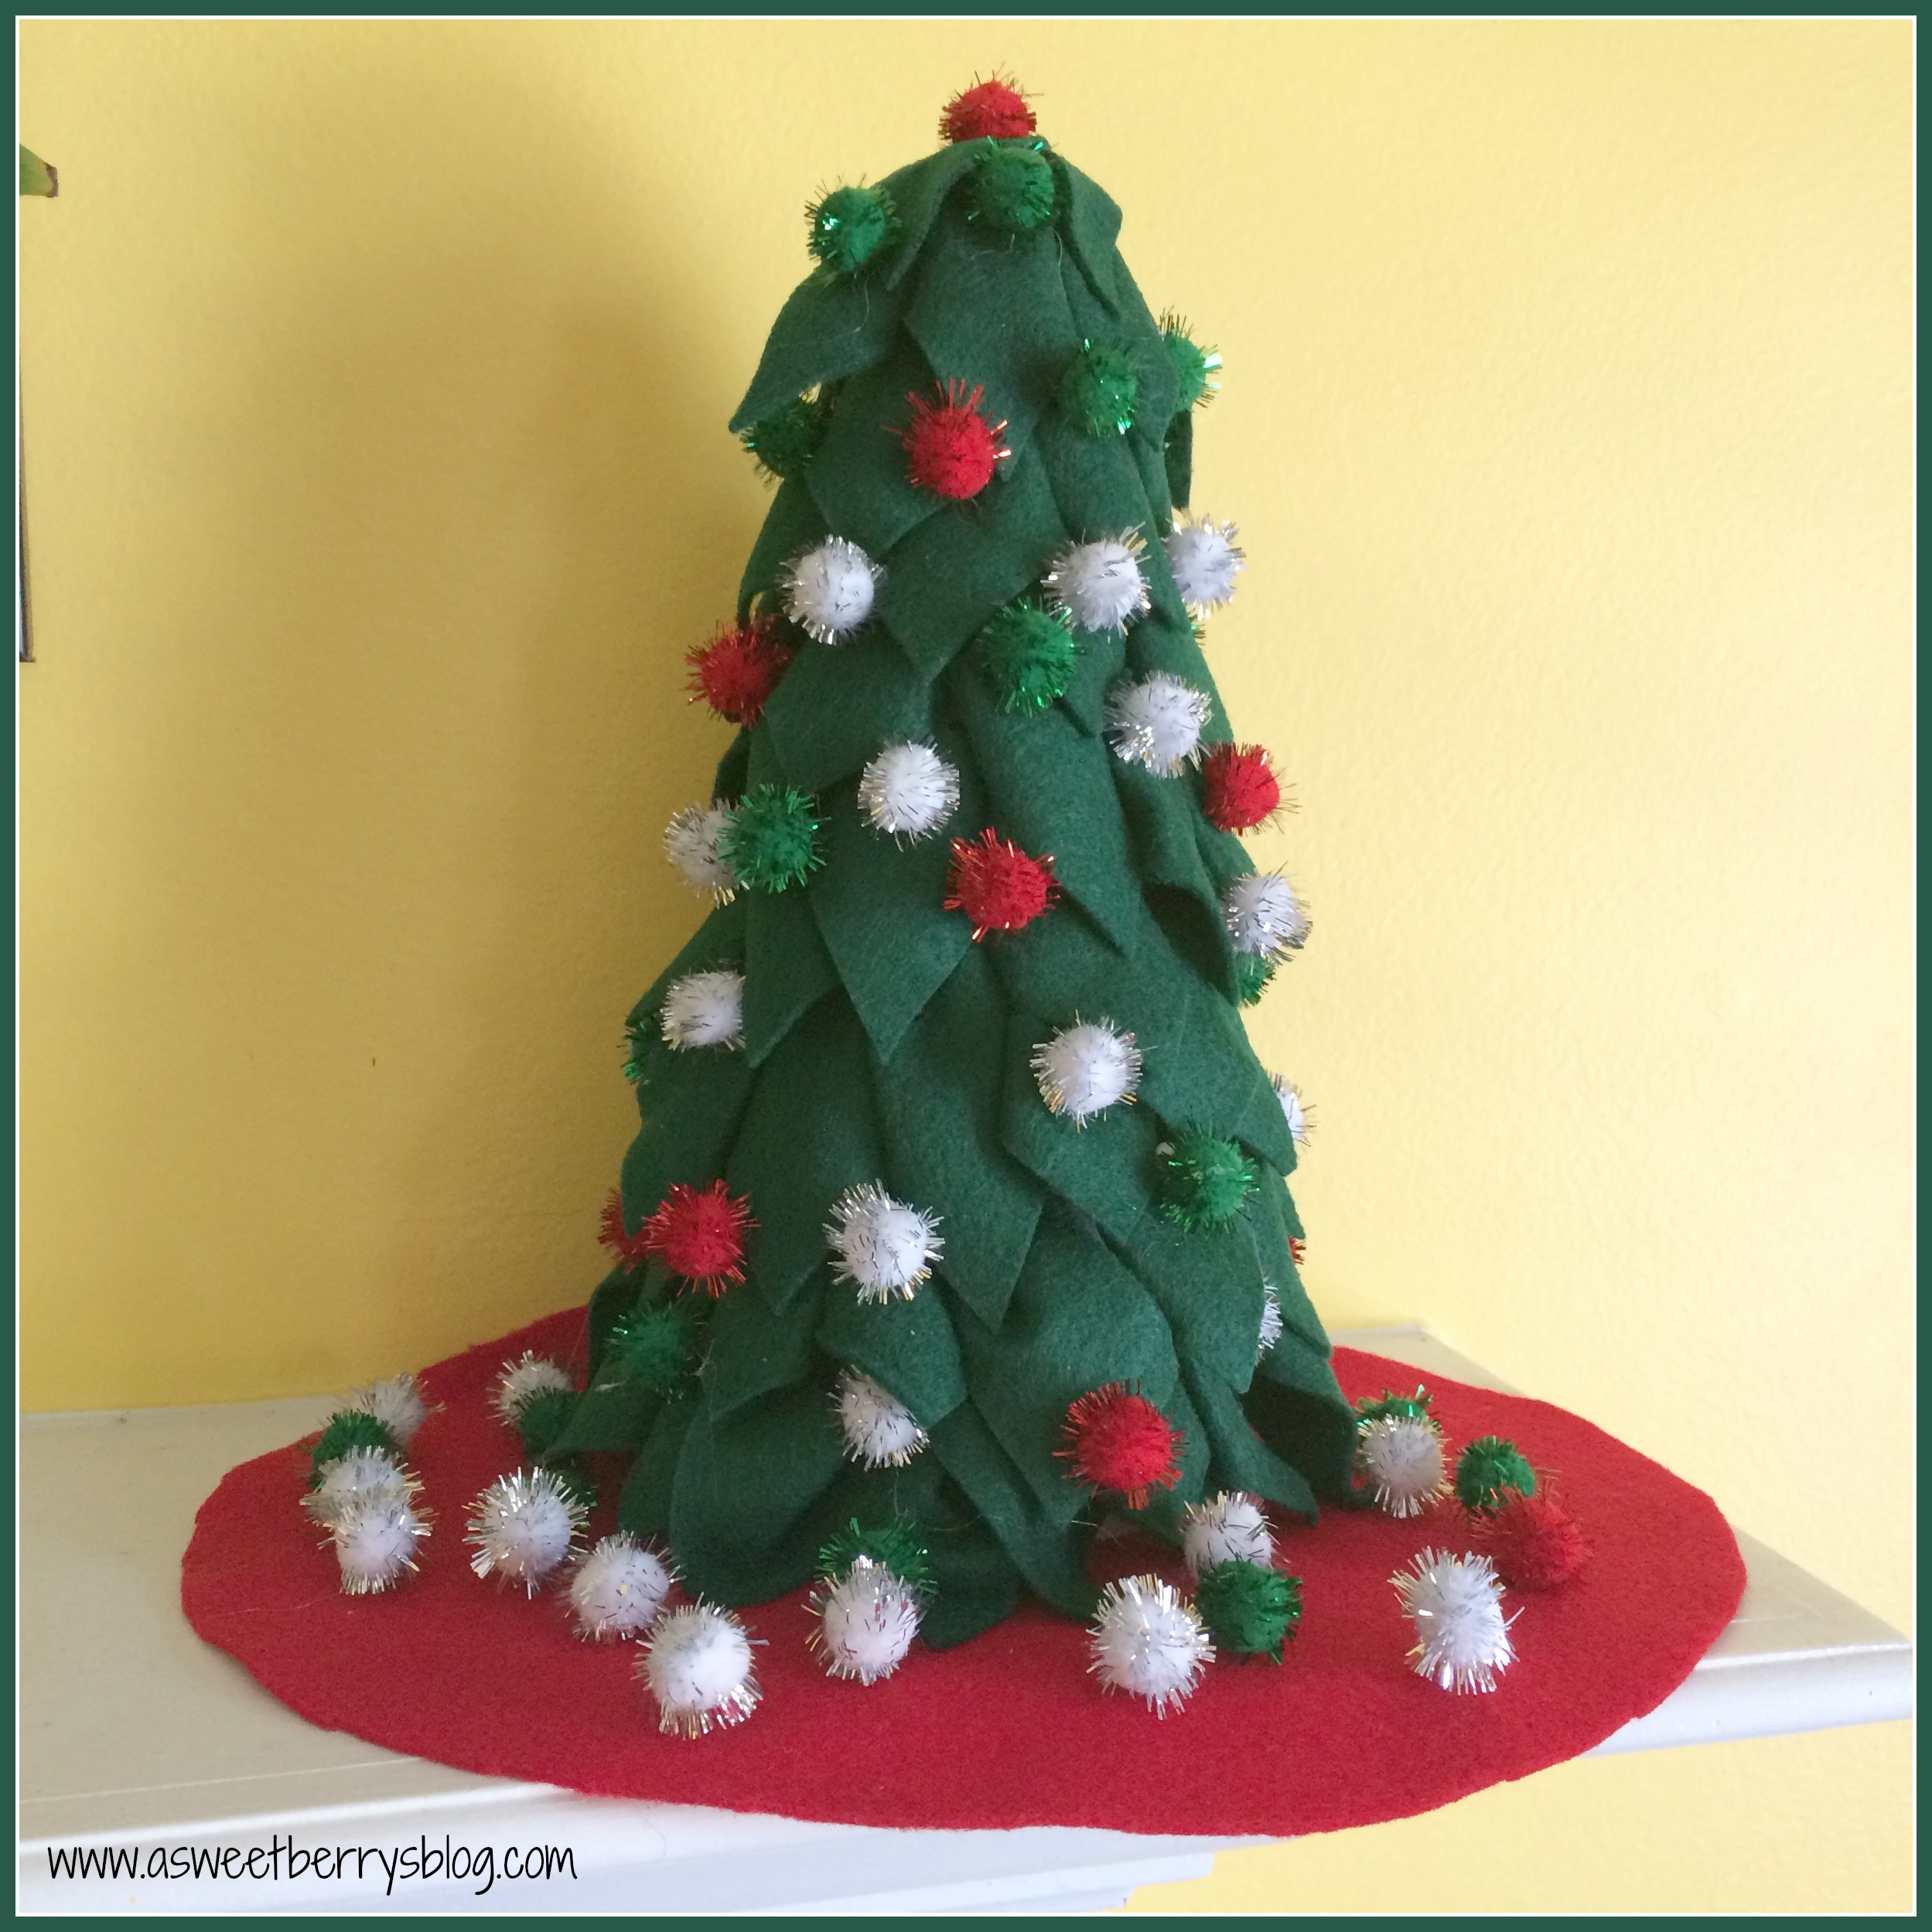
It’s Craft Lightning time again!  And this time it’s a 15 minute Christmas craft!   This super easy and super quick Felt Christmas Tree is an awesome little decoration for the mantel or even the middle of your kitchen table! Main Photo
Supplies:
FloraCraft Styrofoam Cone
Kunin Felt
Hot Glue Gun
Pom Poms 
Rotary Cutter and Cutting Board
Pins
supplies
First, I did a quick cut of some felt, cutting it into strips.  Then I did a super quick cut of triangles.   Folding the triangles in thirds, I added a pin and then stuck it right into the styrofoam.  I started it at the bottom and worked my way up.
process
Using my Pom Poms and my hot glue gun, I added the green, red and white pom pons to cover the pins and added a couple of more to fill in the gaps!
Main Photo
Be sure to check out other creative Craft Lightning ideas by click the Button below!

Hope you like this quick Felt Christmas Tree! 

Until next time………..

Happy Halloween Pumpkin Cut Out Art

Halloween will be here before we know it!   And I am super excited.  I love to pull out the Halloween decorations!

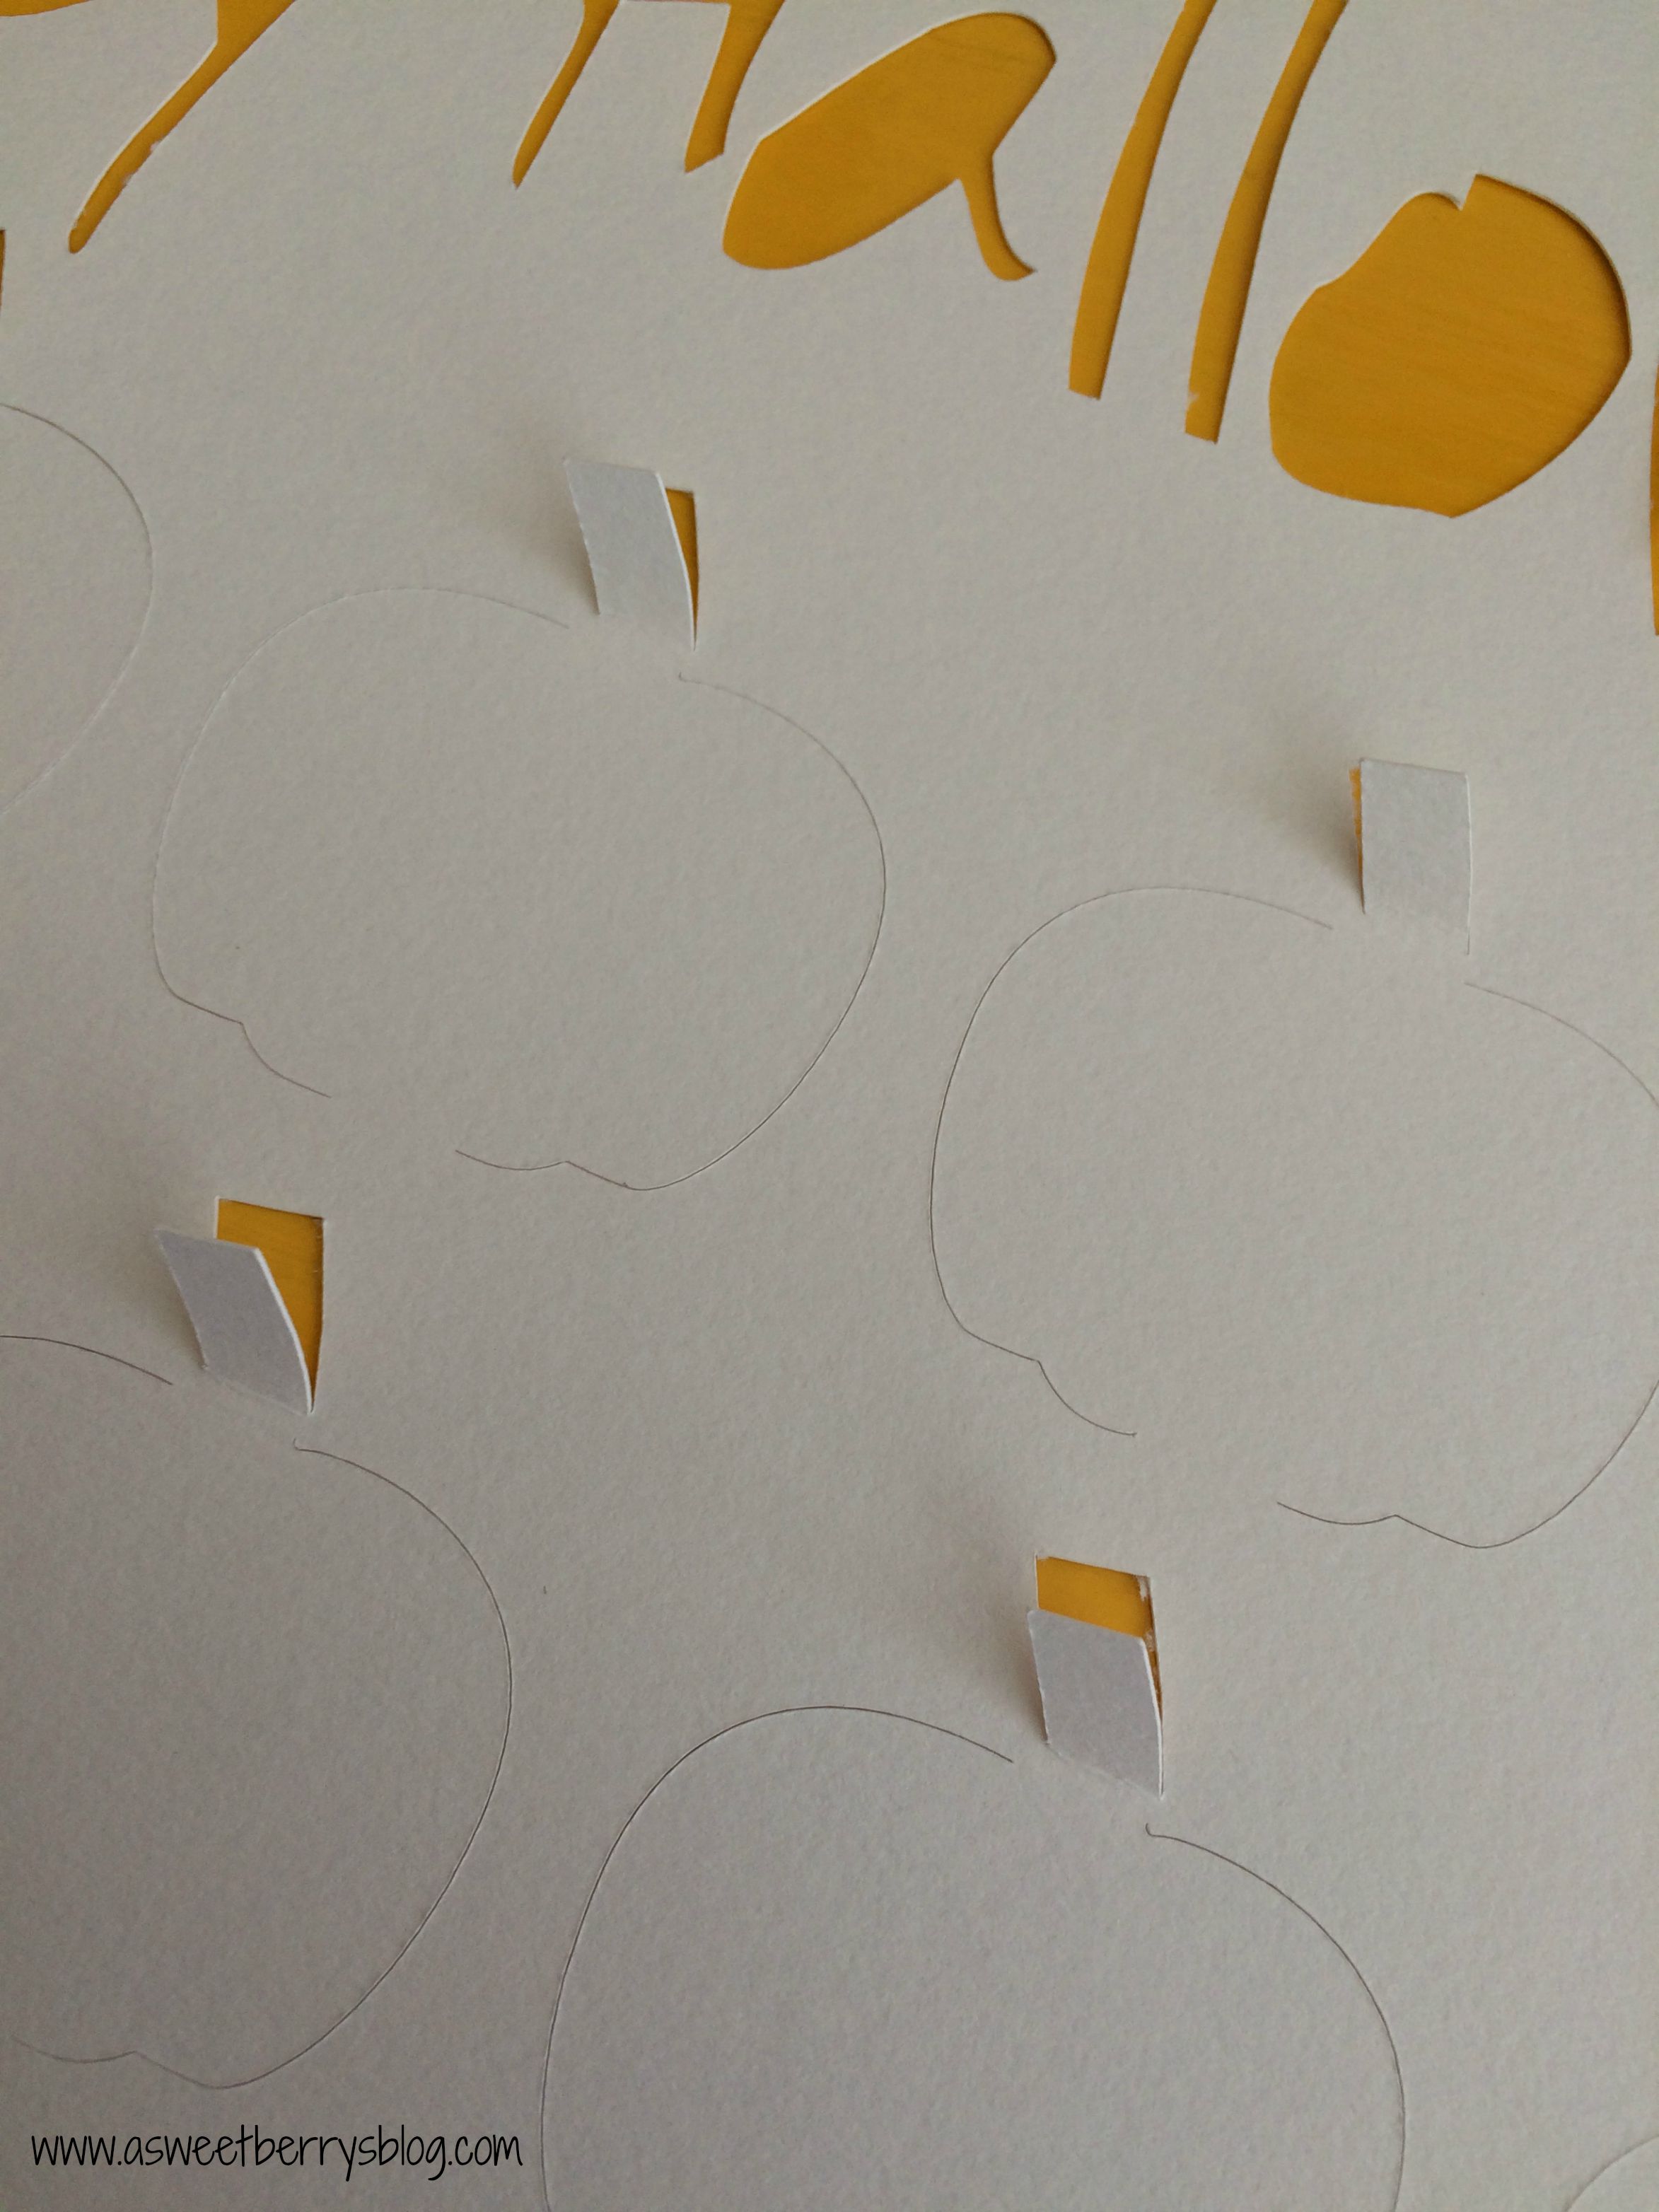
While I was at Target one day, I saw a popup heart piece in the framed art section and I thought it was so cute.  I had not seen anything like it with Halloween designs and I don’t think the heart one had any words.   I thought I’d make a Halloween one with cute little pumpkins and a font that was a little ghoulish! final
Materials needed:
A shadowbox frame
cardstock (I used four pieces….black, white, green, orange)
Aleene’s glue and a adhesive runner,
Electronic Cutting Machine (I used the Sizzix Eclips2)
Halloween .svg file that I created.   (comment if you’d like the file) cutting
Once my file was cut and removed from the cutting mat, I lightly folded the cut parts upwards.  I also saved the inside pieces of the letters. bending
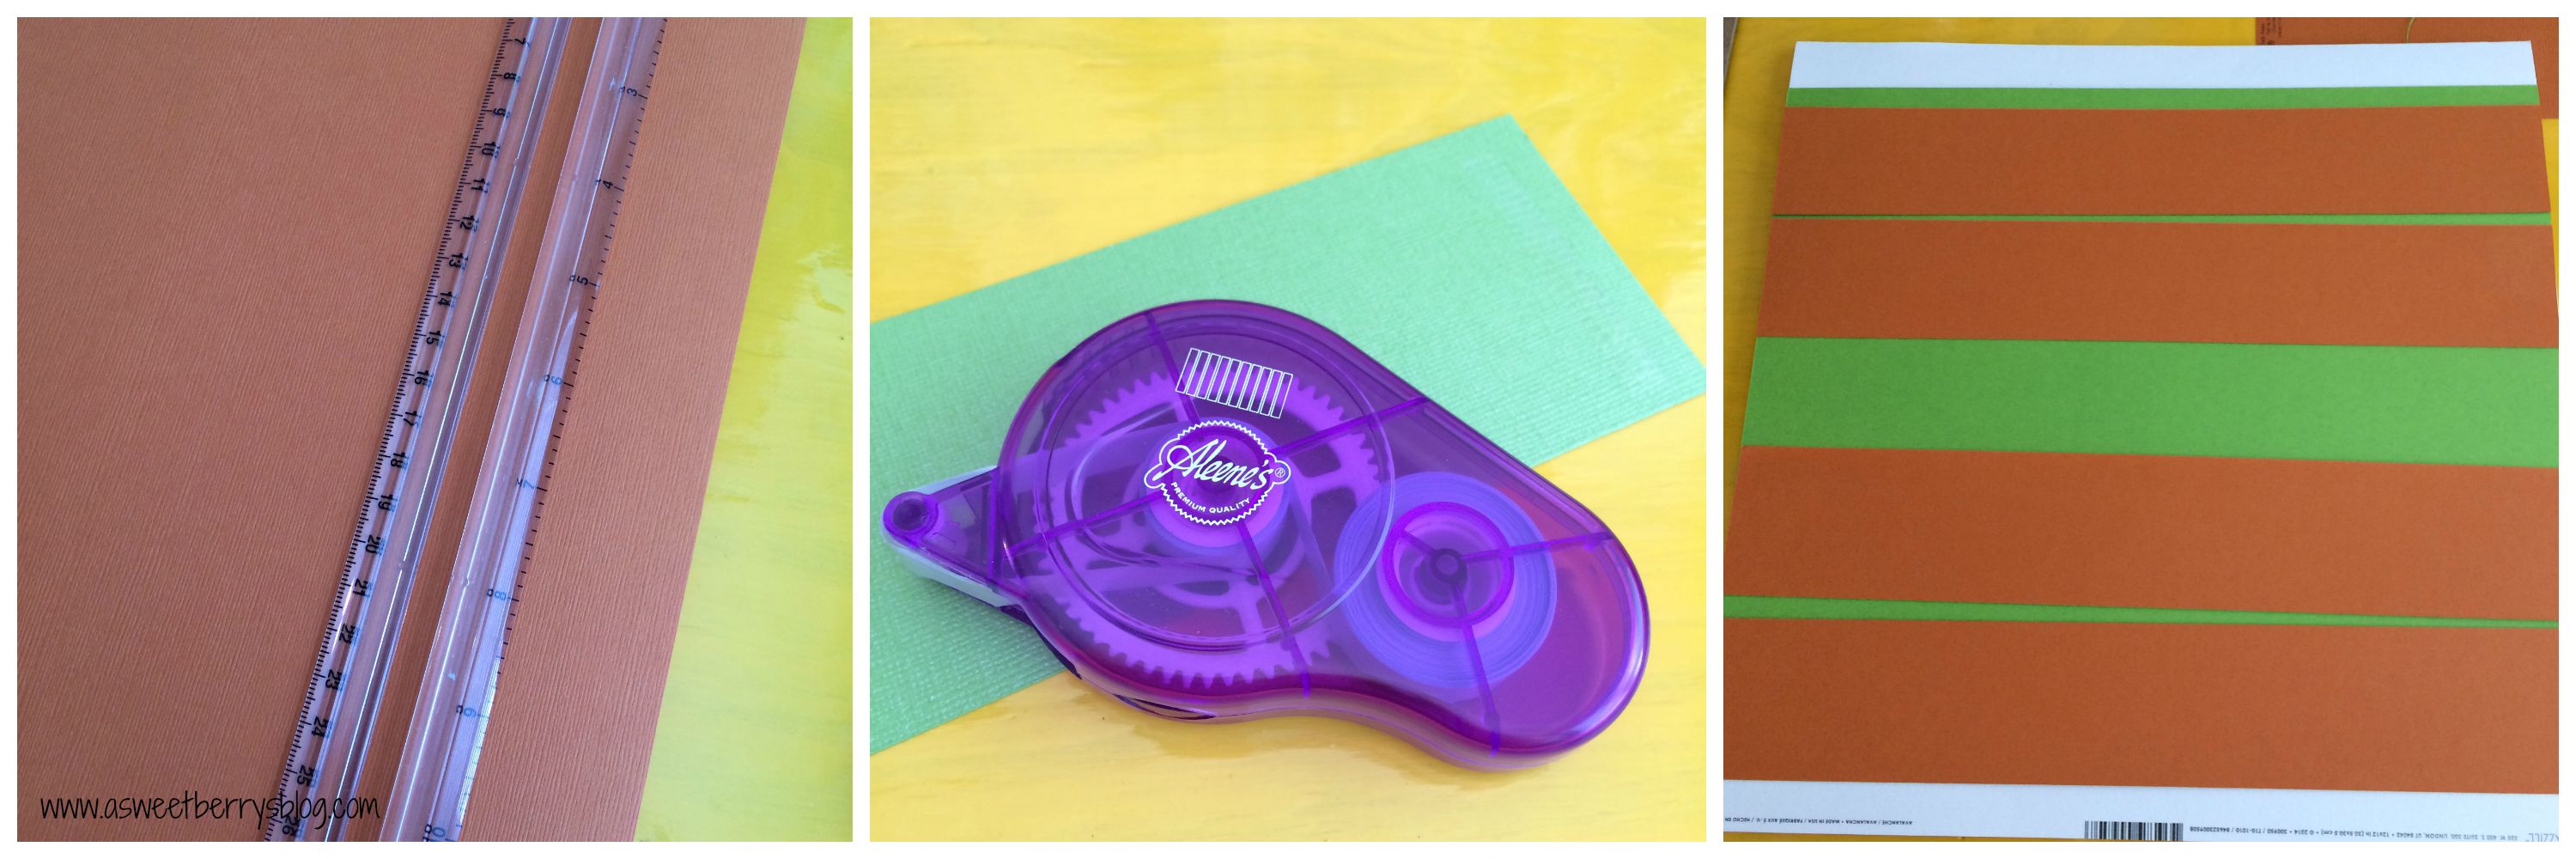
Once all of my pieces were folded up, I cut strips of orange and green just big enough to fit across the back of my 12×12 piece.  I used green for the stems and orange for the pumpkins.  Using an Aleene’s adhesive runner, I attached the strips to the back, being careful not the squash my folded up pieces flat. aleenes
Because the insides of the letters were small, I used Aleene’s Tacky Glue to glue those to the green.
letters
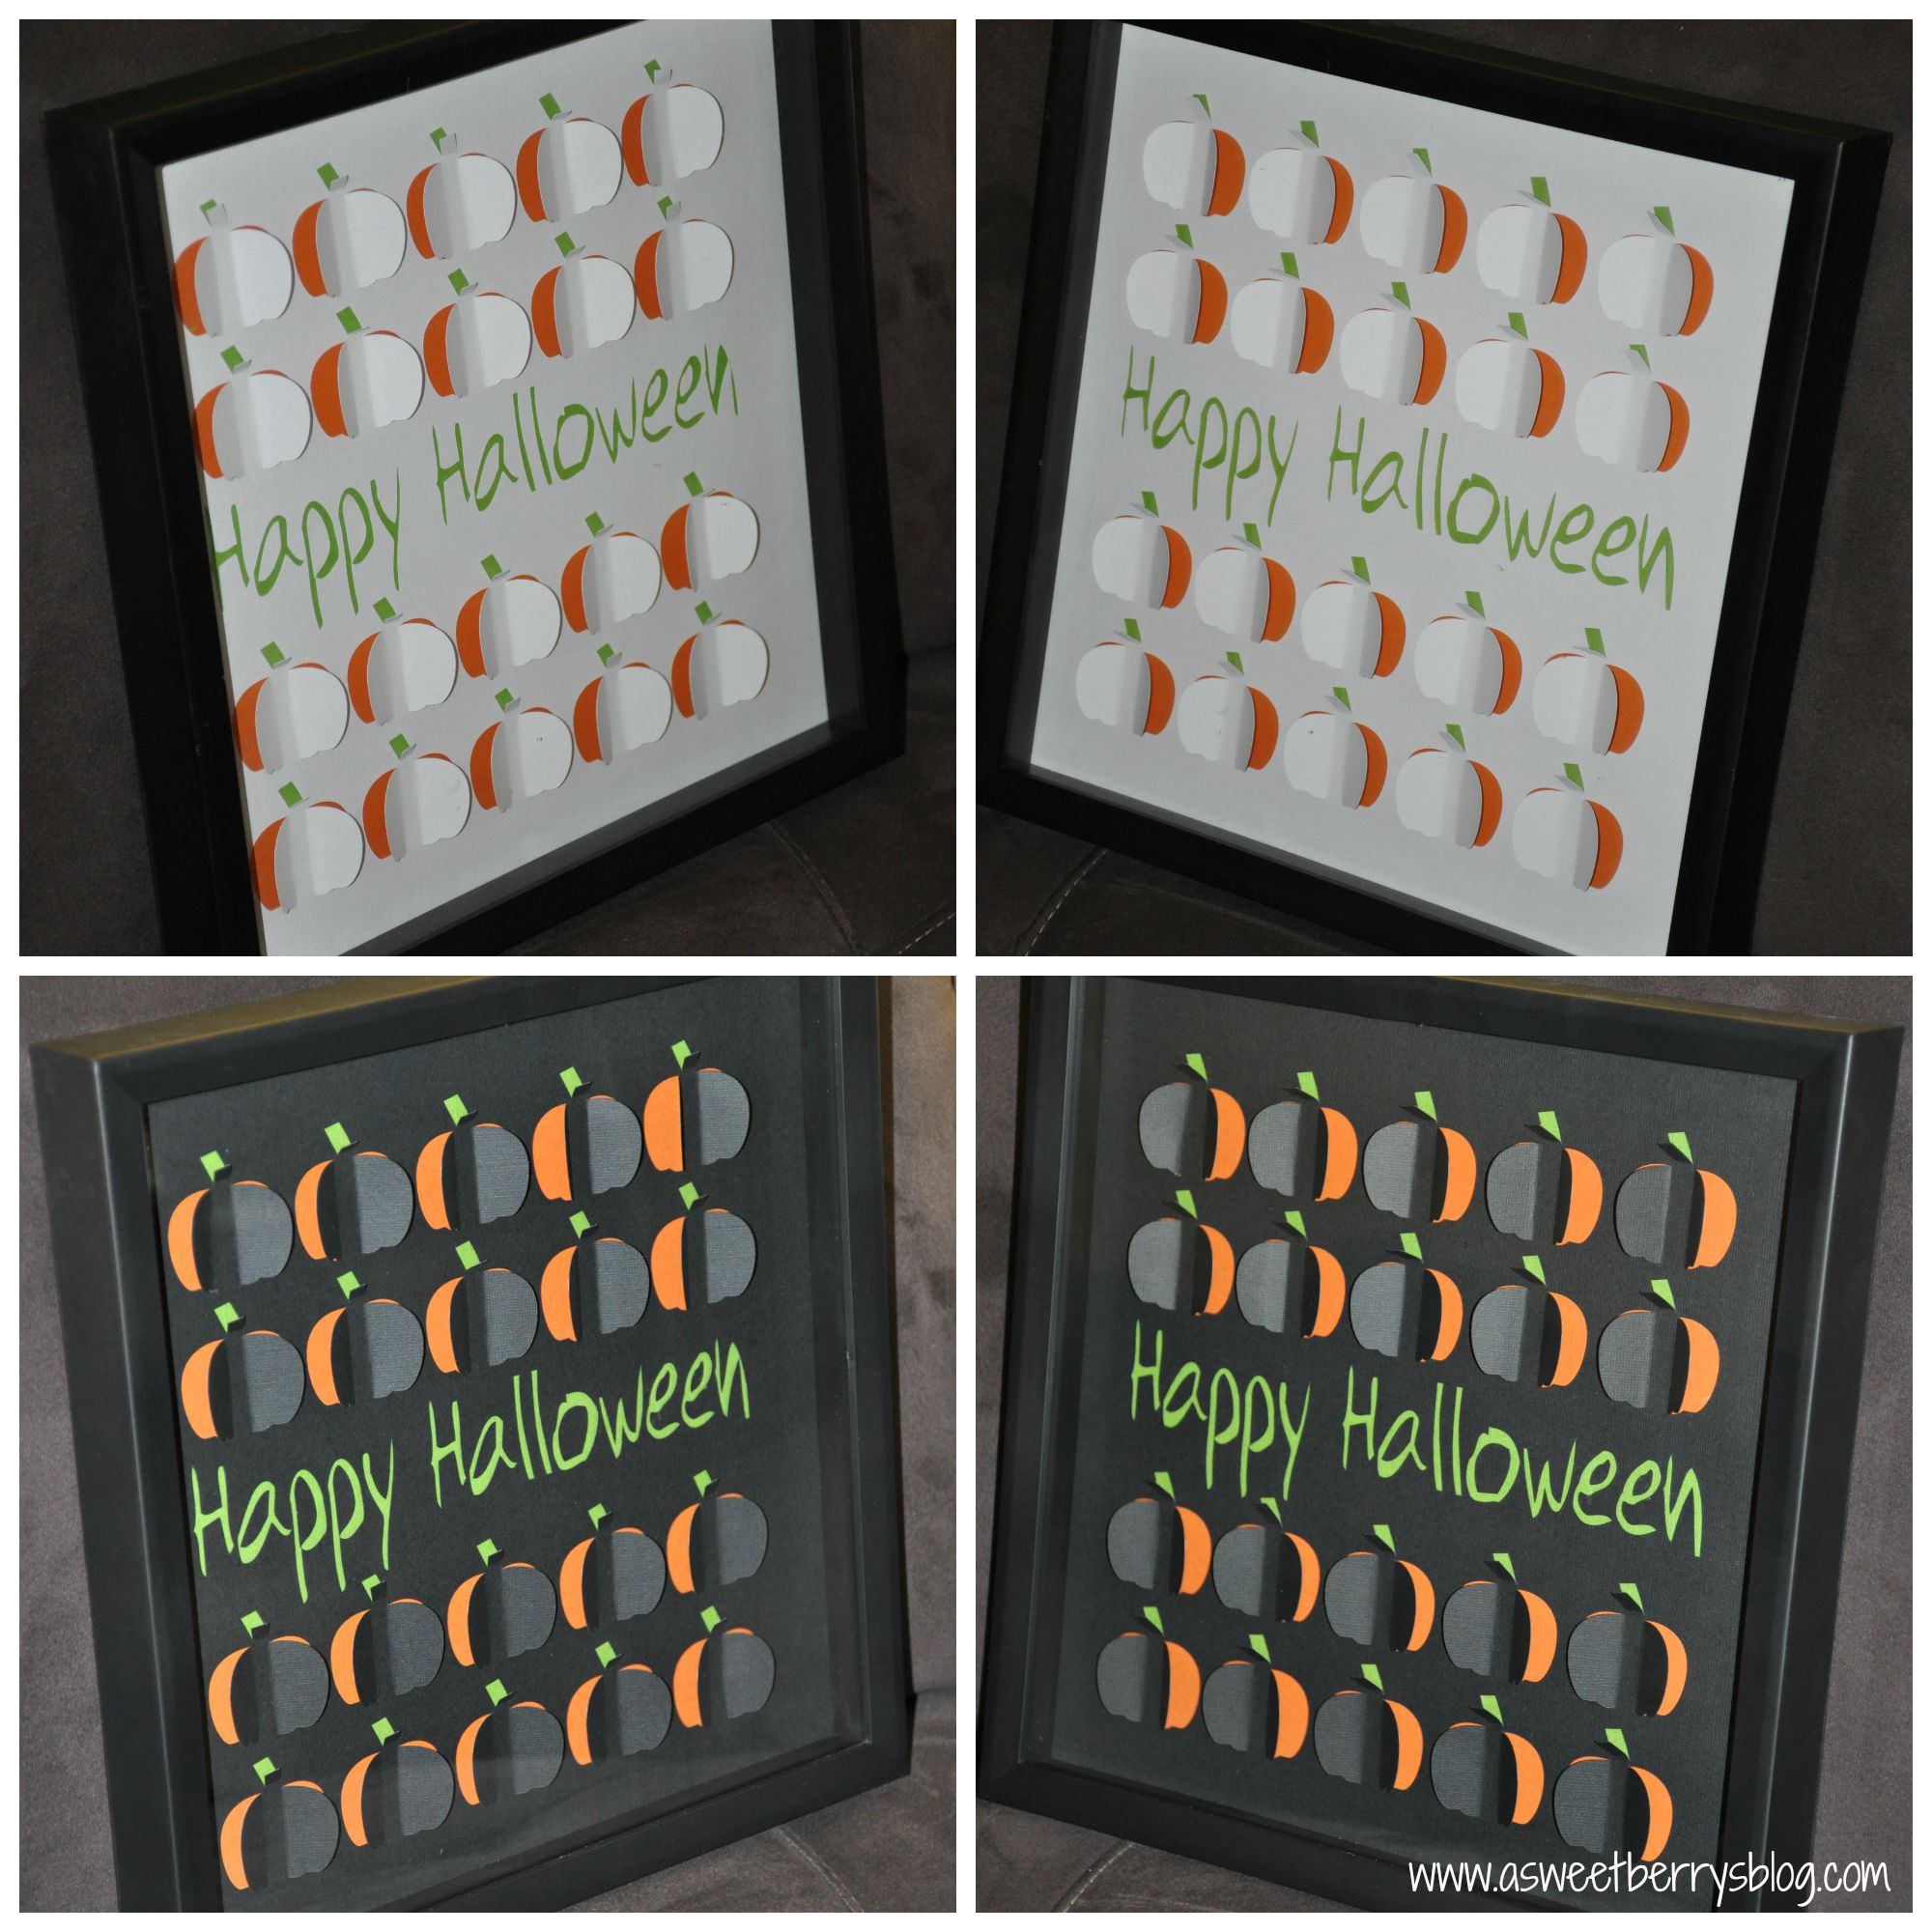
After all of my pieces were put together, I placed them into 12×12 shadowbox frames.   black and white
This photo is just to show them from each side, so that you can see that the orange and green can be seen from under the folded upward pieces of pumpkin. both at different angles
I love them both, but truth be told, the black one is my favorite.  It looks more Halloween-ish!
final
I hope you liked my Happy Halloween Pumpkin Cut Art.  If you’d like the .svg file, just let me know in a comment and I will be sure to get that to you!

Until next time……

Kunin Felt Easter Egg Bunting

Easter is right around the corner!   Why not brighten up your decor with this adorable KuninGroup Felt Easter Egg Bunting!   It was super easy and super fun! Final
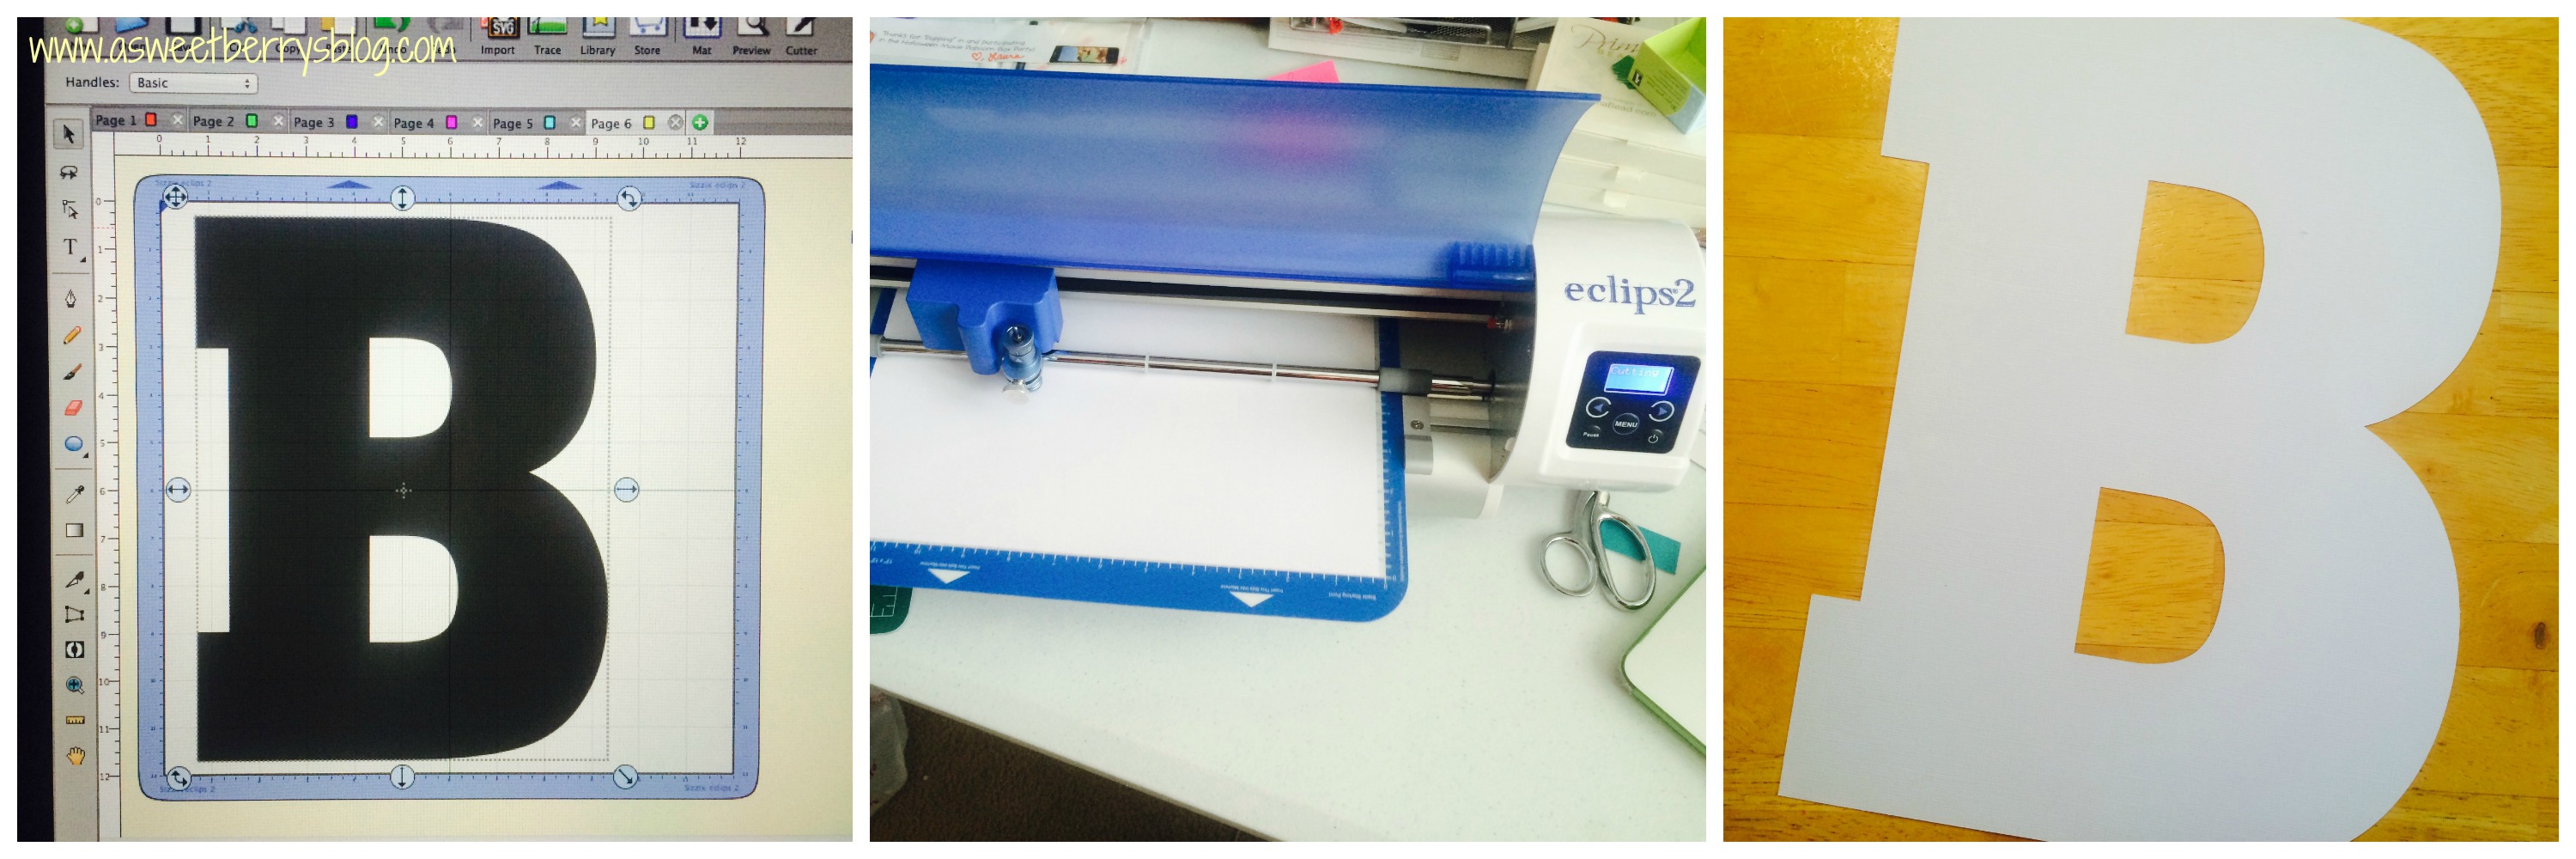
I love using my Sizzix Eclips2 to cut out patterns for fabric or felt!   cutting
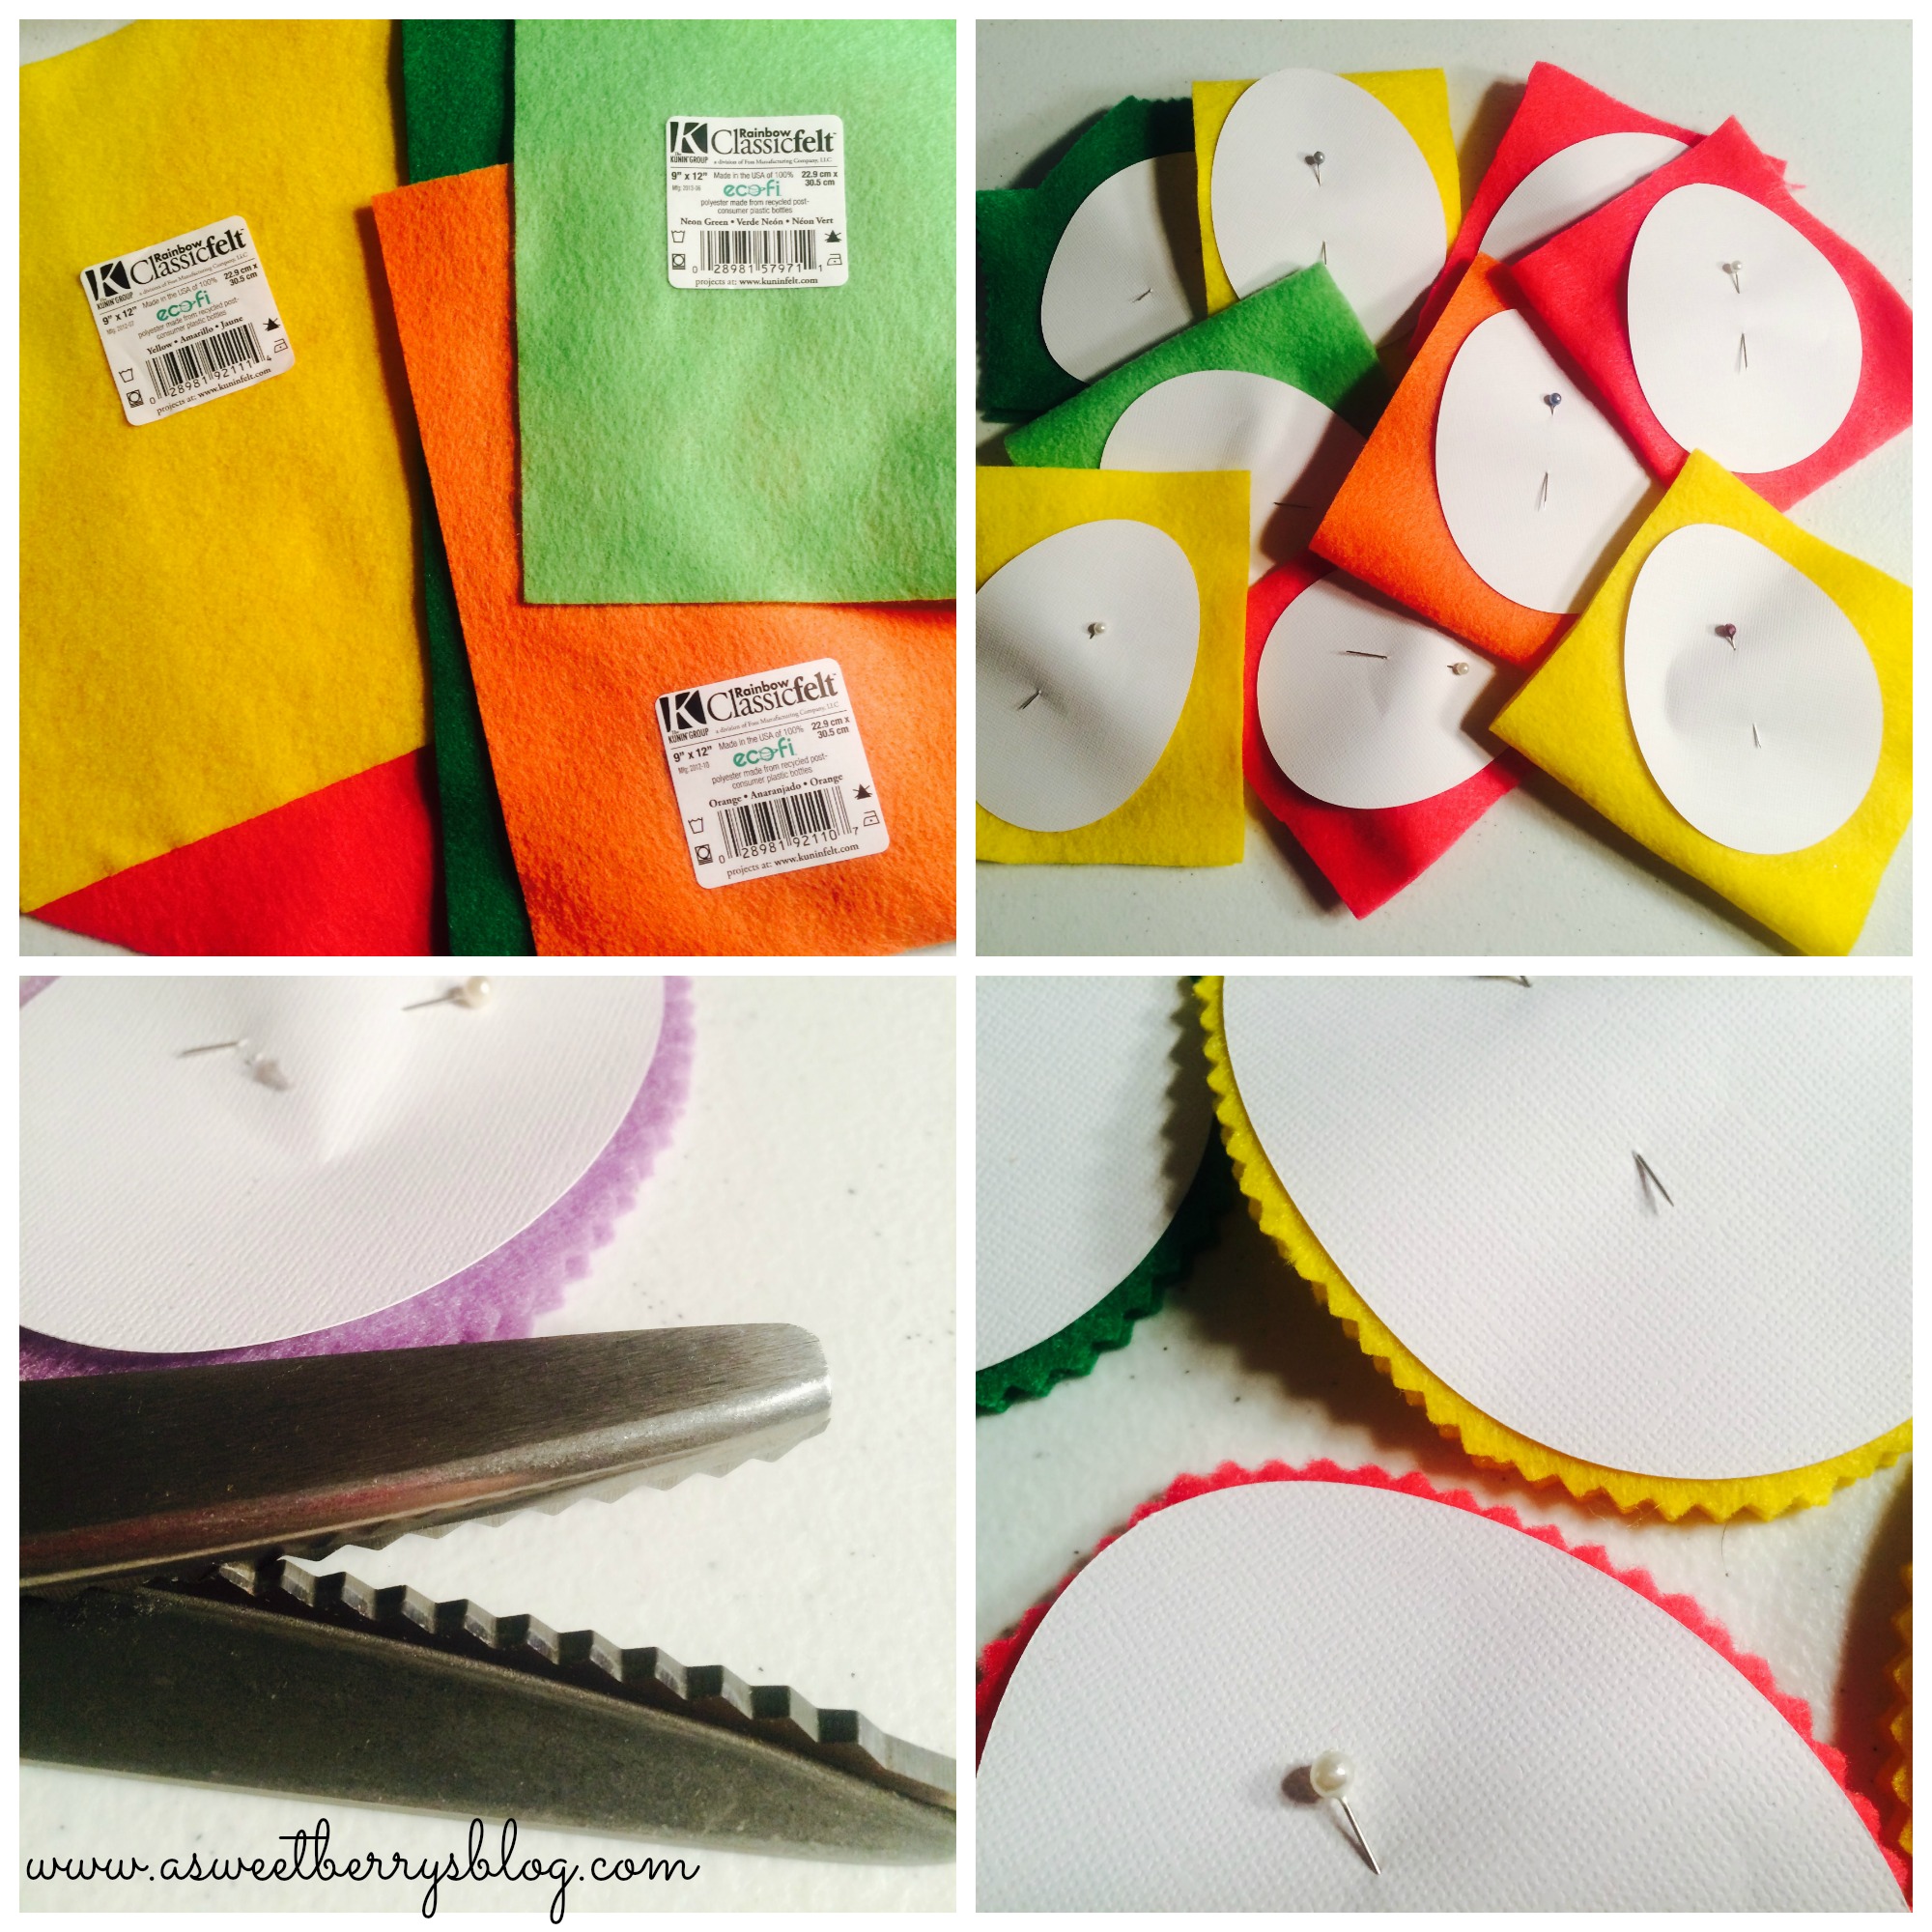
Once my patterns were cut out, I pinned them to my KuninGroup felt and then went to cutting!  I used pinking shears to give the eggs zigzag edges! cutting out felt
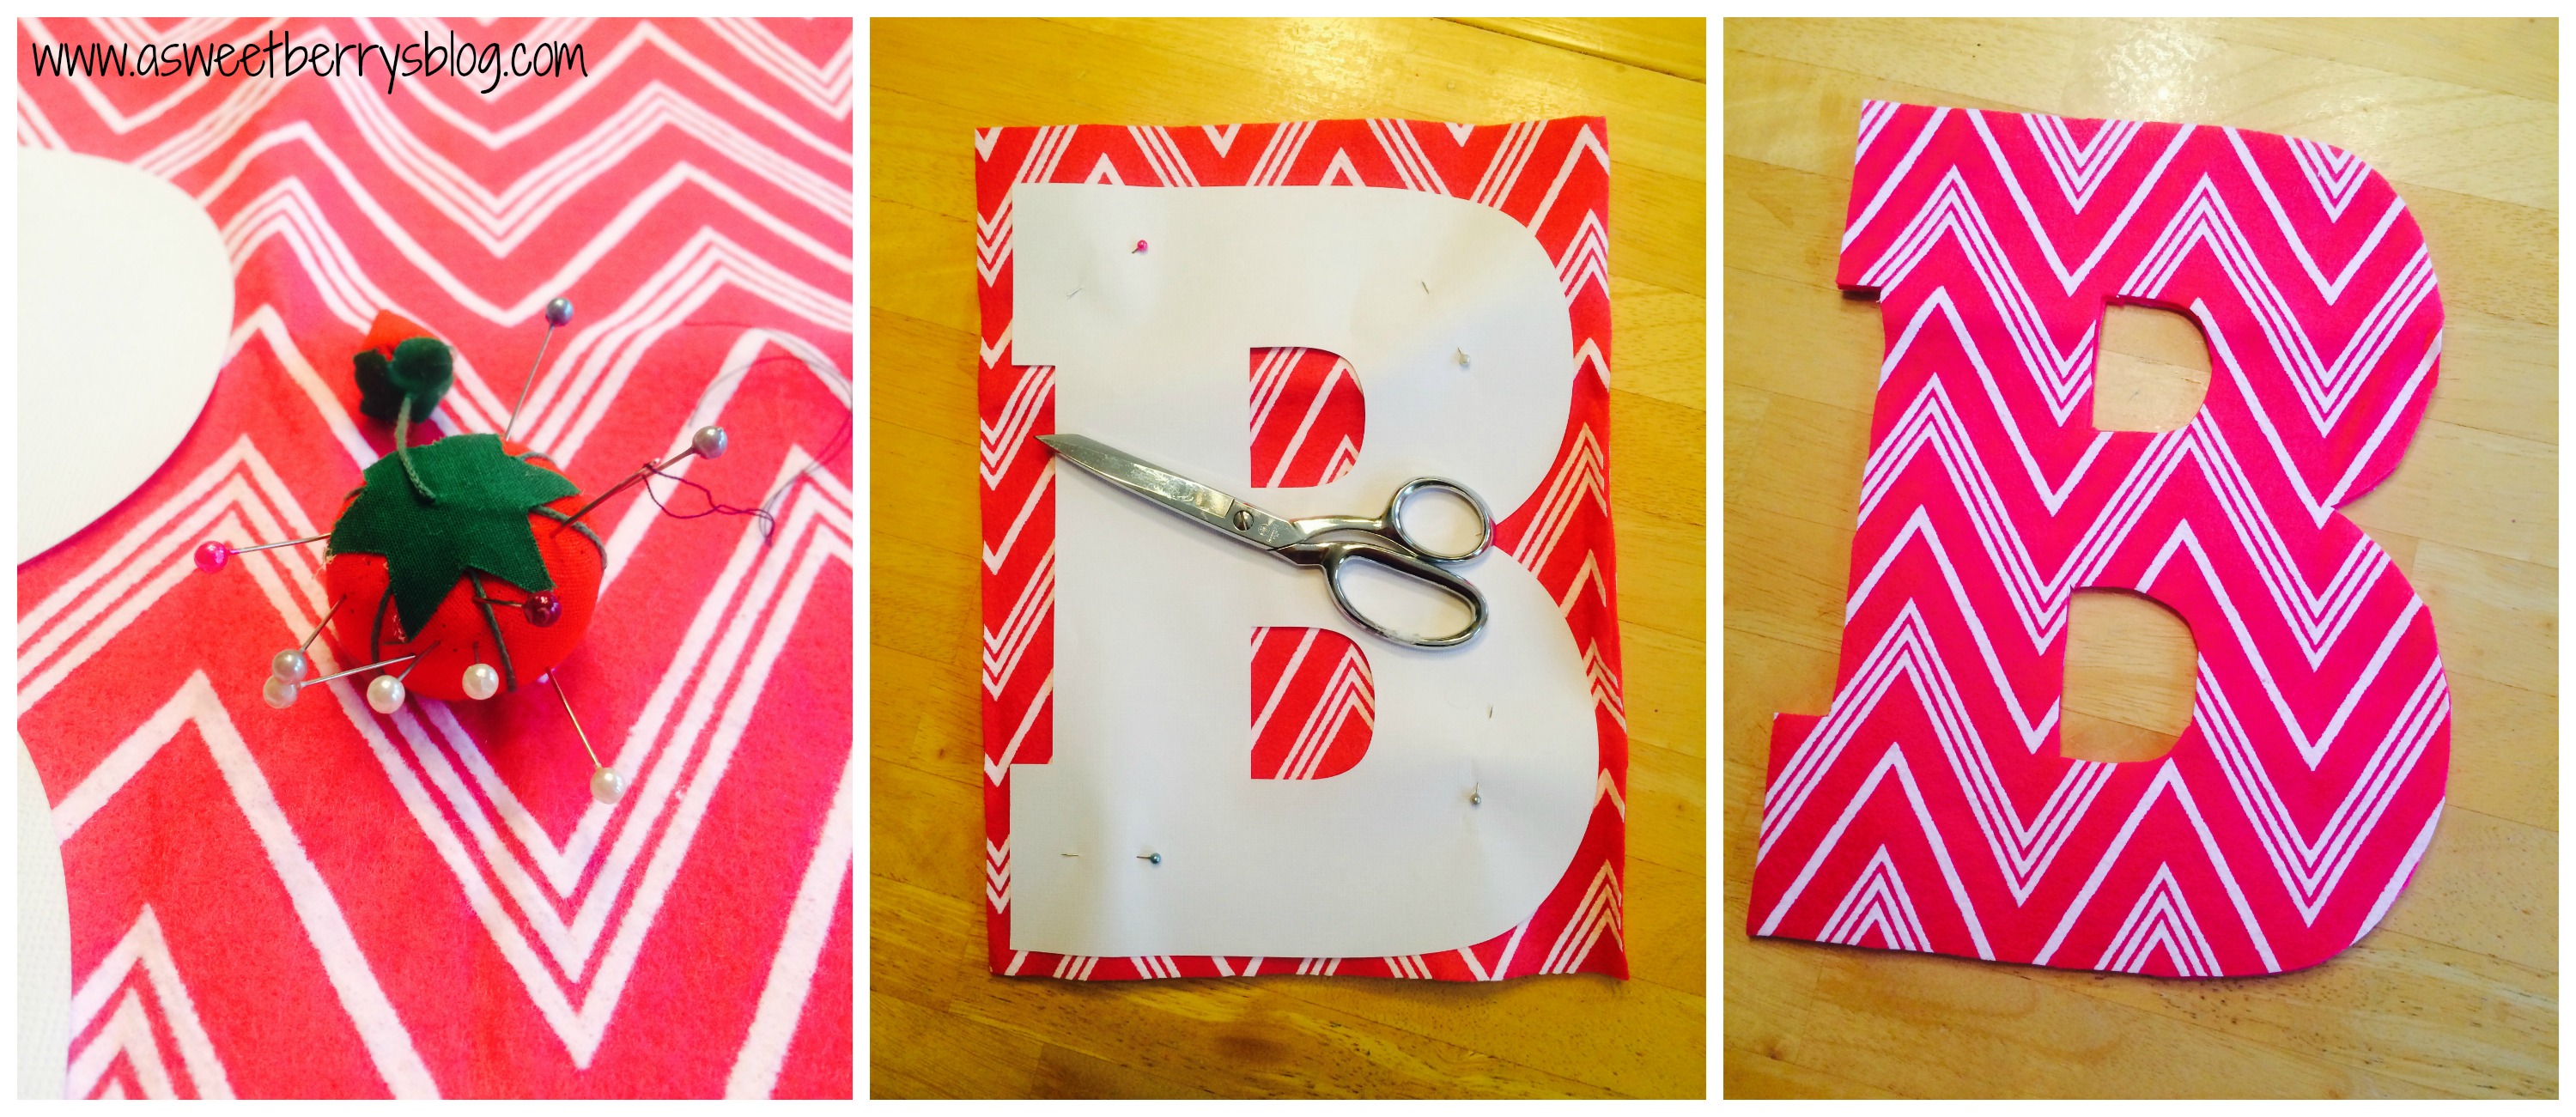
Then, it was time to sew them!  I decided to stuff them while they were still under the sewing foot.   I sewed all but about 2 inches, stuffed them, realigned my edges and finished sewing! sewing
Once they were all sewn, I used Tulip Fabric Paint to add decorations to them!   I think they turned out egg-tastic!  🙂 tulip fabric paint
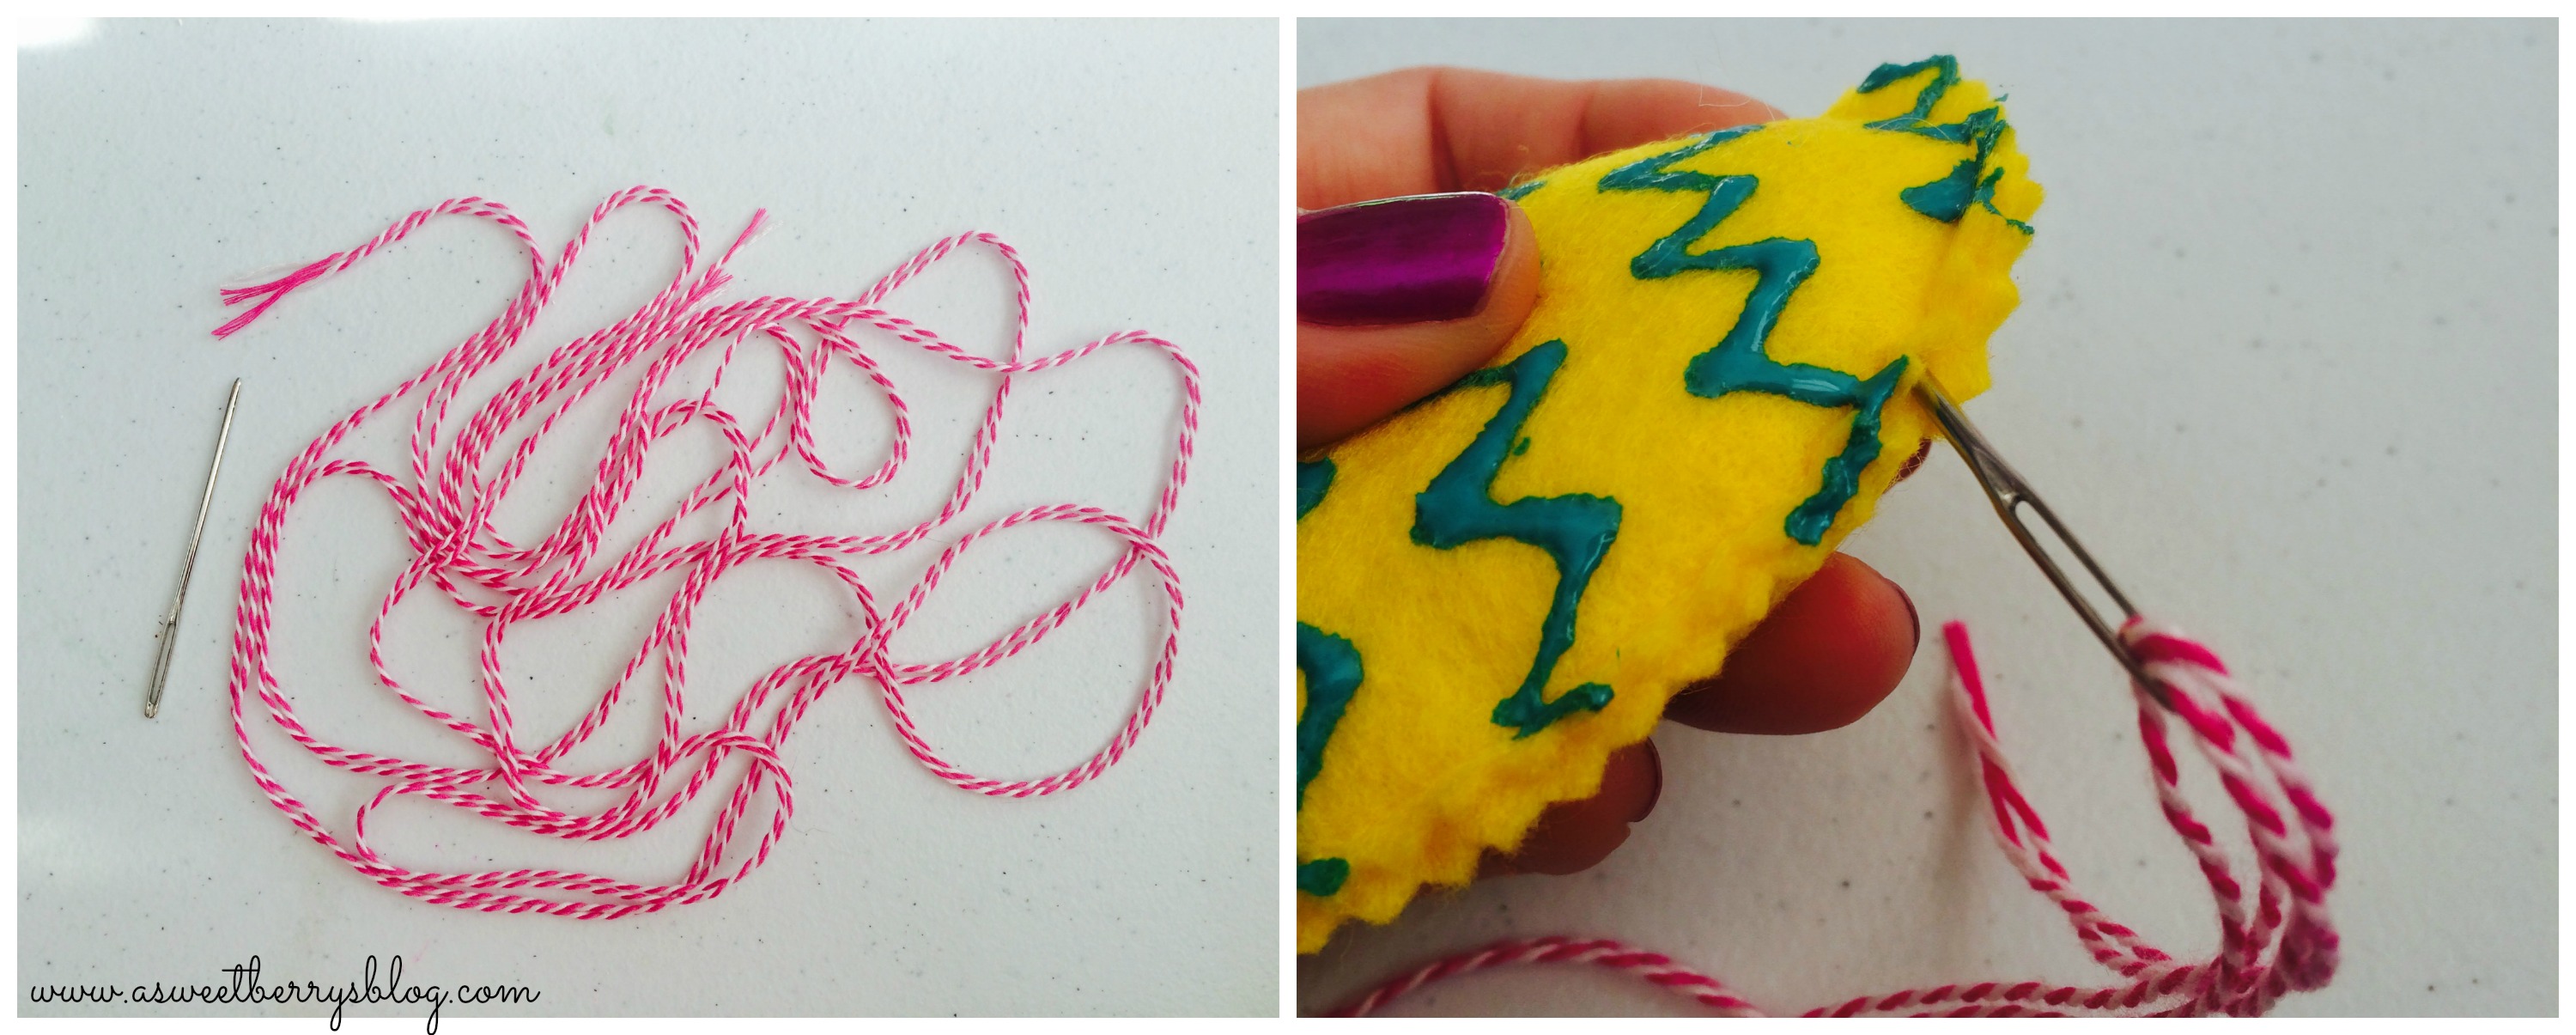
Using bright pink baker’s twine and a big needle, I threaded the twine through the top part of the egg, making sure to go between the felt and stitches. twine
And then, it was complete!!!  It is absolutely adorable!   Final
Hope you like my Kunin Felt Easter Egg Bunting!

Until next time…..

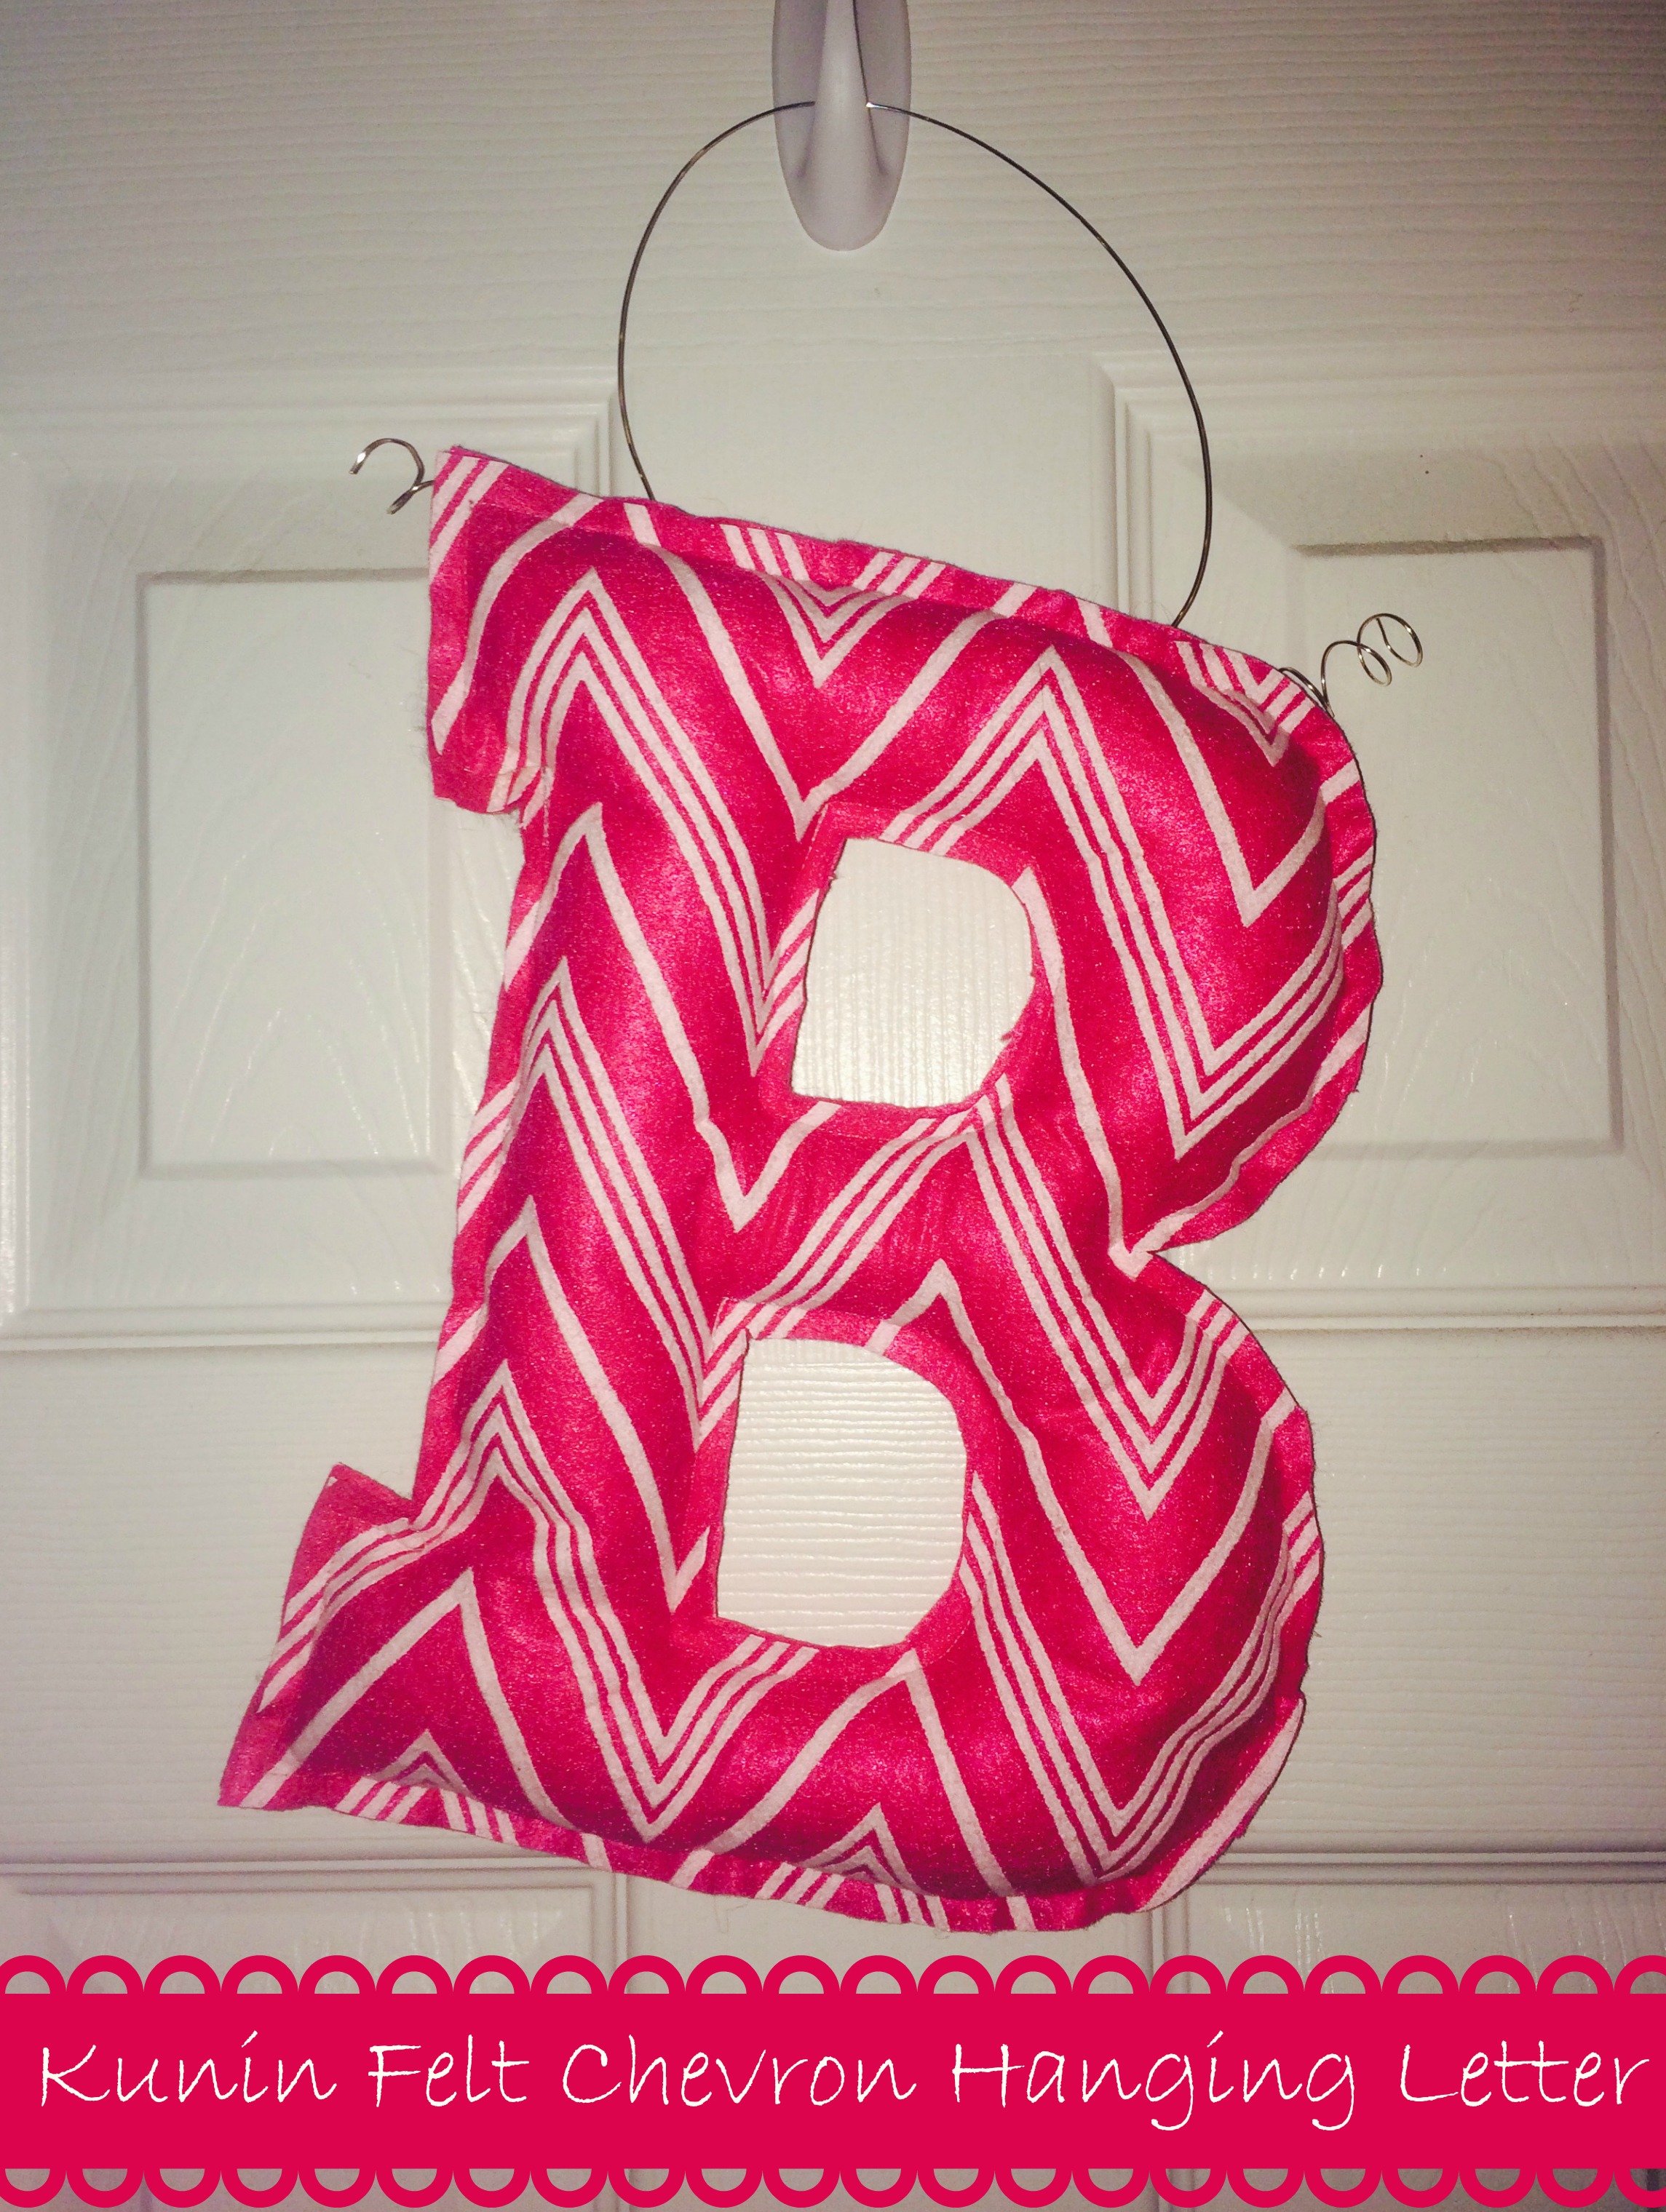
Kunin Chevron Felt Hanging Letter

I love Kunin Group’s Chevron Felt!  The pattern is already on the felt, so all you have to do is create something Felt-tastic.   I love having something decorative hanging on my front door.  Driving by one of my neighbors houses the other day, I noticed that they had a wooden initial on their front door, so I thought……why not do something similar with felt!   While at the Craft and Hobby Associations Mega Show in January, the lovely ladies at the Kunin Group Felt booth gave me this lovely Pink Chevron Felt.   And I love how it turned out!
Hung up _ Inside_Final

So, I am totally obsessed with the Sizzix eclips2!  It does amazing things.  I use it all of the time to cut out patterns for sewing.  Using the eCal2 software, I decided upon this big B.  I used the eclips2 to cut it out and tada….a big B pattern!

Cutting of Letter

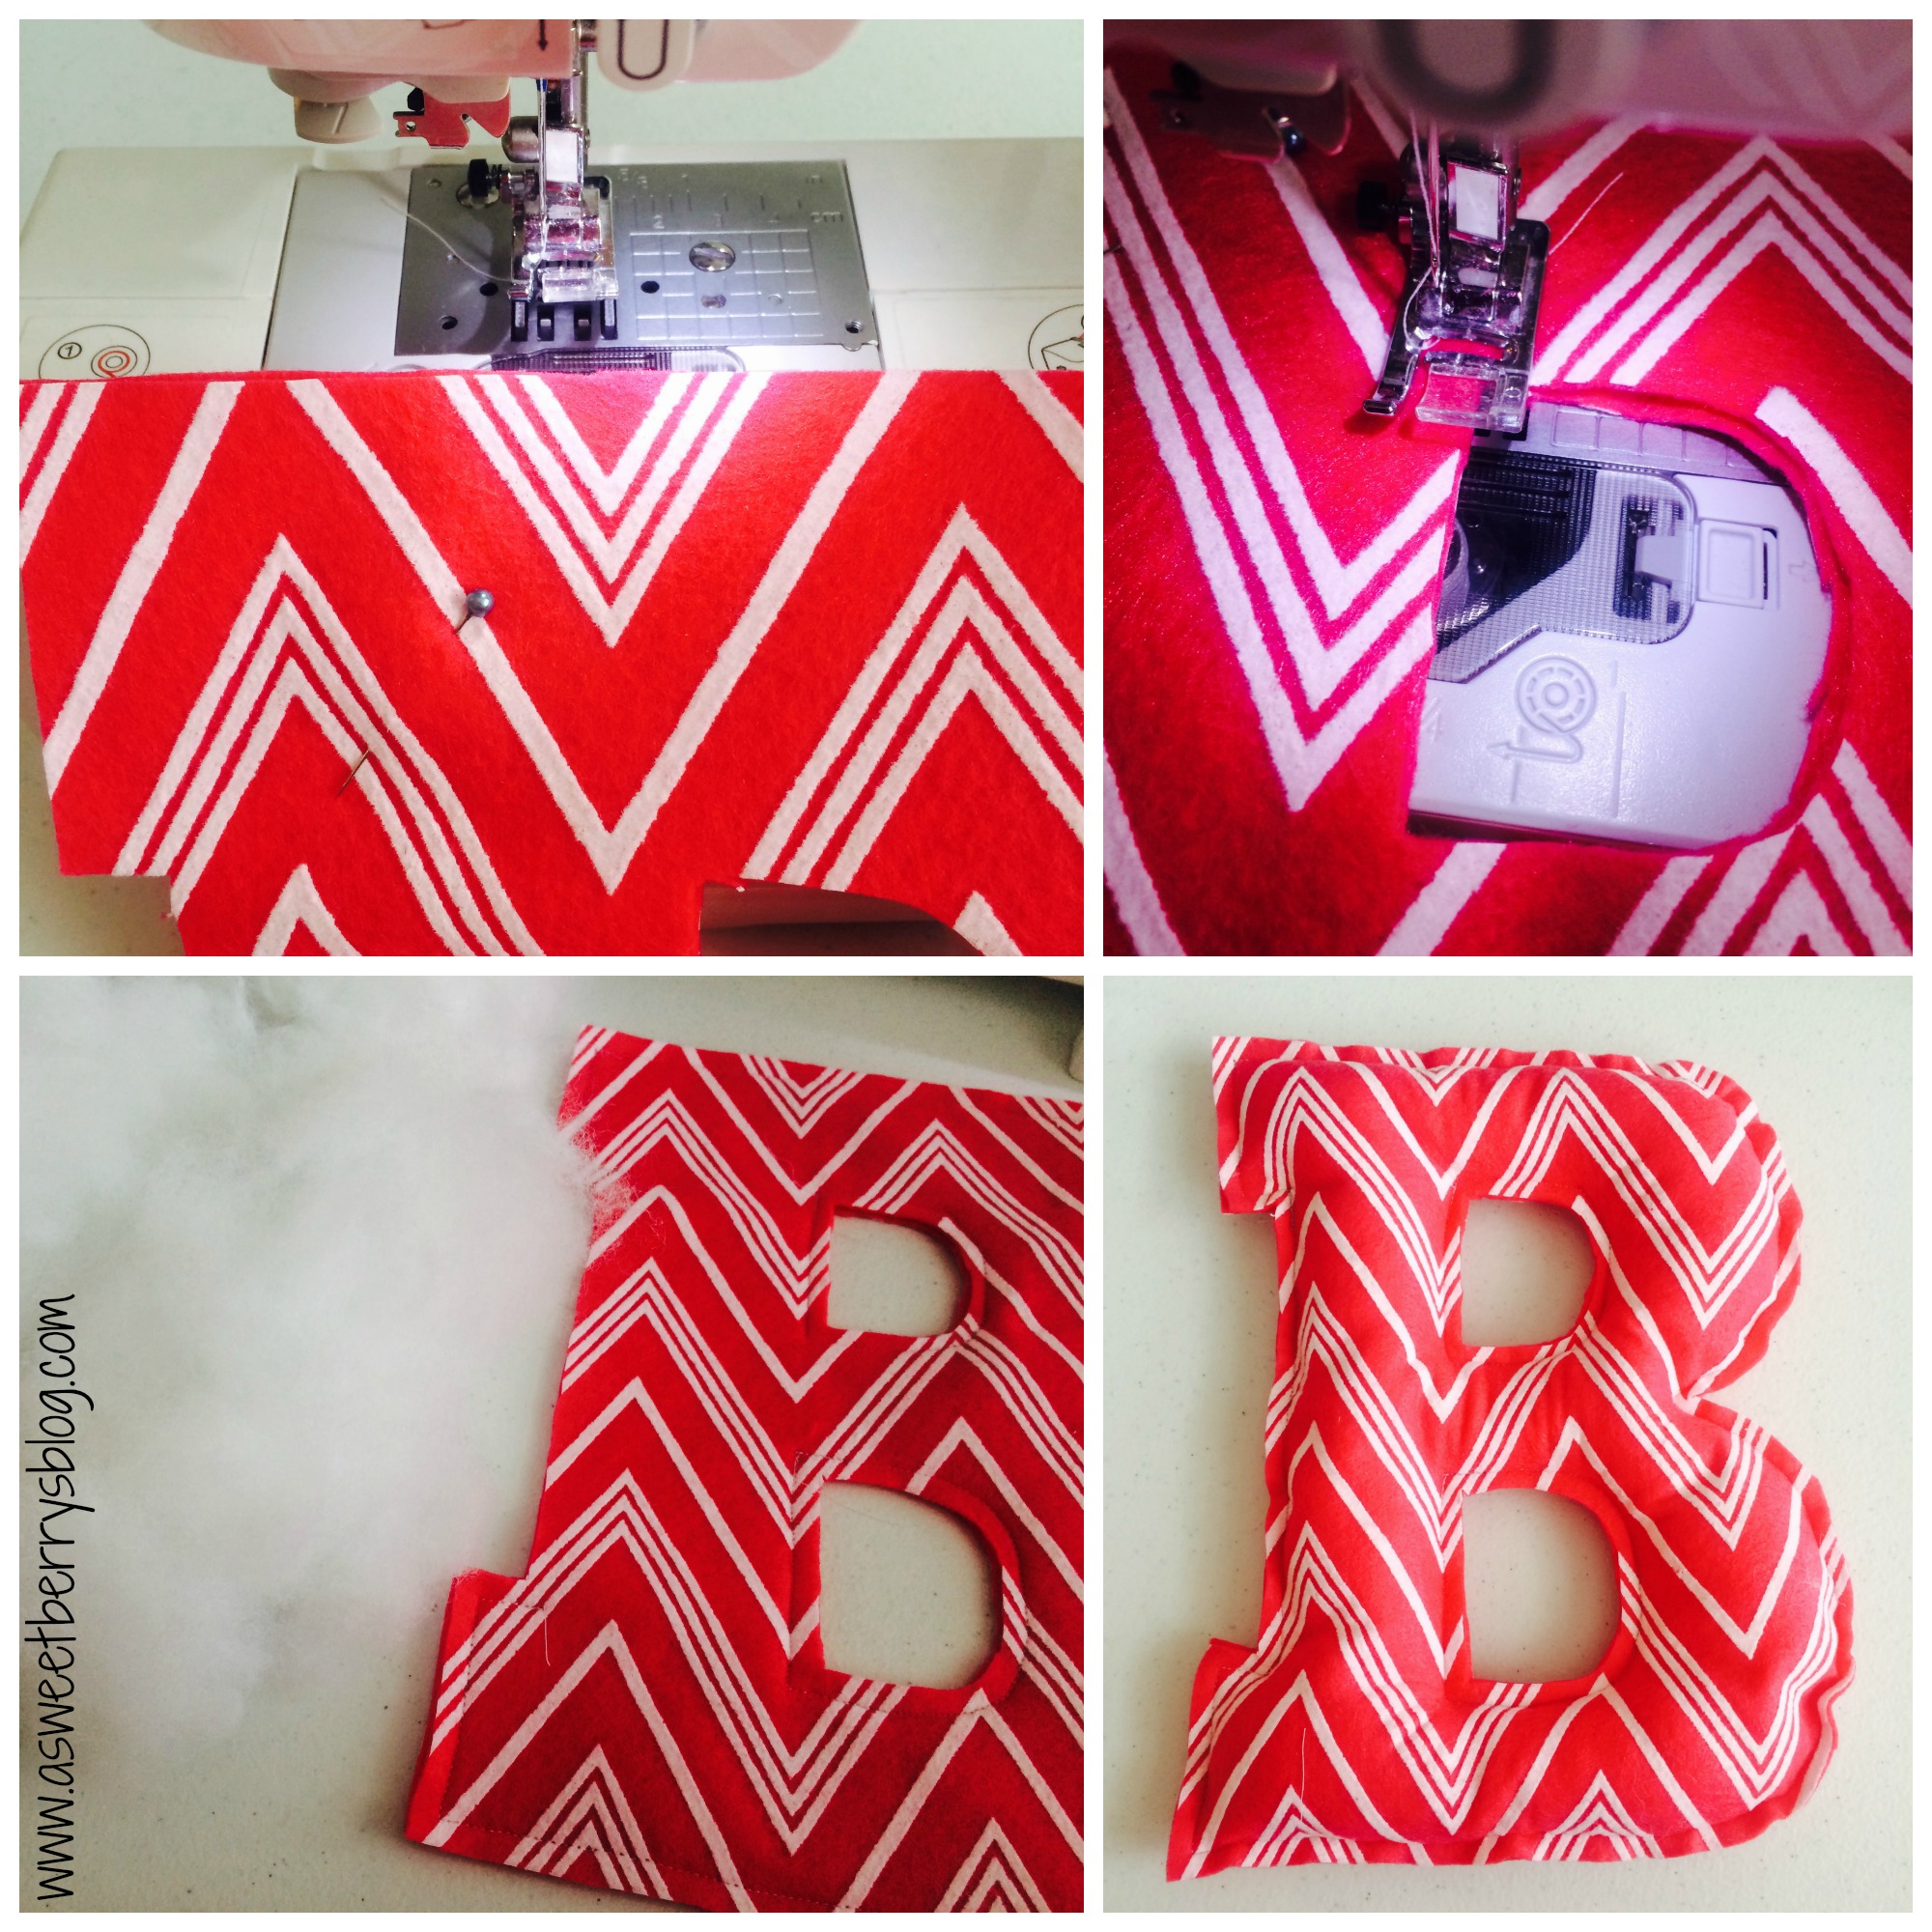
Once my B was cut out of card stock, I pinned it to the felt and then cut it out, making sure that the top and bottoms were both facing with the pattern outward.

Pinning and Cutting

Using my sewing machine, I began sewing at about 1/4 of an inch from the edge.  I started with the insides.   For the outside of the letter, I started on the serifs, leaving an opening on the left of the “B” so that I could stuff it.  I used Poly-fil to stuff it.  Once it was stuffed, I pinned my open edge and sewed it shut!

sewing and stuffing

Using a thicker type wire, I inserted it in two places into the back side of my “B” at the top.  I meant to leave about 3 inches that I wound around a marker so give it curls.

Wiring

Then it was ready to hang!  

  Hung up _ Inside_Final

I love it and it is just perfect for the Spring time hanging on my front door!

Fun Fact:  Kunin Fabrics are made from Eco-fi, 100% Post Consumer recycled plastic bottles and made in the USA!

Until next time……

Quick and Easy Felt St. Patrick’s Day Jewelry

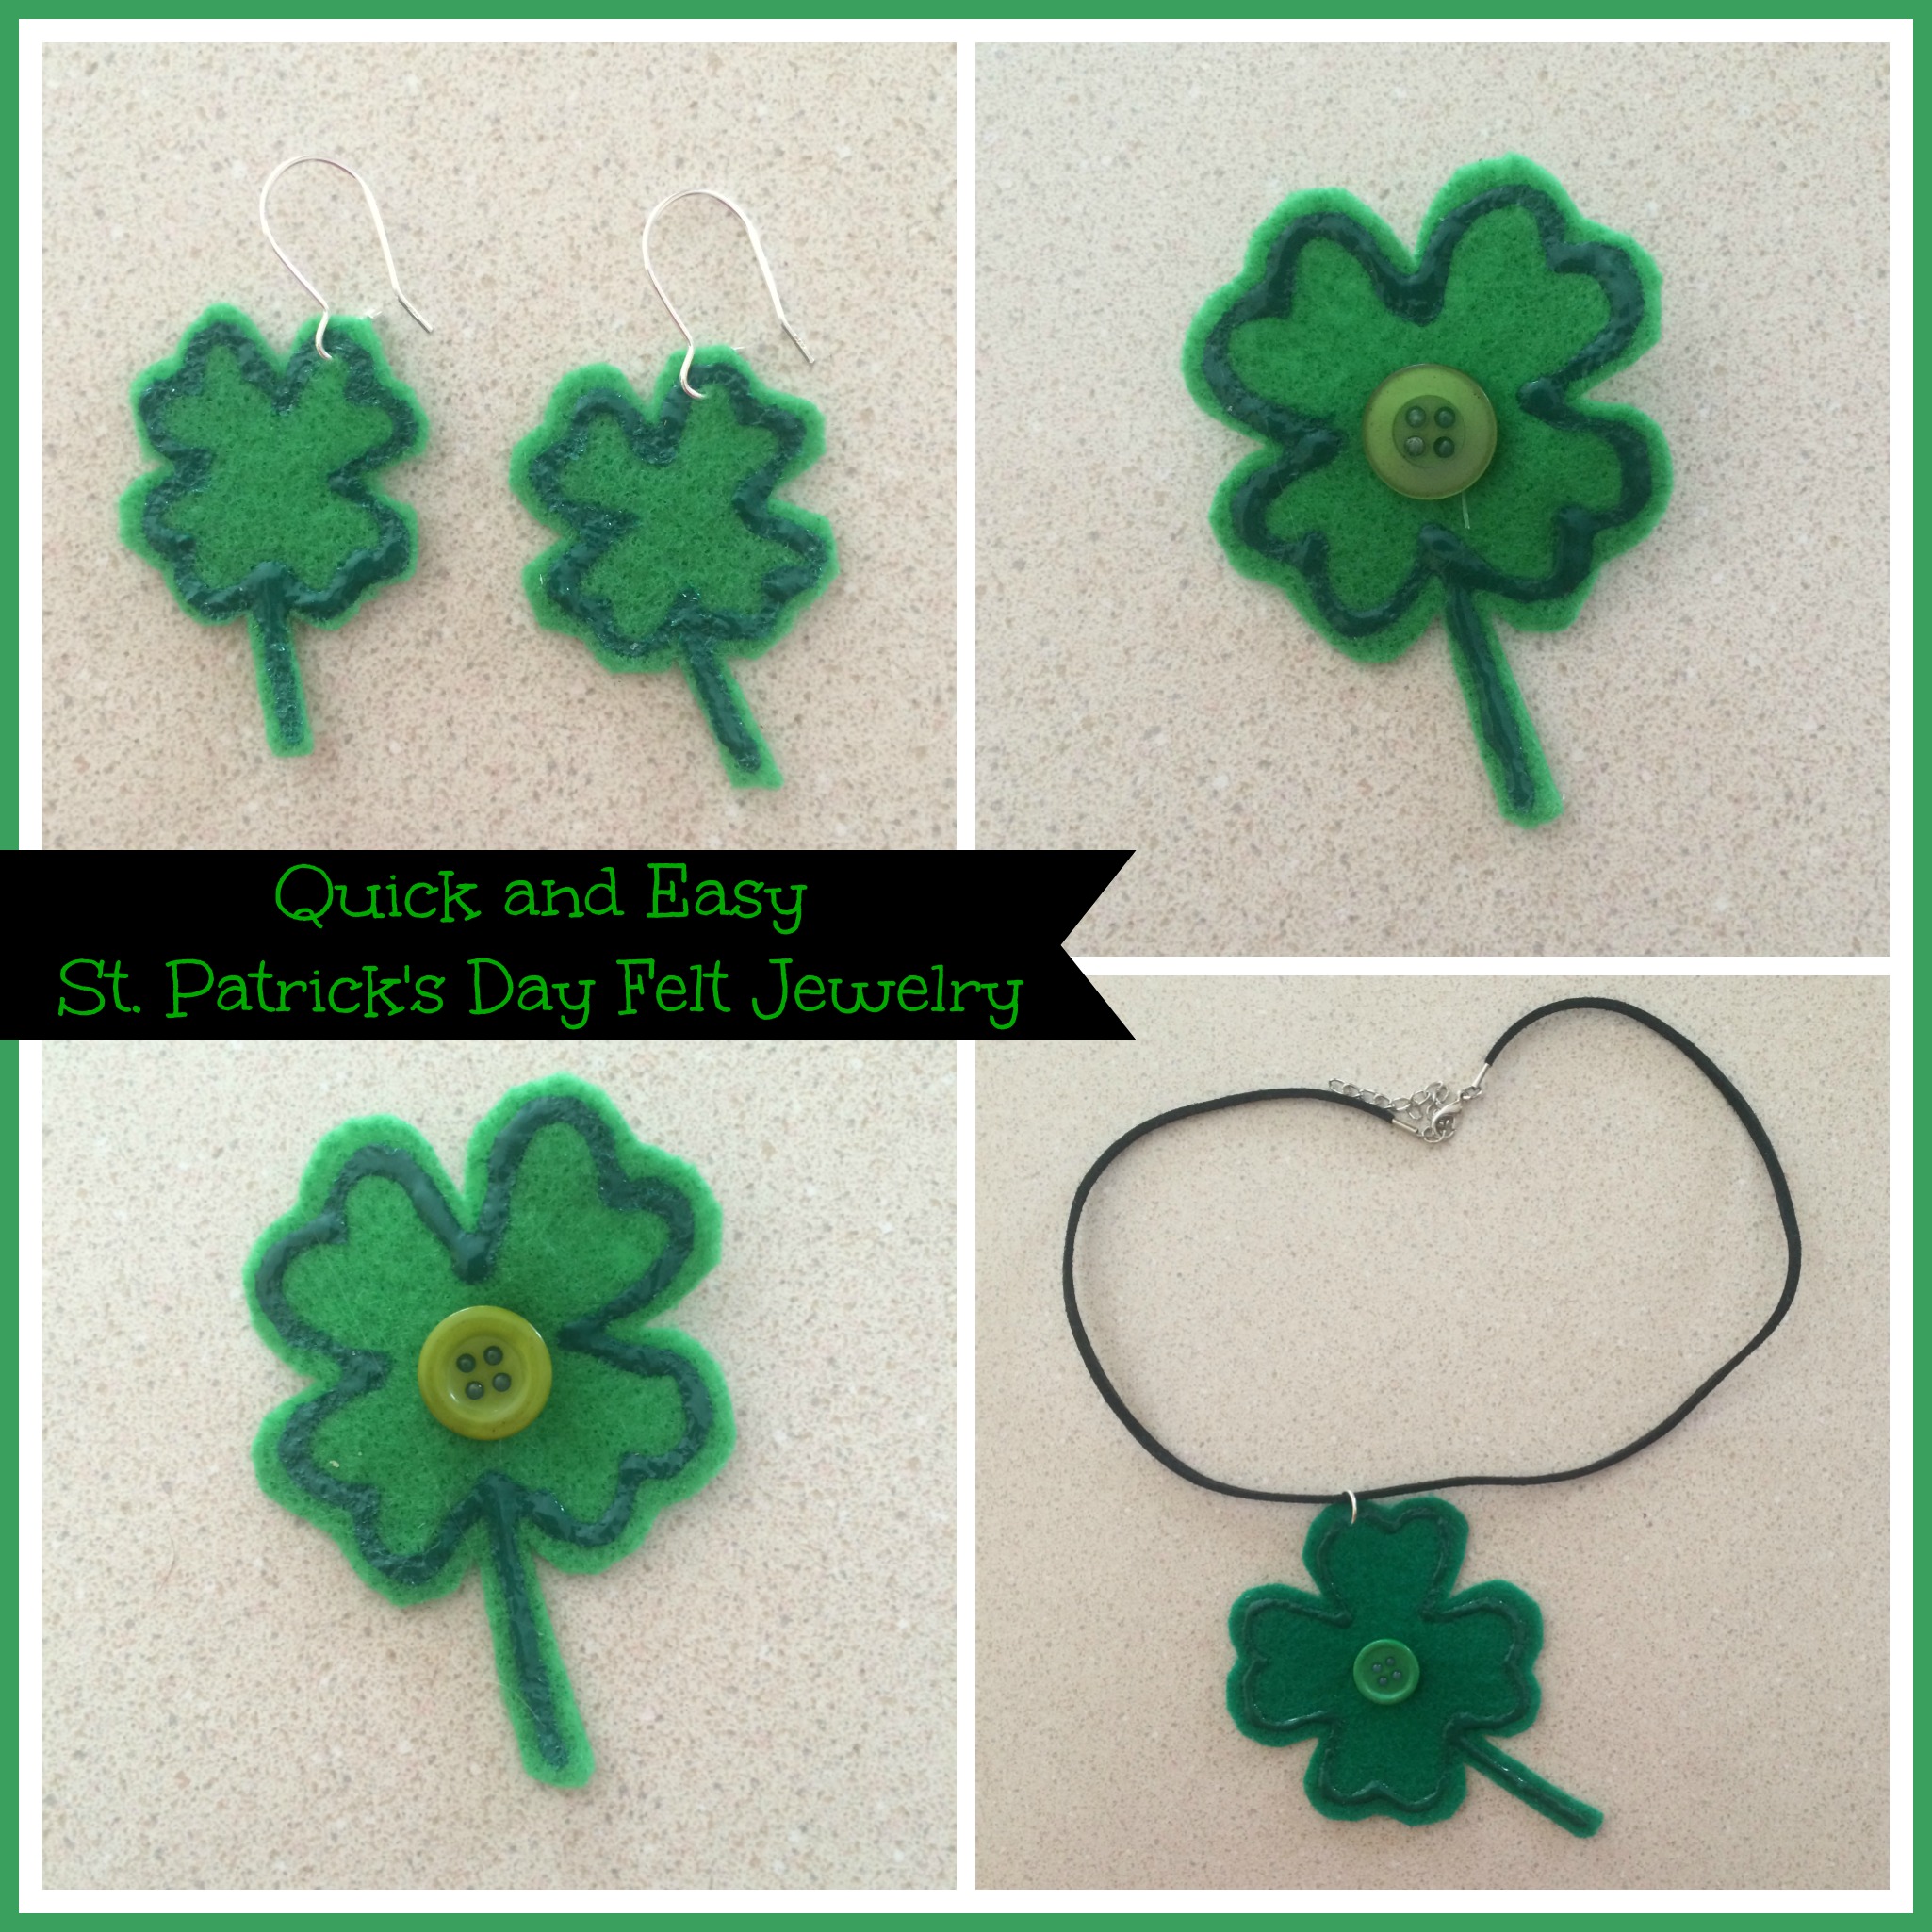
Worried about getting pinched on St. Patrick’s Day?  This quick and easy felt jewelry can help keep you from getting that unfriendly pinch! Felt Jewelry
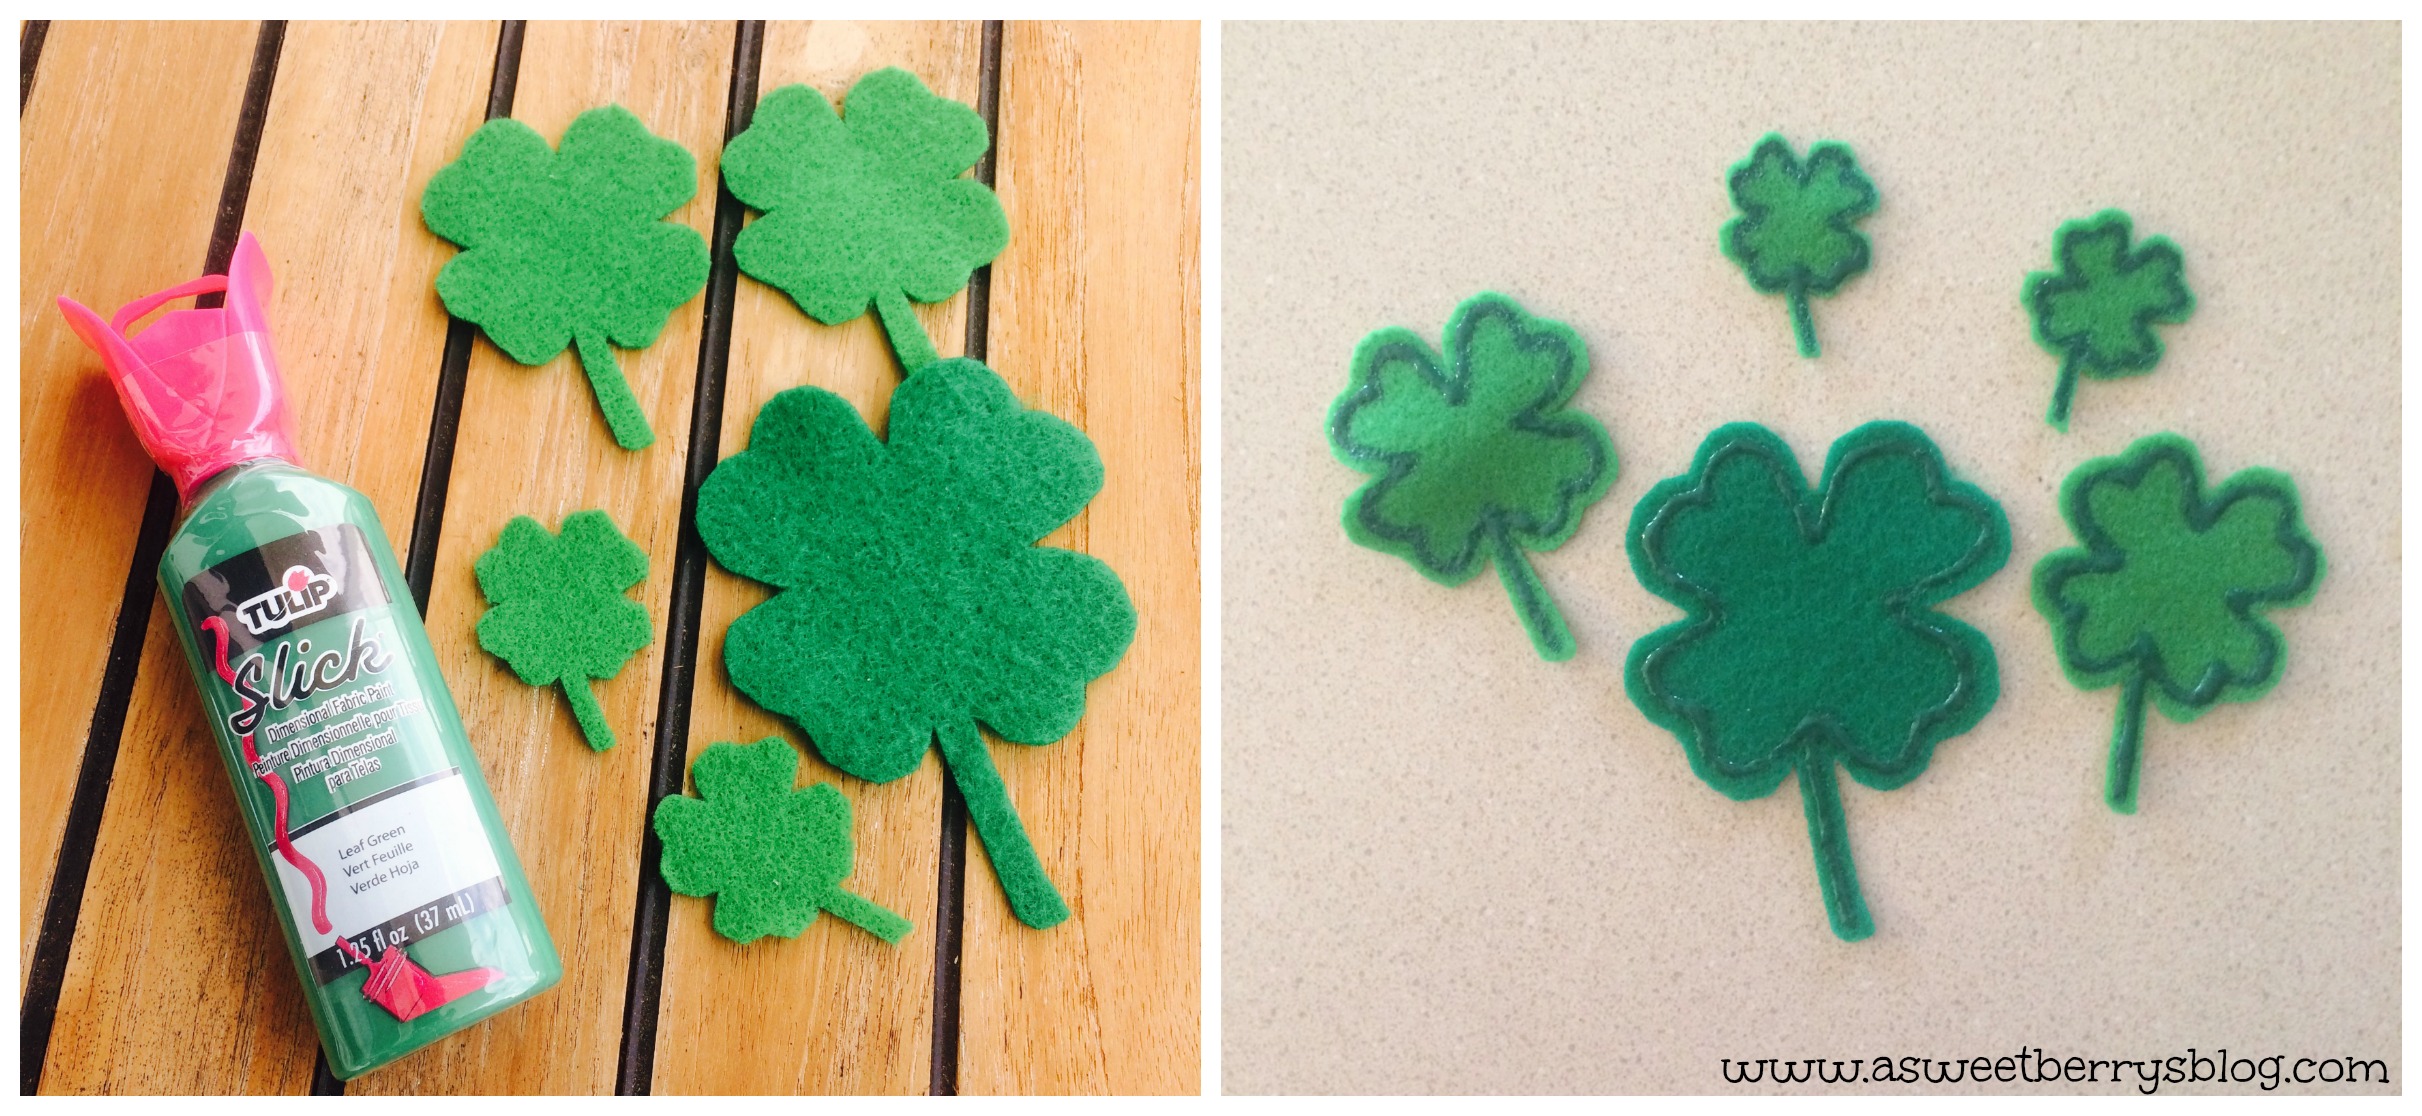
Using my Sizzix Eclips2 and a free shamrock template included in the software, I cut different size shamrocks for templates.  Once they were cut, I pinned them to my green felt and then cut them out.   eclips2
Using Tulip Slick Fabric Paint, I drew along the edges of the shamrocks just give it a little something extra!
tulip
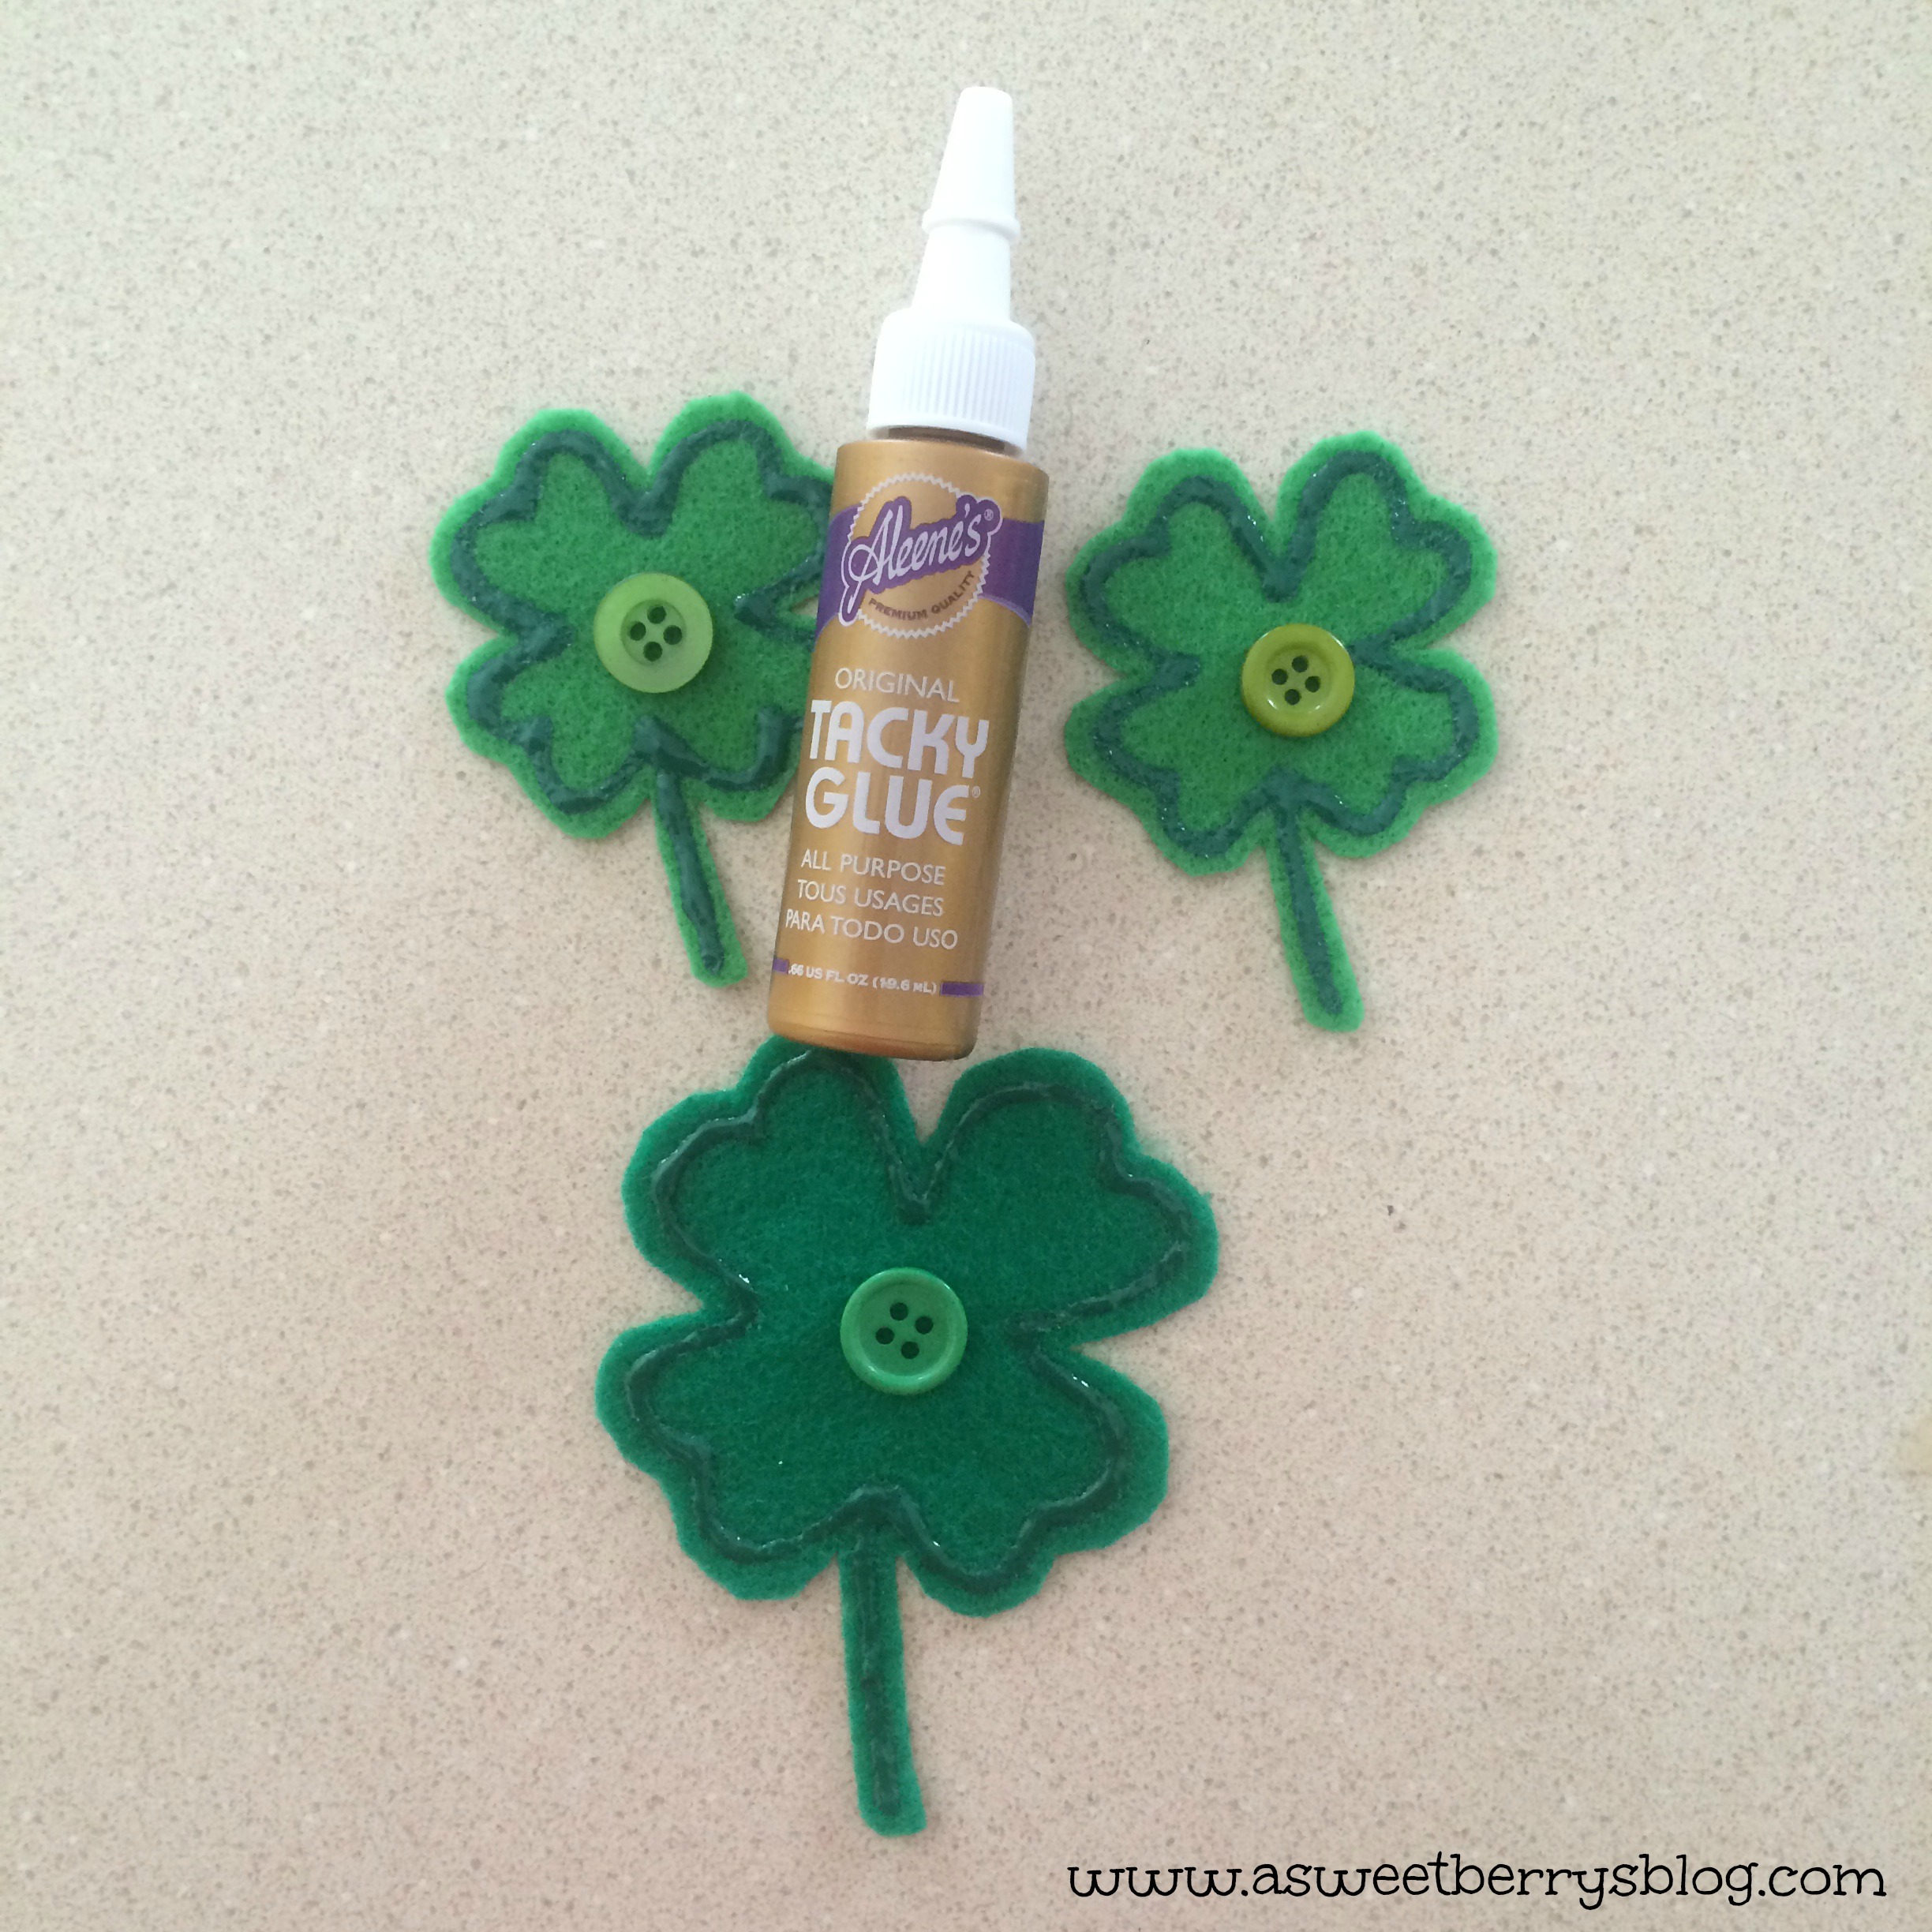
Once the fabric paint was dried, I glued some of Laura Kelly’s green buttons from Buttons Galore & More to the middles using Aleene’s Tacky Glue. buttons and tacky glue
I knew that I wanted to make a necklace, a hair clip, a broach type pin and some earrings, so I gathered the materials needed for those pieces. pieces
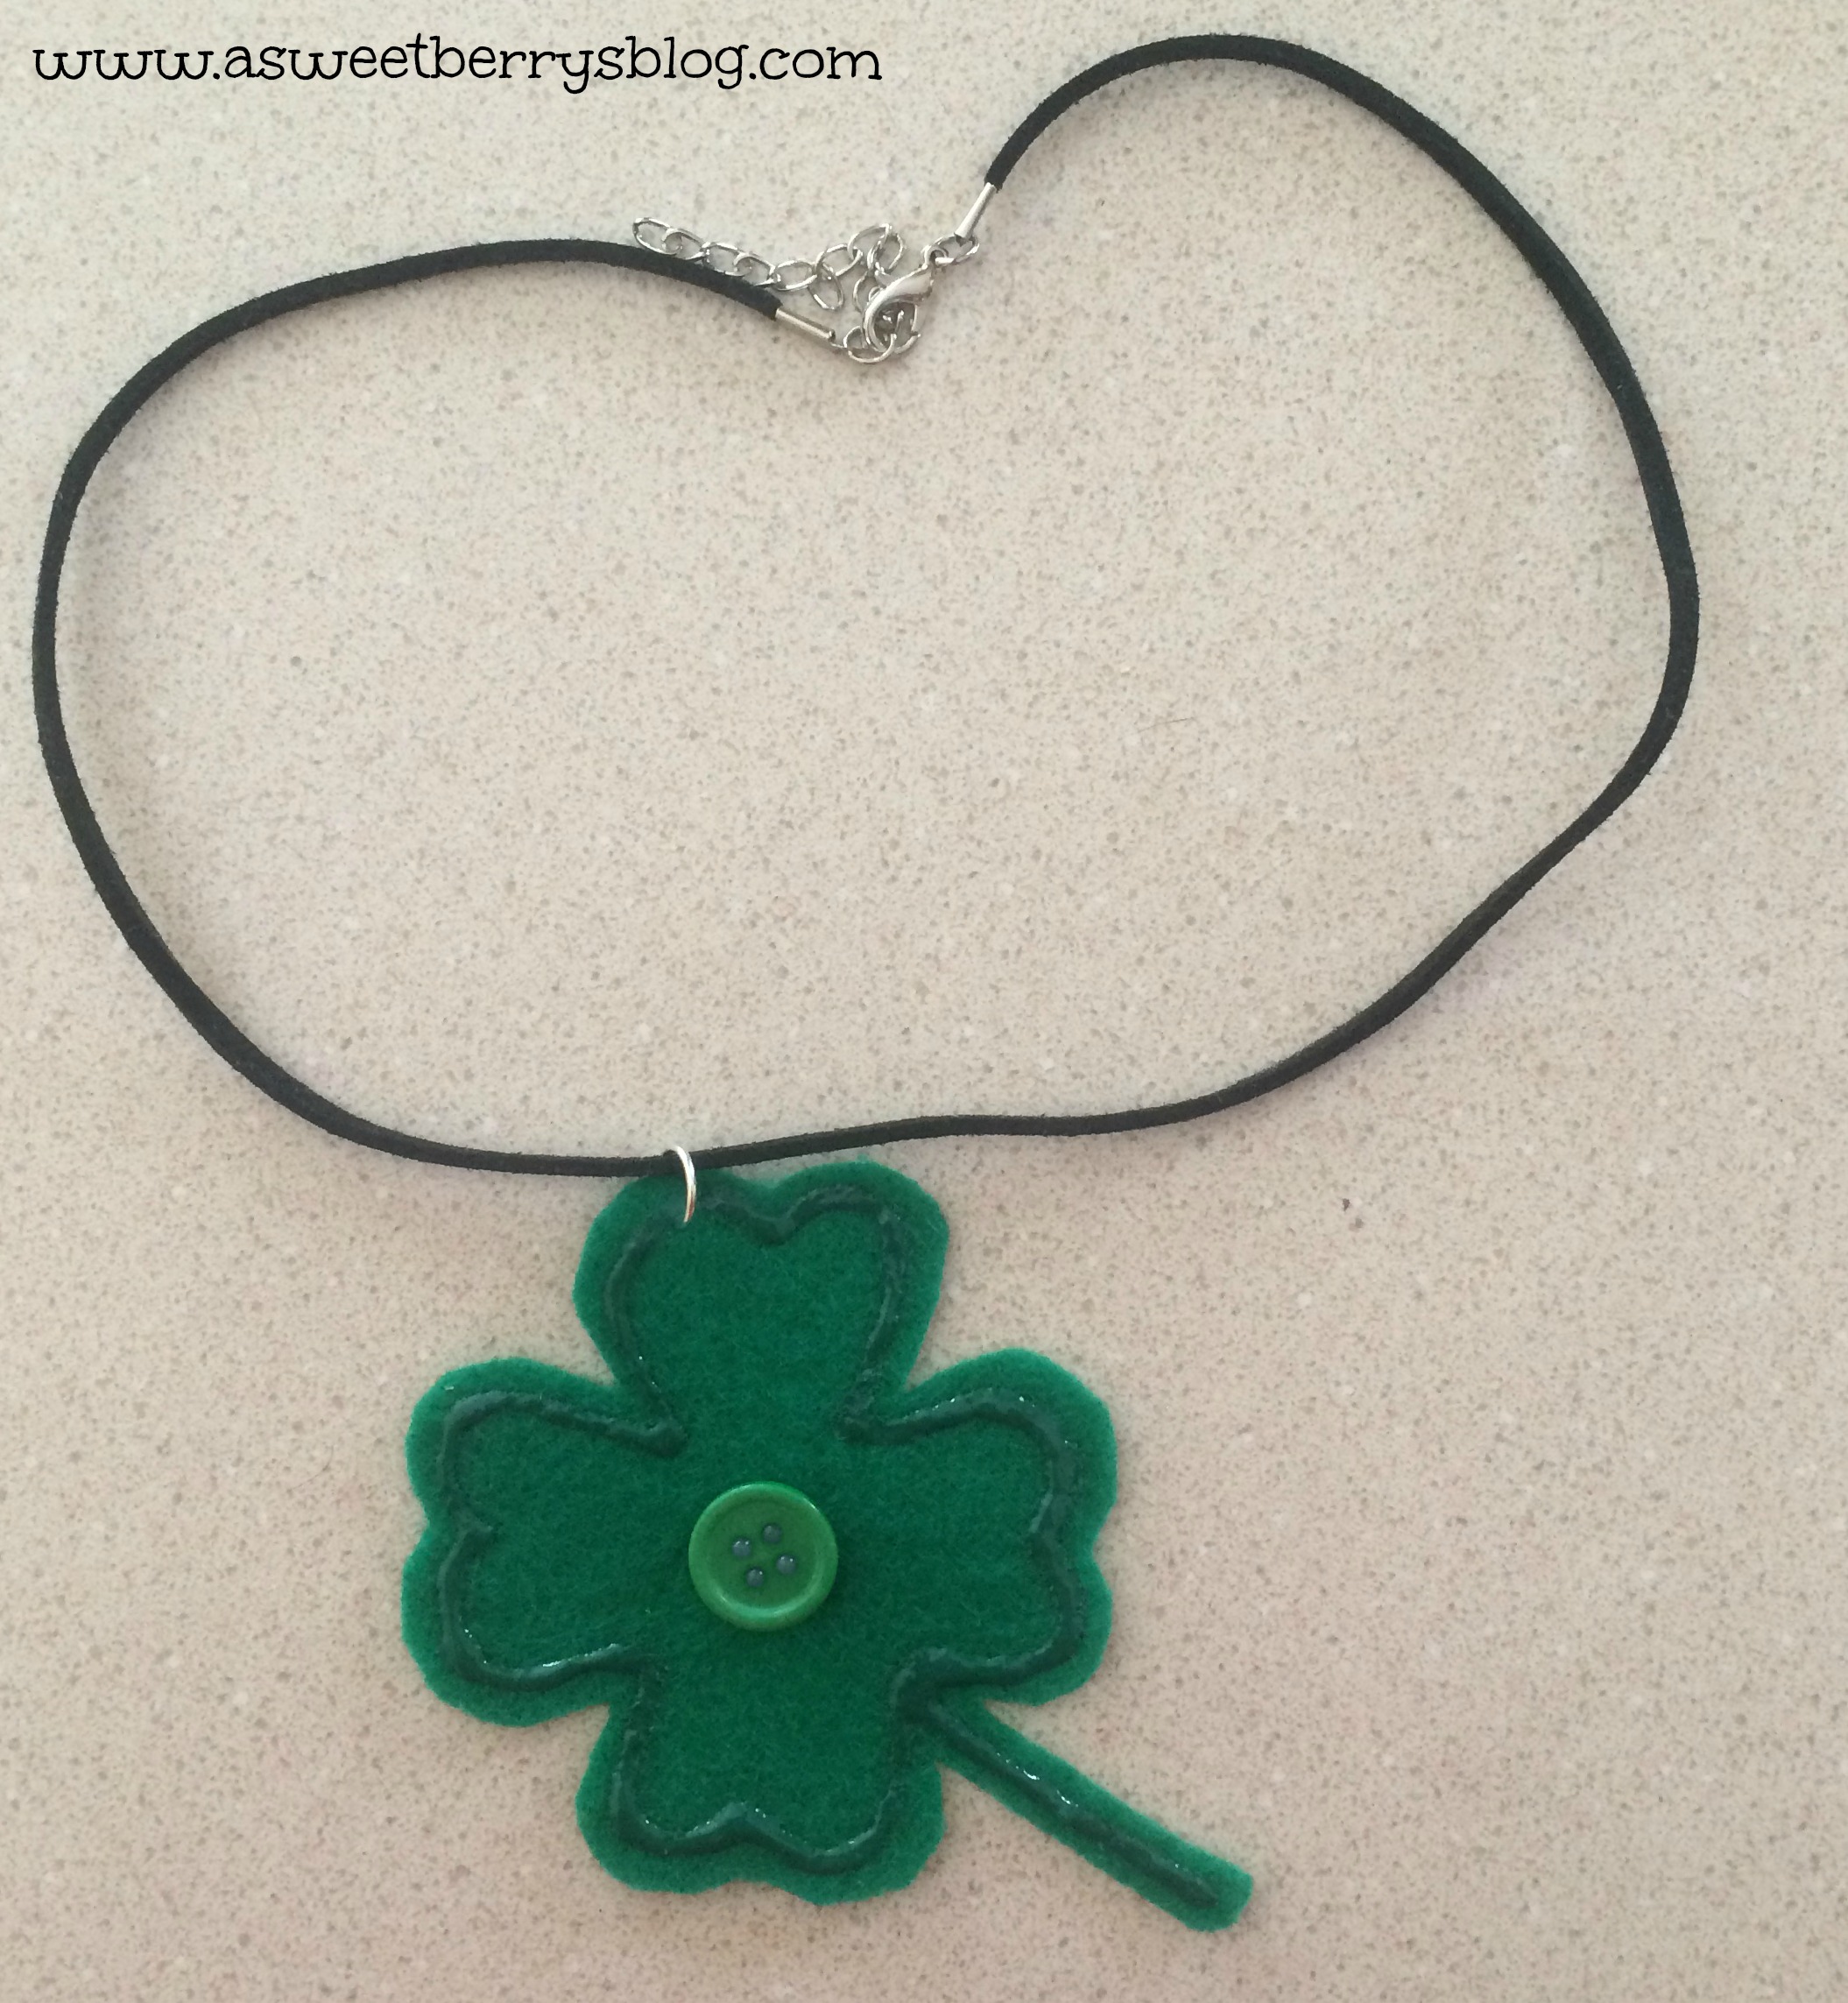
Using a jump ring, I opened it and stuck it through the top of my largest shamrock.   I used pliers to close the jump ring and then threaded the necklace through. necklace
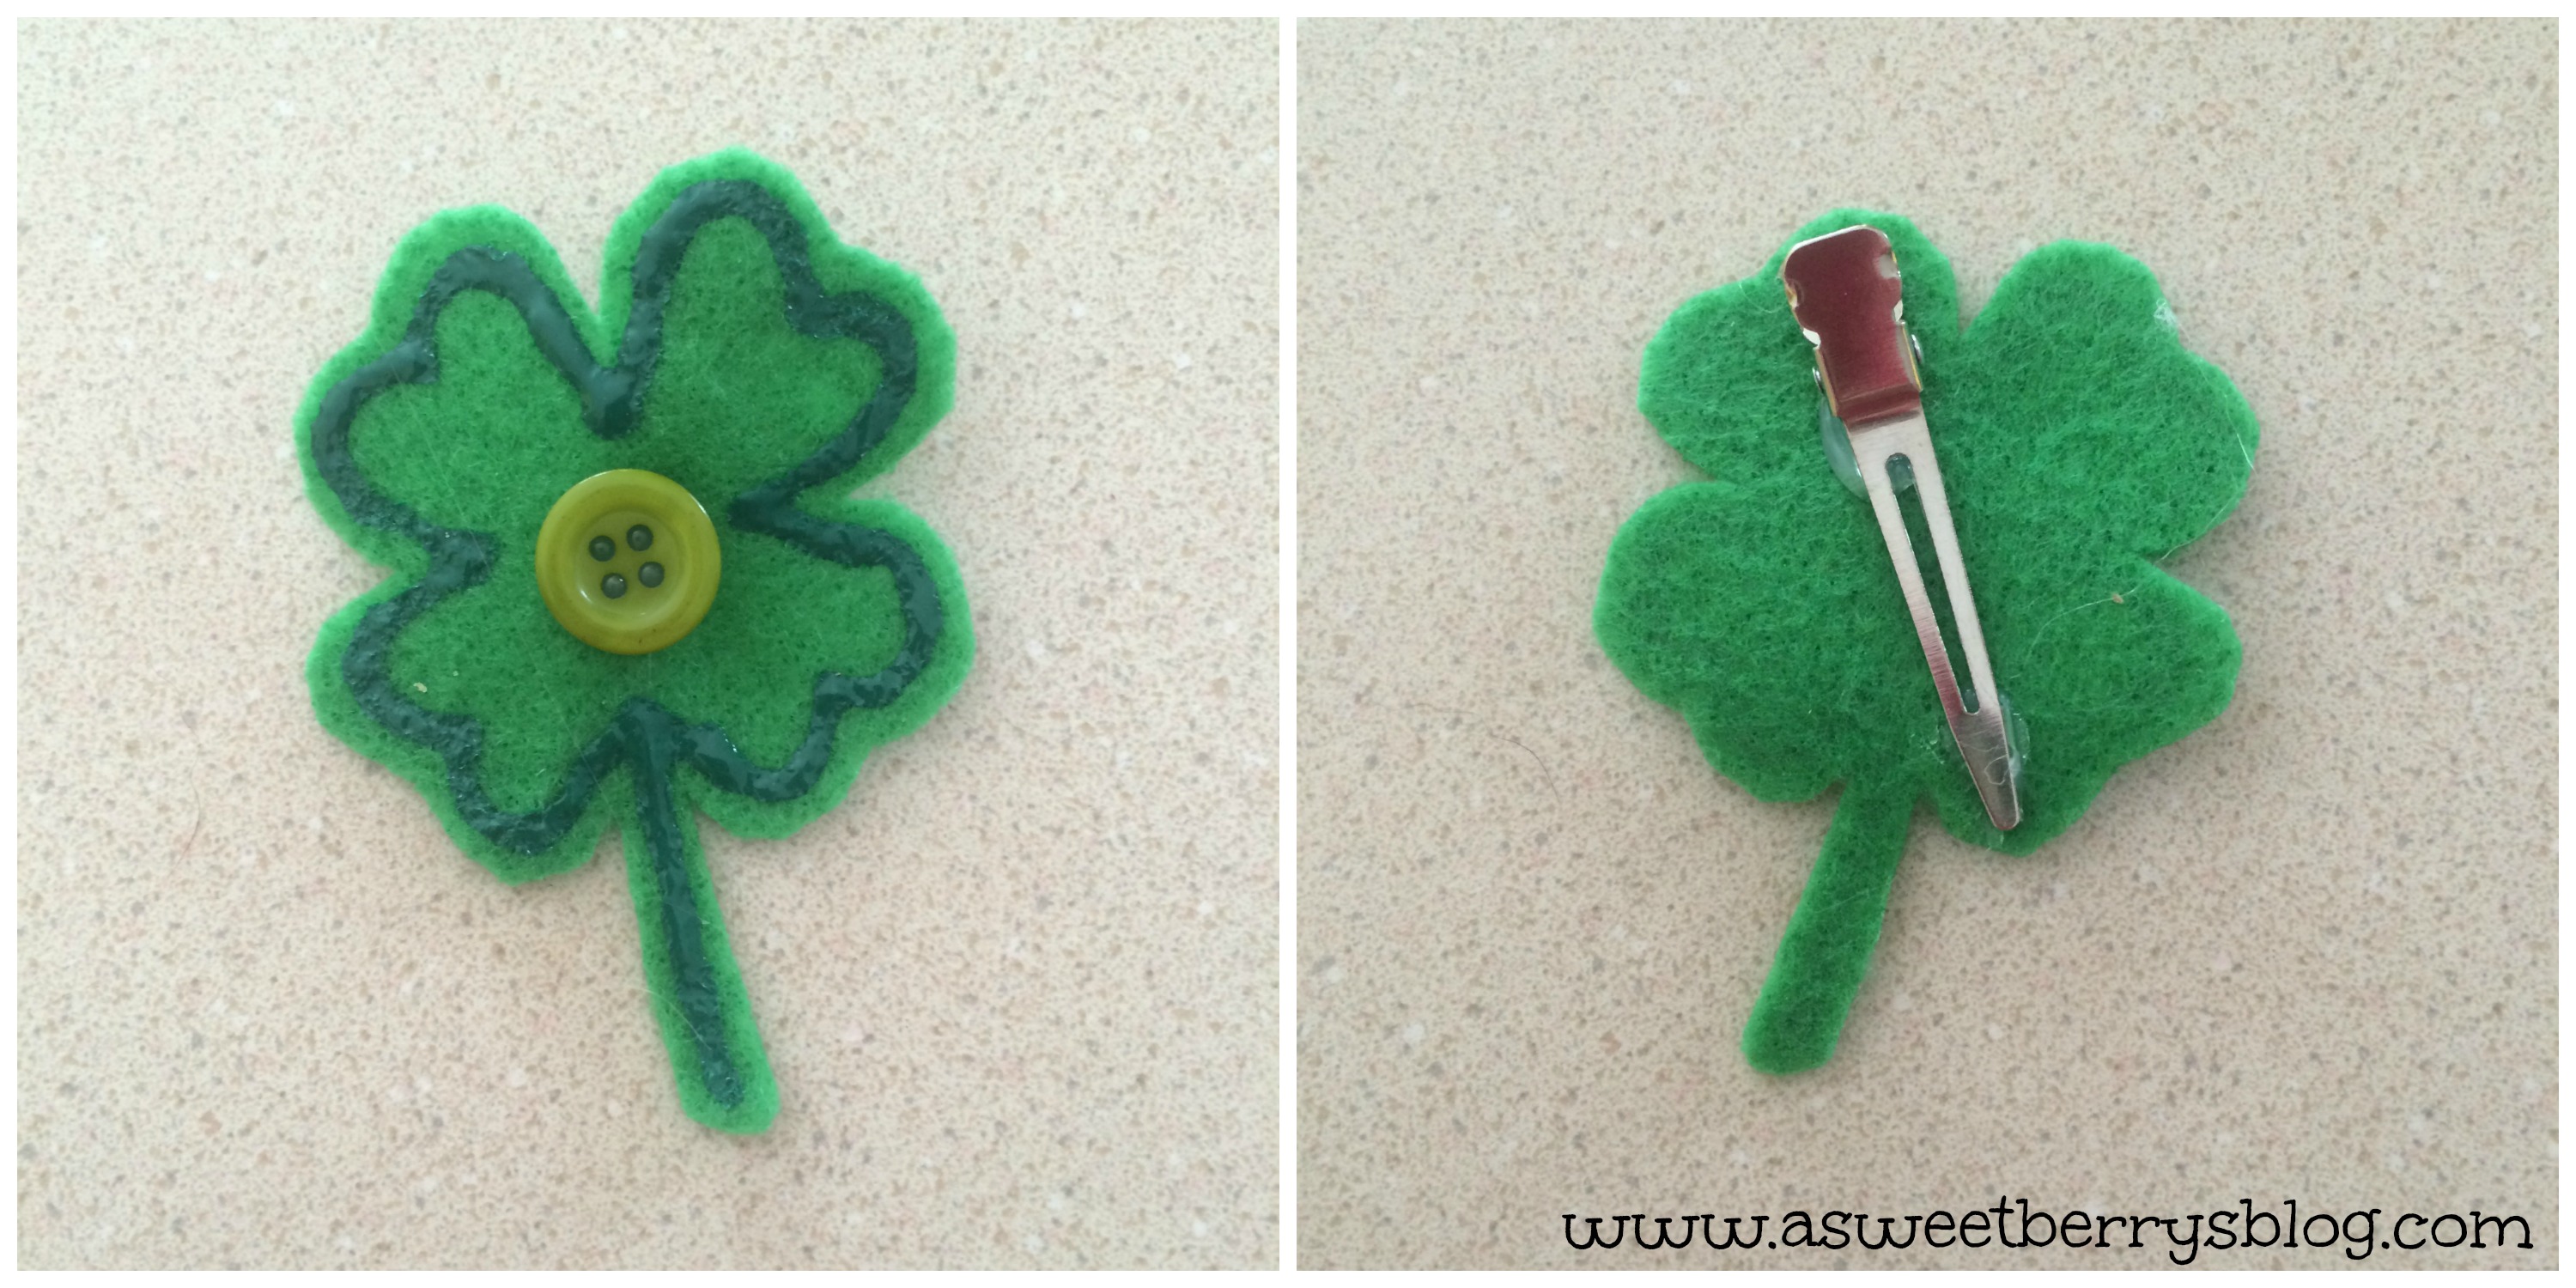
Using hot glue, I attached the alligator clip to the back of one of the middle sized shamrocks. hairbow
And I did the same with the pin back…. pin
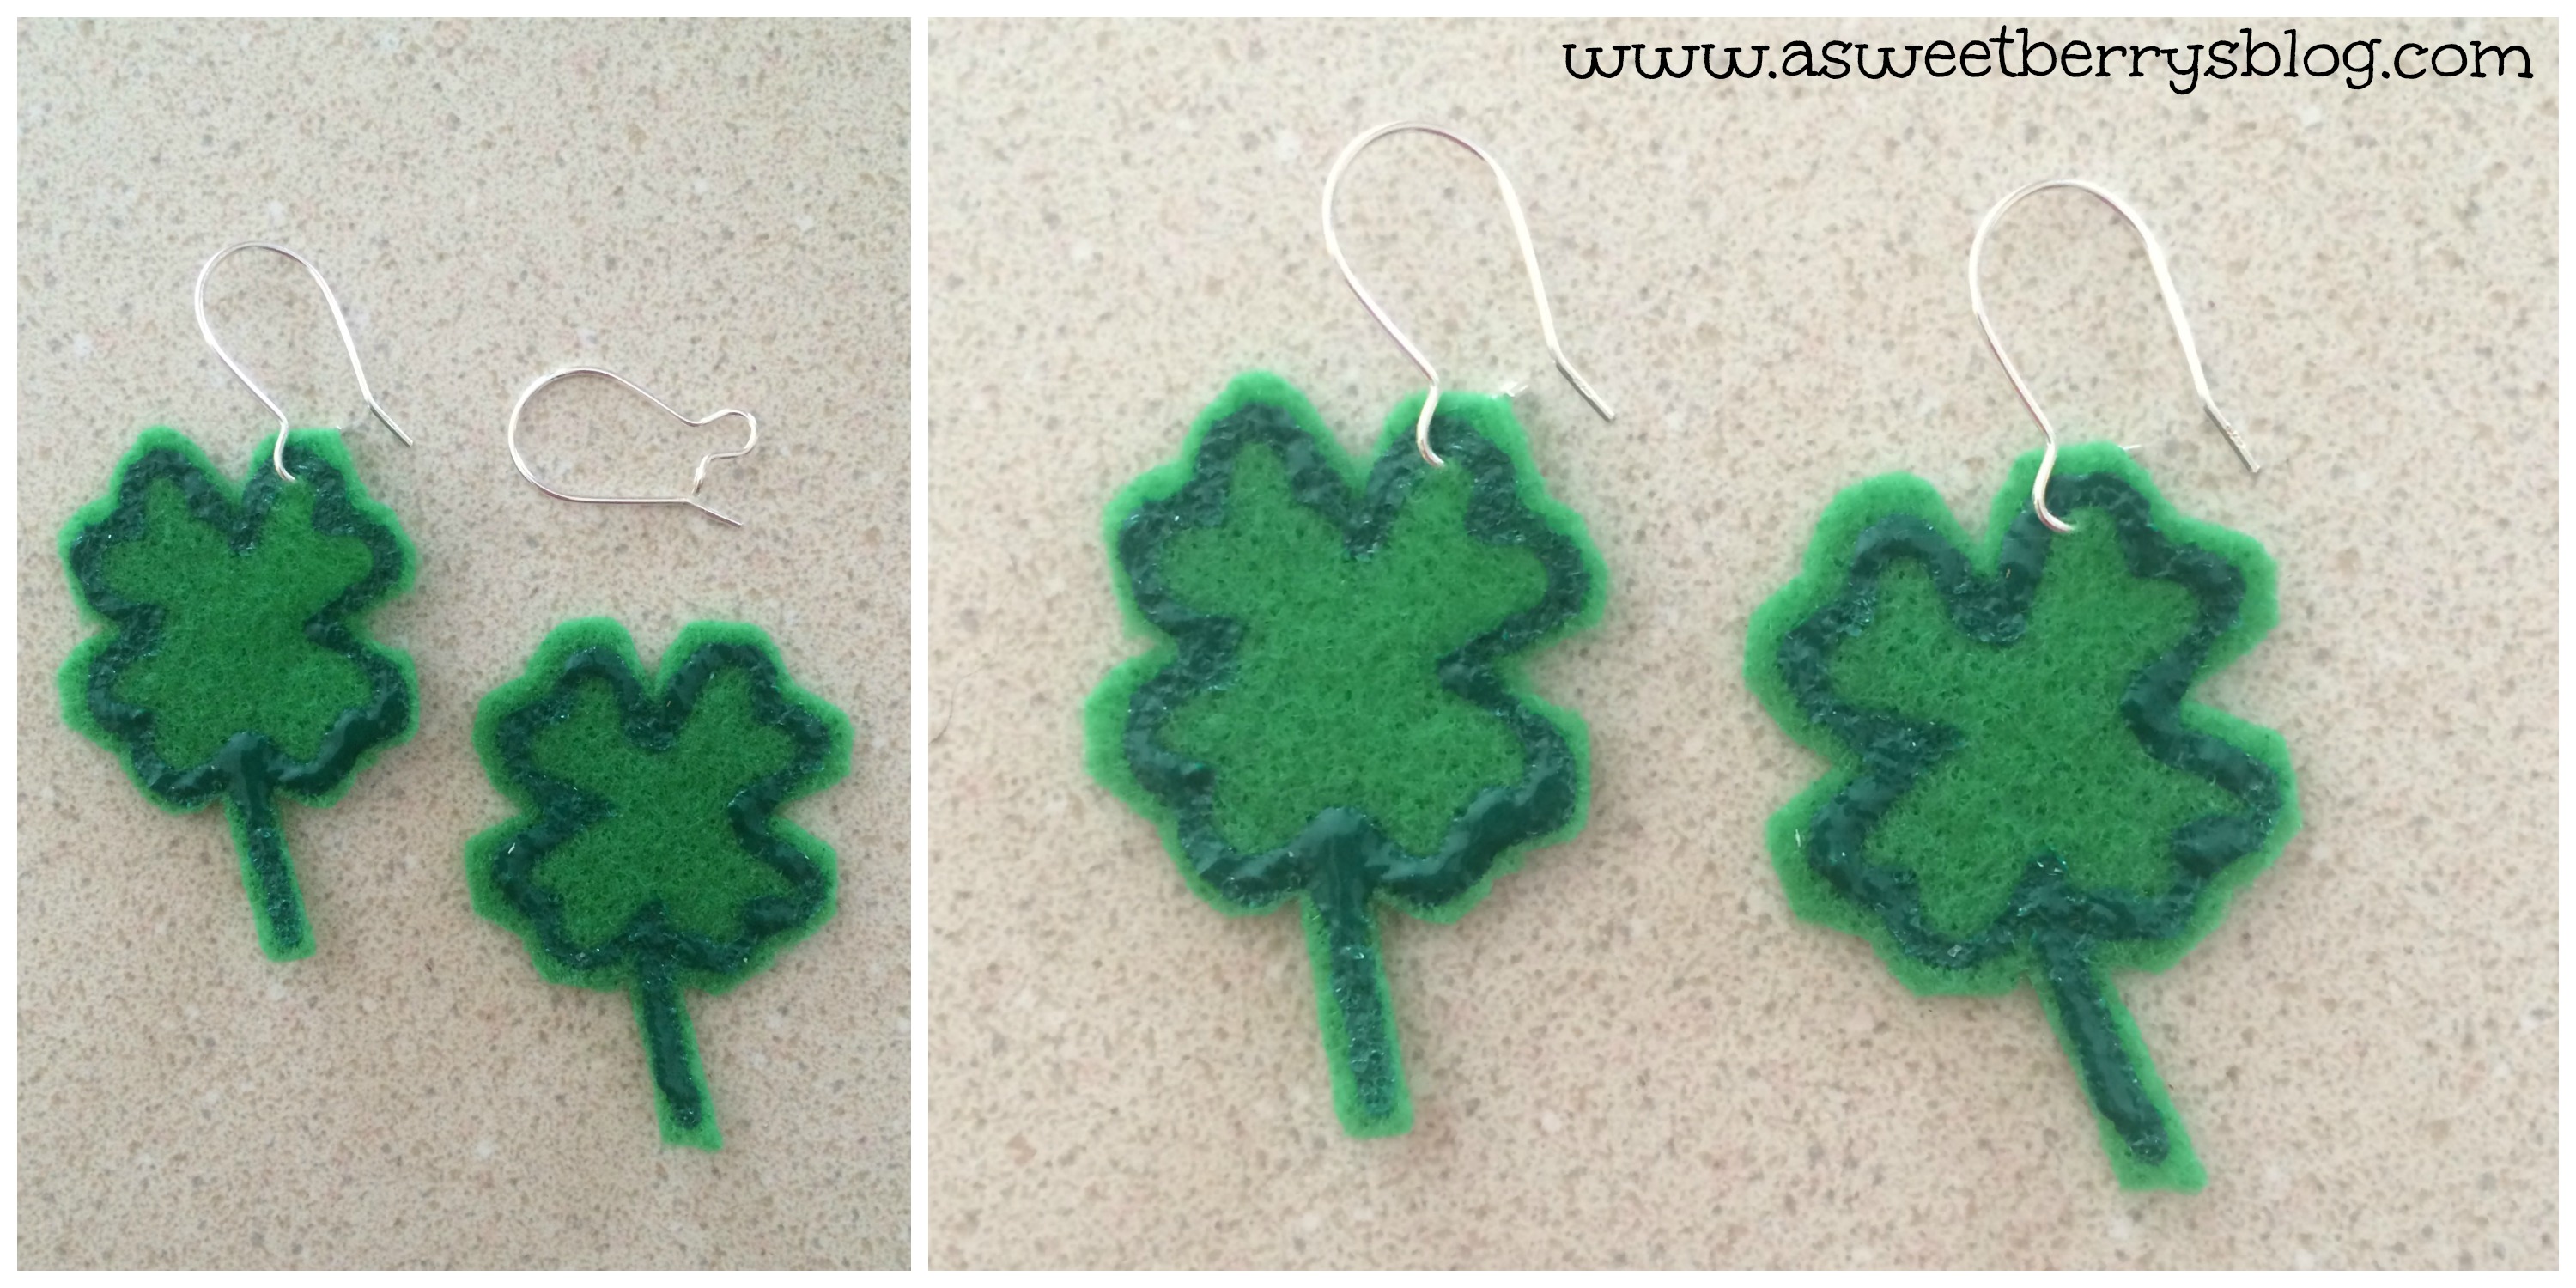
Using earrings that I had in my jewelry making stash, I poked a hole through the felt with the end.  No jump rings necessary! earrings  Now, I know that I won’t be pinched on St. Patty’s Day!   Hope you like my quick and easy St. Patrick’s Day Jewelry!

Until next time…..