Category Archives: seasonal

Be Mine Crafty – MineCraft Valentine’s

It’s finally the week of Valentine’s Day!  And my boys are super obsessed with Minecraft, so this year they wanted Minecraft Valentine’s!  Well, after looking, homemade Minecarft Valentine’s were the only ones that could be found.  No stores sold them!  So, I decided to make them!   Final
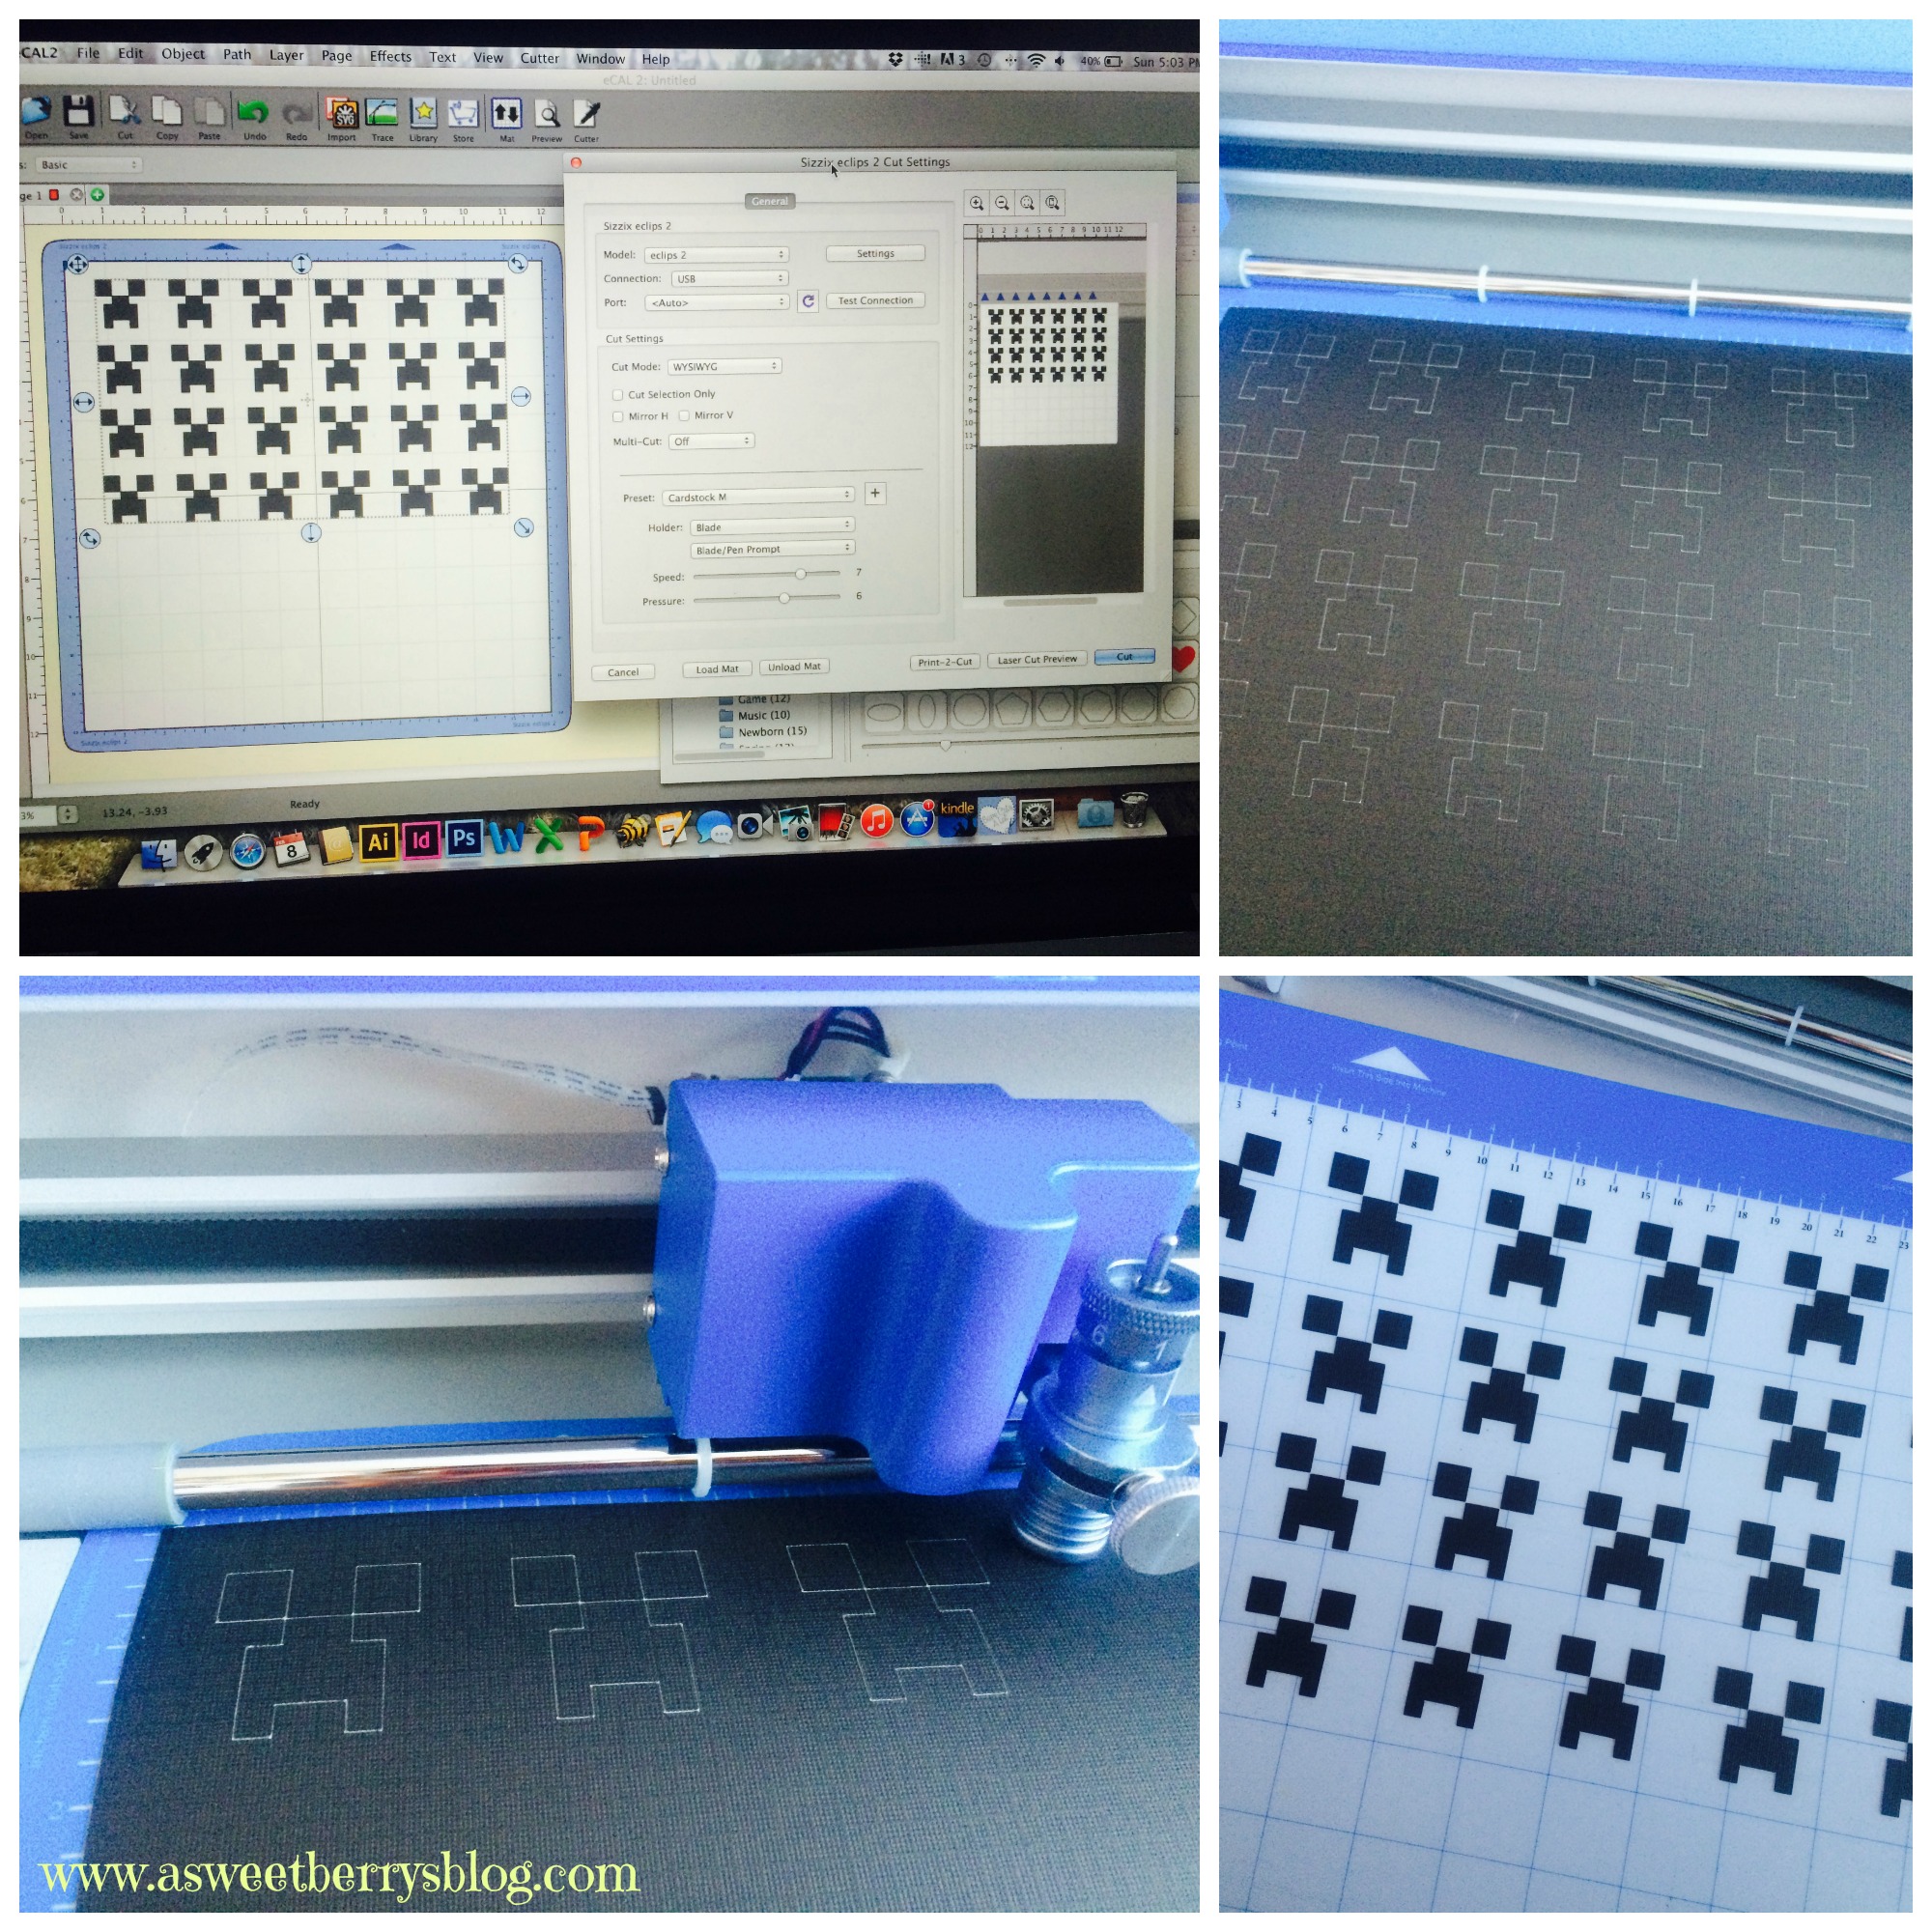
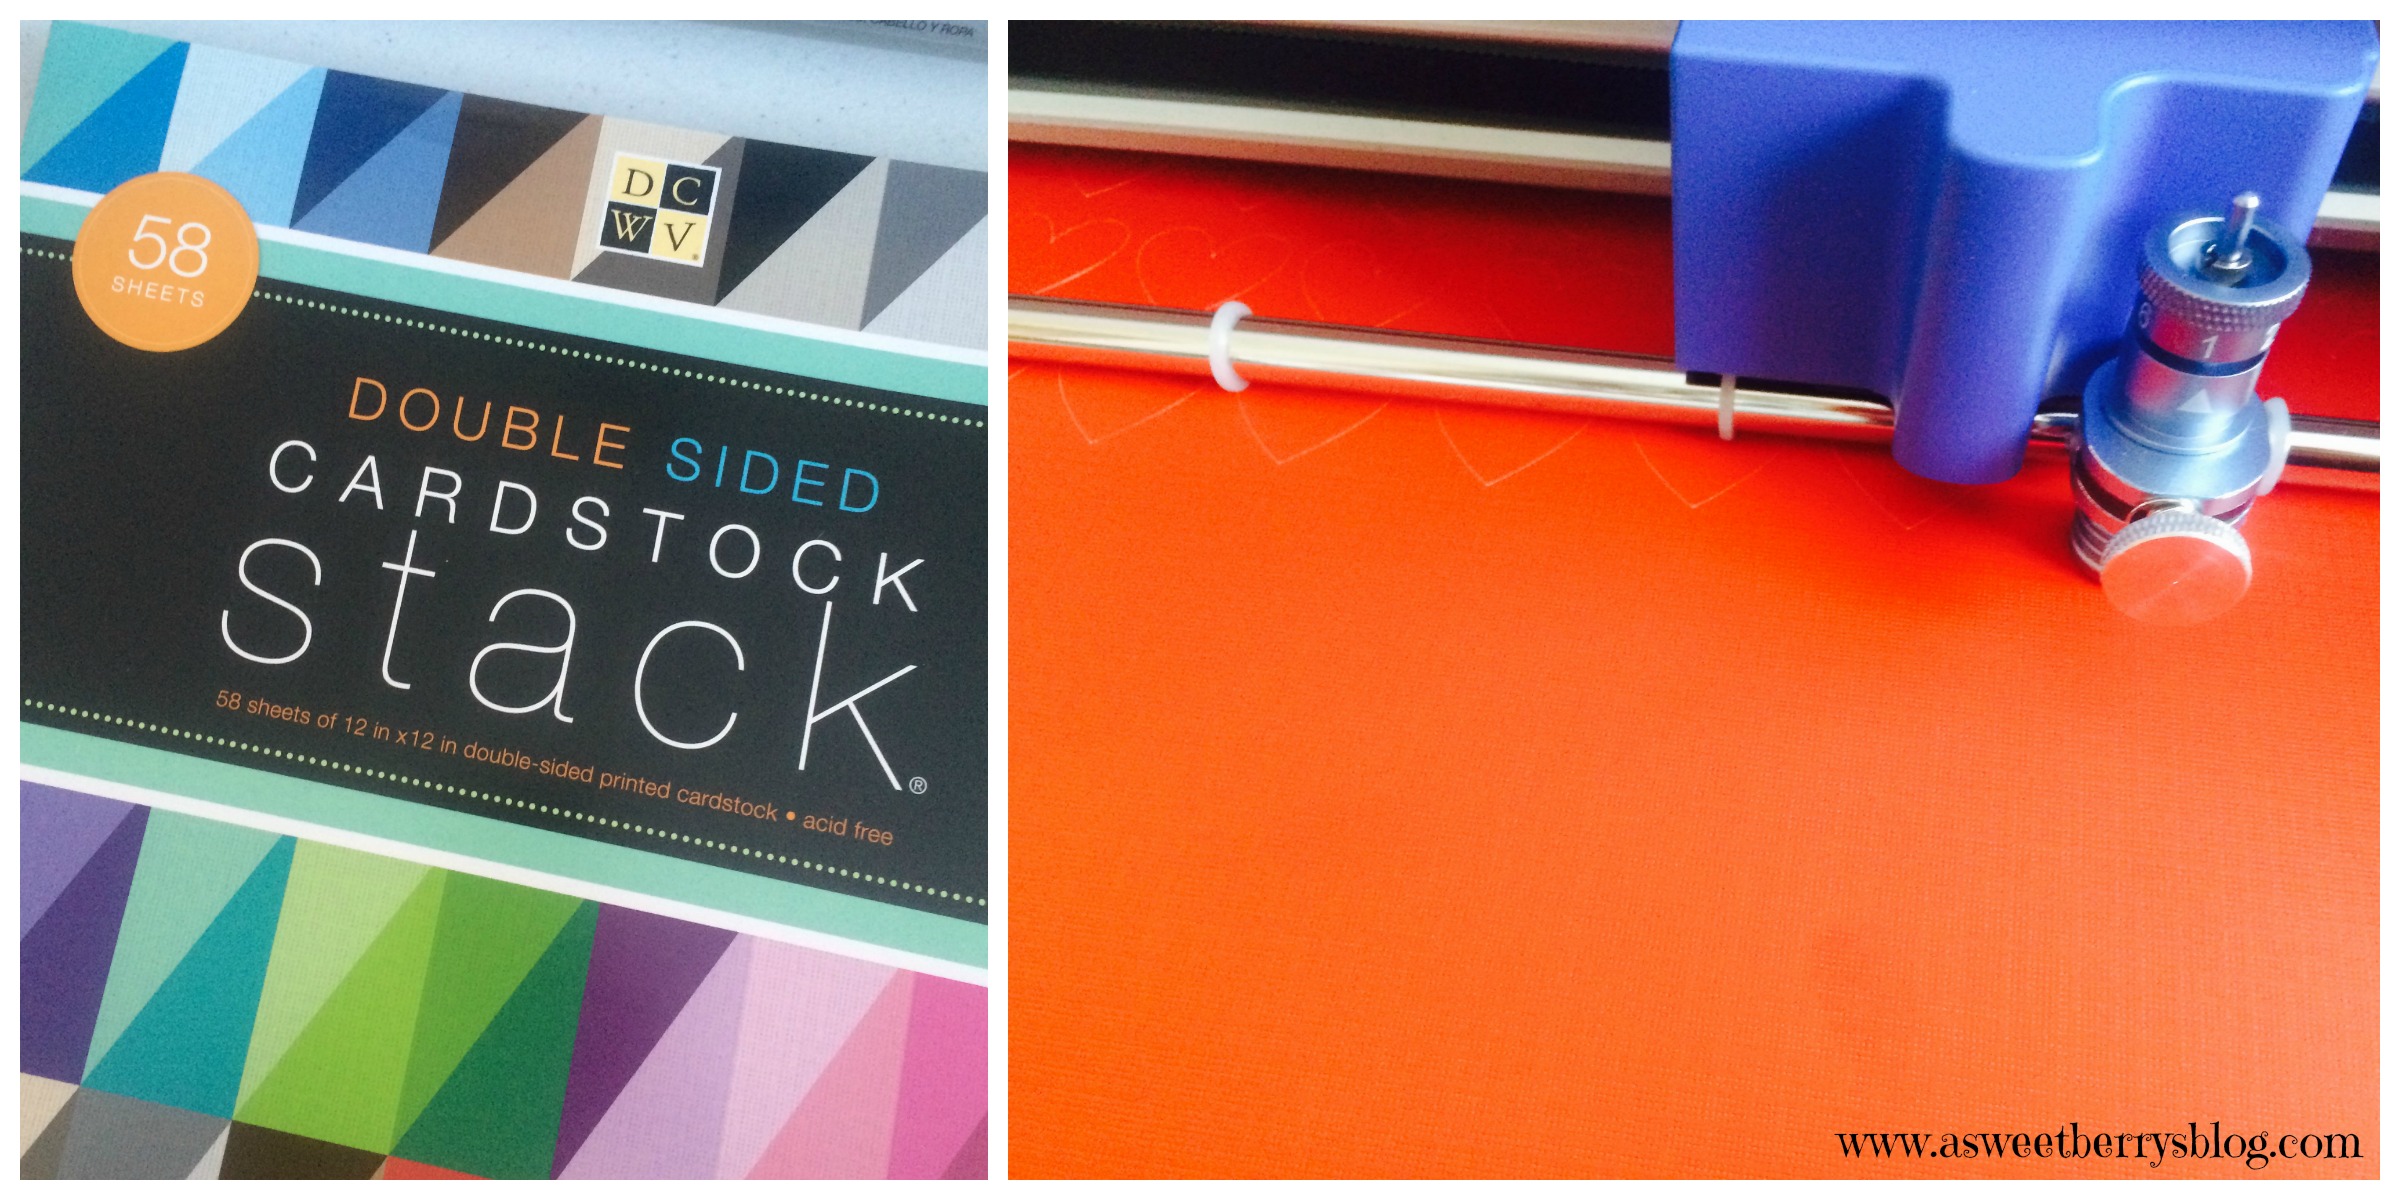
Recently, I was sent a Sizzix Eclips2!  And let me tell you…..I AM IN LOVE!!!!!   It makes cutting super easy!  So, I created my little Minecraft creeper faces in Adobe Illustrator, which I have as a graphic designer.  I converted the file to an .SVG file, imported it into the ECal2 software that works with the Sizzix and got right to cutting!  I also cut black rectangles for the cards, green squares for the creepers face and white light card stock (not DCWV) squares for the inside of my cards, since the cards were black.  I used DCWV card stock, in which ACMoore sells and they sell it in a pack of 12×12 inches pieces.   creeper faces
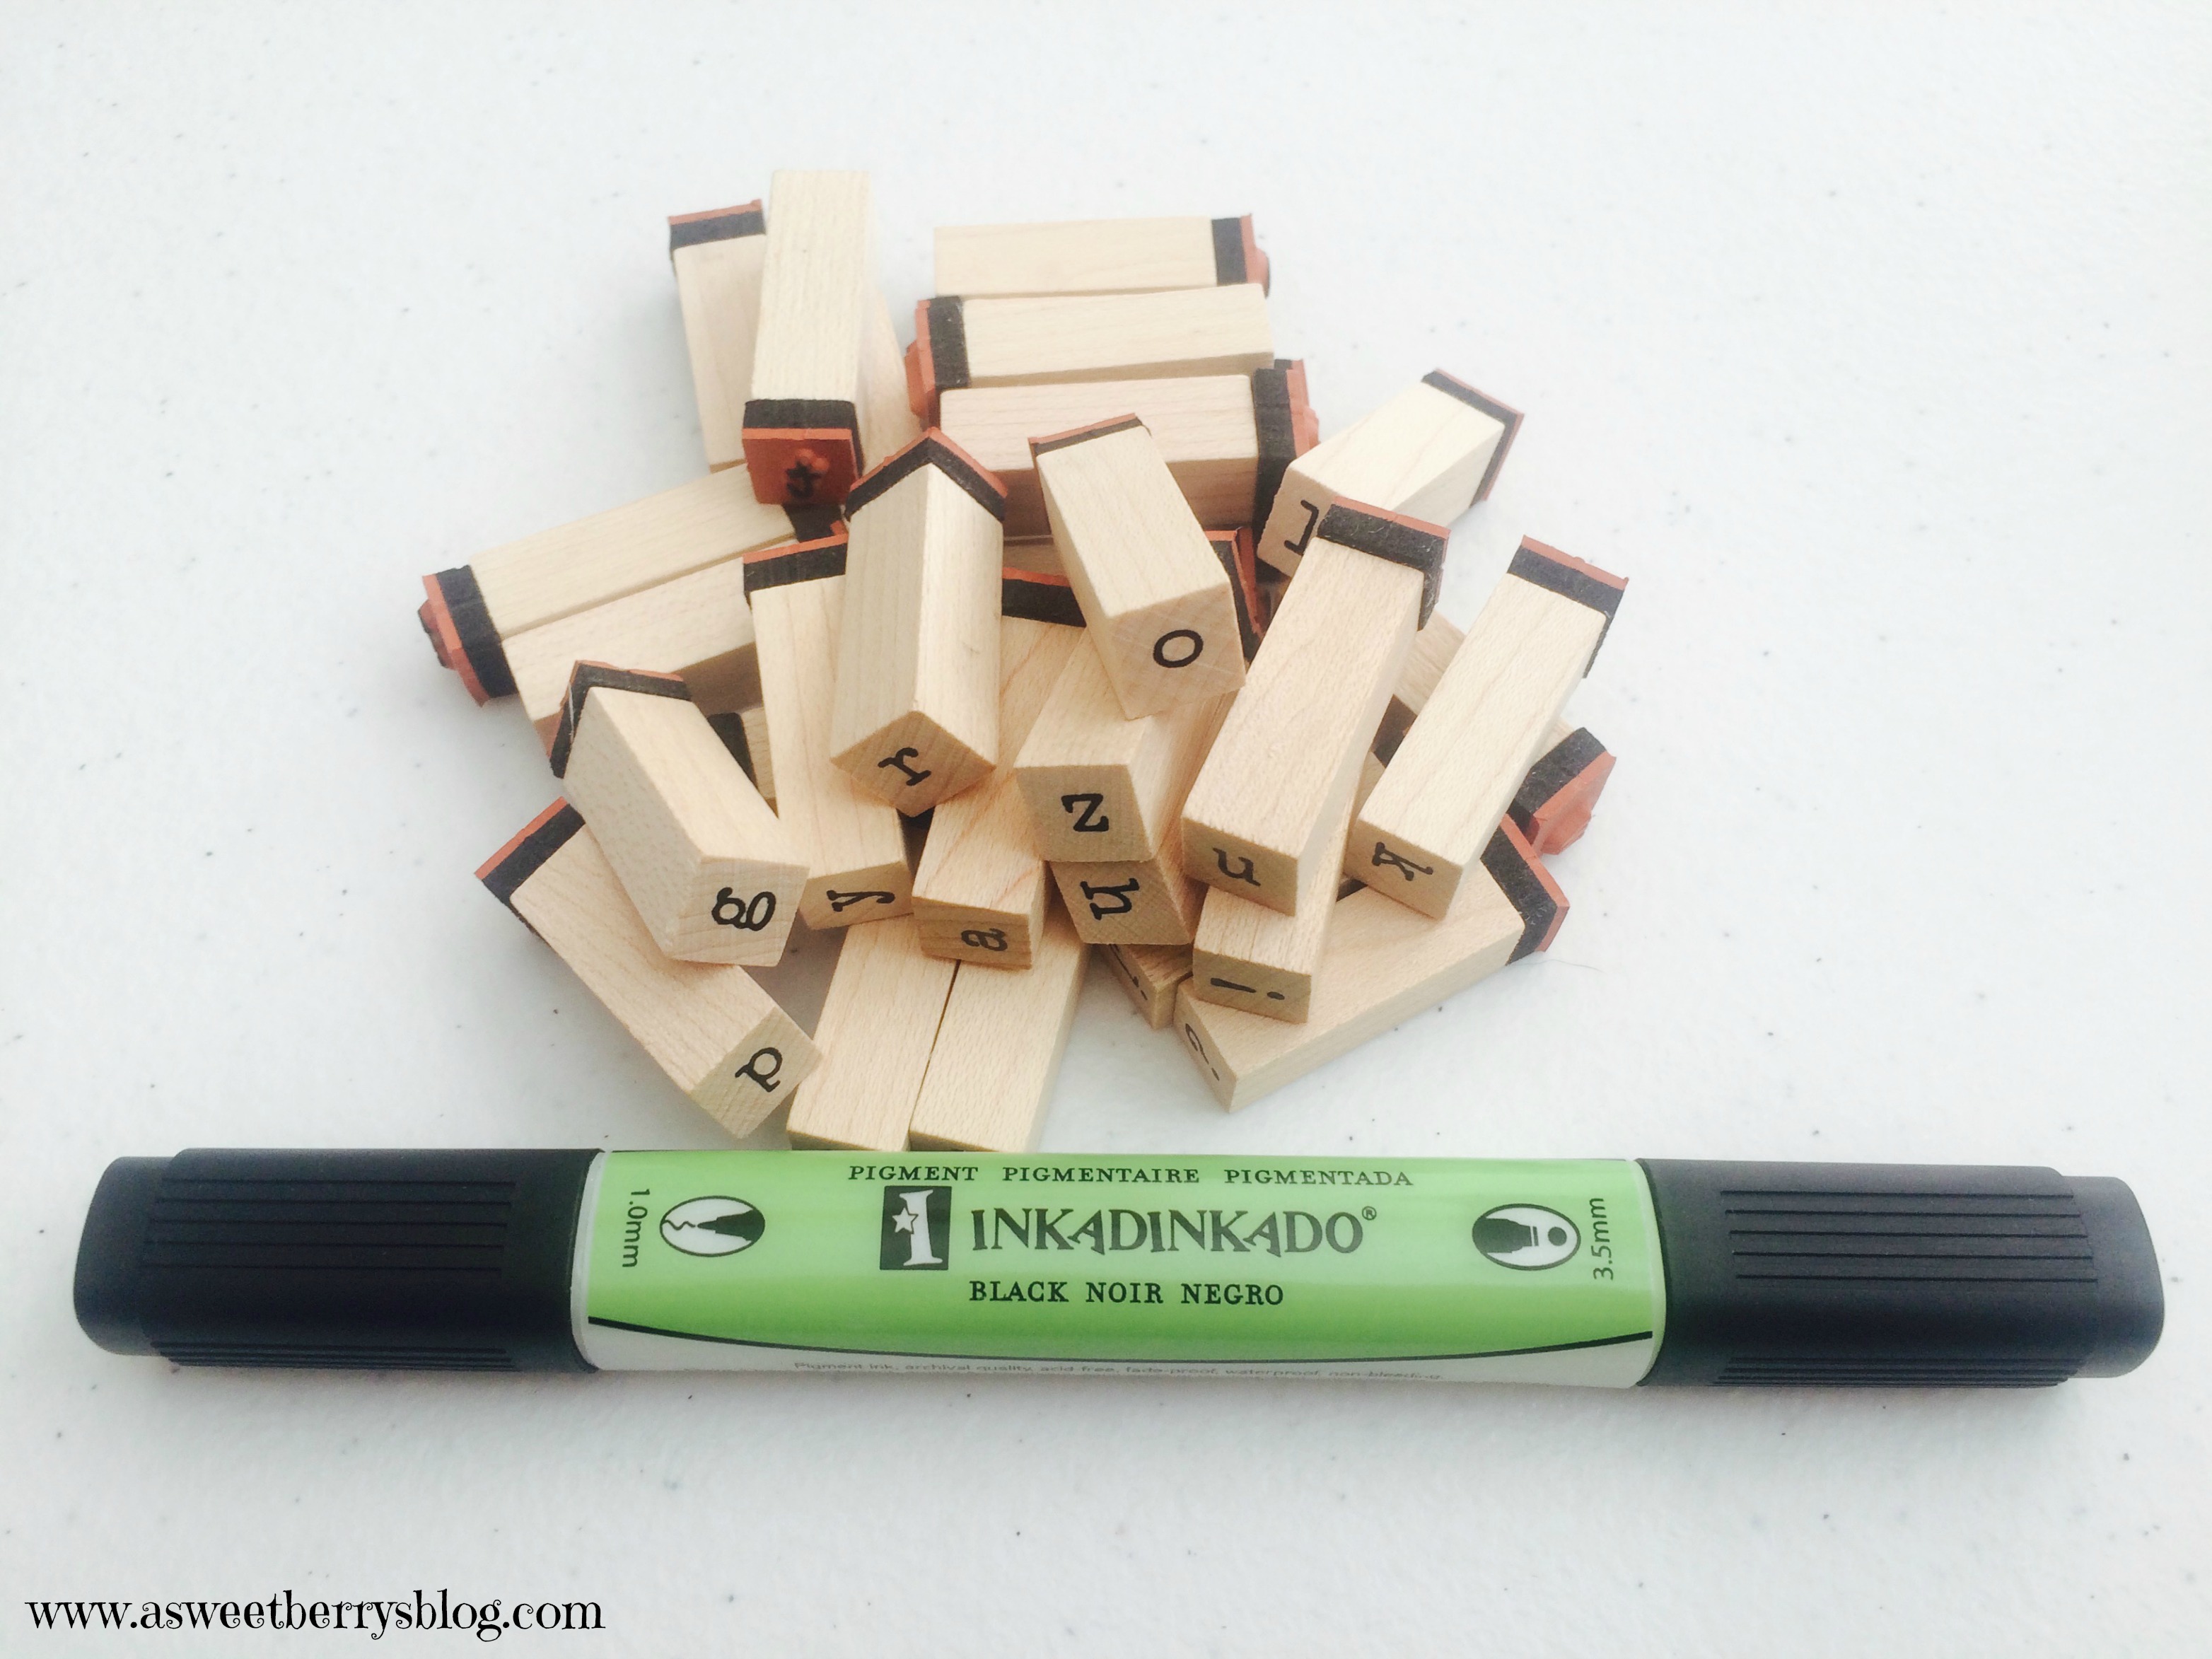
Using Inkadinkado stamps and ink, I stamped the inside of the cards.  I knew that my treats were going to be a craft, so I used a crafty saying:  “Be Mine Crafty!”  Inkadinkado
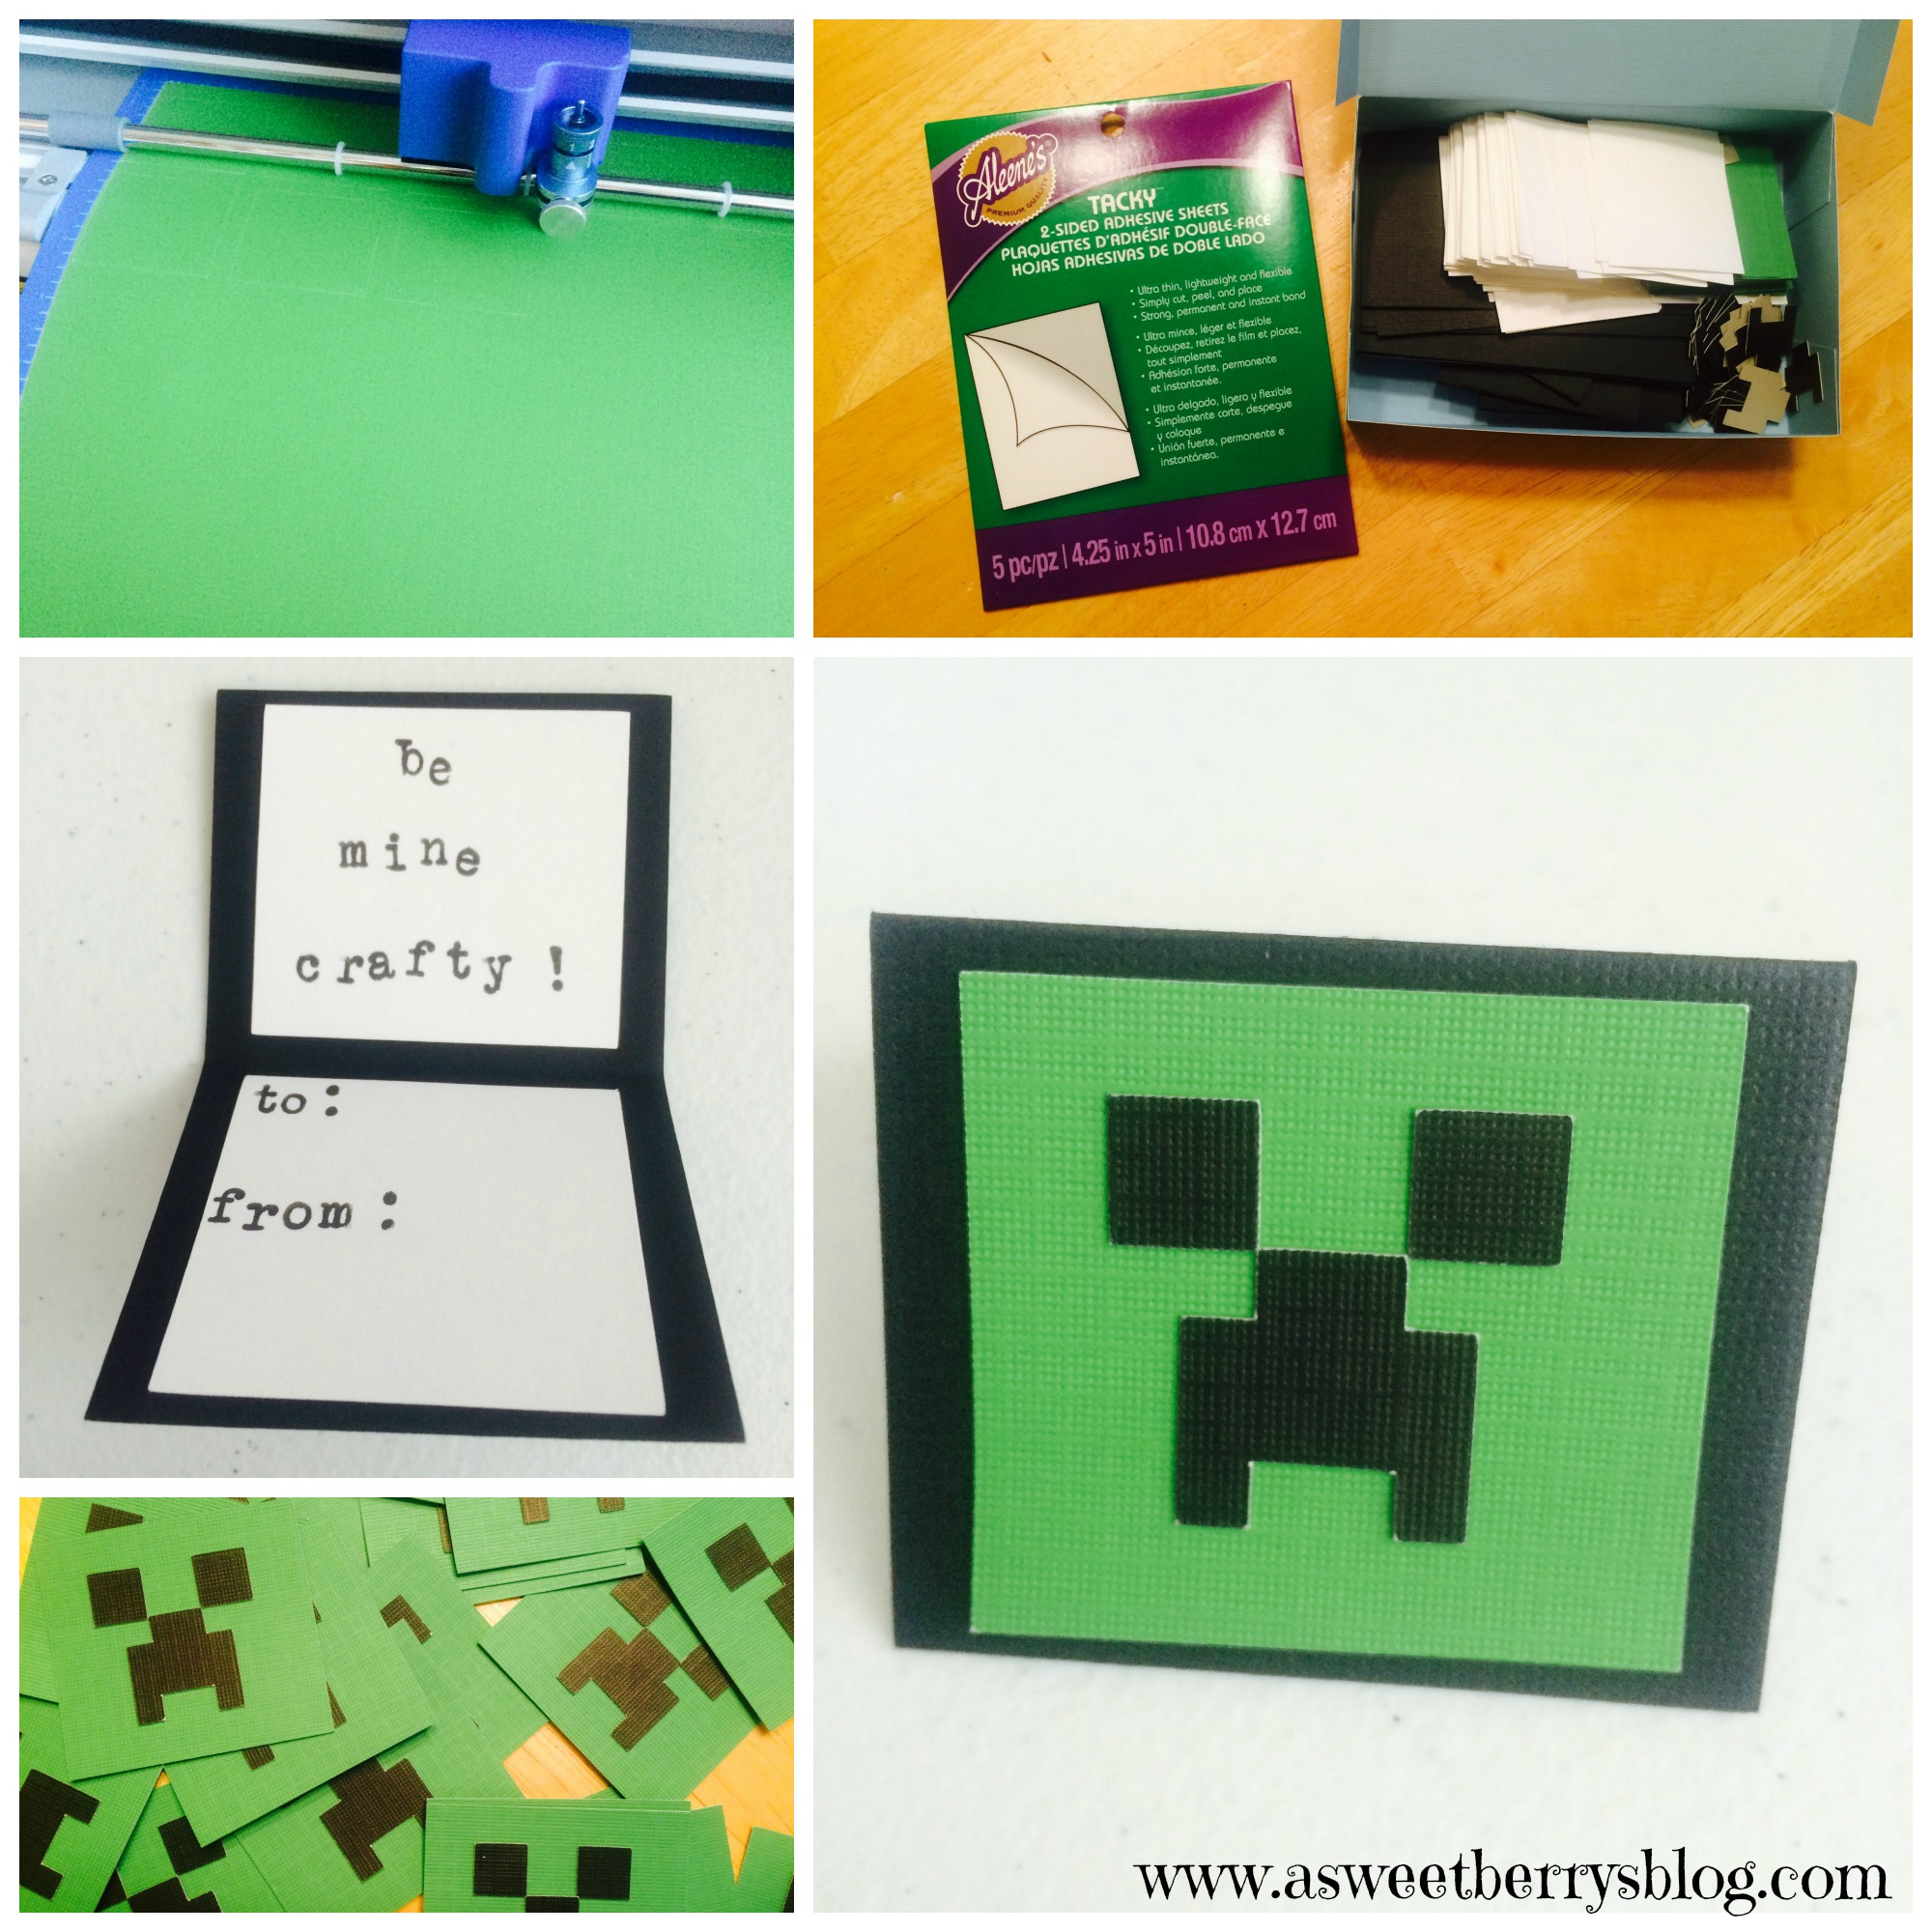
After getting everything cut out for my cards, I used Aleene’s Tacky 2-sided adhesive sheets to put the cards together.  I just cut the sheets up into smaller pieces and it worked great! creeper card
So, the treats to go along with the cards are Make It Yourself Cards.  I included a green square, a creeper face, some hearts and some scrap pieces of the DCWV card stock from what had already been cut. paperandhearts
On the left over white scraps that I had from the squares inside my cards, I used my adorable Laura Kelly Self-Inking Stamp from Expressionery.com!  How cute is that stamp?!?!
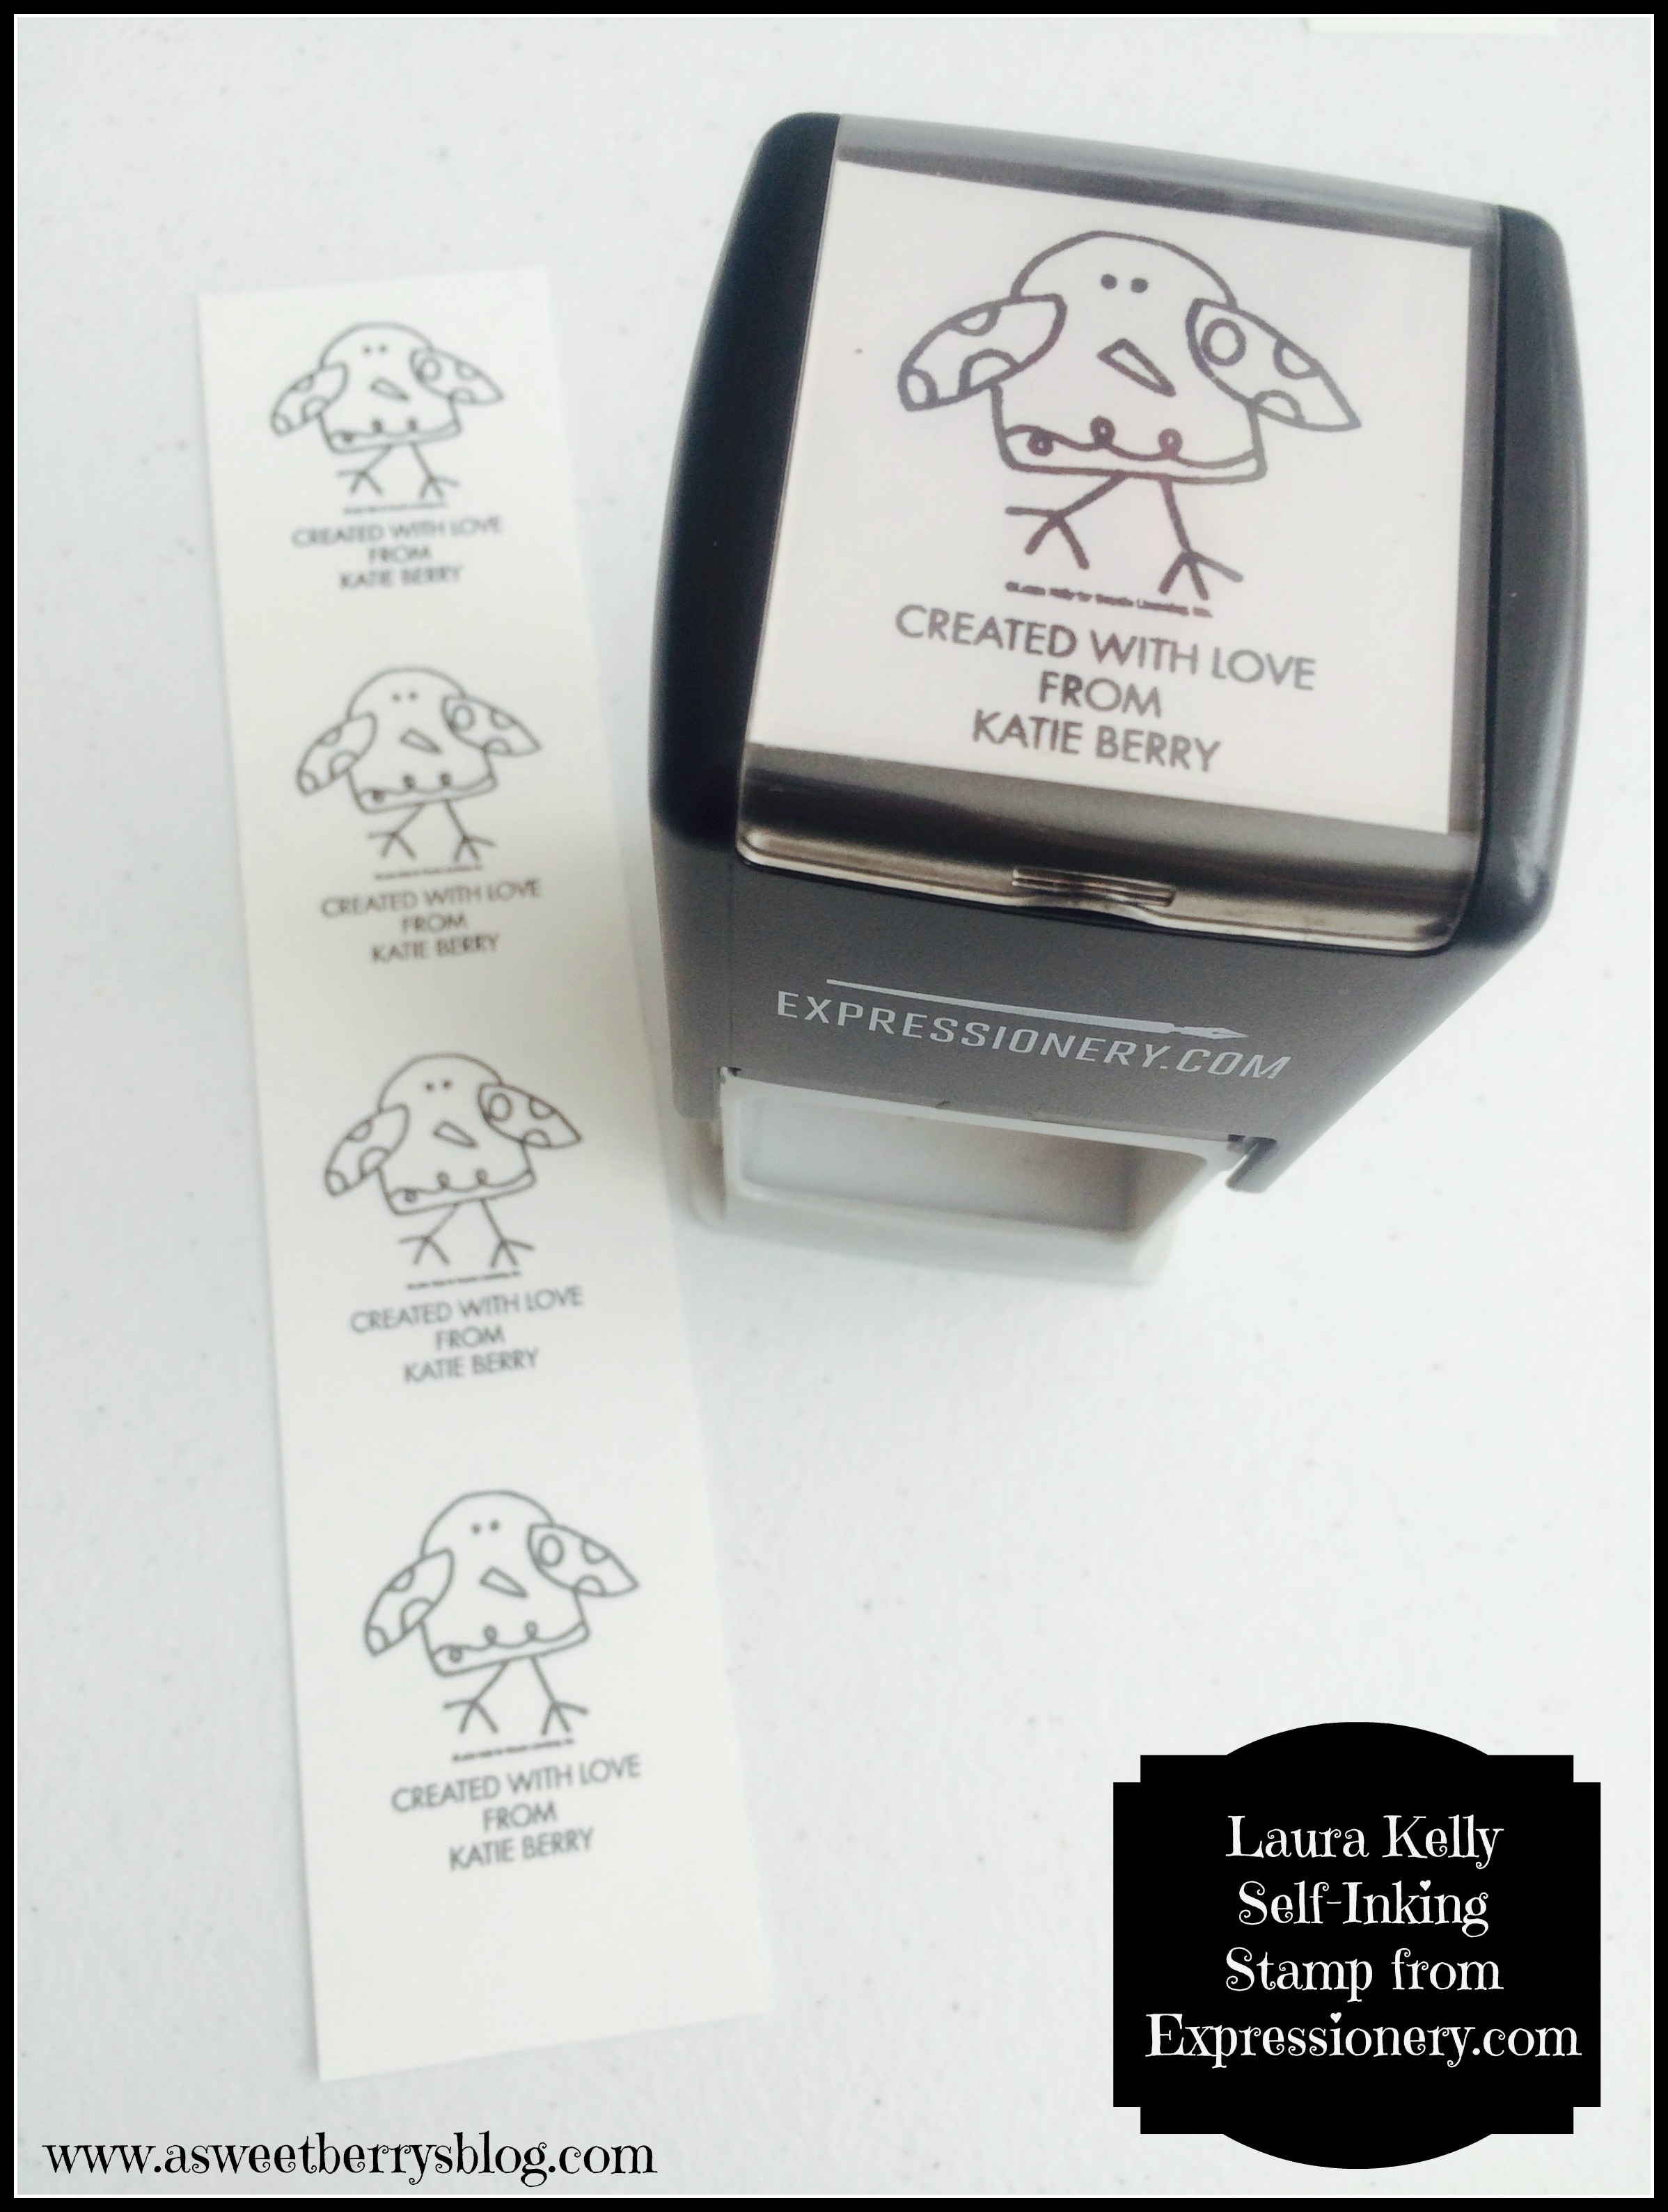
Stamp
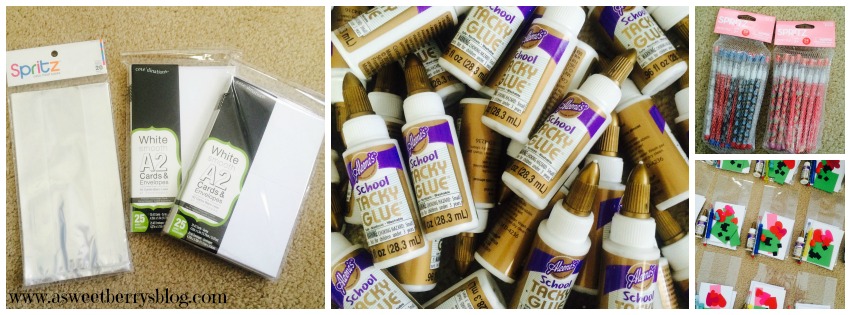
Then it was time to stuff my bags.  I just picked up some clear bags from the party section at Target.  I also got plain white cards with envelopes from ACMoore.  I also included an mini bottle of Aleene’s School Tacky Glue for their card making, a pencil, a small thing of bubbles and a pencil topper eraser!    I decided that I wanted this years Valentine’s to be Candy Free because we also end up having way too much candy anyway and it ends up going to waste.  I folded the bags and stapled a folded piece of DCWV card stock rectangle to close the bag and added the card and the piece white cardstock with my stamp on it to the front and back to cover the staples puttingtogetherbags
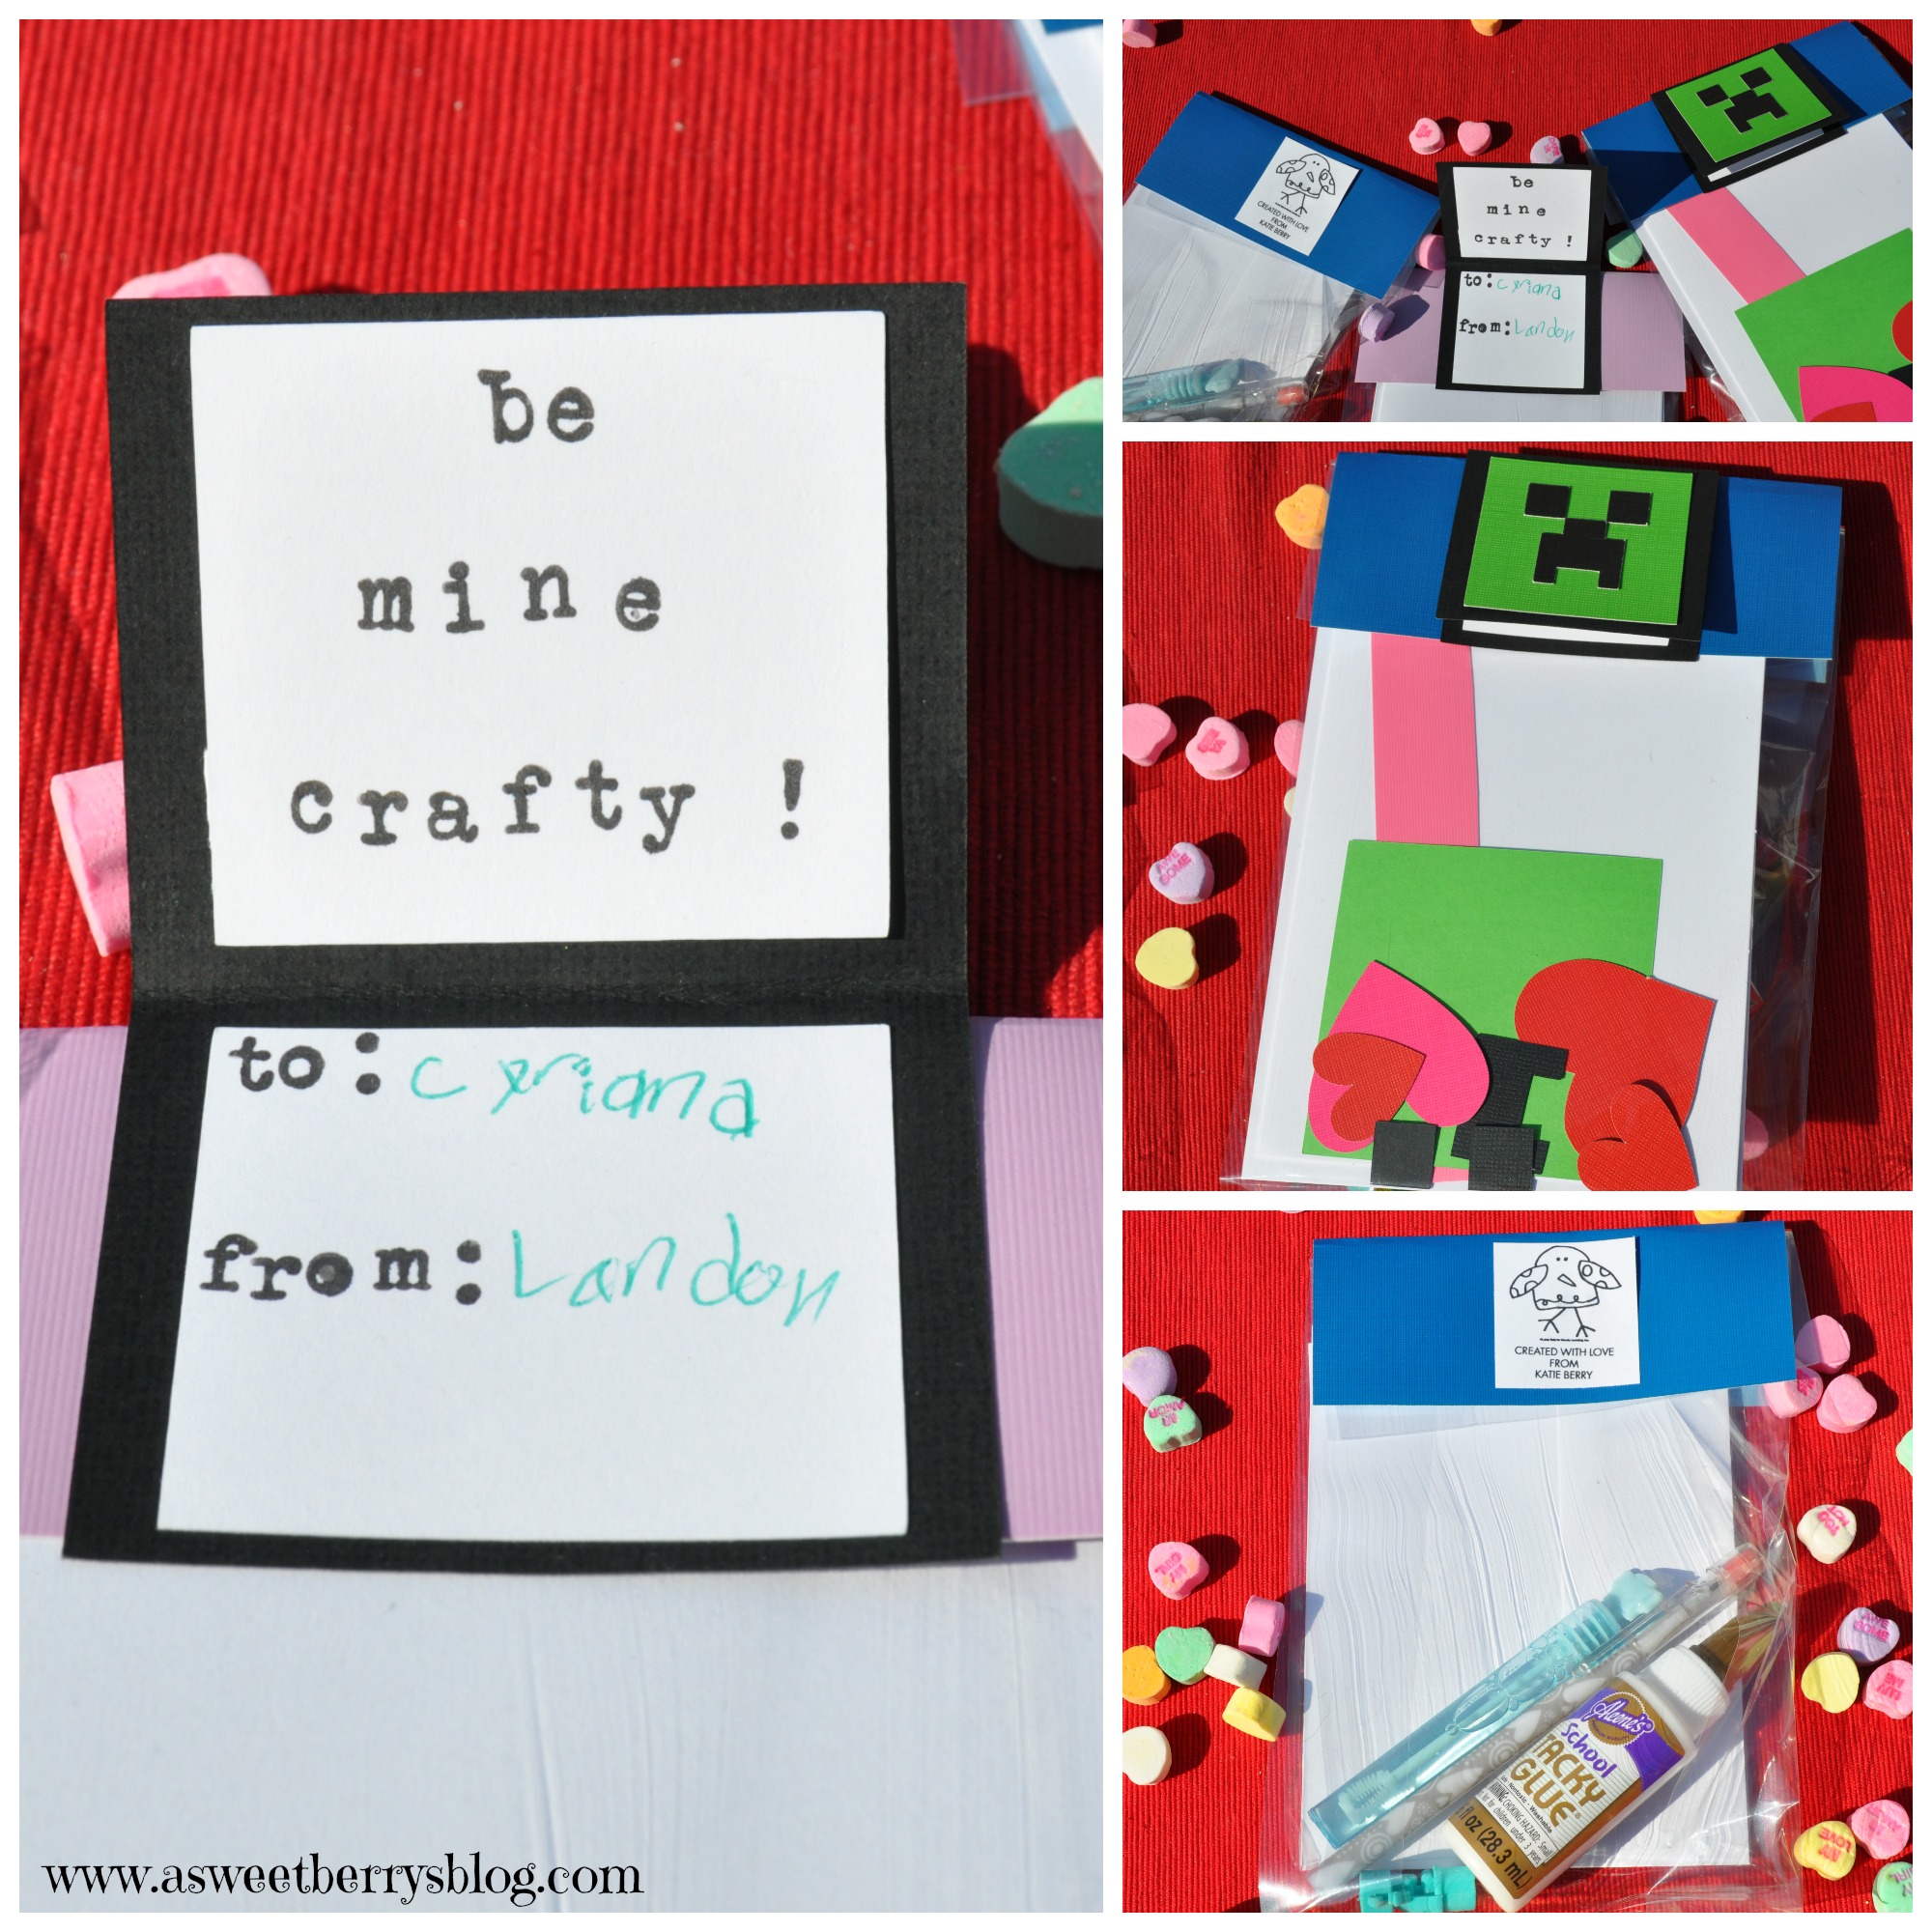
How cute did these turn out?   I hope the kids like them!   all shots My idea for a Make It Yourself Card idea came from my super crafty friend Mothership Scrapbook Gal, Rina Gonzales!  Check out her Facebook page and her Etsy Shop!!!!!
Until next time…..

XOXO

Burlap Love Wreath

It’s February and the month of Love!  This Burlap Love Wreath makes me think of Love! wreath
Materials used:
A FloraCraft Foam Wreath
Burlap Ribbon
A 12×12 inch piece of burlap
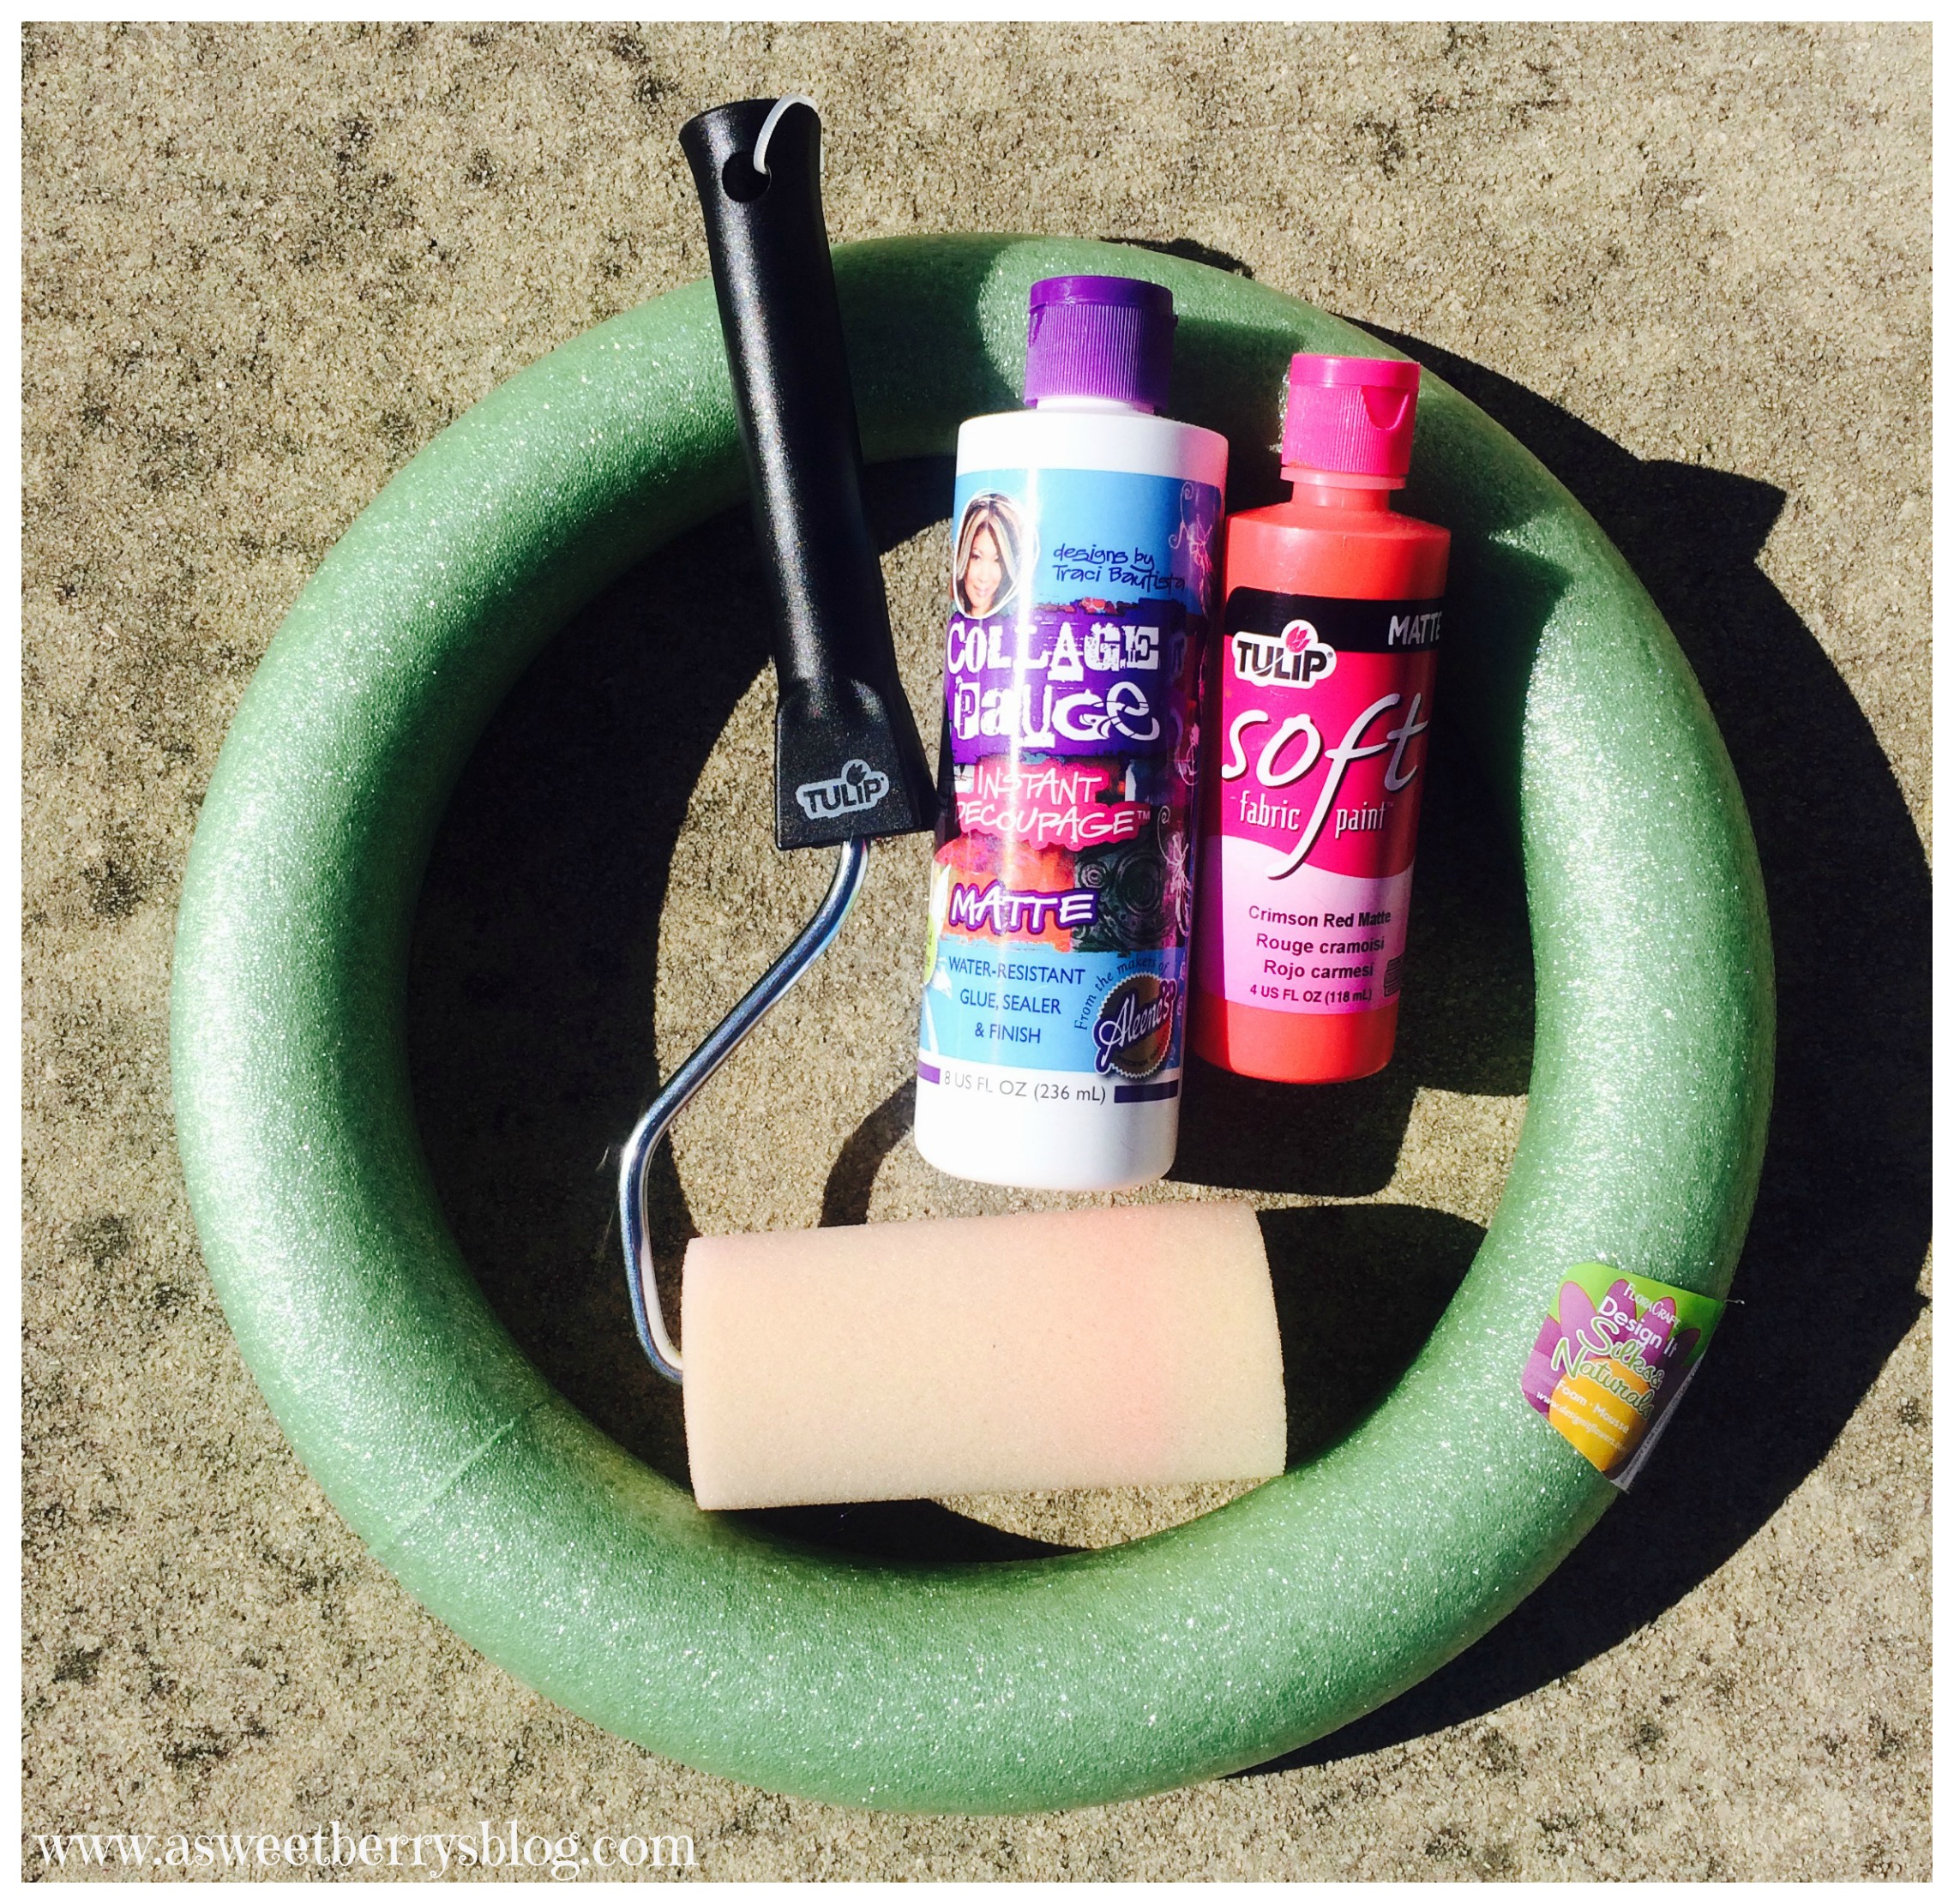
Aleene’s Collage Pauge
Tulip Soft Fabric Paint
A Tulip Paint Roller
Red Coats & Clark Embroidery Floss and Needle
White Buttons from Buttons Galore
wreathandpaint
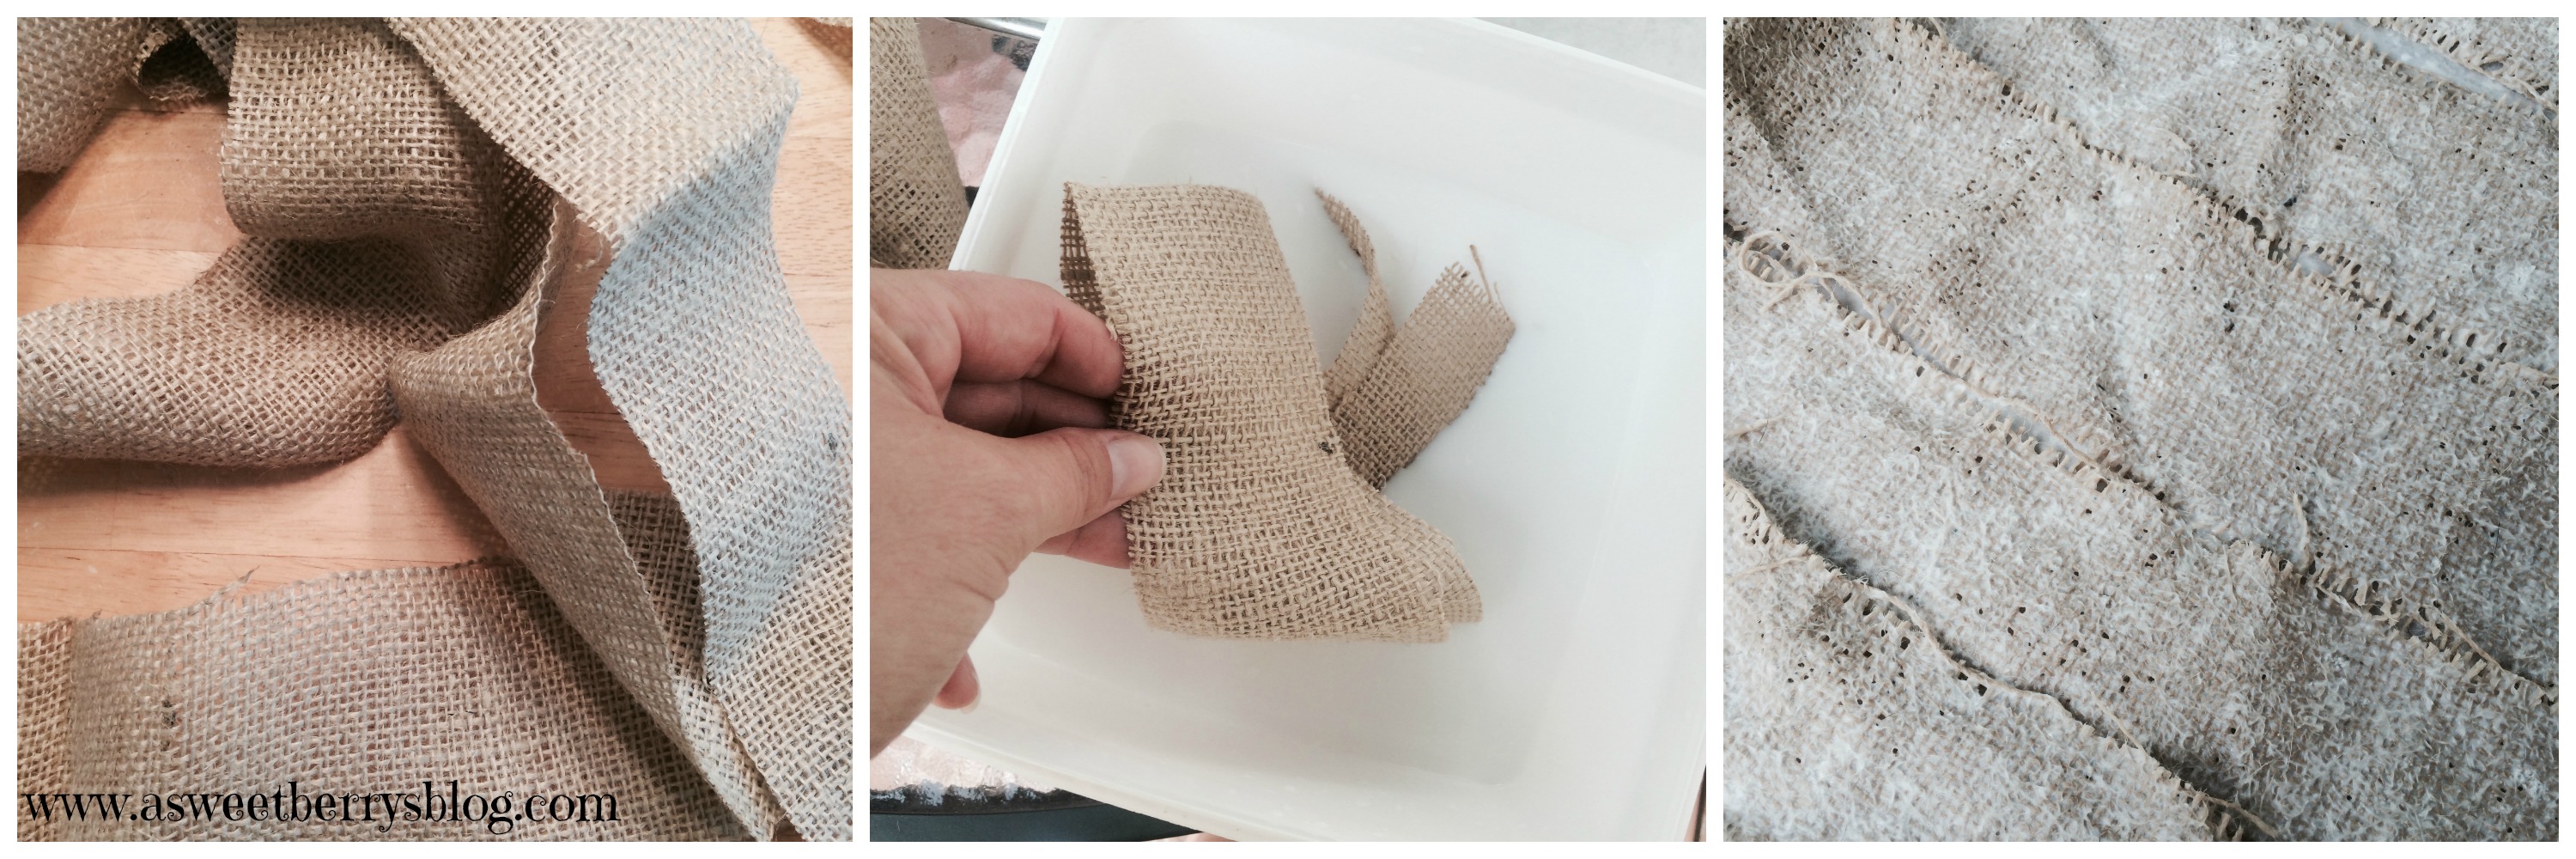
Using Aleene’s Collage Pauge and water, I added 3/4 Collage Pauge to 1/4 water to a plastic container.  It’s the formula usually used for Paper Mache.  I wanted to stiffen the burlap a little and to help it to keep from unraveling.  Once I soaked all of my pieces, I let them dry. burlap
Using a Tulip Foam Roller and Tulip Soft Fabric Paint, I painted the 12×12 inch piece of burlap.  I then let that dry. painting
Once my paint dried, I cut out two hearts.  I basically folded the fabric in half, cutting two hearts at once.  Using Embroidery floss and a needle, I sewed the two hearts together, paint sides out.  Before I sewed the heart all the way, I stuffed it with some felt scraps that I had left over from another project.  Then, I closed up the heart by sewing all the way around. heart
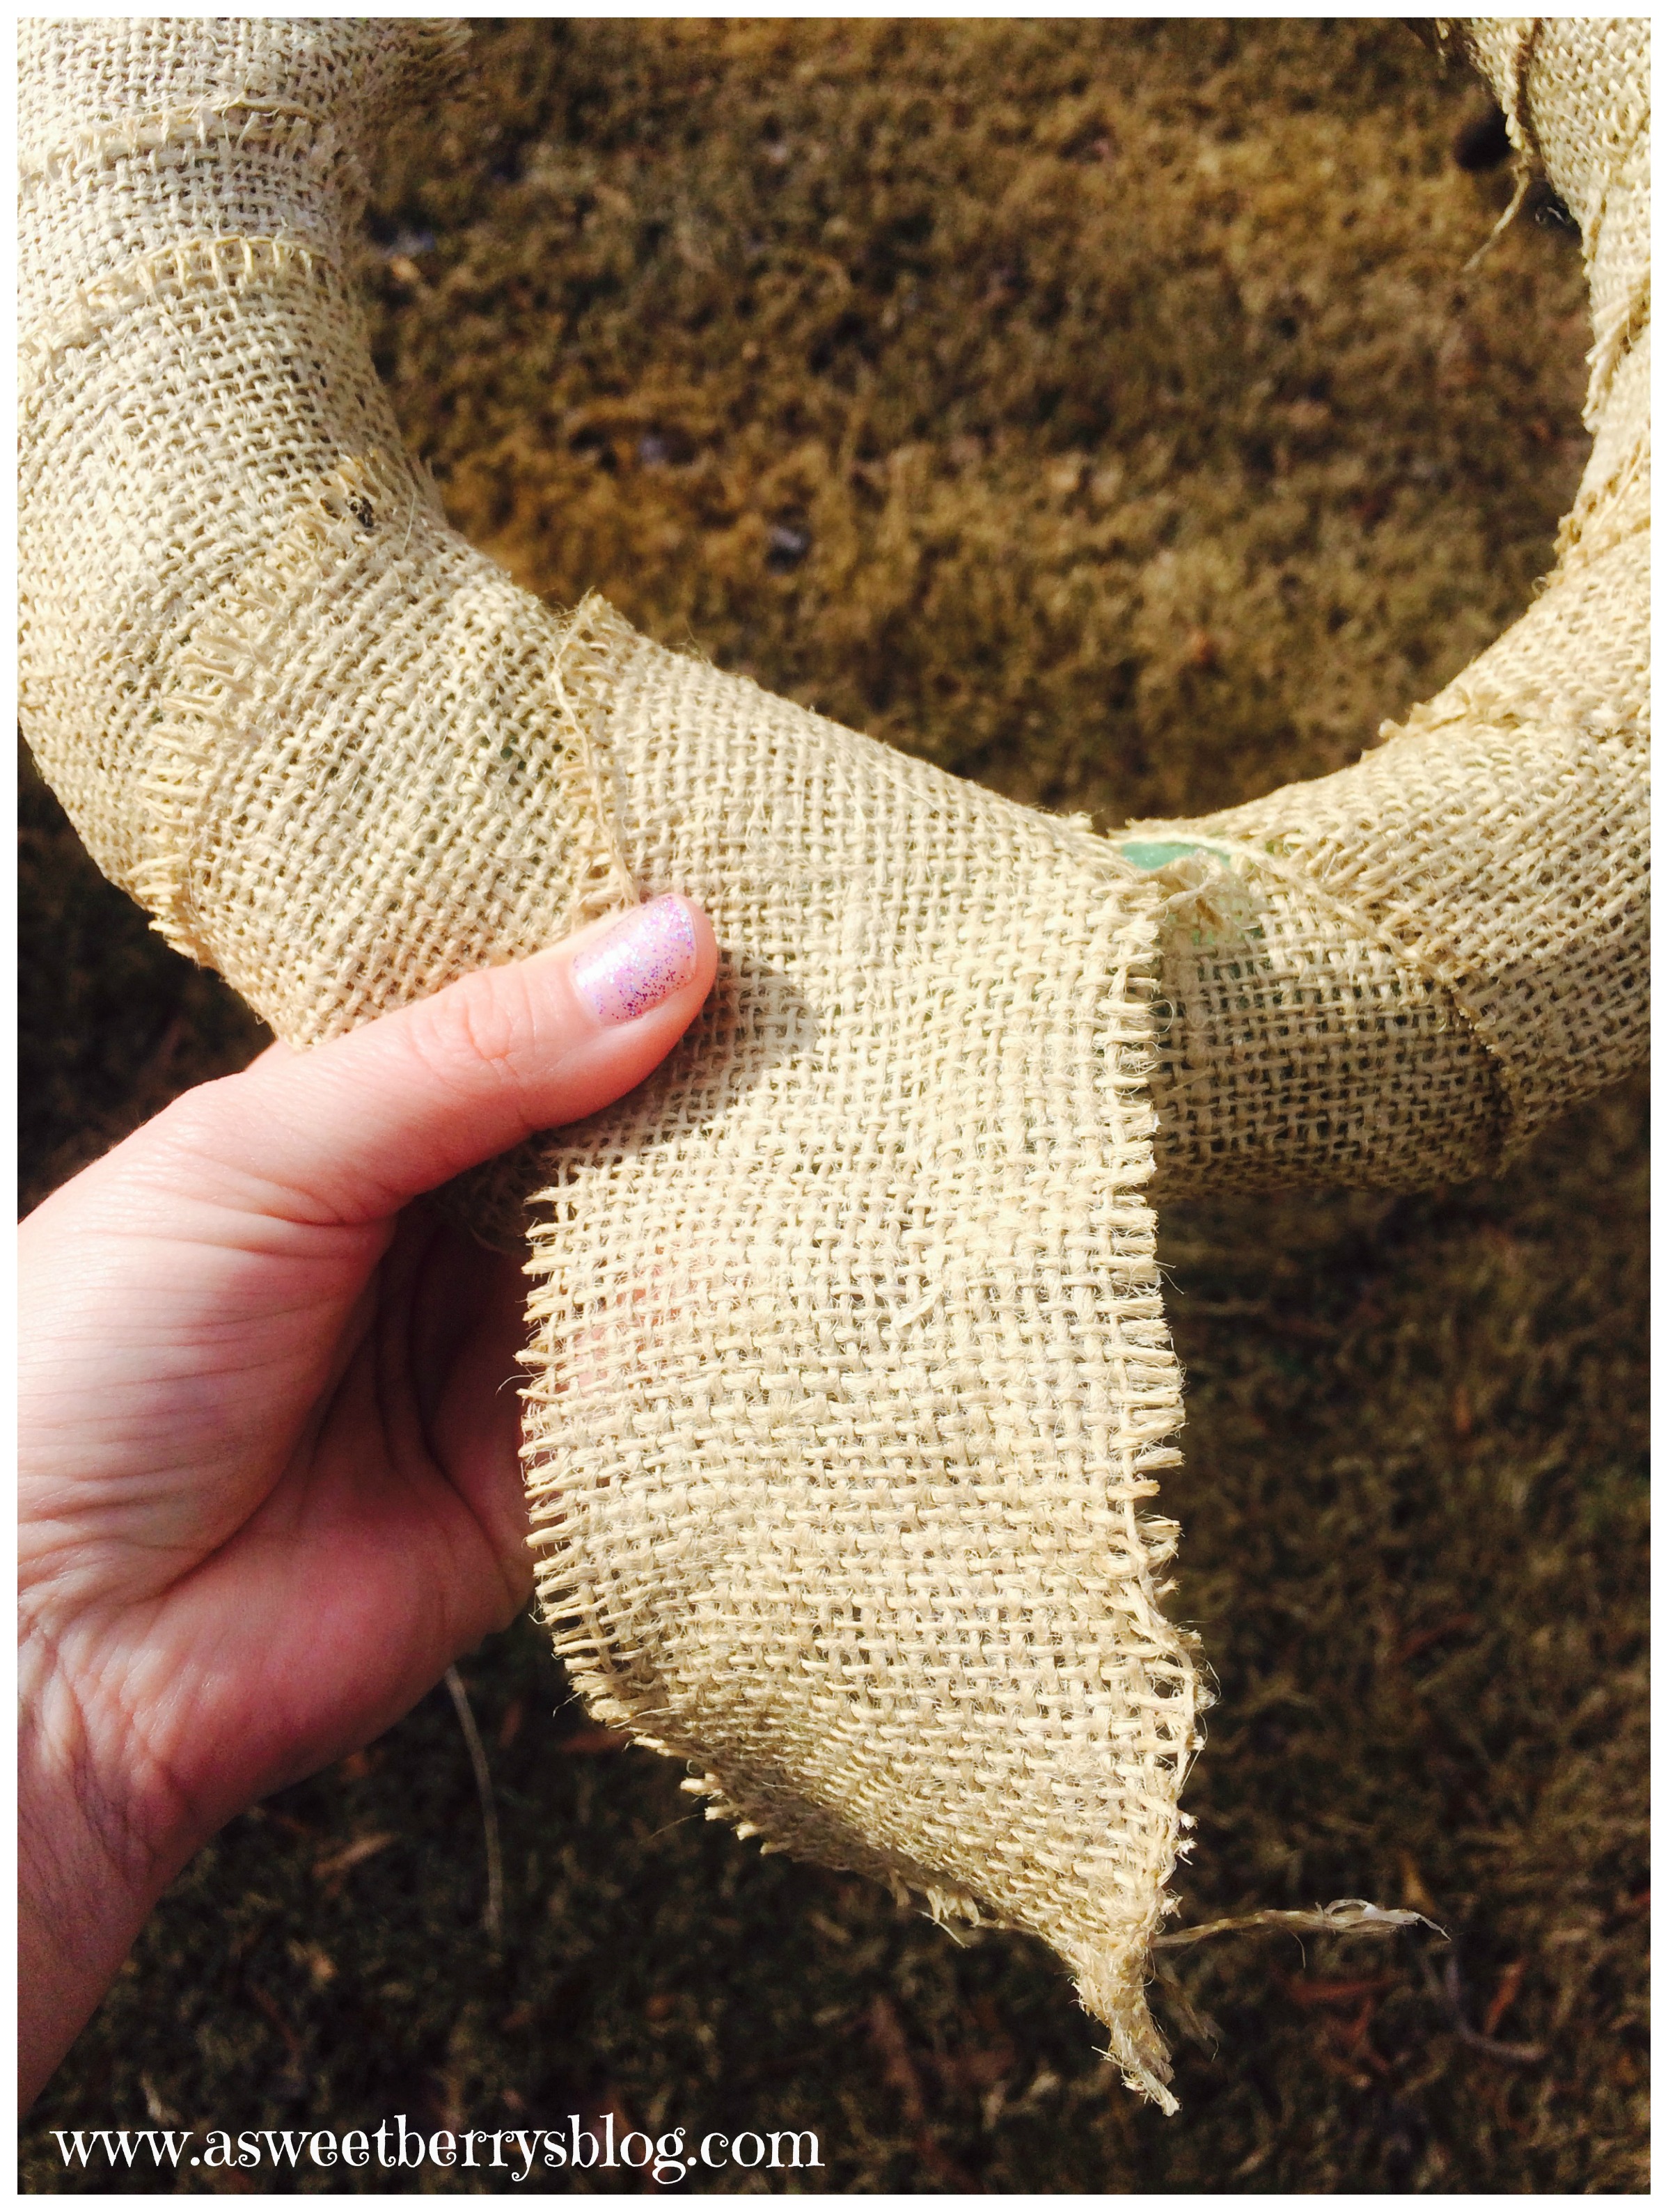
Using the burlap ribbon, I wrapped it around the foam wreath and used embroidery floss to sew the end of the ribbon to the the beginning to hold it in place. burlapwrap
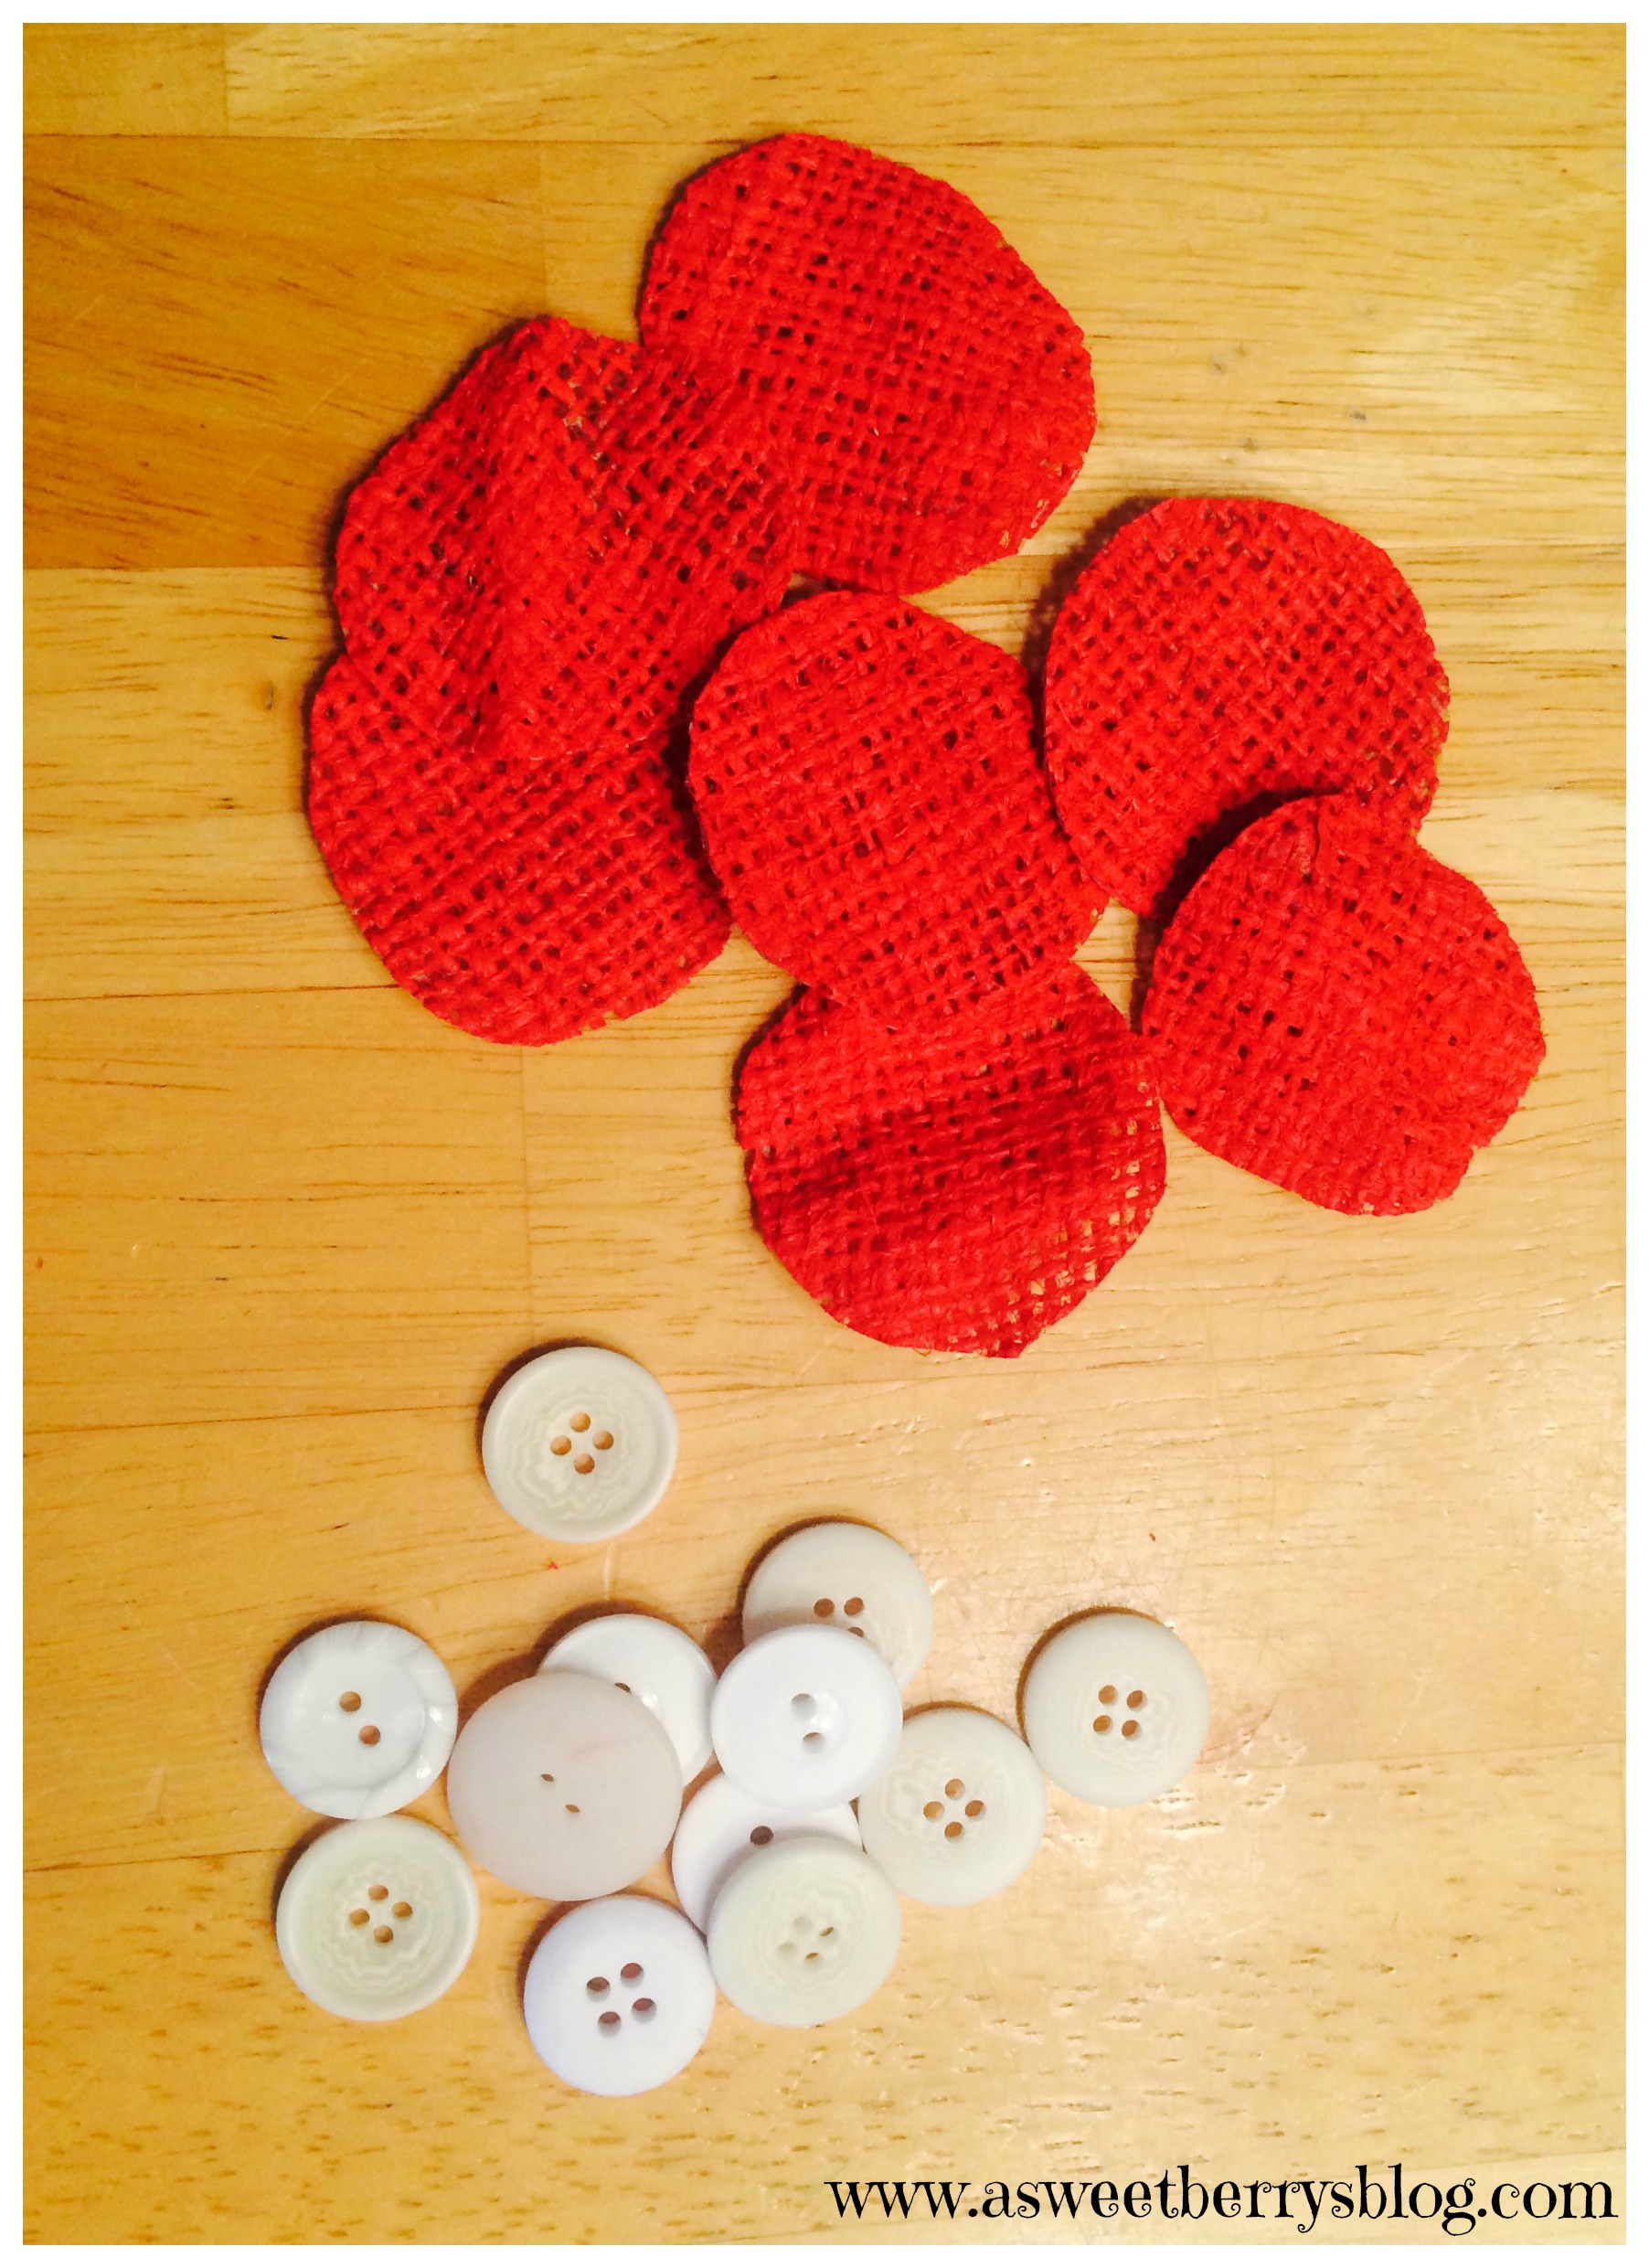
From the scraps of painted burlap, I cut out red circles.  Using the embroidery floss, I added the white buttons to the center of the red pieces and attached them to the burlap on the wreath.  I tied them off on the front adding just a little color to the white buttons. dotsandbuttons
This lovely wreath is now hanging on my front door!  And I LOVE that it reminds me of LOVE!!! wreath
I hope that your February is filled with lots of love!  And I hope that you like my Burlap Love Wreath!

Until next time……

XOXO
Kunin Felt Love Banner

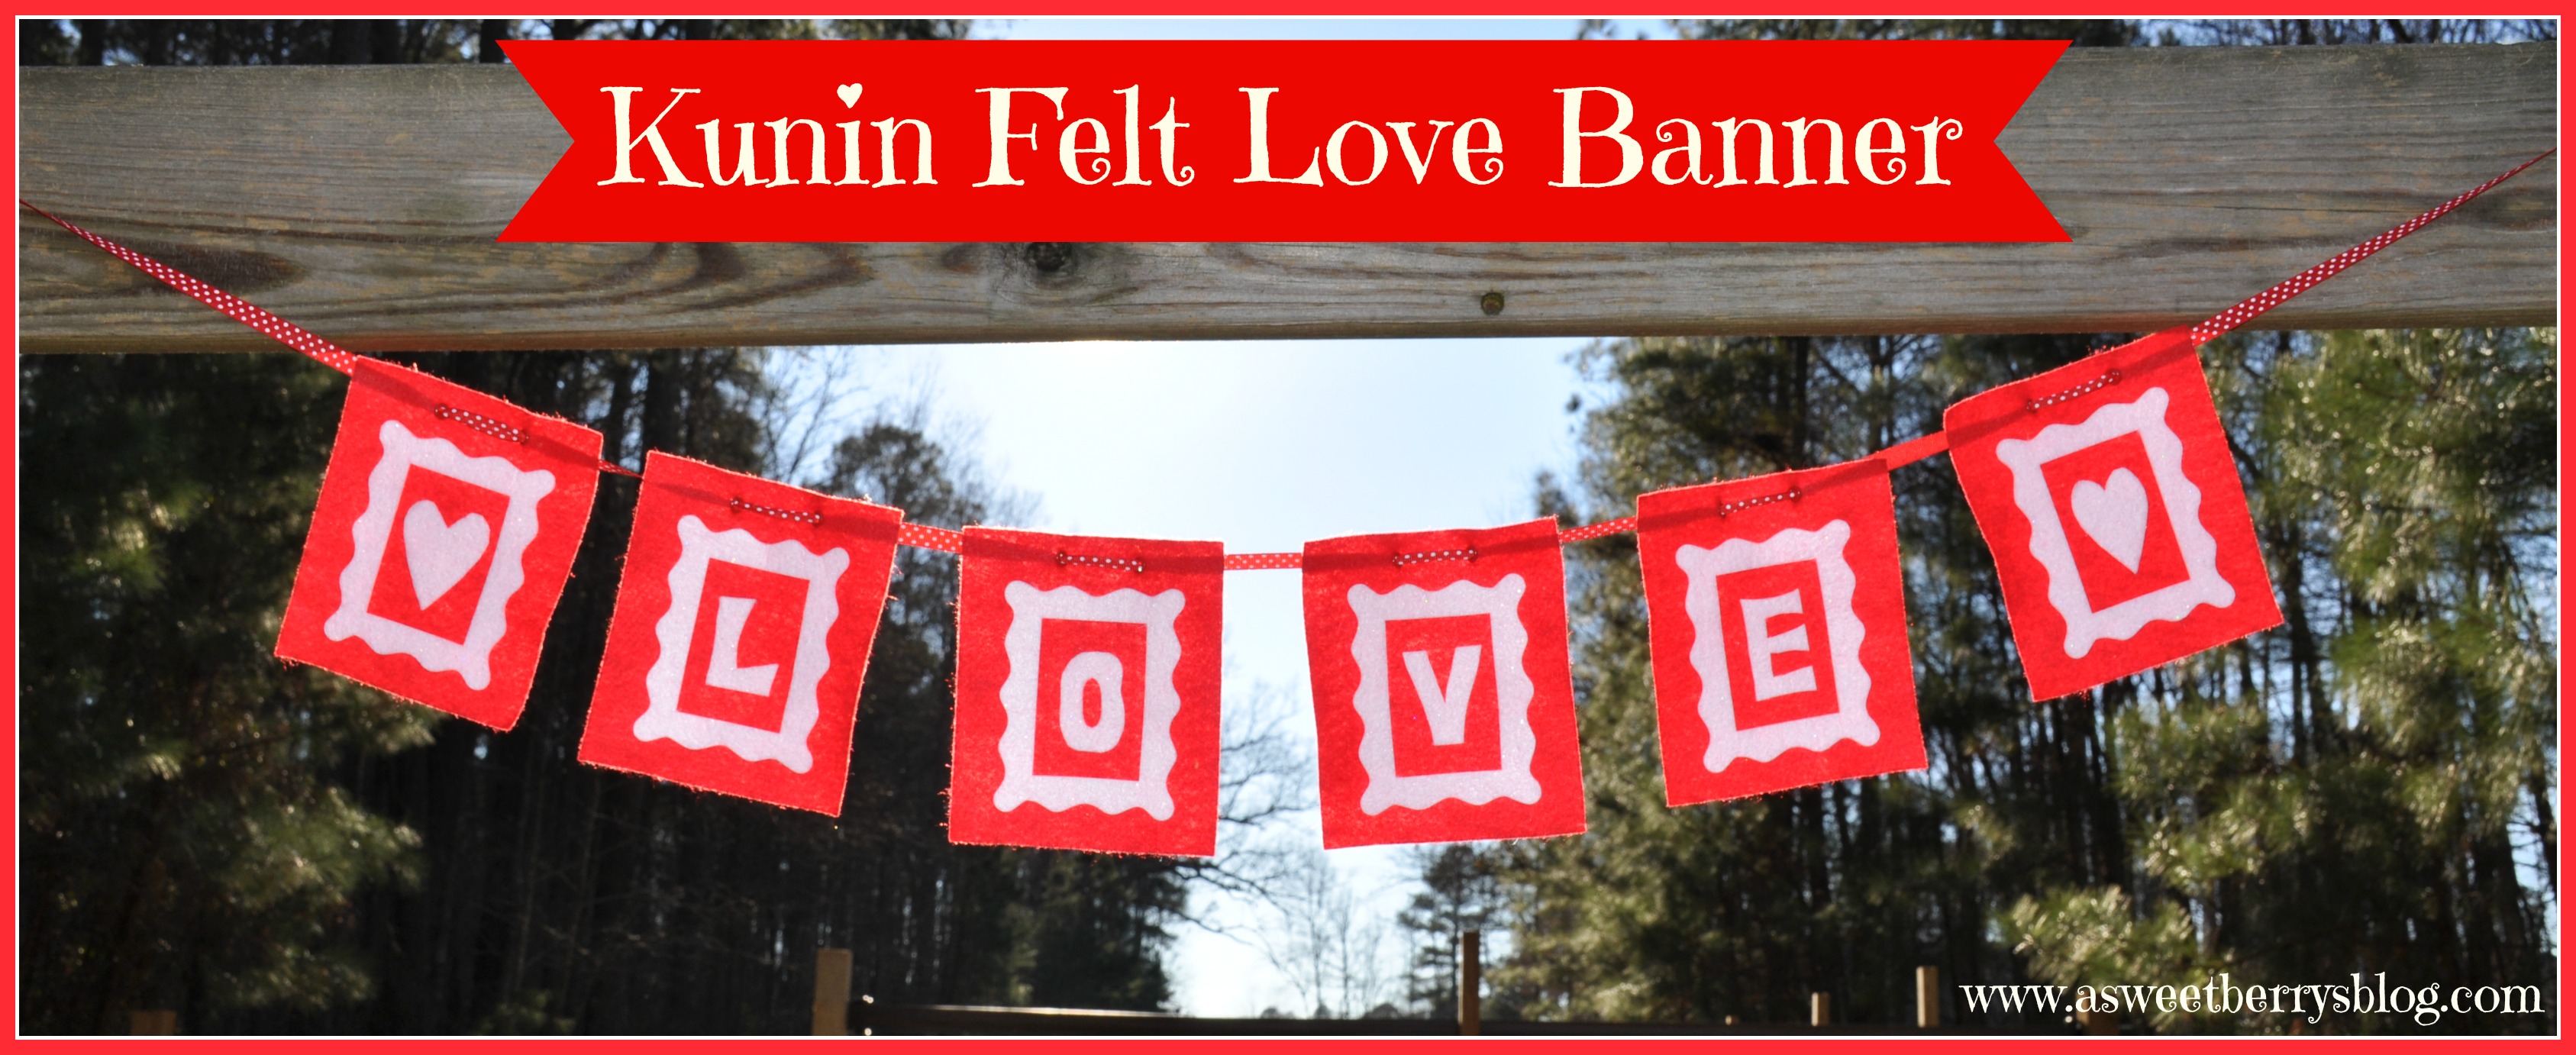
I love a cute felt banner, and I love making them using Kunin Felt!   Isn’t this Love Banner super adorable!   And it was super simple! Final Banner
The materials that I used to make this banner were:
Kunin Red Felt
Kunin Glitter Felt
Aleene’s Fabric Fusion Permanent Fabric Adhesive Sheets
A Sizzix Frame Die (I used a wavy frame)
Sizzix Big Shot
Offray red with white polka dot ribbon
Eyelet Pliers and red eyelets
Rotary Cutter, Cutting Ruler and Cutting Mat materials
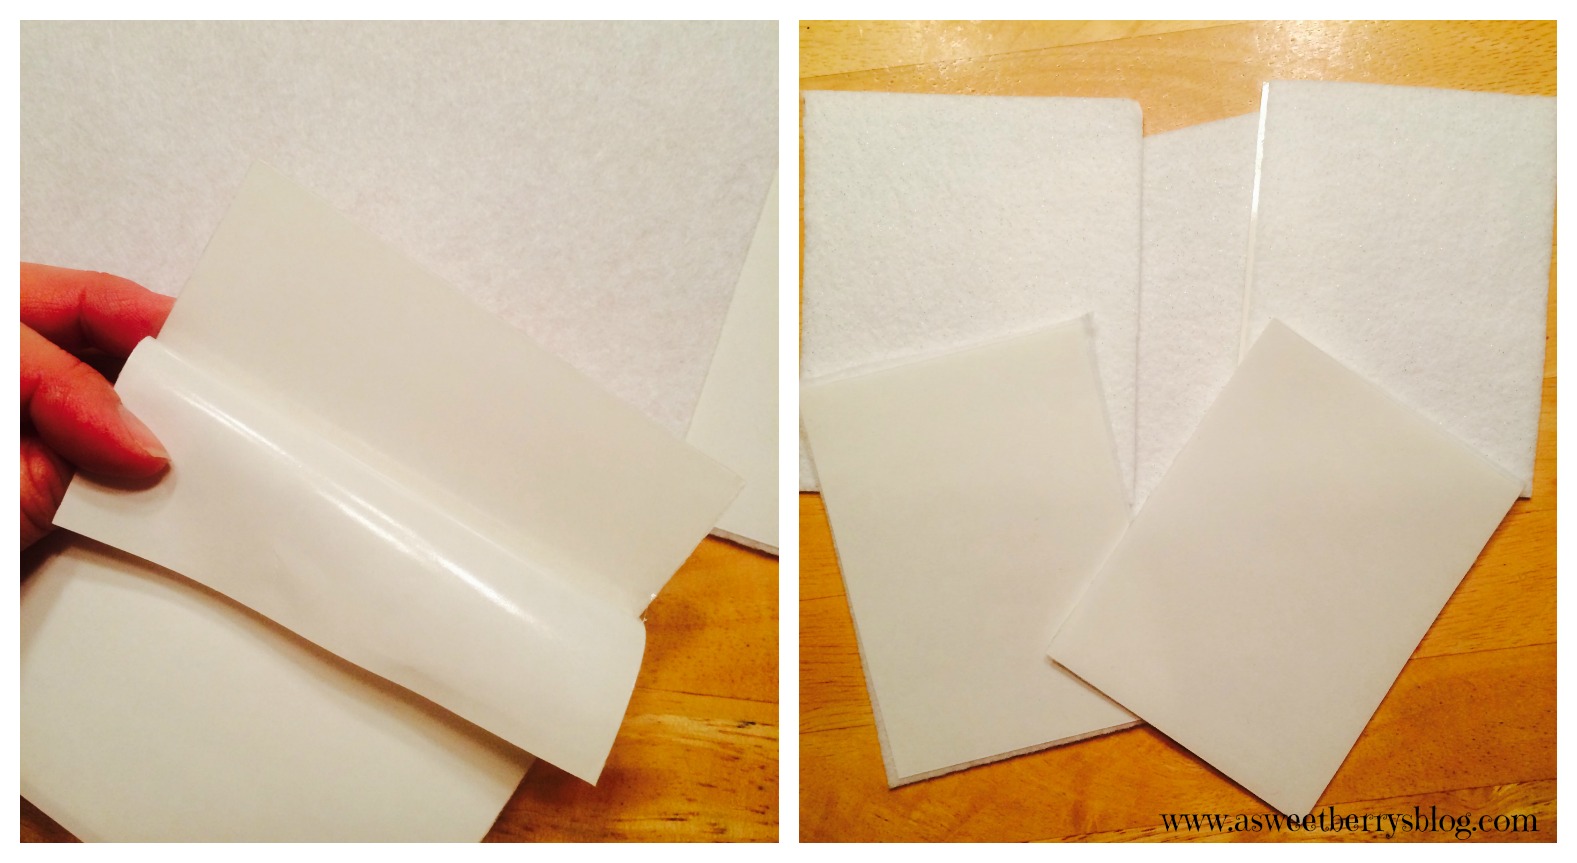
First, I applied the Aleene’s fabric fusion sheets to the back of my Kunin Glitter Felt and then cut it into smaller pieces.  I got 5 pieces out of one sheet.  I made sure that they were big enough to fit onto the die. fabric fusion
Using the Sizzix Wavy Frame Die, I placed it on my cutting pads.  Then, I placed my felt on the die making sure that I completely covered the frame cutout.  Next, I placed the top cutting pad over it and then ran it through the big shot die cutting machine.    frames
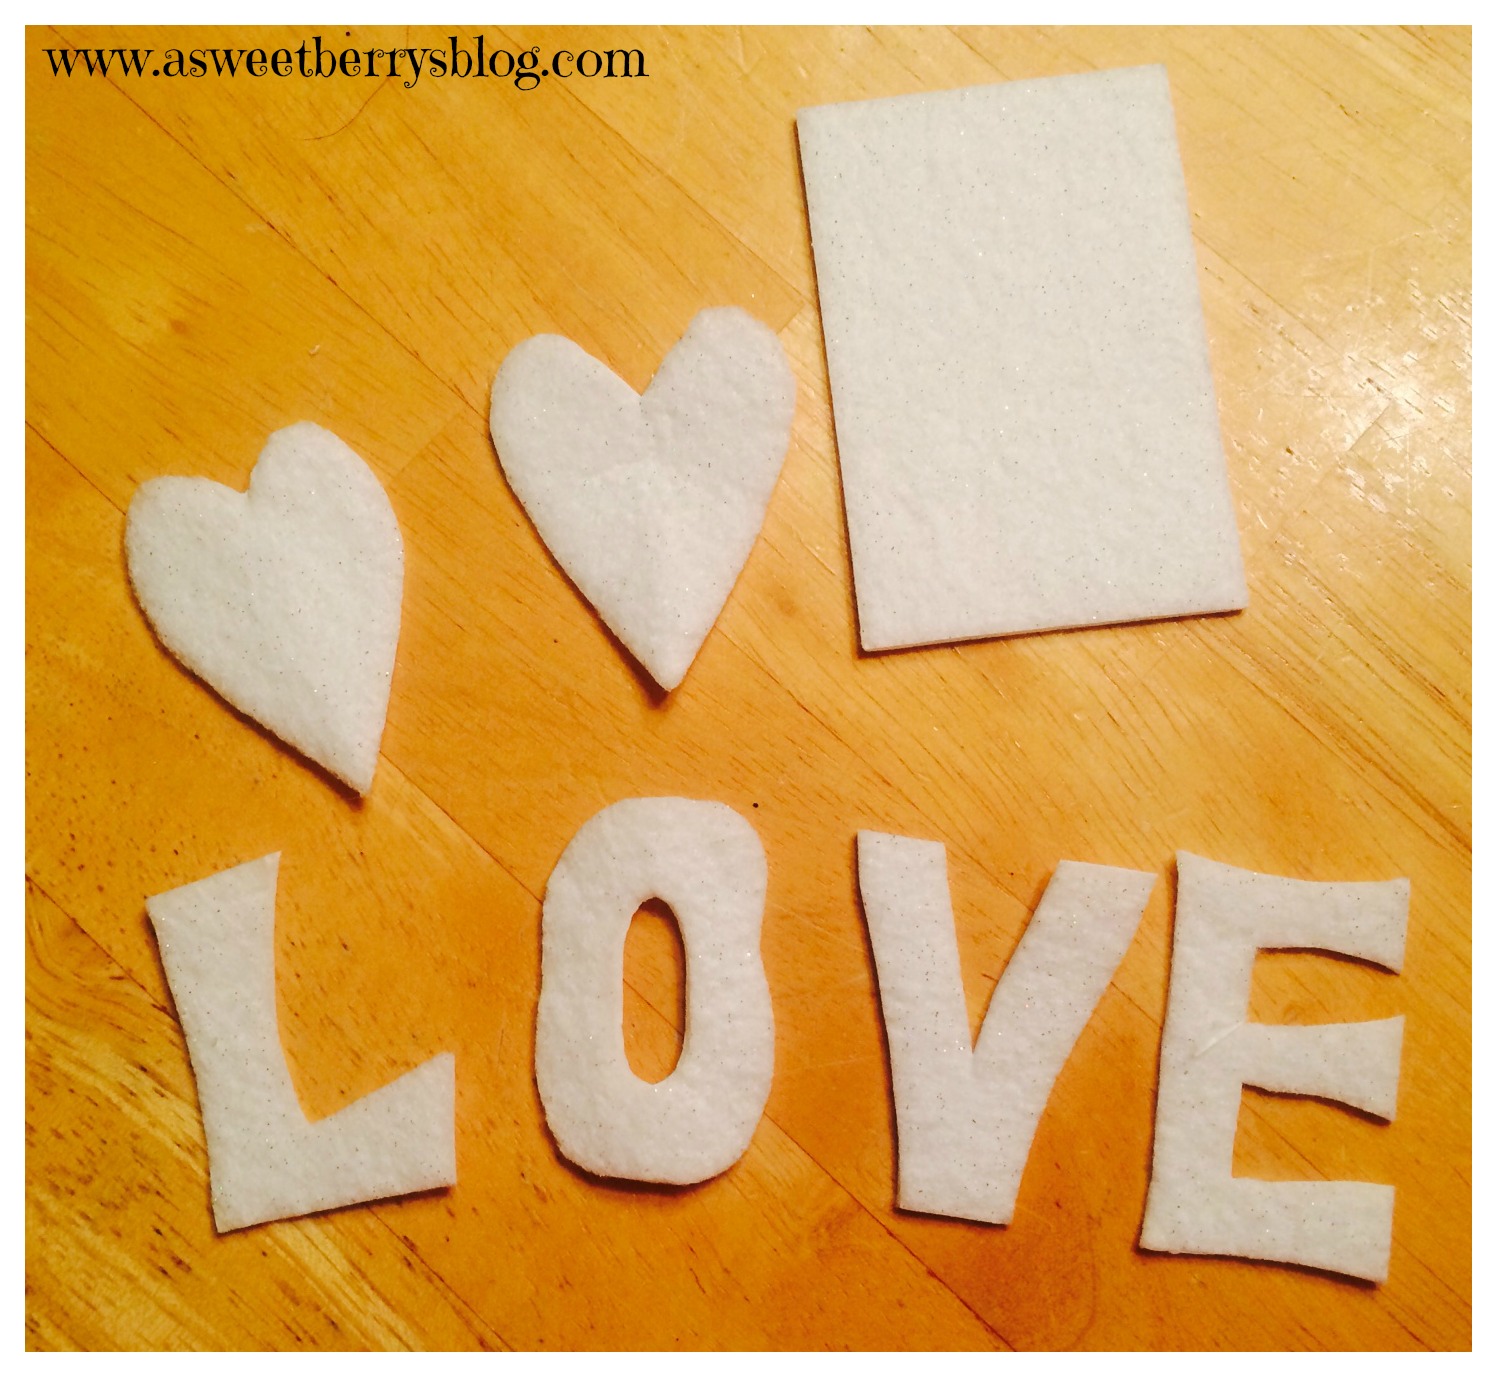
Using the middle pieces of the frame, I cut out two hearts and the letters L, O, V, E by hand. Love Letters

Using my rotary cutter, cutting mat and ruler, I cut out 5″ x 6″ rectangles. blocks
Once I had everything cut out, I peeled the paper off the back of the frames and stuck them on my red rectangle pieces, placing it closer to the bottom so that I had space to add my eyelets at the top. putting it together
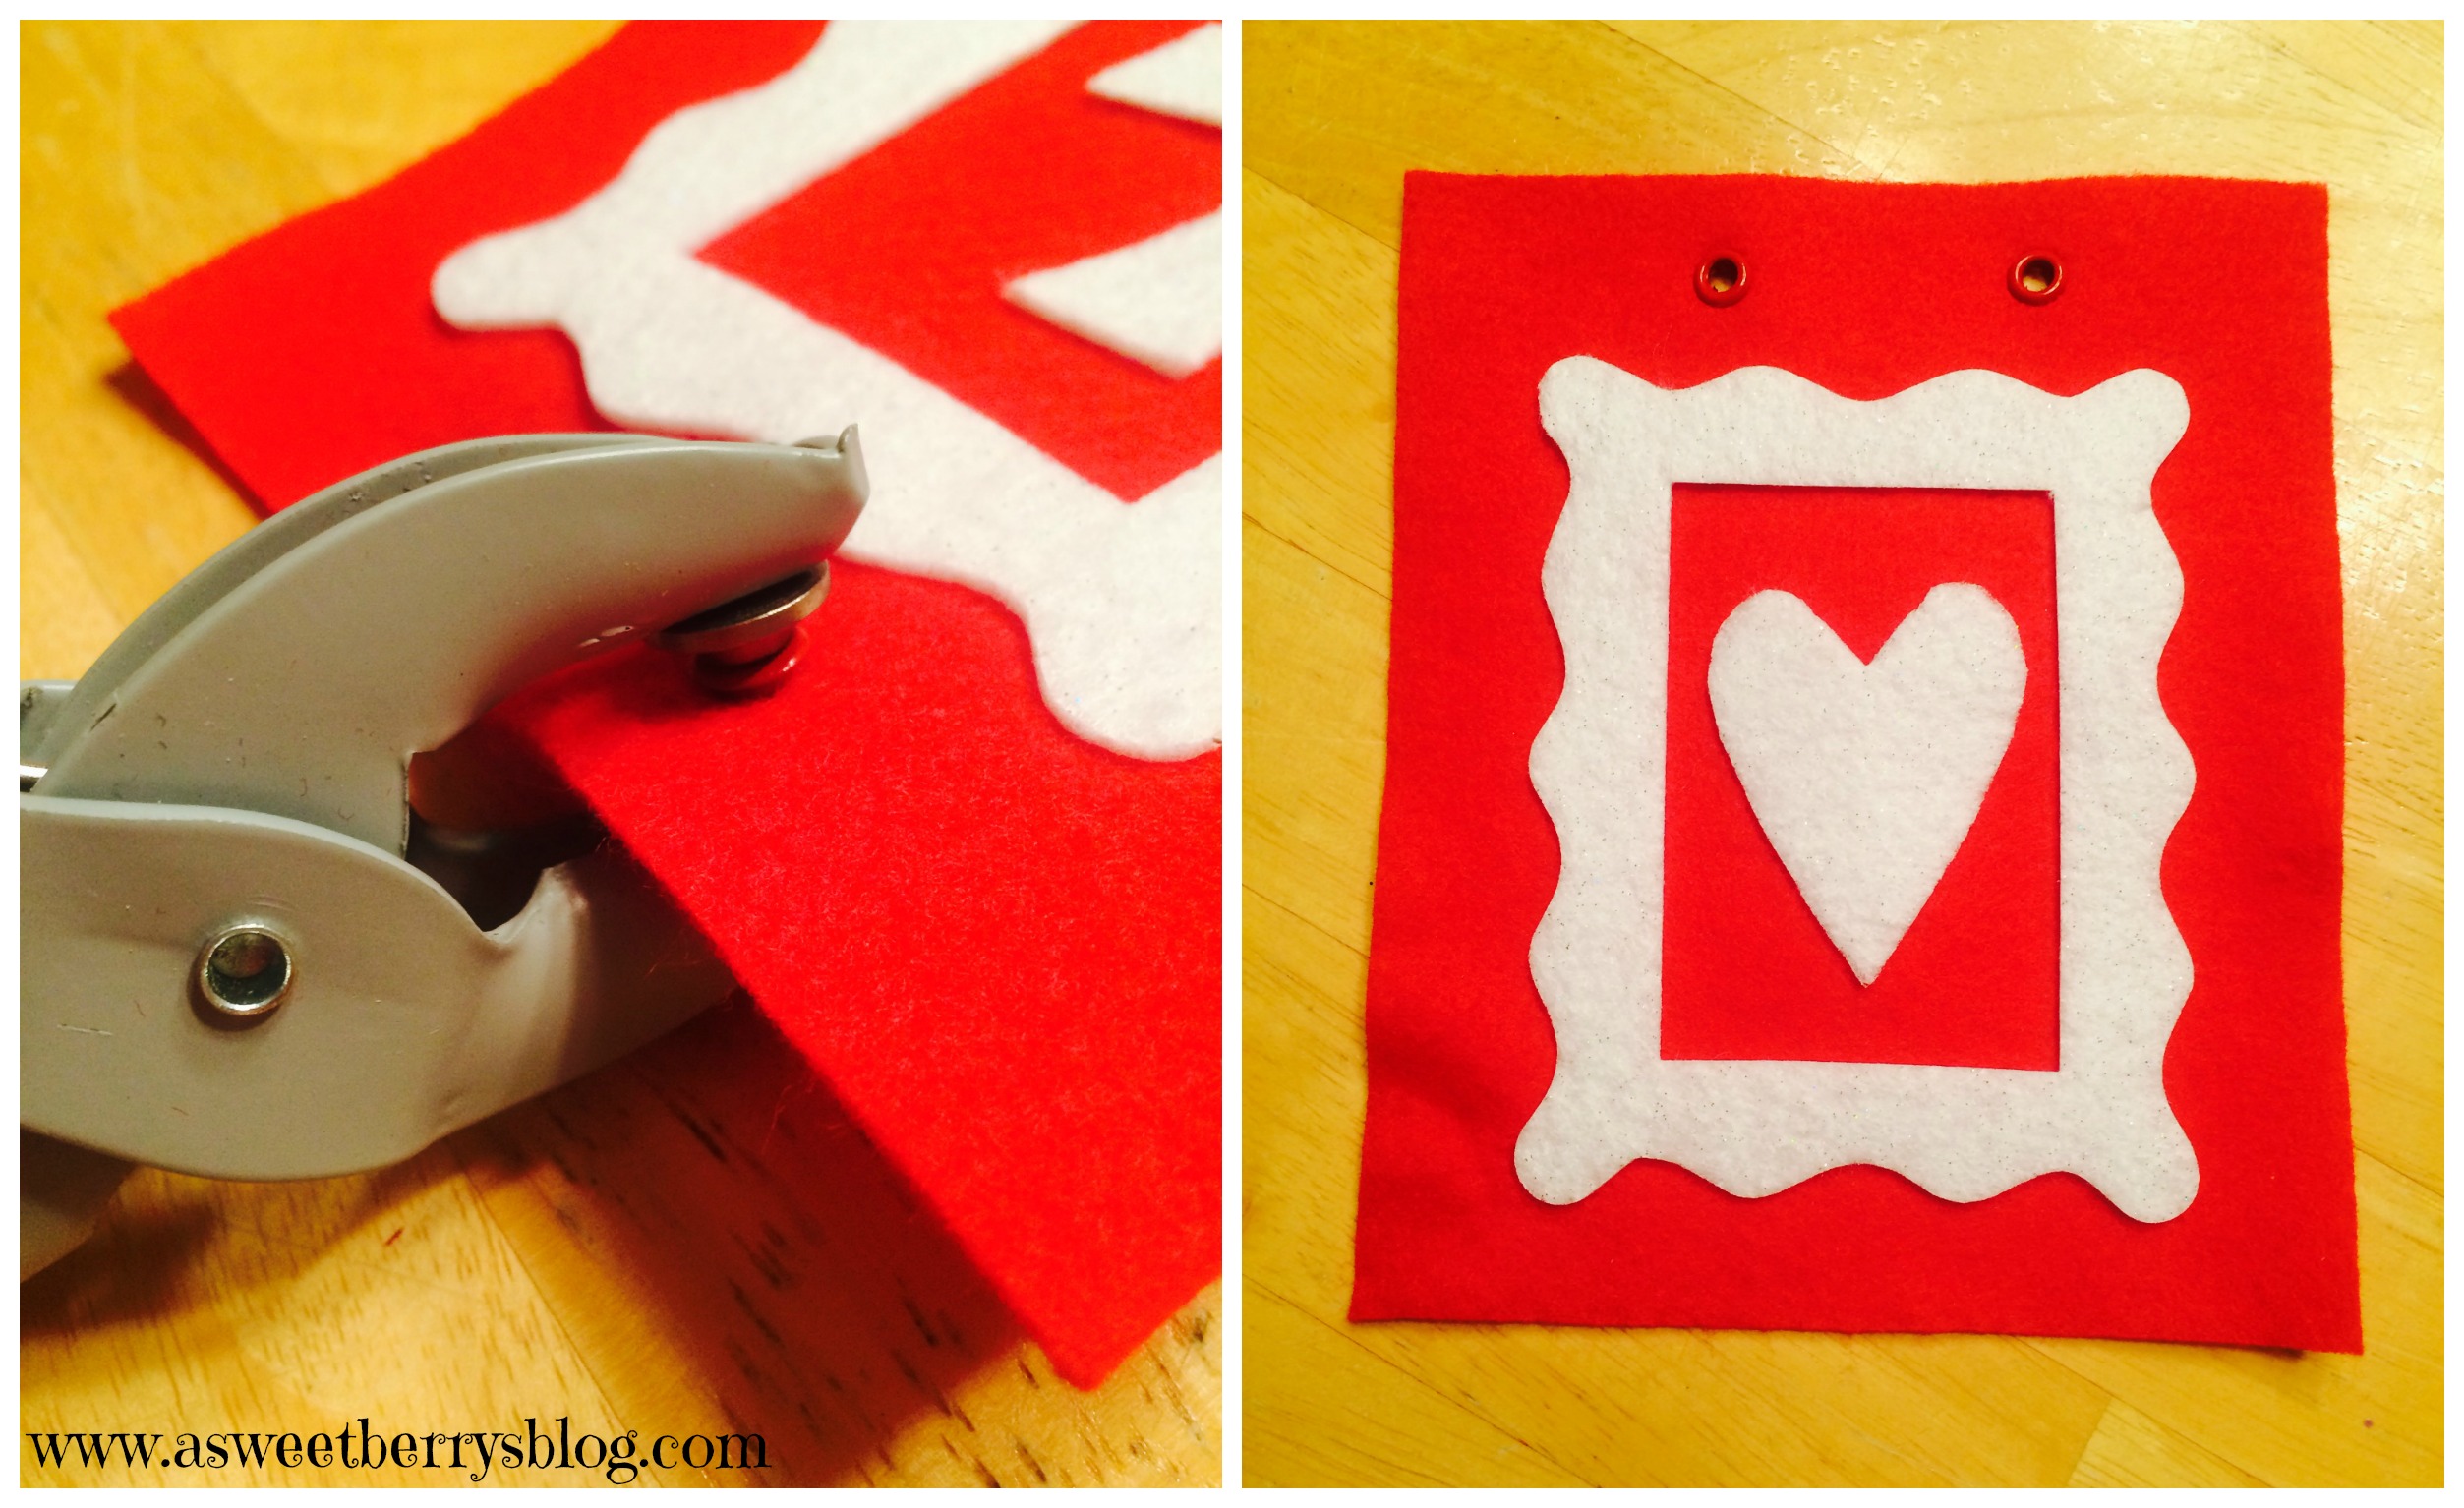
Using my eyelet pliers, I placed two eyelets at the top of my red felt rectangles.  Once I had two eyelets on each piece, I ran my red and white polkadot ribbon through front the backs. eyelet punch

And it made this super cute and super easy banner!   Final Banner If you don’t have die cuts or die cut machines, you can still create this banner, making your own frames by hand.  The Aleene’s Fabric Fusion Permanent Sheets make it a sewing free project!  And, you don’t necessarily have to put eyelets on the pieces.  You could just cut small holes to thread your ribbon through!

I hope you like my Love banner as much as I do!

Until next time……

XOXO


Sculpey Valentine’s Day Heart Banner

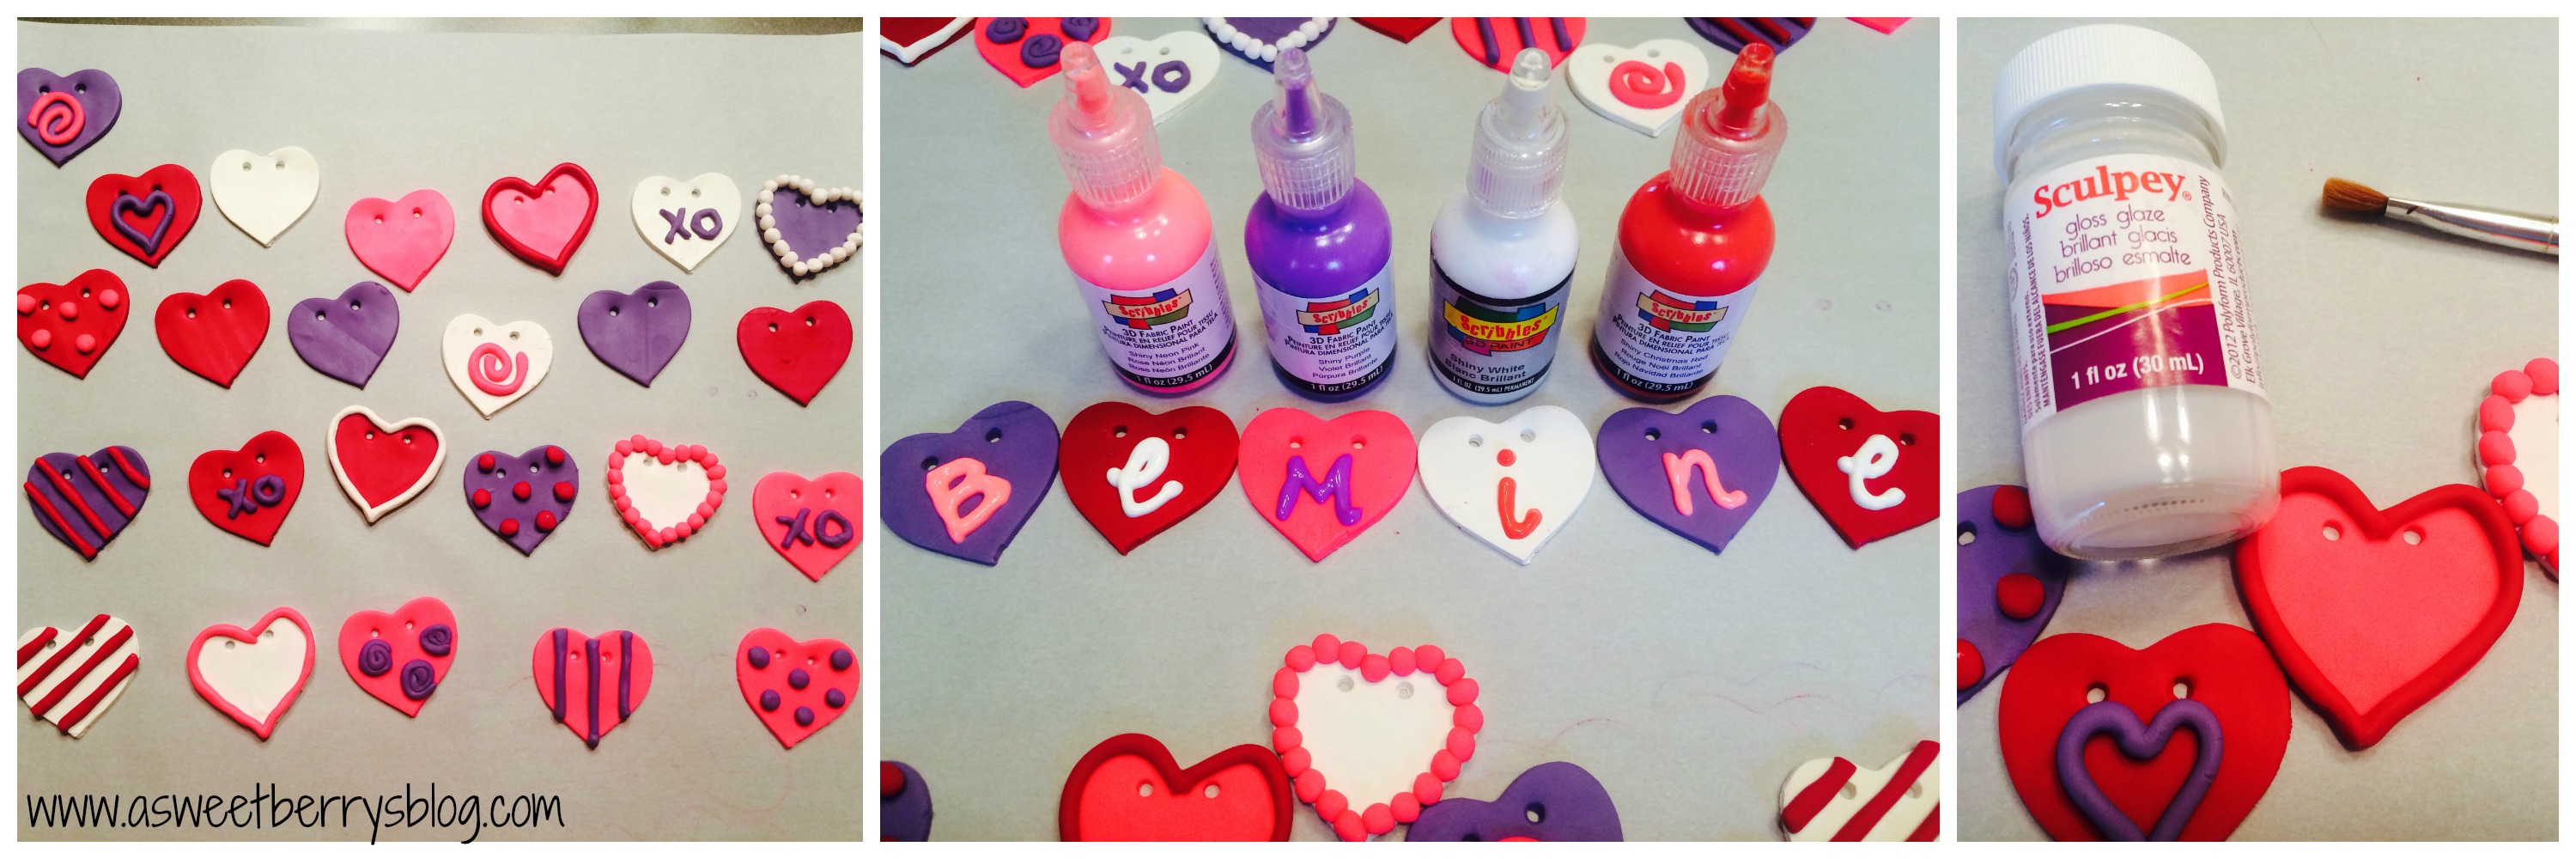
Now that Christmas and New Years are out of the way, it’s time to get ready for Valentine’s Day!  And this is one of my favorite days of the year simply because it’s all about LOVE!!!   To pretty up my mantel, I made this adorable Sculpey Valentine’s Day Heart Banner to hang up!  It was super easy and even the little ones can help! banner
Using my sampler pack of Sculpey III, I picked out red, pink, white and purple.   I also gathered my heart cookie cutter and a coffee stirrer straw to make the holes for my string. materials
First, I needed to condition the clay using my clay conditioning machine.  I ran it through the machine several times to get the air pockets out.  It’s great for rolling out sheets of clay too!   I cut the hearts using the cookie cutter and then made two holes at the top of each heart using the straw.  Using my fingers, I rolled out thin strings of clay to decorate my hearts with!   steps
Then, it was time to bake these adorable hearts!   Intentionally I left six hearts without any decorations.   After they were baked and cooled, I used Scribbles 3D Fabric Paint to write BE MINE on the six hearts and let them dry.  Once my lettered hearts were dry, I used Sculpey Gloss Glaze to add a little shine to my hearts! decorating
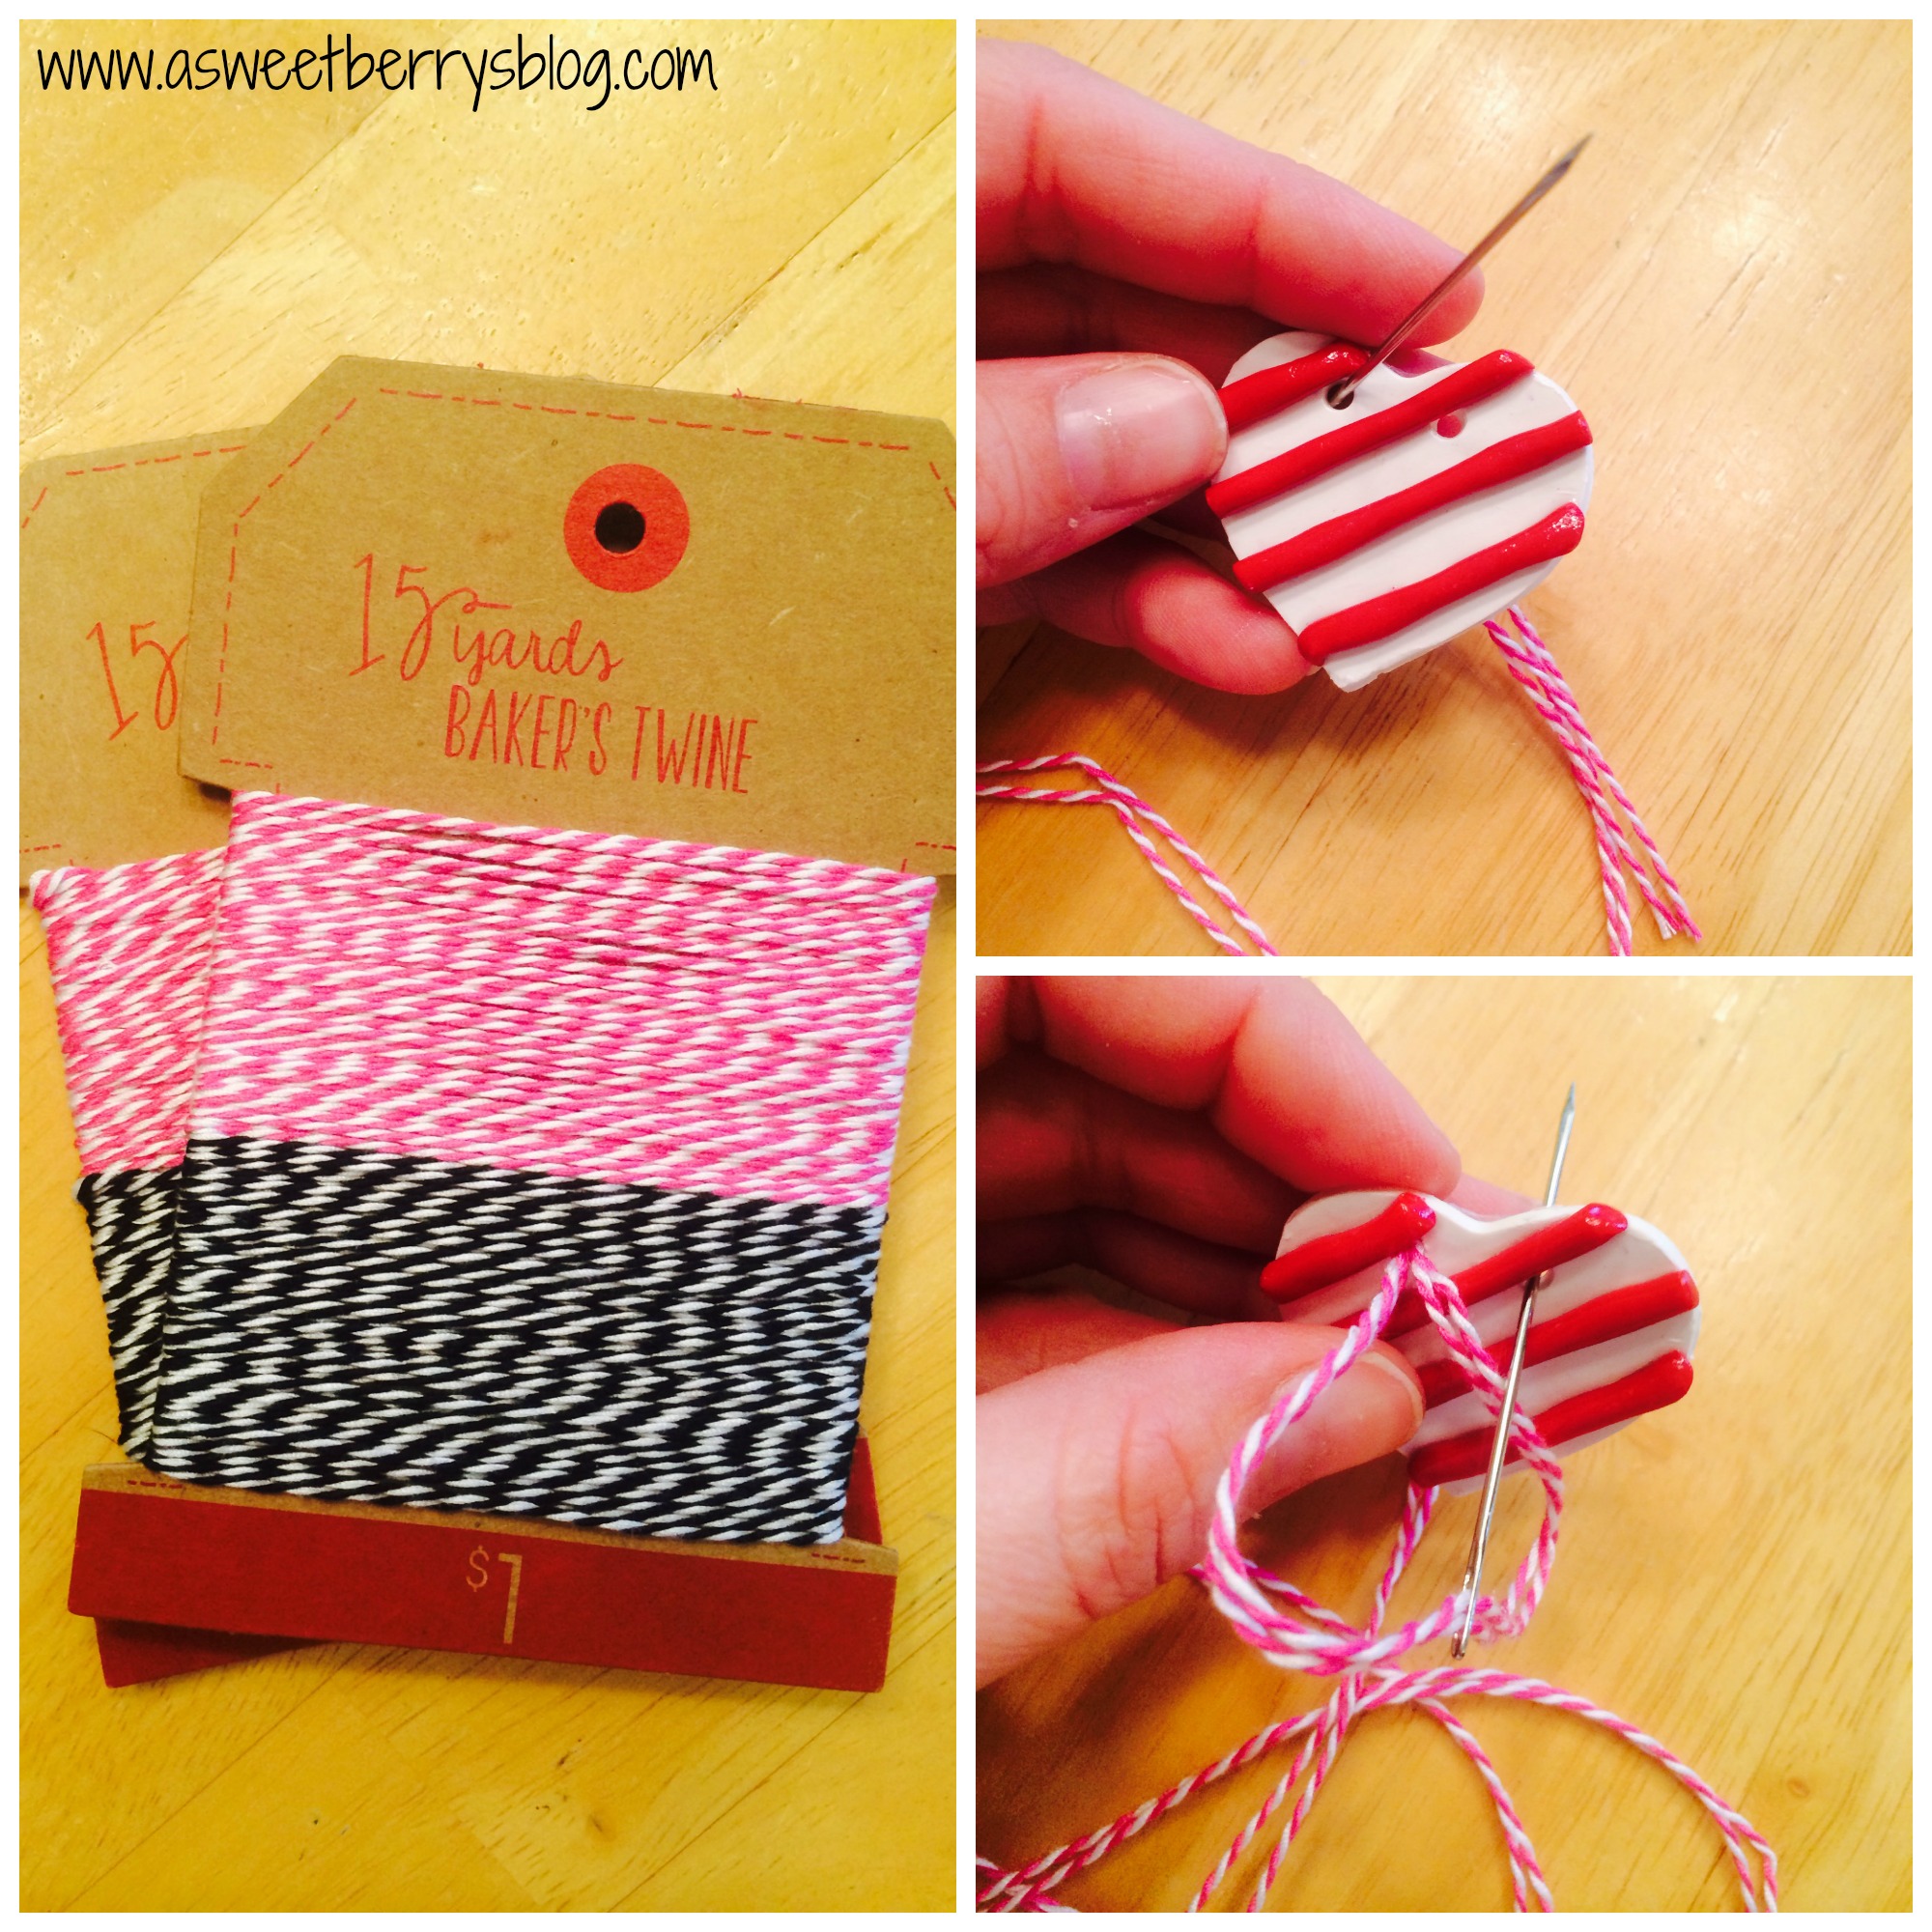
Once they were completely dry, I used this Baker’s Twine that I got out of the Target $1 section to make the banner.   Using a large needle, I threaded each heart, spacing them out a little.

twine
Then, I hung it on my mantel!  

Who doesn’t love a cute banner to spruce up the fireplace mantel?!?!

Be Mine

It was just the right size to fit my mantel!  And it makes me think of love, hugs and kisses!  Hope you like this cute banner! banner

Until next time…

XOXO
One Word for the New Year

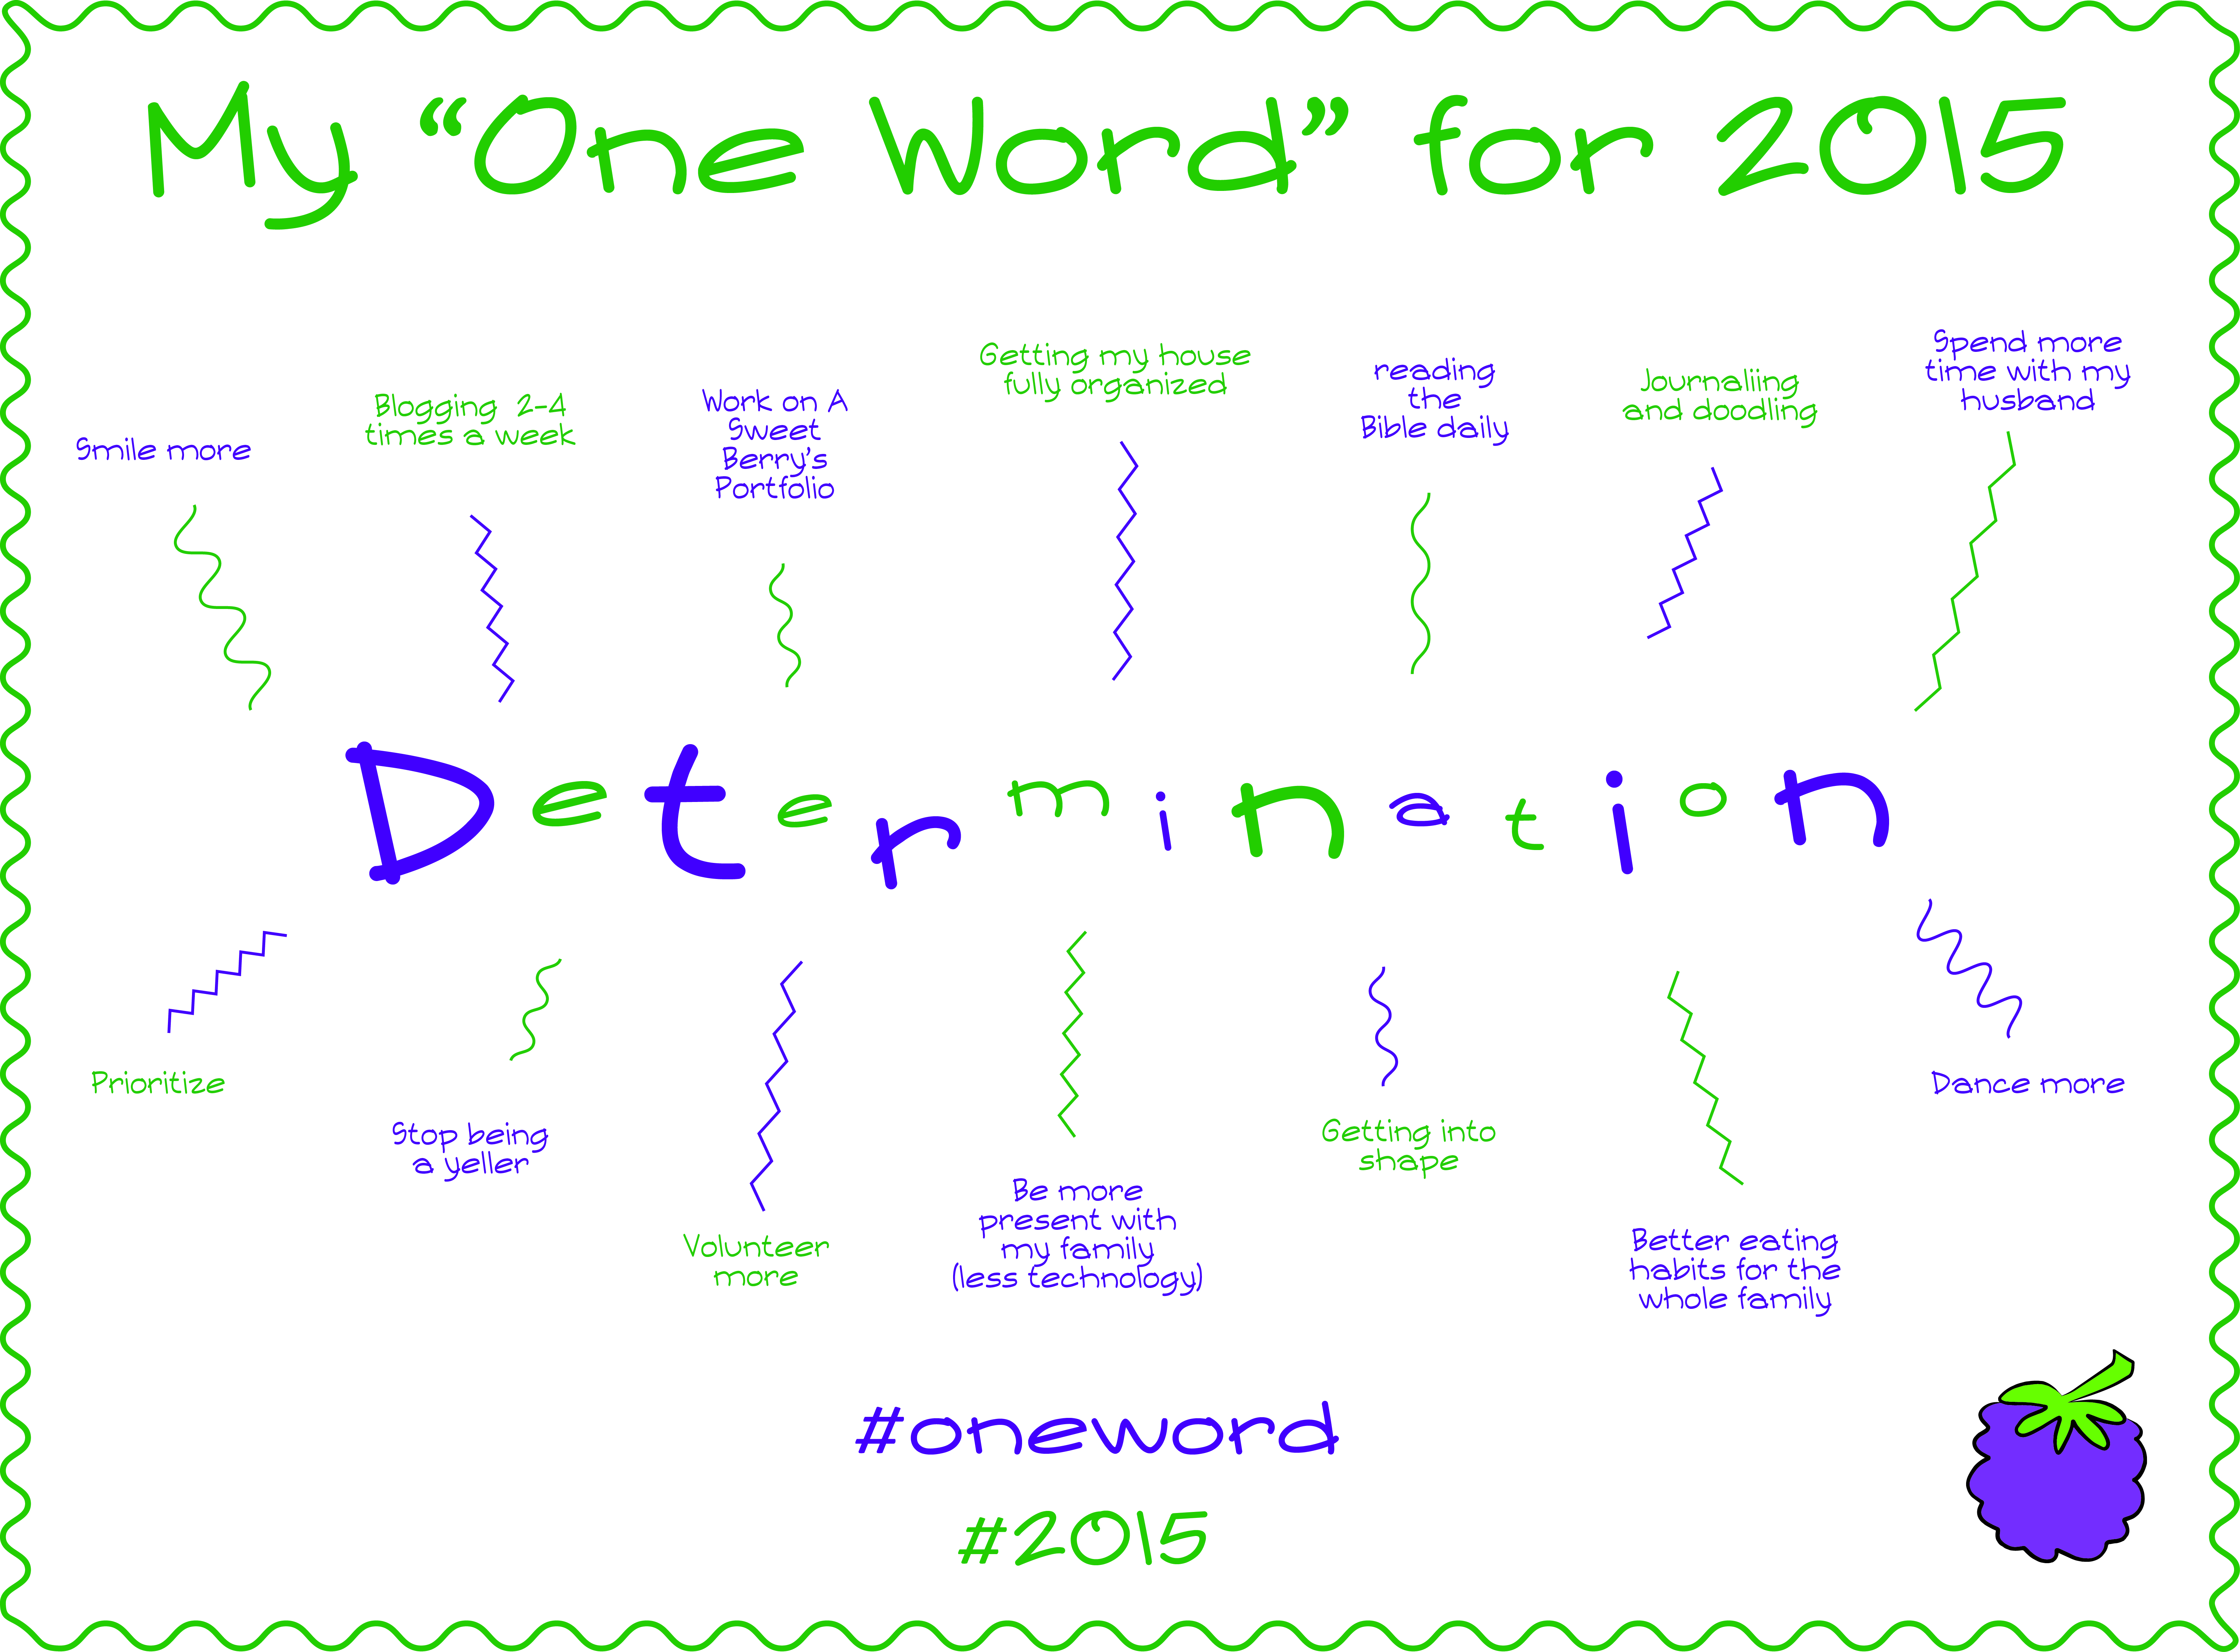
Happy New Years Eve to everyone!  As I sit here and the final hours of 2014 wind down, I have been thinking about the upcoming year!   There is one word that keeps coming to my mind when I think about 2015!   My “One Word” for 2015 is:

One Word

Here is a small description of each of the things that I am determined to work on!

Smile:  I am determined to smile more.  I am going to think about the good things in life and know that my family gives me something to smile about every day!

Blogging:  I am determined to blog 2-4 times a week.  I love doing crafts and being creative, so there is no reason that I can’t blog about them when they are done.   I know that my blog doesn’t necessarily need to be about crafts.  It can be about what is happening with my family, about things that I am doing in the community, pretty much anything that I want to blog about!

A Sweet Berry Designs Portfolio:  I have slowly been working on my portfolio.  But I am determined that January 2015 is going to be a busy busy month worth of working on my portfolio.  I also plan to get it up online and get some stationery pieces done!

Getting my house organized:  Even though we have started working on getting the house organized while Bruce has been home for the week after Christmas, I am determined to get both of the boys rooms organized, as well as my bonus room that seems to be the catch all room.  My garage also needs to be organized.

Reading the Bible daily:  I am determined to read the Bible daily.  I not only want to read the Bible for myself, but I want to read the it daily with the kids.  

Journaling and Doodling:   Outside of working on my portfolio and blogging, I am determined to journal and doodle!  I love to doodle, so there is no reason I shouldn’t!  I’ve journaled in the past and it has helped me get my thoughts out.  

Spending more time with my husband:  I am determined to spend more alone time with my husband.  Just recently both of our children spent the night away on the same night.  The next morning, Bruce and I spend the morning drinking coffee together, eating breakfast together, watching a little television together and chatting.   There are not a lot of times like that, but it was great to just be with him.

Prioritize:  There are a lot of things that I want to do in 2015.  I am determined to prioritize those activities!

Stop being a yeller:  Unfortunately, I am a yeller.   I find myself yelling and it stresses me out and causes a major headache.  I am determined to be less of a yeller.

Volunteer more:  I am determined to volunteer more.  Even though I am in the Junior Woman’s Club of Raleigh and we have a minimum amount of hours that we are supposed to volunteer, I want to volunteer more and involve my kids more.  I also would like to volunteer in my Church more.

Be more present with my family:  I know that I am a technology dork.  I love it.  Between my MacBook, my iPad, my iPhone and my Kindle, I could spend all day on them.   But I am determined to put them away more and be more present with my family and spend less time with my electronics!

Get into Shape:  I am currently working out, but the holidays has put a damper on my motivation to work out.  But I am determined in 2015 to work out 5-6 days a week.  I want to work out 3 days with my friend Abby and 2-3 days of walking/running.  I know I can do it!   I also want to get rid of my high blood pressure medications in 2015.

Better eating habits for the whole family:  Even though I have been instructed by the doctor to cut down on my carbs and my sugars, I think my family could benefit from this as well.   I know my boys are growing and need more carbs than I do, I won’t cut them out of their diets as much as I will for my diet, but we could definitely stand to eat less!   We need to add more fruits and veggies to our diets.  Even though I am gluten free, I still tend to find carbs in the non-gluten foods.  So, more label reading, less processed and more fresh!!!!

Dance more:  I love dancing!  I am determined to dance more, even if it’s in my house!!!  It makes me happy!   And my kids love dance parties in the living room!  

My list could go on, but these are the things that I want to work on the most!  I am determined to be determined in 2015!!!!!    I am really looking forward to the New Year!  I’m starting my year off with a trip to Anaheim, CA for the Craft and Hobby Association Mega Show and meeting up with one of my favorite people, Laura Kelly.  Unfortunately, I won’t be home to help celebrate my husbands 40th Birthday, but I truly appreciate that he is supportive of my adventures!  In April, I am attending SNAP blogging conference in Salt Lake City, Utah!  And there are lots of other things that will happen in 2015!  And I’ll be sure to share all of my adventures with you guys!

HAPPY 2015!!!

Peace and Love!


Personalized Christmas Stationery from Expressionery

This post is sponsored by Expressionery.com and Laura Kelly Designs.  Although I received product and financial compensation, all opinions are entirely my own. Written Words
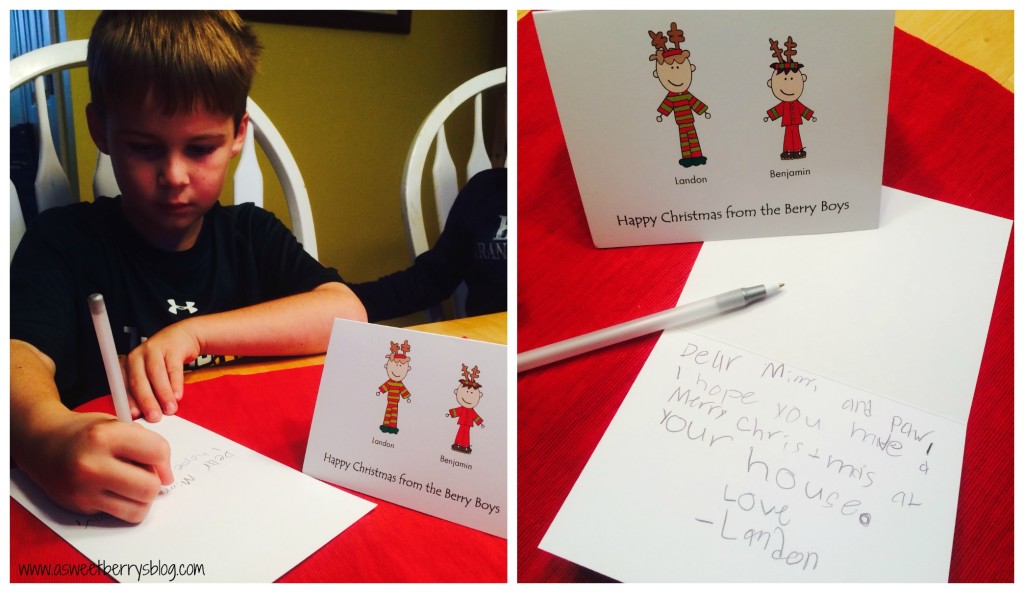
Personalized Stationery from Expressionery.com is my favorite, especially when it has Laura Kelly’s Me and My Peeps on it!   There is a Peep for everyone, even your pets!   There are even Christmas time Peeps.   When the package from Expressionery.com came and my boys (Landon, age 7 and Benjamin, age 5) saw that they had their own Me and My Peeps Christmas stationery, they were so excited!   Landon is to the age that he loves writing notes, especially to his teachers and friends!

Expressionery.com has a gift for everyone.  Personalized stationery is the perfect gift for the holidays, Mother’s Day, Birthdays or even Teacher Appreciation.  Or, you can just order it for yourself!  Laura Kelly’s collection of stationary is super cute and fun!   Her designs are appropriate for children and adults!

A Little Christmas Ornament using our Me and My Peeps Stationery!

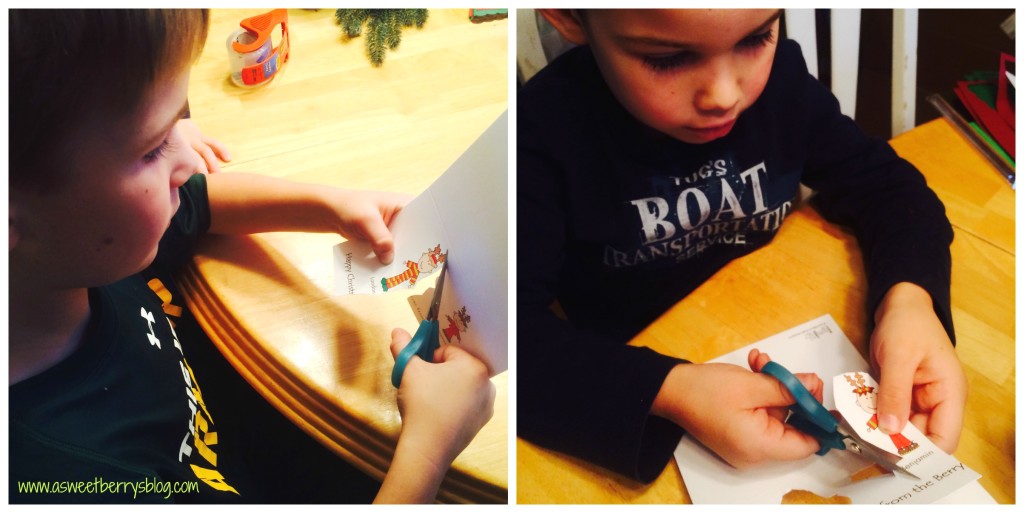
We decided to make a cute craft with one of our notecards.   They each made a Christmas ornament to send with the note that Landon wrote to his Mimi and Paw!  Each boy cut out their own Peep, leaving their name attached.
Cutting
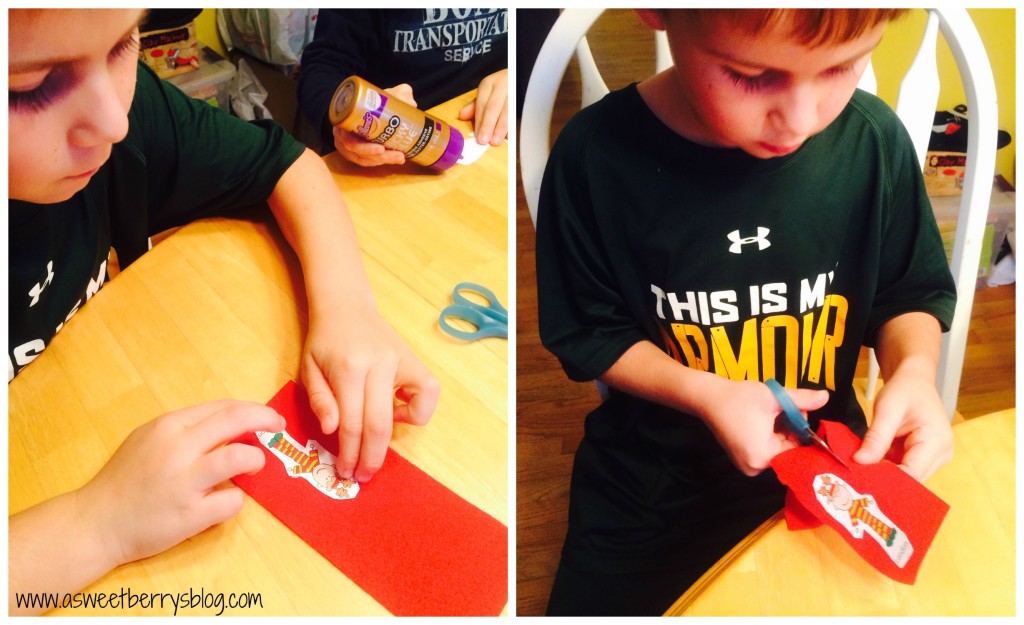
Using Aleene’s Turbo Tacky Glue, they glued their Peep to a piece of Kunin’s red felt! Aleene's
After the glue dried, they cut the felt just a little bigger than their Peep! felt
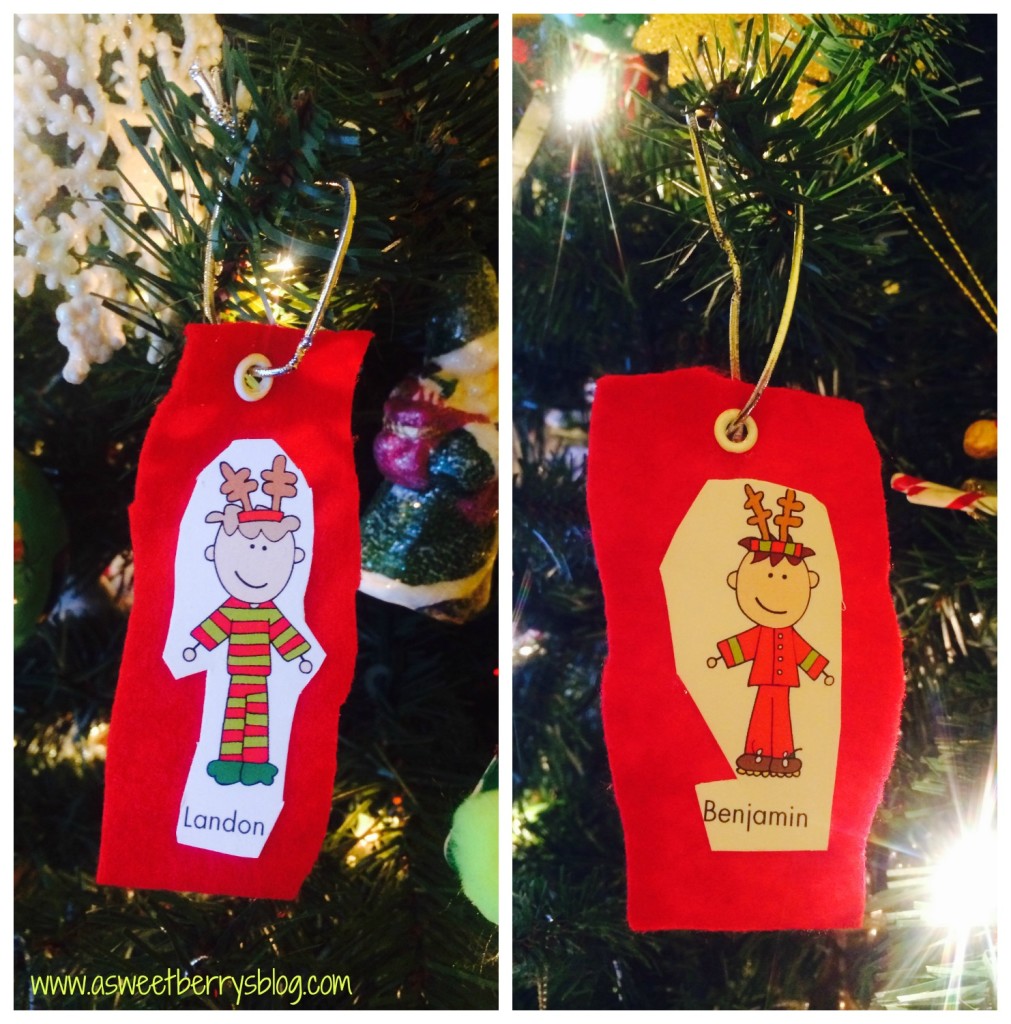
Next, we used Eyelet Pliers and an eyelet to create a hole so that we could add a piece of string!   We used the elastic silver string that came wrapped around our stationery gift from Expressionery.com!! ornaments
These lovely homemade ornaments will be sent to Mimi and Paw’s house with the sweet little note that Landon wrote for them! Final Ornaments So, go to www.expressionery.com/laurakelly and order some personalized stationery for a gift or for yourself!  The deadline to order for Christmas is December 19th.  For 30% off site wide, used Promo Code:  PEEPS    Code expires on 12/30/14 and excludes embossed stationary and paperweights.  *Limited time offer valid through December 30, 2014 at 11:55 PM CST. Receive 30% off sitewide plus free standard non-trackable shipping and handling on orders over $50 with offer code “PEEPS” at checkout. Offer excludes embossed stationery and paperweights. This offer may not be combined with any other offer or discount, and shipping fees and sales tax are separate. To prevent abuse, prices, specifications, and availability subject to change without notice from Expressionery.com.
Enter for a chance to win a fantastic giveaway!
250VisaGiftCard_PRIZE_Pic
a Rafflecopter giveaway

The Gingerbread Bear Book and Sculpey and Scribbles Ornament

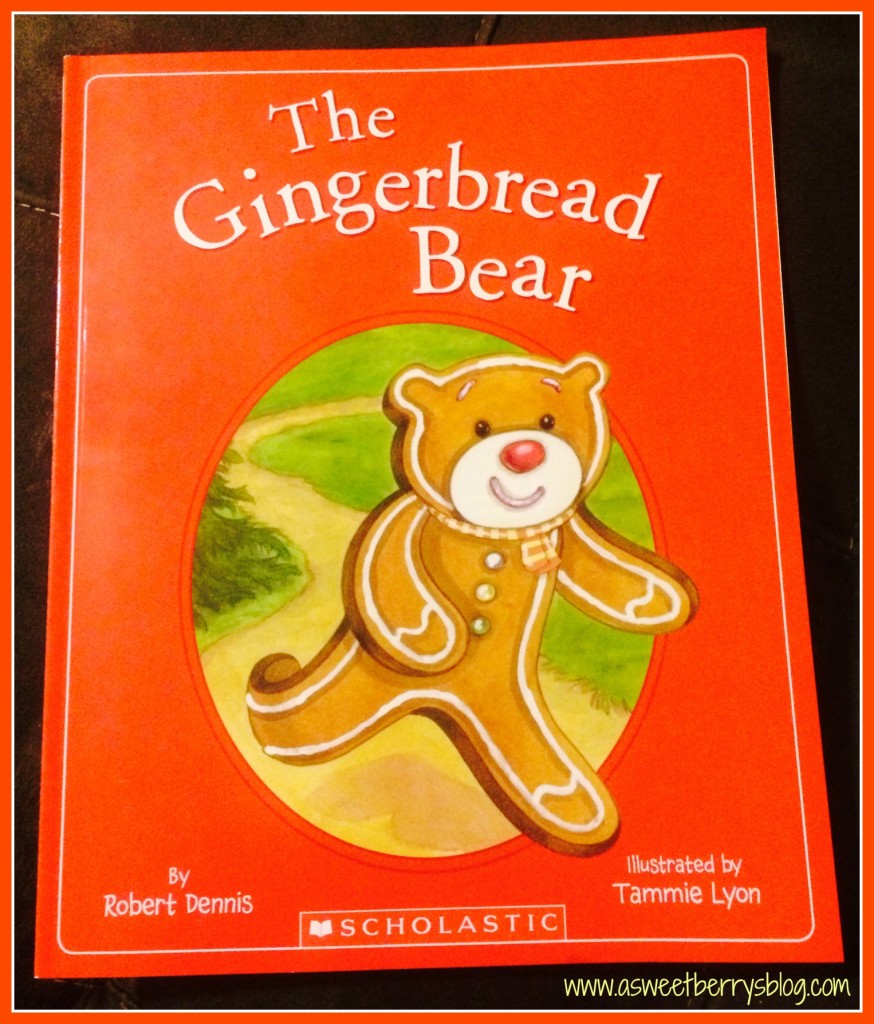
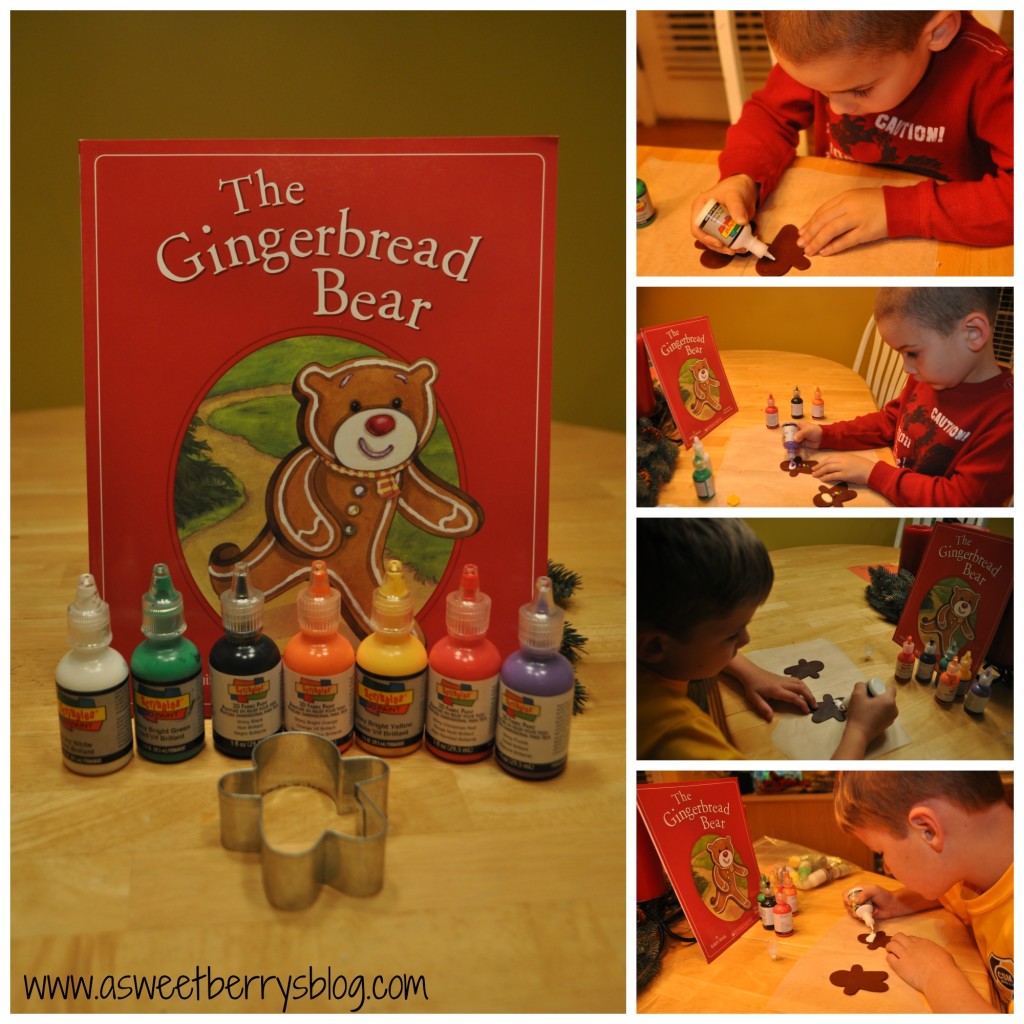
While walking through the Scholastics Book Fair at my oldest son’s school, I stumbled across The Gingerbread Bear book by Robert Dennis and Illustrated by Tammie Lyon.
book
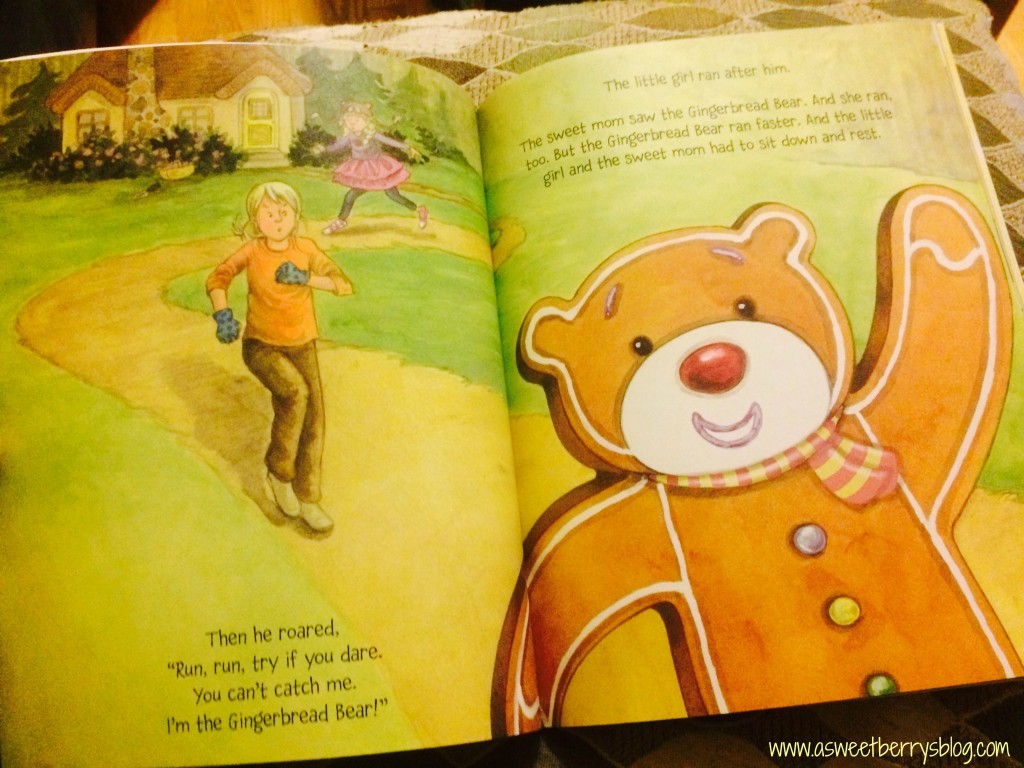
In the story, a little girl and her mother are baking a gingerbread bear.  After daddy goes to work, mom goes into the garden to do some work and the little girl is left to watch after the oven.  Out of curiosity, the little girl opens the oven to have a look, and guess what happens?   Out jumps the Gingerbread Bear!   And away he runs……

Of course, no one can catch him, because after chanting “Run, Run, try if you dare.  You can’t catch me.  I’m the Gingerbread Bear!”, he runs away.  Throughout the book he runs into different people and animals that think they can catch him.  Gingerbread Bear is much to quick for them.
insidebook
You have to read the book to find out what happens at the end!   What a cute little change up to the Gingerbread Man.   My boys loved it!  The illustrations were awesome!

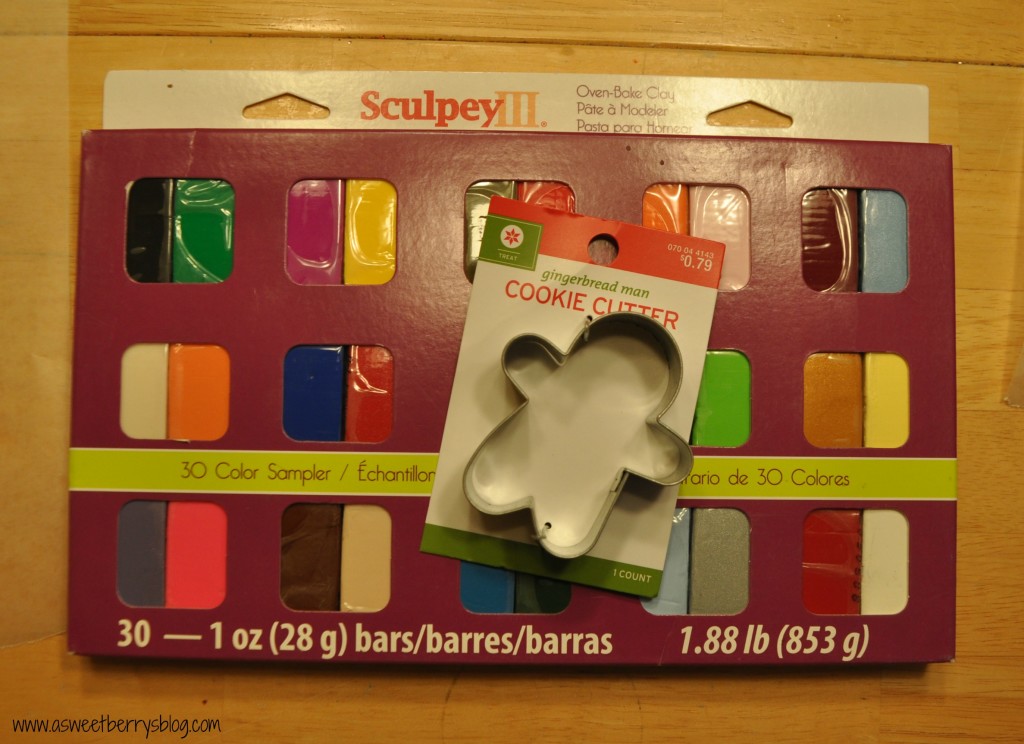
After we read the book, we decided to make our own Gingerbread Bears, using Sculpey clay and Scribbles paint.
sculpey
We picked out a brown Sculpey clay, ran it through the clay conditioning machine and then used our gingerbread man cookie cutter to cut them out.   After we had them cut out, I used a sharp pick to punch a whole in the top of their heads for ribbon.  Then it was time to bake them.  I stuck them in the oven for about 13 minutes. gingerbreadbear
Once they came out of the oven and cooled, We used Ilovetocreate’s Scribbles Fabric Paint (yes, I know it’s fabric paint, but it works on other things too!) to decorate our gingerbread bears! Scribbles
Once they were dry, they were ready for ribbon and then to be hung on the tree! 🙂 complete So, go out and pick up this adorable book.   The kids are sure to love it!   And then go get some Sculpey clay and a gingerbread man cookie cutter and create your own Gingerbread Bear!

Check out these other Christmas time books to read with kids:

  And the enter to win a great prize! a Rafflecopter giveaway
Until next time…….

Button Christmas Tree Earrings

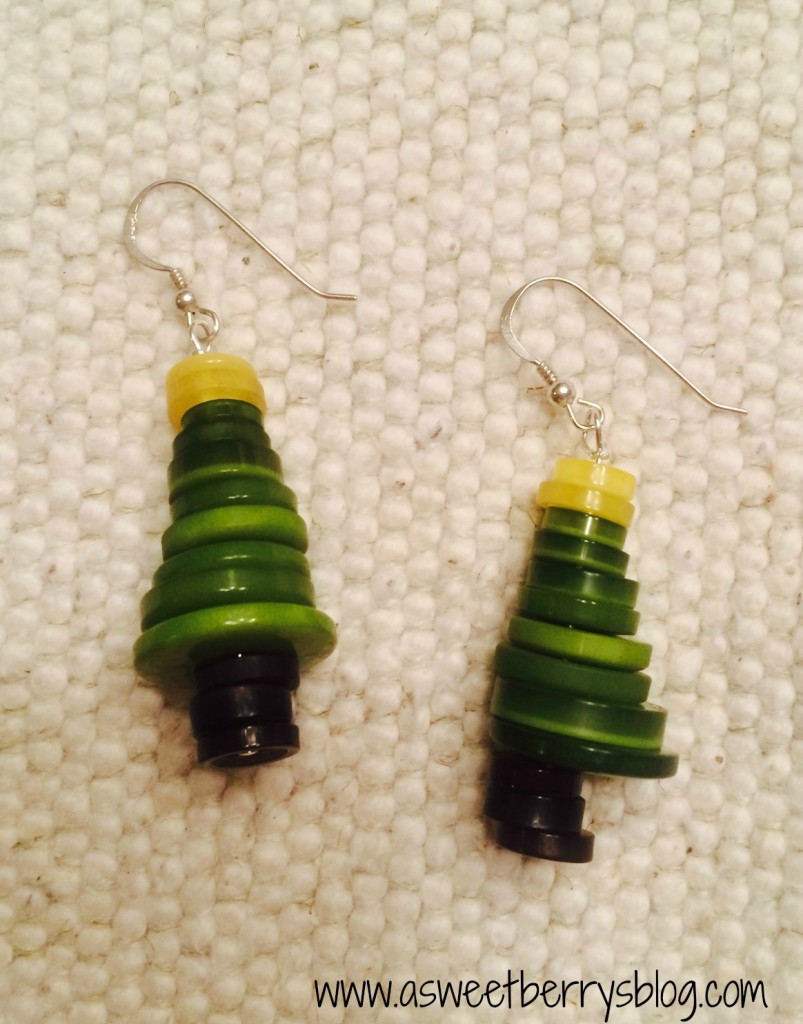
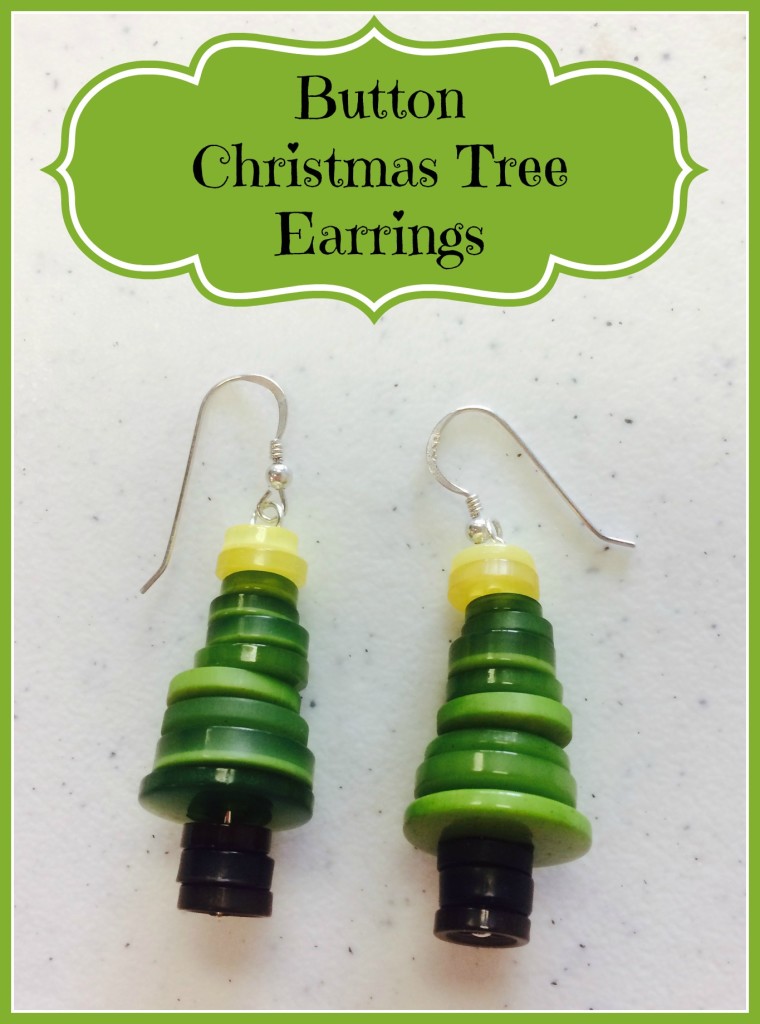
Check out these adorable Button Christmas Tree Earrings that I made using Laura Kelly’s collection of buttons from Buttons Galore and More!   I have a great love for buttons and Laura’s are awesome!
Final
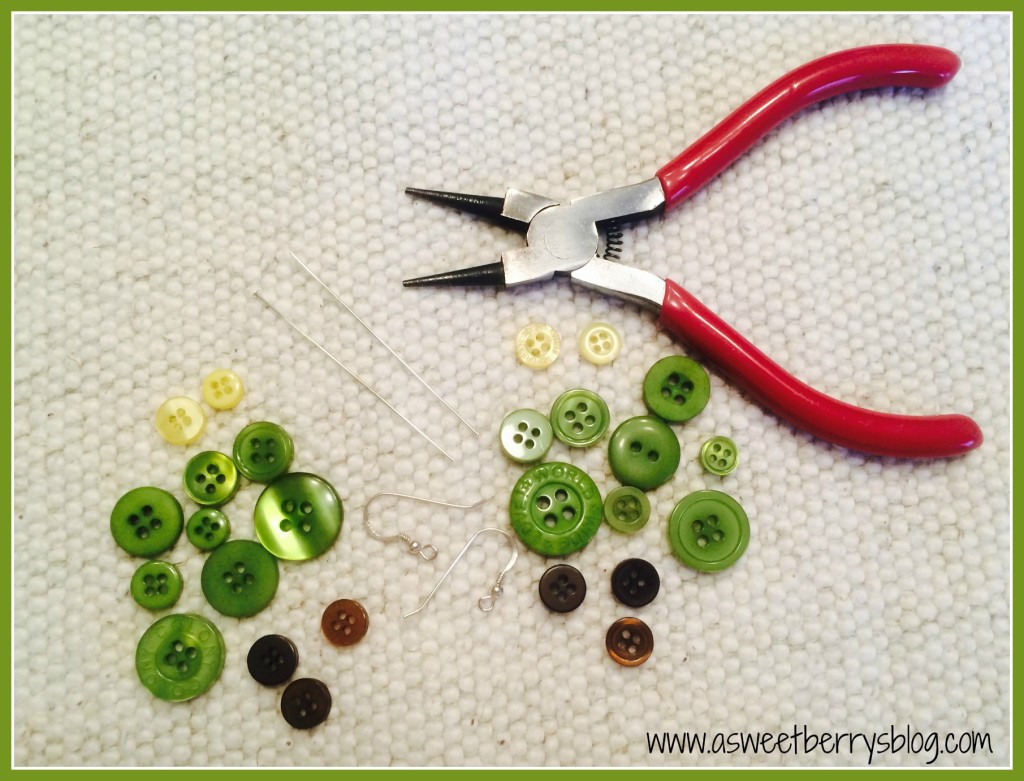
Materials used:
Laura Kelly Buttons from Buttons Galore & More
Head Pins
Earring Hooks
Round Nose Pliers
materials
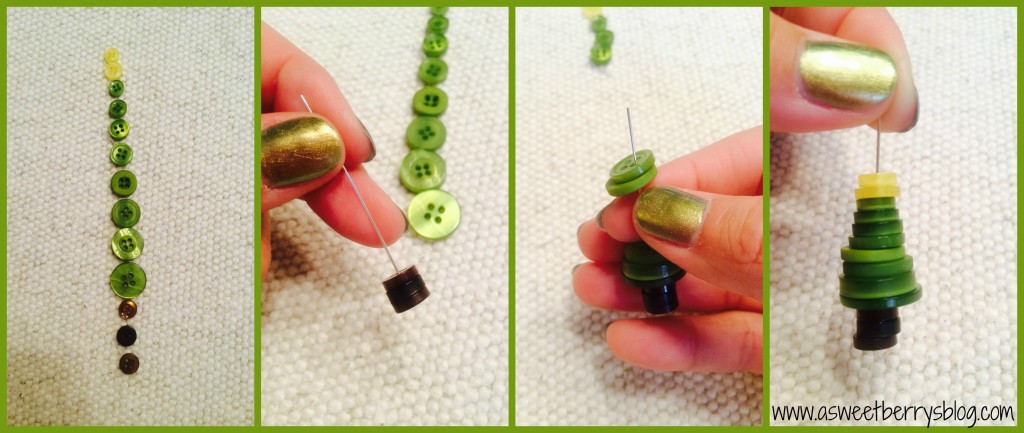
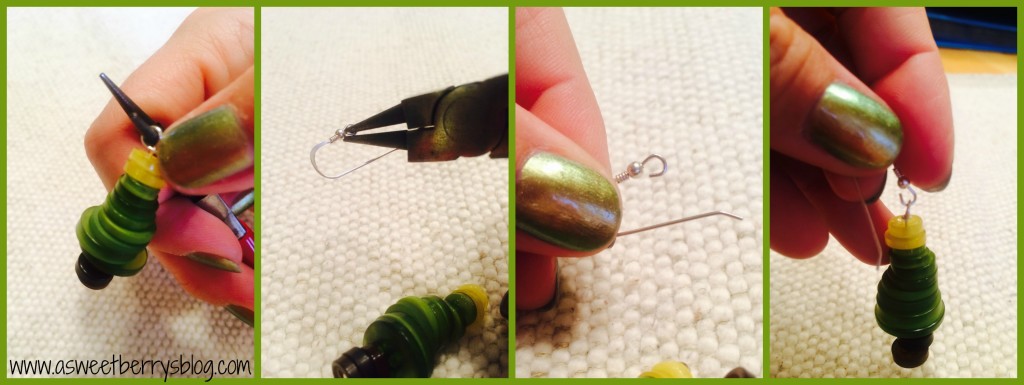
First, I started out by picking out my buttons.  I made sure that the green ones were somewhat graduated, so that they made a tree shape.  Then, I chose some brown ones for the trunk and then yellow to represent the star.  Once I laid them out the way I wanted them, I placed them on the head pin. makingthetree
When all of my buttons were on the head pin, I used my round nose pliers to create a loop.  I then opened up the end of the earring hook and placed it on the head pin loop and then closed it using the pliers.  Then I did the other one the same way! earring
Easy Peasy Lemon Squeezy!   And they turned out super cute!   I plan to wear them a lot during the month of December! earrings Hope you liked my Button Christmas Tree Earrings!   Now you can make your own!

Until next time……….

Halloween Popcorn Box Blog Hop

A year ago, my friend Laura Kelly started this Halloween Popcorn Box Blog Hop and then decided to do it again this year. I was so excited to get my box of goodies to do this project! It’s so much fun and exciting to see what everyone comes up with! This year, I decided to make a Cat!

popcornbox2014

Items I used:
Popcorn Box
Black Felt from Kunin
Phoomph for Fabric from Coats & Clark
Tulip Soft Black Fabric Paint
Scribbles 3D Fabric Paint
Laura Kelly Buttons from Buttons Galore & More
Floral Wire
Paint Brush
Aleene’s Turbo Tacky Glue

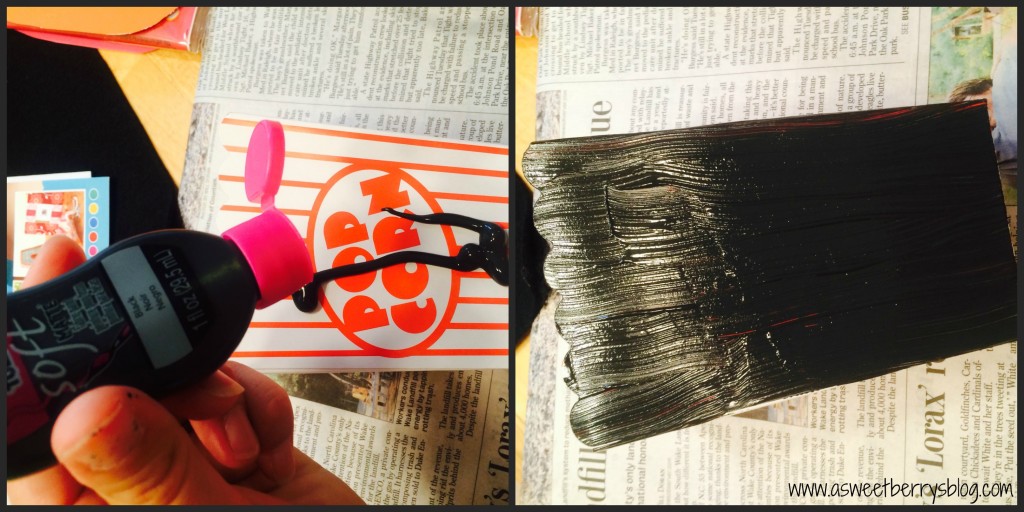
First, I painted my box using the Tulip Soft Black Fabric Paint. Yes, I know it’s fabric paint, but it still worked great on my box! I let it dry and then painted on another coat.
painted box
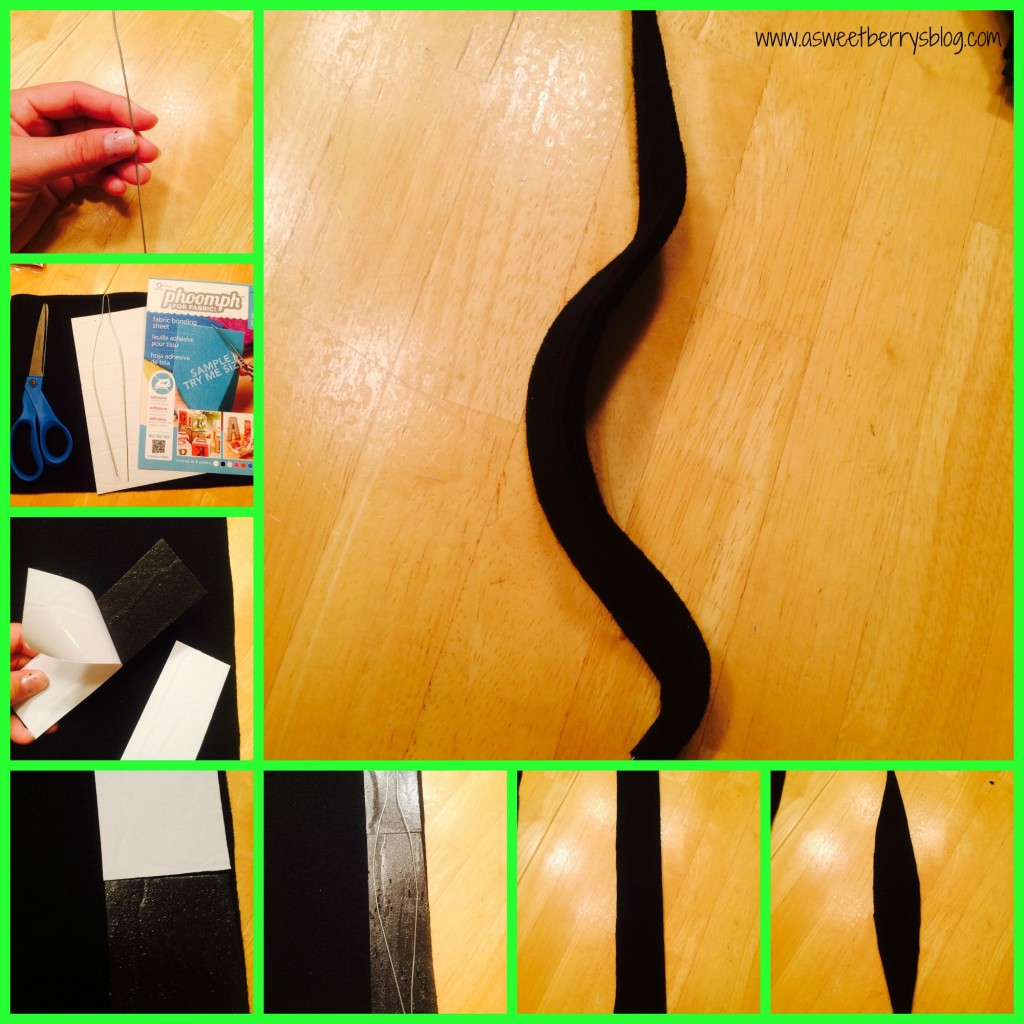
Next, I made my cats tail. I thought about this for a little while! I took a piece of floral wire and folded it in half and manipulated it to look a little like how a real cats tail would look. I placed black Phoomph onto some felt, placed the wire onto the Phoomph and then folded my felt in half. Then, I cut around the wire making the felt the same shape as the wire. Then i manipulated the wire with the felt again to make the tail curved.
Tail
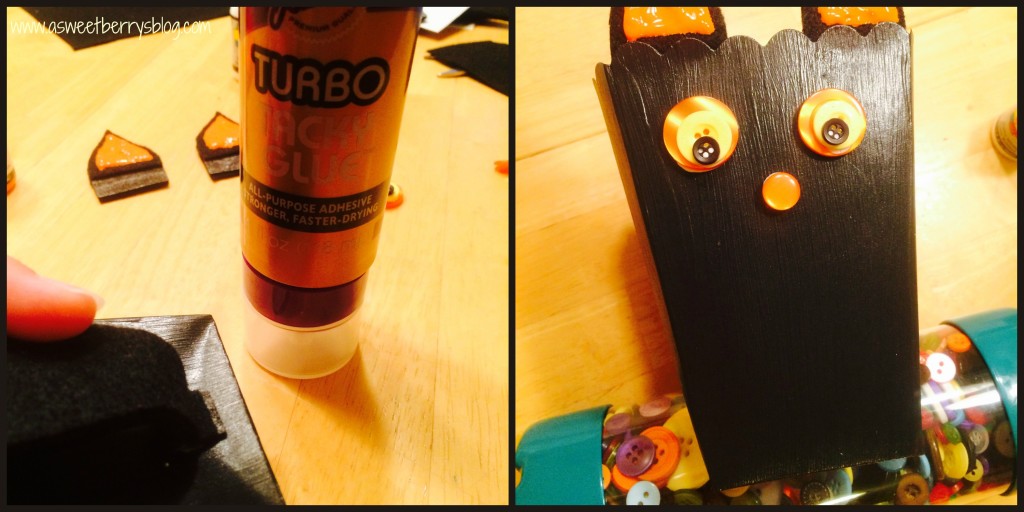
Next was my cats ears. Again, I used black felt and Phoomph. I placed the Phoomph onto a black piece of felt. When I folded the felt over, I made sure that it didn’t completely cover the Phoomph because I knew that I wanted to use the exposed part of the Phoomph to attach the ears to the popcorn box. I used the orange Scribbles Fabric Paint to make the inside of the cats ears.
ears
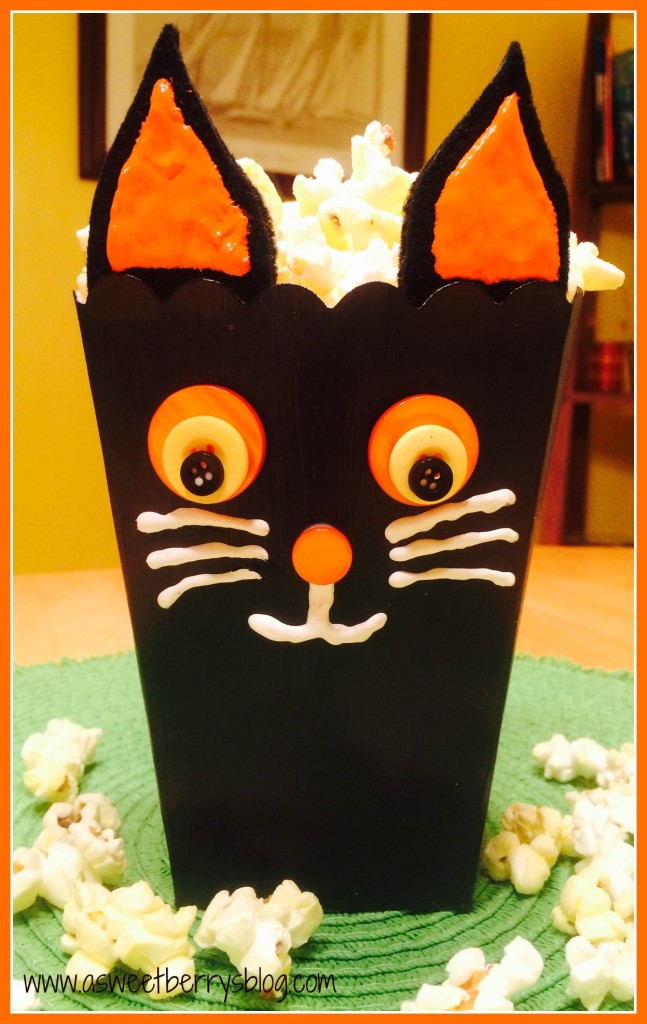
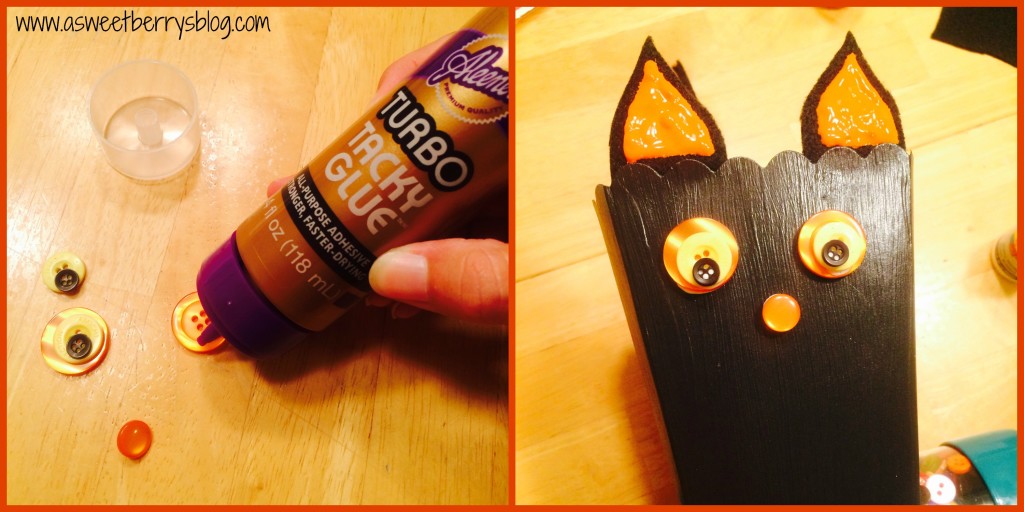
Using Laura Kelly’s buttons, I fold some orange, yellow and black beads to use for the eye and then an orange one to use for the nose. Using Aleene’s Turbo Tacky Glue, I attached them to the box.
eyes
Using the end of the wire from the tail, I inserted it into the back of the box and bent it upward helping it stay in place. I then used the Aleene’s tacky glue to glue the tail in place, to give it an extra hold.
Glue tail and dry
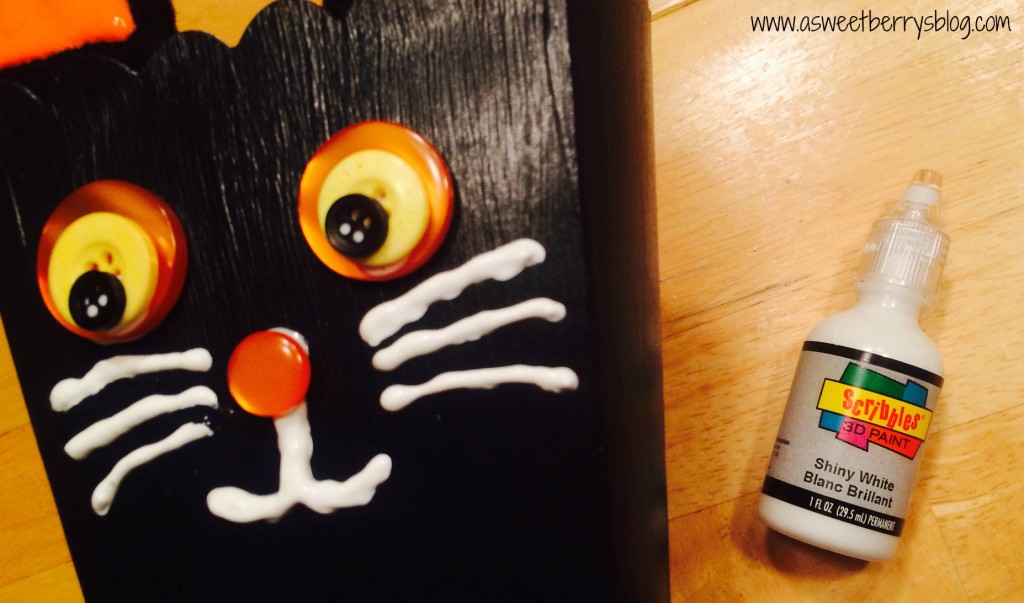
Once everything was dry, I used White Scribbles Fabric Paint to create the mouth and the whiskers of my cat!
whiskers
And then he was complete!
popcornbox2014
I hope you liked my Halloween Cat Popcorn Box!
Until next time…….
Print
Be sure to enter for a chance to win some great prizes!
a Rafflecopter giveaway
Also, check out the other great Halloween Popcorn Box Blog Hop entries!!!


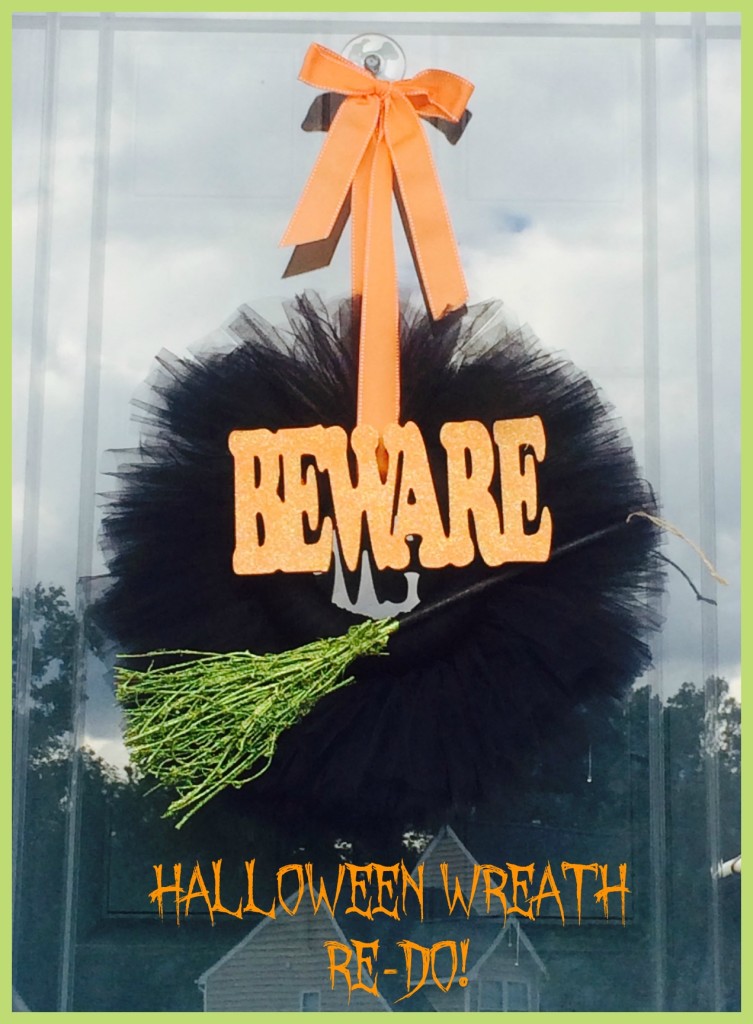
Halloween Wreath Re-do

So, I love the $1/$3 section at my local Target.   Every time I go into Target, I have to take a peek at what is there.  I don’t usually buy anything, but on occasion I can find something that I can use!

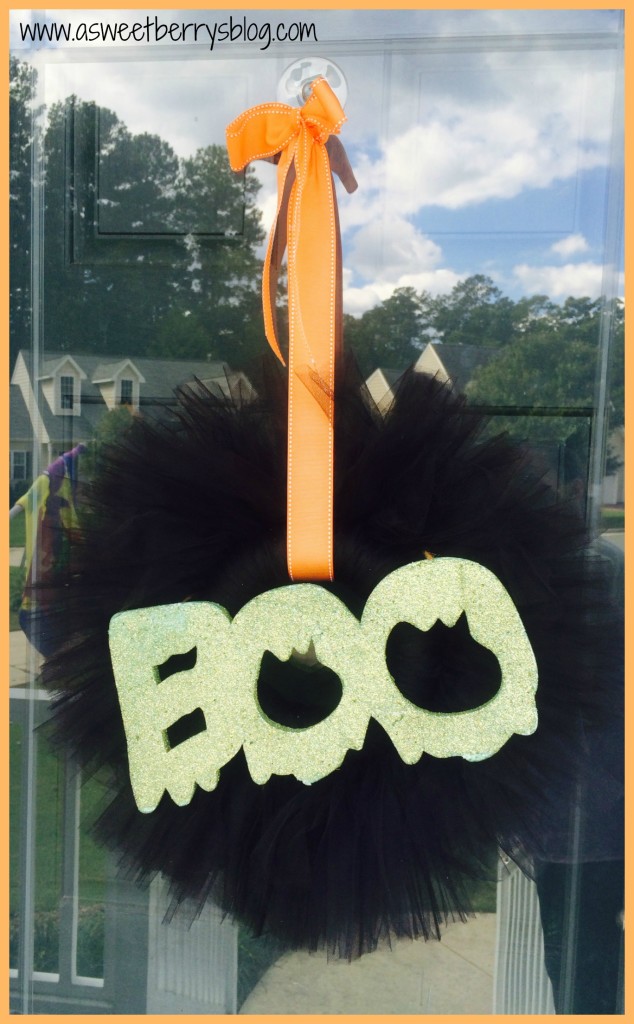
The wreath pictured below is one that I made a few years ago, using a styrofoam wreath, black tulle, some ribbons and a styrofoam “BOO” that I found in the $1 section at Target.  In the past few years of using this wreath, the styrofoam “BOO” has started to wear away.  So…….. old wreath

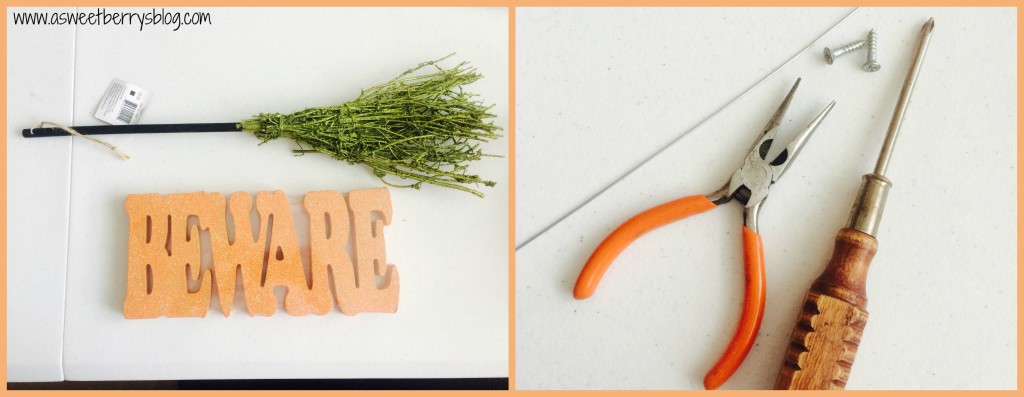
I just happened to walk through the $1/$3 section at Target the other day and saw some things I could use to spruce up my Halloween Wreath!   I found a wooden “BEWARE” and a witches broom.  Wondering how I was going to attached these new items to my wreath, I knew I had the materials to do that at home.

materials Wooden “Beware”, witches broom, garden wire, wire cutters, small screws and a screwdriver

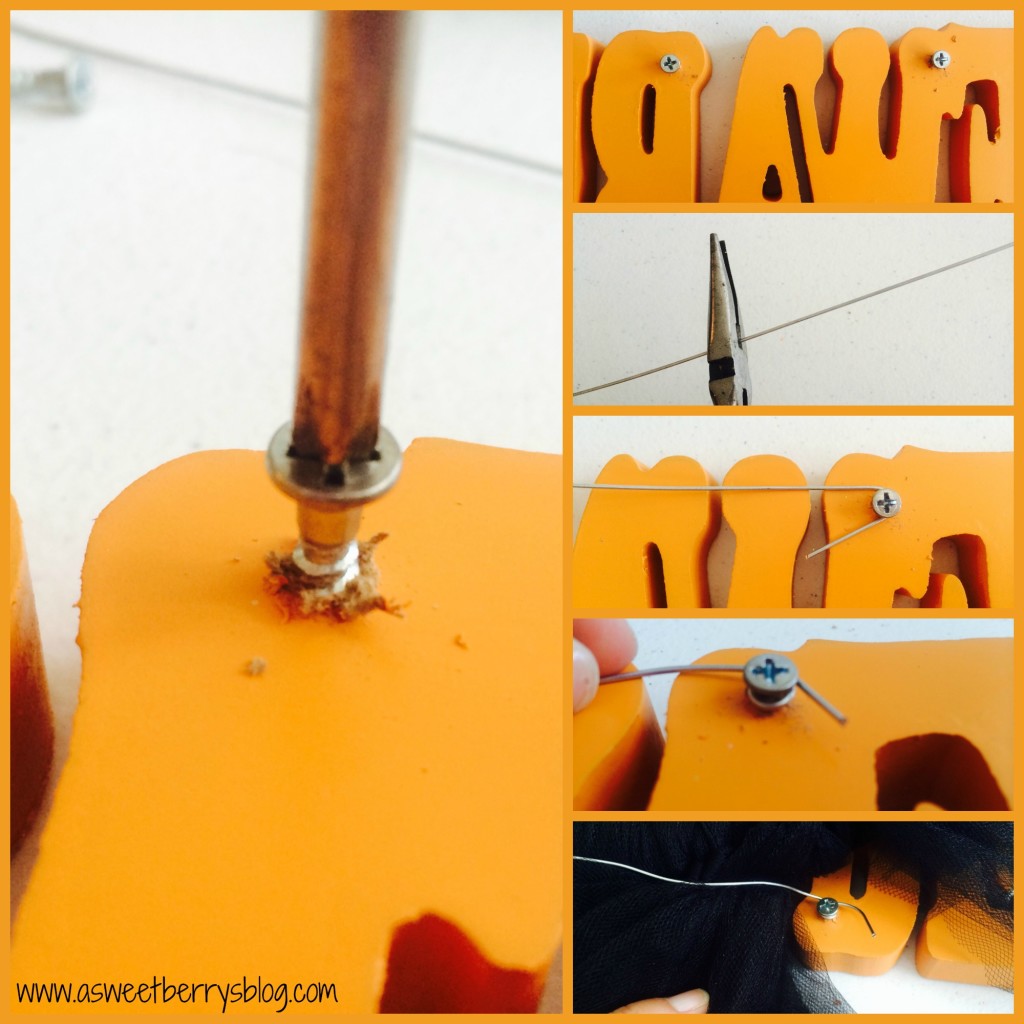
Using my screwdriver, I screwed my two small screws into the back of the “BEWARE”.   I then cut my wire to size so that I could attached it to the word and then to the wreath.  I twisted the wire around the screws and then attached it to my wreath.

beware

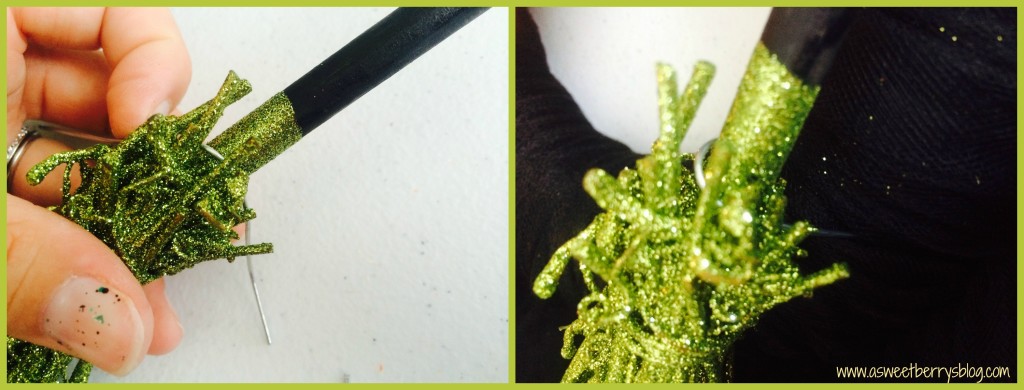
Using a piece of the gardening wire, I twisted it around the broom and then stuck the ends of the wire into the foam of the wreath. broom

Then, I hung it up and how the rest of the Halloween decorating begins!!!   Isn’t it cute?!?!?!

Halloween Wreath

Hope you like my Halloween Wreath Re-do, using items for the Target $1/$3 section!!!

Until next time…………

Print