Need a quick wedding craft to brighten up the bride and grooms chair at the wedding reception? These Mr. and Mrs. Seat Back Wedding Wreaths are quick, easy and adorable!

Materials:
Two foam wreaths (I used FloraCraft Make It Fun Wreath Rings)
Wooden Letters (I picked these up at A.C. Moore)
Burlap Ribbon
Tulle
Krylon ColorMaster – Sea Glass
Hot Glue Gun and Glue

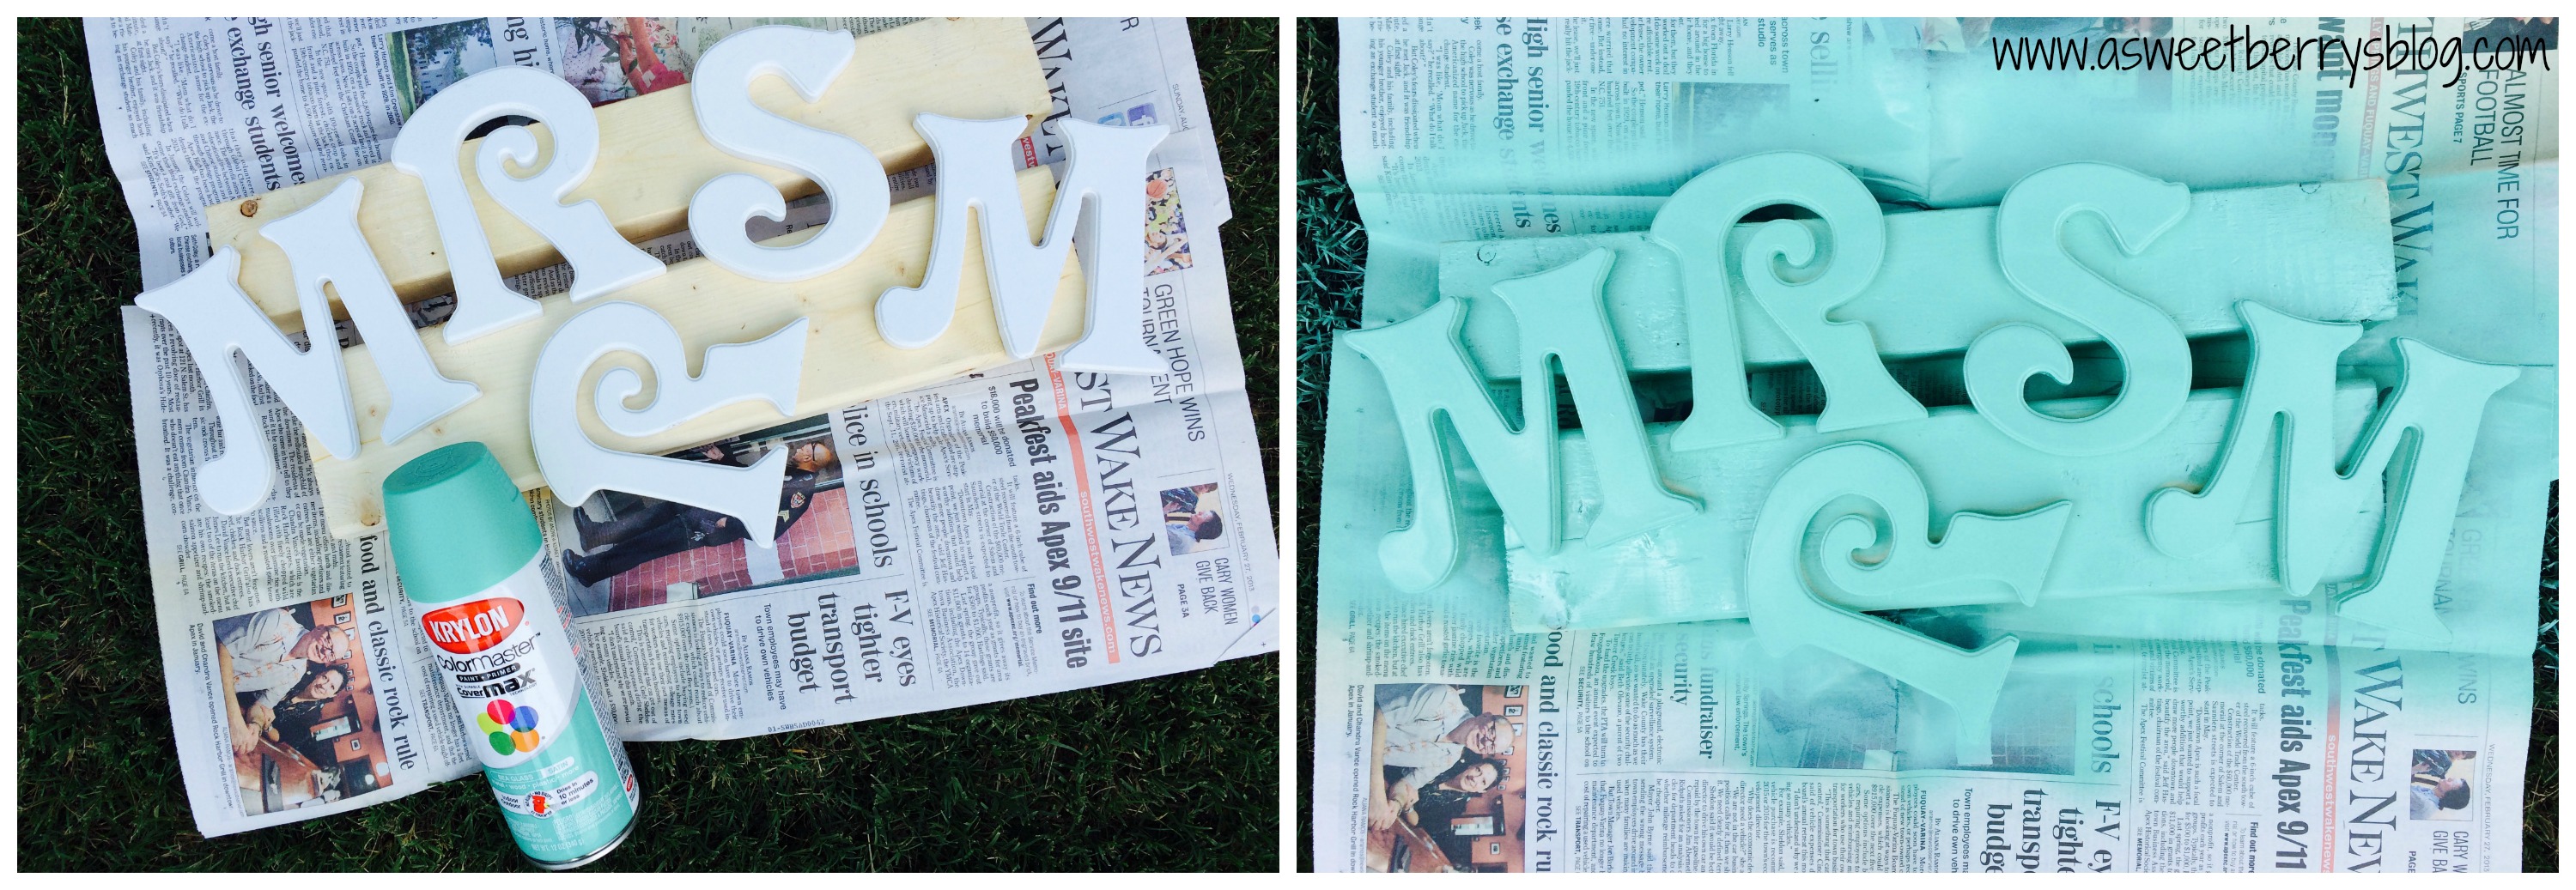
So that it would be dry in time for adding them to my wreaths, I spray painted my letters first.
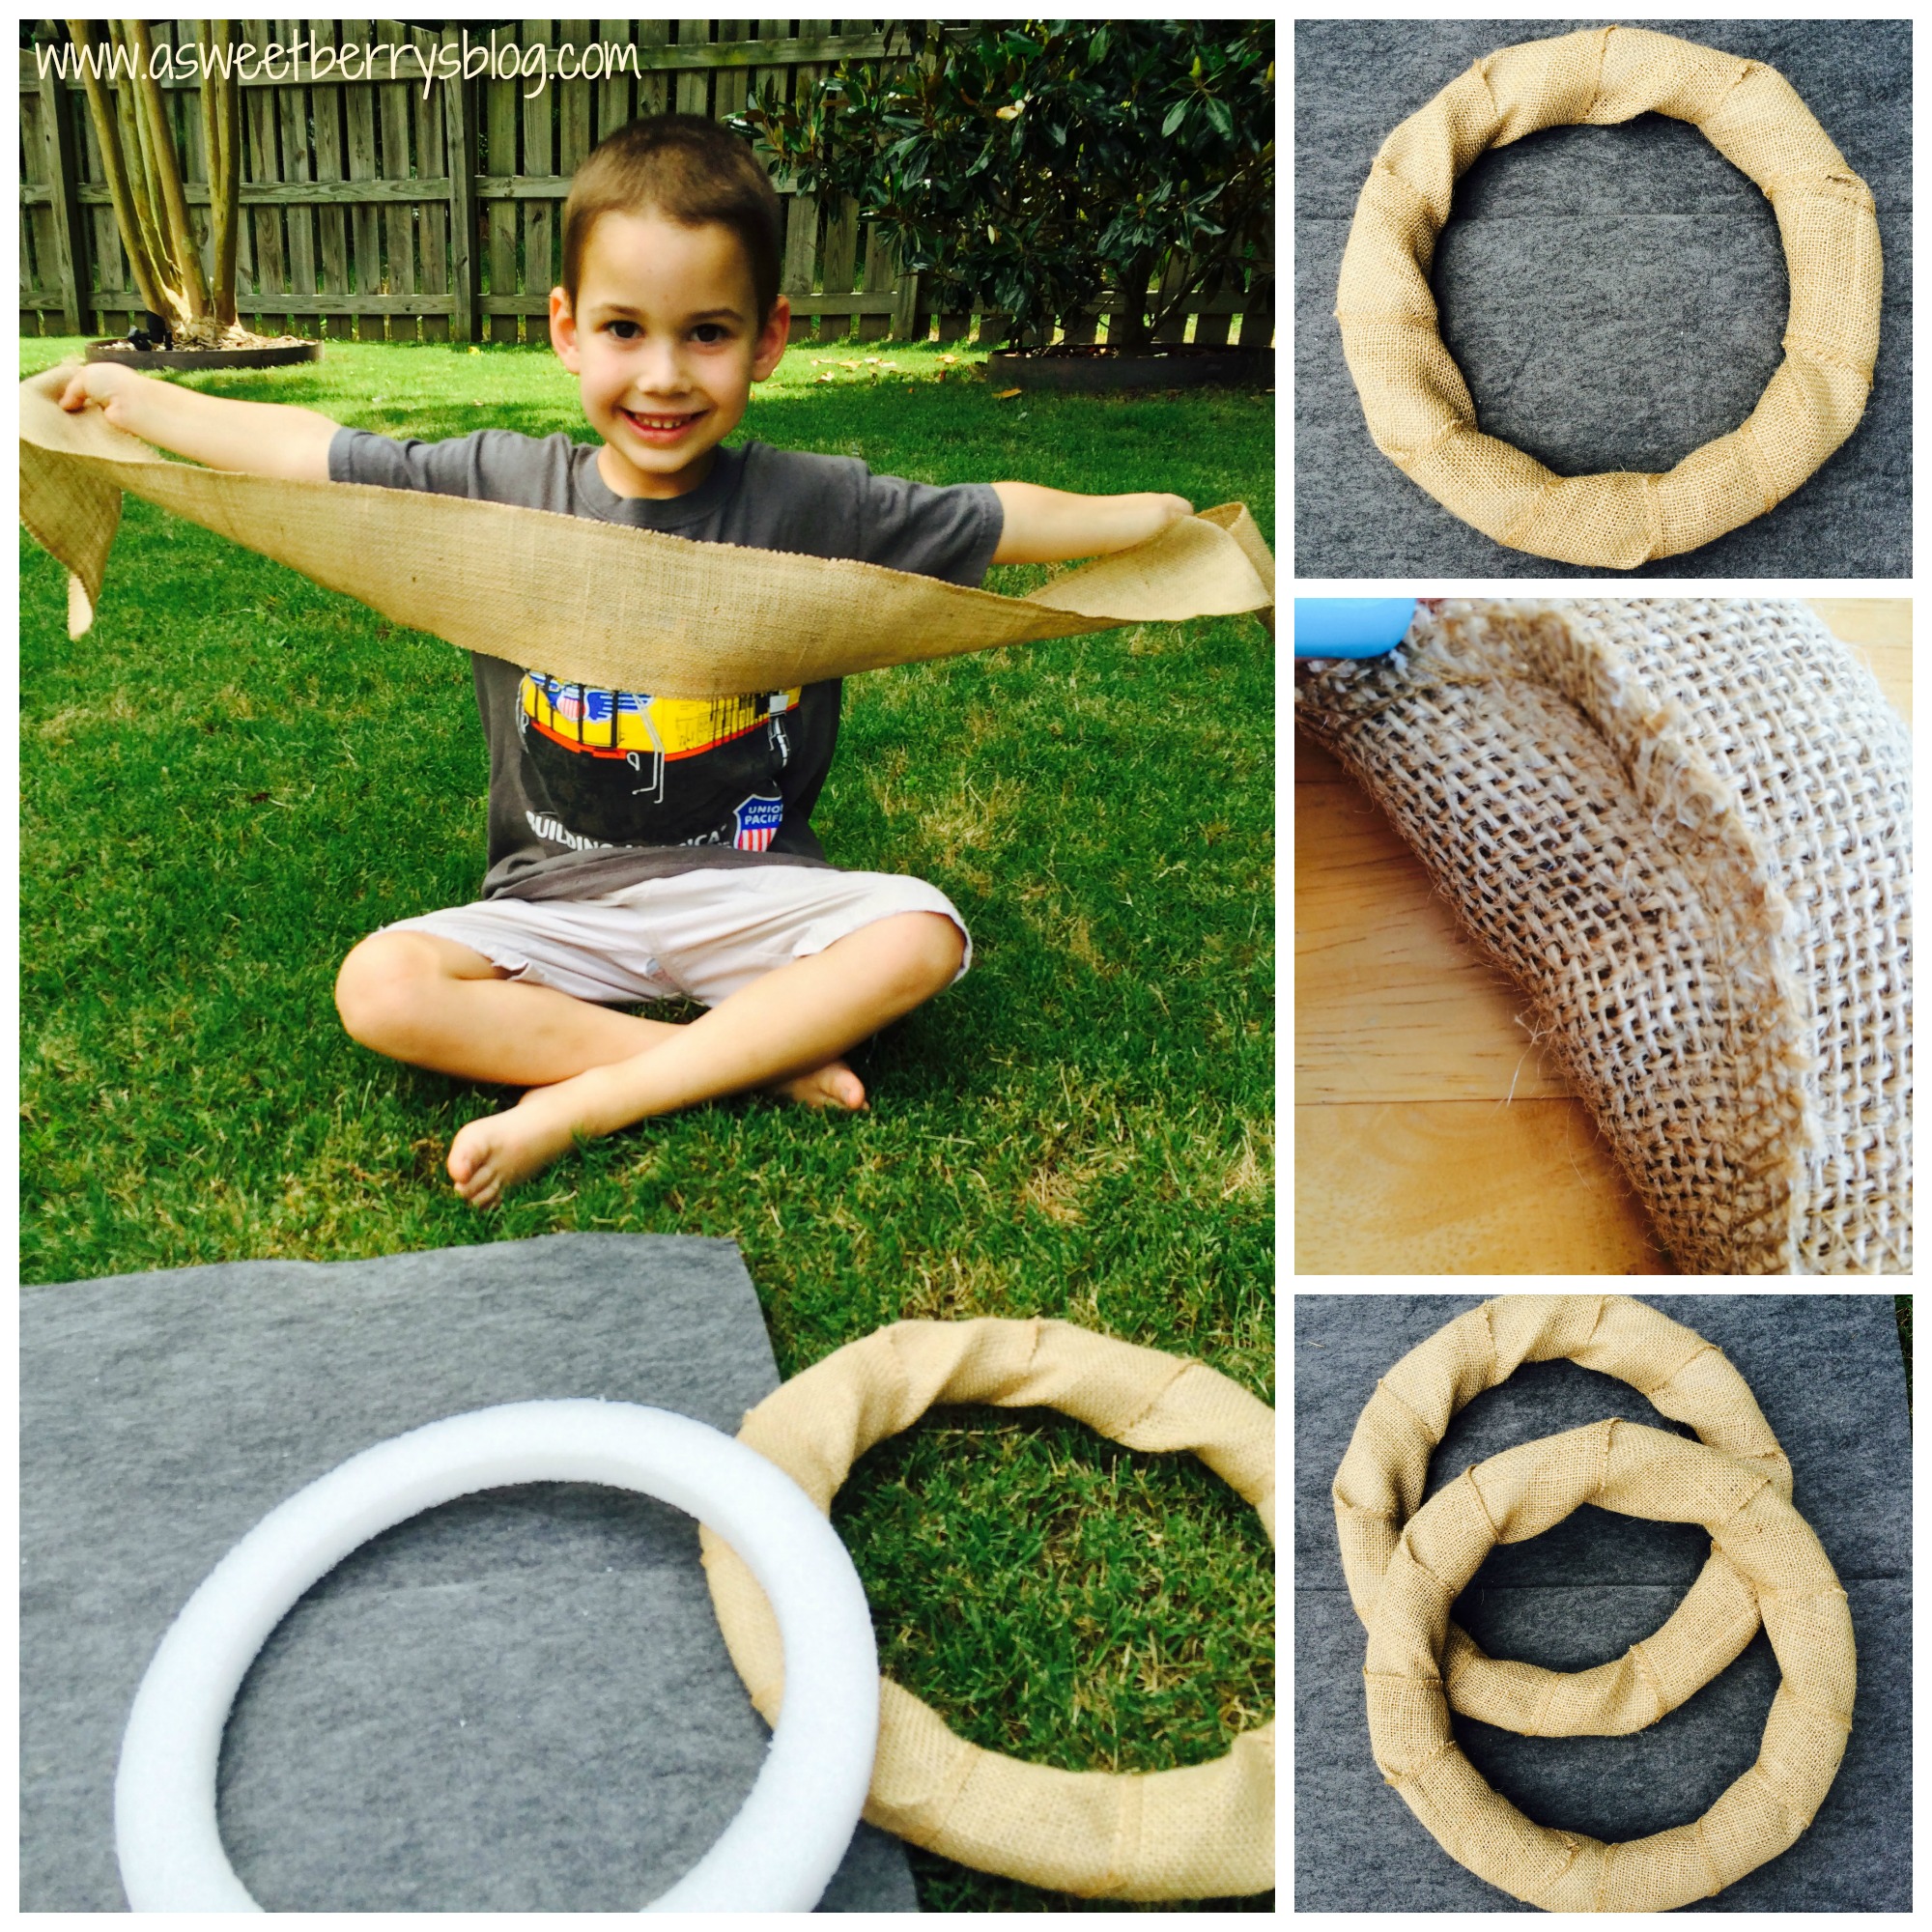
Then, with the help of my craft loving five year old, Benjamin, I wrapped the foam wreath rings with the burlap ribbon and hot glued the end to keep it from unraveling.
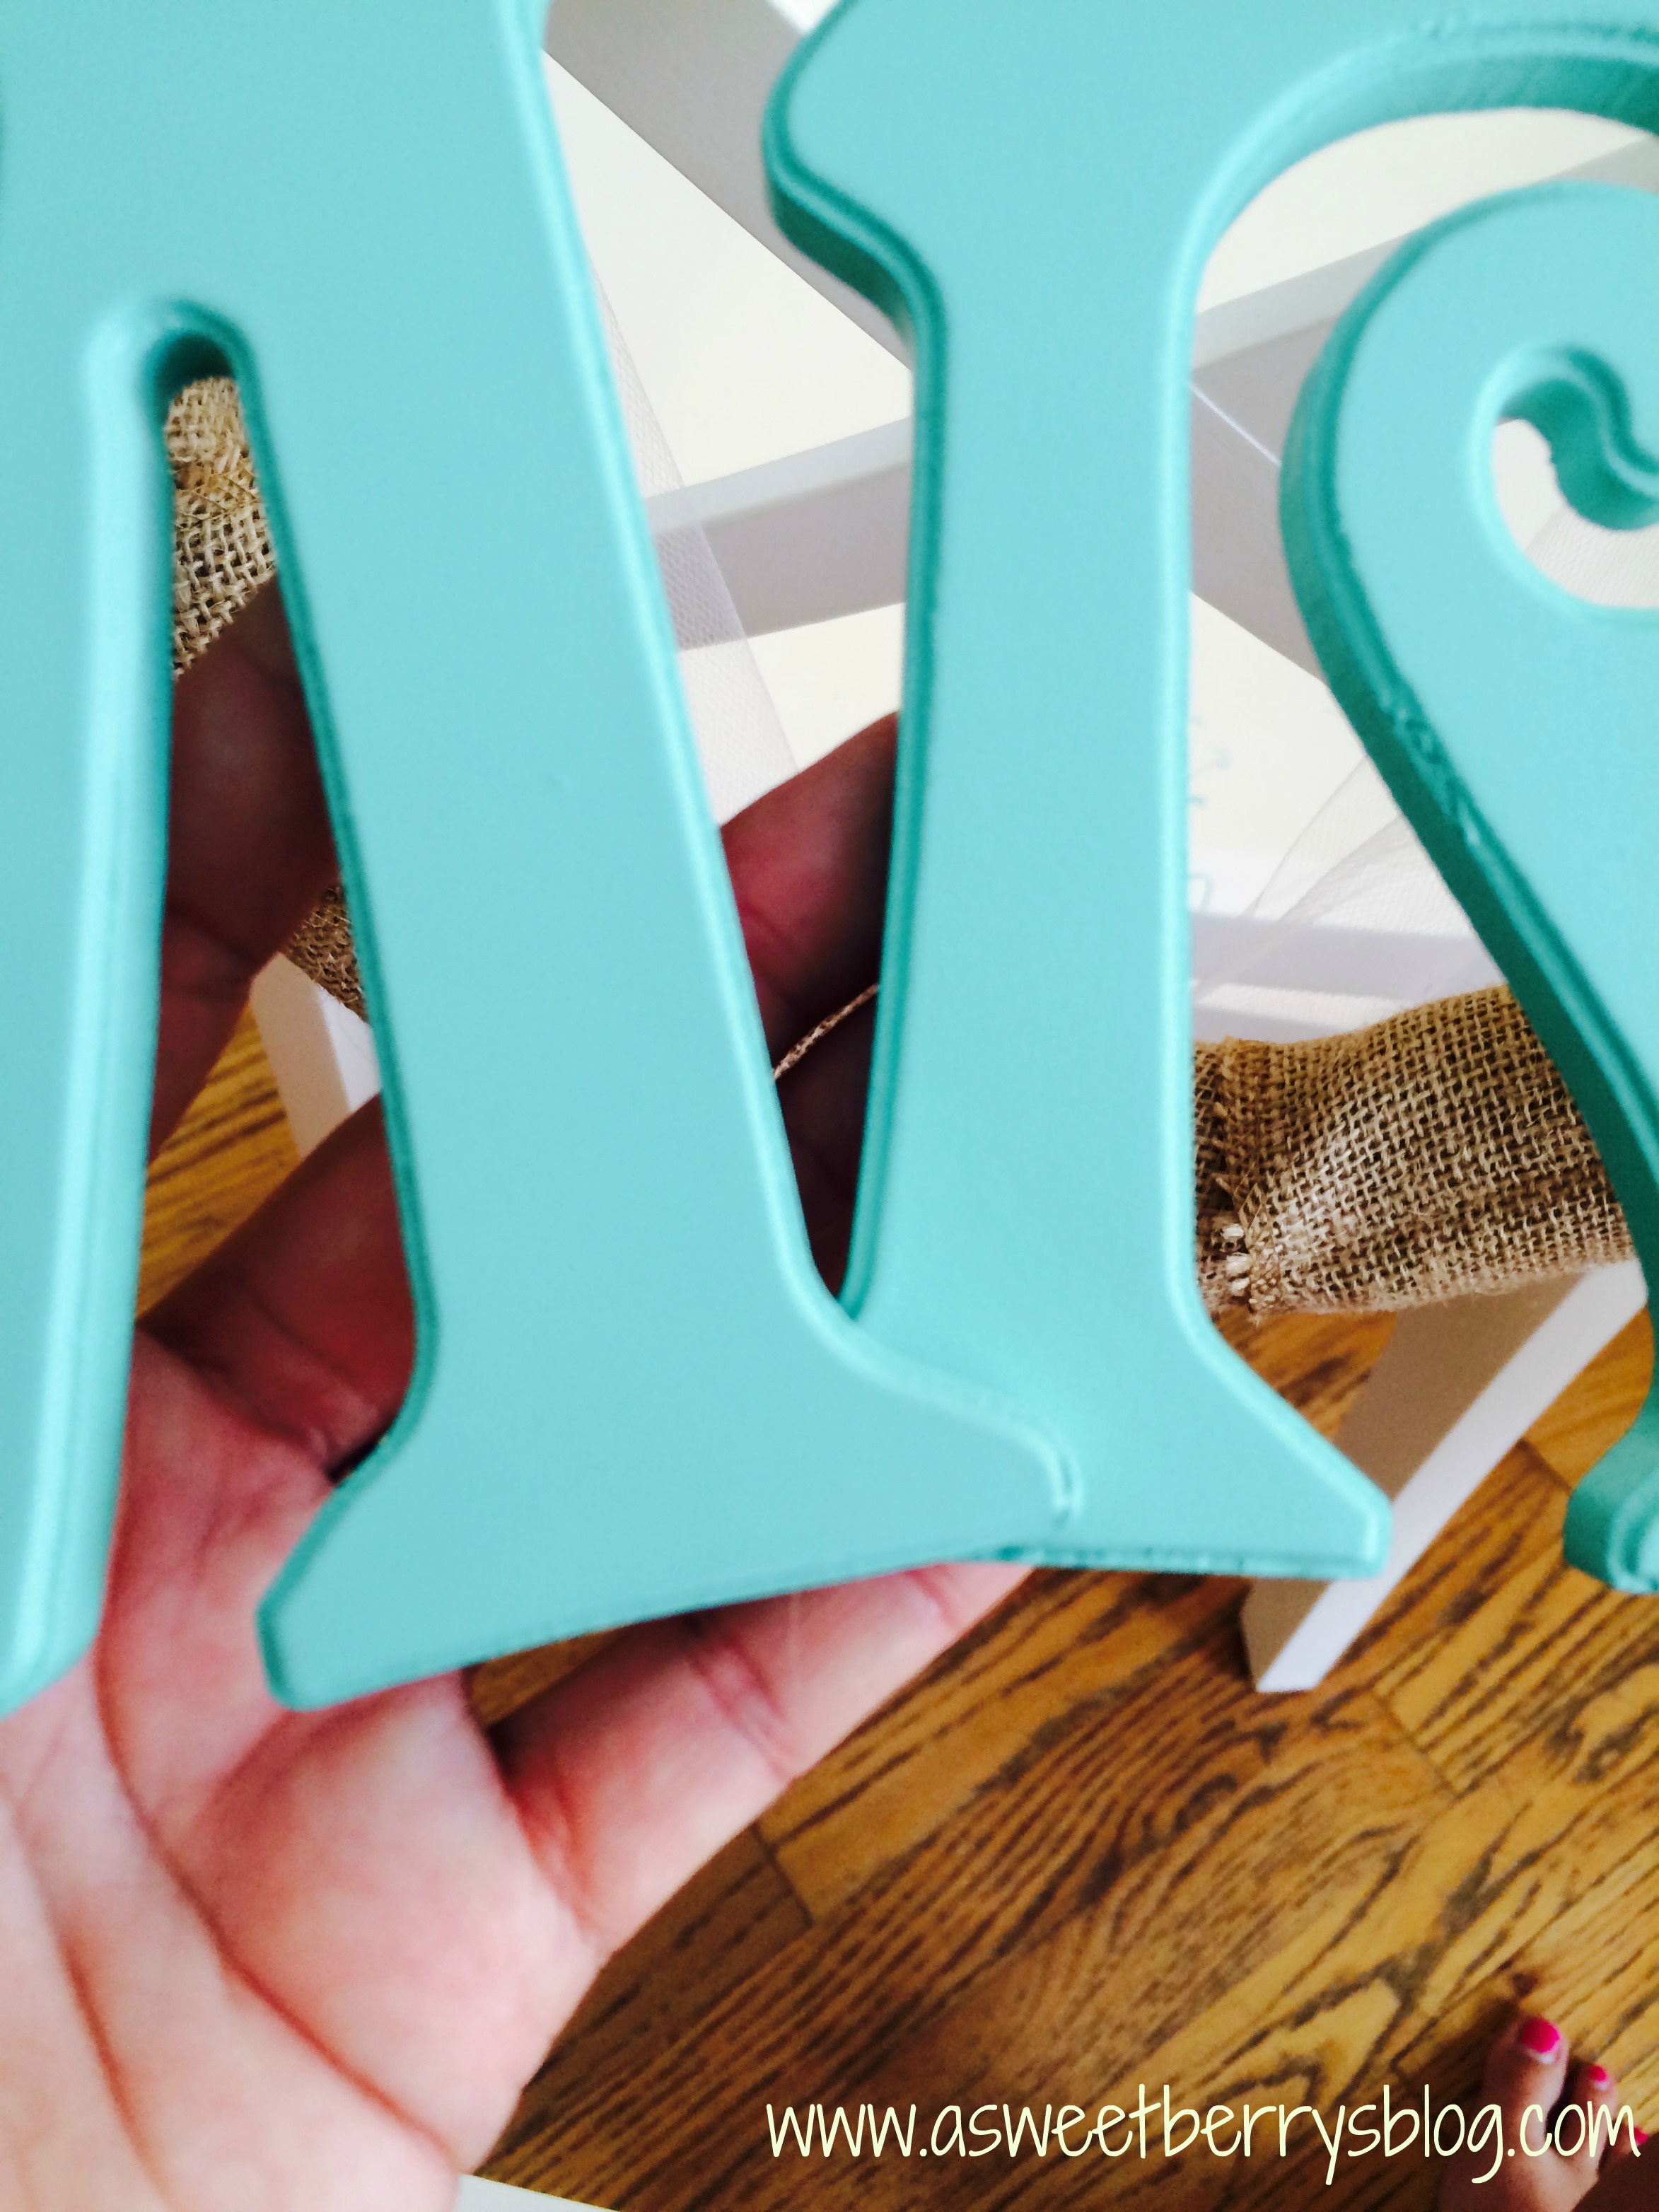
Once my letters were dry, I hot glued them together, slighting overlapping the letters.
Once the letters were glued together, I took a strip of tulle that was about 6-8 feet long and folded it in half to find the center. Once I had the center, I hot glued my letters to the tulle. I only attached the “Mrs” on the “R” and both the “M” and “R” of the “Mr” to the tulle. I then laid the letters and tulle over the wreath and wrapped the tulle around the wreath near the top. Once I was happy with the placement of the letters, I wrapped it around the chair and tied it to secure the wreaths to the chairs!
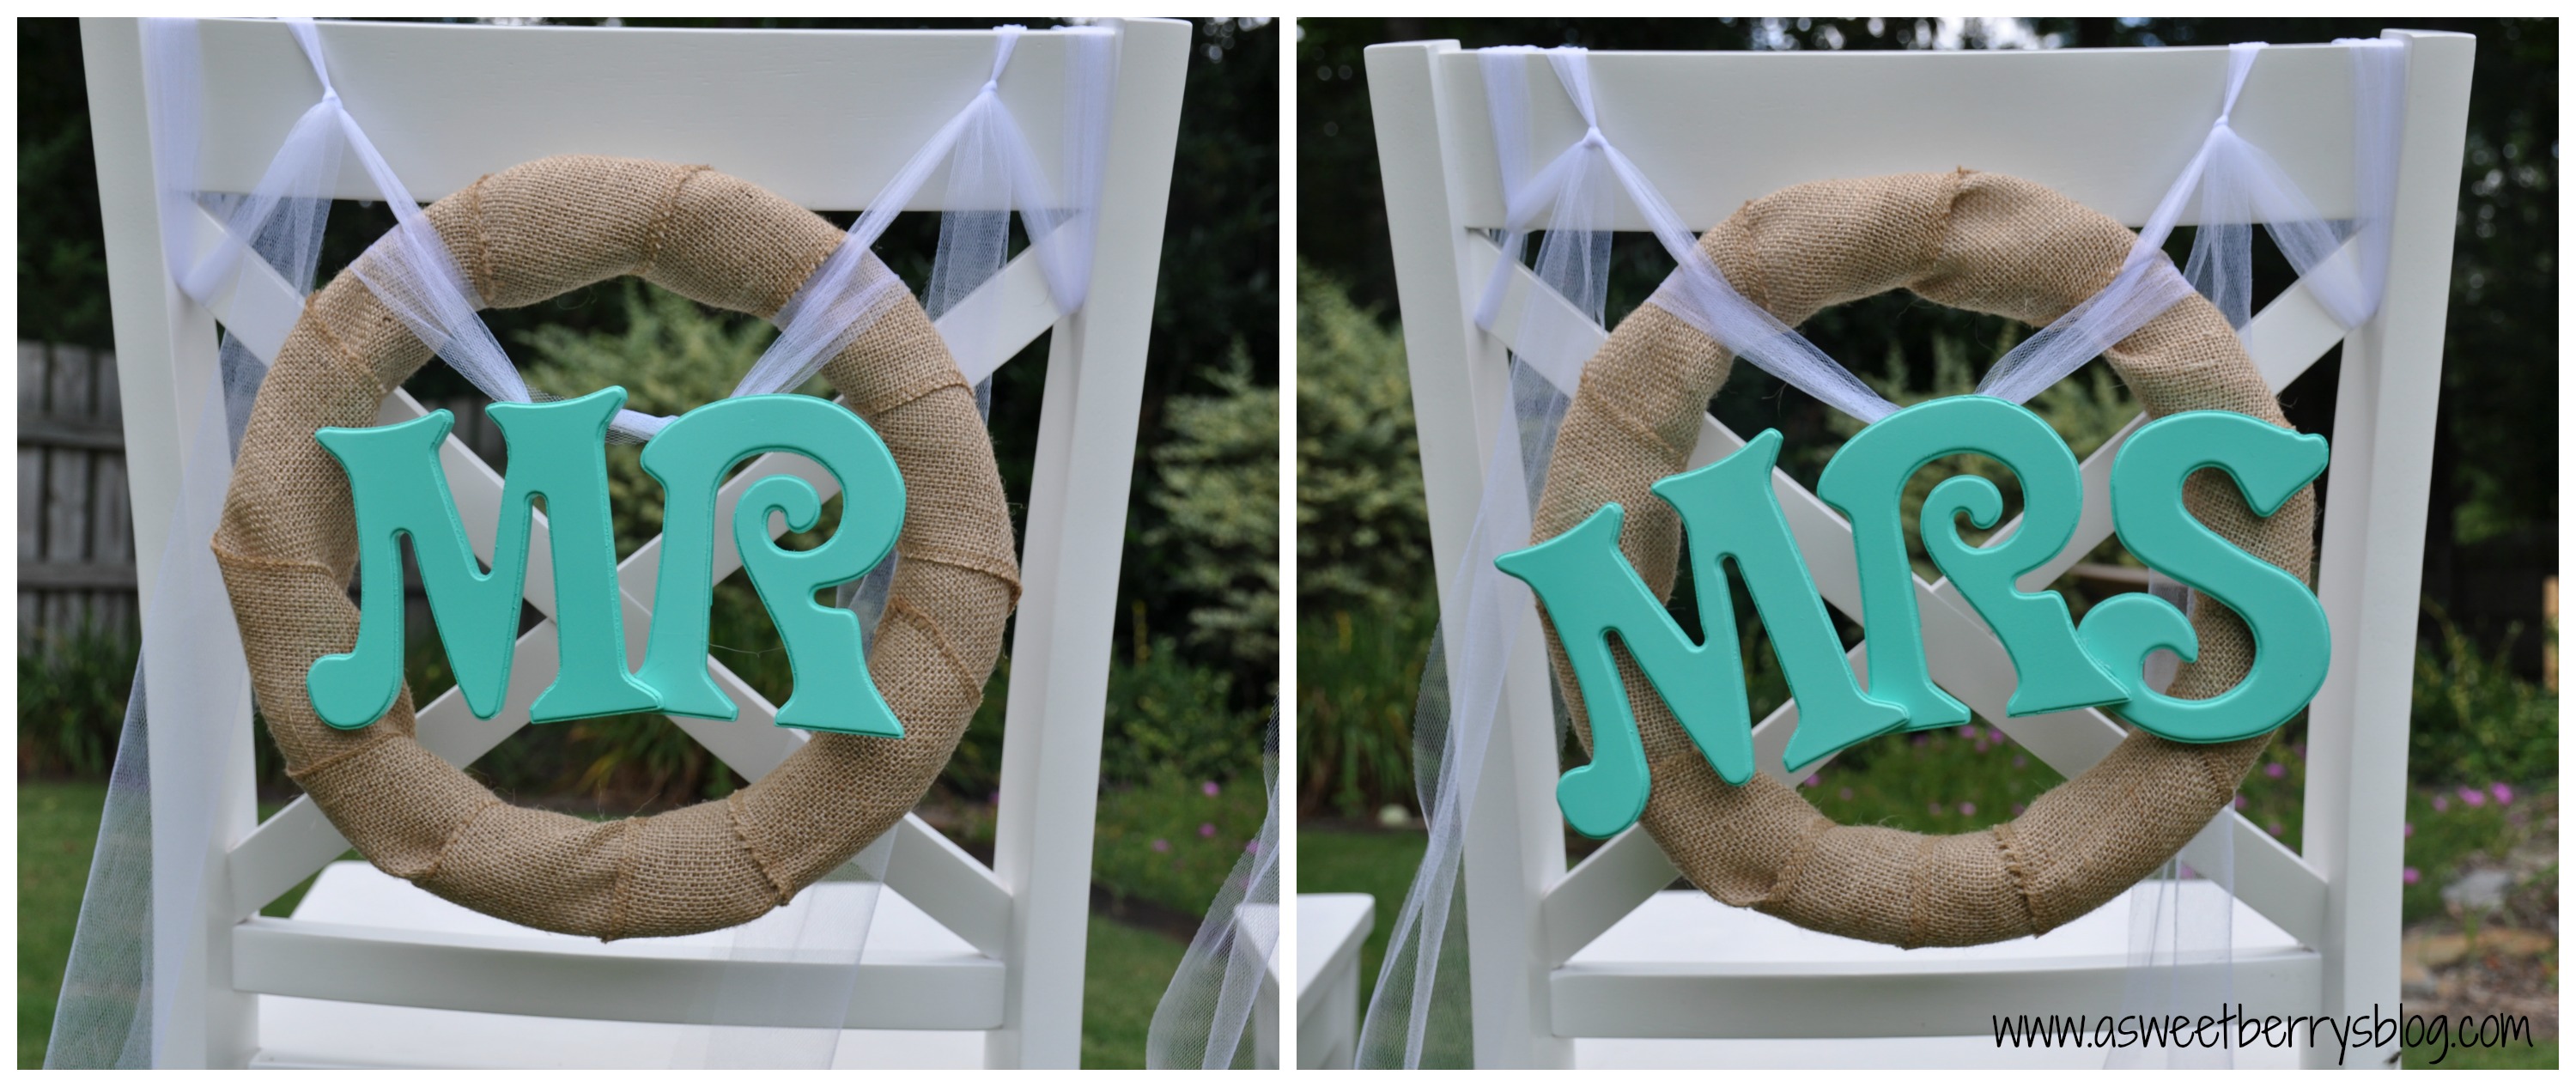
I love how these turned out! And they are actually on their way to a beach wedding this upcoming weekend!

Need other super quick and easy wedding ideas? Be sure to check out this awesome Craft Lightning event for great ideas from some awesome bloggers!

Until next time……
Category Archives: Uncategorized
Pirate Fun featuring Laura Kelly’s Pirate Island!!!
Ahoy Matey!
Summer has begun and it going to fly by. With Benjamin heading into kindergarten on the year-round schedule, the boys only have a few weeks off before the new school year begins in July. We are going to make the most of it and plan to spend as much time being active as possible including hitting the beach and the pool. Both boys have tons of energy and love to be busy and on-the-go.
Sometimes finding things to do with two boys in the summer when the weather is poor or we are stuck in the car can be challenging. Of course they would be fine to play on their tablets but I prefer that we have a balance.
They both love to make stuff and solve puzzles so this little Pirate Games printable from Shop Laura Kelly is awesome.
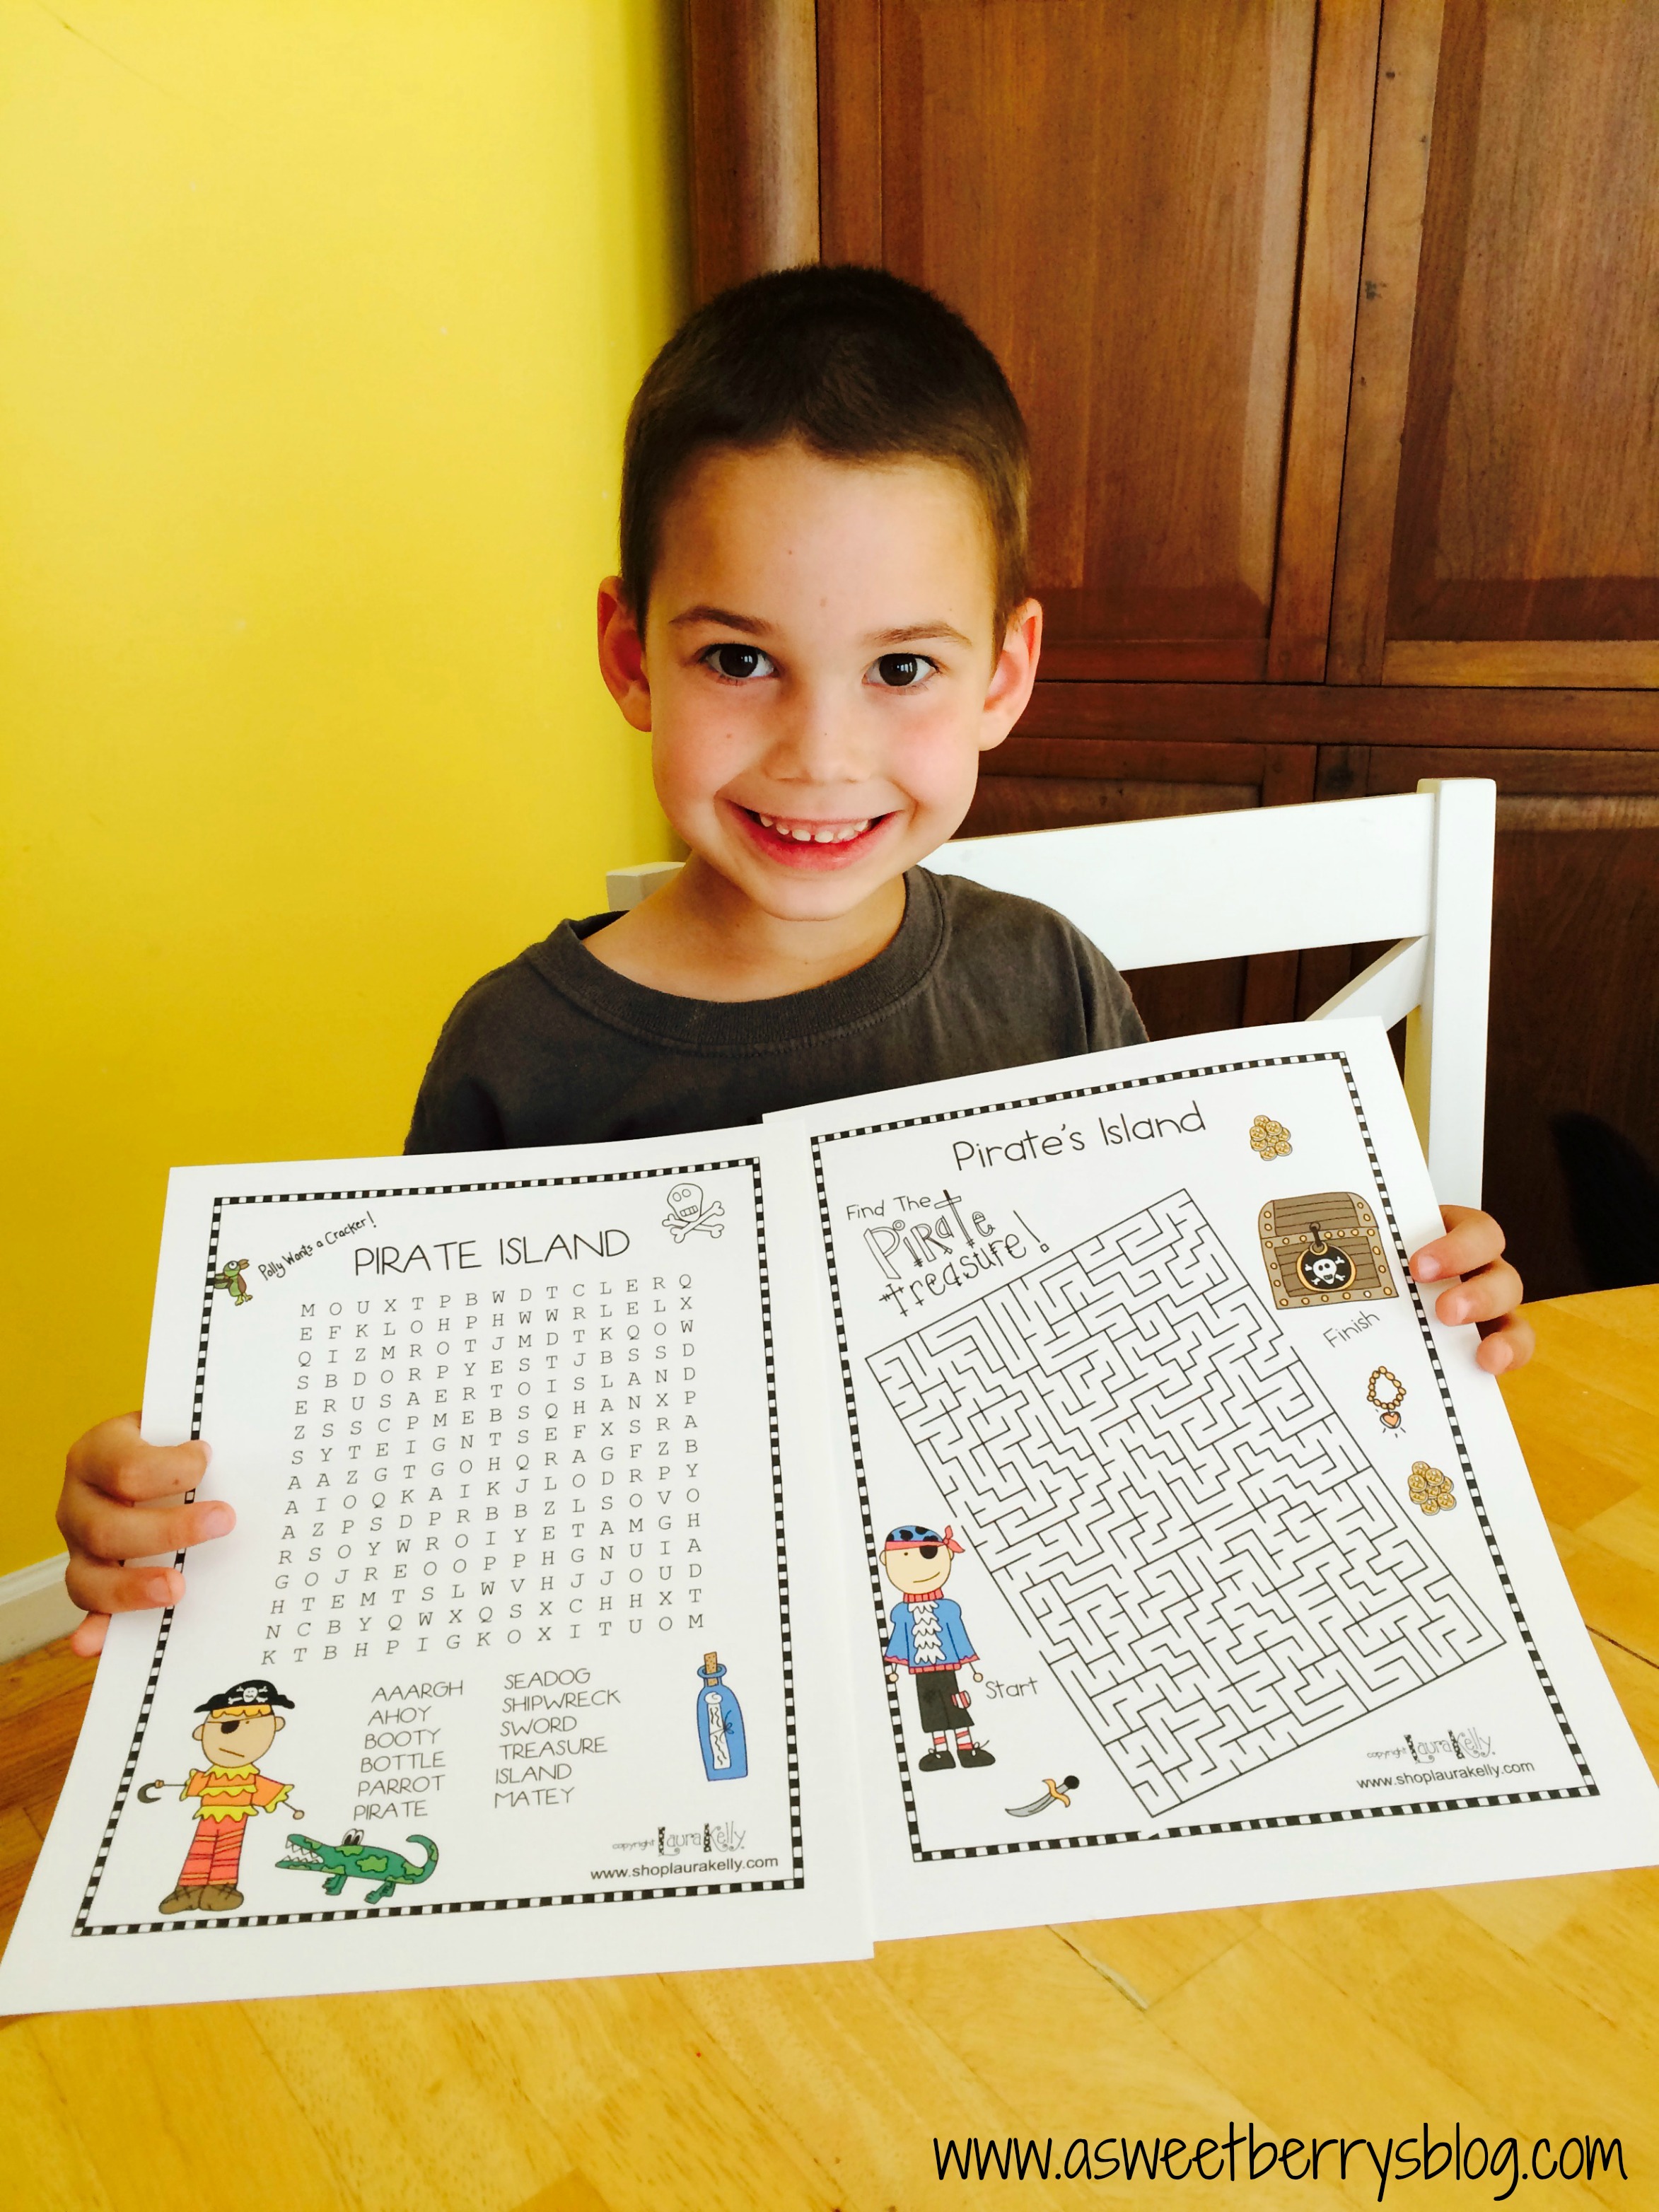
I am printing and packing them to have ready for the car ride tomorrow.
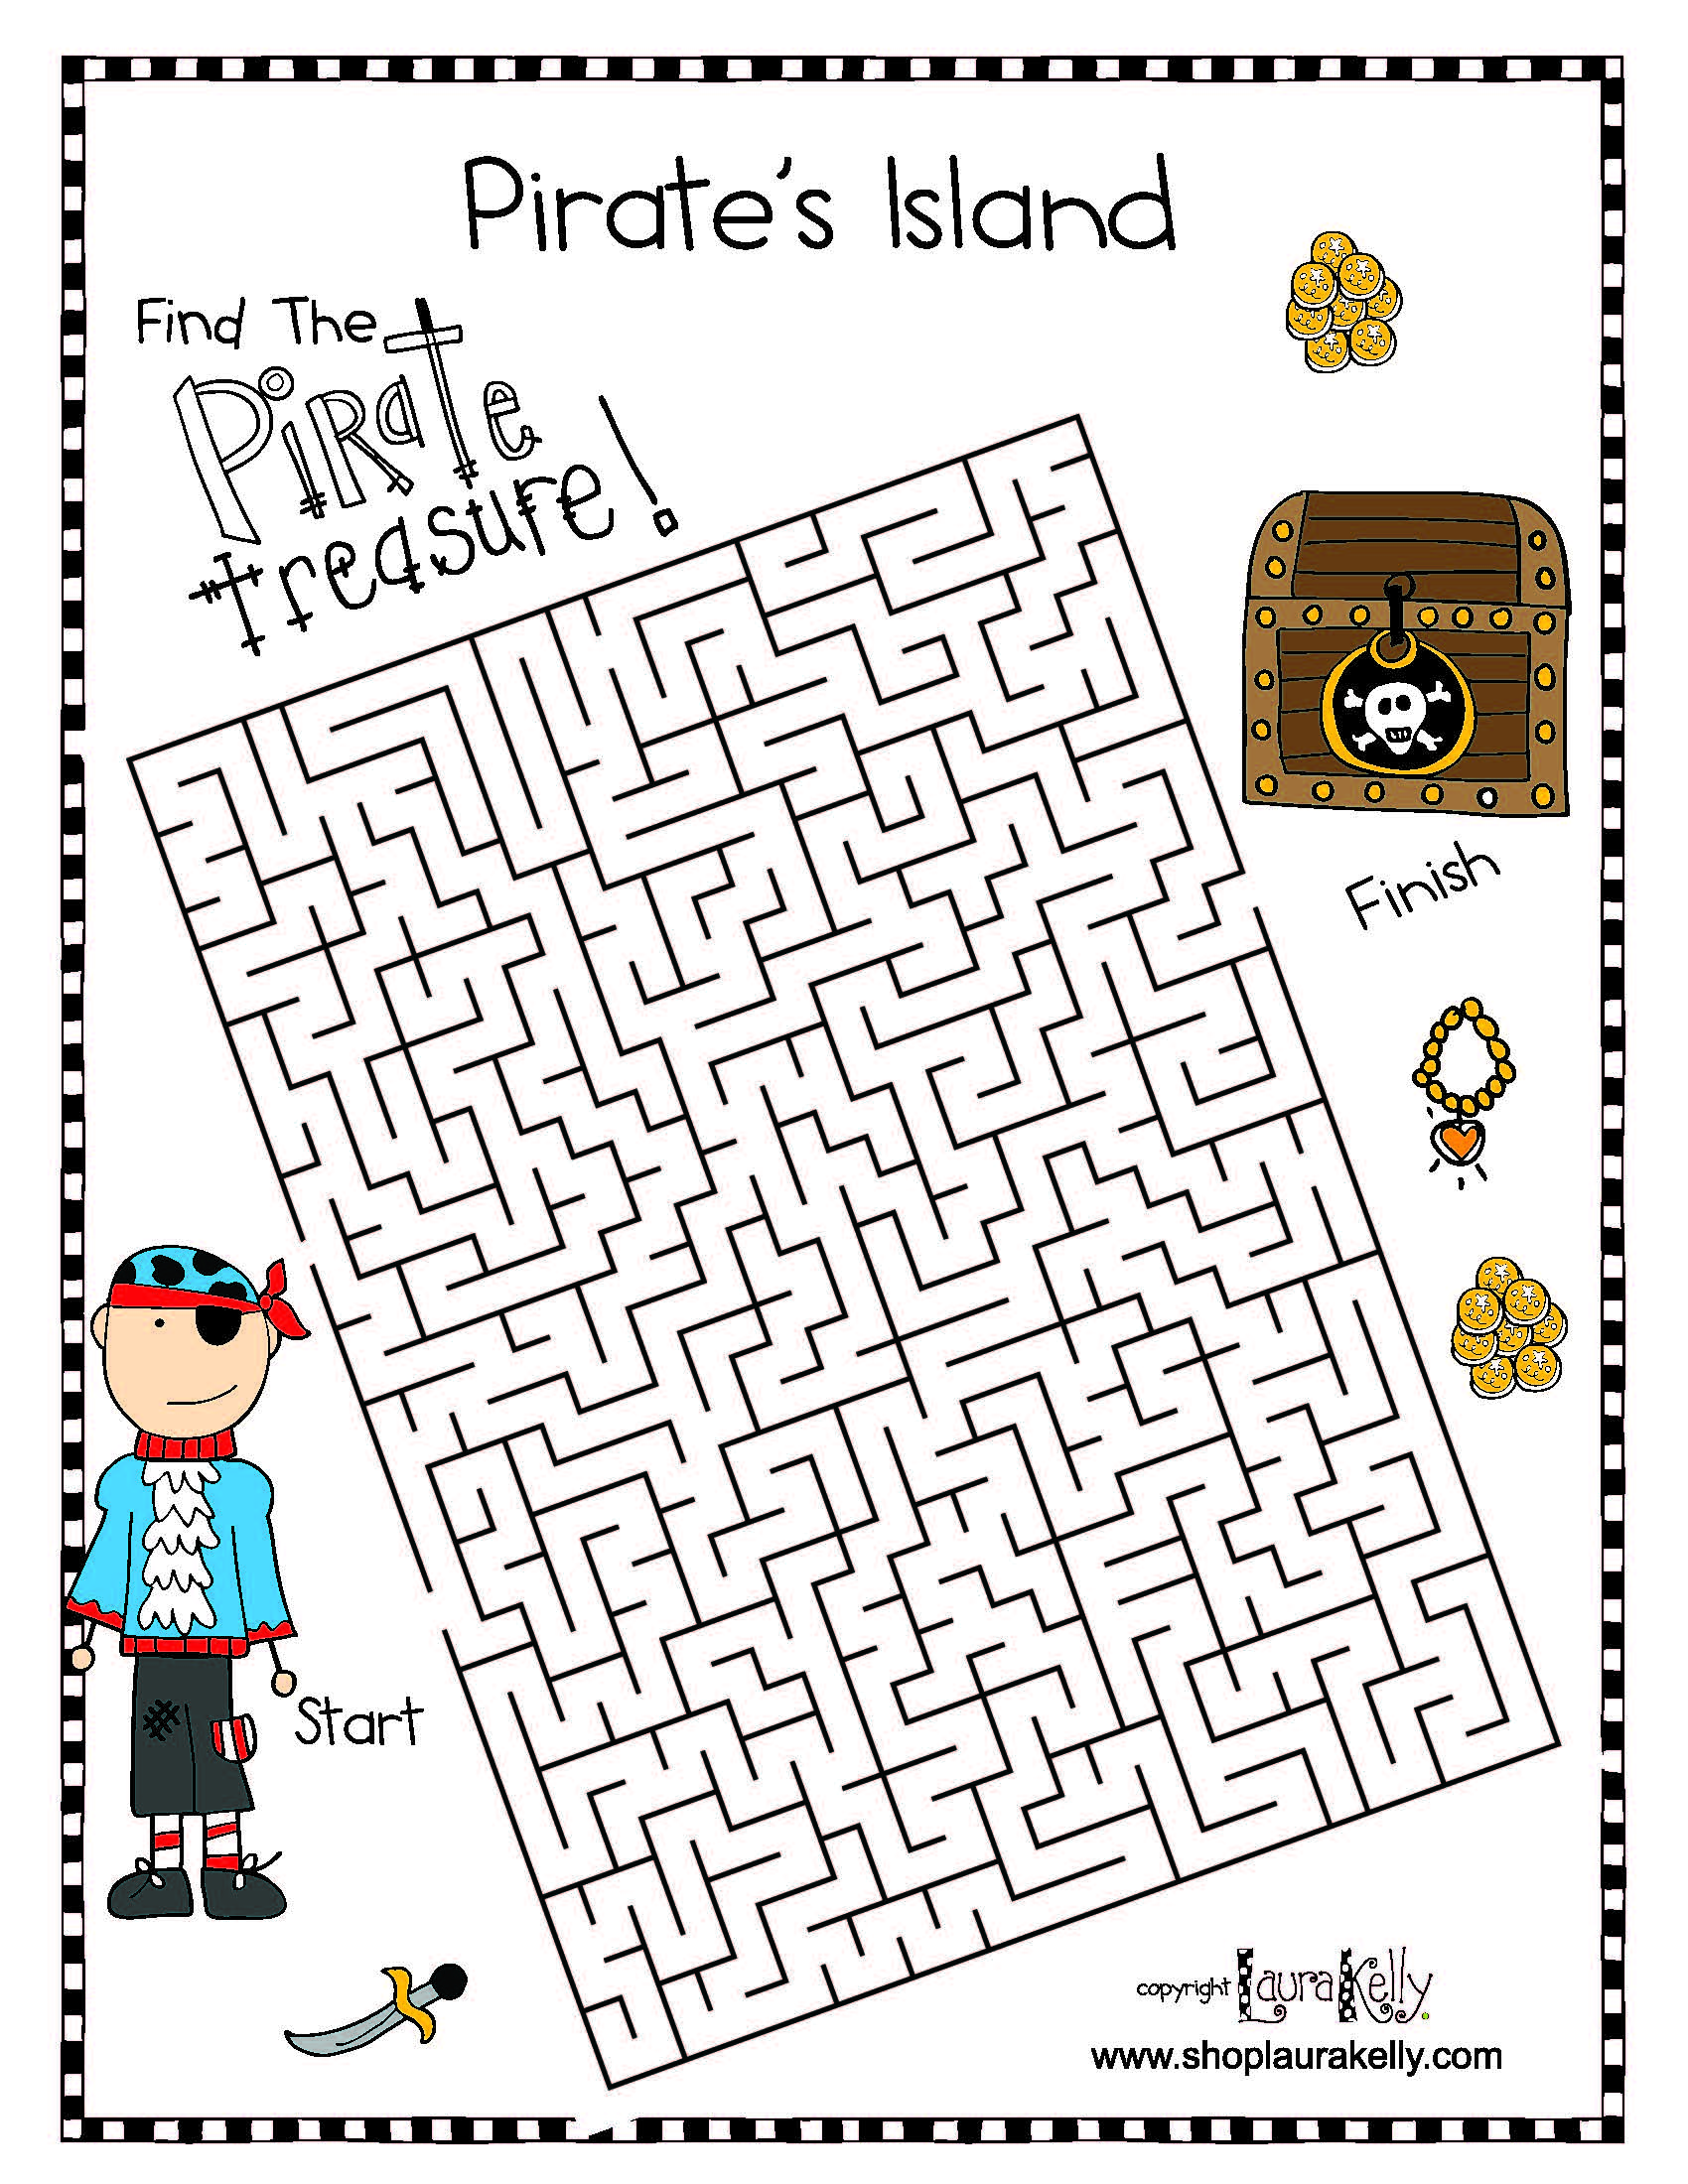
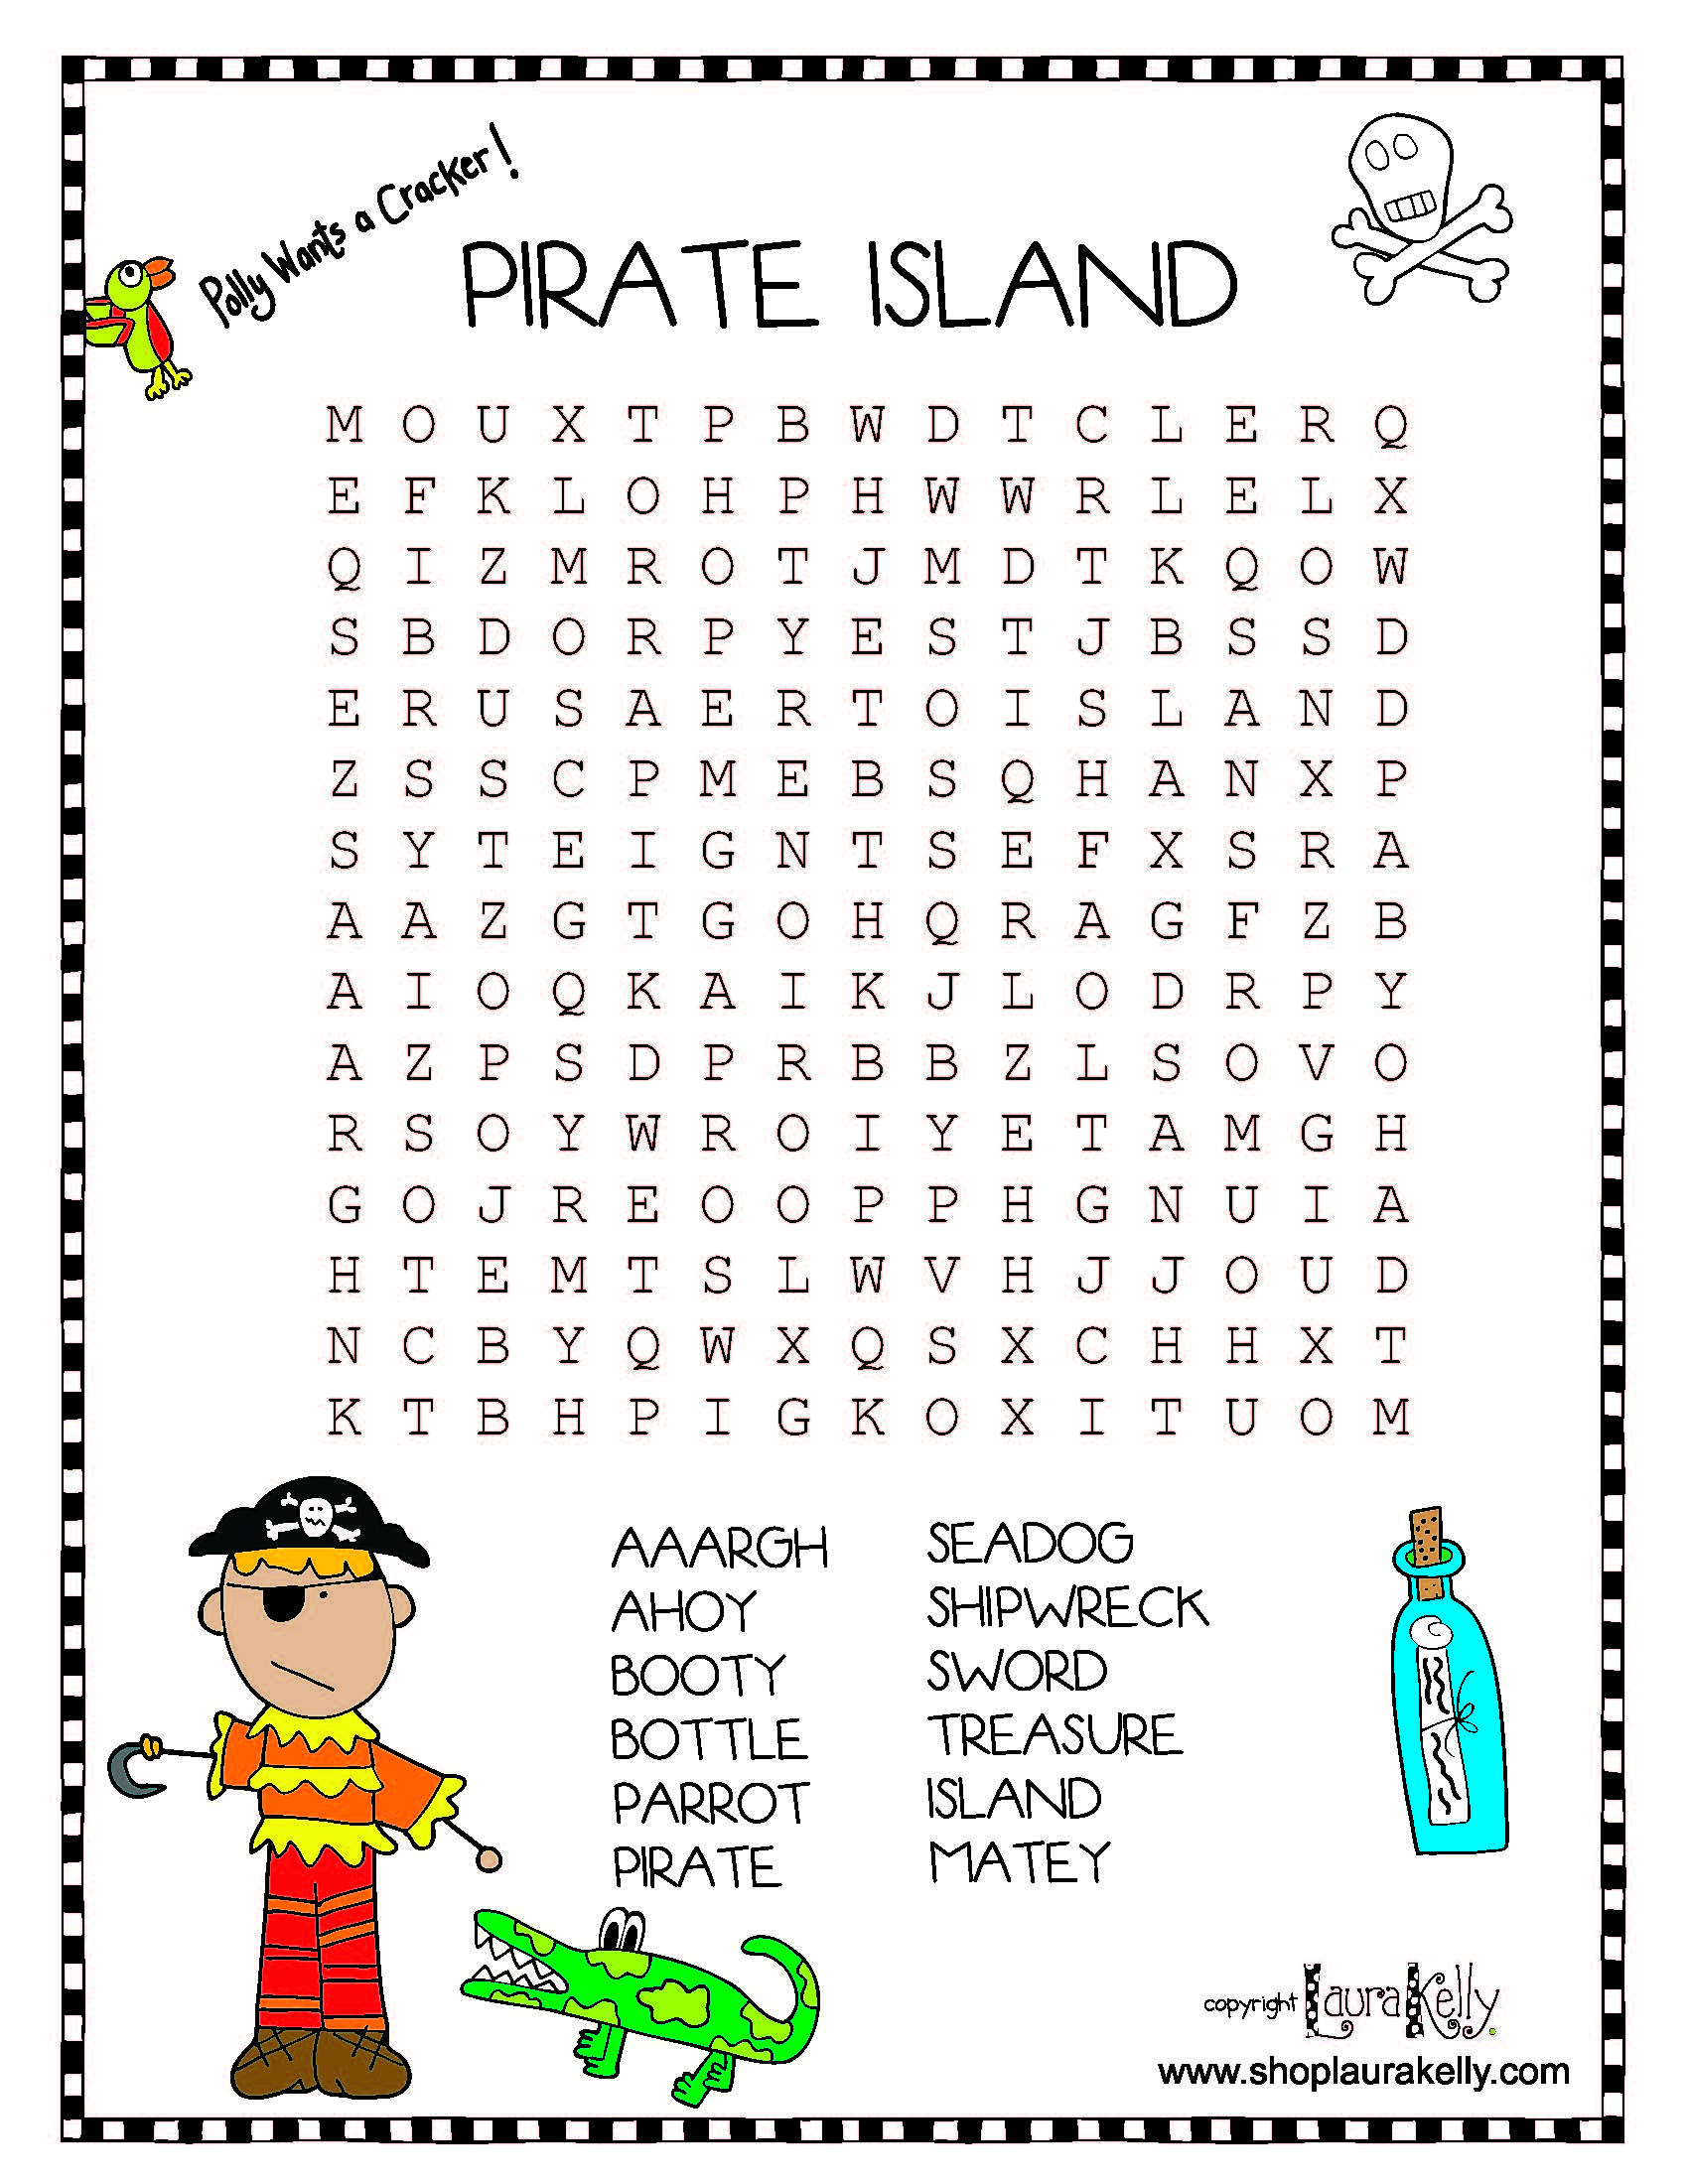
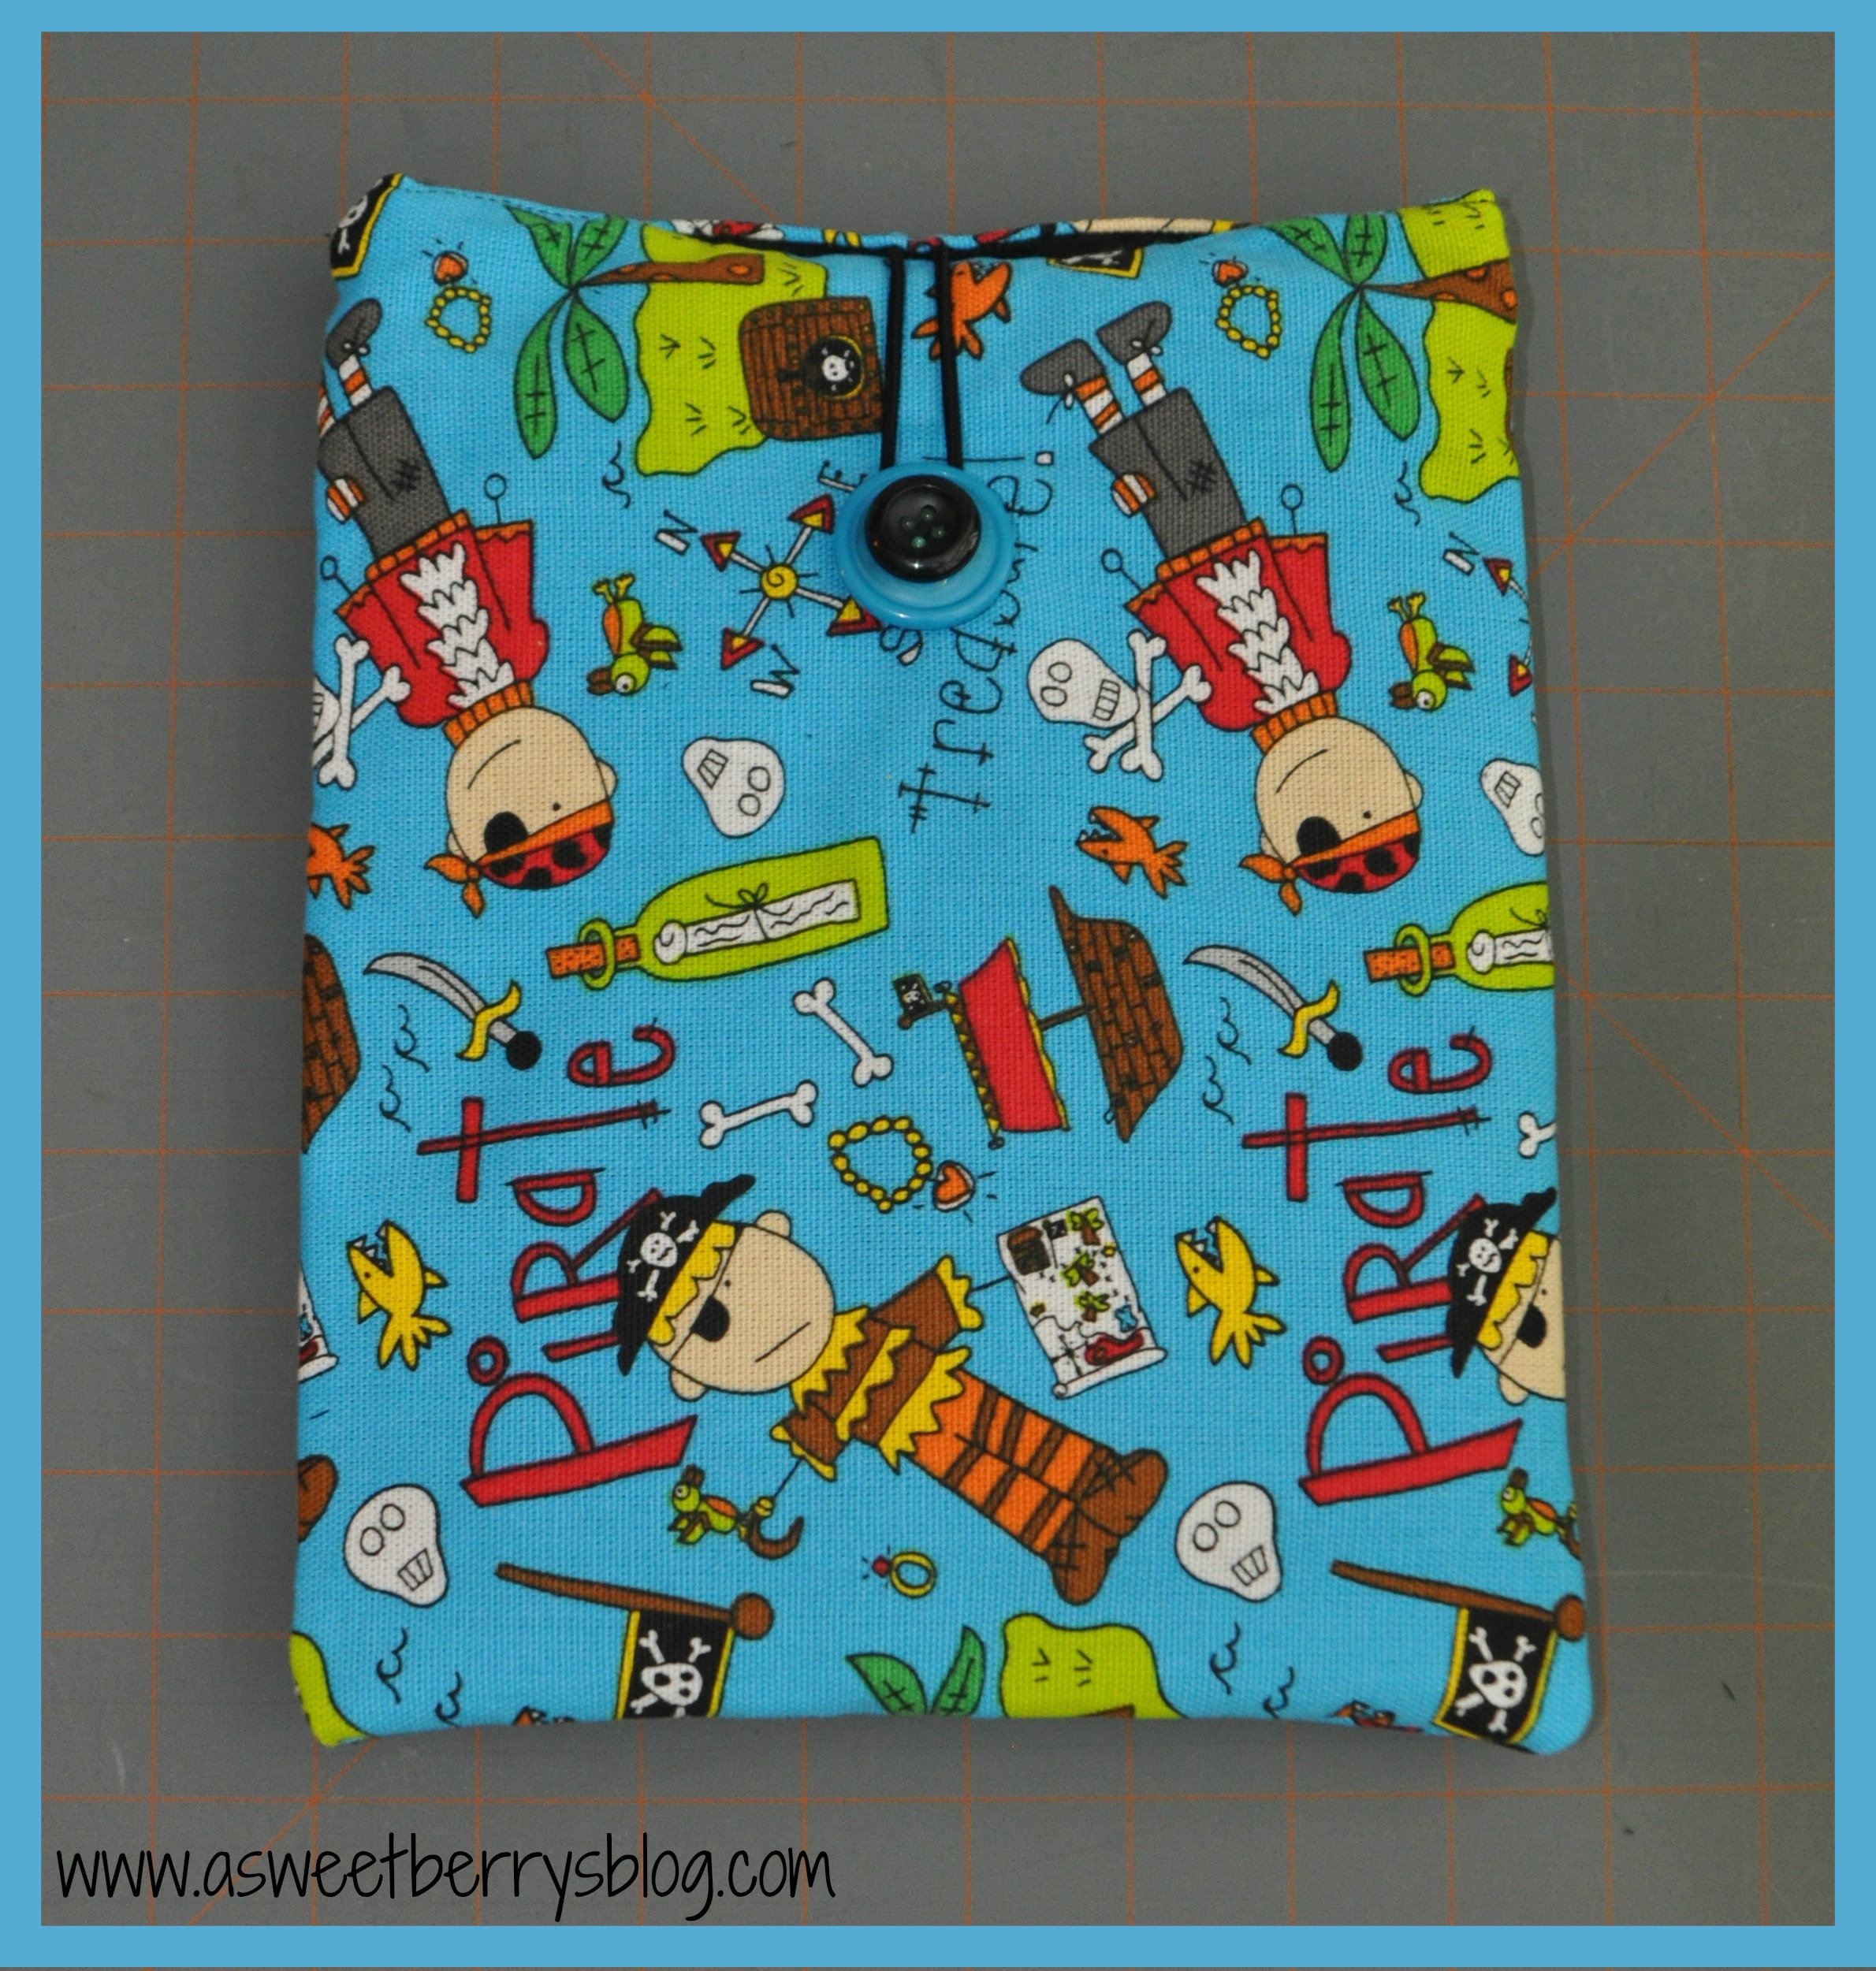
They are a perfect match to the travel activity bags I made for the boys a while back.
Check that out HERE!
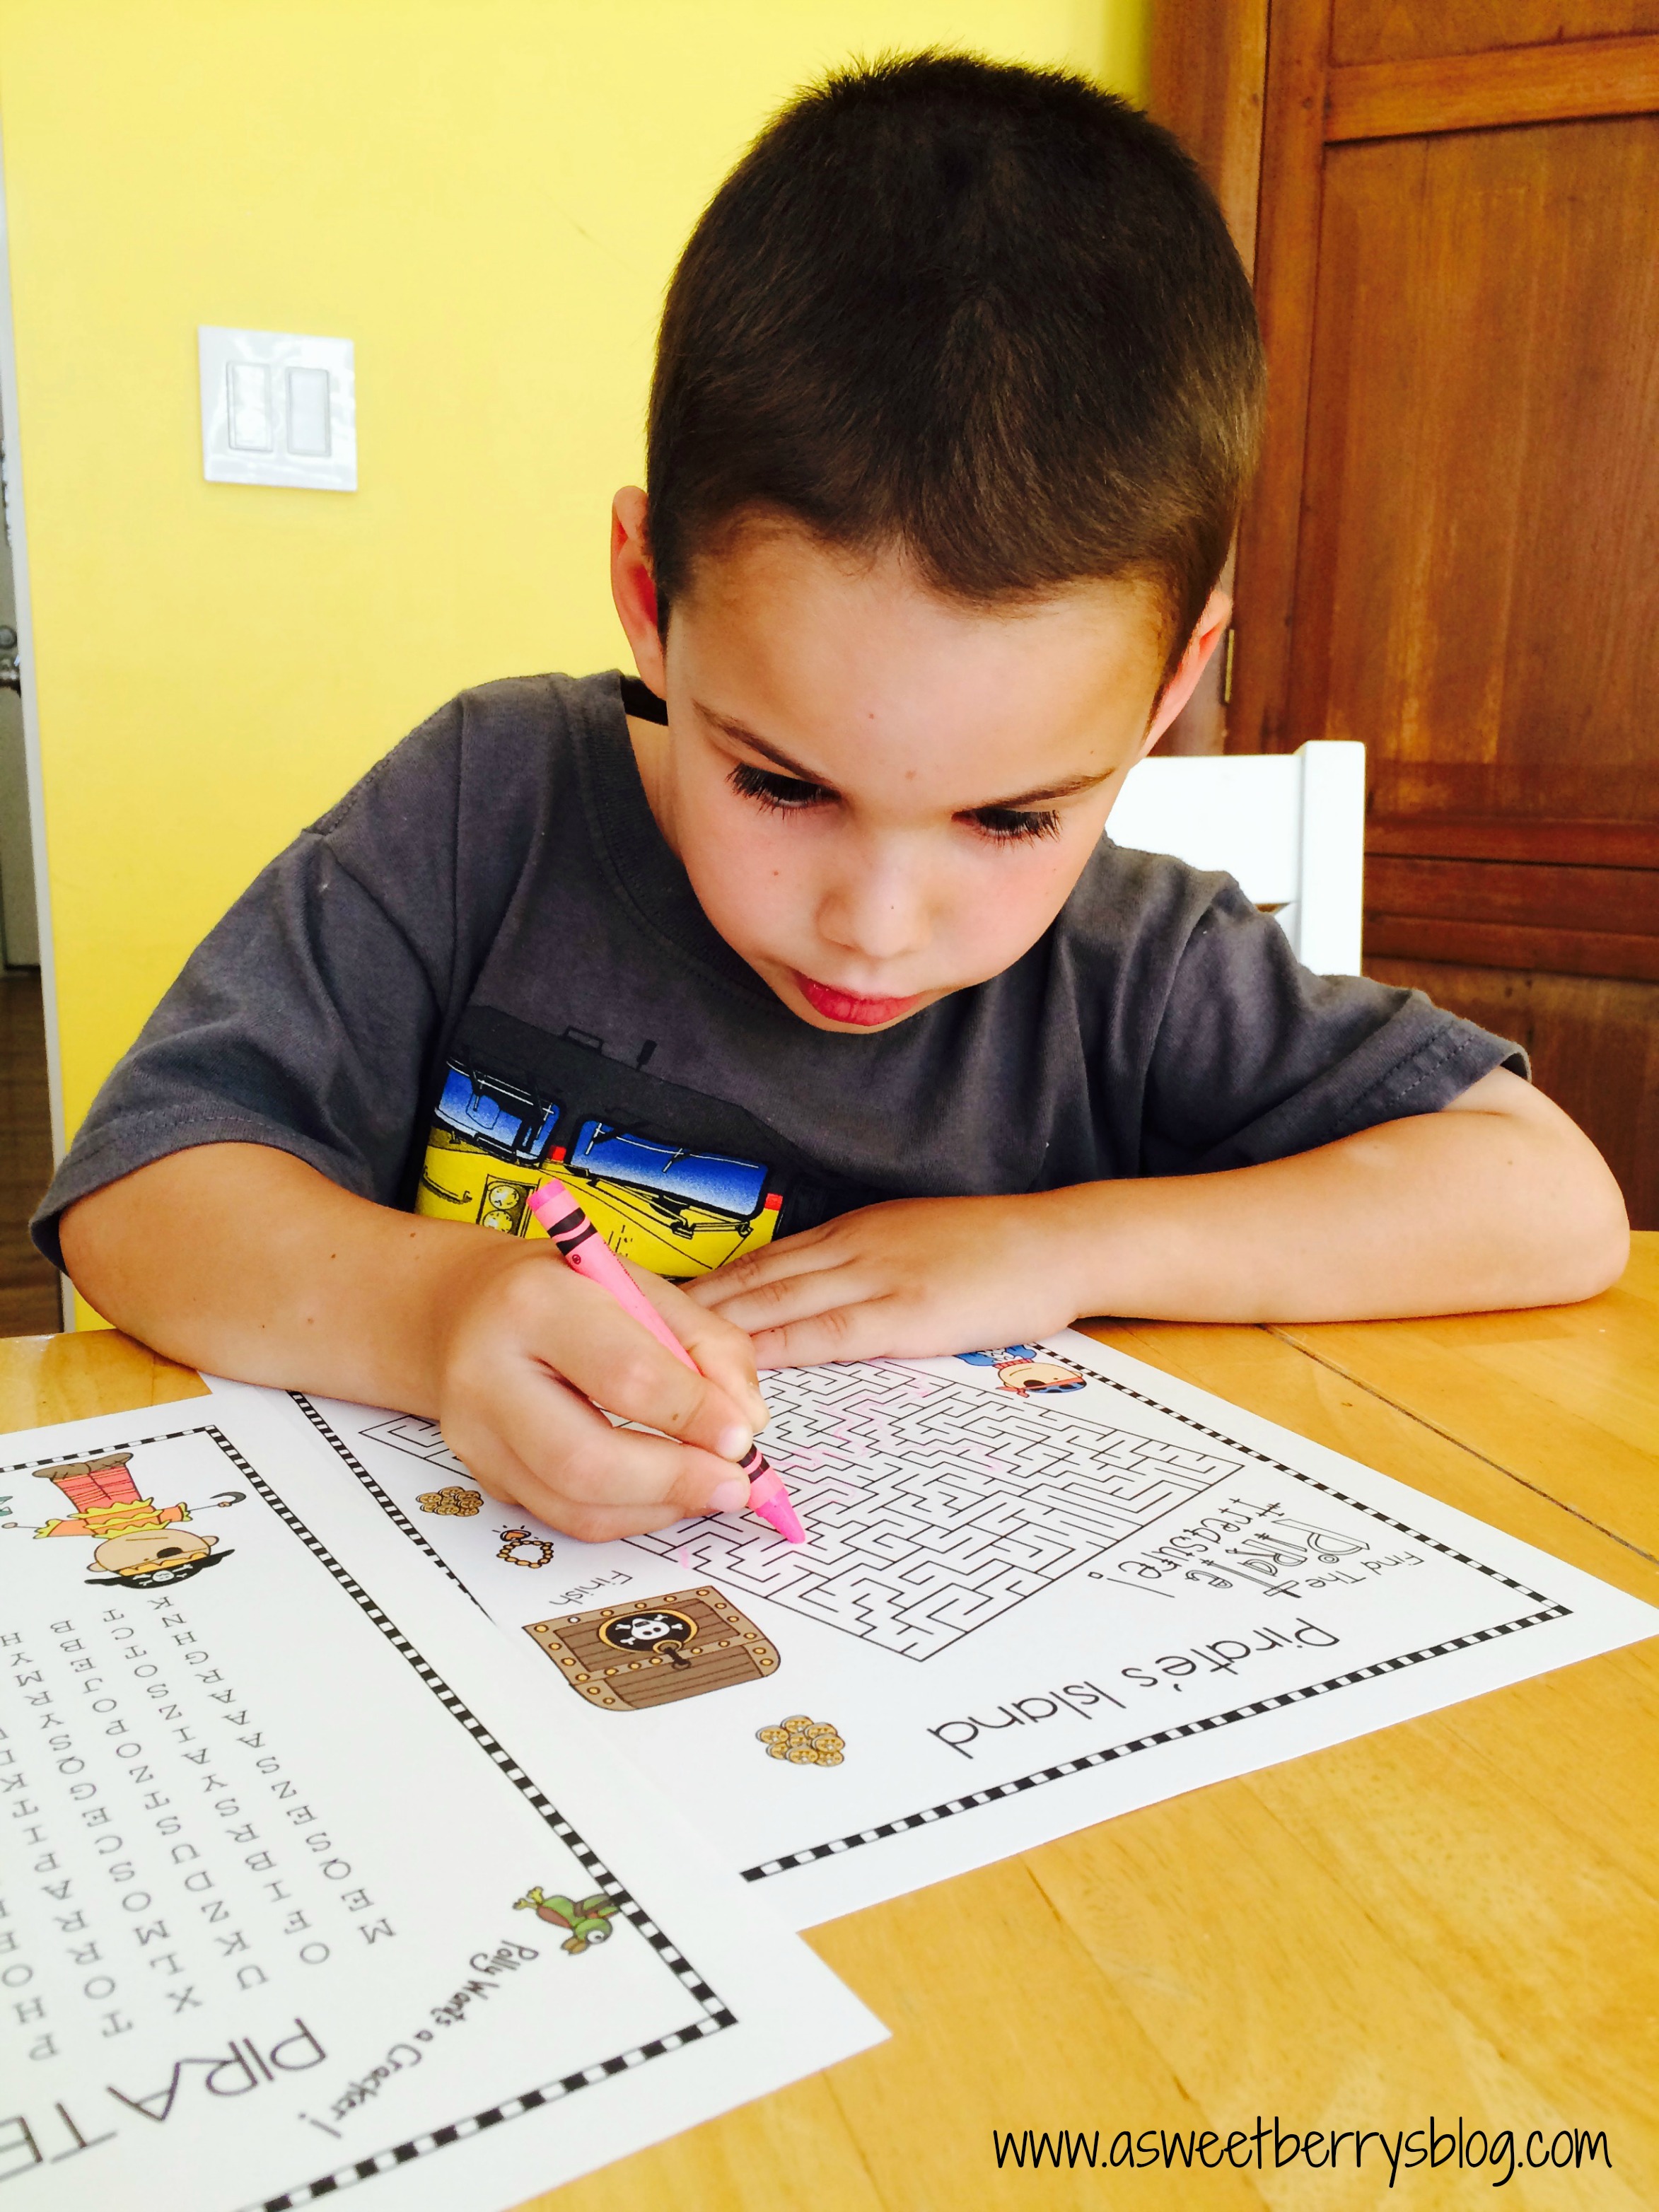
Benjamin saw them and was too excited to wait for the car ride to the beach!
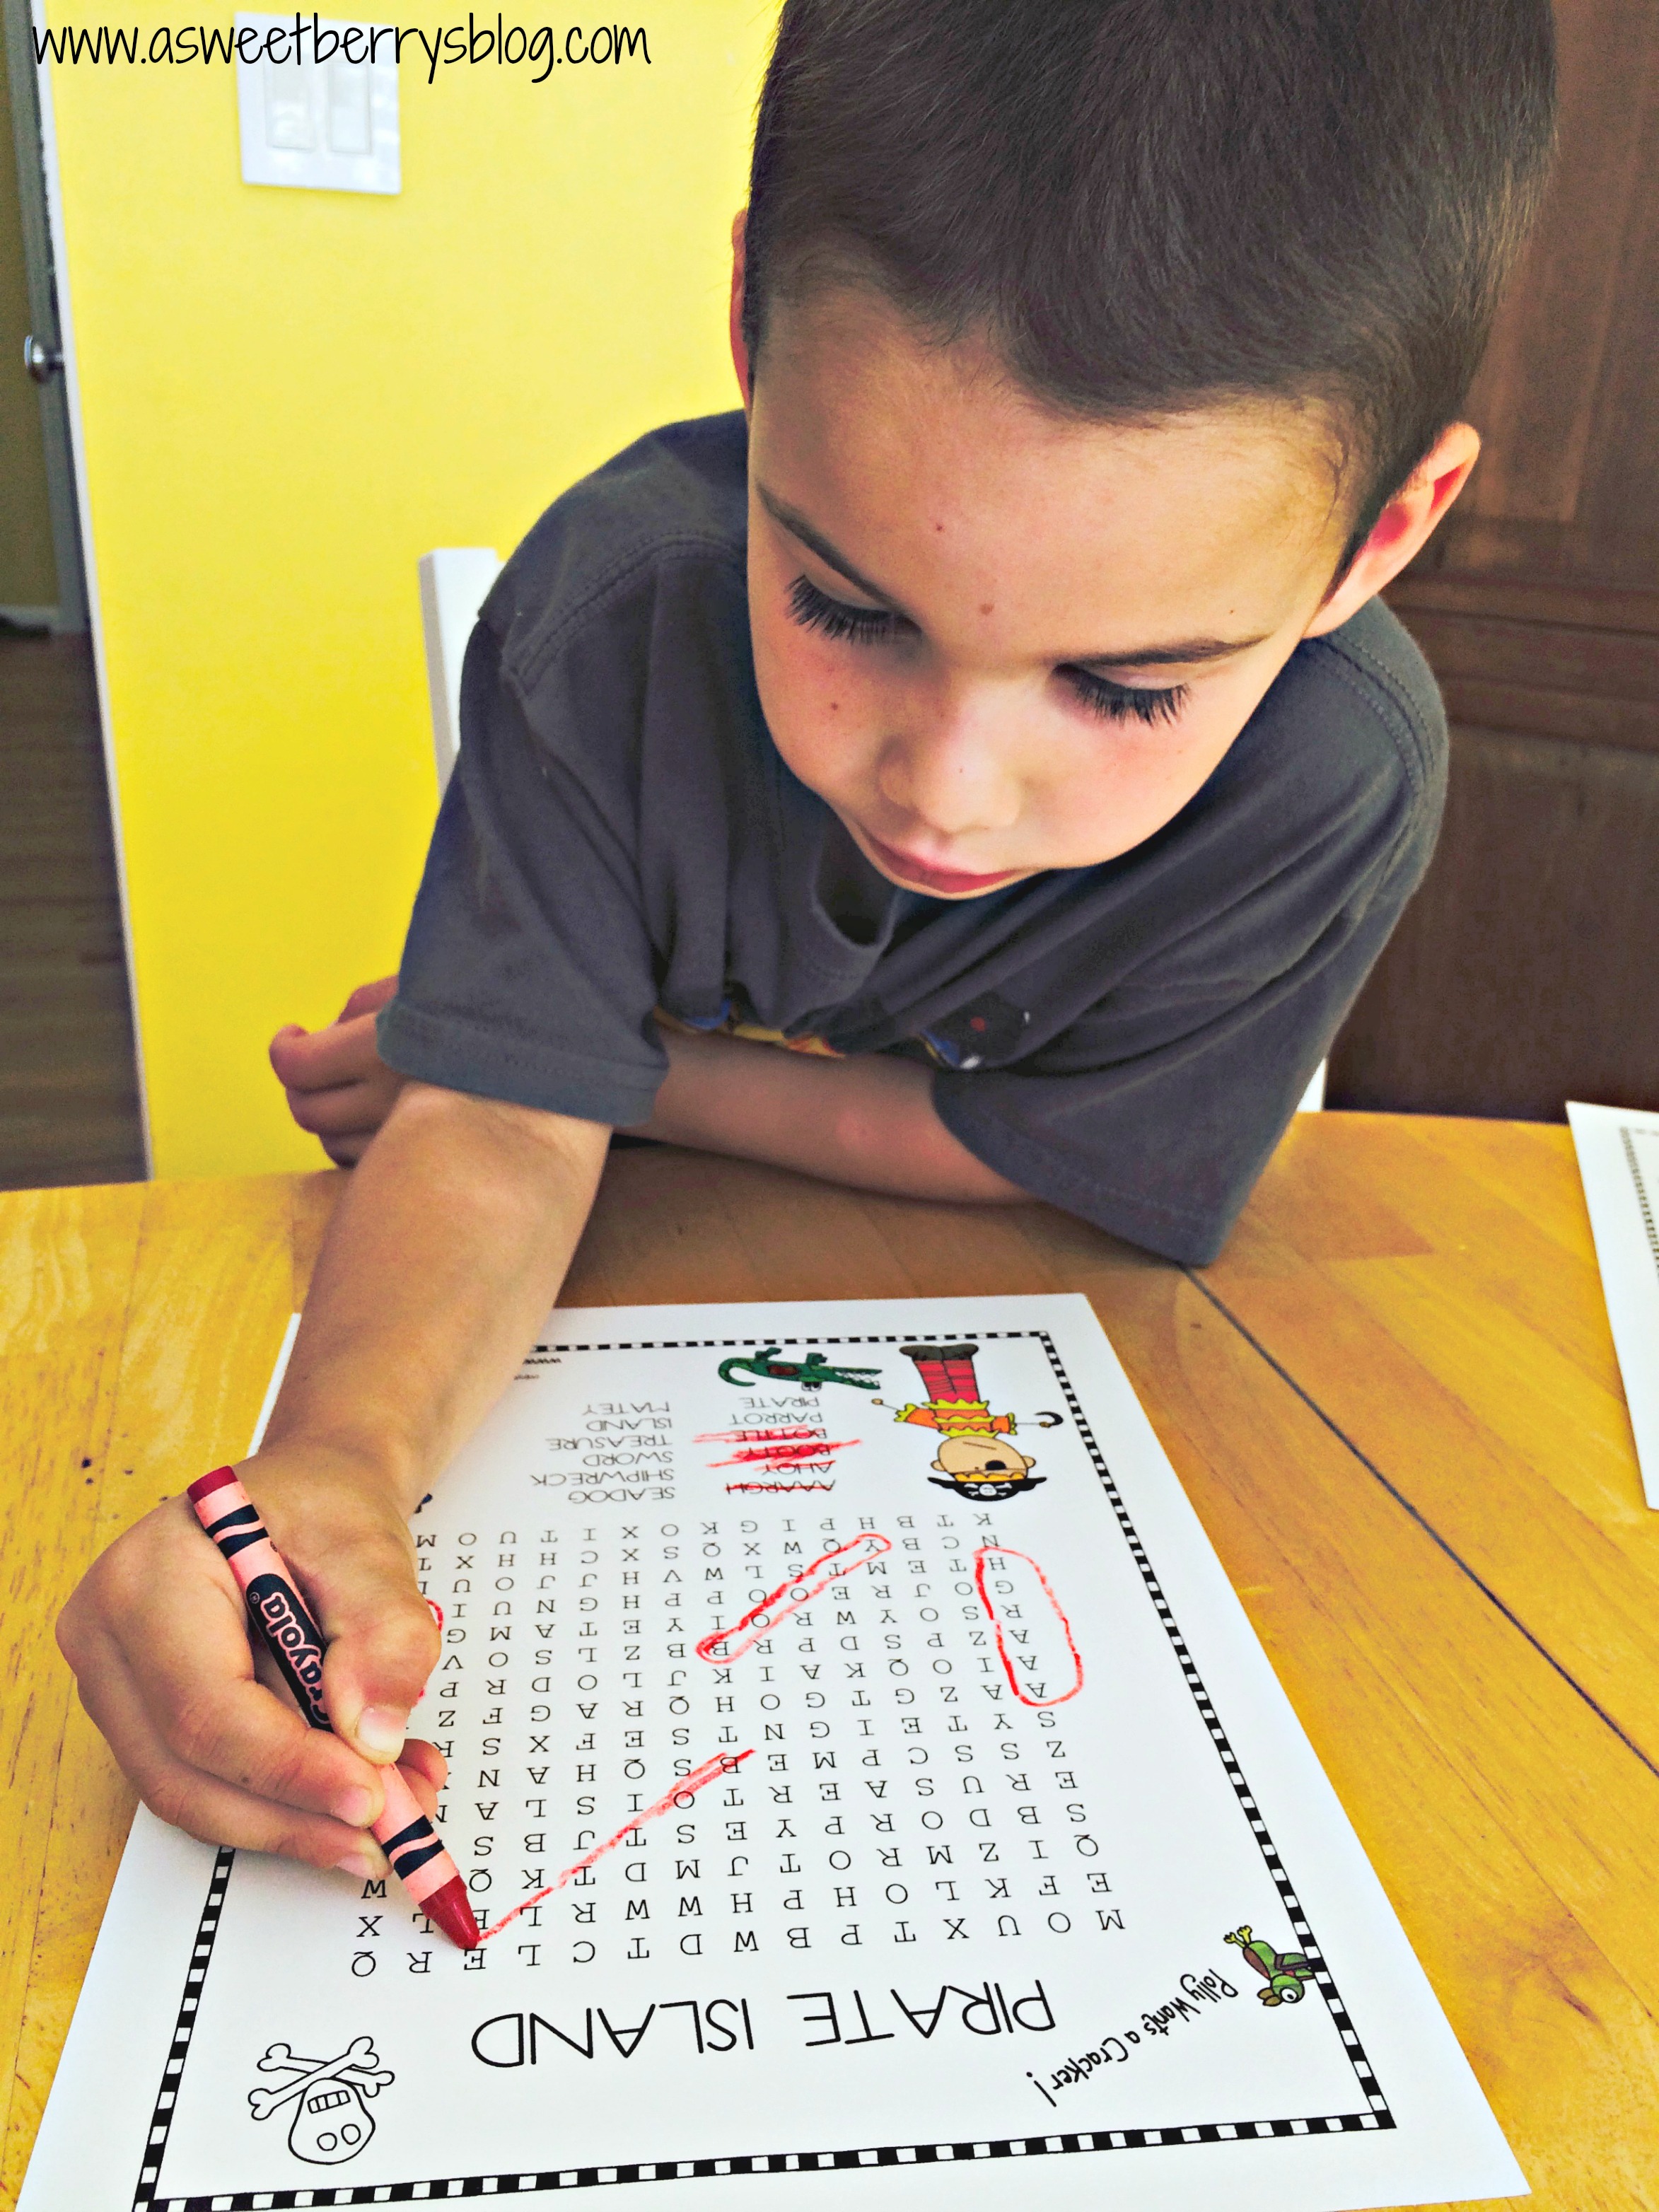
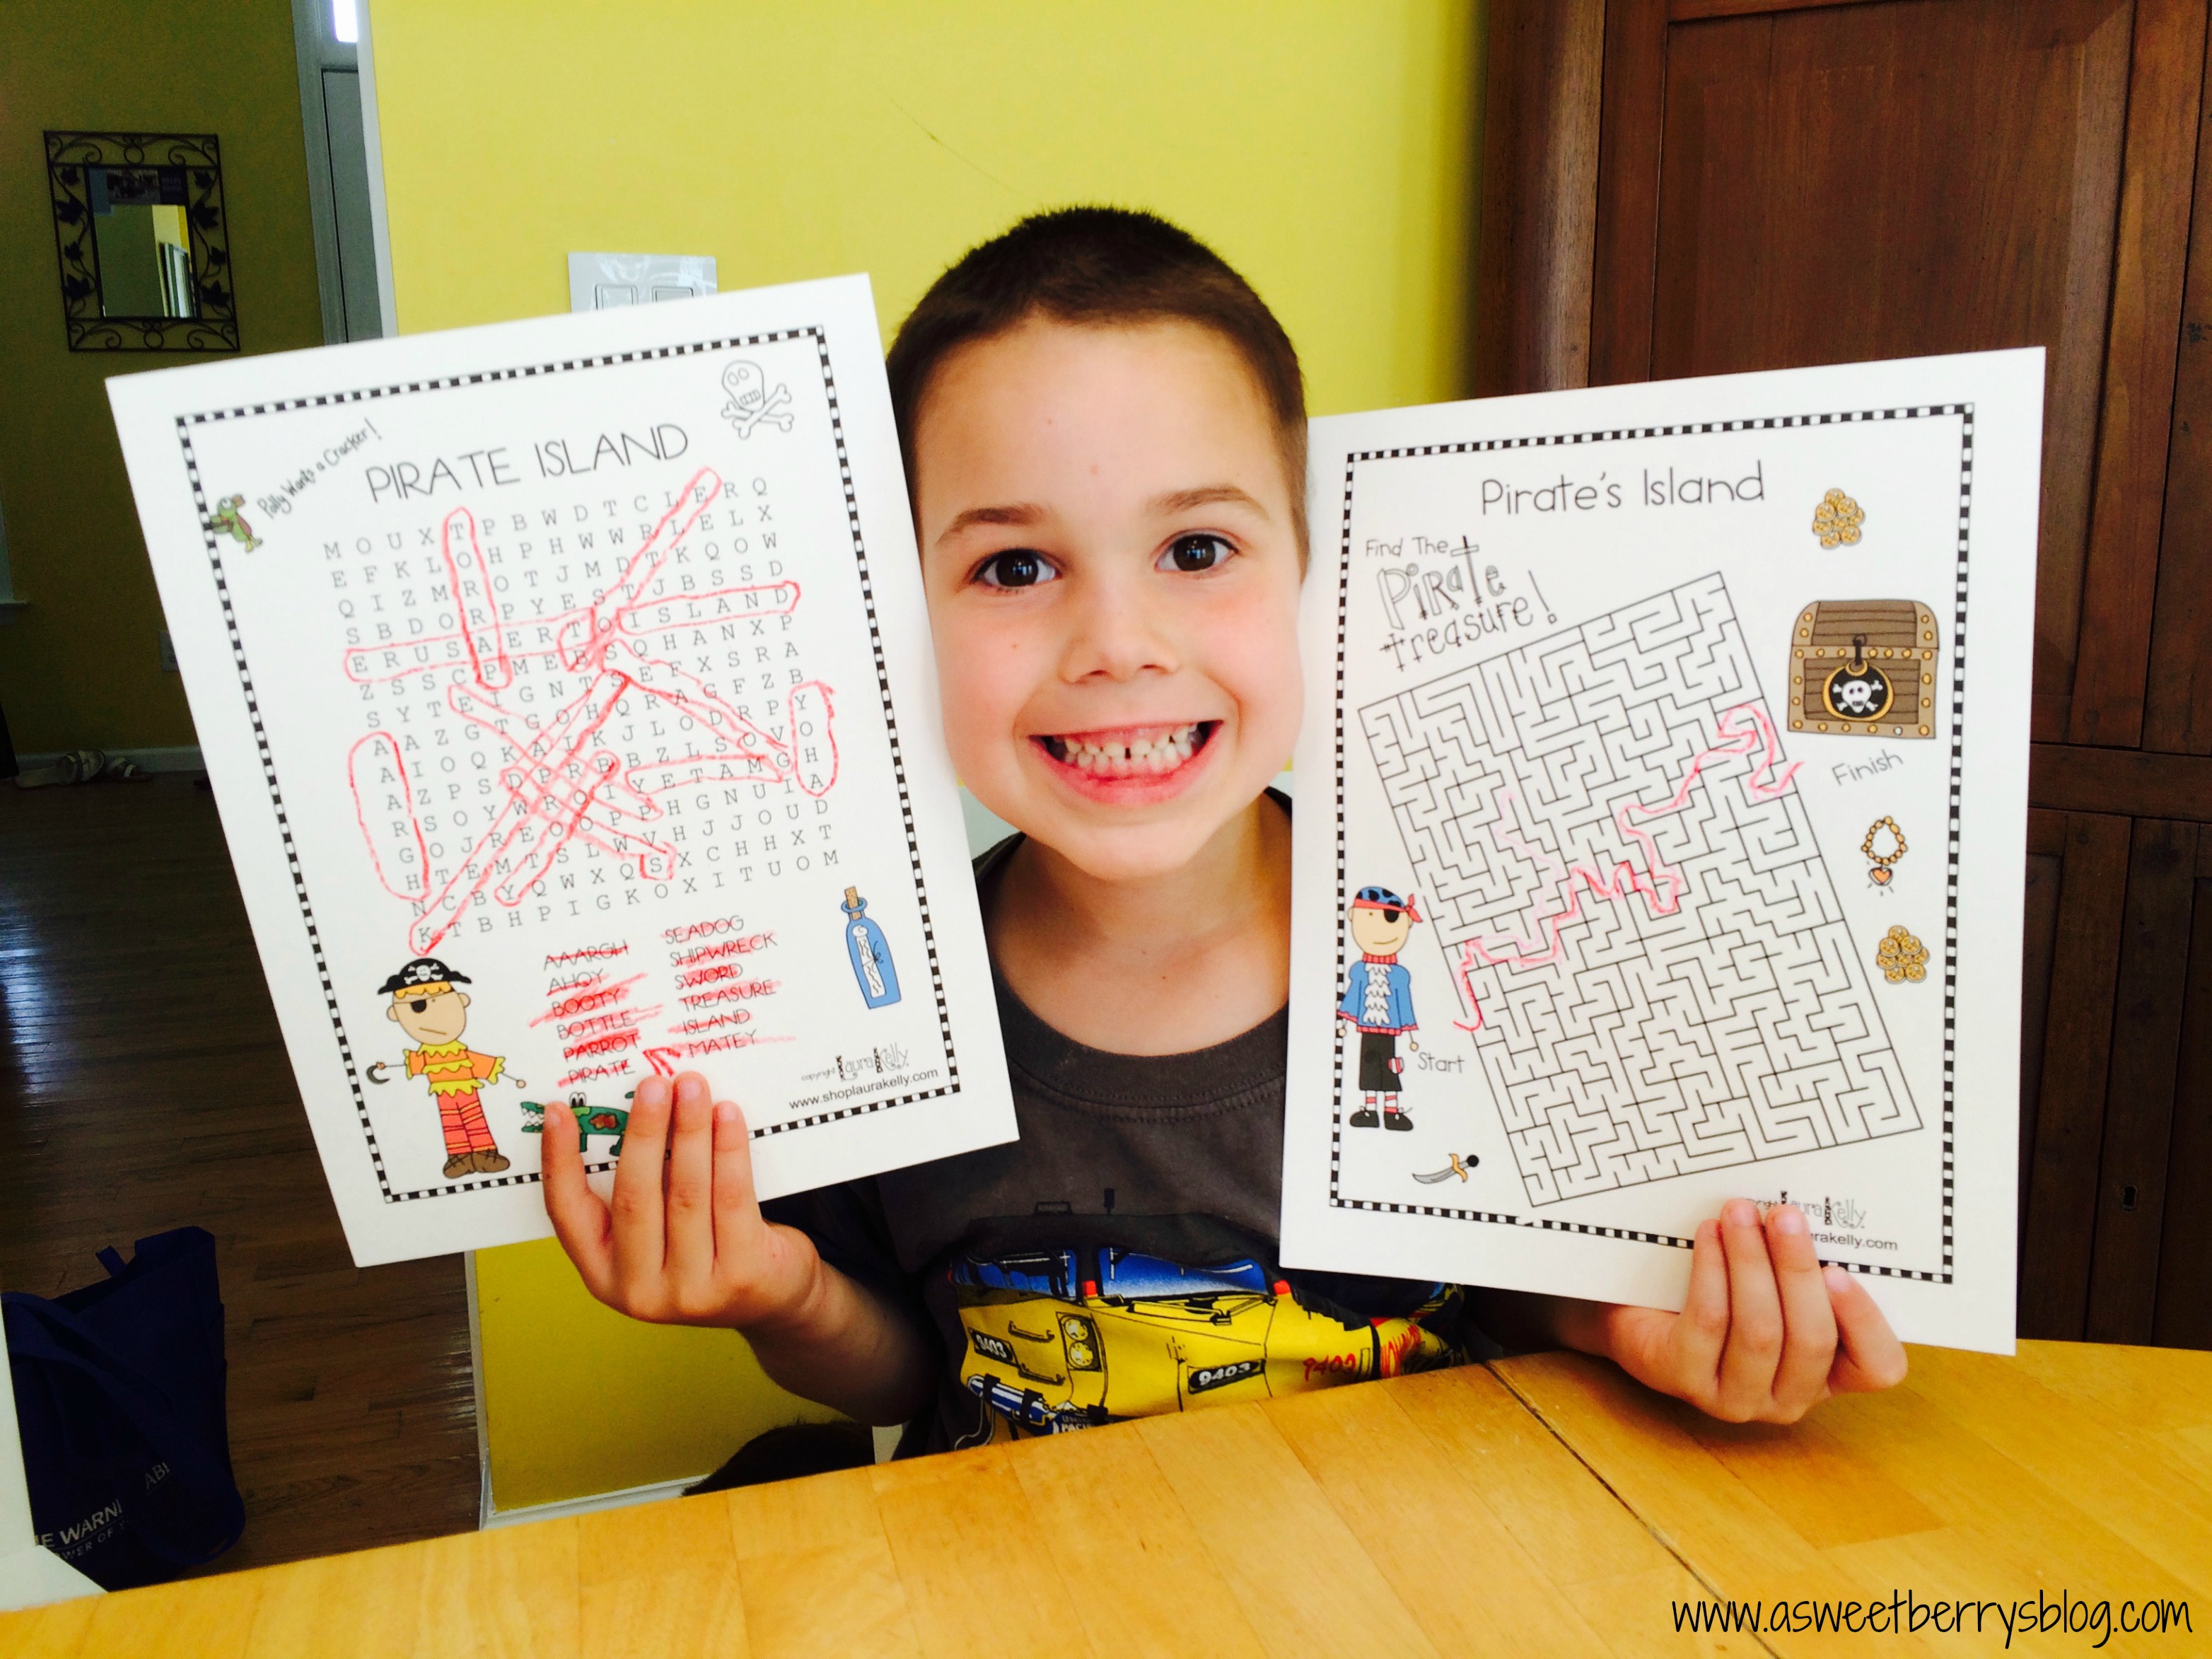
Stay tuned for lots more Shop Laura Kelly printable ideas and fun coming soon.
Until next time……
Shop Laura Kelly – Button and Felt Heart Garland
ShopLauraKelly.com has some of the cutest craft kits put together by one of my best friends, Laura Kelly! One of my favorite kits in the collection is the Button and Felt Heart Garland!

Laura is very creative and has licenses with several companies! The kits that she has put together come with everything you need to put your projects together!

This particular kit includes felt hearts, ribbon, colorful embroidery floss, buttons and a needle.

Instead of using my ribbon to hold the hearts for the banner, I decided to cut the ribbon into 4 inch strips and glued them together to make a little loop using Aleene’s Fast Grab Tacky Glue. I then glued them to the backs of my hearts.
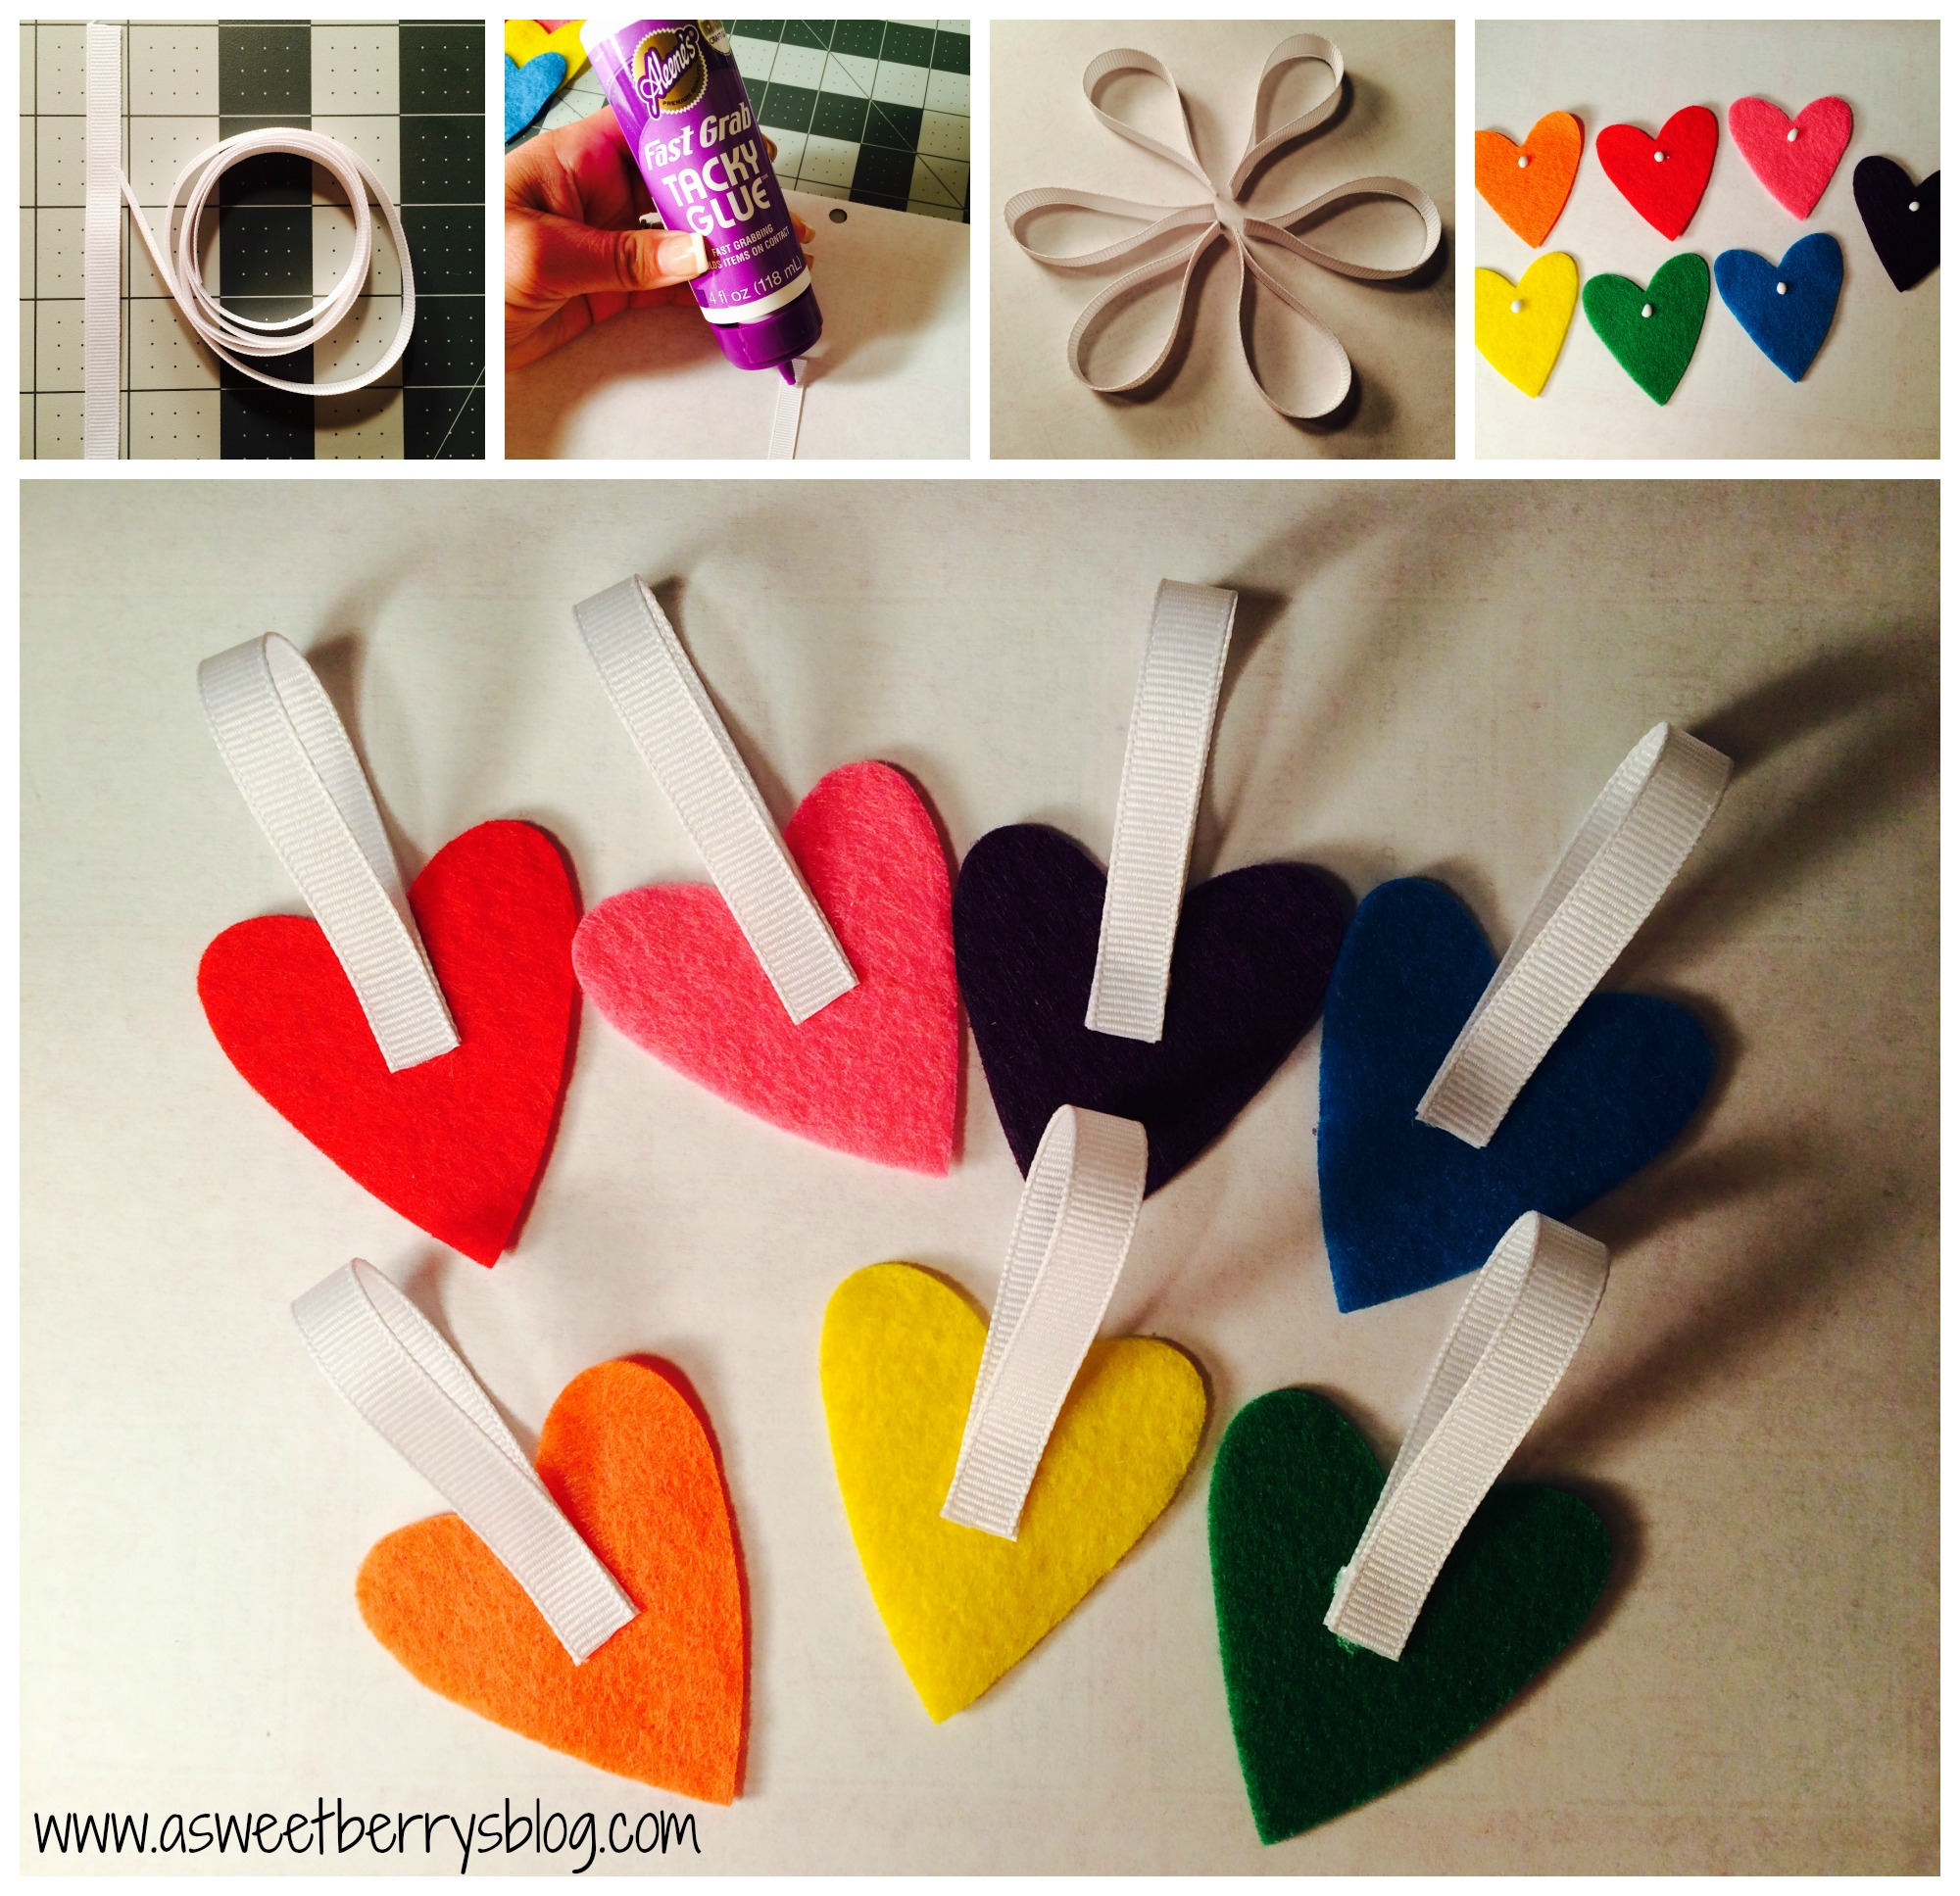
Once they were dried, I turned the hearts over and glued a coordinating color button to the front.

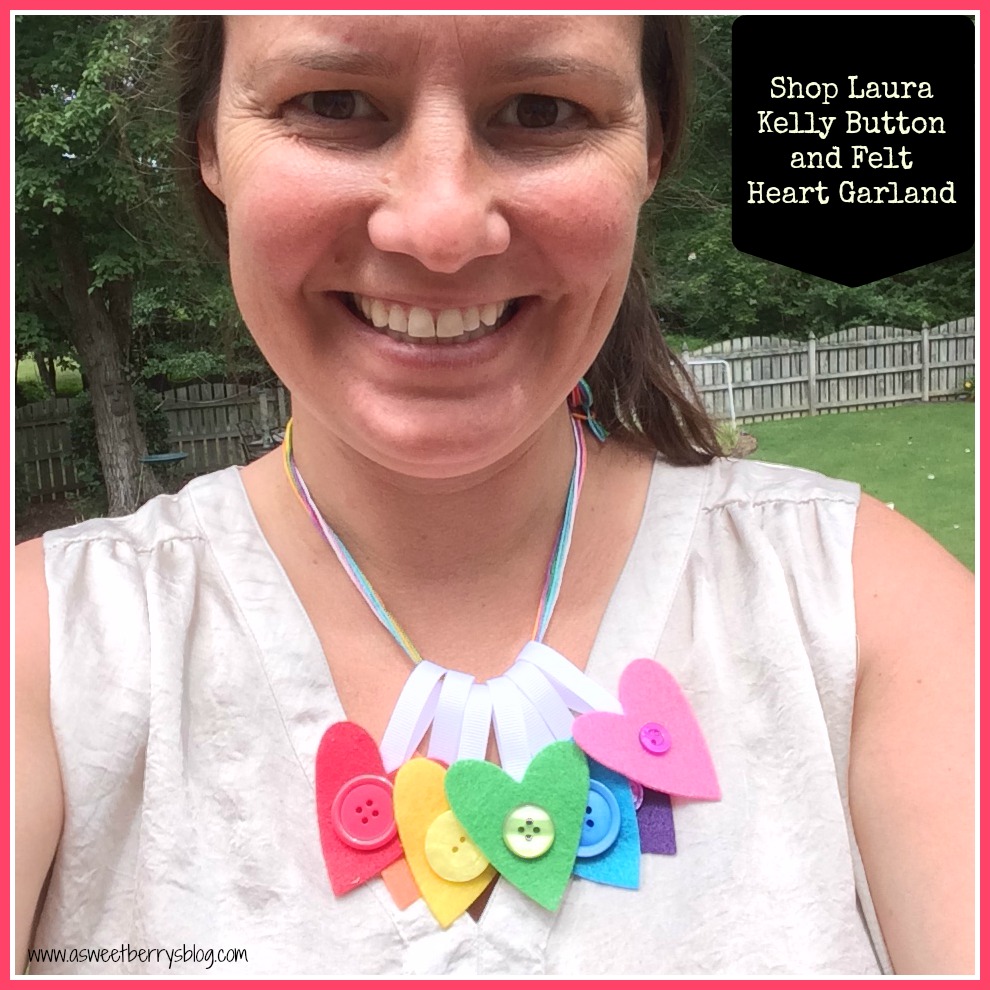
Then, I slid them onto my embroidery floss that I left together to look like a rainbow!

It also makes a great necklace! I love it! So, go on over to ShopLauraKelly.com and check out Laura’s cute little craft kits!
Be sure to click through other great ShopLauraKelly project ideas below:
And enter to win!
a Rafflecopter giveaway
Until next time…….
Easy Fabric Key Fobs
Materials:
Fabric of your choice (colorful and white)
Printable Fabric Transfer
Color Printer
Iron
Key Fob Pieces
Rotary Cutter with Mat and Ruller
Scrap Felt
Sewing Machine with Thread
Pliers
Optional:
Sizzix Eclips 2 or other electronic cutting machine
Gift Tag SVG file
Ribbon
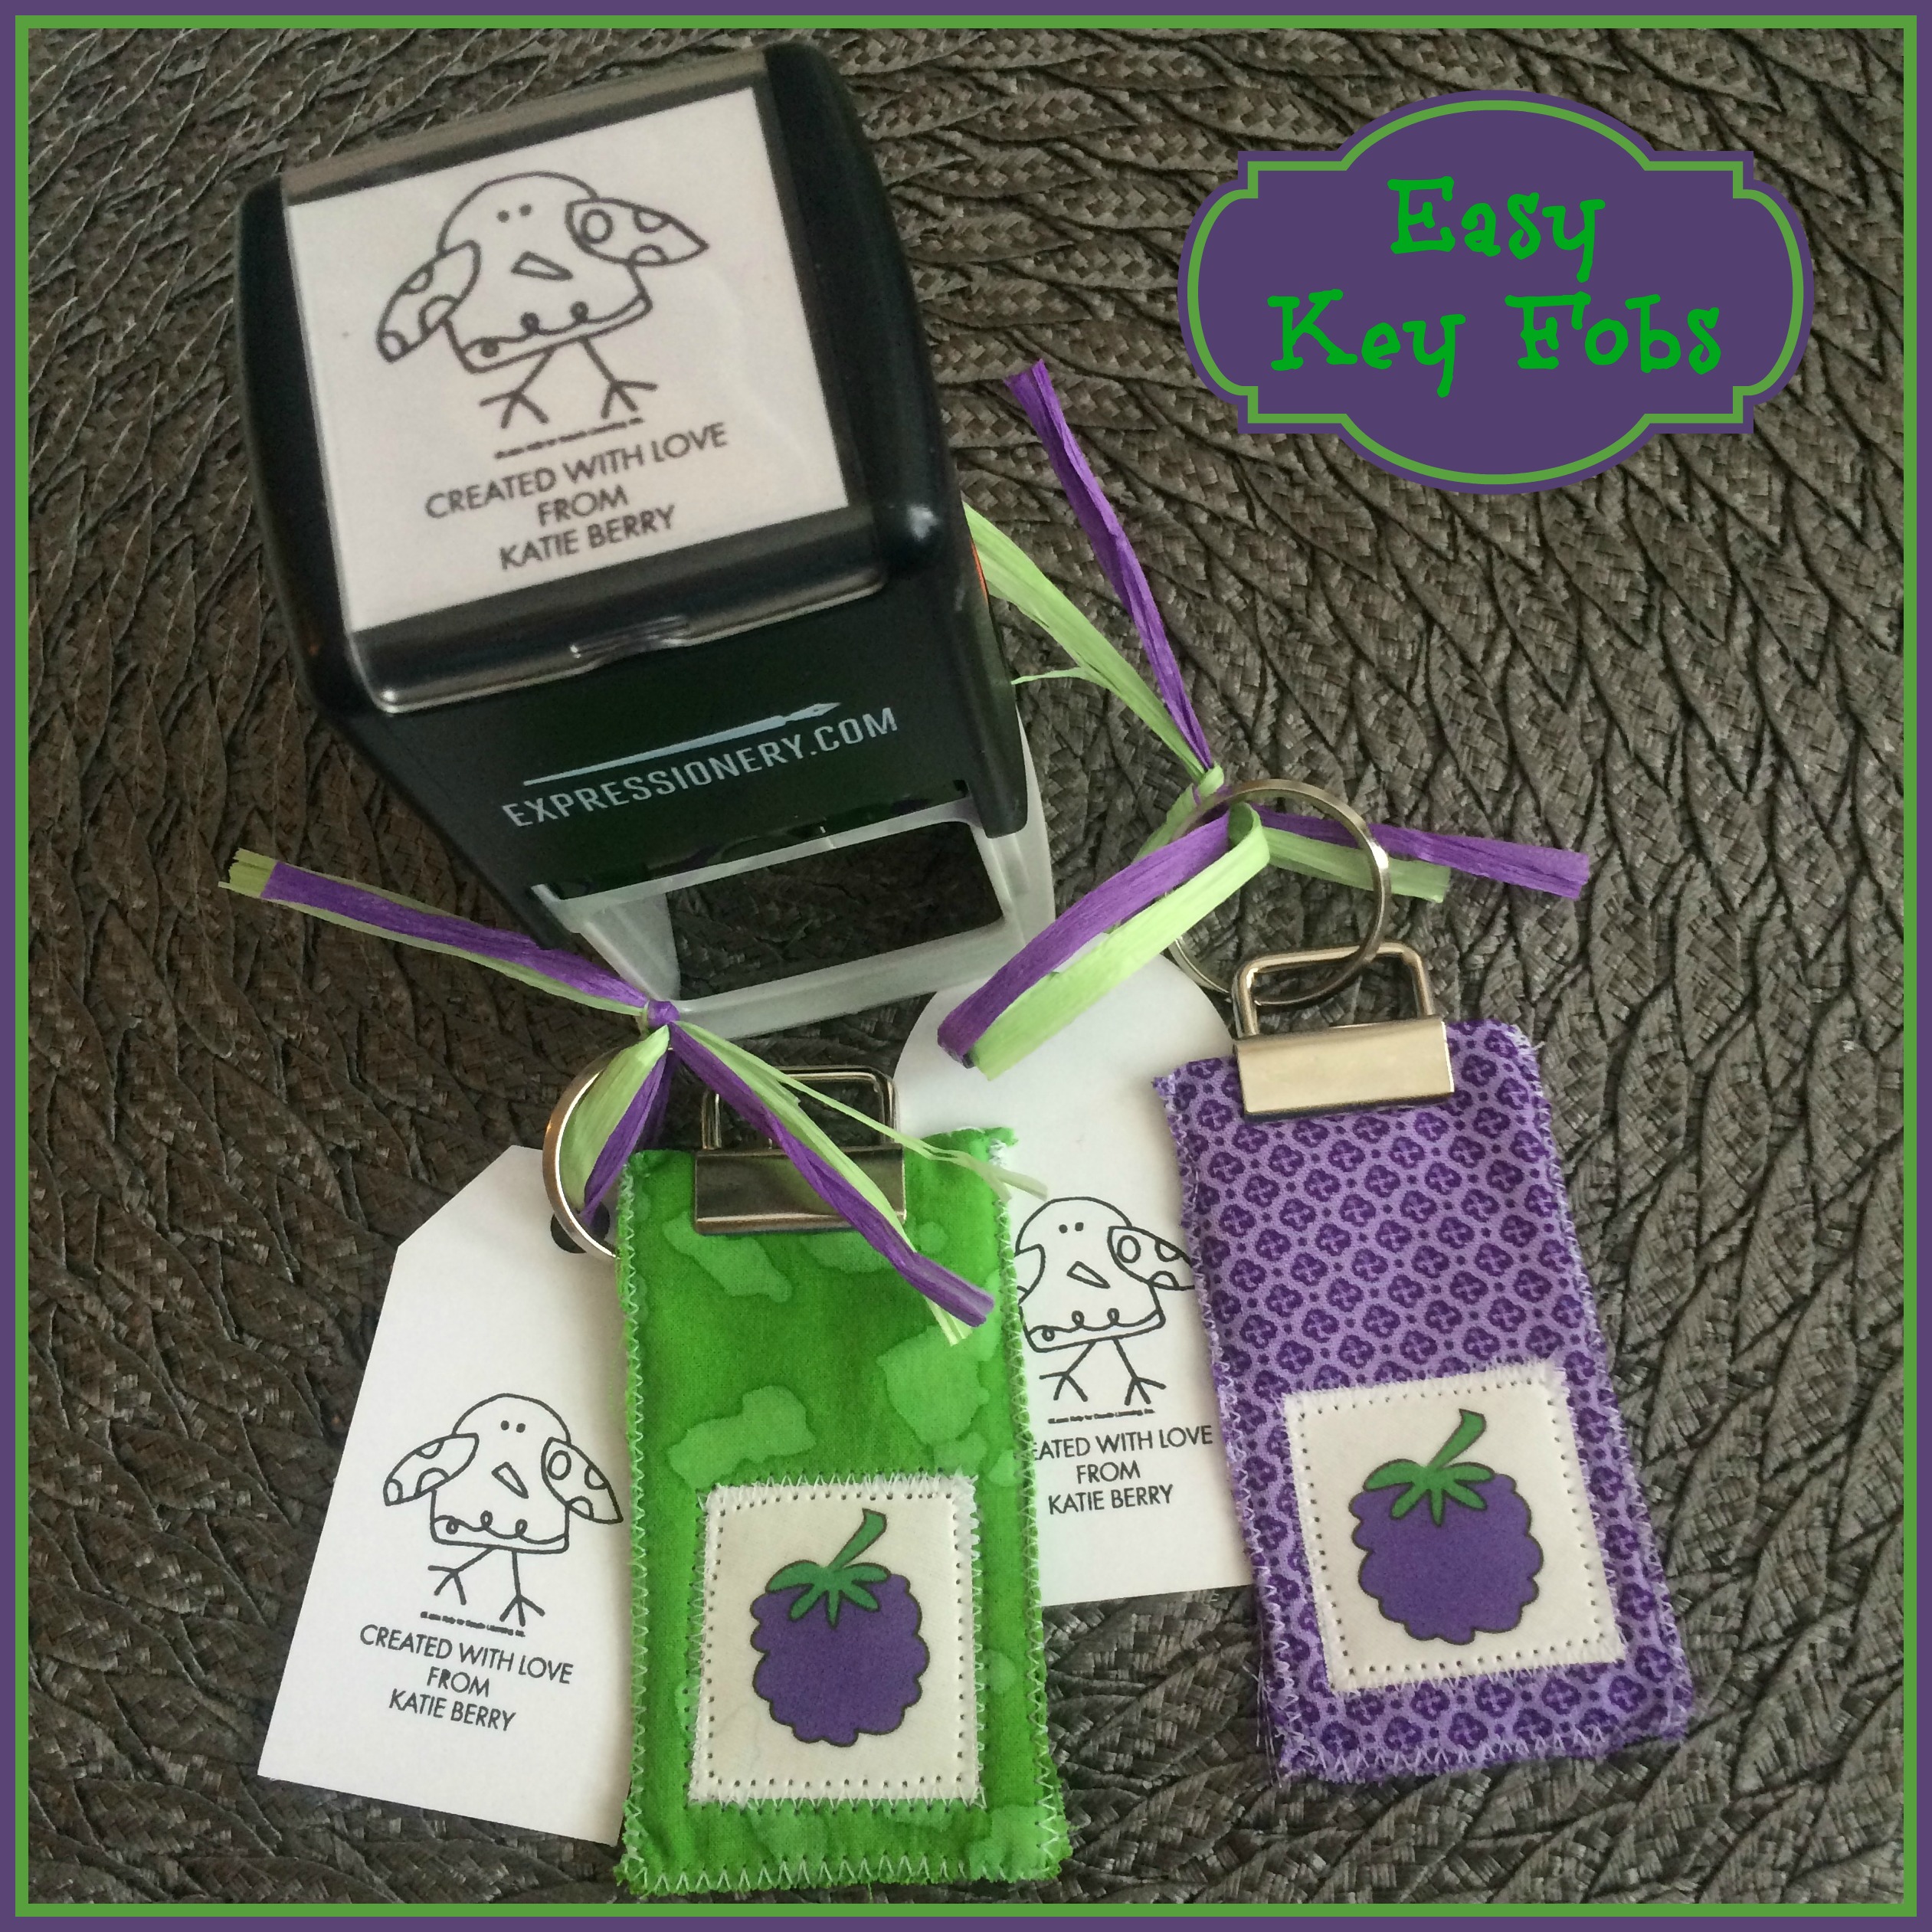
I started by printing my A Sweet Berry Designs berry logo on printable transfer paper and using the Sizzix Eclips2 to cut them out. I was originally going to do circle keychains, so I cut our circles but ended up cutting them into more of a rectangle/square shape! After they were printed and cut out, I laid them print side down onto my white fabric and ironed them with my iron set to the setting recommended on the transfer directions.
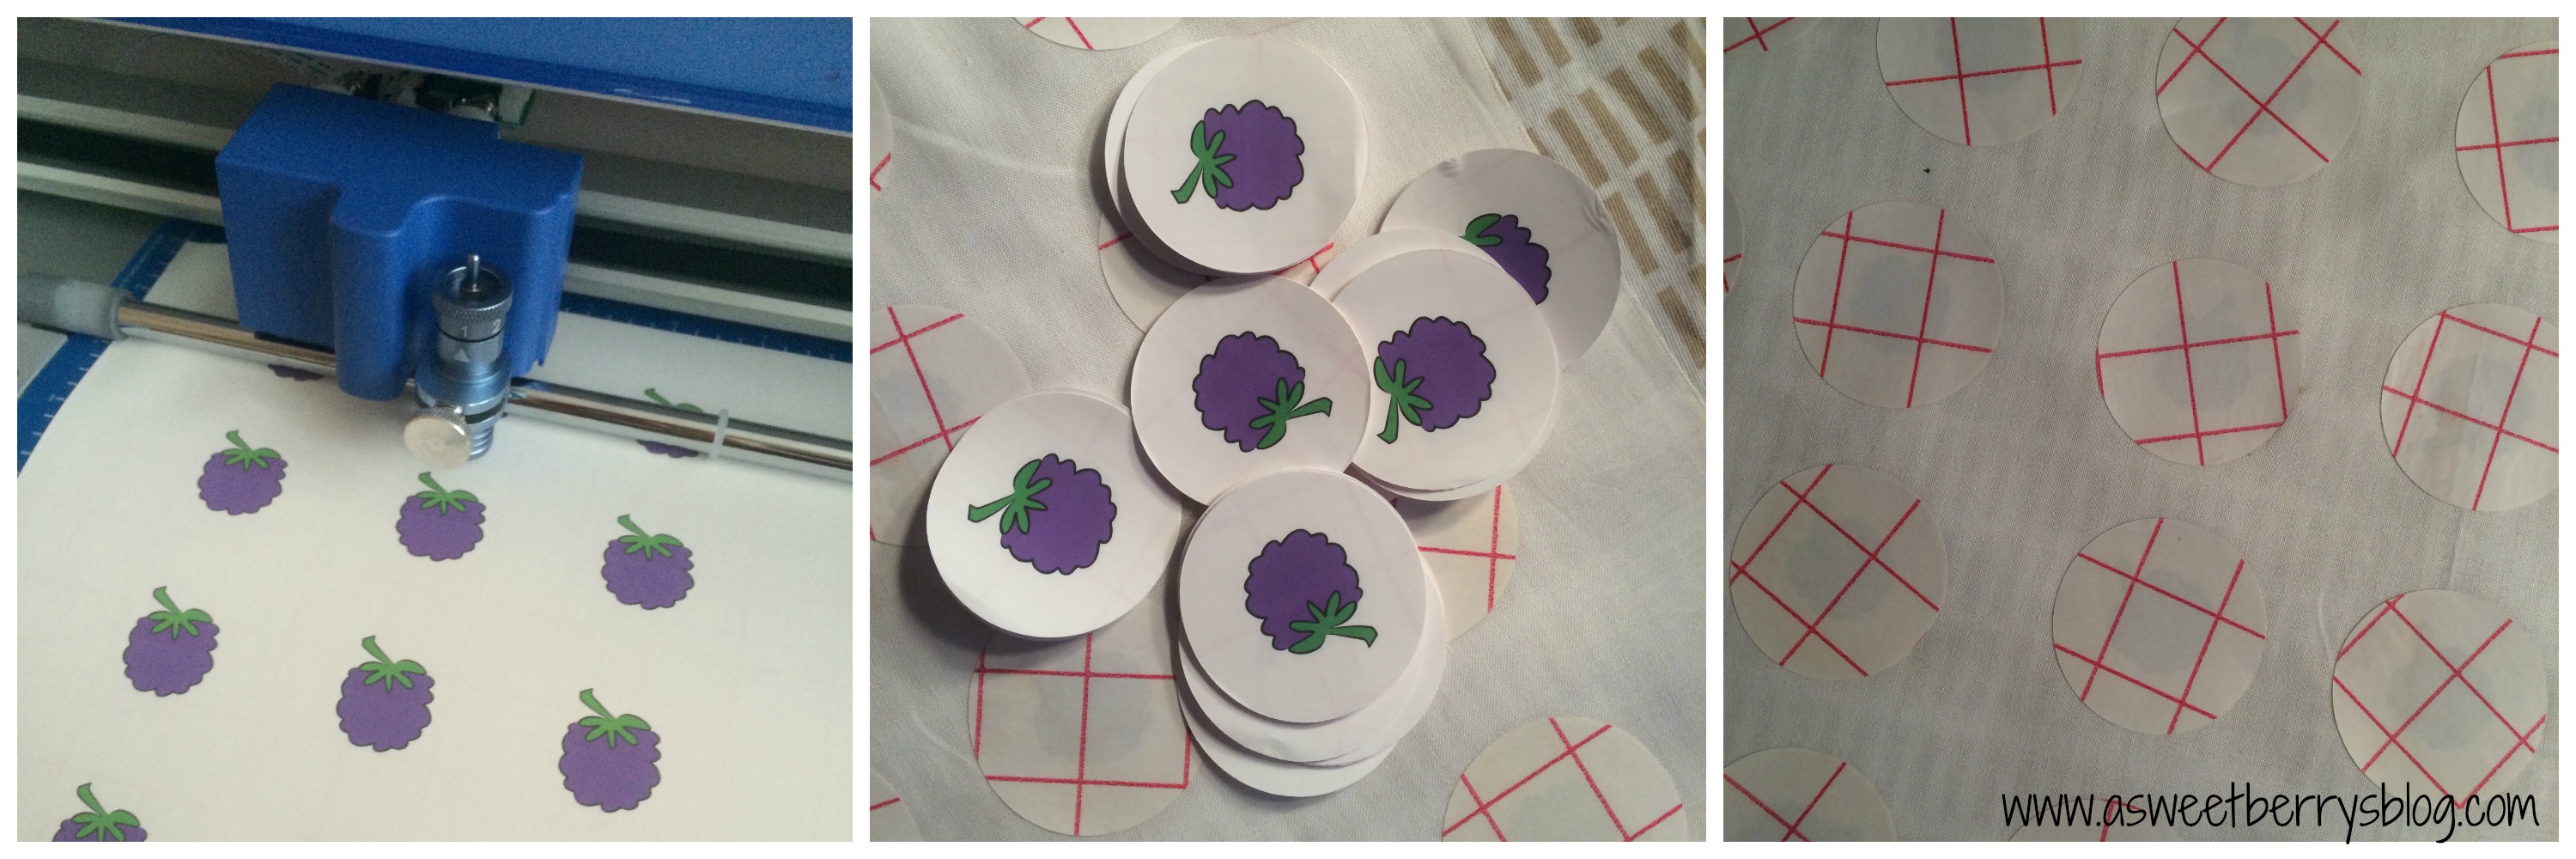
Then it was time to cut my fabric! JoAnn Fabrics was having a Fat Quarter sale, so I purchased a variety of purples and greens. I kept the fabric folded and cut a rectangle to my preferred size using my rotary cutter and ruler. For the felt that I was going to place into the middle to give it a little fullness, I cut just a little smaller than the fabric cut out so that it was not visible once they were sewn in. Once everything was cut, I placed the felt into the middle.

Then it was time to sew them up. I used a zigzag stitch and sewed the three sides closed. Once they were all sewn closed, I placed the berry logo where I wanted it and stitched it in place, also using the zigzag stitch. Then it was time to place the key fob hardware clamp onto the sewn fabric. I put them on the side that was folded. I didn’t want flier marks on my hardware, so I used a scrap piece of fabric to place over the hardware while clamping it together, making sure that the spikes within the clamp went into the fabric. I had just had my nails done, so my lovely husband was nice enough to add all of the split rings to my hardware clamps for me!
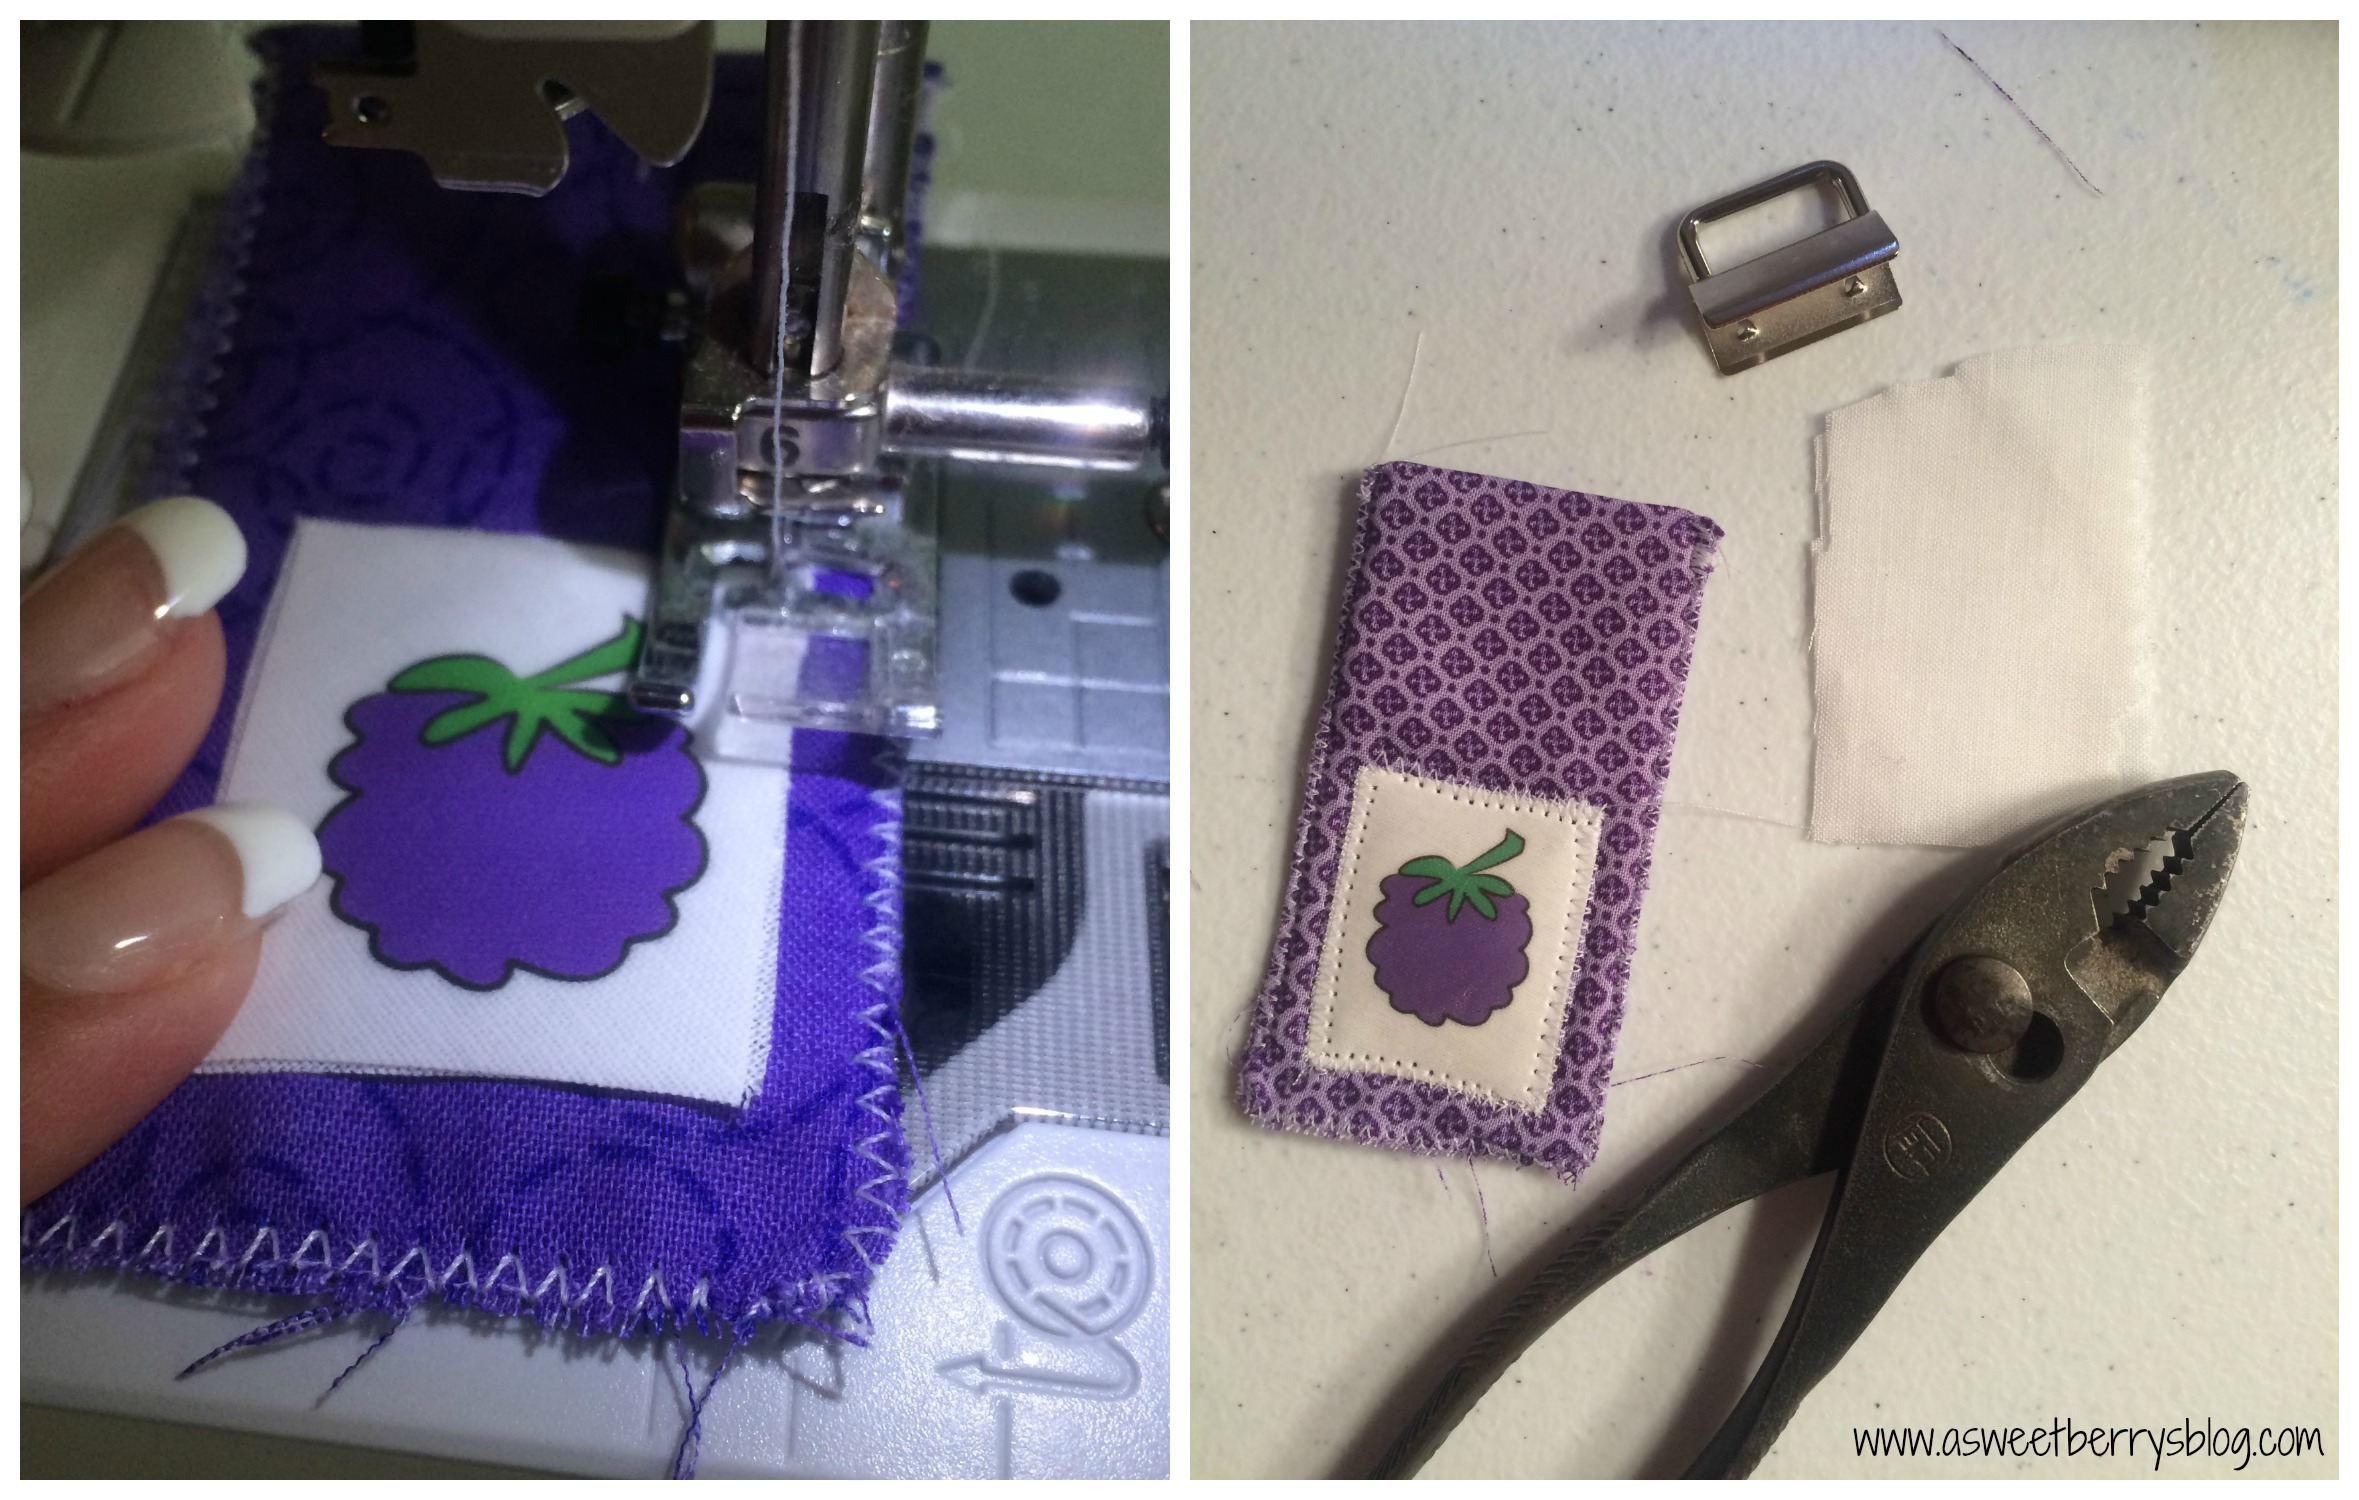
Voila! They were done! I wanted to add cute little tags to mine, so I cut gift tags using my Sizzix Eclips 2. Using my personalized stamp from Laura Kelly for Expressionery.com, I stamped my tag. My stamp says “Created with Love From Katie Berry”.
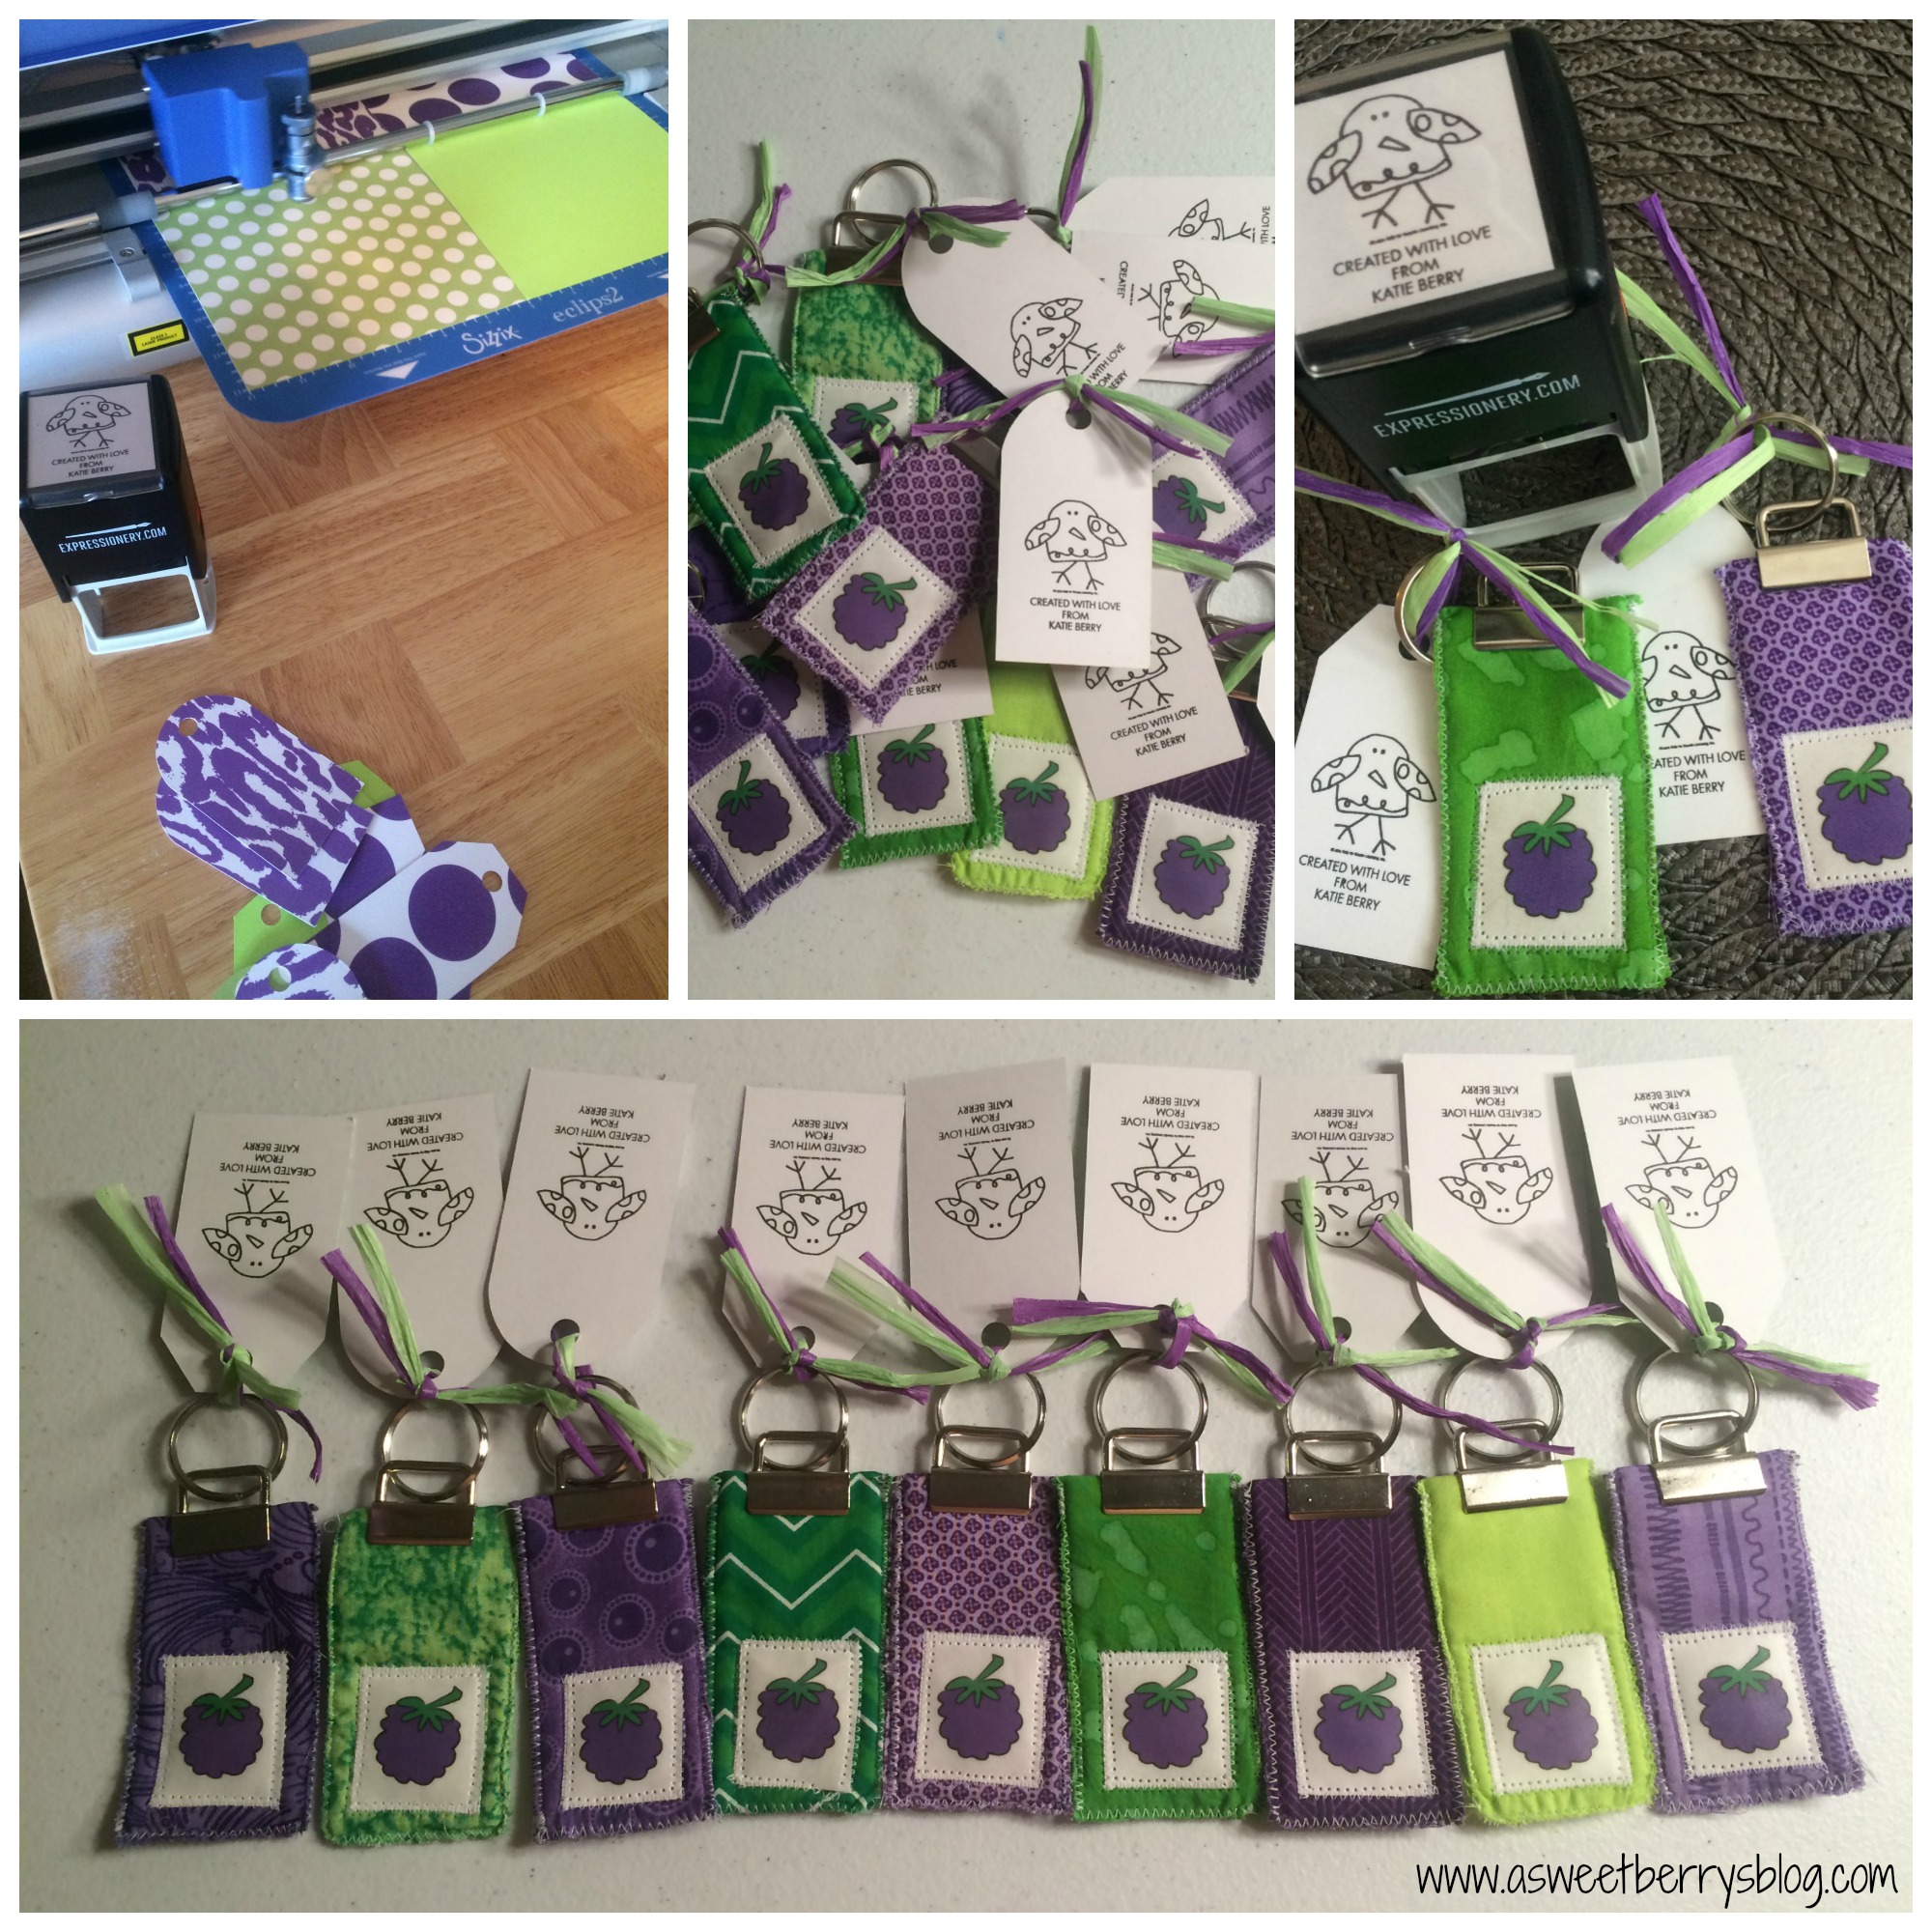
I hope you like my Fabric Key Fobs! They were super easy to make! I made them to go with my business cards for SNAP! Conference and they were a hit! I still have a few left, so if you’d like one, just let me know!
Until next time……
Button up a Teacher Appreciation Gift
Button Up a Teacher Appreciation Gift
Teacher appreciation is a great time to round up your stash of buttons and create something special for the teachers in your life. Here is a fun way to make personalized stationery for appreciating teachers with stamps and buttons that can be done in a flash.
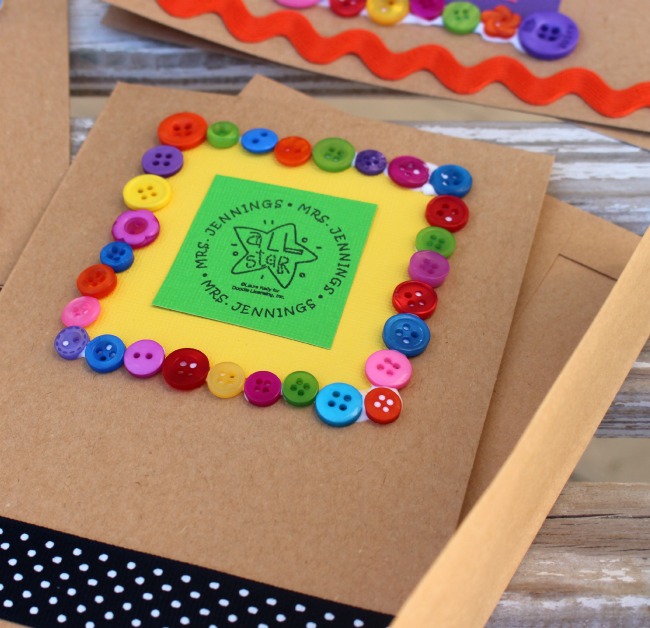
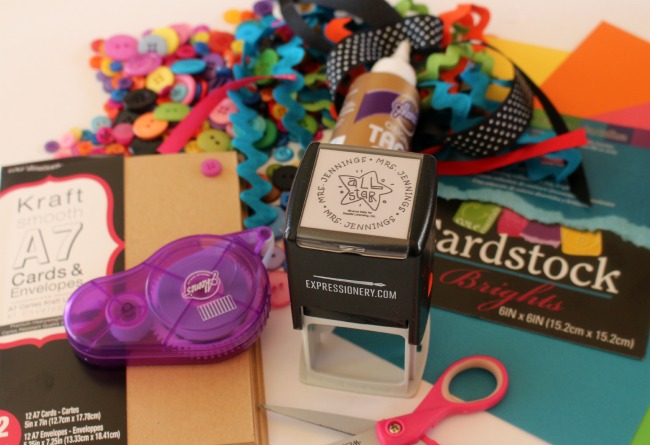
You will need a handful of bright buttons. You will also need cards/envelopes, colorful cardstock, adhesive, ribbon or ric-rac and a self-inking stamp from Expressionery. The one I used here is one that I designed exclusively for Expressionery and I LOVE it!
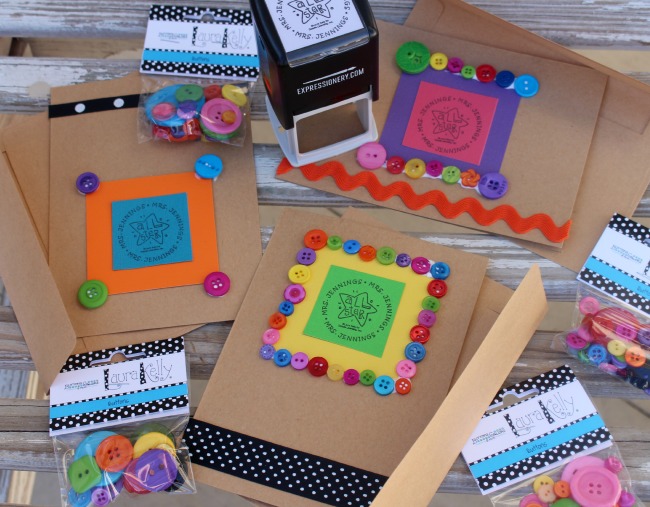
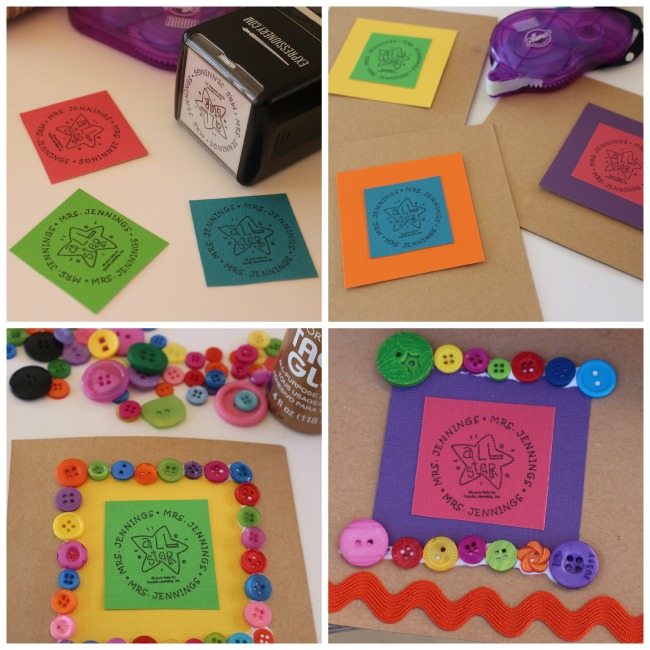
- Stamp on the bright card stock pieces and trim them then adhere them to the middle of the card. Did you know that from now until May 25th you can save 30% off sitewide on Expressionery using the promo code TEACHERAPP … that’s awesome!
- Create a square around it with buttons adhered with you favorite adhesive.
- Add ribbon and ric-rac to embellish your notes a bit more.
Ta Da! Aren’t they so super cute! Mrs. Jennings is going to love these!
Here are lots of other ways to create teacher gifts with my products from Expressionery.
And you can even enter to win a fabulous prize of a $250 VISA Gift Card and a Custom Stamp!
Kunin Felt Easter Egg Bunting
Easter is right around the corner! Why not brighten up your decor with this adorable KuninGroup Felt Easter Egg Bunting! It was super easy and super fun!

I love using my Sizzix Eclips2 to cut out patterns for fabric or felt!

Once my patterns were cut out, I pinned them to my KuninGroup felt and then went to cutting! I used pinking shears to give the eggs zigzag edges!
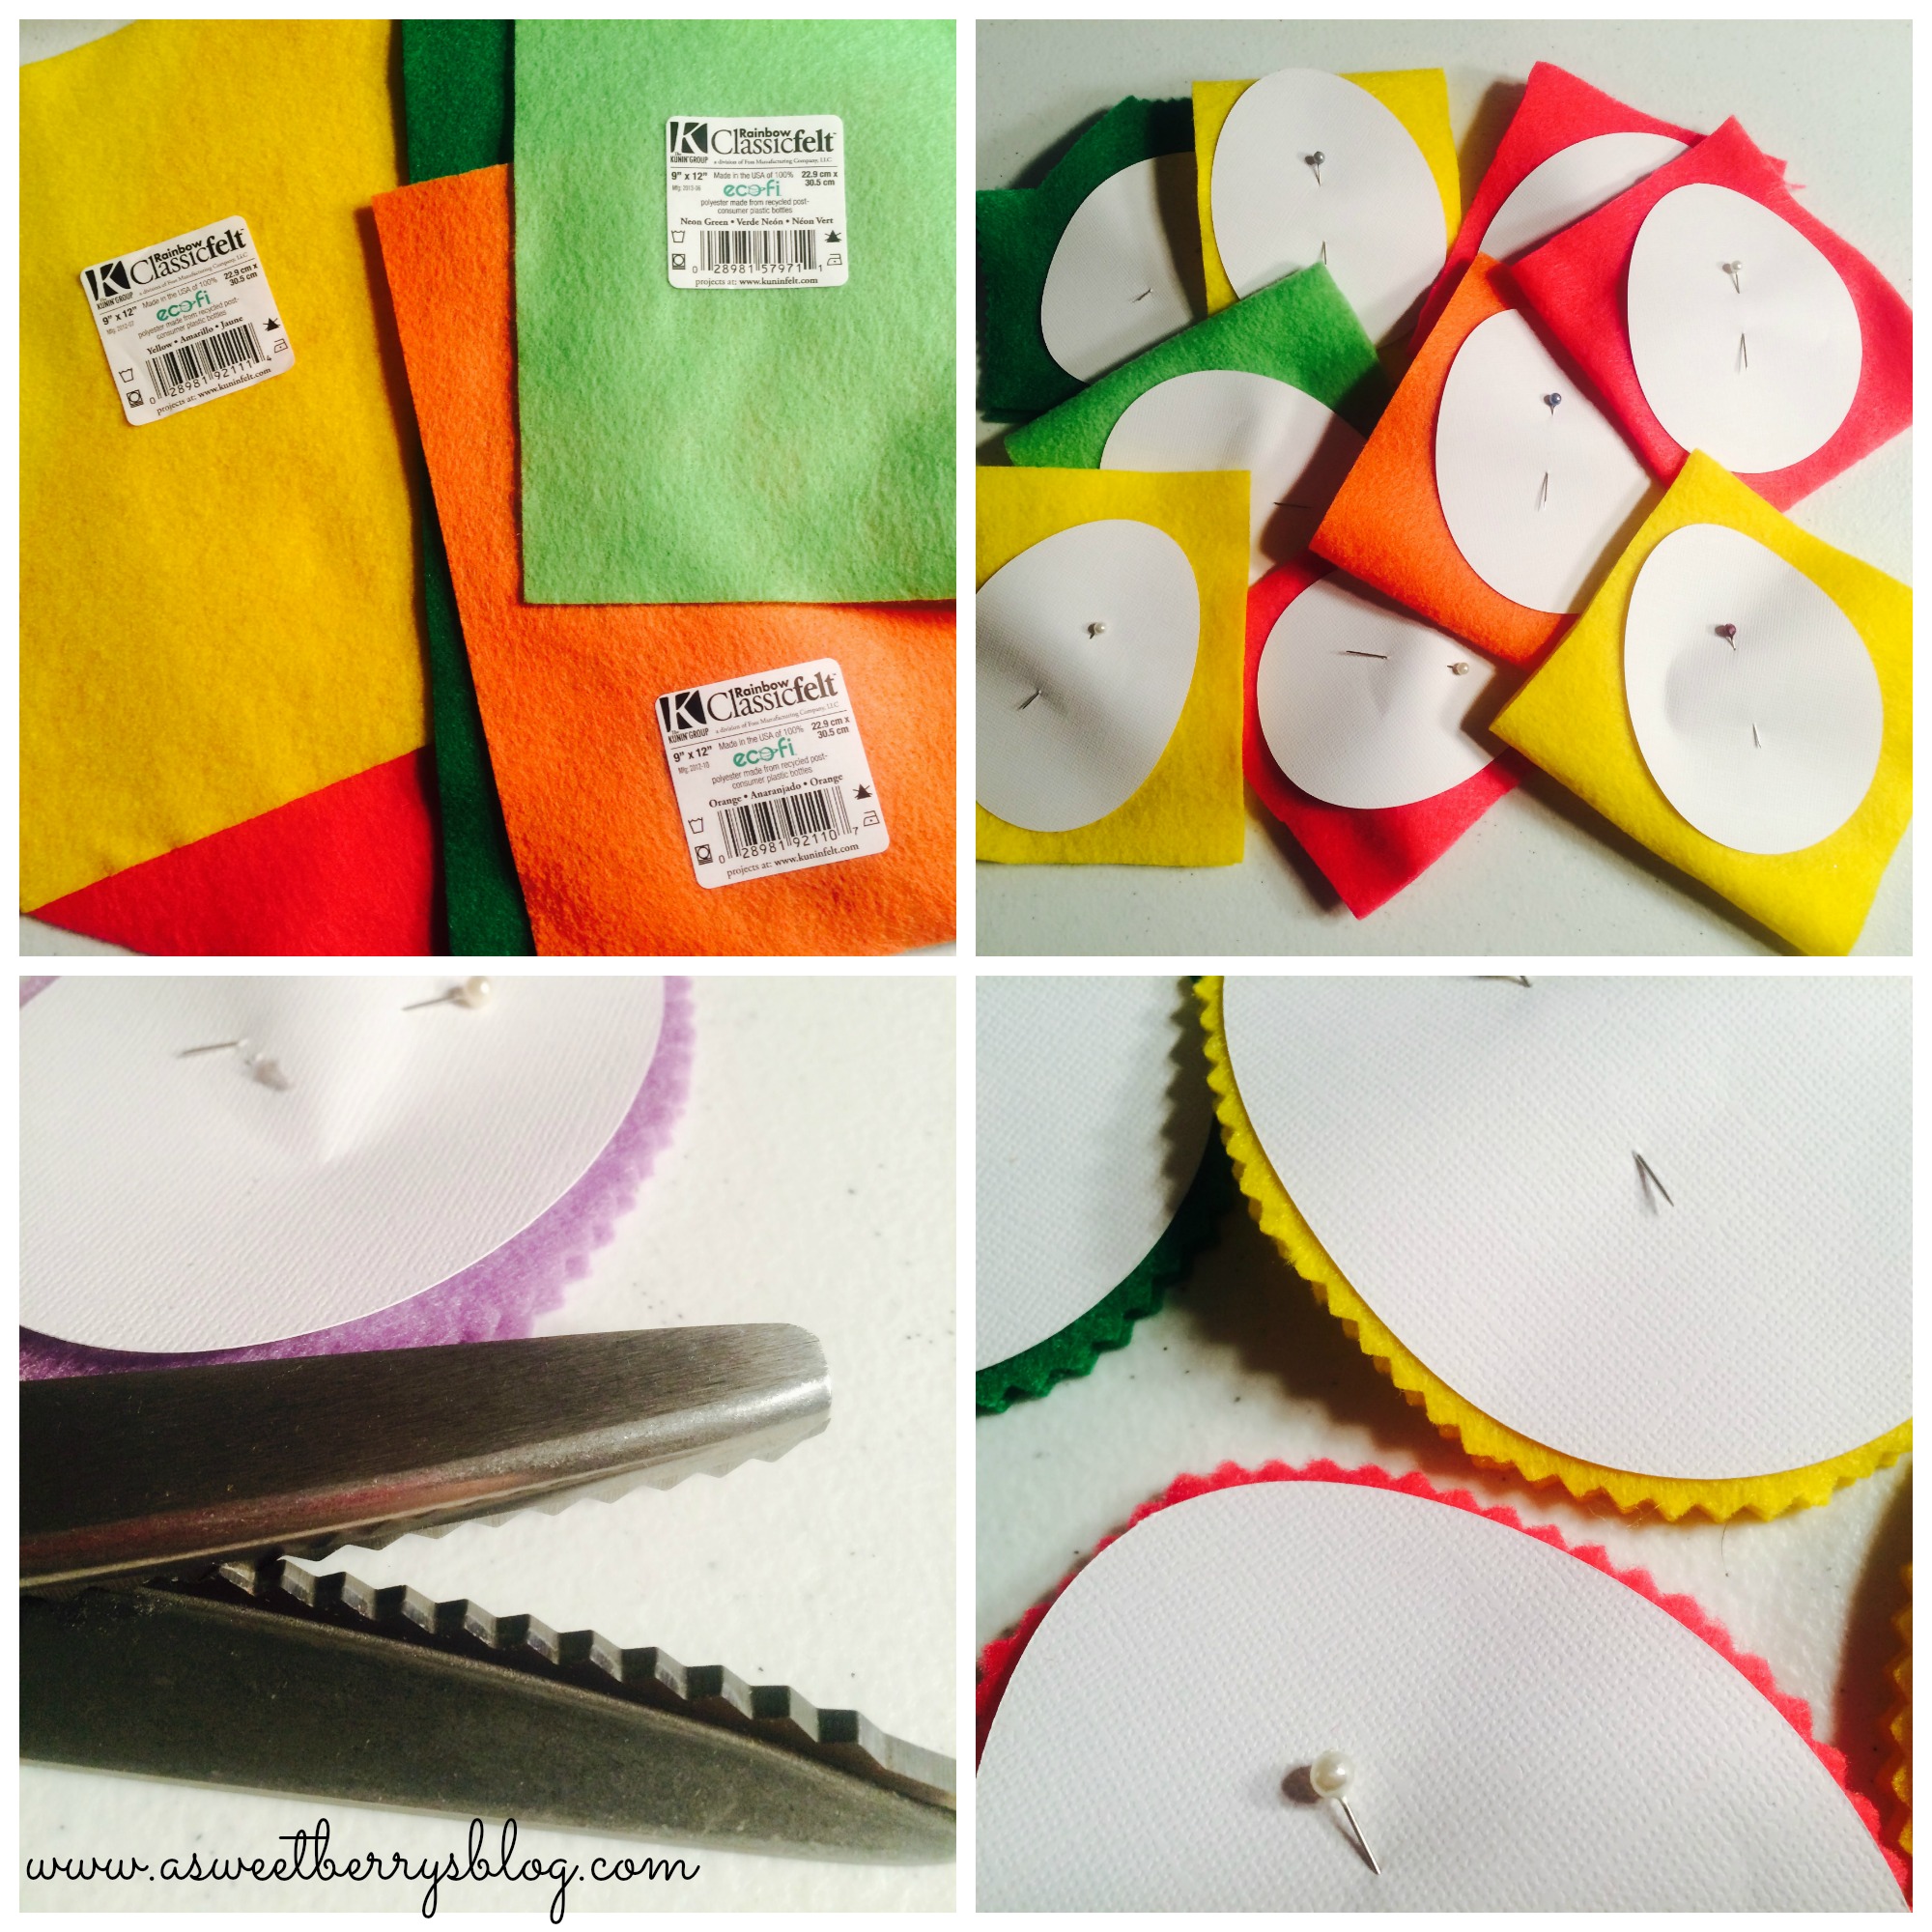
Then, it was time to sew them! I decided to stuff them while they were still under the sewing foot. I sewed all but about 2 inches, stuffed them, realigned my edges and finished sewing!

Once they were all sewn, I used Tulip Fabric Paint to add decorations to them! I think they turned out egg-tastic! 🙂

Using bright pink baker’s twine and a big needle, I threaded the twine through the top part of the egg, making sure to go between the felt and stitches.
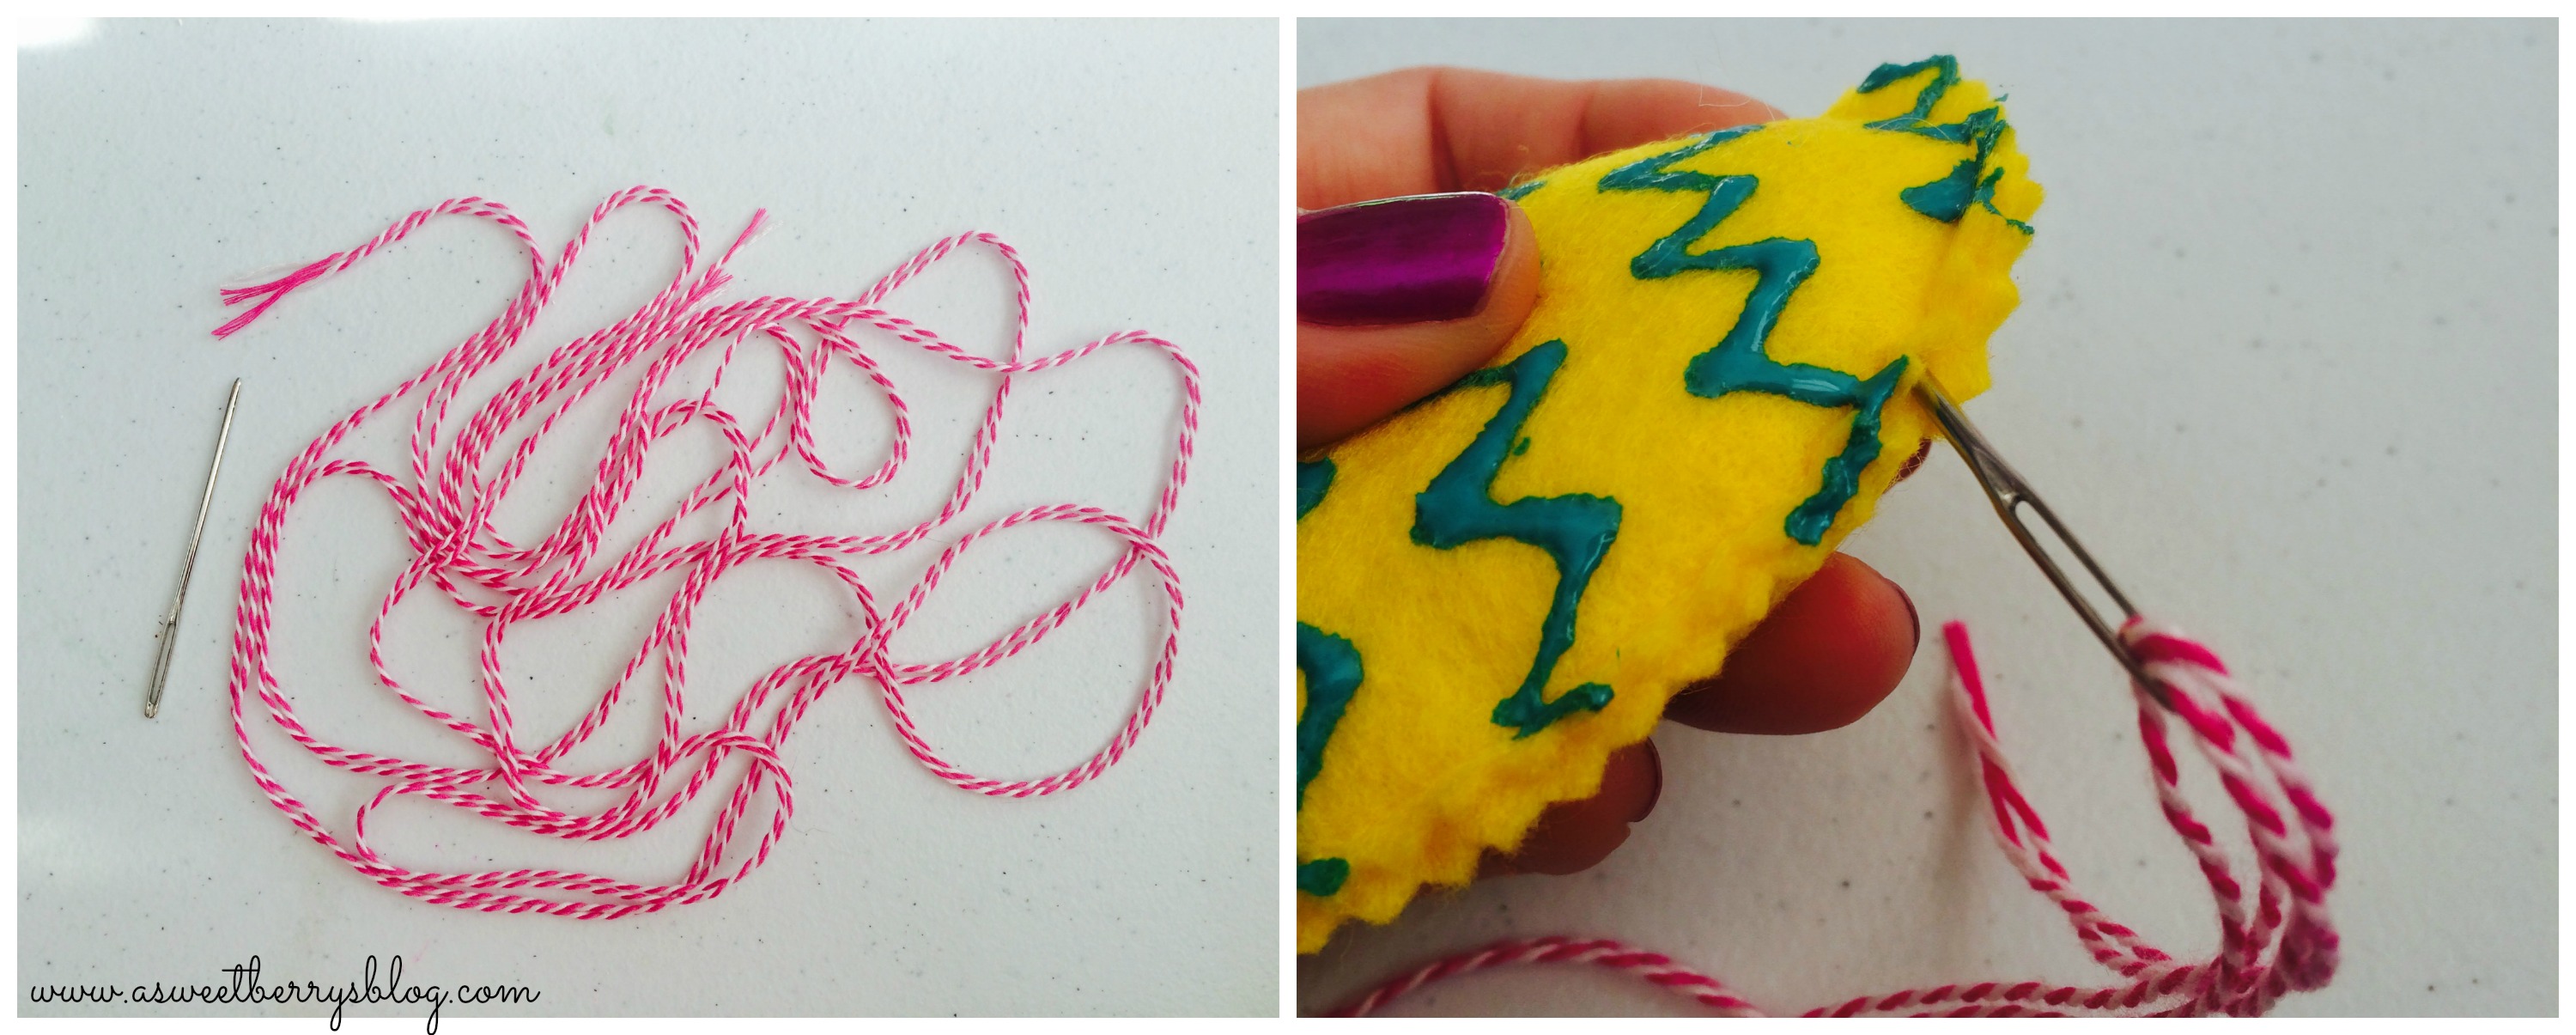
And then, it was complete!!! It is absolutely adorable!

Hope you like my Kunin Felt Easter Egg Bunting!
Until next time…..
NCAA Tournament Brackets
A totally off the subject of crafts post!!!
I’m not the biggest fan of basketball, but I throughly look forward to the NCAA Tournament and Brackets! I have always done my bracket through the Gontram Architecture NCAA Basketball Pool! The owner of Gontram Architecture, Eddie Gontram is the uncle of the children that I used to be a Nanny for. I have known this family for a really long time.
Anyways, onto my brackets……..
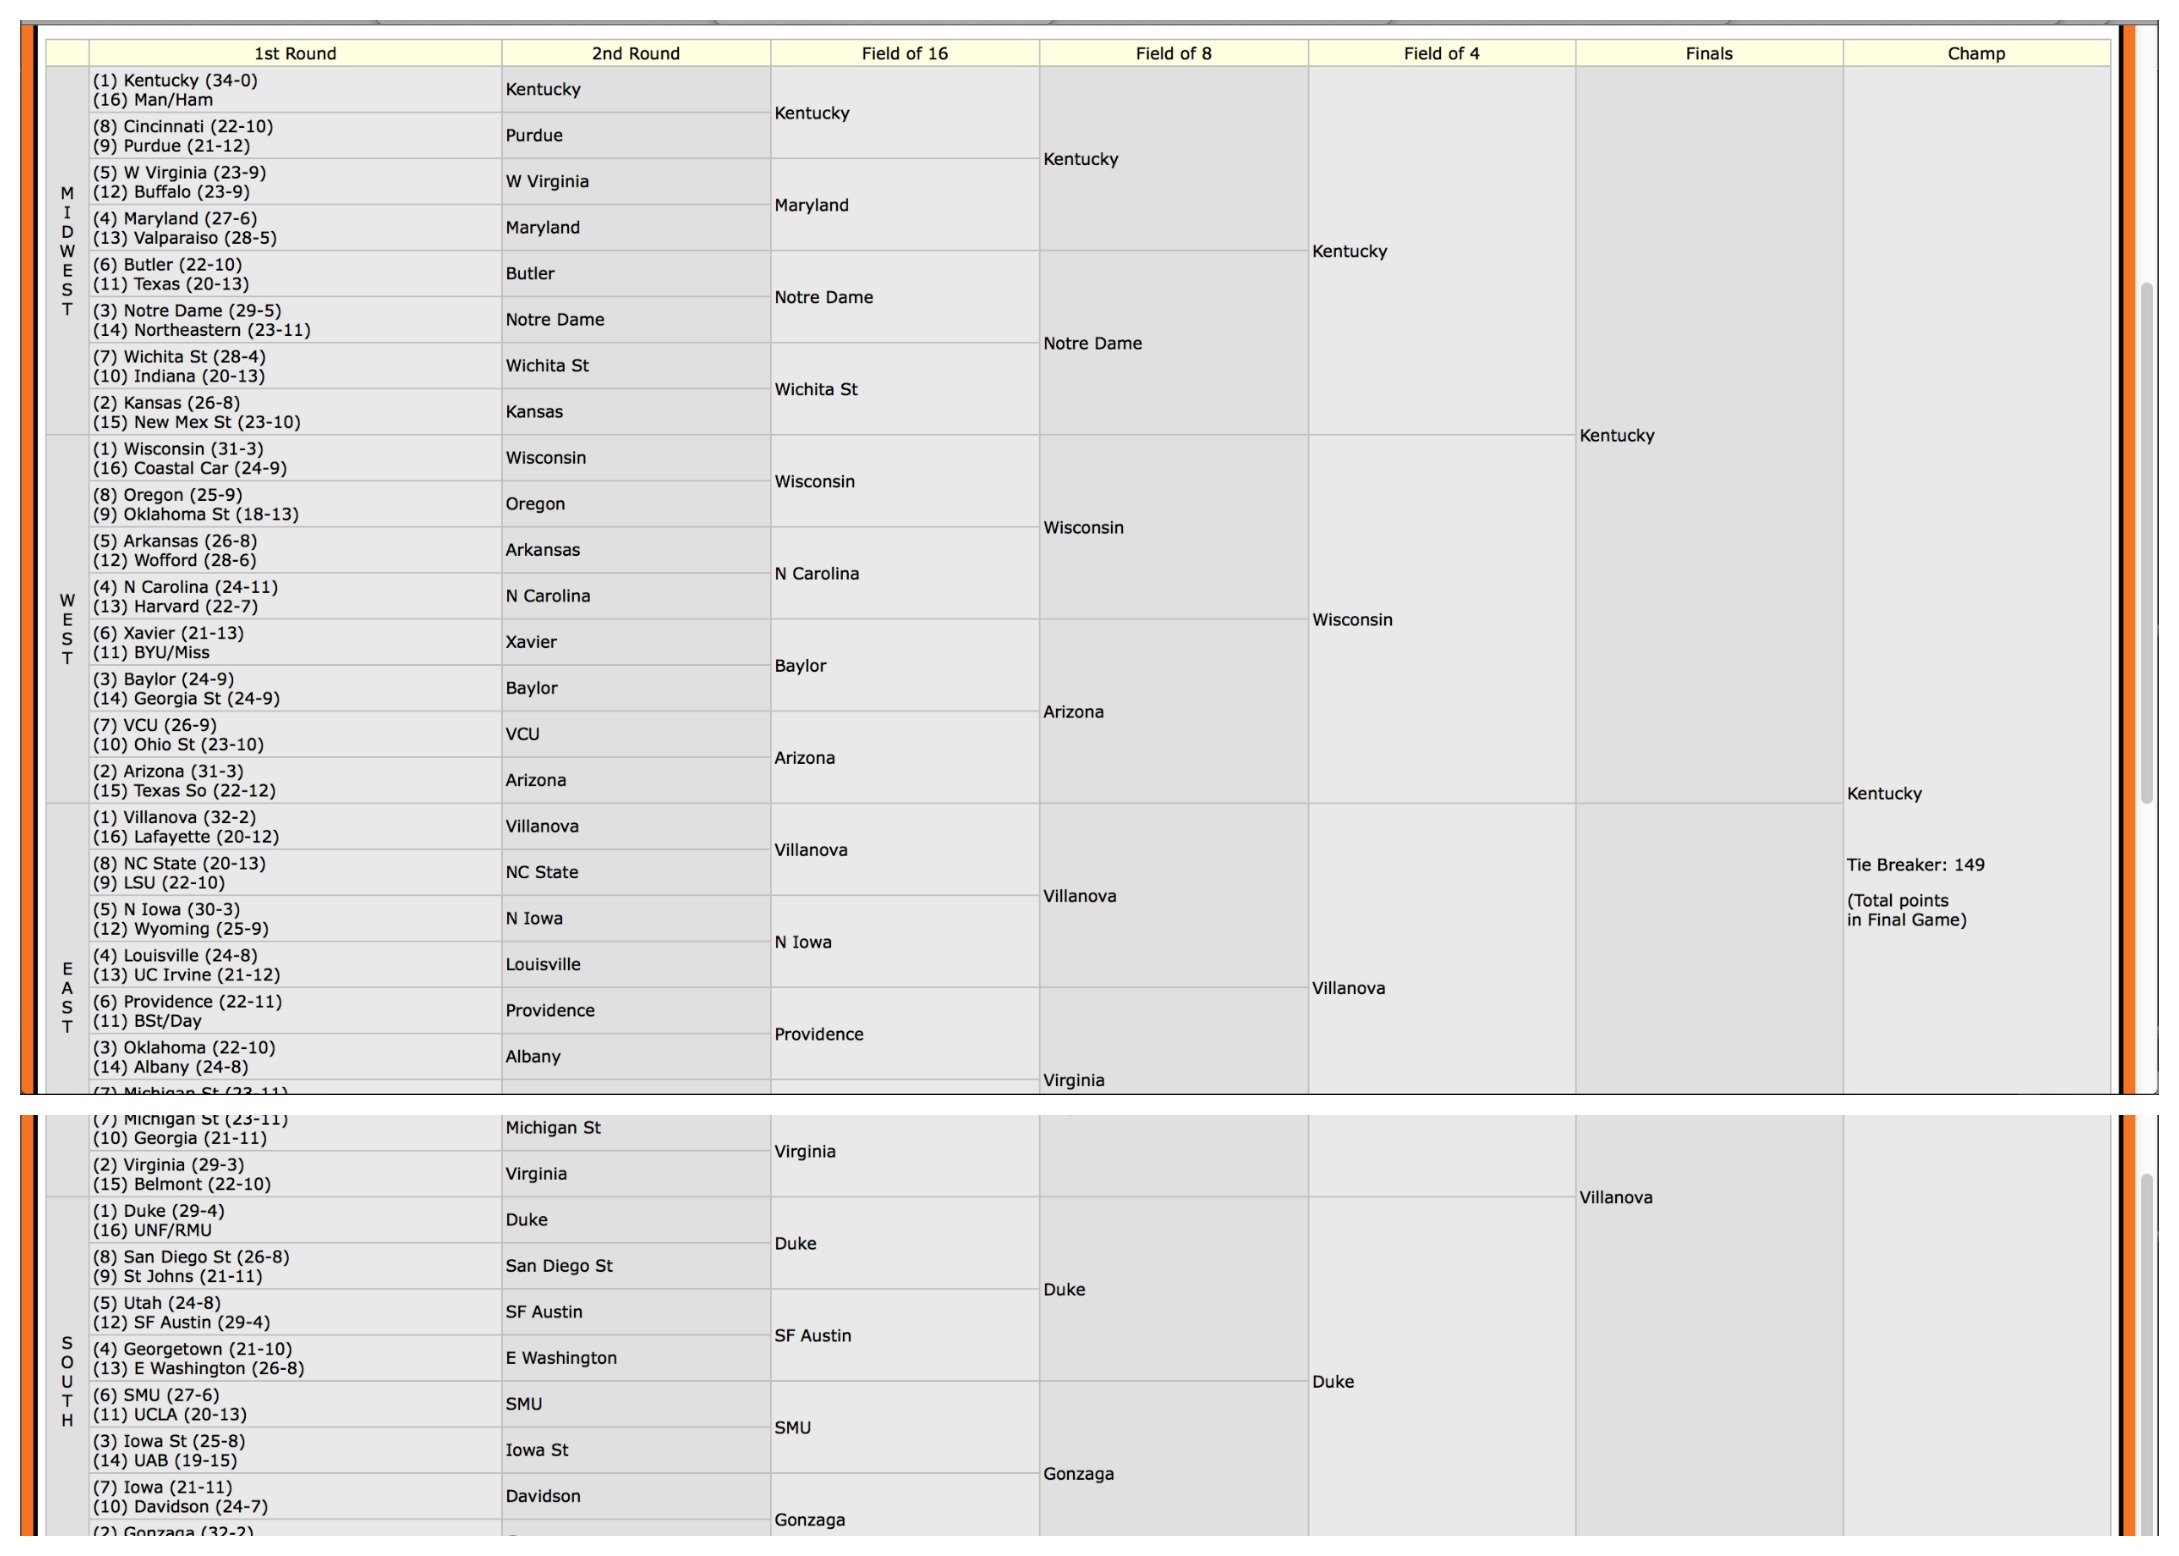
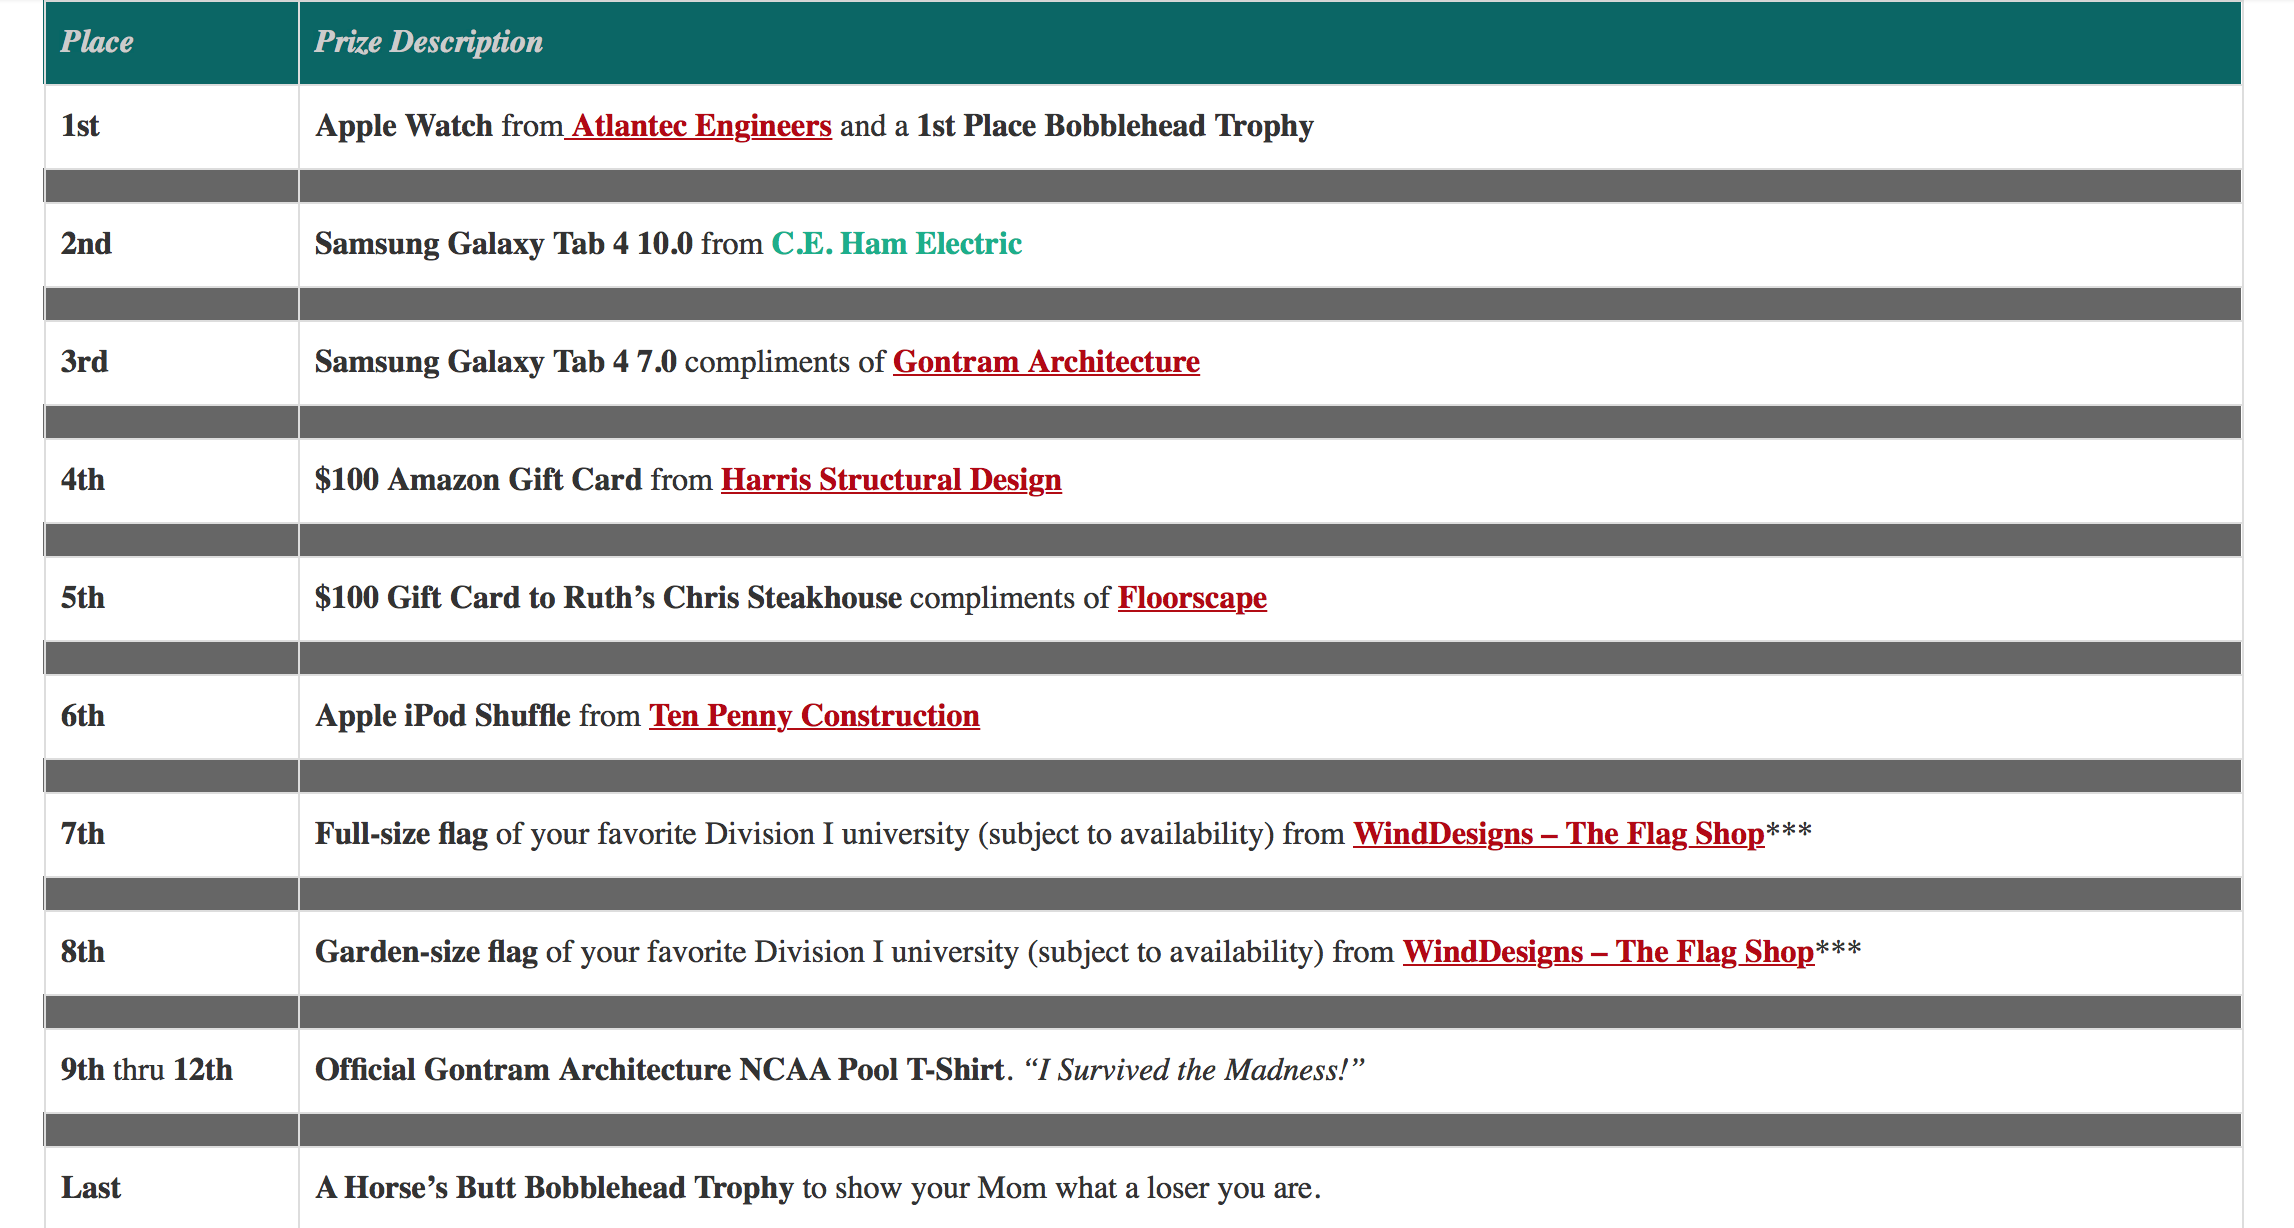
For some crazy reason, I have Kentucky winning the entire tournament. Like I said, I am not exactly a basketball fan, but I like to see if I can at least beat my sweet hubby in the pool! 🙂 And Eddie and his team have some great prizes, including a Horse’s Butt Bobblehead Trophy for last place!!
If you filled out a bracket, who do you have winning?!?!
Until next time……
One Word for the New Year
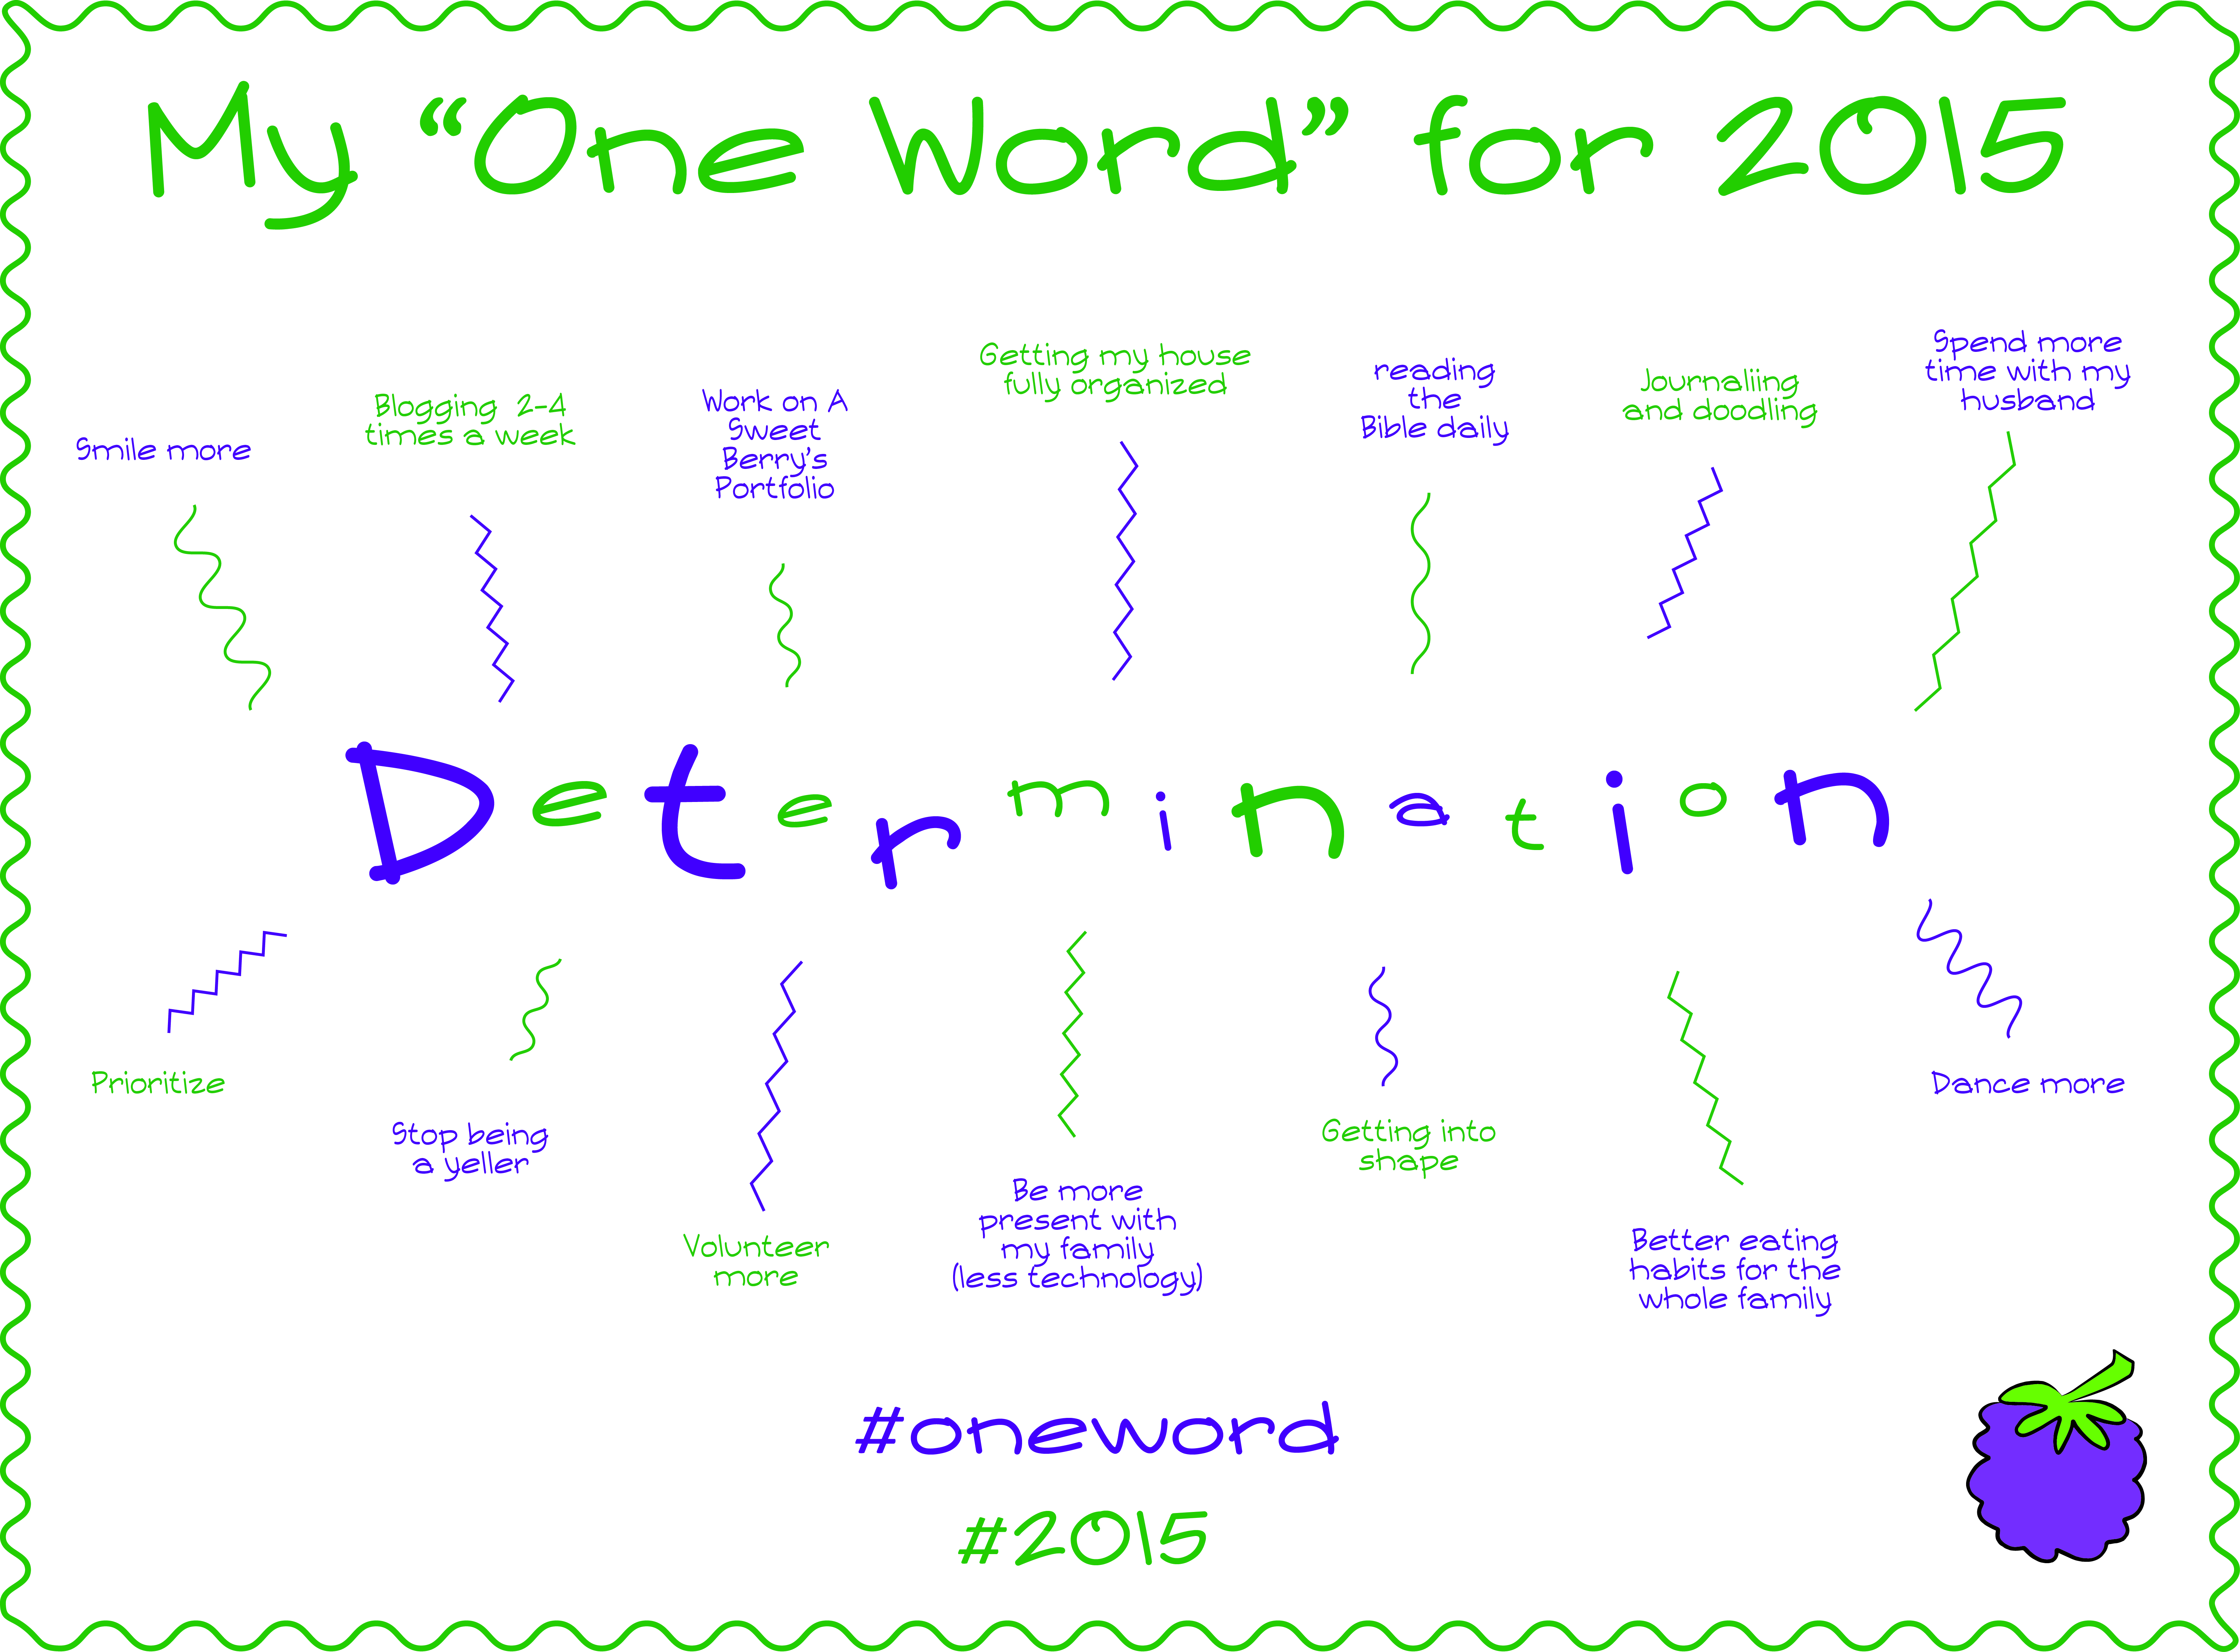
Happy New Years Eve to everyone! As I sit here and the final hours of 2014 wind down, I have been thinking about the upcoming year! There is one word that keeps coming to my mind when I think about 2015! My “One Word” for 2015 is:
Here is a small description of each of the things that I am determined to work on!
Smile: I am determined to smile more. I am going to think about the good things in life and know that my family gives me something to smile about every day!
Blogging: I am determined to blog 2-4 times a week. I love doing crafts and being creative, so there is no reason that I can’t blog about them when they are done. I know that my blog doesn’t necessarily need to be about crafts. It can be about what is happening with my family, about things that I am doing in the community, pretty much anything that I want to blog about!
A Sweet Berry Designs Portfolio: I have slowly been working on my portfolio. But I am determined that January 2015 is going to be a busy busy month worth of working on my portfolio. I also plan to get it up online and get some stationery pieces done!
Getting my house organized: Even though we have started working on getting the house organized while Bruce has been home for the week after Christmas, I am determined to get both of the boys rooms organized, as well as my bonus room that seems to be the catch all room. My garage also needs to be organized.
Reading the Bible daily: I am determined to read the Bible daily. I not only want to read the Bible for myself, but I want to read the it daily with the kids.
Journaling and Doodling: Outside of working on my portfolio and blogging, I am determined to journal and doodle! I love to doodle, so there is no reason I shouldn’t! I’ve journaled in the past and it has helped me get my thoughts out.
Spending more time with my husband: I am determined to spend more alone time with my husband. Just recently both of our children spent the night away on the same night. The next morning, Bruce and I spend the morning drinking coffee together, eating breakfast together, watching a little television together and chatting. There are not a lot of times like that, but it was great to just be with him.
Prioritize: There are a lot of things that I want to do in 2015. I am determined to prioritize those activities!
Stop being a yeller: Unfortunately, I am a yeller. I find myself yelling and it stresses me out and causes a major headache. I am determined to be less of a yeller.
Volunteer more: I am determined to volunteer more. Even though I am in the Junior Woman’s Club of Raleigh and we have a minimum amount of hours that we are supposed to volunteer, I want to volunteer more and involve my kids more. I also would like to volunteer in my Church more.
Be more present with my family: I know that I am a technology dork. I love it. Between my MacBook, my iPad, my iPhone and my Kindle, I could spend all day on them. But I am determined to put them away more and be more present with my family and spend less time with my electronics!
Get into Shape: I am currently working out, but the holidays has put a damper on my motivation to work out. But I am determined in 2015 to work out 5-6 days a week. I want to work out 3 days with my friend Abby and 2-3 days of walking/running. I know I can do it! I also want to get rid of my high blood pressure medications in 2015.
Better eating habits for the whole family: Even though I have been instructed by the doctor to cut down on my carbs and my sugars, I think my family could benefit from this as well. I know my boys are growing and need more carbs than I do, I won’t cut them out of their diets as much as I will for my diet, but we could definitely stand to eat less! We need to add more fruits and veggies to our diets. Even though I am gluten free, I still tend to find carbs in the non-gluten foods. So, more label reading, less processed and more fresh!!!!
Dance more: I love dancing! I am determined to dance more, even if it’s in my house!!! It makes me happy! And my kids love dance parties in the living room!
My list could go on, but these are the things that I want to work on the most! I am determined to be determined in 2015!!!!! I am really looking forward to the New Year! I’m starting my year off with a trip to Anaheim, CA for the Craft and Hobby Association Mega Show and meeting up with one of my favorite people, Laura Kelly. Unfortunately, I won’t be home to help celebrate my husbands 40th Birthday, but I truly appreciate that he is supportive of my adventures! In April, I am attending SNAP blogging conference in Salt Lake City, Utah! And there are lots of other things that will happen in 2015! And I’ll be sure to share all of my adventures with you guys!
HAPPY 2015!!!
Peace and Love!
Merry Christmas!
Merry Christmas to you and your family!
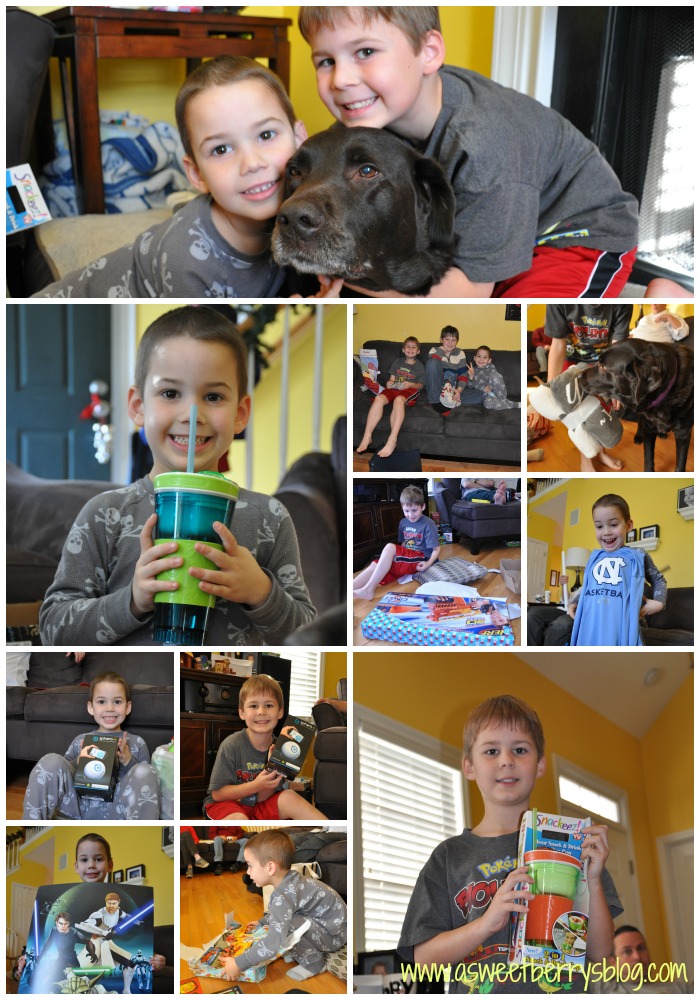
As I sit here now that everyone has gone to sleep, I am reflecting on this joyous day! It was filled with excitement, a couple of meltdowns, great food and lots of family time! Christmas is my favorite time of the year! The look on the children’s faces once they see what the Jolly Ole Guy has left under the tree is worth all of the stress of the whole year! As I laid awake in my bed from about 5:30am until I heard the kids start to move around in their beds, I quickly jumped up as soon as I heard a foot hit the floor. I was almost too late to catch this picture so it’s a little blurry! I love trying to get a picture of them as they come down the stairs once they see what Santa has left for them!
Now, I know that everyone has their traditions. As I was growing up, Santa never wrapped his gifts. They were always laid out on the couches, my pile on one and my brothers on the other! Santa always wrapped Bruce’s! For our kids, Santa has always wrapped his gifts! What does Santa do for your family?
Our day in a nut shell…….After the kids woke up, we let them open one gift. We had to wait for Uncle Rhett, Cousin Jory, Grandma and Grandpa to arrive. I put a sausage and egg casserole in the oven! Once they were all here, everyone opened one gift! Breakfast of casserole, pancakes (Berry family tradition and now cooked by Bruce), and fruit were served! And coffee too!!! After breakfast was done, the present opening was on! Trying to keep our anxiety under control, we opened one gift at a time! Yes, this took a while. Here are a few of our favorites:
After all of the presents were unwrapped, it was time for lunch! Then it was time for some down time. Everyone left and we just hung out as a family of four, put together some legos, opened all of the packages (those annoying plastic things….ugh) and just sat around. Then it was off to Grandma and Grandpa’s house for more presents and a yummy dinner of a Rochester, NY Sausage Soup! And then home for bed!
Hmmm….not sure that was entirely a nut shell, but it wasn’t too long!
I know Christmas Day isn’t only about the presents. Thankfully, my children know and understand why this day is special, the day that Jesus was born to Mary and Joseph! And we are blessed and feel very fortunate!
I also sit here and think about those that are no longer here with us, but look down on us from Heaven. And I think about the friends and family that we have all over the country and how much we miss you all.
So, I hope that you had a great Christmas and that Santa was good to you! And I hope that you all have a “Berry” Happy New Year!!!
Peace and Love!
WaterWipes when in need!
This post is sponsored by WaterWipes and Mommy Bag Marketing. Although I received product and financial compensation, all opinions are entirely my own.
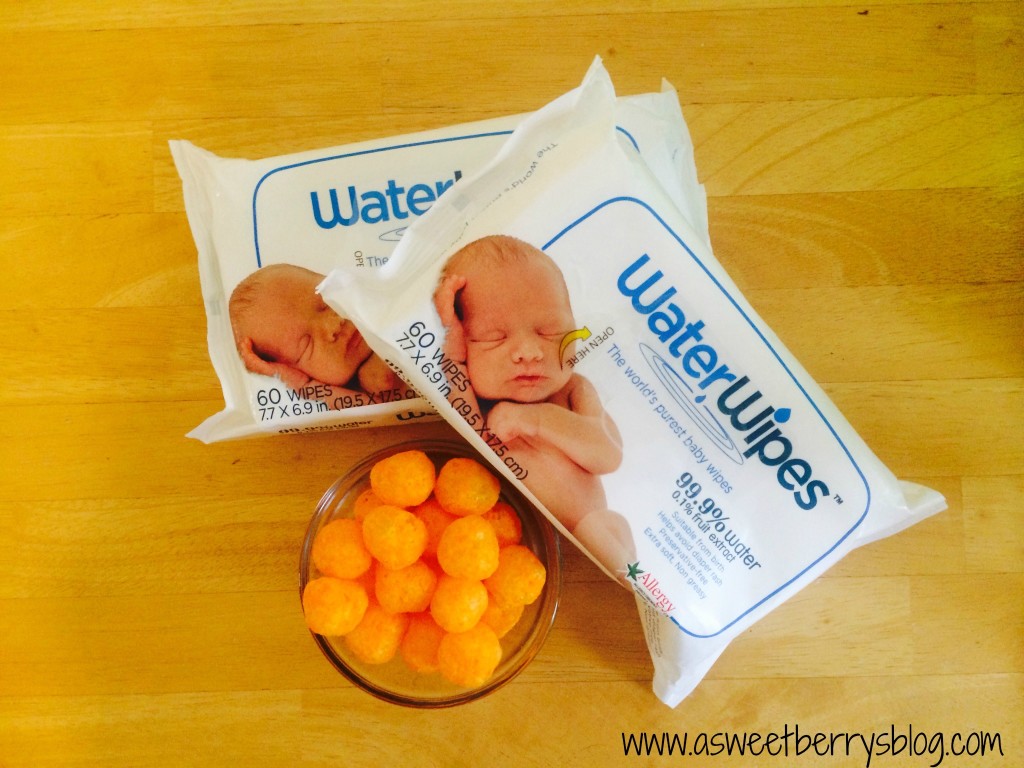
WaterWipes are not only awesome for wiping little bottoms, they are awesome when it comes to snack time! Snack time at our house can get quite messy! Everyone knows what a mess cheese balls can be. And even though cheese balls are a special treat in our house, I’m always amused at just how messy they can be. WaterWipes help clean up the mess quick and easy without the strong smell left behind by other wipes.
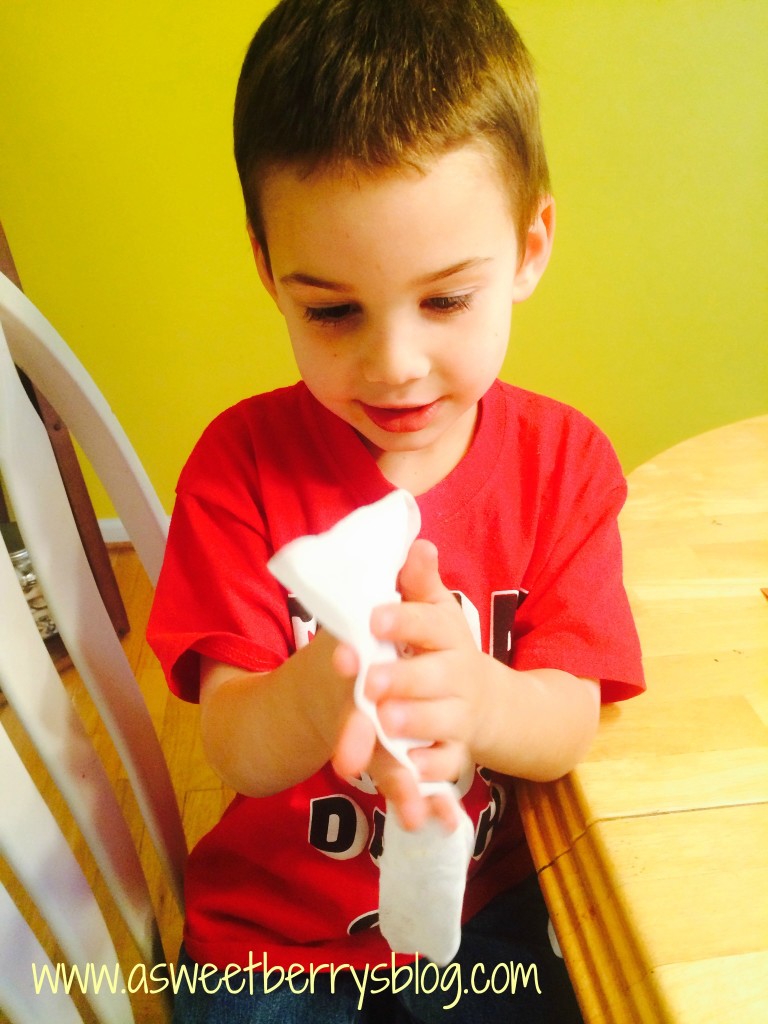
Below is my little Benjamin while eating his yummy cheese balls for his afternoon snack!
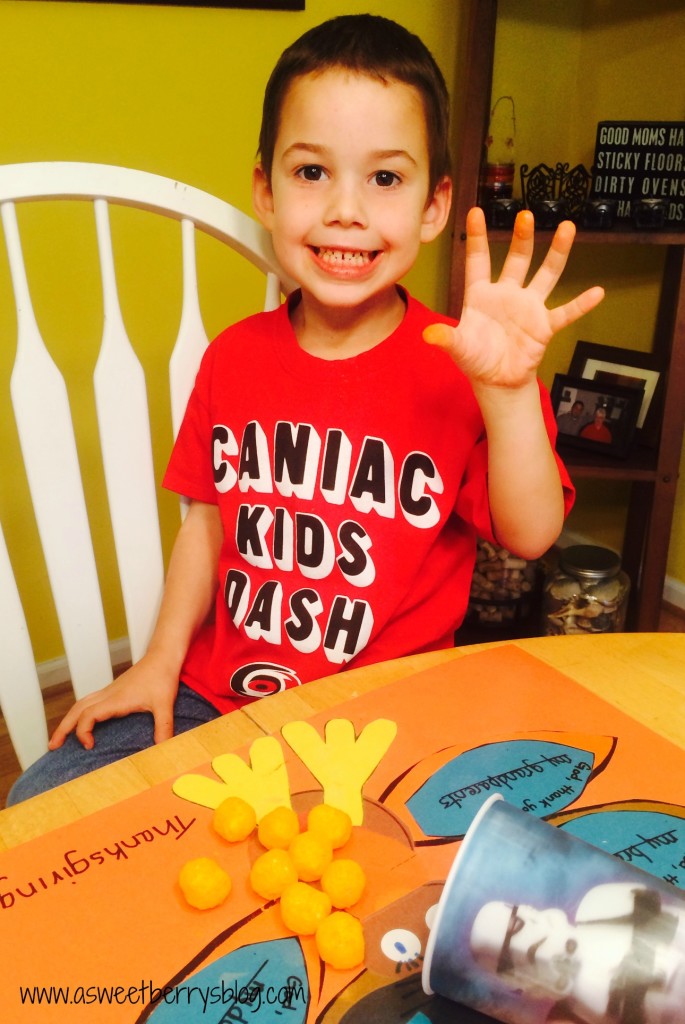
Benjamin has a severe case of eczema. Pretty much anything that contains alcohol or other harsh chemicals causes his skin to break out into a fiery red rash and his skin becomes itchy and feels like and looks like it’s burning. Thankfully WaterWipes can be used by anyone (babies, toddlers, teens or adults) with sensitive skin. Anyone with a skin condition like eczema, psoriasis, dermatitis, etc. can use WaterWipes without any negative effects or discomfort. What a lot of people don’t realize is that most baby wipes contain harsh chemicals, even those that are labeled eco-friendly or organic. WaterWipes are the only baby wipes containing absolutely no chemicals. They are made of 99.9% water and 0.1% fruit extract.
WaterWipes are primarily used to prevent diaper rash. They not only can be used to wipe bottoms and clean up after snack time….They can even be used for clean up of craft projects too! Crafting is something that we are always doing at our house and WaterWipes help clean up the paint from little fingers or glue from off to the table! WaterWipes are a life saver. And they are super gentle on Benjamin’s super sensitive skin. You can keep them in the car, in your craft basket, or in the bathroom!
WaterWipes can be found on Facebook and Twitter.
Until next time…….

