Category Archives: Uncategorized
Yummy Gluten Free Peanut Butter Cookies
In the last few months, I have become gluten free. It has changed my life…..no more achy joints, less headaches and more energy! As of now, I am 100% gluten free and let me tell you something….it is not fun at all if you happen to eat something that contains gluten. I am the only one in my family of four that is gluten free, but there are things that my kids will eat. For example:
Tonight, I made these delicious gluten free peanut butter cookies for dessert! They were super yummy!
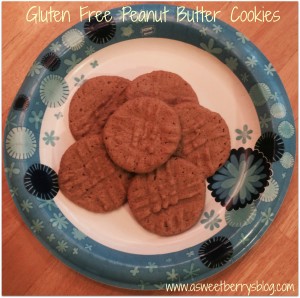
Here is how I made them:
Ingredients:
1 C Peanut Butter
1 C Sugar
1 Egg
Directions:
Preheat your oven to 350 degrees.
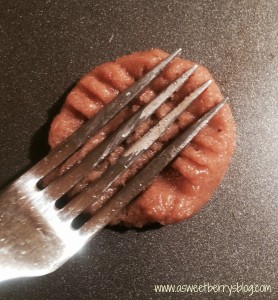
Add the ingredients to a mixing bowl and mix until the ingredients are combined. Roll into 1 inch balls and place on a baking pan. No need to grease the pan. The peanut butter has enough oil in it! Using a fork, press the cookies!!
Bake for 8-10 minutes at 350 degrees. Remove and let cool before removing from the tray. Or enjoy them warm!!!
Recipe made 24 cookies at 77 calories each!
These cookies were relish! And the boys in the house loved them!!!
It’s been very interesting going gluten free. Before, I had never really looked at nutritional labels, but now I do. It’s amazing what foods do and don’t contain gluten!
Until next time……
Hello world!
Welcome to WordPress. This is your first post. Edit or delete it, then start blogging!
Ahoy there Matey! iPad Mini Travel Cases
So, in preparing for a trip to New York, I knew we’d be taking the boys iPad Minis with us. Since they were going to be going into their backpacks to carry on the plane, I wanted to make sure that they weren’t going to get all scratched up. So, I put together these super cute little iPad covers. As some of you may know, my friend Laura Kelly Walters has an awesome array of different products, including a few different fabric designs and buttons. I just happen to love her Tossed Pirate fabric! It’s so fun and so boy!!! She is such a creative person and I truly admire her! But here is how I made these awesome iPad Mini travel cases!!!
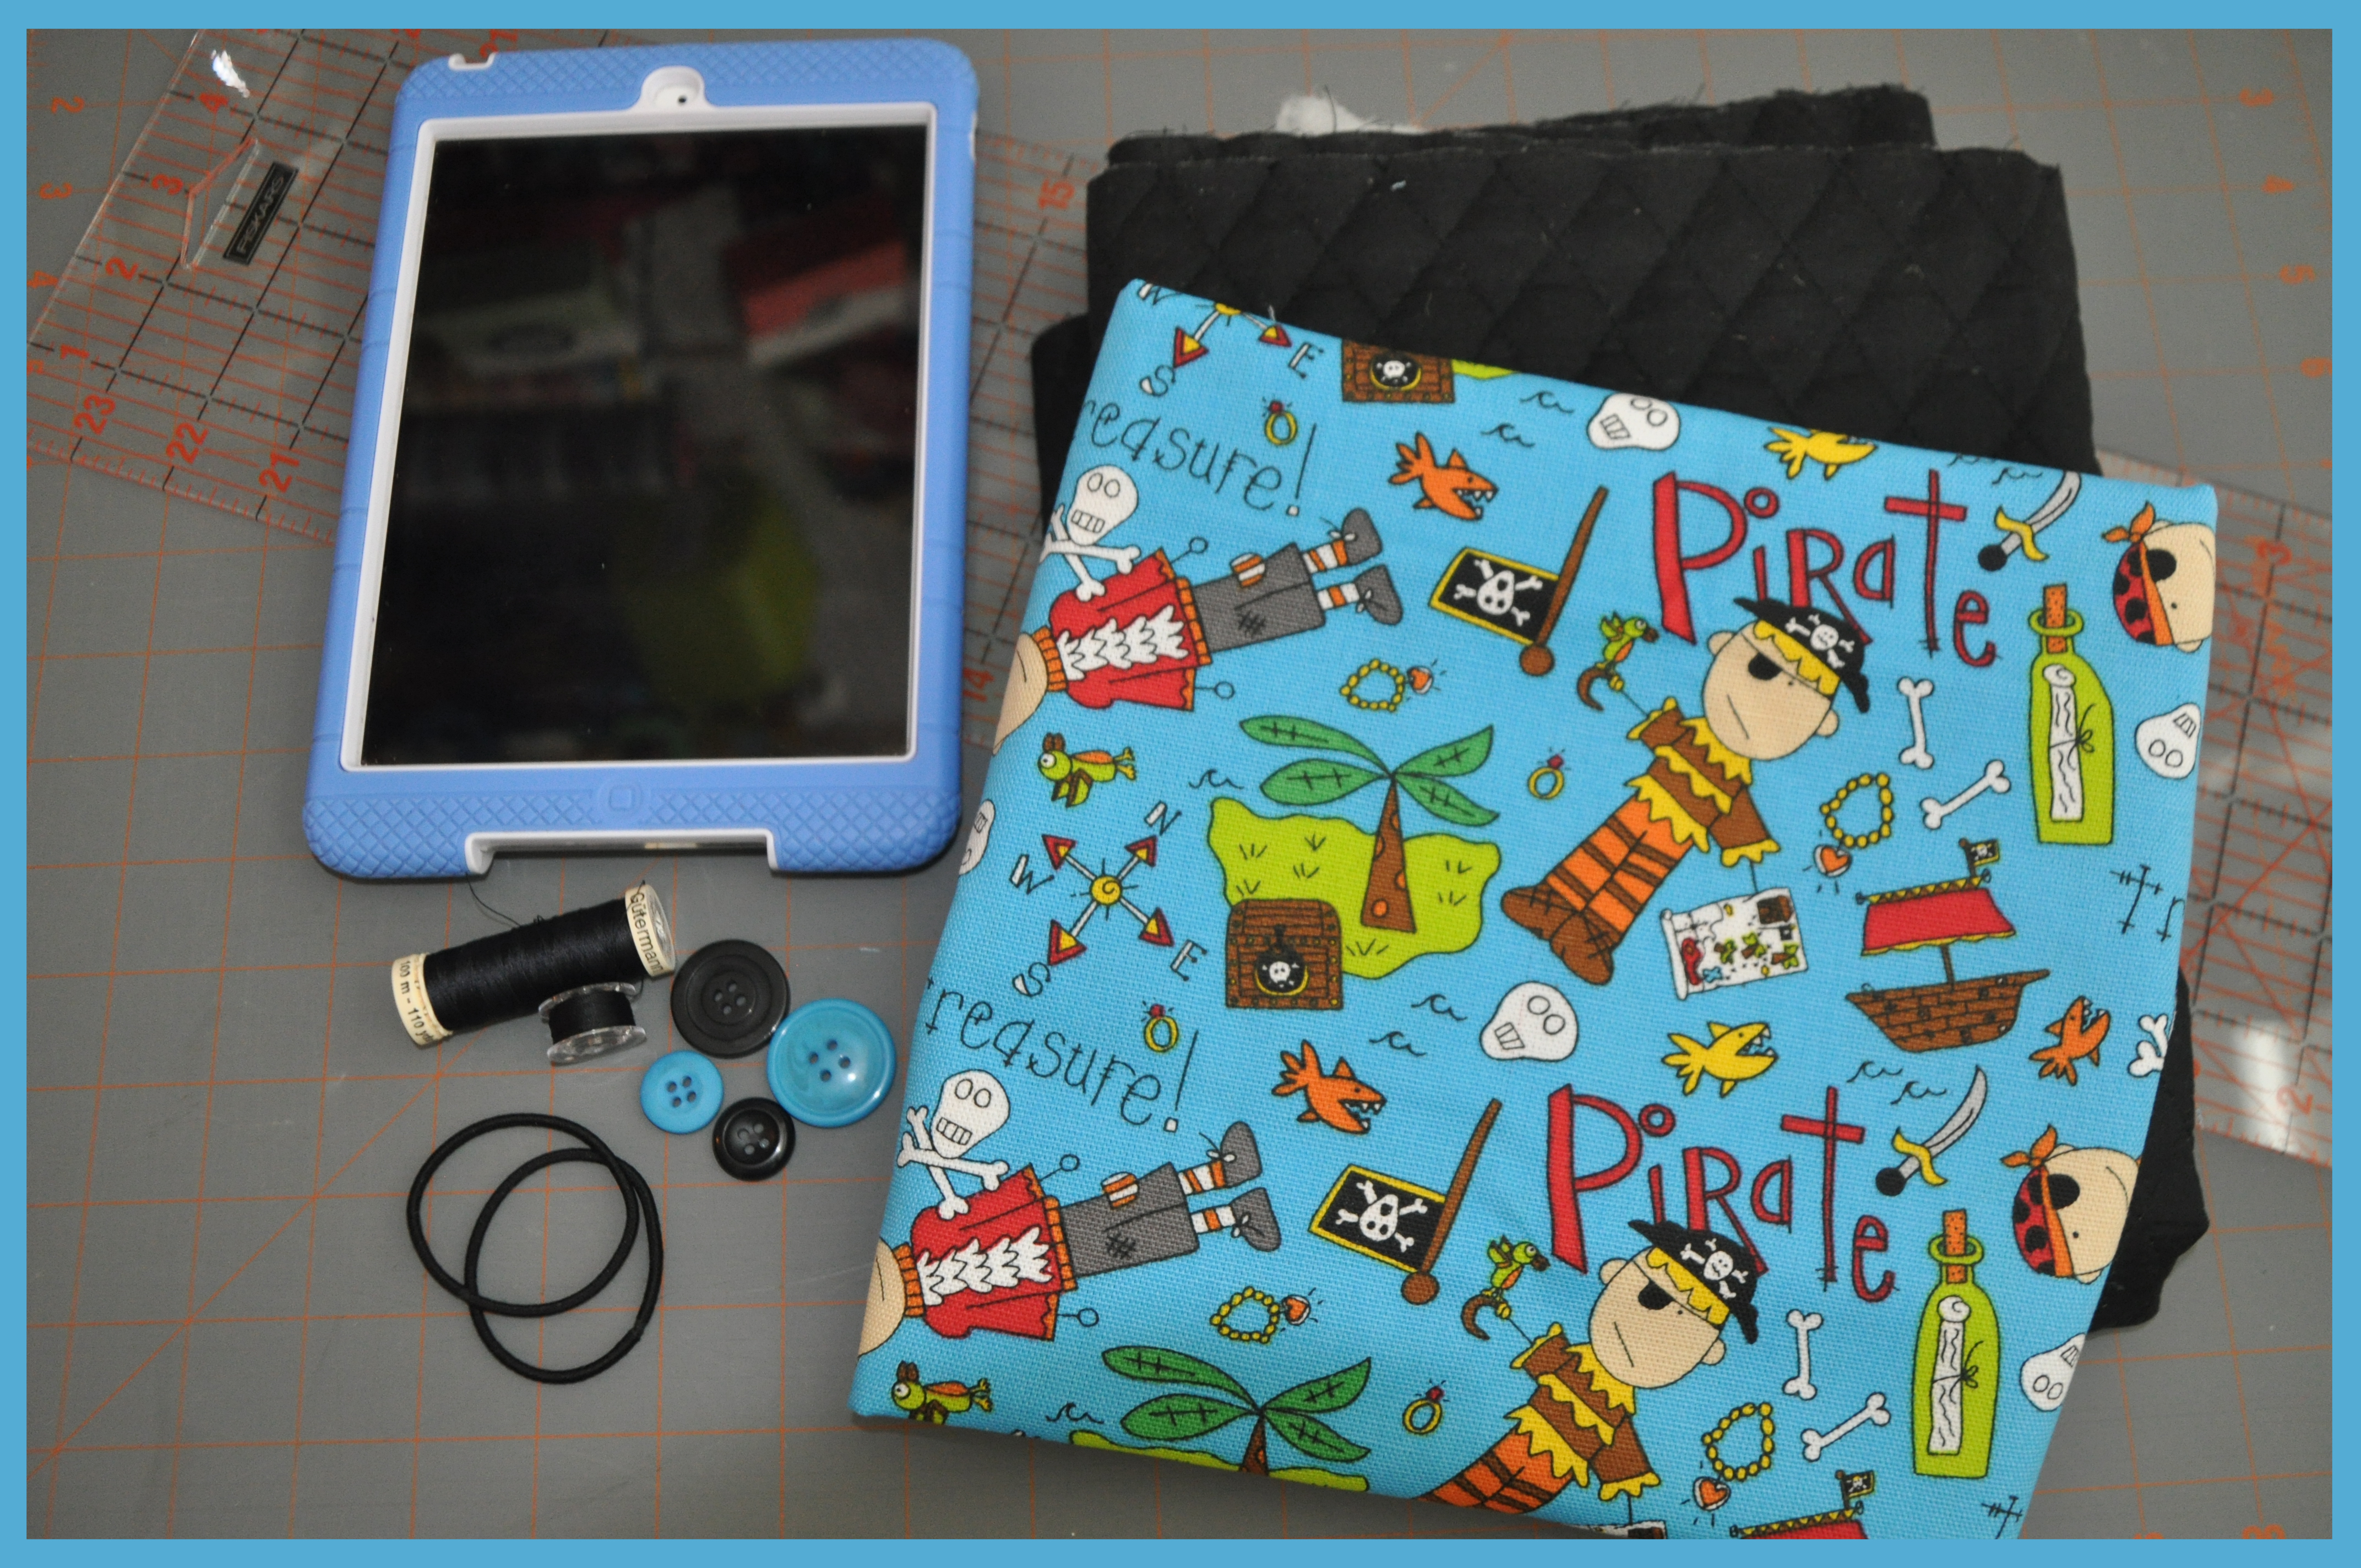
Materials used:
Laura Kelly’s Tossed Pirate on Blue Cotton Fabric, available online at Hancock Fabrics
Black Quilt Material
Guterman thread
A metal-less Hair rubberband
Laura Kelly Mix Buttons, from Buttons Galore & More
First, I measured the iPad mini itself and the cut my fabrics (8.5×11 inches). I then pinned the quilted fabric together. And since these are the same on both sides, it doesn’t matter which way you pin them.
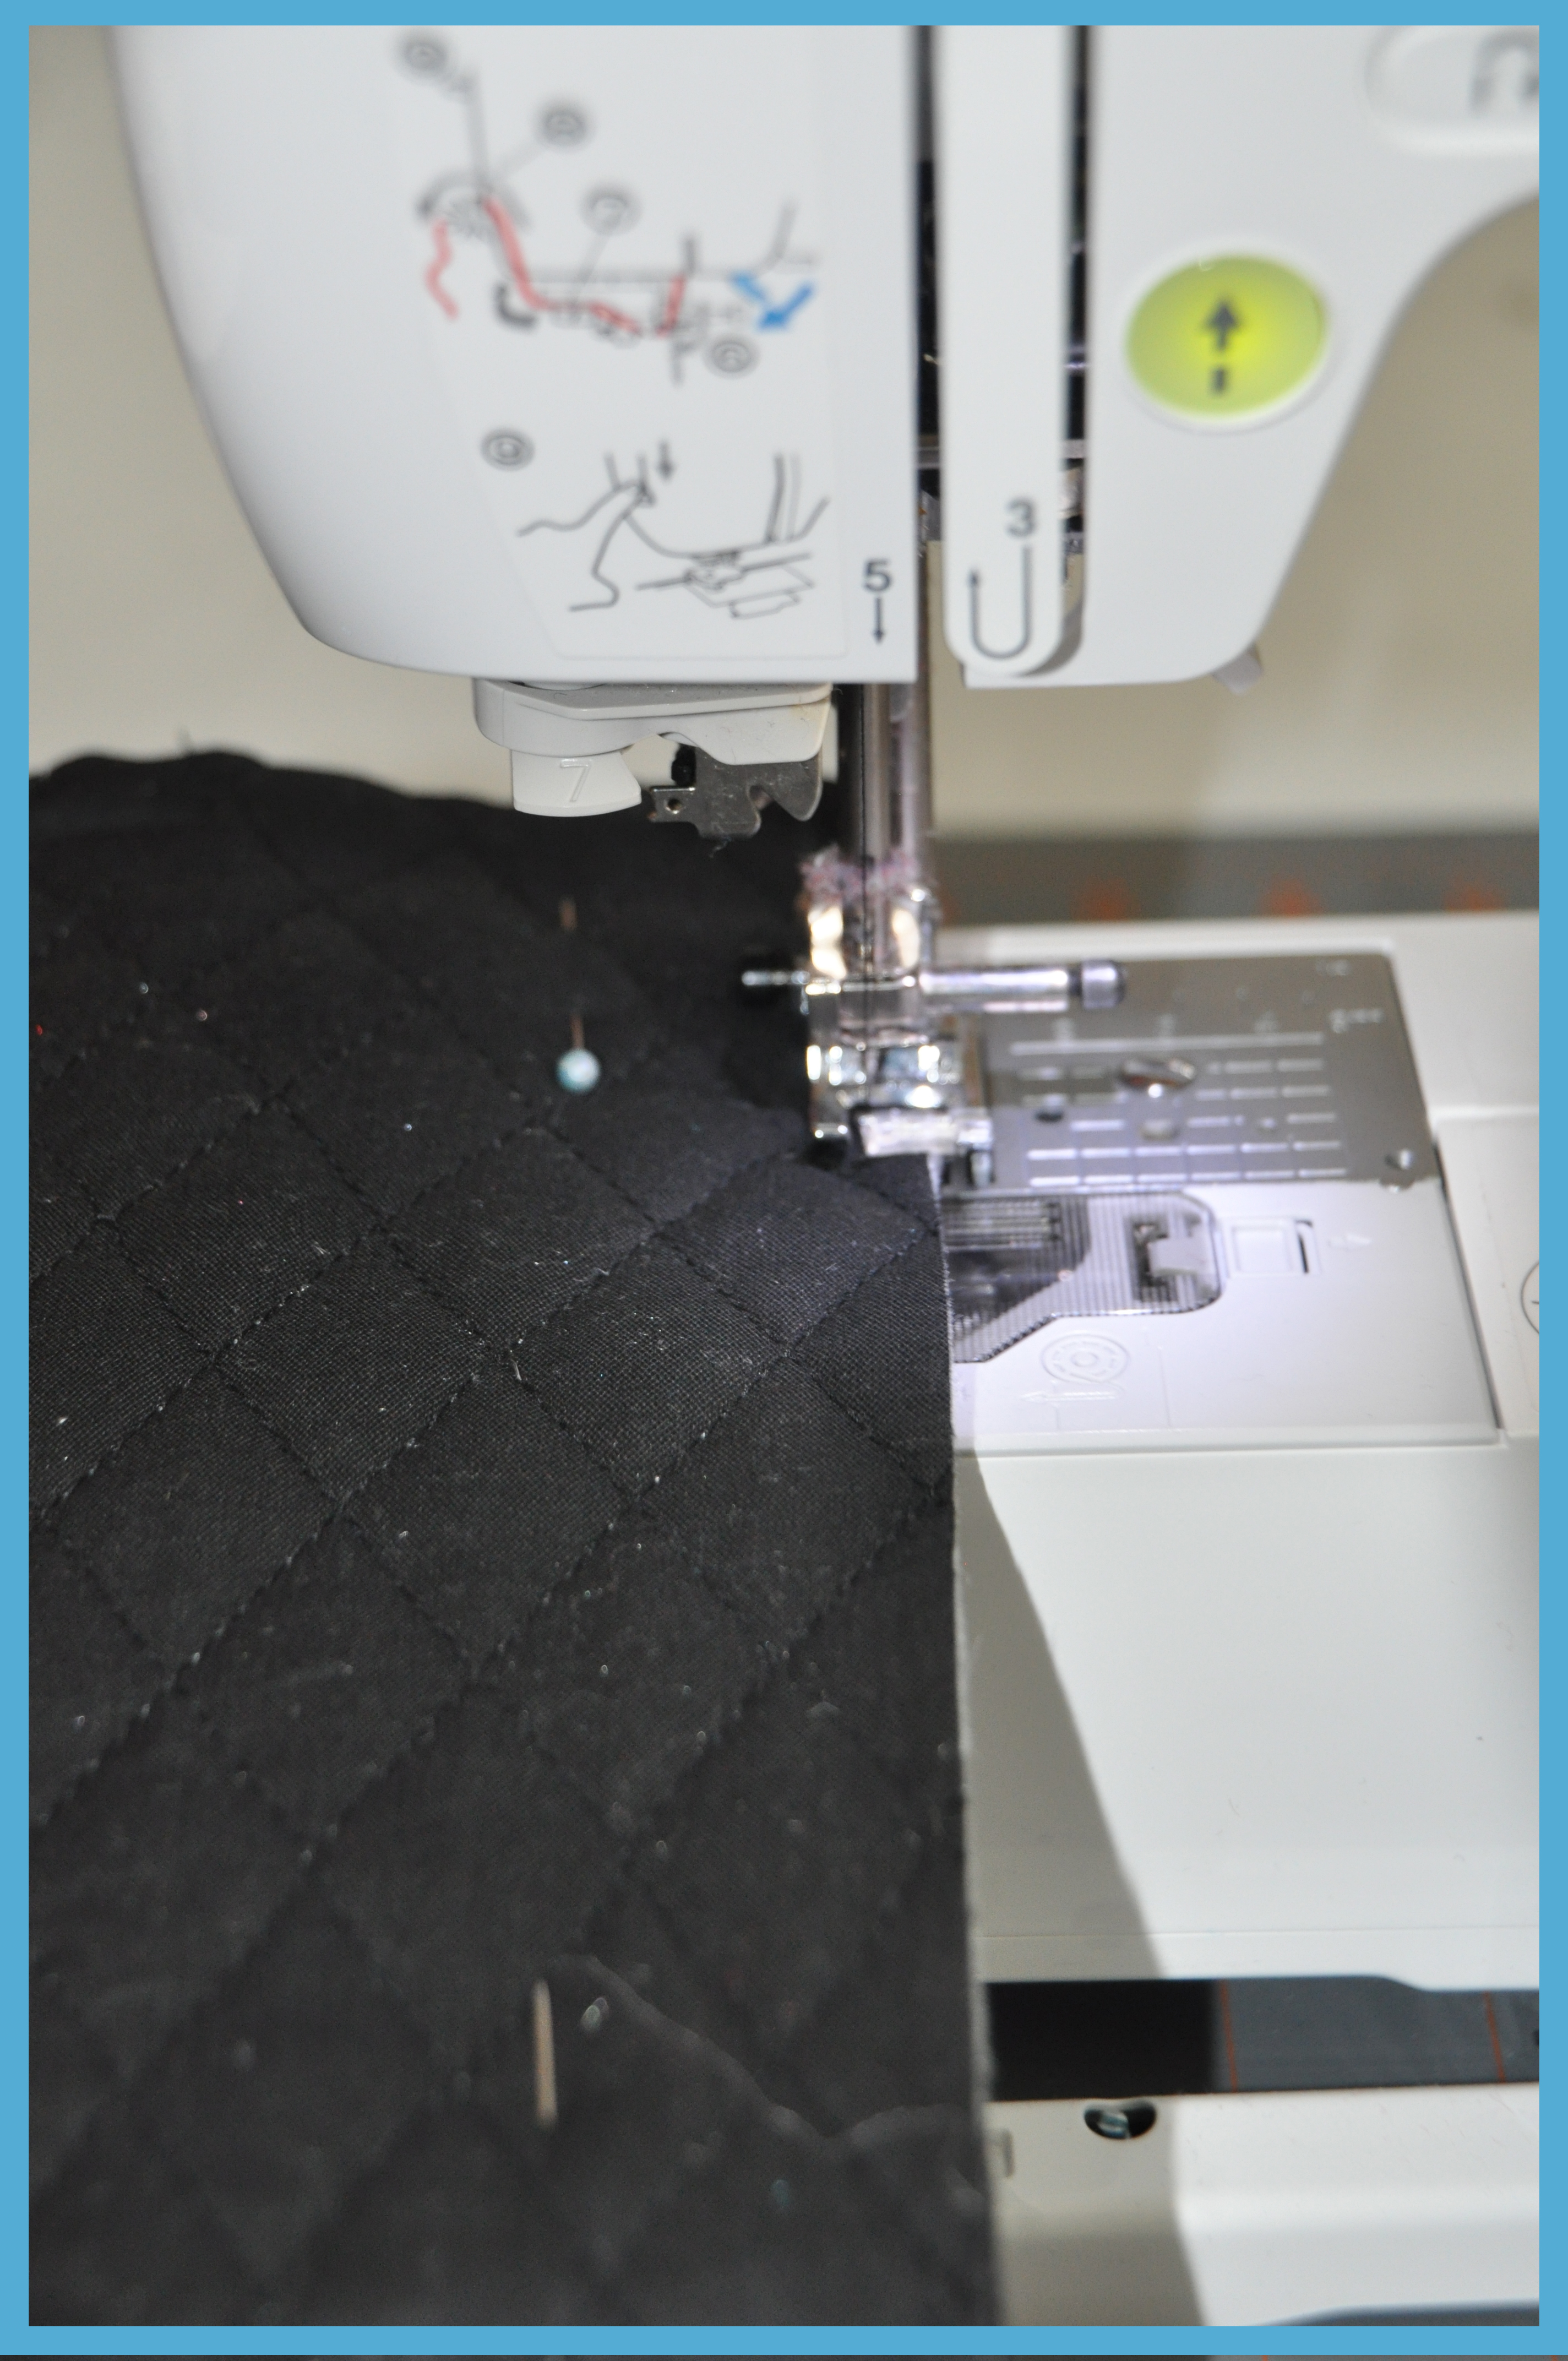
 I then sewed them together using the sewing machine, leaving the top open.
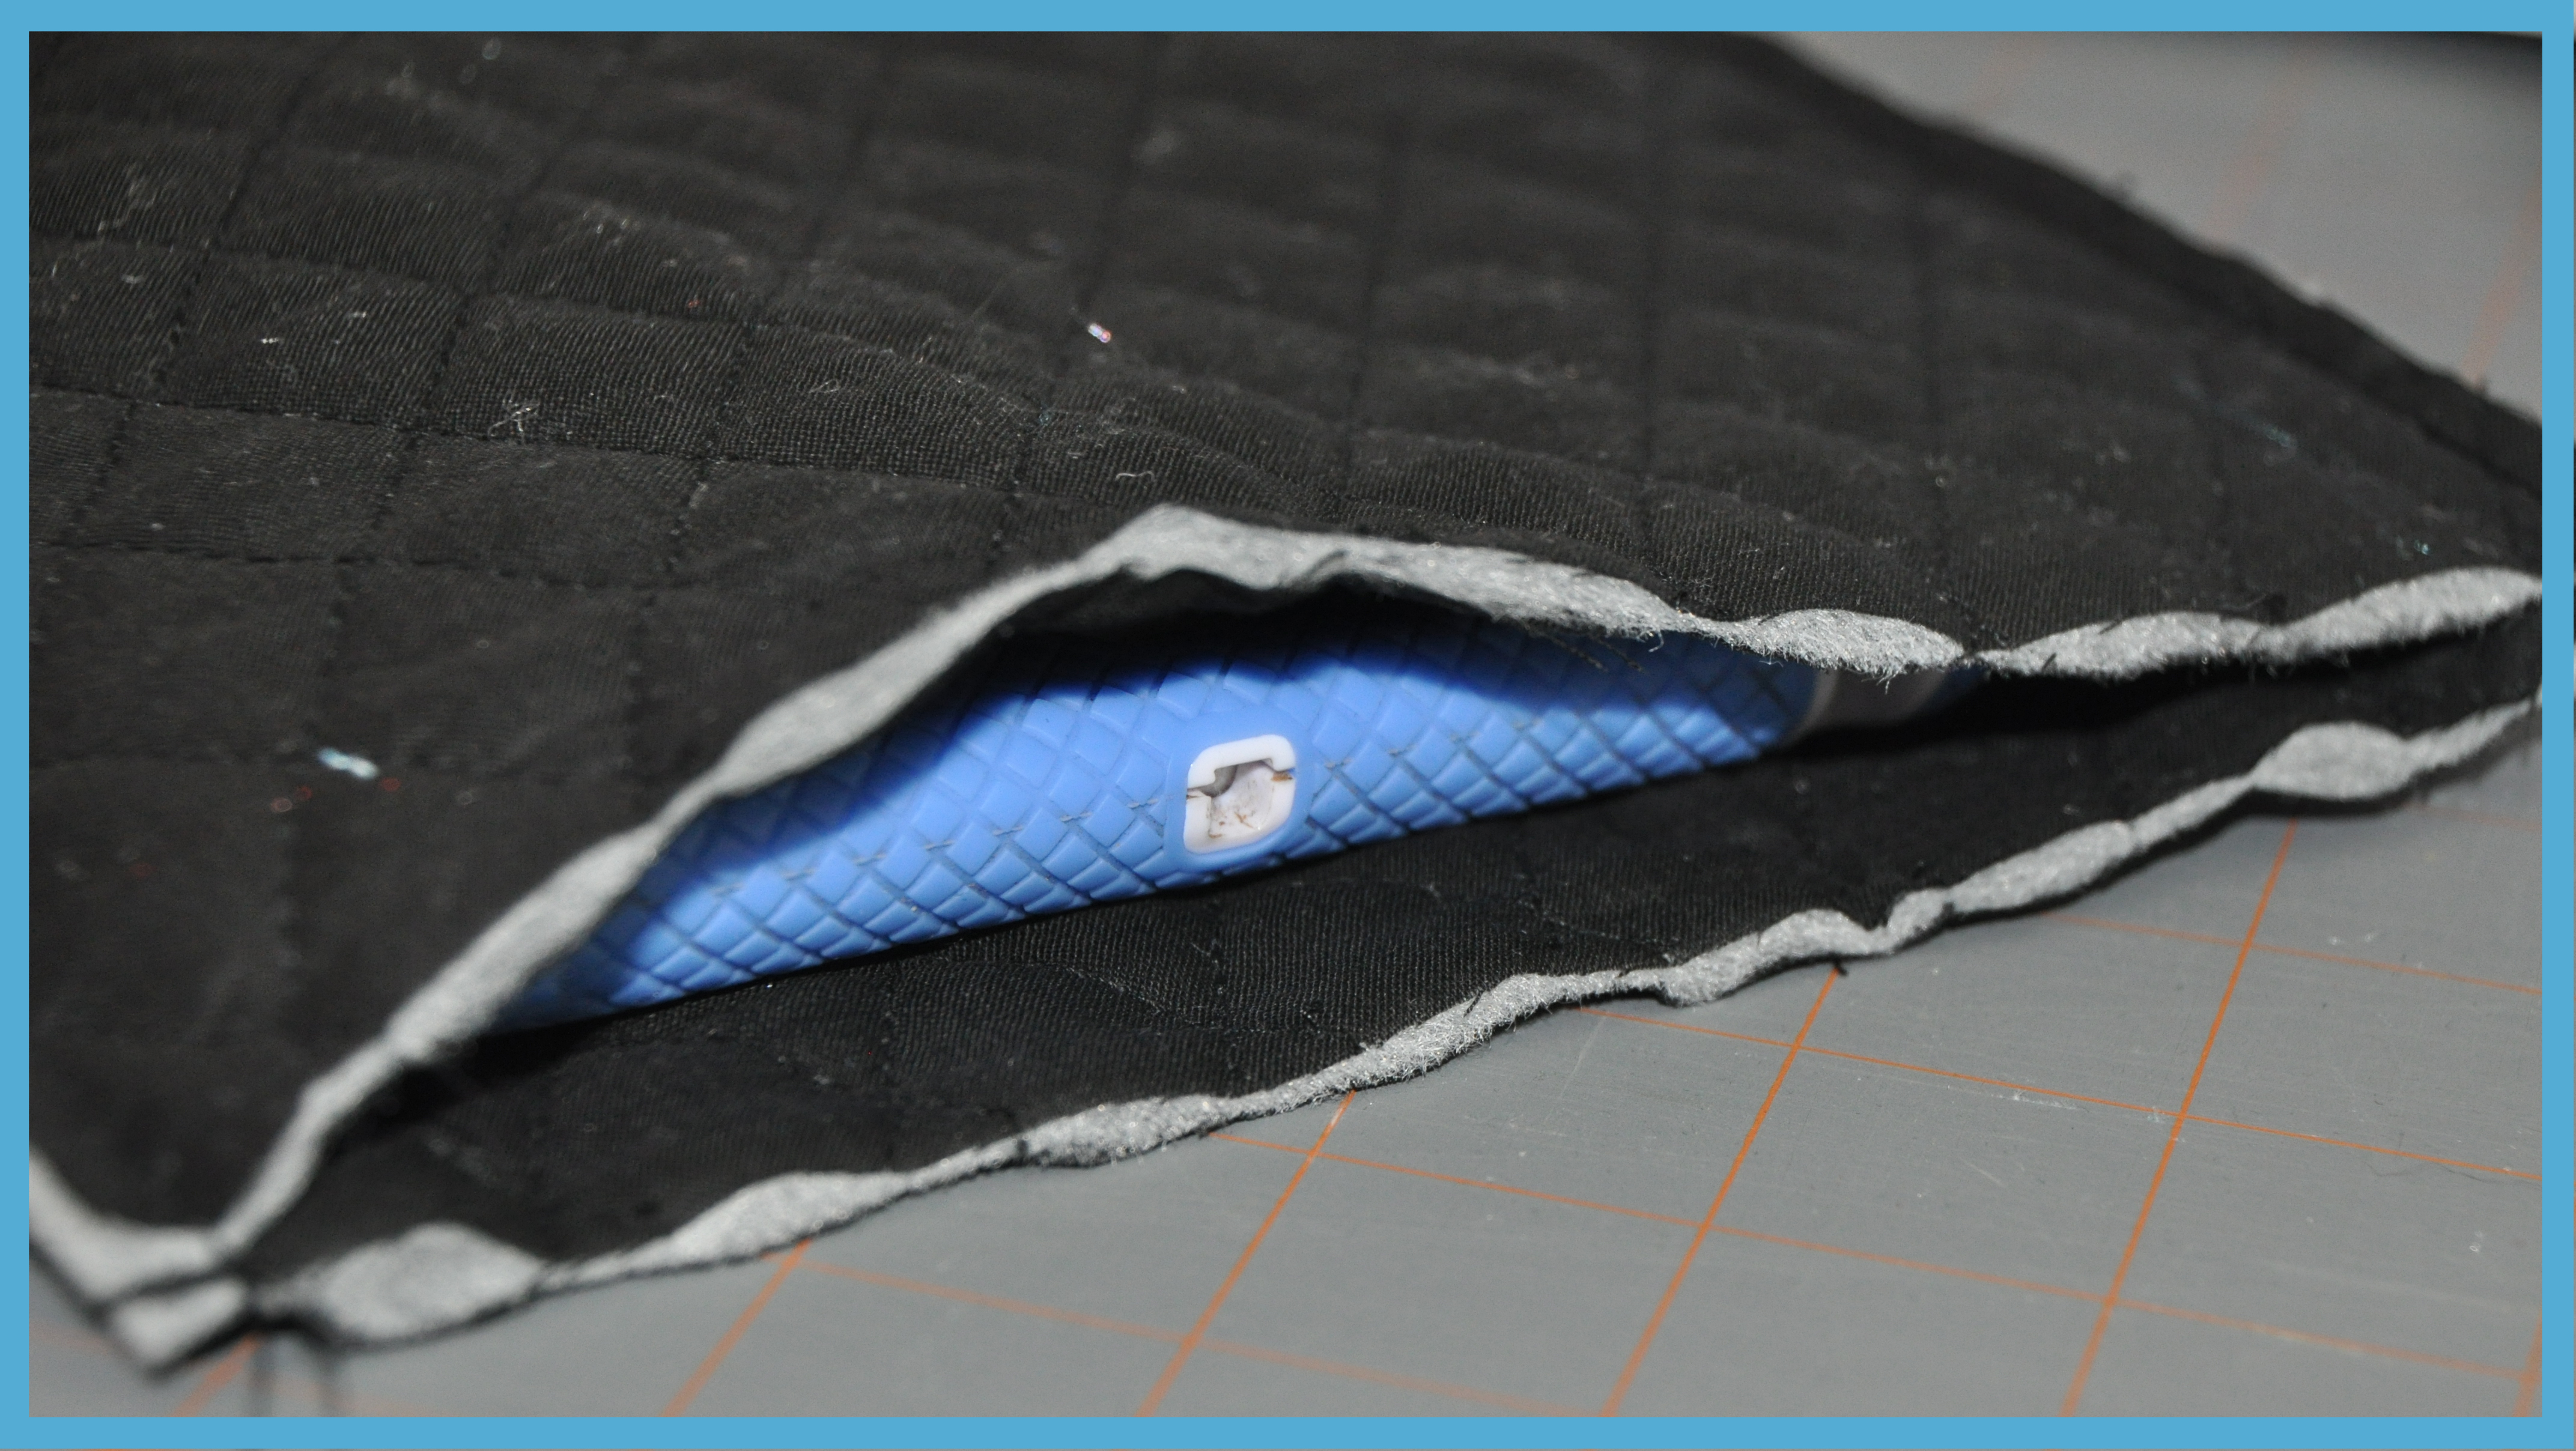
 I wanted to make sure the iPads themselves would fit and of course they did, just right!!
 Then it was on to sewing the fabric together. For the pirate fabric, I put the sides together with the right sides facing together.
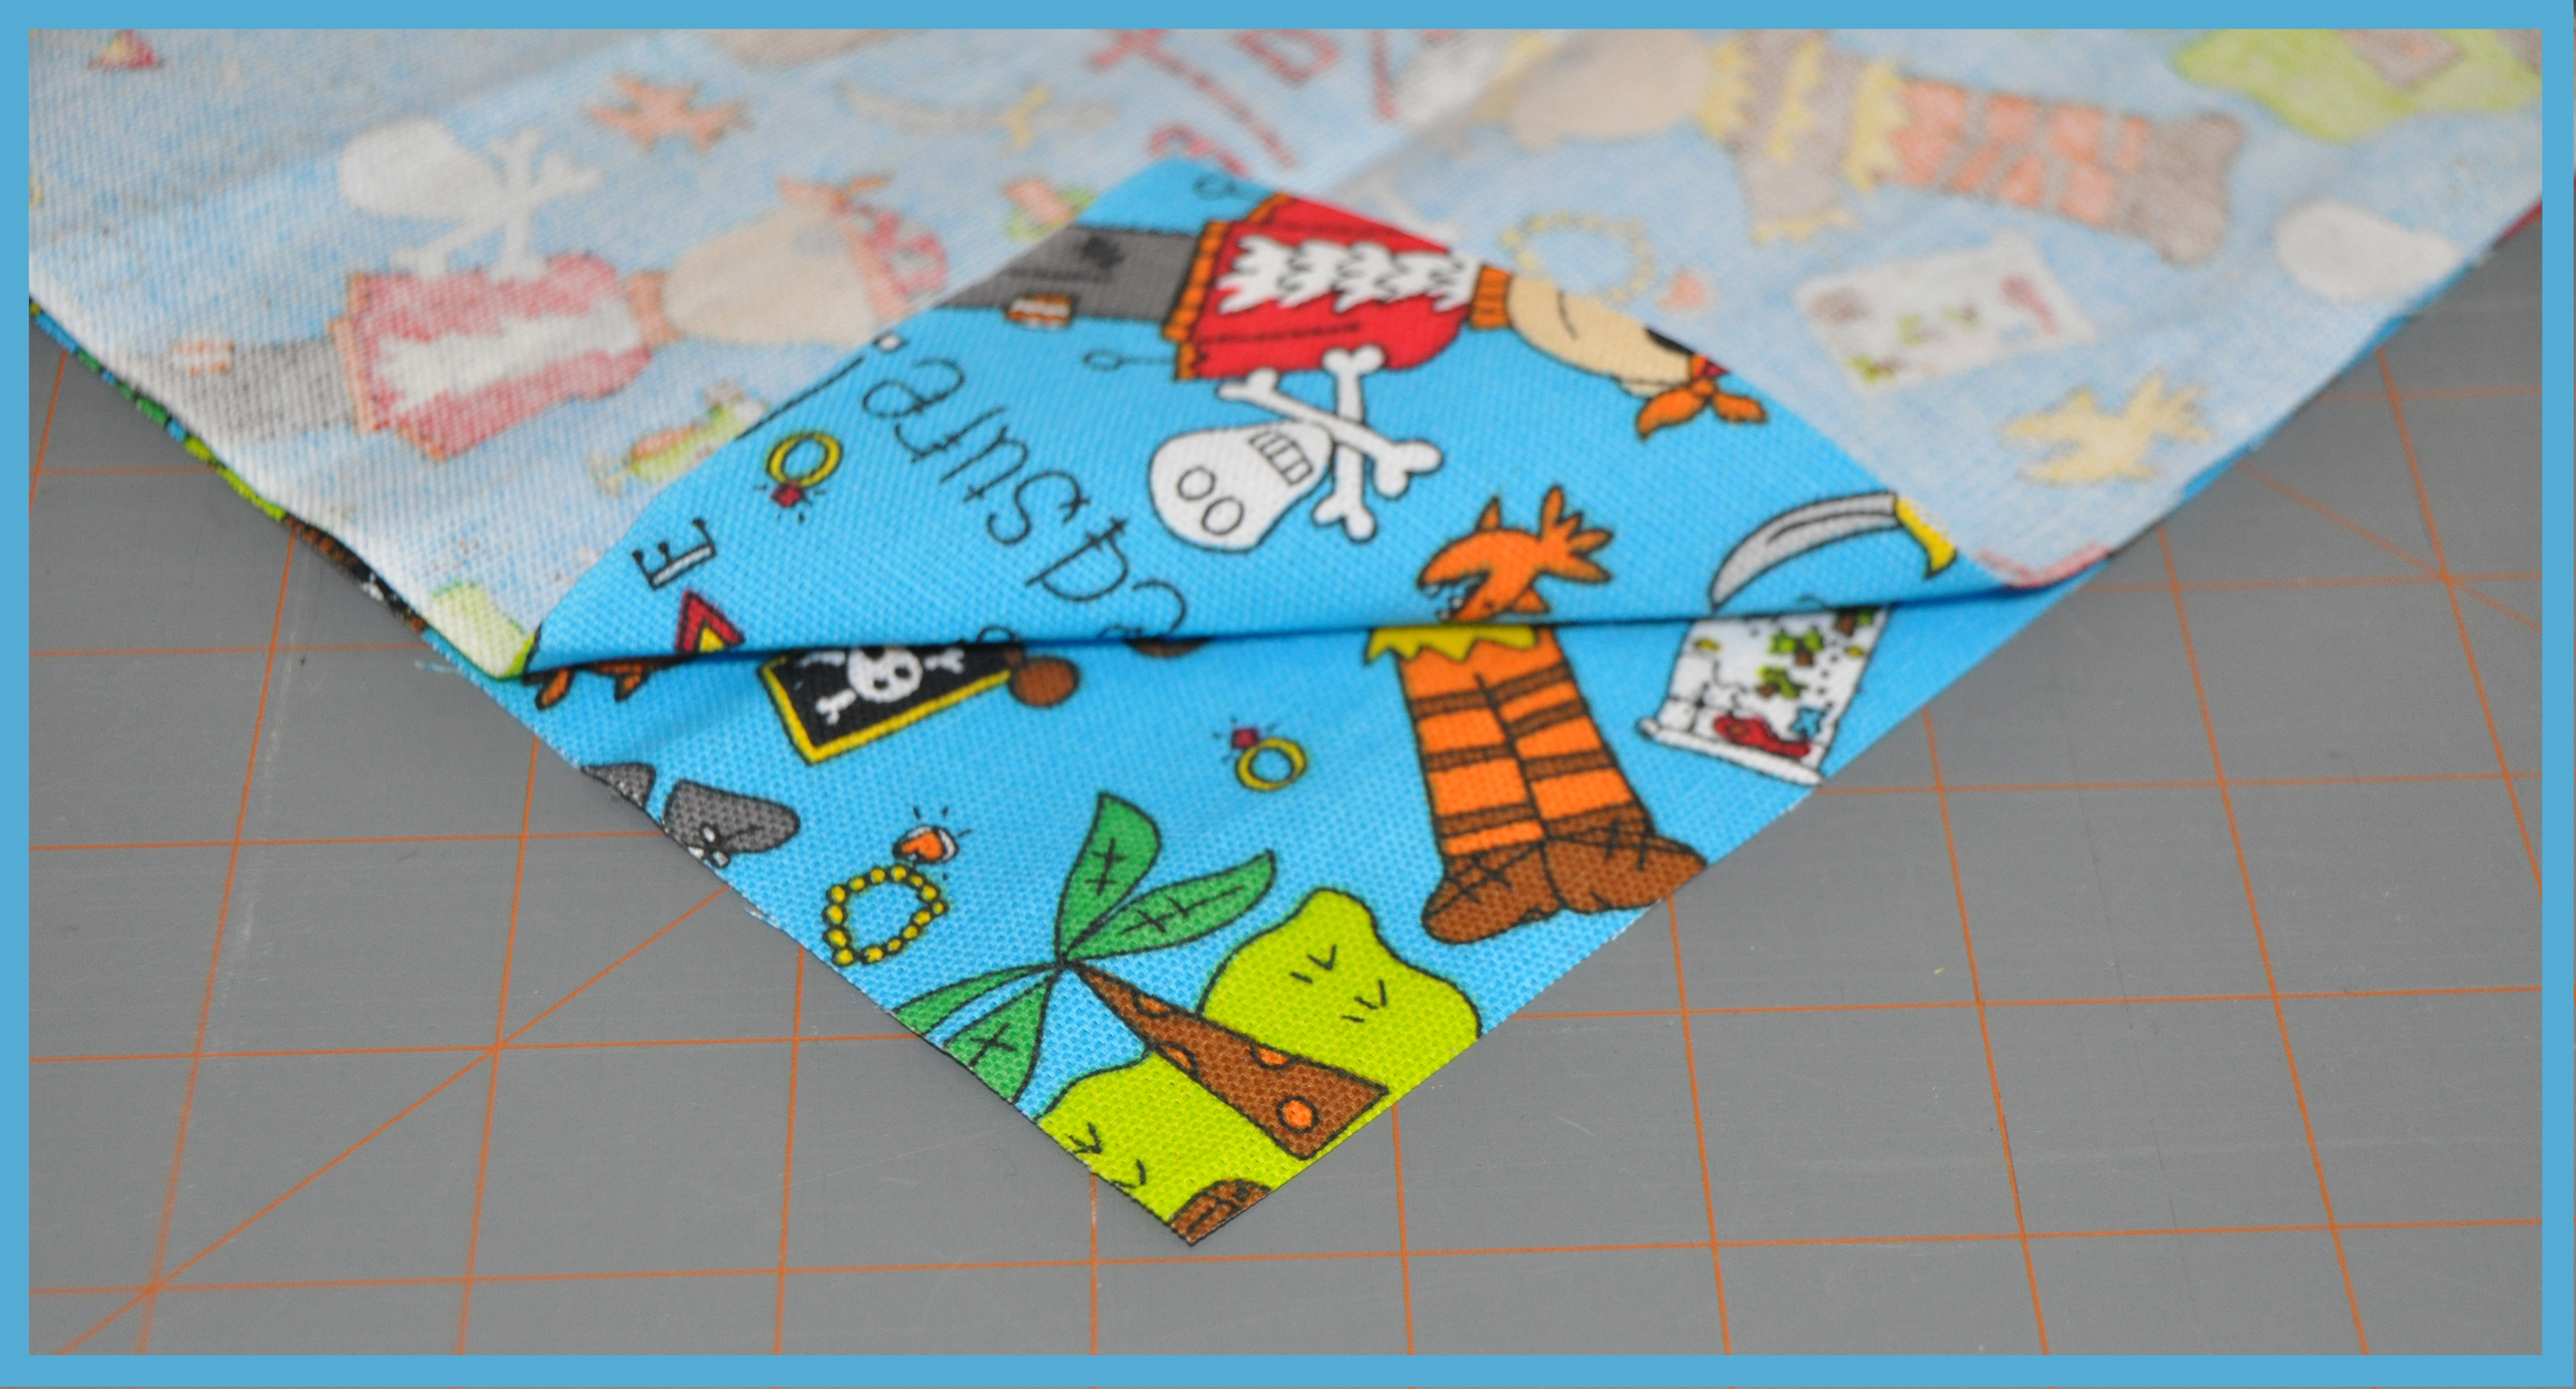 And then I sewed those together, again leaving the top open.
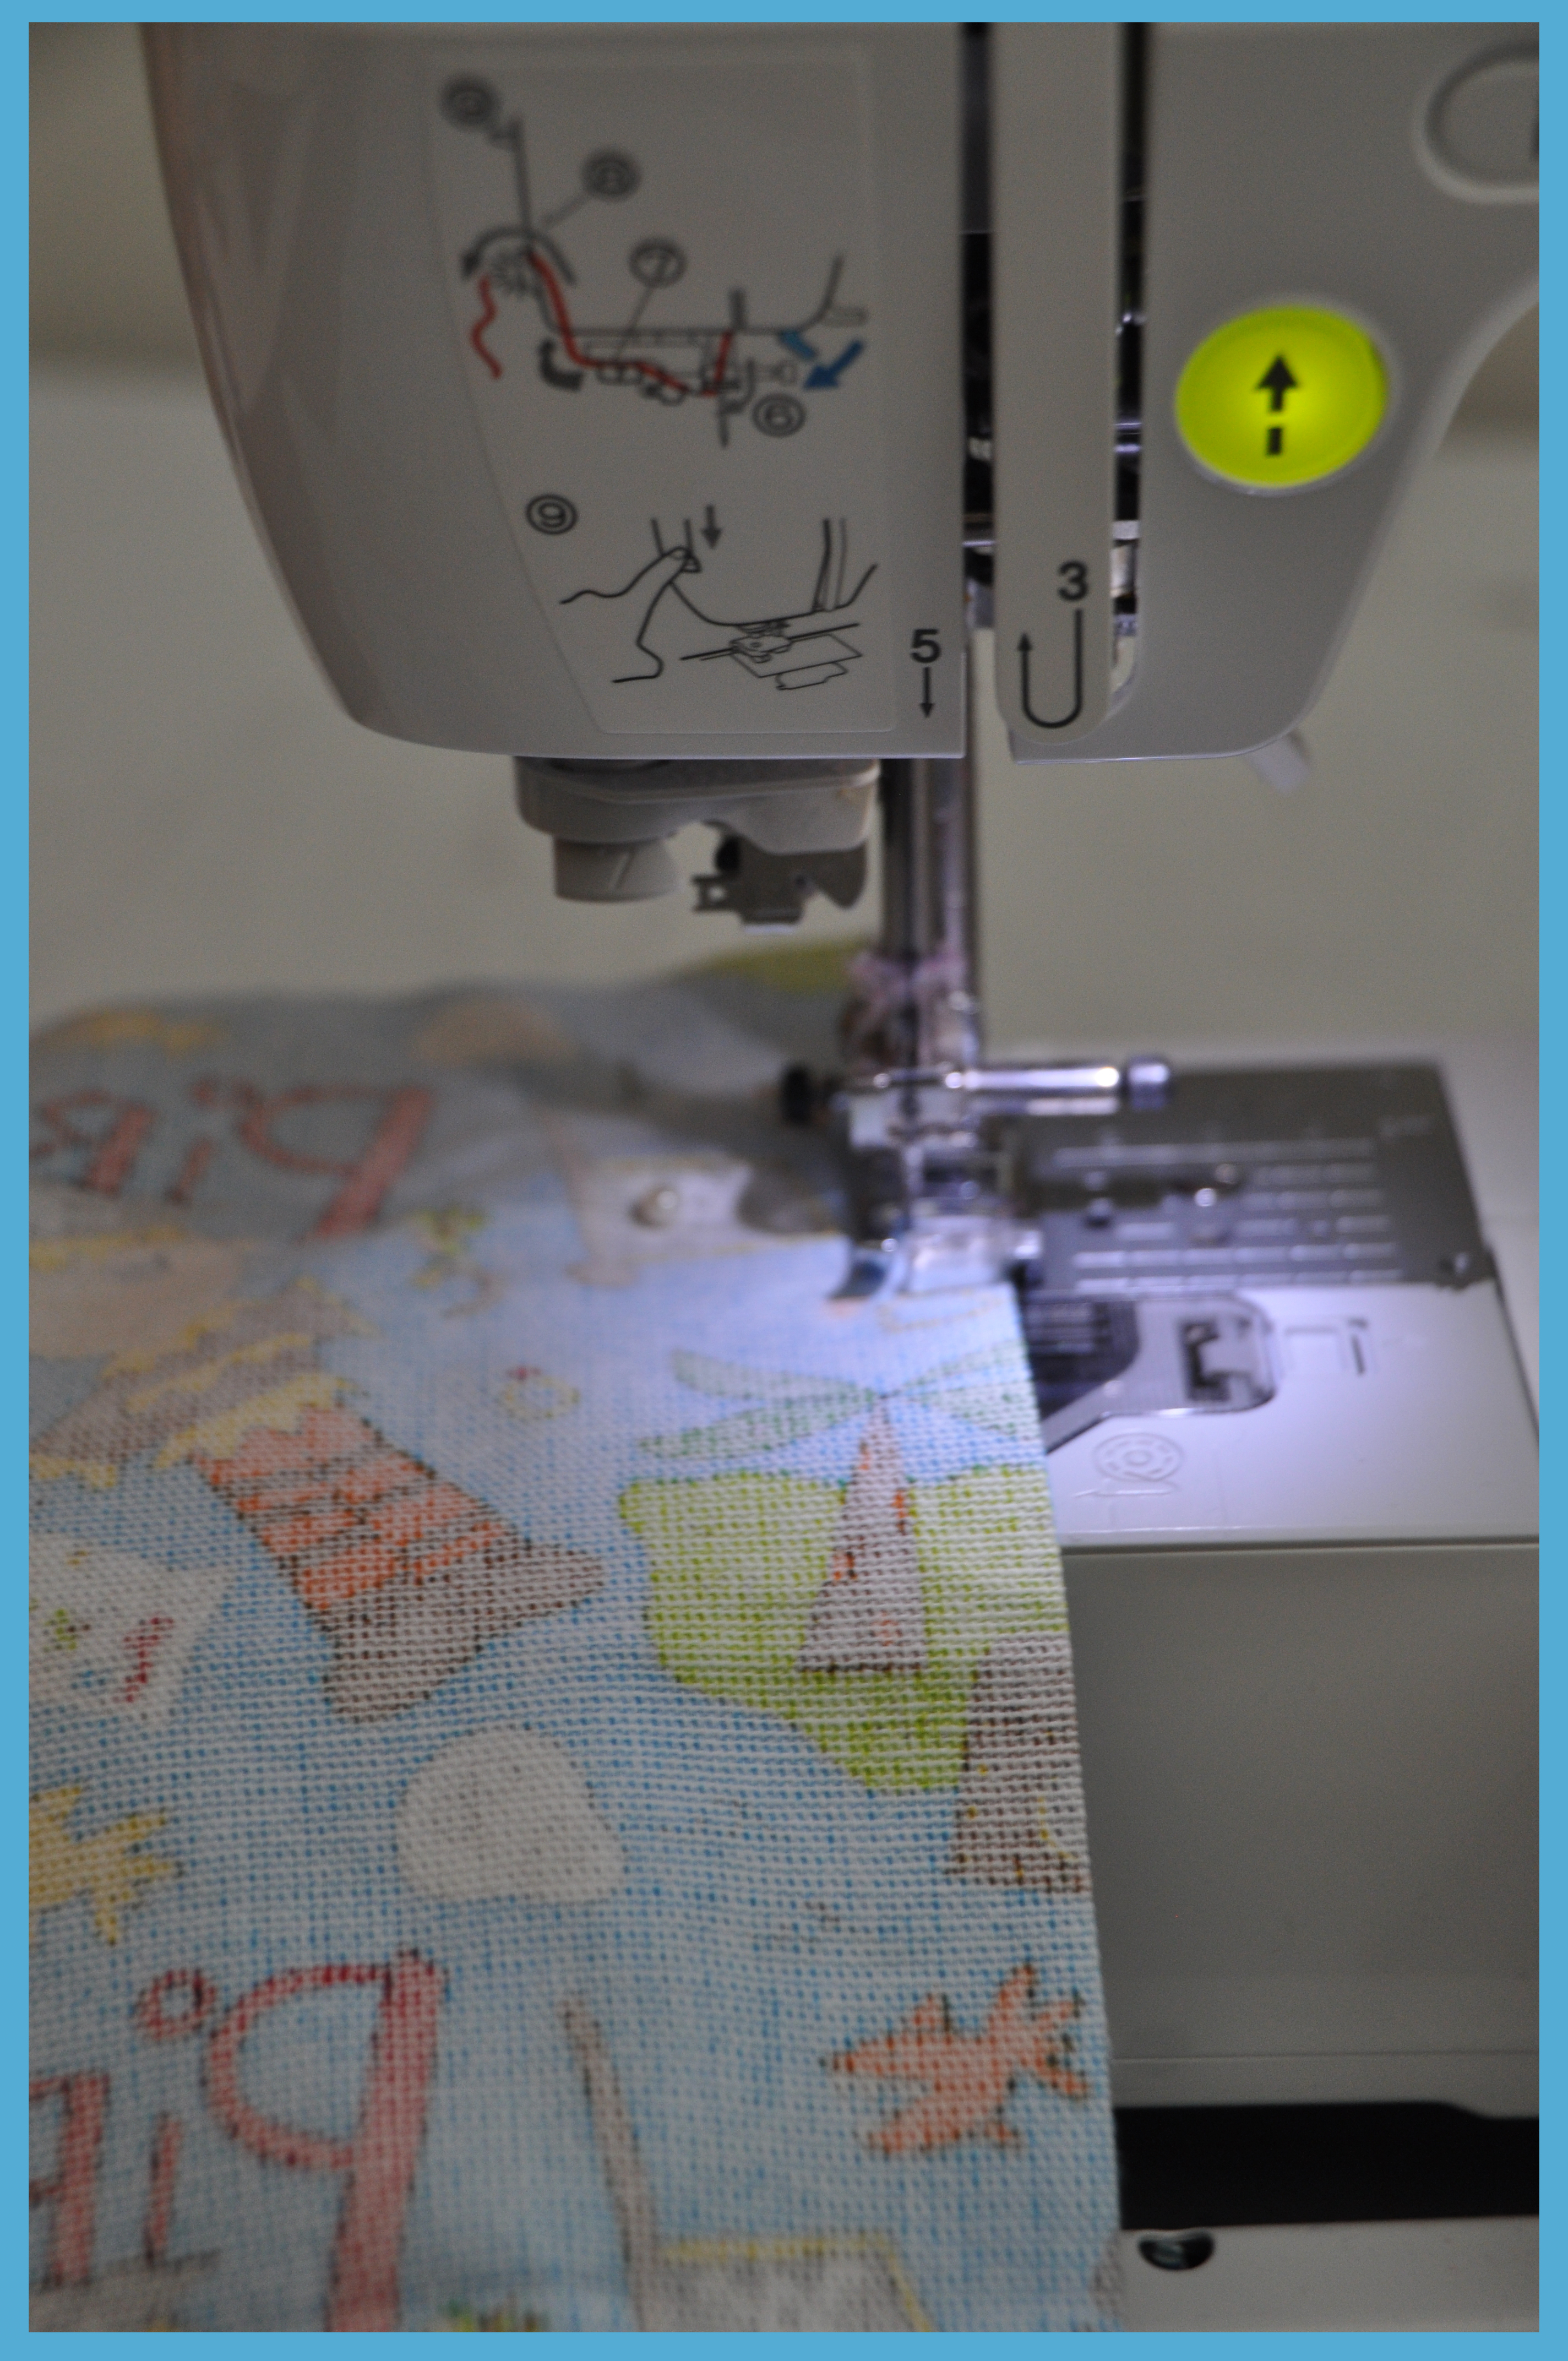 Then, taking my metal-less hair rubberband, I pinned it in place and sewed it to the outside of the fabric.
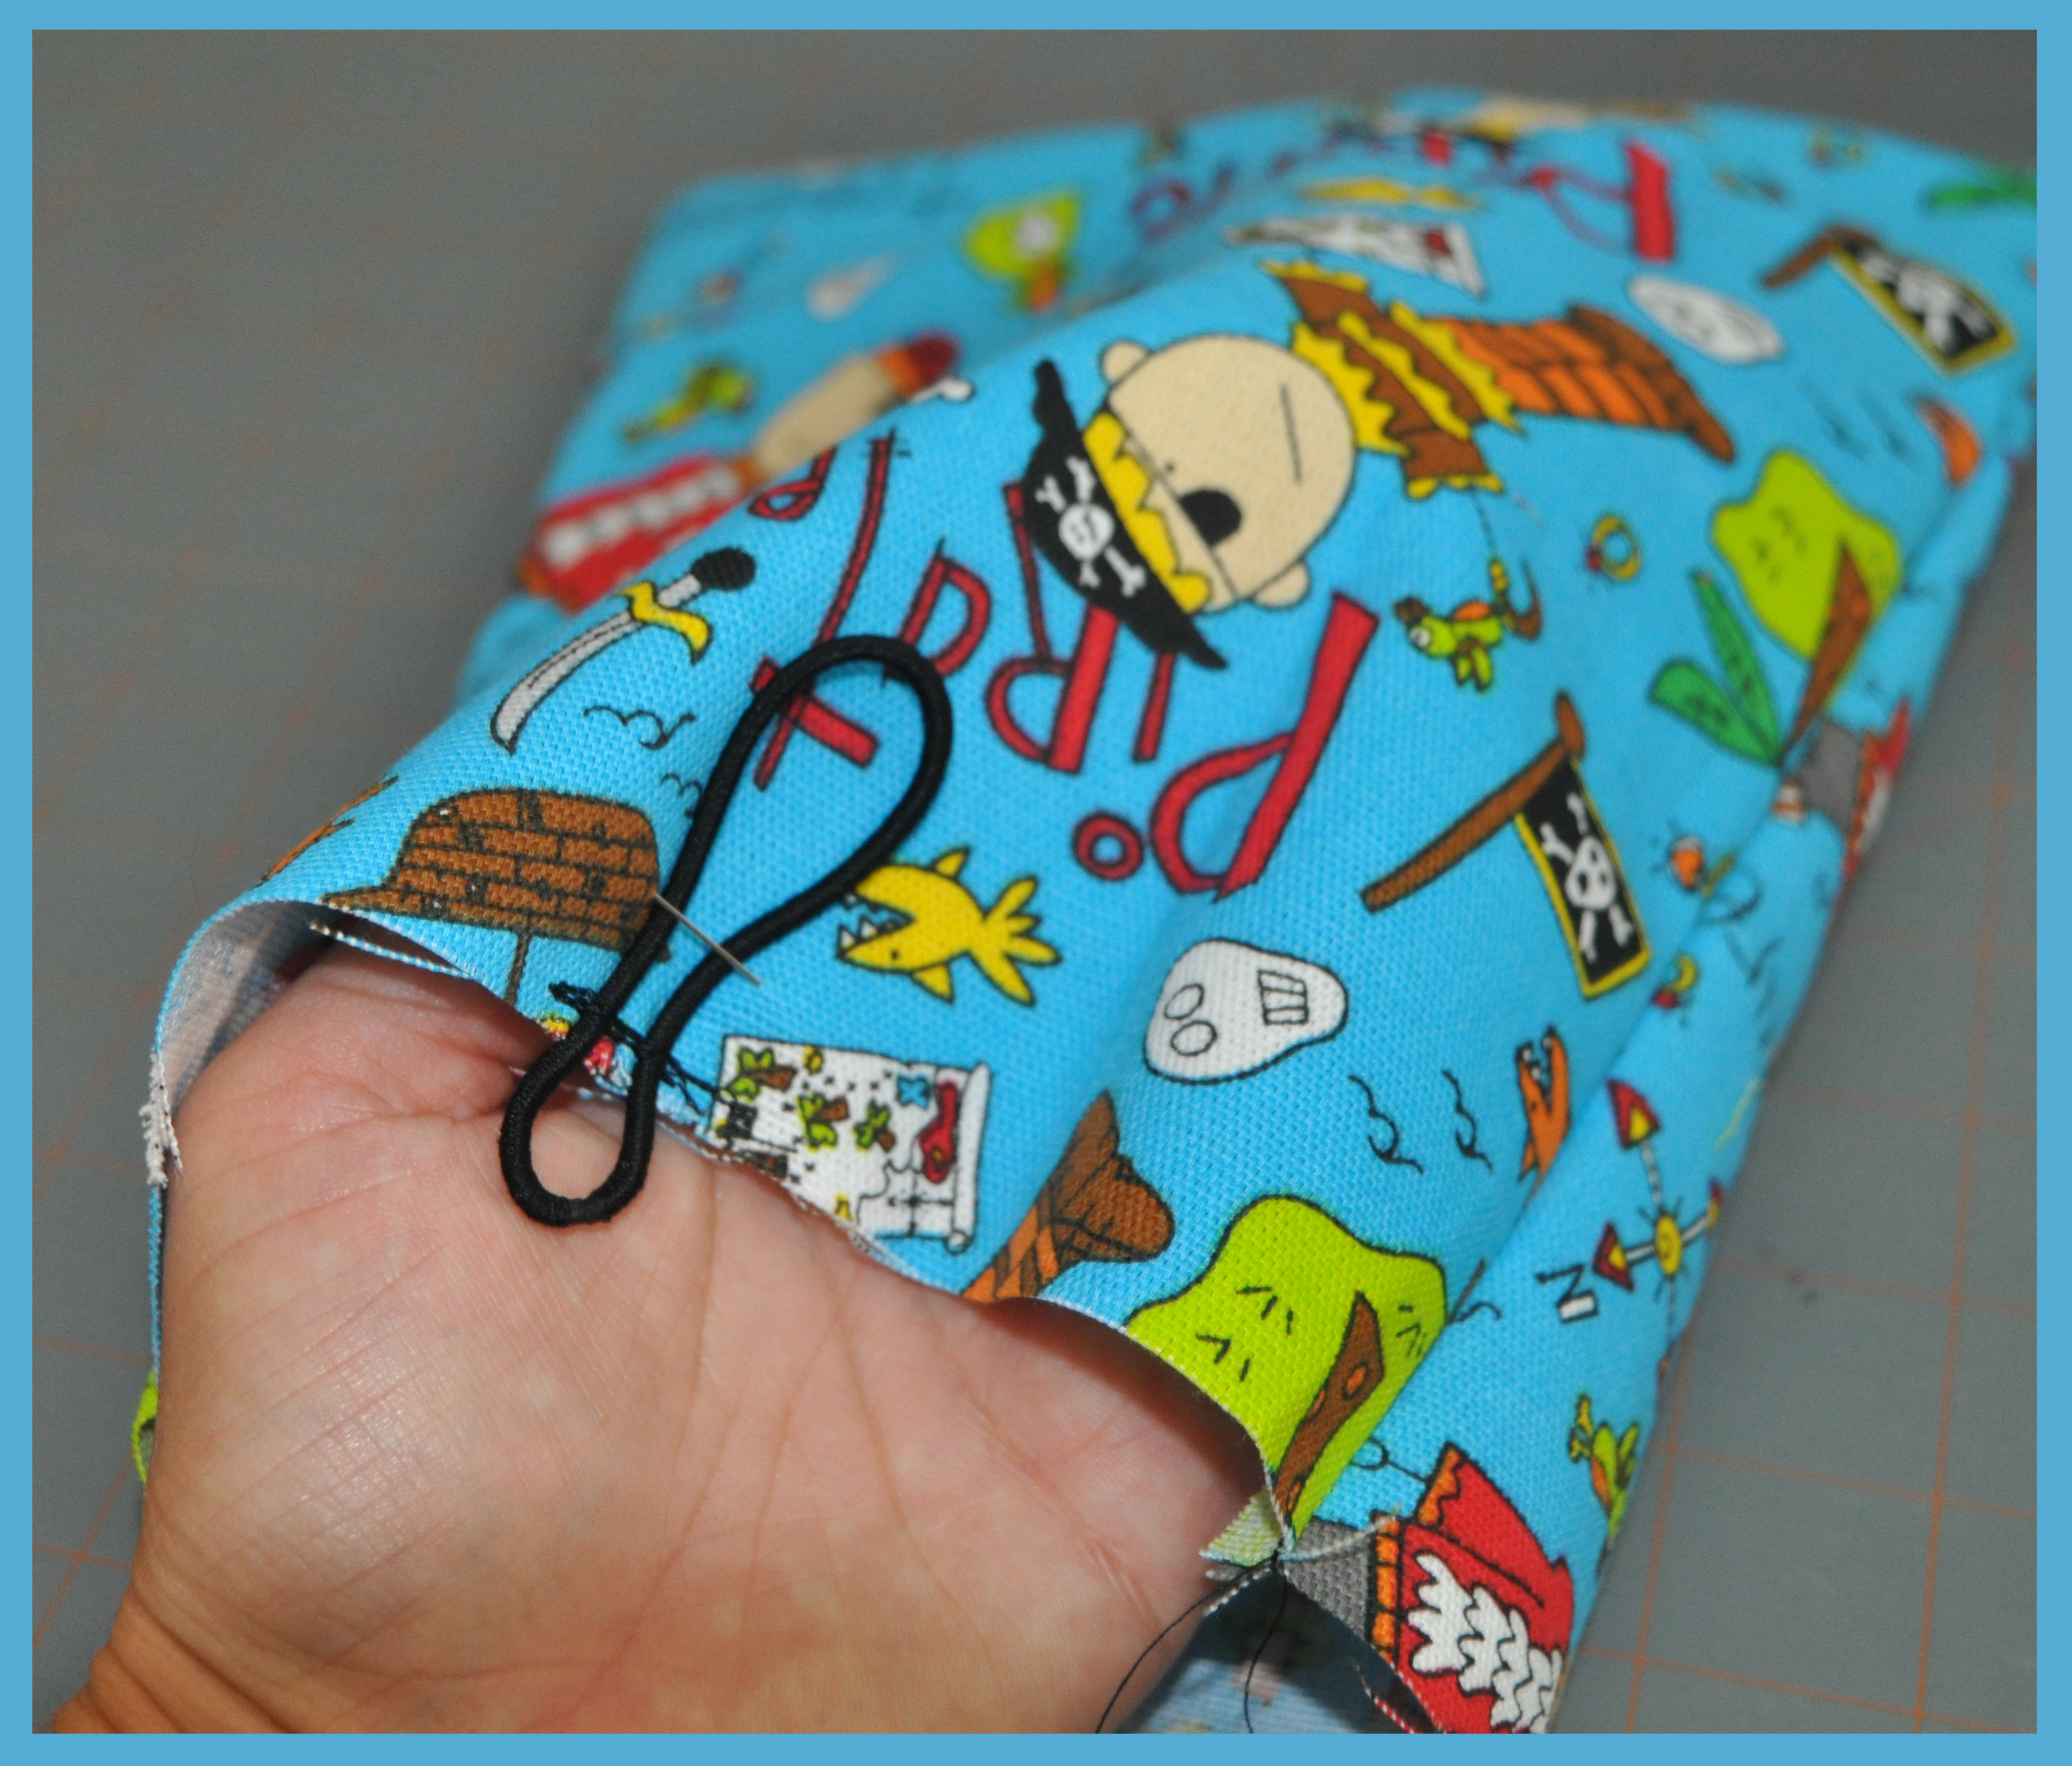 With the pirate fabric the turned right side out, I placed it inside the quilted pocket, making sure that the rubberband was tucked down in between the pockets.
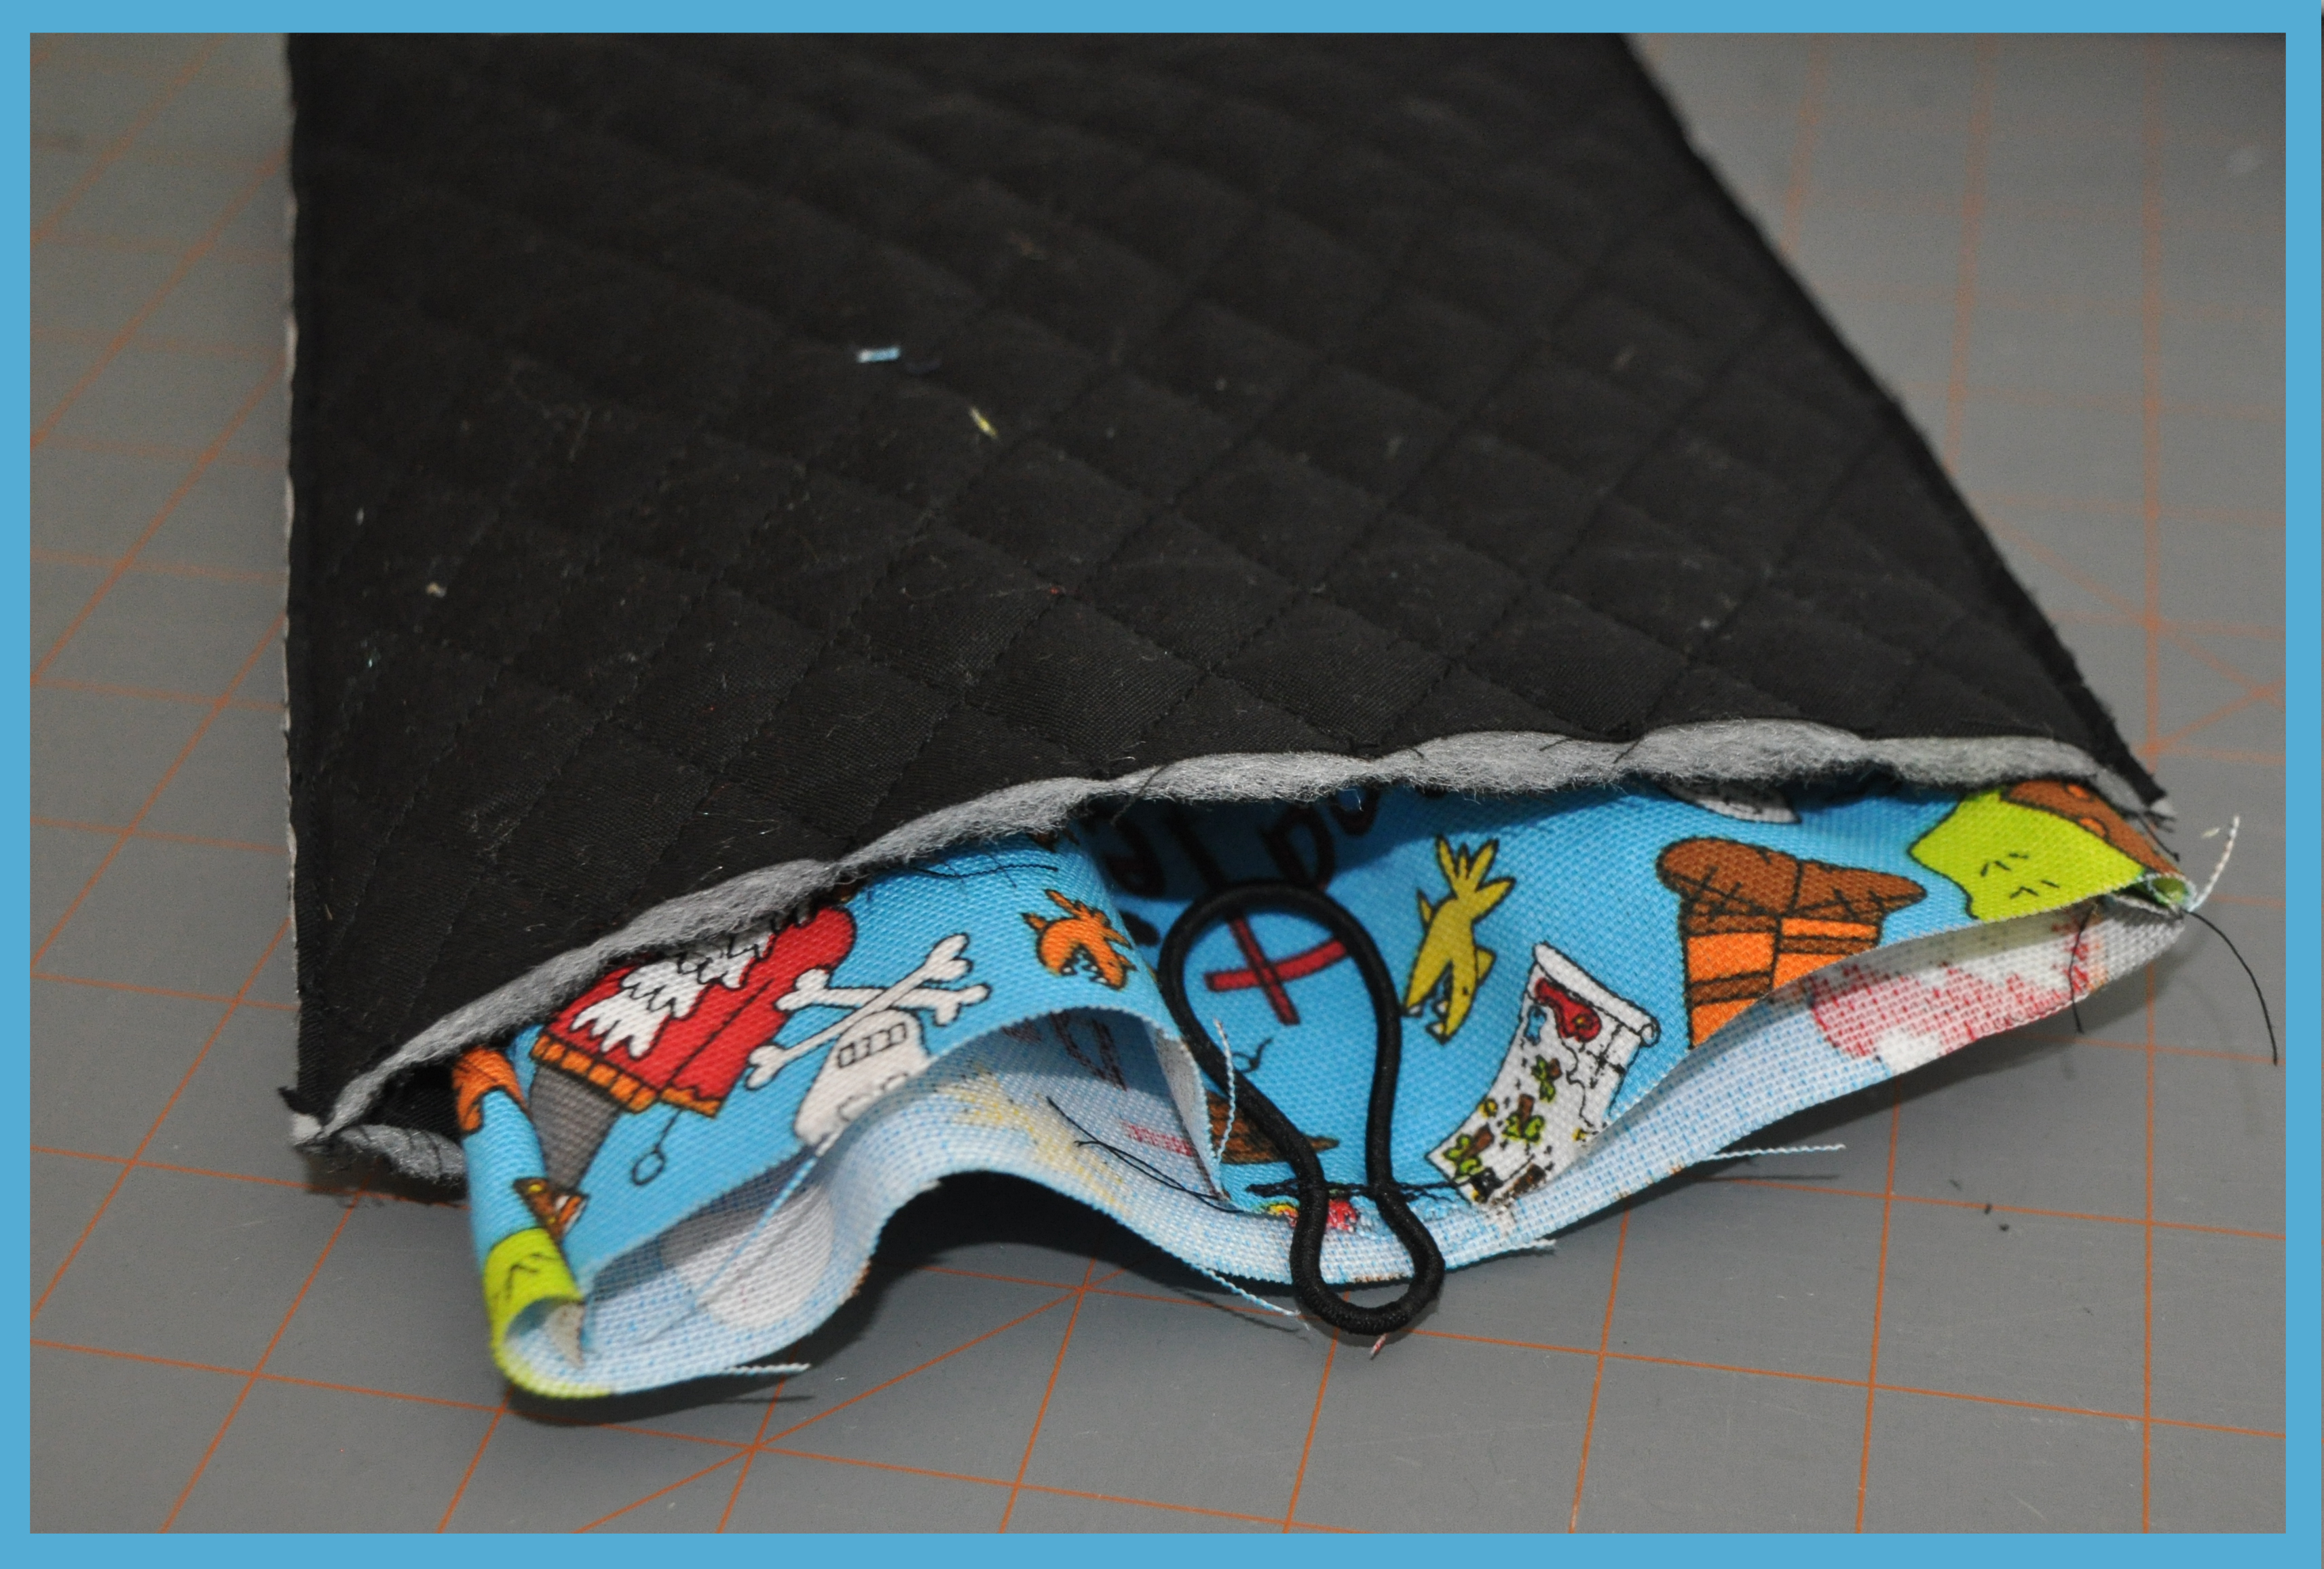 Then, I pinned the pockets together and began to sew around the top, leaving about two inches open so that I could turn the pirate fabric right side out and then stuff the quilted fabric into the pirate fabric, creating a quilted pocket!
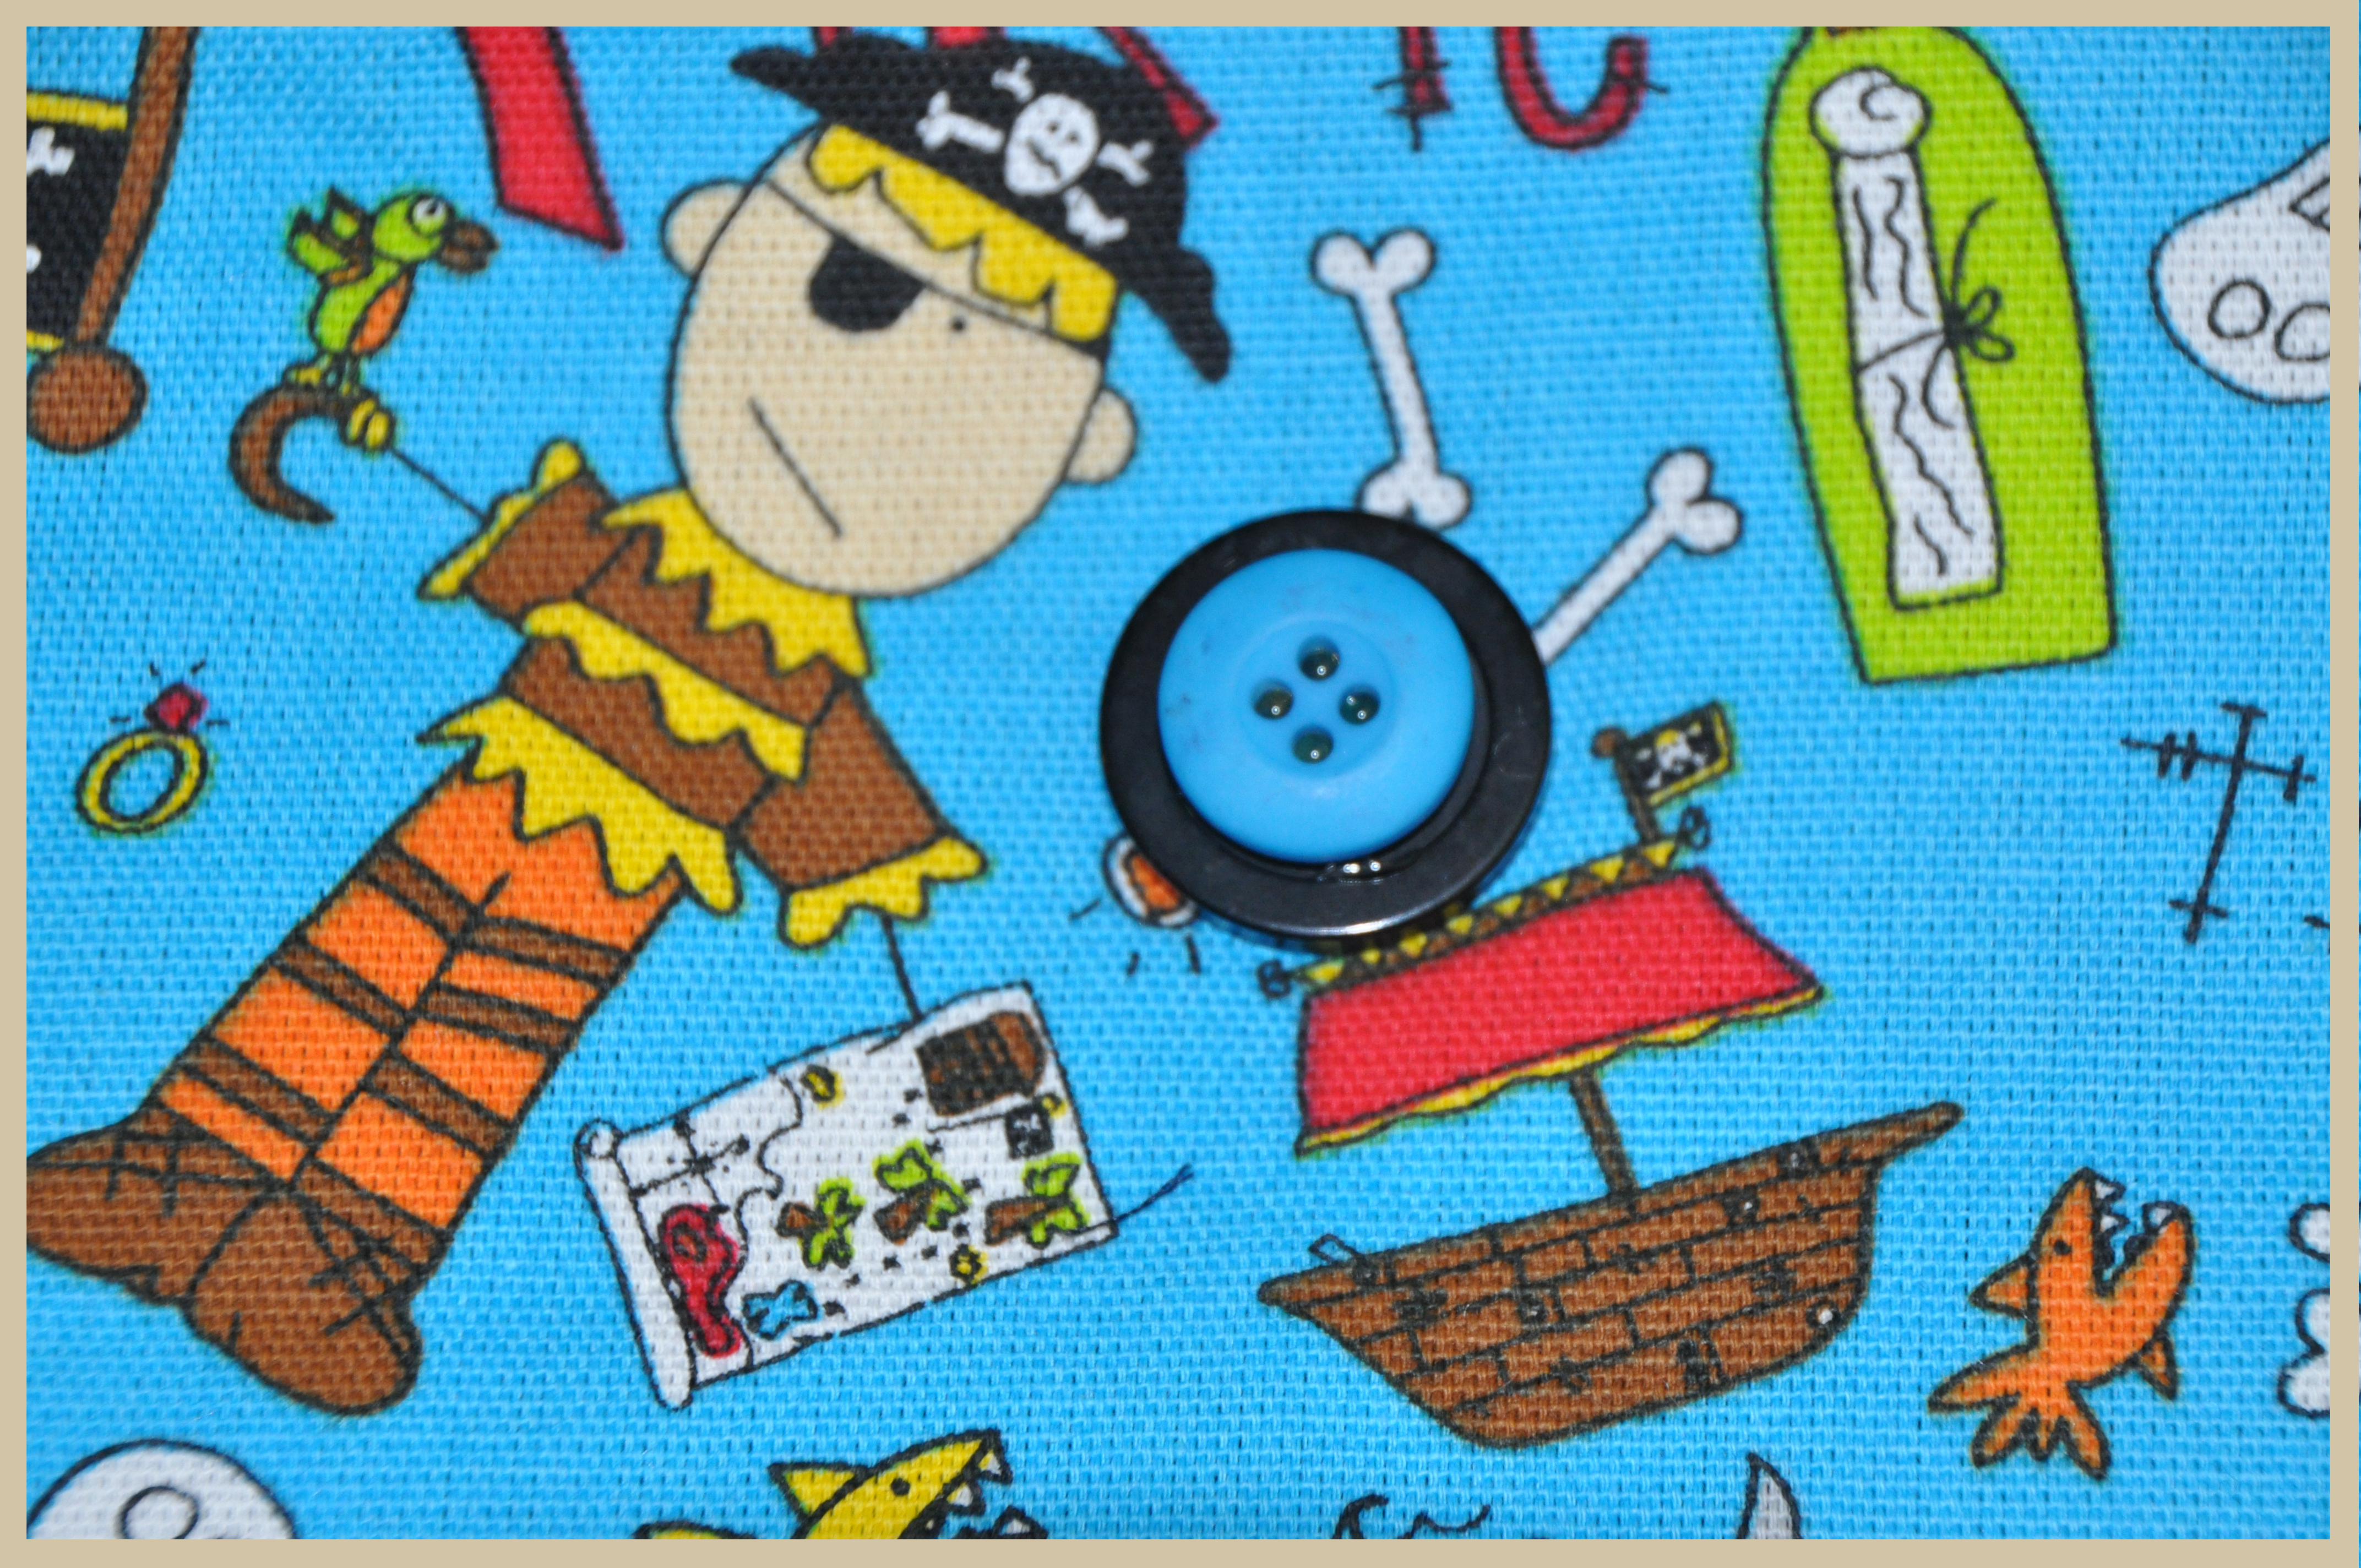
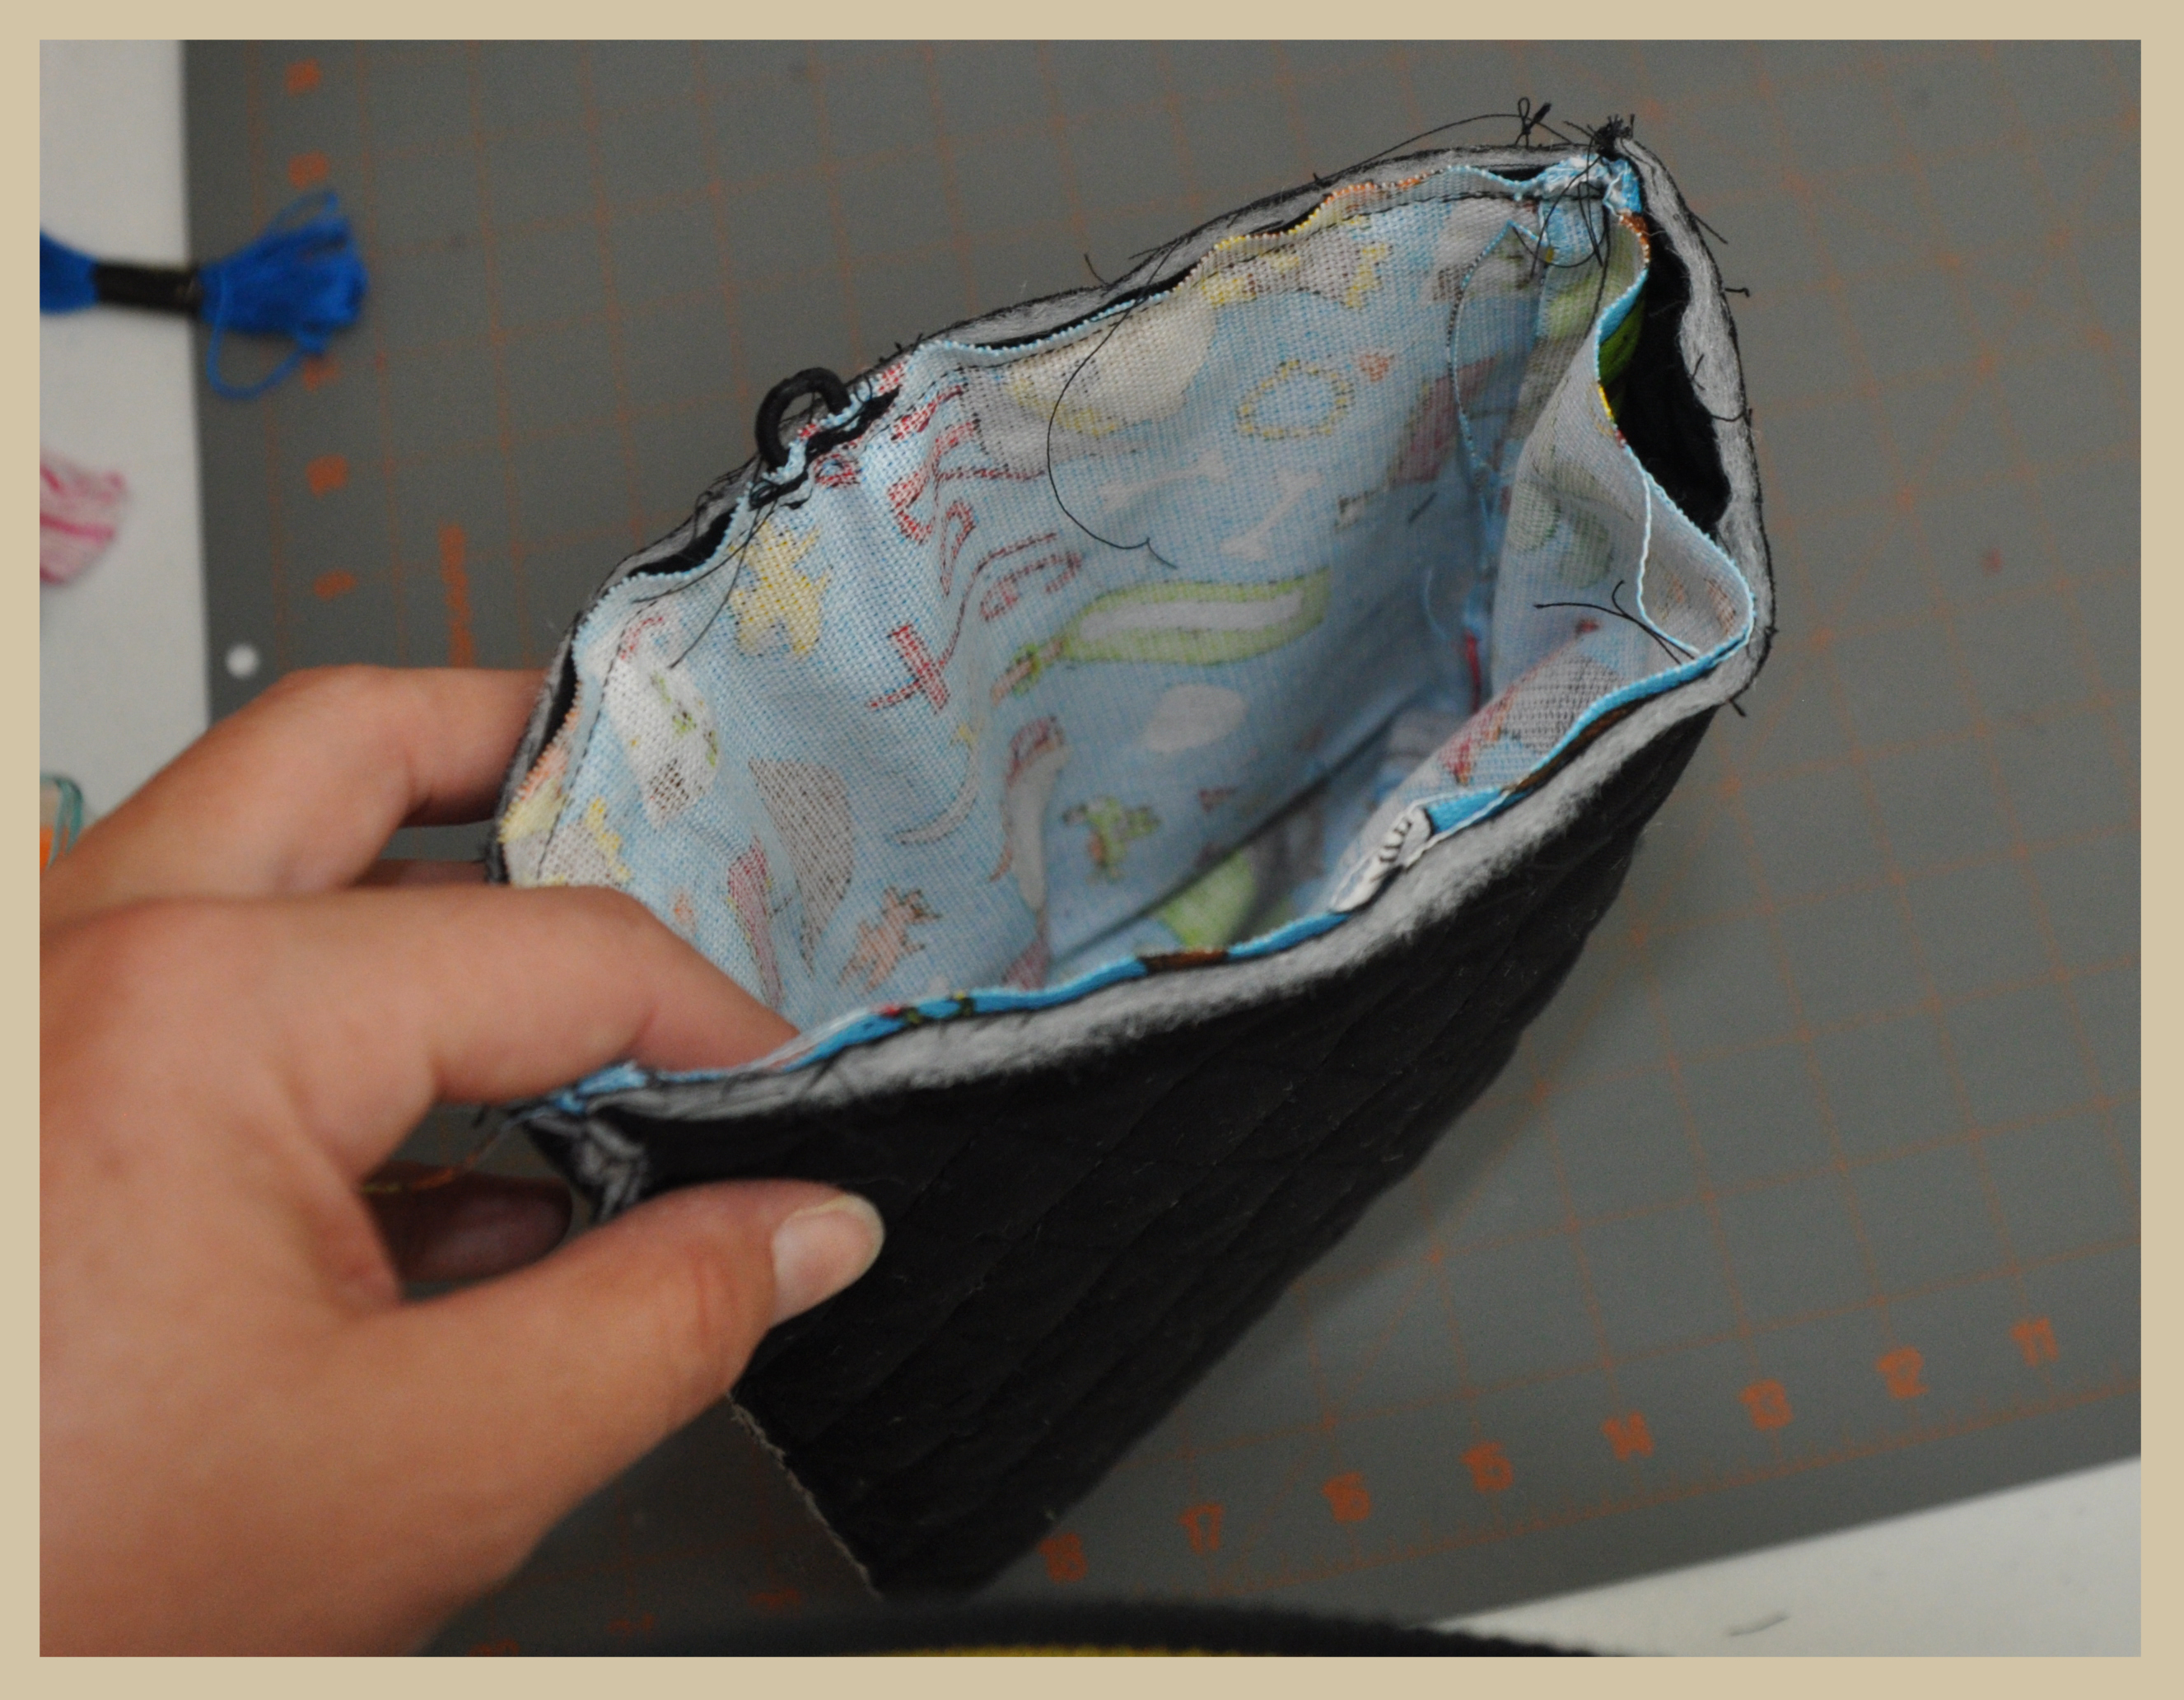 Lastly, I sewed on a big button from Laura Kelly’s Mix Button collection and then hot glued a coordinating button on top so that the thread was hidden.
 And Voila! After inserting the iPad Mini, you can fold over the top just enough to cover the iPad Mini and hook the rubberband onto the button!
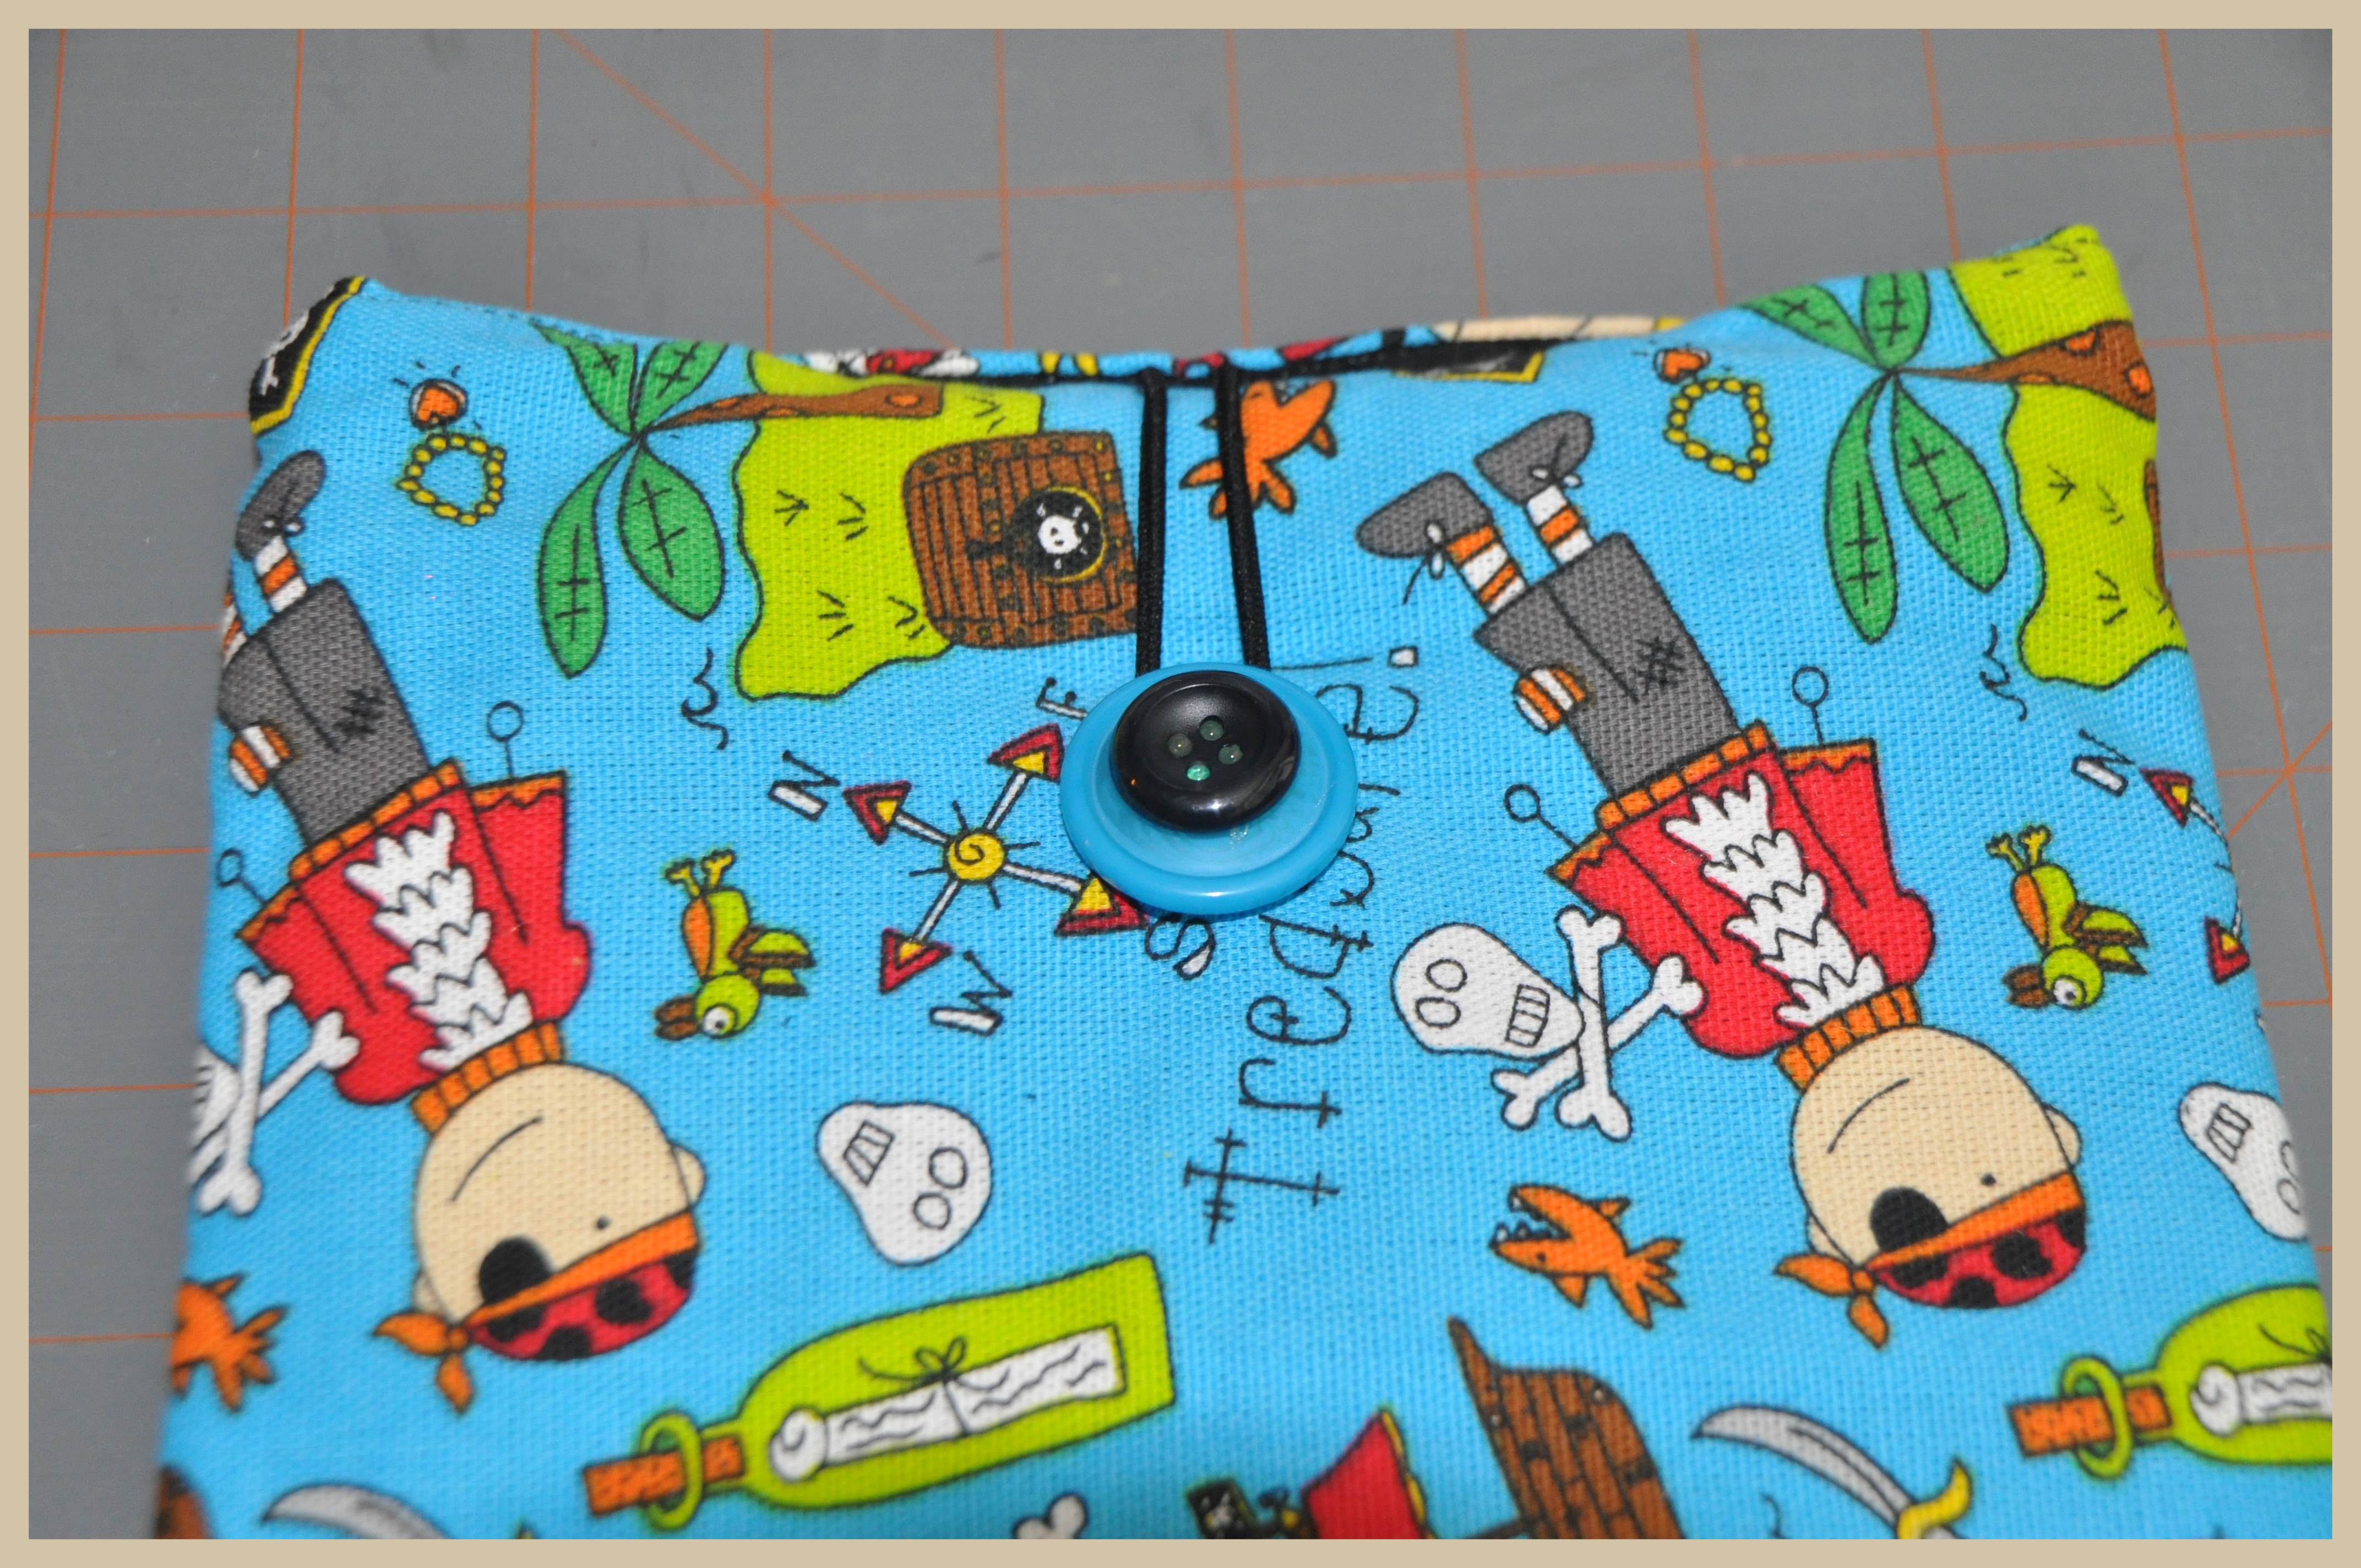 And there you have it!!!
And there you have it!!!
And there you have it!!!
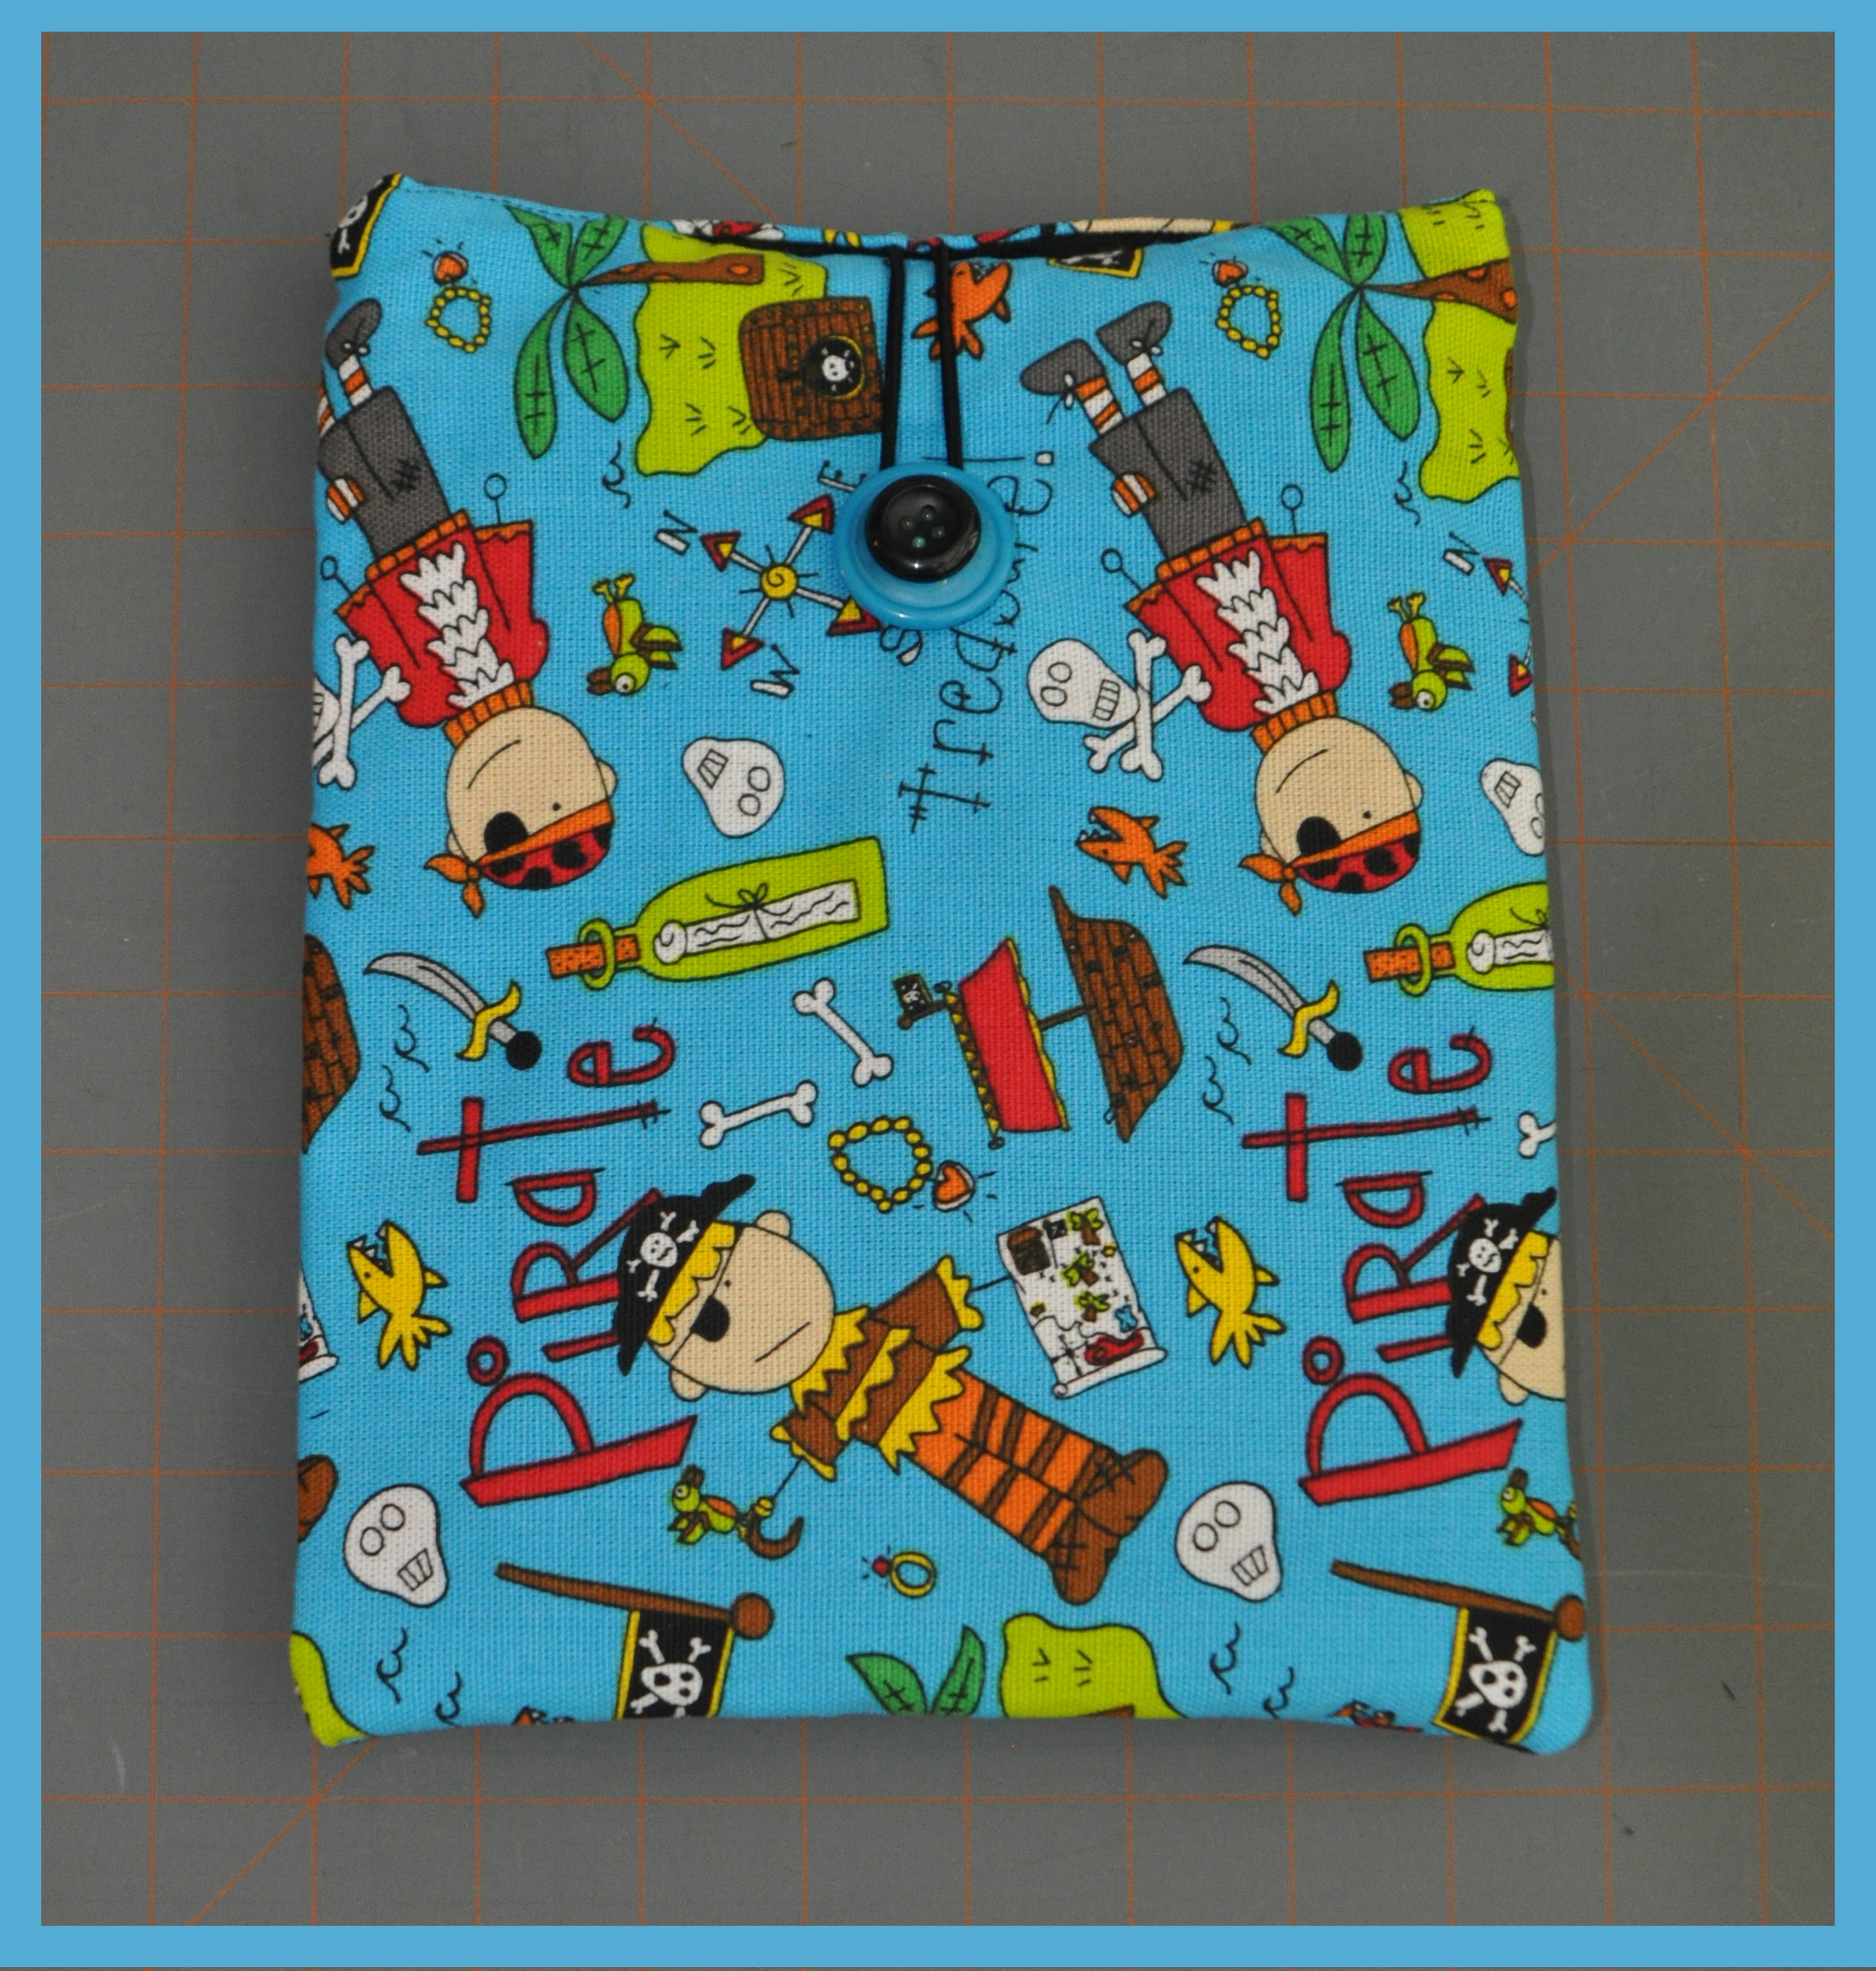
Hope you like my iPad Mini Travel Covers! They were fun to make and were quite easy! I love them and so do the boys!!
Until next time…….
Another Play Date Tie Dye!!
Who doesn’t love to tie dye?!?! And who doesn’t love a tie dye shirt?!?! I know my boys do!
Thanks to my friend Laura Kelly Walters of Laura Kelly Designs and her collection of Rit Dye, she has let us tie dye, not once but twice!
This particular play date only included Benjamin, since Landon is back in year round school.
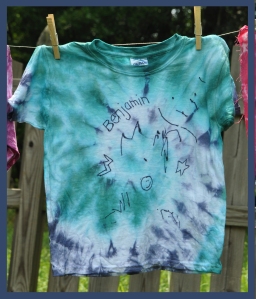
Laura thought it would be a good idea to let Benjamin draw on the t-shirt first. Then he demanded that she write his name on it! It couldn’t be mommy, it had to be Mrs. “Wah-Wa”!! Laura is a part of the Sharpie Squad, so she has her own personalized Sharpie markers!!!!
I did tie dye a shirt for myself, along with some fat quarters of white fabric that I purchased from A.C. Moore.
All you need is: Rit dye, rubber bands, bowls or squirt bottles, boiling water and a plastic wrap or a ziploc bag (to heat set). Oh, and some gloves so your fingers aren’t dyed!!
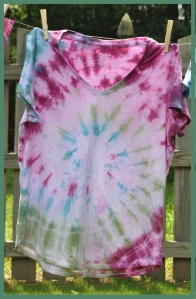
After we were done tie dying, we hung them to dry in the sun!
Using three colors: Teal, Green Apple and Fushia, I made this awesome swirl shirt for myself!
With this fat quarter, I placed a rubber band in the middle and then one on each corner. Then I dipped half in each color.
I love the how the swirl turned out on this fat quarter!
Thank you again Laura for letting come Tie Dye with you!! 🙂 And for letting Benjamin play the Wii, even though he had no clue what he was doing!
Buttons Galore
I have just recently become obsessed with buttons. As you can see from the last two projects that I have done, I have added buttons to them. My obsession of buttons came from someone I would call a new friend and someone I admire, Laura Kelly. And through Buttons Galore & More, she has created her own line of buttons. Unfortunately, the ones used on the door sign are not from Buttons Galore, but the ones on the Happy Easter banner are Laura’s and they coordinate with her fabric used on the banner.
Anyways, through FaveCrafts.com, Laura is giving away a whole lot of buttons! 🙂 The site is: http://www.favecrafts.com/sweeps/Buttons-Galore-Giveaway#
Everyone should go to the site and register, but do it quickly, because the giveaway ends on April 19th.
In my addiction to Pinterest, I came upon a sign to hang outside near the doorbell letting people know that the baby was sleeping. So, i decided to make my own!
And only those that have children and dogs may get this, but as a mother of two children and two dogs, I should have thought of this with my first child. My dogs bark at everything, especially when they hear footsteps on the stairs or when the doorbell rings. And if my youngest is sleeping, it usually wakes hims.
I remember once when Landon was about a year old, someone came around selling vacuums. It was just a short time after I had put him down for a nap, and guess what? That was one of his shortest naps for a one year old. I was not in a good mood after that.
Now, I have to keep my ears open and try to catch someone coming to the door before they hit the bottom stair just so the dogs don’t bark and wake Benjamin when the doorbell rings.
Here are just a few pictures of the process. First I purchased a wooden plaque at AC Moore as well as the starry scrapbook paper. I had some things at home. I painted just the edges because the rest wasn’t going to show.

I wrote my little saying on the scrapbook paper using a Sharpie marker and then used Mod Podge to glue it down. I then used an exacto knife to trim the edges.

I then covered it with a layer of Mod Podge because its going to be outside and I didn’t want the paper to get messed up. And then added some buttons to the front!
Using small screws, I put them into the back of the wood, created a decorative wire with ribbons and buttons and then attached it to the screws on the back of the wood.

And them it was complete and ready to hang up!! I love it and it will hang on my door until Benjamin is no longer taking an afternoon nap!!
Easter Saturday for us!
Since the weather is supposed to be rainy on Easter Sunday, we decided to celebrate Easter on Saturday with family. Today’s weather was perfect, not too hot and it certainly wasn’t cold!!! Grandma, Uncle Rhett and cousin Jory came over hang out and do some exciting things today! Unfortunately Grandpa was at home sick. 🙁 A lot of this post will be in pictures because I surely took a lot, but I will also tell you a little about the pictures!!!
We started our afternoon off with an Easter Egg Hunt. 125 eggs for three children was definitely enough! The funniest part of our hunt was that there was a silver egg that was the prize egg and no one could find it. It was the last found egg!
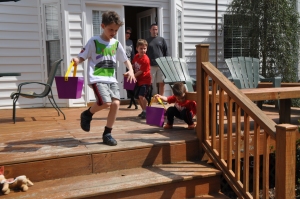
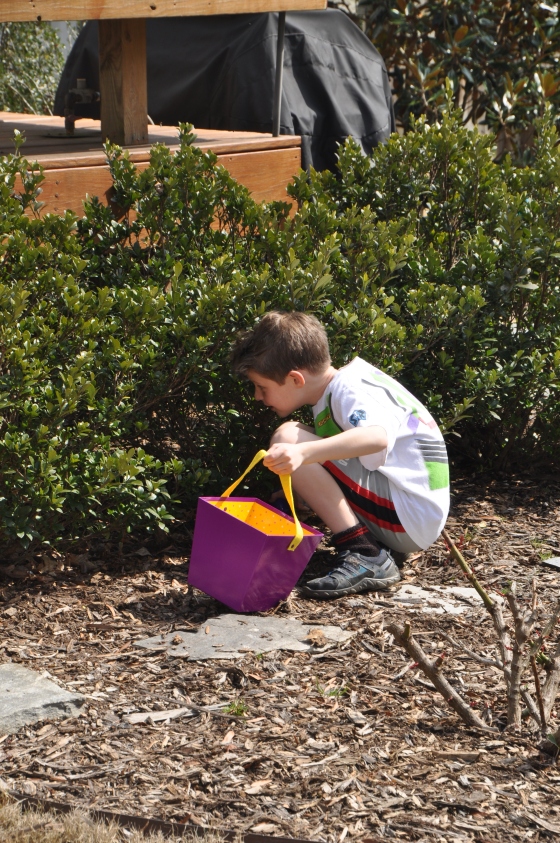
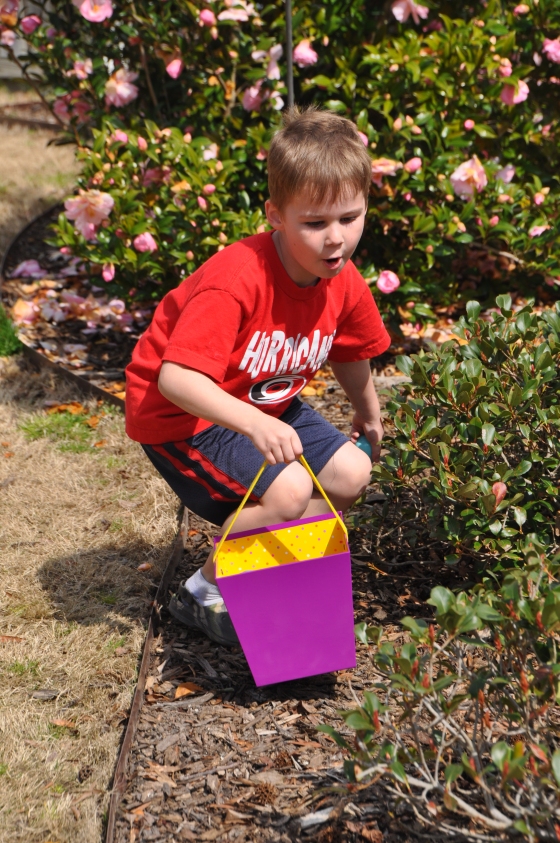
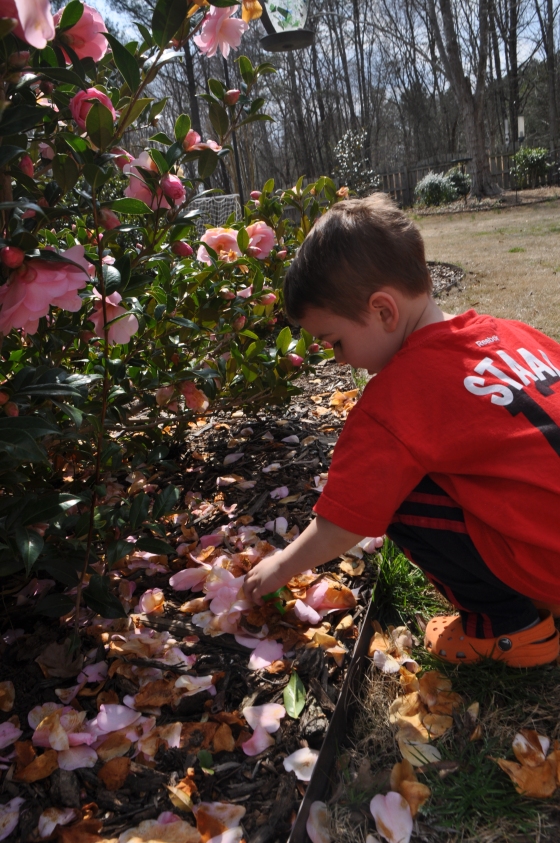
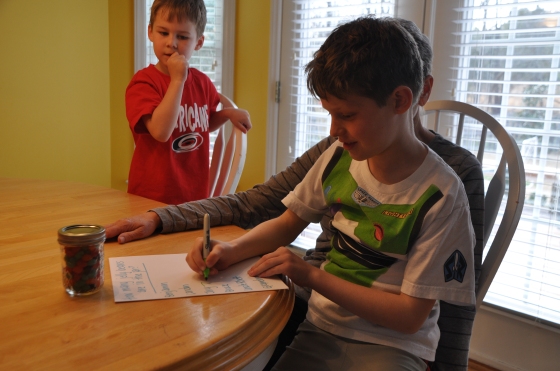
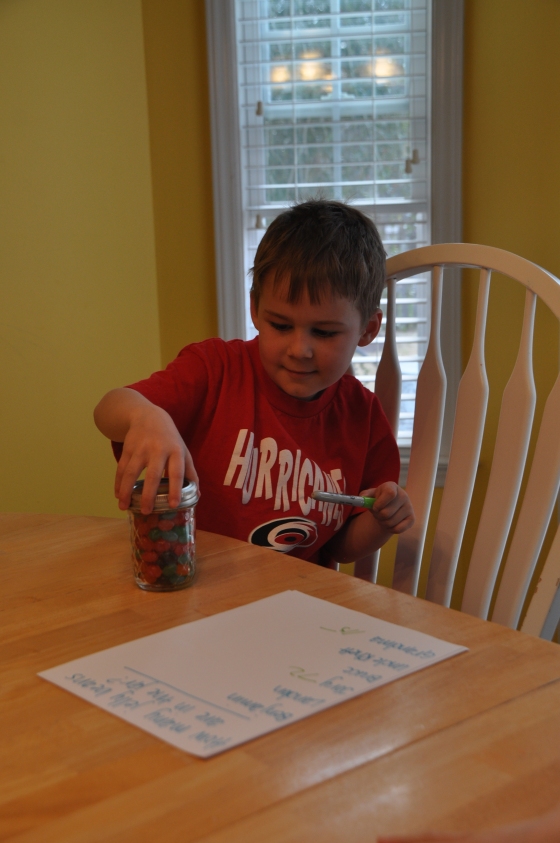
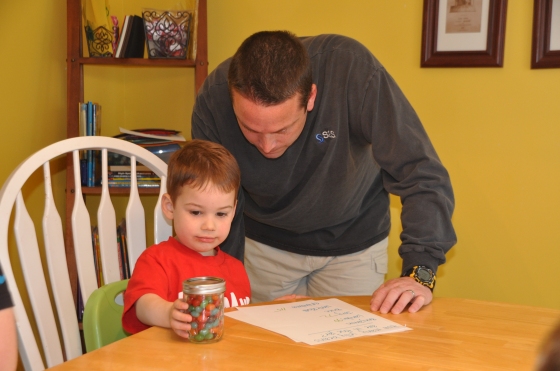
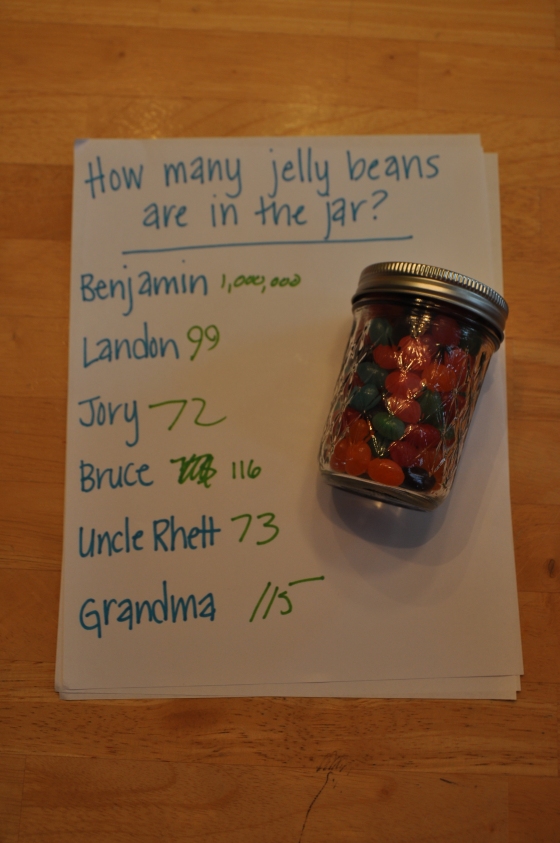
After our Easter Egg Hunt, we decided to do some fun inside activities! We did a “Guess how many jelly beans are in the jar” guessing game!
Benjamin guessed 1 million!
Daddy won! He’s such a smarty! The total number of jelly beans in the jar was 148! The prize for winning was the jar of jelly beans! And because he is so nice, he decided to split the jelly beans between the three boys!
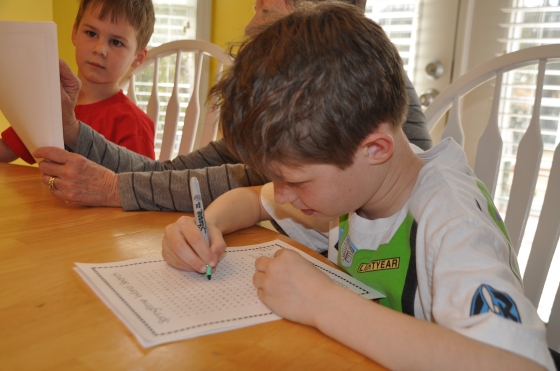
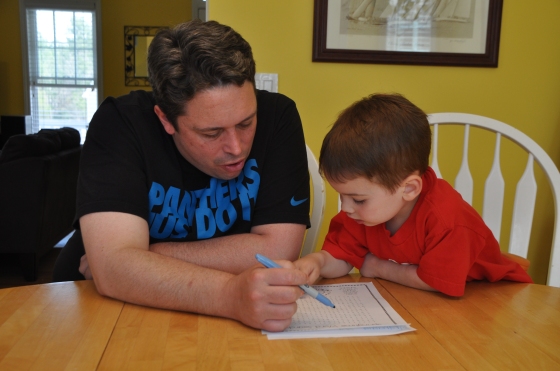
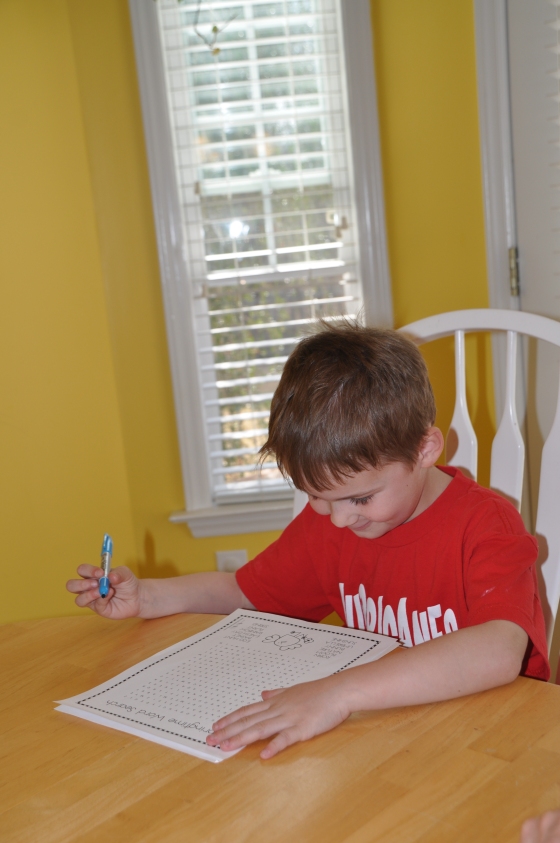
Then, we did a couple of Laura Kelly’s fun activity sheets (http://laurakellydesigns.com/fun/). The first one was a Spring Time word search!
Uncle Rhett helped Benjamin out!
The first one to finish got a Reese’s chocolate bunny! Yay Jory!!!
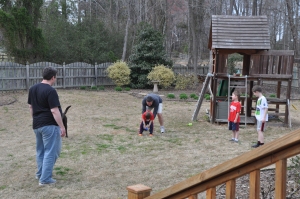
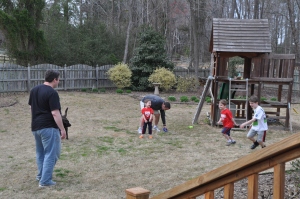
The boys decided they wanted to spend a little time outside. And what do boys love to do outside? Play sports! A mini football game! I love Benjamin’s expression after hiked the ball!
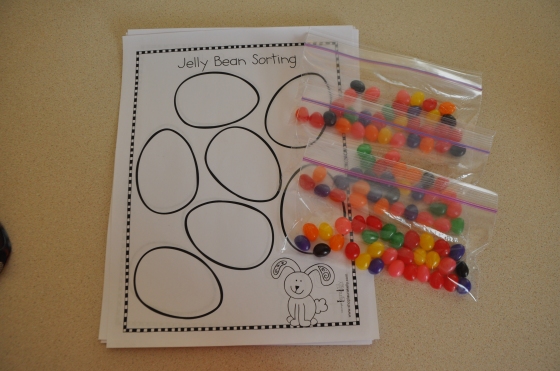
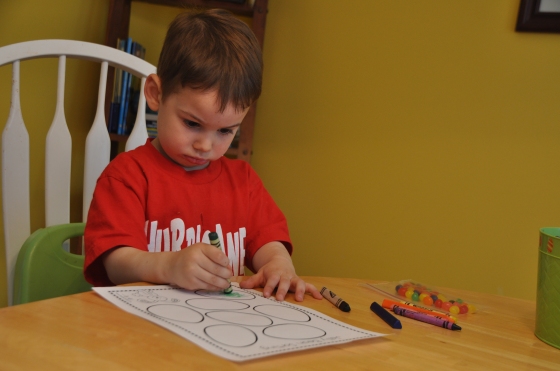
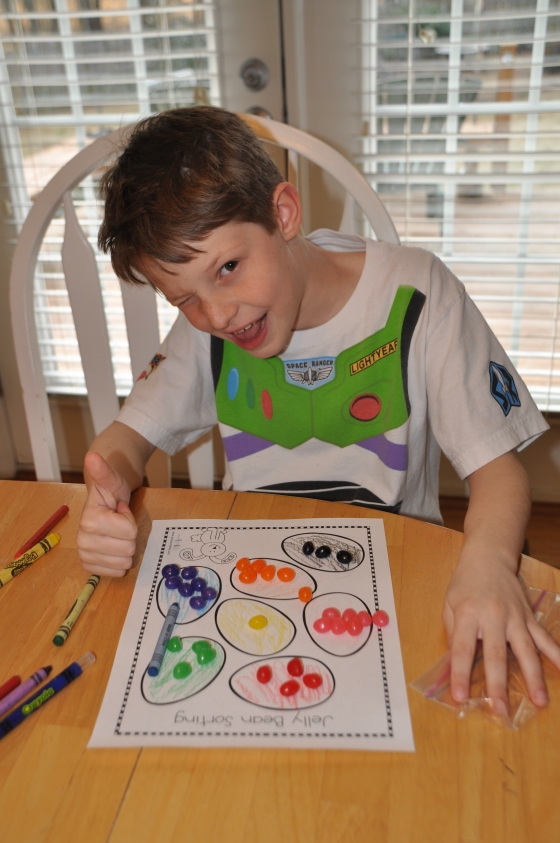
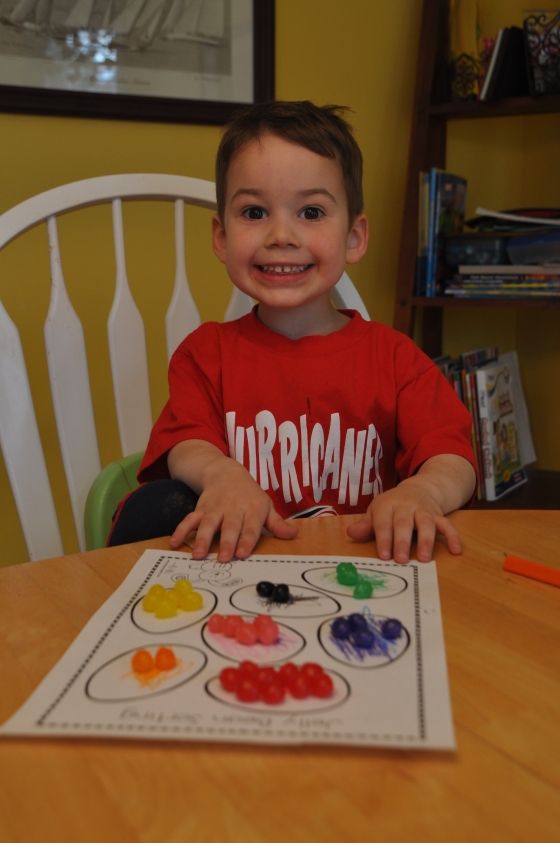
Next, we did the jelly bean sorting sheet!
Benjamin worked so hard on his and was concentrating really hard!
Jory got all of his sorted and counted!
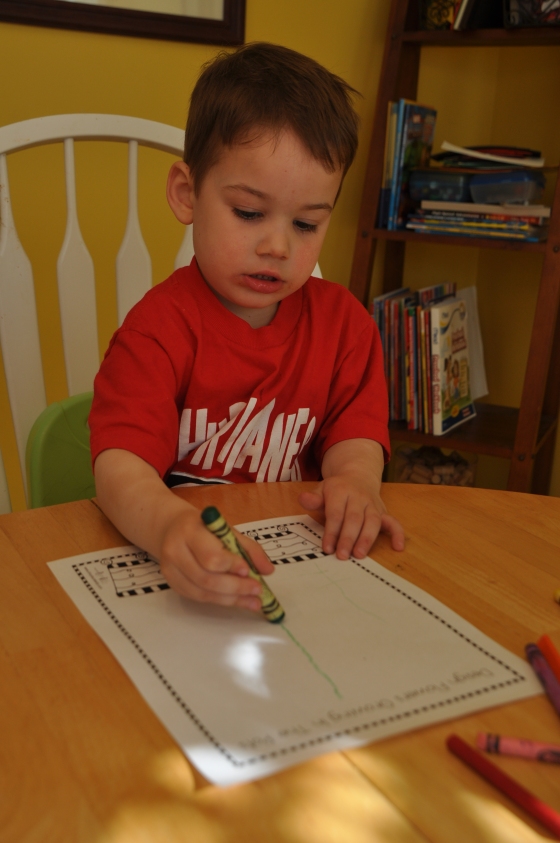
Benjamin was the only one to do the third sheet. It was a Design your own flowers in the pots sheet!
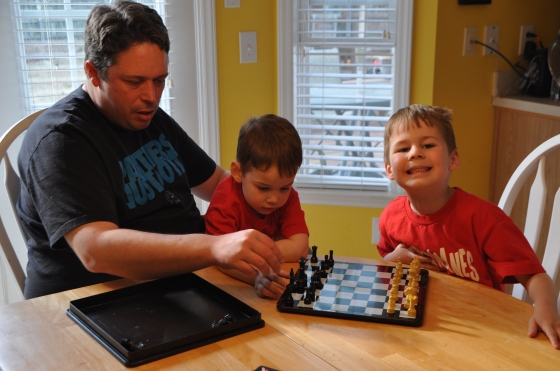
Then there was a little time for a game of chess, well at least the start of one before dinner was ready!
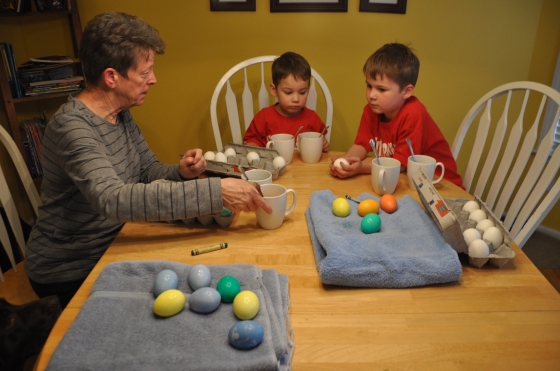
After our lovely Easter dinner, it was time for Easter Egg dying! But mommy must be a complete idiot, because the directions for dying eggs doesn’t make sense…. It just says to add 3 tbsp of vinegar to the cup with the tab. Well, 3 tbsp is not enough to cover the eggs. And I couldn’t remember if I was supposed to add water to the mix or not. But anyways, I ended up just pouring more vinegar into the cups. Hopefully our hard boiled eggs will not taste like vinegar! It was fun though. Grandma helped the boys with their dying!
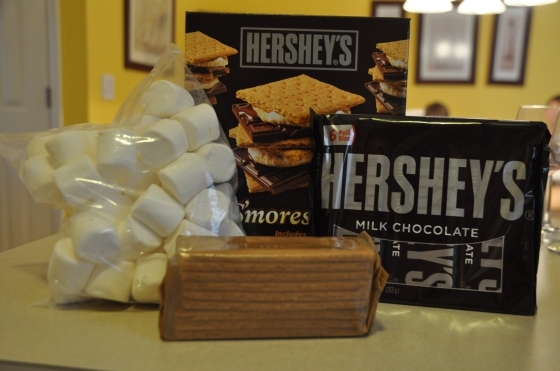
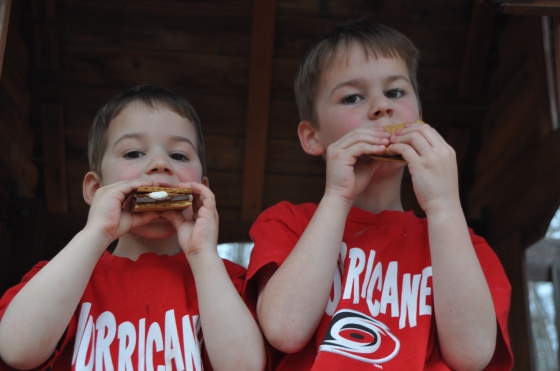
While at BJ’s today, I spotted this yummy S’mores kit! What a fantastic idea! So, guess what dessert was?!?!
The kids love some S’mores!!!! 🙂
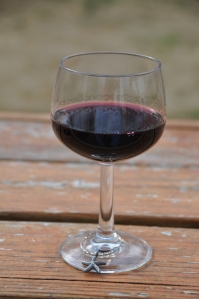
After a long day, a nice glass of red wine was necessary!
Now it’s time for bed! Hope everyone has a fantastic Easter!
Getting to know me!
Getting to know me…..Hmmmm, I am a wife to a wonderful and encouraging husband named Bruce, a stay-at-home mother to two wonderful boys, Landon (age 5) and Benjamin (age 3), a cook, a crafter of sewing, glueing, drawing, etc., a student at Wake Technical Community College, and a philanthropist in the Junior Woman’s Club of Raleigh. I guess I am a lot of other things too, but those are some just to name a few. I love my boys and I love to do crafts with my boys. Although, I like to do crafts by myself as well. I love a good bottle of red wine. The wine with the crafting is always good! I love hanging out with my friends, neighbors and family. I have also come to love reading. We have two labs, Maggie and Taylor!
I am new to blogging, so you will have to bare with me. Throughout my post, I will be blogging about being a mommy, crafting, cooking and other things that happen in life! 🙂

