Need a quick wedding craft to brighten up the bride and grooms chair at the wedding reception? These Mr. and Mrs. Seat Back Wedding Wreaths are quick, easy and adorable!

Materials:
Two foam wreaths (I used FloraCraft Make It Fun Wreath Rings)
Wooden Letters (I picked these up at A.C. Moore)
Burlap Ribbon
Tulle
Krylon ColorMaster – Sea Glass
Hot Glue Gun and Glue

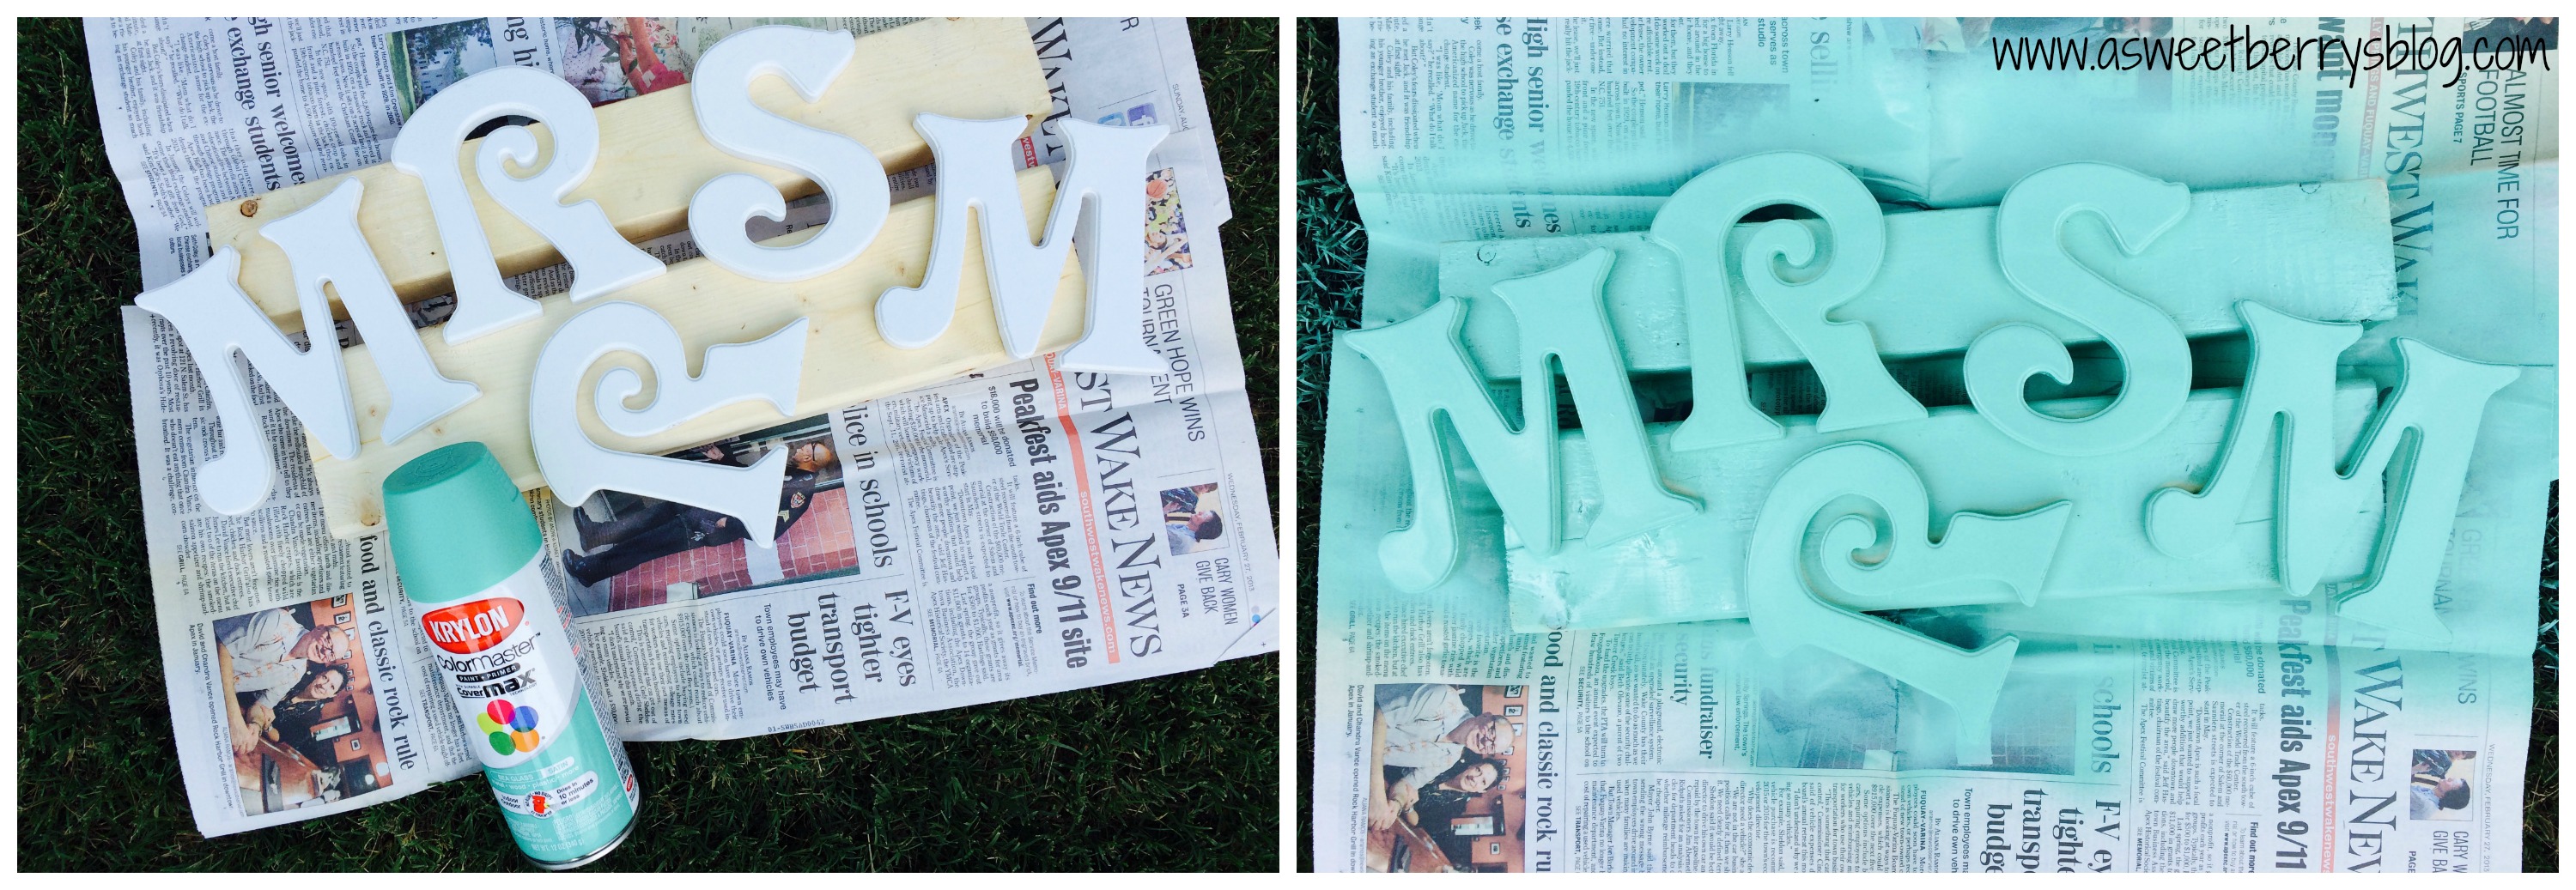
So that it would be dry in time for adding them to my wreaths, I spray painted my letters first.
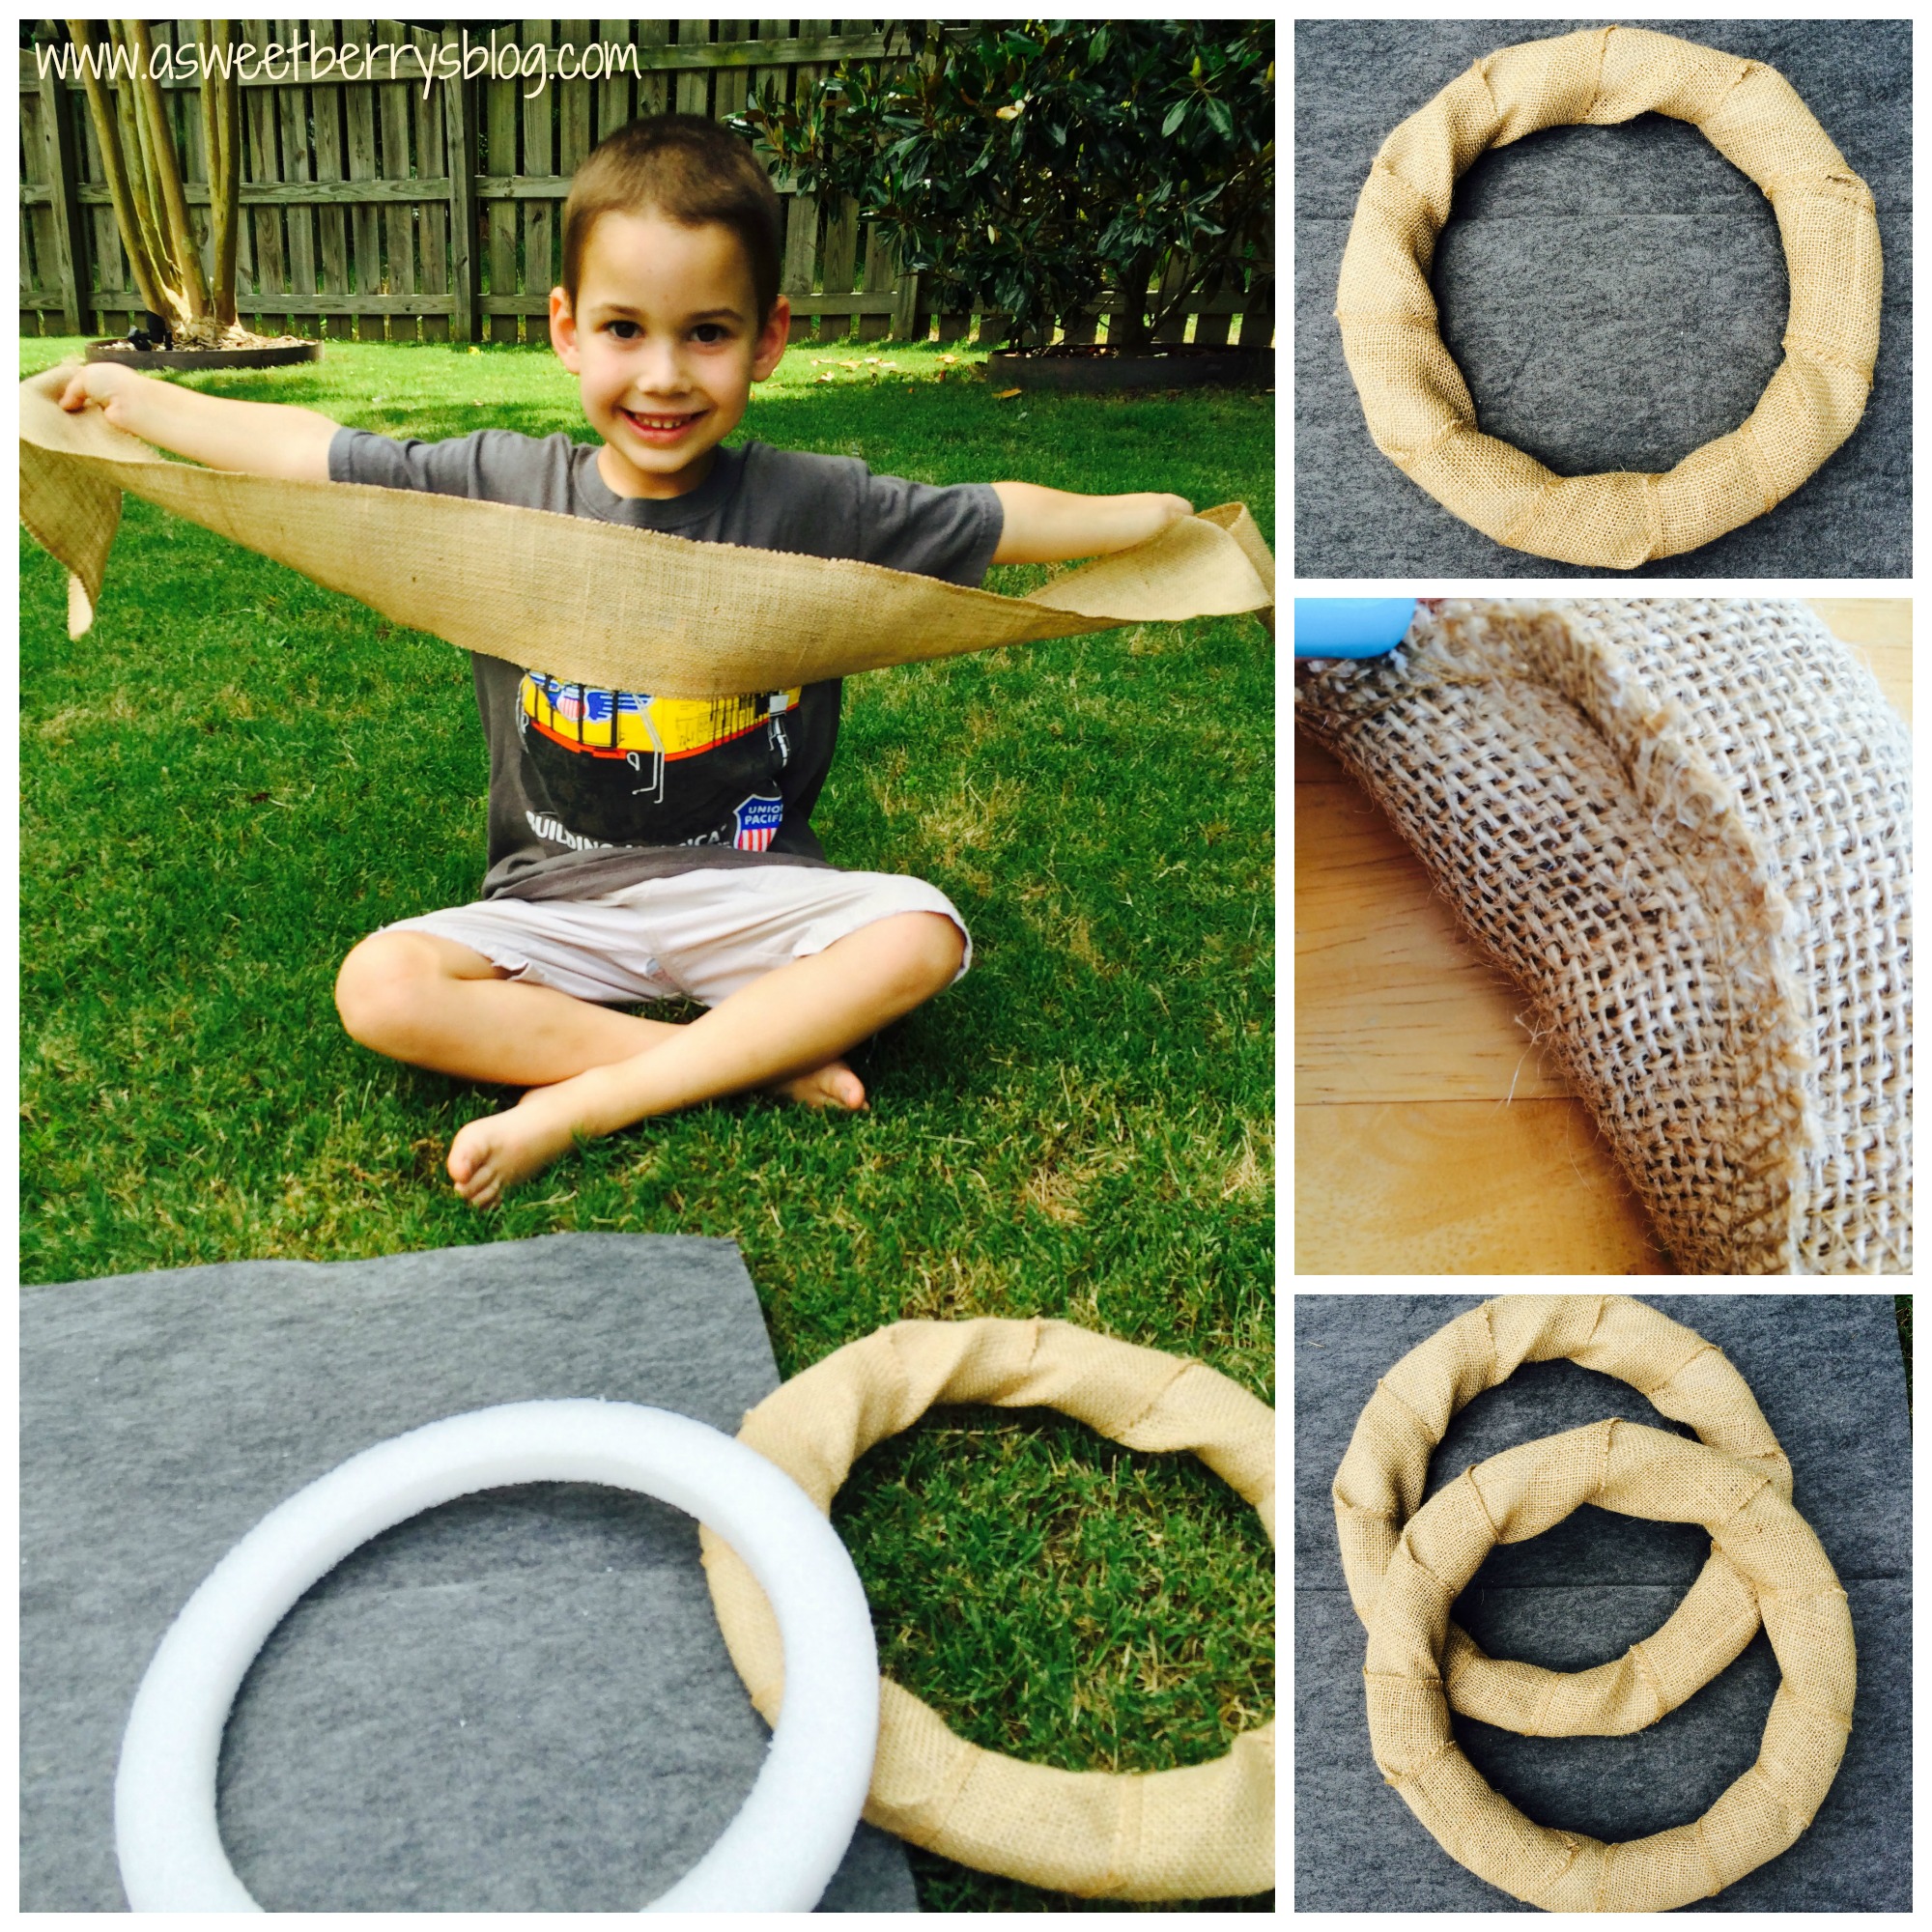
Then, with the help of my craft loving five year old, Benjamin, I wrapped the foam wreath rings with the burlap ribbon and hot glued the end to keep it from unraveling.
Once my letters were dry, I hot glued them together, slighting overlapping the letters.
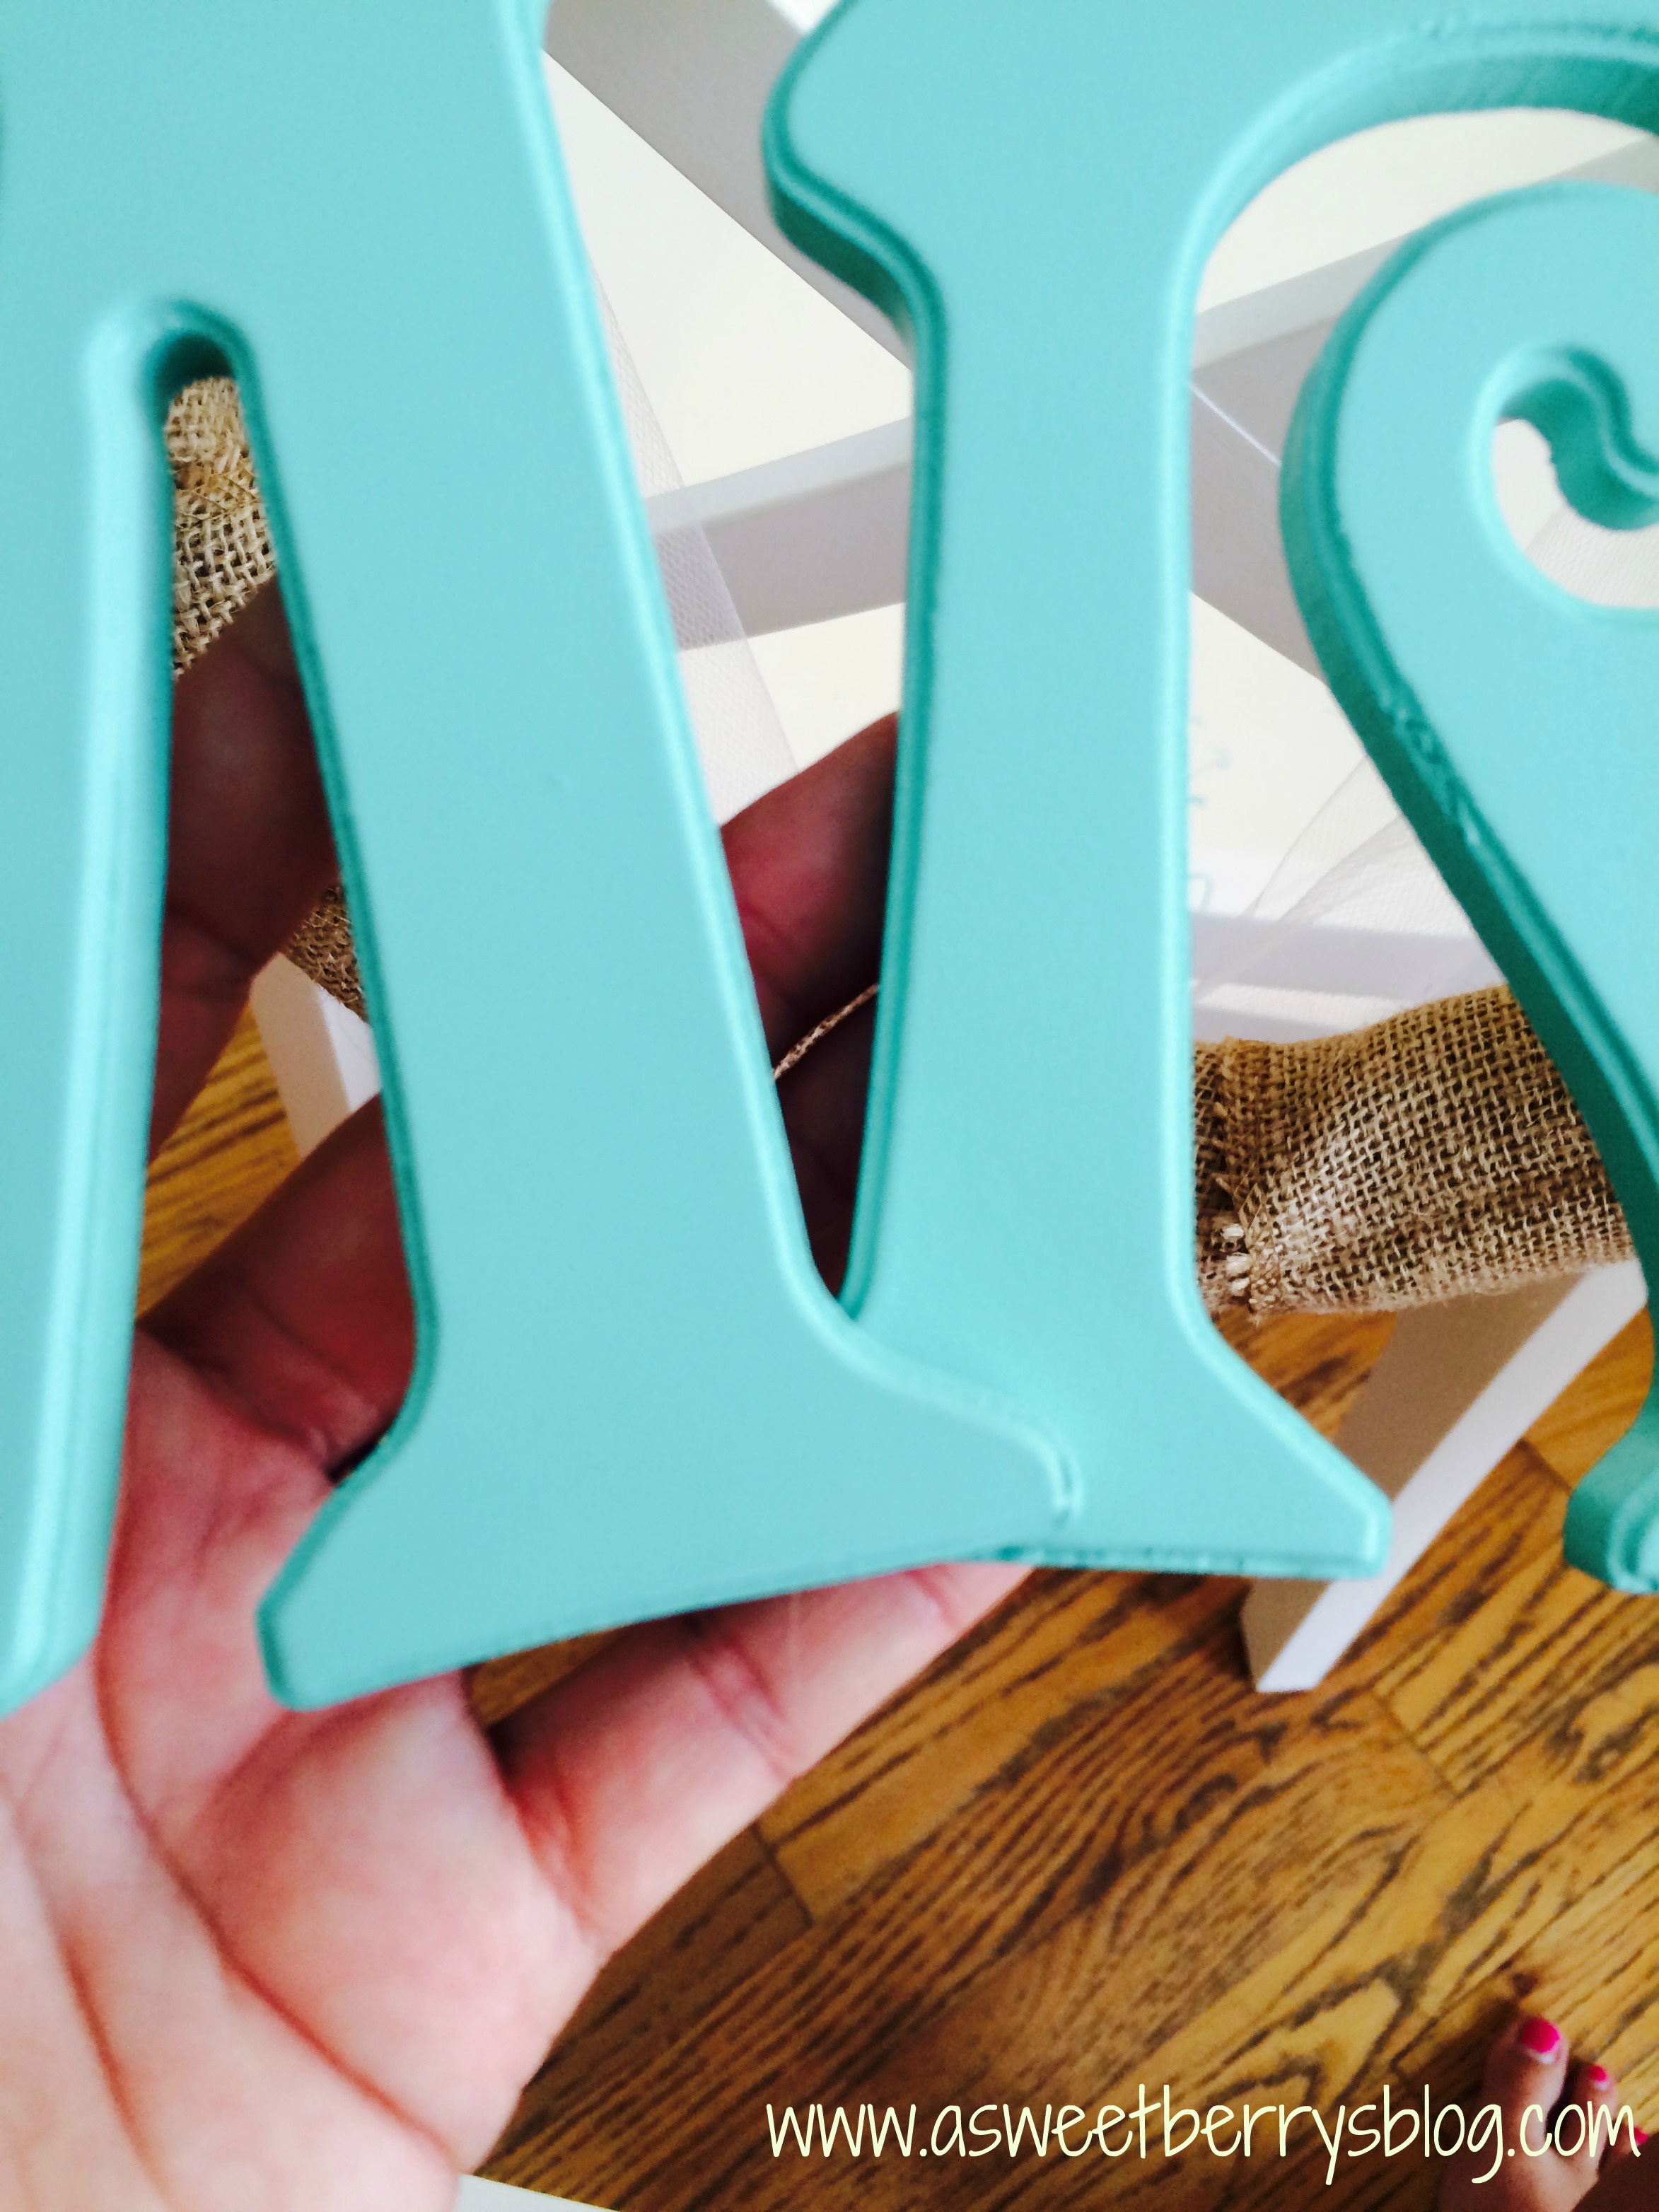
Once the letters were glued together, I took a strip of tulle that was about 6-8 feet long and folded it in half to find the center. Once I had the center, I hot glued my letters to the tulle. I only attached the “Mrs” on the “R” and both the “M” and “R” of the “Mr” to the tulle. I then laid the letters and tulle over the wreath and wrapped the tulle around the wreath near the top. Once I was happy with the placement of the letters, I wrapped it around the chair and tied it to secure the wreaths to the chairs!
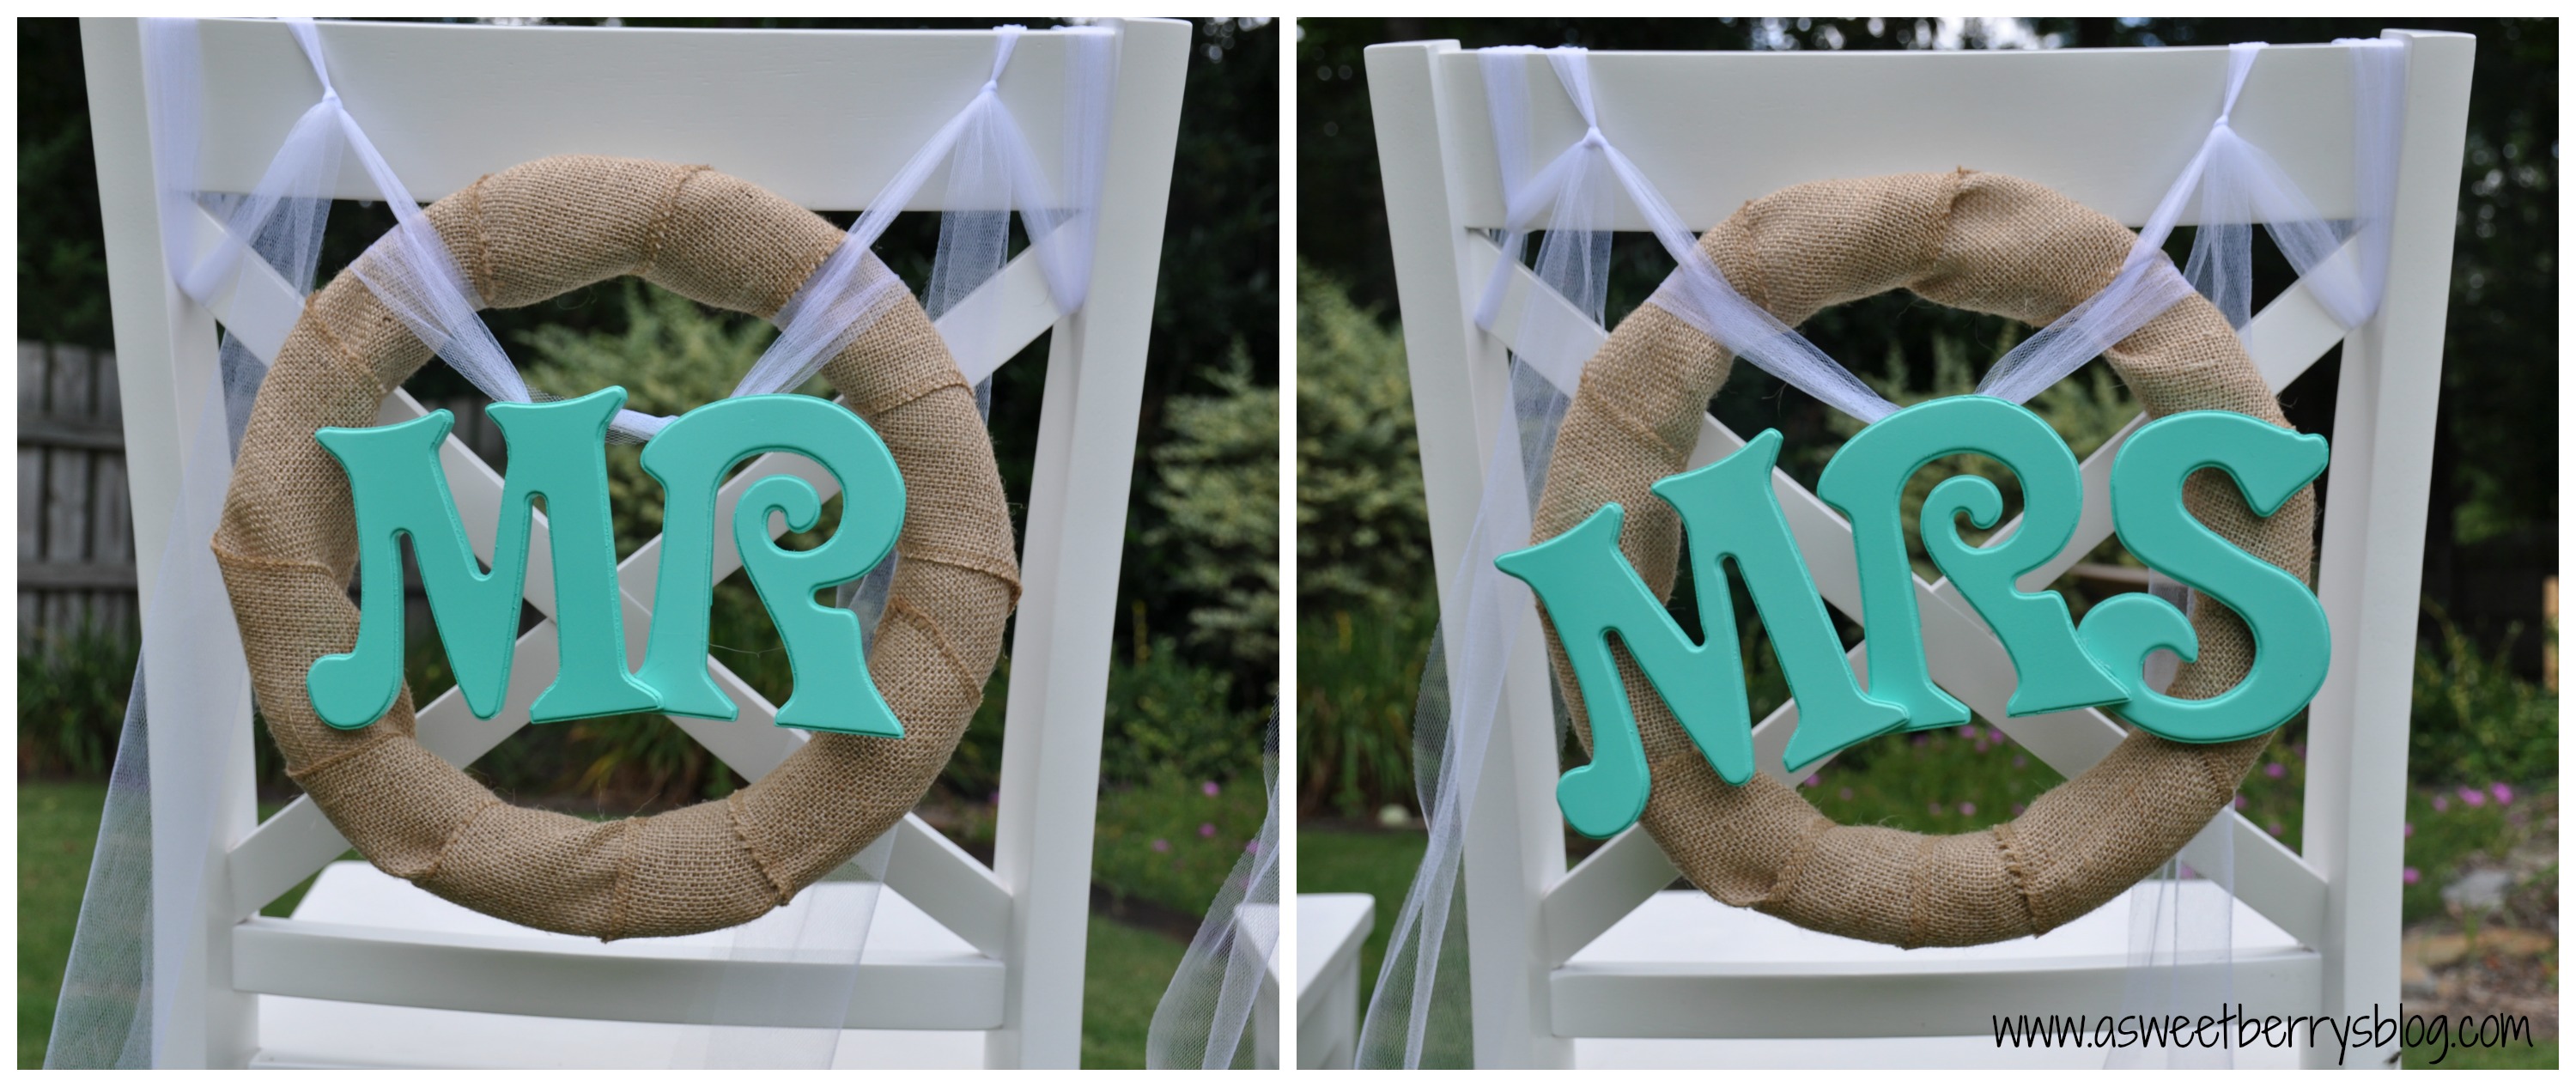
I love how these turned out! And they are actually on their way to a beach wedding this upcoming weekend!

Need other super quick and easy wedding ideas? Be sure to check out this awesome Craft Lightning event for great ideas from some awesome bloggers!

Until next time……
Pirate Fun featuring Laura Kelly’s Pirate Island!!!
Ahoy Matey!
Summer has begun and it going to fly by. With Benjamin heading into kindergarten on the year-round schedule, the boys only have a few weeks off before the new school year begins in July. We are going to make the most of it and plan to spend as much time being active as possible including hitting the beach and the pool. Both boys have tons of energy and love to be busy and on-the-go.
Sometimes finding things to do with two boys in the summer when the weather is poor or we are stuck in the car can be challenging. Of course they would be fine to play on their tablets but I prefer that we have a balance.
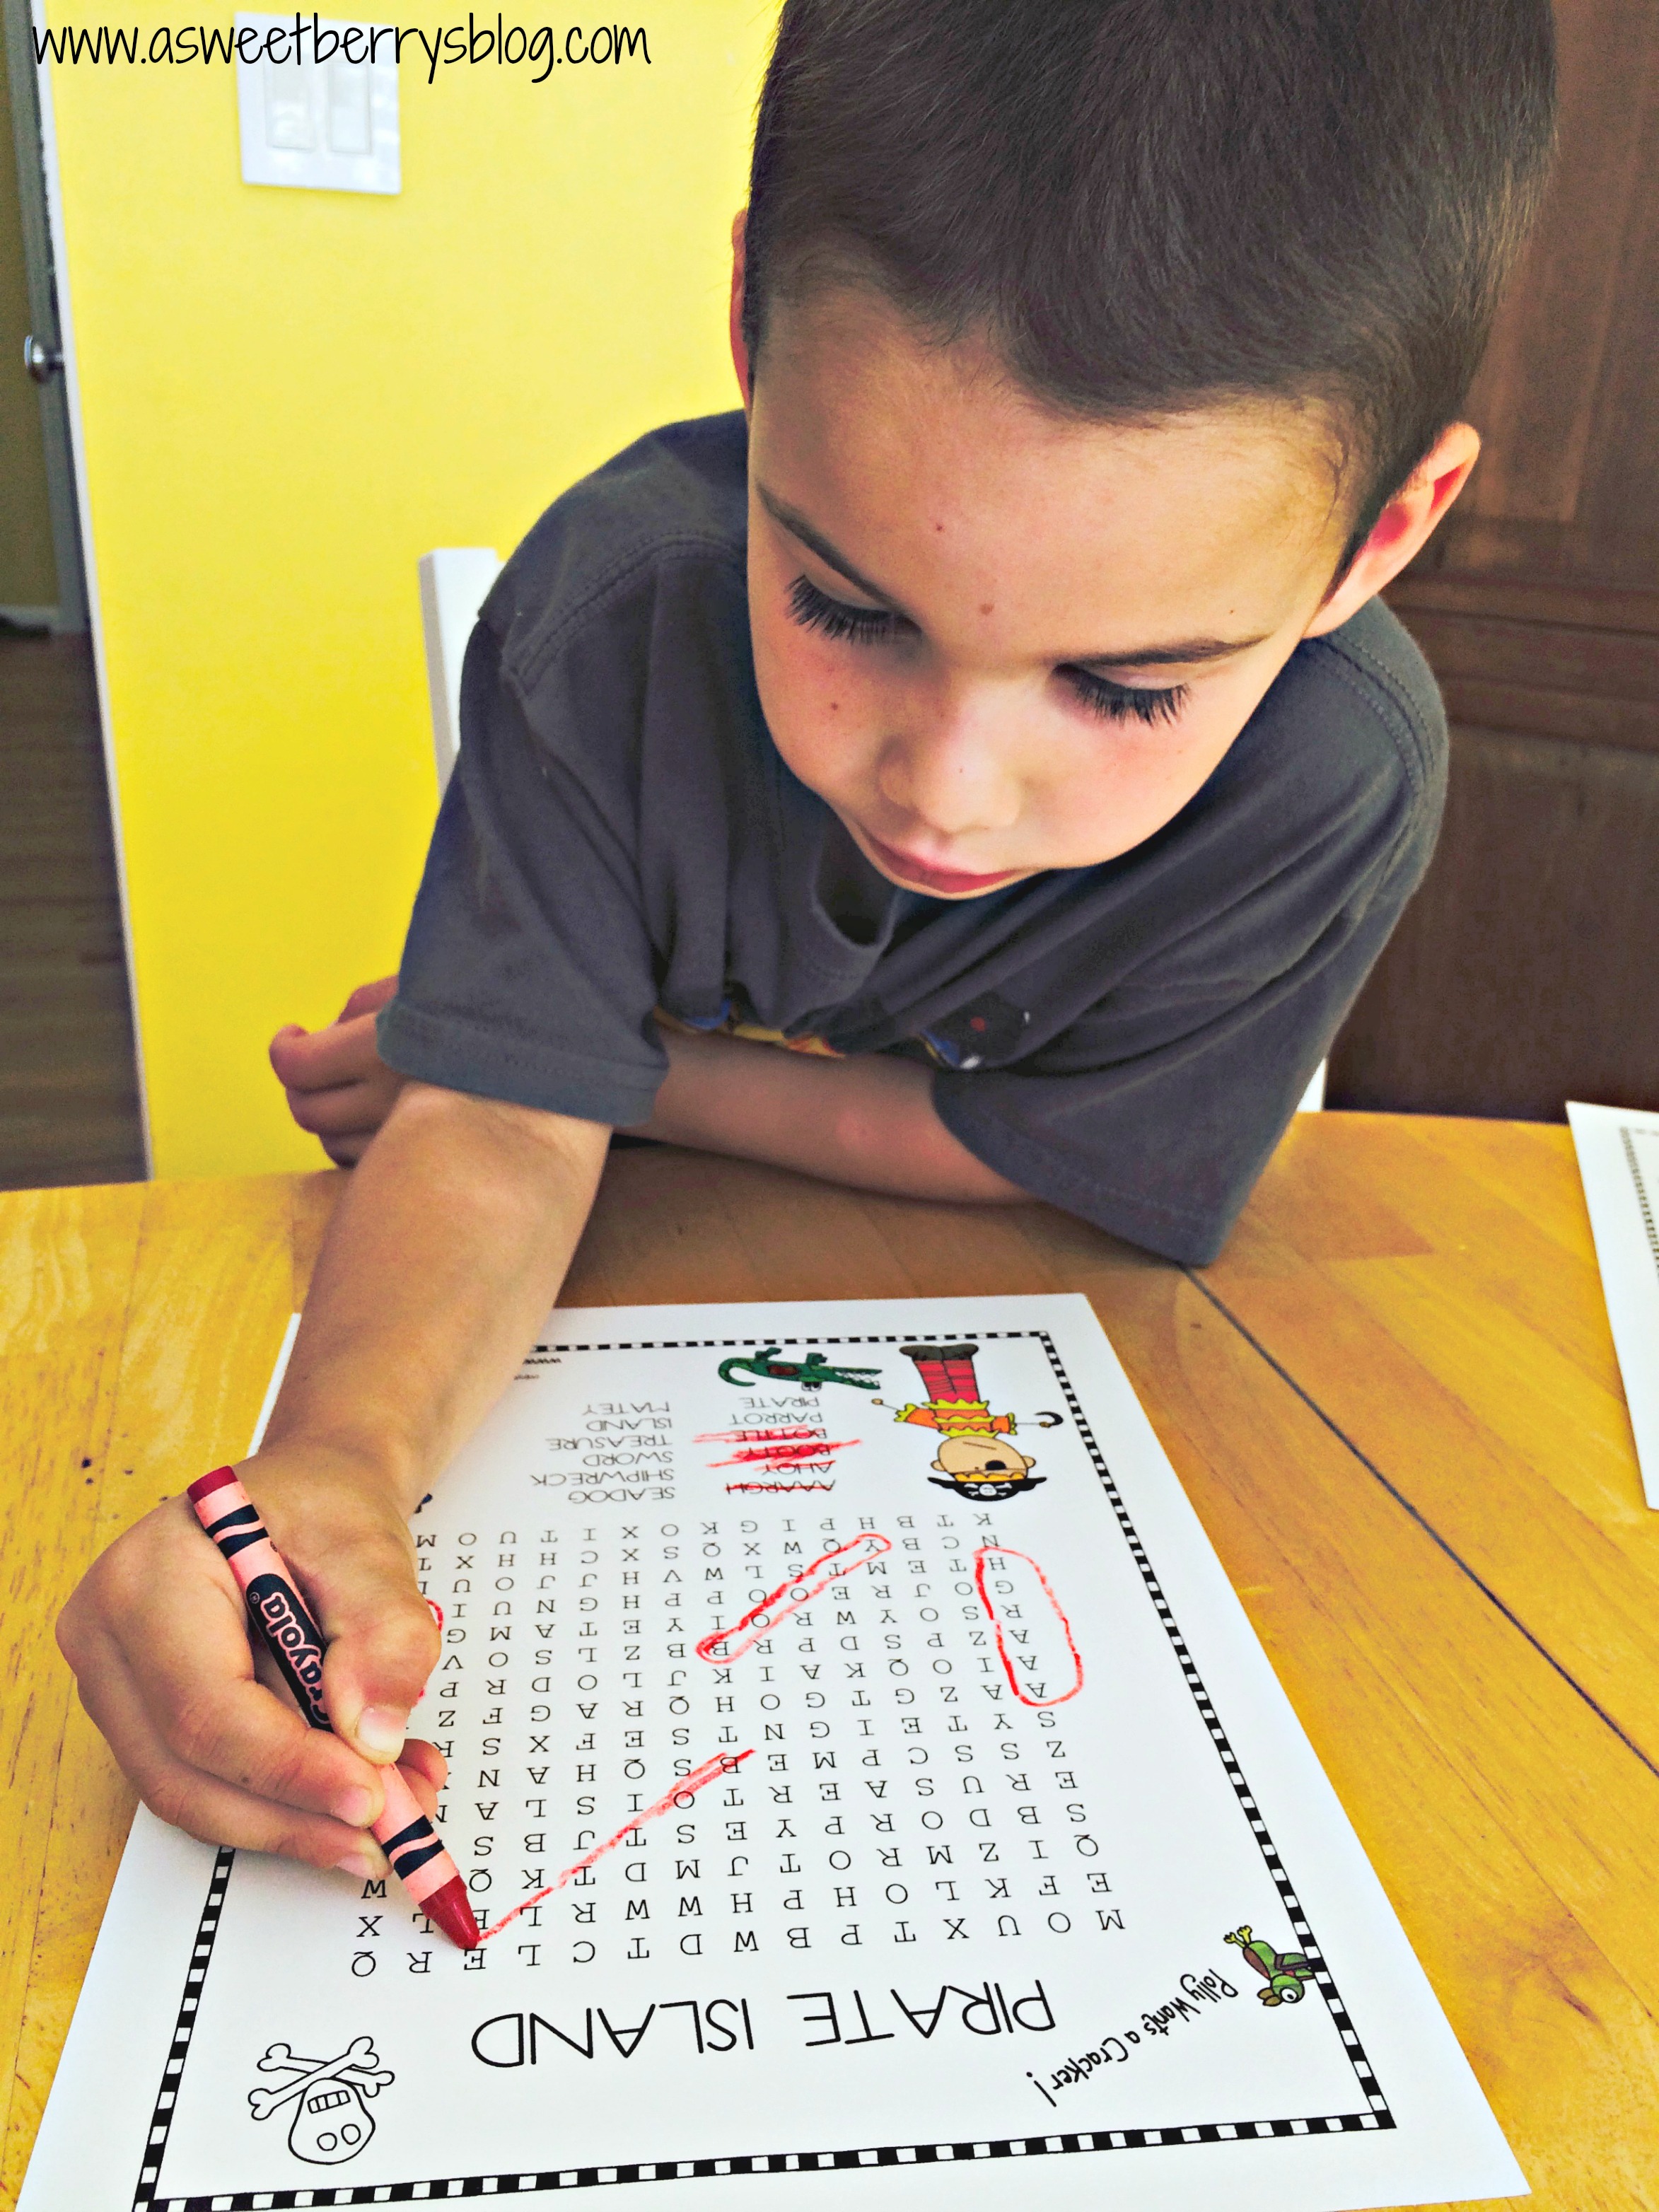
They both love to make stuff and solve puzzles so this little Pirate Games printable from Shop Laura Kelly is awesome.
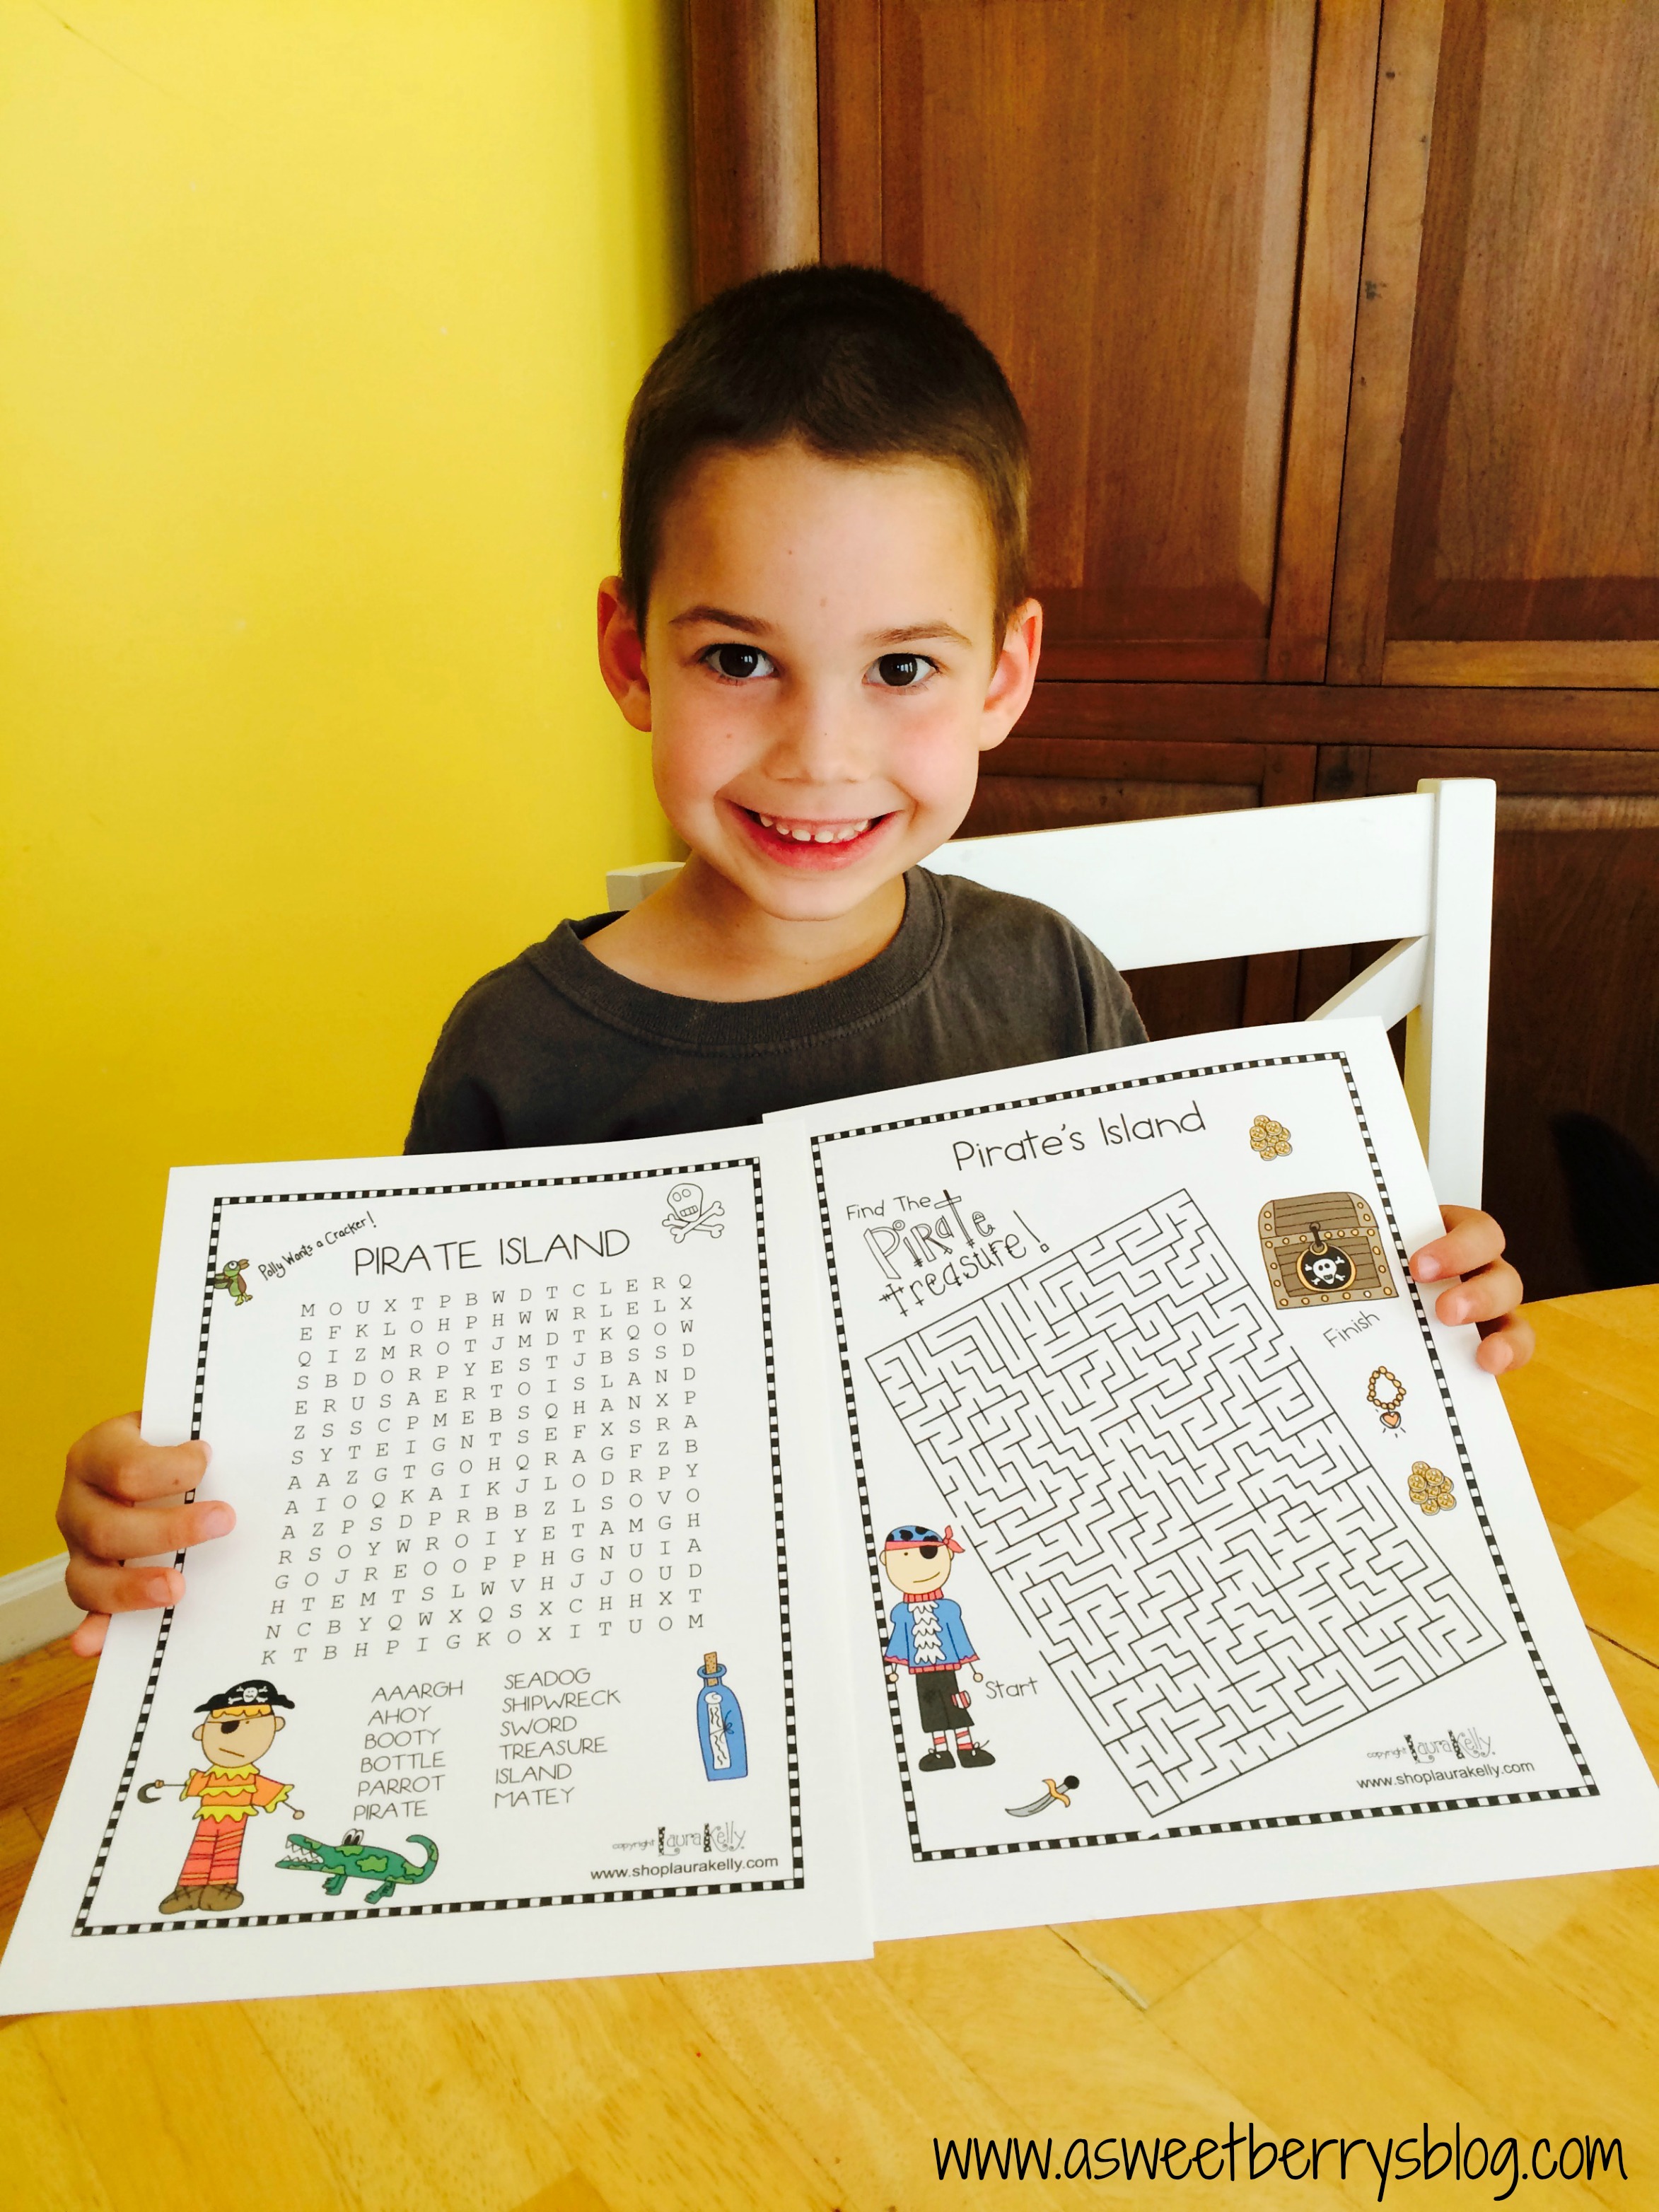
I am printing and packing them to have ready for the car ride tomorrow.
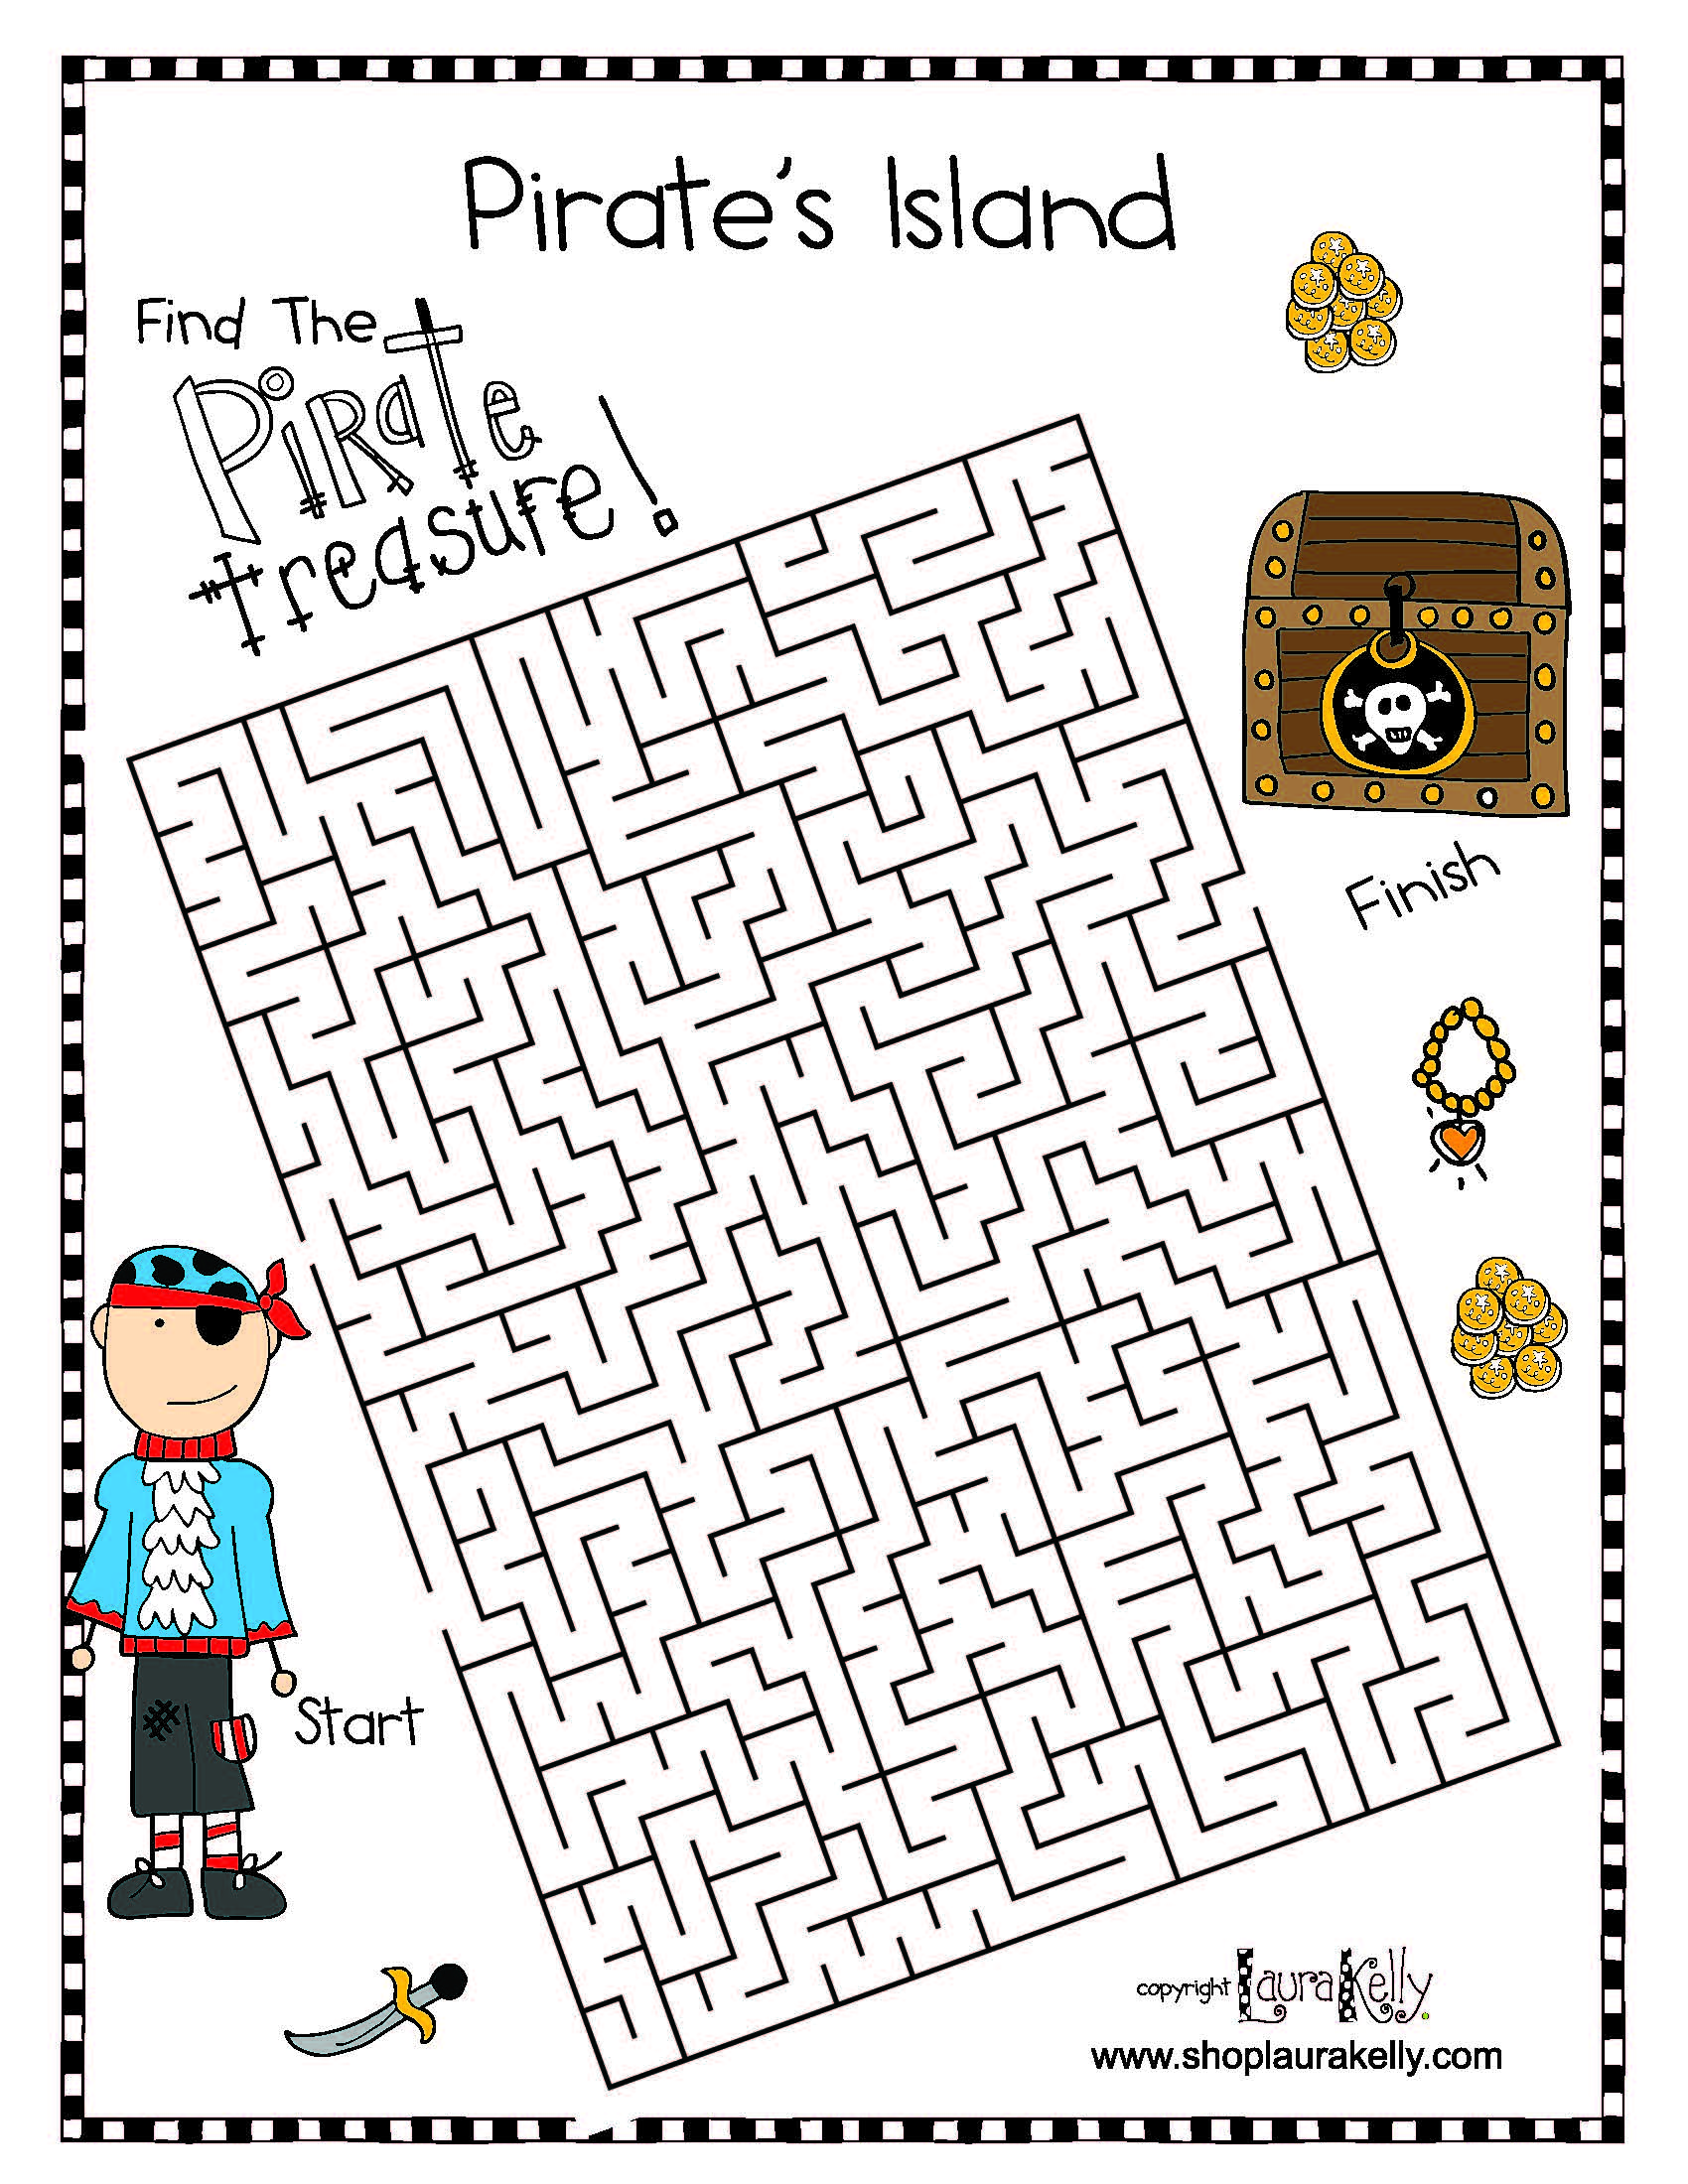
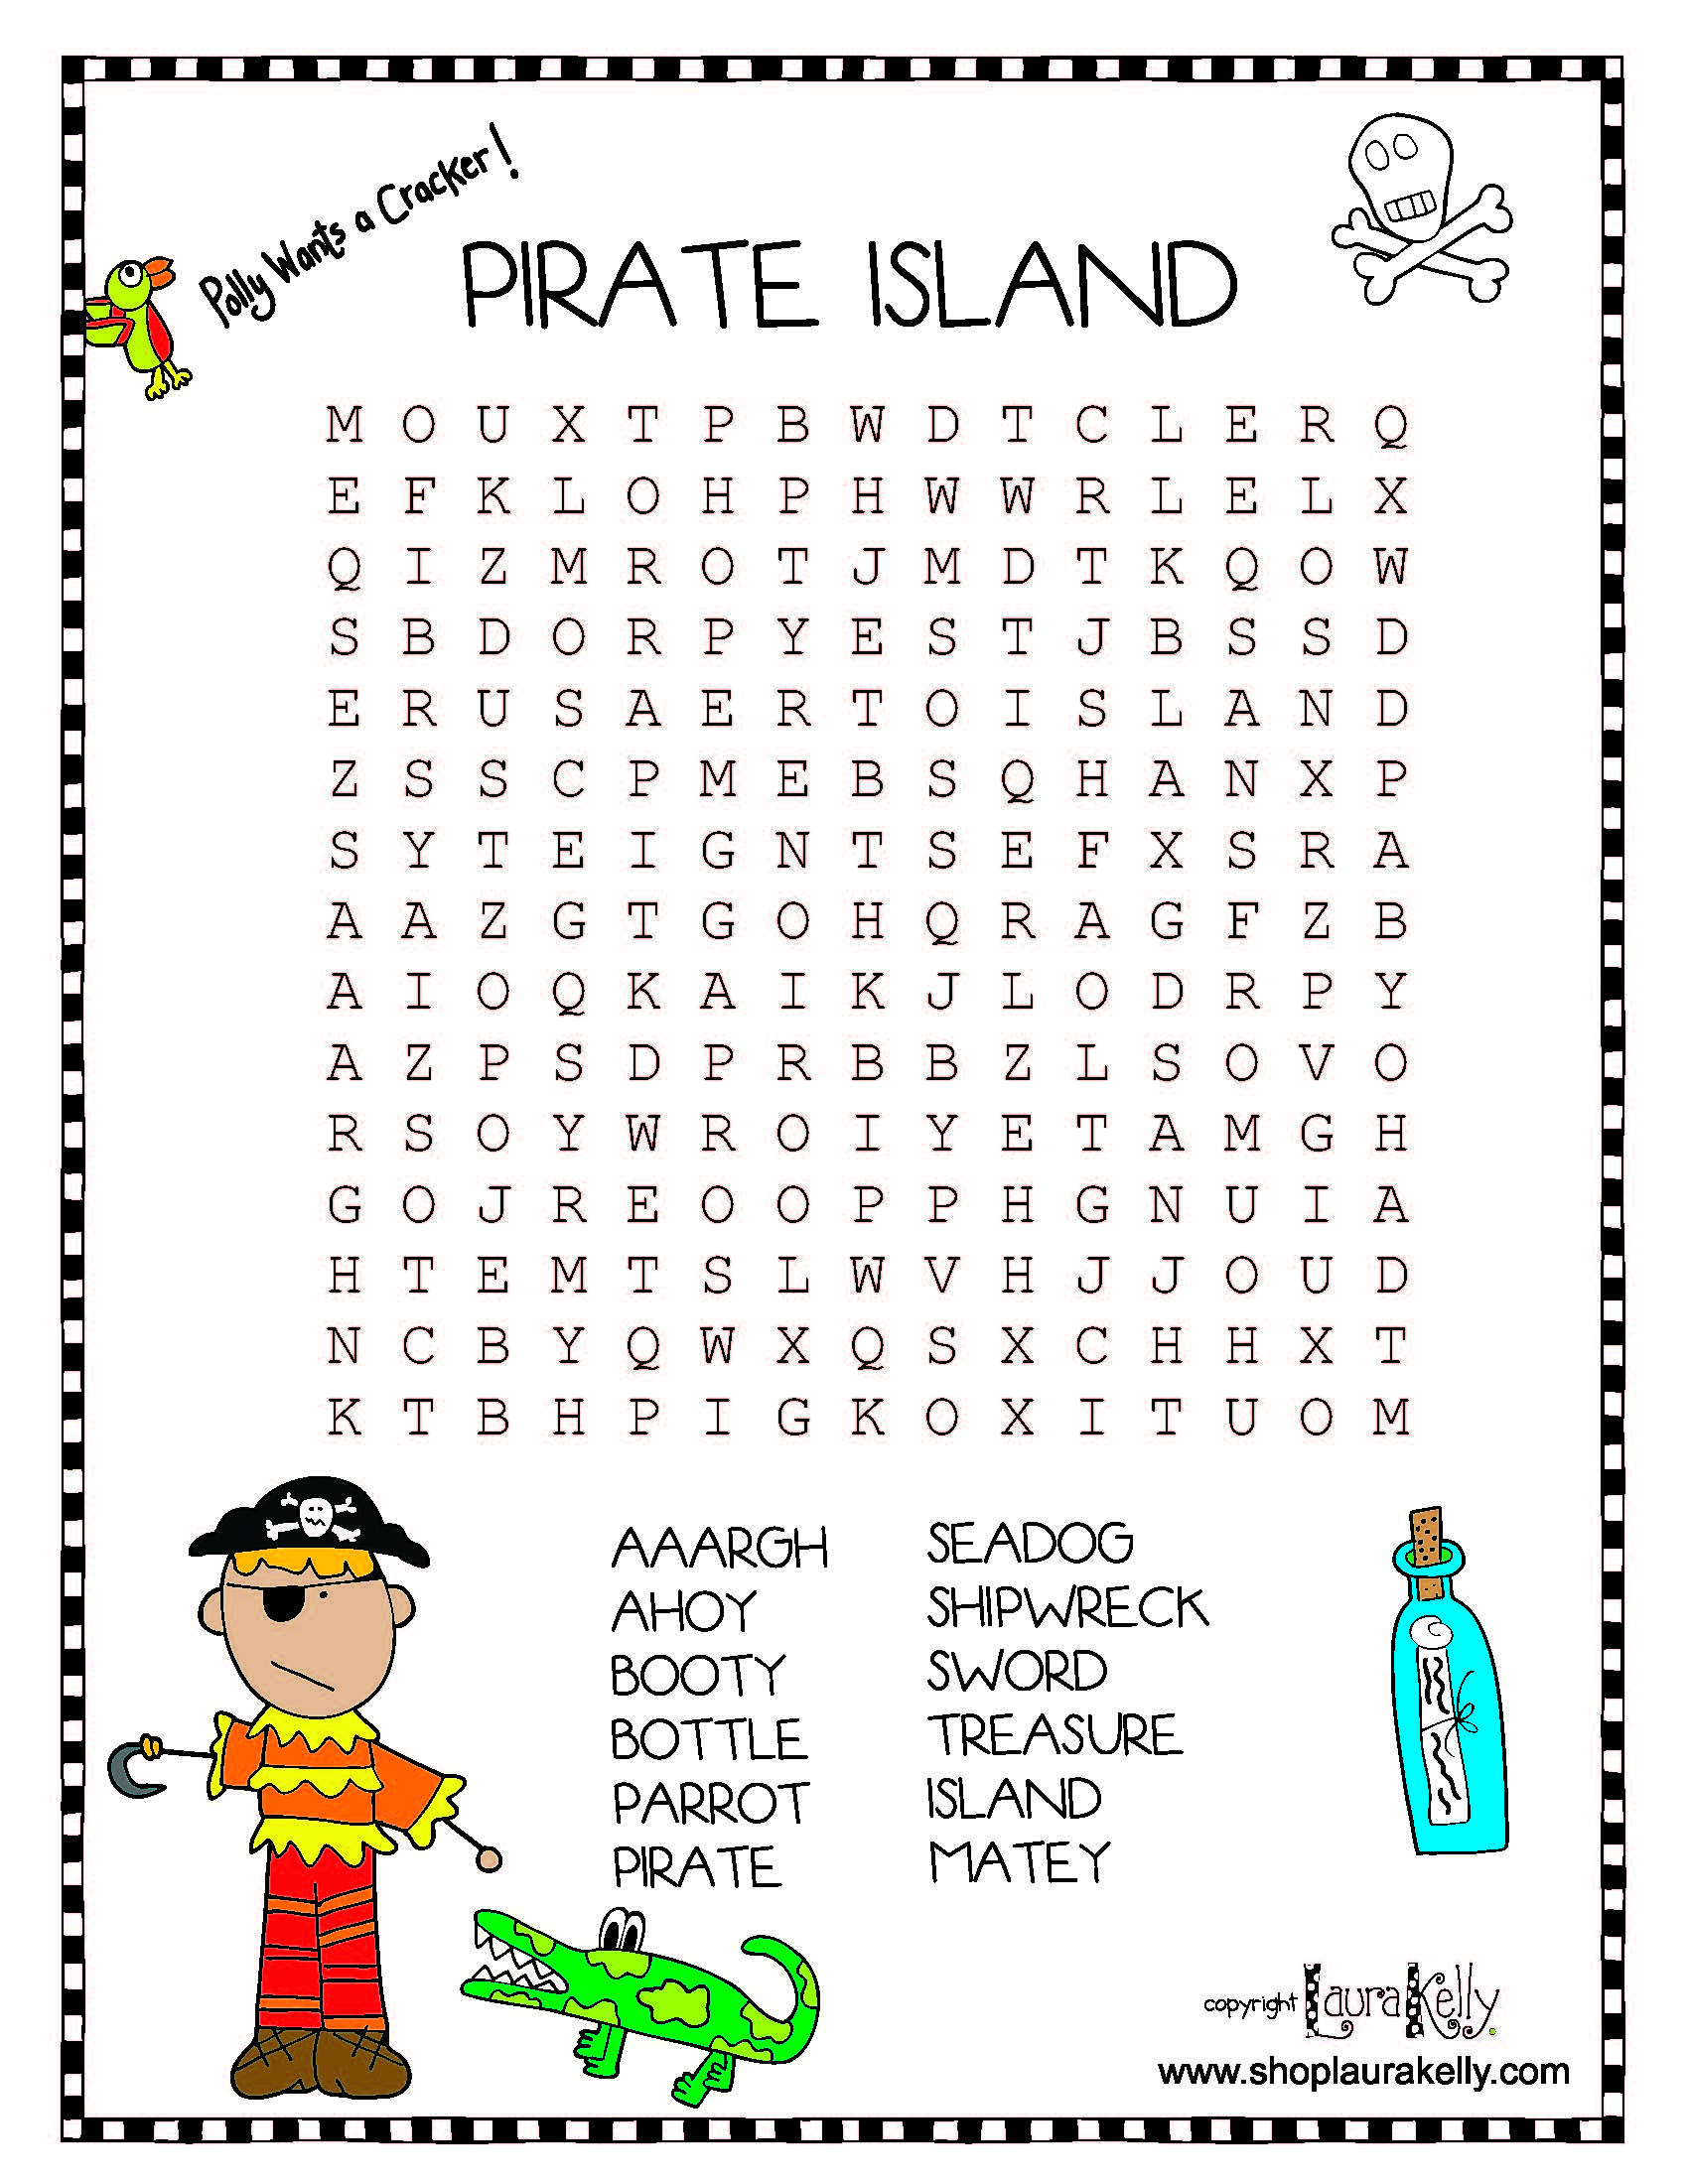
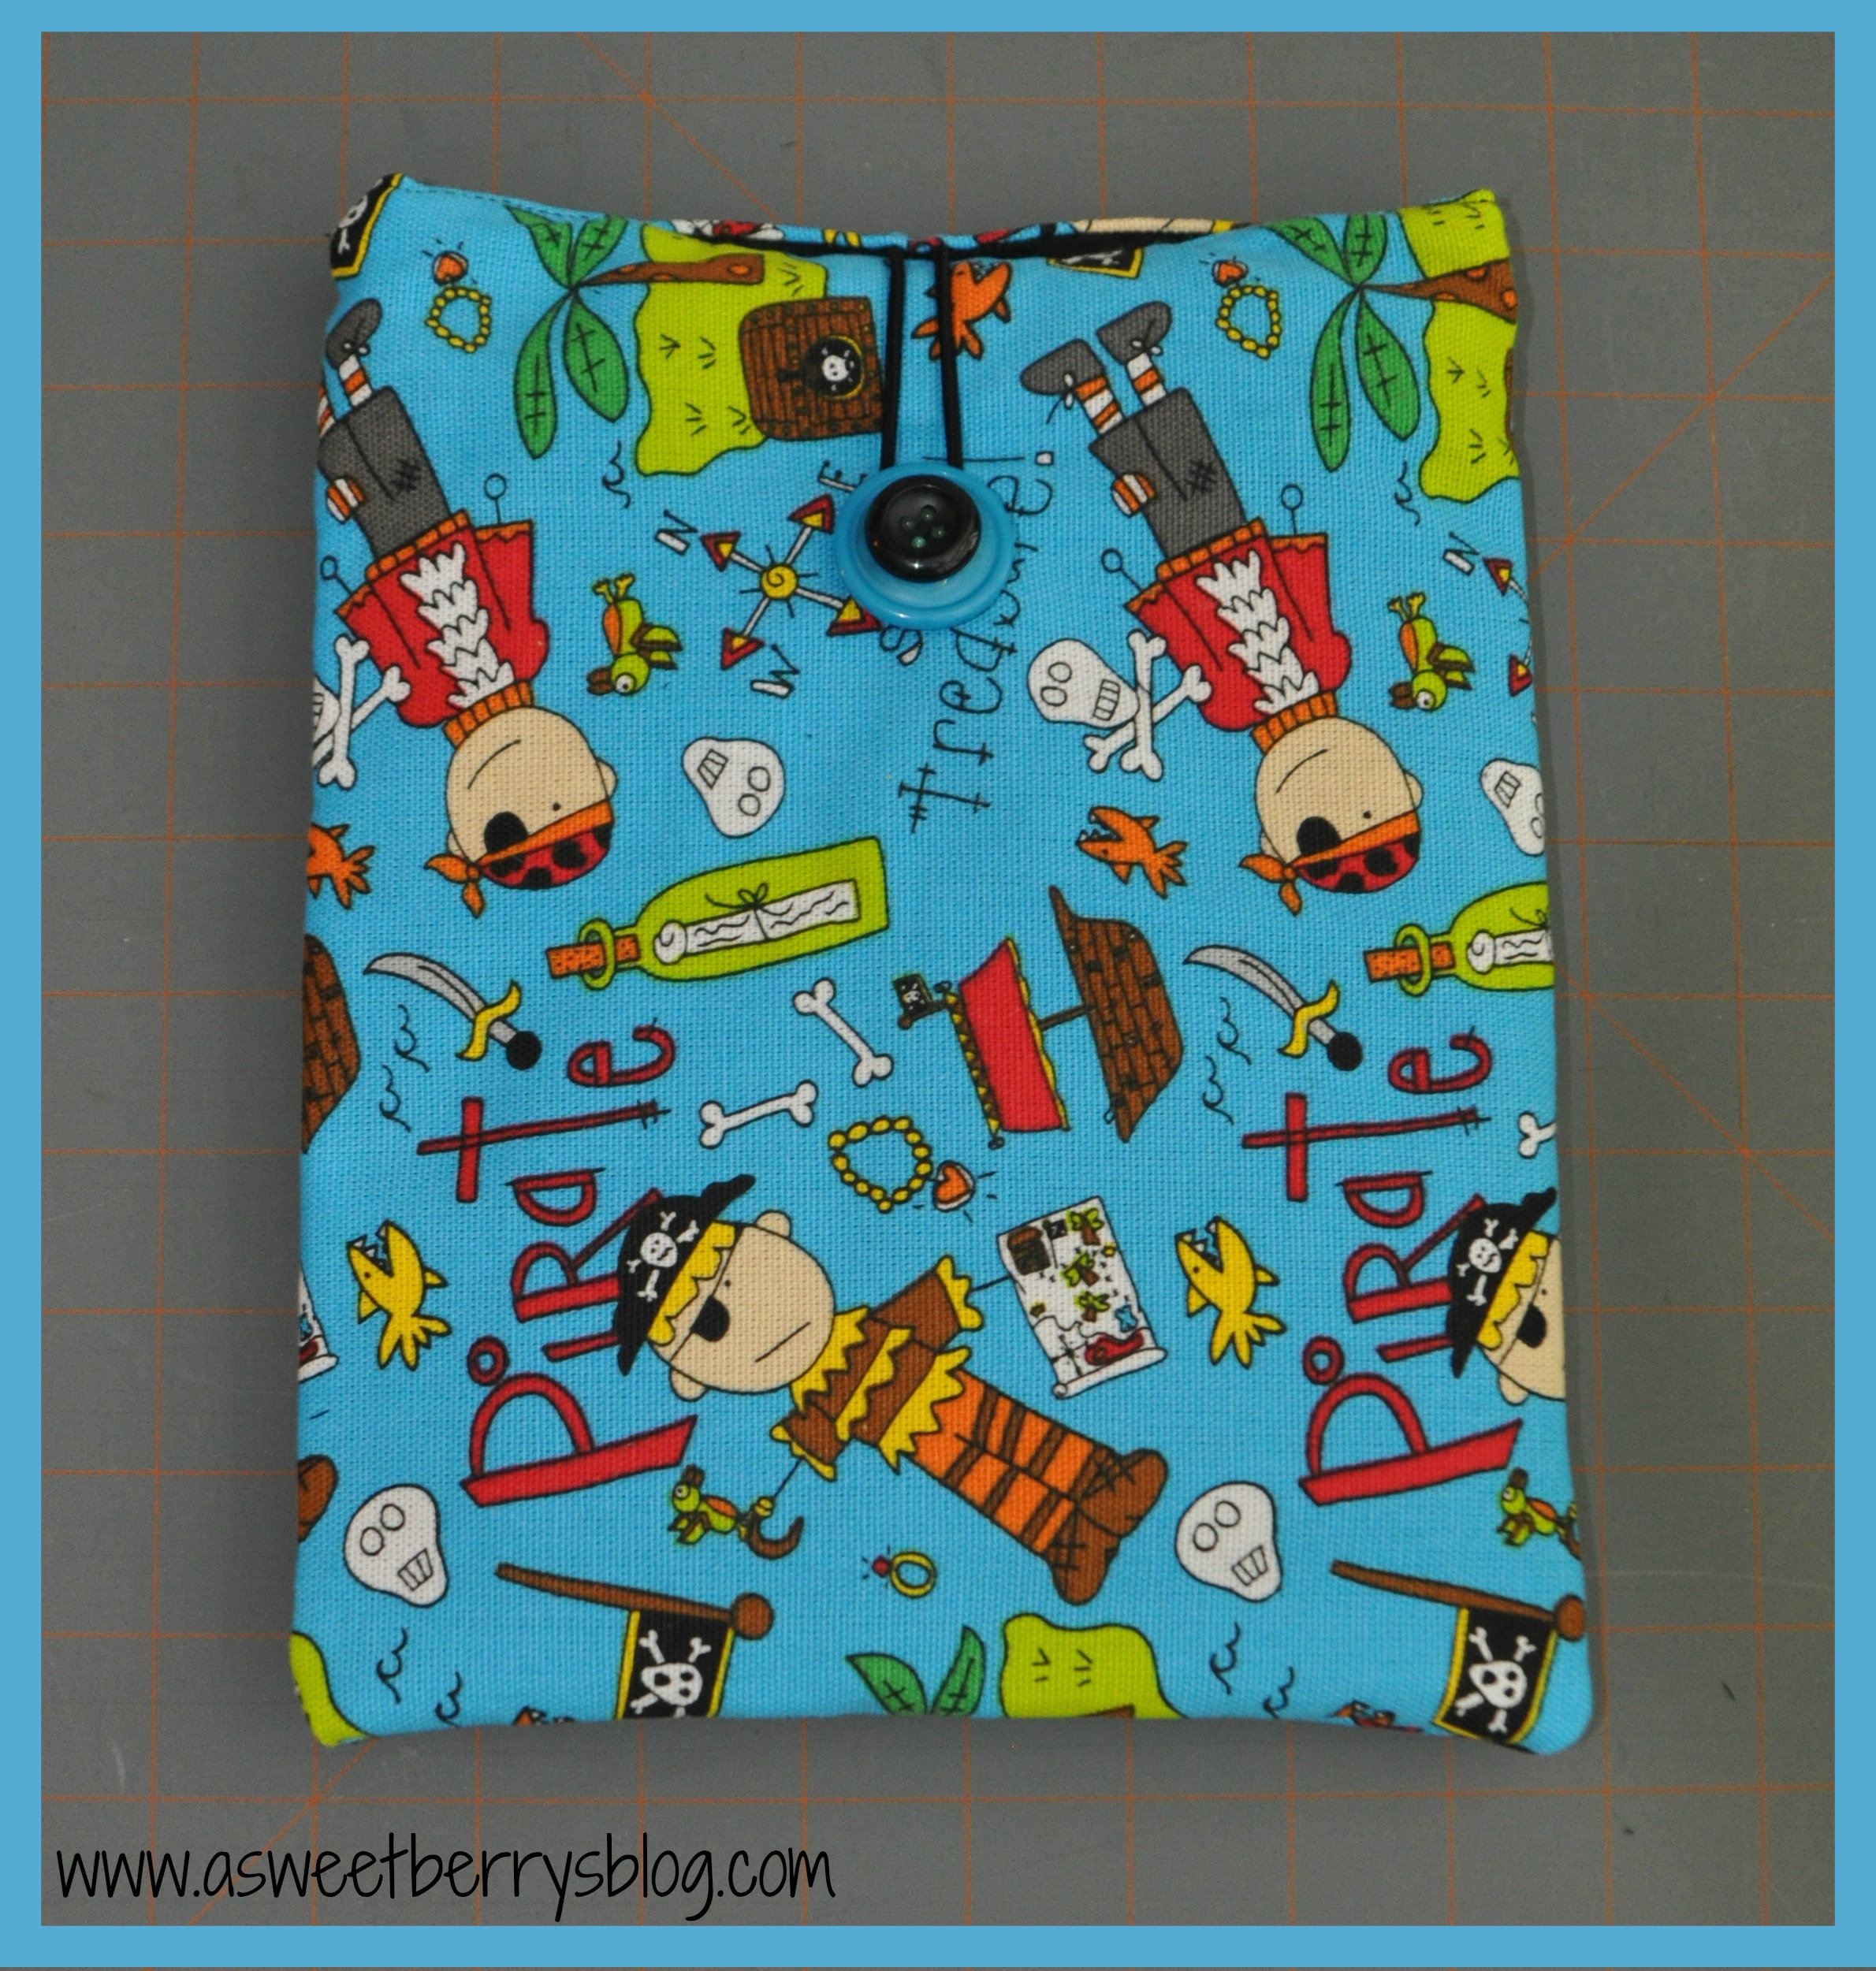
They are a perfect match to the travel activity bags I made for the boys a while back.
Check that out HERE!
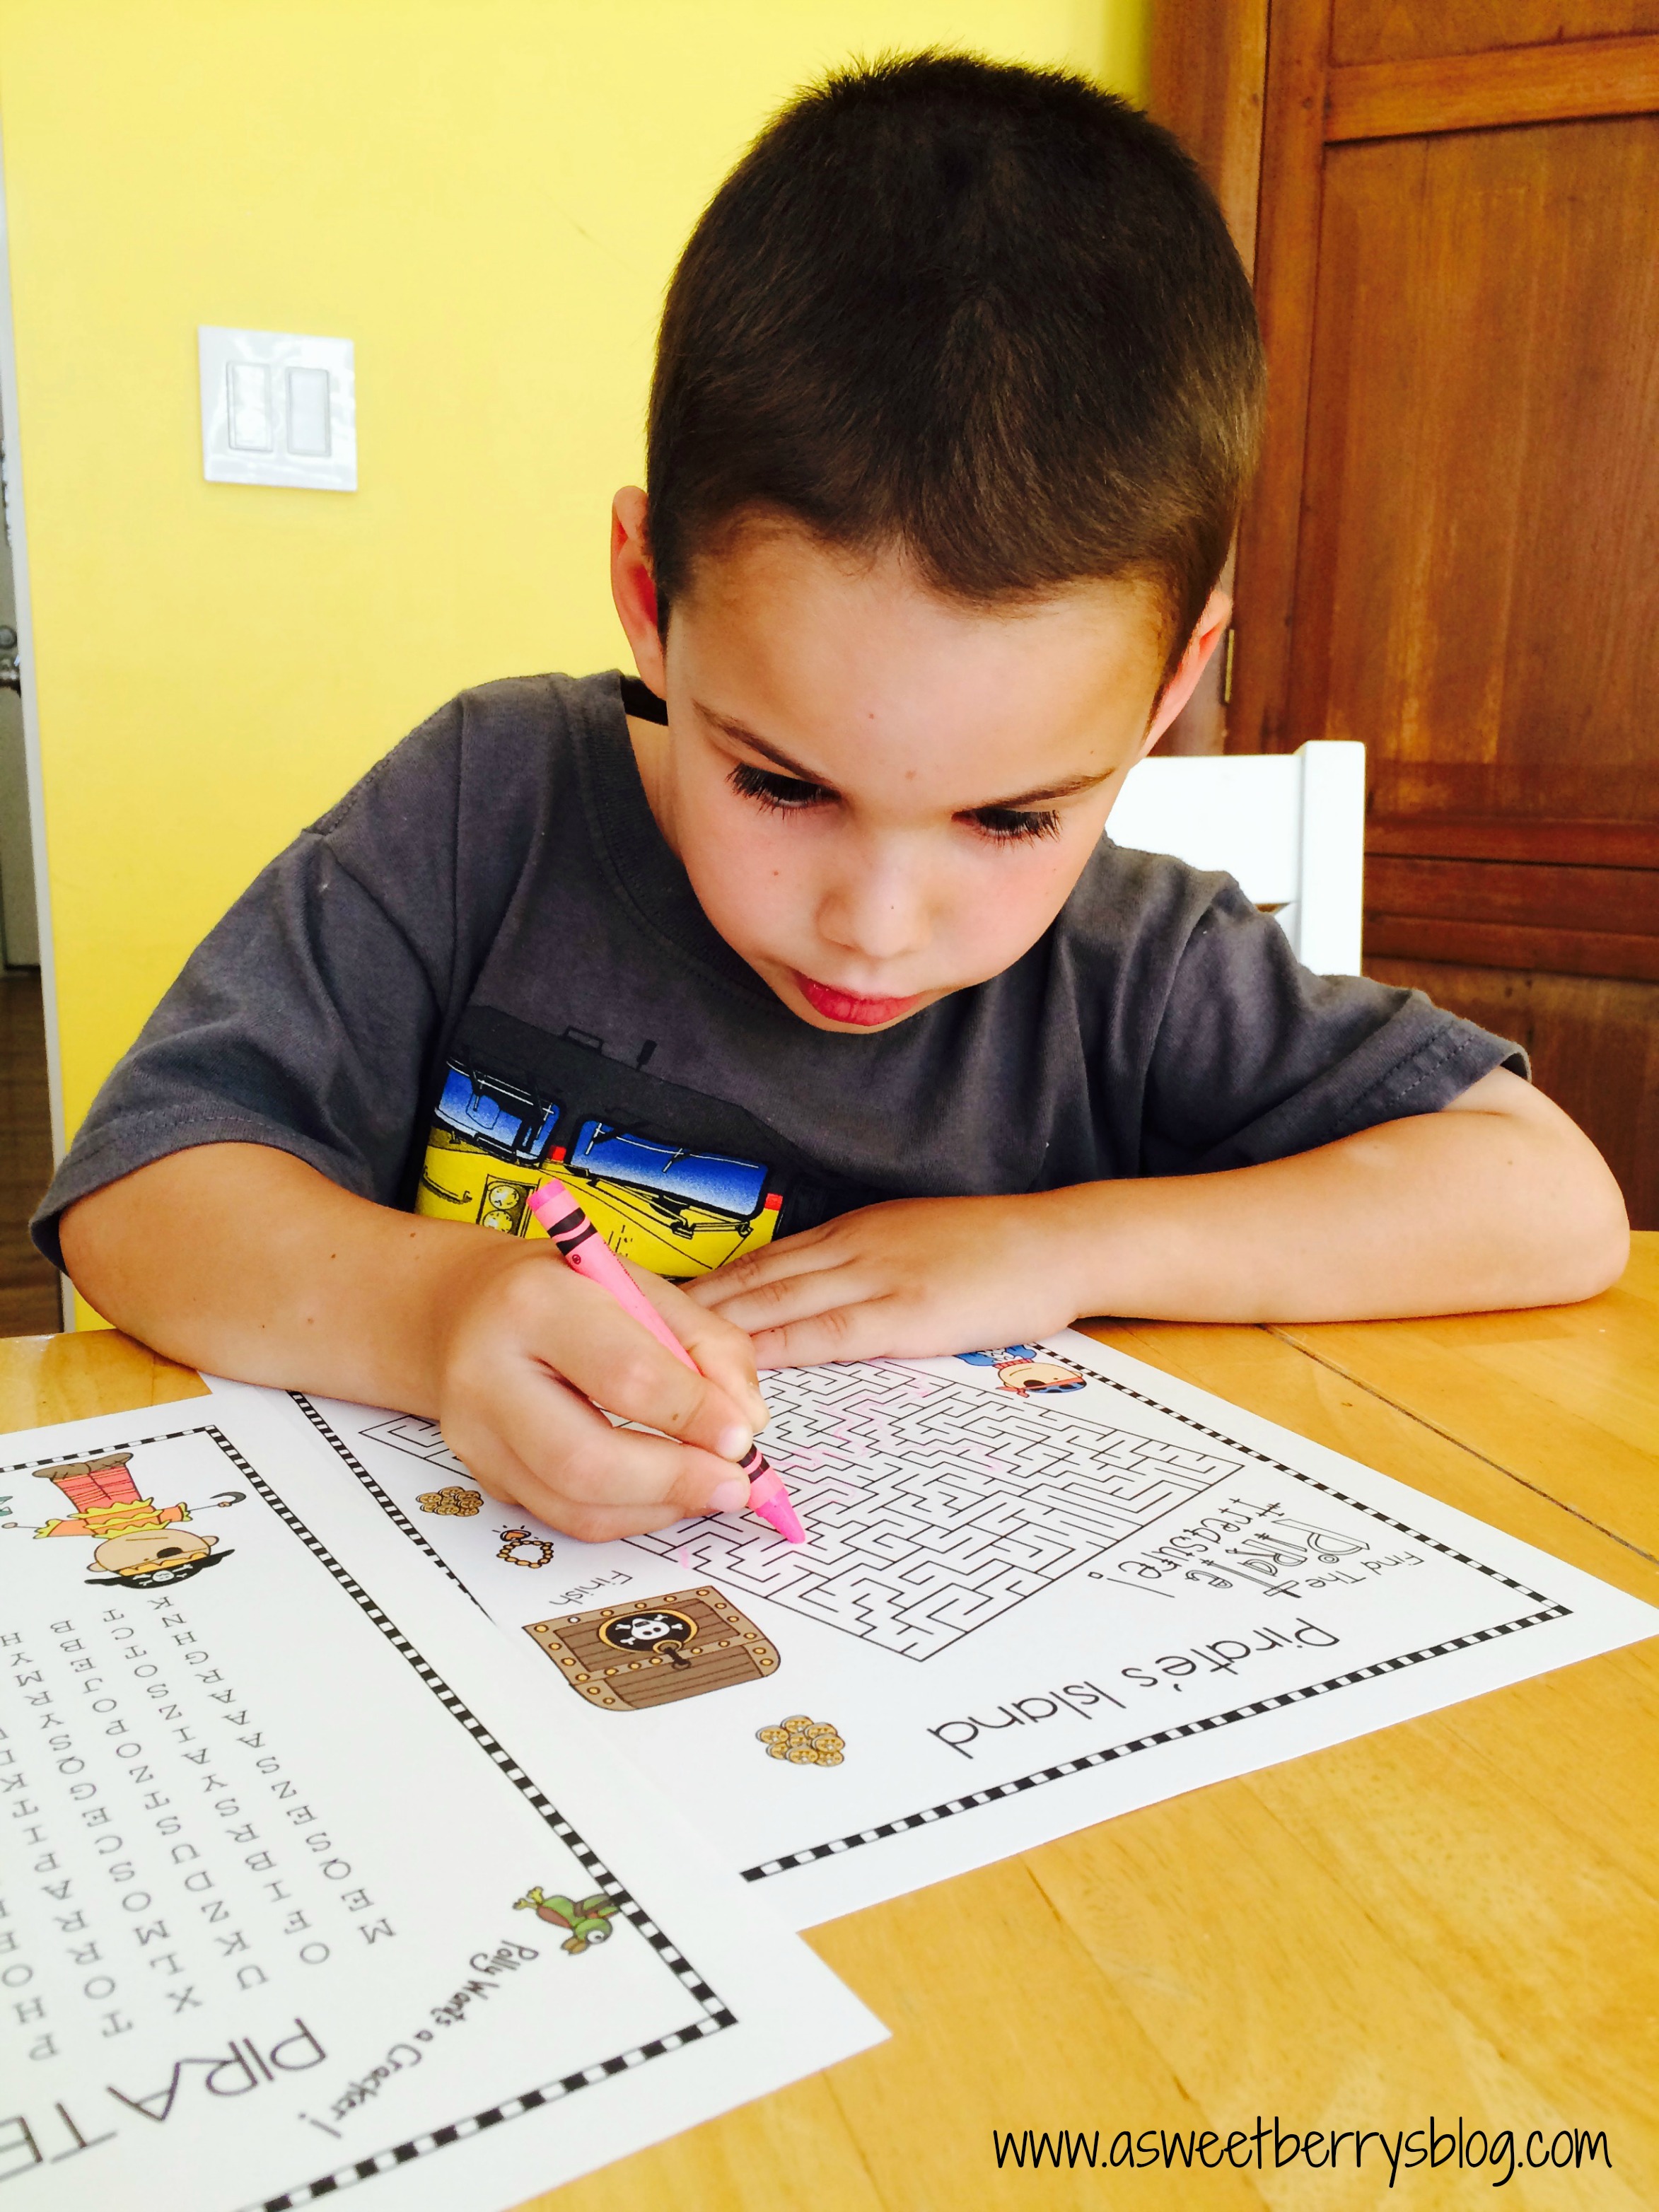
Benjamin saw them and was too excited to wait for the car ride to the beach!
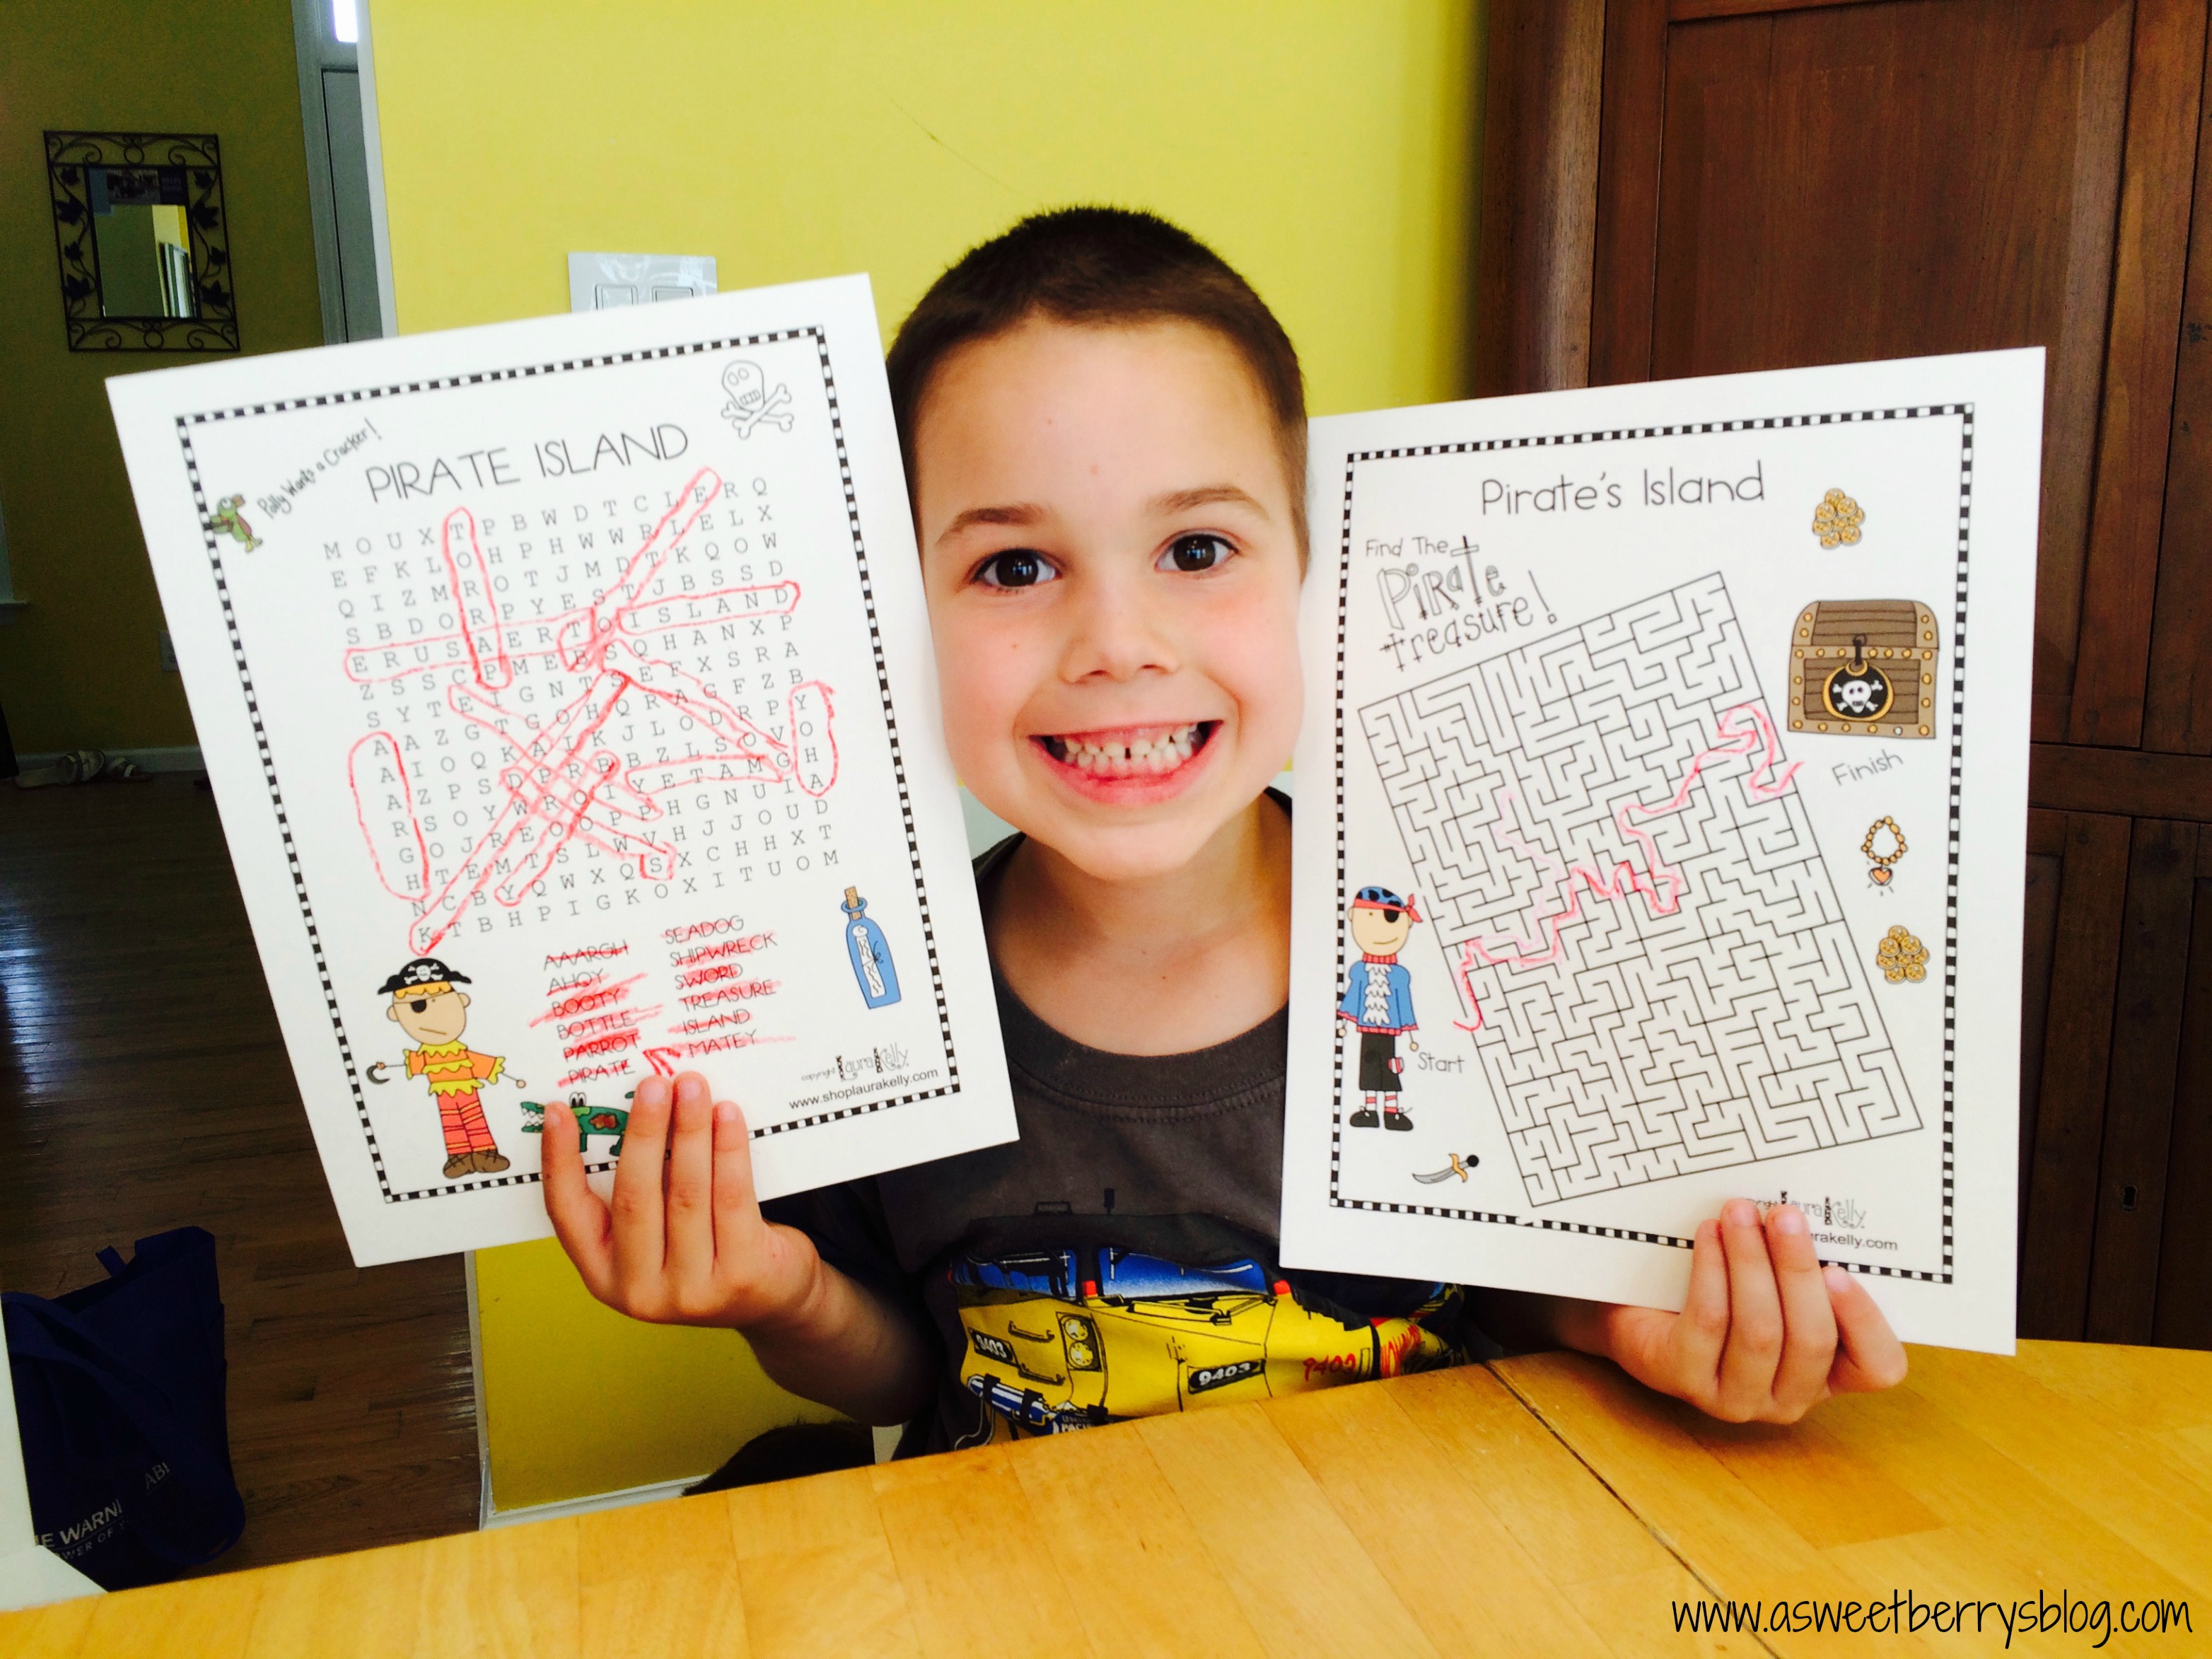
Stay tuned for lots more Shop Laura Kelly printable ideas and fun coming soon.
Until next time……
Shop Laura Kelly – Button and Felt Heart Garland
ShopLauraKelly.com has some of the cutest craft kits put together by one of my best friends, Laura Kelly! One of my favorite kits in the collection is the Button and Felt Heart Garland!

Laura is very creative and has licenses with several companies! The kits that she has put together come with everything you need to put your projects together!

This particular kit includes felt hearts, ribbon, colorful embroidery floss, buttons and a needle.

Instead of using my ribbon to hold the hearts for the banner, I decided to cut the ribbon into 4 inch strips and glued them together to make a little loop using Aleene’s Fast Grab Tacky Glue. I then glued them to the backs of my hearts.
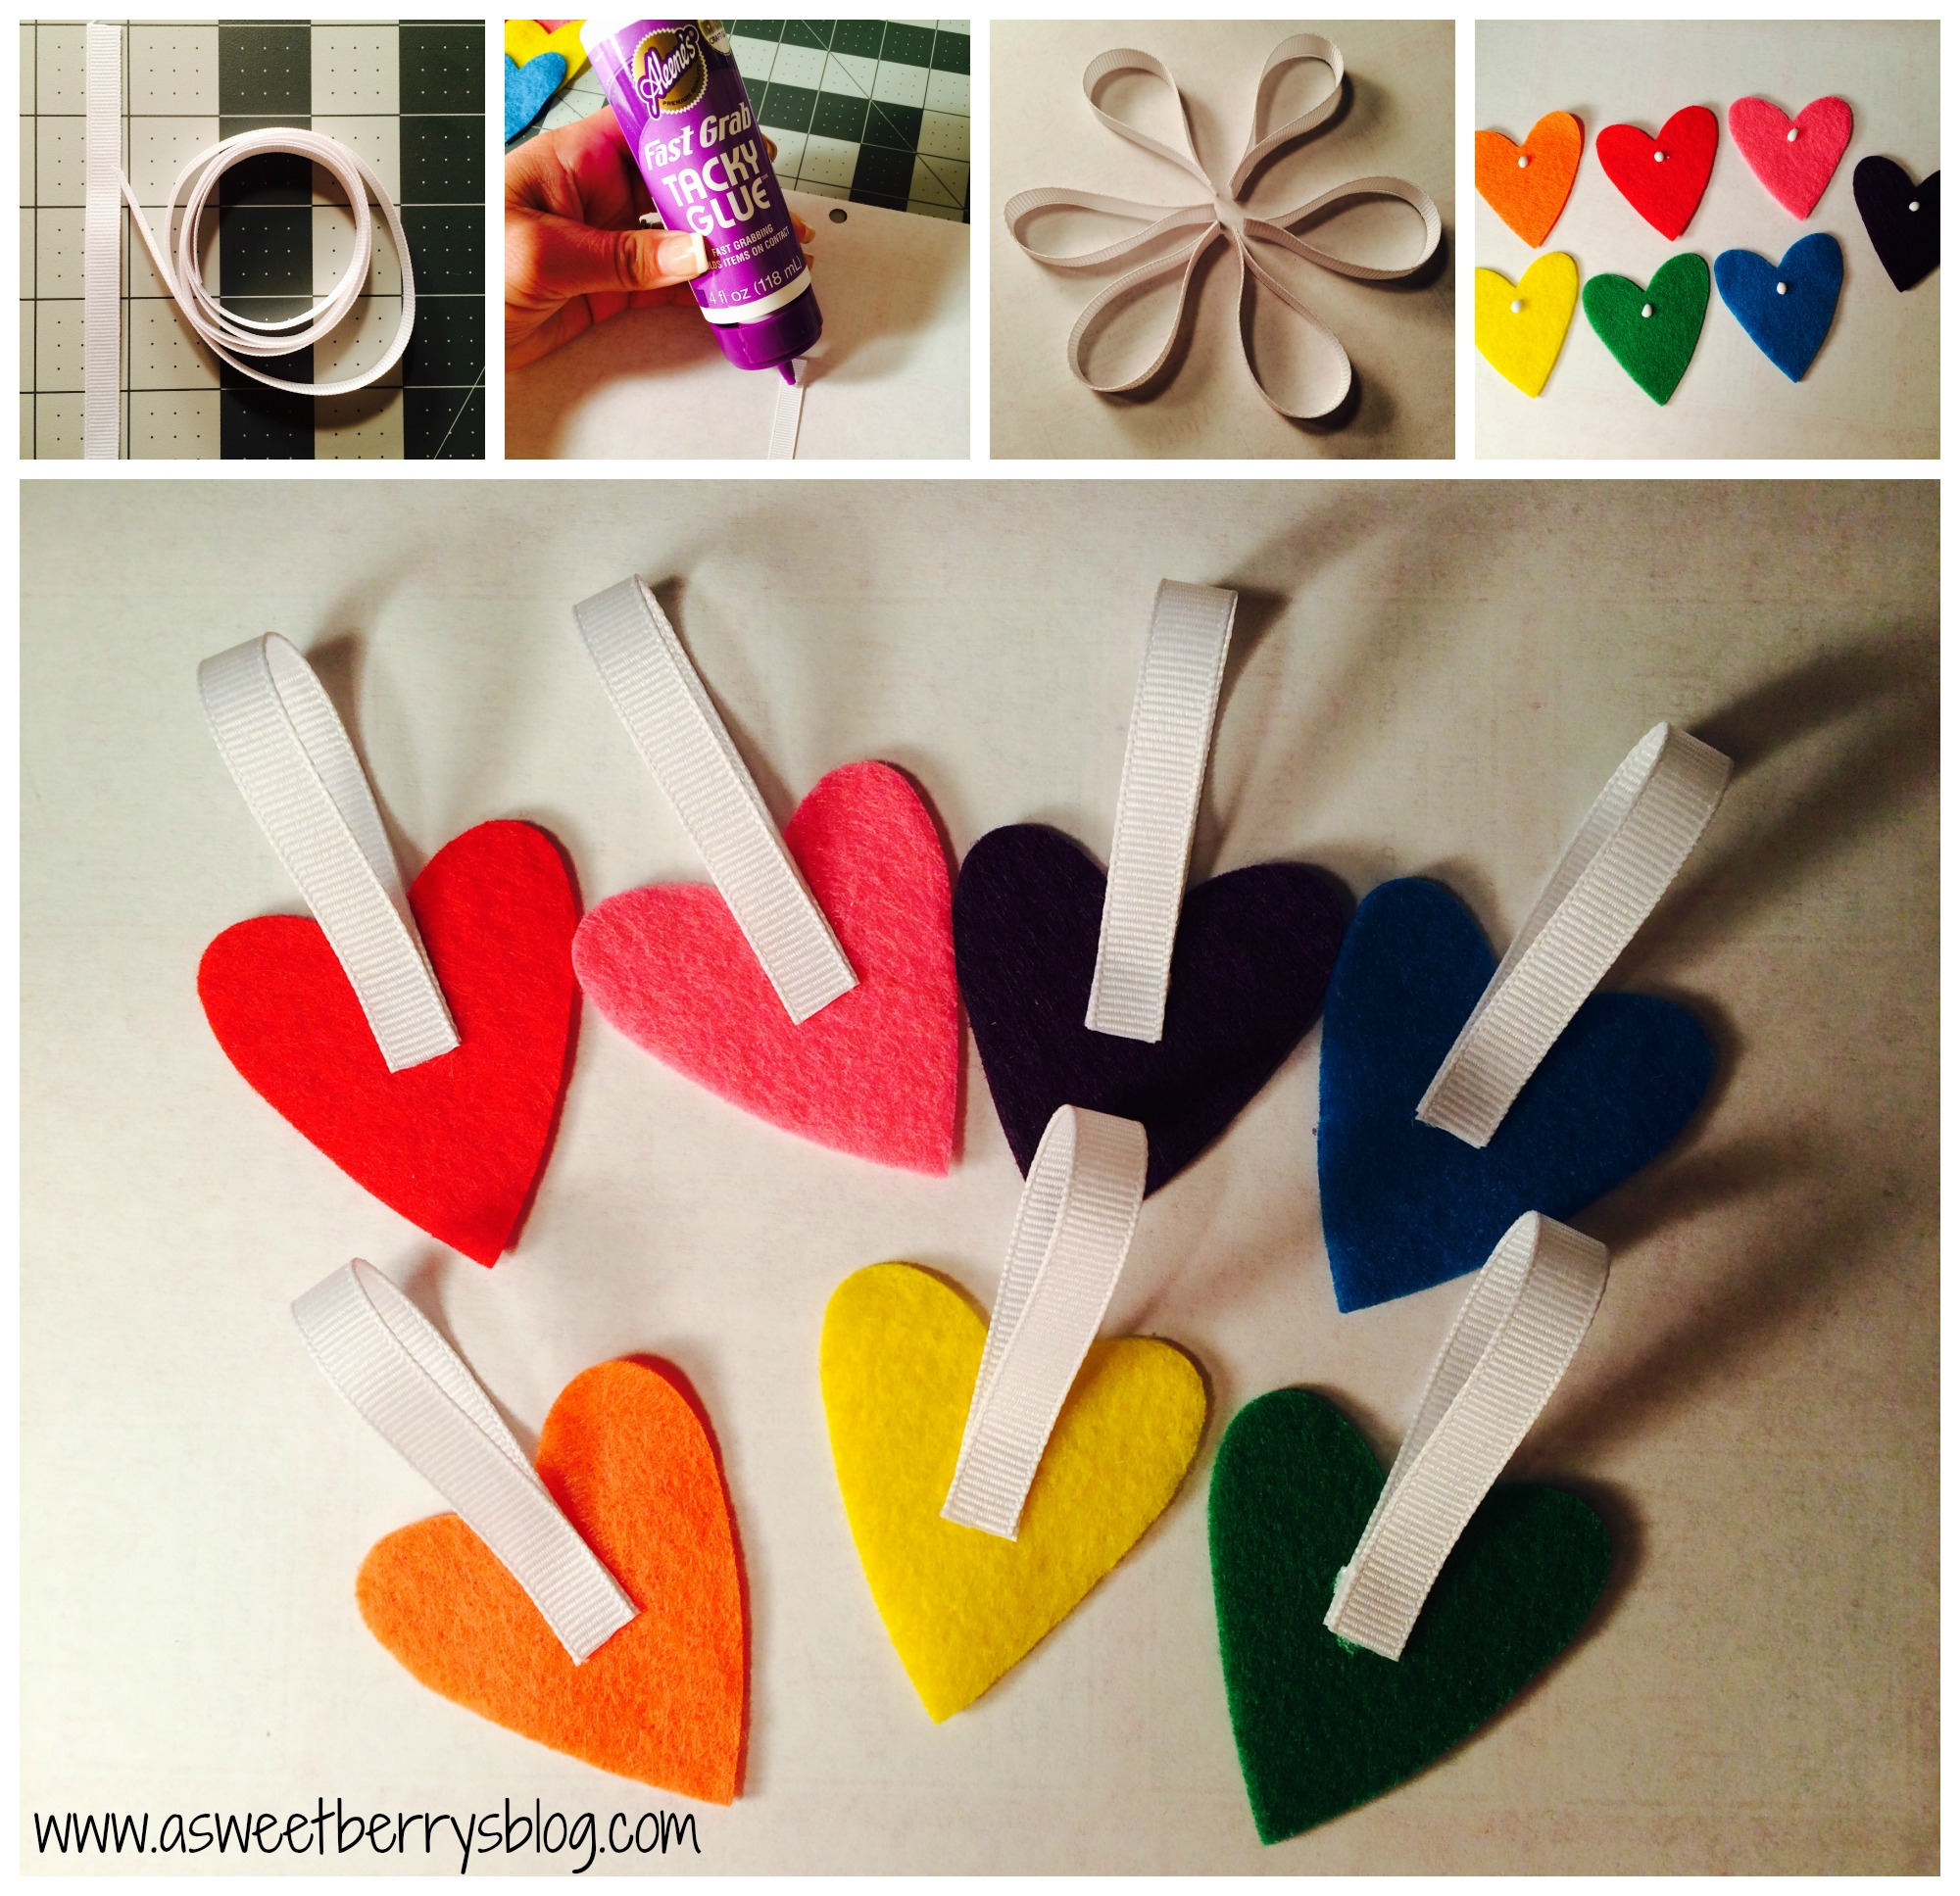
Once they were dried, I turned the hearts over and glued a coordinating color button to the front.

Then, I slid them onto my embroidery floss that I left together to look like a rainbow!

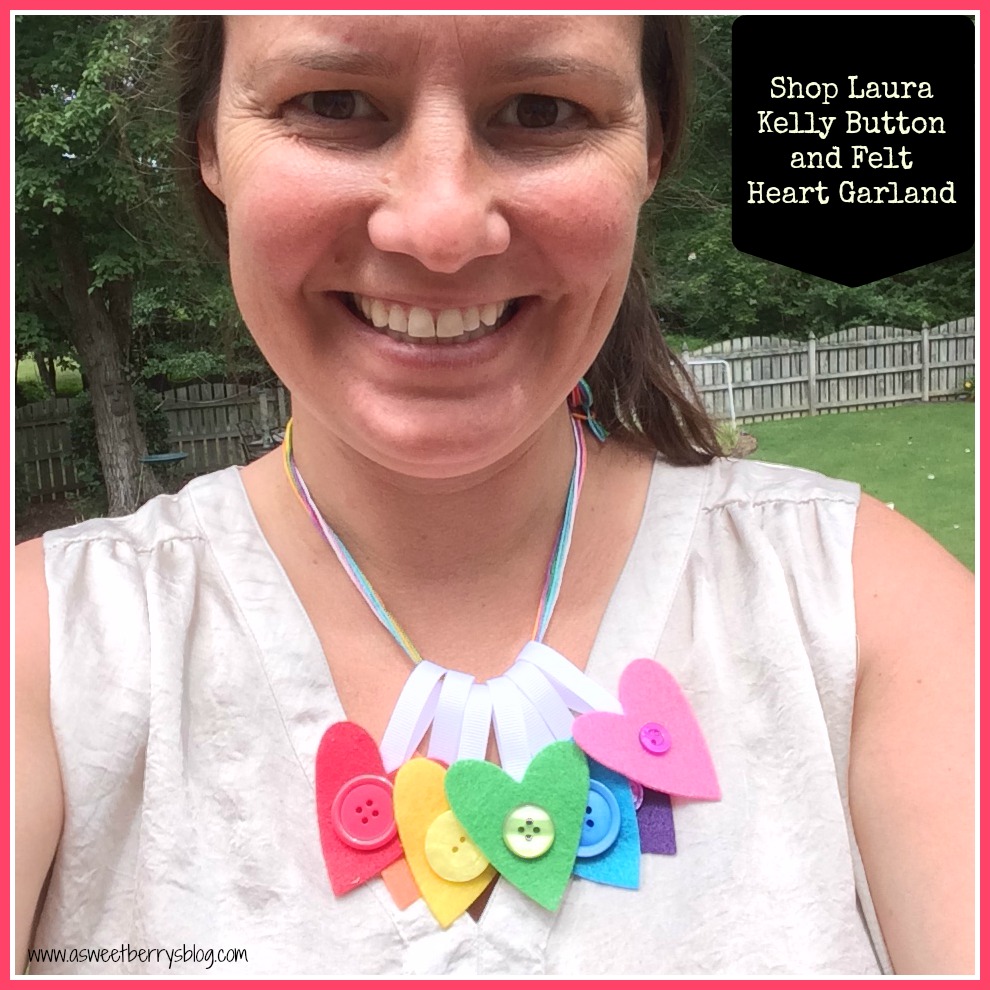
It also makes a great necklace! I love it! So, go on over to ShopLauraKelly.com and check out Laura’s cute little craft kits!
Be sure to click through other great ShopLauraKelly project ideas below:
And enter to win!
a Rafflecopter giveaway
Until next time…….
Easy Fabric Key Fobs
Materials:
Fabric of your choice (colorful and white)
Printable Fabric Transfer
Color Printer
Iron
Key Fob Pieces
Rotary Cutter with Mat and Ruller
Scrap Felt
Sewing Machine with Thread
Pliers
Optional:
Sizzix Eclips 2 or other electronic cutting machine
Gift Tag SVG file
Ribbon
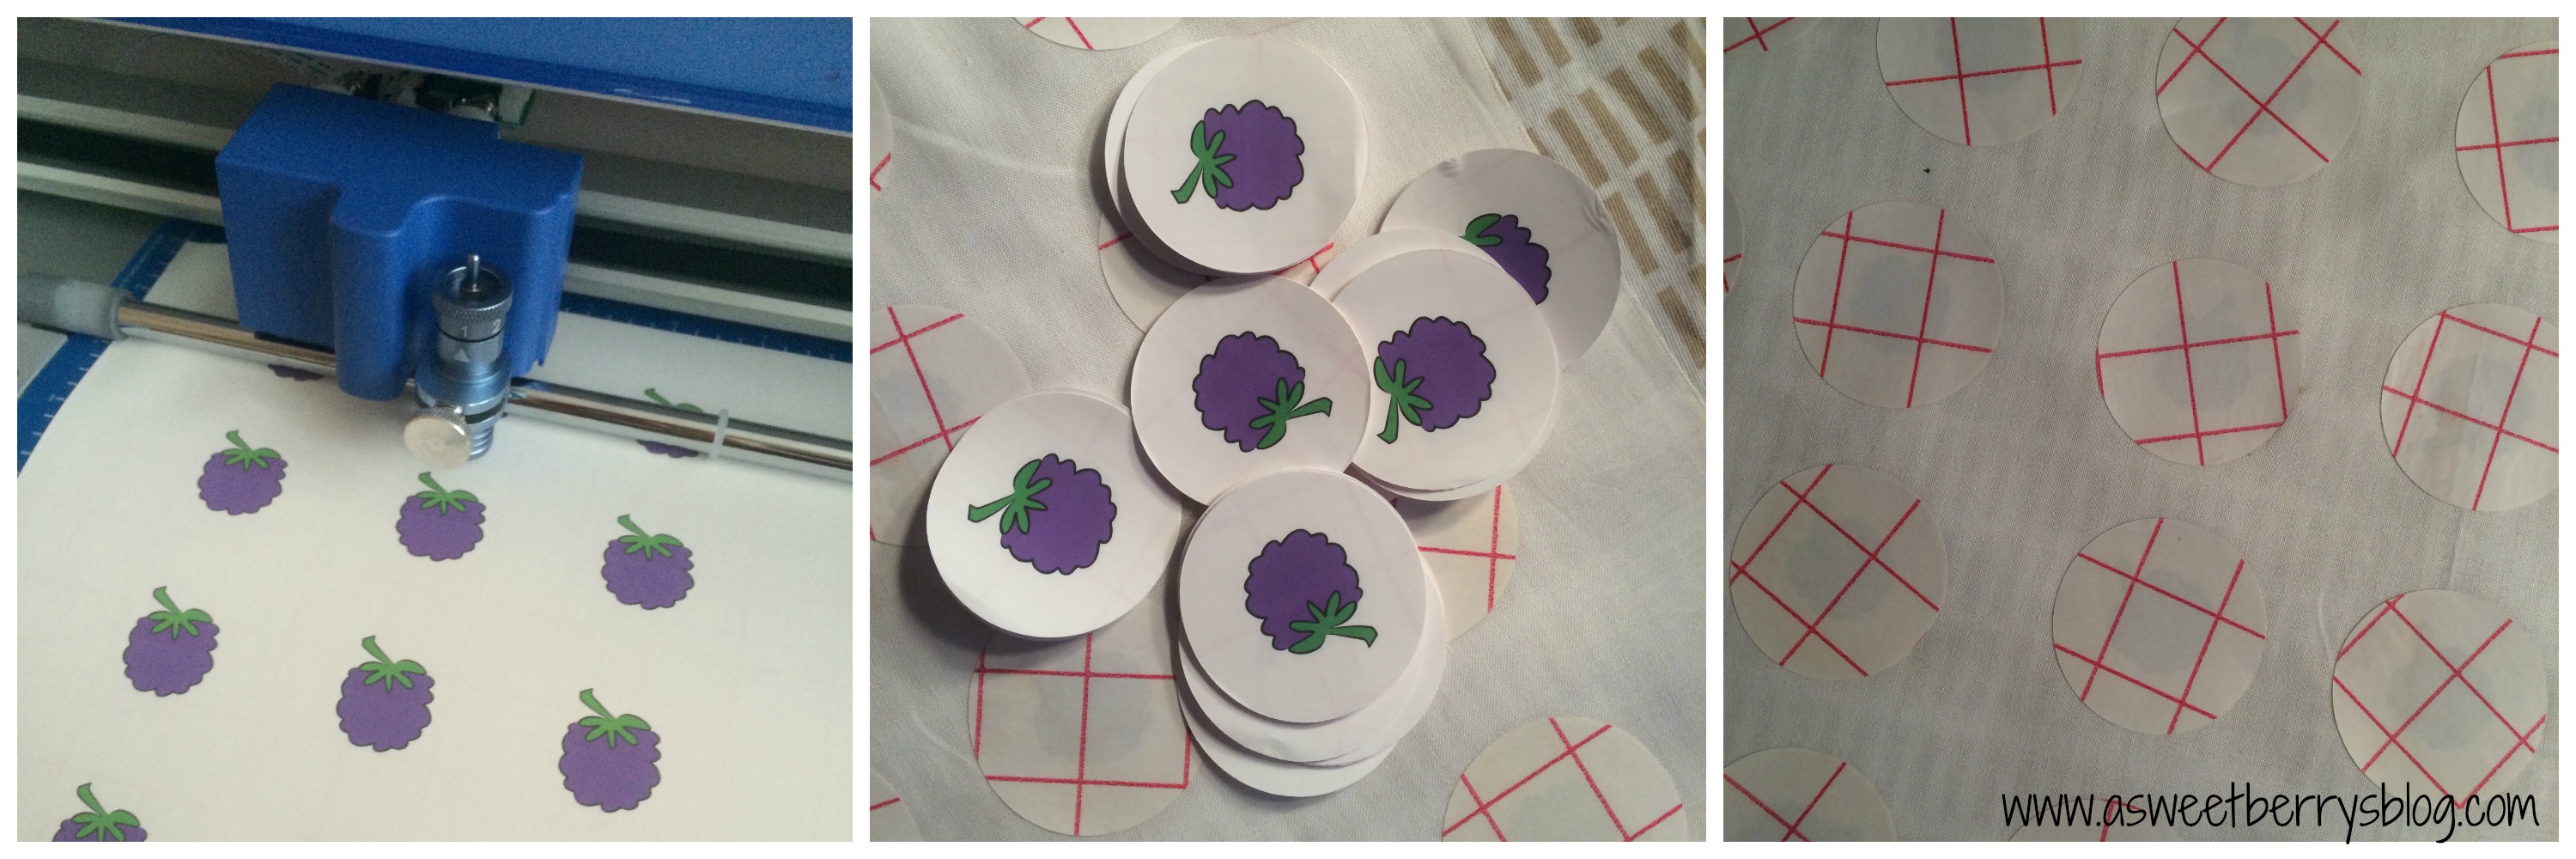
I started by printing my A Sweet Berry Designs berry logo on printable transfer paper and using the Sizzix Eclips2 to cut them out. I was originally going to do circle keychains, so I cut our circles but ended up cutting them into more of a rectangle/square shape! After they were printed and cut out, I laid them print side down onto my white fabric and ironed them with my iron set to the setting recommended on the transfer directions.
Then it was time to cut my fabric! JoAnn Fabrics was having a Fat Quarter sale, so I purchased a variety of purples and greens. I kept the fabric folded and cut a rectangle to my preferred size using my rotary cutter and ruler. For the felt that I was going to place into the middle to give it a little fullness, I cut just a little smaller than the fabric cut out so that it was not visible once they were sewn in. Once everything was cut, I placed the felt into the middle.

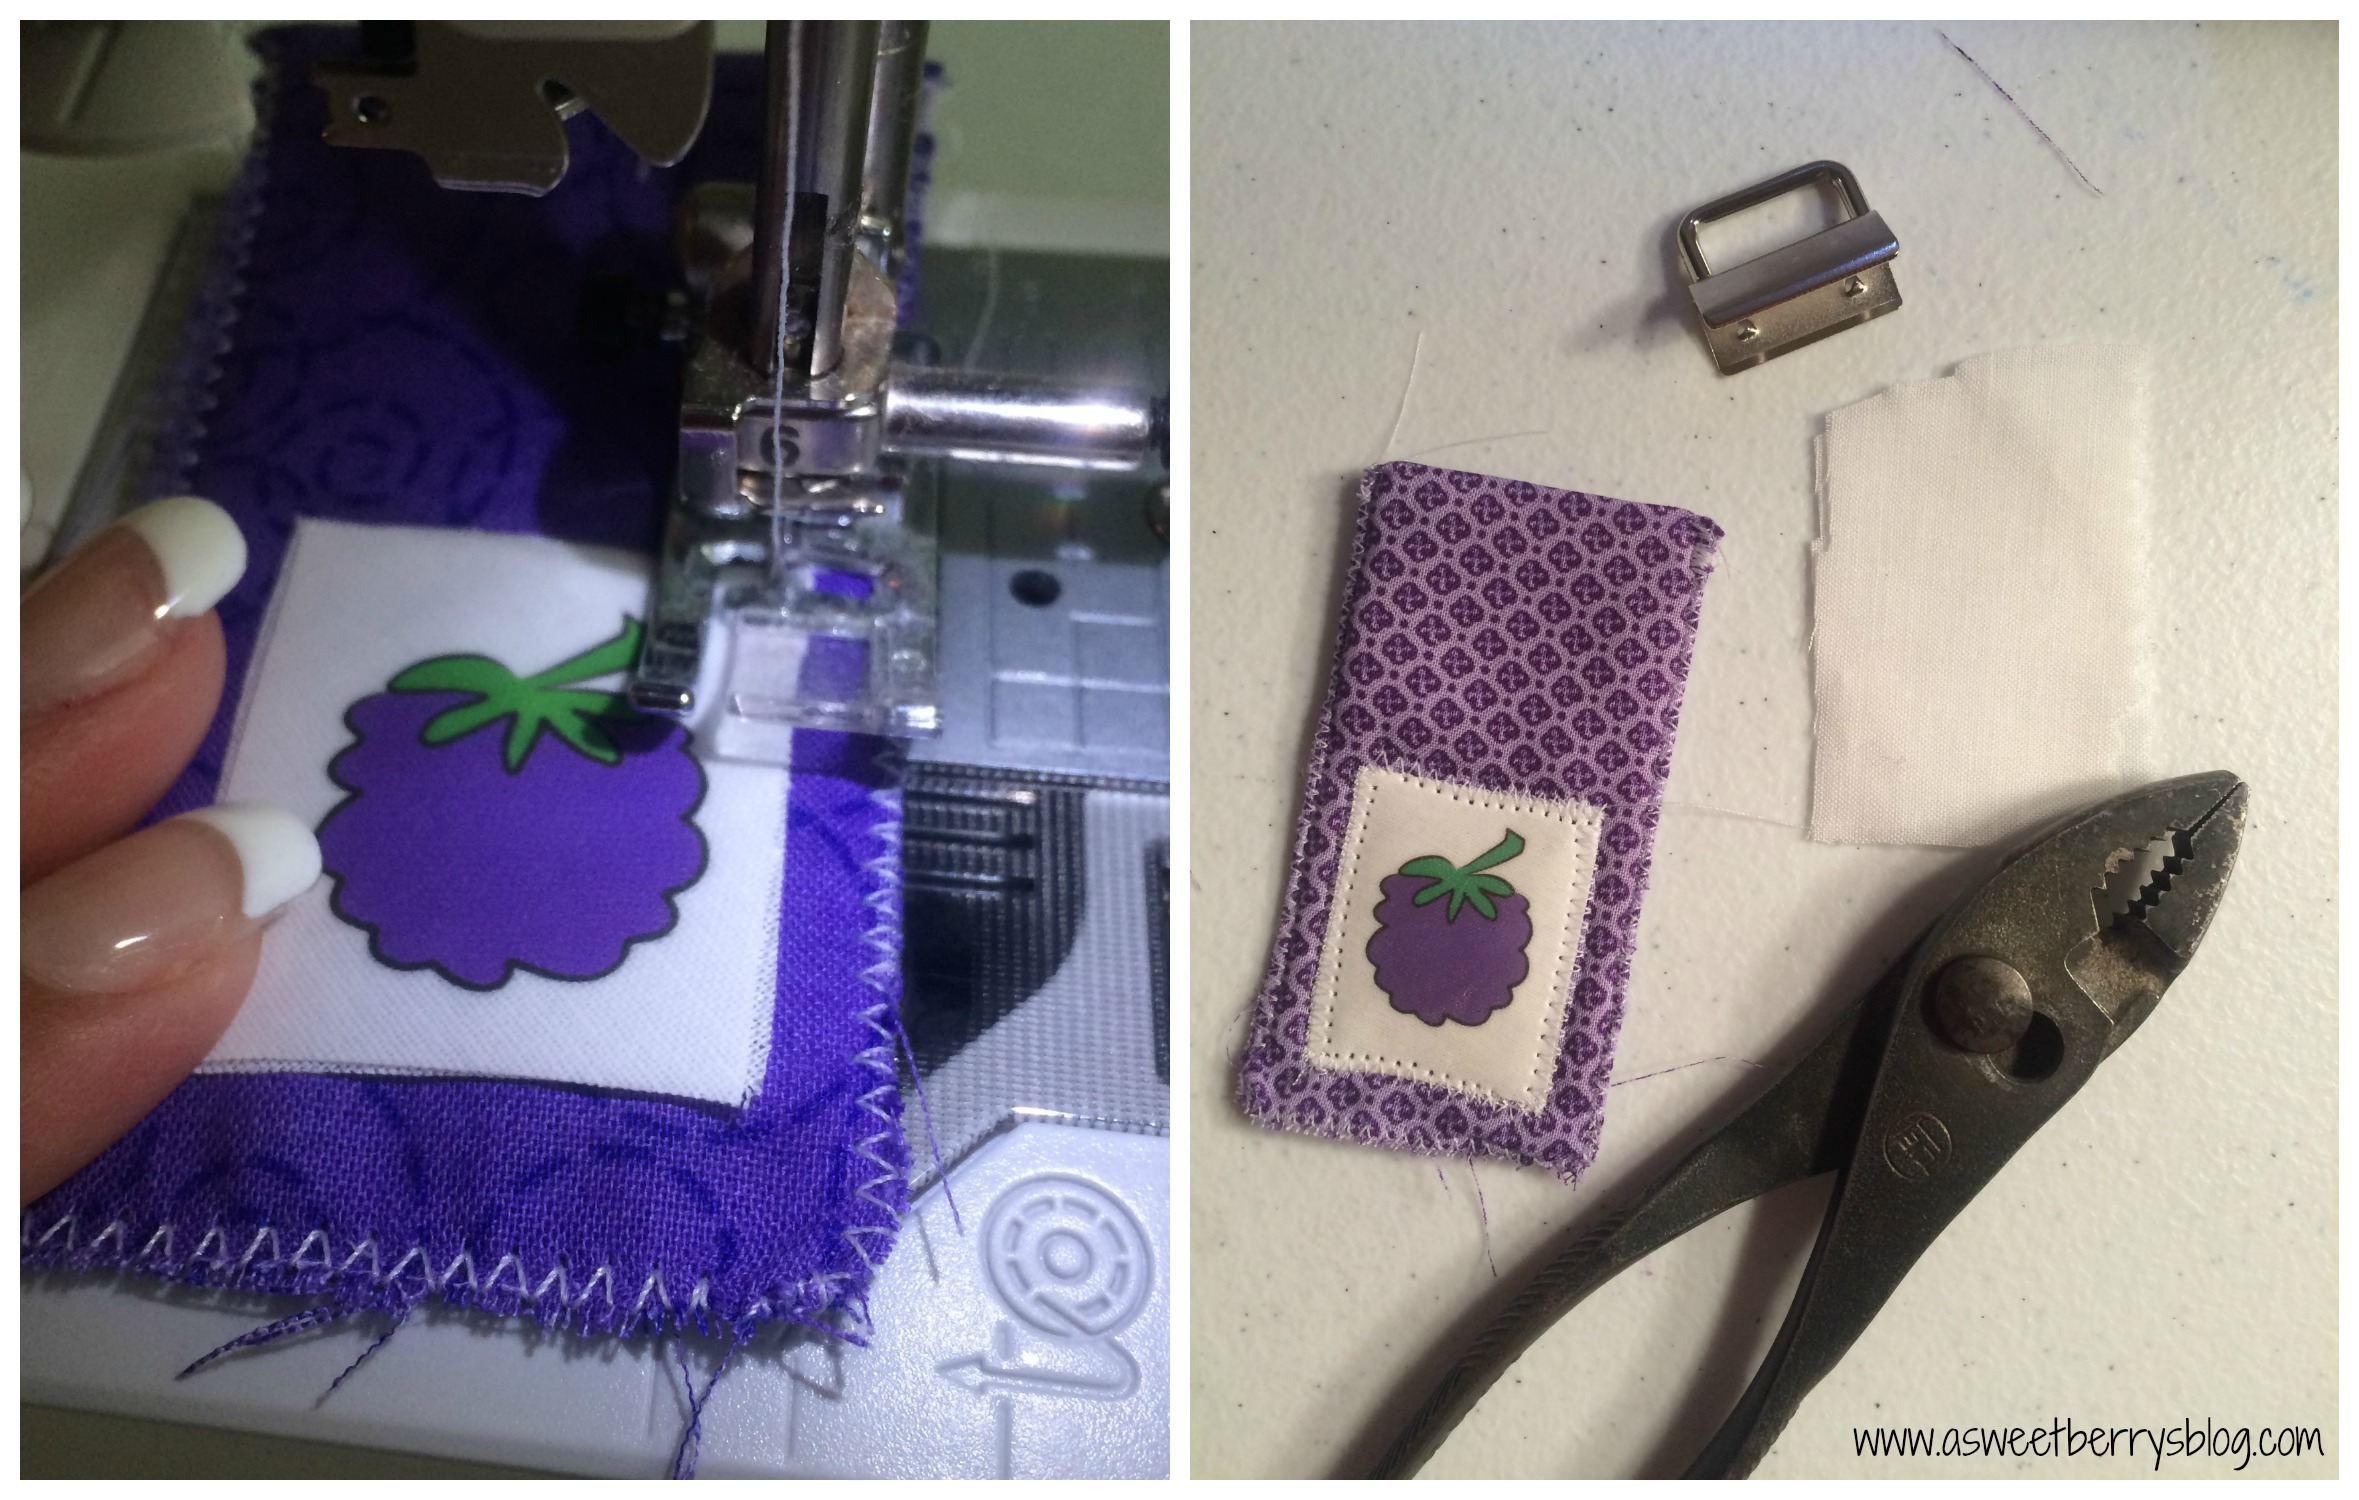
Then it was time to sew them up. I used a zigzag stitch and sewed the three sides closed. Once they were all sewn closed, I placed the berry logo where I wanted it and stitched it in place, also using the zigzag stitch. Then it was time to place the key fob hardware clamp onto the sewn fabric. I put them on the side that was folded. I didn’t want flier marks on my hardware, so I used a scrap piece of fabric to place over the hardware while clamping it together, making sure that the spikes within the clamp went into the fabric. I had just had my nails done, so my lovely husband was nice enough to add all of the split rings to my hardware clamps for me!
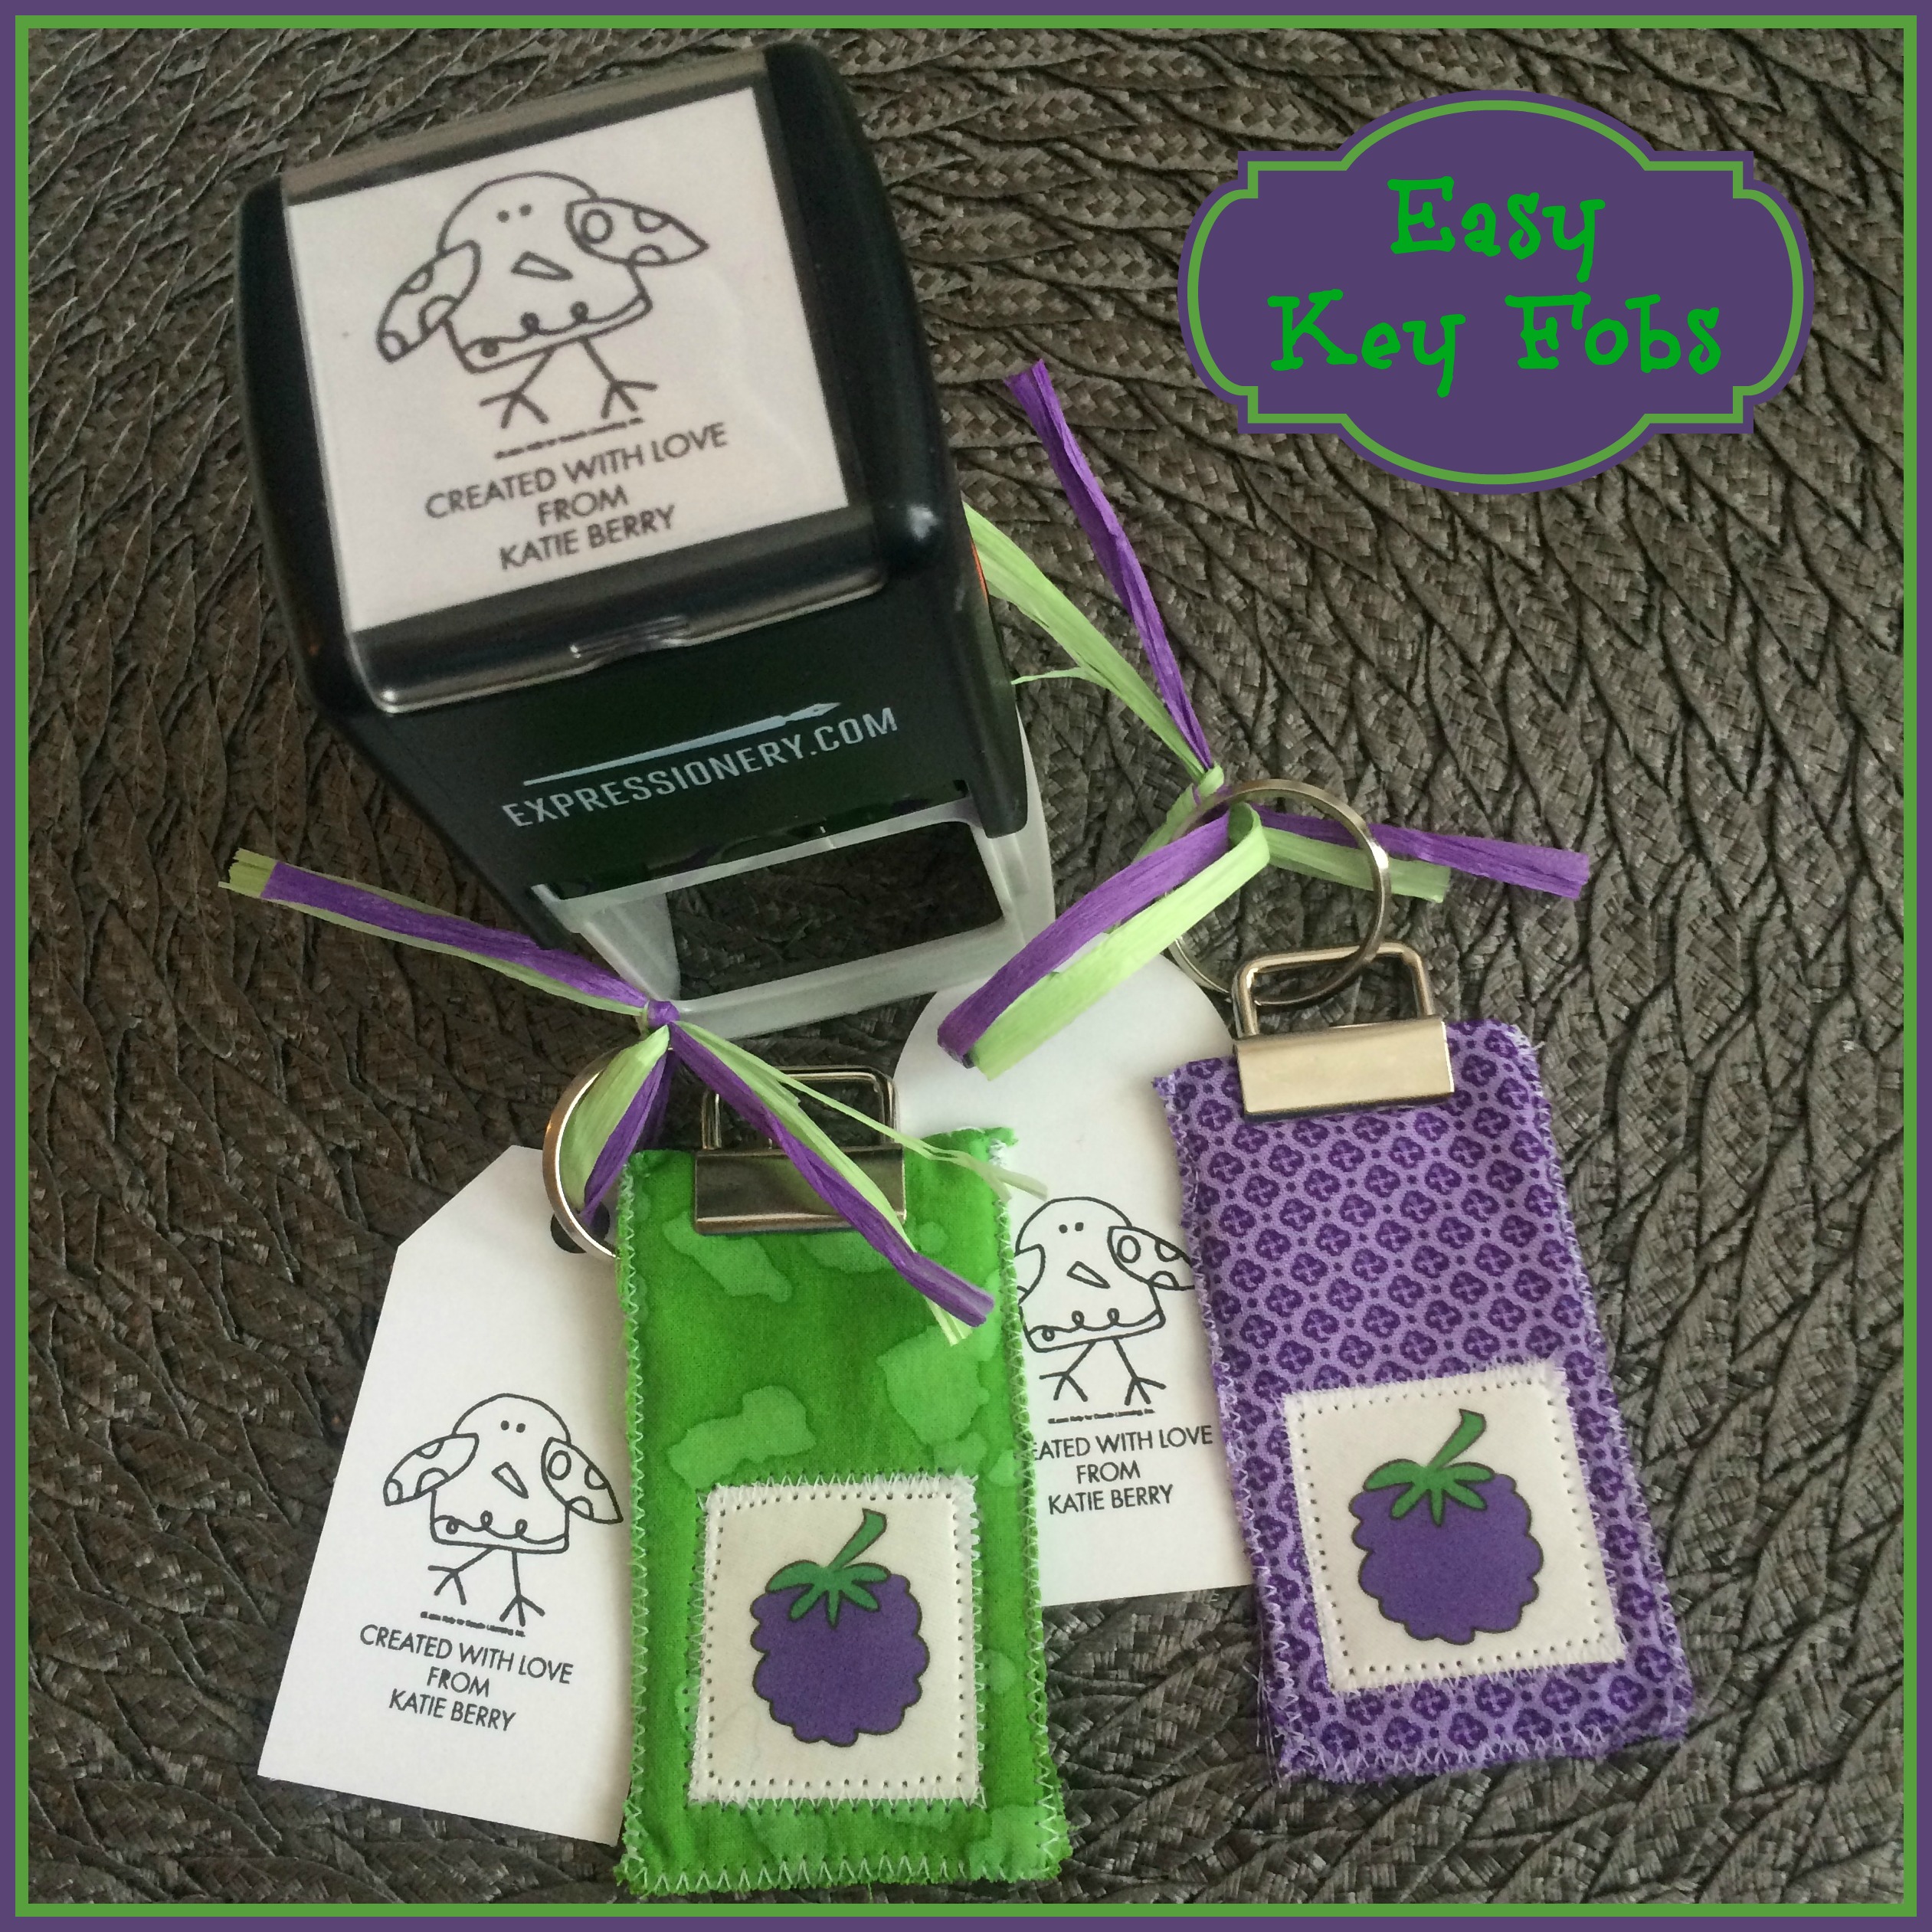
Voila! They were done! I wanted to add cute little tags to mine, so I cut gift tags using my Sizzix Eclips 2. Using my personalized stamp from Laura Kelly for Expressionery.com, I stamped my tag. My stamp says “Created with Love From Katie Berry”.
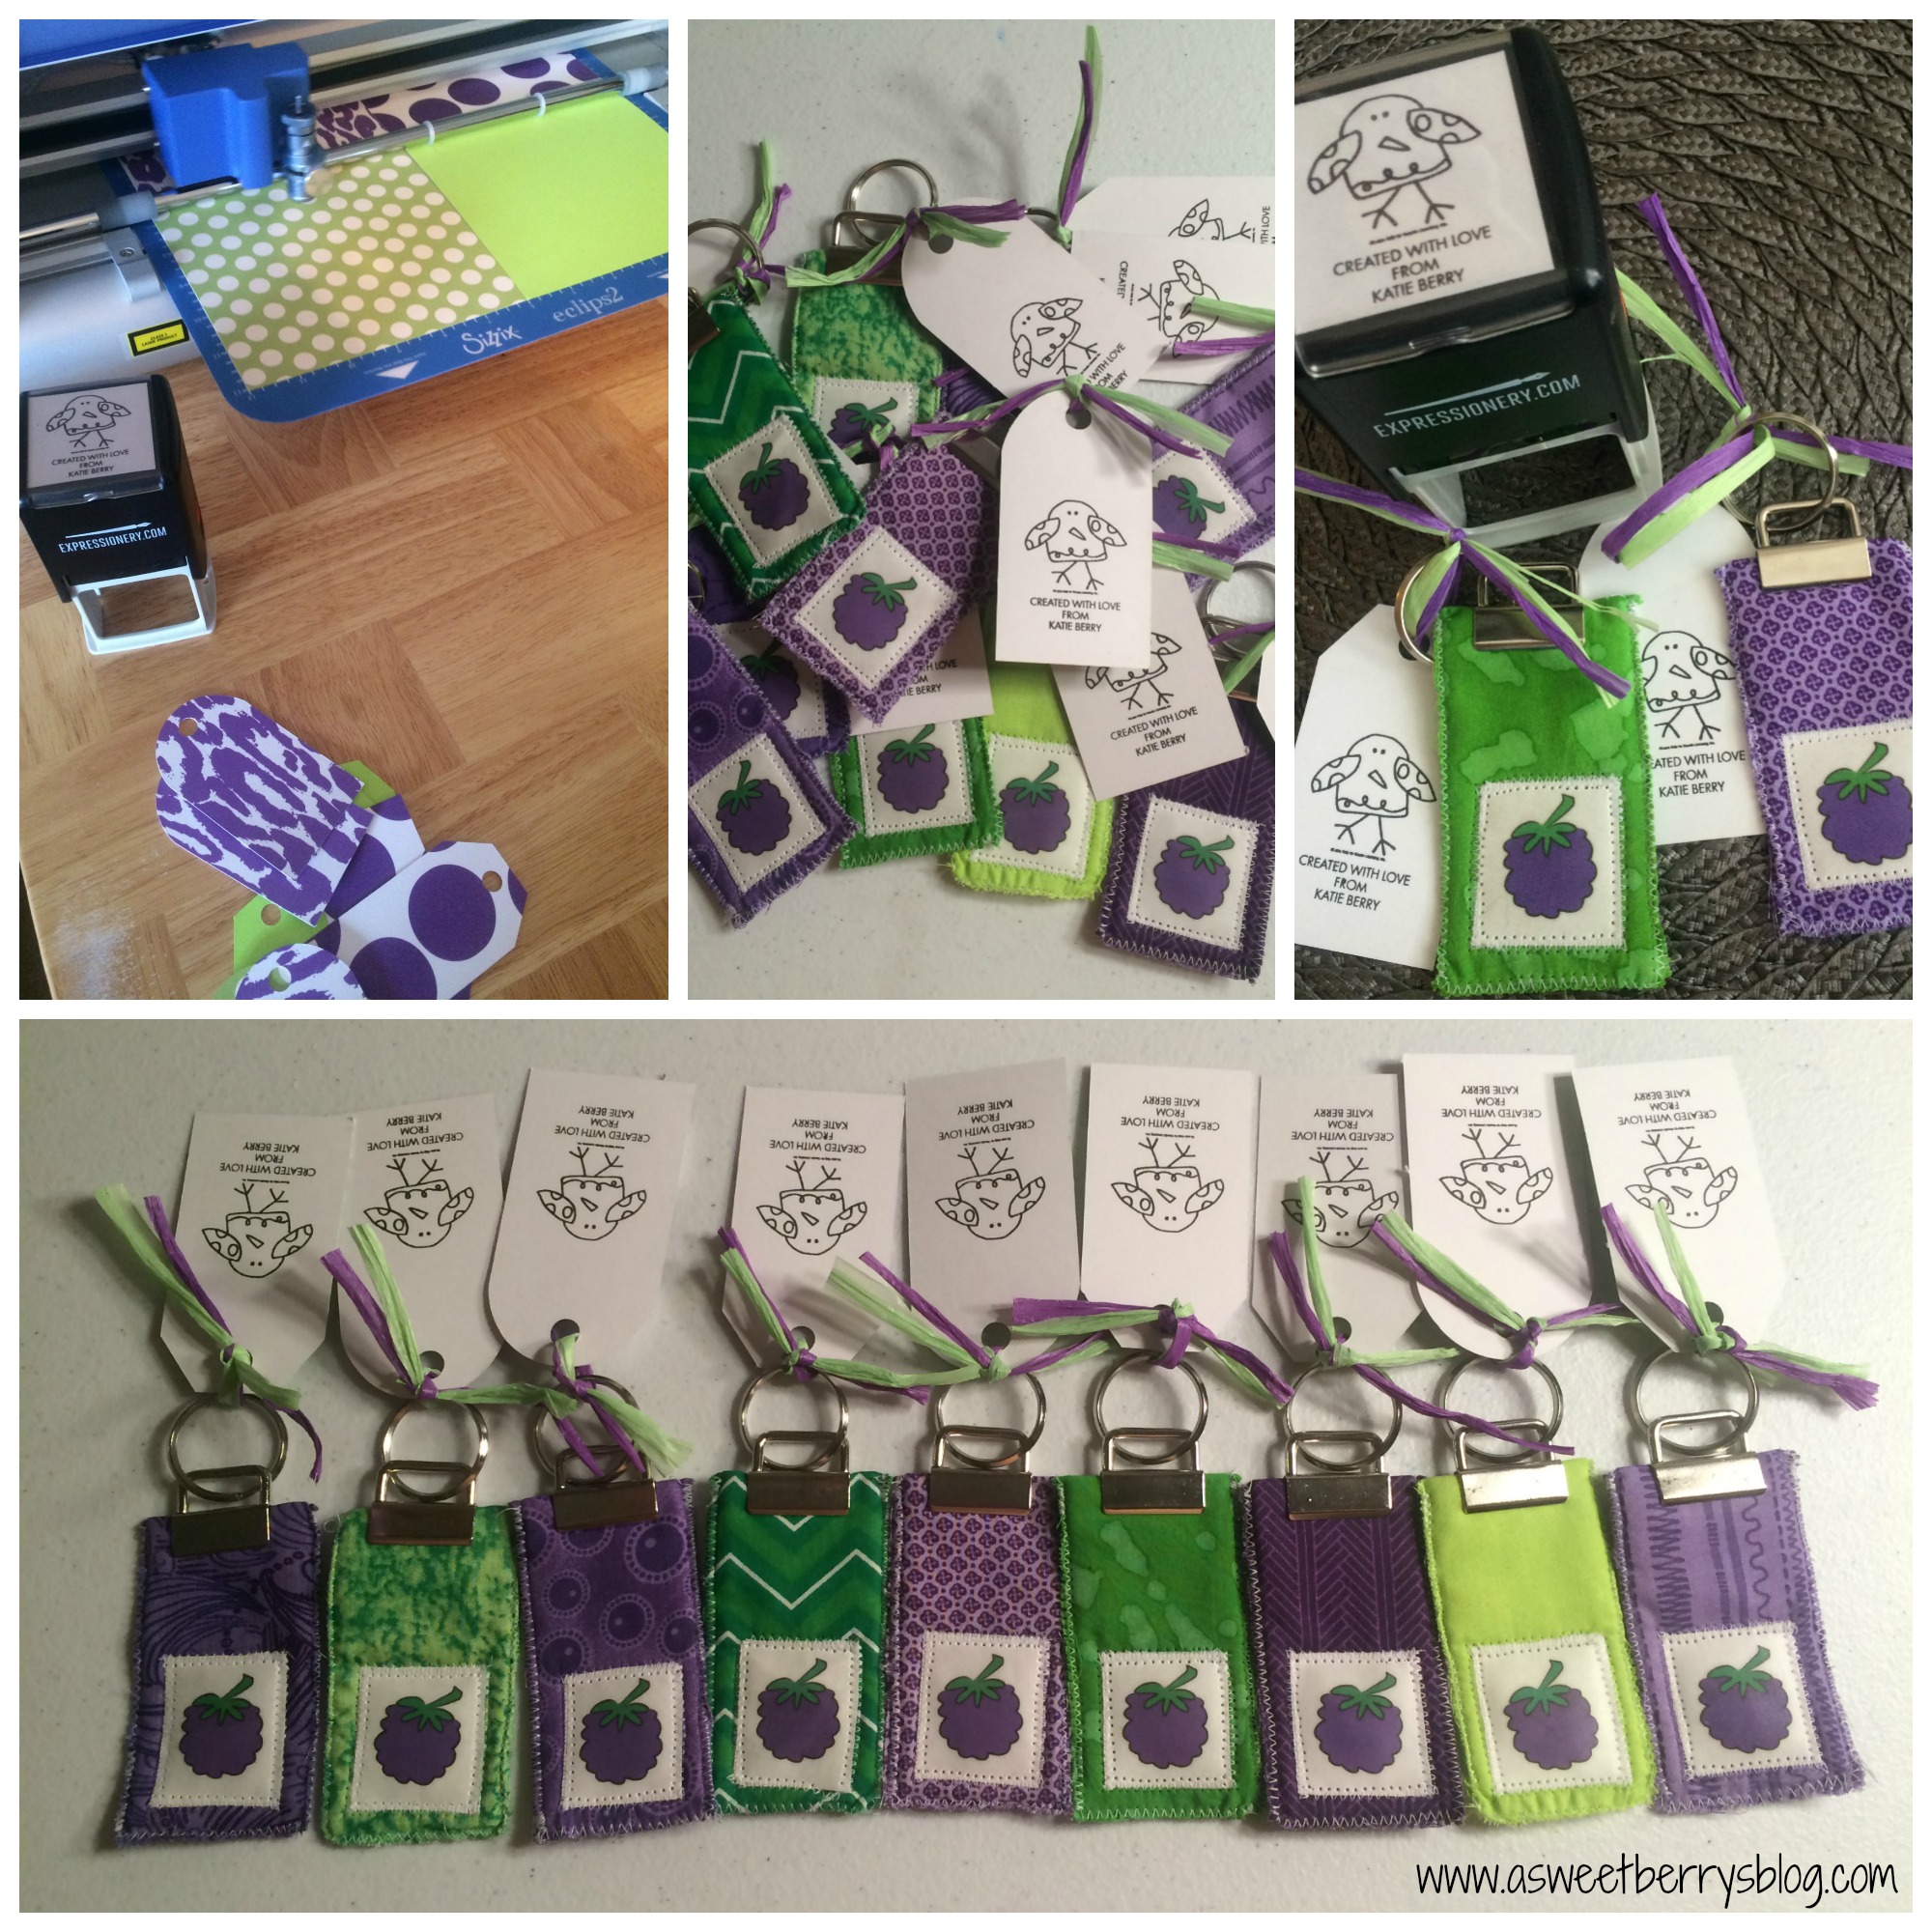
I hope you like my Fabric Key Fobs! They were super easy to make! I made them to go with my business cards for SNAP! Conference and they were a hit! I still have a few left, so if you’d like one, just let me know!
Until next time……
Simple Lemon Sugar Scrub
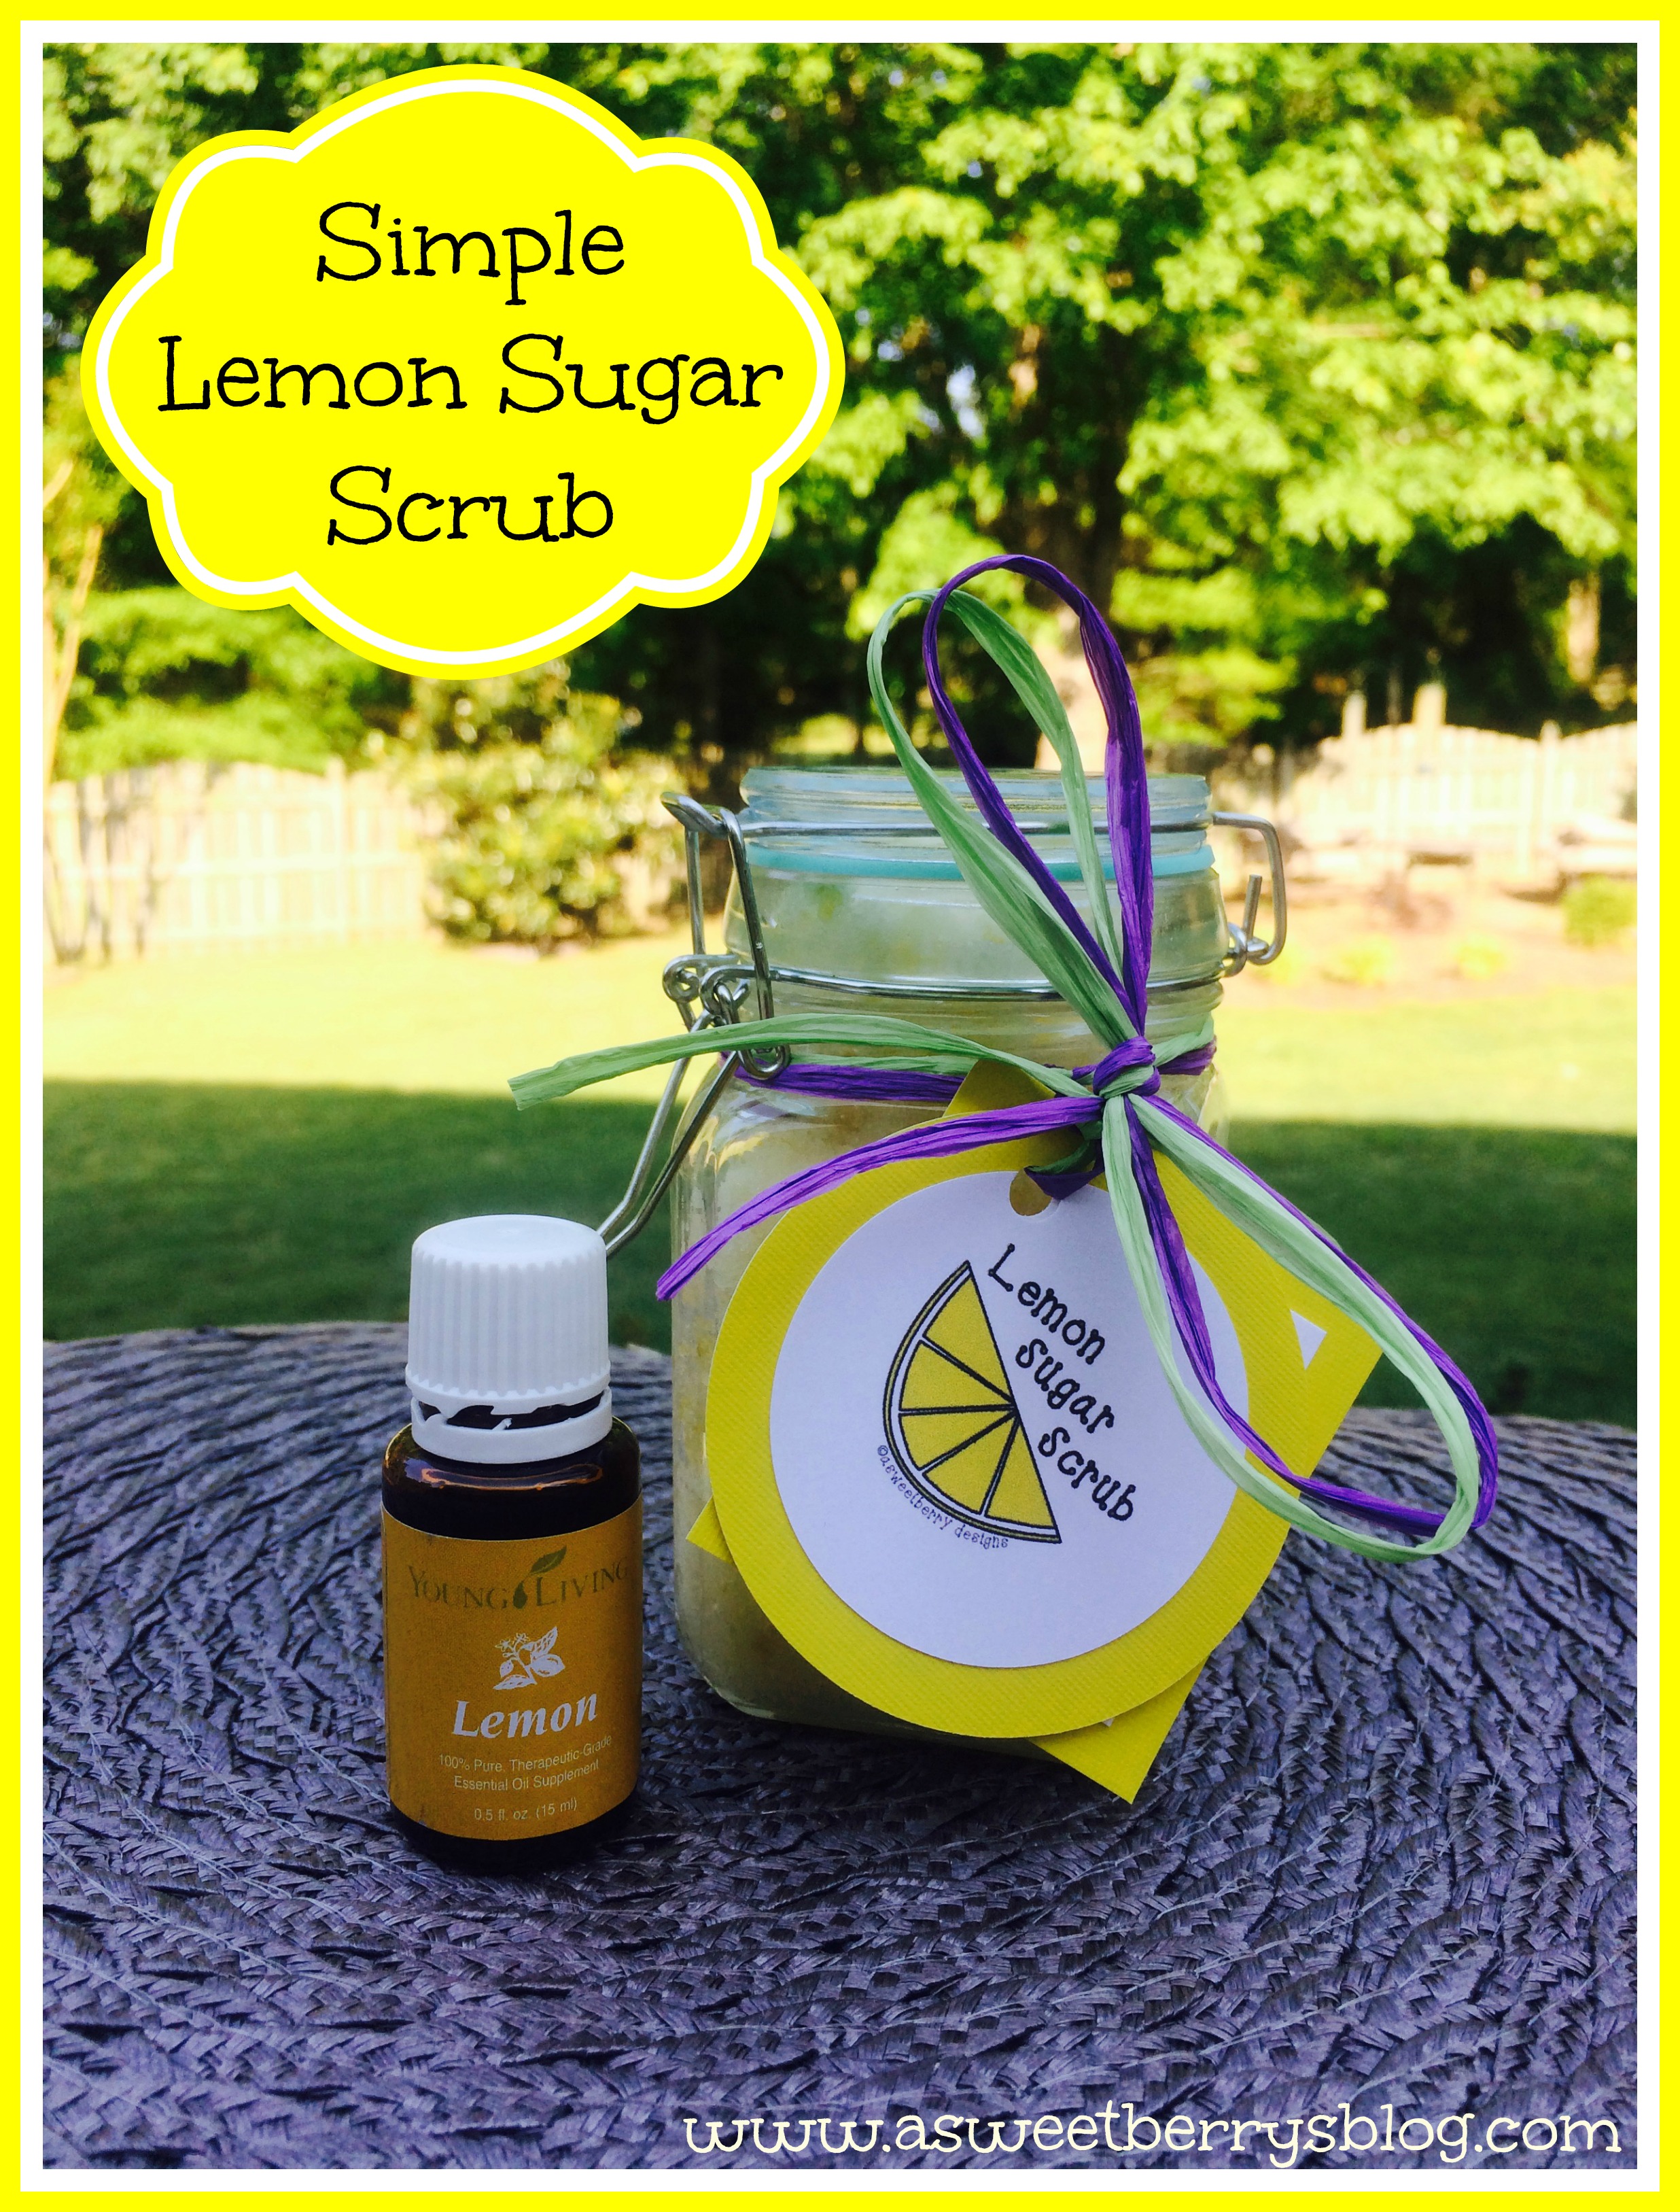
I have recently come to love using essential oils. This Lemon Sugar Scrub that I made was really simple, smells great and makes your skin nice and smooth! There are lots of recipes out there for different scrubs using essential oils, but I’m sharing how I made mine simply because people make them lots of different ways!
Ingredients:
12 drops of Lemon Essential Oils (I used Young Living)
2 cups of Granulated Sugar
1/2 cup of Coconut Oil (I used Spectrum Organic Coconut Oil)
3 tablespoons of lemon zest
Directions:
Place coconut oil in a microwave safe bowl and melt for 25 seconds. Add in the lemon zest and the drops of Lemon Essential Oils. Slowly add in the sugar making sure to mix really well!
I placed my sugar scrub in little mason jars. I gave them as gifts to my SNAP secret sister and roommates. I also gave a jar to my son’s teacher for Teacher Appreciation Spa Day!
To use:
Simply rub into your skin and rinse with water! Your skin will feel nice and smooth and smell nice and lemony!
Button up a Teacher Appreciation Gift
Button Up a Teacher Appreciation Gift
Teacher appreciation is a great time to round up your stash of buttons and create something special for the teachers in your life. Here is a fun way to make personalized stationery for appreciating teachers with stamps and buttons that can be done in a flash.
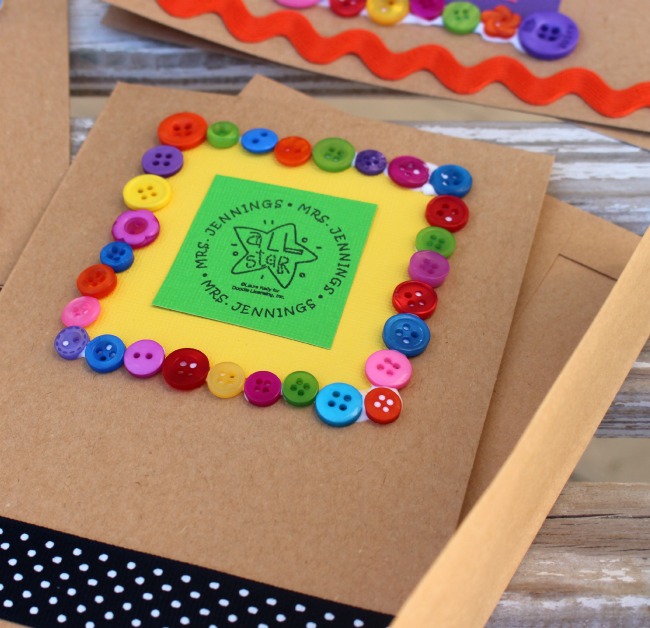
You will need a handful of bright buttons. You will also need cards/envelopes, colorful cardstock, adhesive, ribbon or ric-rac and a self-inking stamp from Expressionery. The one I used here is one that I designed exclusively for Expressionery and I LOVE it!
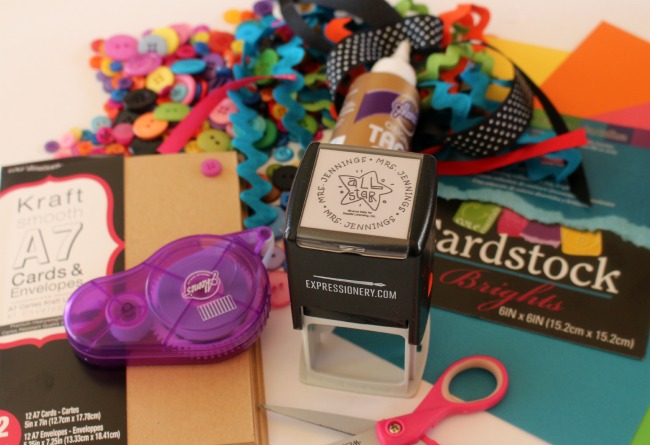
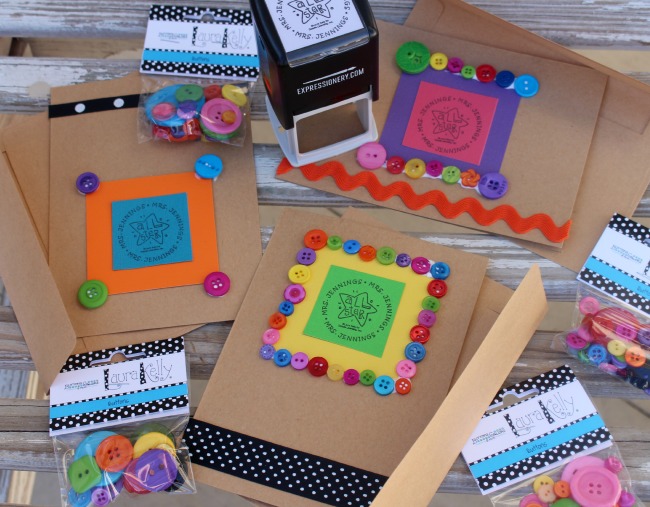
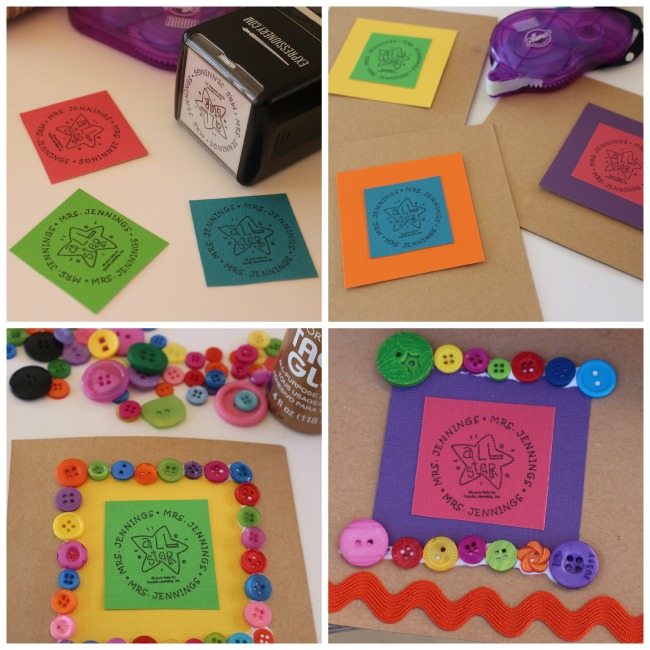
- Stamp on the bright card stock pieces and trim them then adhere them to the middle of the card. Did you know that from now until May 25th you can save 30% off sitewide on Expressionery using the promo code TEACHERAPP … that’s awesome!
- Create a square around it with buttons adhered with you favorite adhesive.
- Add ribbon and ric-rac to embellish your notes a bit more.
Ta Da! Aren’t they so super cute! Mrs. Jennings is going to love these!
Here are lots of other ways to create teacher gifts with my products from Expressionery.
And you can even enter to win a fabulous prize of a $250 VISA Gift Card and a Custom Stamp!
Expressionery.com Self-Inking Stamps
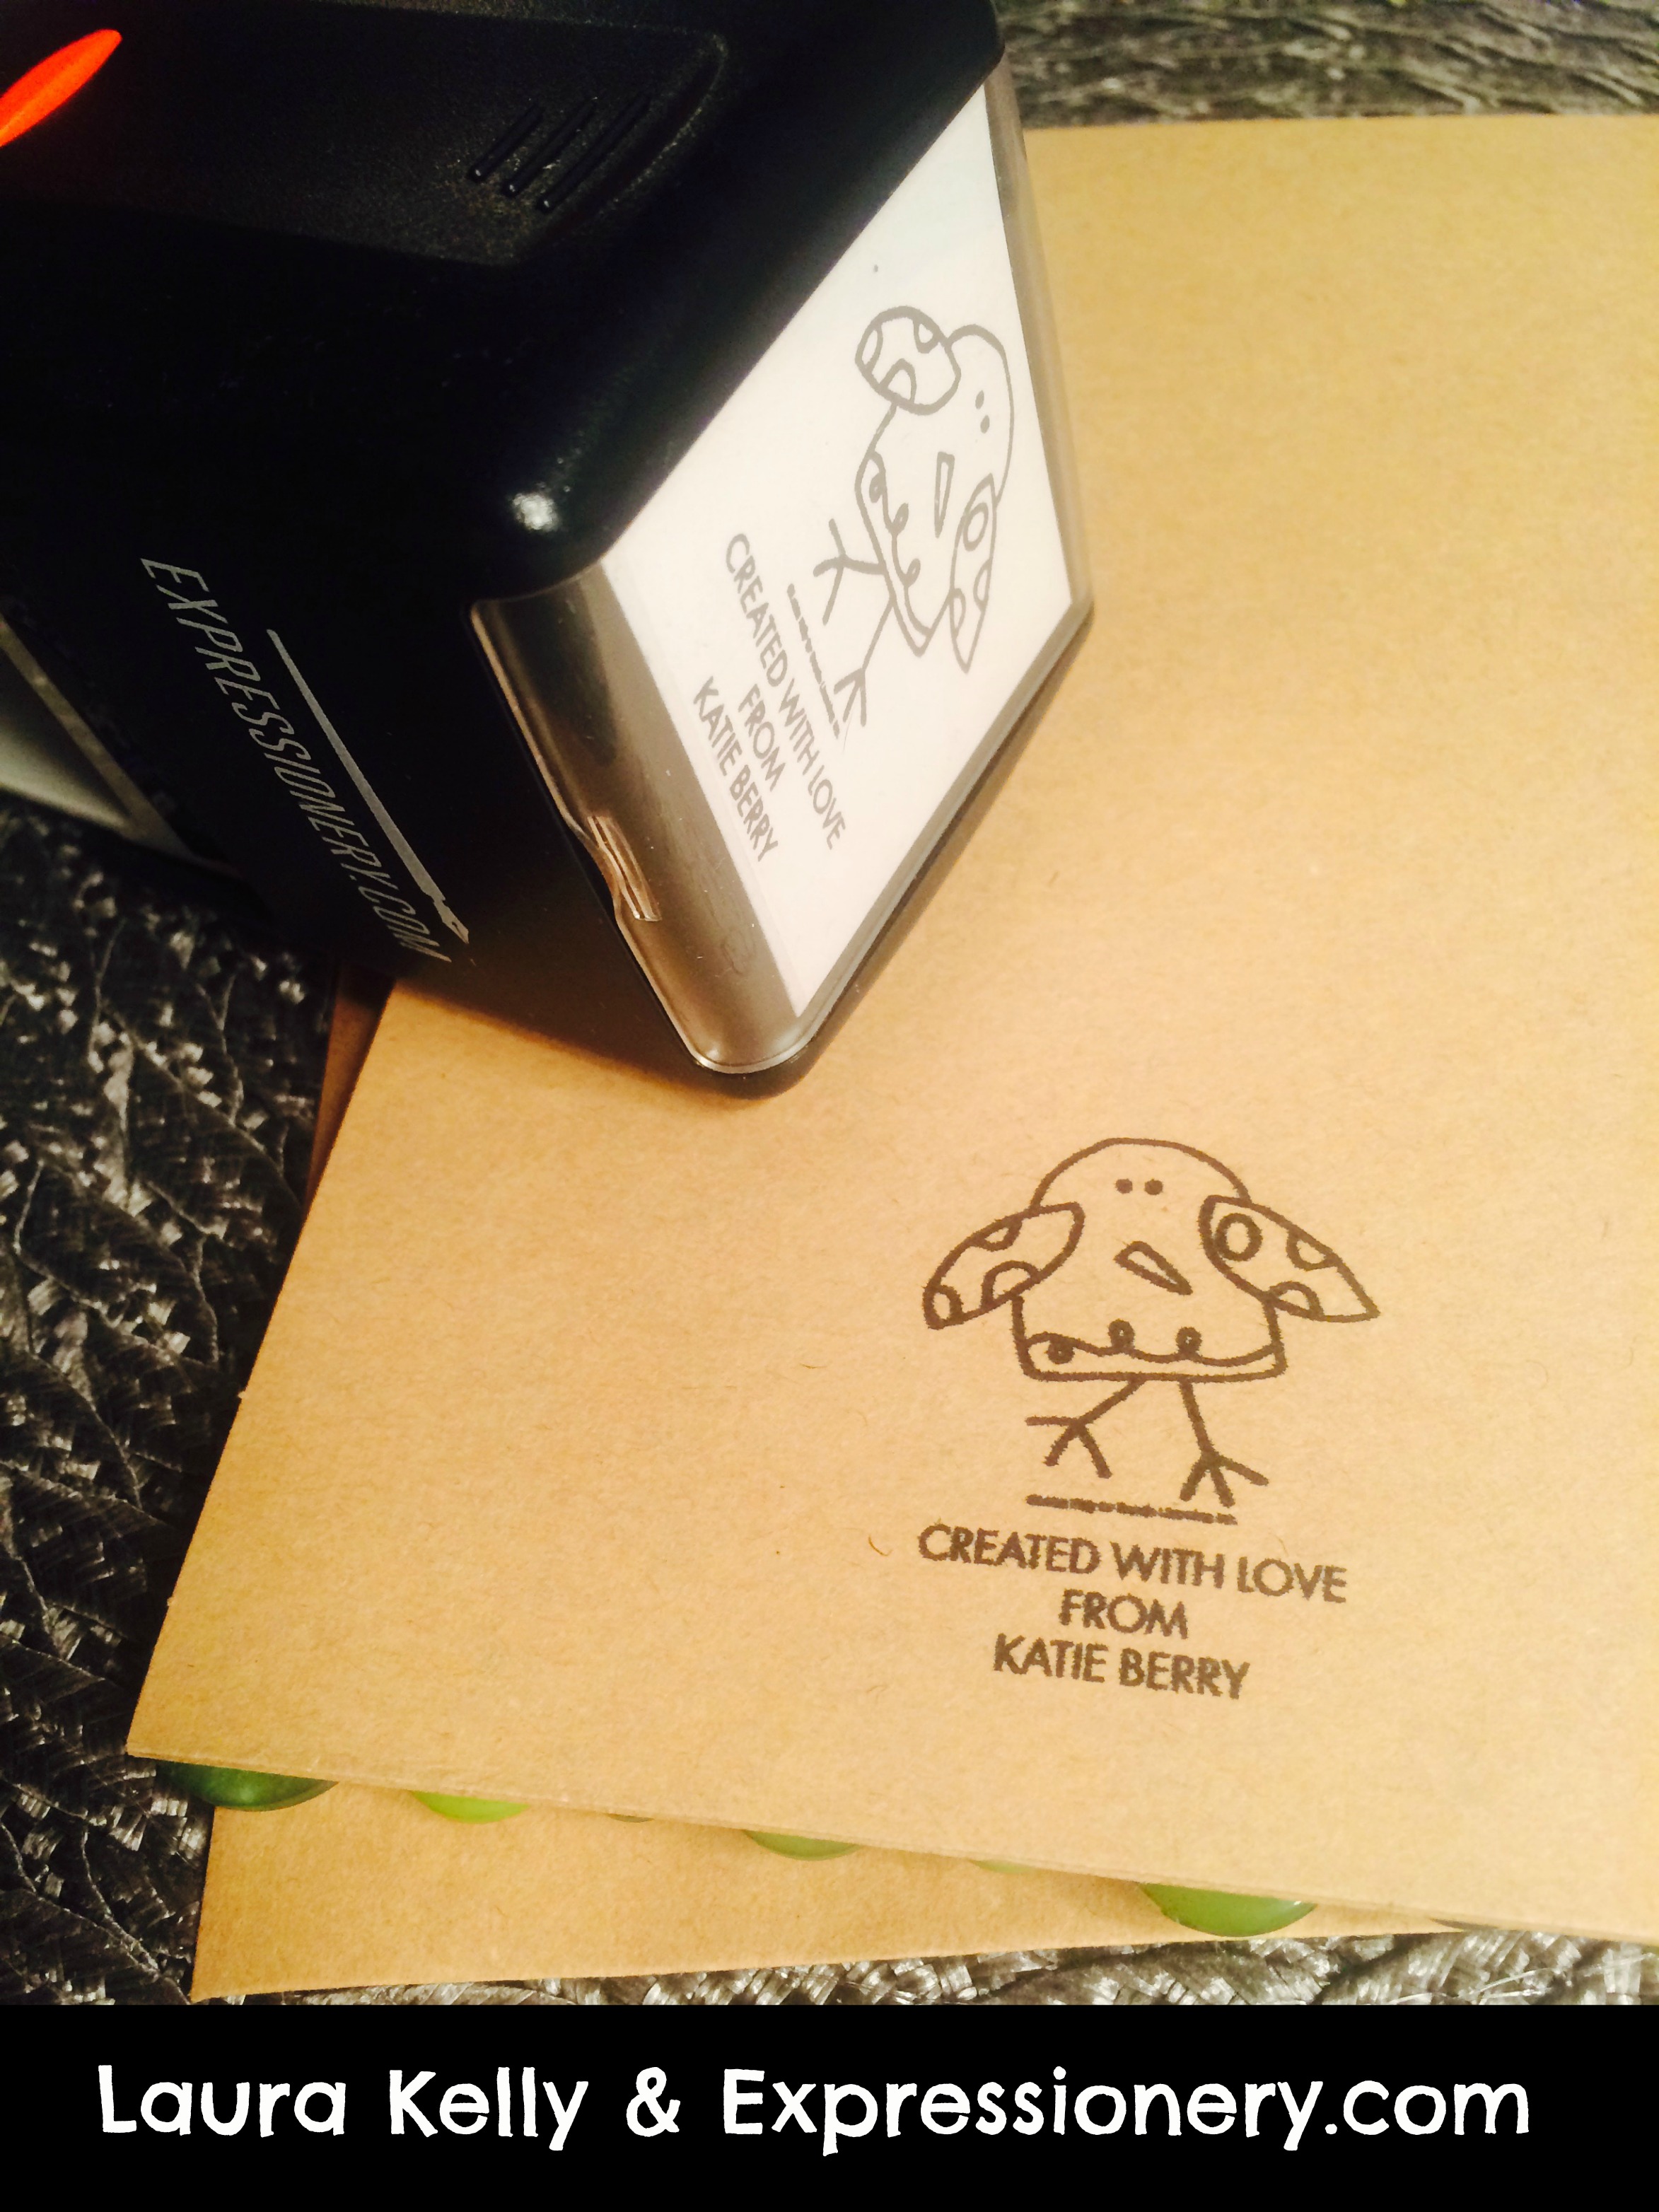
Self-Inking stamps are so easy to use and Laura Kelly’s collection with Expressionery.com are super cute! Expressionery.com has tons of different self-inking stamps to choose from! I love my “Created with Love From” personalized stamp! I use it on anything that I create that I am giving as a gift! Here, I used it on a label for these awesome Scrappy Keychains that I made to go with my business cards for people that I meet at SNAP!

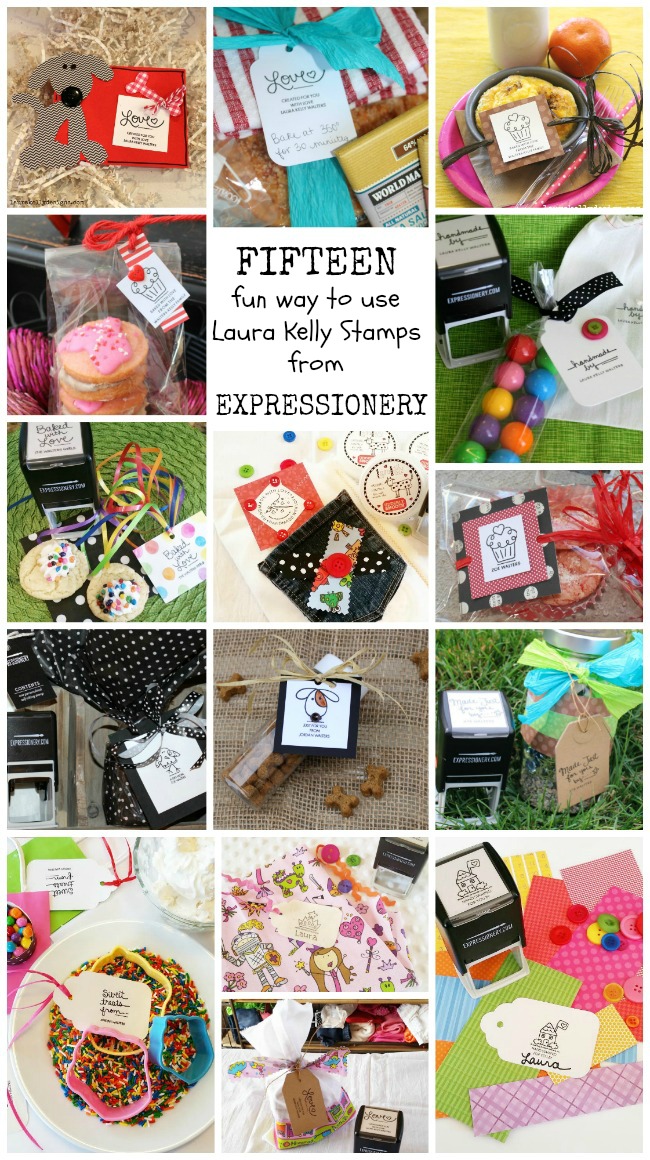
Click the photo below for Fifteen other fun ways to use Laura Kelly Stamps from Expressionery.com!
Right now, Expressionery.com is offering 30% off Sitewide with the code: HAPPYSALE. They are also offering free standard shipping on orders over $50!
Until next time…..
Happy Spring Button Greeting Card
I love Spring and I love Buttons! I created this adorable Happy Spring greeting card using Laura Kelly’s Buttons and Lady Bug Buttons from Buttons Galore & More!

Materials used:
Laura Kelly Buttons from Buttons Galore & More
Lady Bug Buttons from Buttons Galore & More
Card stock from Core-dination from Darice
Card/Envelope from Core-dination from Darice
Fabric Tag
Tulip Fabric Markers from ILoveToCreate
Hot glue gun and hot glue
Aleene’s Fast Grab Tacky Glue
Aleene’s Paper Glaze
I started by making paper rosette flowers. I cut 3/4″ and 1/2″ paper strips with cute card stock. Bending the paper back and forth, I created a zigzag strip. Once I had them all folded, I used a hot glut gun to glue the strips to each other, connecting two strips together on each end. Once they were connected and formed a circle, I positioned the sides together to form the rosette and hot glued the center and let it dry.

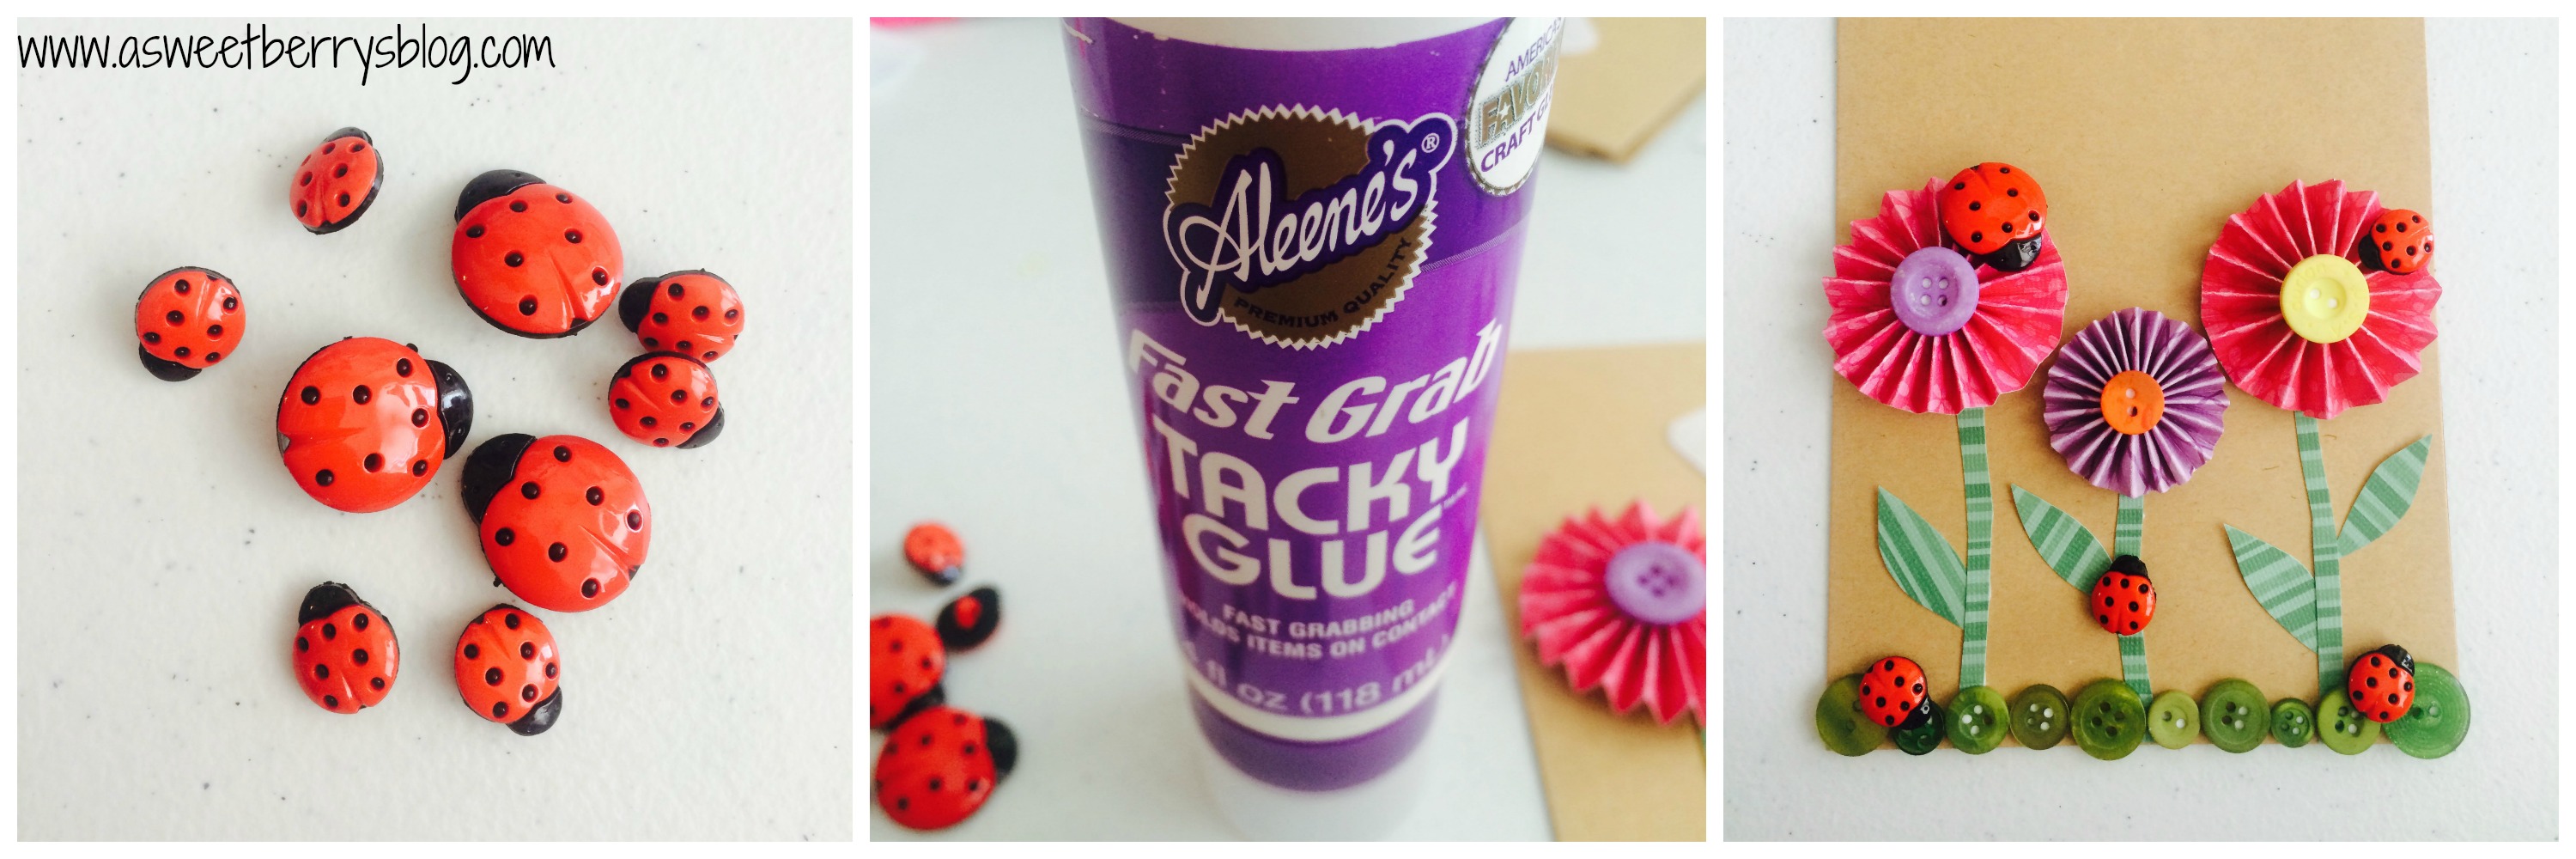
I cut my stems and leaves from a green striped card stock and glued them to a card using my Aleene’s Fast Grab Tacky Glue. I added buttons to the paper rosette flowers! I used green buttons for the grass!
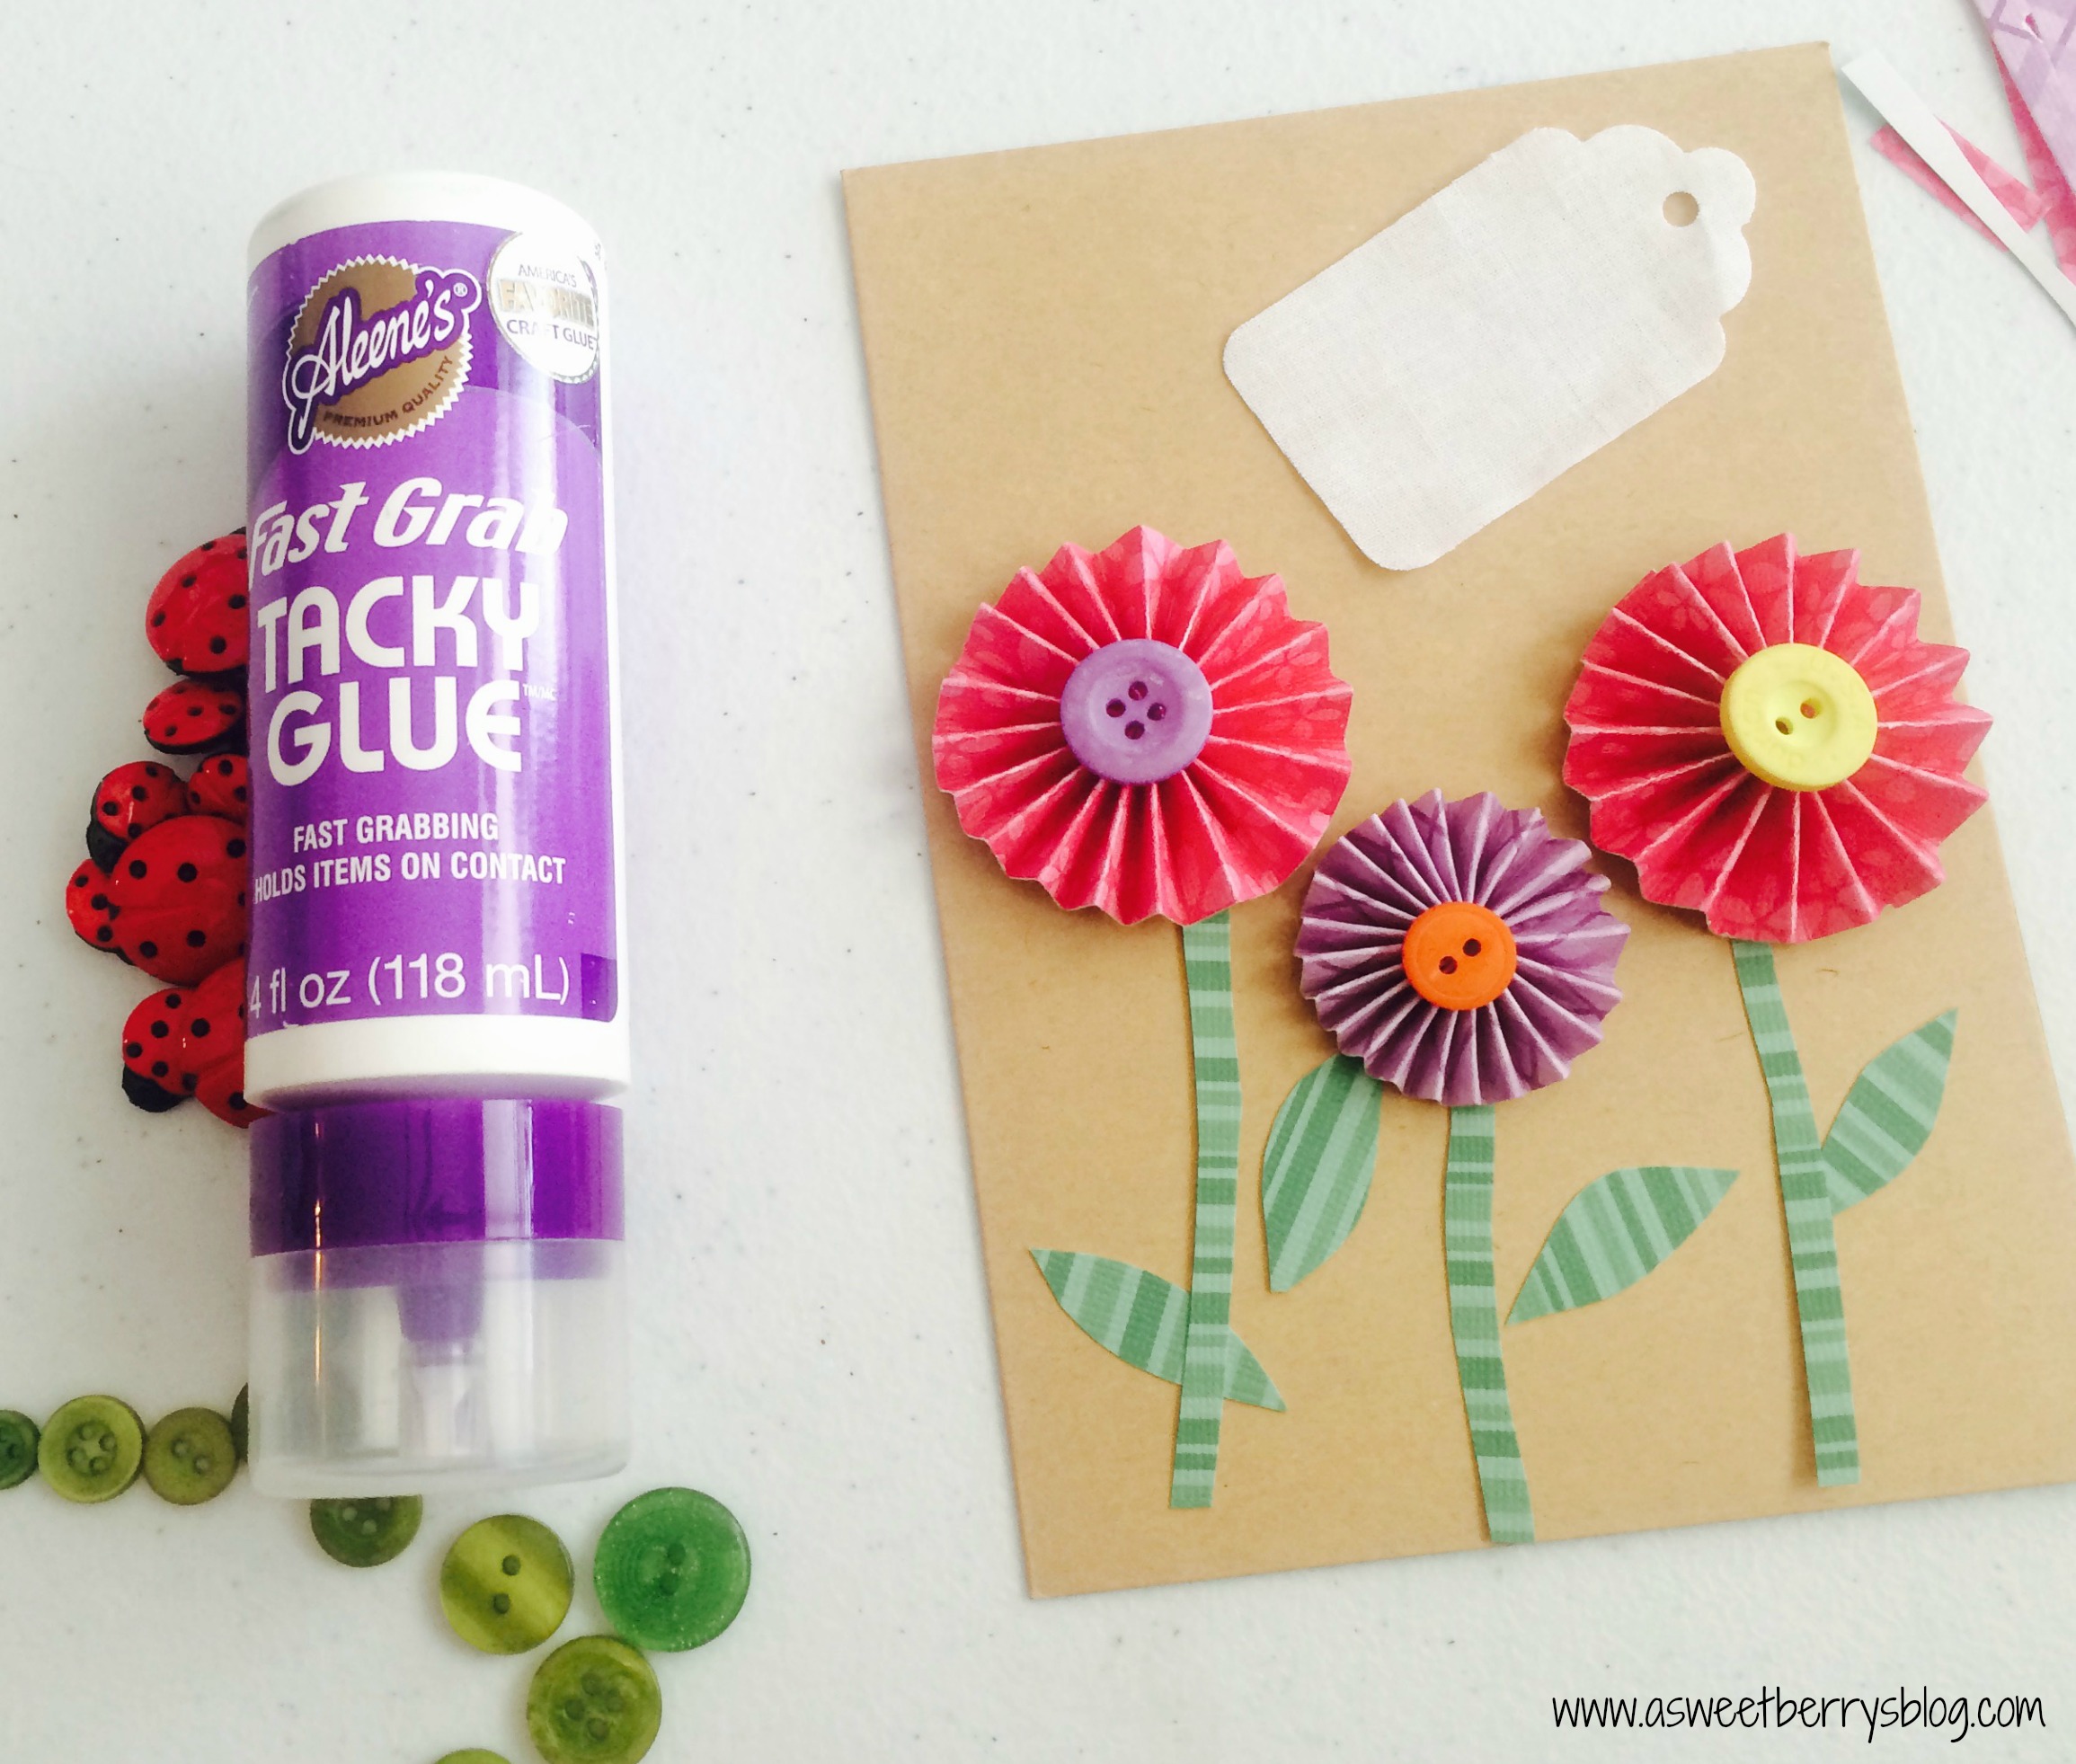
Buttons Galore & More has adorable little lady bug buttons, so I attached them to my card using Aleene’s Fast Grab Tacky Glue. I added them to the paper rosette flowers, the stem and the grass!
Using a fabric tag and Tulip Fabric Markers, I wrote Happy Spring and added lines and dots! I applied it to the card using Aleene’s Paper Glaze and added a little ladybug to cover the hole on the tag.
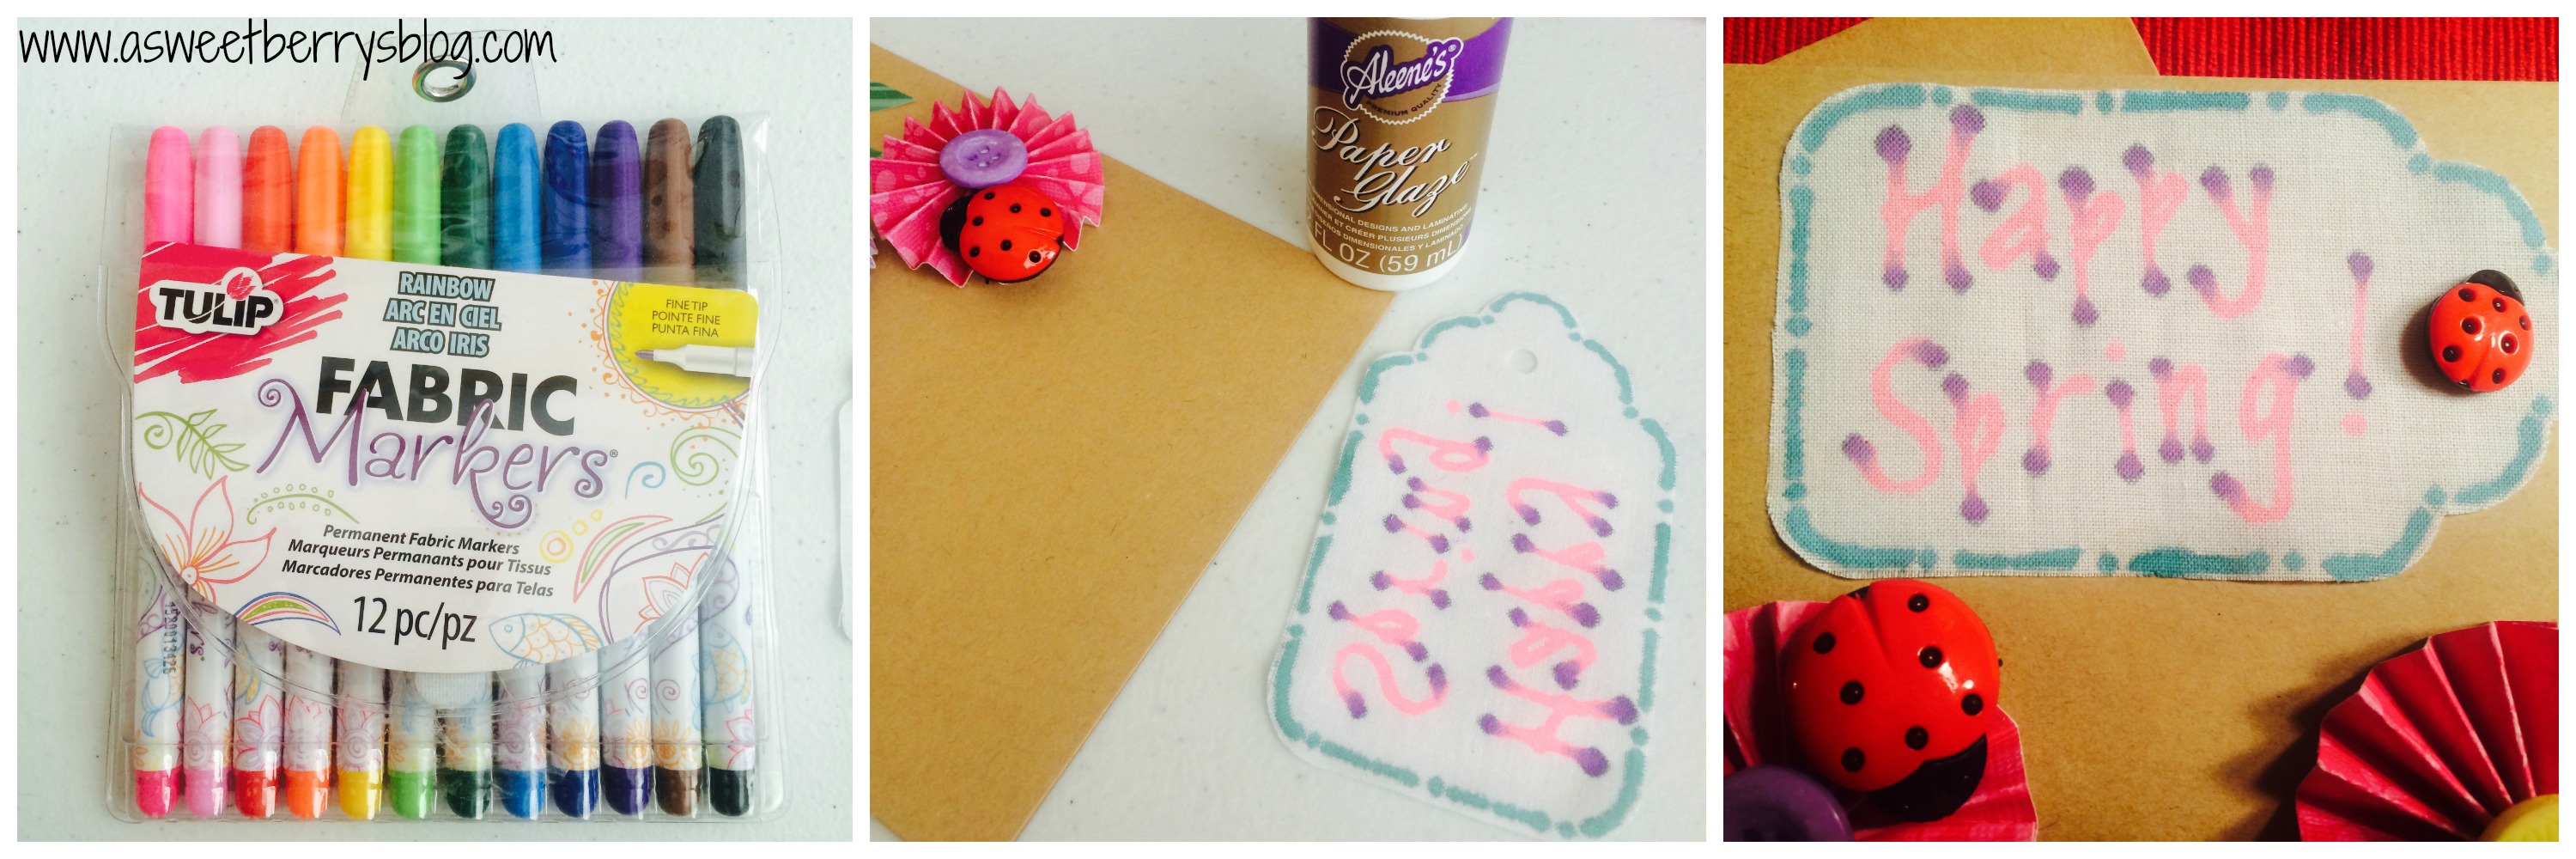
I love this adorable little Happy Spring card and someone special will be receiving it soon!

Buttons Galore & More is offering free shipping on orders over $30! They also offer Coupons for their buttons!
Once I completed my card, I used my Laura Kelly personalized self-inking stamp from Expressionery.com to stamp the back showing that I created this card with love!
Expressionery.com is currently running a special of 25% off Sitewide with the code: SPRINGSALE. They are also offering free shipping with a purchase of $50 or more!
Hope you like this adorable card as much as I do! You can make one yourself!
Until next time……
Teacher Appreciation Gift – Stenciled Monogram Burlap Basket
Teacher Appreciation Week is right around the corner. We all appreciate the hard work, love and dedication that our teachers put into our children’s education. Do you need a quick, easy and cute teacher appreciation gift? This stenciled monogram burlap basket was super simple and quick.

Materials:
Burlap basket (I found mine in the Target $3 section and it’s nice and sturdy)

Tulip Fabric Paint
Sizzix Eclips2
Contact Paper
Directions:
1. Measure your basket, so that you know how big your letter (and name) can be.
2. Using the electronic cutting machine software, I chose a font for the letter and name. In this case, I used the Sure Cuts A Lot software. And I chose the Bell Font.
3. Using the Sizzix Eclips2, mat and my contact paper (placed on the mat face up), I cut out the letter and name.
4. I didn’t want to use the actual letter cutouts, so I pulled up the outlined piece of contact paper and placed it on my burlap basket making sure it was centered.

5. Using the Tulip Fabric Paint, I colored in the letters like a stencil.
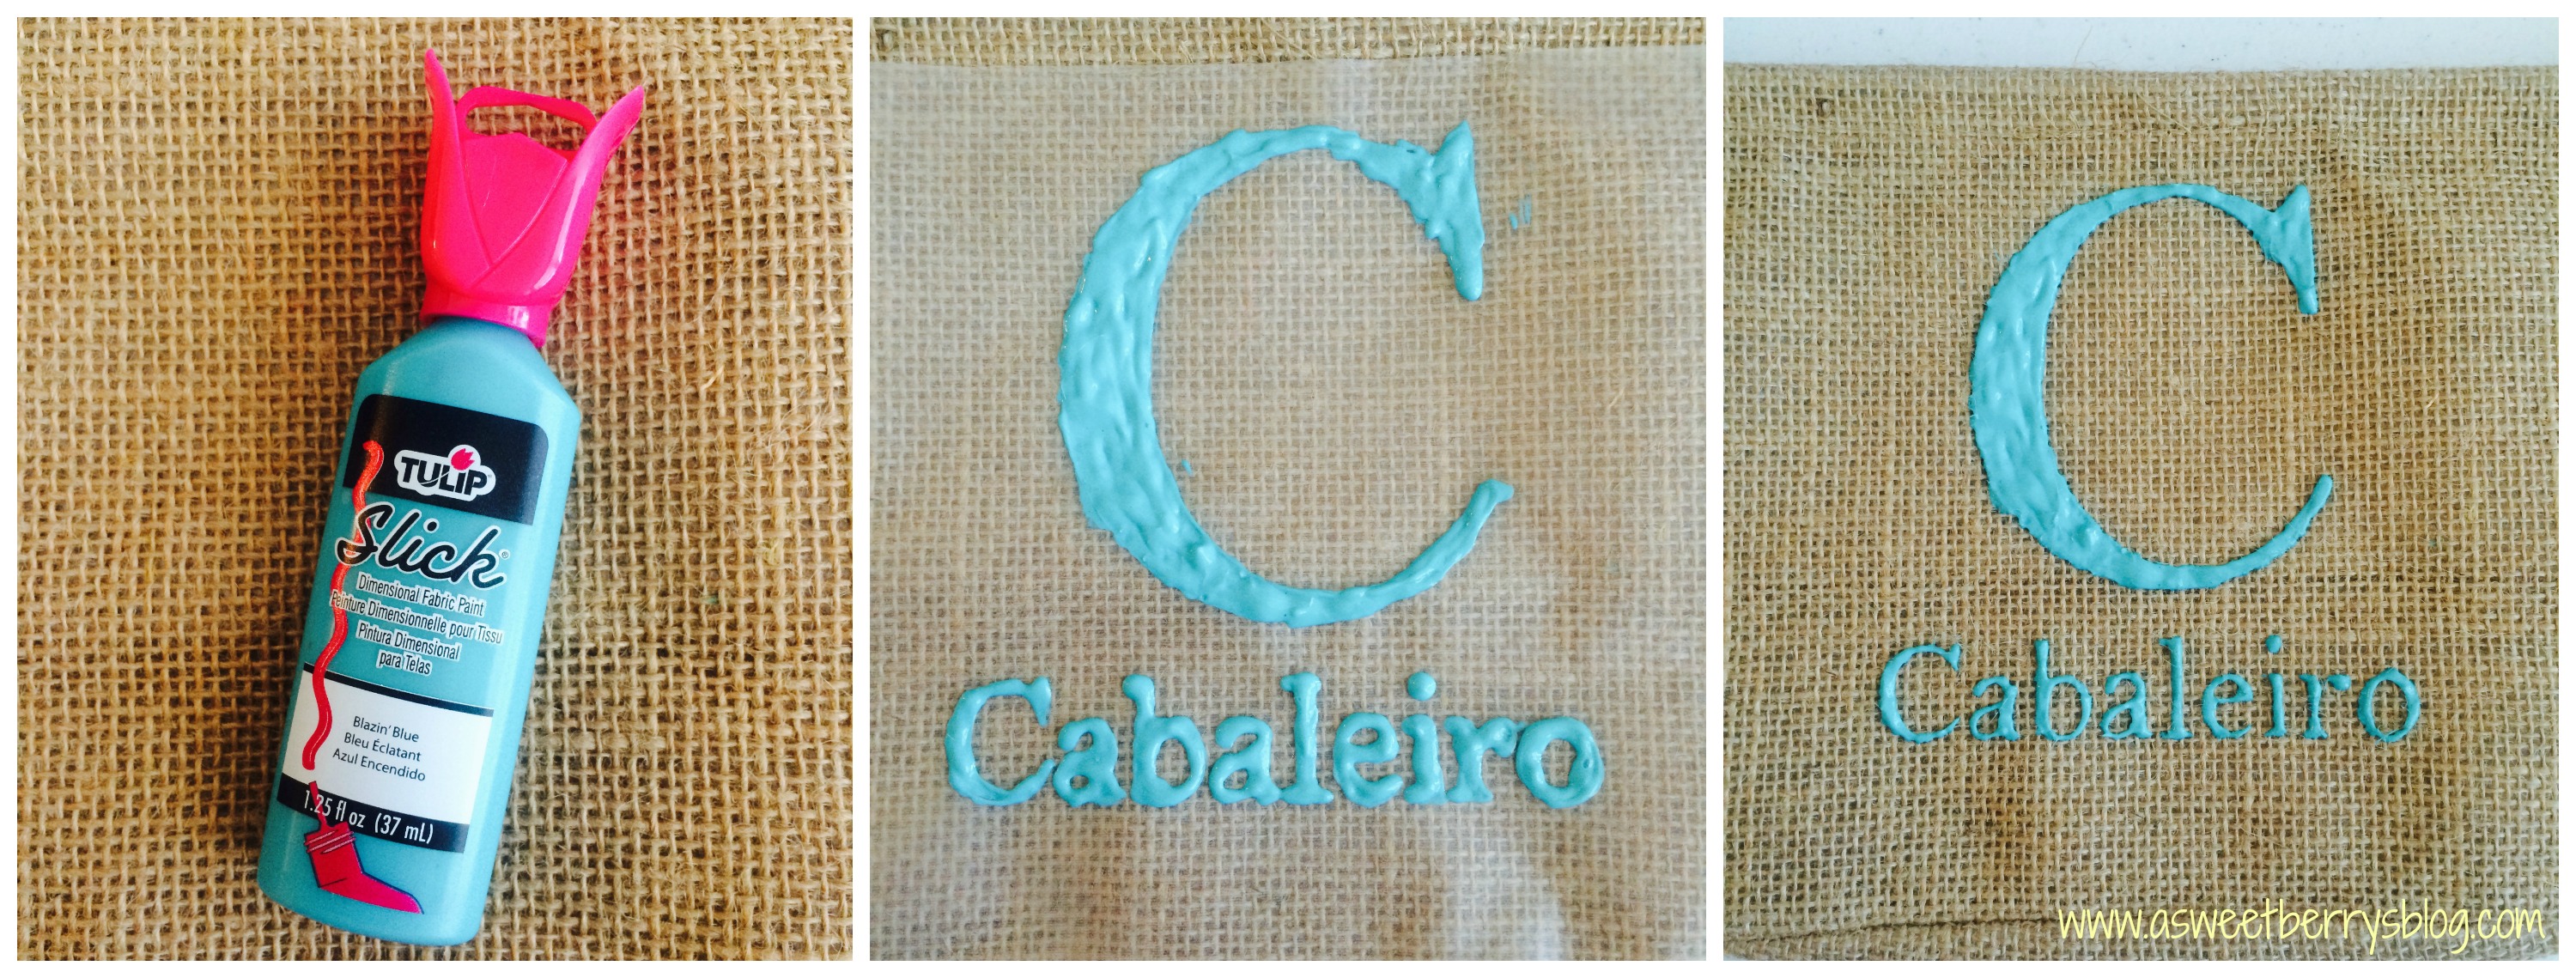
6. Once I was done with the fabric paint, I pulled up the contact paper stencil and then let it dry!
I think it turned out great! And I know that my son’s teacher will love it! Plus, I filled it with goodies for her!
Now, click below to check out the three host of Craft Lighning and others that have amazing 15 minute or less Teacher Appreciation Gifts!
Kunin Felt Easter Egg Bunting
Easter is right around the corner! Why not brighten up your decor with this adorable KuninGroup Felt Easter Egg Bunting! It was super easy and super fun!

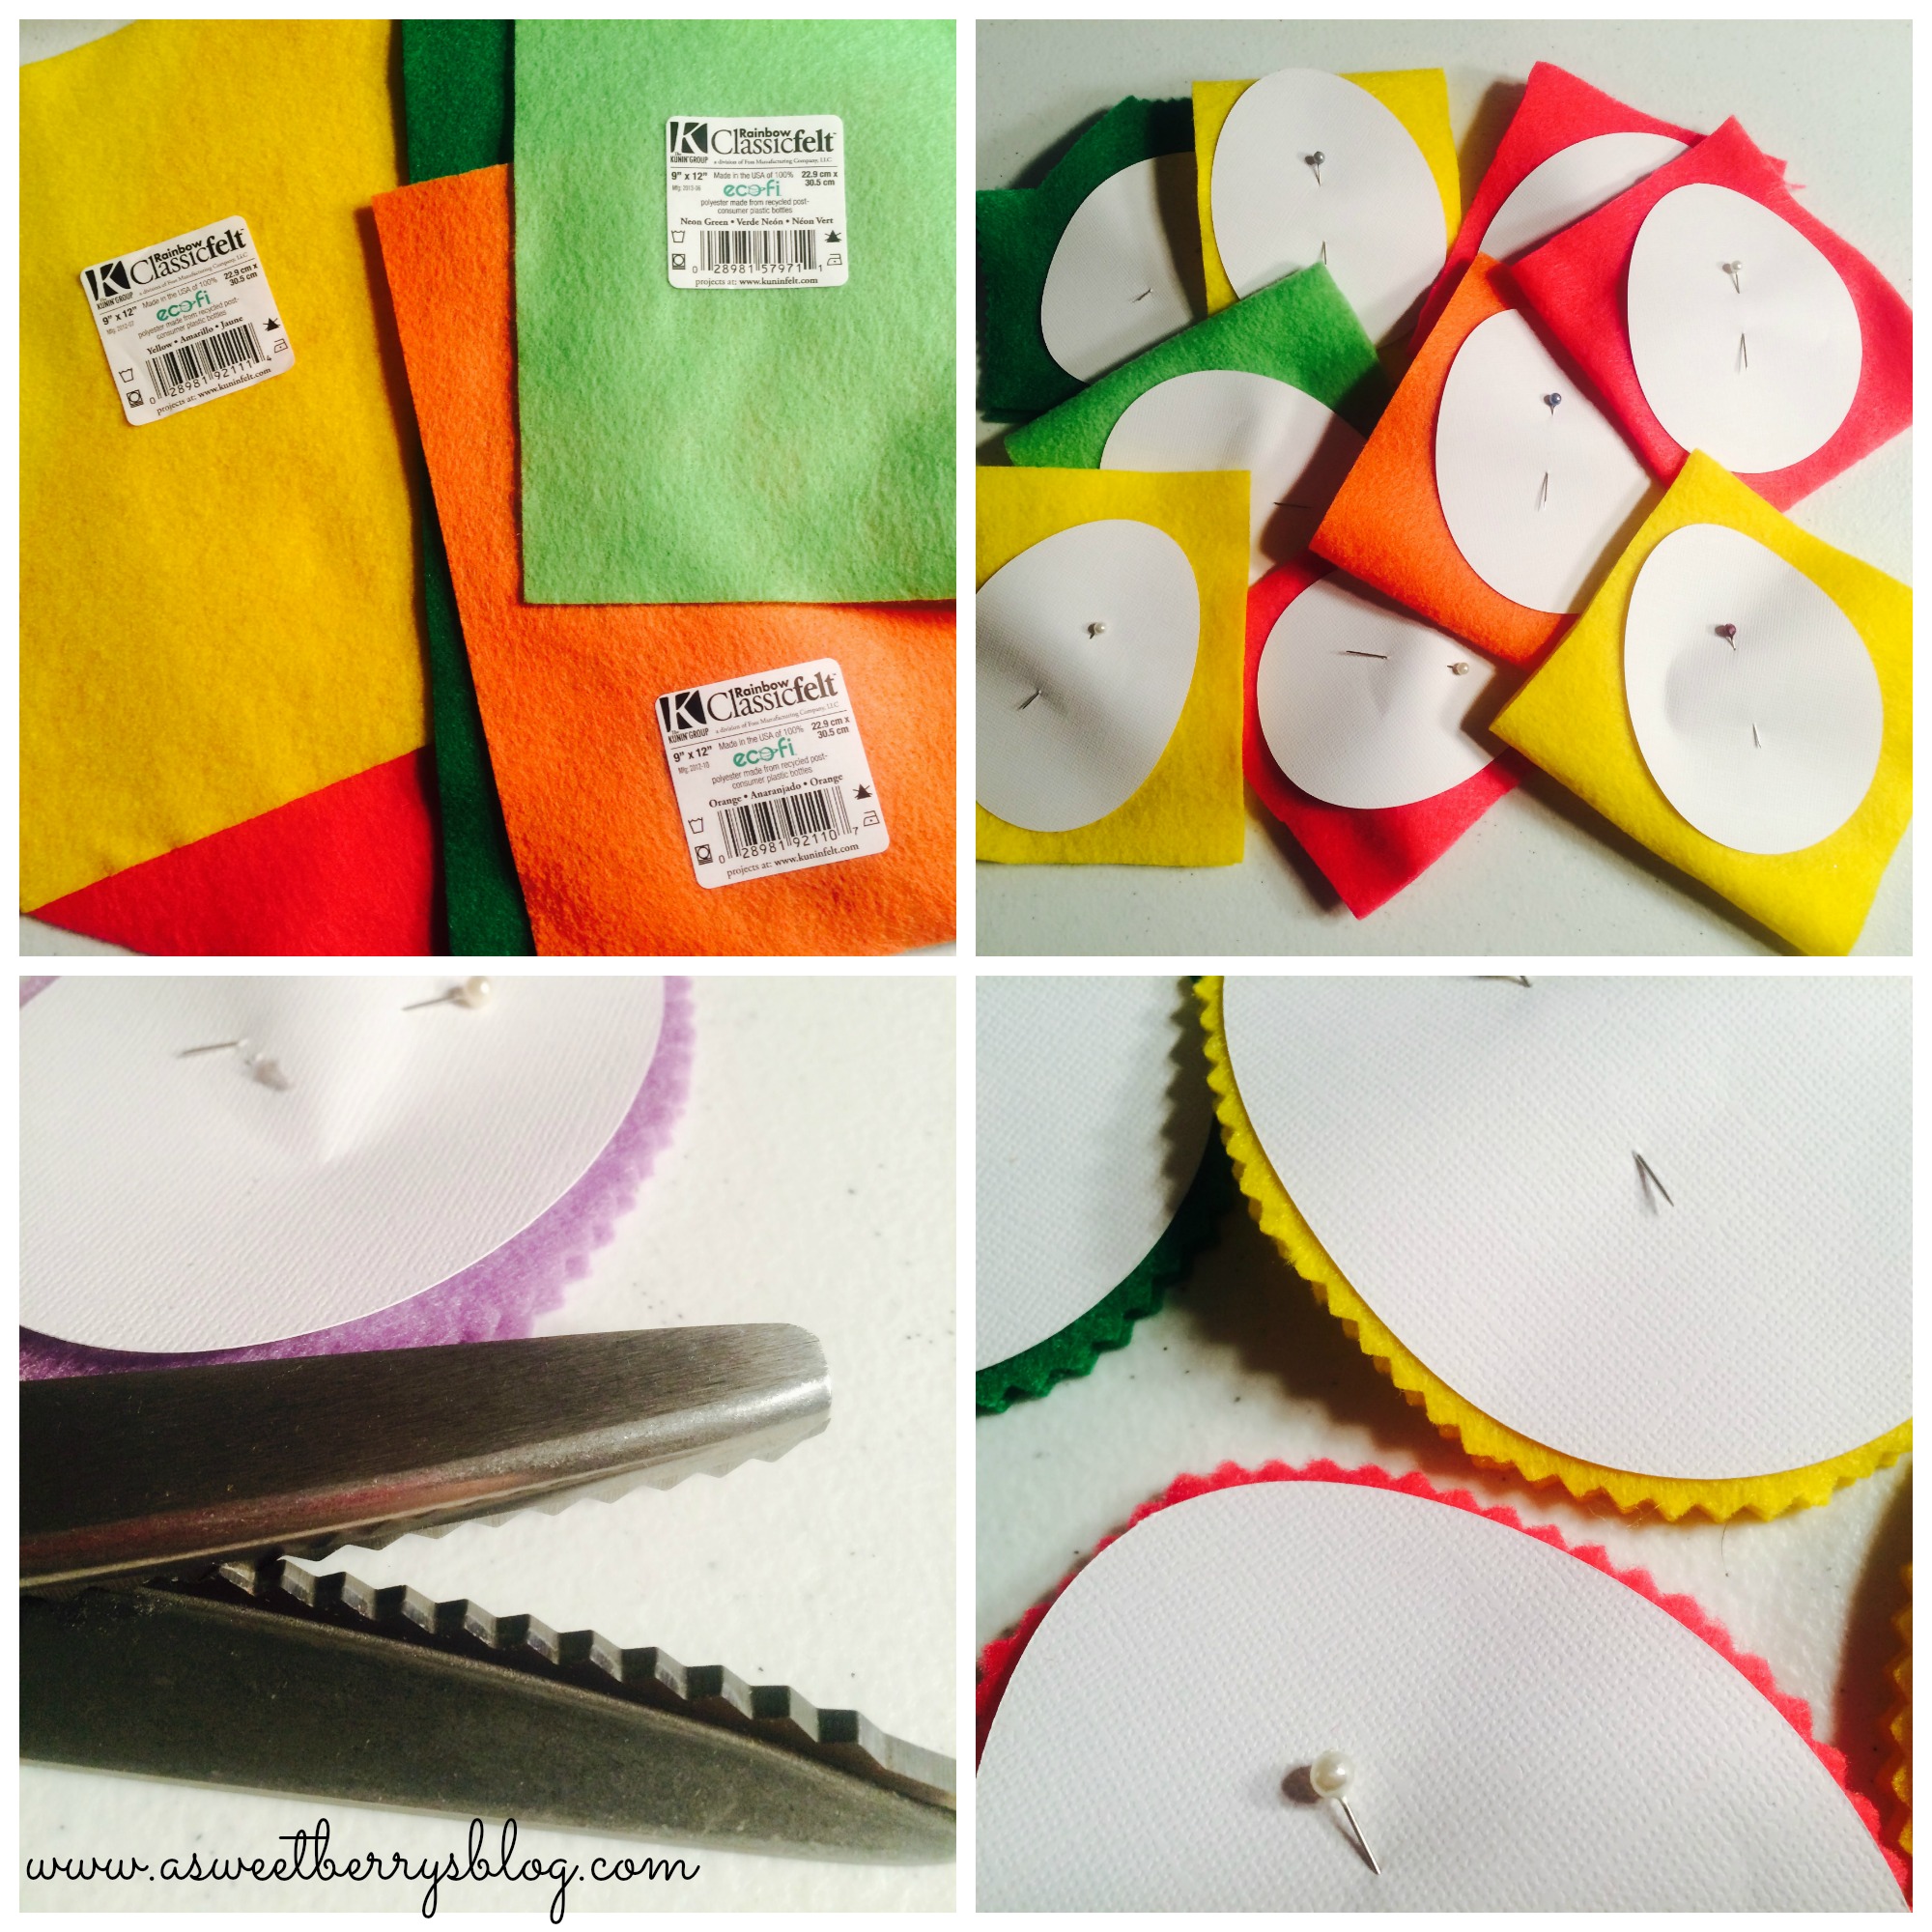
I love using my Sizzix Eclips2 to cut out patterns for fabric or felt!

Once my patterns were cut out, I pinned them to my KuninGroup felt and then went to cutting! I used pinking shears to give the eggs zigzag edges!
Then, it was time to sew them! I decided to stuff them while they were still under the sewing foot. I sewed all but about 2 inches, stuffed them, realigned my edges and finished sewing!

Once they were all sewn, I used Tulip Fabric Paint to add decorations to them! I think they turned out egg-tastic! 🙂

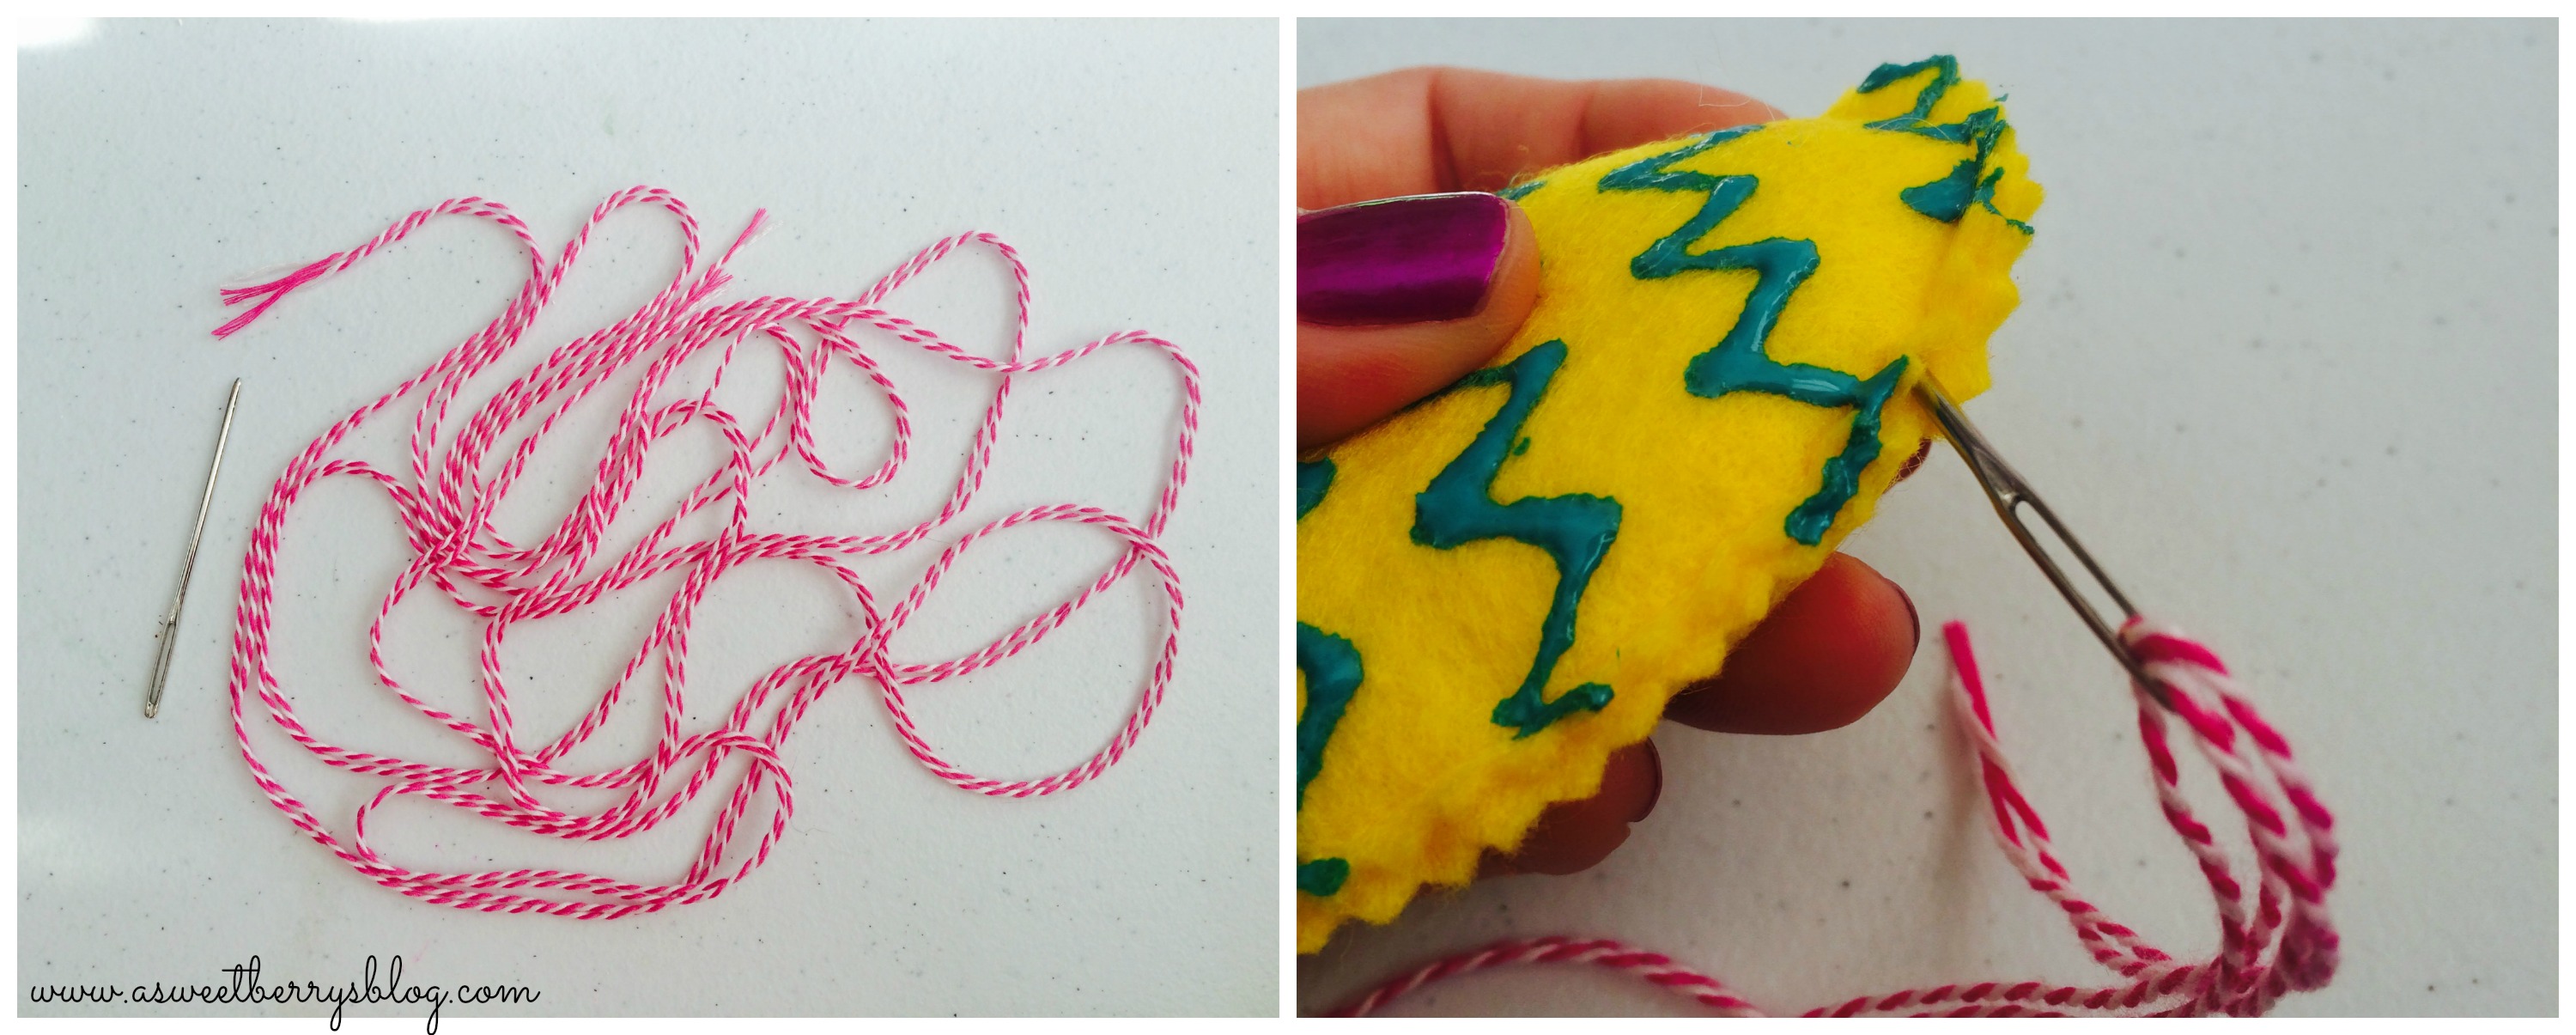
Using bright pink baker’s twine and a big needle, I threaded the twine through the top part of the egg, making sure to go between the felt and stitches.
And then, it was complete!!! It is absolutely adorable!

Hope you like my Kunin Felt Easter Egg Bunting!
Until next time…..

