Halloween Popcorn Box Blog Hop

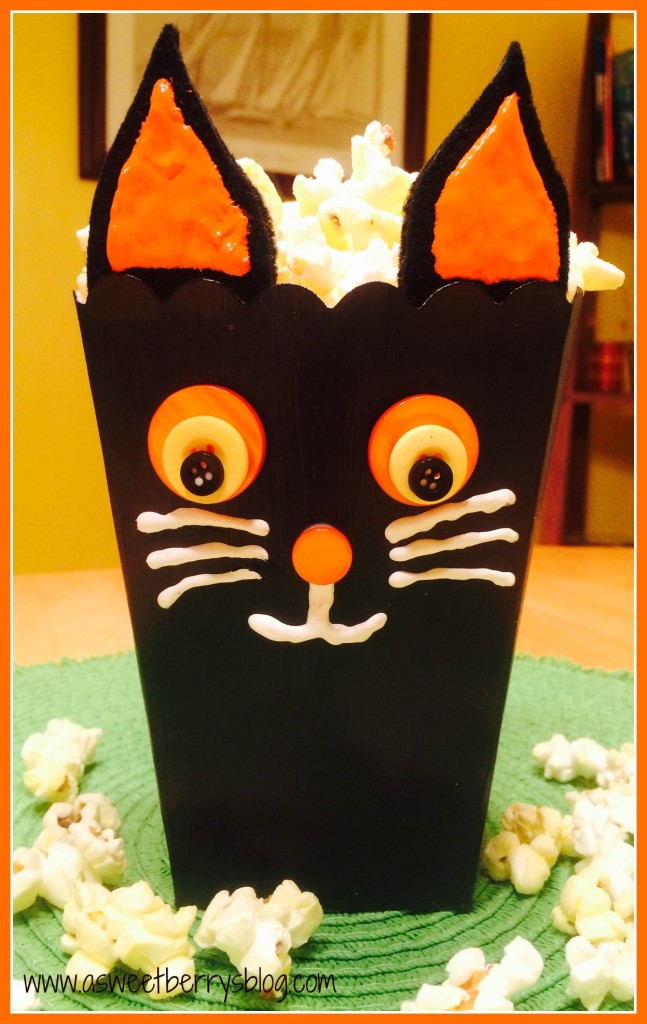
A year ago, my friend Laura Kelly started this Halloween Popcorn Box Blog Hop and then decided to do it again this year. I was so excited to get my box of goodies to do this project! It’s so much fun and exciting to see what everyone comes up with! This year, I decided to make a Cat!

popcornbox2014

Items I used:
Popcorn Box
Black Felt from Kunin
Phoomph for Fabric from Coats & Clark
Tulip Soft Black Fabric Paint
Scribbles 3D Fabric Paint
Laura Kelly Buttons from Buttons Galore & More
Floral Wire
Paint Brush
Aleene’s Turbo Tacky Glue

First, I painted my box using the Tulip Soft Black Fabric Paint. Yes, I know it’s fabric paint, but it still worked great on my box! I let it dry and then painted on another coat.
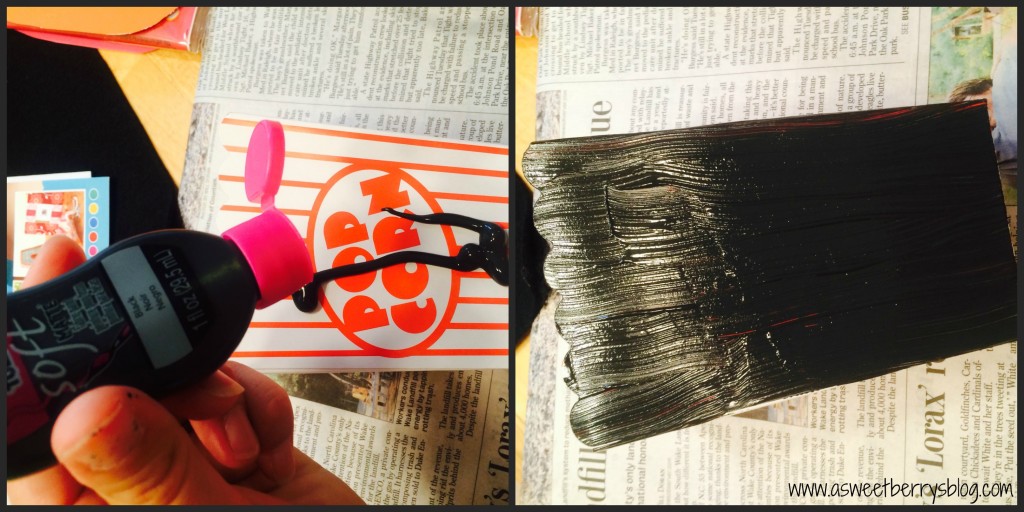
painted box
Next, I made my cats tail. I thought about this for a little while! I took a piece of floral wire and folded it in half and manipulated it to look a little like how a real cats tail would look. I placed black Phoomph onto some felt, placed the wire onto the Phoomph and then folded my felt in half. Then, I cut around the wire making the felt the same shape as the wire. Then i manipulated the wire with the felt again to make the tail curved.
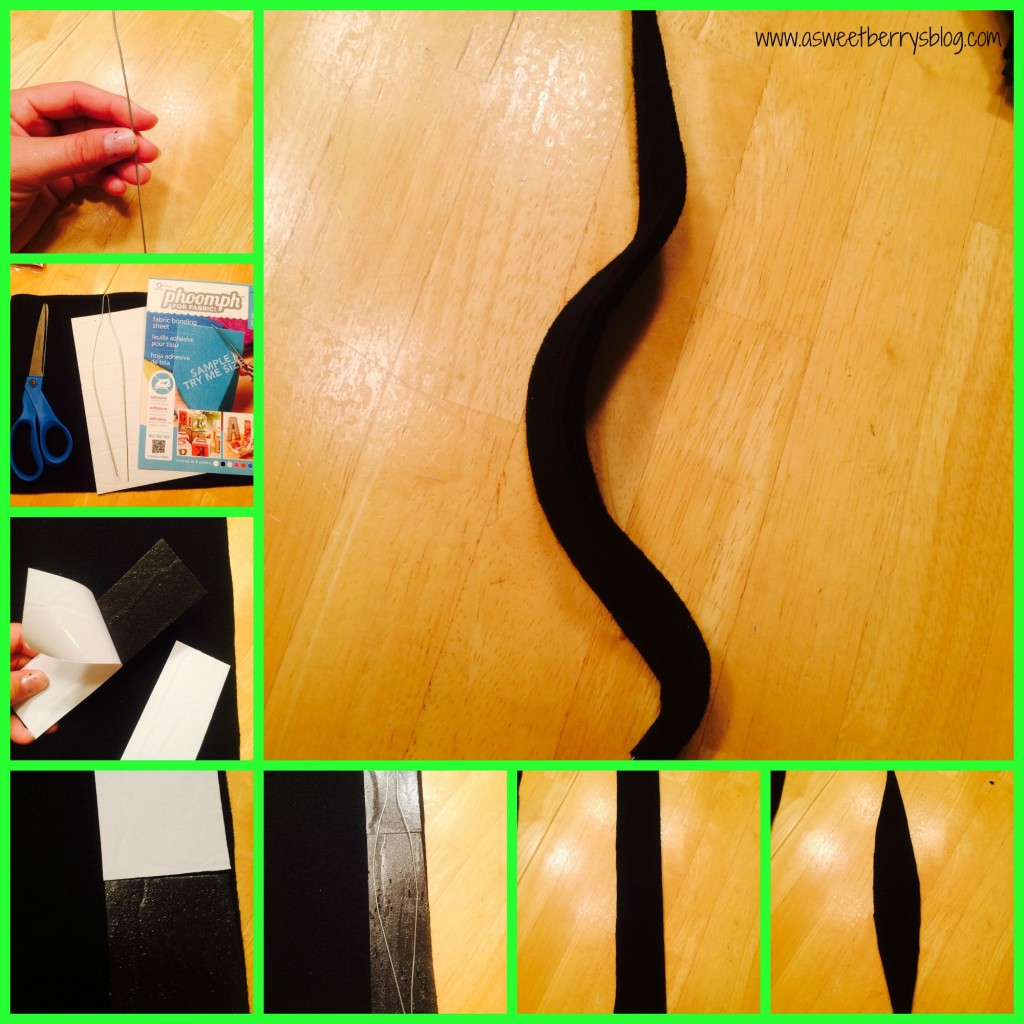
Tail
Next was my cats ears. Again, I used black felt and Phoomph. I placed the Phoomph onto a black piece of felt. When I folded the felt over, I made sure that it didn’t completely cover the Phoomph because I knew that I wanted to use the exposed part of the Phoomph to attach the ears to the popcorn box. I used the orange Scribbles Fabric Paint to make the inside of the cats ears.
ears
Using Laura Kelly’s buttons, I fold some orange, yellow and black beads to use for the eye and then an orange one to use for the nose. Using Aleene’s Turbo Tacky Glue, I attached them to the box.
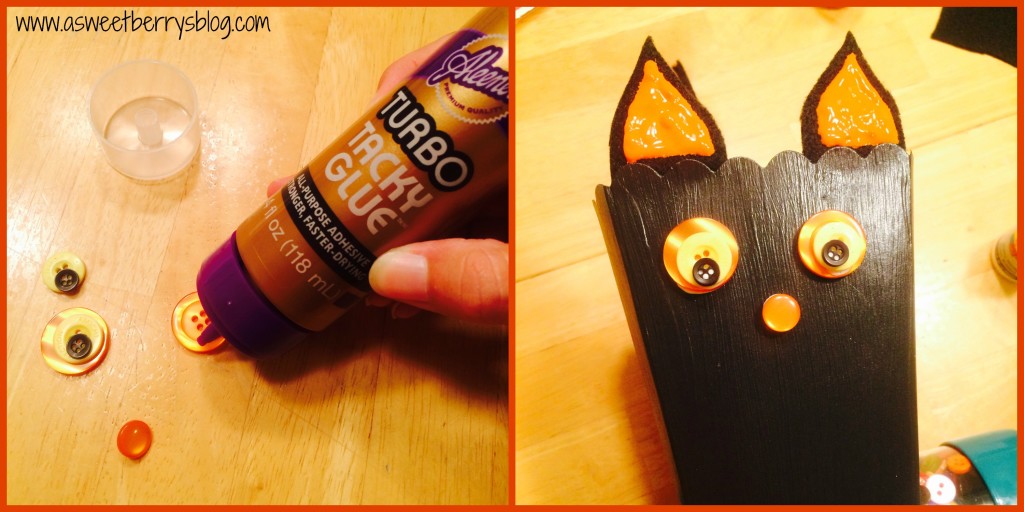
eyes
Using the end of the wire from the tail, I inserted it into the back of the box and bent it upward helping it stay in place. I then used the Aleene’s tacky glue to glue the tail in place, to give it an extra hold.
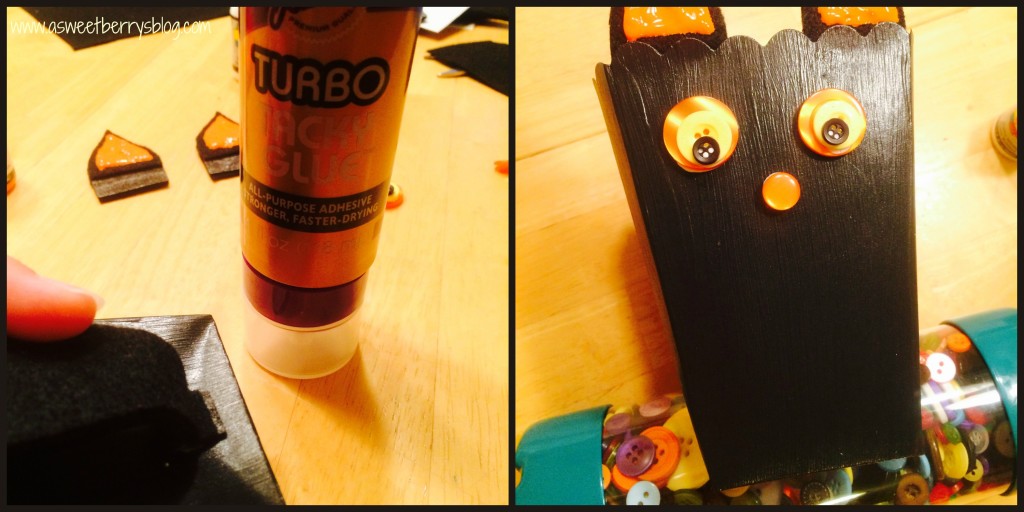
Glue tail and dry
Once everything was dry, I used White Scribbles Fabric Paint to create the mouth and the whiskers of my cat!
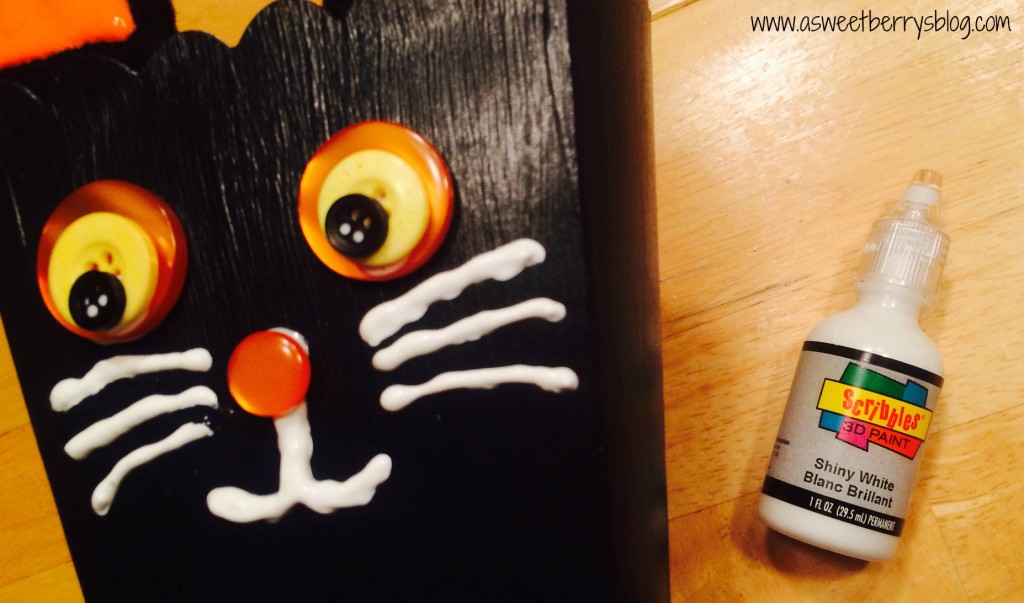
whiskers
And then he was complete!
popcornbox2014
I hope you liked my Halloween Cat Popcorn Box!
Until next time…….

Print
Be sure to enter for a chance to win some great prizes!
a Rafflecopter giveaway
Also, check out the other great Halloween Popcorn Box Blog Hop entries!!!

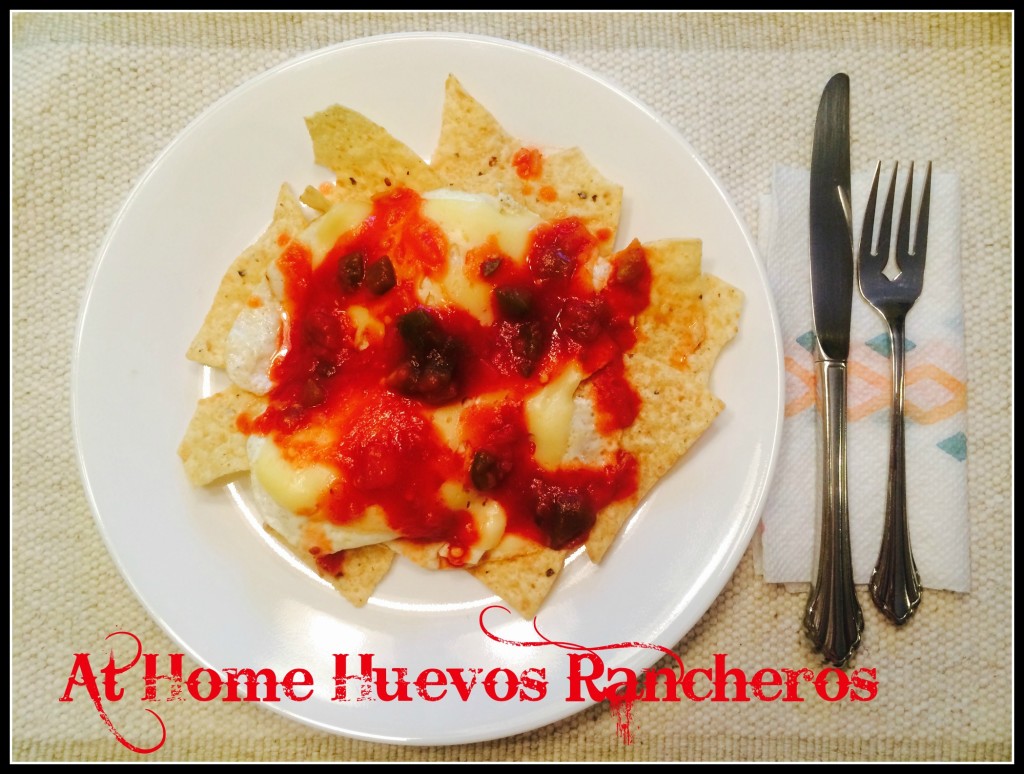
Simple At Home Huevos Rancheros My Way!

Huevos Rancheros
I am a huge fan of Mexican Food.  I love authentic, but enjoy the American versions as well.   A few months ago, I had Huevos Rancheros at a local restaurant and have craved it every since, so after dropping the boys off at school one morning, I decided to make it at home, with whatever I had in my cabinets!   I didn’t have many ingredients, but I made due with what I had and it turned out great!  It was super yummy and Gluten Free too!
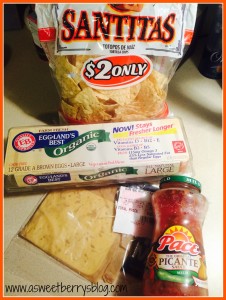
ingredients
My ingredients:
Santitas Corn Chips
Pace Picante Sauce
Eggs
Boars Head Havarti Cheese
Pam Cooking Spray

Using the Pam Cooking Spray, I fried two eggs.
cooking
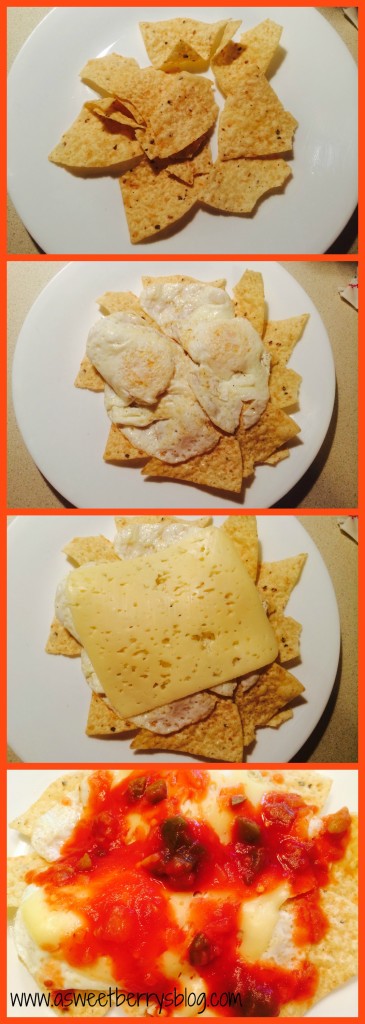
And then I assembled my dish, layering everything starting with the chips, then the eggs, then the cheese and lastly the Pace Picante Sauce!
assembly
And there you have it…..my Simple At Home Huevos Rancheros with the ingredients that I had at home!
Huevos Rancheros It was super yummy and gluten free too!!!!!
Until next time………
Print

Halloween Wreath Re-do

So, I love the $1/$3 section at my local Target.   Every time I go into Target, I have to take a peek at what is there.  I don’t usually buy anything, but on occasion I can find something that I can use!

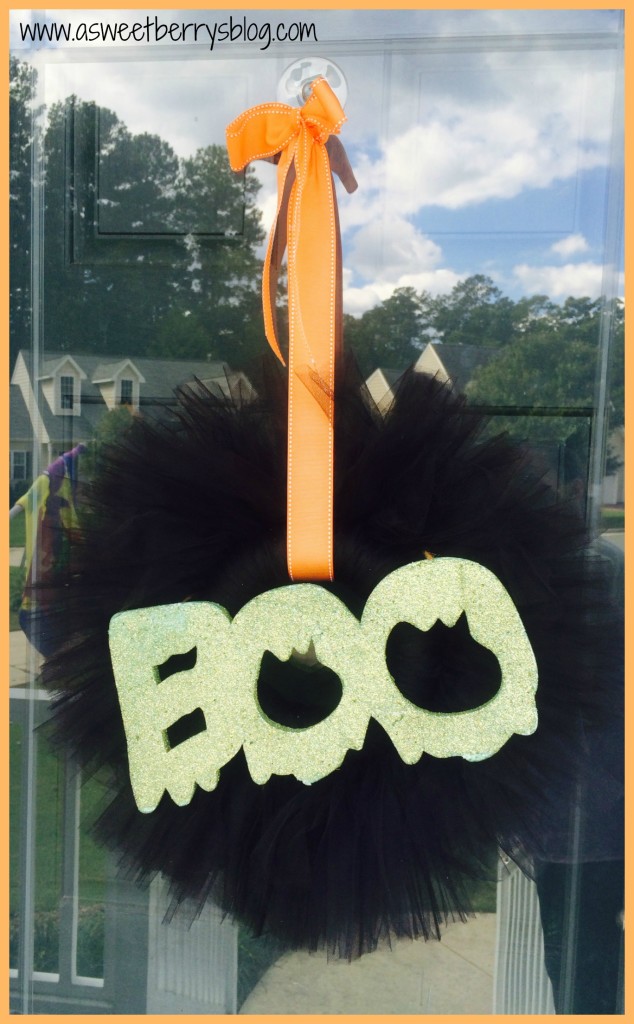
The wreath pictured below is one that I made a few years ago, using a styrofoam wreath, black tulle, some ribbons and a styrofoam “BOO” that I found in the $1 section at Target.  In the past few years of using this wreath, the styrofoam “BOO” has started to wear away.  So…….. old wreath

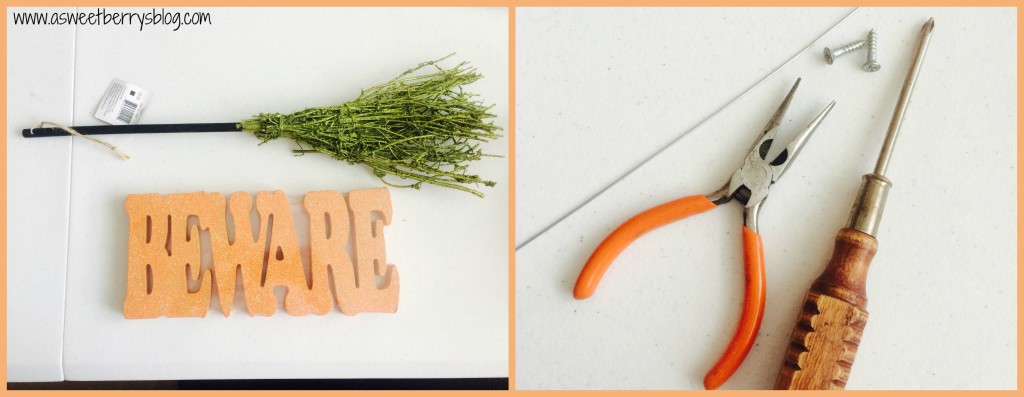
I just happened to walk through the $1/$3 section at Target the other day and saw some things I could use to spruce up my Halloween Wreath!   I found a wooden “BEWARE” and a witches broom.  Wondering how I was going to attached these new items to my wreath, I knew I had the materials to do that at home.

materials Wooden “Beware”, witches broom, garden wire, wire cutters, small screws and a screwdriver

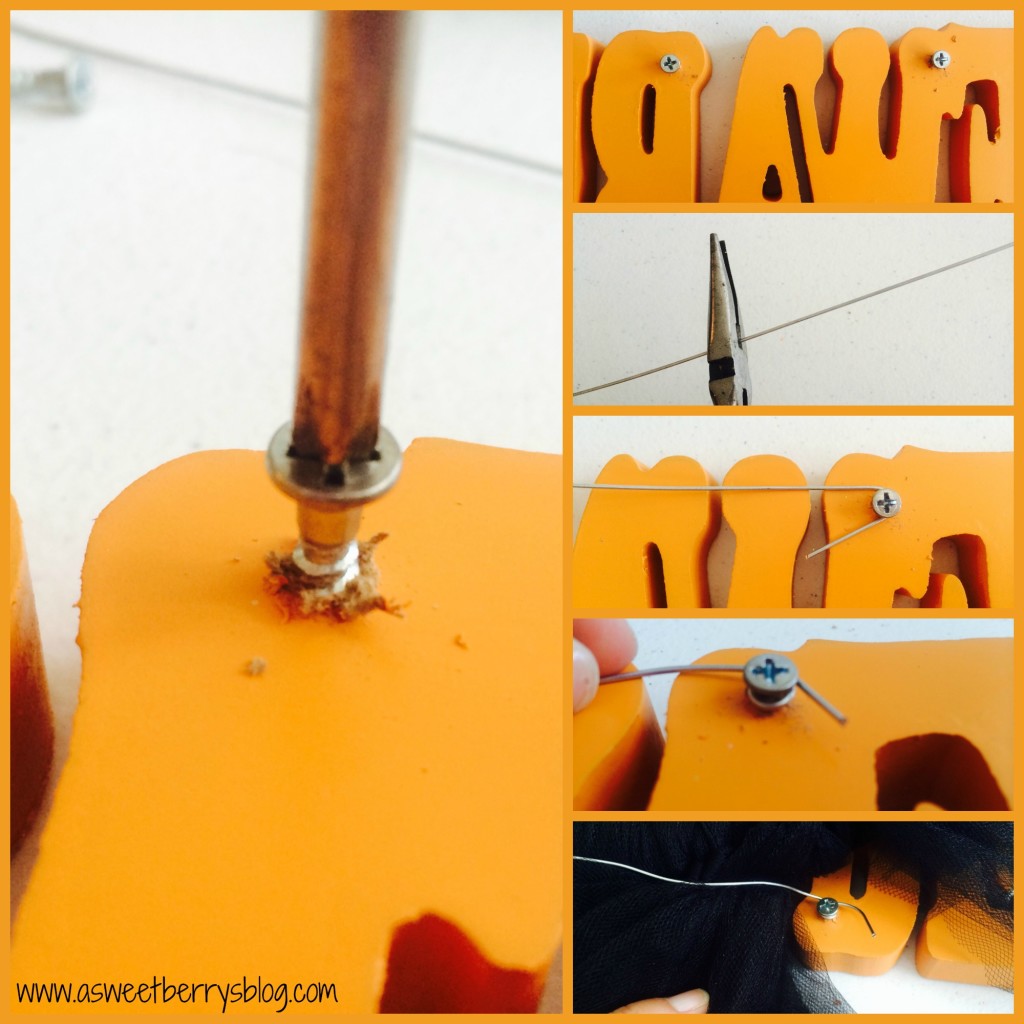
Using my screwdriver, I screwed my two small screws into the back of the “BEWARE”.   I then cut my wire to size so that I could attached it to the word and then to the wreath.  I twisted the wire around the screws and then attached it to my wreath.

beware

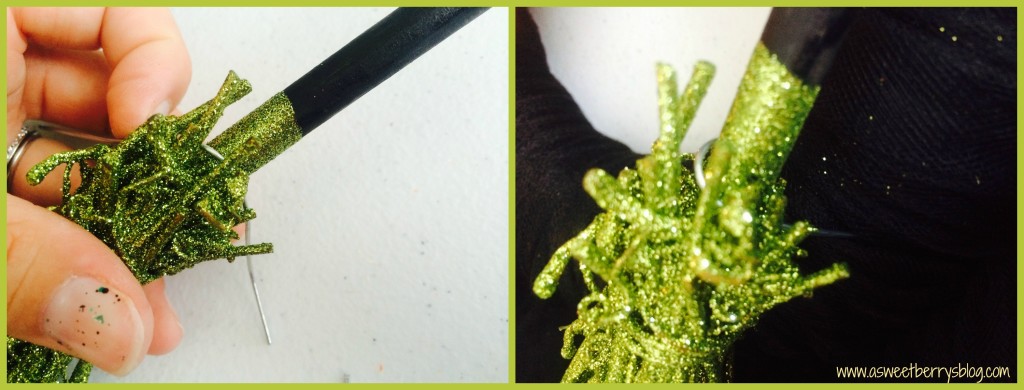
Using a piece of the gardening wire, I twisted it around the broom and then stuck the ends of the wire into the foam of the wreath. broom

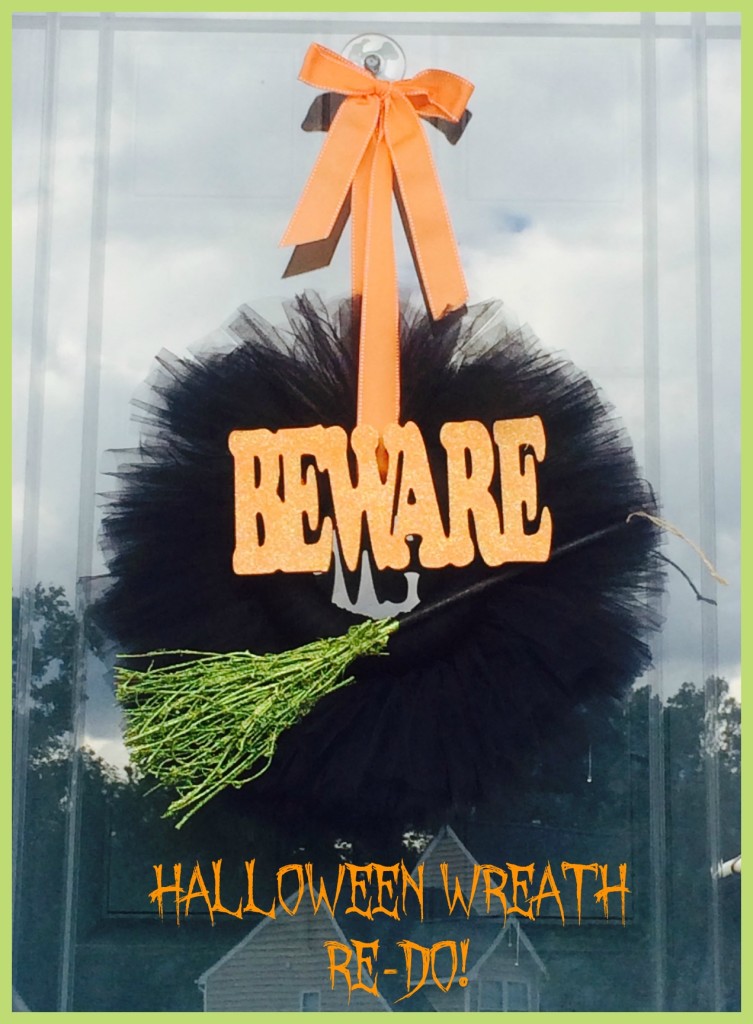
Then, I hung it up and how the rest of the Halloween decorating begins!!!   Isn’t it cute?!?!?!
Halloween Wreath

Hope you like my Halloween Wreath Re-do, using items for the Target $1/$3 section!!!
Until next time…………

Print


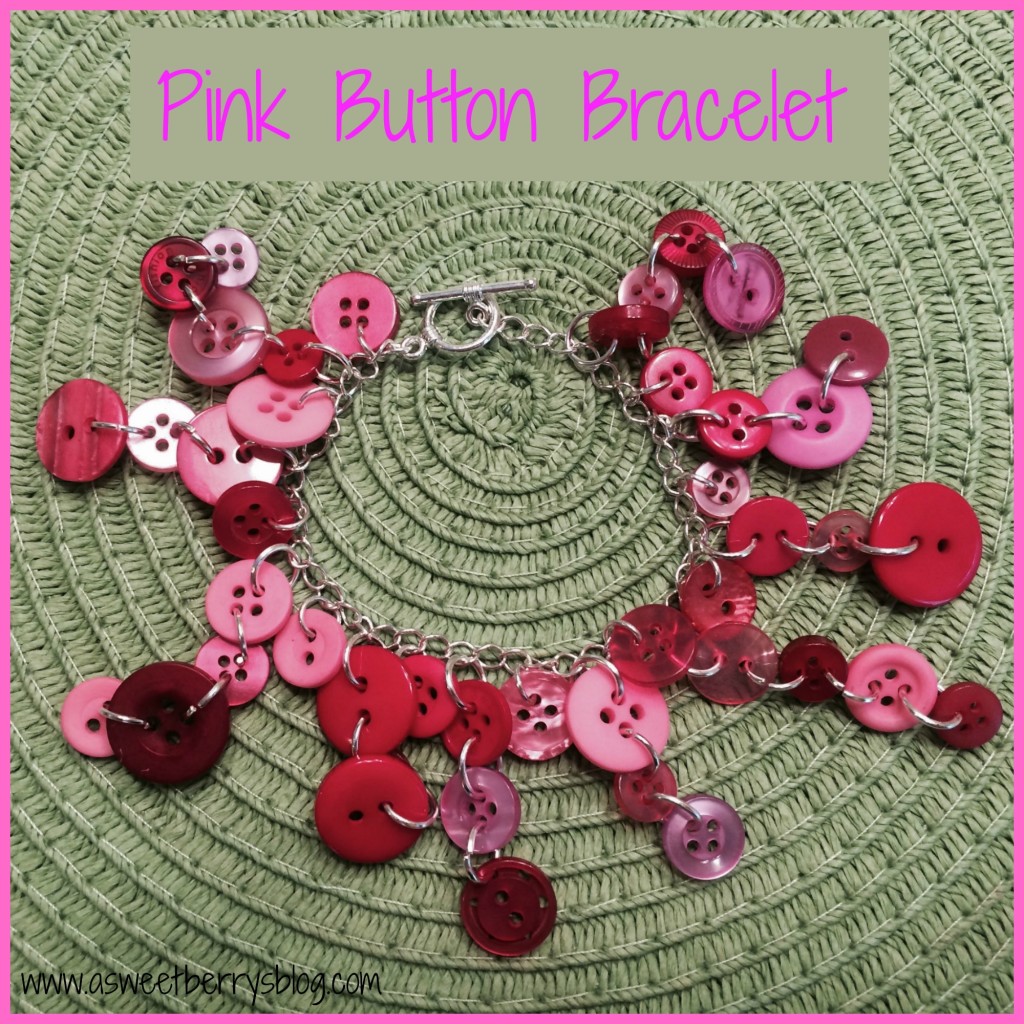
Pink Button Bracelet

Pink Button Bracelet

I love dangly bracelets and this pink button bracelet is super cute and super easy!  And it can be worn in October to show your support for Breast Cancer Awareness.   Finished Bracelet

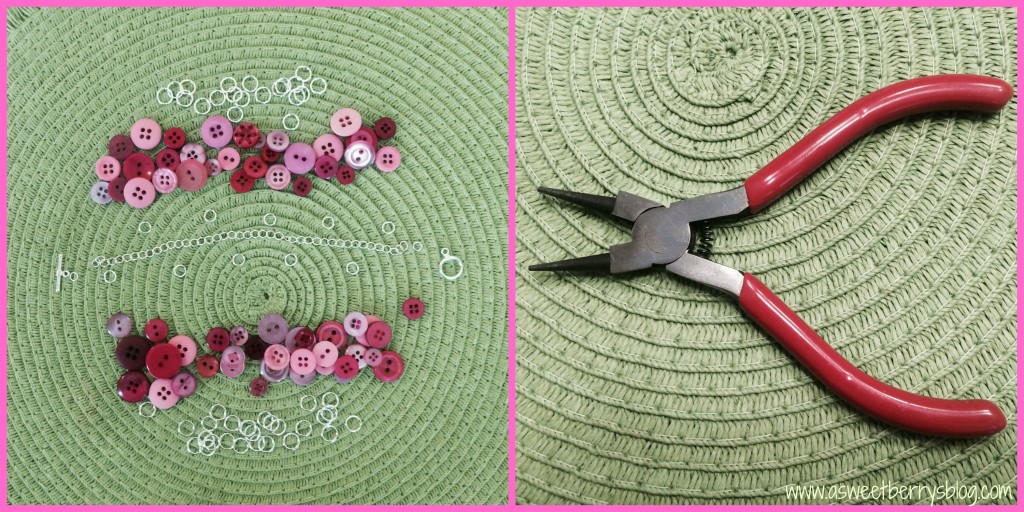
What you need:
Pink Button Bracelet Supplies
Laura Kelly’s Sweet Blush Collection Buttons from Buttons Galore & More
Jump Rings (two different sizes)
Chain (sized to fit your wrist)
2 piece toggle clasp set
Wire Looping pliers (round nose pliers)

Using my wire looping pliers, I opened all of my jump rings slightly, most of them big enough to get a button on them and then connect them to another button and the rest of them only big enough to connect to the chain.  As you can see in the picture below, I connected a few buttons to make a strand or just left them as singles.  I did try to make it even, so that it would not be too heavy on one end. I also used two jump rings to connect each piece of the toggle clasp to the ends of the chains.
Putting it together
After I had all of my buttons together with jump rings, I attached them to the chain.  And then it was complete!
Finished Bracelet
Hope you like my Pink Button Bracelet. Thanks for reading, and

Until next time…………
ASWEETBERRYLOGO

Laura Kelly’s Pet Shop Sizzix Collection T-shirt

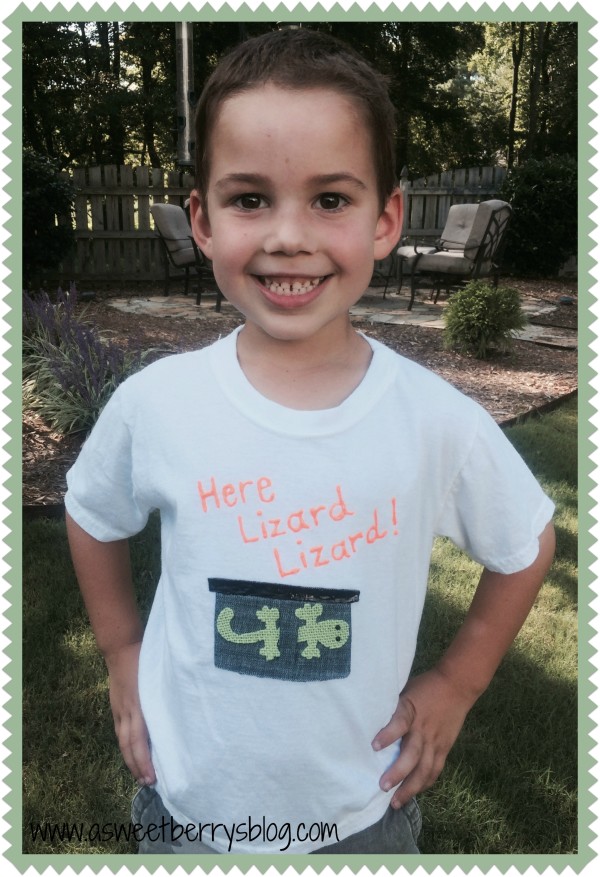
Laura Kelly’s Pet Shop Sizzix Collection T-shirt Benjamin final

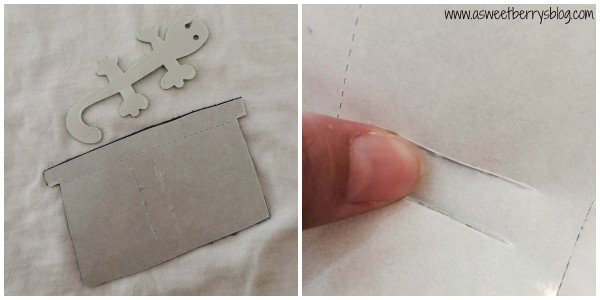
Laura Kelly just launched a new line of die cuts with Sizzix/Ellison.  It’s really exciting and they are such cute die cuts.  Laura invited me to join in her quest to promote the line!   It’s called the Pet Shop collection.  Click on the link to check it out!!!   I decided to use the terrarium and lizard that Laura so kindly precut for me!
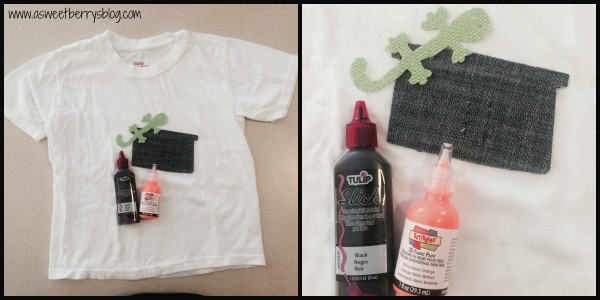
Things you will need:
-a t-shirt
-Laura Kelly’s Pet Shop Dies by Ellison
-Die Cut Machine
-Scribbles 3D Fabric Paint
-Tulip 3D Fabric Paint
-Fabric with an adhesive backing

materials

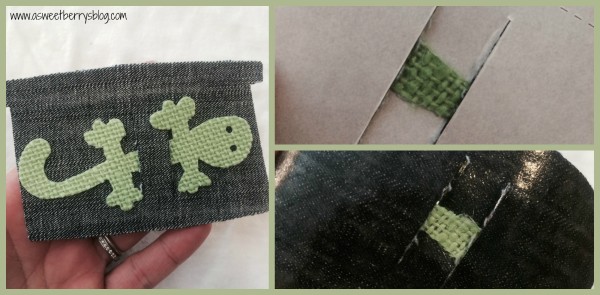
Before I removed the adhesive cover, I inserted my lizard into the precut slots.   back pieces

I then gently removed the backing of the lizard first and then the backing from the terrarium. putting it together

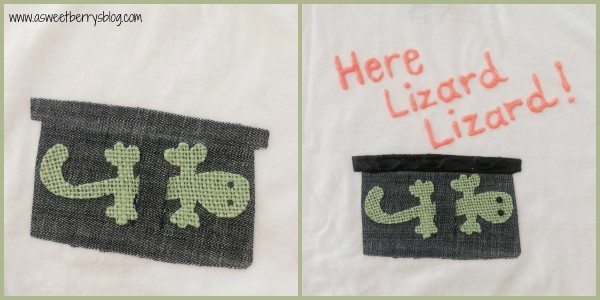
 I then placed the terrarium onto my shirt, making sure I put it exactly where I wanted it because it’s not easy to move!!!   Next, I added the cute little saying “Here Lizard Lizard!”, black fabric paint to the top of the terrarium to make it look like it has a lid and eyes on the lizard!

complete

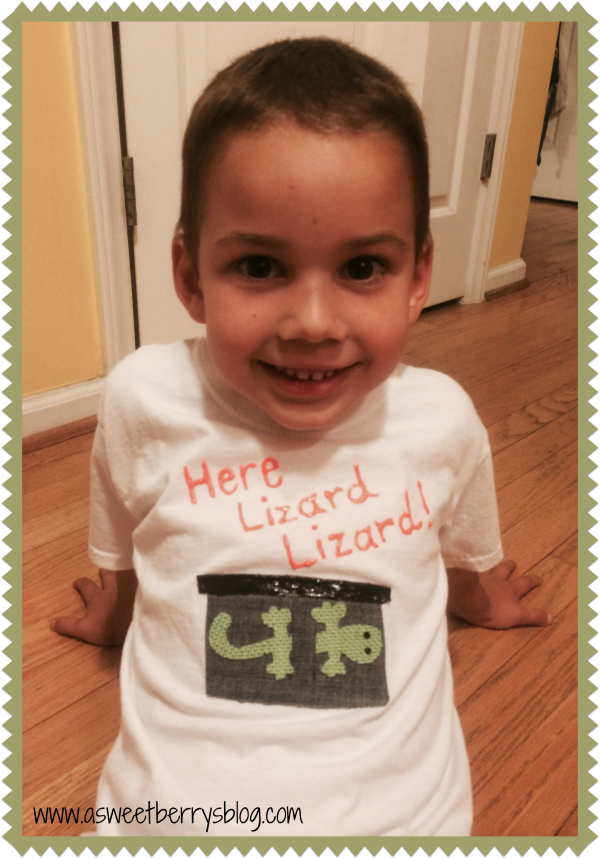
Then I put it on this cute little guy and he loves it!!!  What little boy doesn’t like pets?!?!? Benjamin

Hope you like my cute little lizard and terrarium Pet Shop Collection by Laura Kelly t-shirt!!!

Until next time…..

  FINAL LOGO

  a Rafflecopter giveaway

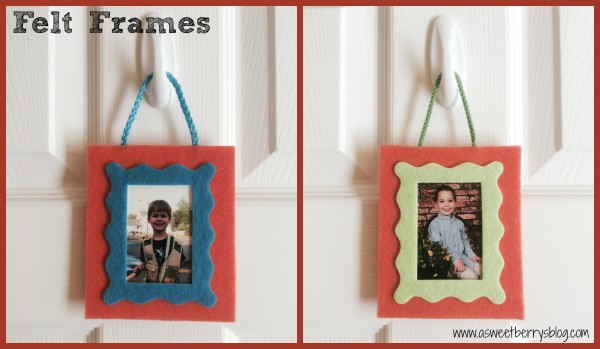
Simple Felt Fabric

Frames

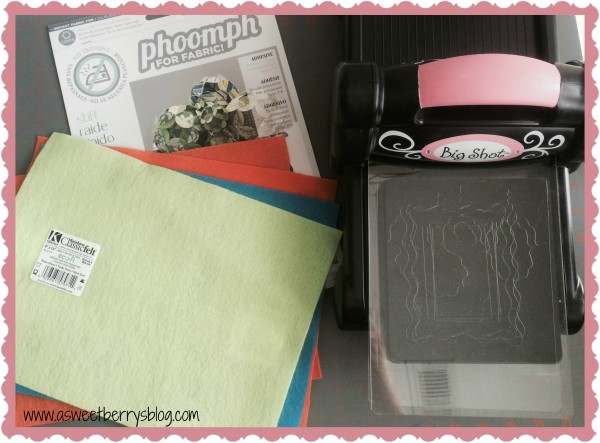
supplies

Supplies:
Big Shot Sizzix Machine
Sizzix Wavy Frame Die
Kunin Felt
Phoomph
rope from a gift bag handles that I had in my stash.

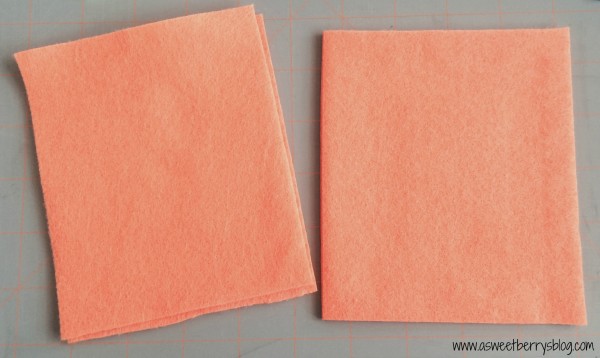
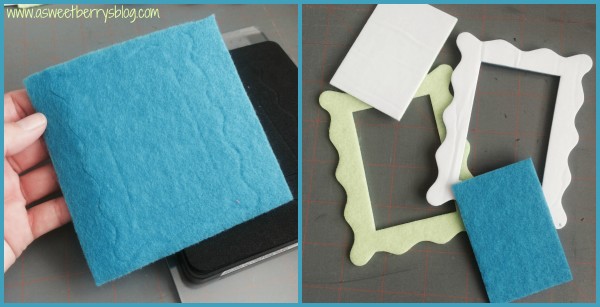
First I cut four orange rectangles that my frames would fit on.

background

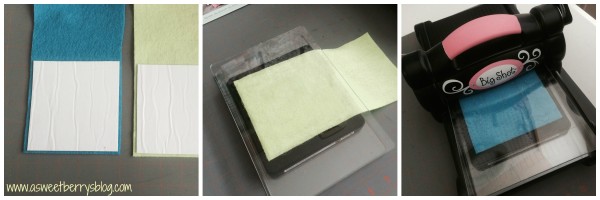
 Then, I cut my blue and green felt so that it was a little bigger than my die and added Phoomph to the back, only removing one side of the paper.  I ran it through the Big Shot with the die using the cutting pads. (To do it again, I would not cover the full back of the frame, so that when it is placed on the background, the photos could be changed out)

process

Then I had my frame cut outs.

frame cutouts

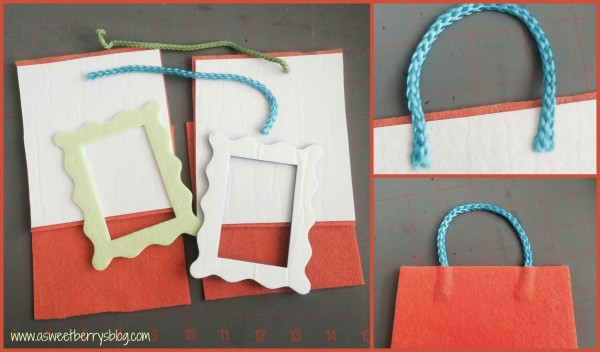
I removed the paper from the Phoomph that was on my orange piece of felt, added my rope to make a hanger and then placed a second piece of orange felt onto the Phoomph.

putting it together

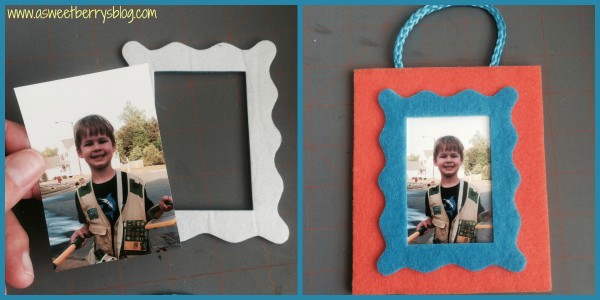
I took a photo of my boys and cut them to a size that would fit within my frame leaving a little of the Phoomph exposed, removed the paper from the back of my frames, stuck the photo on and then applied it to my orange background.

photo and frame

Then I had these cute little frames to hang on the boys bedroom doors!  They could also be made with Christmas colors and be used as Christmas ornaments!  Or a gift for a grandparent!

Frames

Hope you like my simple felt frames!

Until next time…..

ASWEETBERRYLOGO


Buttons Galore & More Creations Pendant Kit


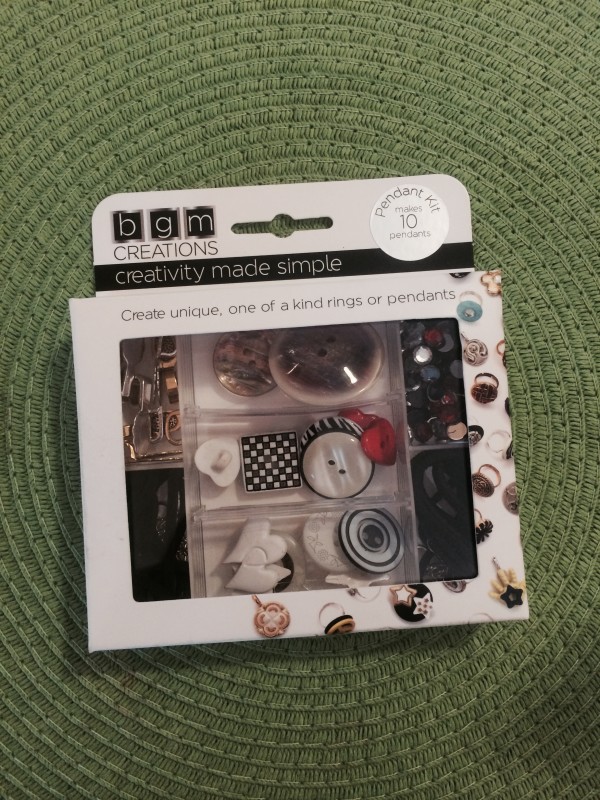
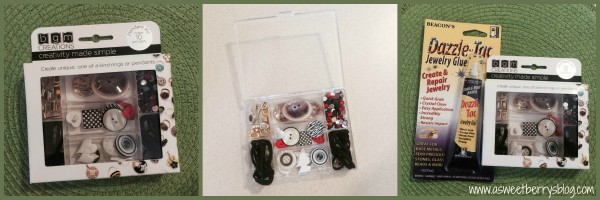
Buttons Galore & More has these really convenient Do it yourself jewelry making kits that are simple and fun!  This particular kit makes up to ten pendants for necklaces.  Everything is included except for the adhesive!  And the kit comes in a clear reusable box.

IMG_1440

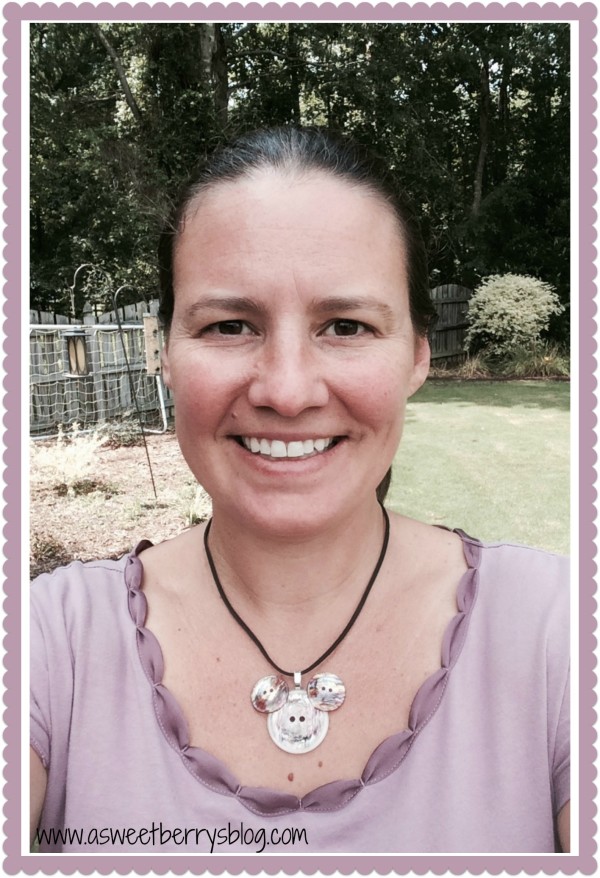
We are gearing up to go to Disney in the fall and I used that as my inspiration for the pendants that I created!

Final with me

The adhesive that I used was Beacon’s Dazzle-Tac Jewelry Glue.

BGM Kit pics

First, I came us with the pendants that I wanted to create.

before

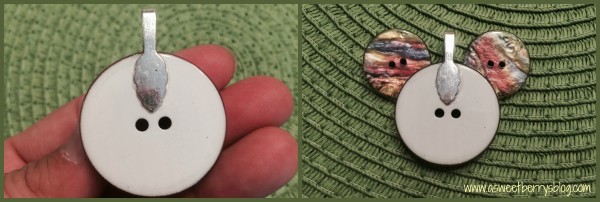
Using the adhesive, I attached the silver bail to the back of the buttons.   For this pendant, I added two buttons to the front of the big button to make it look like Mickey Mouse!!!

process

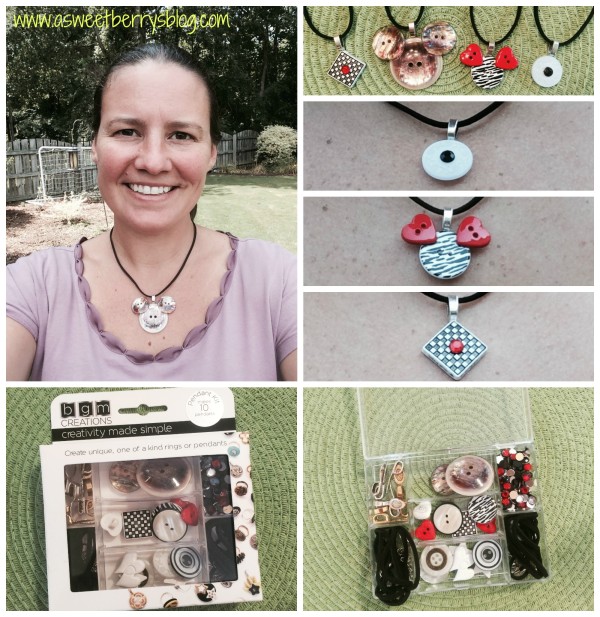
Check out the pendants that I came up with!   Two Mickey Mouse inspired pendants and two simple pendants!   Then I added them to the black cords that were included!

BGM Kit

Until next time……..

katie-asweetberry

Repurposed Fabric Coasters

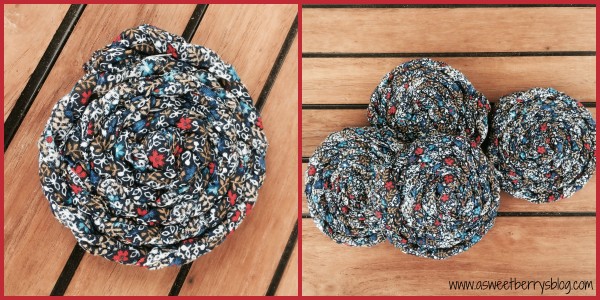
So, in trying to clean up my crafting area, I realized that I have a lot of scrap fabric laying around.  A lot of it is still good and enough fabric to do something with.  So, I decided to make fabric coasters with some of mine.

finals

 These coasters were super easy and even kids can help making them!

To make these awesome coasters, you will need:
-scrap fabric
-scissors
-a ruler
-thread (I used Coats & Clark) and needle
-bread ties

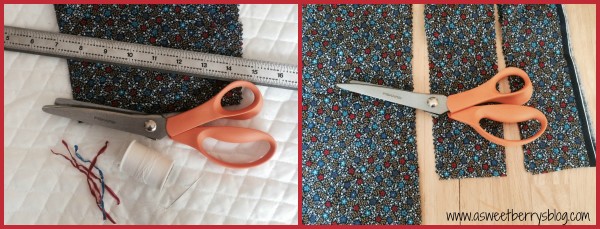
First, you are going to want to cut strips of fabric, roughly 3 inches by 24 inches.

needs

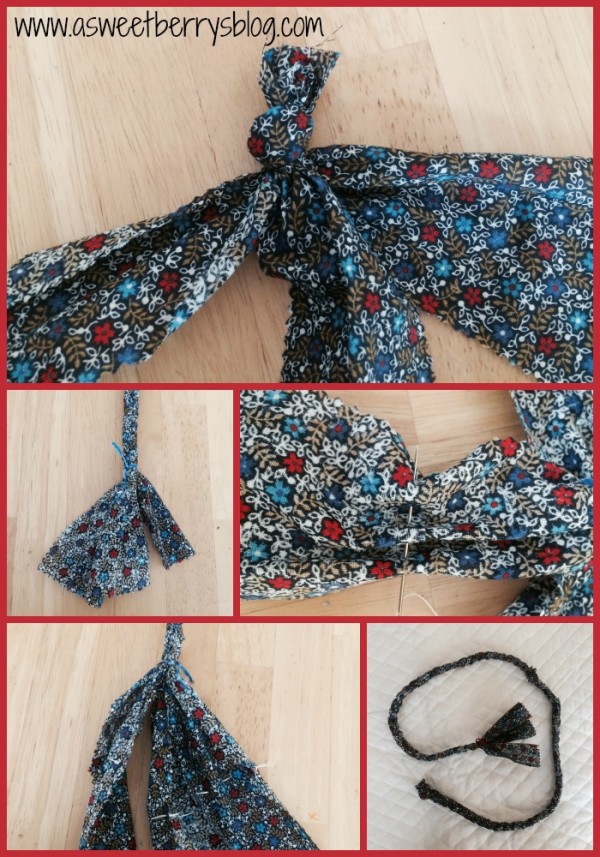
 Then, tie three strips together in a tight knot at one end.  Braid the strips until you get about three inches from the bottom.  Place the bread tie at the end of the braid to hold it into place.   Using a needle threaded so that you have double thread, sew another strip to each of the three braided strips.  This stitch can be loose, it’s just needed to make the strips longer and it will be braided in, so it won’t come apart.  After all three extra strips are sewn on, continue to braid until you are near the end.  Using another bread tie, secure it around the braid to hold it in place.

steps

After you have your braided strand, start with the end that has the knot.  Begin winding it. Run your needle and thread through the knot and then the part that is wound up, to hold it in place.  Continue winding your strand flat and place stitches through the strand as you keep winding it.  This will help hold everything in place and keep it from falling apart.  Once you get to the end, fold in and under the extra fabric and sew it to the wound up fabric to again hold it in place.

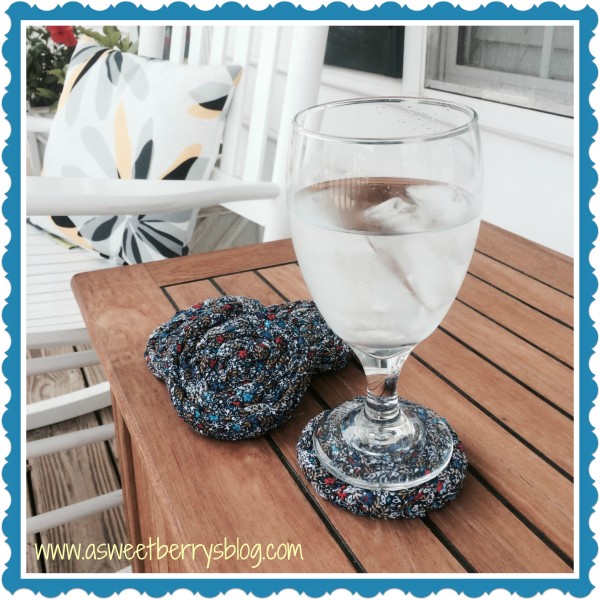
Then, place it on your table and put your glass on it!!!!!

CoastersFinal

I just love these and they look great on my front porch table for our evening rocks while the boys play!!!!

Hope you like these as much as I do!

Until next time……………

Surfs Up Magnet – Sculpey Fun

As a kid, I used to love playing with clay.  Through the years, I have found several clay cups, jewelry holders, and Christmas ornaments that I made as a kid.  But I have to say, I still love working with clay as an adult.  And I love working with my kids with clay.  My favorite brand of clay is Sculpey!  Sculpey is so easy to work with, even for the kids!

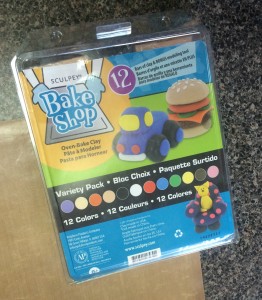
One of my favorite Sculpey products is their Bake Shop collection.  It’s super soft and easy for little fingers, such as Landon and Benjamin’s to use!  And it has a great variety colors!!

Bake Shop

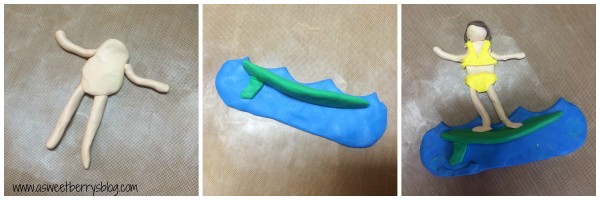
I used the Bake Shop Sculpey to create a Surfer Girl Magnet to put on my refrigerator to remind me of summer!!!!  She was super easy to create!

Steps

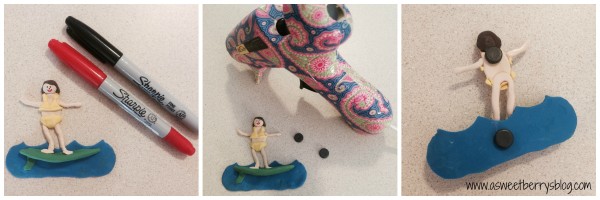
After I finished her, I baked her in the oven 275 degrees for 15 minutes, I let her cool.  Then, I drew on a face using Sharpie‘s and then using my Ad-tech glue gun, I added magnets. magnets

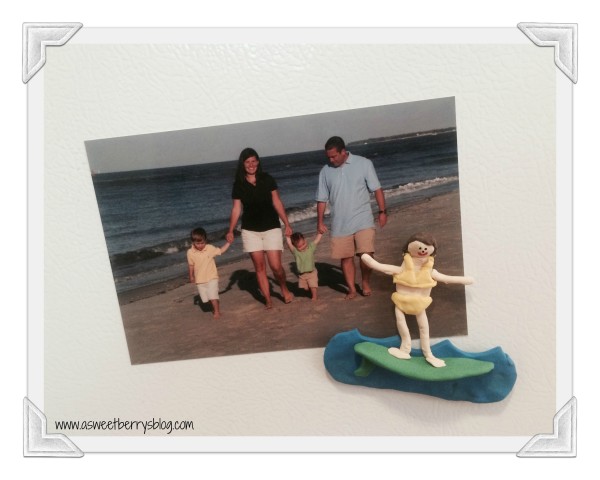
Then, I stuck my awesome yellow bikini clad surfer girl on the refrigerator with a  family beach picture.  Now I can think about the beach all year long!!!!

Final

Until next time…….