Tag Archives: Expressionery.com

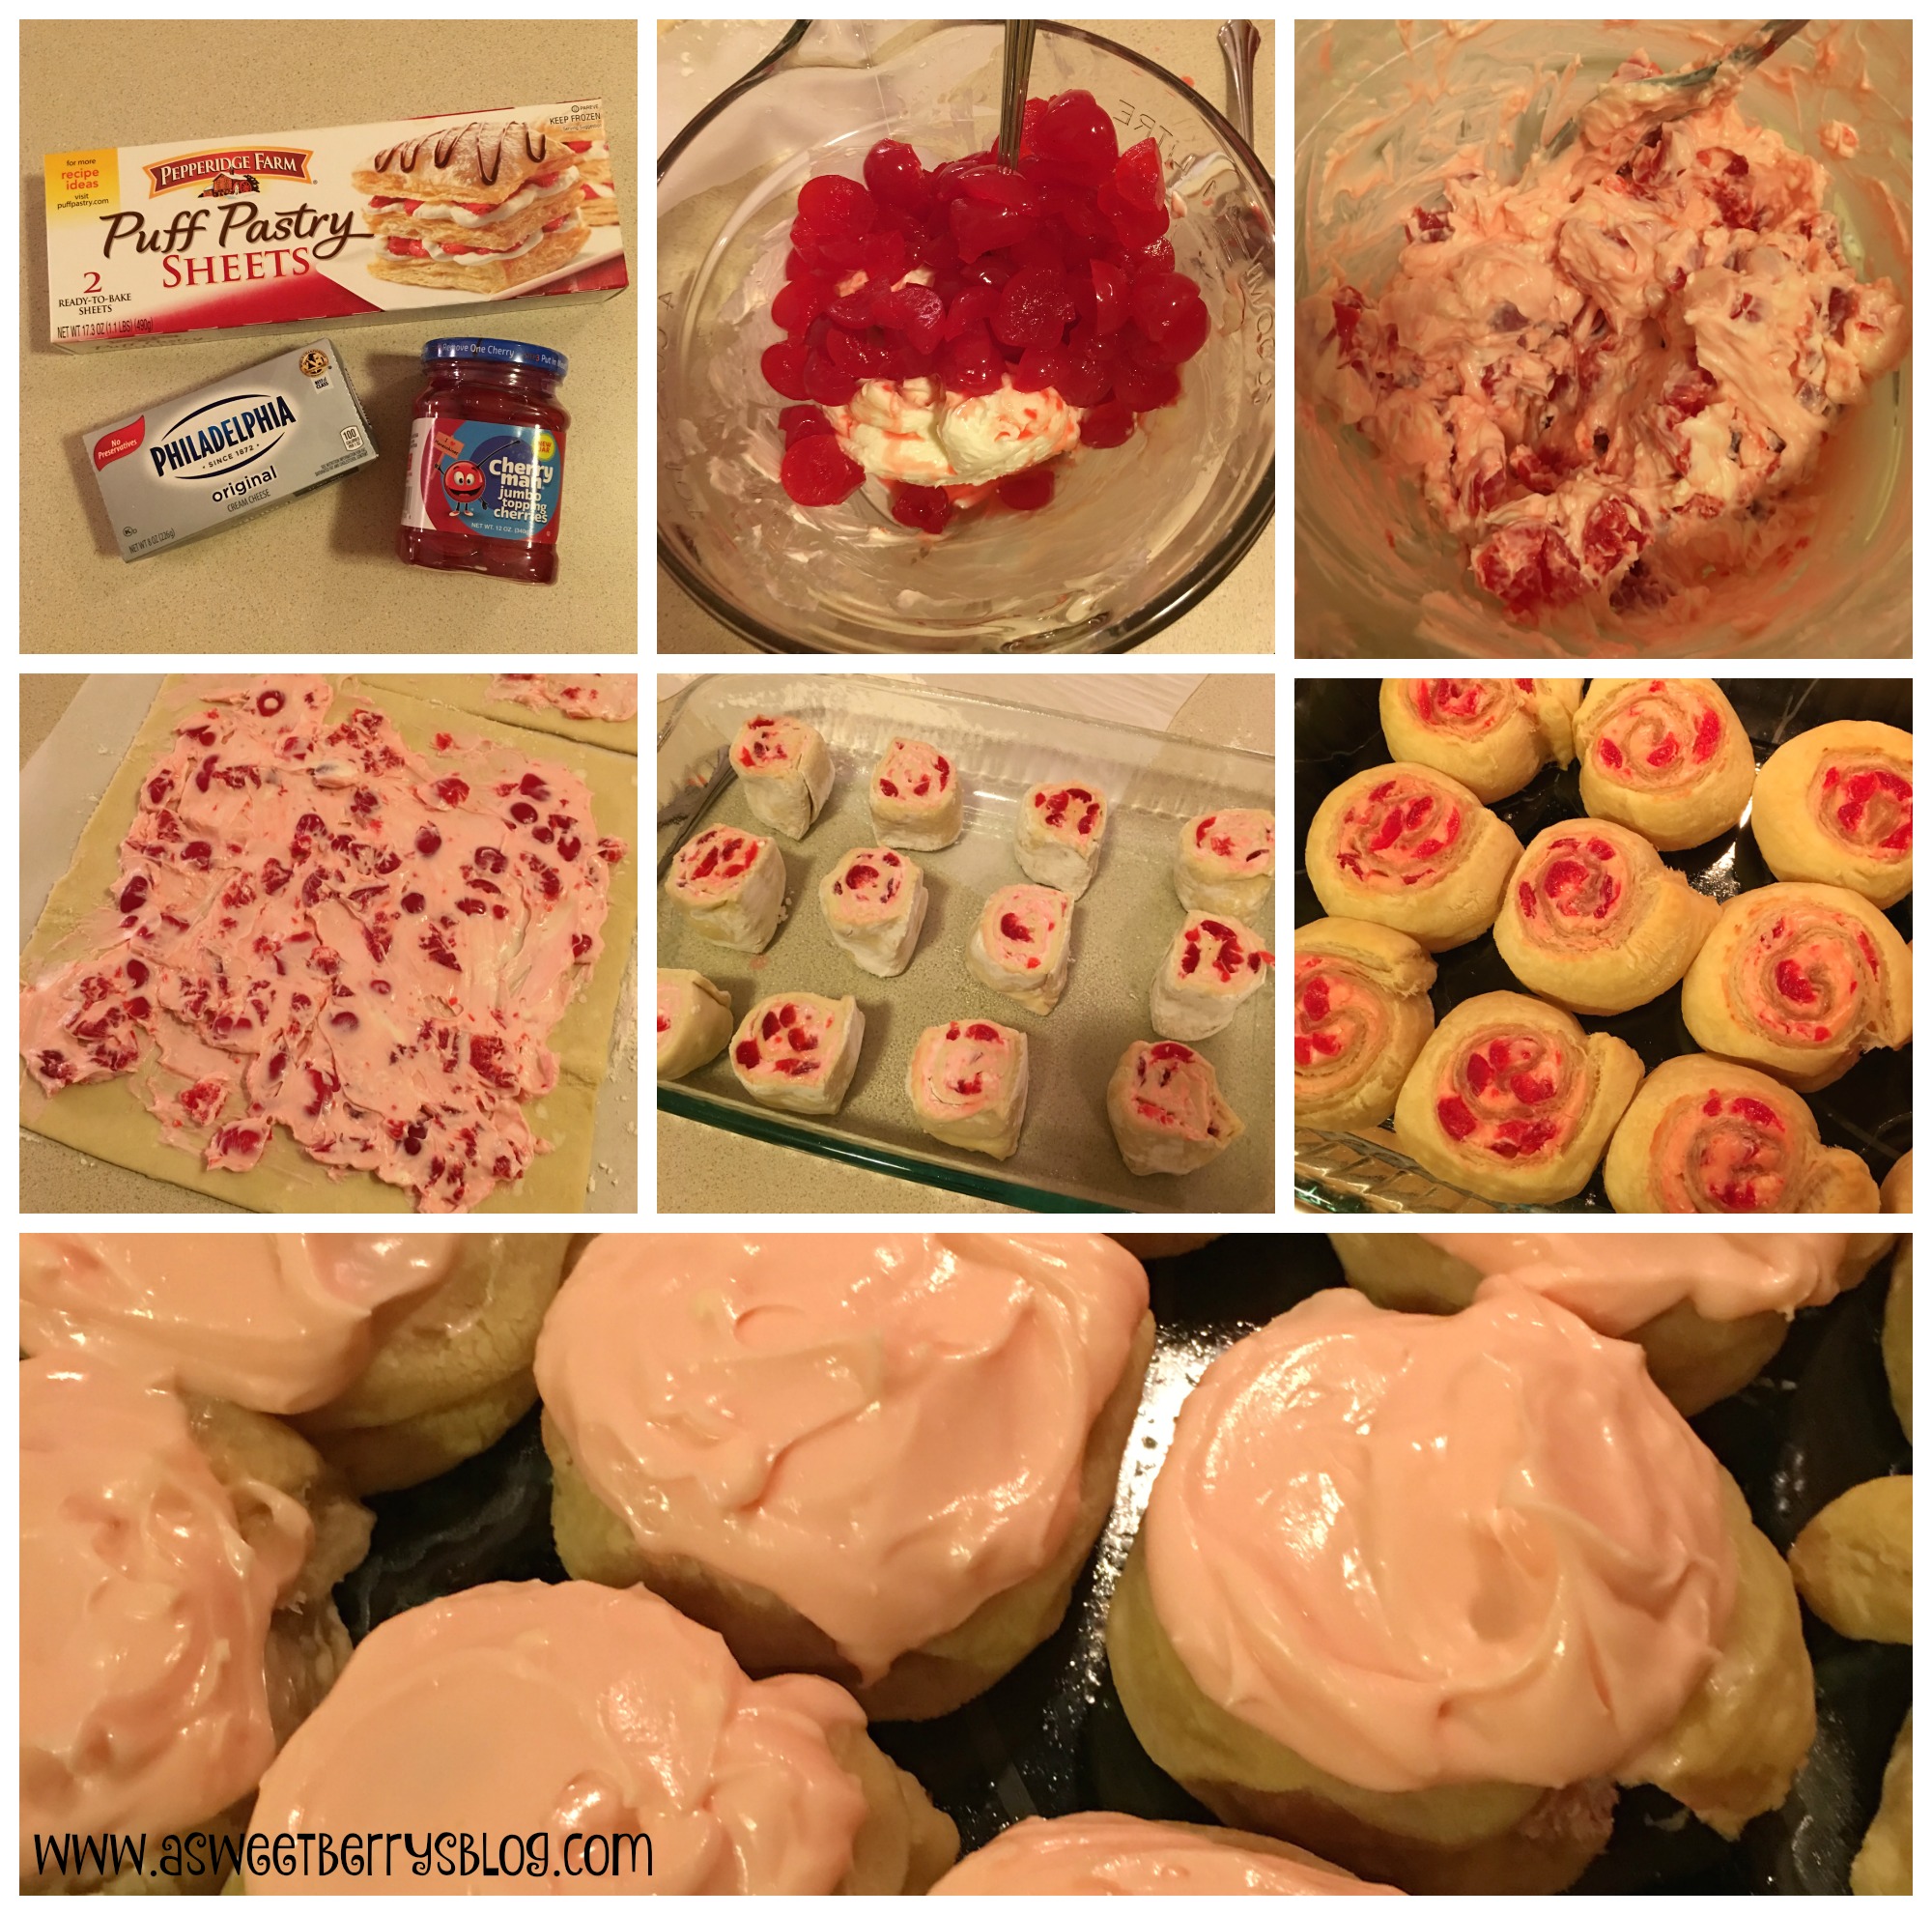
Cherry Man Cherry Cream Cheese Rolls with Cherry Cream Cheese Frosting

Final

Disclosure:  This blog post is compensated and I also received product from CherryMan/Seneca Foods for this blog post.  All opinions are my own.  This recipe is also my own recipe.   This post is a part of the Laura Kelly Design Team.   There is also an Expressionery.com affiliate link in this post.

Cherries are very popular in our house with the boys, especially Maraschino Cherries.   And CherryMan has the best!   I am so excited to share this yummy recipe with you.   It is great for a special breakfast or for an afternoon snack!   It could also be for an after dinner dessert!  It’s a super easy recipe, only consisting of a few ingredients and is a great recipe for the children to help with!

making of

Cherry Man Cherry Cream Cheese Rolls with Cherry Cream Cheese Frosting

Ingredients

  • Pepperidge Farms Puff Pastry Sheets (you will need 2 sheets)
  • 16 oz of Cream Cheese
  • 1 jar of CherryMan Maraschino Cherries with juice
  • 1.5 cups of Powder Sugar
  • 4 tbsp butter

Instructions

  1. Chop the cherries into quarters. You can save a few to add to the top on your frosted rolls. Make sure to save the jar of juice.
  2. Mix the cherries in with 8 oz of cream cheese.
  3. Roll the pastry sheets out onto a piece of parchment paper that has been lightly sprinkled with flour.
  4. Spread the Cherry Cream Cheese Mix out onto the pastry sheets.
  5. Roll the pastry sheets up and slice into rolls. I cut mine at about 1.5 inches, getting 6 out of each roll.
  6. Place in a lightly greased baking dish or pan.
  7. Bake at 400 degrees for 30 minutes.
  8. Let cool.
  9. In a mixing bowl, mix together 8 oz of cream cheese with butter until smooth.
  10. Add in the 1.5 cups of Powder Sugar.
  11. Add in 7-8 tsp of the cherry juice. You can add more or less, to your liking.
  12. Spread on cooled rolls.
  13. If you saved cherries for the top, add one to each roll.
Schema/Recipe SEO Data Markup by Yummly Rich Recipes
http://www.asweetberrysblog.com/2016/06/15/cherry-man-cherry-cream-cheese-rolls-with-cherry-cream-cheese-frosting/

You could also give these sweet treats out to friends or family.  Using my Sizzix Eclips2, I cut out a cute little square box with a lid that I purchased from the SizzixShapeStore.  Using a Tombow tape runner, I put it together with the instructions provided with the cutting file.  I cut out cherries, leaves and stems and added them to the sides of my box!  Once the box was complete, I used my Expressionery.com self-inking stamp designed by Laura Kelly to make a label for the top of my box.  You can get your own self-inking stamp here!!! box

I hope you decide to try this delish dessert!  It was adult and kid test and approved!  

Katie-Signature-2

As this post was a part of the Laura Kelly Design Team monthly post, there are many other CherryMan Cherry Recipes by some really great bloggers!  Be sure to check out those below.  Also, be sure to enter to win a CherryMan Prize Pack and $100 Gift Card!!!

a Rafflecopter giveaway


Until next time….


Teacher Appreciation featuring Expressionery.com

Teachers are an important part of our children’s lives.  They spend just as much time during the day with them as we do, if not more.  They teach them how to read, write and count.  They teach them the days of the week and the rules they should follow.  They read to them and hug them and play with them.   The children really look up to them.  
We have been very fortunate this year.  Our youngest son got the same Kindergarten teacher that our oldest son had when he was in Kindergarten.  She has been a wonderful teacher for both of my boys and we truly appreciate her!

Nothing says that you appreciate a teacher like a gift of goodies!   And we love giving gifts, especially to the teachers that are molding our children to be wonderful people.
final
Expressionery.com has a large variety of gifts for teachers!  One of my favorites being personalized self-inking stamps.  They also have notecards and notepads that are perfect for teacher gifts too.  They are not only great gifts for teachers, they are great gifts for anyone!

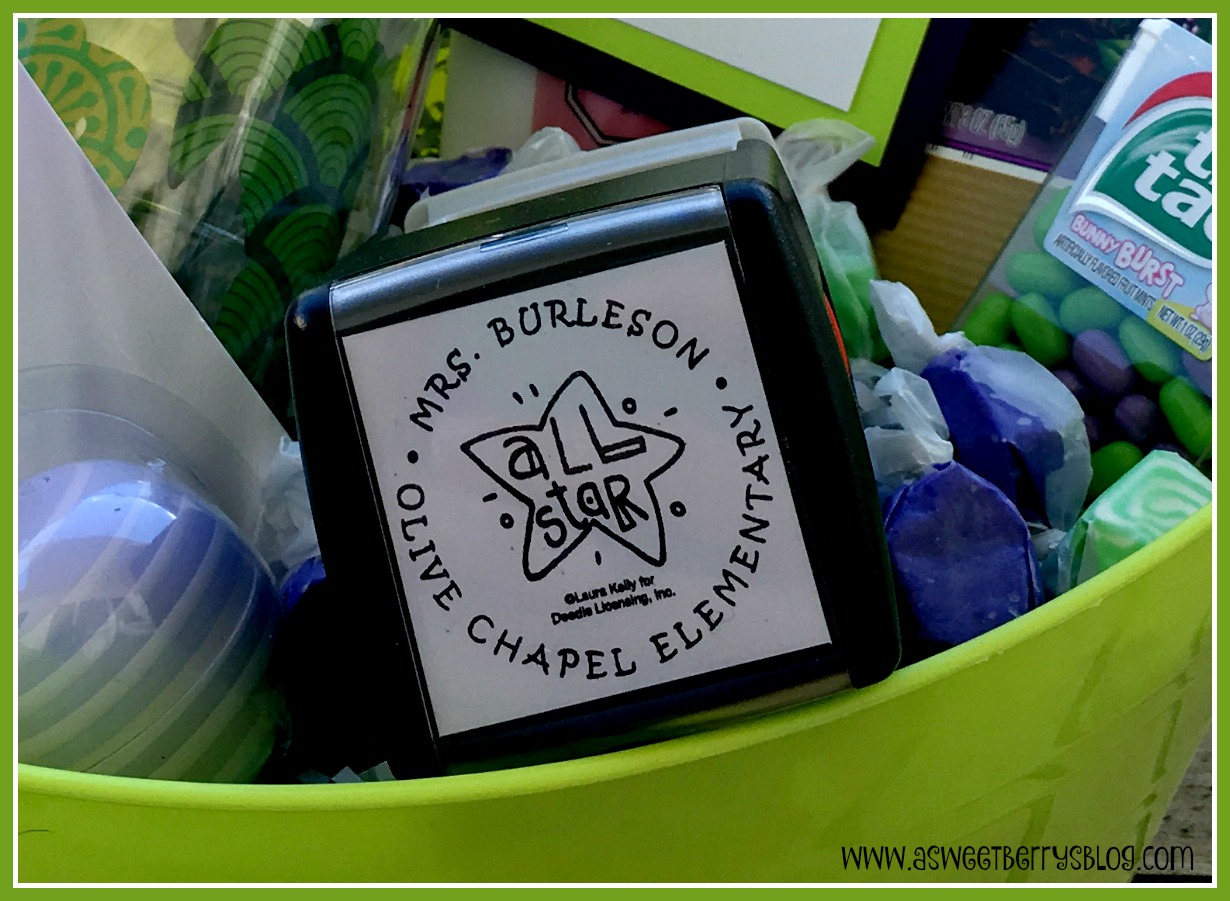
I included the Expressionery.com stamp in a basket full of goodies!   Of course, the majority of the items in the gift basket are “Berry” themed or coordinate with my favorite colors!  I even included a bottle of Udderly Smooth lotion, a fun Tervis bottle and a magazine!  You could pretty much include any cute and fun items!
stamp
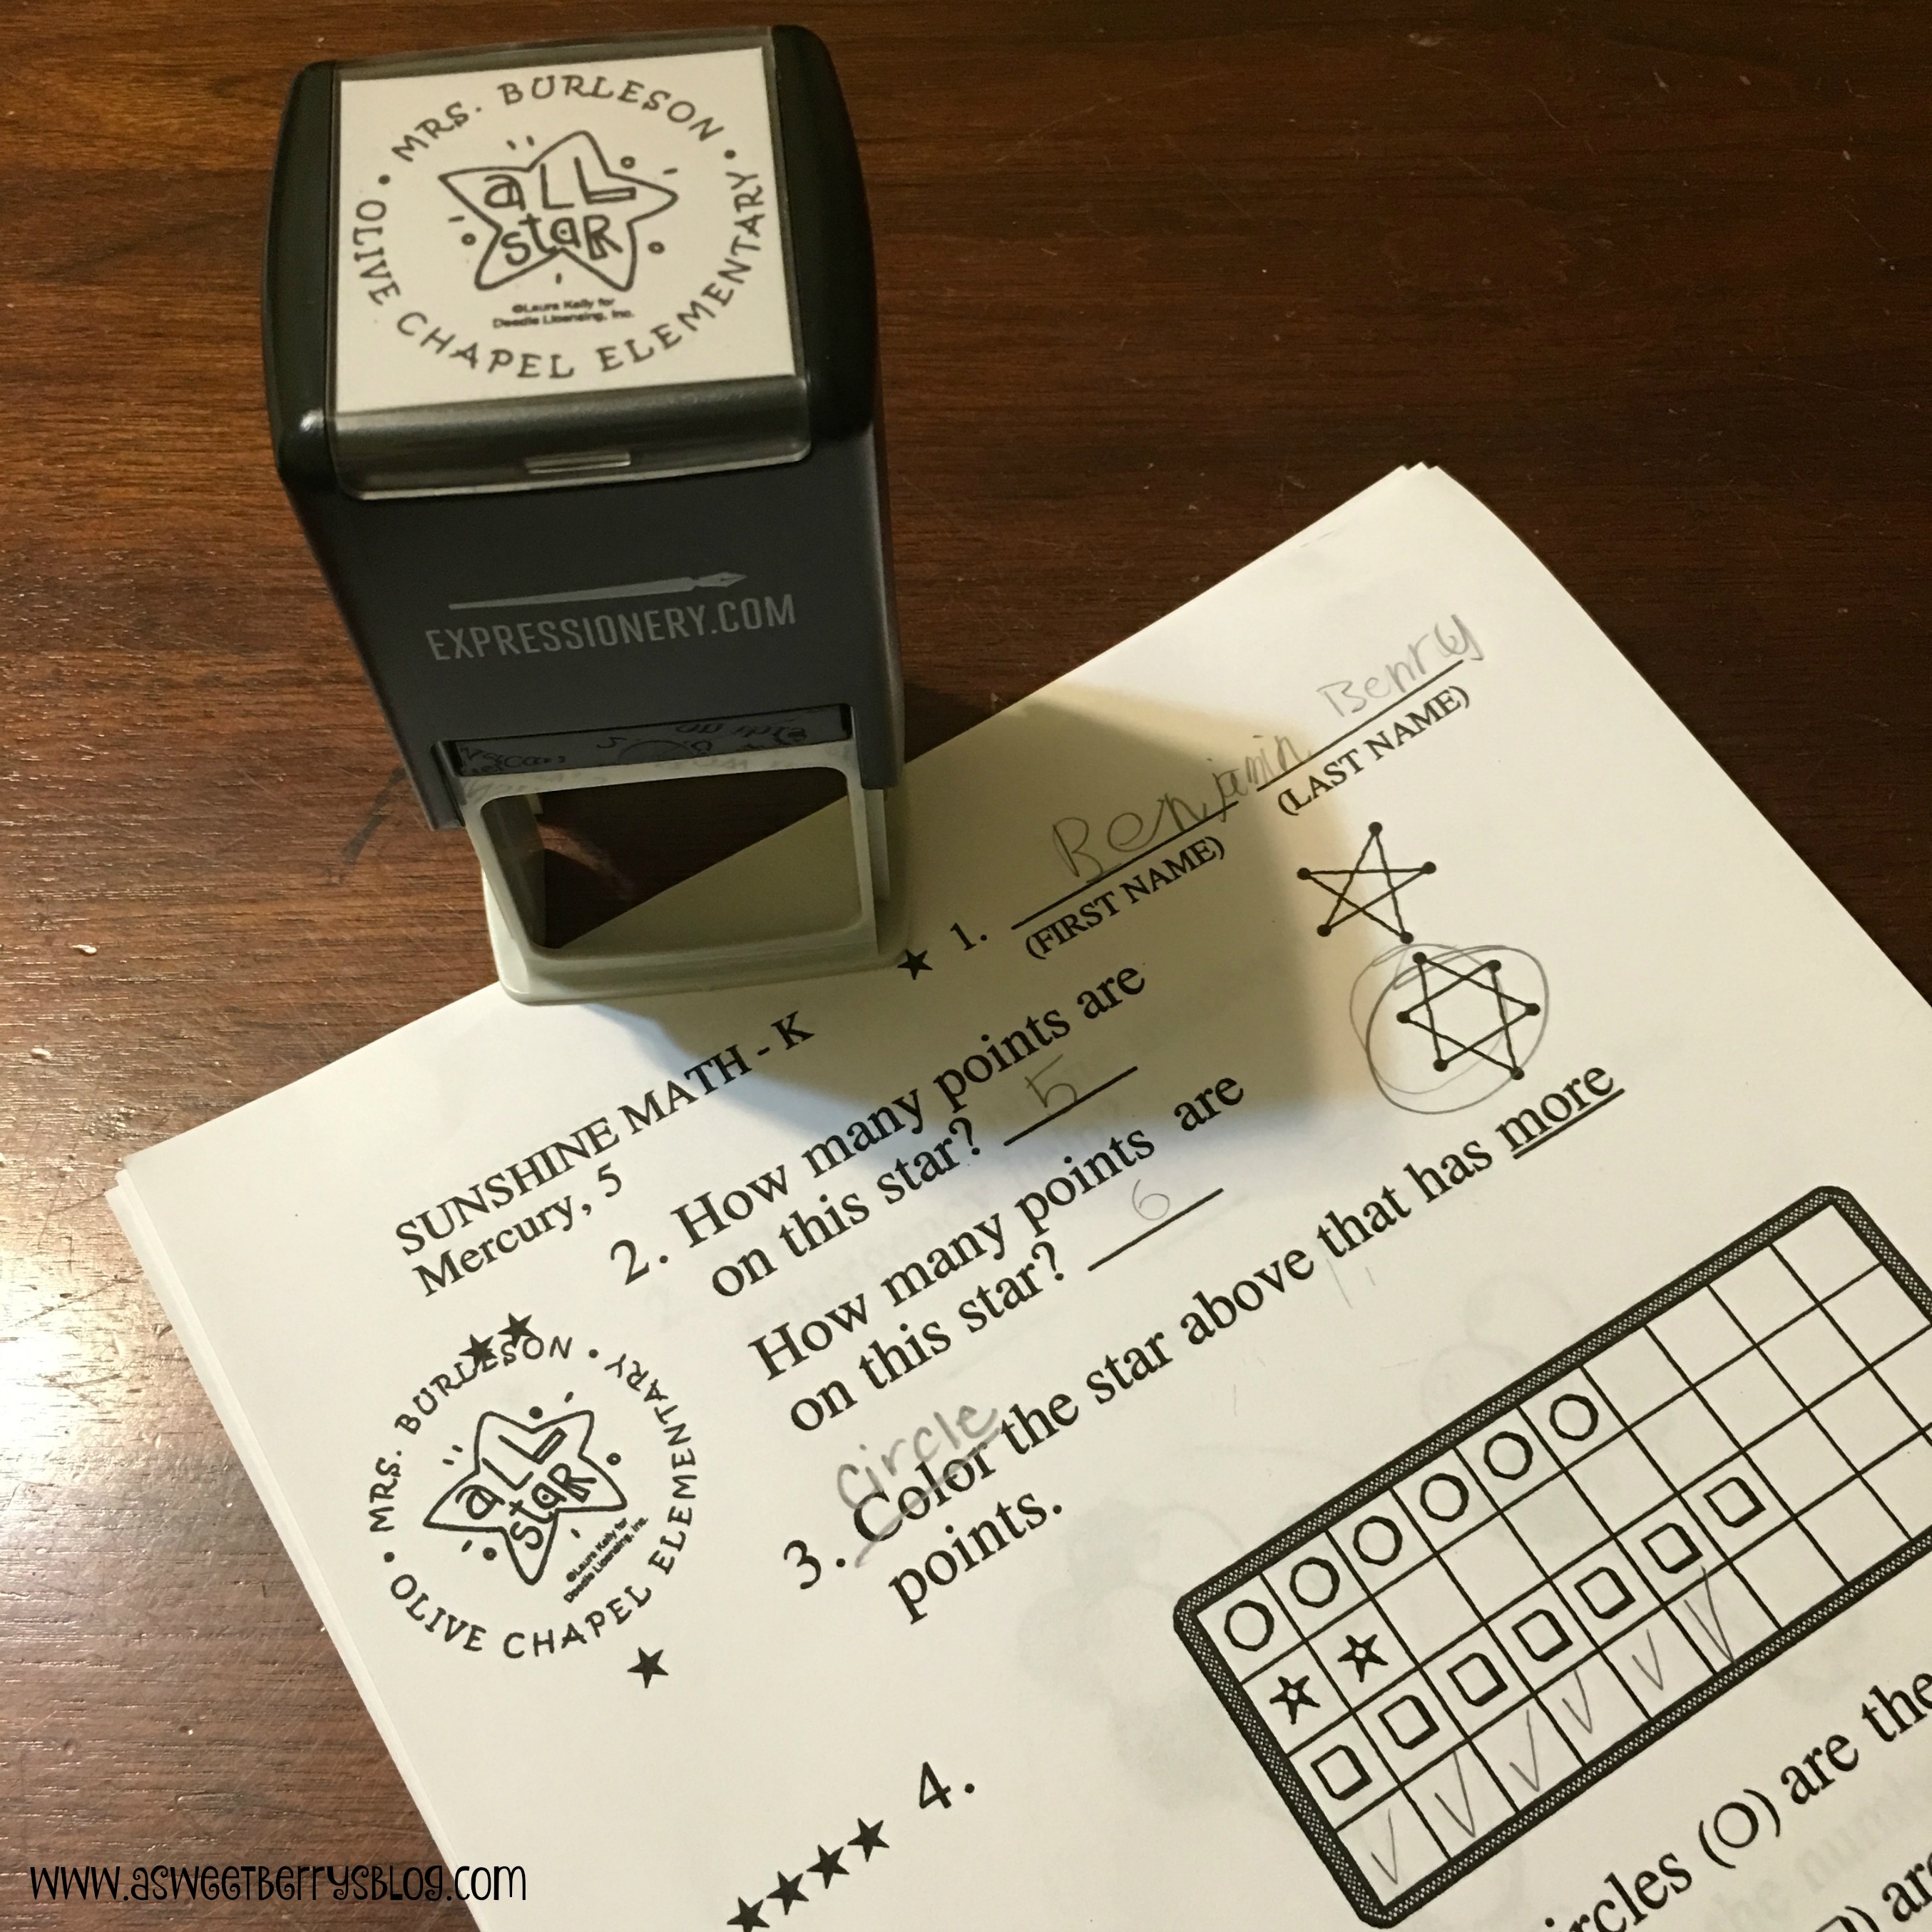
I am loving this All Star Self-inking stamp that I picked out for our favorite teacher.  It’s perfect for labeling things or even stamping classwork and homework!   She can make her own gift tags using it too.  And they last a long time too! grading papers
This particular stamp, along with several others in the collection, were designed by one of my best friends, Laura Kelly!   Her stamp designs are whimsical and fun!   Expressionery.com has notecards, notepads, address labels and other labels with her designs too.  Click HERE to shop from the Laura Kelly collection!
stamp up close
I hope you like my gift ideas!   Be sure to subscribe to Expressionery.com‘s mailing list so that you can stay up to date on great deals.  Shop HERE right now you can get 30% off of Stationery when you enter the code:  LKTEACH    *Stamps have already been discounted 30% and no code is needed.  Valid through 4/11/2016.  Receive 30% off personalized stationery with code: ‘LKTEACH’ at checkout. Offer excludes all announcements & notebooks. This offer may not be combined with any other offer or discount, and shipping fees and sales tax are separate. To prevent abuse, prices, specifications, and availability subject to change without notice from Expressionery.com.

Disclosure:  I received product from Expressionery as a member of the Laura Kelly Design Team.  Laura Kelly is a licensed designer for Expressionery.  All opinions are those of Katie Berry.
LKDT-Badge-2

Enter to win!
a Rafflecopter giveaway

Be sure to check out other Teacher Appreciation Gifts featuring Expressionery.com.


Until next time……

Expressionery Wraps With World Market!

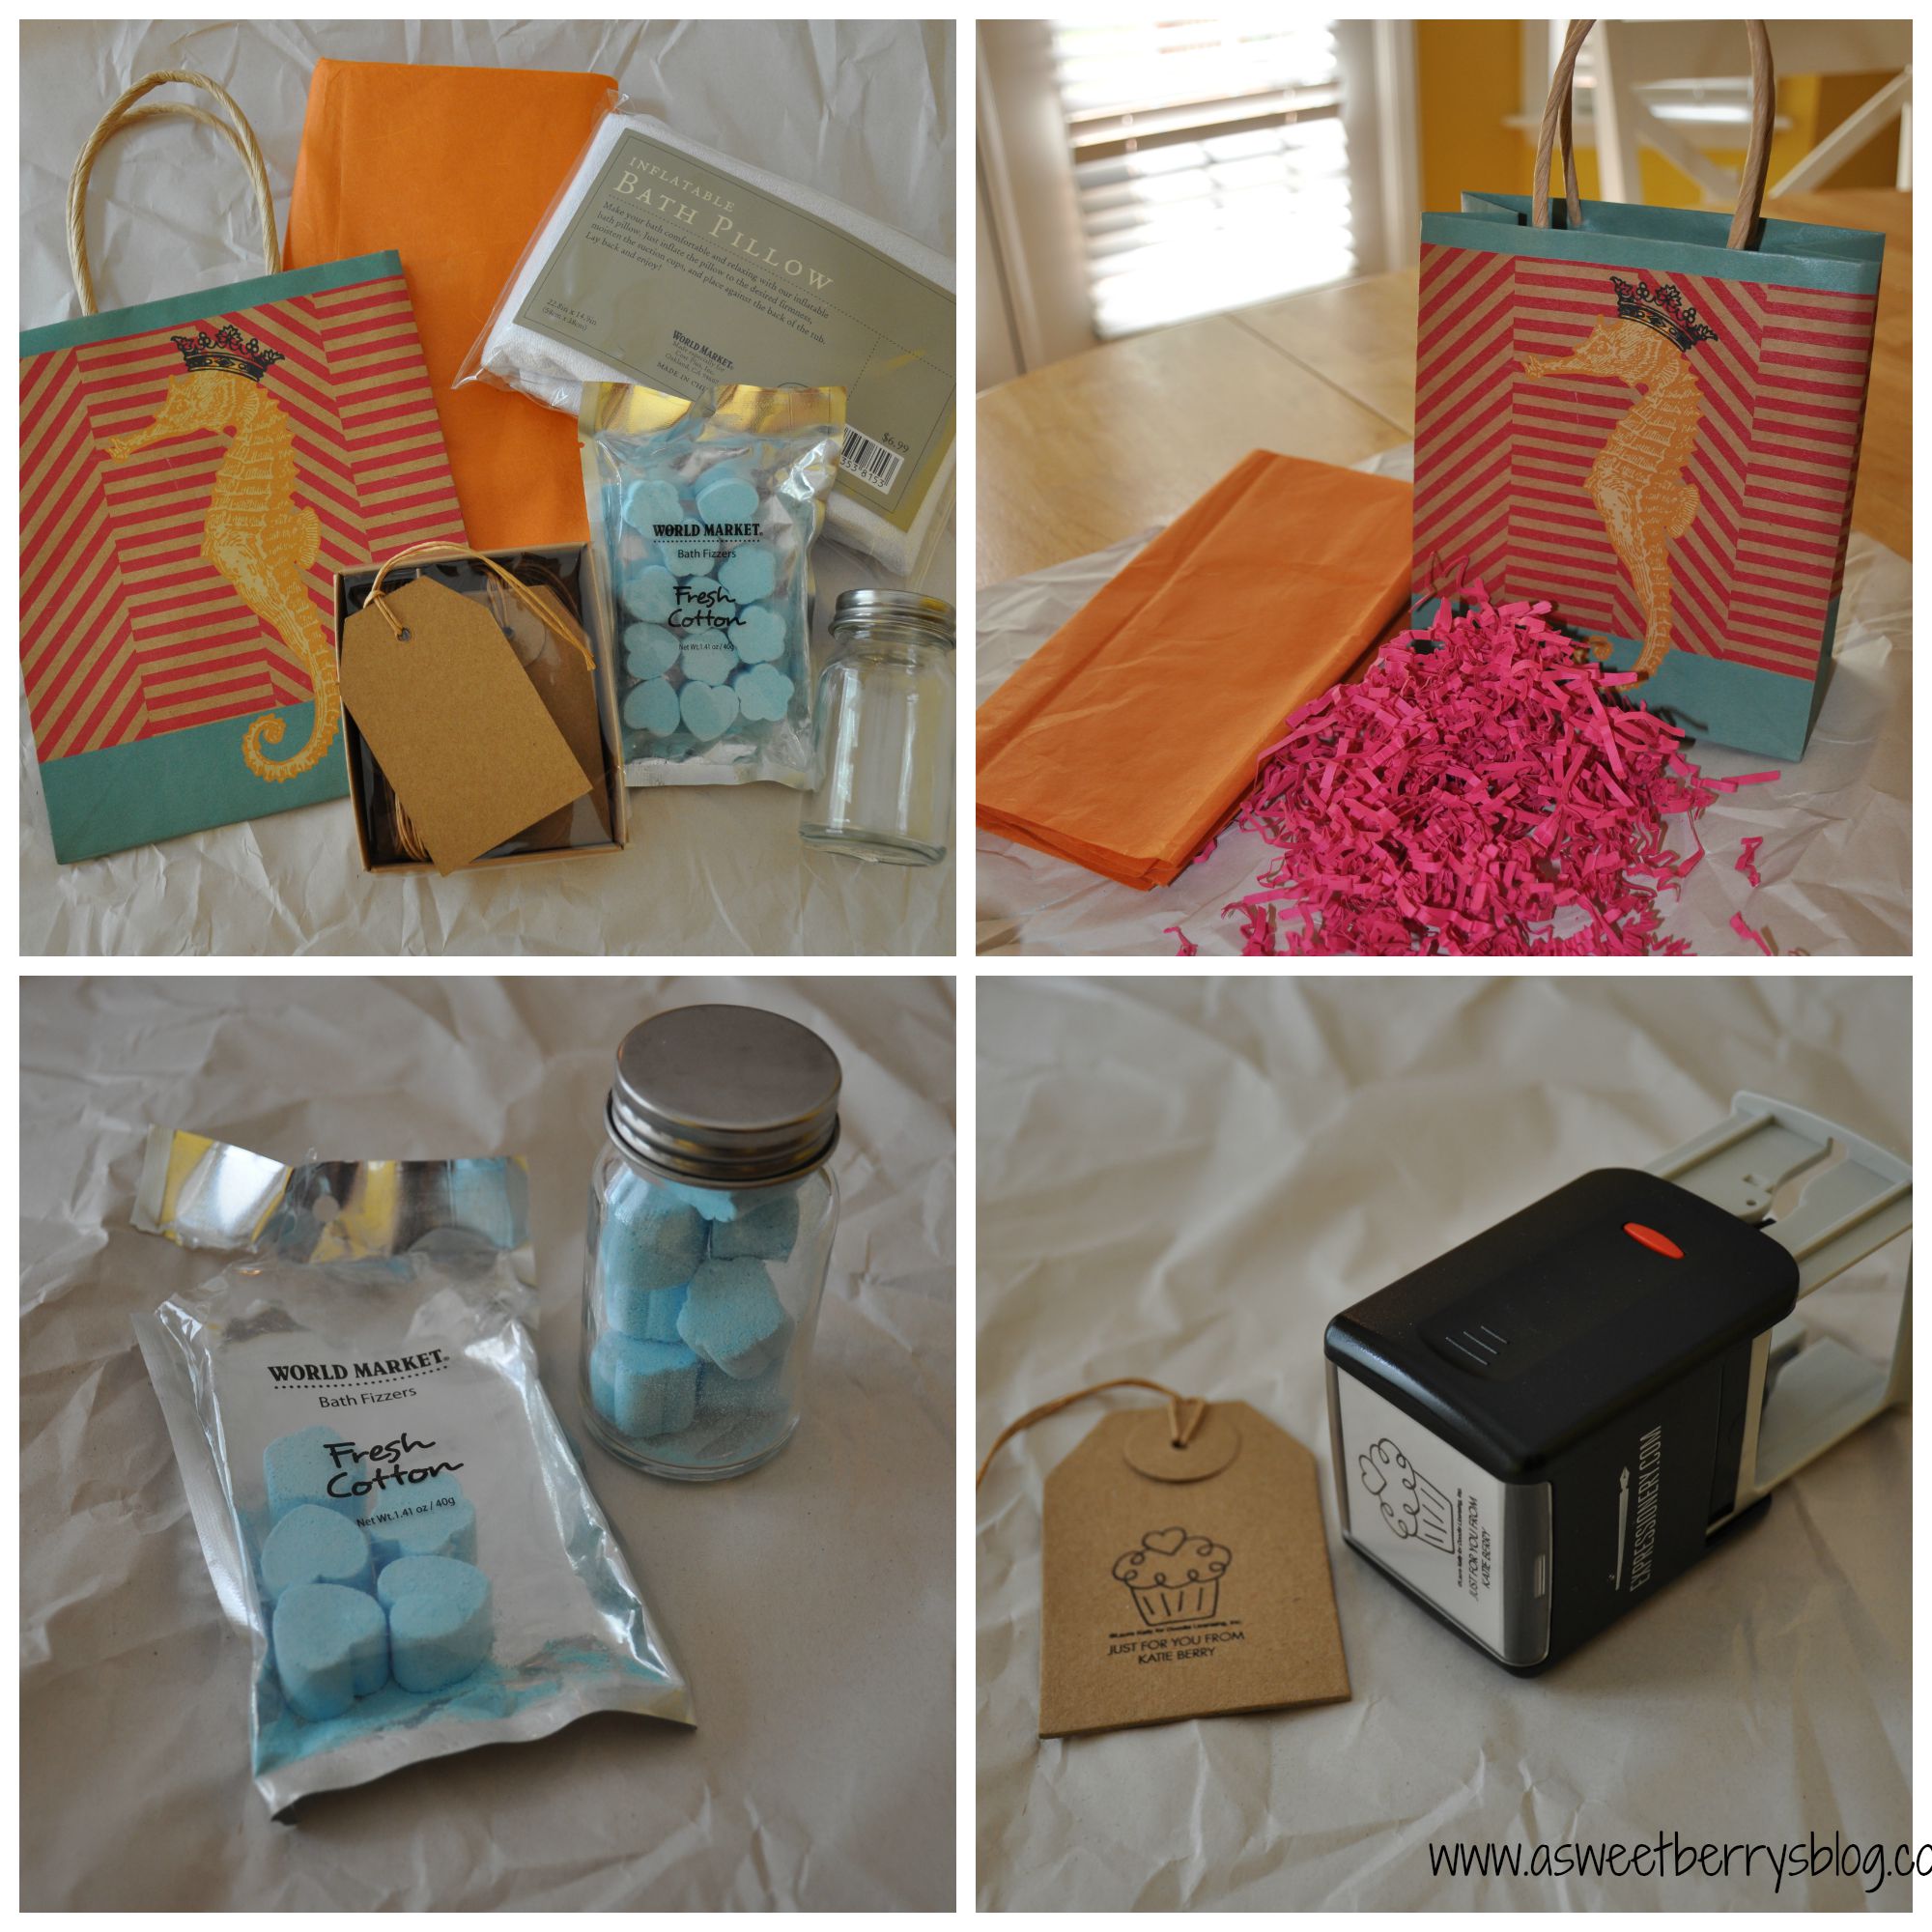
Expressionery.com, Laura Kelly and World Market put together this awesome blog hop to show twenty ways to wrap World Market gifts with World Market wrapping and Expressionery.com personalized self inking stamps with Laura Kelly designs!   Read on to see how I used my self-inking Expressionery.com stamp and World Market goodies provided by Laura Kelly, as well as some that I purchased myself!  Below is a picture of the goodie box that was delivered by my awesome friend Laura Kelly! items
After looking at my box of goodies, I made my way over to World Market to see what I could find to help with wrapping my gifts!   There was a pouch of bath fizzers and a cute little jar in the box.  I put the fizzers in the jar.  While I was at World Market, I found an inflatable bath pillow.  I thought this combination might make a great teachers gifts.   After a long day, she could go home and take a nice relaxing bath.  The orange tissue was included in my box, so I bought an adorable World Market gift bag to go with it.  Laura also included some pink crinkle paper that i stuck in the bottom of the bag.  Also, there were some awesome, sturdy gift tags.   Using my Expressionery.com self inking stamp, I made that my personalized gift tag. bath bag
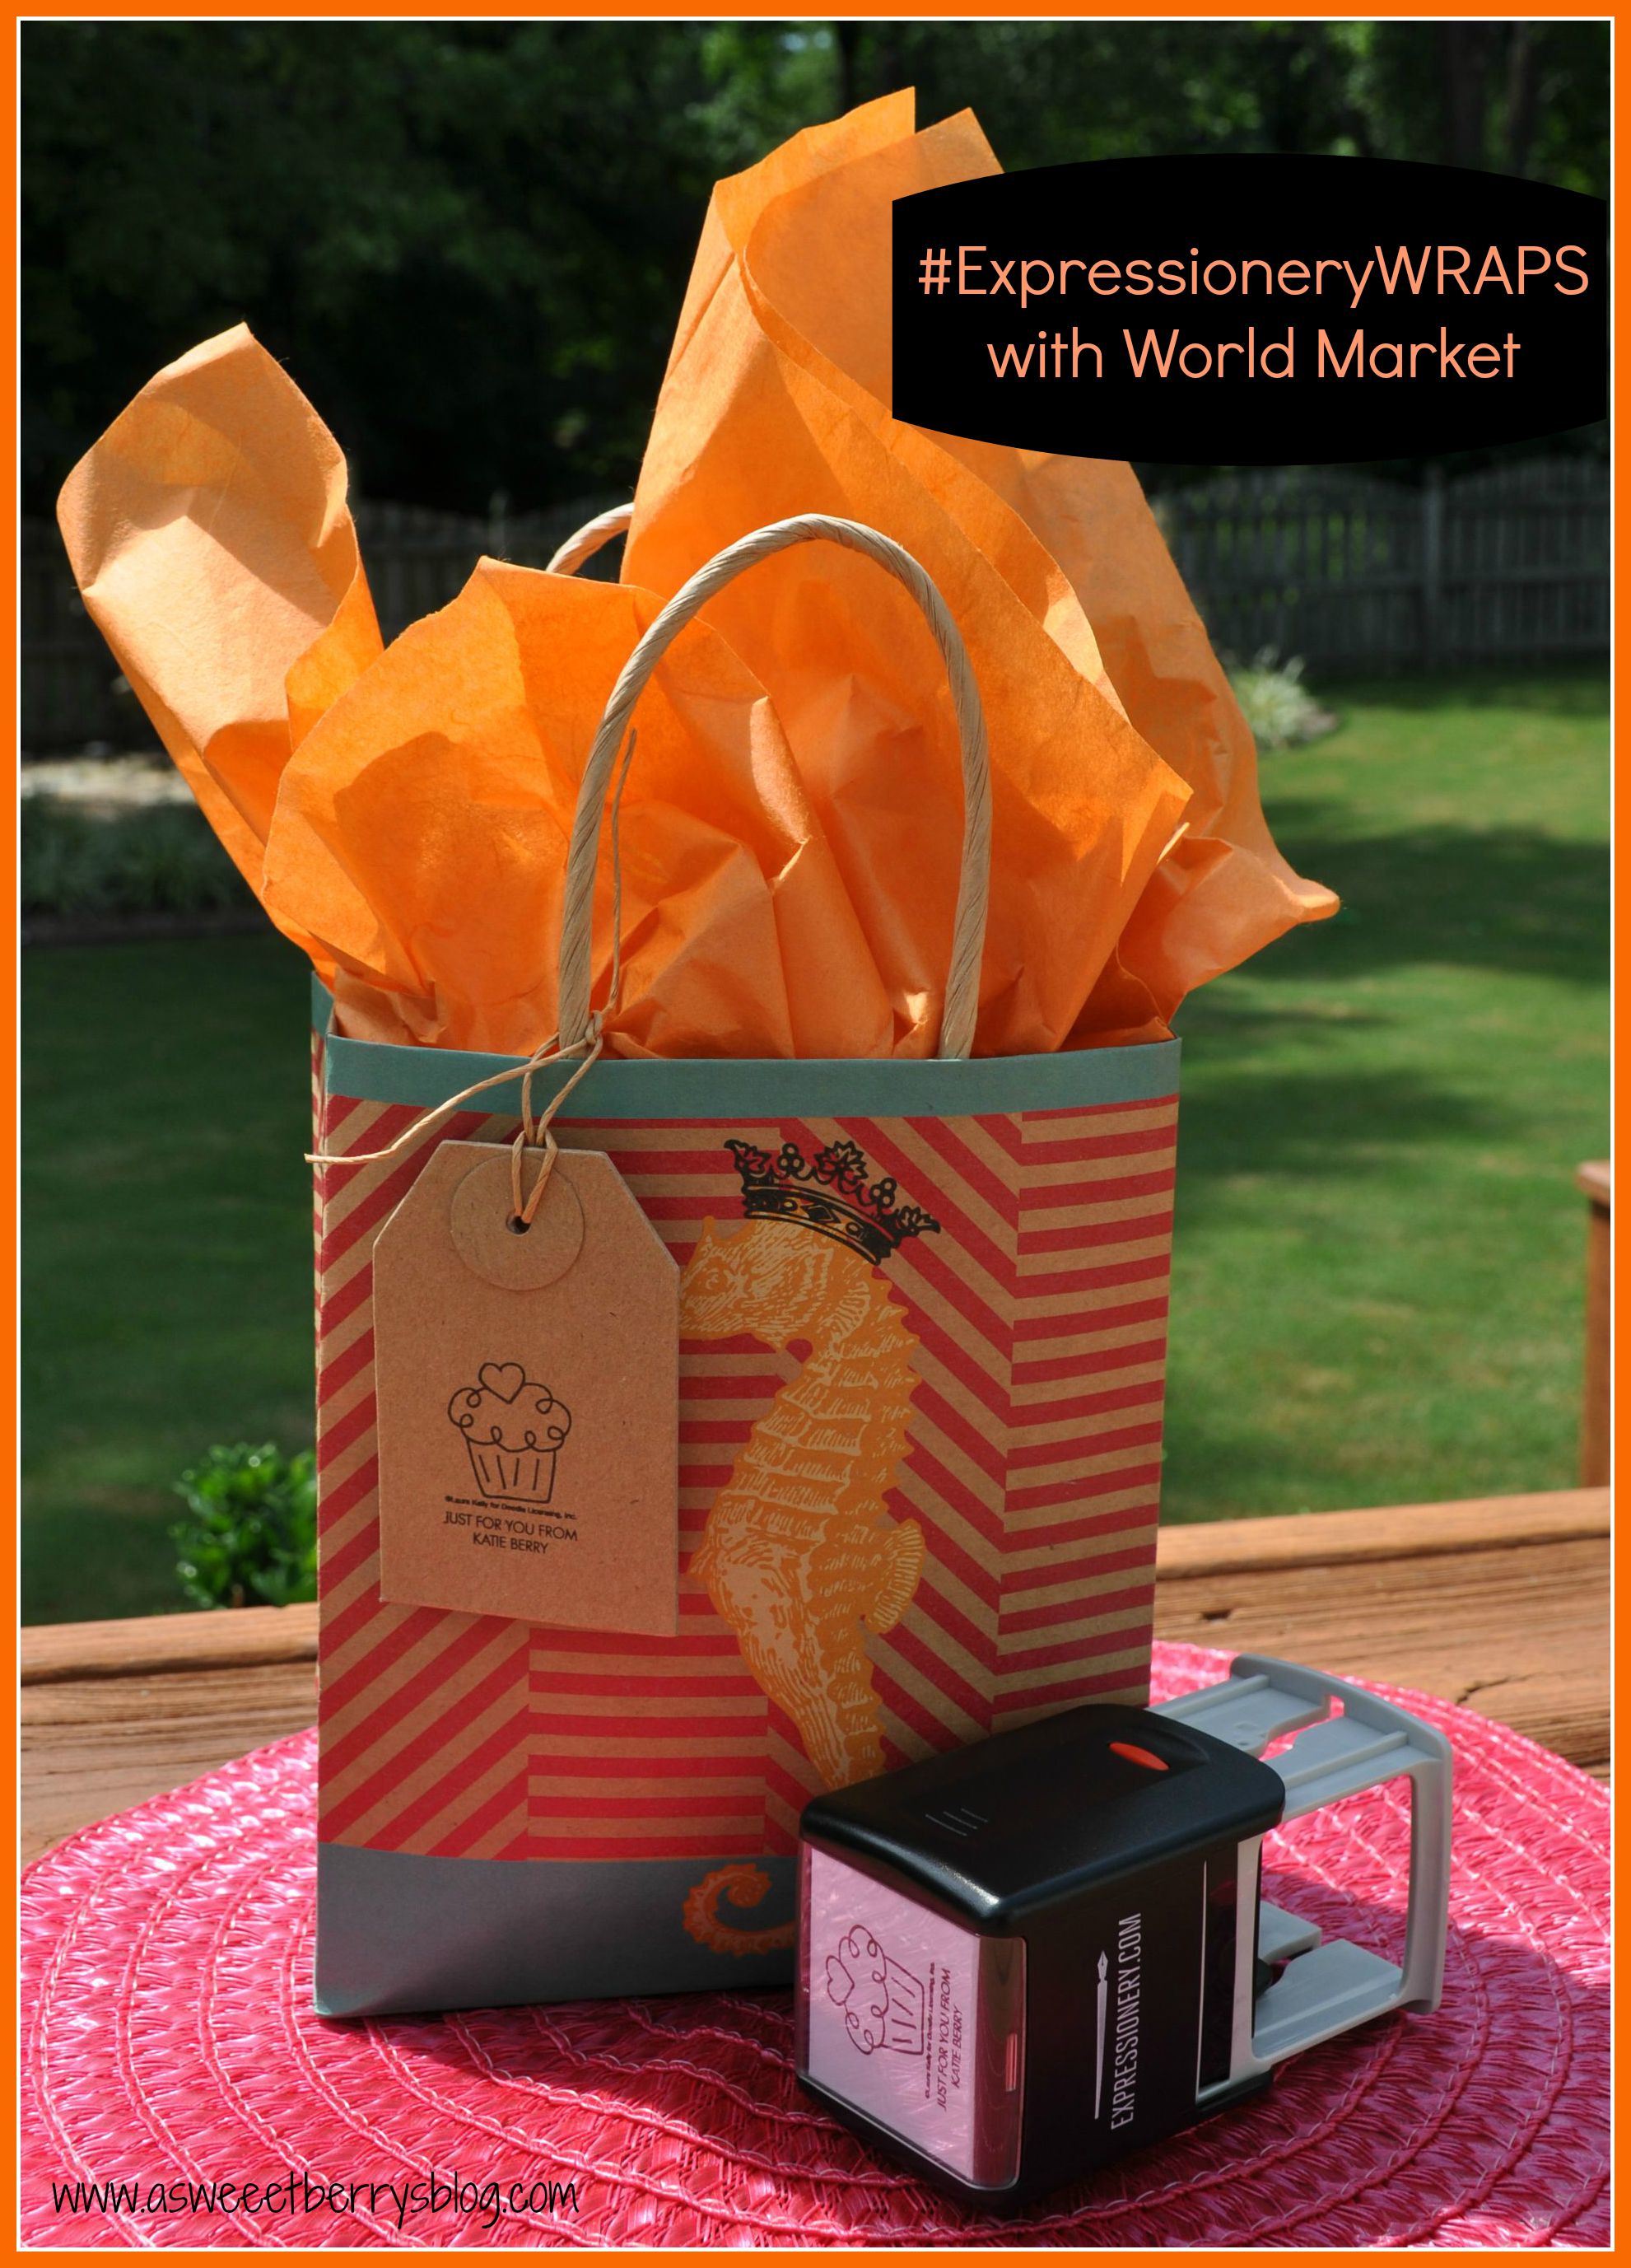
Placing the pink crinkle paper in the bottom of my bag, I added my jar of bath fizzers and the inflatable bath pillow, inserted my tissue paper, added my personalized gift tag and it was ready to go!  I totally love the adorable World Market gift bags! Main Photo
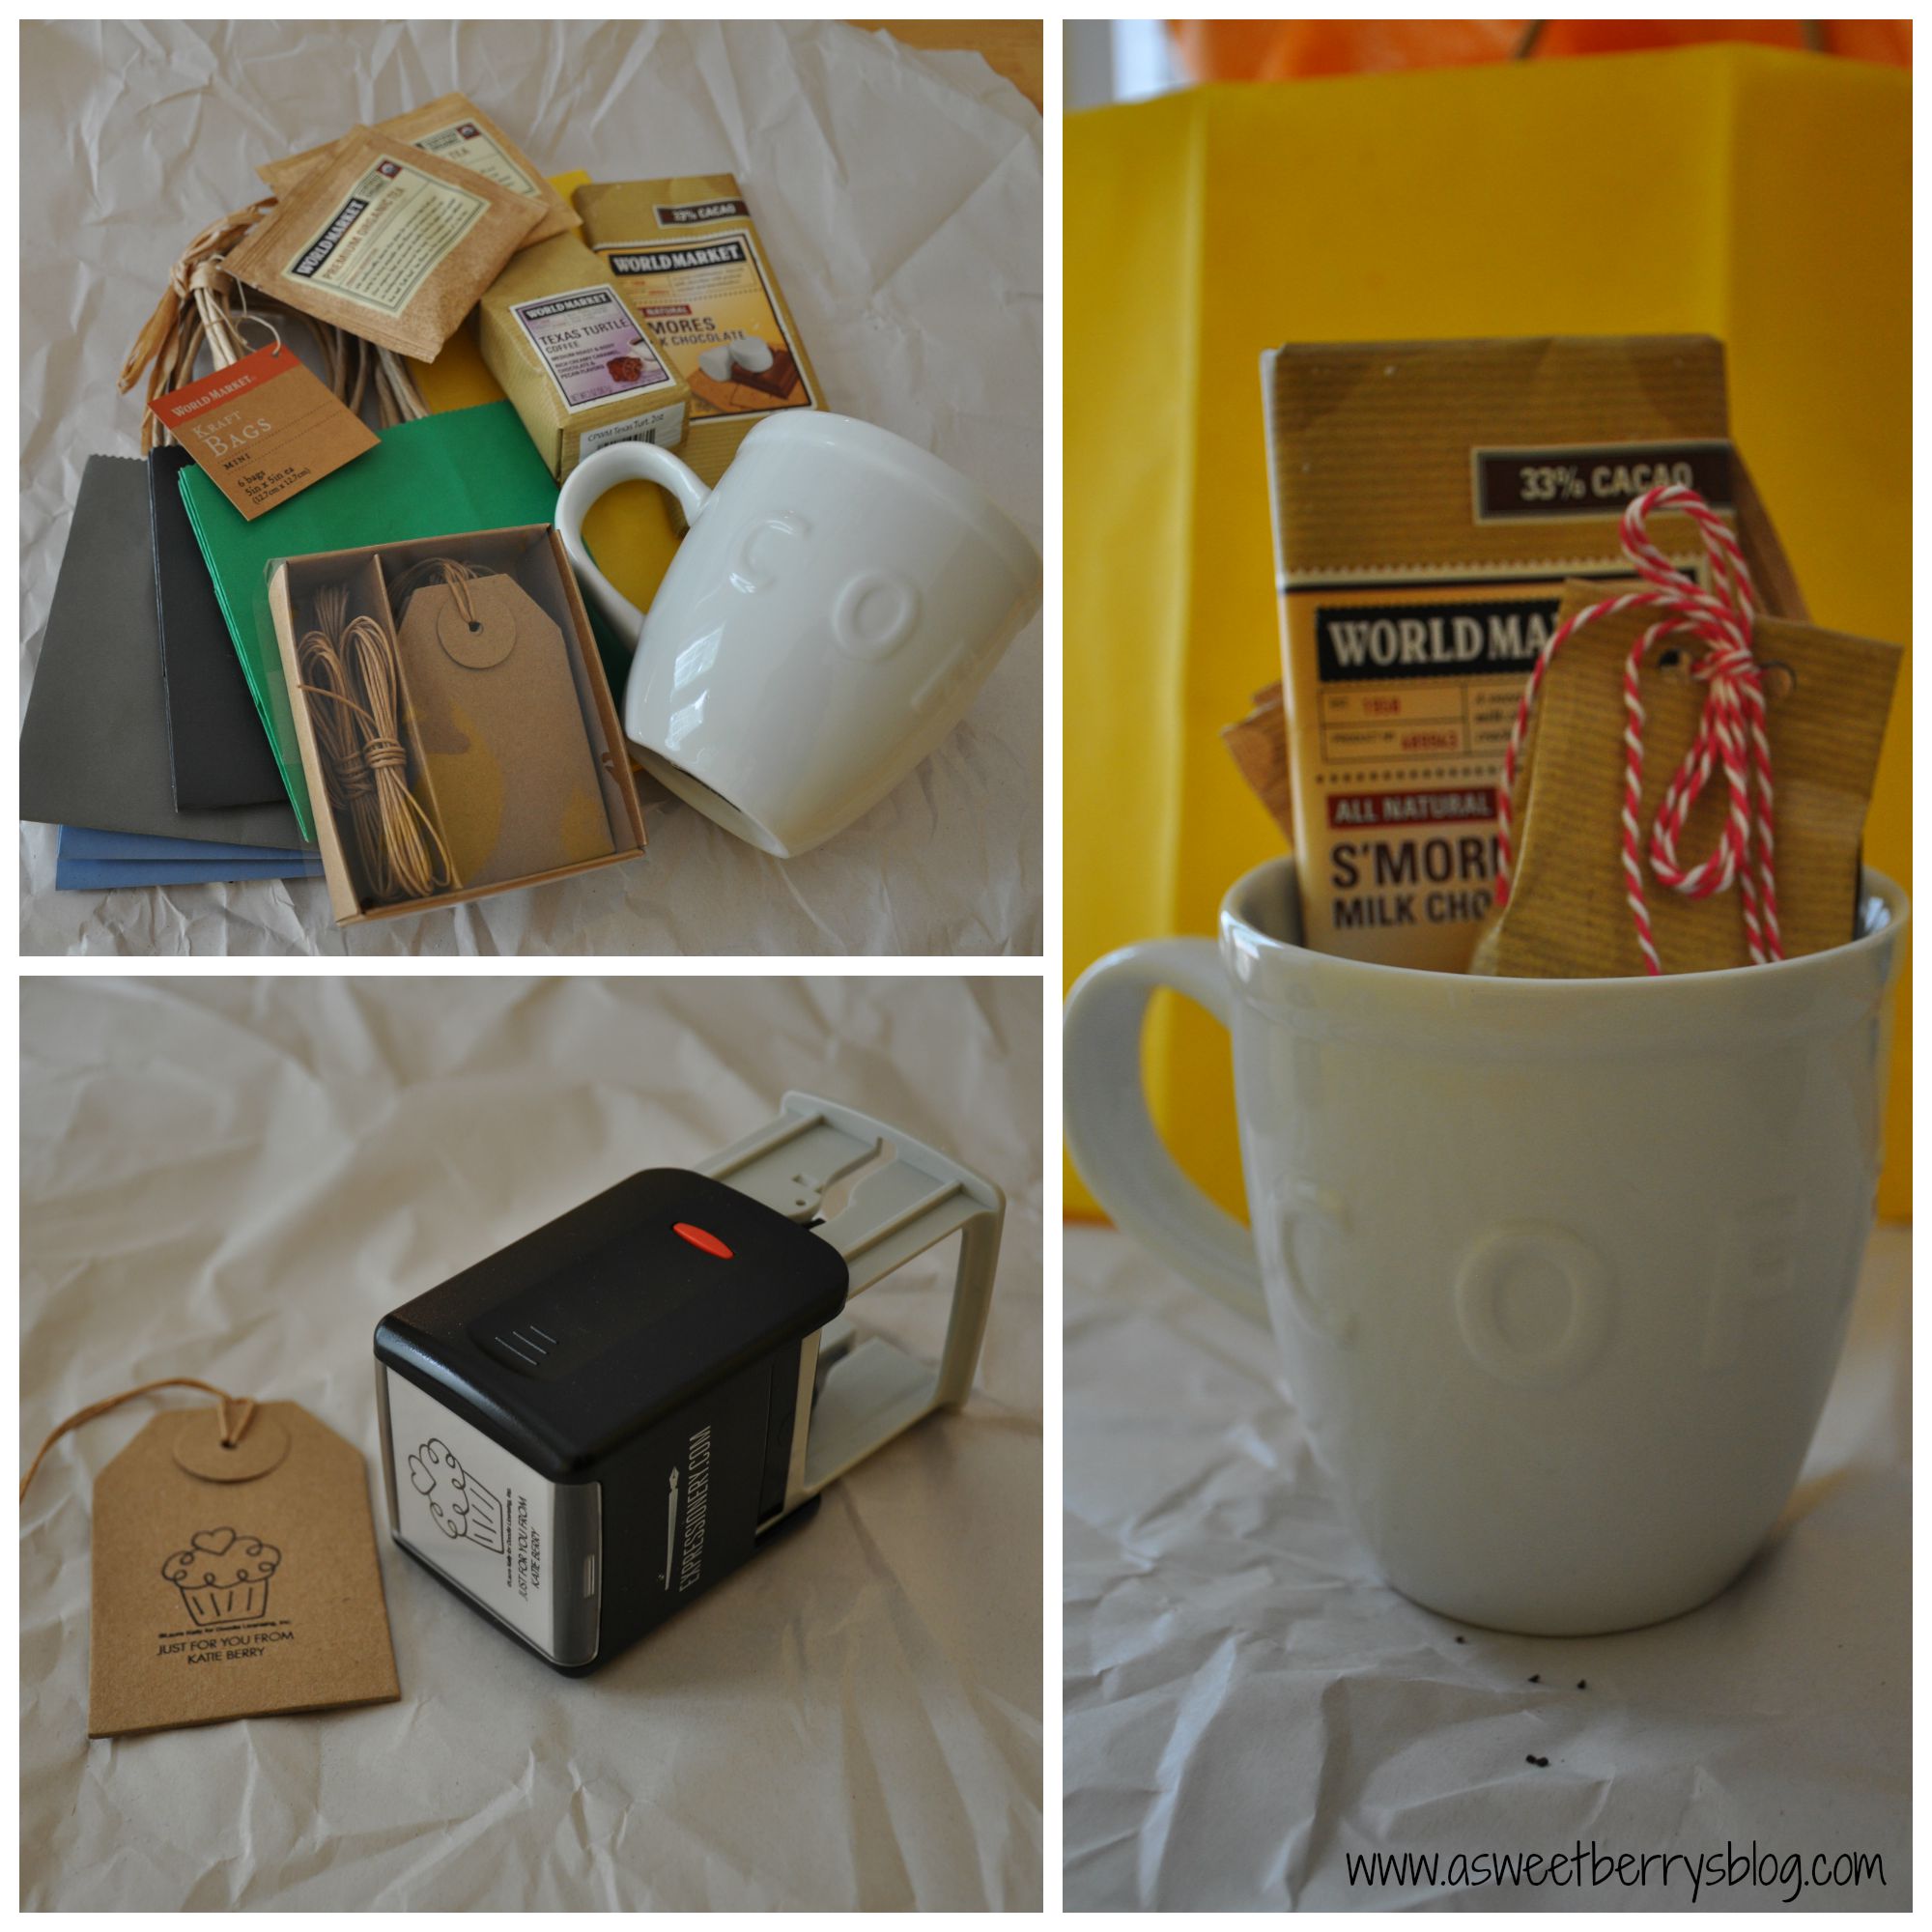
Also included in my box was some World Market coffee, tea and chocolate!  During my trip to World Market, I purchased this cute COFFEE mug and some smaller gift bags (these came in a pack of 6).

  coffee bag
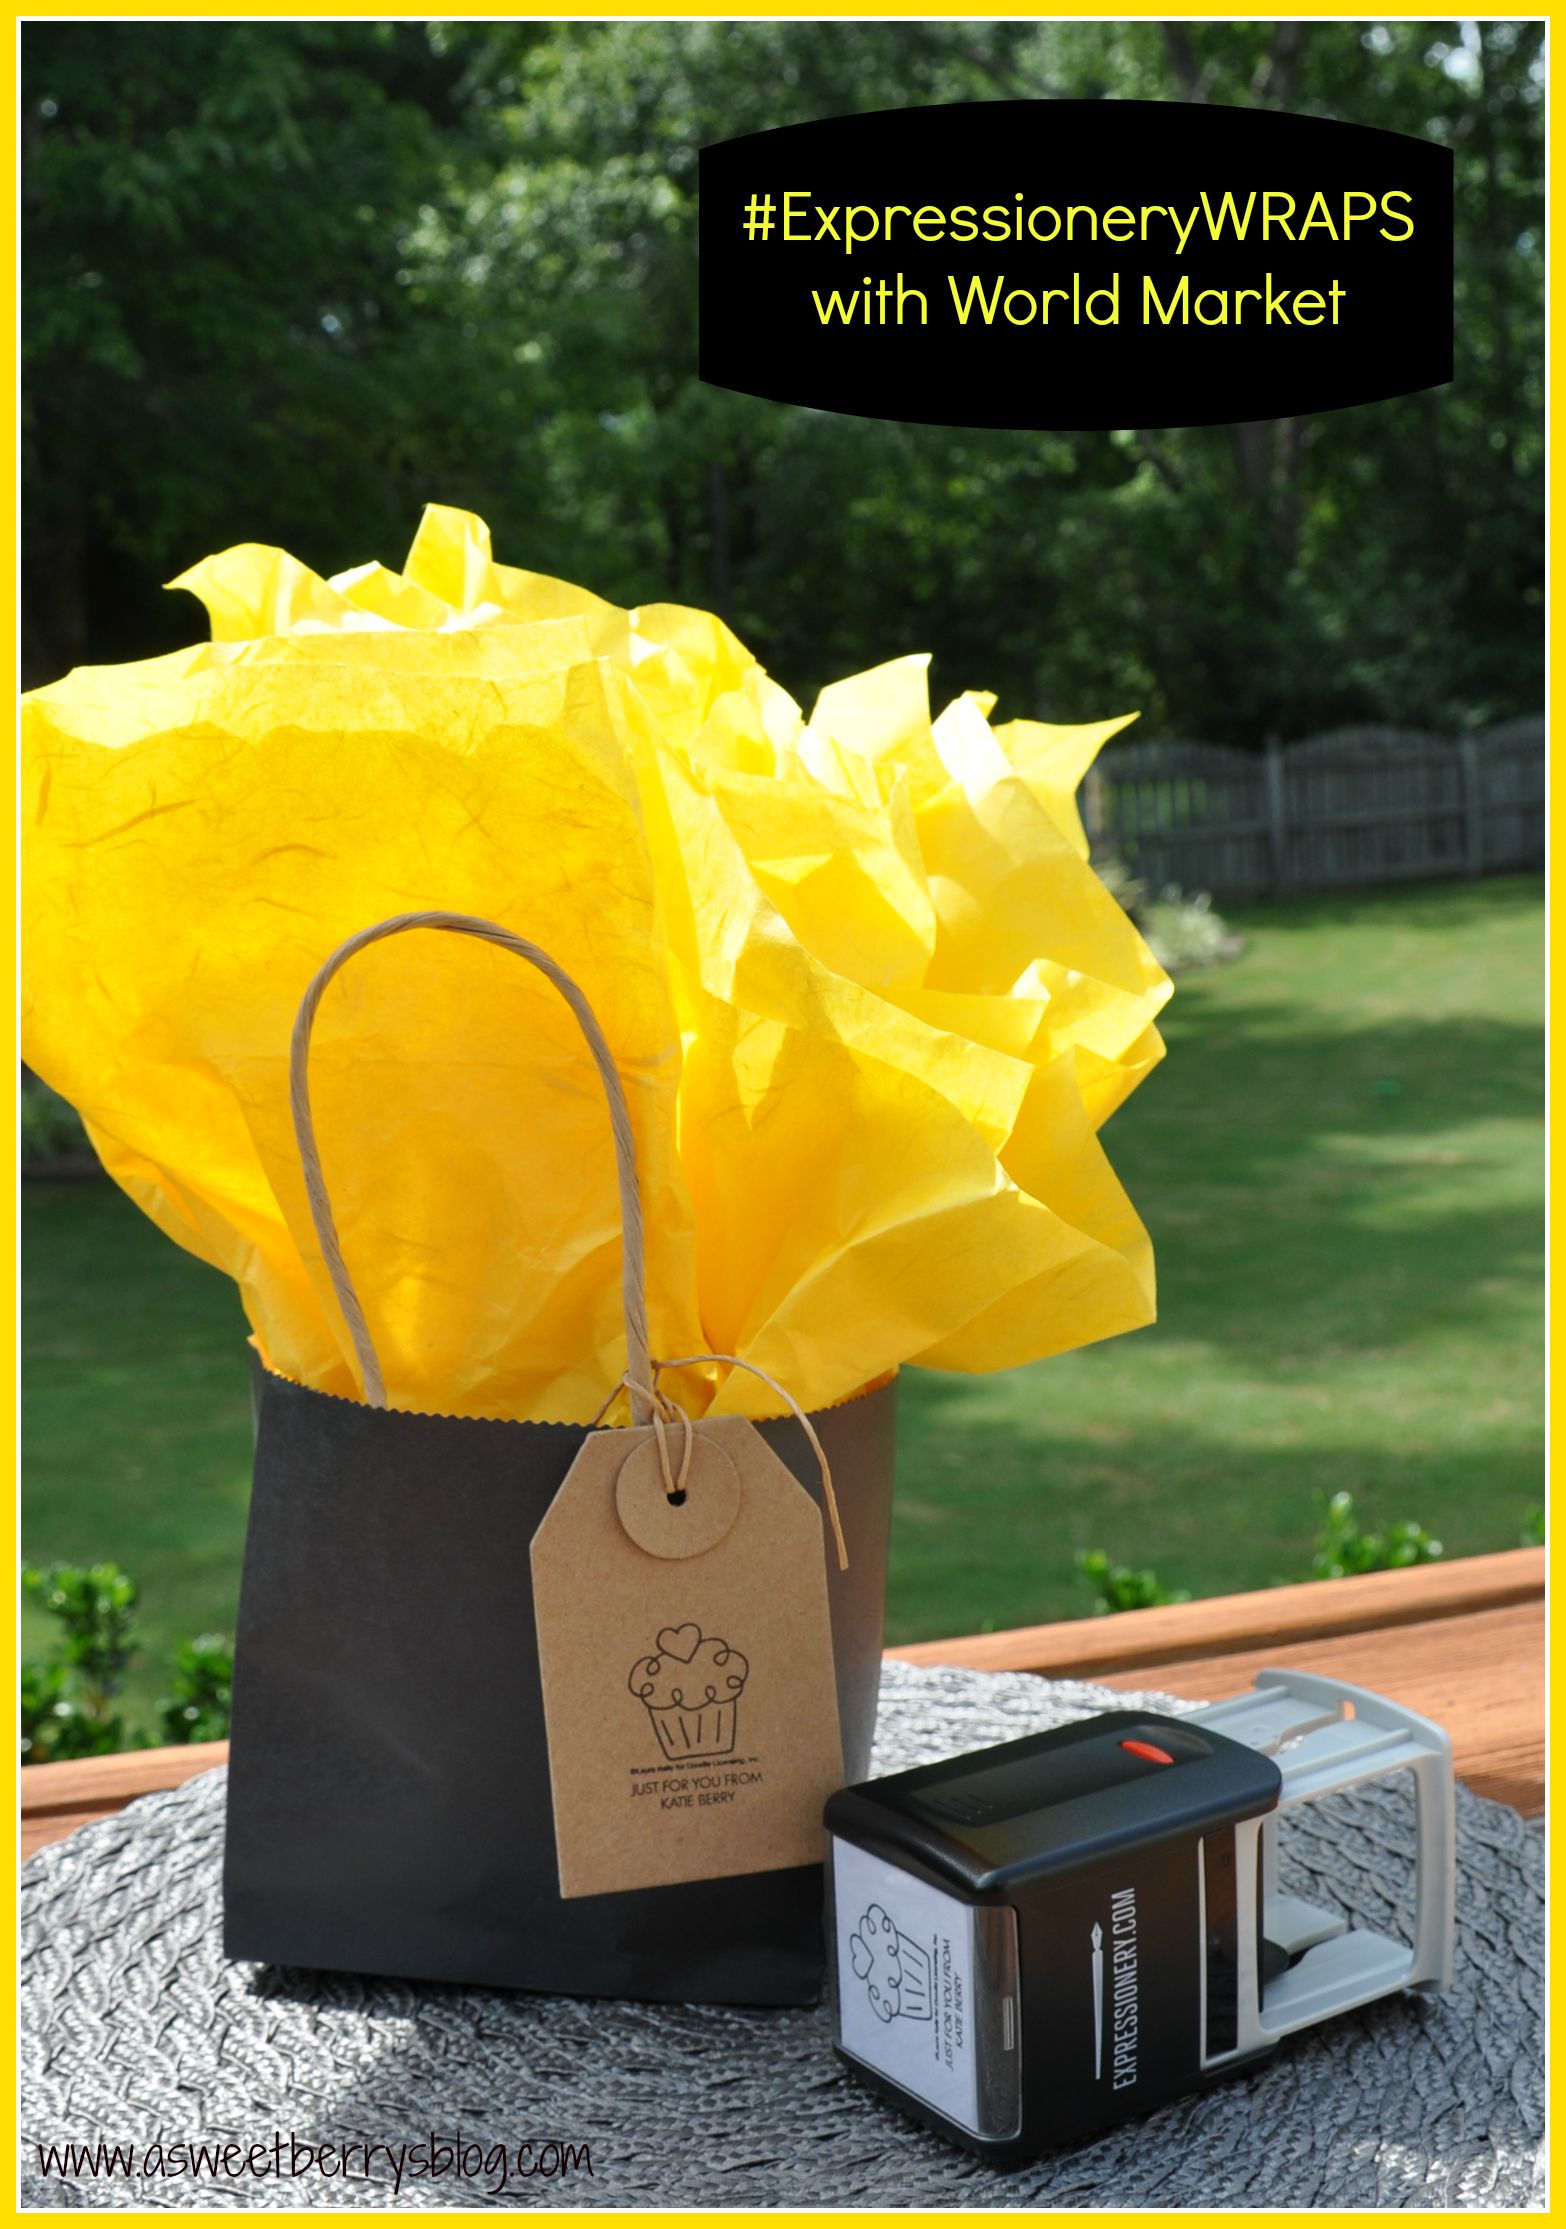
Like with the bath gift, I did the same with the coffee gift, minus crinkle paper!   Laura also provided the bright yellow tissue paper!   I finished this gift off with a personalized gift tag too!

black bag
Be sure to check out these other great ways to wrap your gifts with World Market and Expressionery.com

Also, be sure to enter to win $250 Visa gift card, a personalized stamp from Expressionery.com and a $100 World Market Gift Card.   Contest ends on July 31st! a Rafflecopter giveaway Until next time……

Expressionery Bakes!

Sweets, Sweets, Sweets!   I love to bake them and with the help of Expressionery.com, Laura Kelly and The Bakers Party Shop sponsoring this awesome post, I was able to bake and decorate with awesome baking supplies and an adorable personalized self-inking stamp!
Final
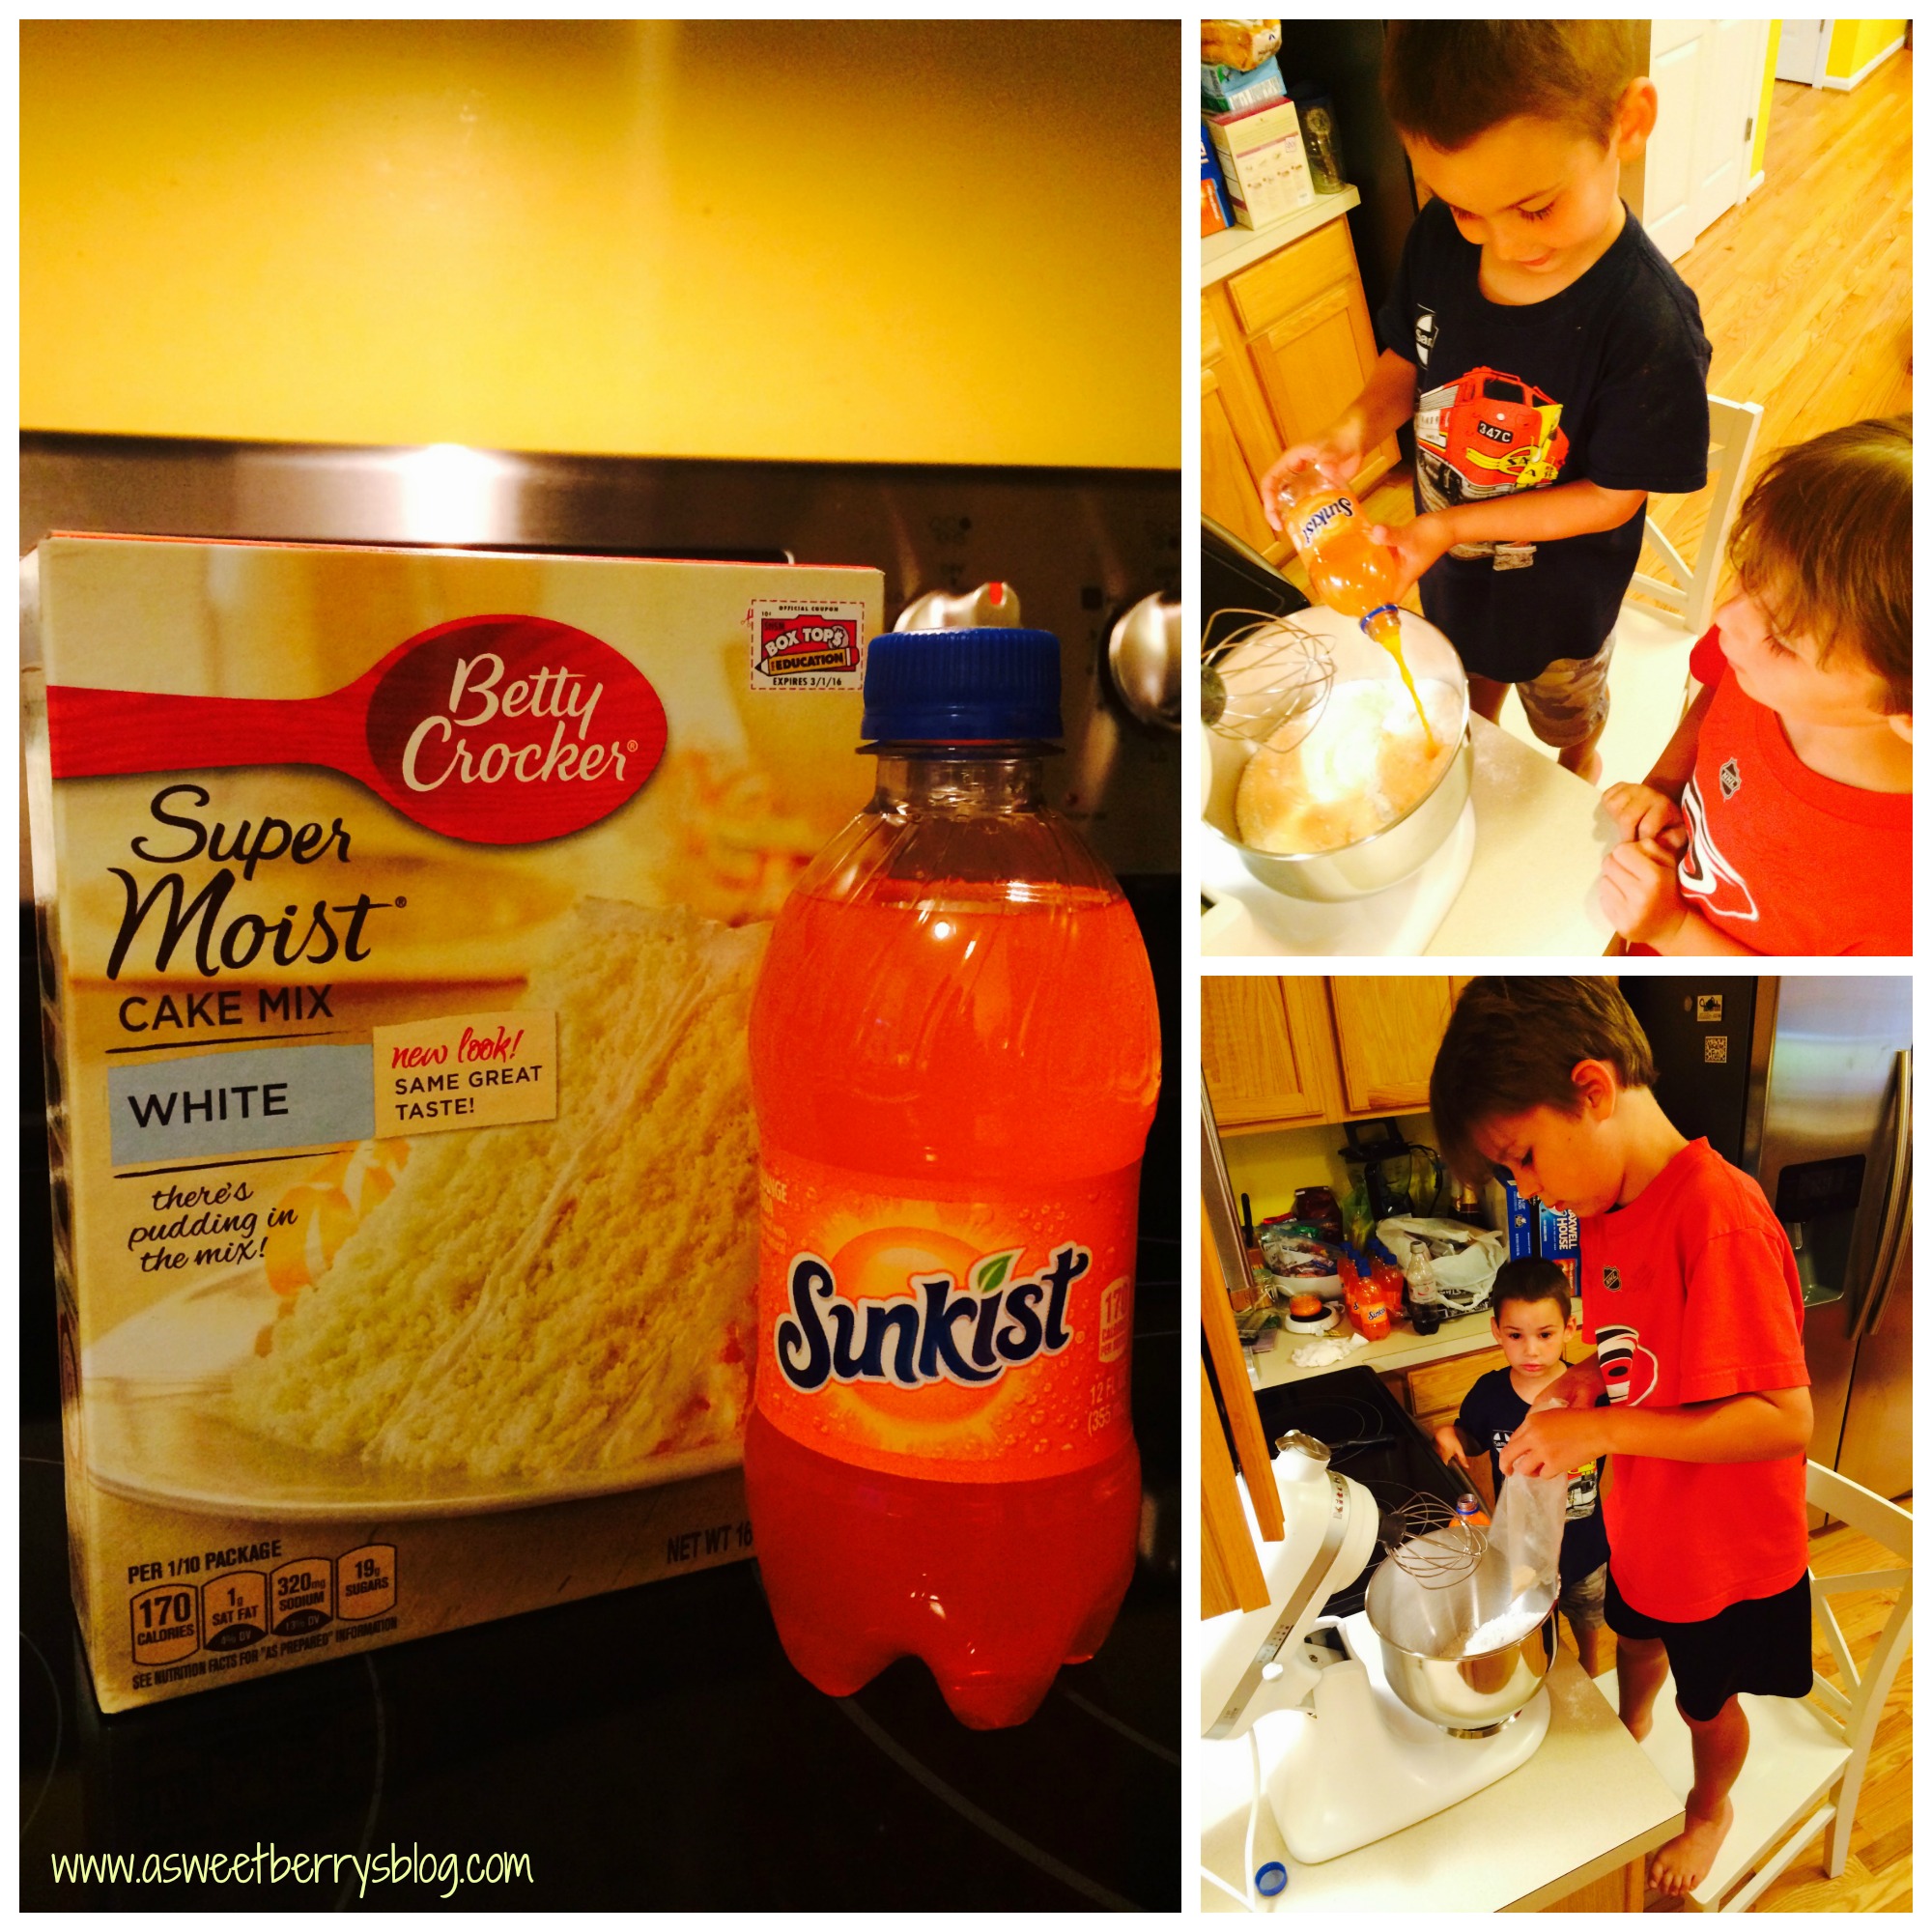
Getting inspiration from Pinterest, I made a Sunkist flavored cake, using a Betty Crocker box mix and a 12oz Sunkist.   My boys love helping me bake, especially when I am using my Kitchenaid Mixer!  
Ingredients:
1 Box of cake mix  (do not add egg, oil, water)
12 oz of Sunkist

Follow instructions on the box for baking.   cake mix
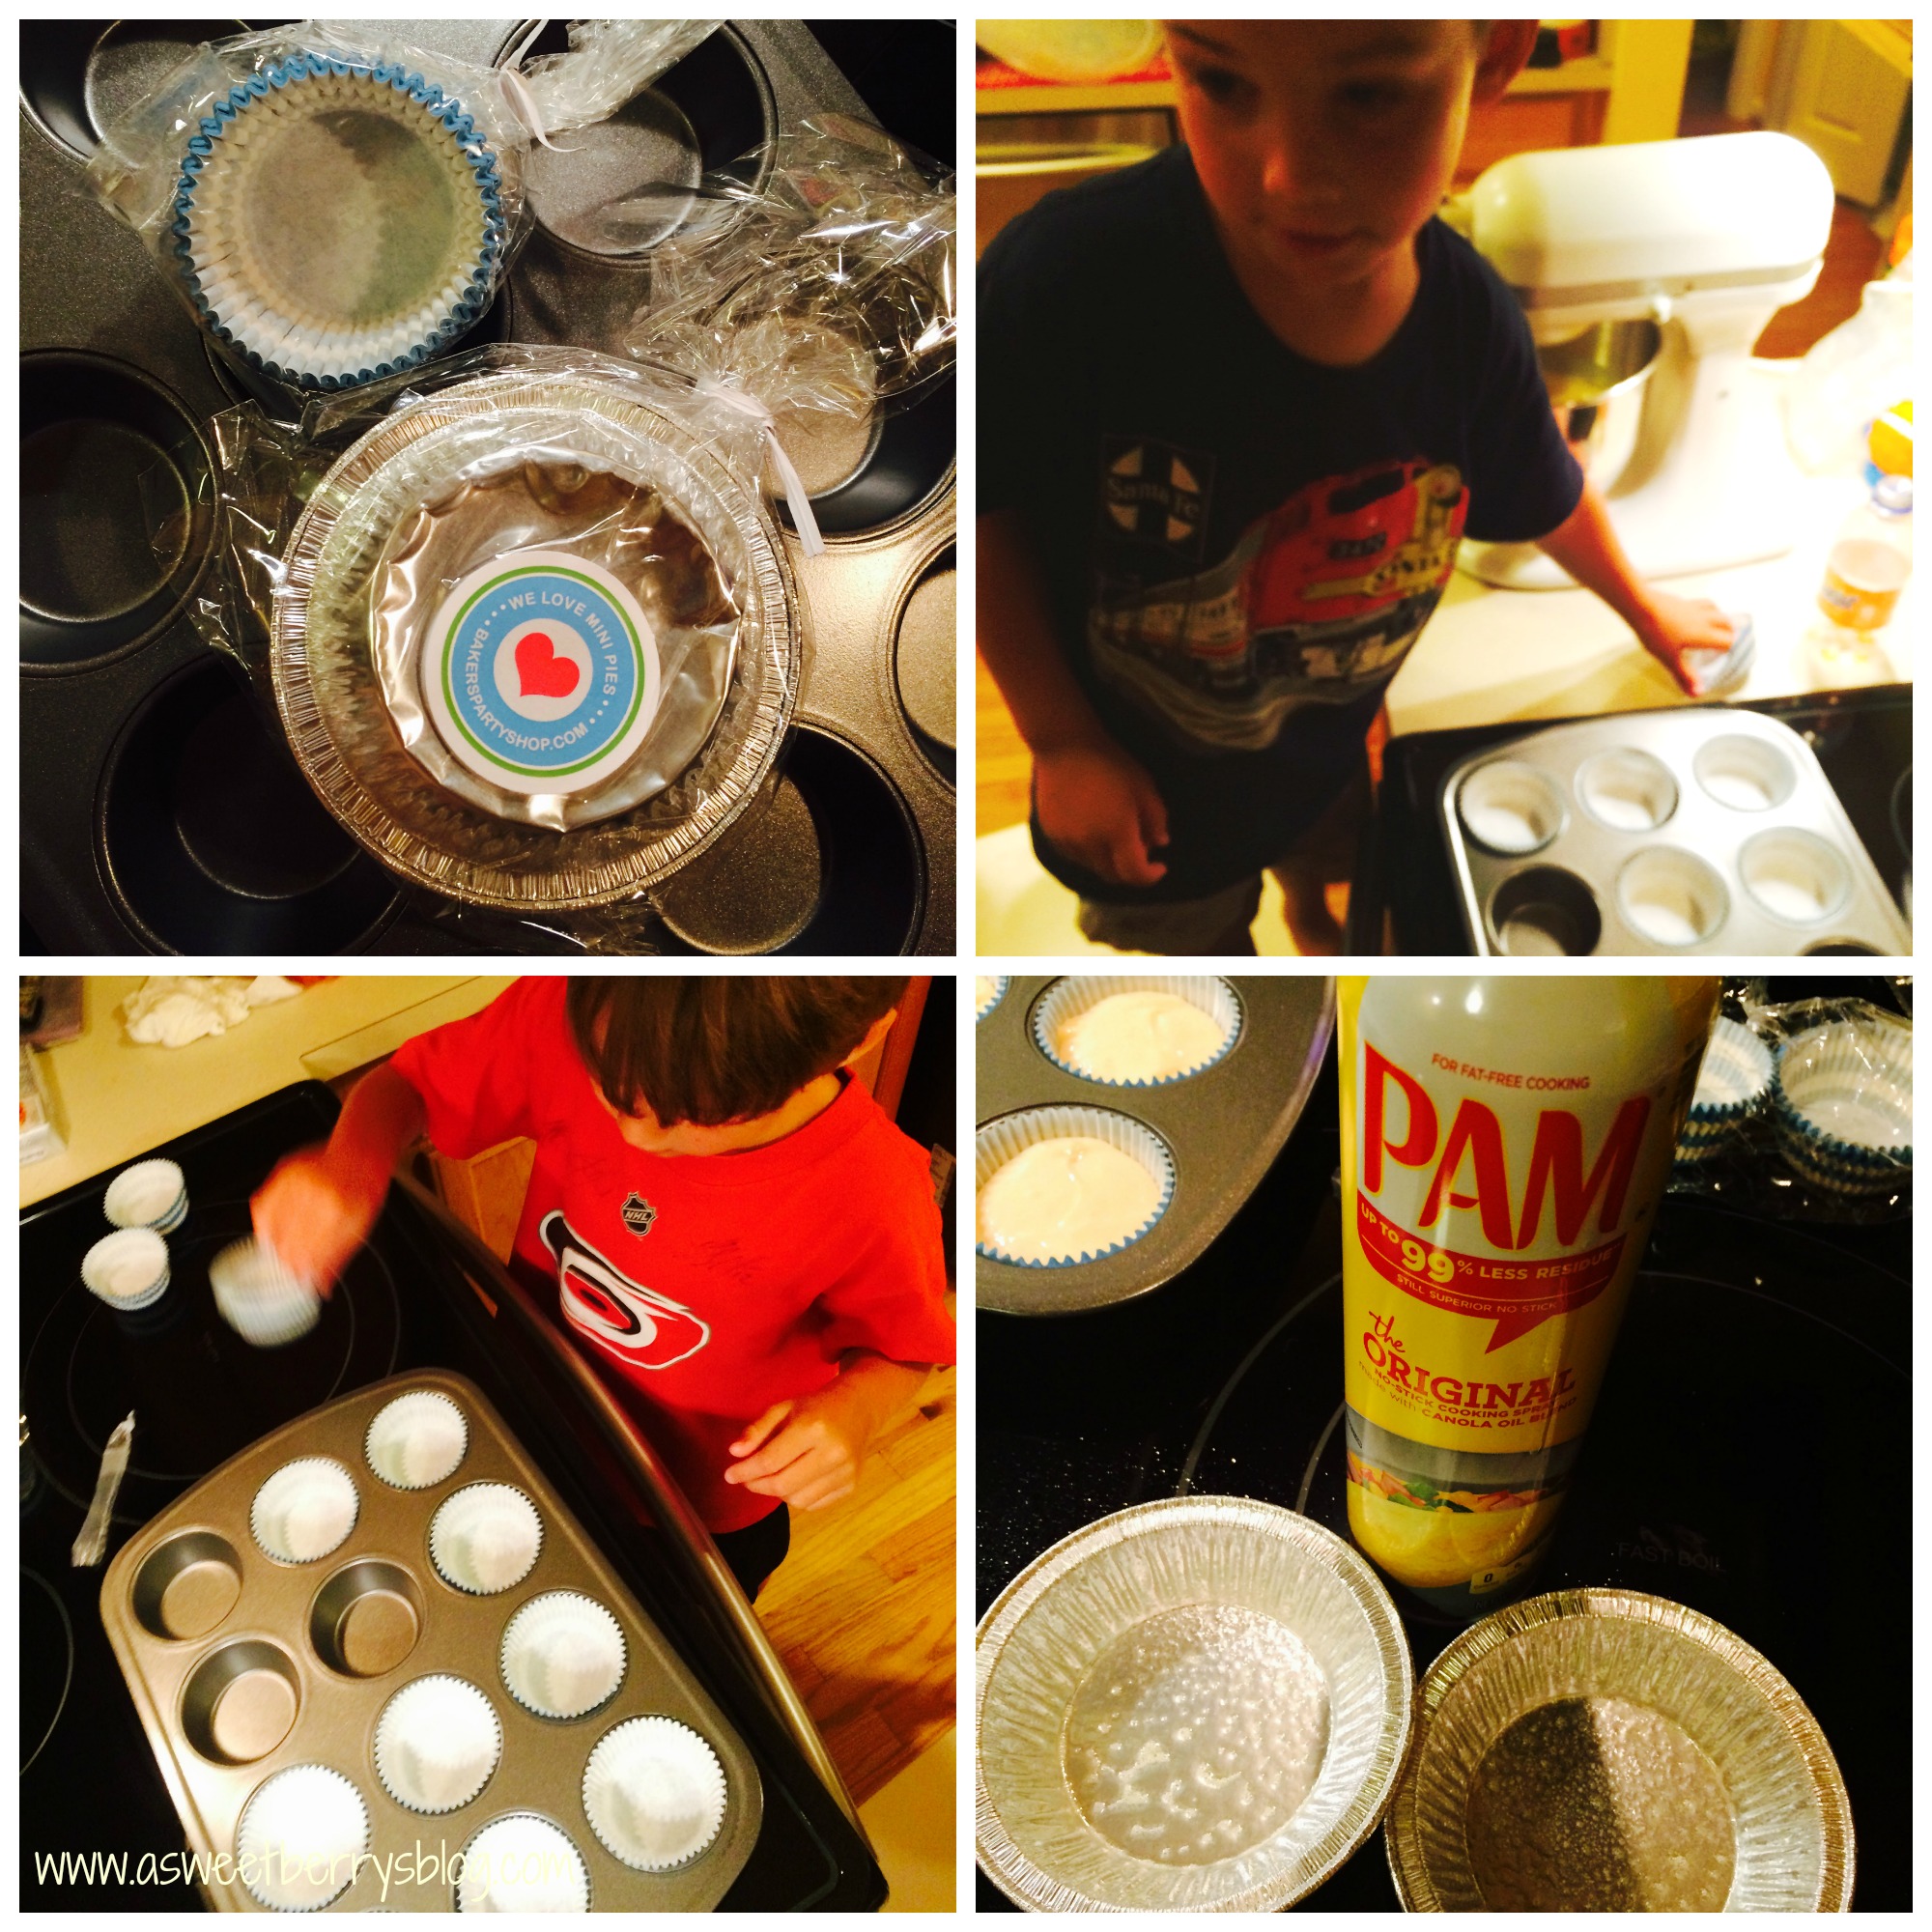
The Bakers Party Shop sent me adorable cupcake liners and mini pie pans.  We decided to use them both, creating cupcakes and cupcake pies! cups
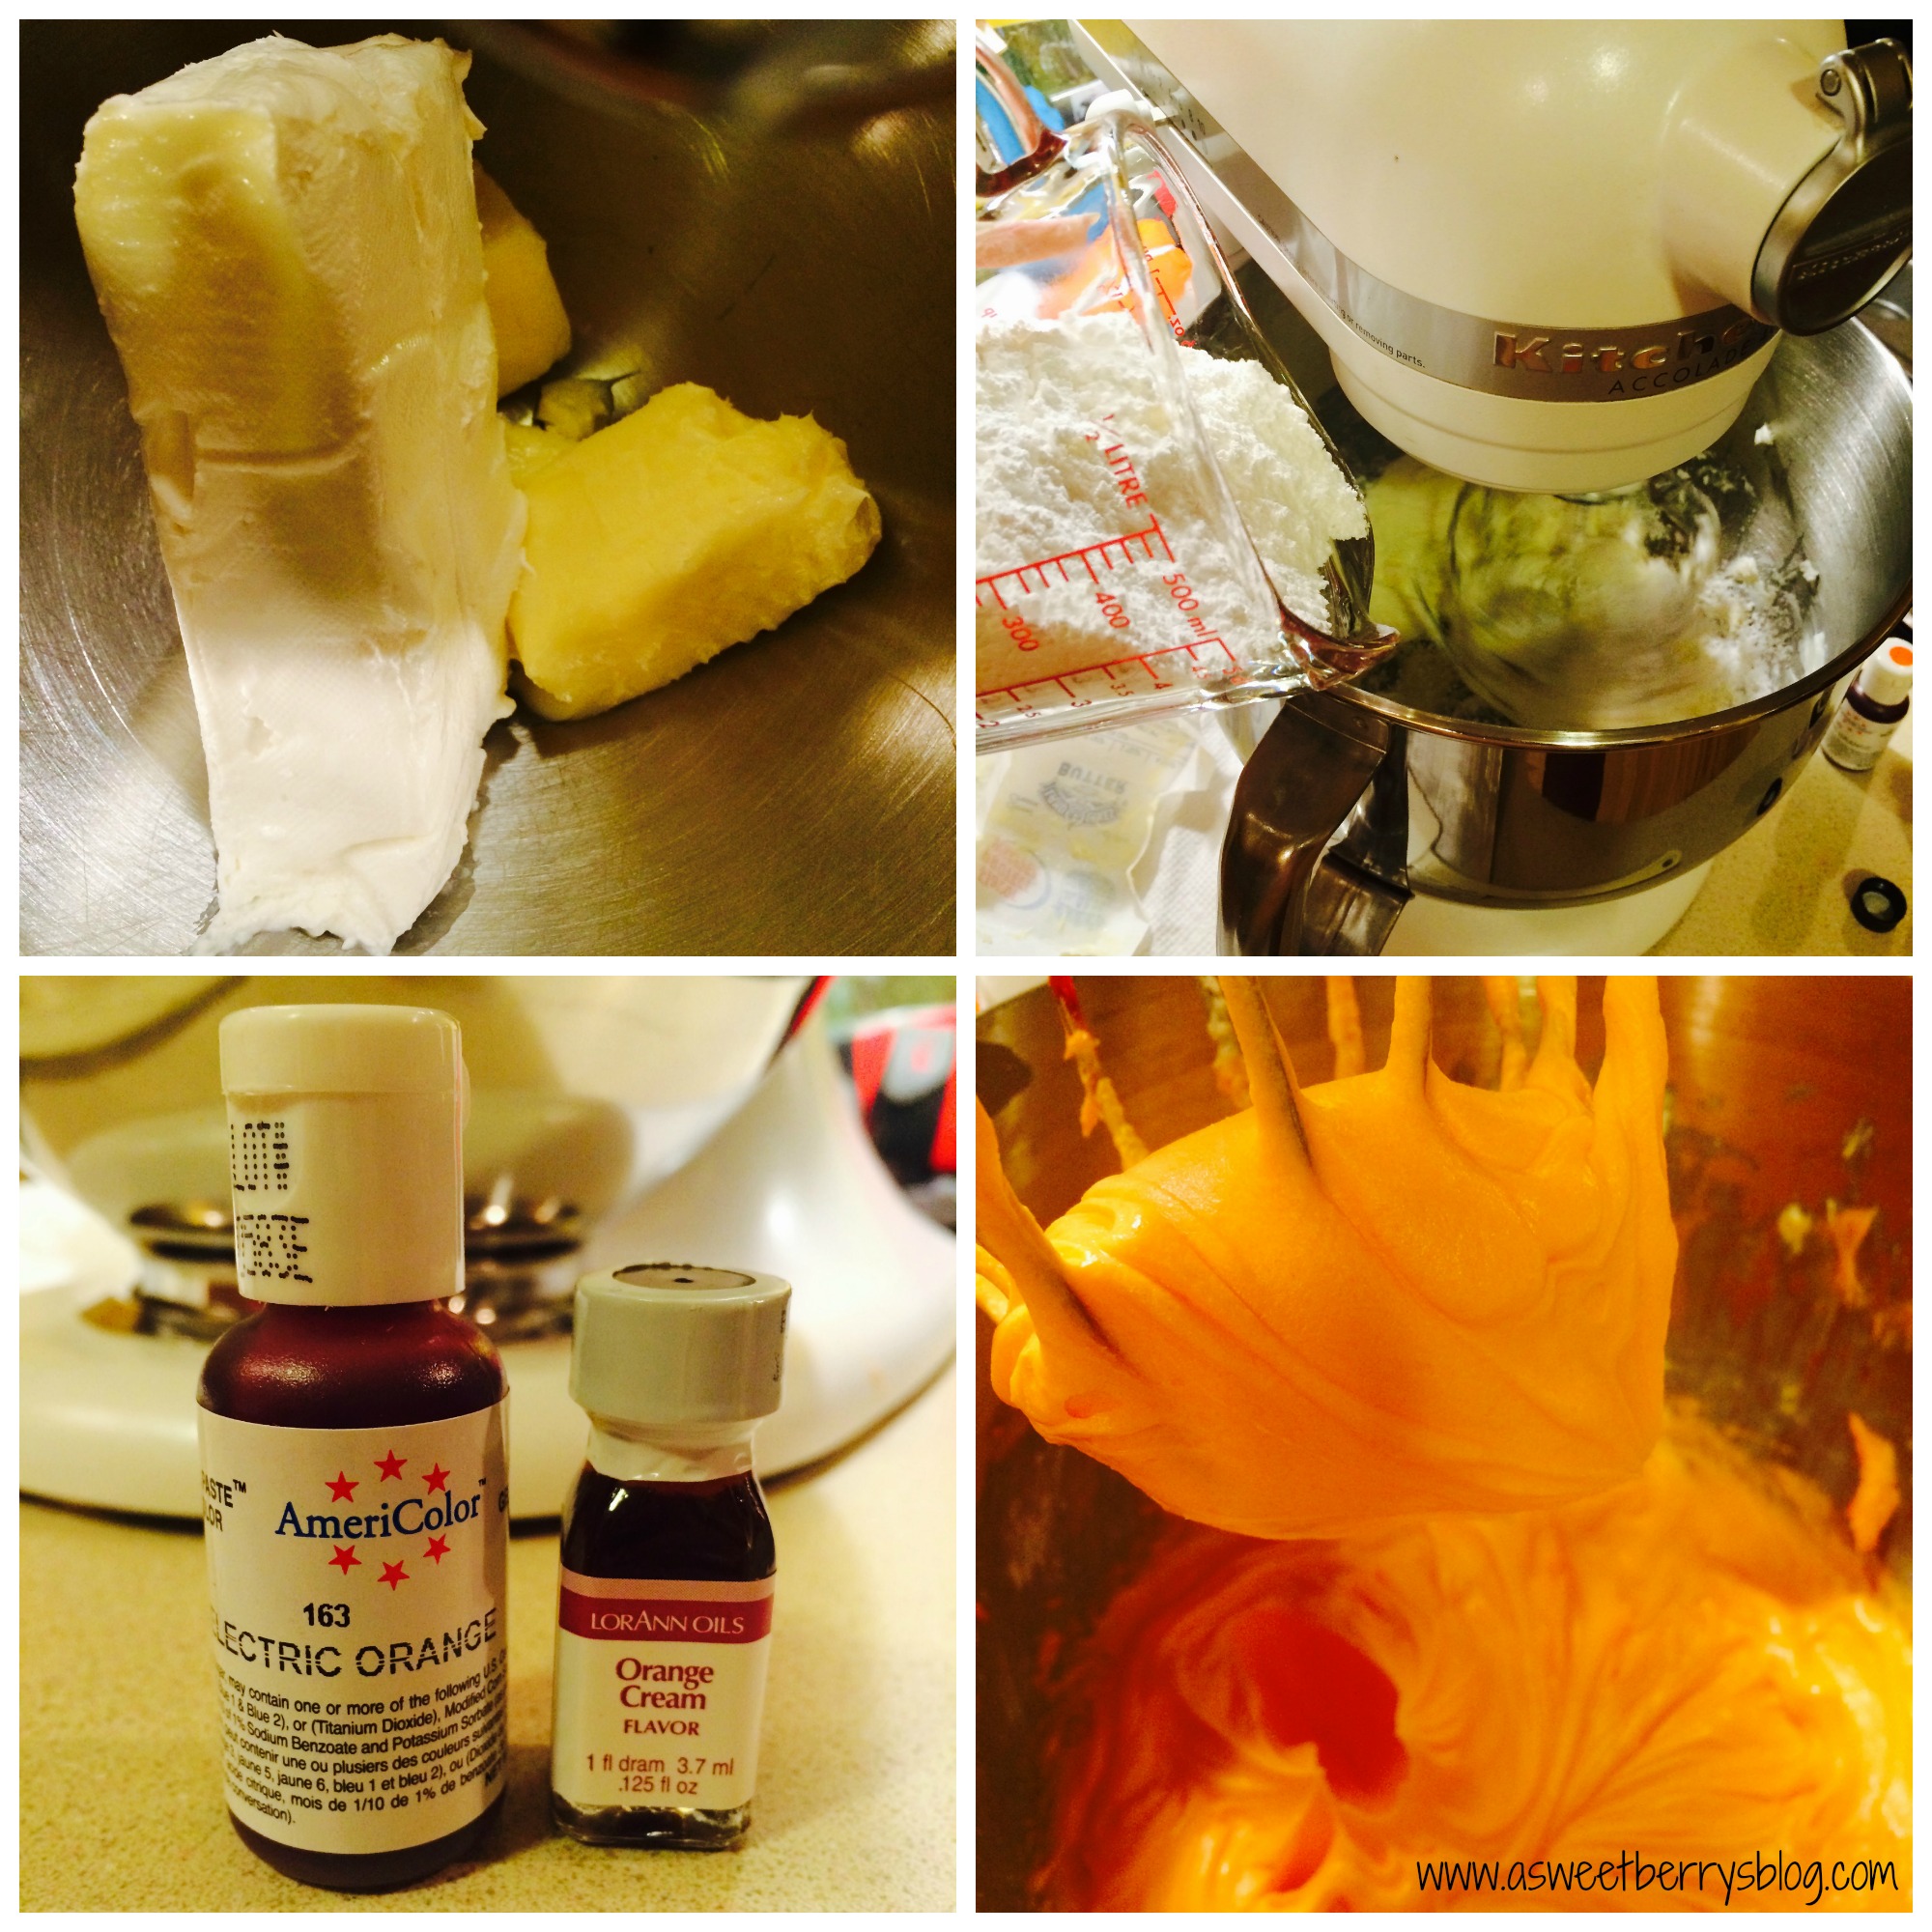
I love homemade cream cheese frosting, so I decided to make that and add the Orange Cream Flavoring and Electric Orange gel food coloring to make my frosting taste like and look oranges!  Of course, they boys were excited to be able to eat any frosting that wasn’t being used!
Recipe:
8oz cream cheese, softened
1 stick of butter, softened
4 cups of powdered sugar
Orange Cream Flavoring, to taste
Electric Orange gel food coloring, to coloring liking

Mix the cream cheese and butter until smooth.  Slowly add the powdered sugar.   Once all combined, add in the flavoring and the food coloring. cream cheese icing
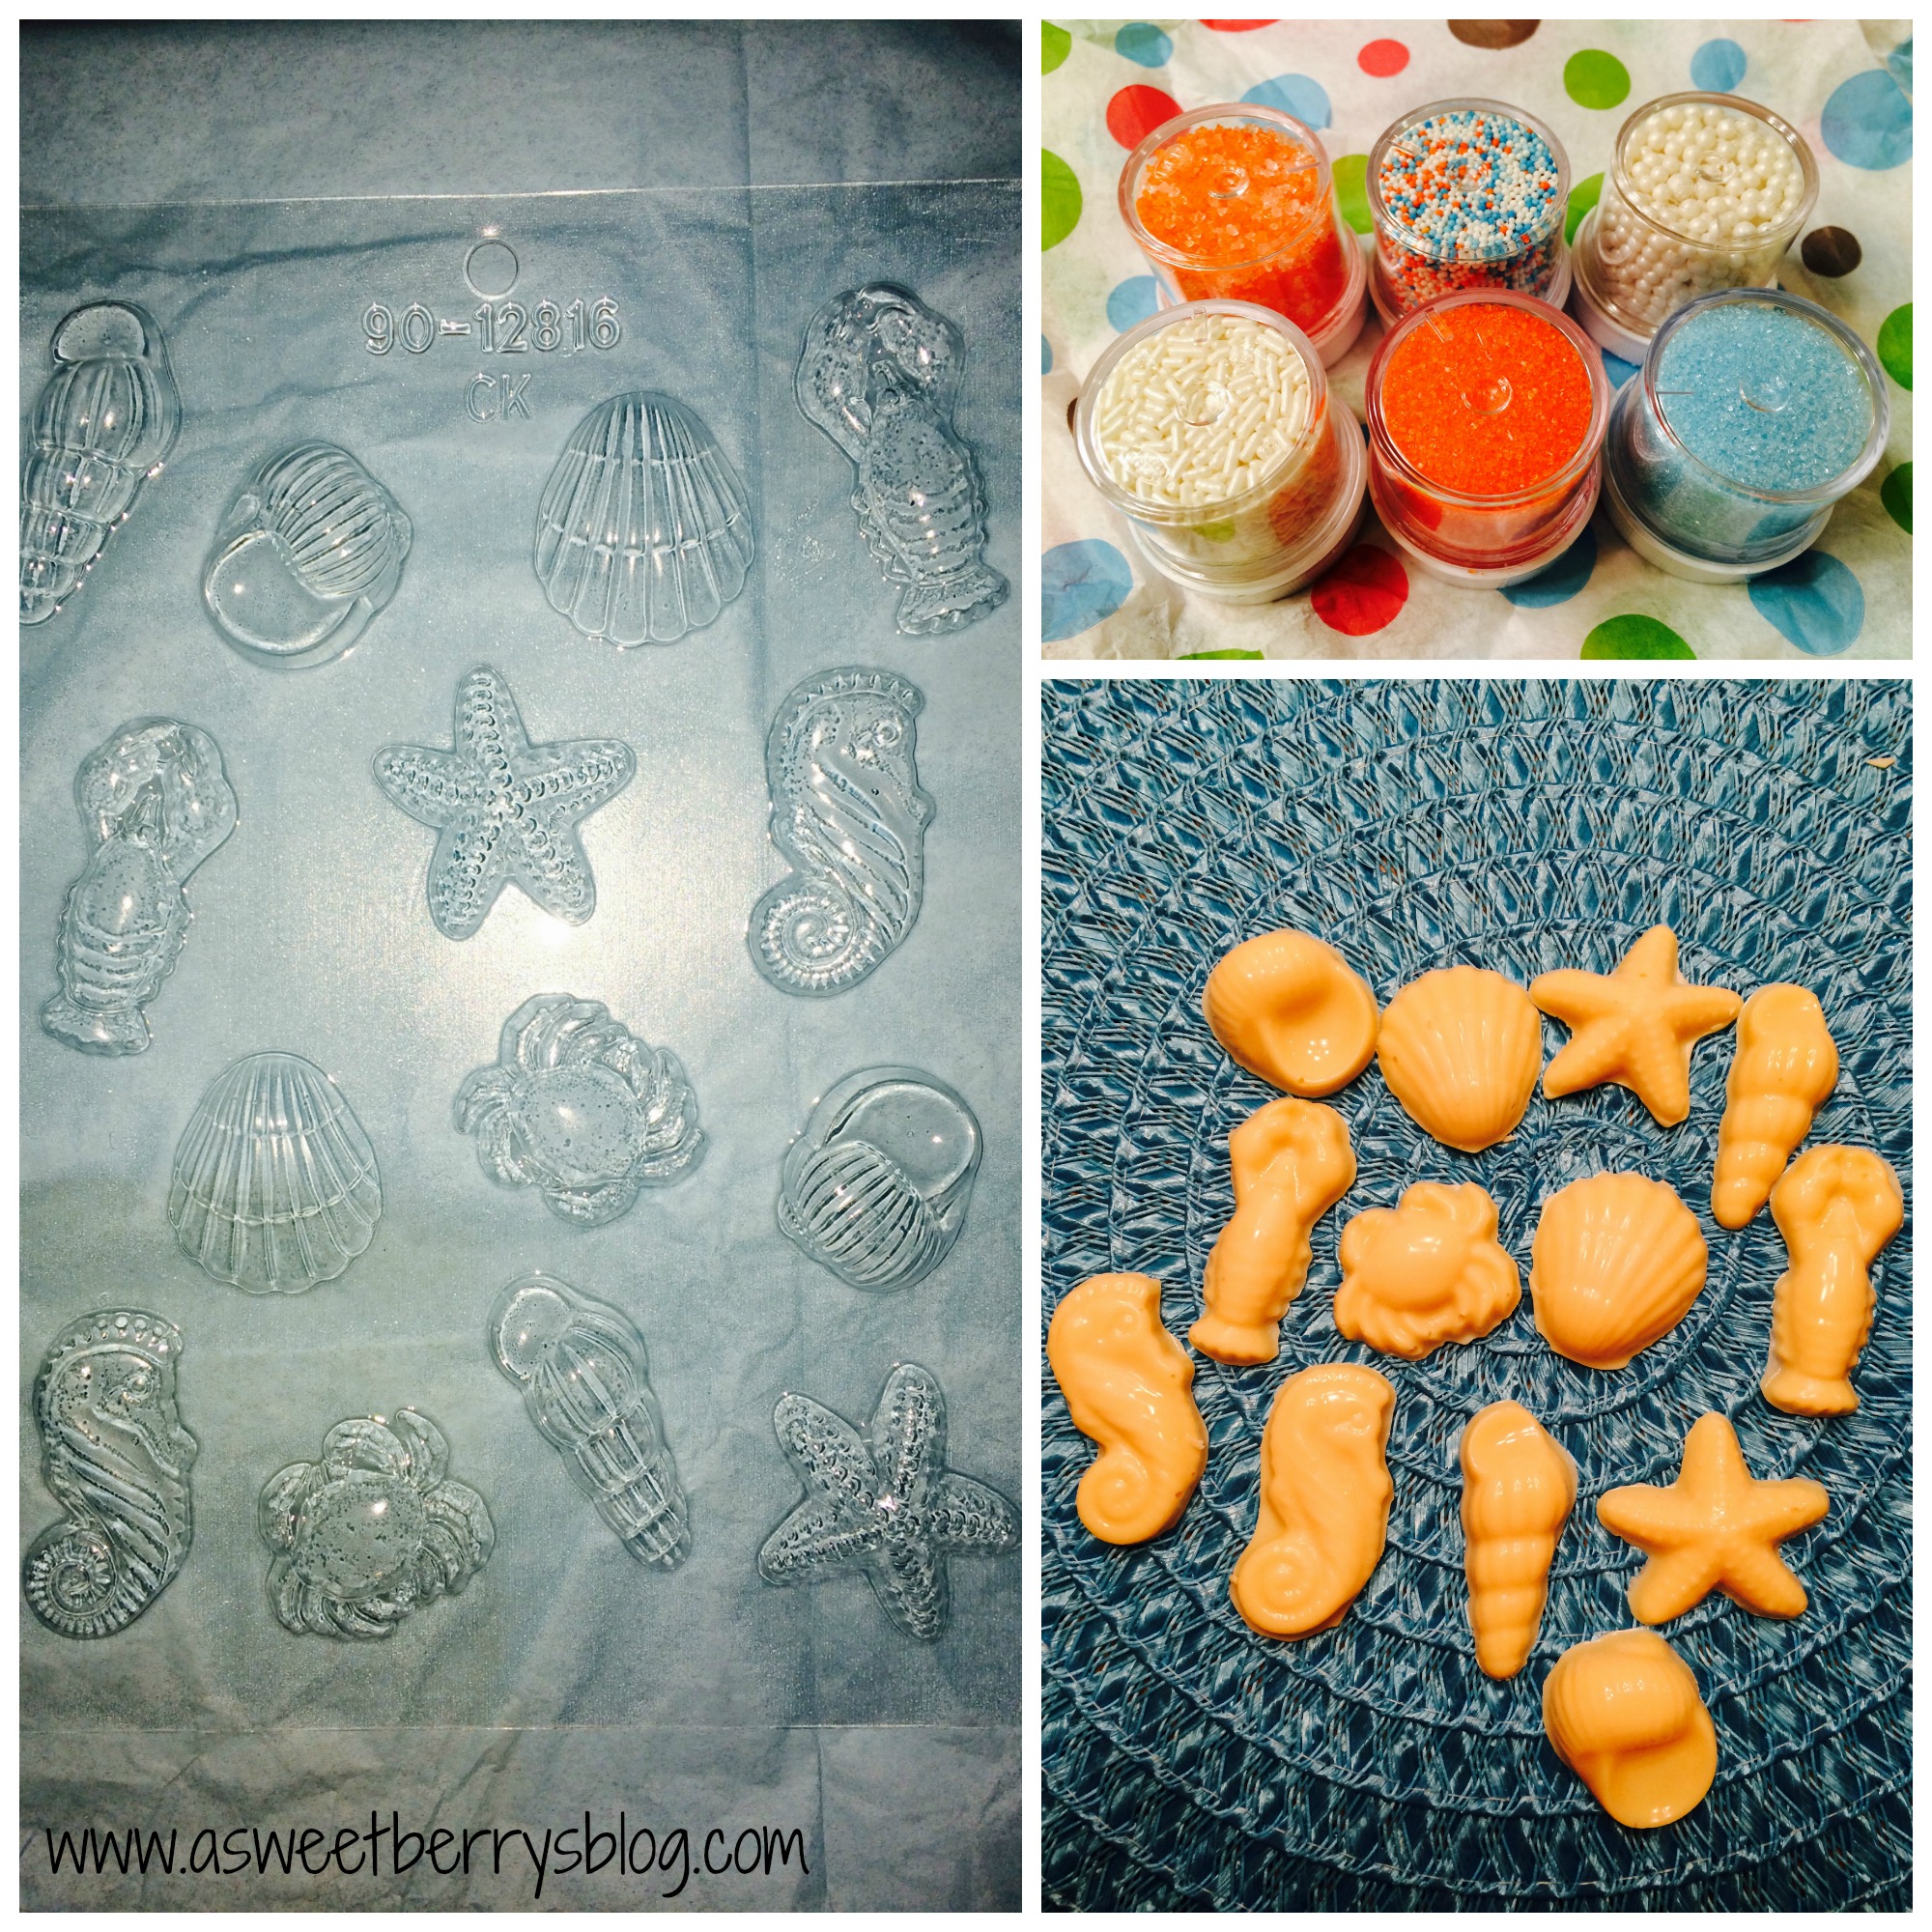
The Bakers Party Shop also sent these beach themed candy molds and these adorable sprinkles!  Using vanilla candies, I made candied shells and sea creatures to go on my cupcakes. decorations
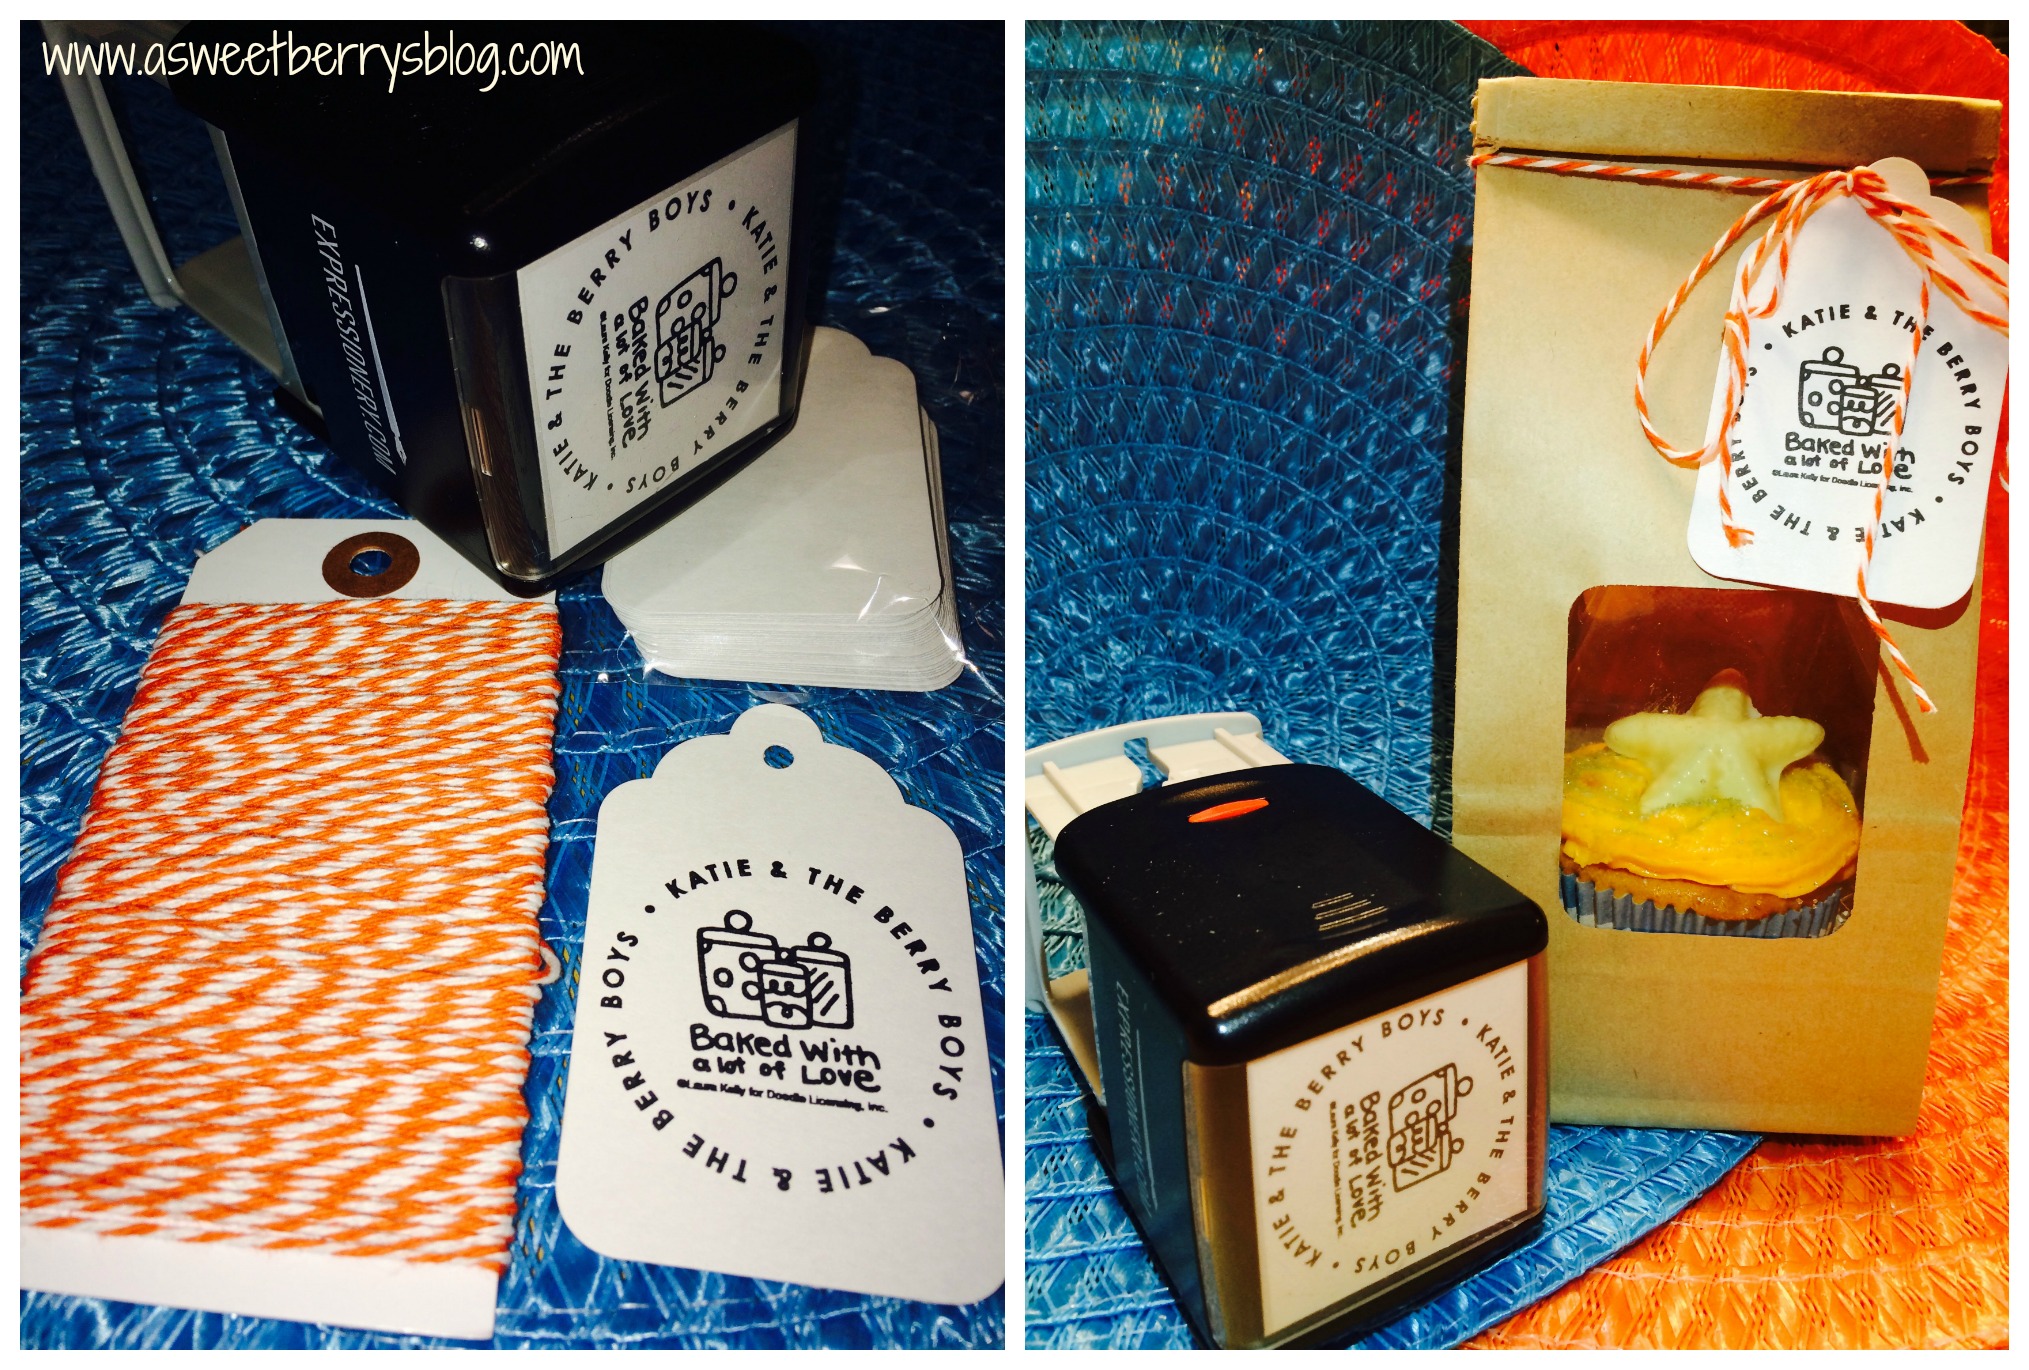
Expressionery.com supplied me with this adorable “Baked with a lot of Love – Katie & The Berry Boys” personalized self-inking stamp with art by my best friend, Laura Kelly!  Included in my box of goodies from The Bakers Party Shop was some bakers twine, tags and adorable packaging. stamps
I love all of the goodies from The Bakers Party Shop and the stamp from Expressionery.com. Final
You can get your very own personalized self-inking stamp from Expressionery.com.  
Promotion: 25% off sitewide 
Promo code: SUNSHINE25 
www.expressionery.com/promotion/EXPBLGLKBAKERS
You can get your very own baking supplies from The Bakers Party Shop.  The Bakers Party Shop is offering a 25% off promo with SUNSHINE25.

Be sure to enter to win $250 Visa gift card and a personalized Expressionery Stamp!
a Rafflecopter giveaway
And be sure to check out these other amazing ideas using supplies from The Bakers Party Shop and Personalized Stamps from Expressionery.com!


Easy Fabric Key Fobs

Main Pic

Materials:
Fabric of your choice (colorful and white)
Printable Fabric Transfer
Color Printer
Iron
Key Fob Pieces
Rotary Cutter with Mat and Ruller
Scrap Felt
Sewing Machine with Thread
Pliers

Optional:
Sizzix Eclips 2 or other electronic cutting machine
Gift Tag SVG file
Ribbon

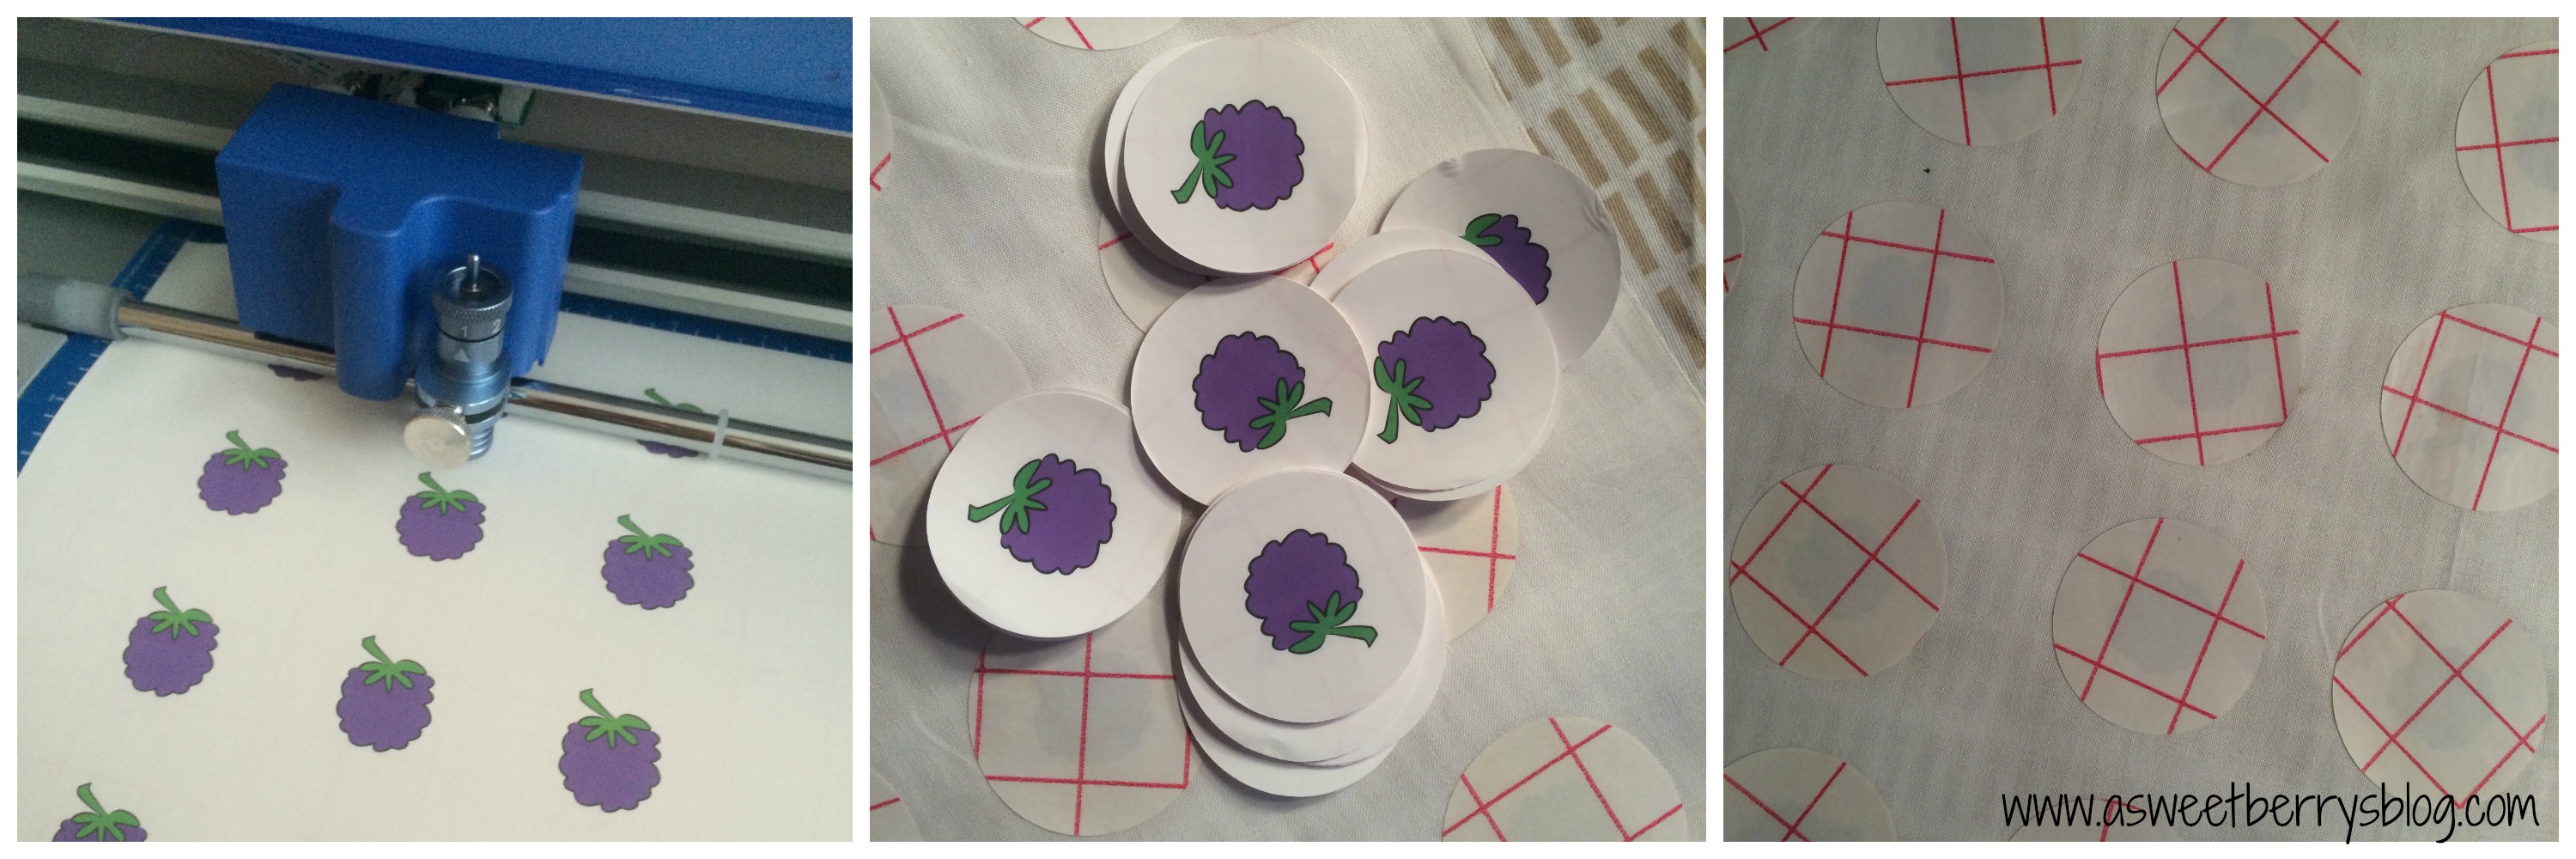
I started by printing my A Sweet Berry Designs berry logo on printable transfer paper and using the Sizzix Eclips2 to cut them out.  I was originally going to do circle keychains, so I cut our circles but ended up cutting them into more of a rectangle/square shape!  After they were printed and cut out, I laid them print side down onto my white fabric and ironed them with my iron set to the setting recommended on the transfer directions.
Cutting out berries
Then it was time to cut my fabric!  JoAnn Fabrics was having a Fat Quarter sale, so I purchased a variety of purples and greens.  I kept the fabric folded and cut a rectangle to my preferred size using my rotary cutter and ruler.  For the felt that I was going to place into the middle to give it a little fullness, I cut just a little smaller than the fabric cut out so that it was not visible once they were sewn in.  Once everything was cut, I placed the felt into the middle. materials
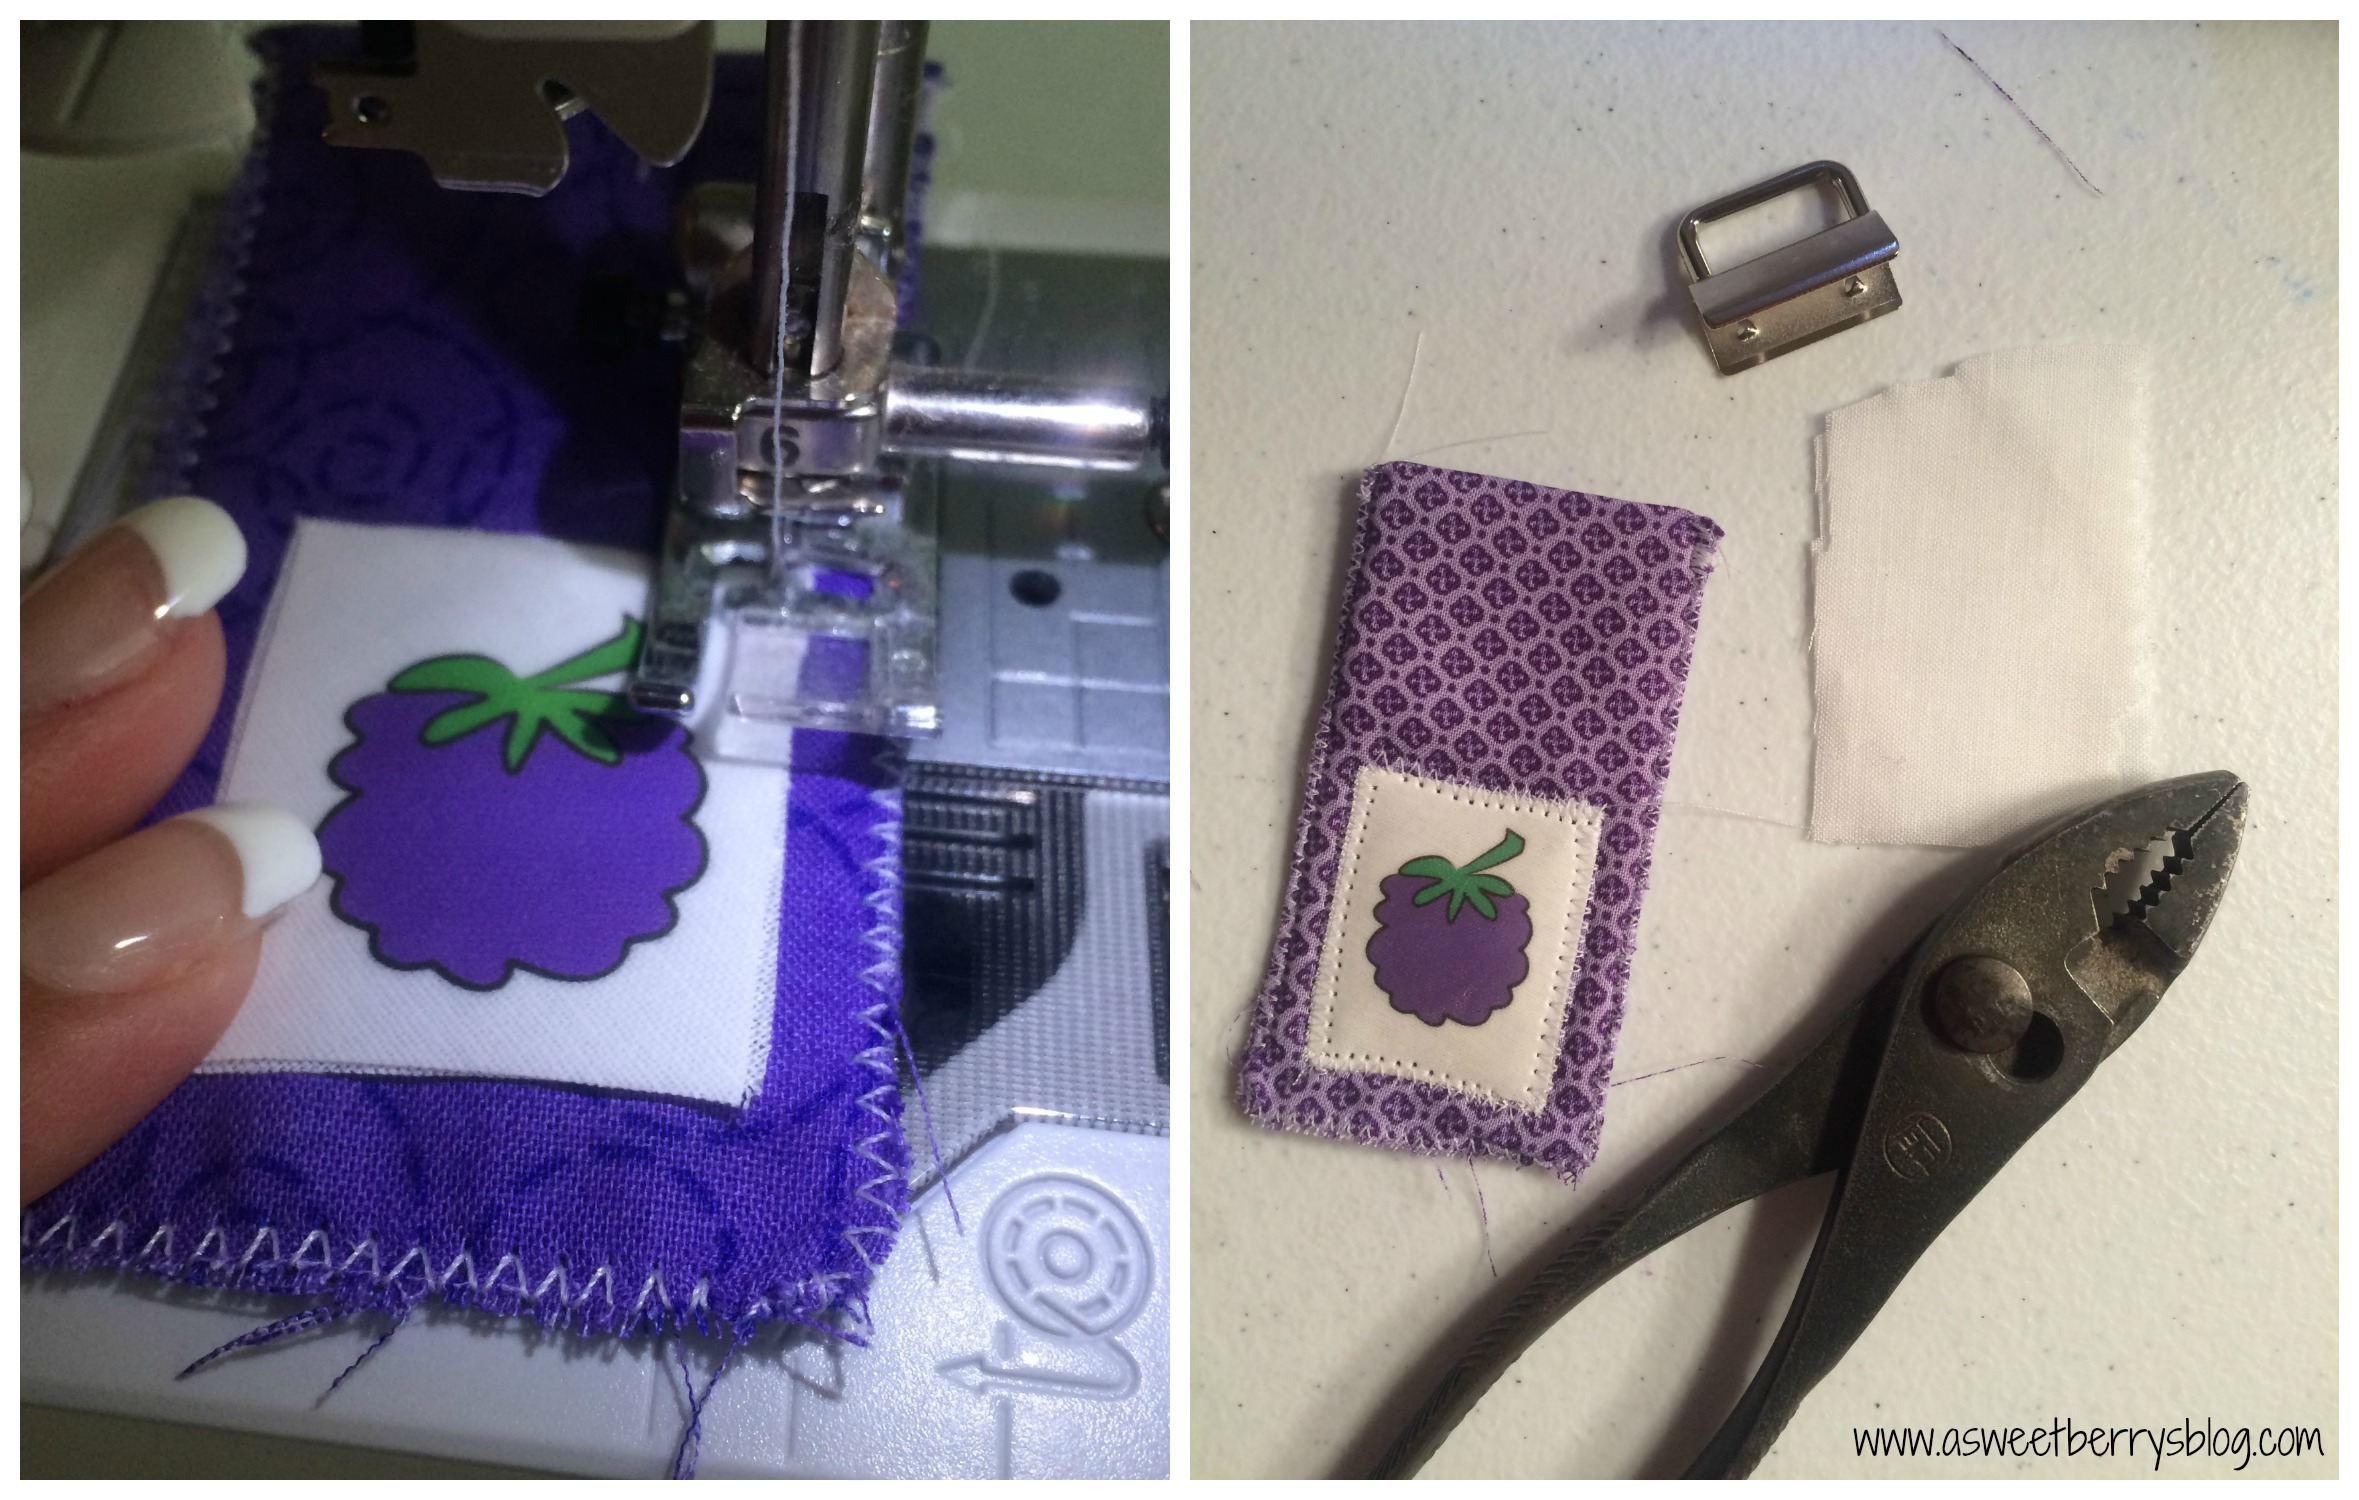
Then it was time to sew them up.  I used a zigzag stitch and sewed the three sides closed.  Once they were all sewn closed, I placed the berry logo where I wanted it and stitched it in place, also using the zigzag stitch.  Then it was time to place the key fob hardware clamp onto the sewn fabric.  I put them on the side that was folded.  I didn’t want flier marks on my hardware, so I used a scrap piece of fabric to place over the hardware while clamping it together, making sure that the spikes within the clamp went into the fabric.   I had just had my nails done, so my lovely husband was nice enough to add all of the split rings to my hardware clamps for me! sewing and metal
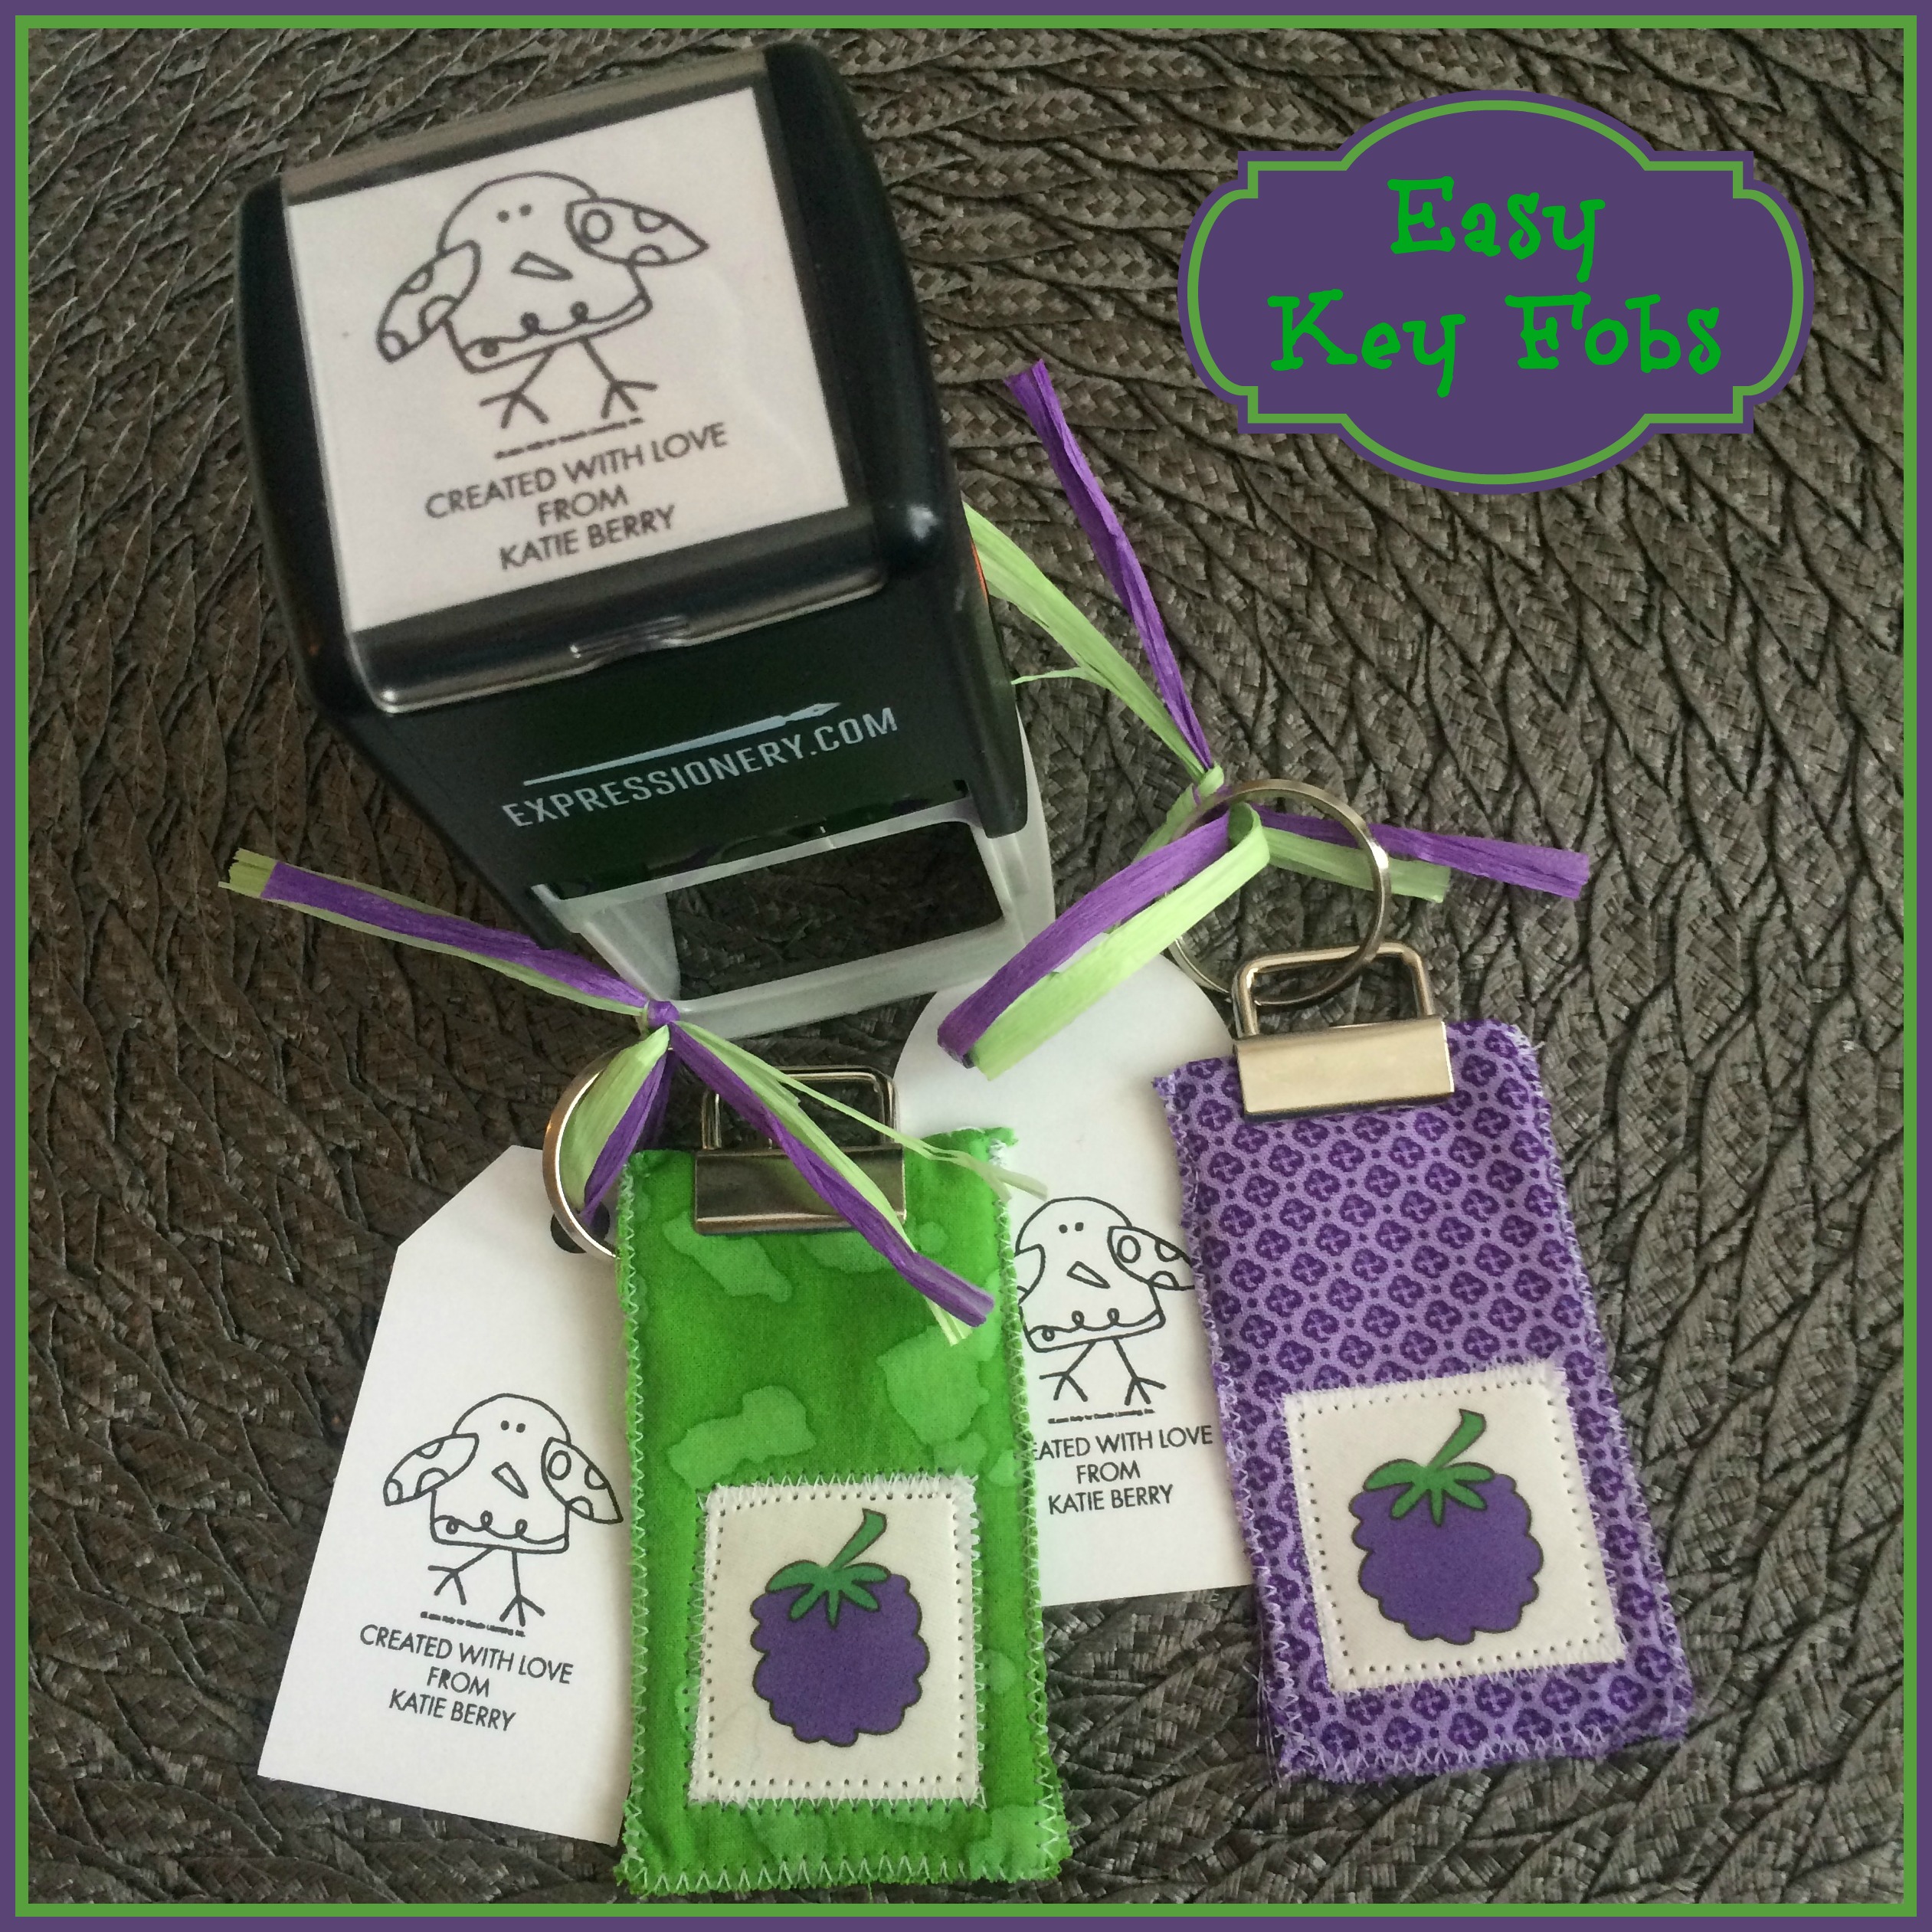
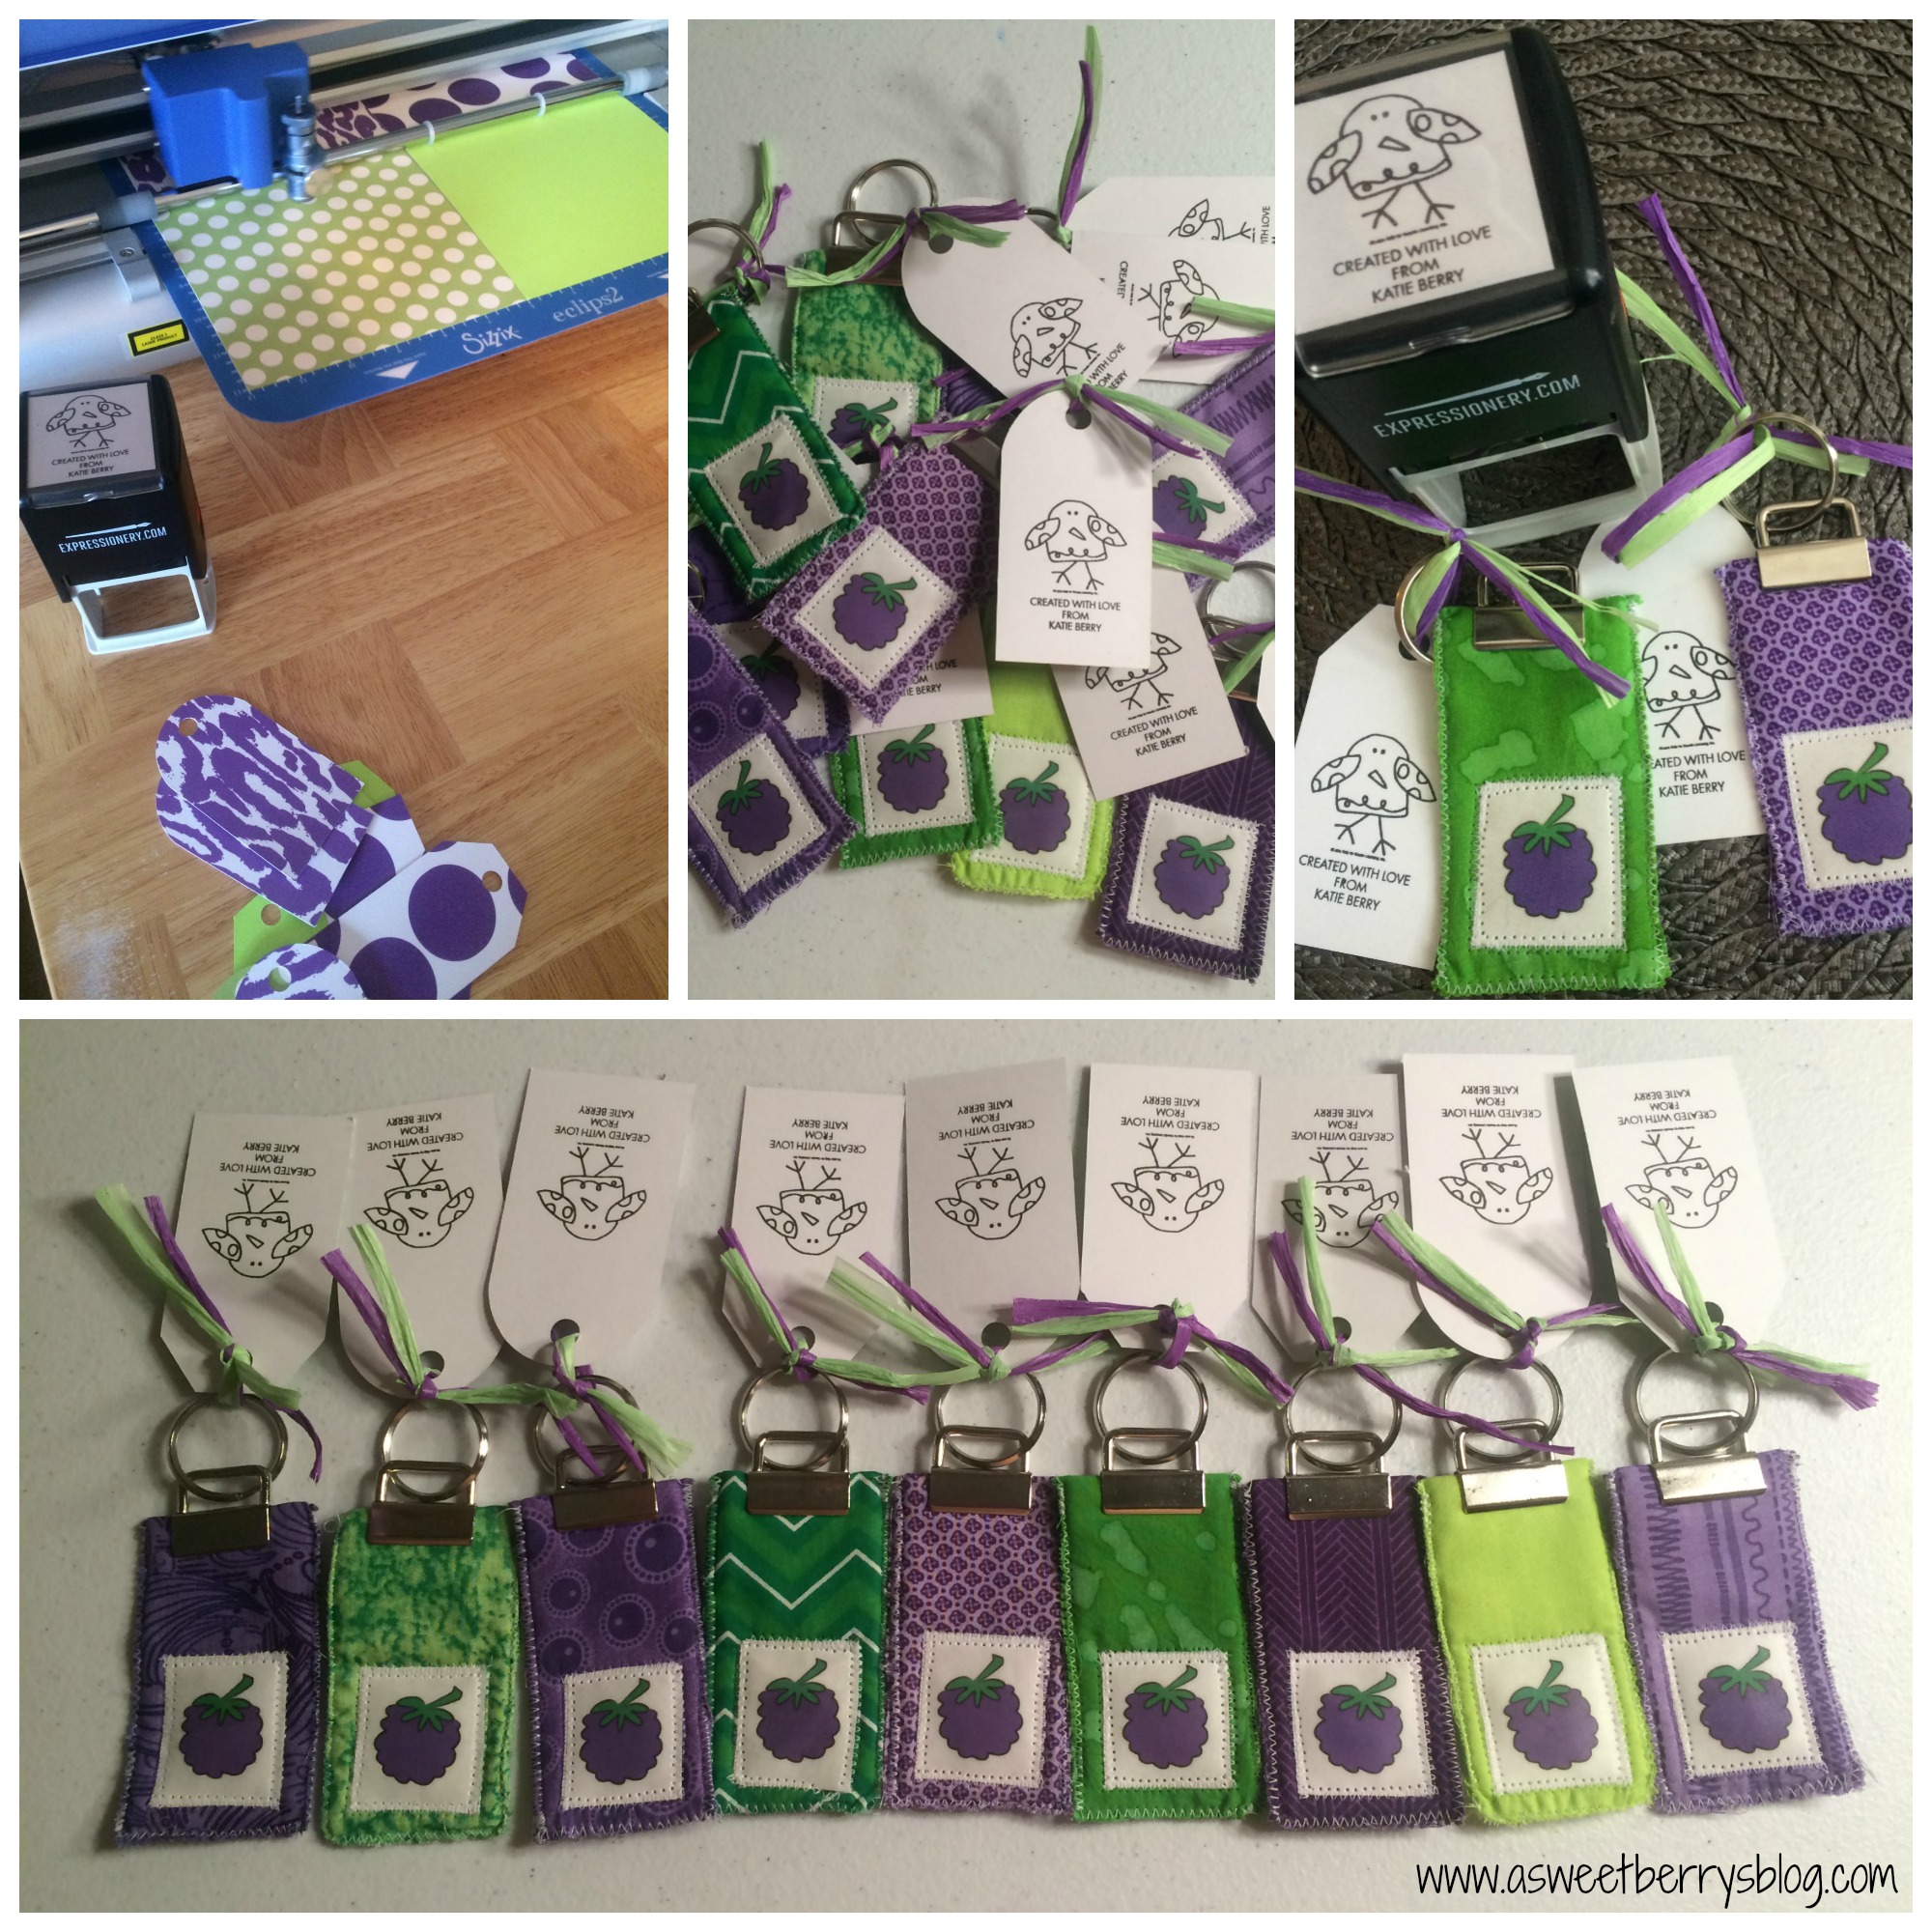
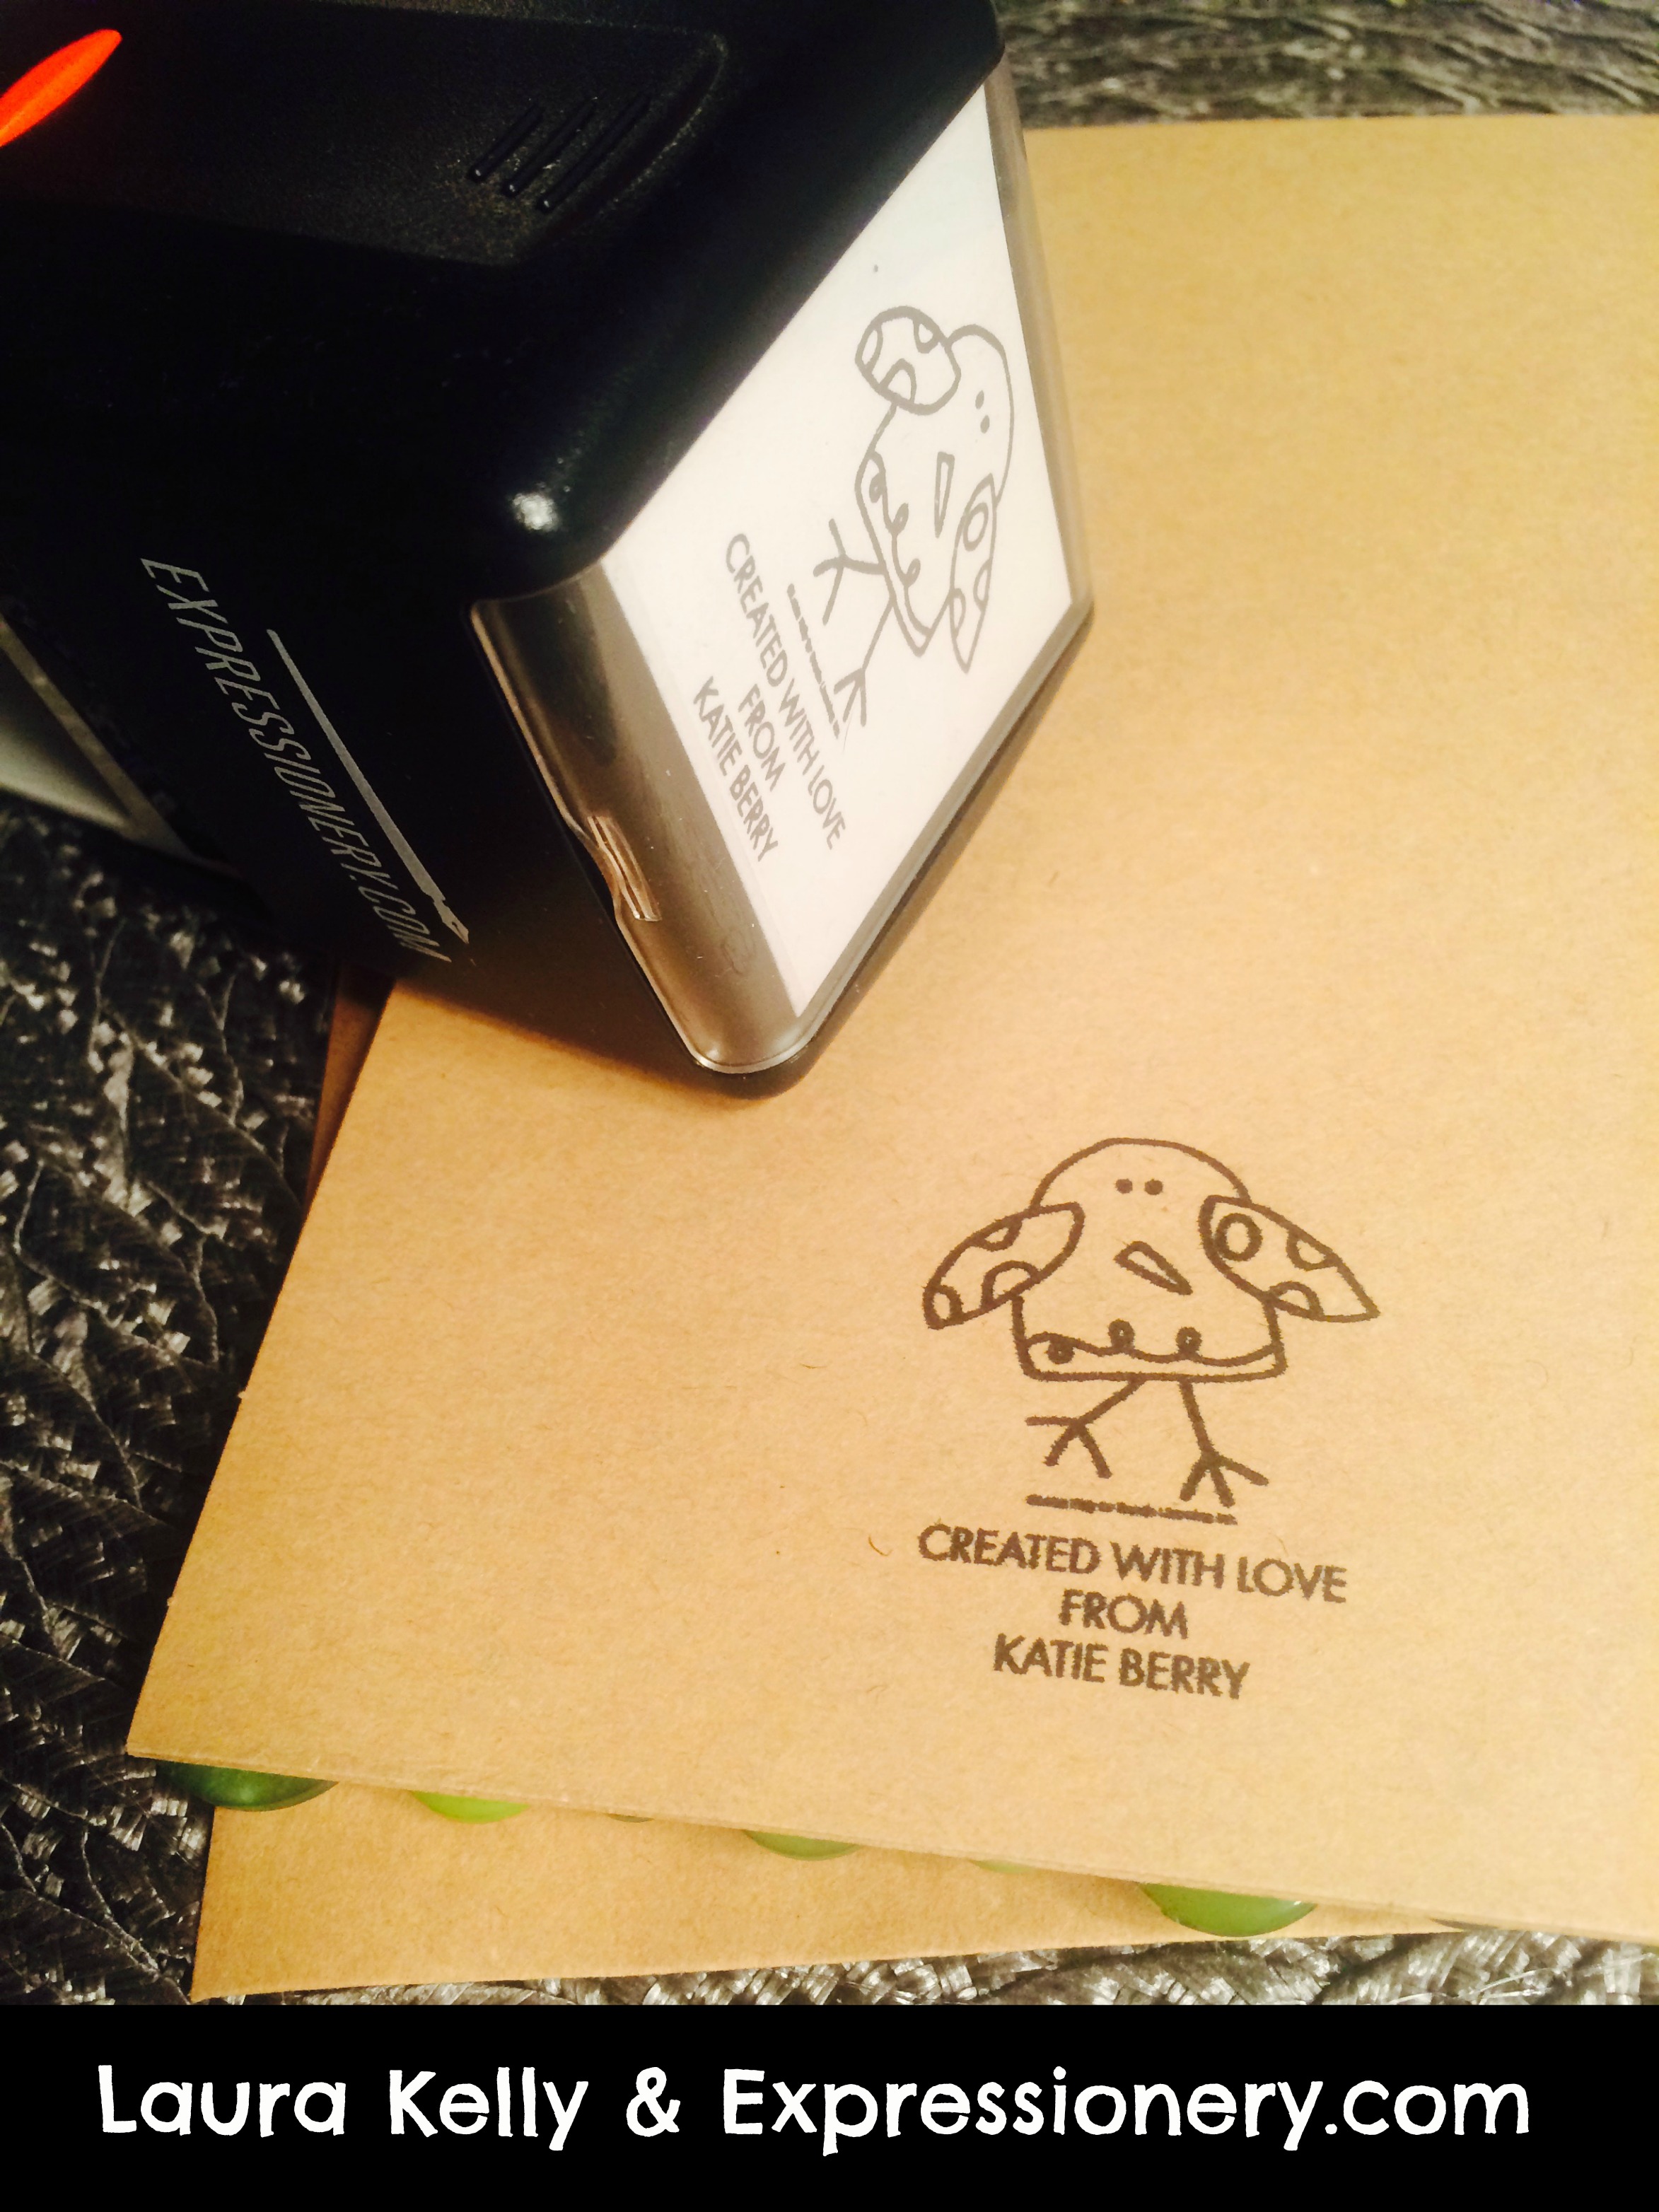
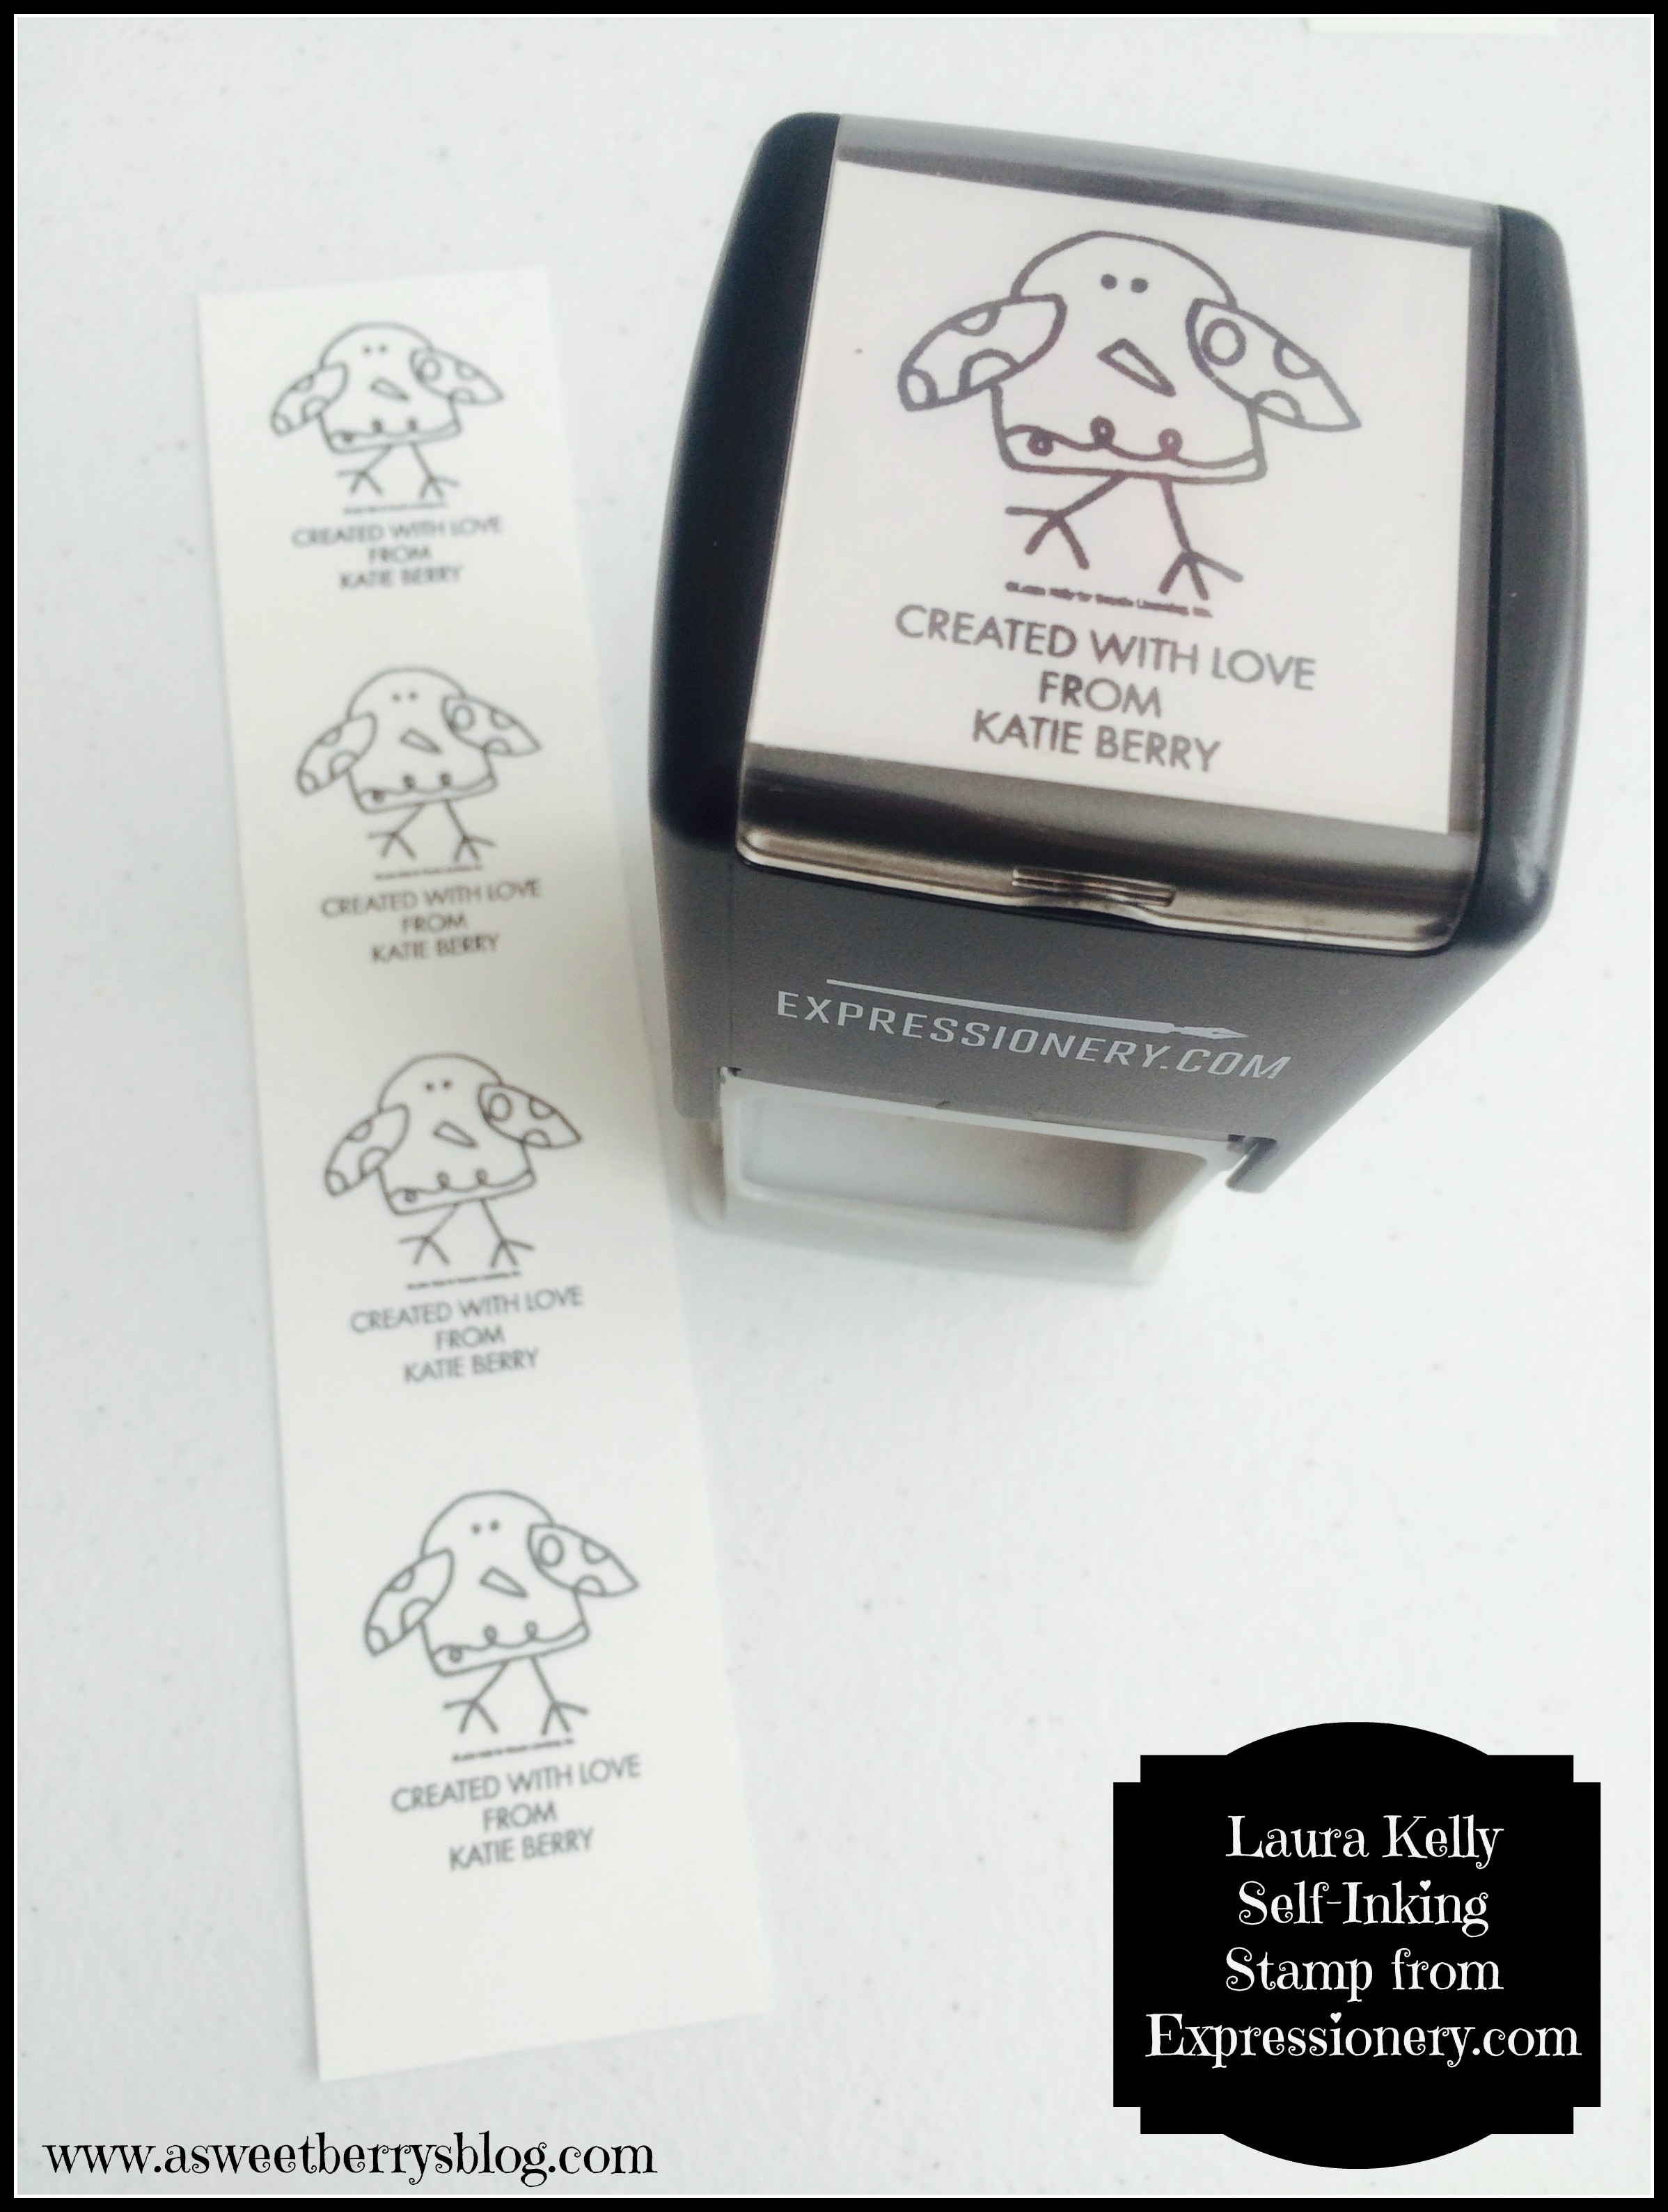
Voila! They were done!  I wanted to add cute little tags to mine, so I cut gift tags using my Sizzix Eclips 2.  Using my personalized stamp from Laura Kelly for Expressionery.com, I stamped my tag.  My stamp says “Created with Love From Katie Berry”. keyrings and labels
I hope you like my Fabric Key Fobs!  They were super easy to make!  I made them to go with my business cards for SNAP! Conference and they were a hit!  I still have a few left, so if you’d like one, just let me know!

Until next time……

Expressionery.com Self-Inking Stamps

Self-Inking stamps are so easy to use and Laura Kelly’s collection with Expressionery.com are super cute!   Expressionery.com has tons of different self-inking stamps to choose from!  I love my “Created with Love From” personalized stamp!  I use it on anything that I create that I am giving as a gift!   Here, I used it on a label for these awesome Scrappy Keychains that I made to go with my business cards for people that I meet at SNAP!   stamp
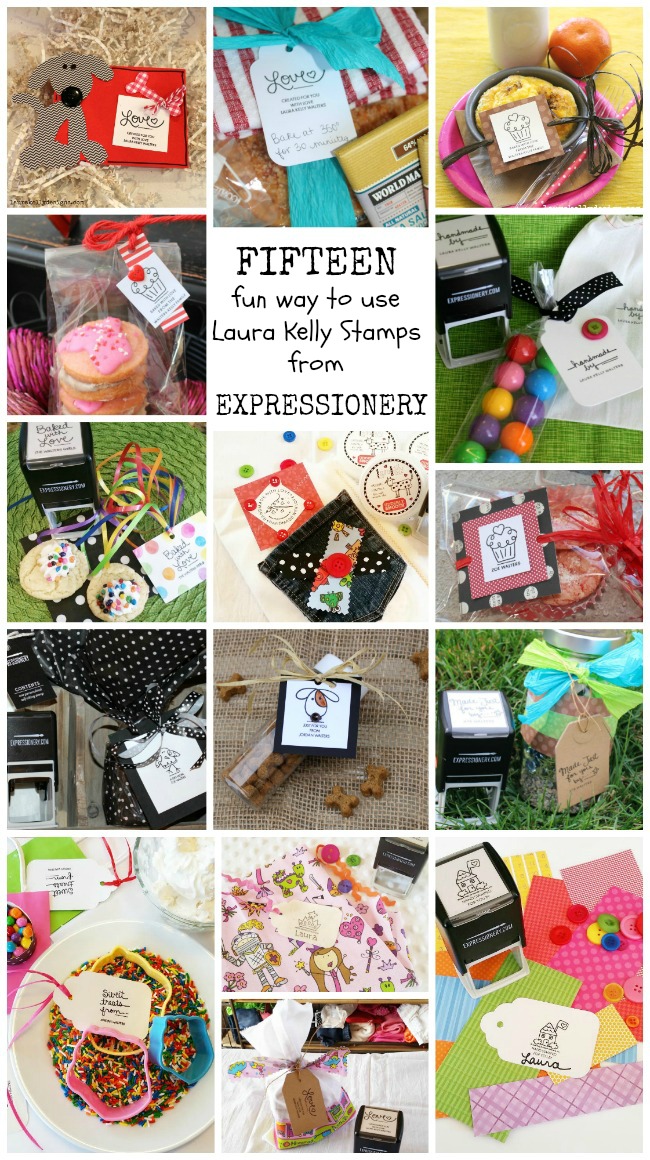
Click the photo below for Fifteen other fun ways to use Laura Kelly Stamps from Expressionery.com! Stamps
Right now, Expressionery.com is offering 30% off Sitewide with the code:  HAPPYSALE.  They are also offering free standard shipping on orders over $50!

Until next time…..


Happy Spring Button Greeting Card

I love Spring and I love Buttons!   I created this adorable Happy Spring greeting card using Laura Kelly’s Buttons and Lady Bug Buttons from Buttons Galore & More!
Final
Materials used:
Laura Kelly Buttons from Buttons Galore & More
Lady Bug Buttons from Buttons Galore & More
Card stock from Core-dination from Darice
Card/Envelope from Core-dination from Darice
Fabric Tag
Tulip Fabric Markers from ILoveToCreate
Hot glue gun and hot glue
Aleene’s Fast Grab Tacky Glue
Aleene’s Paper Glaze
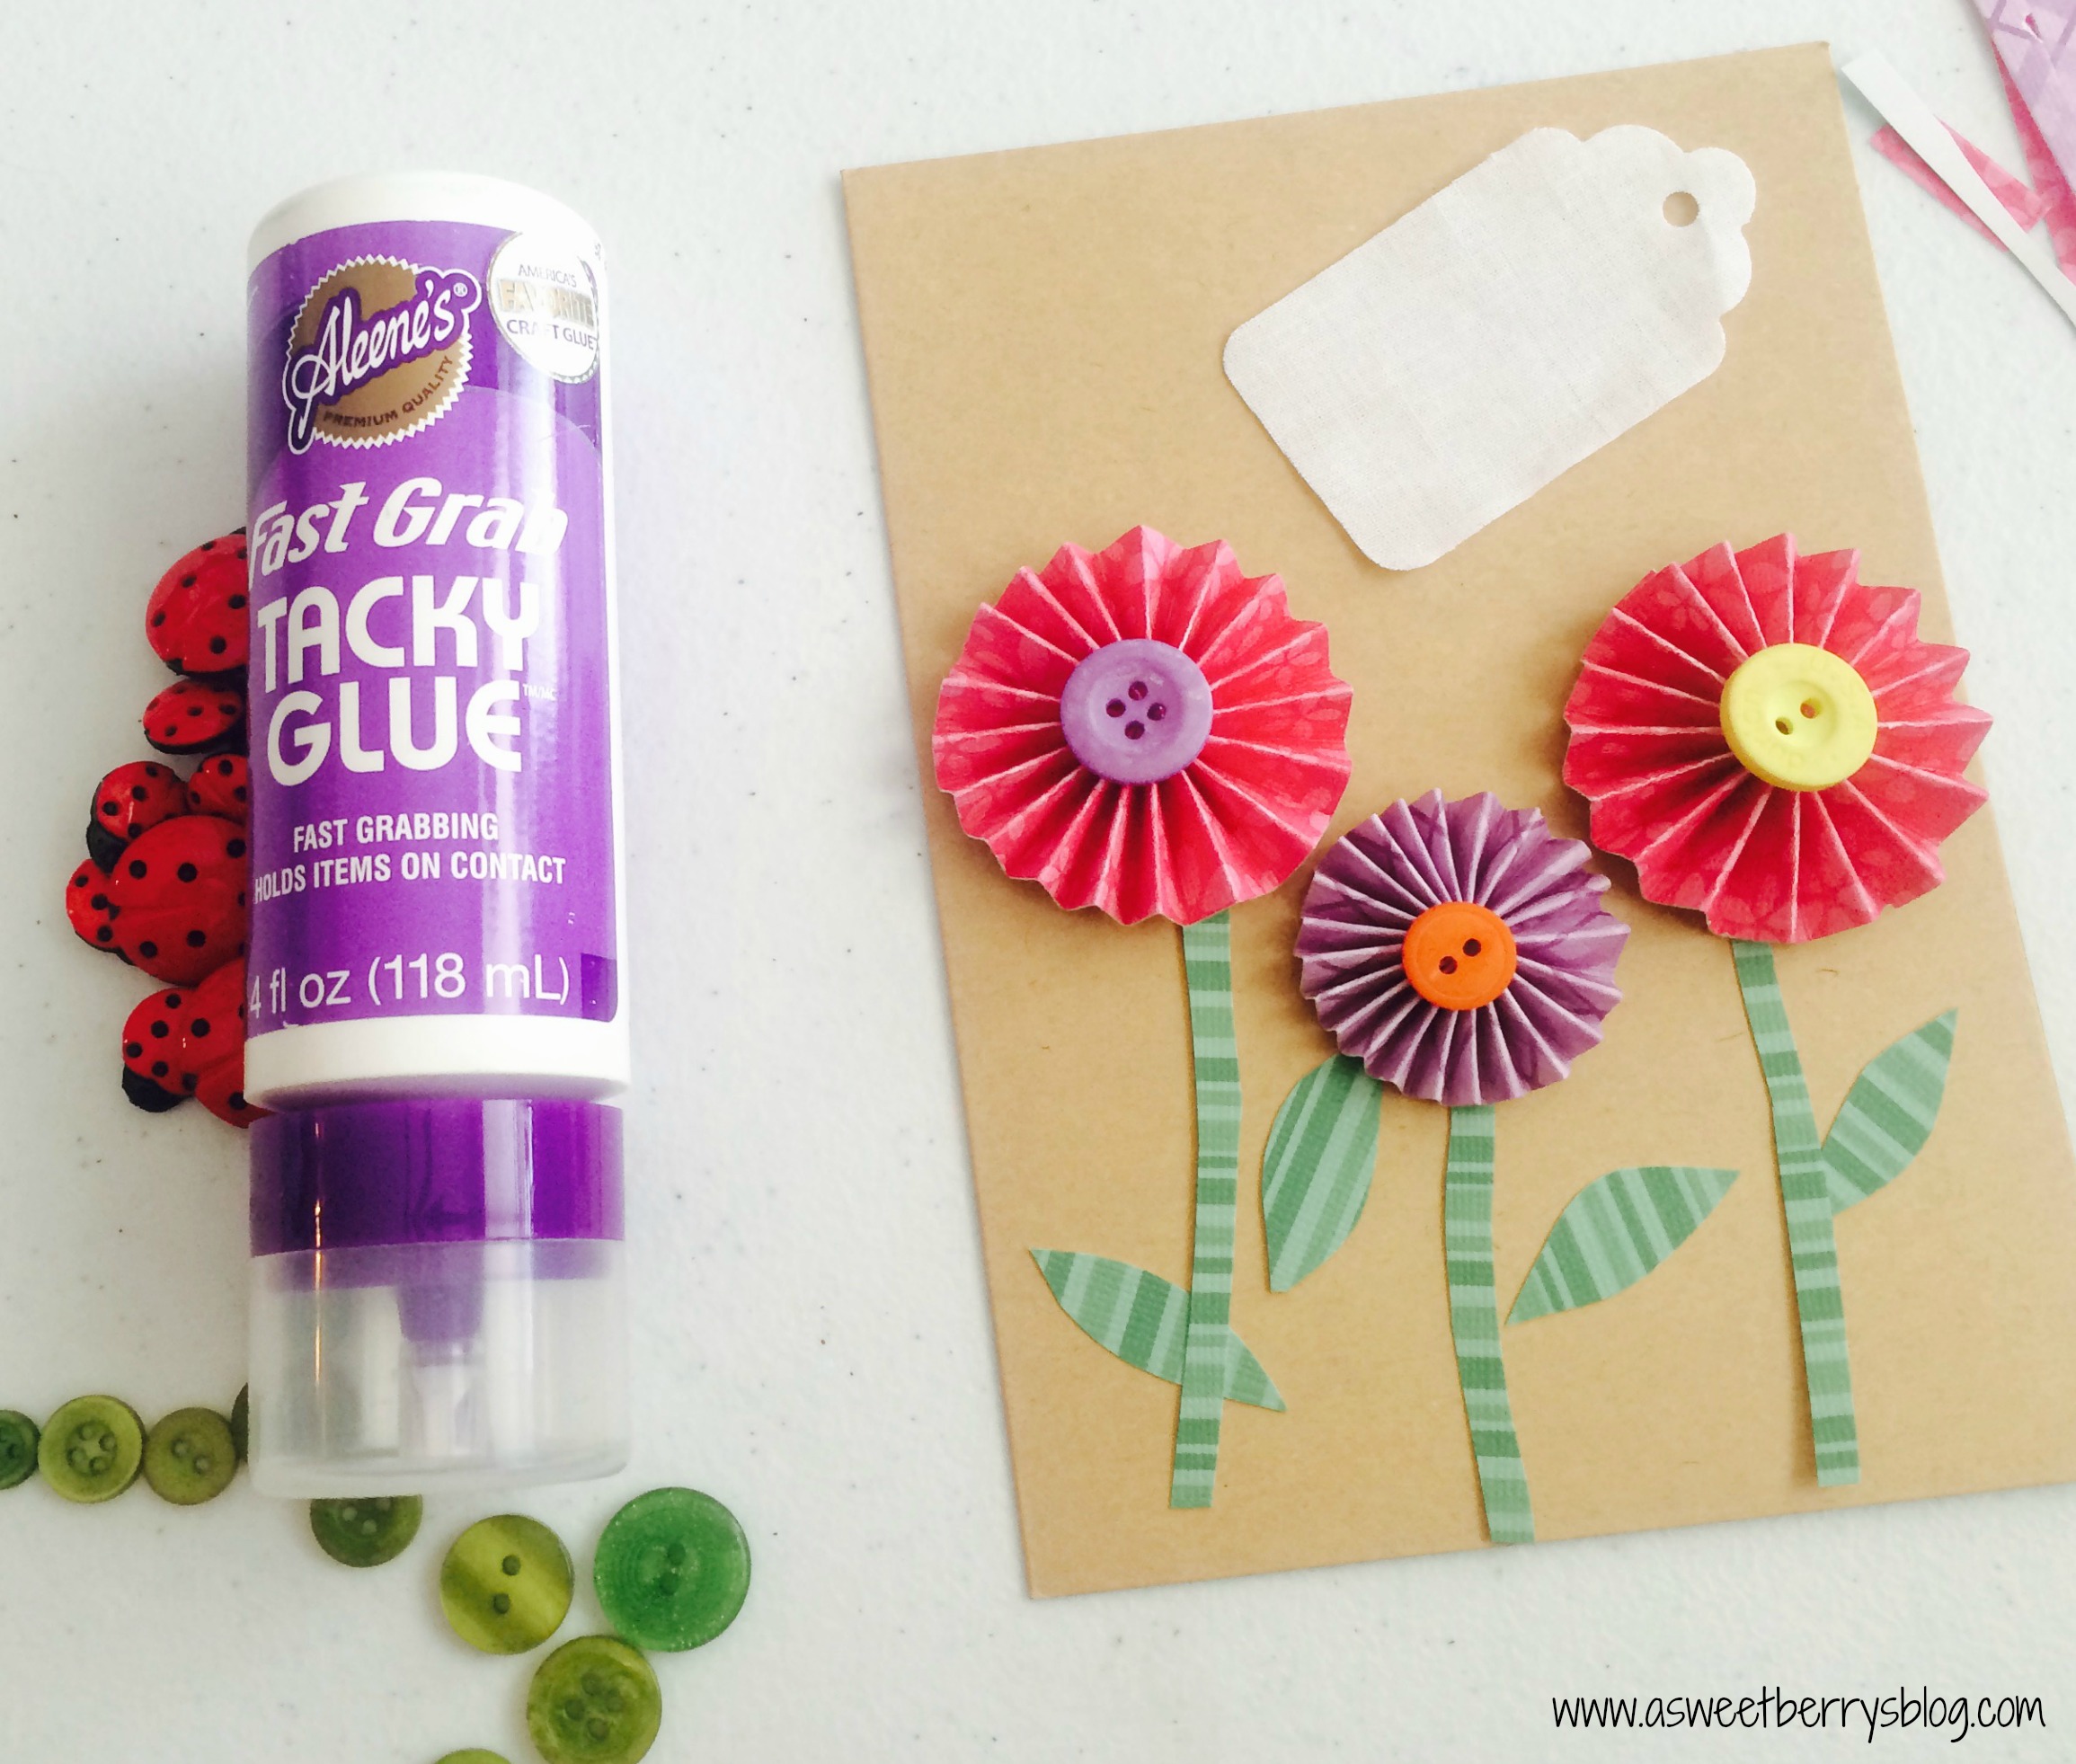
I started by making paper rosette flowers.   I cut 3/4″ and 1/2″ paper strips with cute card stock.  Bending the paper back and forth, I created a zigzag strip.   Once I had them all folded, I used a hot glut gun to glue the strips to each other, connecting two strips together on each end.  Once they were connected and formed a circle, I positioned the sides together to form the rosette and hot glued the center and let it dry. rosettes
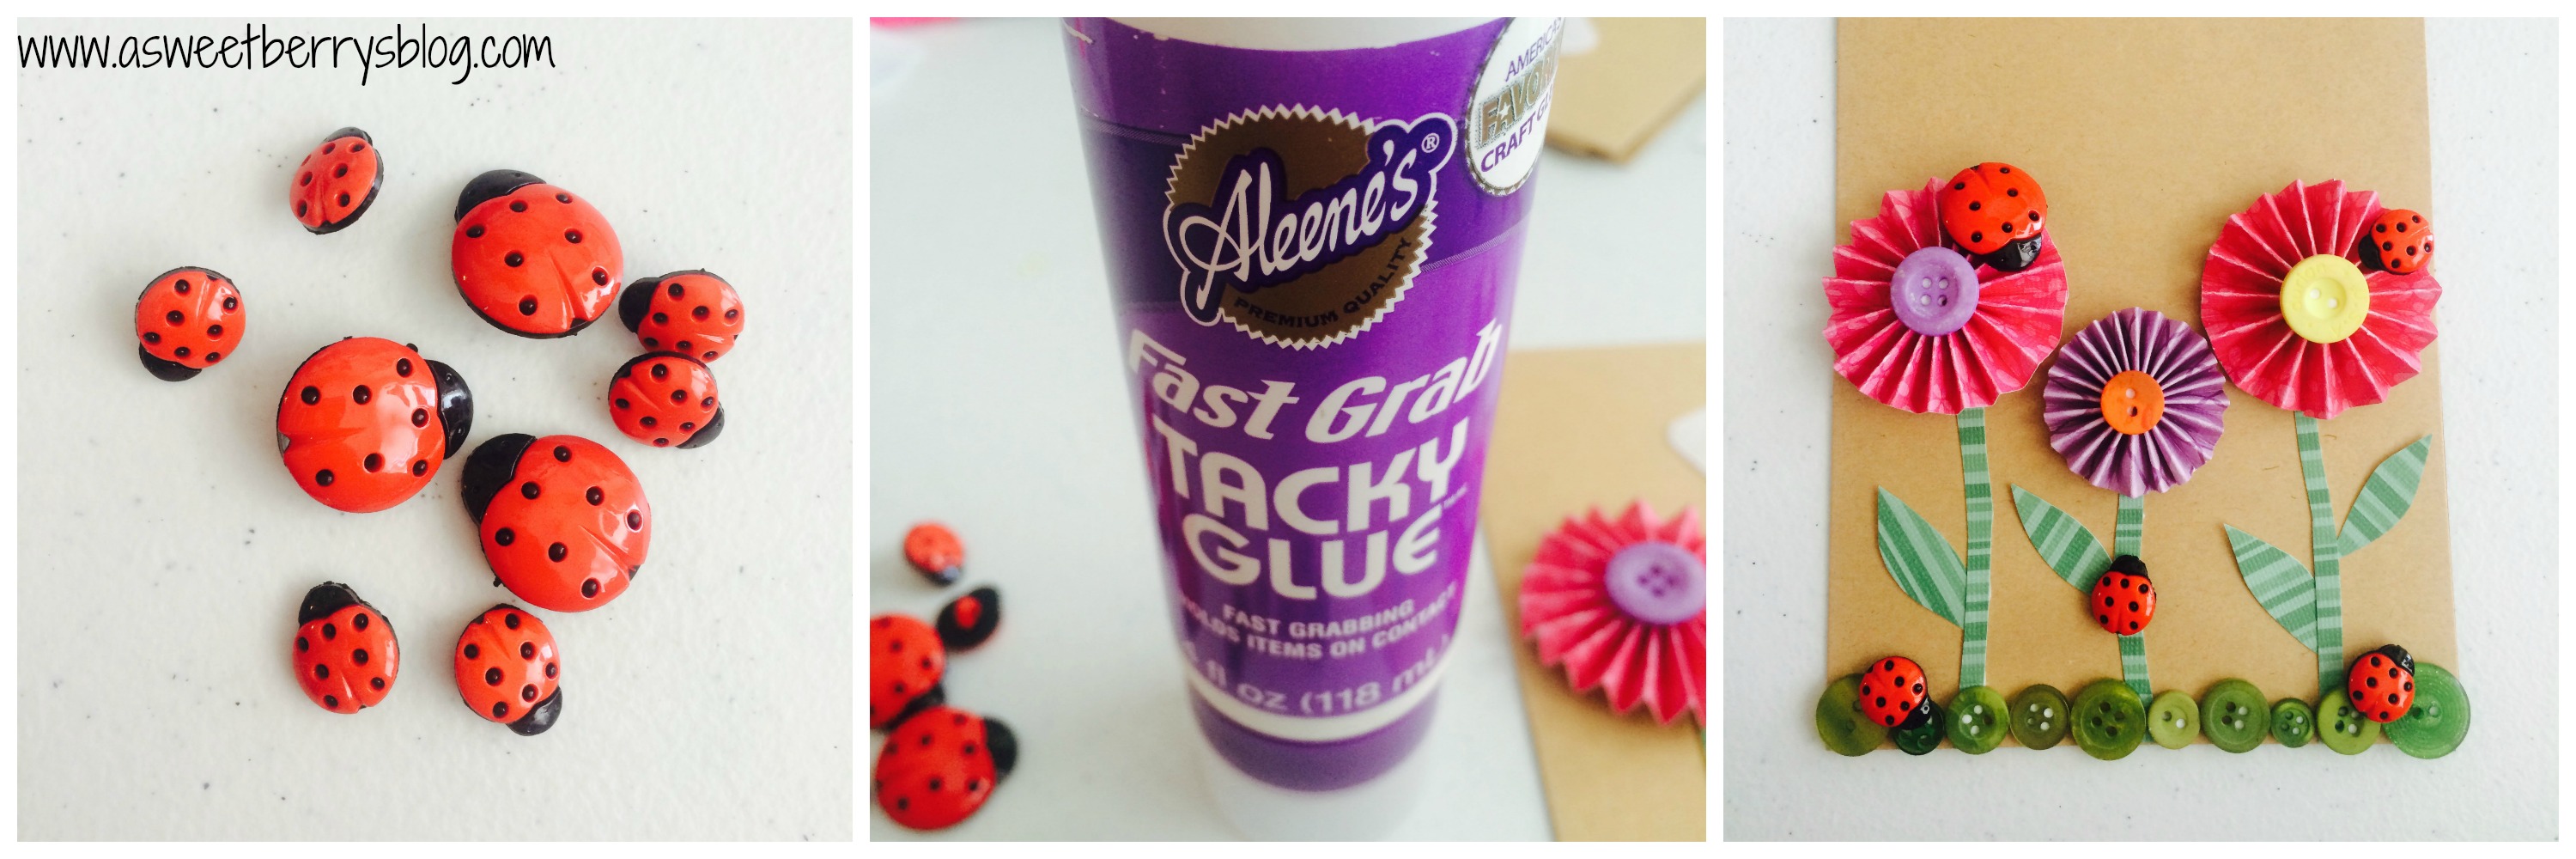
I cut my stems and leaves from a green striped card stock and glued them to a card using my Aleene’s Fast Grab Tacky Glue.  I added buttons to the paper rosette flowers!  I used green buttons for the grass!
puttingtogether
Buttons Galore & More has adorable little lady bug buttons, so I attached them to my card using Aleene’s Fast Grab Tacky Glue.  I added them to the paper rosette flowers, the stem and the grass! ladybugs
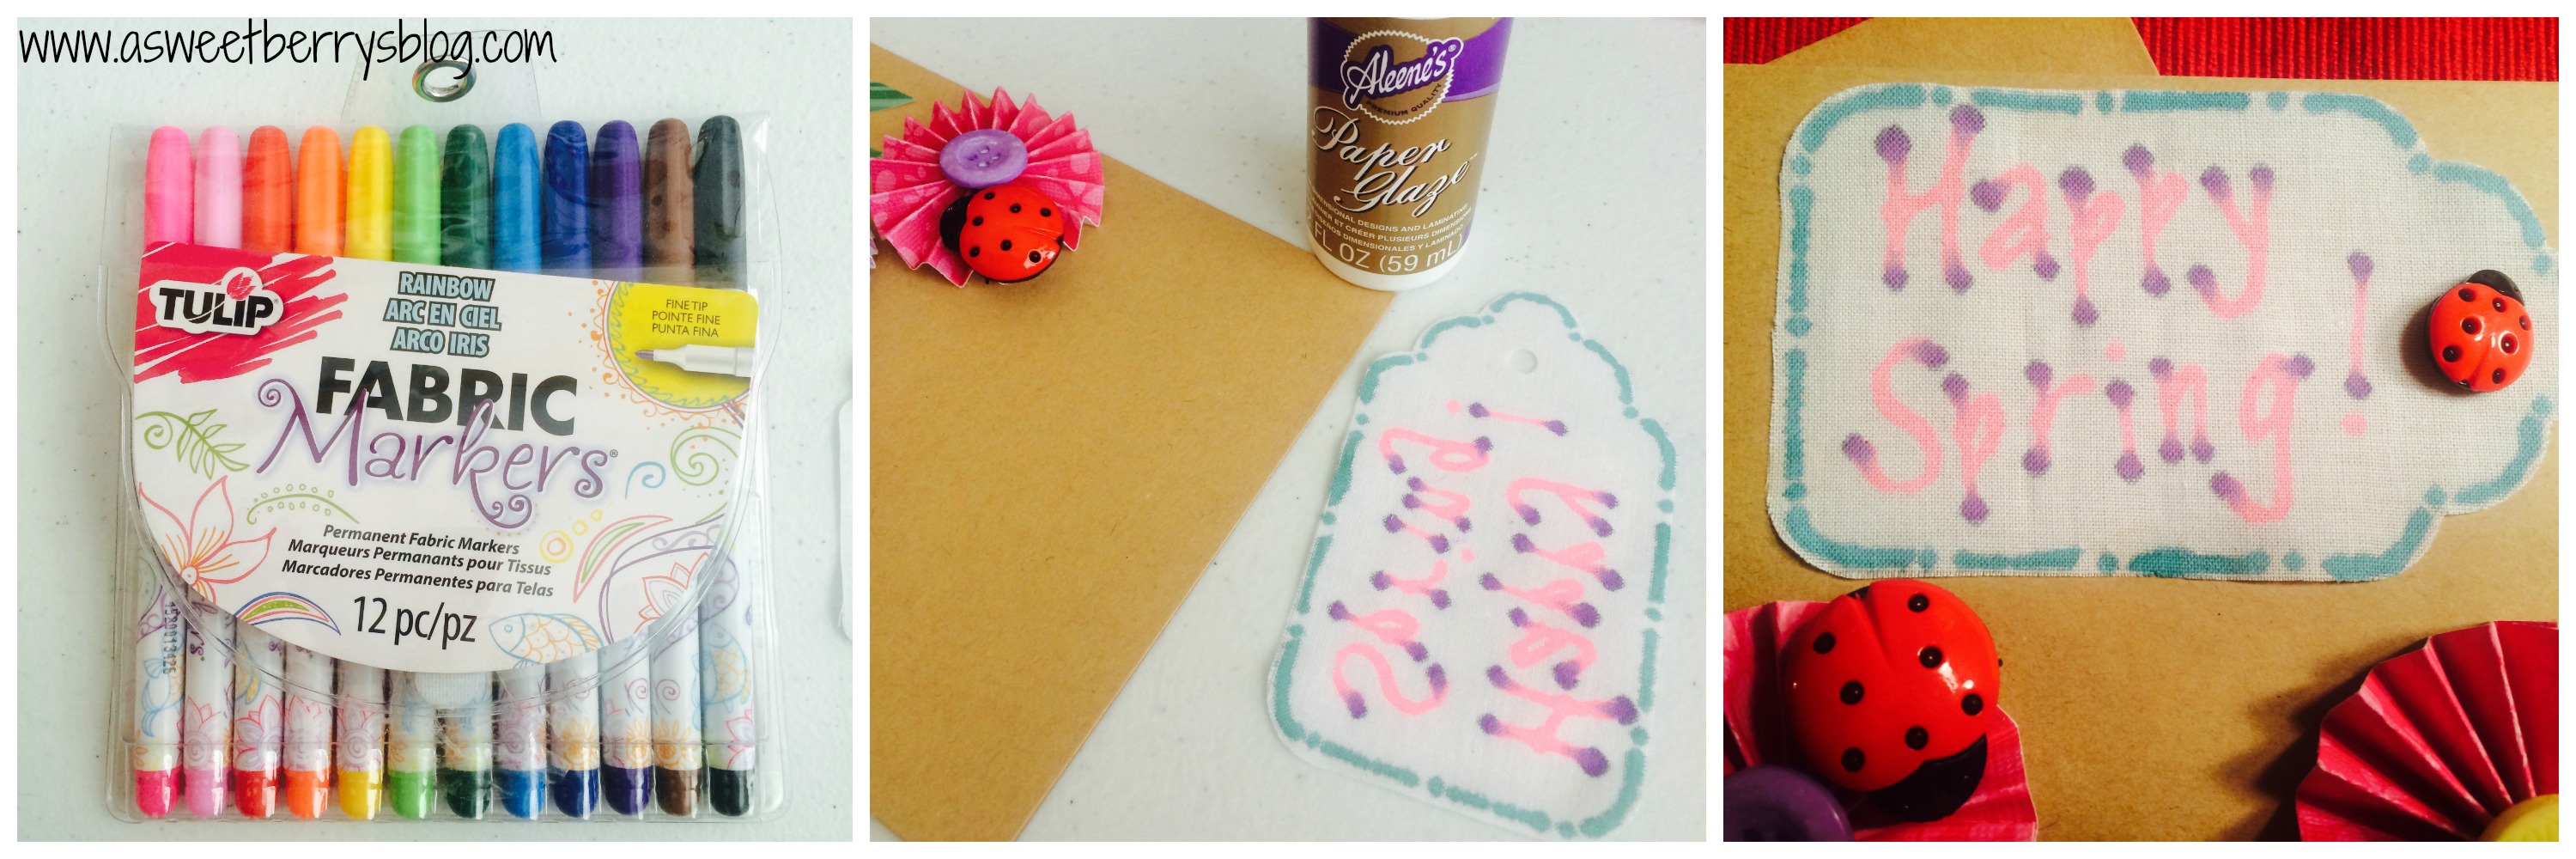
Using a fabric tag and Tulip Fabric Markers, I wrote Happy Spring and added lines and dots!  I applied it to the card using Aleene’s Paper Glaze and added a little ladybug to cover the hole on the tag. tulip fabric markers
I love this adorable little Happy Spring card and someone special will be receiving it soon! Final

Buttons Galore & More is offering free shipping on orders over $30!    They also offer Coupons for their buttons!

Once I completed my card, I used my Laura Kelly personalized self-inking stamp from Expressionery.com to stamp the back showing that I created this card with love! Expressionery.com

Expressionery.com is currently running a special of 25% off Sitewide with the code:  SPRINGSALE.   They are also offering free shipping with a purchase of $50 or more!

Hope you like this adorable card as much as I do!  You can make one yourself!

Until next time……

Be Mine Crafty – MineCraft Valentine’s

It’s finally the week of Valentine’s Day!  And my boys are super obsessed with Minecraft, so this year they wanted Minecraft Valentine’s!  Well, after looking, homemade Minecarft Valentine’s were the only ones that could be found.  No stores sold them!  So, I decided to make them!   Final
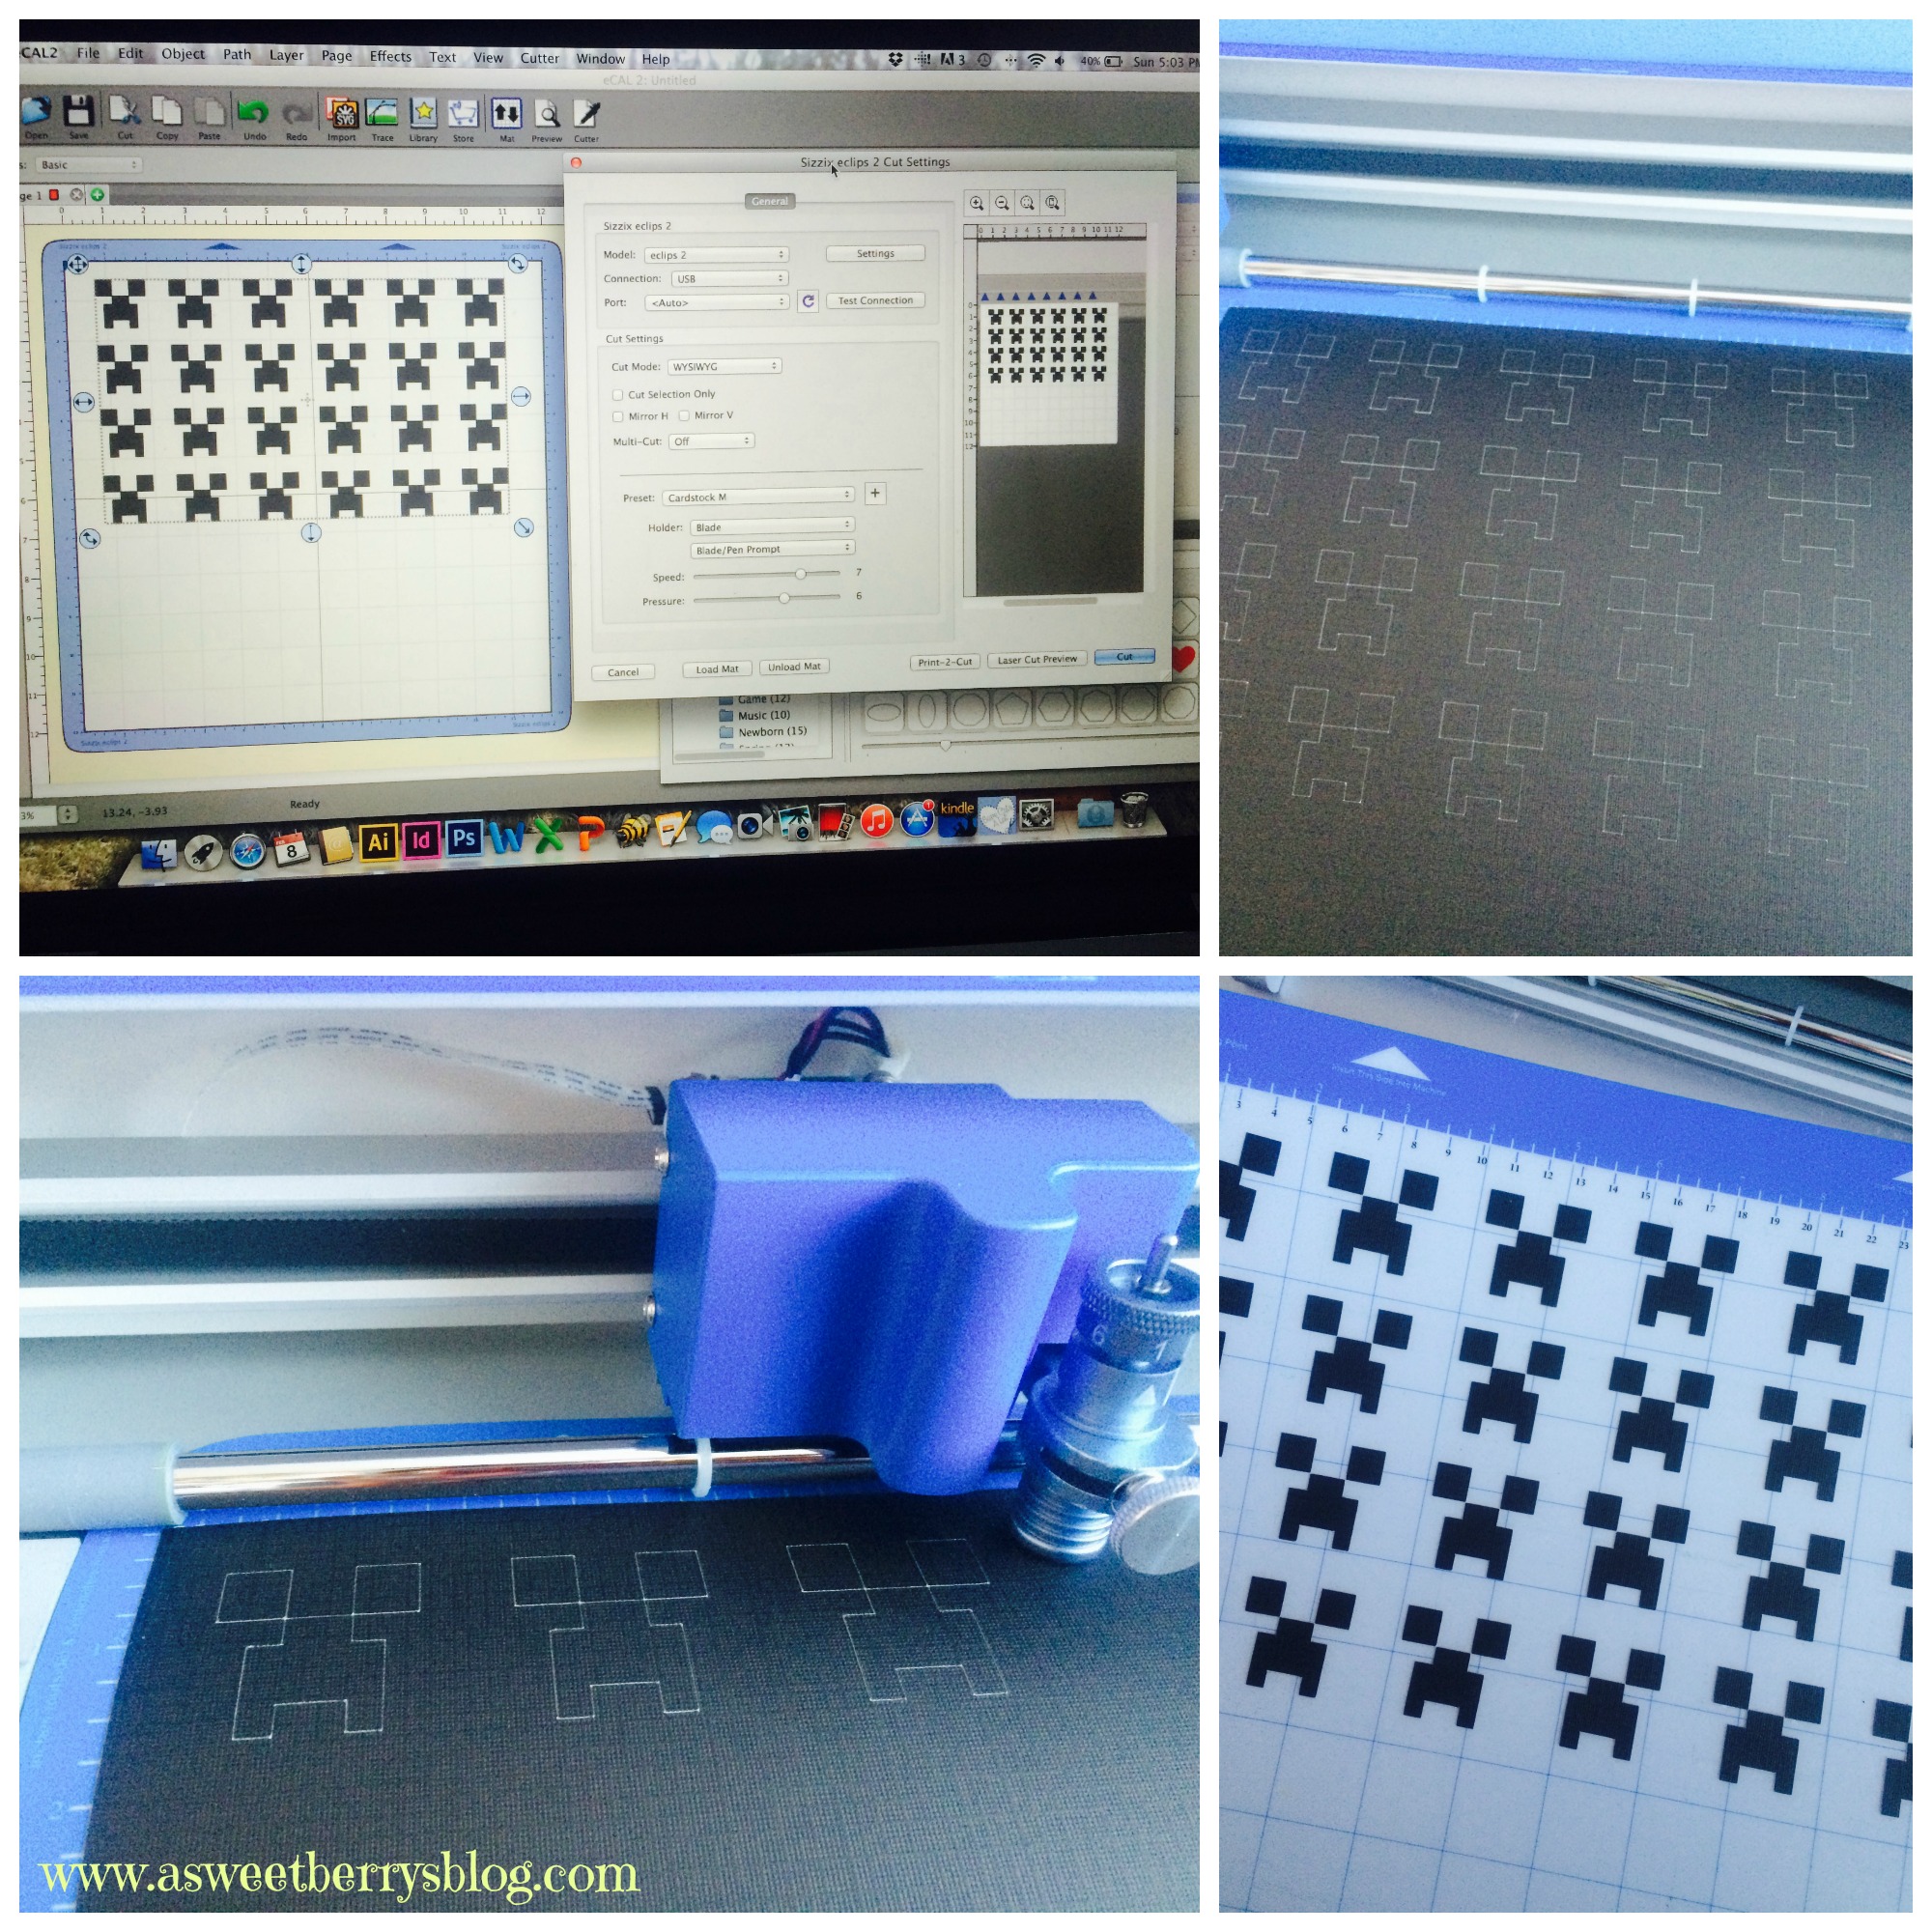
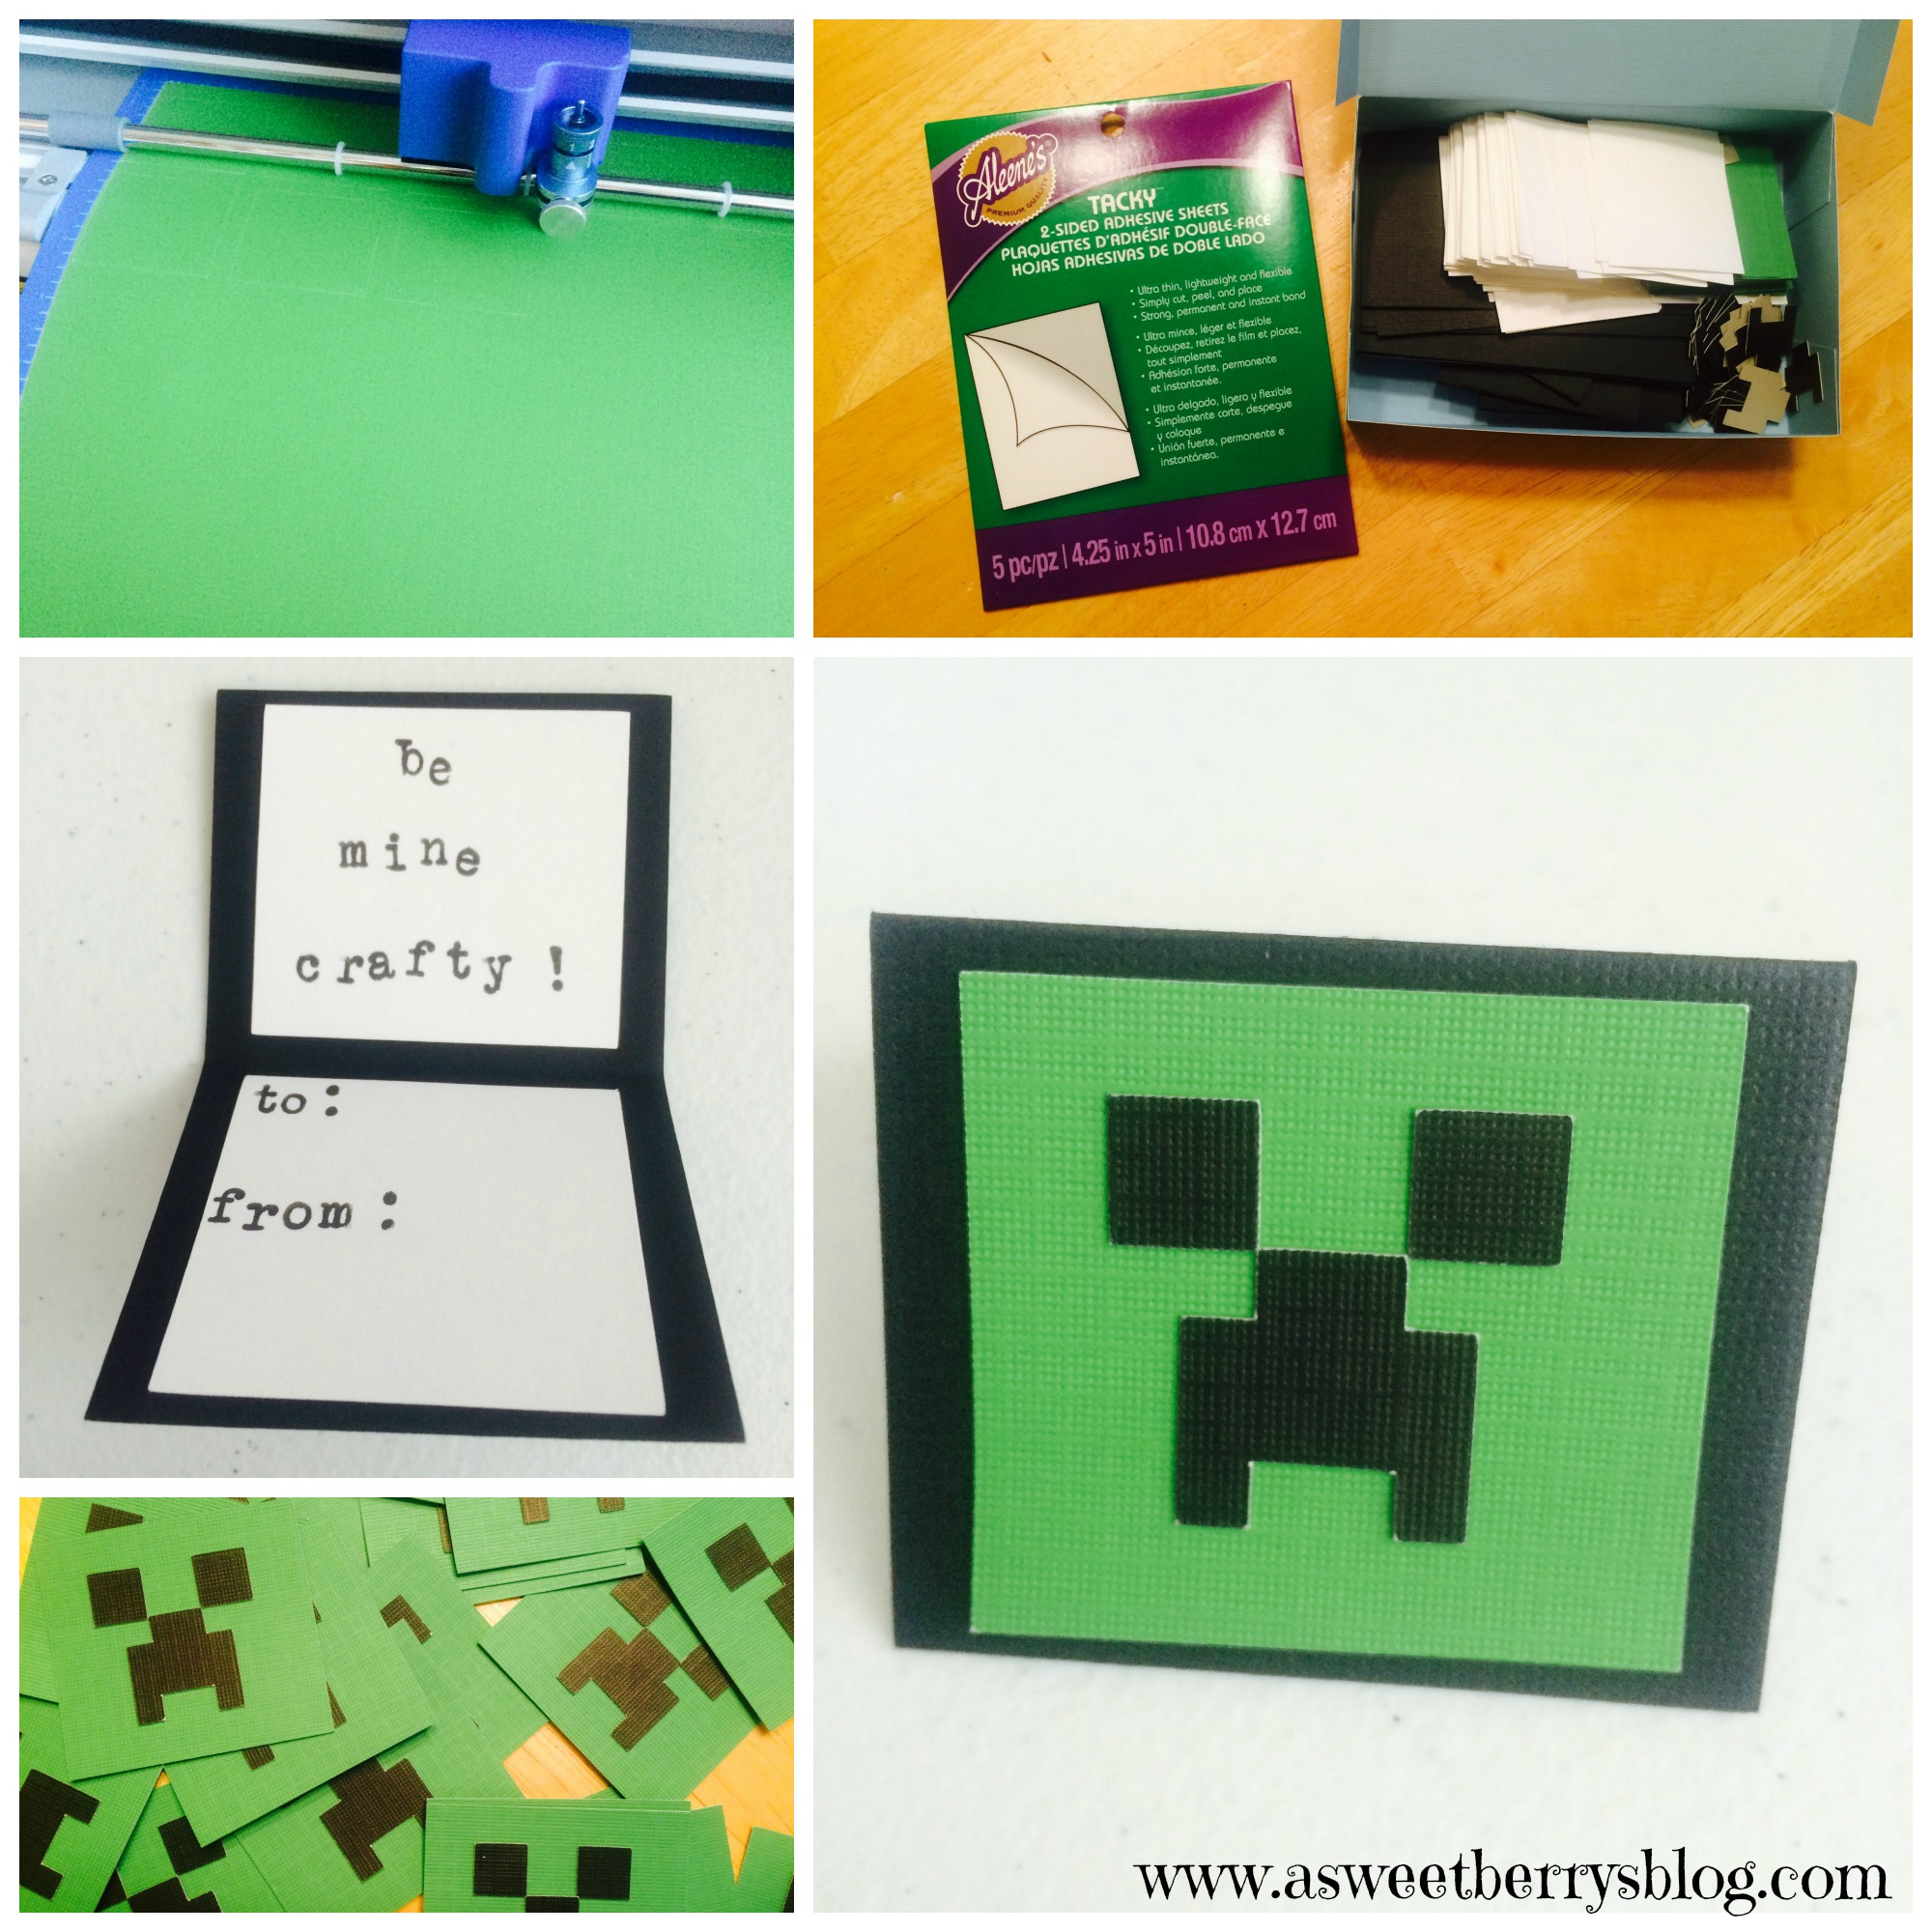
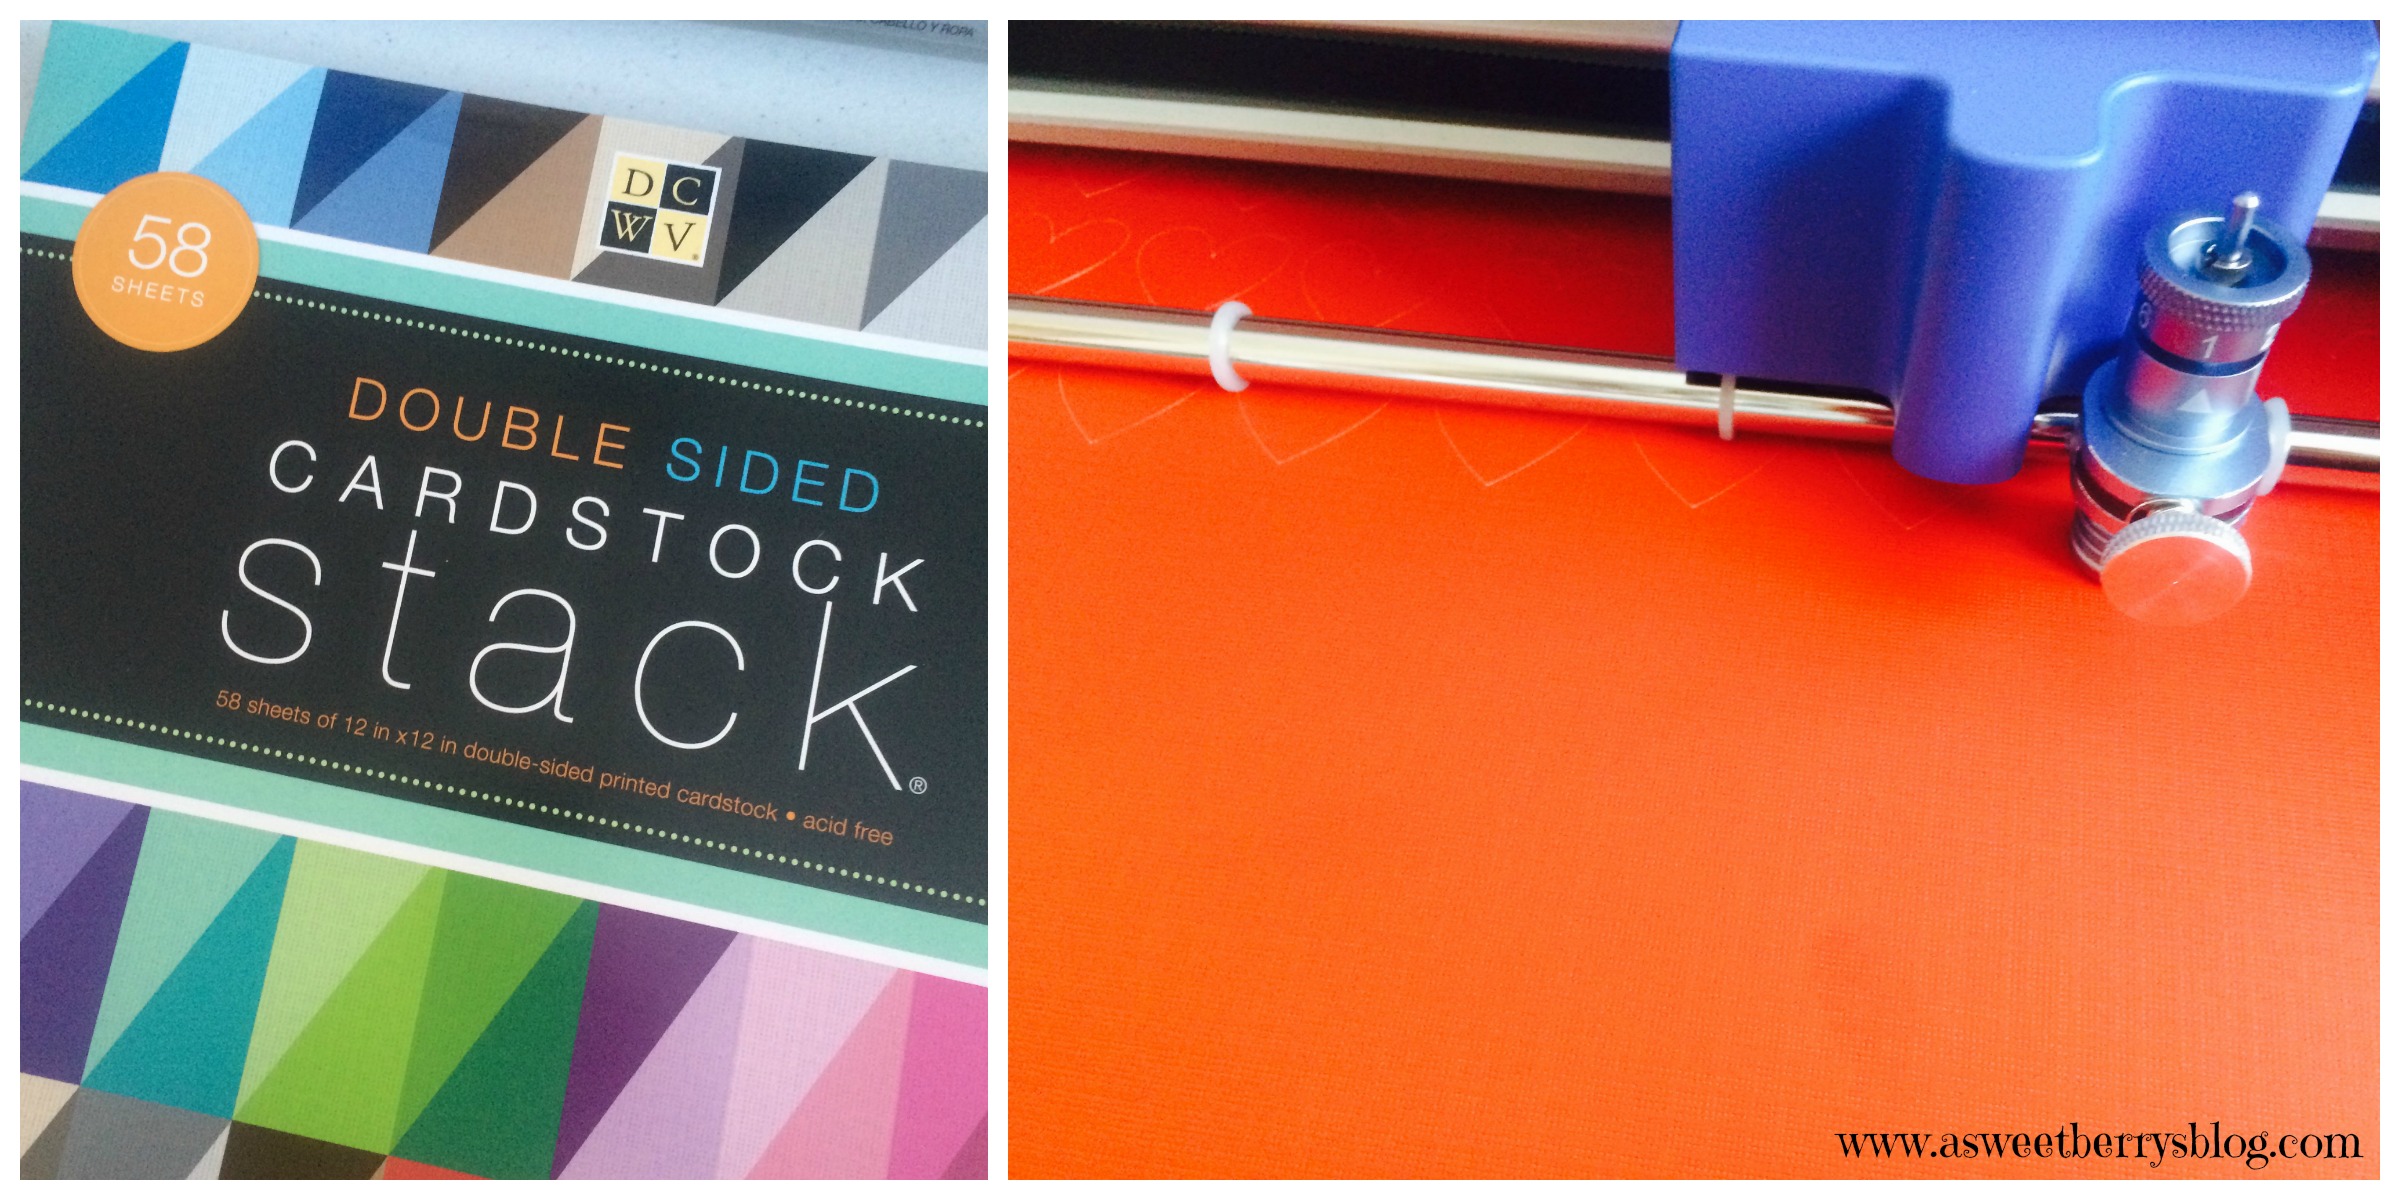
Recently, I was sent a Sizzix Eclips2!  And let me tell you…..I AM IN LOVE!!!!!   It makes cutting super easy!  So, I created my little Minecraft creeper faces in Adobe Illustrator, which I have as a graphic designer.  I converted the file to an .SVG file, imported it into the ECal2 software that works with the Sizzix and got right to cutting!  I also cut black rectangles for the cards, green squares for the creepers face and white light card stock (not DCWV) squares for the inside of my cards, since the cards were black.  I used DCWV card stock, in which ACMoore sells and they sell it in a pack of 12×12 inches pieces.   creeper faces
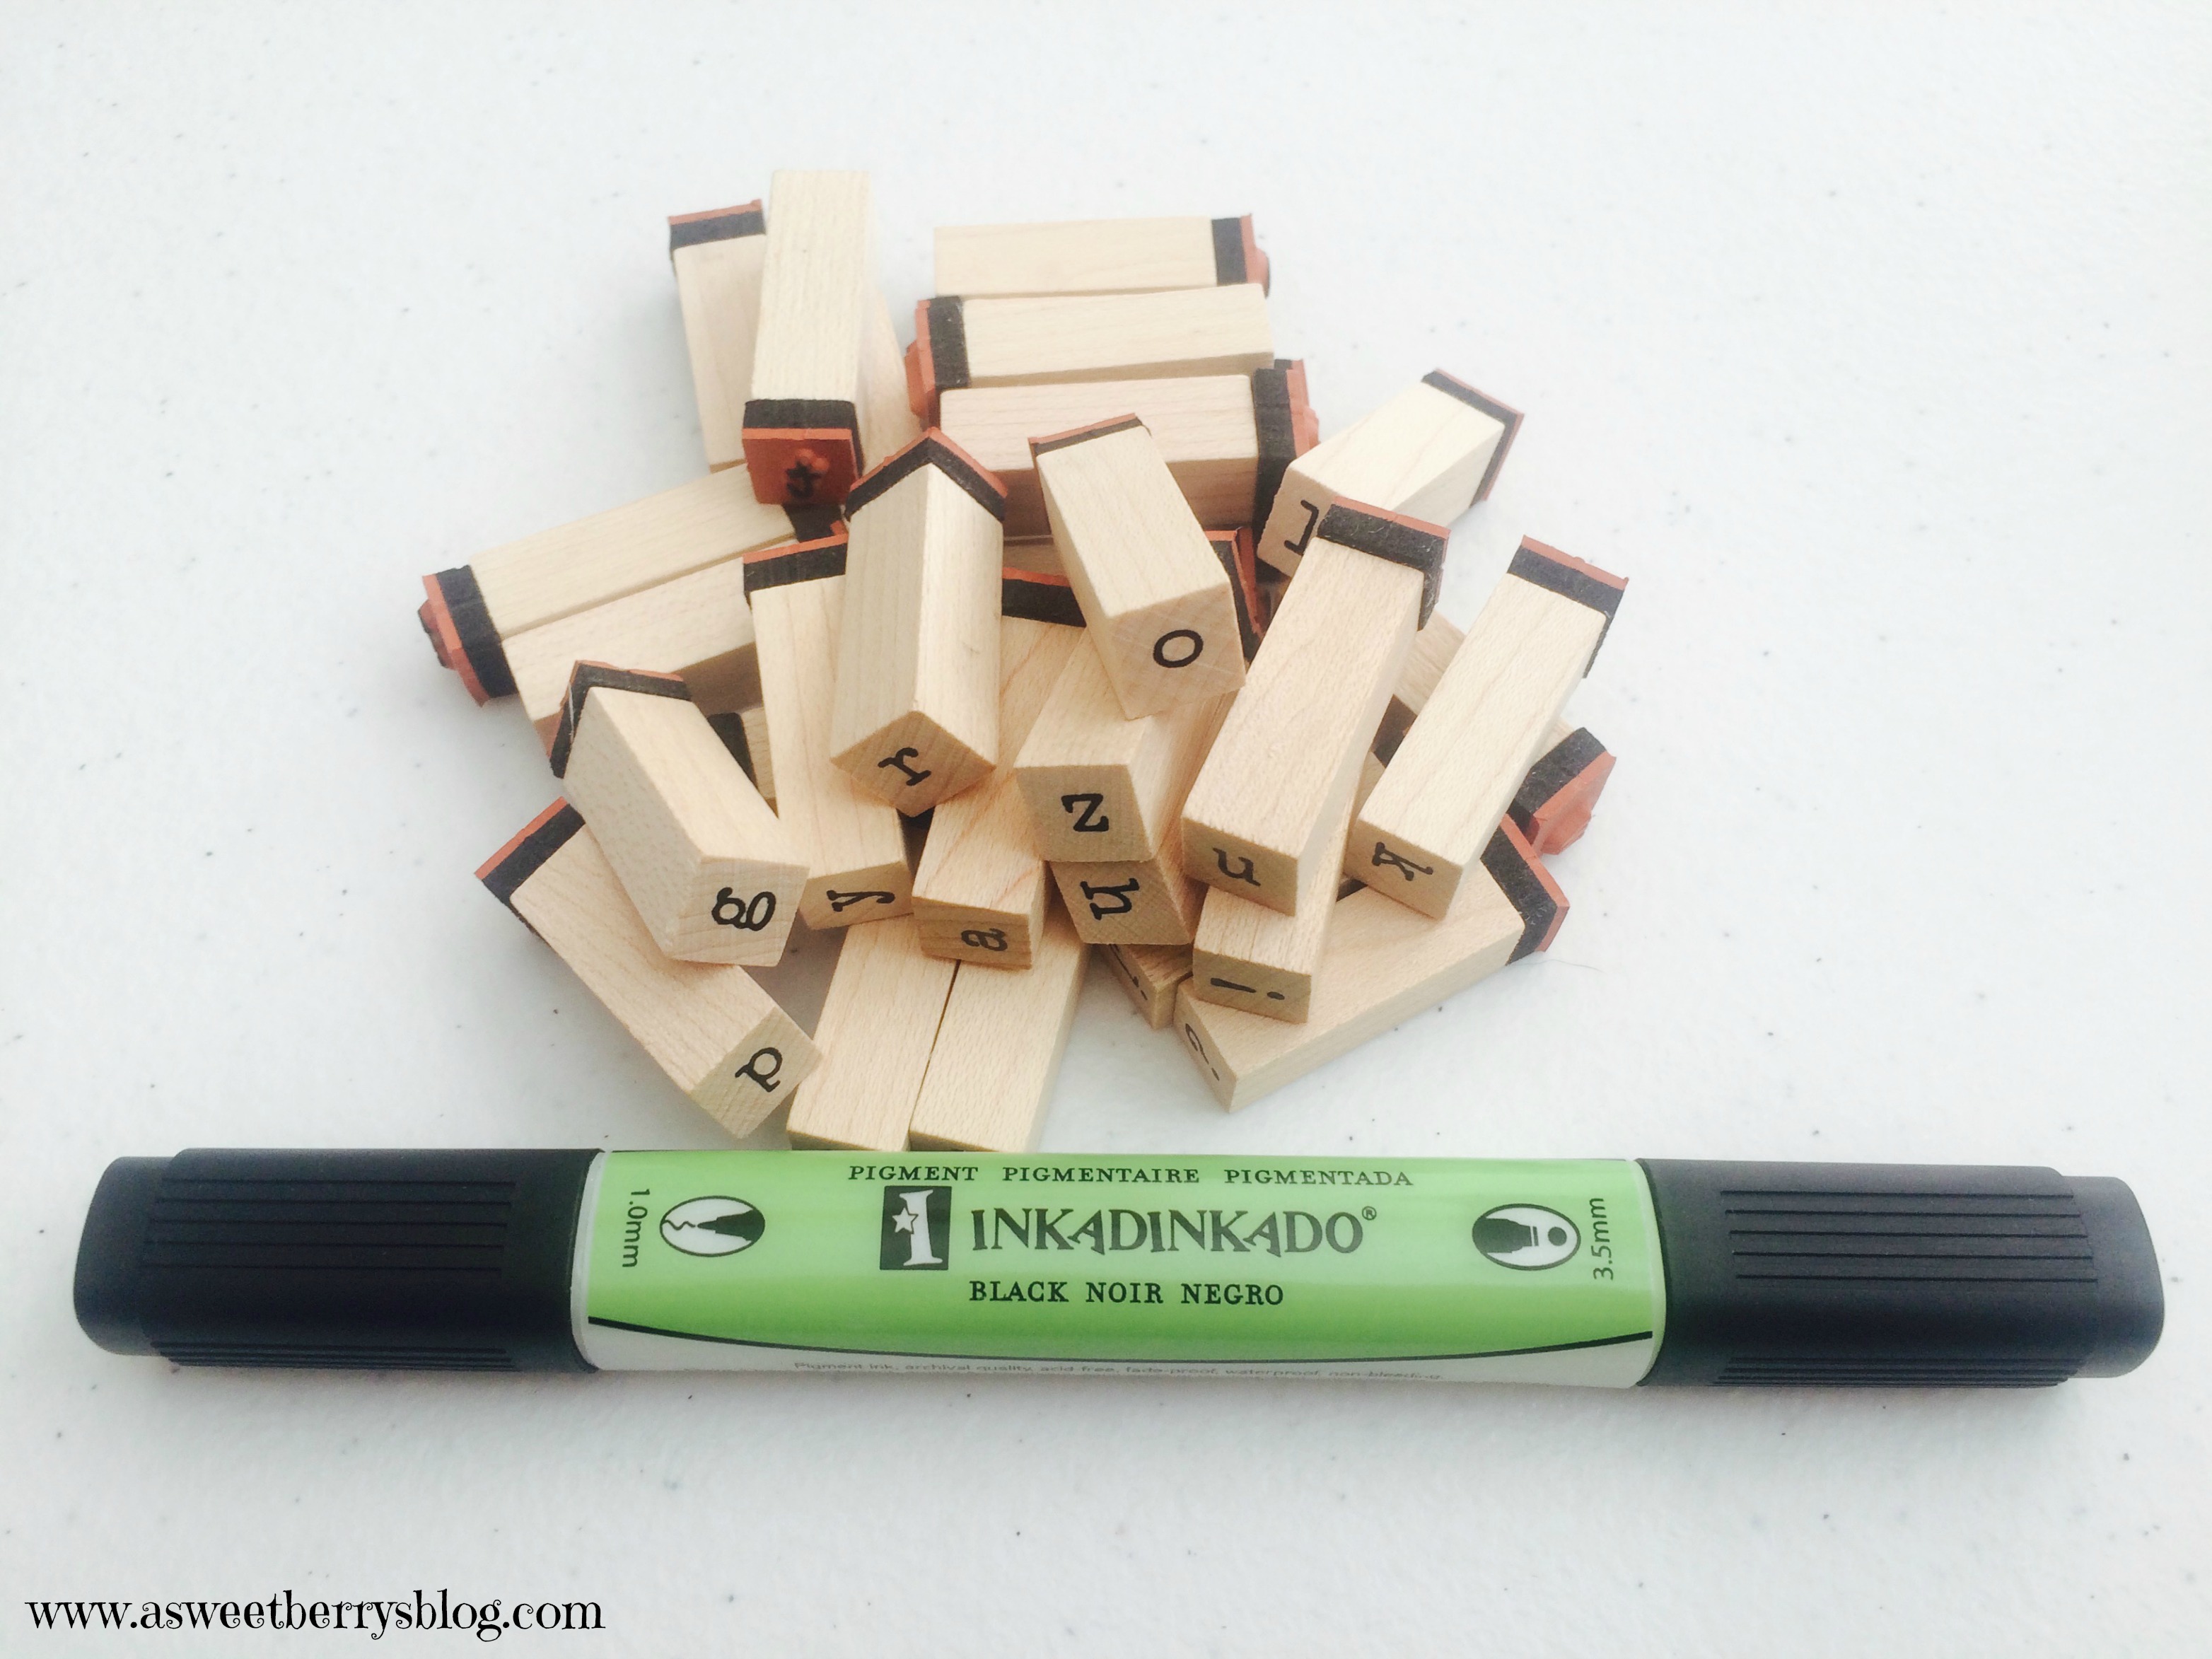
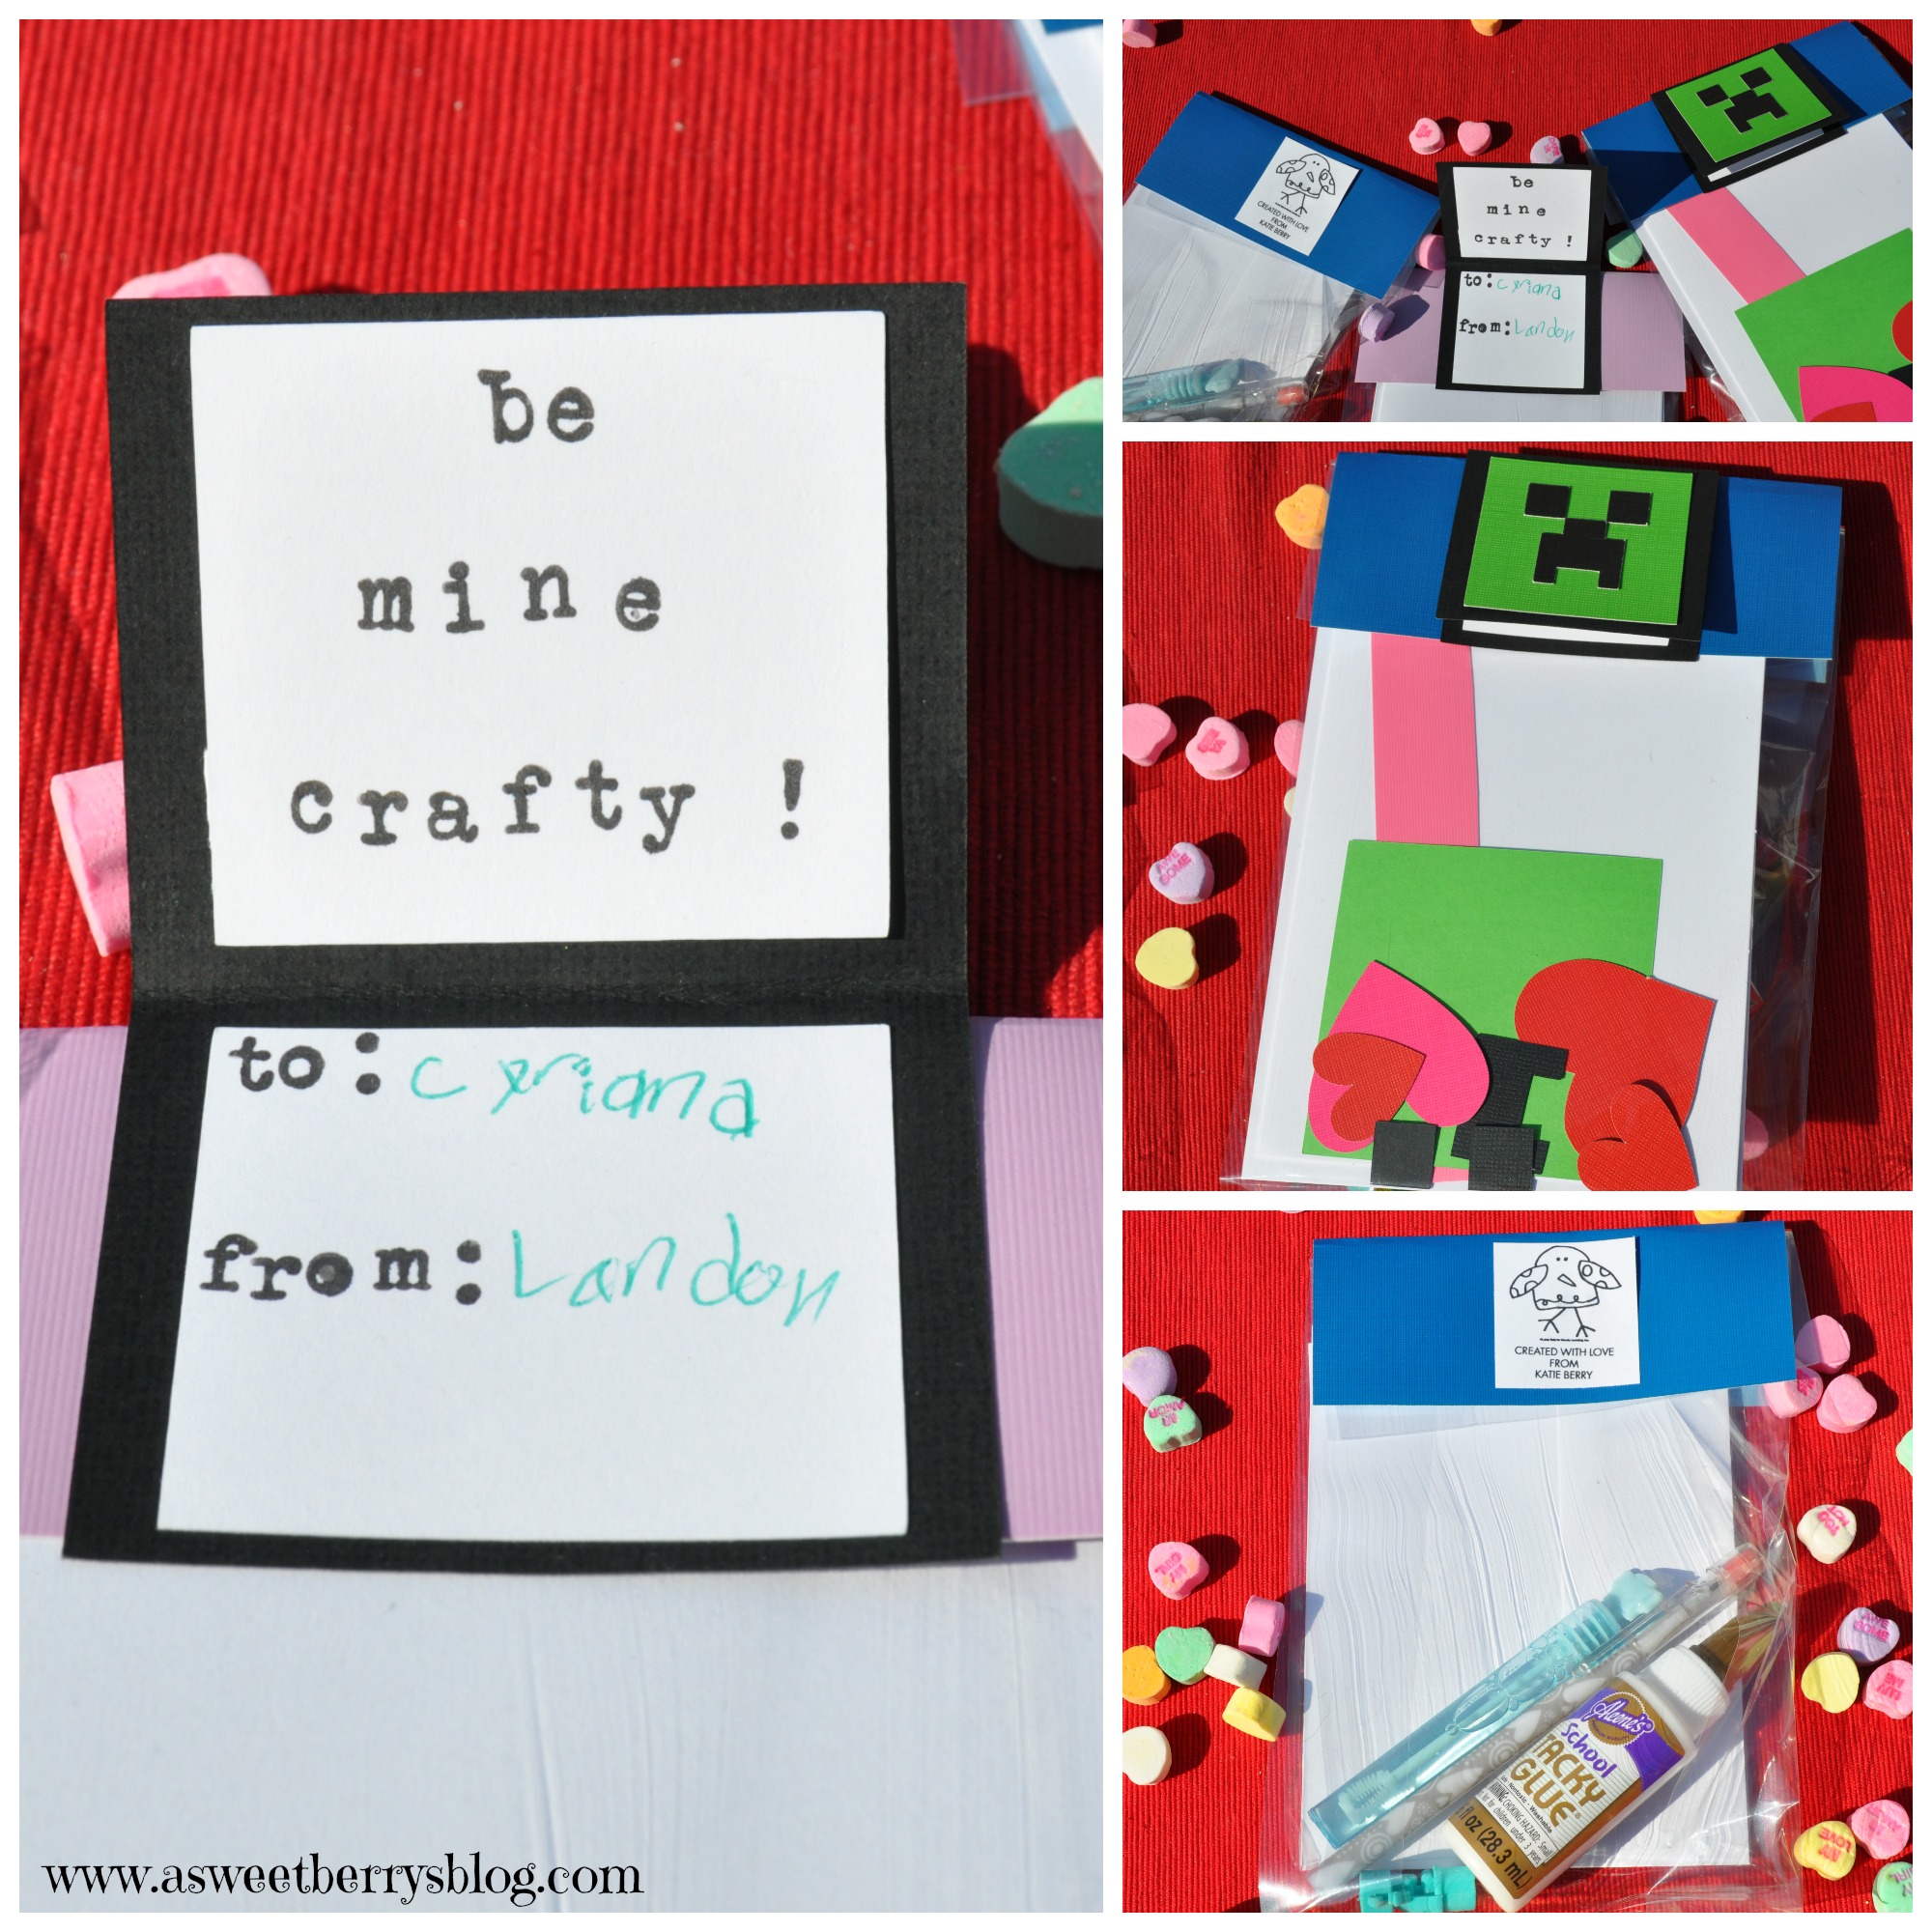
Using Inkadinkado stamps and ink, I stamped the inside of the cards.  I knew that my treats were going to be a craft, so I used a crafty saying:  “Be Mine Crafty!”  Inkadinkado
After getting everything cut out for my cards, I used Aleene’s Tacky 2-sided adhesive sheets to put the cards together.  I just cut the sheets up into smaller pieces and it worked great! creeper card
So, the treats to go along with the cards are Make It Yourself Cards.  I included a green square, a creeper face, some hearts and some scrap pieces of the DCWV card stock from what had already been cut. paperandhearts
On the left over white scraps that I had from the squares inside my cards, I used my adorable Laura Kelly Self-Inking Stamp from Expressionery.com!  How cute is that stamp?!?!
Stamp
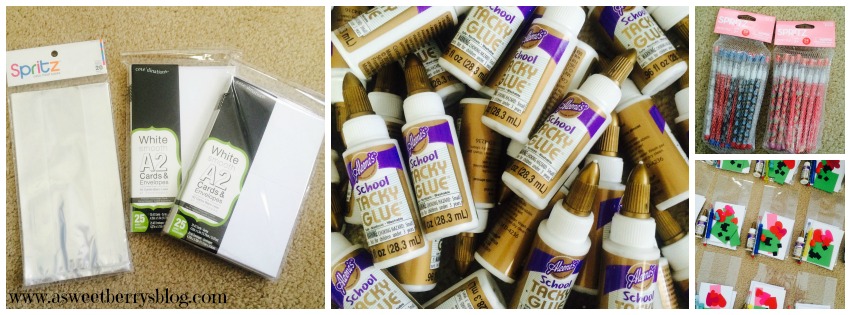
Then it was time to stuff my bags.  I just picked up some clear bags from the party section at Target.  I also got plain white cards with envelopes from ACMoore.  I also included an mini bottle of Aleene’s School Tacky Glue for their card making, a pencil, a small thing of bubbles and a pencil topper eraser!    I decided that I wanted this years Valentine’s to be Candy Free because we also end up having way too much candy anyway and it ends up going to waste.  I folded the bags and stapled a folded piece of DCWV card stock rectangle to close the bag and added the card and the piece white cardstock with my stamp on it to the front and back to cover the staples puttingtogetherbags
How cute did these turn out?   I hope the kids like them!   all shots My idea for a Make It Yourself Card idea came from my super crafty friend Mothership Scrapbook Gal, Rina Gonzales!  Check out her Facebook page and her Etsy Shop!!!!!

Until next time…..

XOXO

Personalized Christmas Stationery from Expressionery

This post is sponsored by Expressionery.com and Laura Kelly Designs.  Although I received product and financial compensation, all opinions are entirely my own. Written Words
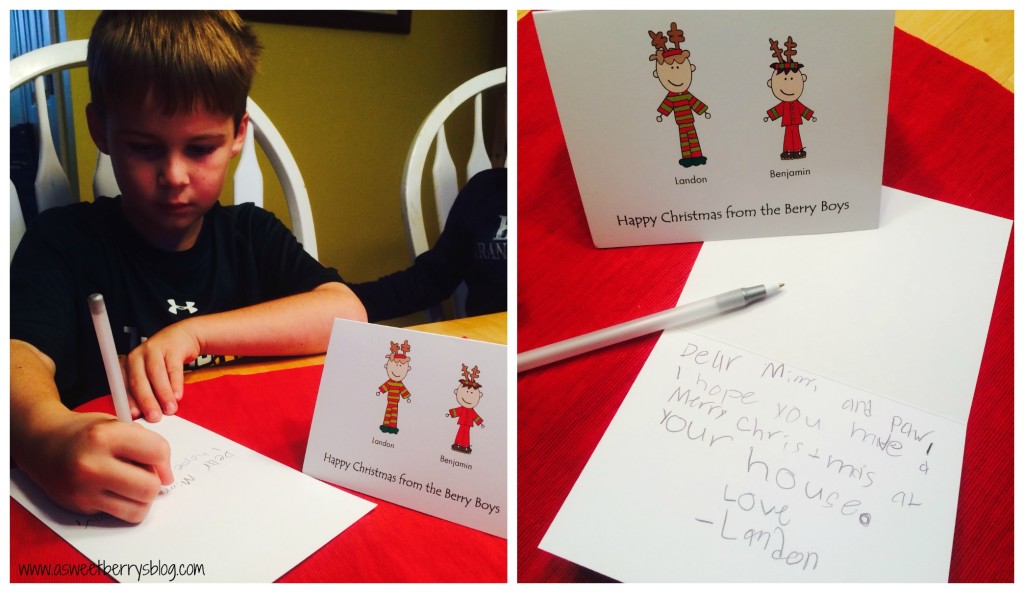
Personalized Stationery from Expressionery.com is my favorite, especially when it has Laura Kelly’s Me and My Peeps on it!   There is a Peep for everyone, even your pets!   There are even Christmas time Peeps.   When the package from Expressionery.com came and my boys (Landon, age 7 and Benjamin, age 5) saw that they had their own Me and My Peeps Christmas stationery, they were so excited!   Landon is to the age that he loves writing notes, especially to his teachers and friends!

Expressionery.com has a gift for everyone.  Personalized stationery is the perfect gift for the holidays, Mother’s Day, Birthdays or even Teacher Appreciation.  Or, you can just order it for yourself!  Laura Kelly’s collection of stationary is super cute and fun!   Her designs are appropriate for children and adults!

A Little Christmas Ornament using our Me and My Peeps Stationery!

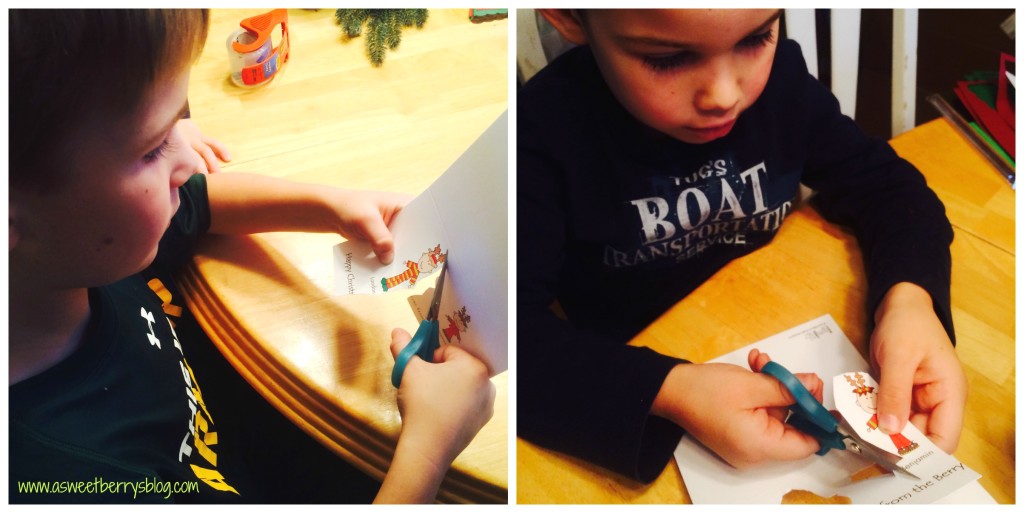
We decided to make a cute craft with one of our notecards.   They each made a Christmas ornament to send with the note that Landon wrote to his Mimi and Paw!  Each boy cut out their own Peep, leaving their name attached.
Cutting
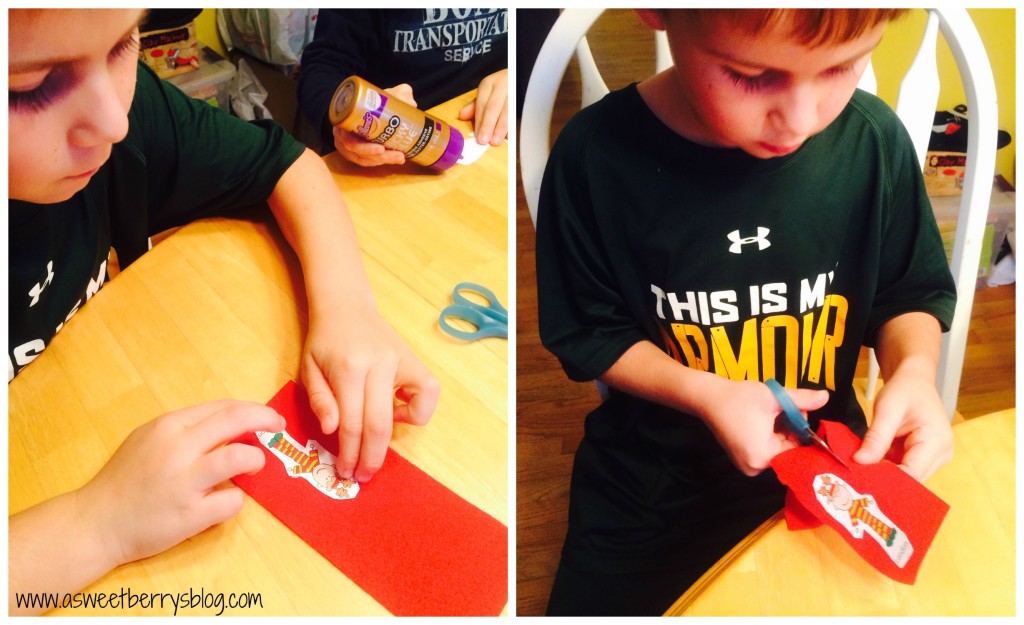
Using Aleene’s Turbo Tacky Glue, they glued their Peep to a piece of Kunin’s red felt! Aleene's
After the glue dried, they cut the felt just a little bigger than their Peep! felt
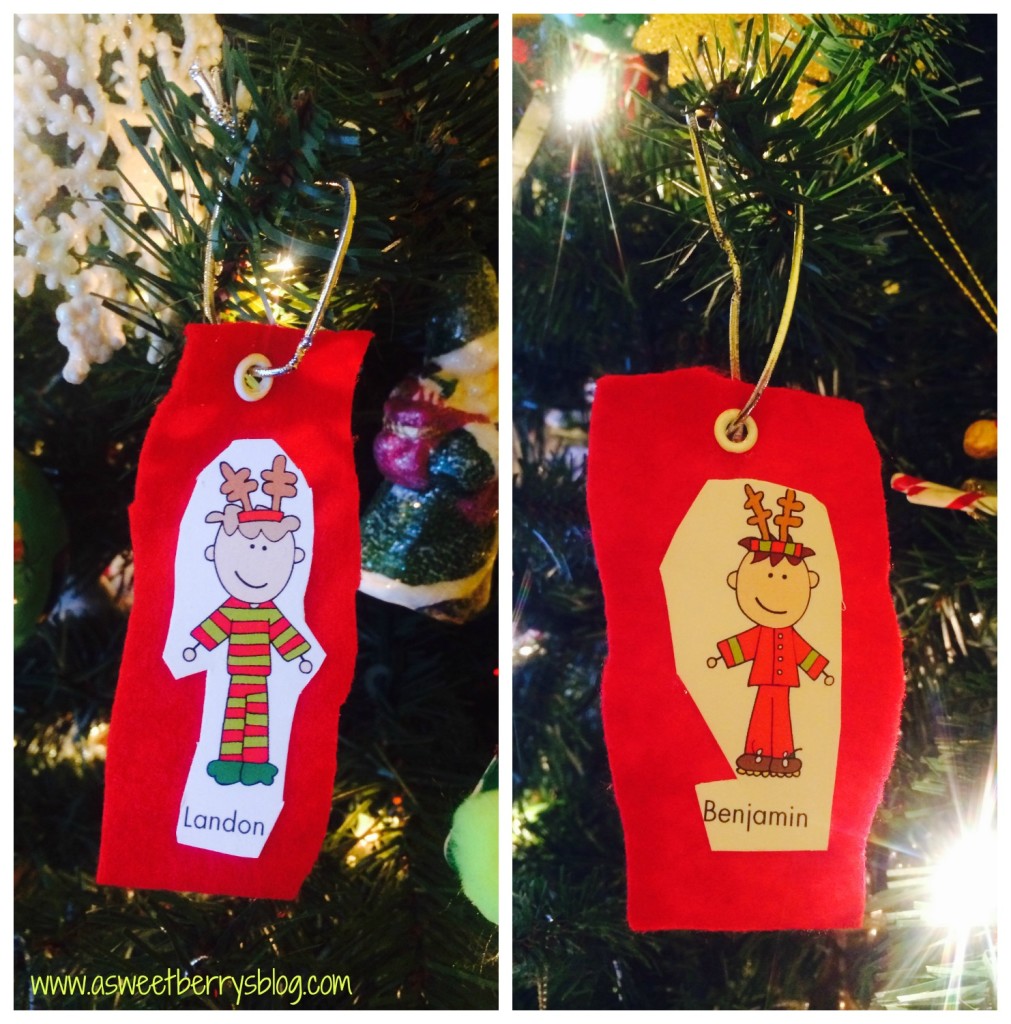
Next, we used Eyelet Pliers and an eyelet to create a hole so that we could add a piece of string!   We used the elastic silver string that came wrapped around our stationery gift from Expressionery.com!! ornaments
These lovely homemade ornaments will be sent to Mimi and Paw’s house with the sweet little note that Landon wrote for them! Final Ornaments So, go to www.expressionery.com/laurakelly and order some personalized stationery for a gift or for yourself!  The deadline to order for Christmas is December 19th.  For 30% off site wide, used Promo Code:  PEEPS    Code expires on 12/30/14 and excludes embossed stationary and paperweights.  *Limited time offer valid through December 30, 2014 at 11:55 PM CST. Receive 30% off sitewide plus free standard non-trackable shipping and handling on orders over $50 with offer code “PEEPS” at checkout. Offer excludes embossed stationery and paperweights. This offer may not be combined with any other offer or discount, and shipping fees and sales tax are separate. To prevent abuse, prices, specifications, and availability subject to change without notice from Expressionery.com.
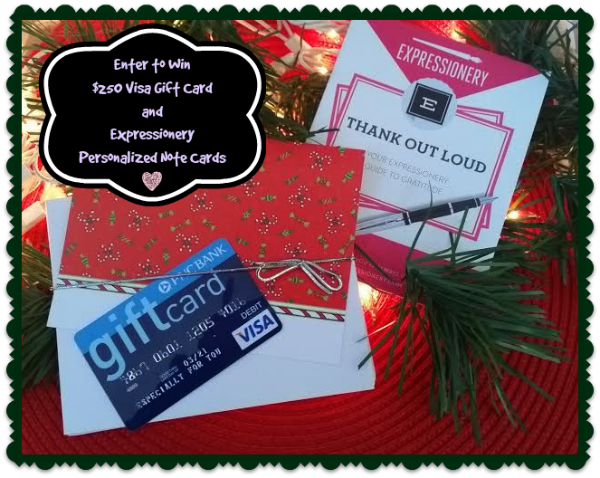
Enter for a chance to win a fantastic giveaway!
250VisaGiftCard_PRIZE_Pic
a Rafflecopter giveaway

An awesome surprise from Expressionery.com

So, today the UPS truck arrived at my house. I didn’t remember ordering anything and Bruce usually lets me know when he does. But when I opened the package, it was a gift for me from Laura Kelly and Jen Goode, the host for the upcoming I Love the USA Blog Hop that I am participating in! It was personalized stationary from Expressionery.com, designed by Laura Kelly!

20130606-220215.jpg
Polka Dotted Monogram Folded Notes

I have always loved Laura’s whimsical designs and this gift definitely made my day! I know exactly who is going to get the very first note!

The I Love the USA Blog Hop takes place from June 10-14!

20130606-221033.jpg