Tag Archives: Fairfield®

Fairfield World Poly-fil® Poly-Pellet® Christmas Ornaments

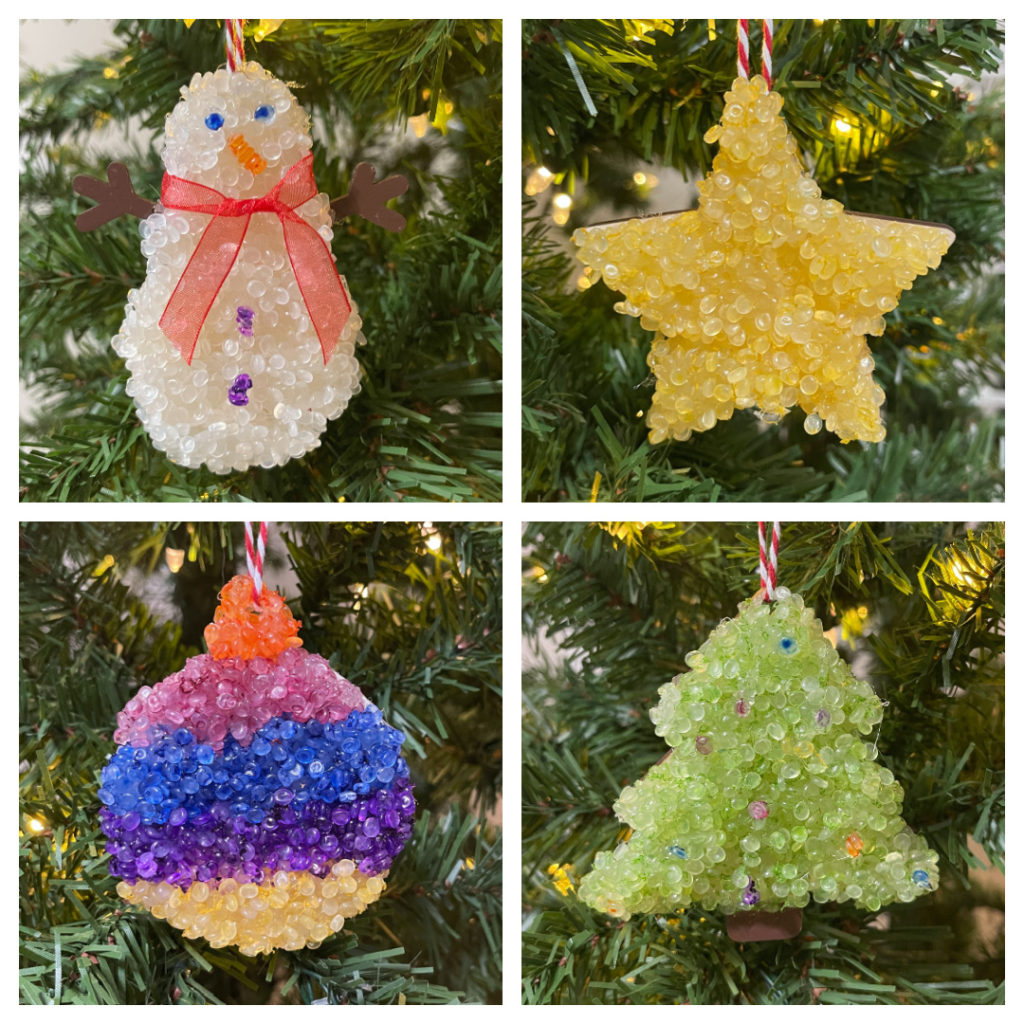
Ornaments are my favorite thing to make at the holidays and these Poly-Pellet® Christmas Ornaments were so much fun! I usually don’t get to make ornaments for my own tree, as I am always making them to sell and they are usually made from all wood. But I love how these Poly-Pellet® ornaments turned out and they will definitely be hanging on my tree.
Materials:

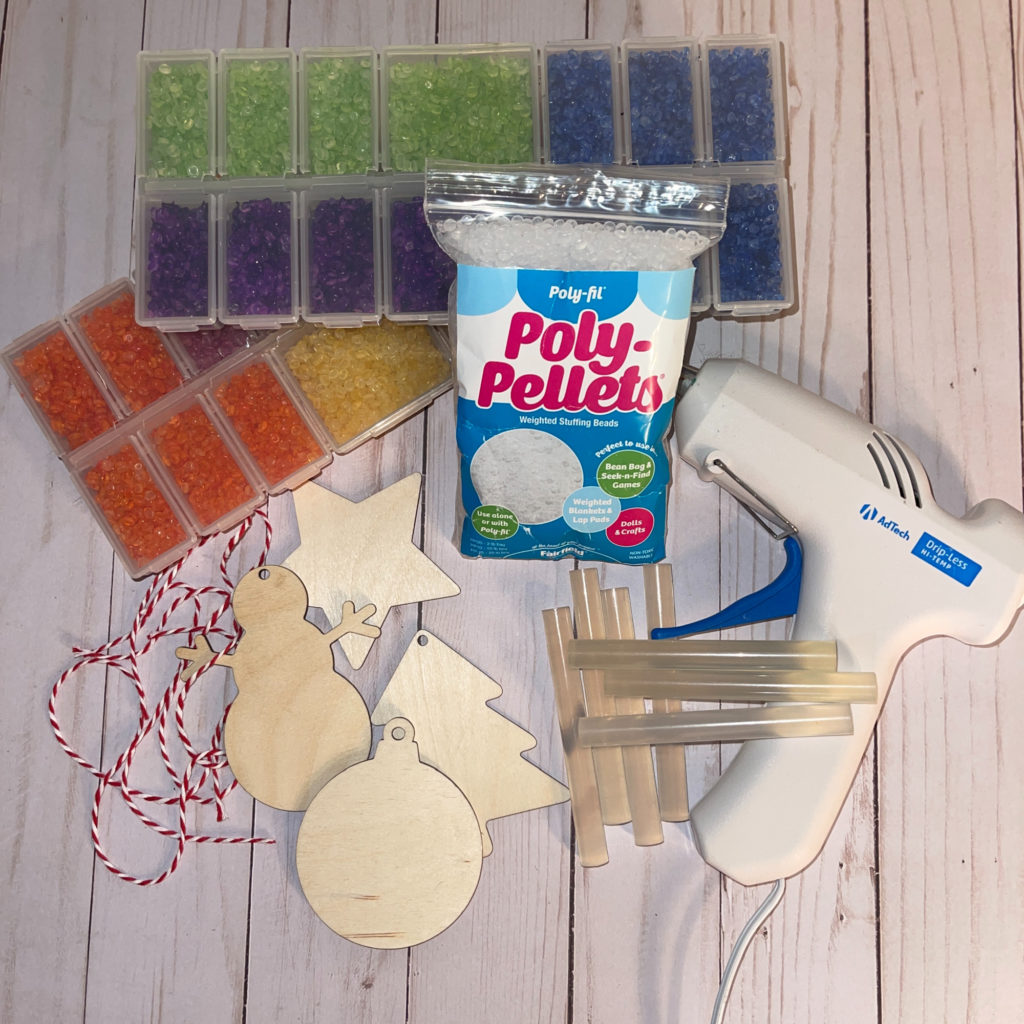
  • Wood ornament cutouts (I cut mine out on my Glowforge, but you can buy them at a local craft store)
  • Plain and Dyed Poly-Pellets (You can see the YouTube video below to see how I dyed mine.)
  • Ribbon and string
  • Hot glue gun and hot glue sticks
  • Paint Pens

How I dyed my Poly-Pellets:

How I made my ornaments:

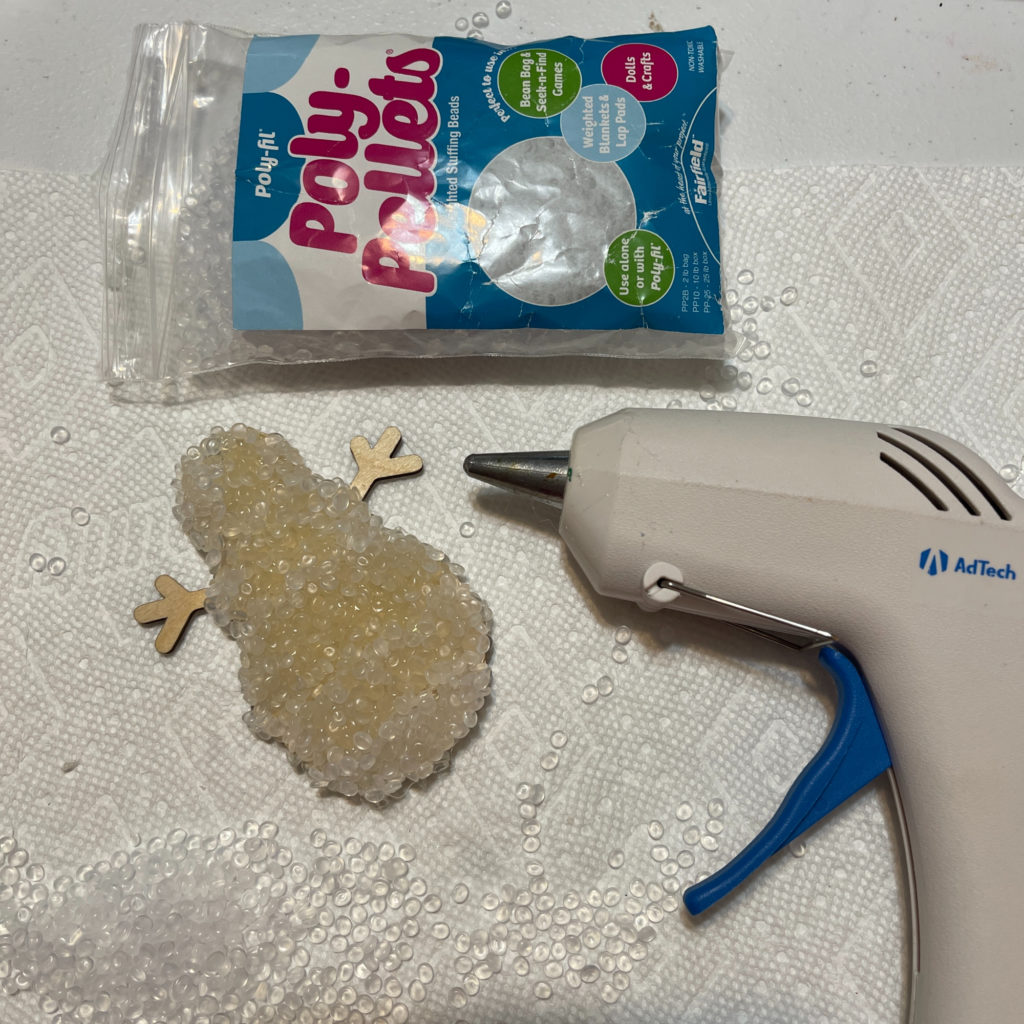
For my snowman ornament, I used plain Poly-Pellets®. I glued the Poly-Pellets® to my wooden snow man. I left the arms so that I could paint them brown. TIP: I glued in sections so that the glue didn’t dry too quickly.

Once the first layer was dry, I glued on another layers.
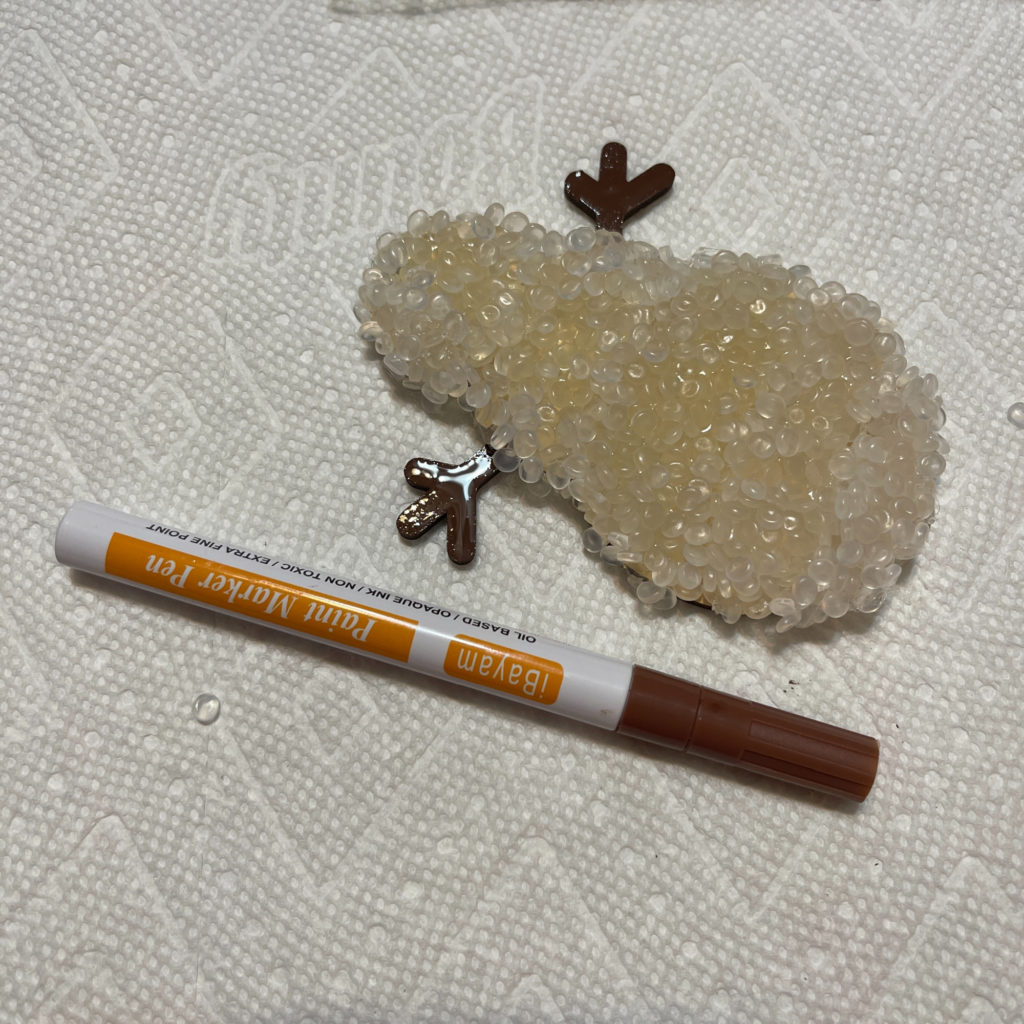
Once the glue was dry, I used a paint pen to paint the arms of my snowman.
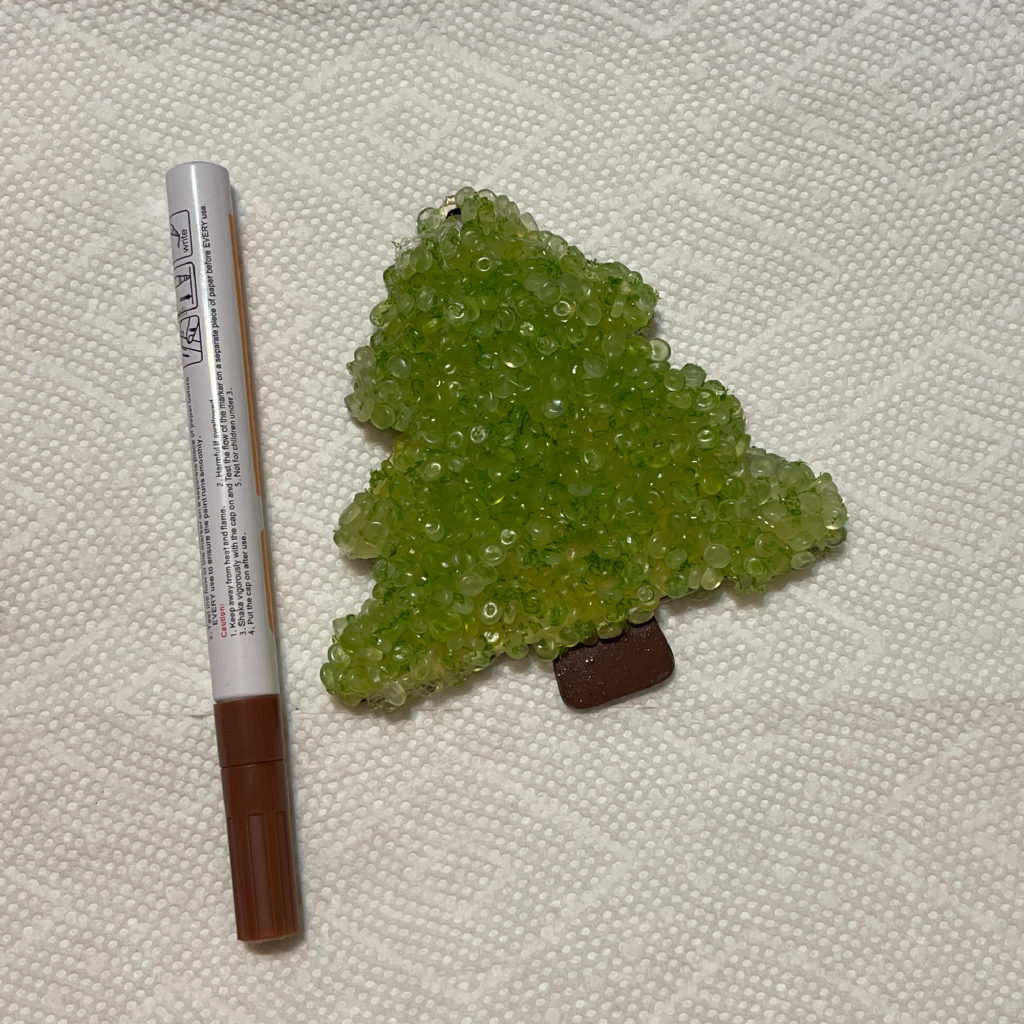
I did the same thing with my Christmas tree ornament. I used the brown paint pen to color the stem of the tree.
I wanted my ornaments to be thicker, so layering gave it the thickness I was looking for.
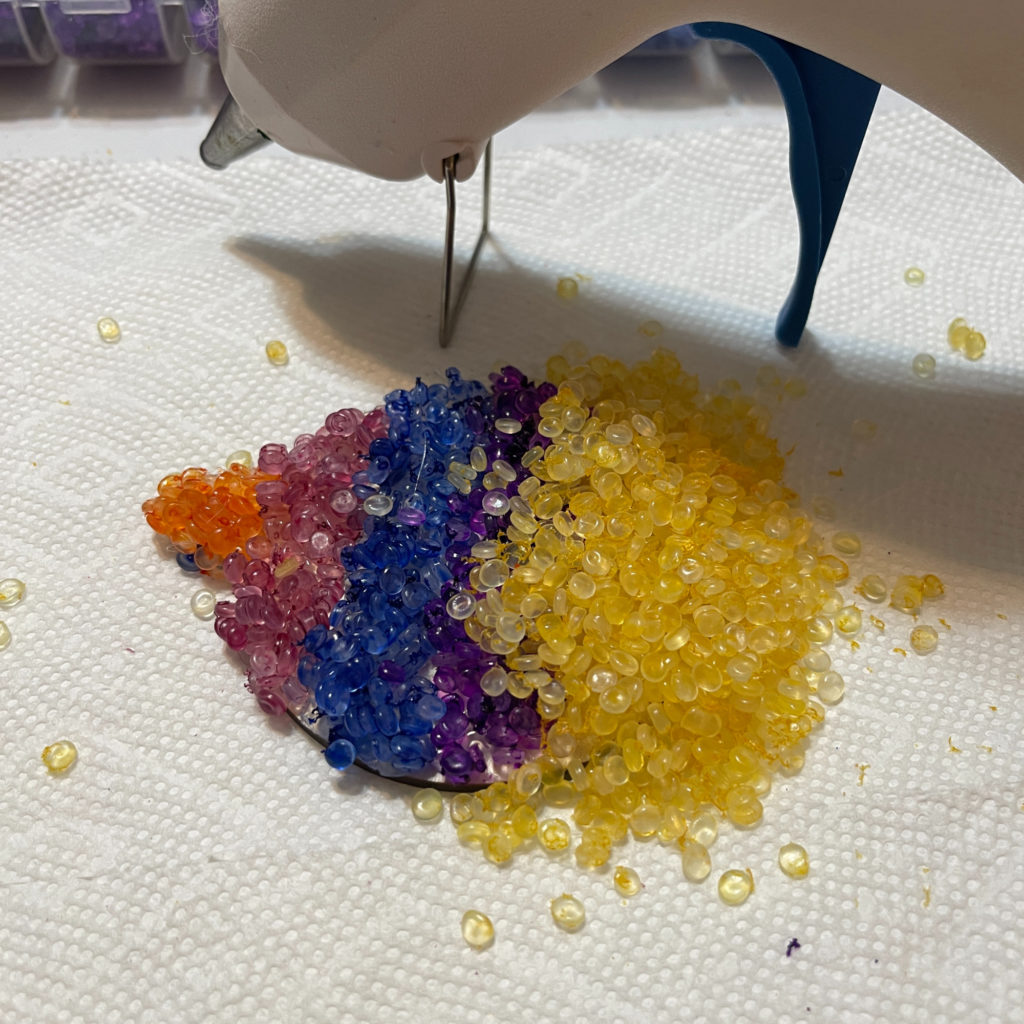
I used small bits of the dyed Poly-Pellets to add details to my ornaments. The snowman got buttons, eyes and a nose. I added a ribbon for the scarf. The tree got lights or small ornaments.
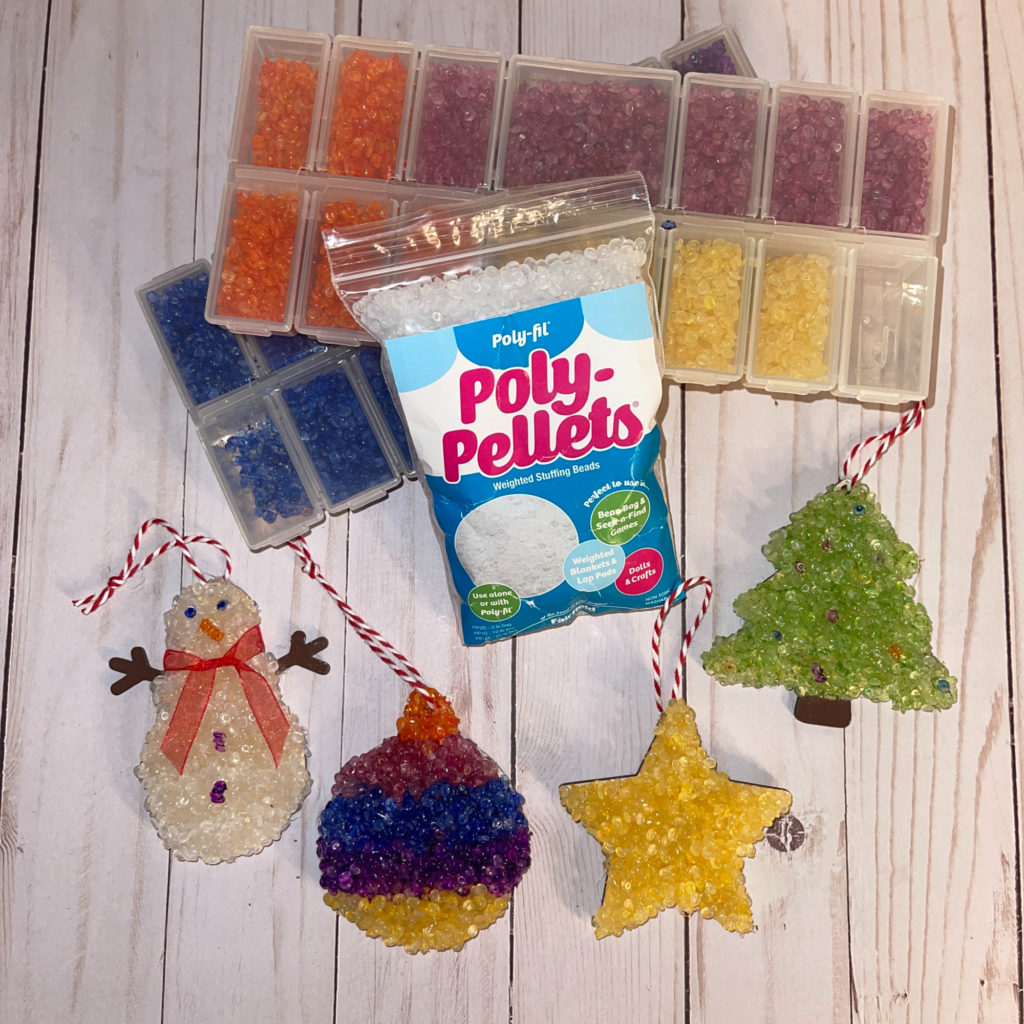
I love how these turned out. You can get Poly-Pellets online at www.fairfieldworld.com.

Until next time, Happy Crafting!

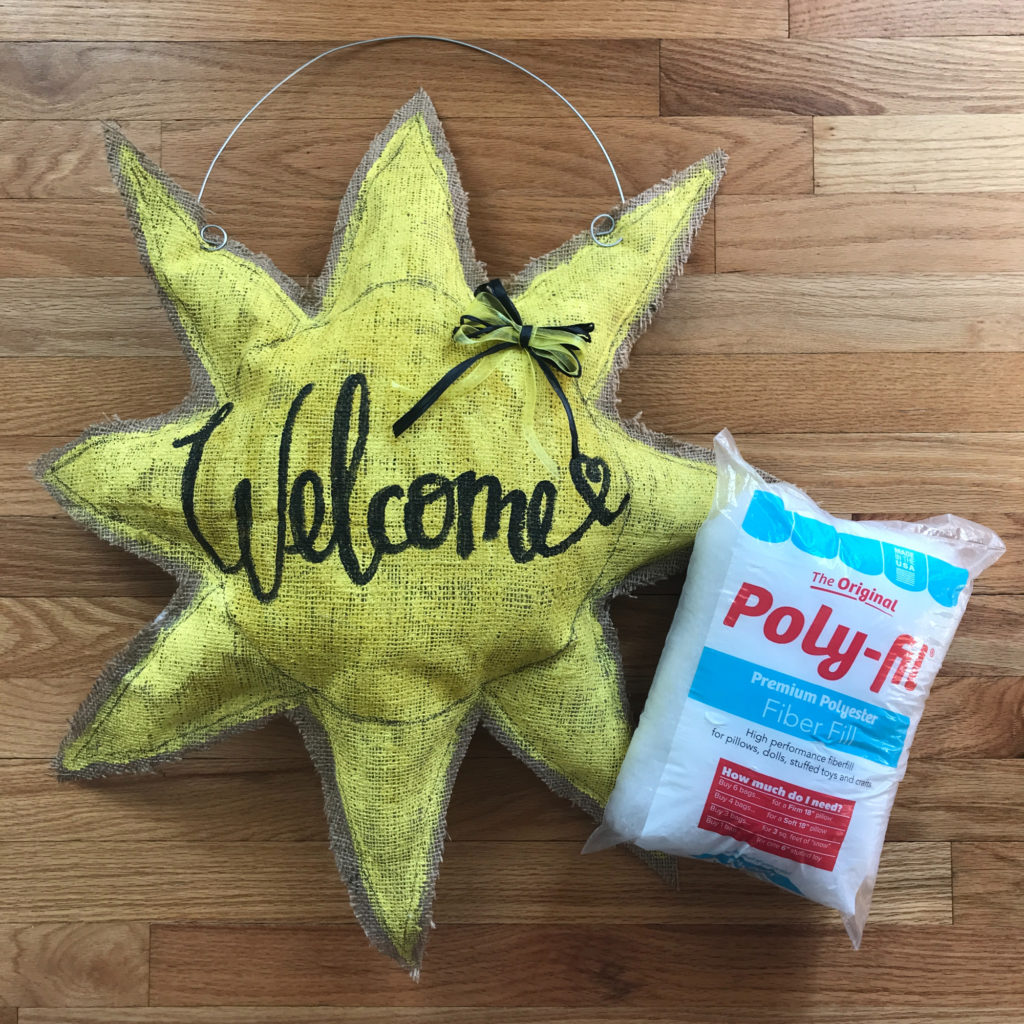
Burlap Sun Welcome Door Hanger Using Fairfield World’s Poly-fil® Fiber Fill

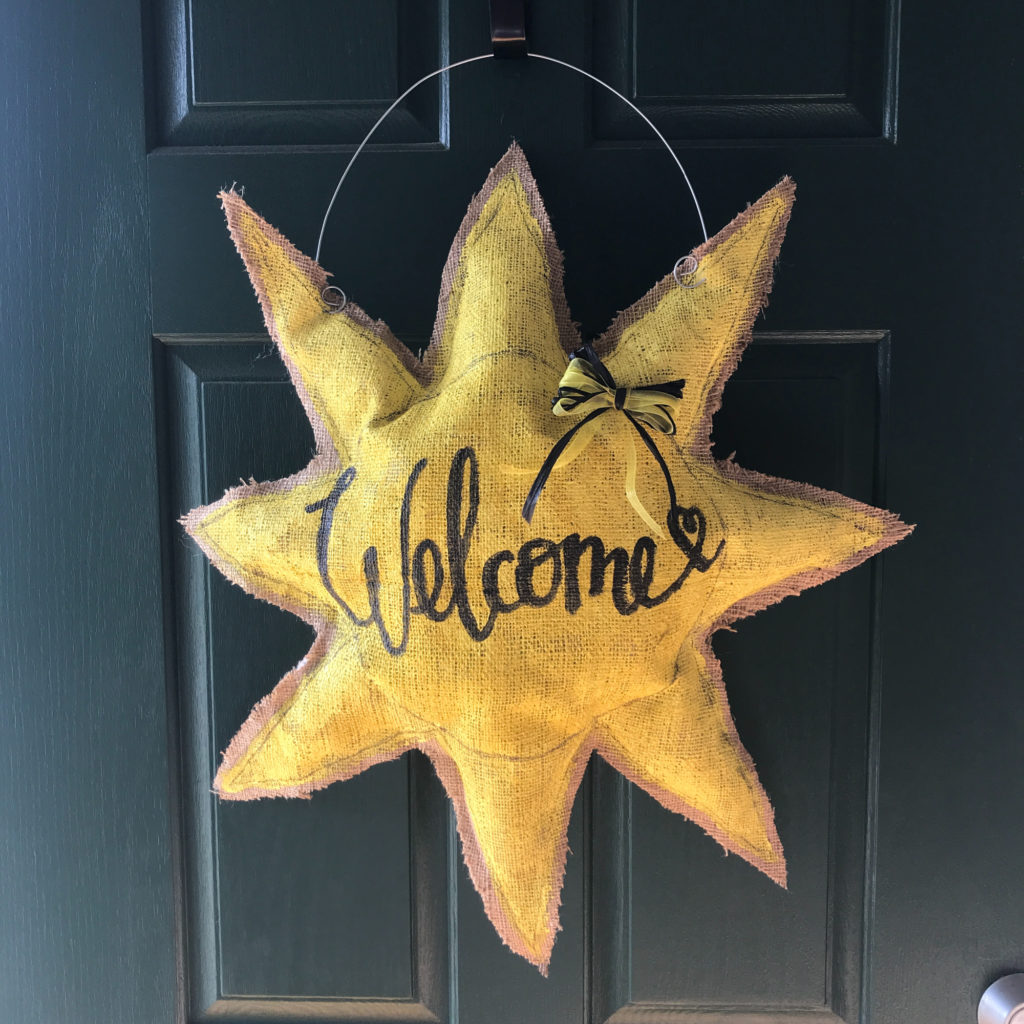
Anything related to the sun makes me happy lately, so I decided that a burlap sun welcome door hanger on my front door would be the perfect touch of happiness! I’m a big fan of painted burlap door signs!

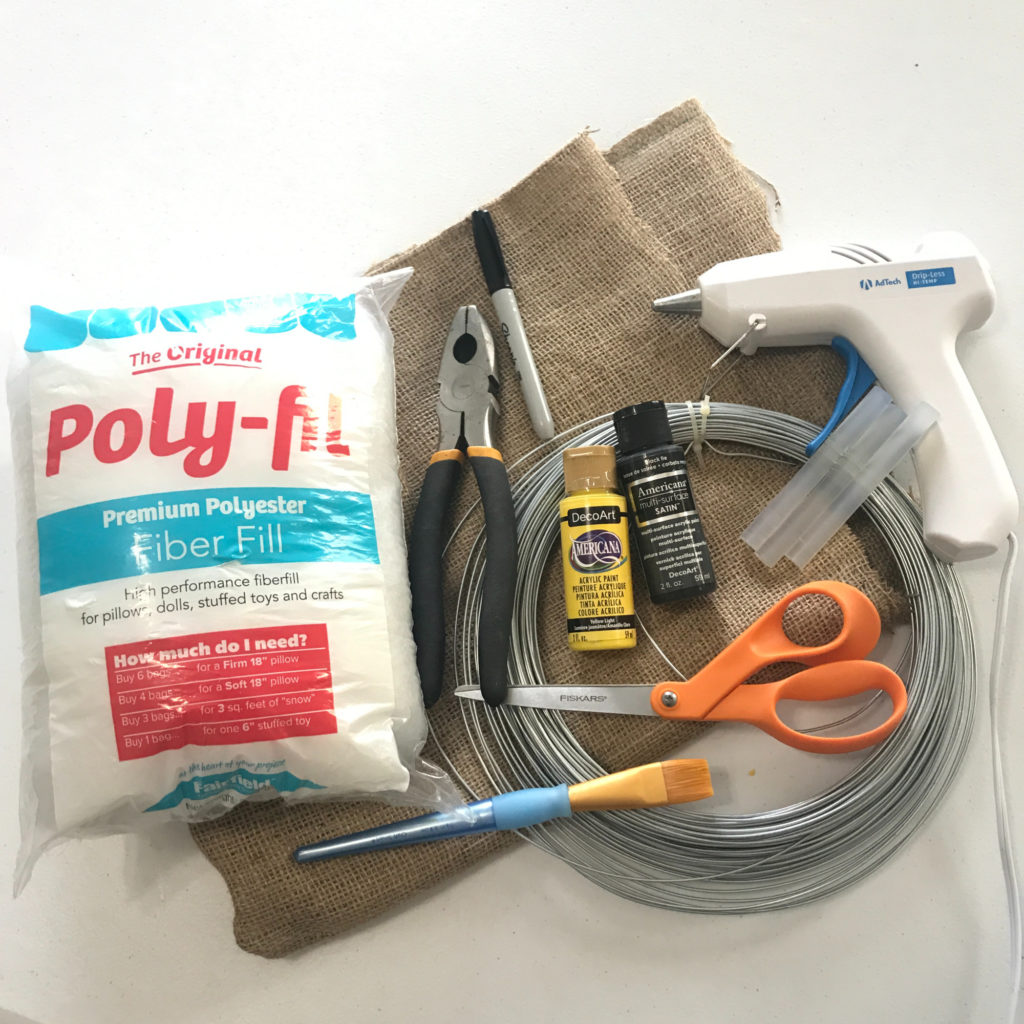
Materials used:

  • Burlap
  • Fairfield World’s Poly-fil® Fiber Fill
  • Wire
  • Wire cutters
  • Needle Nose Pliers
  • Paints (I used yellow and black paints from DecoArt)
  • Hot Glue Gun and Glue Sticks
  • Scissors
  • Paint Brushes
  • Permanent Marker
  • Pencil
  • A round object to trace a circle
  • A work area you don’t mind getting paint on (I used a plastic container lid)
  • Ribbon (I used sheer yellow ribbon and black raffia ribbon)
I did end up adding additional supplies after this photo was taken.

How I made it:

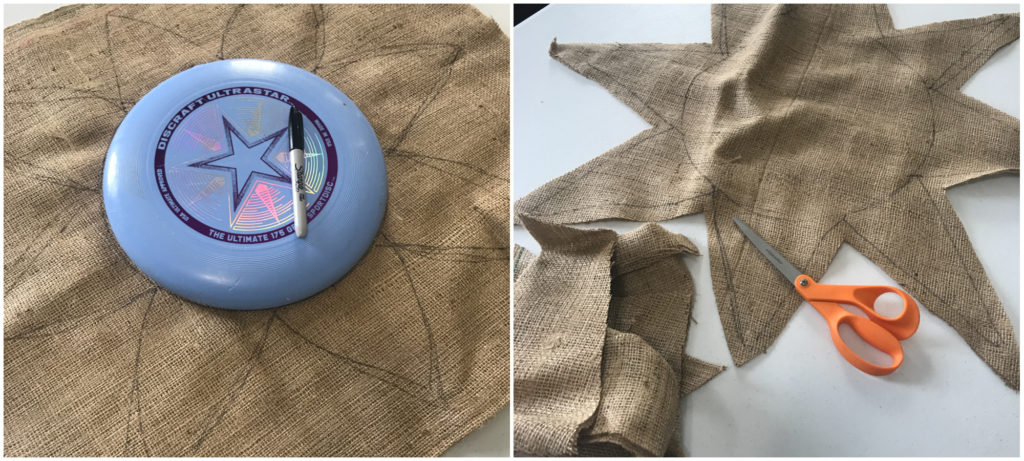
With my burlap folded in half like it came off of the bolt from the store, I cut about 30 inches for my sun and kept the burlap folded so that I would have 2 pieces of the same pattern after it was cut out.

Using a frisbee and a permanent marker, I traced a circle. TIP: You can use any round object to do the circle or you can just freehand one. This frisbee just happened to be the perfect size that I wanted. I freehanded the triangles of the sun.

Using my scissors, I cut the sun out leaving about half an inch around the lines.

I separated the two pieces of burlap and set the one that does not have the drawn sun aside. This one will be the back piece.

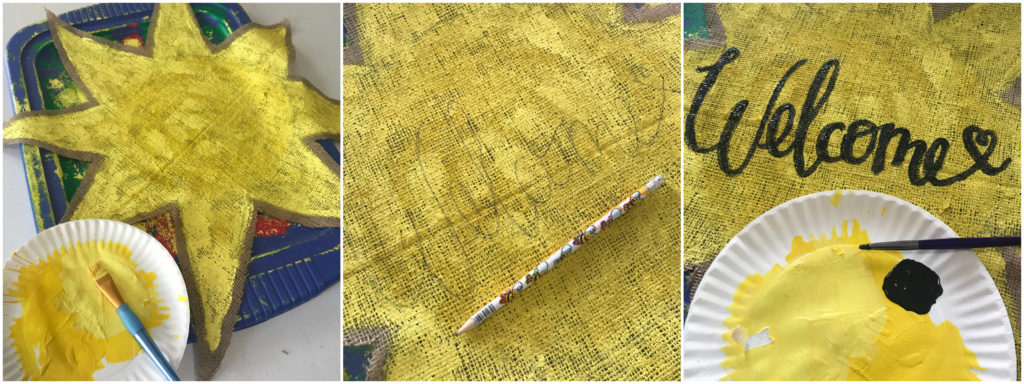
Using a bright sunny color yellow paint, I painted within the lines. TIP: I used an old plastic bin top that I didn’t care about anymore to paint my burlap on top of. Since burlap has holes in it, the paint seeps through and it’s easy to pull the burlap up after it dries.

With a pencil, I wrote out Welcome and then painted it with black paint.

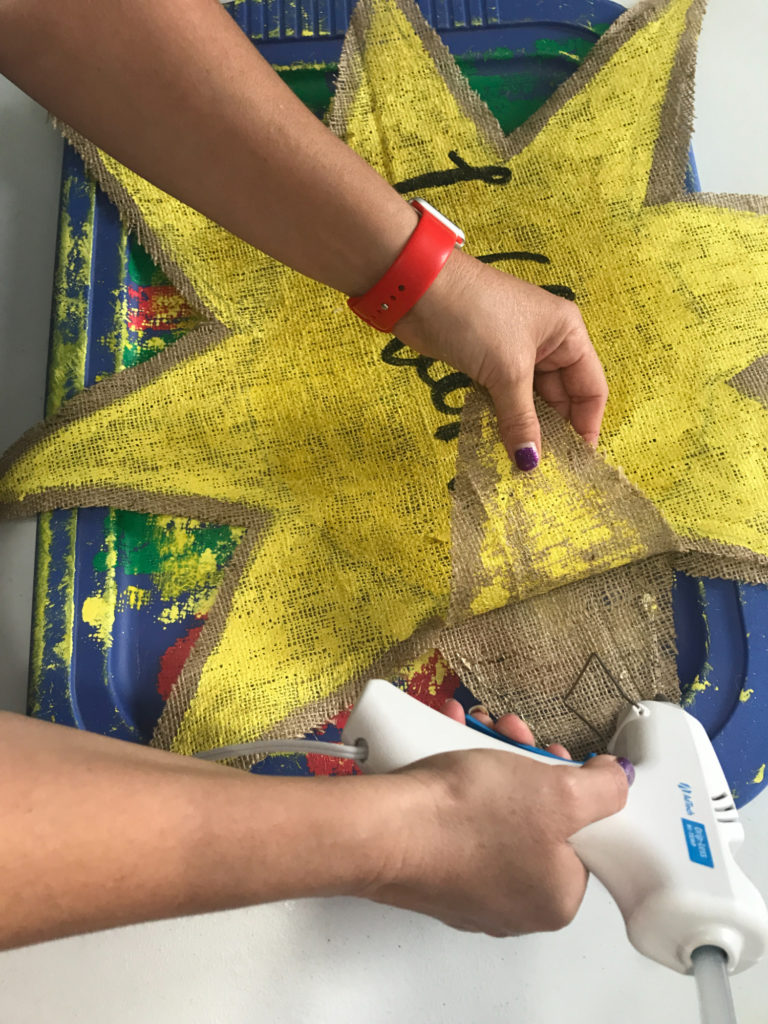
Once the sun piece was dried, I put the two pieces back to gather, making sure to align them correctly.

I then hot glued the edges together, leaving one of the triangles open so that I could stuff it.

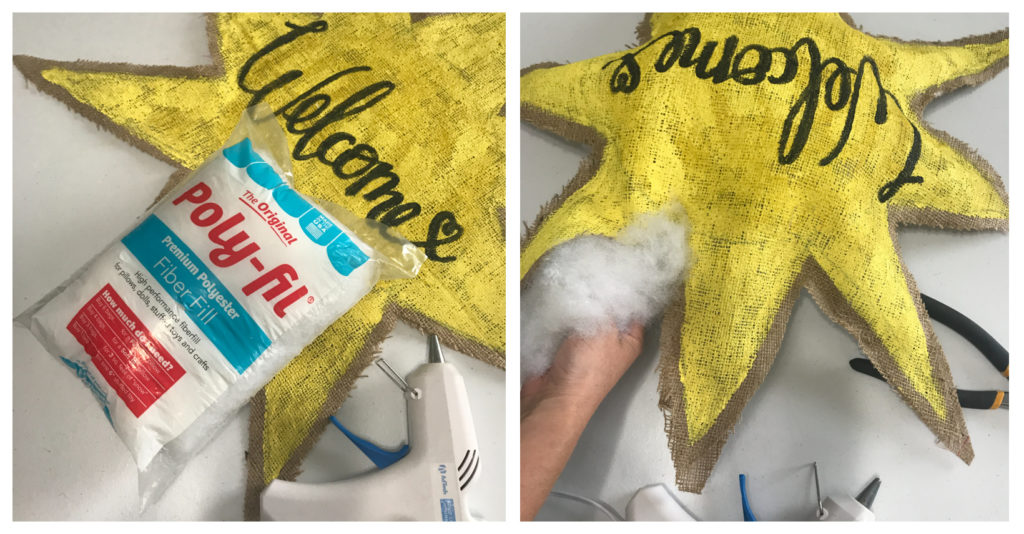
Then, I stuffed it full of Poly-fil® Fiber Fill, making sure to stuff the triangles as much as I could. I wanted the triangles to be stiff so they wouldn’t flop over.

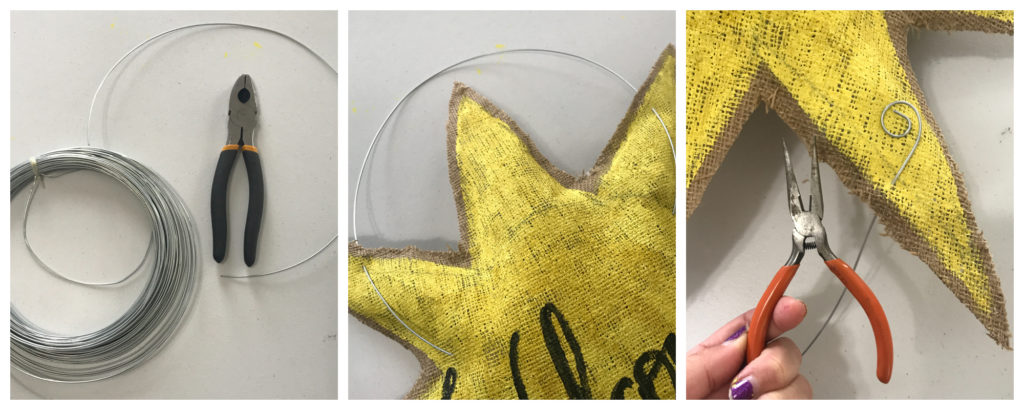
Using wire cutters, I cut my wire to the length I wanted.

I pushed the wire through the back of the burlap, up through the front. Using needle nose pliers, I curled the ends so that it doesn’t back out of the burlap.

TIP: I hung my sign on my front porch and wasn’t happy with the length. It was too long, so I trimmed it with the wire cutters and curled the end again. It’s better to cut it a little longer, so that some can be cut off!

Using my marker, I retraced the circle and the triangles so that it gave it more of a whimsical sun look.

I also trimmed off all of the ragged edges to give it a cleaner edge look.

I actually went back and added a small layered bow!

Then it was ready to hang up!

Did you know Poly-fil® is made with recycled material that is re processed into Polyester and then extruded and expanded to make the Poly-fil® we all know and love!

Until next time….Happy Crafting!
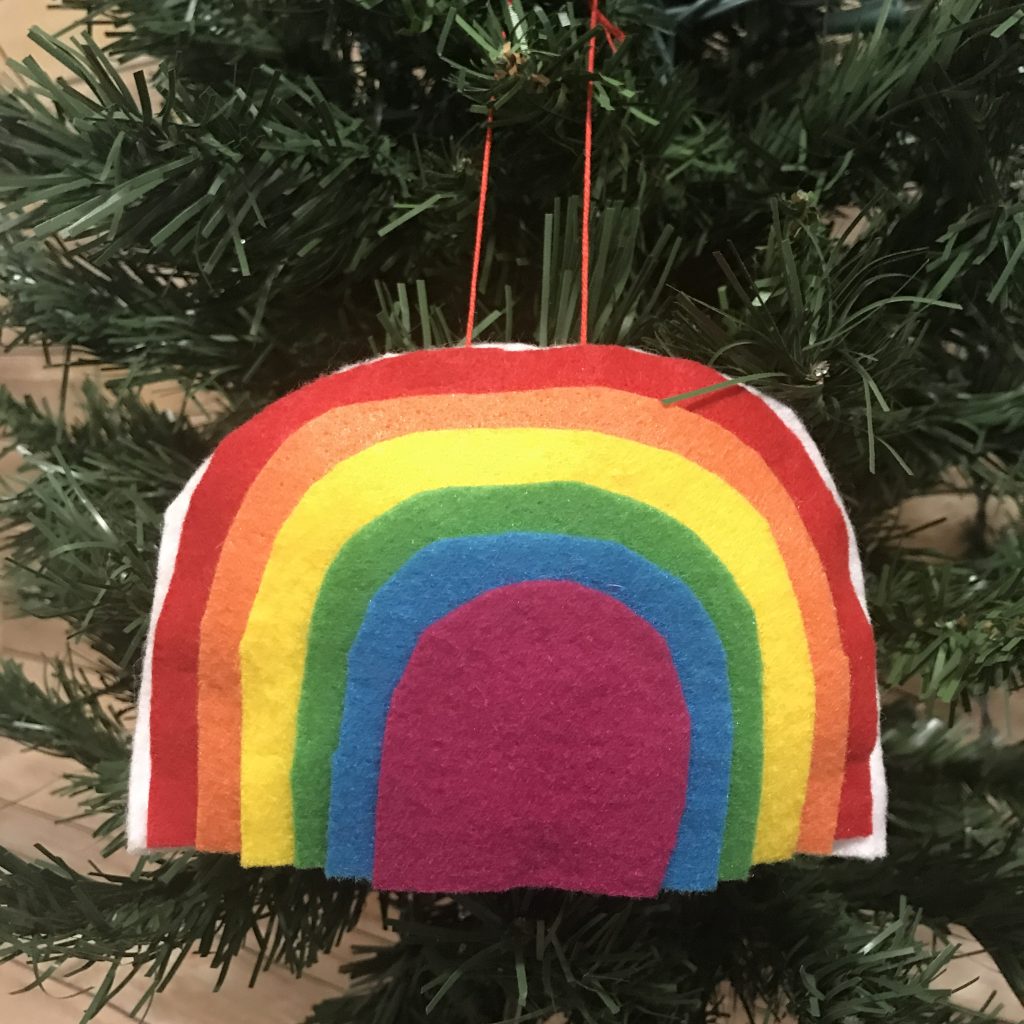
Felt Rainbow Ornament featuring Fairfield World Poly-fil

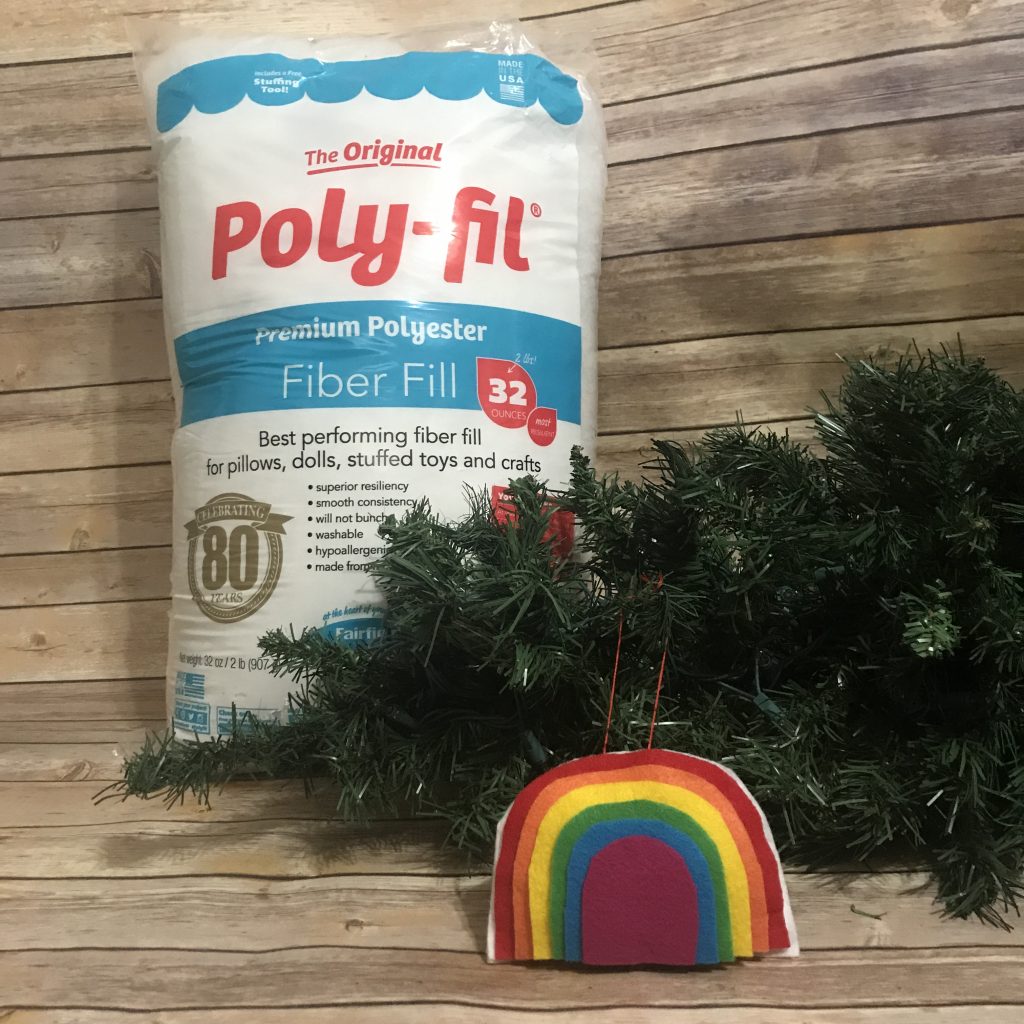
Fairfield World is celebrating their 80th birthday, so I’m celebrating with them by making a felt rainbow ornament filled with Fairfield Poly-fil Fiber Fill! I absolutely love Fairfield World products and I have been using the fiber fill forever!

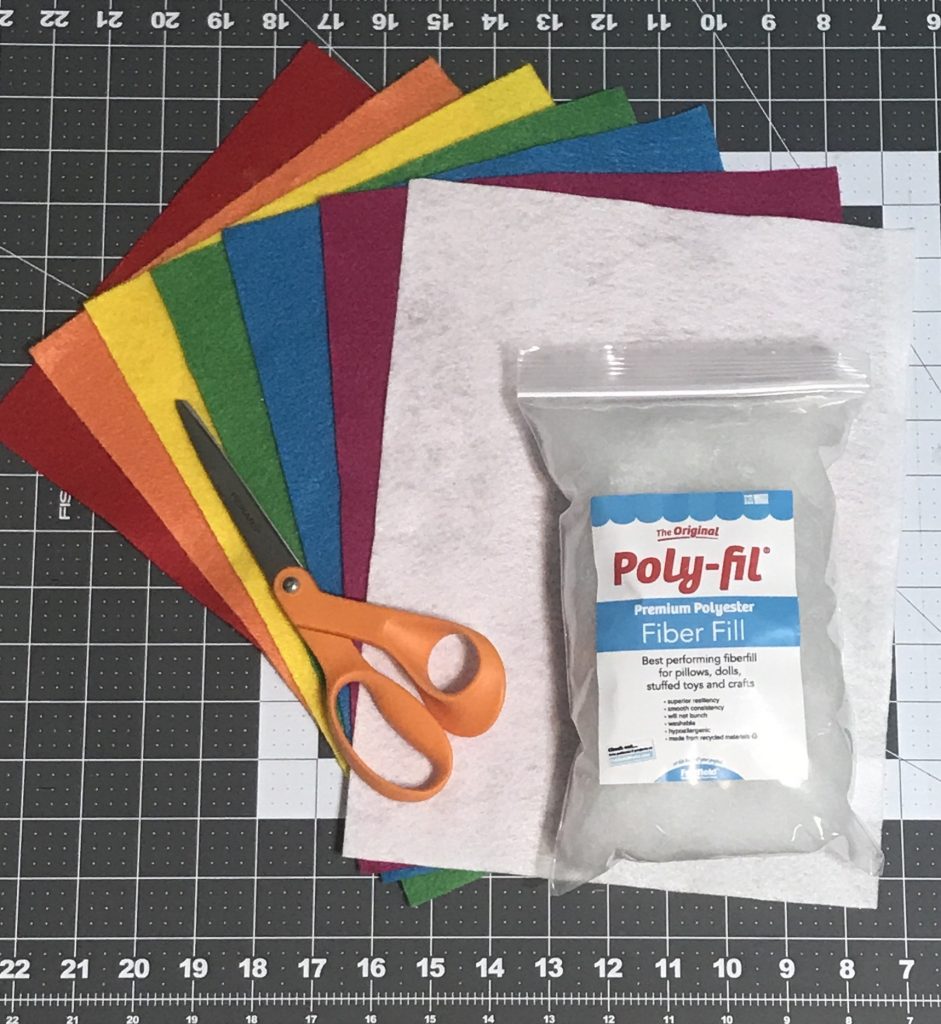
Materials used:

  • Fairfield World Poly-fil Fiber Fill
  • Kunin Felt Classic Felt 9″x12″ craft cuts: (1) Red, (1) Orange, (1) Yellow, (1)Apple Green, (1) Peacock, (1) Fuchsia, (1) White
  • Scissors
  • Felt Glue (I use Beacon Felt Glue)
  • Sewing Machine
  • Embroidery Floss
  • Needle

How I made it:

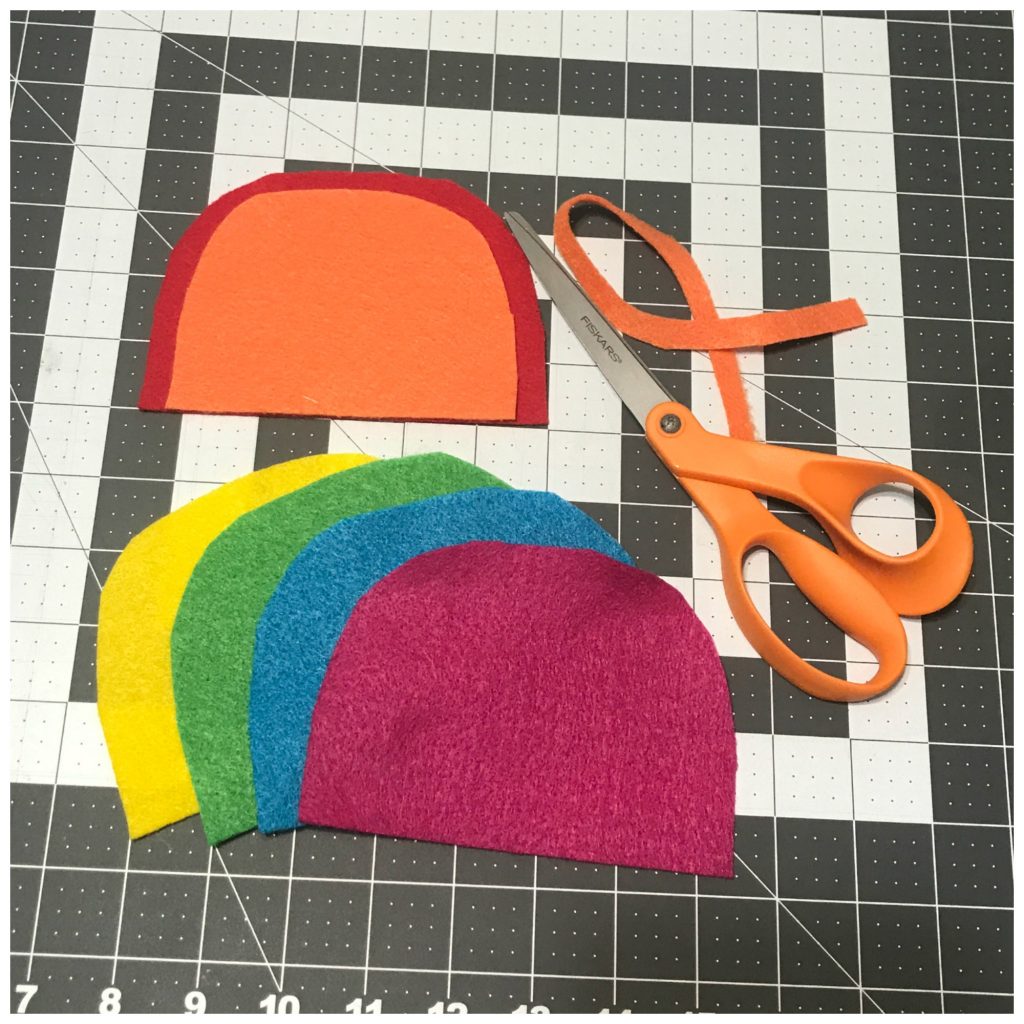
I began by cutting my red felt into to half circles at a length of 5.5 inches. I then cut the orange, yellow, green, blue and fuchsia into the same size half circles using the red one as a pattern.

Then I arranged them in the order of the rainbow and then cut each one a little smaller, creating a rainbow look. Then I cut two white half circles at six inches, slightly larger than the red one.

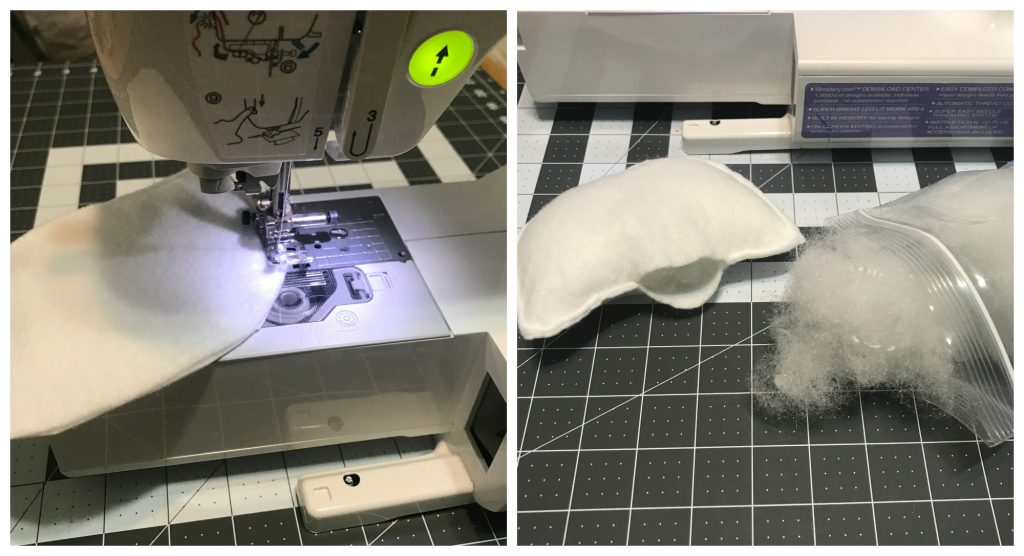
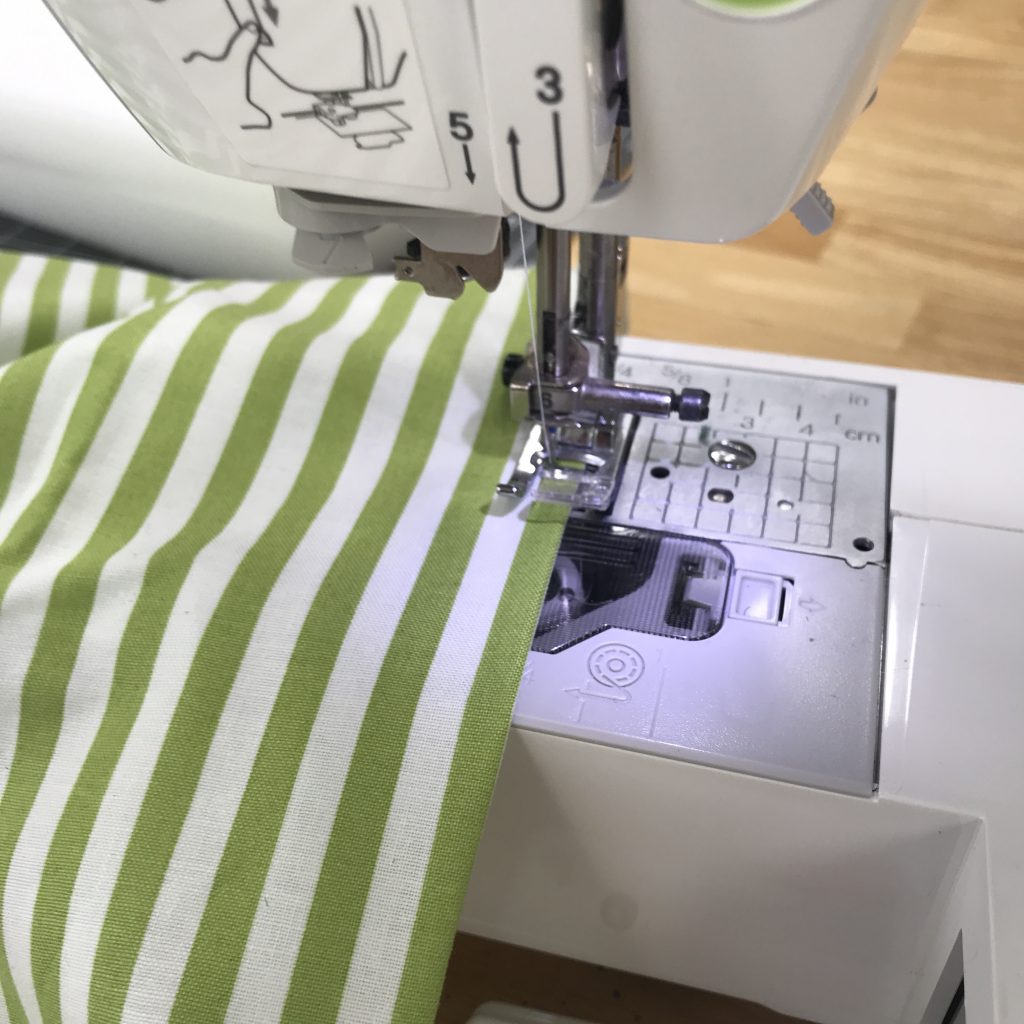
Using my sewing machine, I sewed the two white pieces together, leaving just a quarter inch seam and a two inch opening at the bottom. I then stuffed it with the Fairfield Poly-fil Fiber Fill and sewed it up!

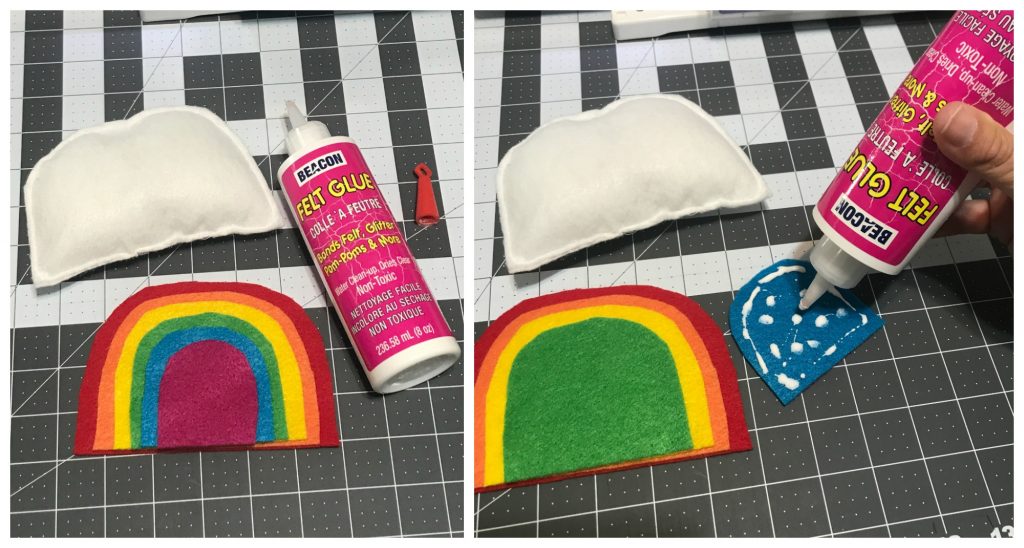
I glued together the rainbow using Beacon Felt Glue. Next I glued the rainbow to the stuffed white piece and let it dry completely.

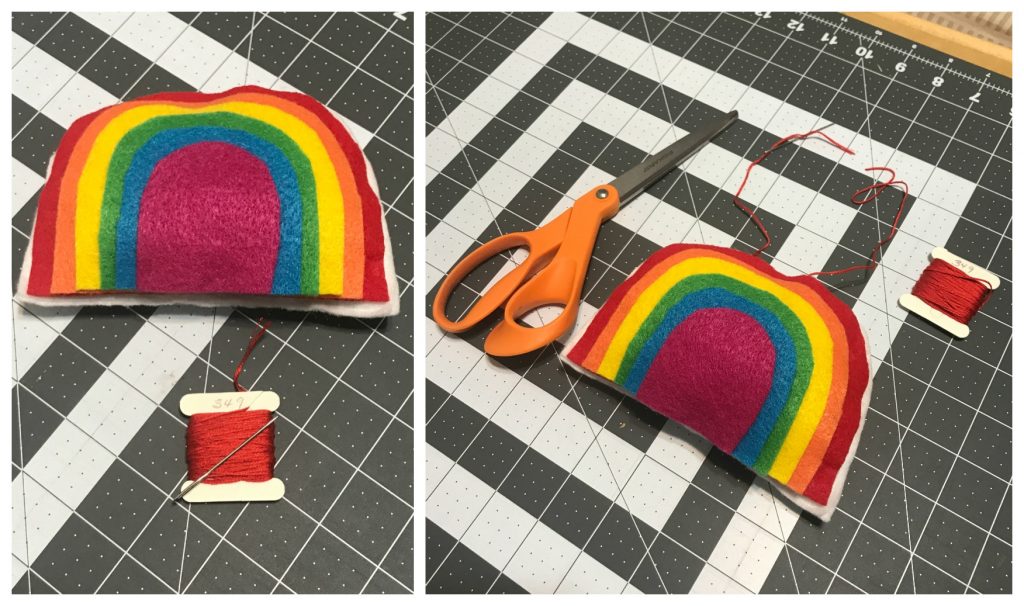
Once it was dry, using the needle and embroidery floss, I put the floss through the seam of the white pieces and tied the ends together so that I could hang it on the tree!

Happy 80th Birthday Fairfield World!!!!

Happy Crafting. Until next time…..

Cozy Porch Reading Corner featuring Fairfield World

Disclosure:   I was provided product from Fairfield™ for this blog post.   All opinions of these products are solely my own. 

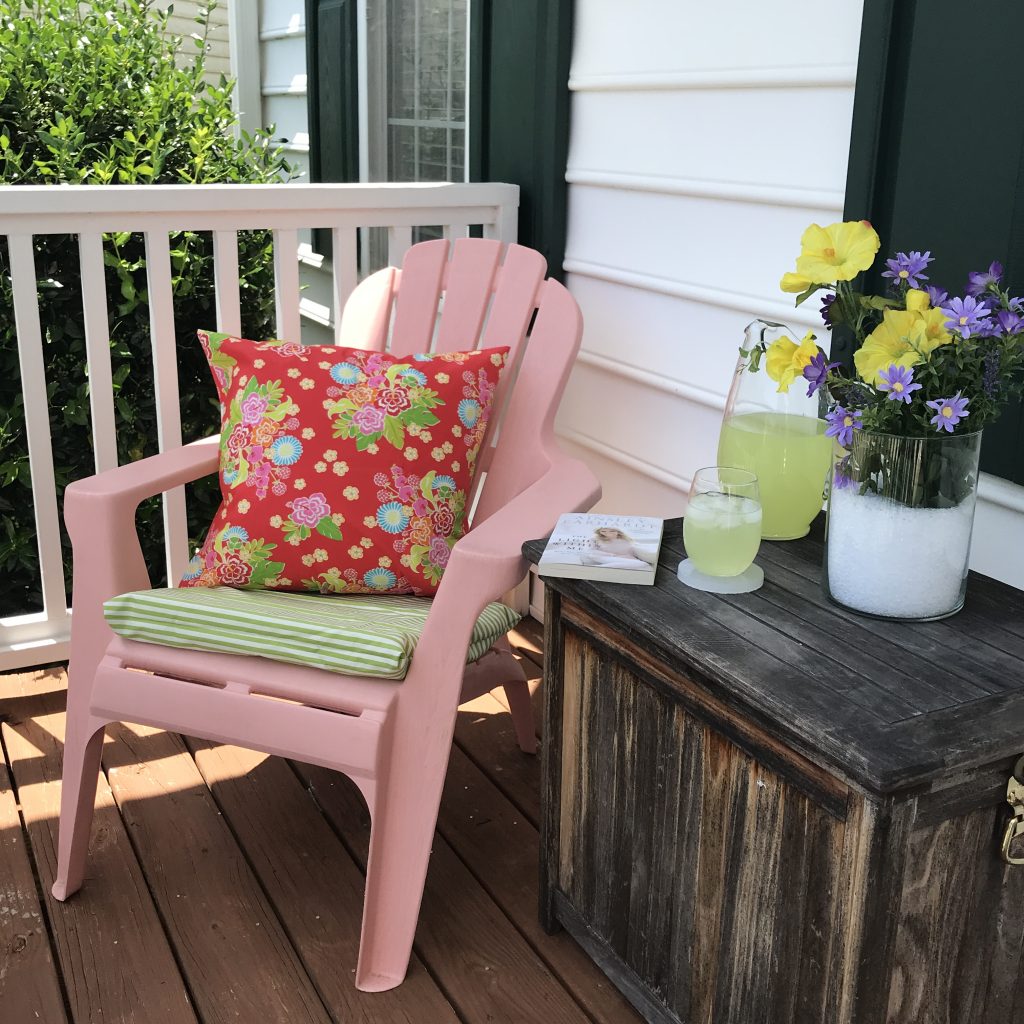
Creating a cozy porch reading corner featuring Fairfield World products is fun and easy. I’ve joined several crafty friends to create summer patio areas using products that we received from Fairfield World. Check out below how I created my cozy porch reading corner.

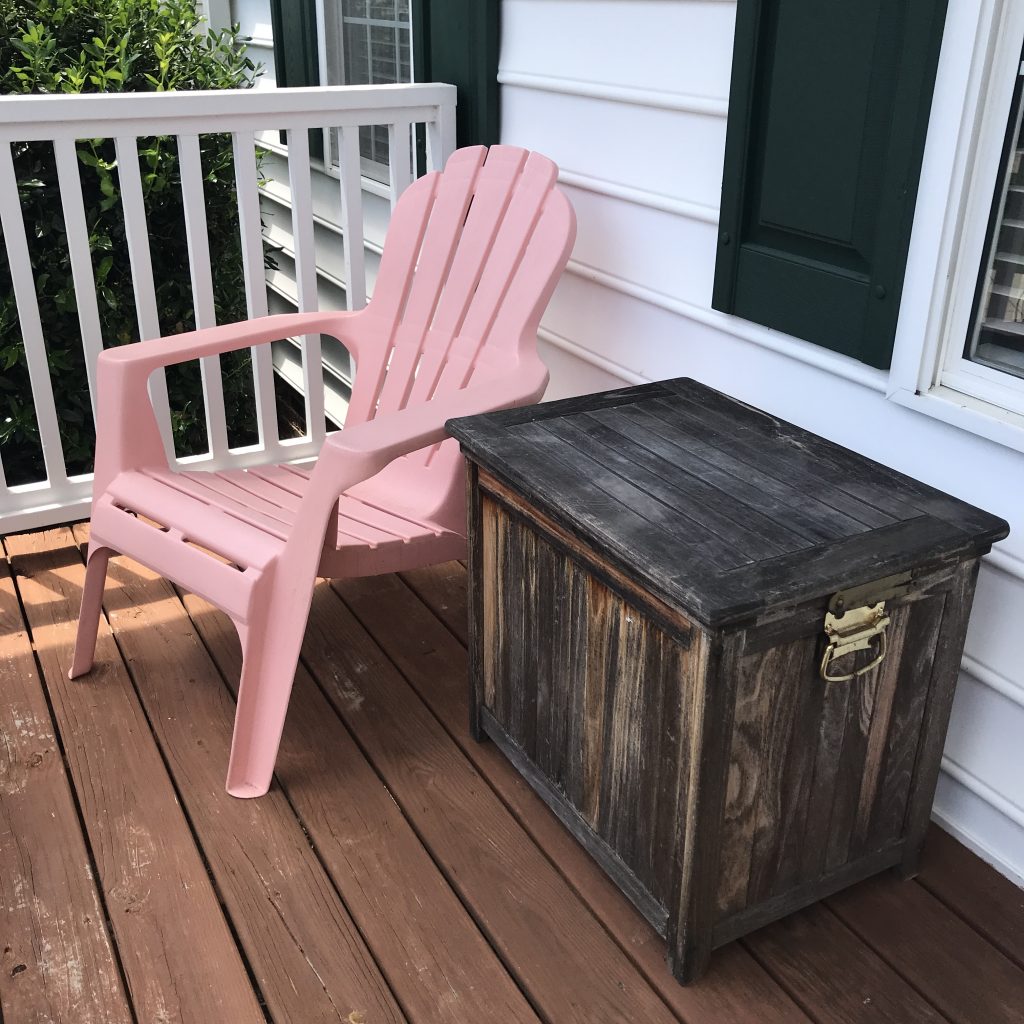
First off, I wanted to post a Before photo! And then show you individually what I created using the different Fairfield World products. Then I will explain how I created each one!

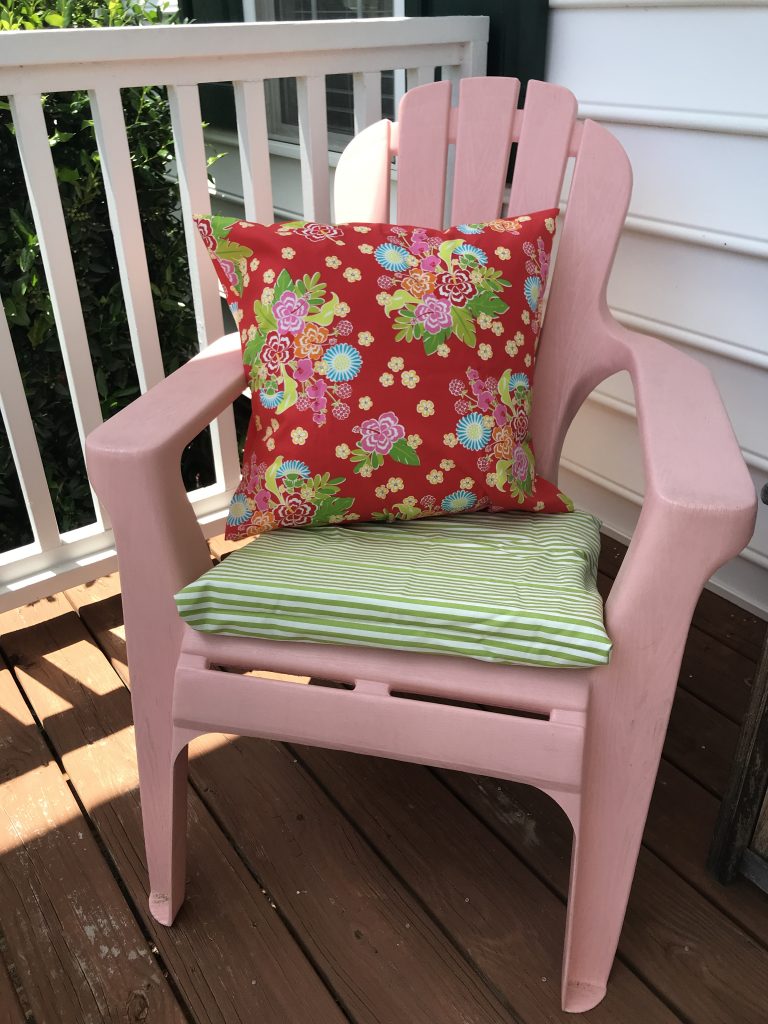
I started by creating a pillow and a cushion for my cozy Adirondack chair.. I used a simple envelope pillow case for both for easy removal for washing the fabric.

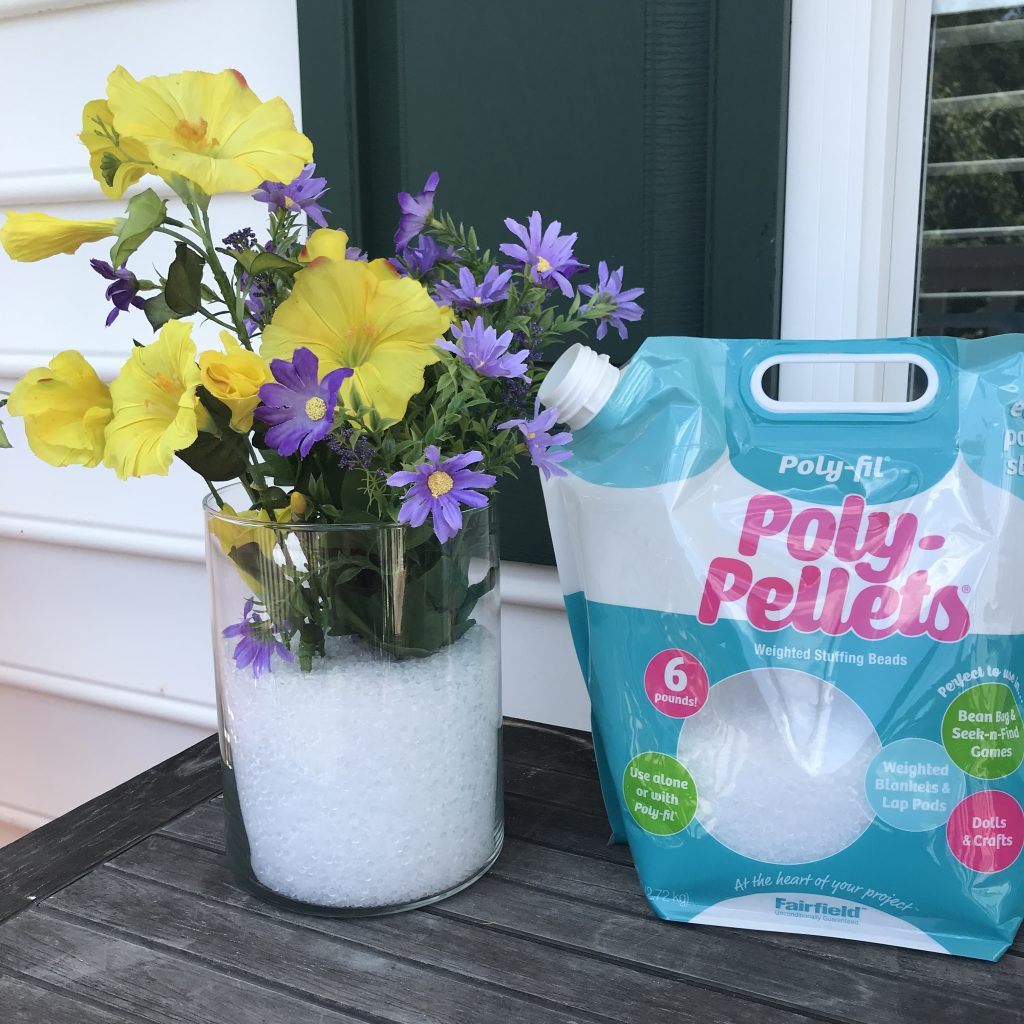
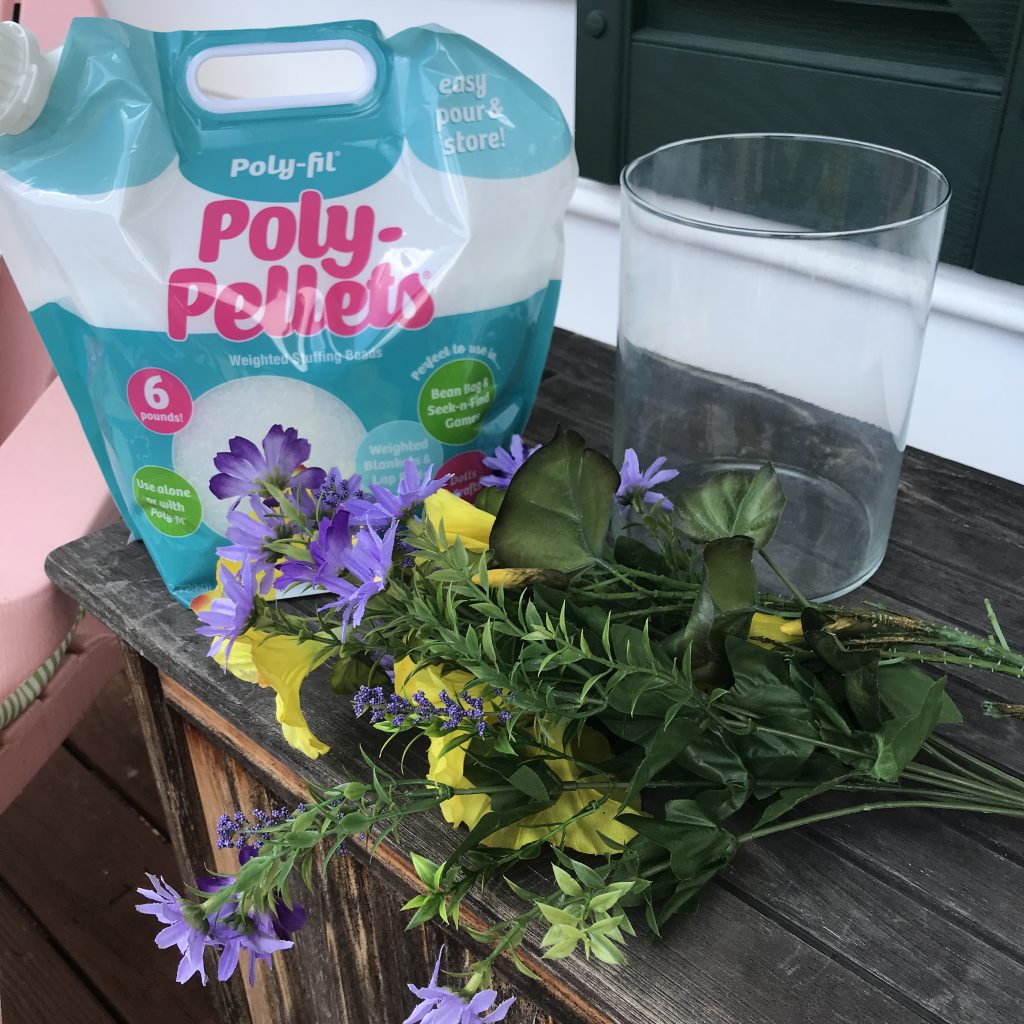
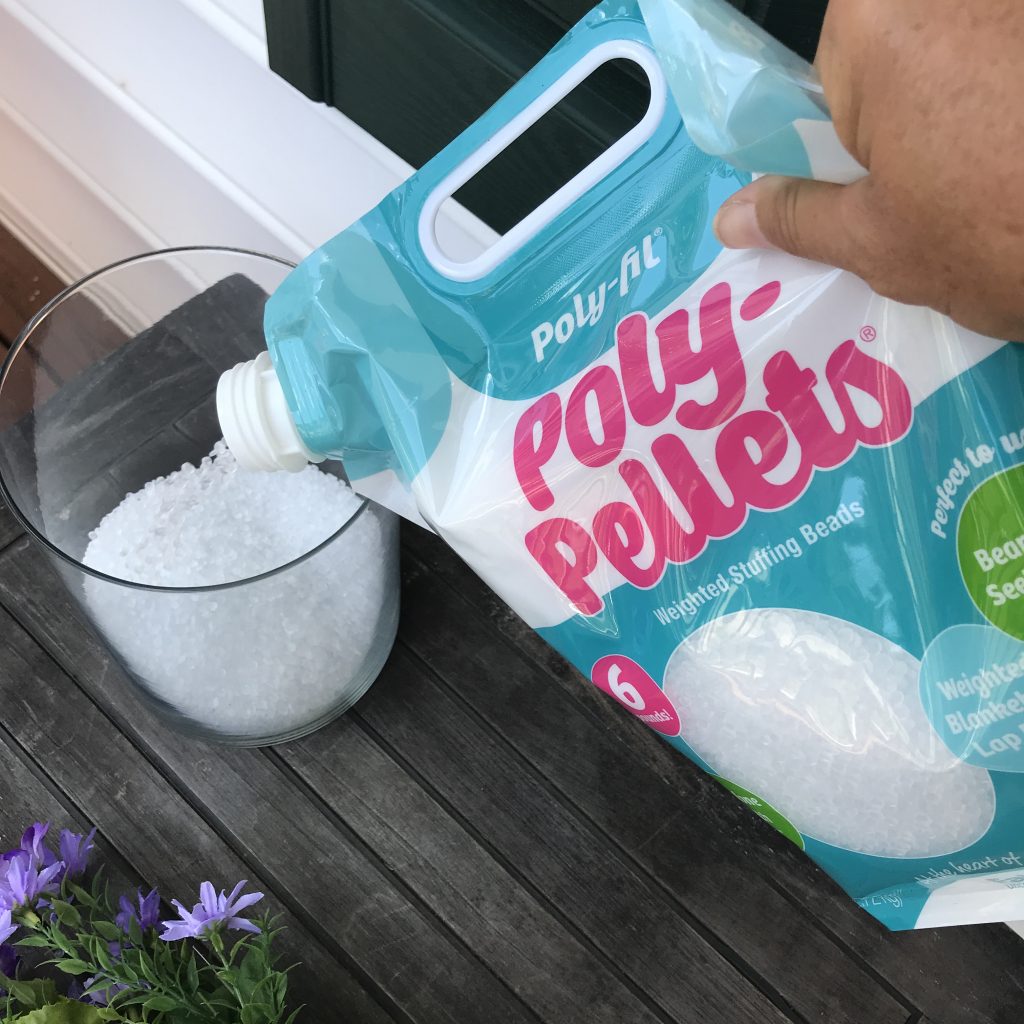
Poly-fil® Poly-Pellets® are so versatile. Here, I used them in a vase to hold my flowers in place. They are fake flowers and I didn’t want to use actual water, so the Poly-Pellets® made a great filler.

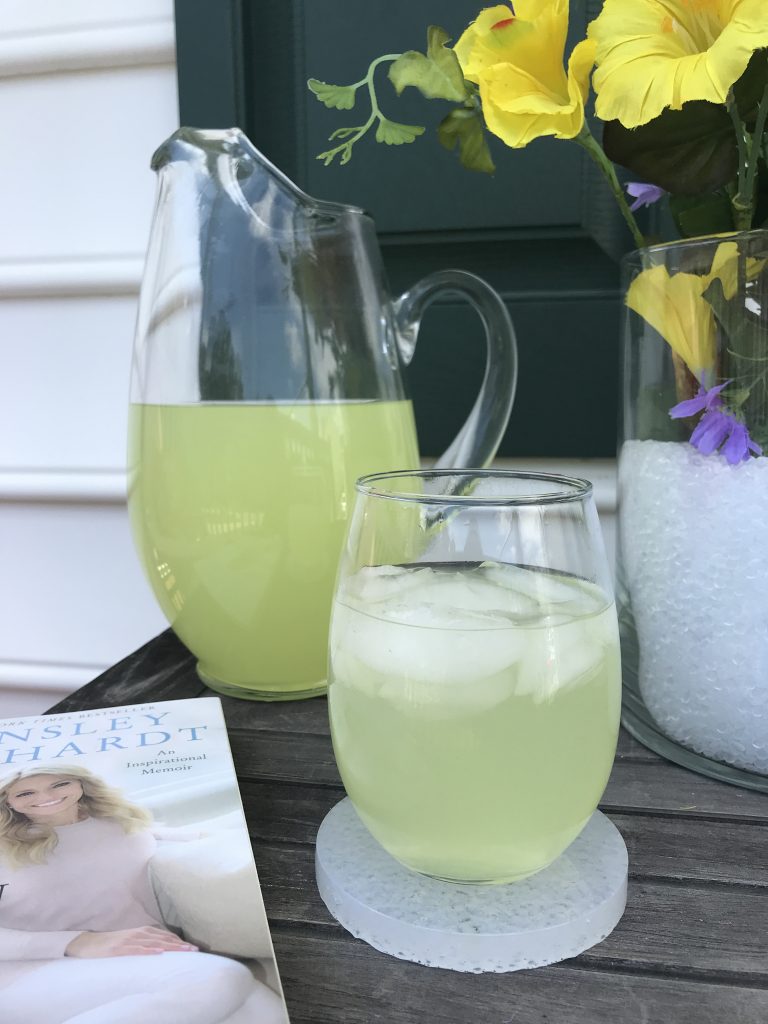
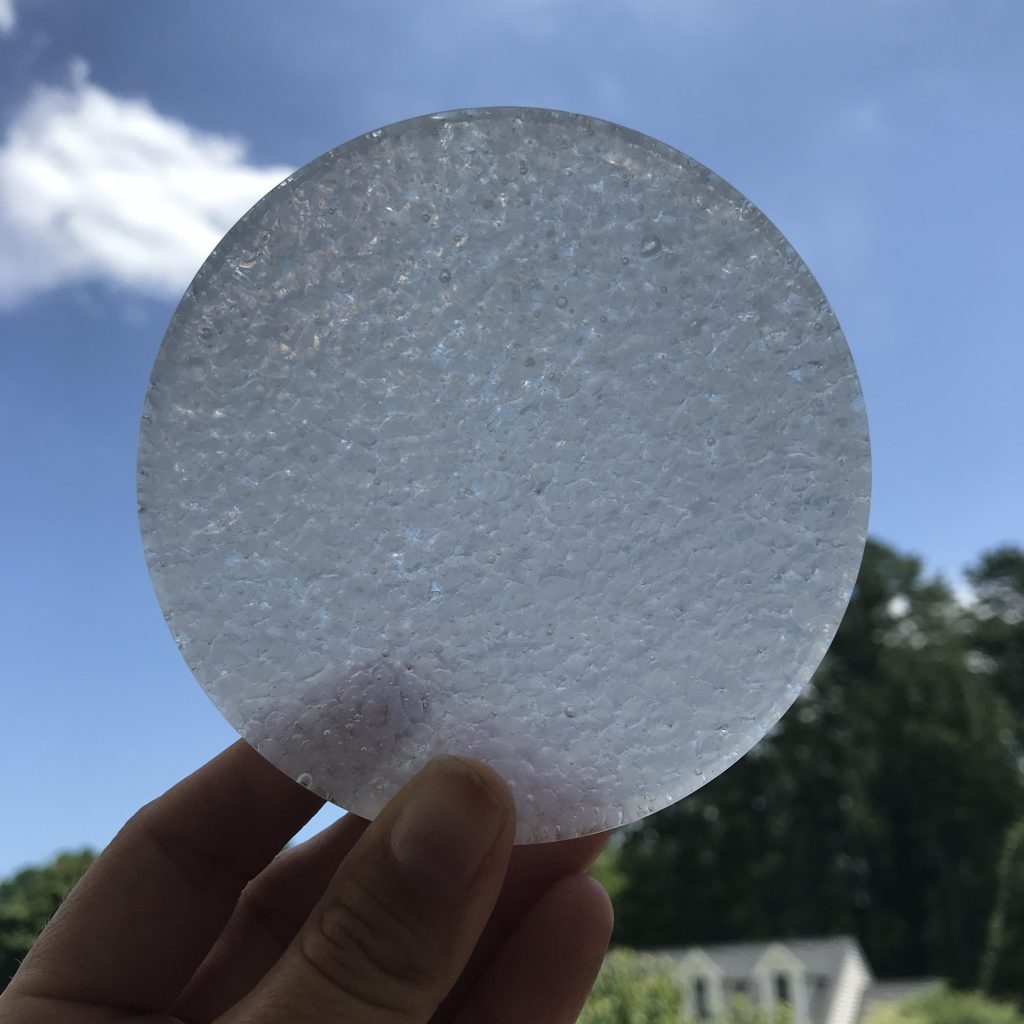
I also created epoxy coasters with the Poly-Pellets®. They are fun and durable and can be used inside or outside.

Here is a list of the materials I used and how I made each of them!

Materials:

How I made it all:

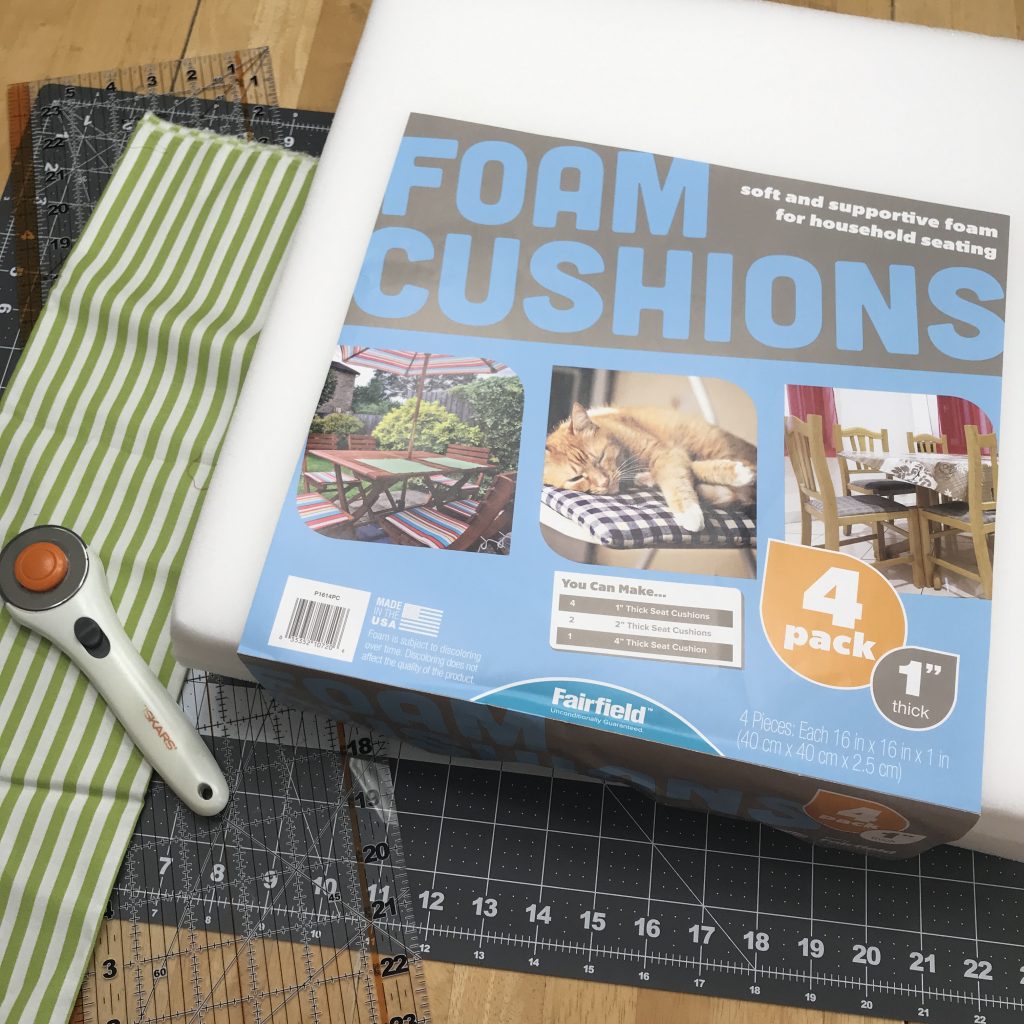
I started with the cushion.

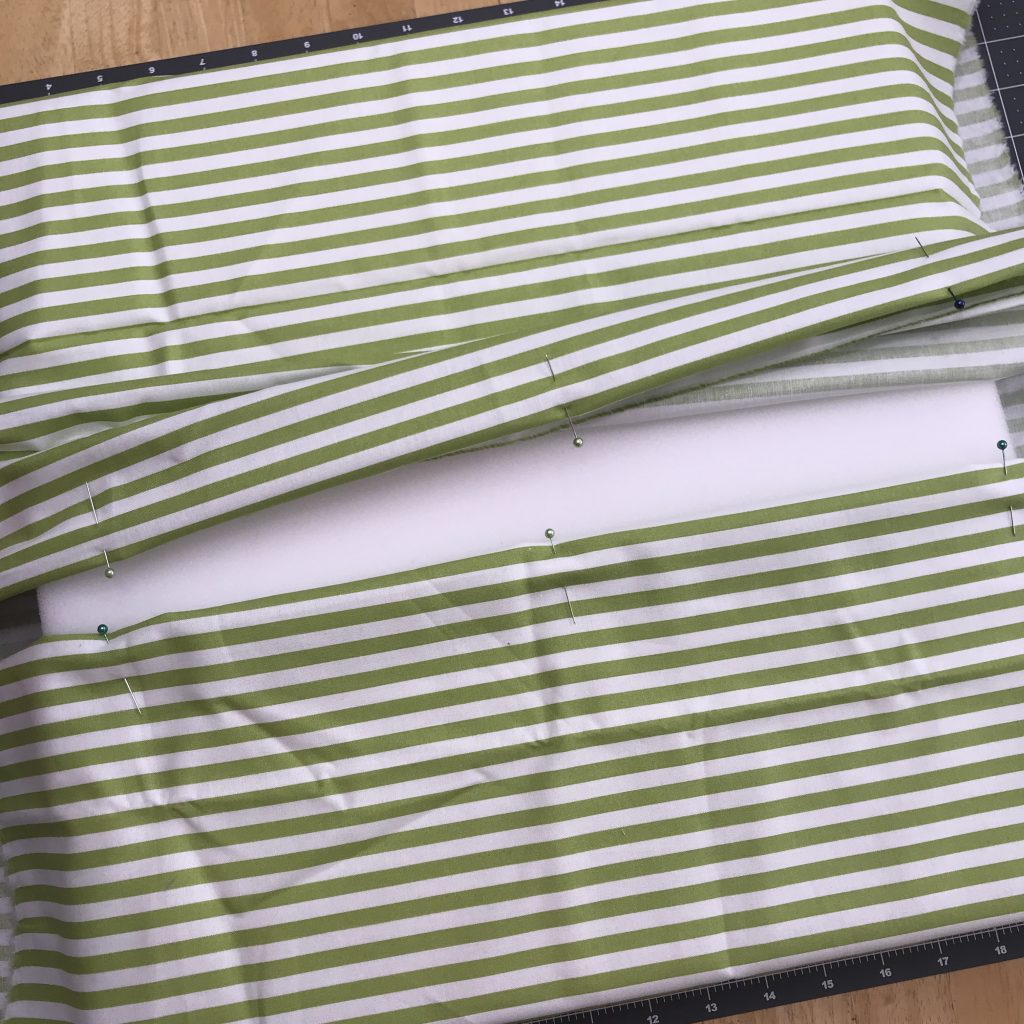
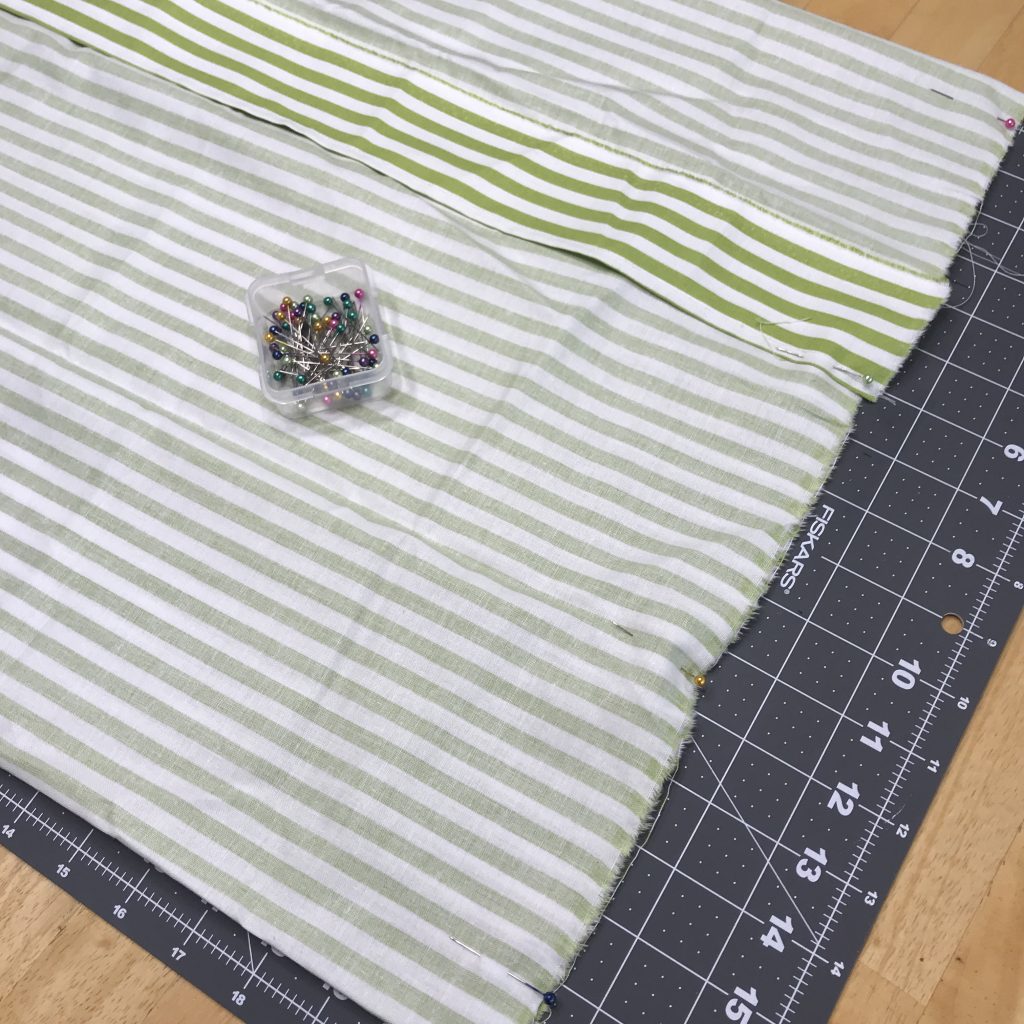
I cut my fabric to 21″ x 44″. I pinned and hemmed the 21″ edges so that they didn’t unravel.

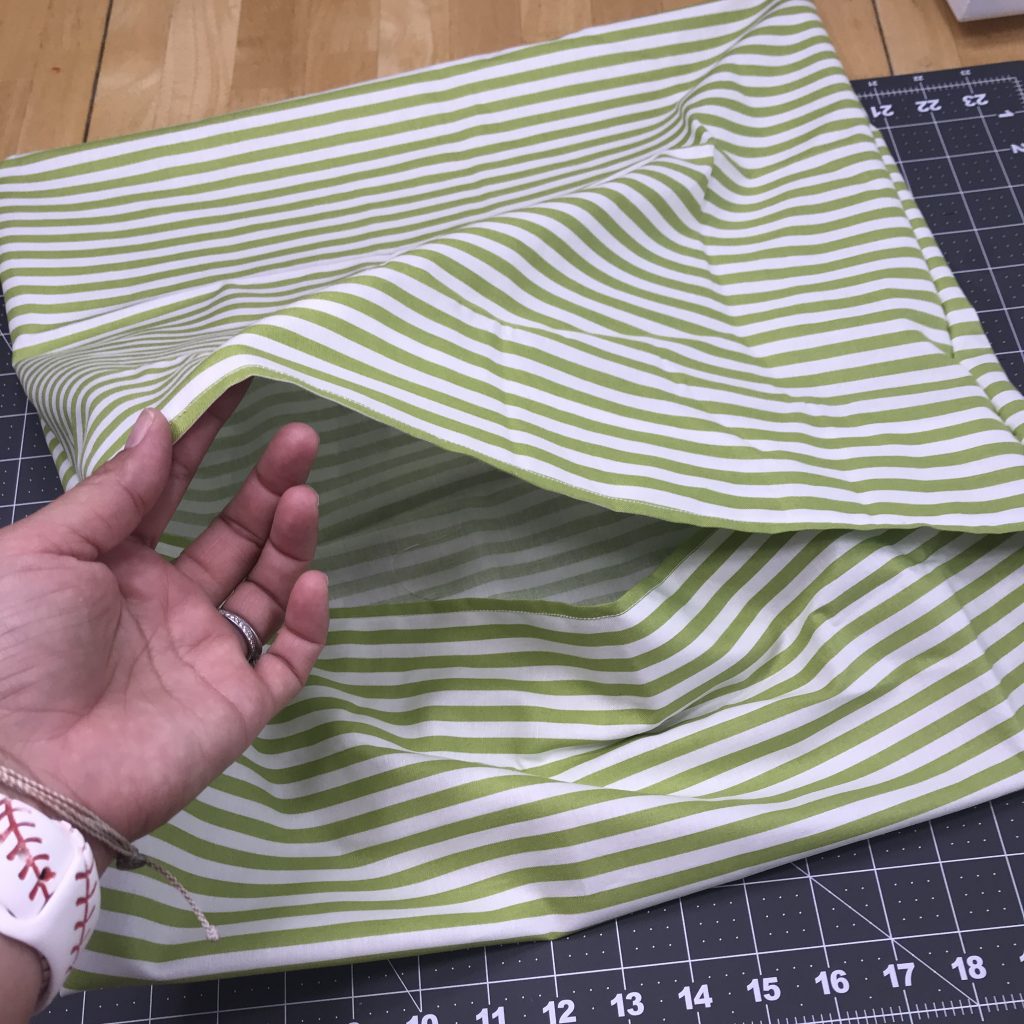
I laid the fabric out, inside up and placed my 2 cushion pieces stacked on top in the middle. Nows the time to figure out where you want the flaps of your envelope pillow case. I put the top flap closer to the top. To do this, fold each end of the fabric up and over the cushions. Shift the fabric as needed. Remove the cushions and then pin the edges in place. Sew them closed. I sewed it 1 inch in on both sides.

Flip the fabric inside out and add the cushions.

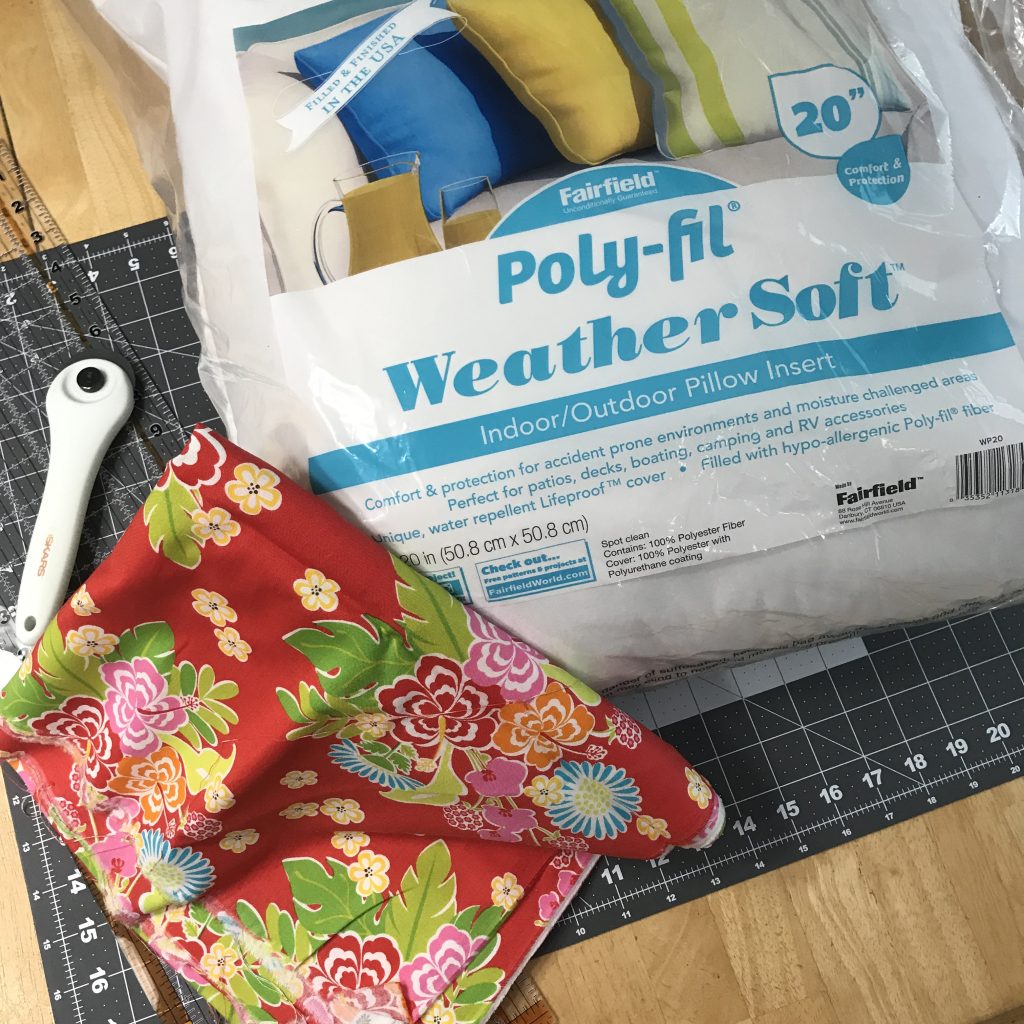
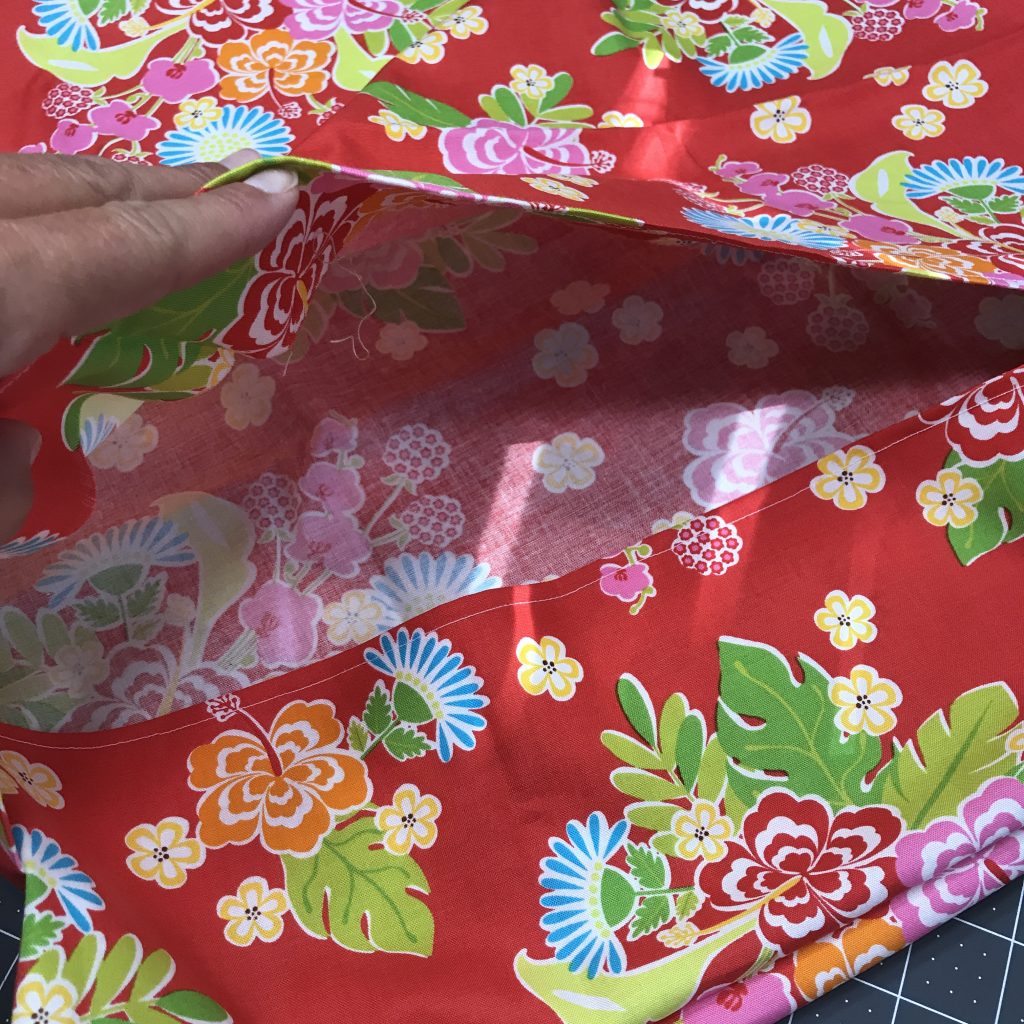
Once I tried the cushions in the envelope pillow case, I tried my pillow insert inside the cushion pillow case to gauge what size pillow case I needed for the Weather Soft pillow insert. It fit perfectly, so I made my pillow case the same size as the cushion pillow case.

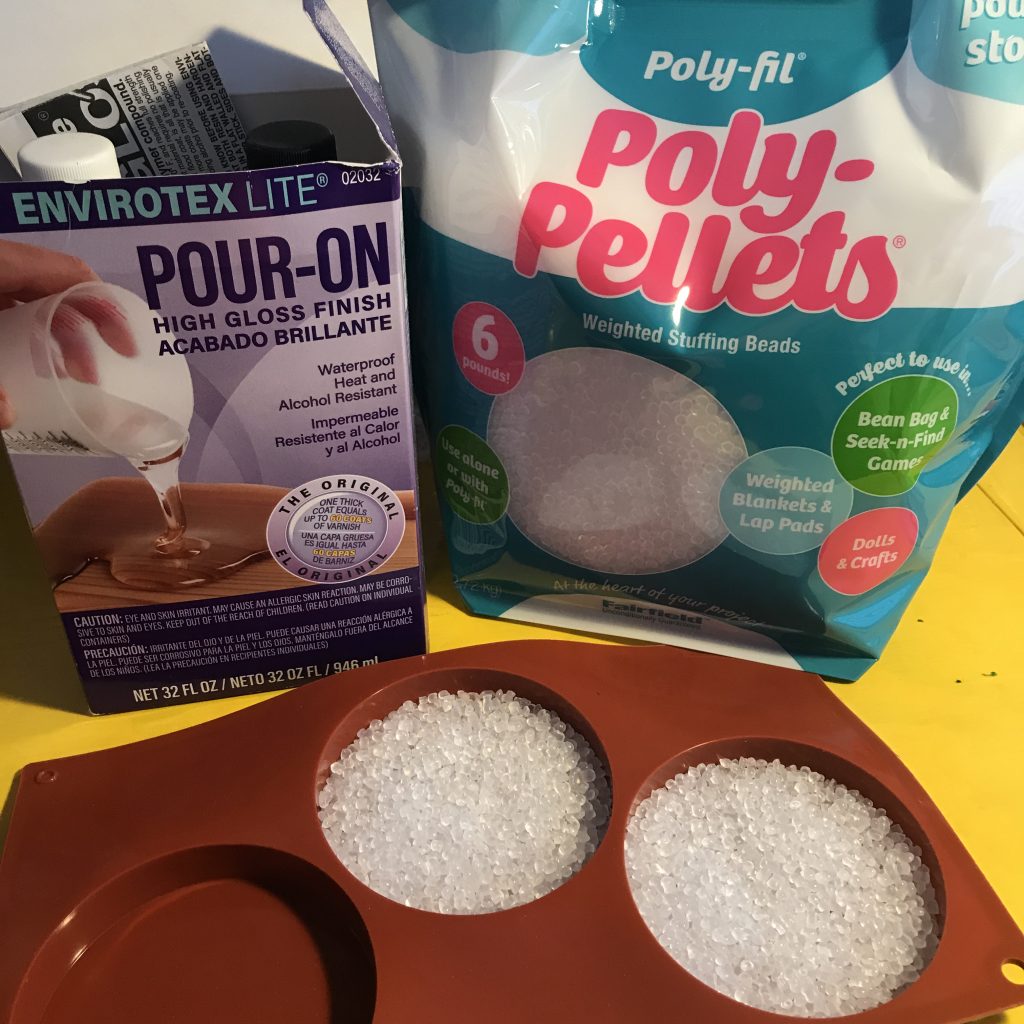
For my Poly-Pellets® Coasters, I used a coaster mold and Envirotex Lite® Pour-On Epoxy. I filled the mold with pellets.

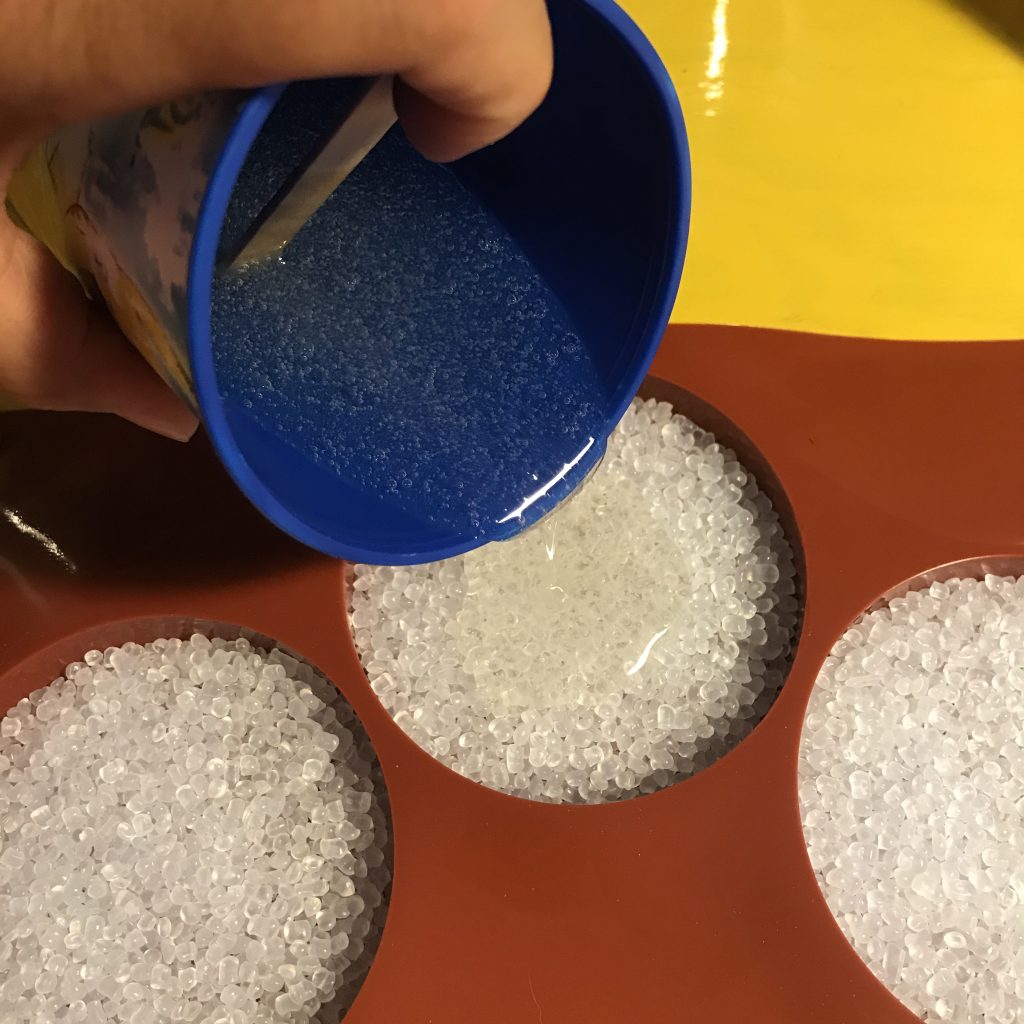
I mixed up the epoxy following the directions included and poured it into the mold filled with Poly–Pellets®.

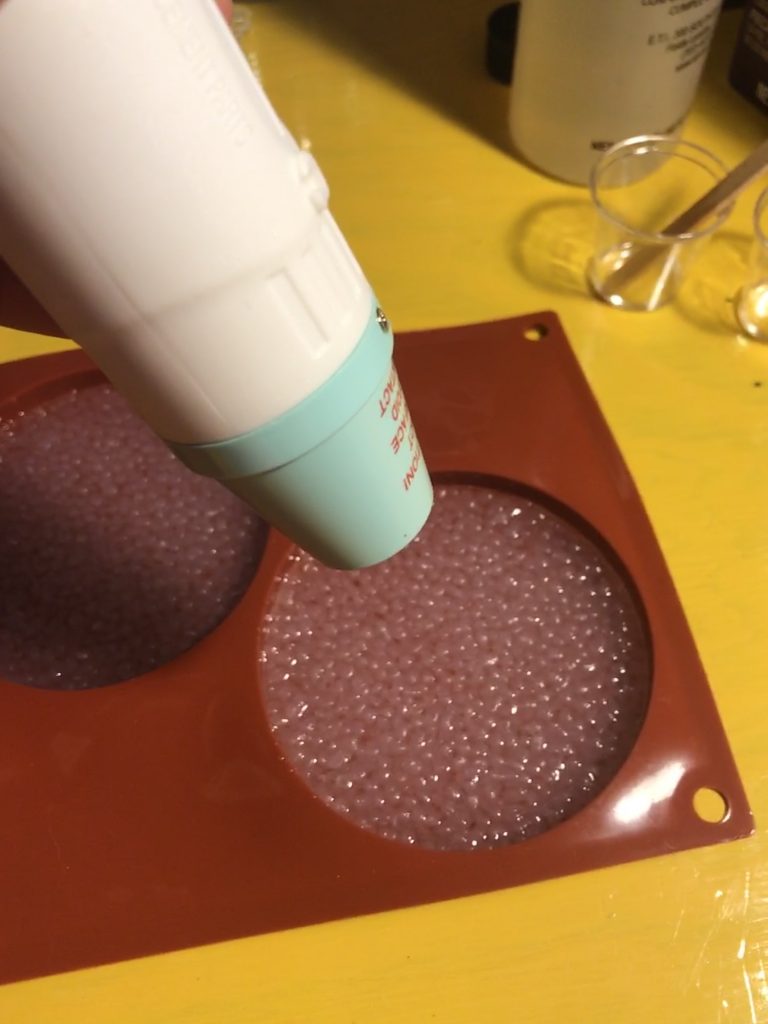
Using a heat gun, I allowed the heat to pop the bubbles, per the instructions for the epoxy.

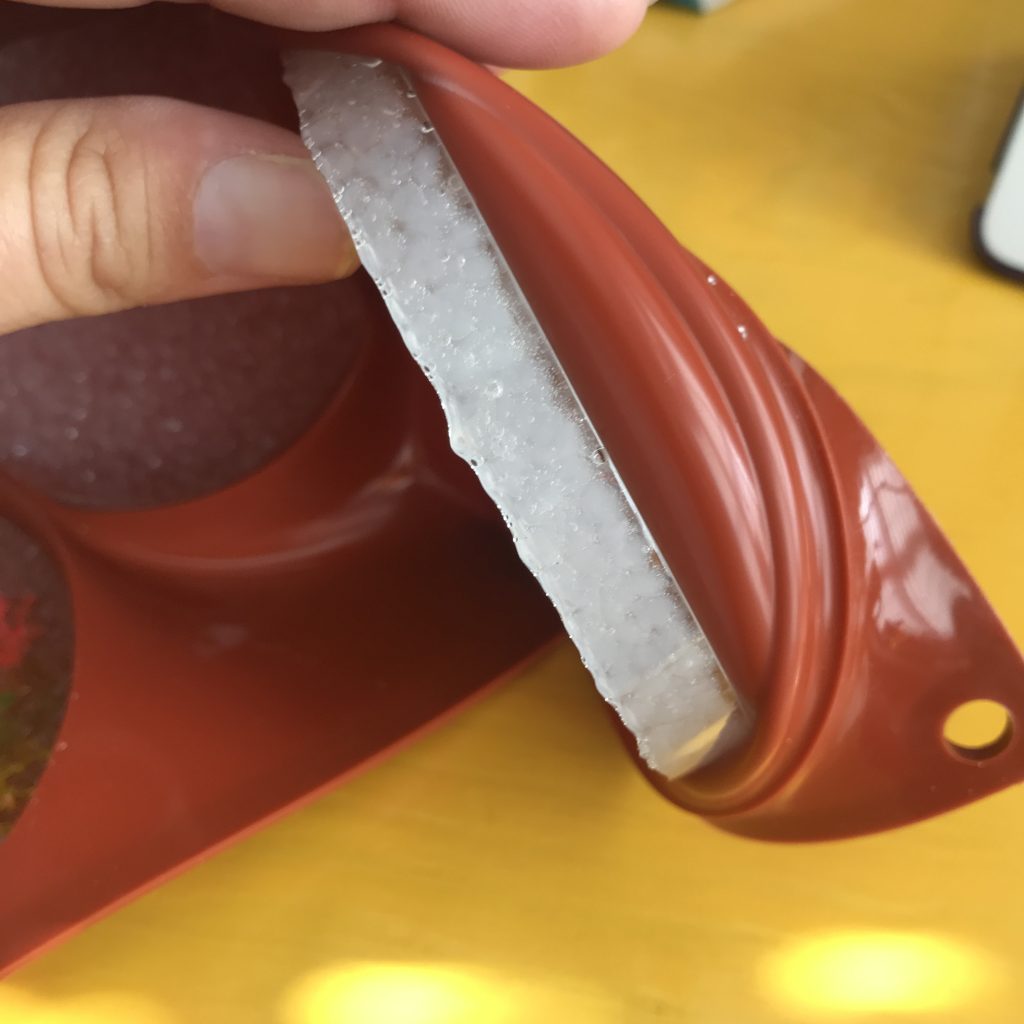
Let it sit and cure over night. Make sure it’s in a place where it won’t get bumped or that no dust or pet hair can get in it!! Once it’s dry, you can remove it from the mold.

I love how it turned out. It almost looks like frozen water!

The vase was super easy.

I just poured the Poly-Pellets® into the vase and put my flowers in!

Easy Peasy!!!

My little reading space came together nicely and it’s such fun space to sit and read.

Be sure to check out Fairfield™ line of products and my friend Laura Kelly that put this all together!

Also, enter to win below!

a Rafflecopter giveaway

Until next time…..