Tag Archives: Pumpkin

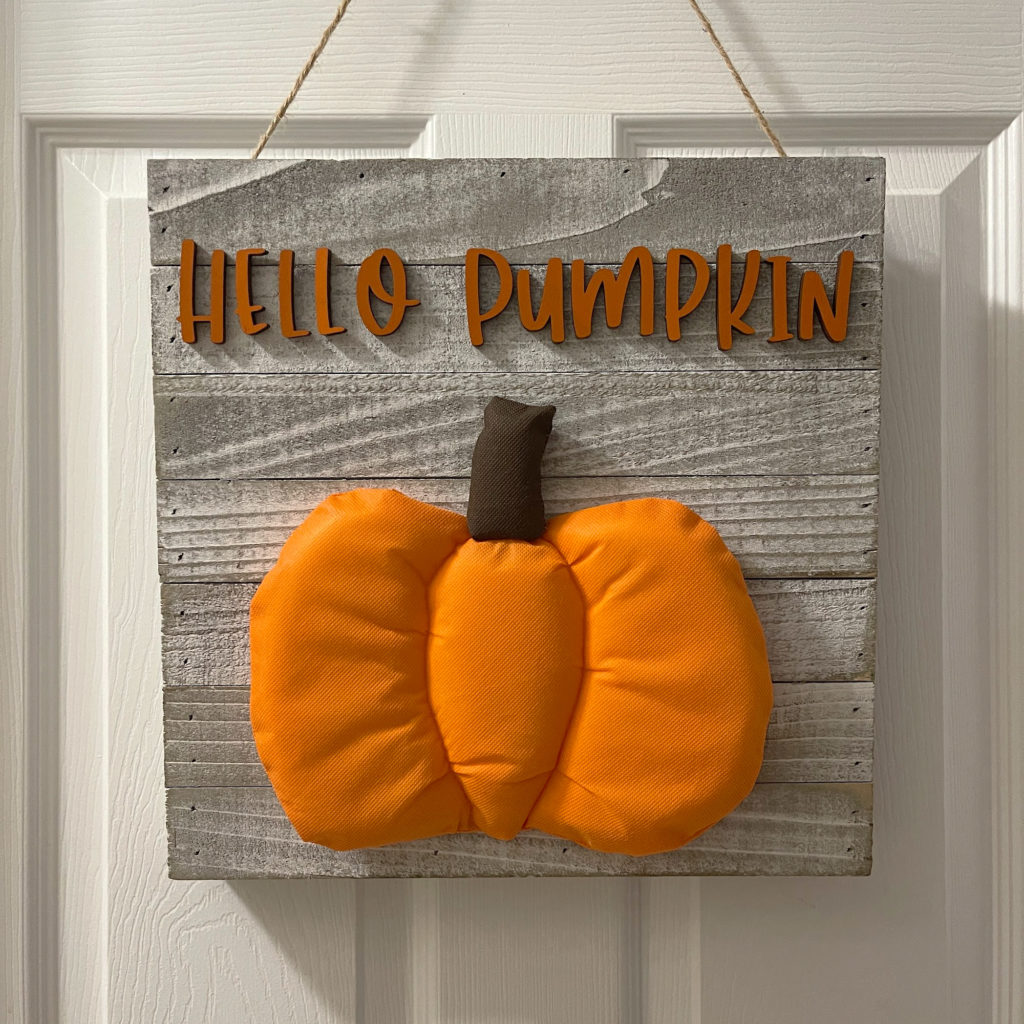
Hello Pumpkin Sign featuring Fairfield World’s Oly*Fun® and Project Foam

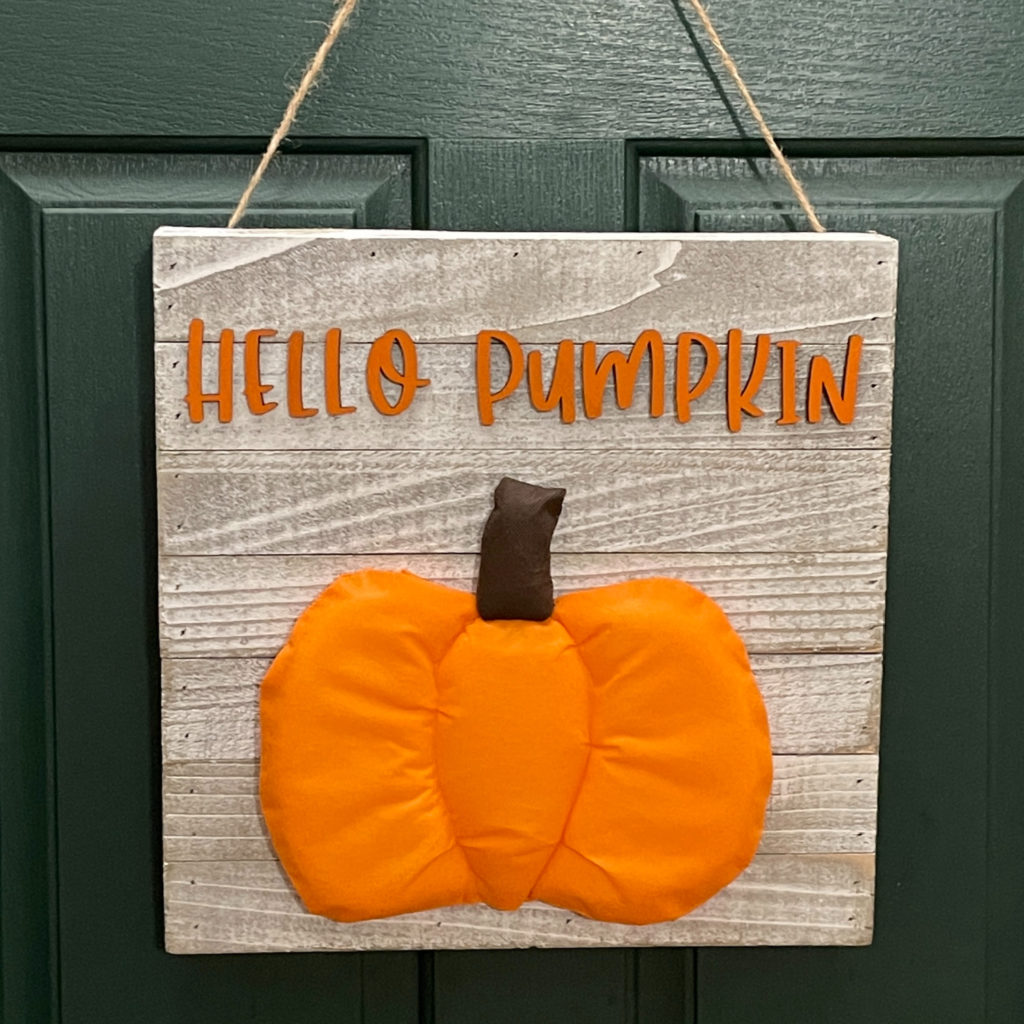
Pumpkin season is here and this Hello Pumpkin sign made with Fairfield World’s Oly*Fun® and Project Foam is perfect to add to your decor! It can be hung on the wall, the door or set on a shelf or table. I love it as a door hanger!
Materials used:

How I made it:

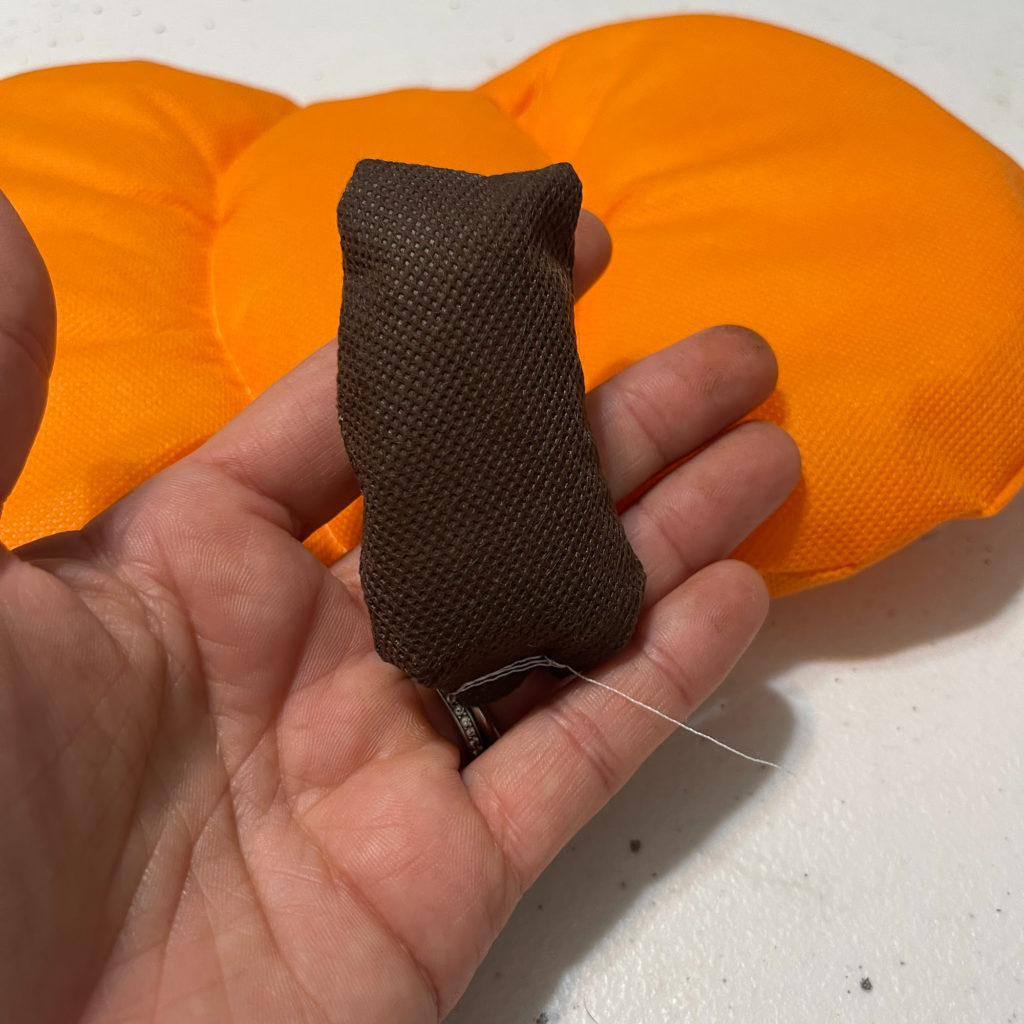
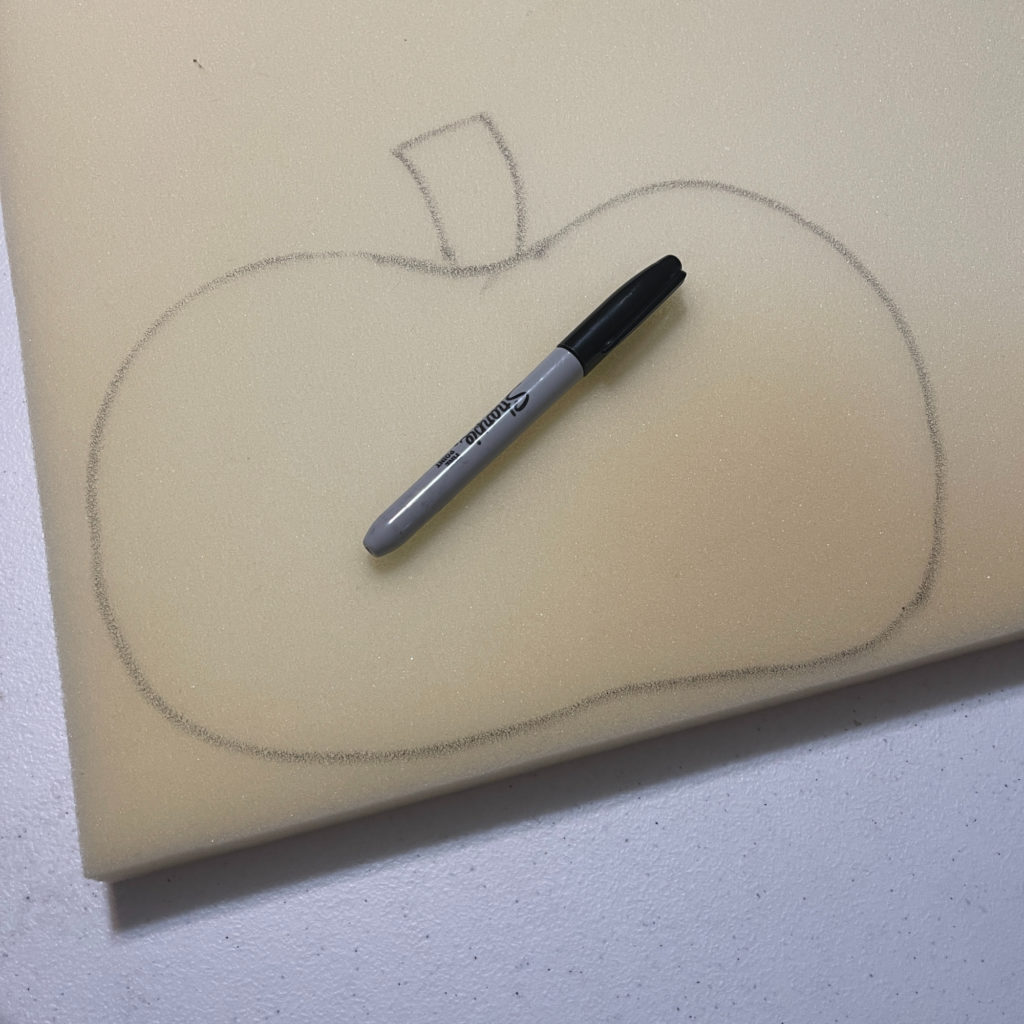
I first started by drawing a pumpkin and stem with a marker on the Project Foam. I knew that my sign was only 14″x14″ so I needed to make it smaller than that. I cut it out with my scissors.
I laid the foam pumpkin and stem shapes on the orange and brown Oly*Fun® and traced around them, adding about a 1/2″.
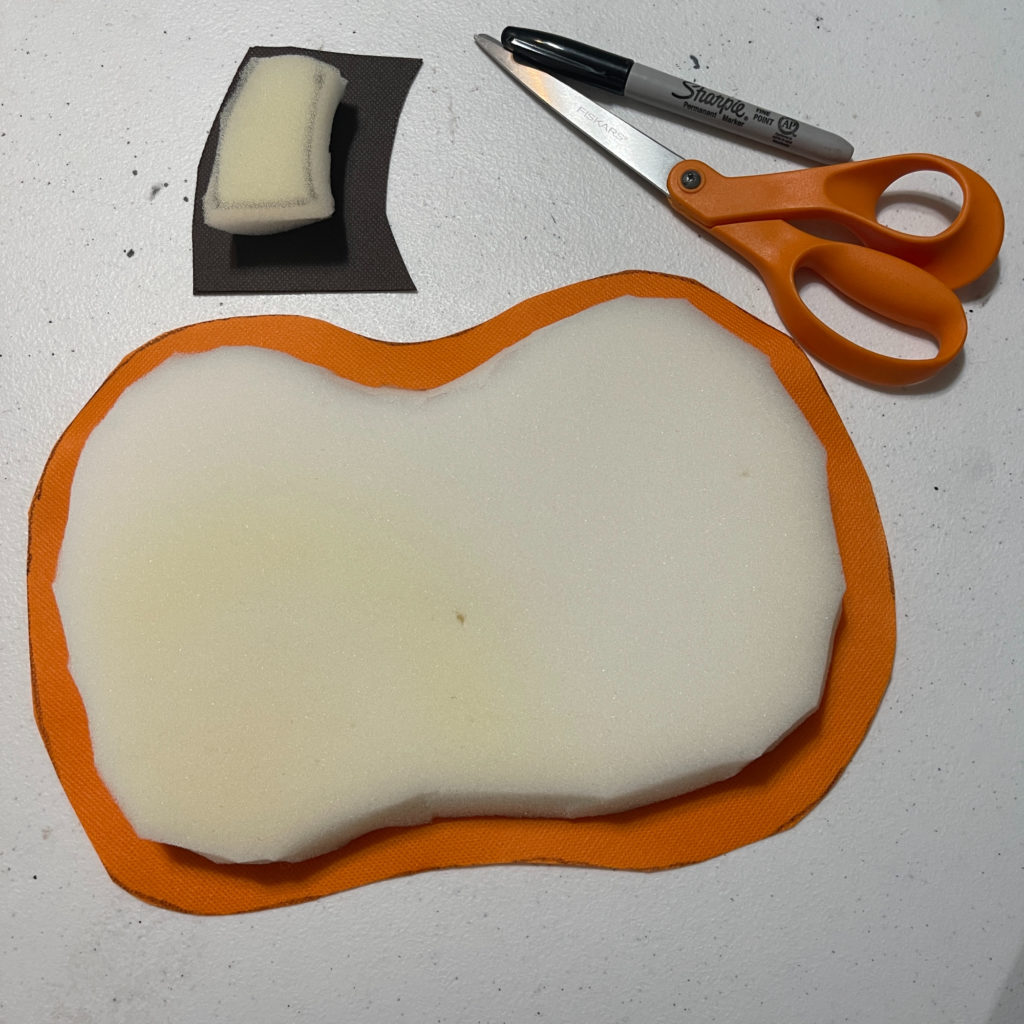
Once everything was cut out, I sewed the pieces together with a 1/4″ seem and leaving an opening for inserting the foam.

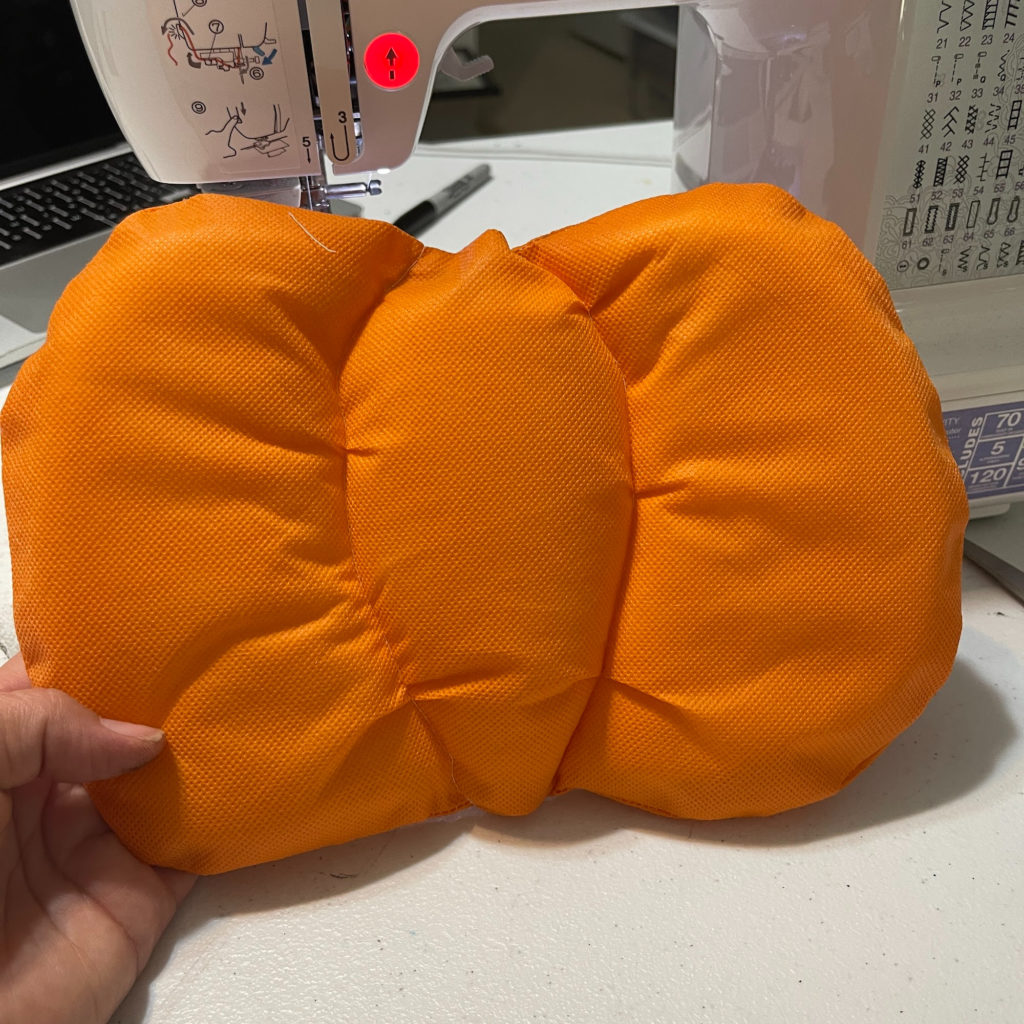
I flipped the sewn Oly*Fun® so the seam was inside and them inserted the foam.
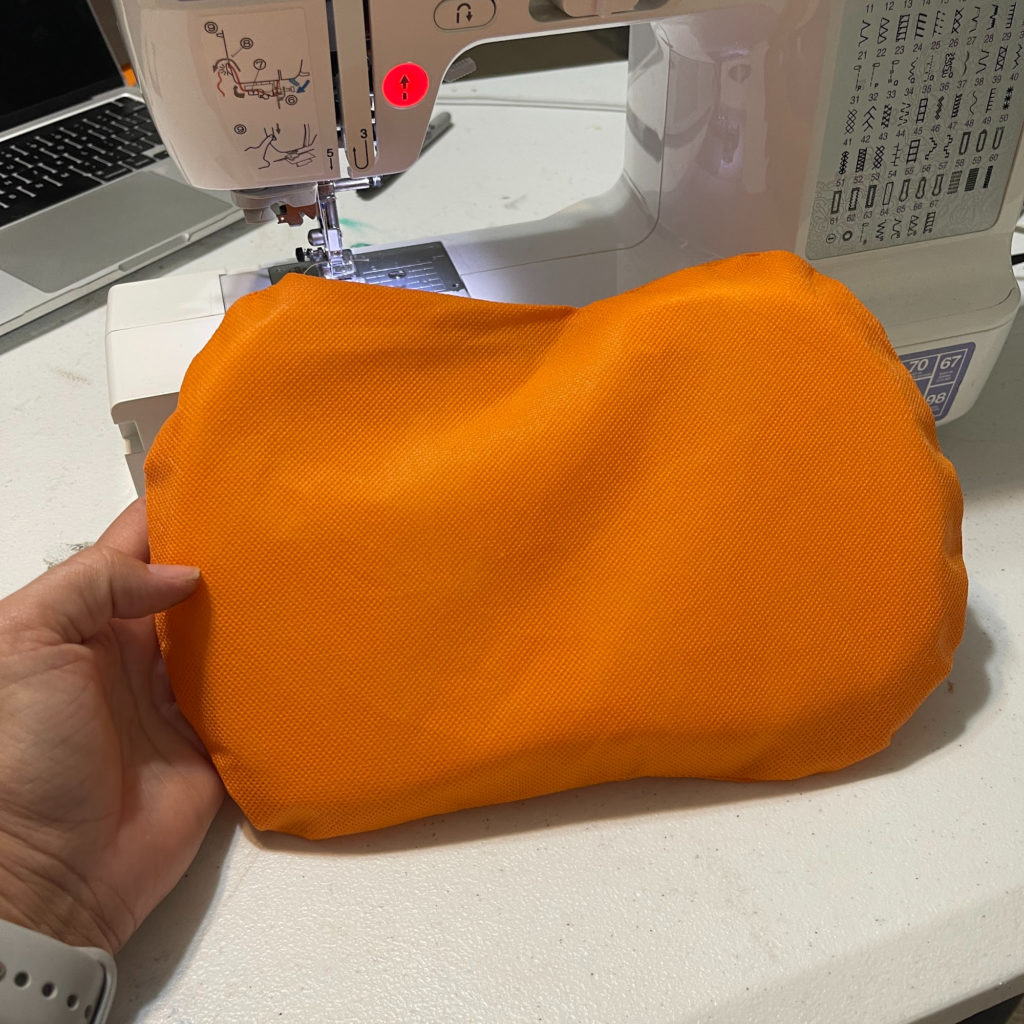
I sewed the openings closed. I then sewed a curved line on each side, giving it a more realistic pumpkin look.
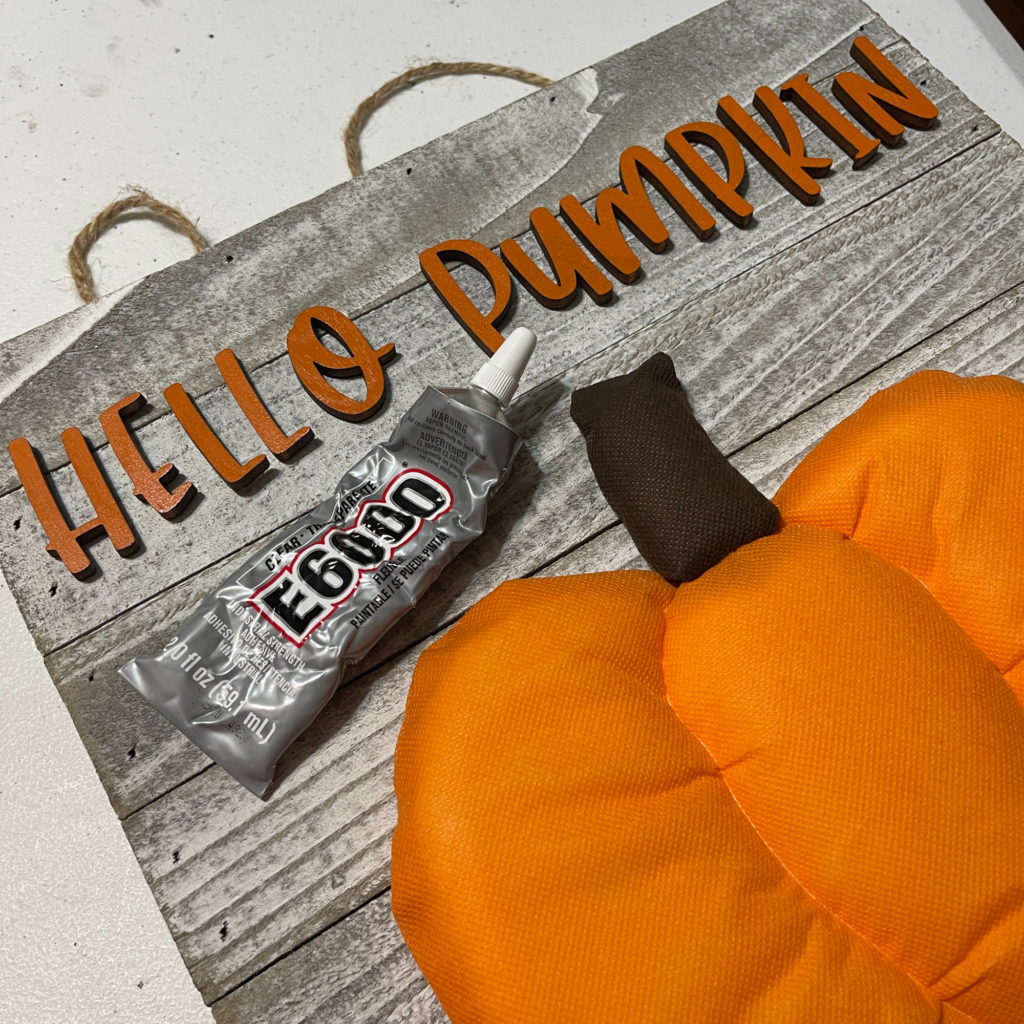
Then I glued the stem to the pumpkin.

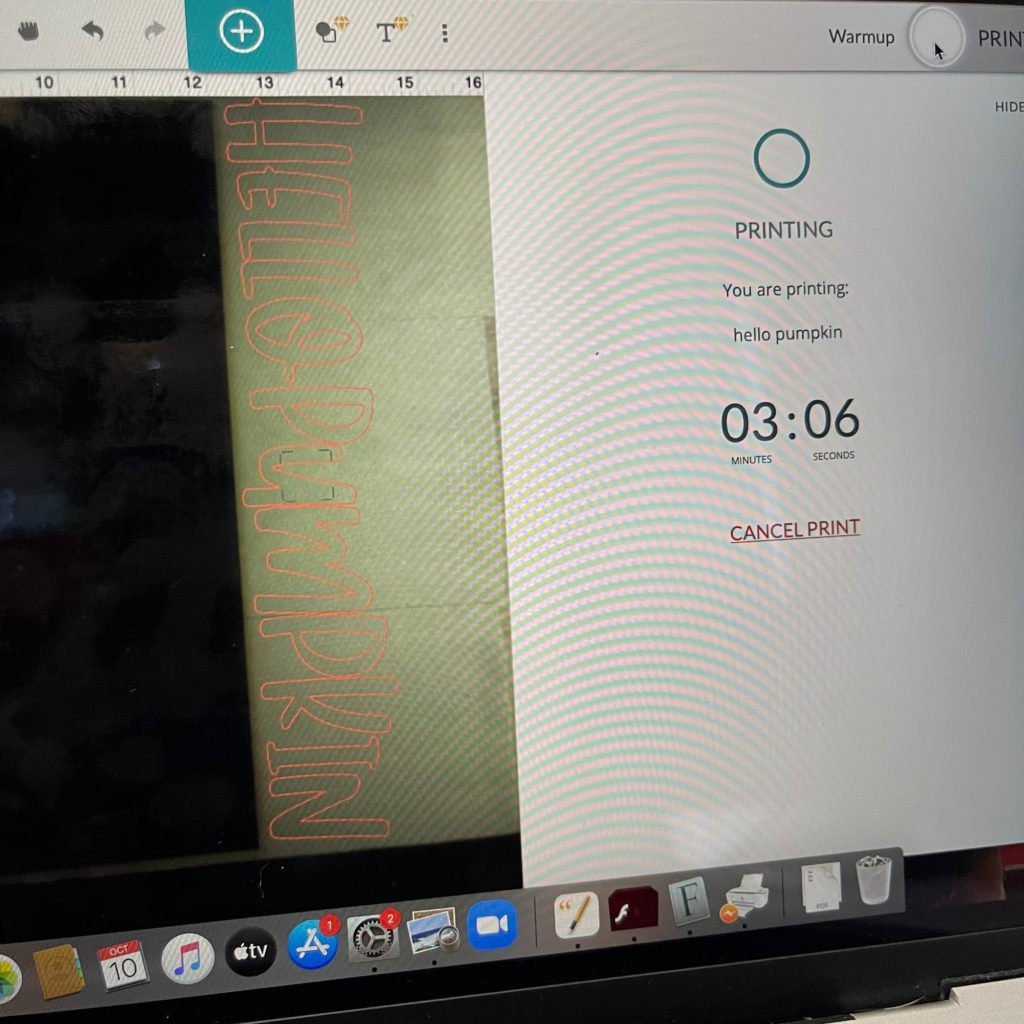
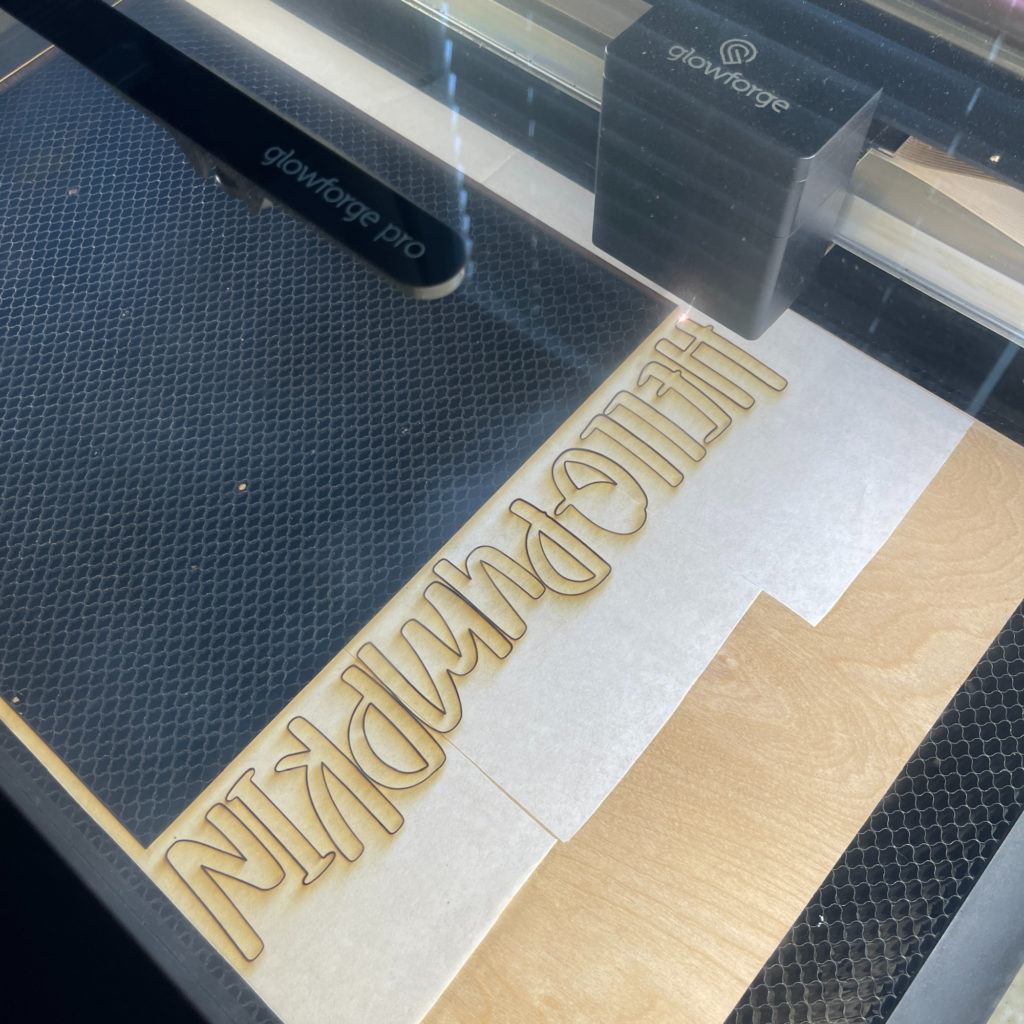
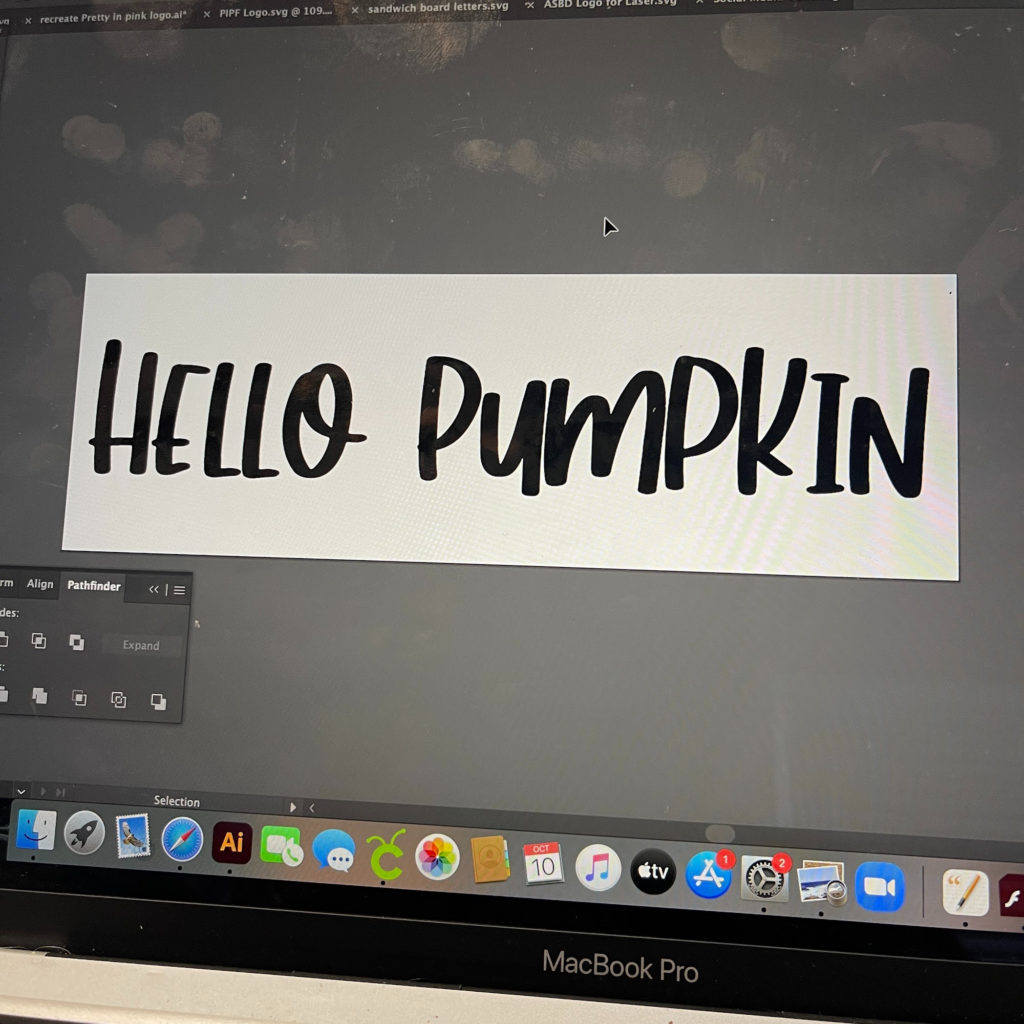
Using my Glowforge, I cut out the Hello Pumpkin letters and painted them orange.
Then it was time to glue everything down to the sign.
I love how the sign turned out! Fall decorations are my favorite decorations! I hope you like it too! You could make lots of different size pumpkin signs and make a collage! There is a variety of Oly-Fun® colors!
Until next time….Happy Crafting!

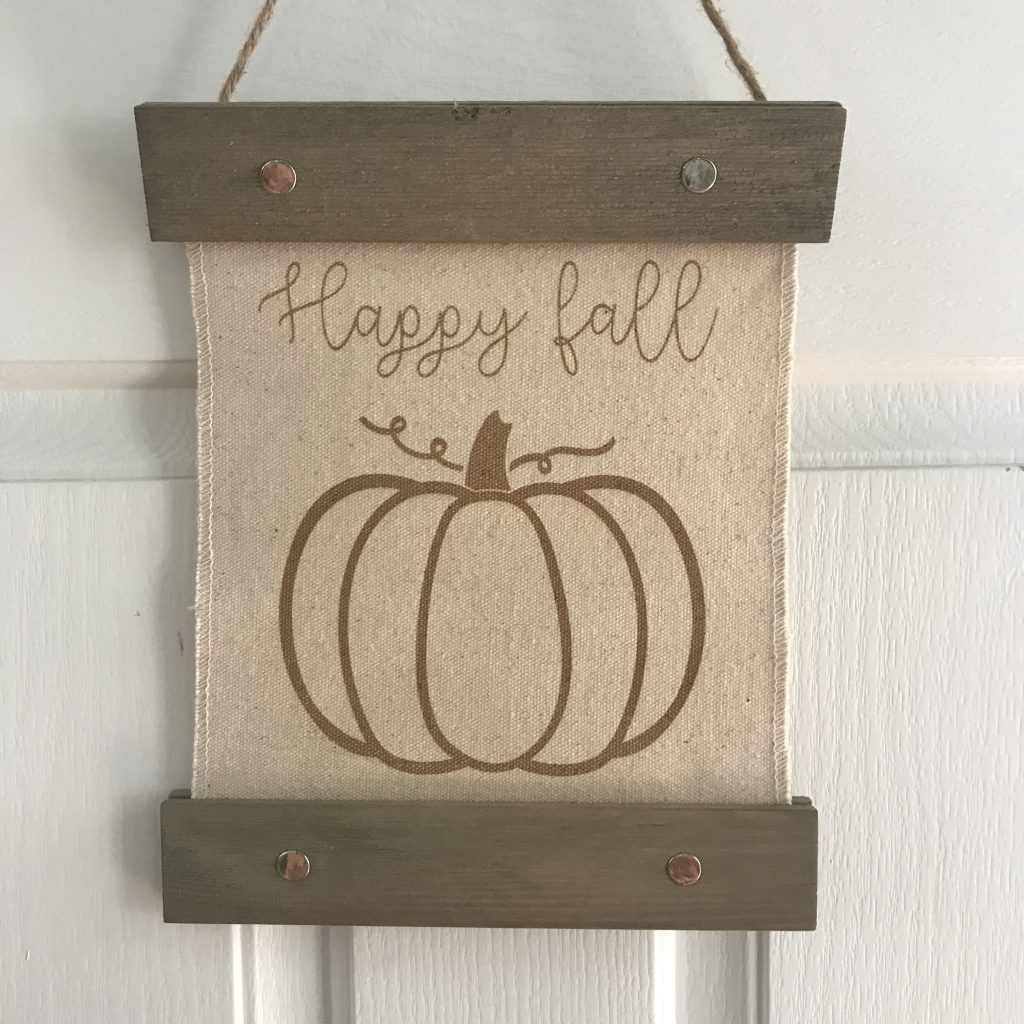
Engraved Happy Fall Pumpkin Canvas Sign

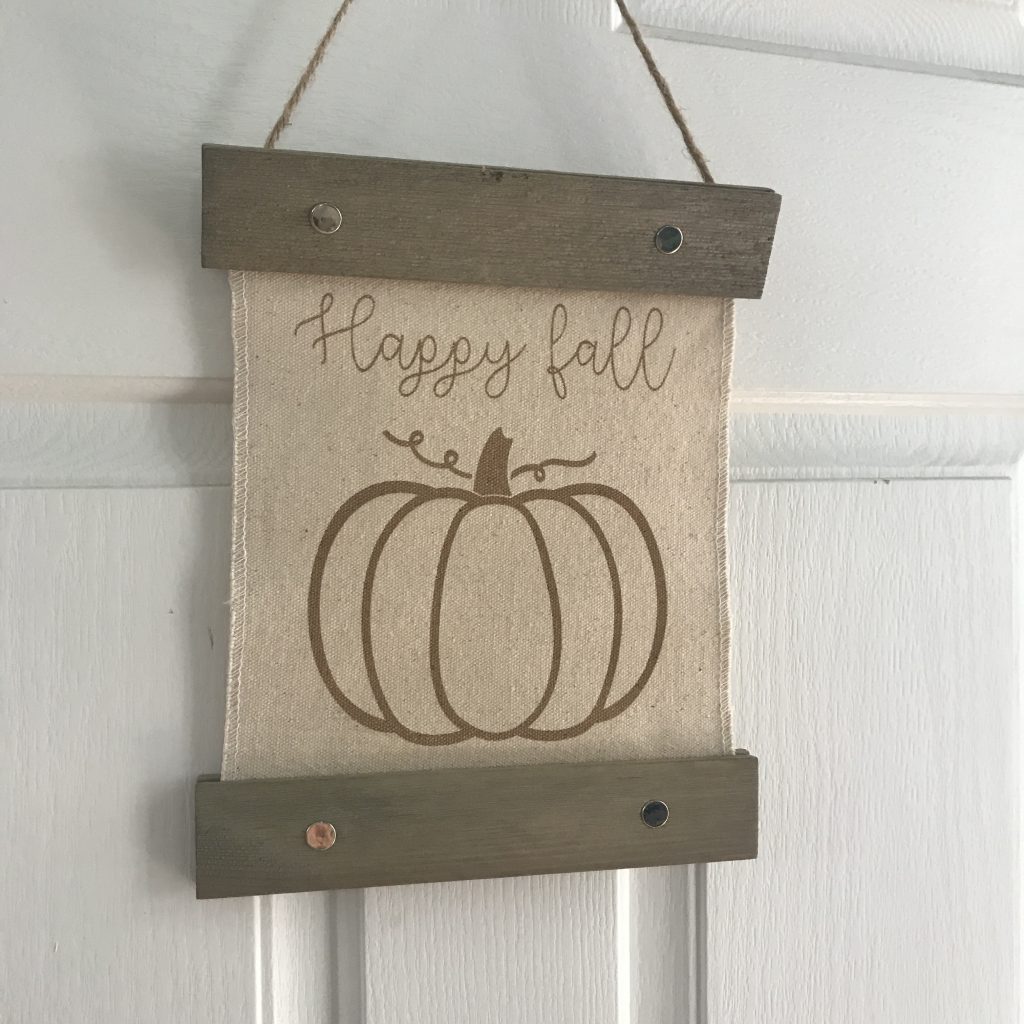
As I have gotten older, fall has become one of my most favorite times of the year and this engraved Happy Fall Pumpkin canvas sign is perfect for a little pop of decor in any space!

As most of you know, I am obsessed with my Glowforge Pro. I’ve found it great that I can engrave, cut or score lots of different items. I mean, come on….who would have thought that you can use a laser to engrave on canvas?! It is amazing!

Materials used:

  • Glowforge Pro (it can be any Glowforge model)
  • Computer with Glowforge software
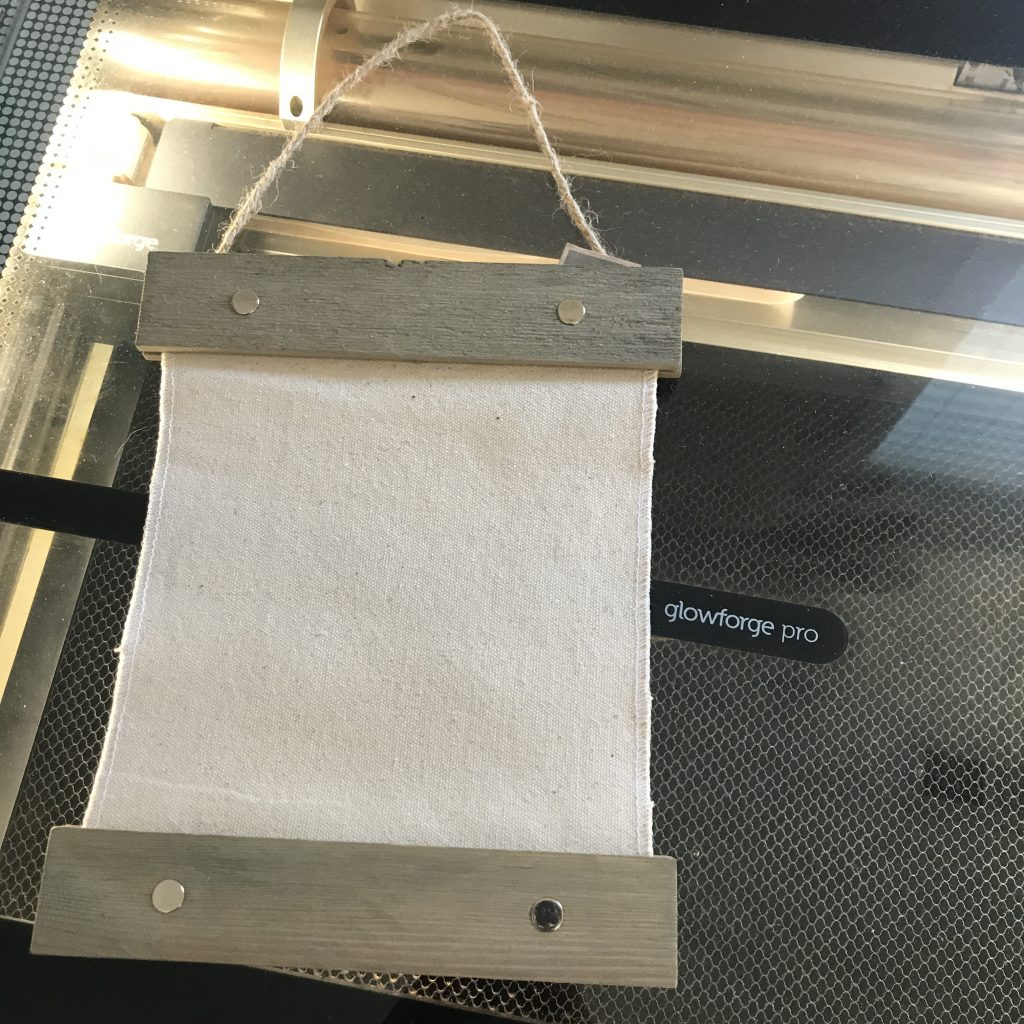
  • Mix the Media Canvas Sign from Hampton Art
  • Illustrator or any design program
  • Pumpkin SVG (I purchased this one on Etsy)

How I made it!

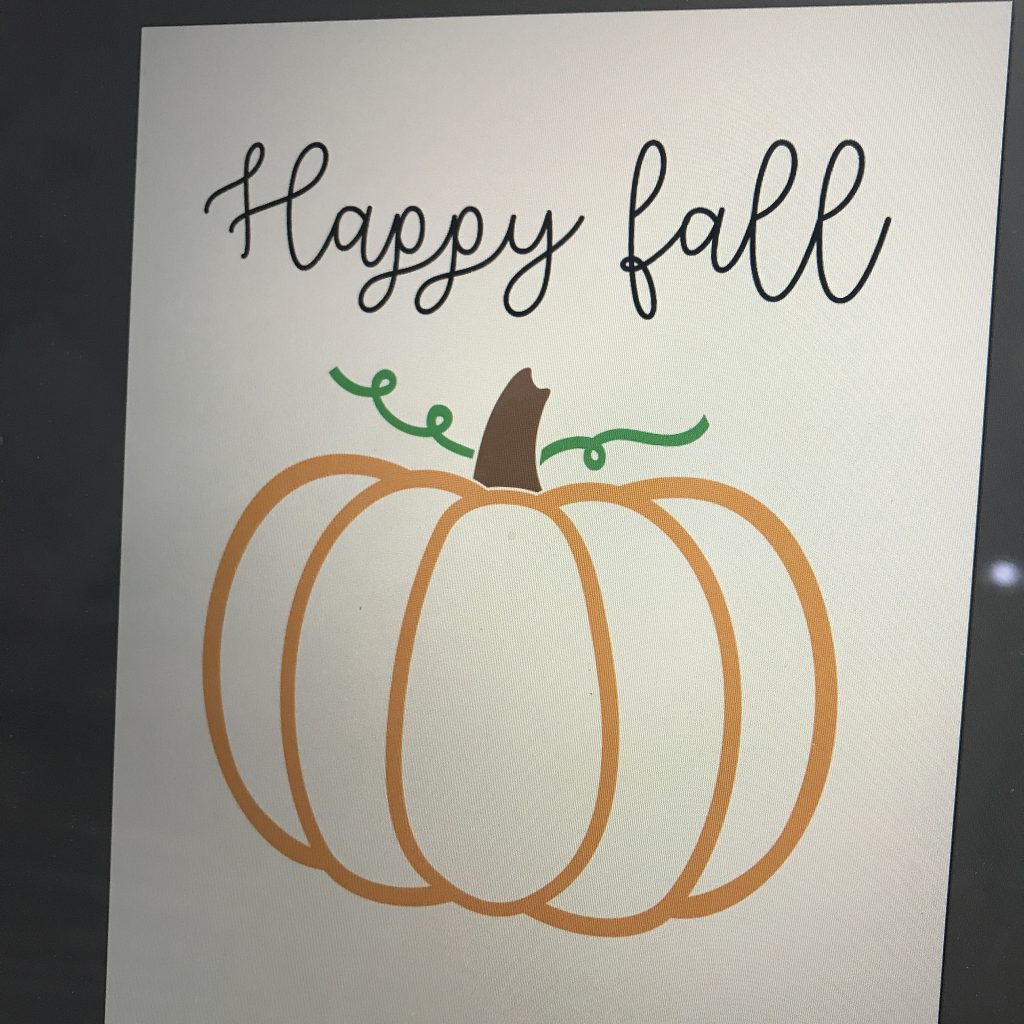
First, I created my file in Illustrator using a font that I have and a pumpkin svg file that I purchased on Etsy.

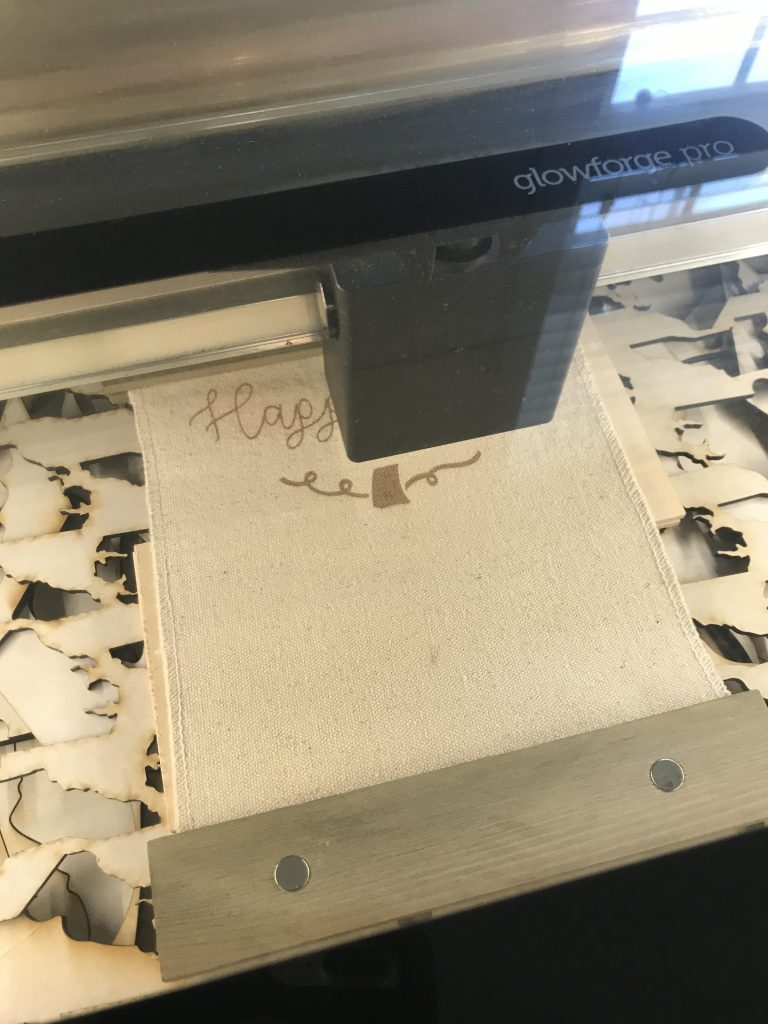
I placed the canvas in my Glowforge Pro, adjusting as needed. I had to remove the Glowforge crumb tray and stack some scrap wood to allow for the height.

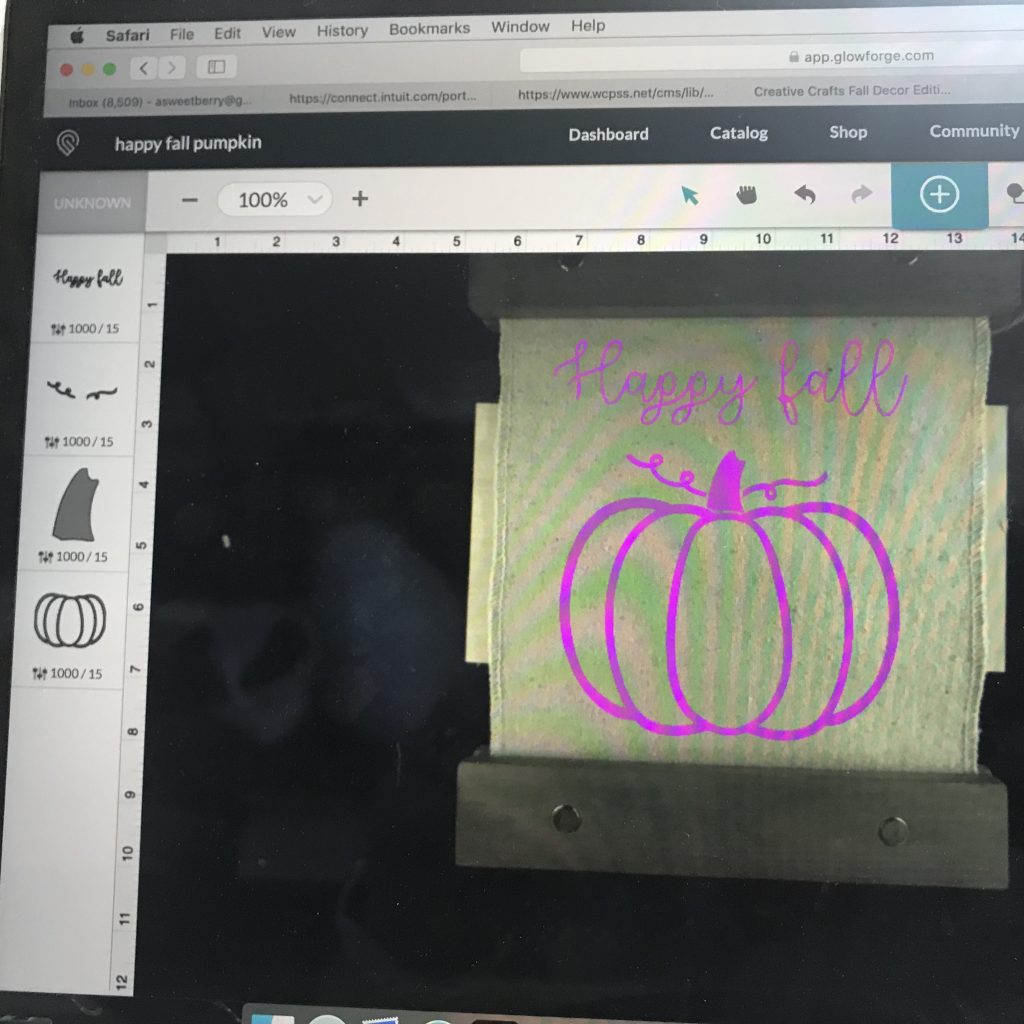
I then inserted my file into the Glowforge web based software, got everything lined up and set the appropriate settings for engraving on Canvas. TIP: When engraving on things other than wood, you either must research or do trial and error. I’ve done canvas before so I kind of knew what settings to use.

Settings:

  • Speed: 1000
  • Power: 15
  • LPI: 270

Then I hit the magic button for it to engrave!

After it was done engraving, it was ready to hang. TIP: The kids could also color it!!!

Be sure to click the Create Fall Crafts button below and check out other fall crafts!

Until next time…..

Scotch Tape Pumpkin Banner

Halloween is right around the corner!  It’s one of my favorite times of year.  I made this super cute Scotch Tape Pumpkin Banner to hang in my house!  The good thing is…..it can stay up until Thanksgiving! Final
Materials used:
Scrap pieces of paper (at least 6″x6″)
Scotch Expressions Masking Tape and Washi Tape 
Laura Kelly’s Pumpkin die from Ellison/Sizzix
Sizzix Big Shot supplies
Placing my 6″x6″ pieces of paper, I put them on top of the pumpkin die to gauge where the stem of the pumpkin was and how much tape I needed to place on the paper.  Once I got the tape down, I used the Sizzix Big Shot and the pumpkin die to cut out my pumpkins.
pumpkin
Using small clothes pins, I added them to a piece of ribbon to make this cute little pumpkin banner!
Final
Hope you like my adorable Scotch Tape Pumpkin Banner!  It was super easy and super fun!

Until next time……

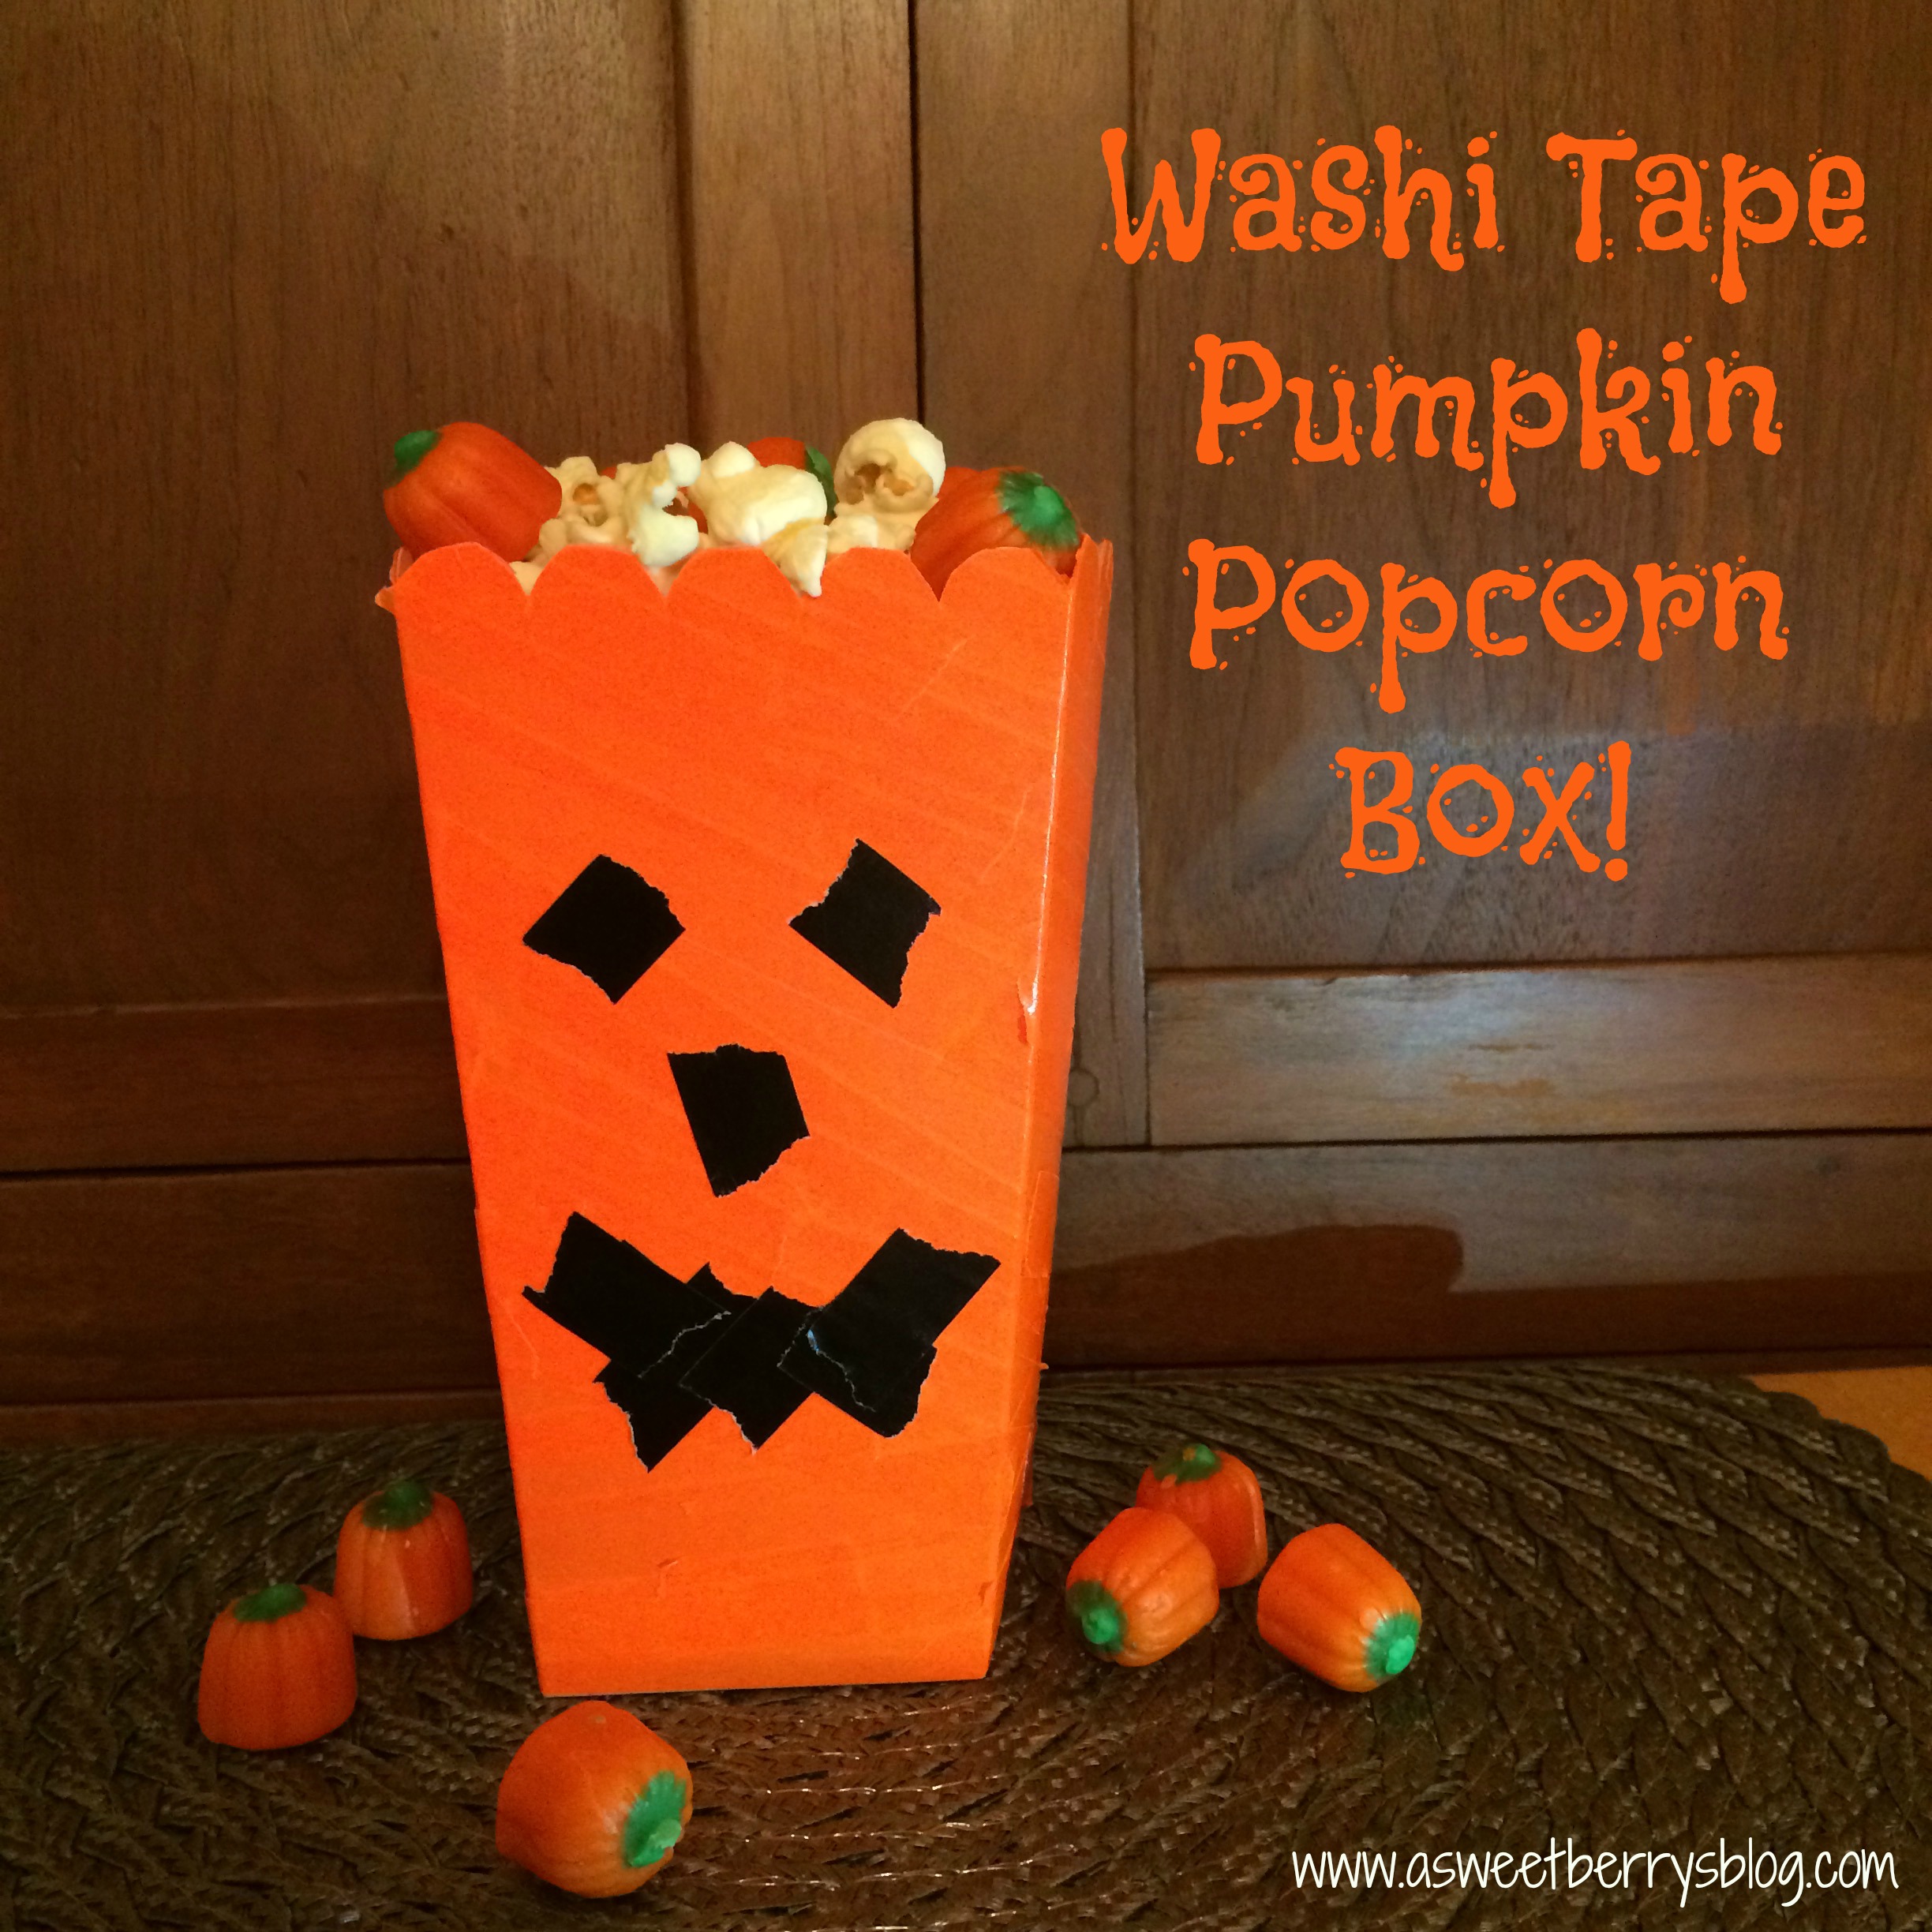
Washi Tape Pumpkin Popcorn Box

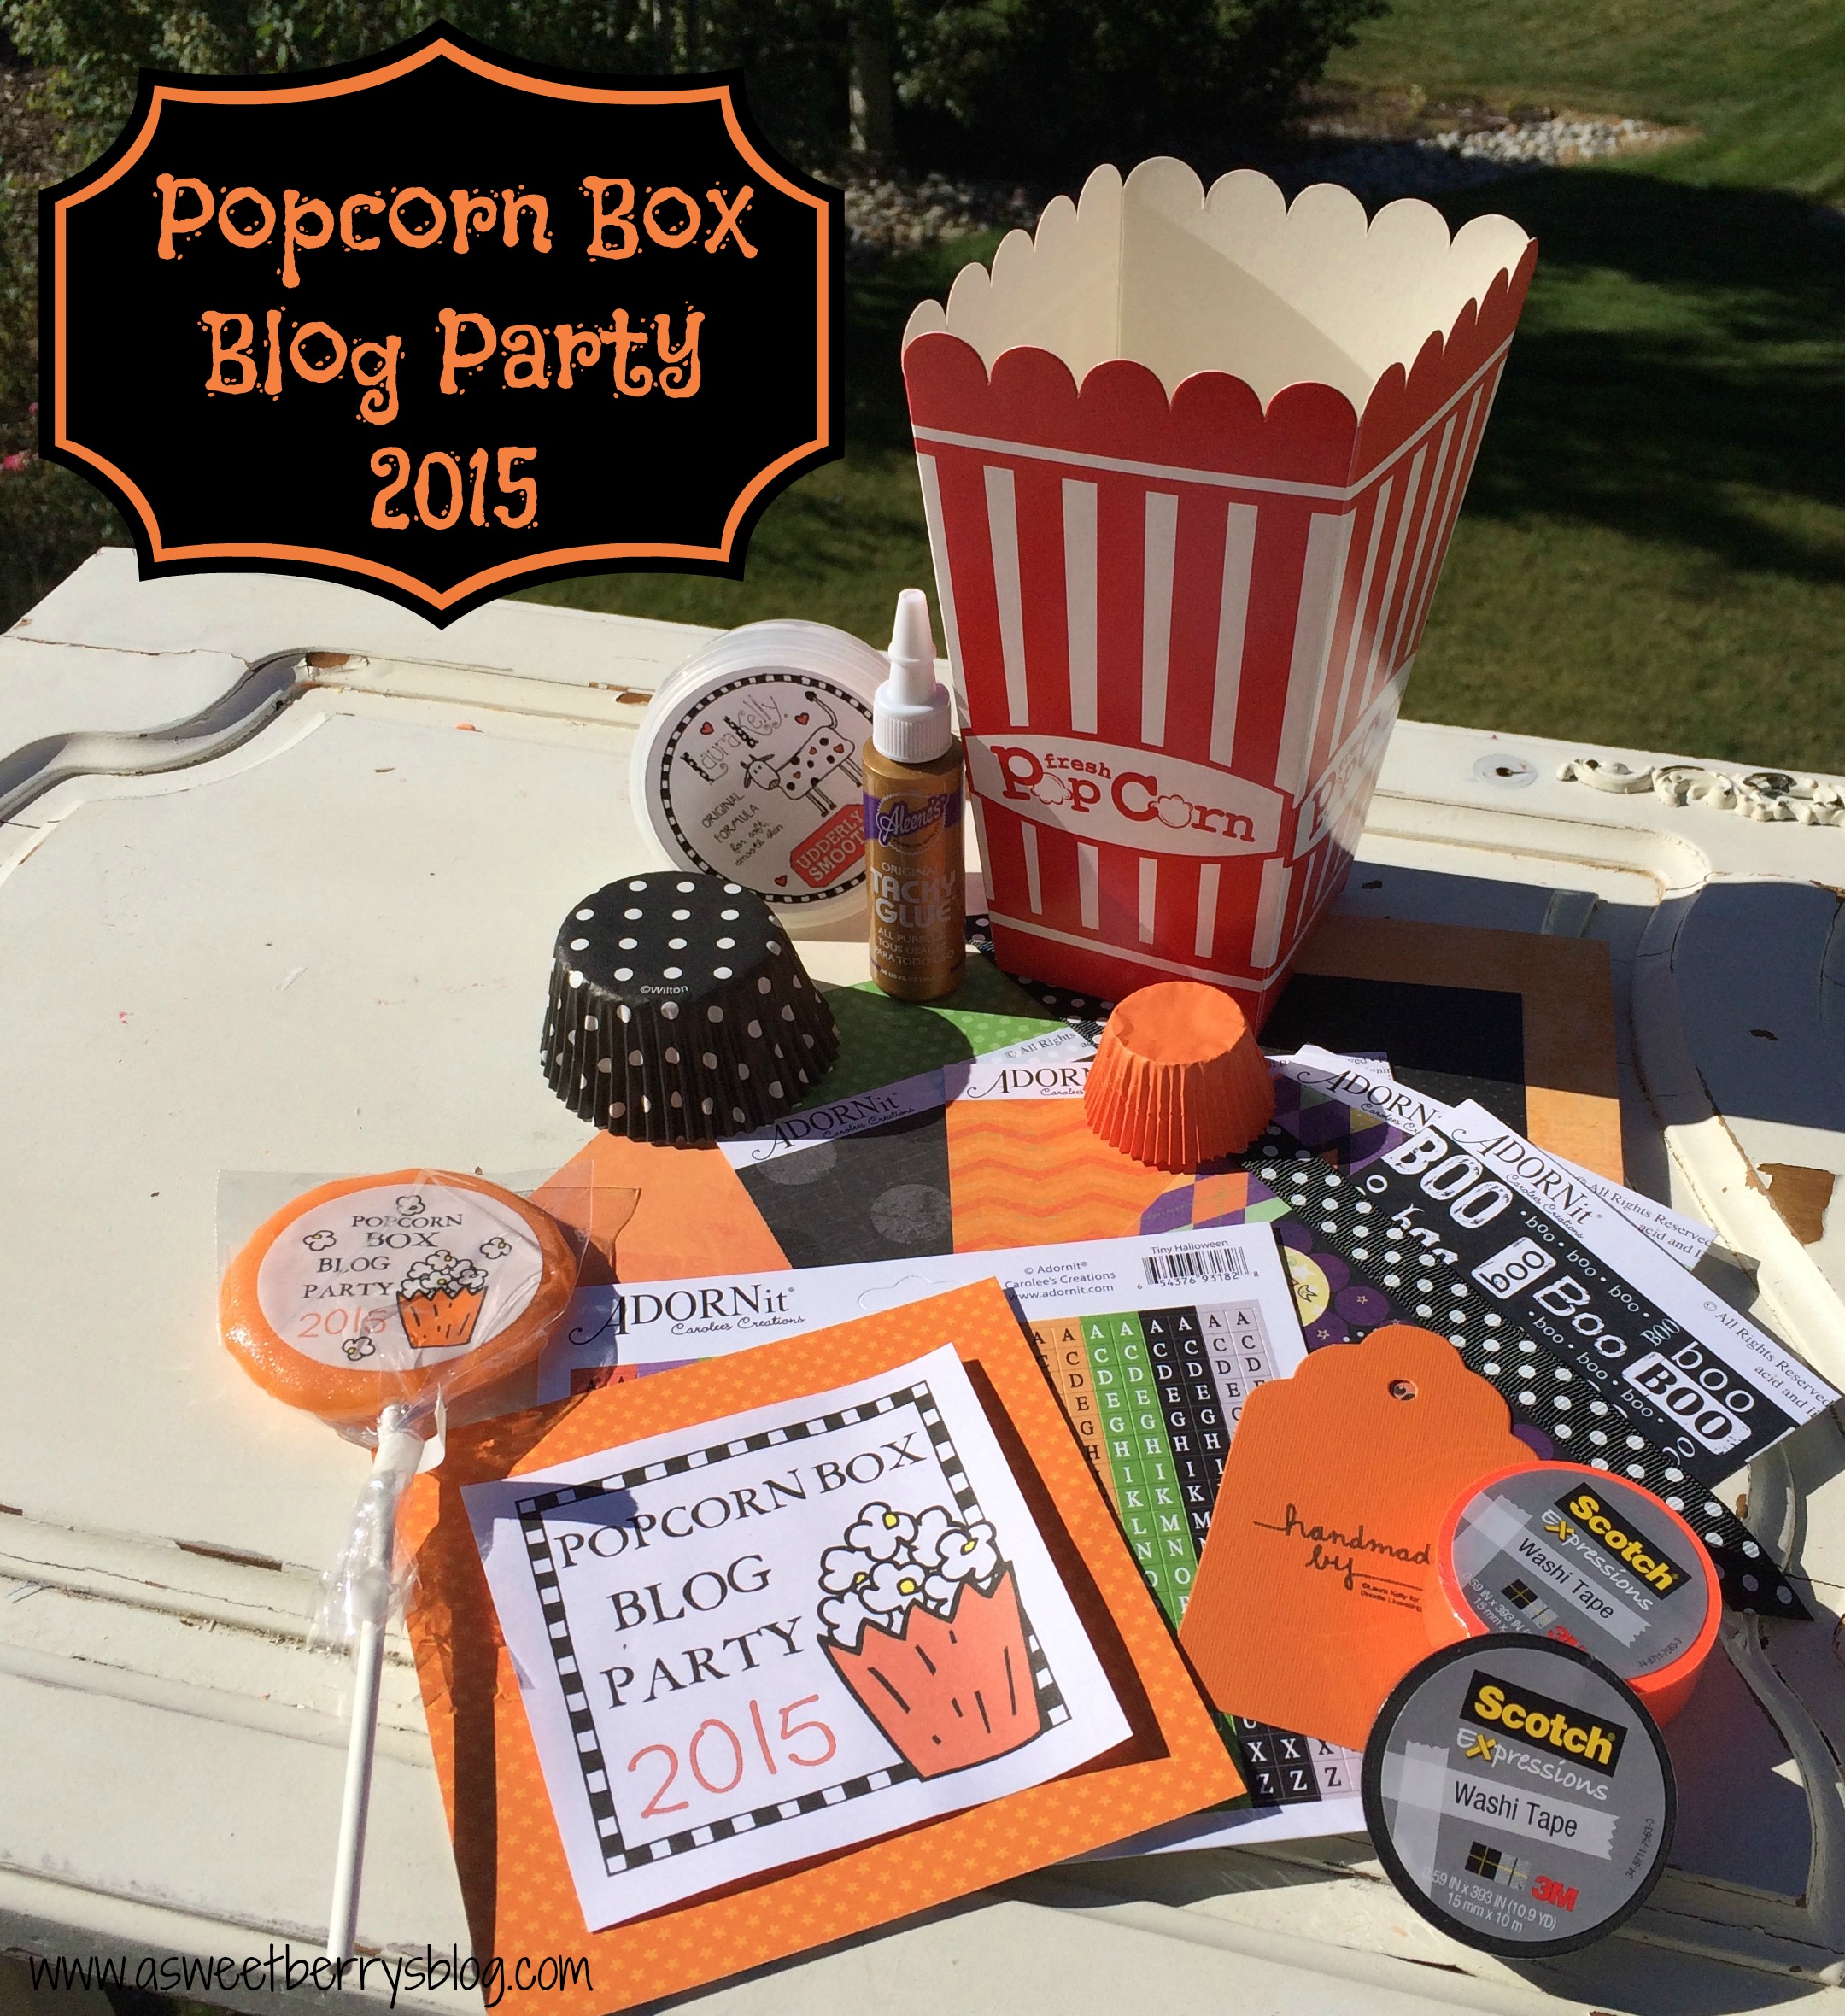
For the last couple of years, my friend Laura Kelly has put together an awesome Popcorn Box Blog Party with a selection of great craft items to help decorate the popcorn box!   She has done it again, and with the help of some great companies!  These awesome Popcorn Boxes came from World Market! blog party
This year, Scotch donated their Expressions Washi Tape!  I thought to myself, why not make a Washi Tape Pumpkin!  
Popcorn Box
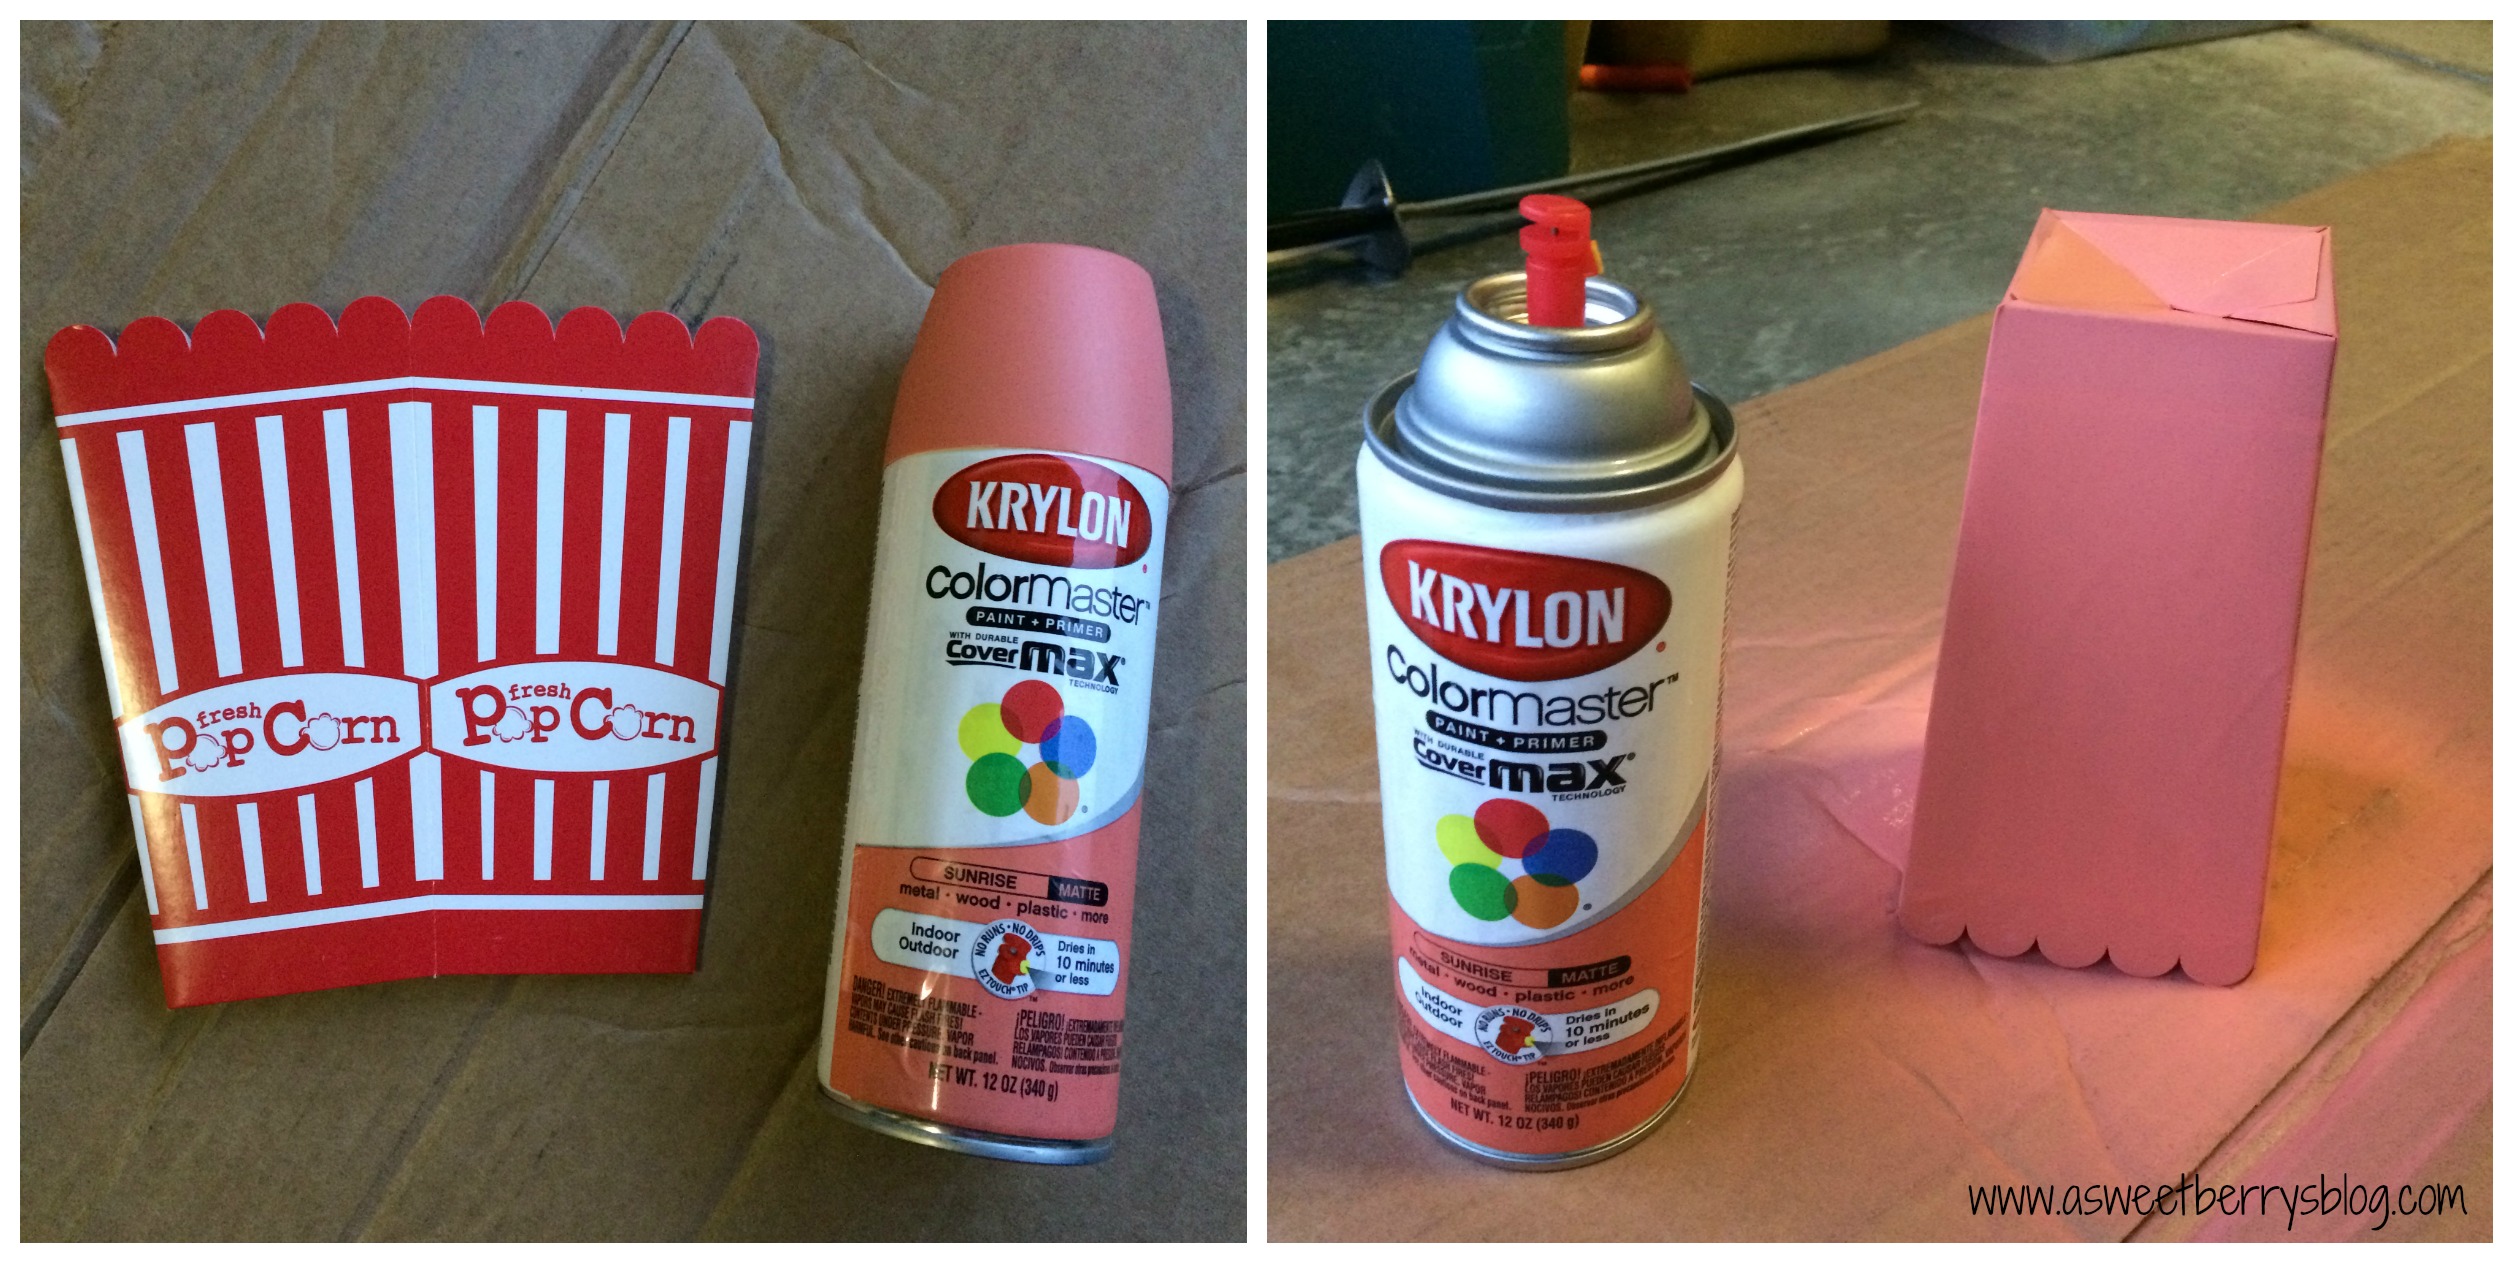
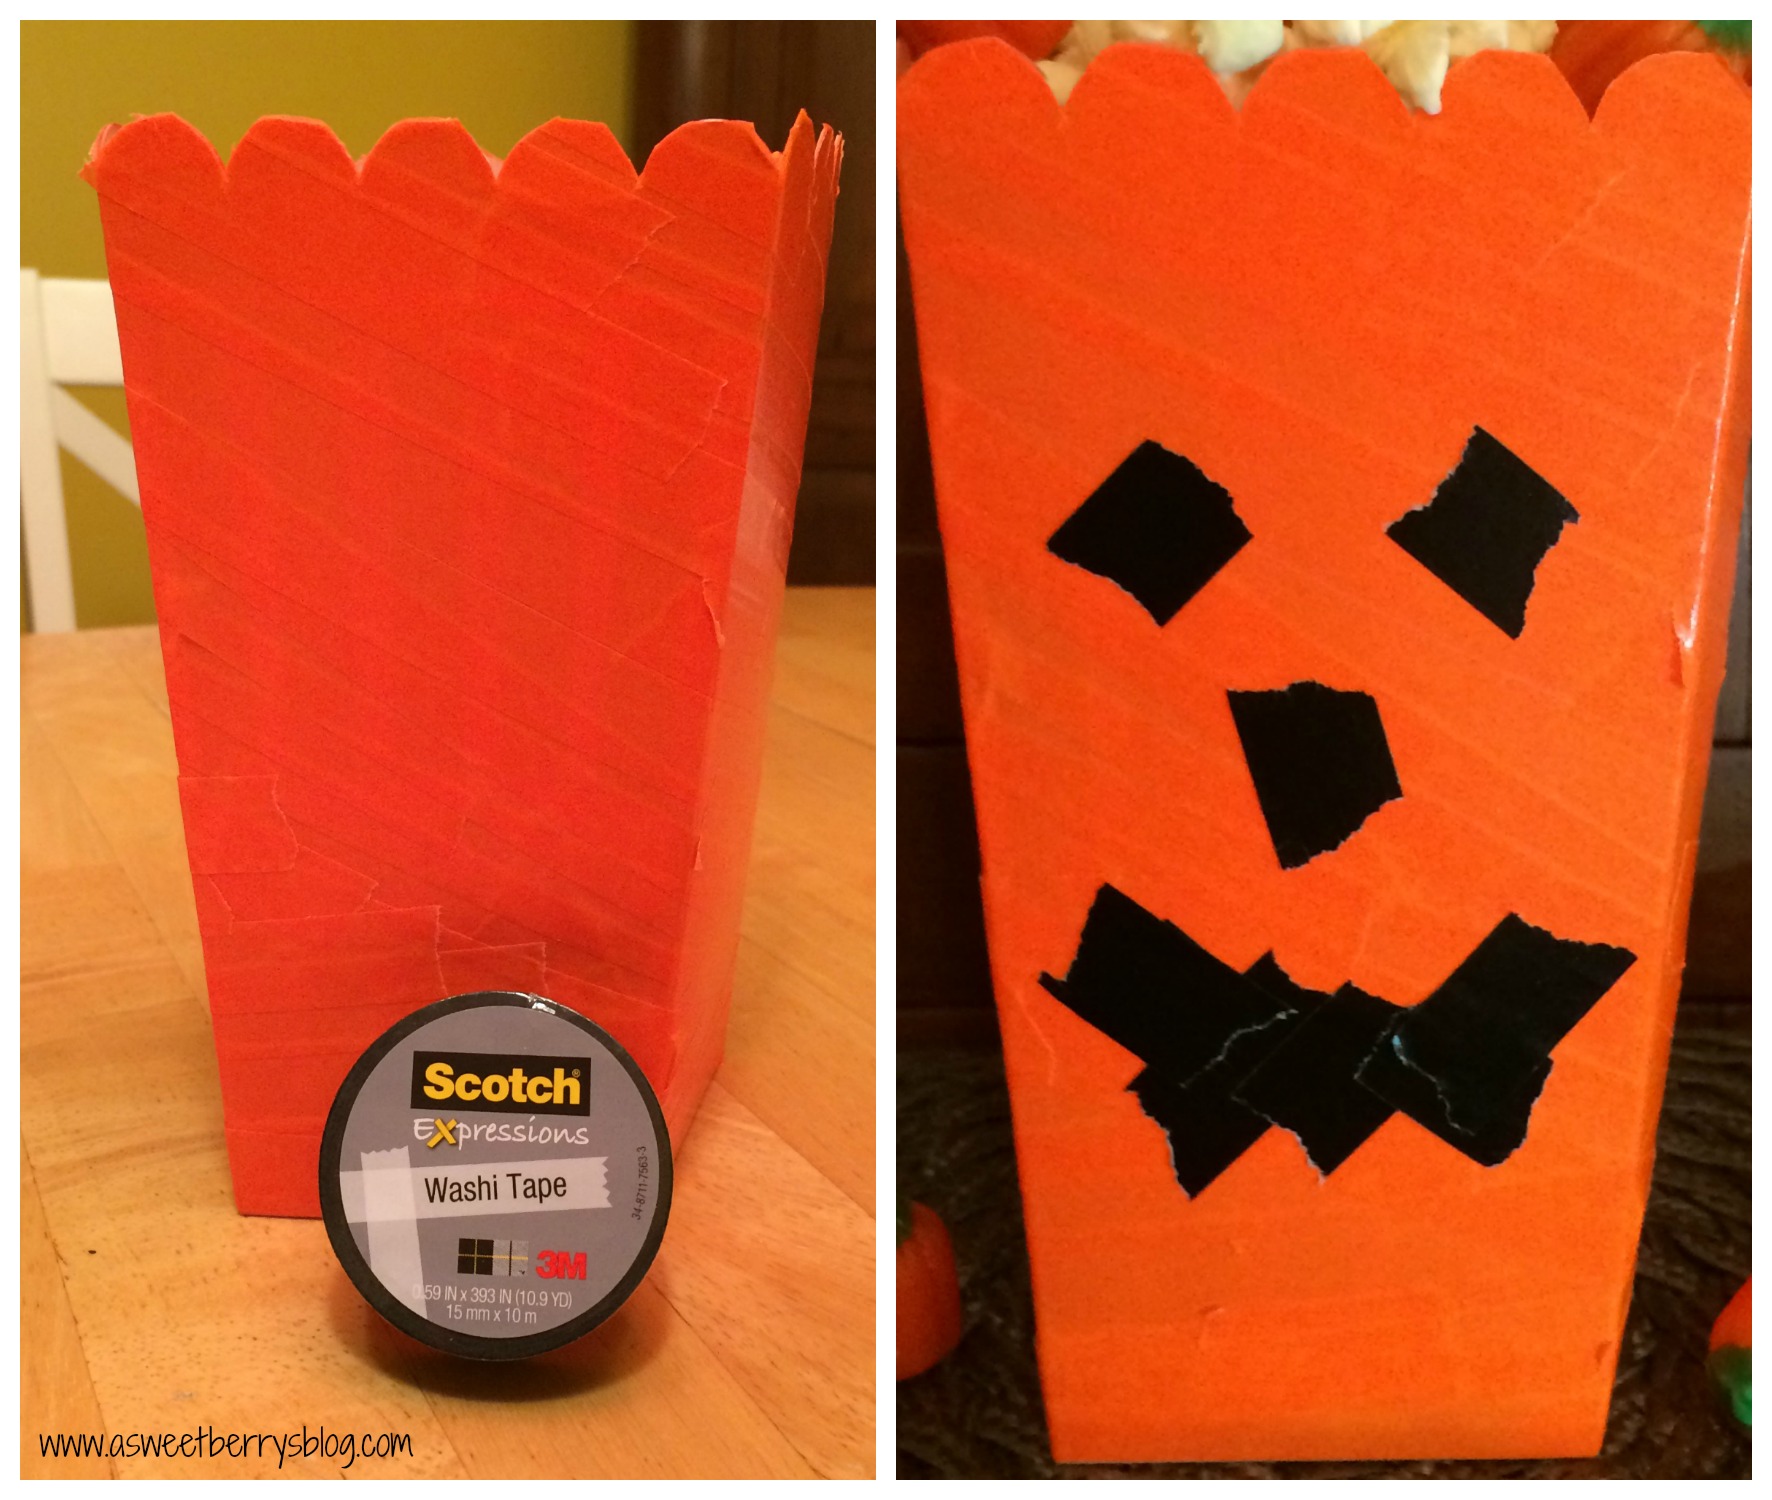
Using Krylon spray paint that I had, I spray painted the box to cover up most of the red designs on the popcorn box.  The color was not quite orange, but it did the trick.
Krylon
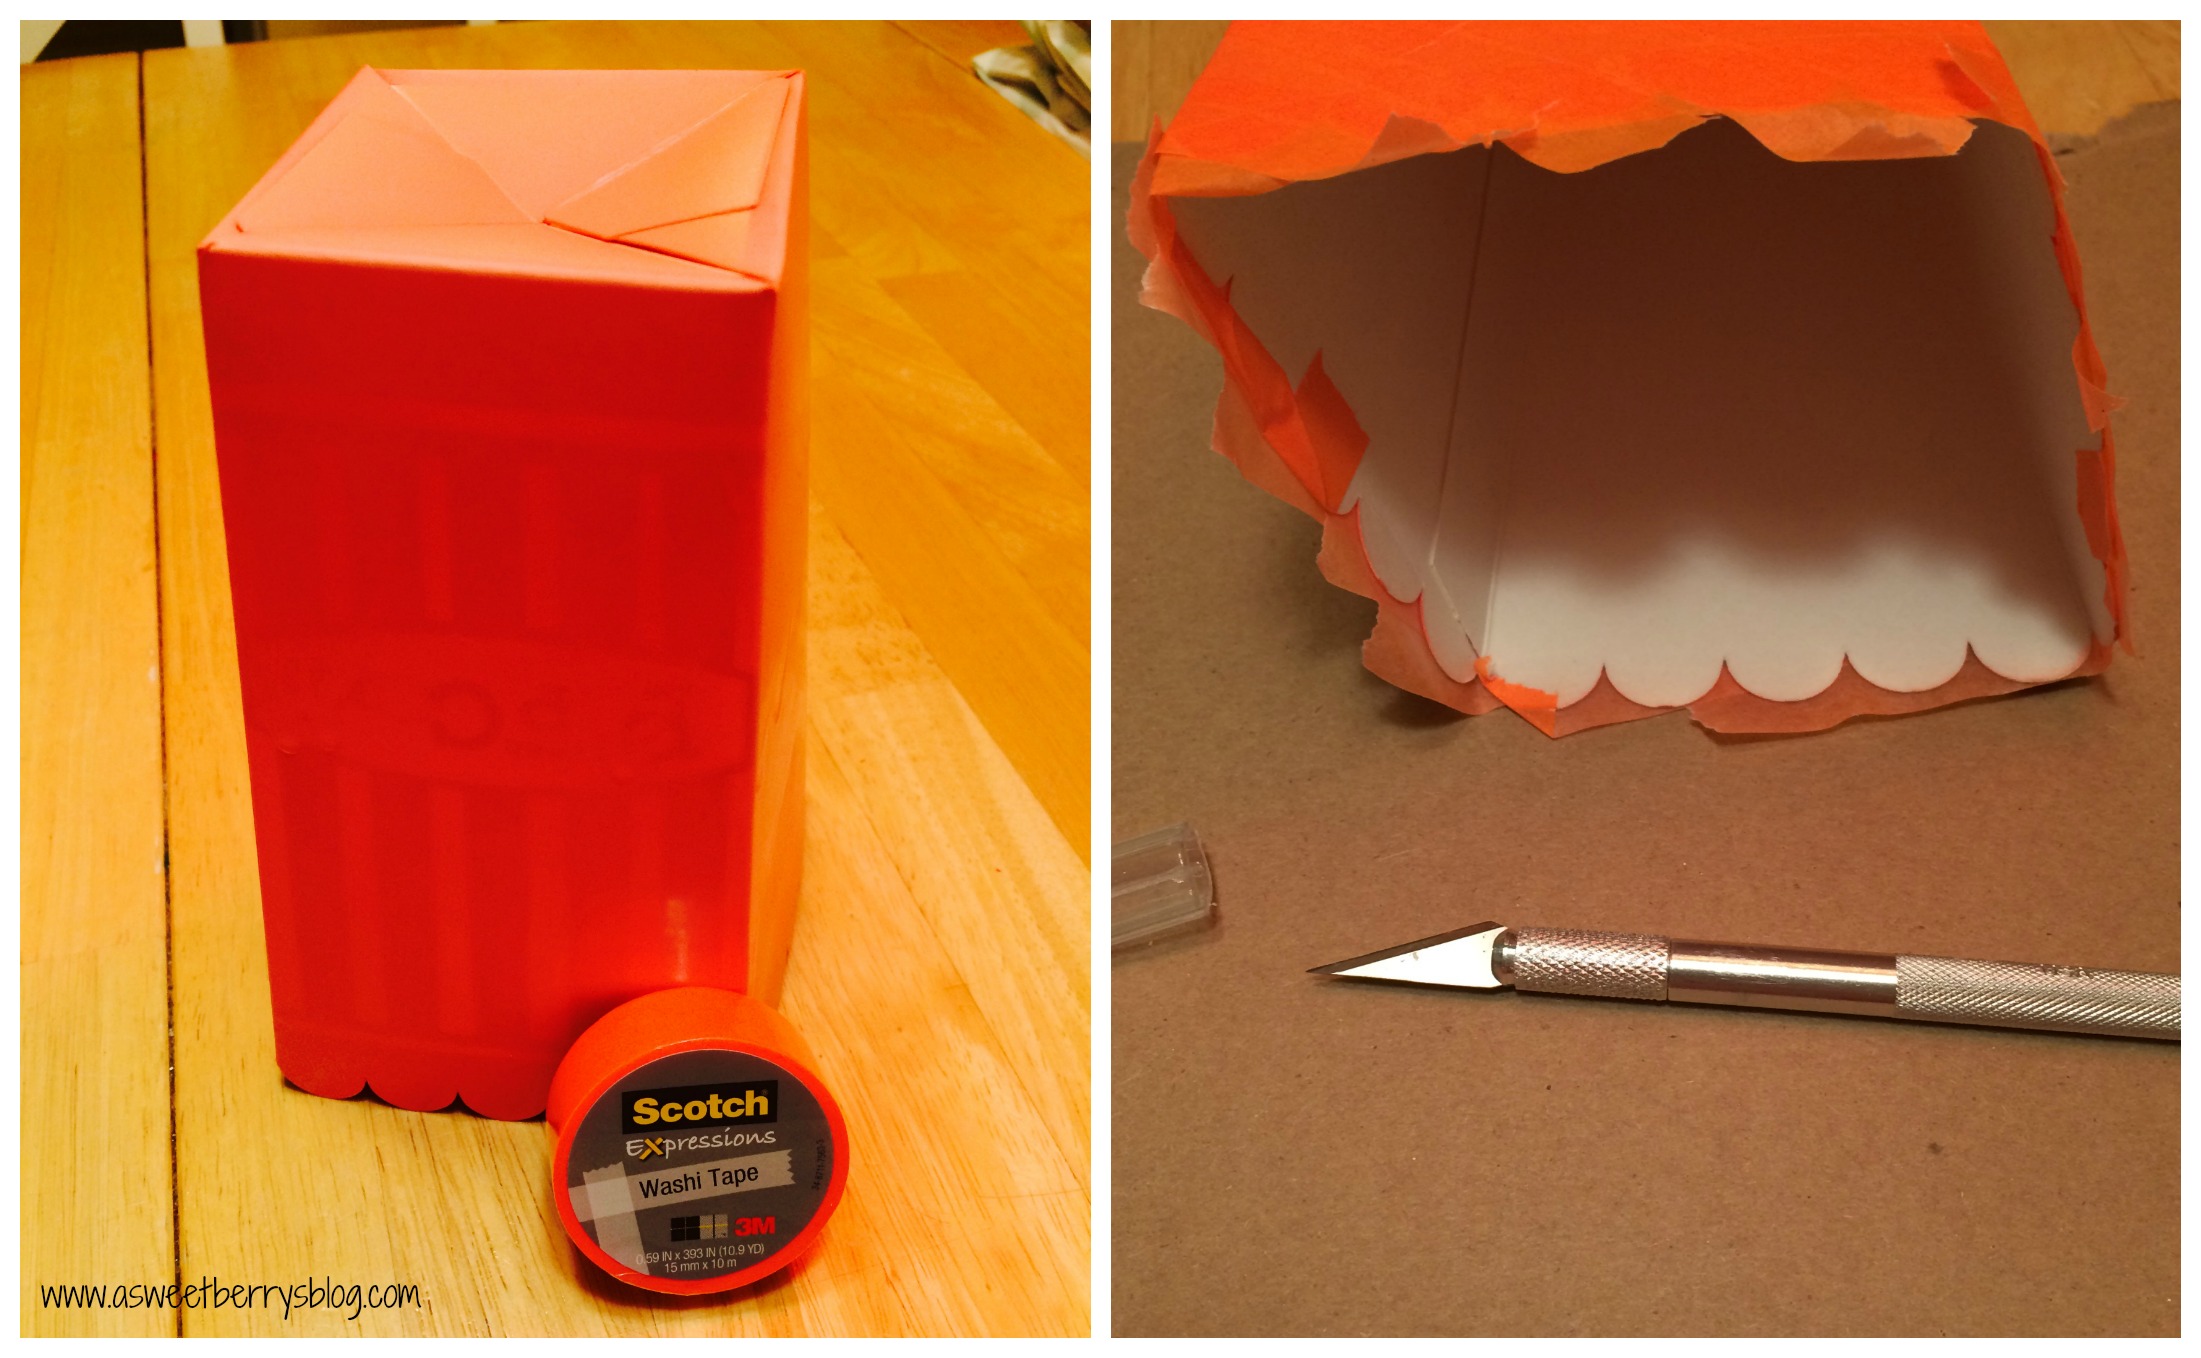
Once the spray paint was dry, I covered the box in orange wash tape.  I didn’t want the lines to be perfect, so I made the tape go in all different ways!  It kind of made it look like an orange mummy!  Once it was covered, I used an Exacto knife to trim around the scalloped top of the box.
Orange Washi Tape
Next, I just tore pieces of black washi tape to make the pumpkin face!
Black Washi Tape
And it was done!  Super easy and perfect for a Halloween movie night with some popcorn!
Popcorn Box
Be sure to check out the other great Popcorn Box Designs.

And be sure to enter to win! a Rafflecopter giveaway

Happy Halloween Pumpkin Cut Out Art

Halloween will be here before we know it!   And I am super excited.  I love to pull out the Halloween decorations!

While I was at Target one day, I saw a popup heart piece in the framed art section and I thought it was so cute.  I had not seen anything like it with Halloween designs and I don’t think the heart one had any words.   I thought I’d make a Halloween one with cute little pumpkins and a font that was a little ghoulish! final
Materials needed:
A shadowbox frame
cardstock (I used four pieces….black, white, green, orange)
Aleene’s glue and a adhesive runner,
Electronic Cutting Machine (I used the Sizzix Eclips2)
Halloween .svg file that I created.   (comment if you’d like the file) cutting
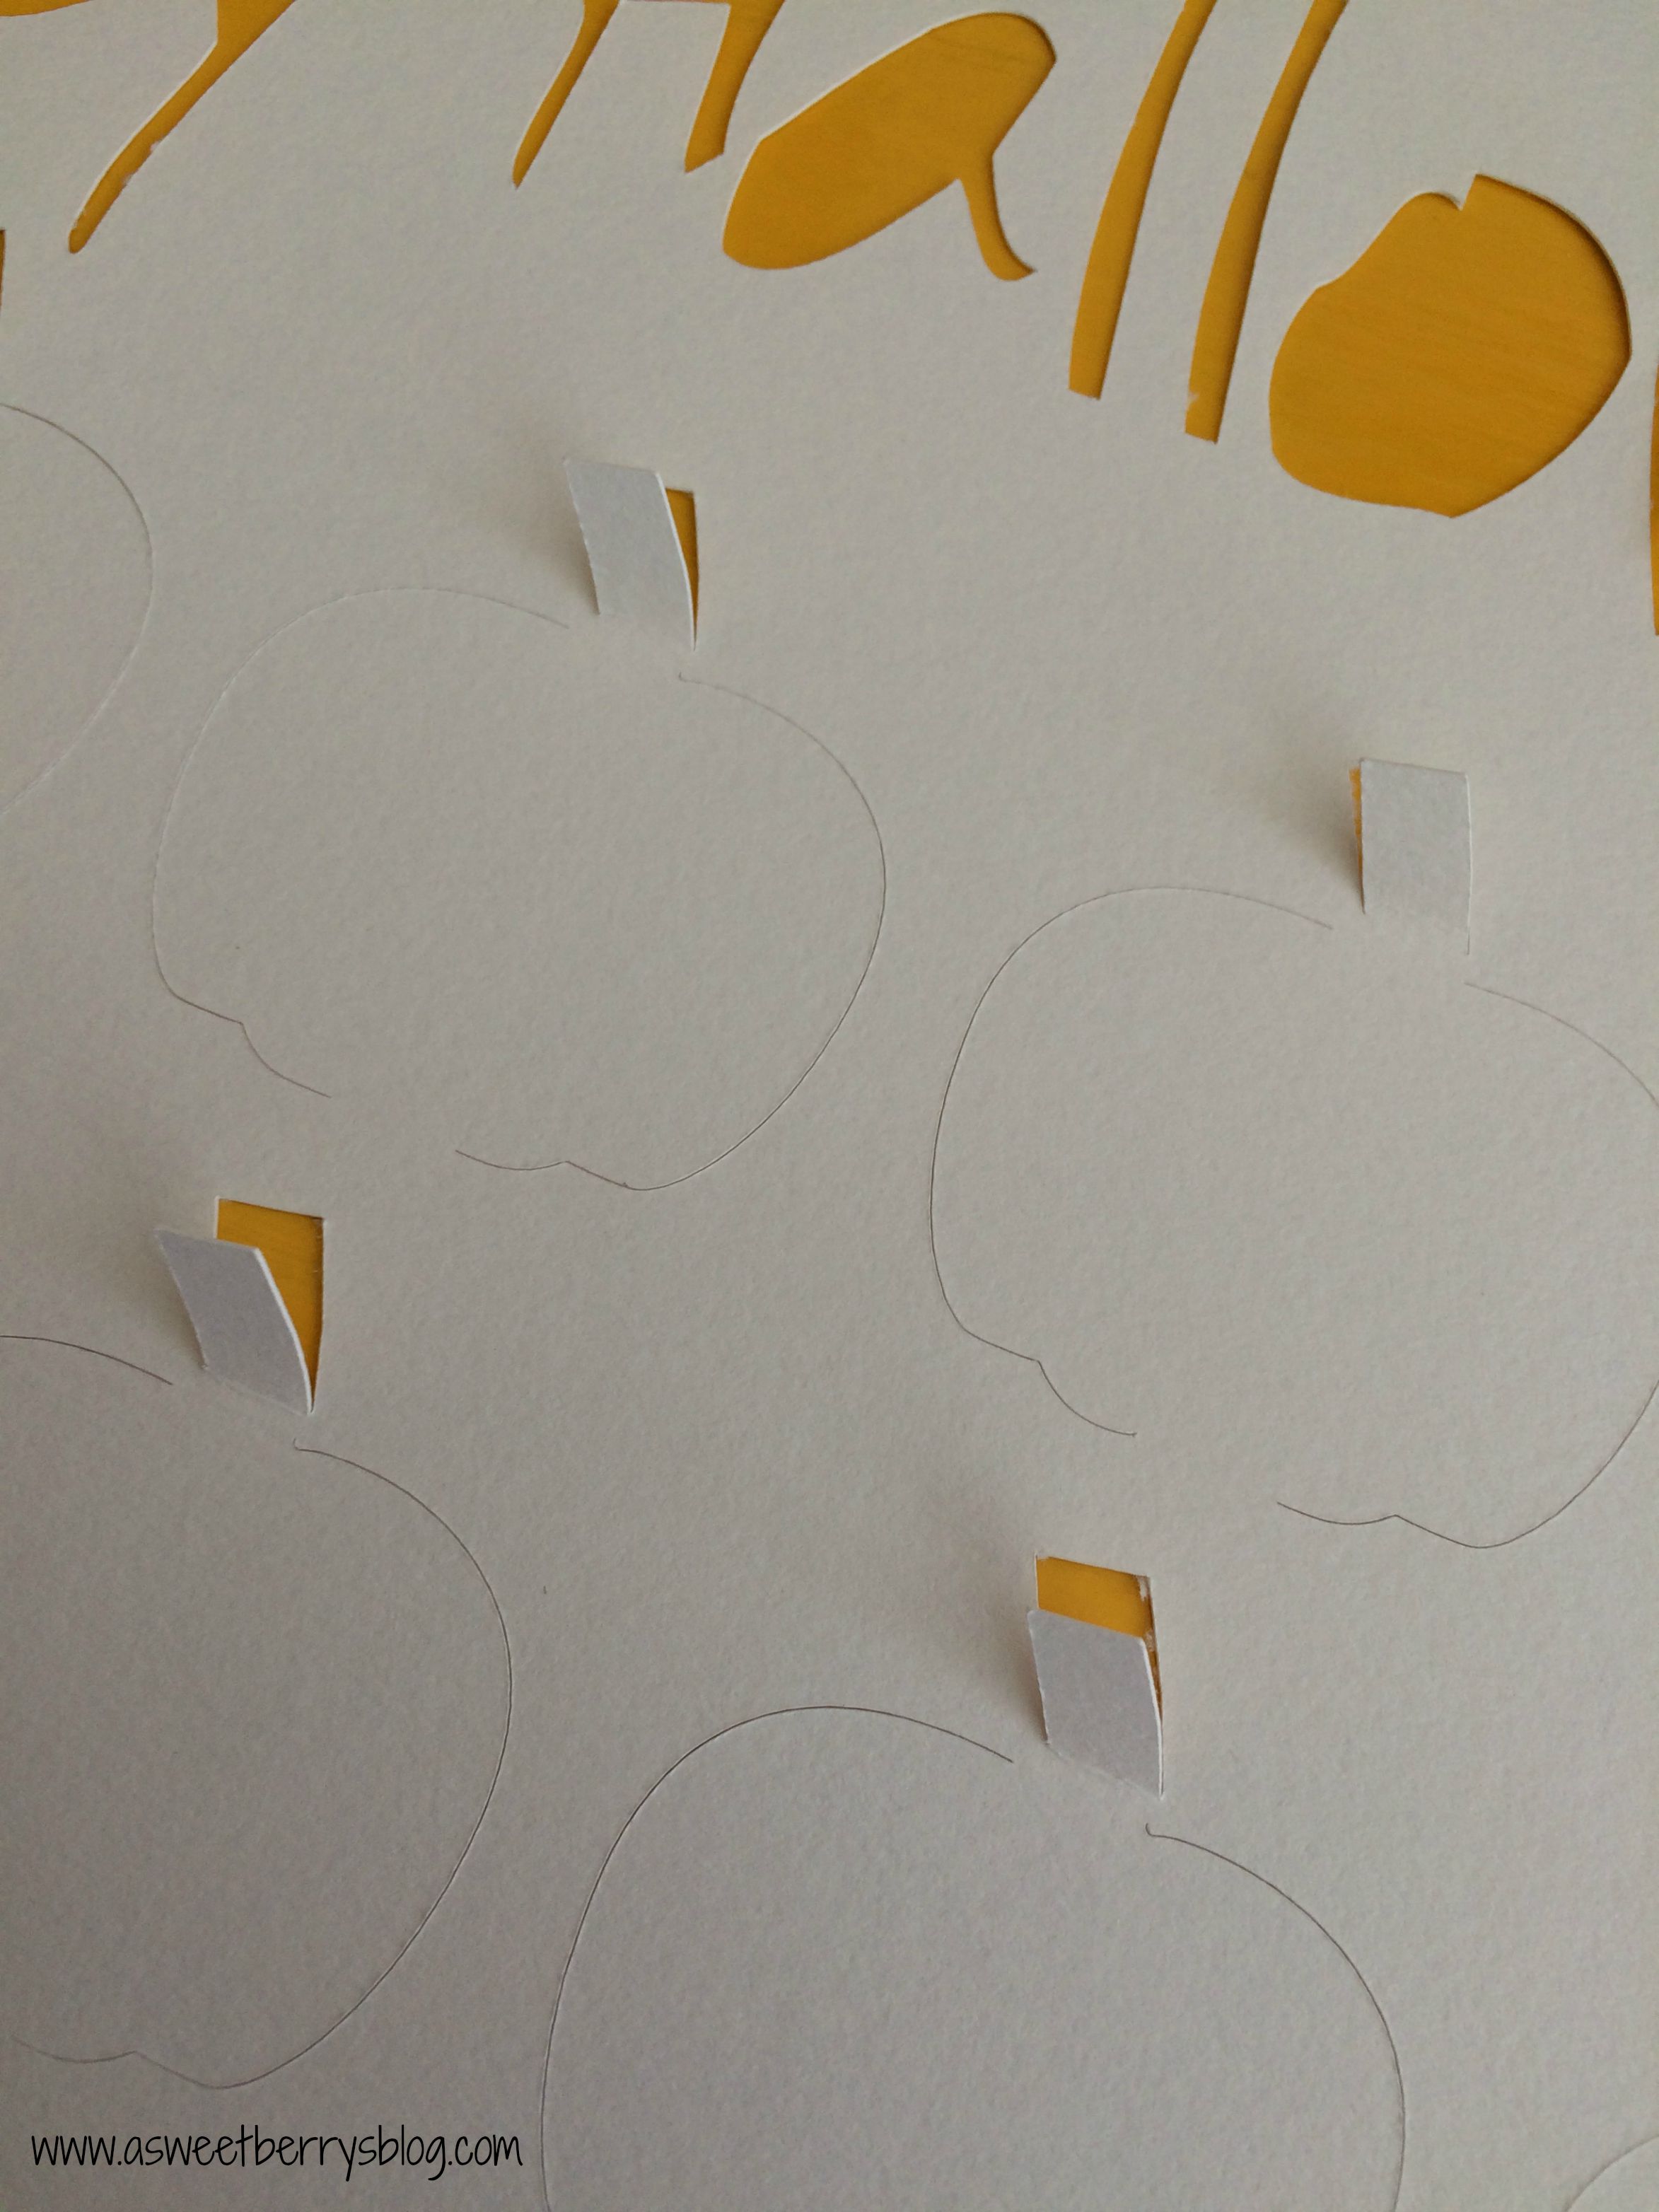
Once my file was cut and removed from the cutting mat, I lightly folded the cut parts upwards.  I also saved the inside pieces of the letters. bending
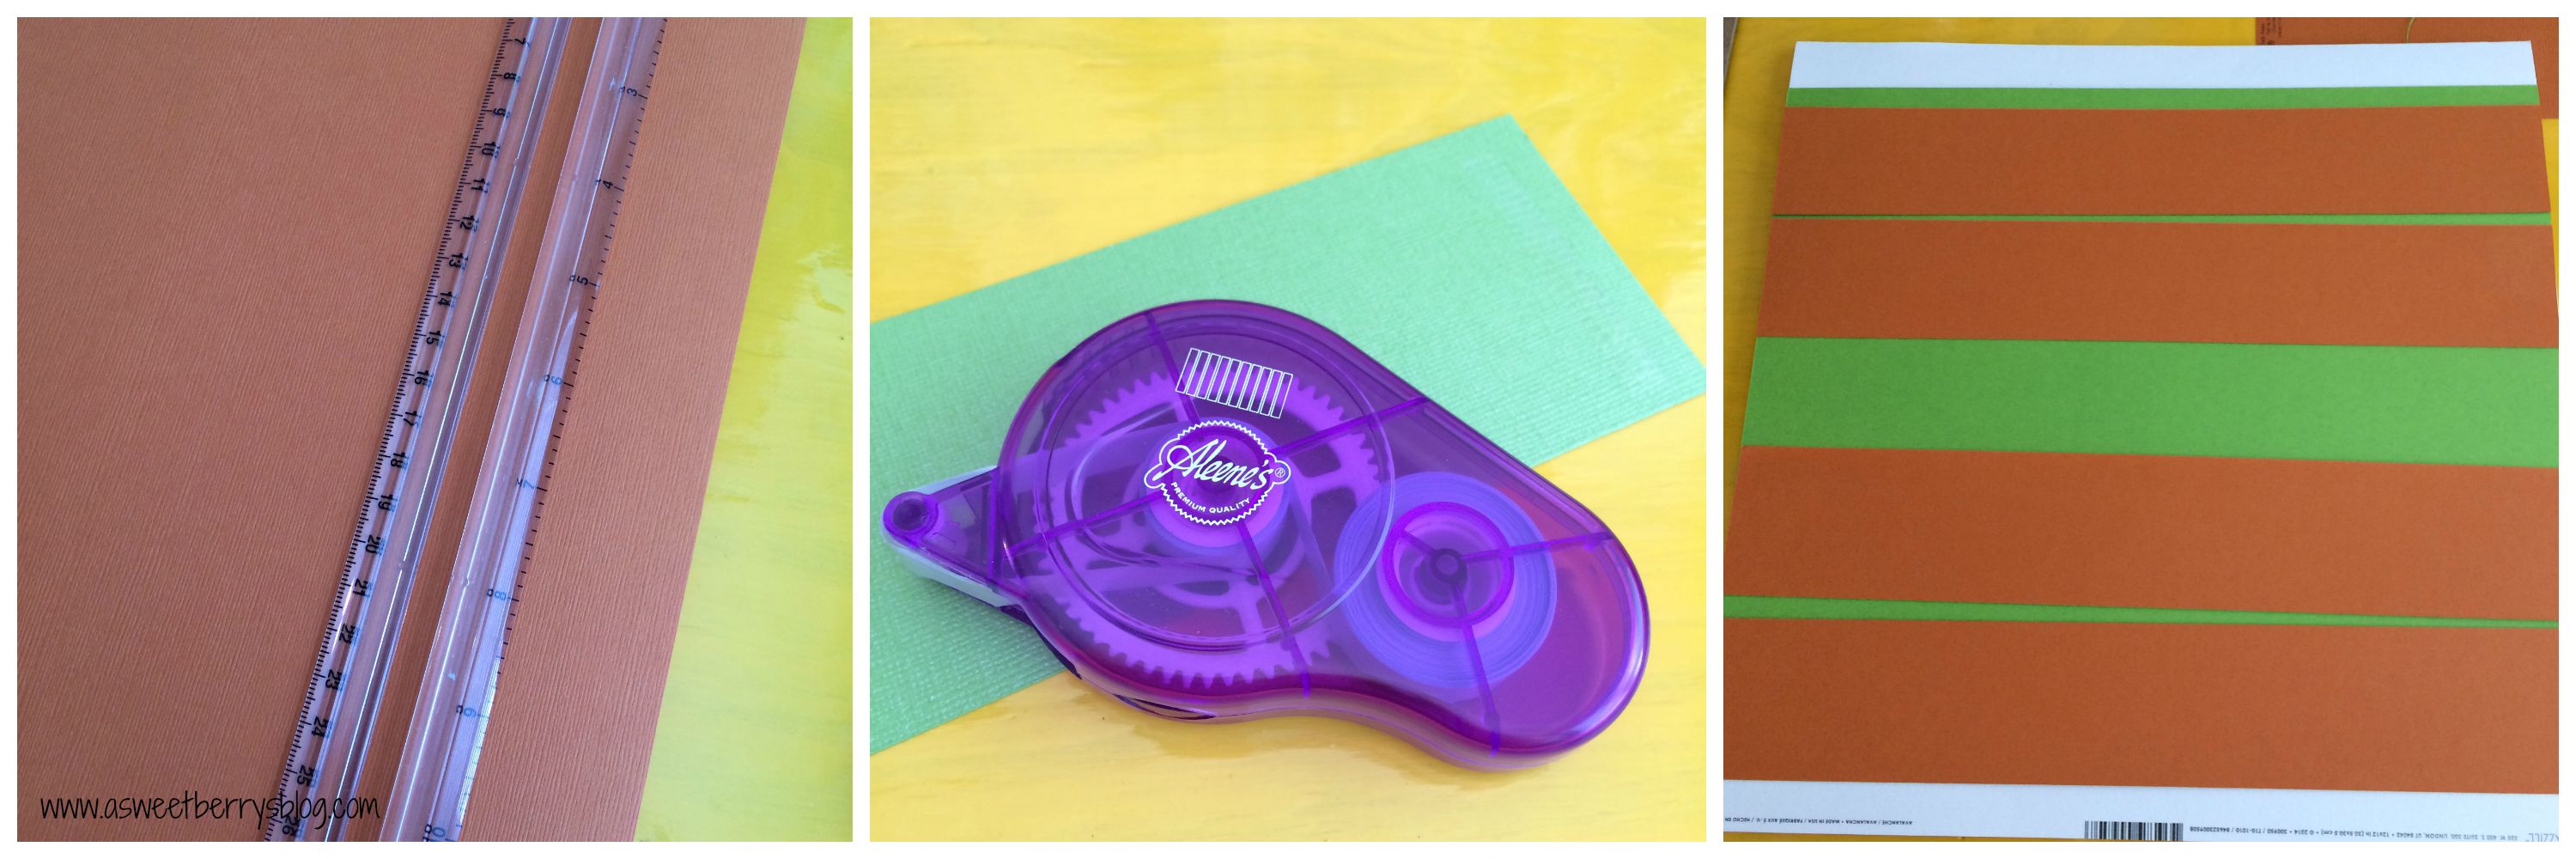
Once all of my pieces were folded up, I cut strips of orange and green just big enough to fit across the back of my 12×12 piece.  I used green for the stems and orange for the pumpkins.  Using an Aleene’s adhesive runner, I attached the strips to the back, being careful not the squash my folded up pieces flat. aleenes
Because the insides of the letters were small, I used Aleene’s Tacky Glue to glue those to the green.
letters
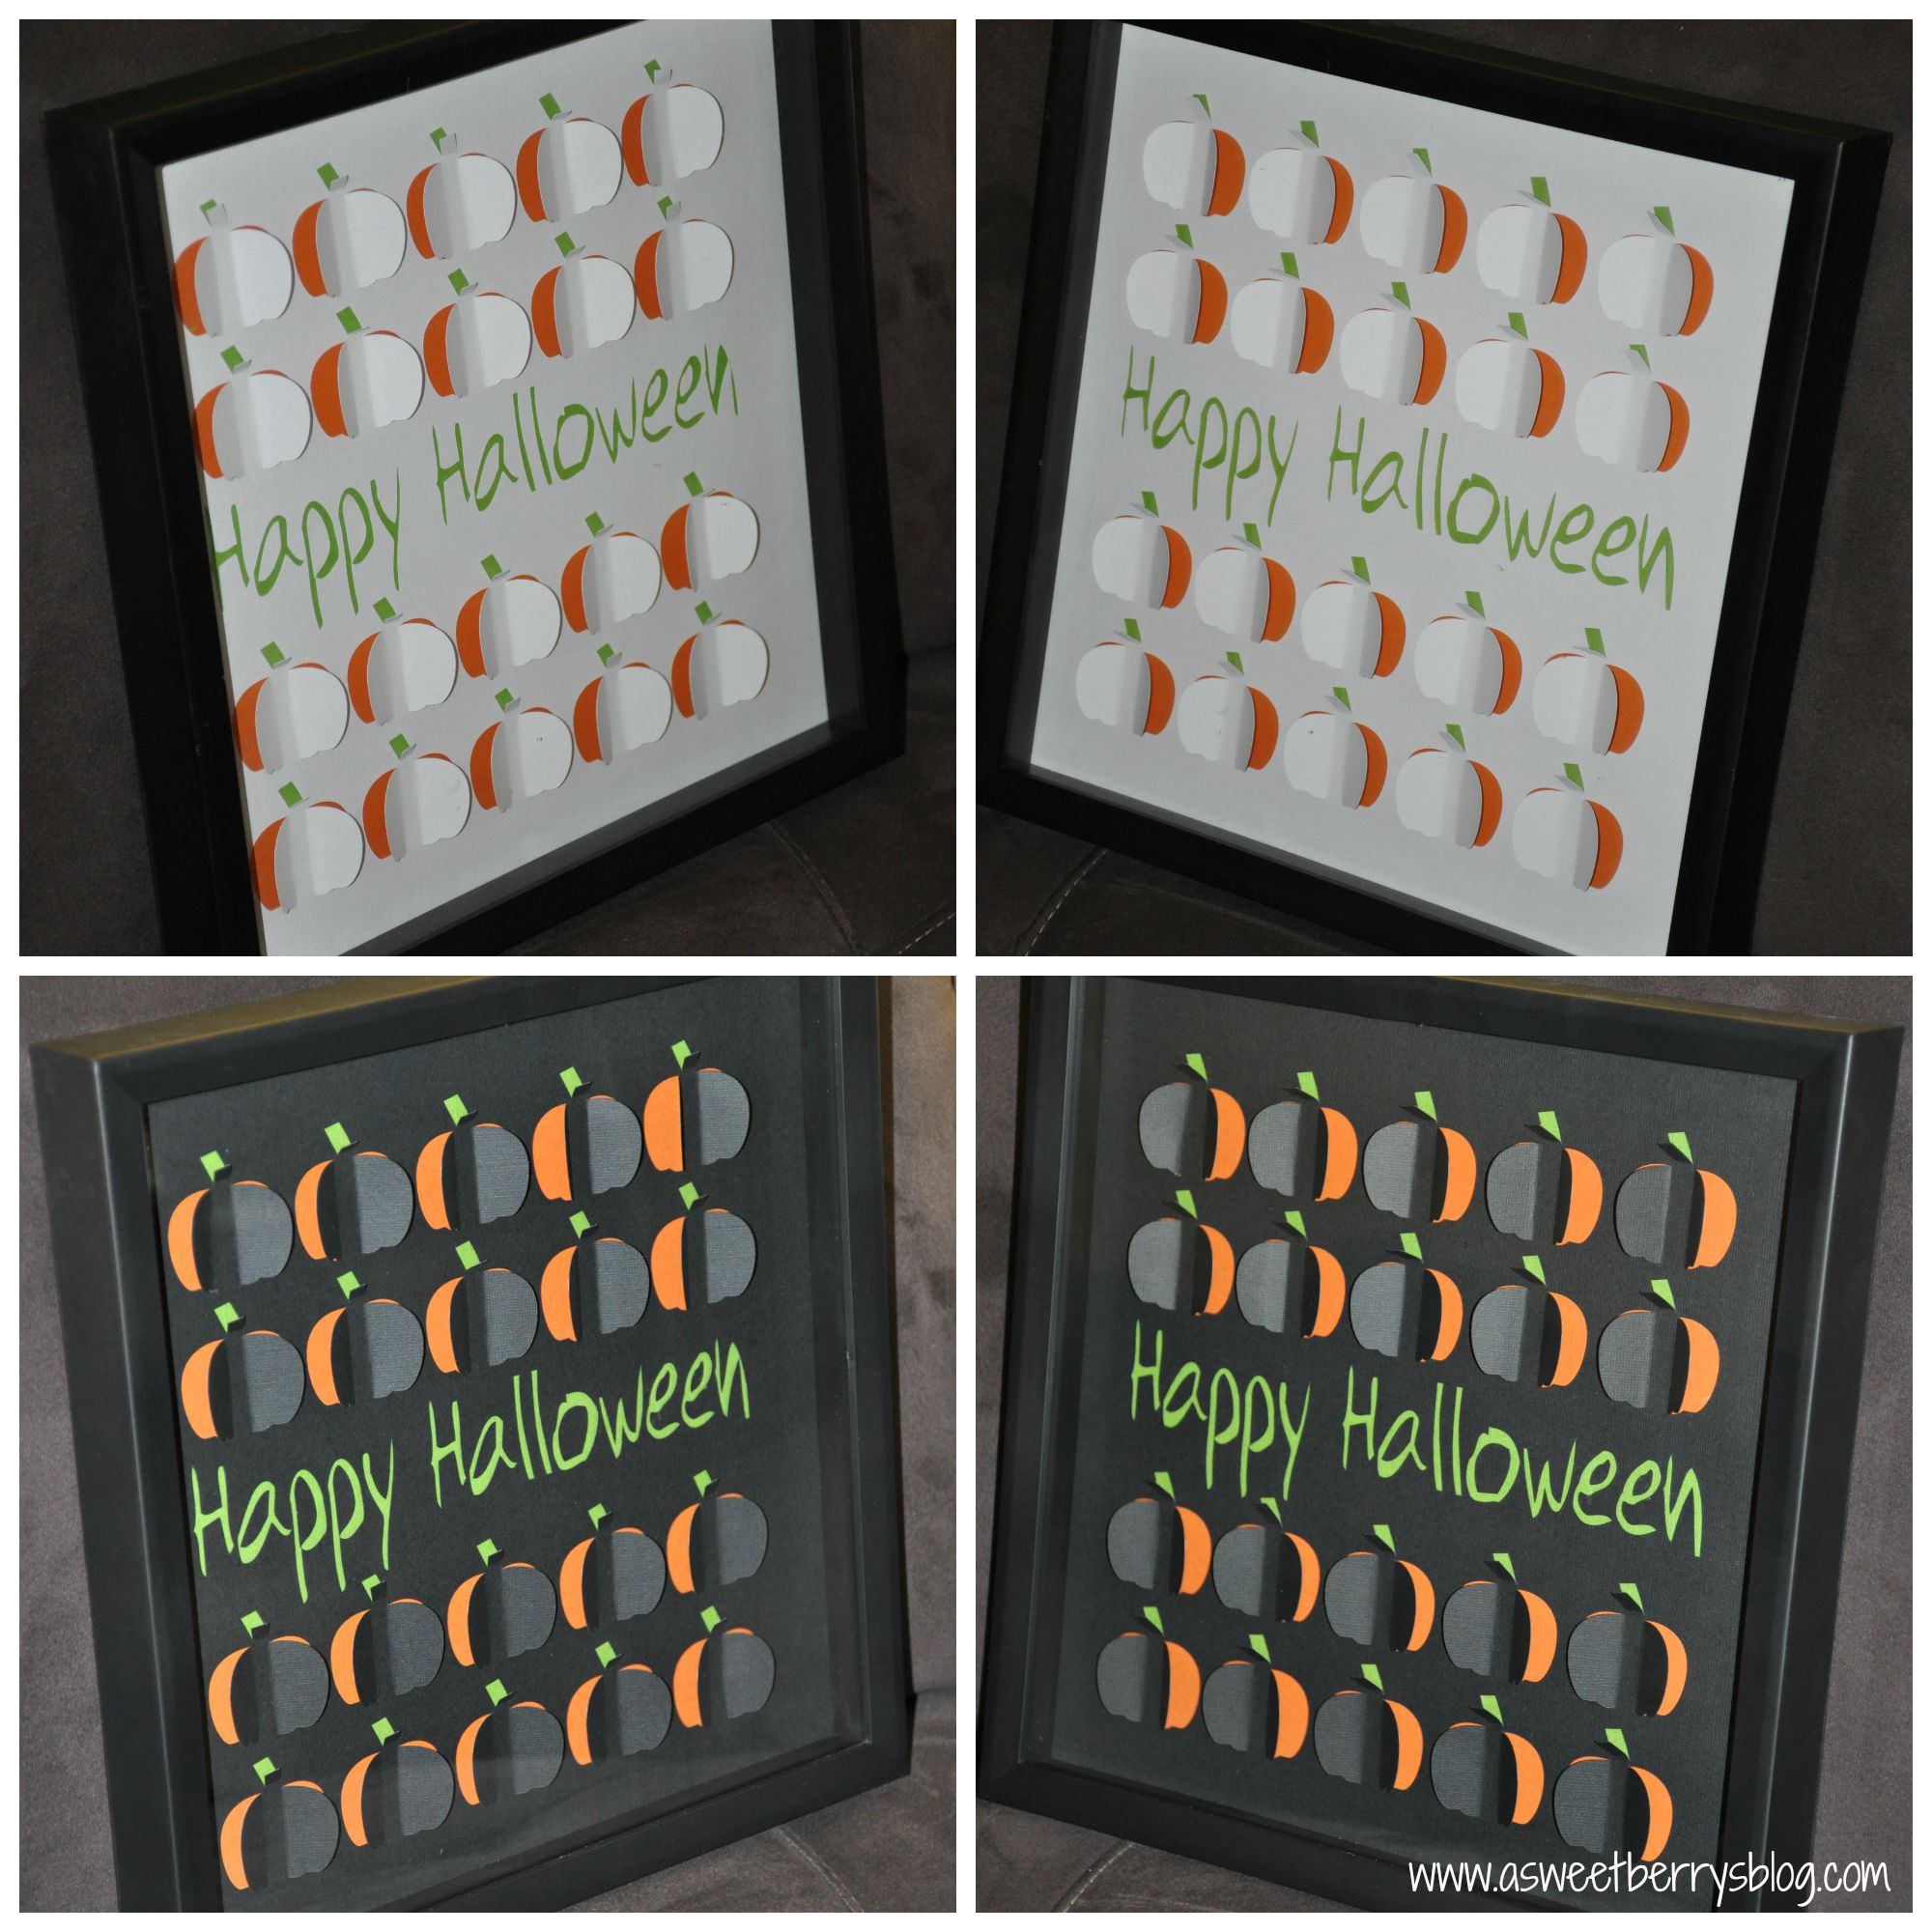
After all of my pieces were put together, I placed them into 12×12 shadowbox frames.   black and white
This photo is just to show them from each side, so that you can see that the orange and green can be seen from under the folded upward pieces of pumpkin. both at different angles
I love them both, but truth be told, the black one is my favorite.  It looks more Halloween-ish!
final
I hope you liked my Happy Halloween Pumpkin Cut Art.  If you’d like the .svg file, just let me know in a comment and I will be sure to get that to you!

Until next time……