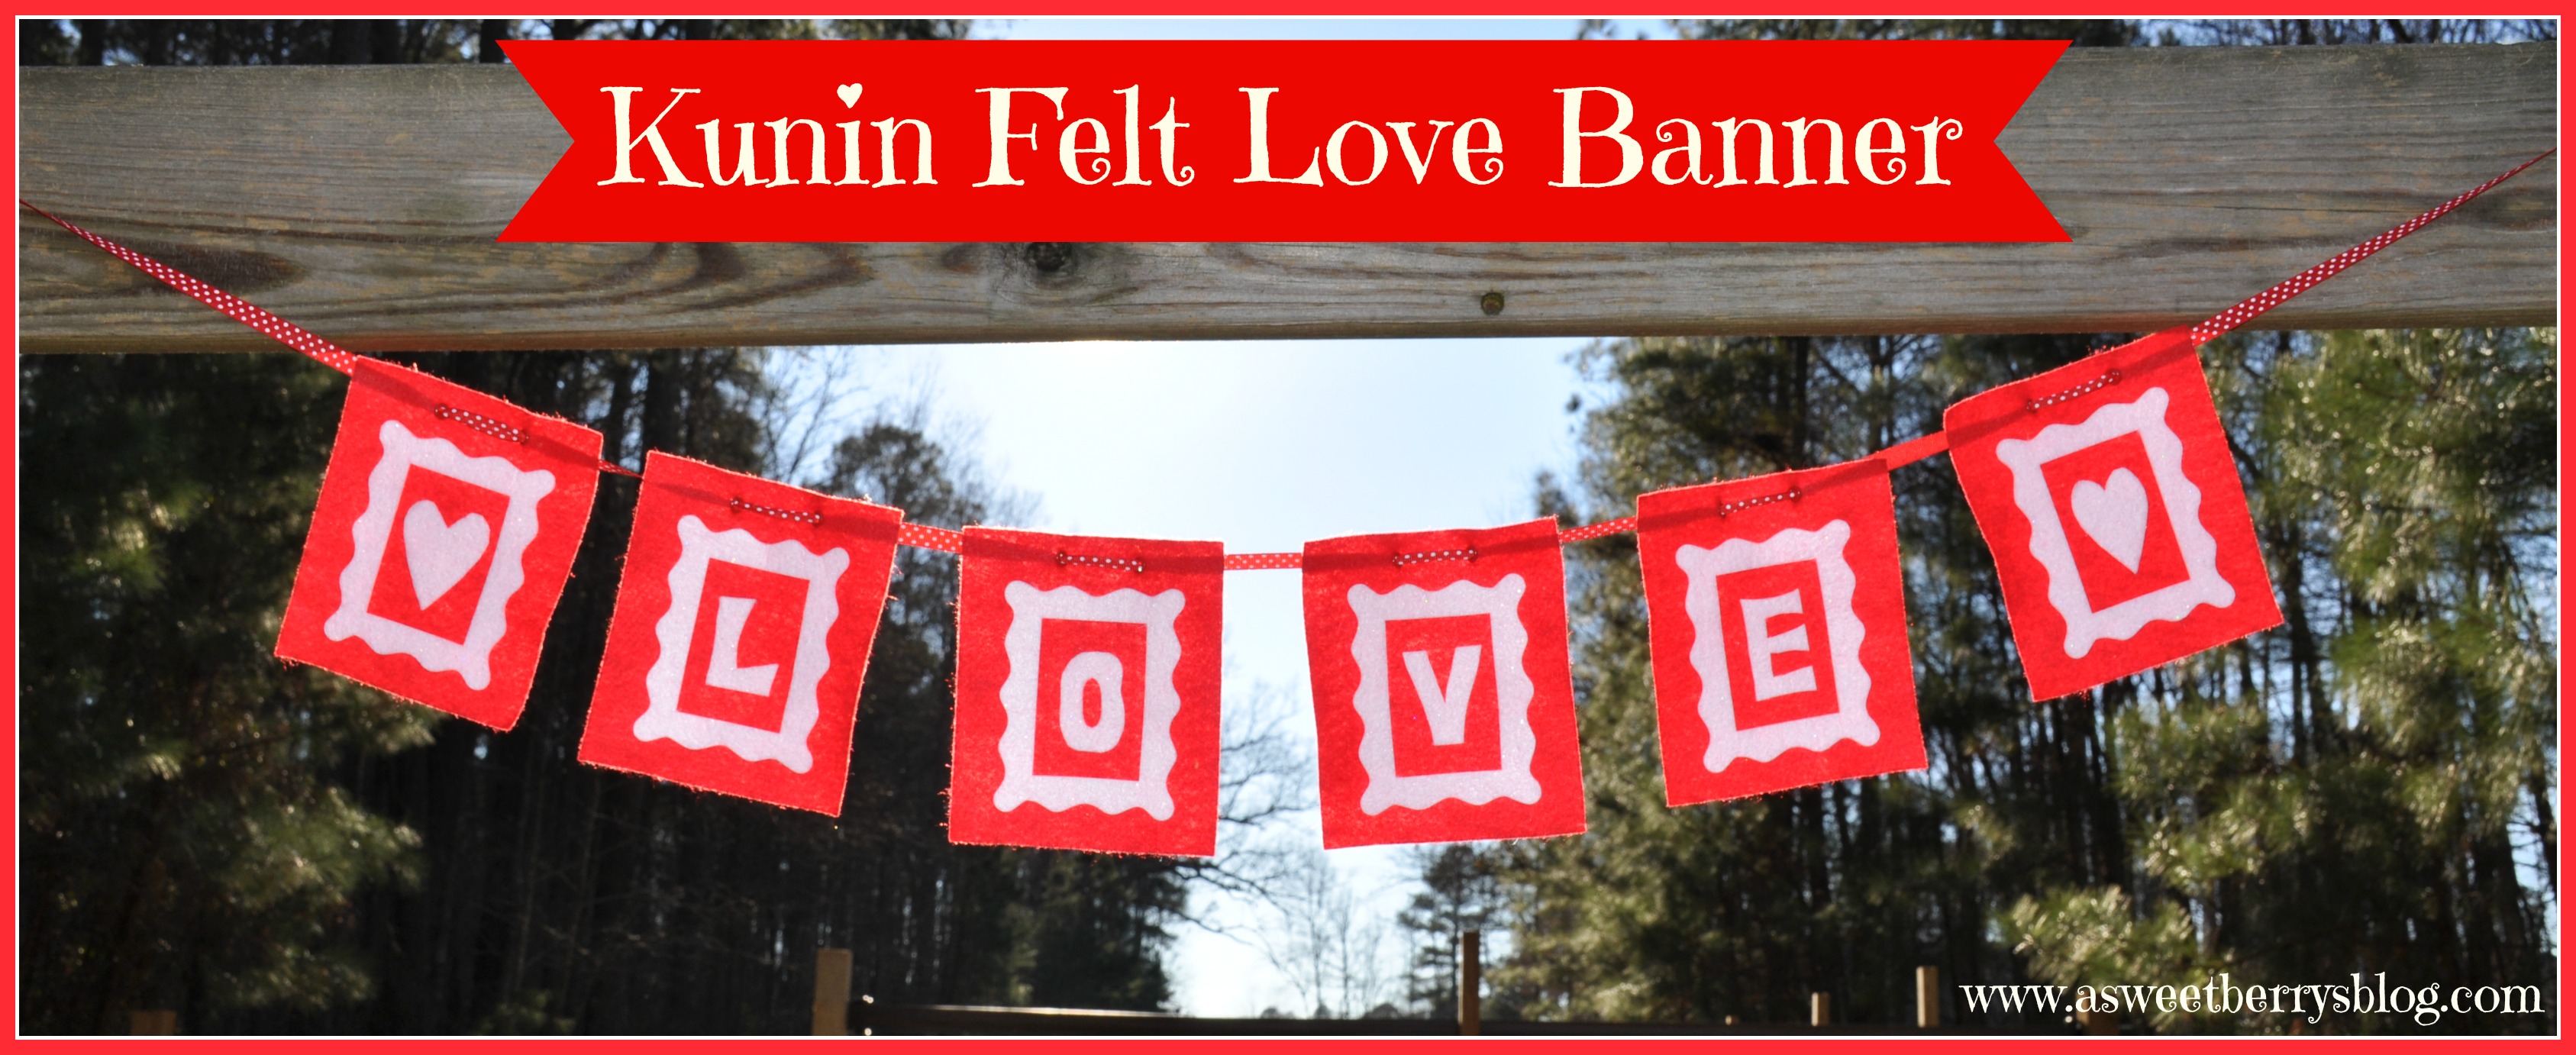
I love a cute felt banner, and I love making them using Kunin Felt! Isn’t this Love Banner super adorable! And it was super simple!

The materials that I used to make this banner were:
Kunin Red Felt
Kunin Glitter Felt
Aleene’s Fabric Fusion Permanent Fabric Adhesive Sheets
A Sizzix Frame Die (I used a wavy frame)
Sizzix Big Shot
Offray red with white polka dot ribbon
Eyelet Pliers and red eyelets
Rotary Cutter, Cutting Ruler and Cutting Mat

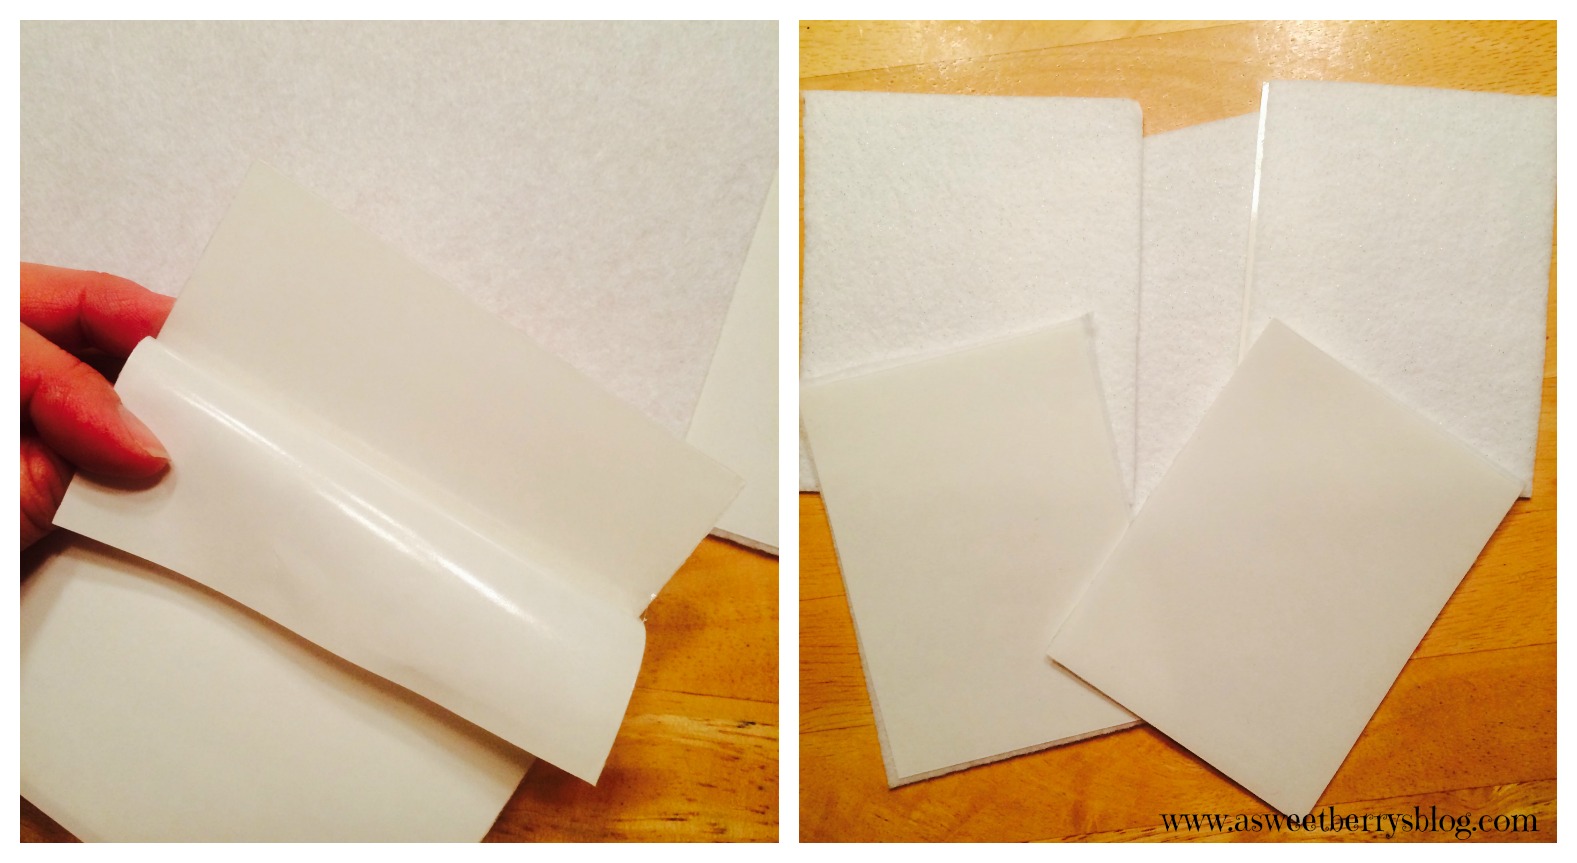
First, I applied the Aleene’s fabric fusion sheets to the back of my Kunin Glitter Felt and then cut it into smaller pieces. I got 5 pieces out of one sheet. I made sure that they were big enough to fit onto the die.

Using the Sizzix Wavy Frame Die, I placed it on my cutting pads. Then, I placed my felt on the die making sure that I completely covered the frame cutout. Next, I placed the top cutting pad over it and then ran it through the big shot die cutting machine.

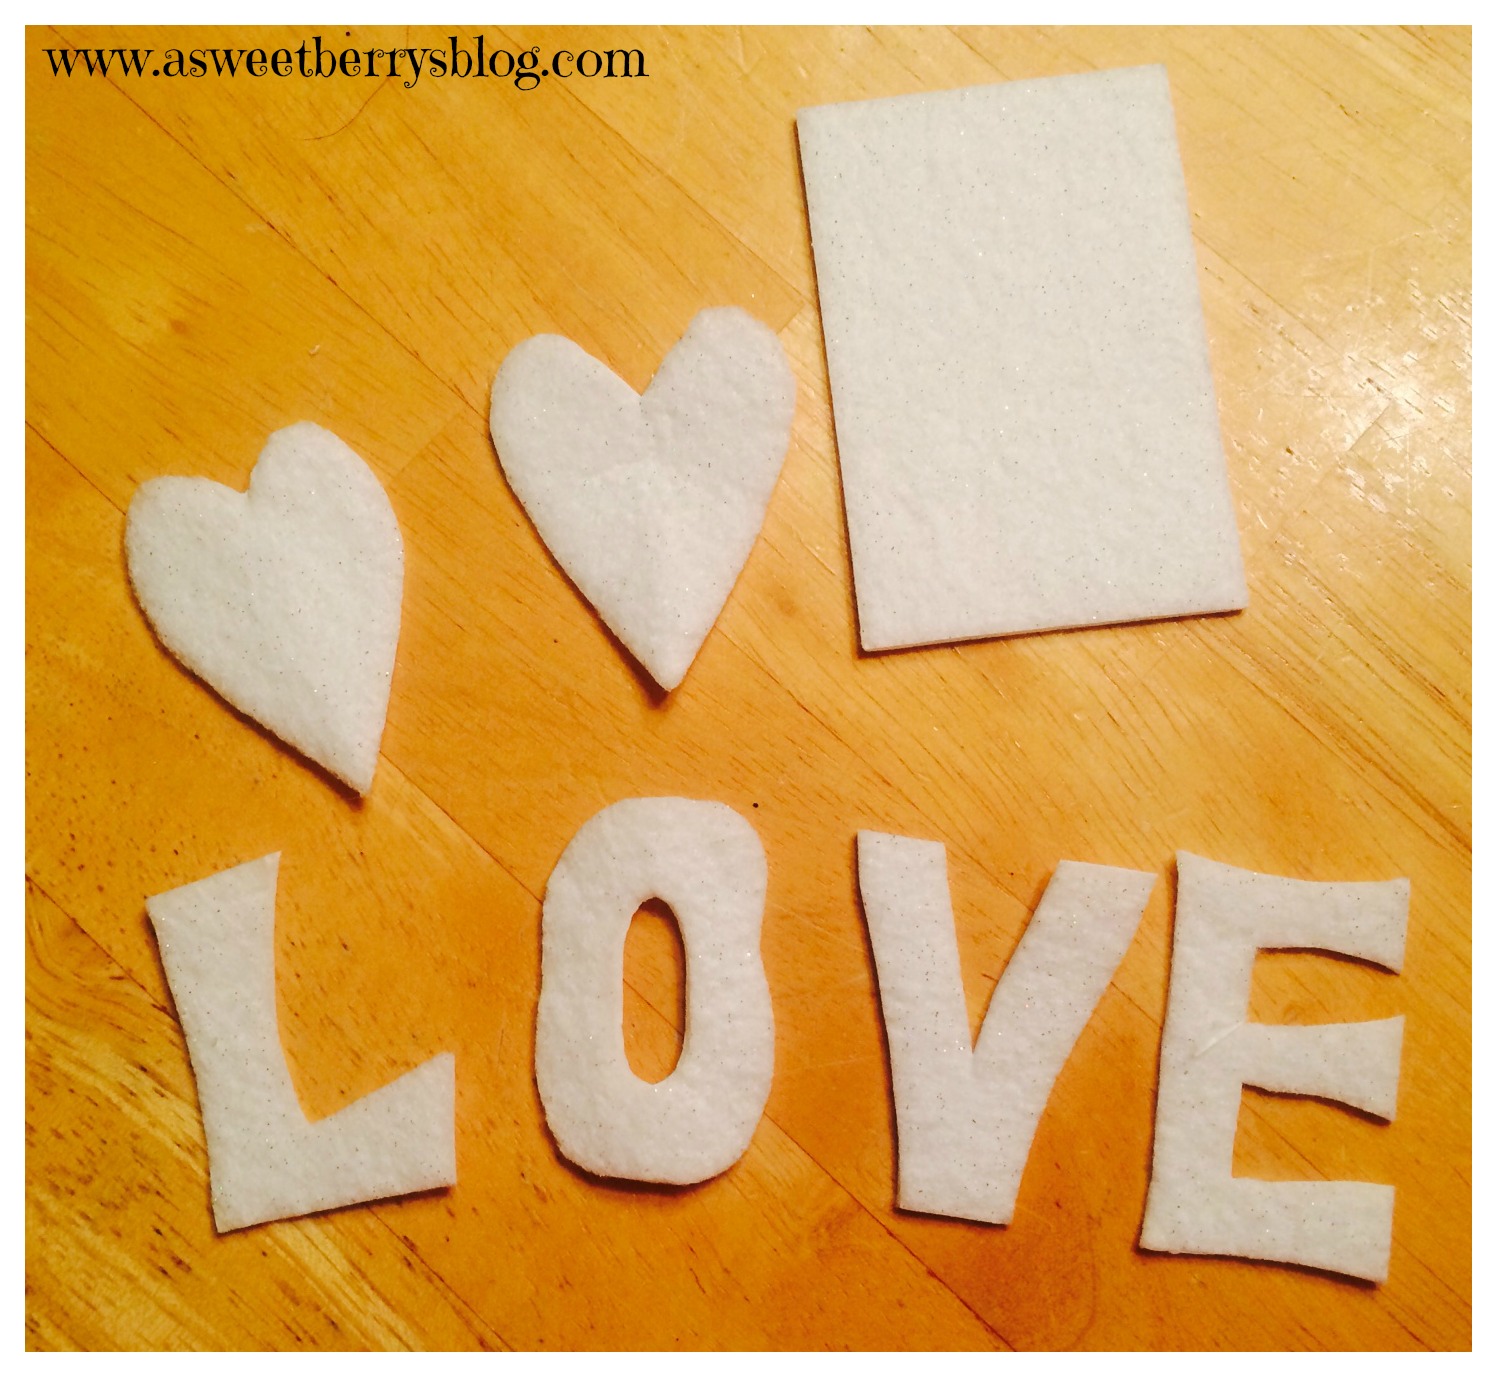
Using the middle pieces of the frame, I cut out two hearts and the letters L, O, V, E by hand.

Using my rotary cutter, cutting mat and ruler, I cut out 5″ x 6″ rectangles.

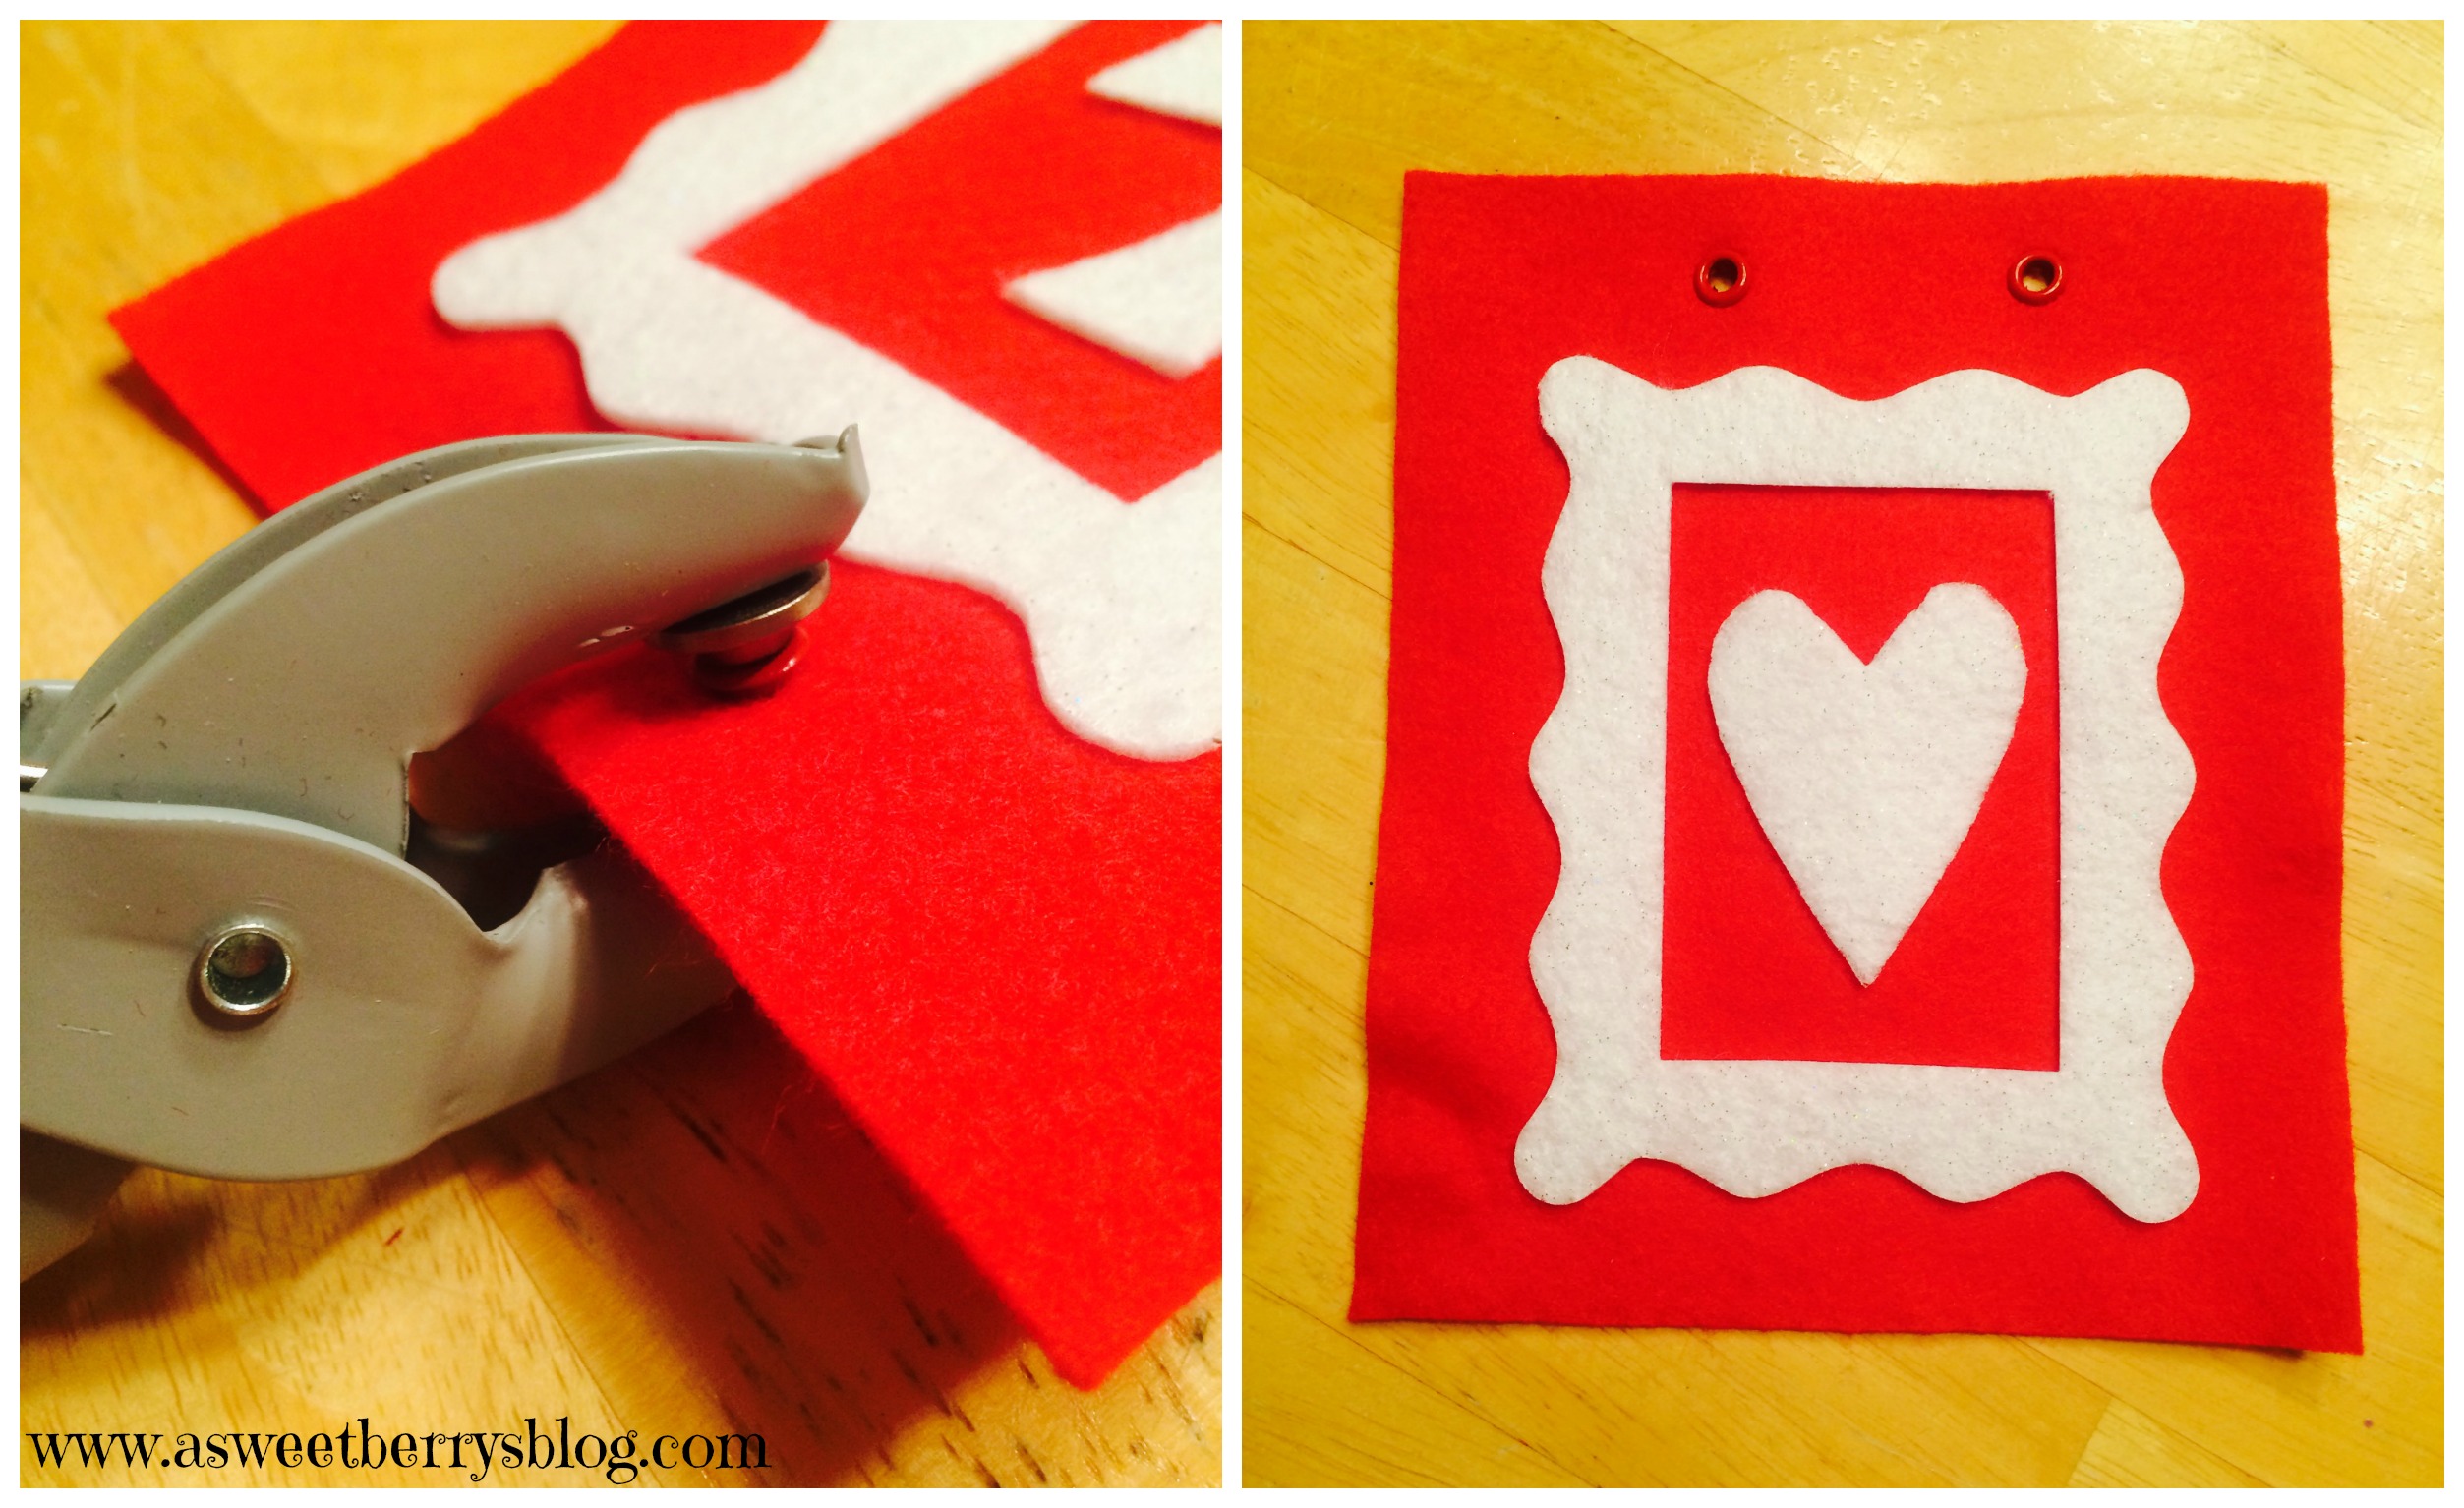
Once I had everything cut out, I peeled the paper off the back of the frames and stuck them on my red rectangle pieces, placing it closer to the bottom so that I had space to add my eyelets at the top.

Using my eyelet pliers, I placed two eyelets at the top of my red felt rectangles. Once I had two eyelets on each piece, I ran my red and white polkadot ribbon through front the backs.

And it made this super cute and super easy banner!
 If you don’t have die cuts or die cut machines, you can still create this banner, making your own frames by hand. The Aleene’s Fabric Fusion Permanent Sheets make it a sewing free project! And, you don’t necessarily have to put eyelets on the pieces. You could just cut small holes to thread your ribbon through!
I hope you like my Love banner as much as I do!
Until next time……
XOXO
