Category Archives: Laura Kelly Design Team

Thankful Burlap and Felt Banner

Disclosure:   As a member of the Laura Kelly Design Team, I received product from Sizzix/Ellison for use in my blog posts.  The opinions are my own.  This post may contain affiliate links.

Thanksgiving is upon us.  And I’m feeling really thankful this season.   I’m thankful for my family and my friends.  I’m thankful for a house to live in, food to put on the table and a bed to sleep in.  I’m thankful for a car to drive.  I’m thankful for my husband’s job and for my job.  I’m thankful for my church and church family.  I’m thankful that my children go to a great school.  And I’m thankful to be healthy!  My list of thankfulness could go on and on and on.

banner-final

Lately I’m obsessed with banners!  I love to make them as much as I love hang them in my house!  They are easy to make and you can make them any ways that you want!   They can really make a difference in your home, even if it’s just for a little color!

Just recently Sizzix sent me this amazing banner die designed by Lori Whitlock.  I used it, along with some of my favorite dies by Laura Kelly, to create this amazing Thankful banner!  This banner die might be one of my favorite dies ever!

Materials used:

Directions:

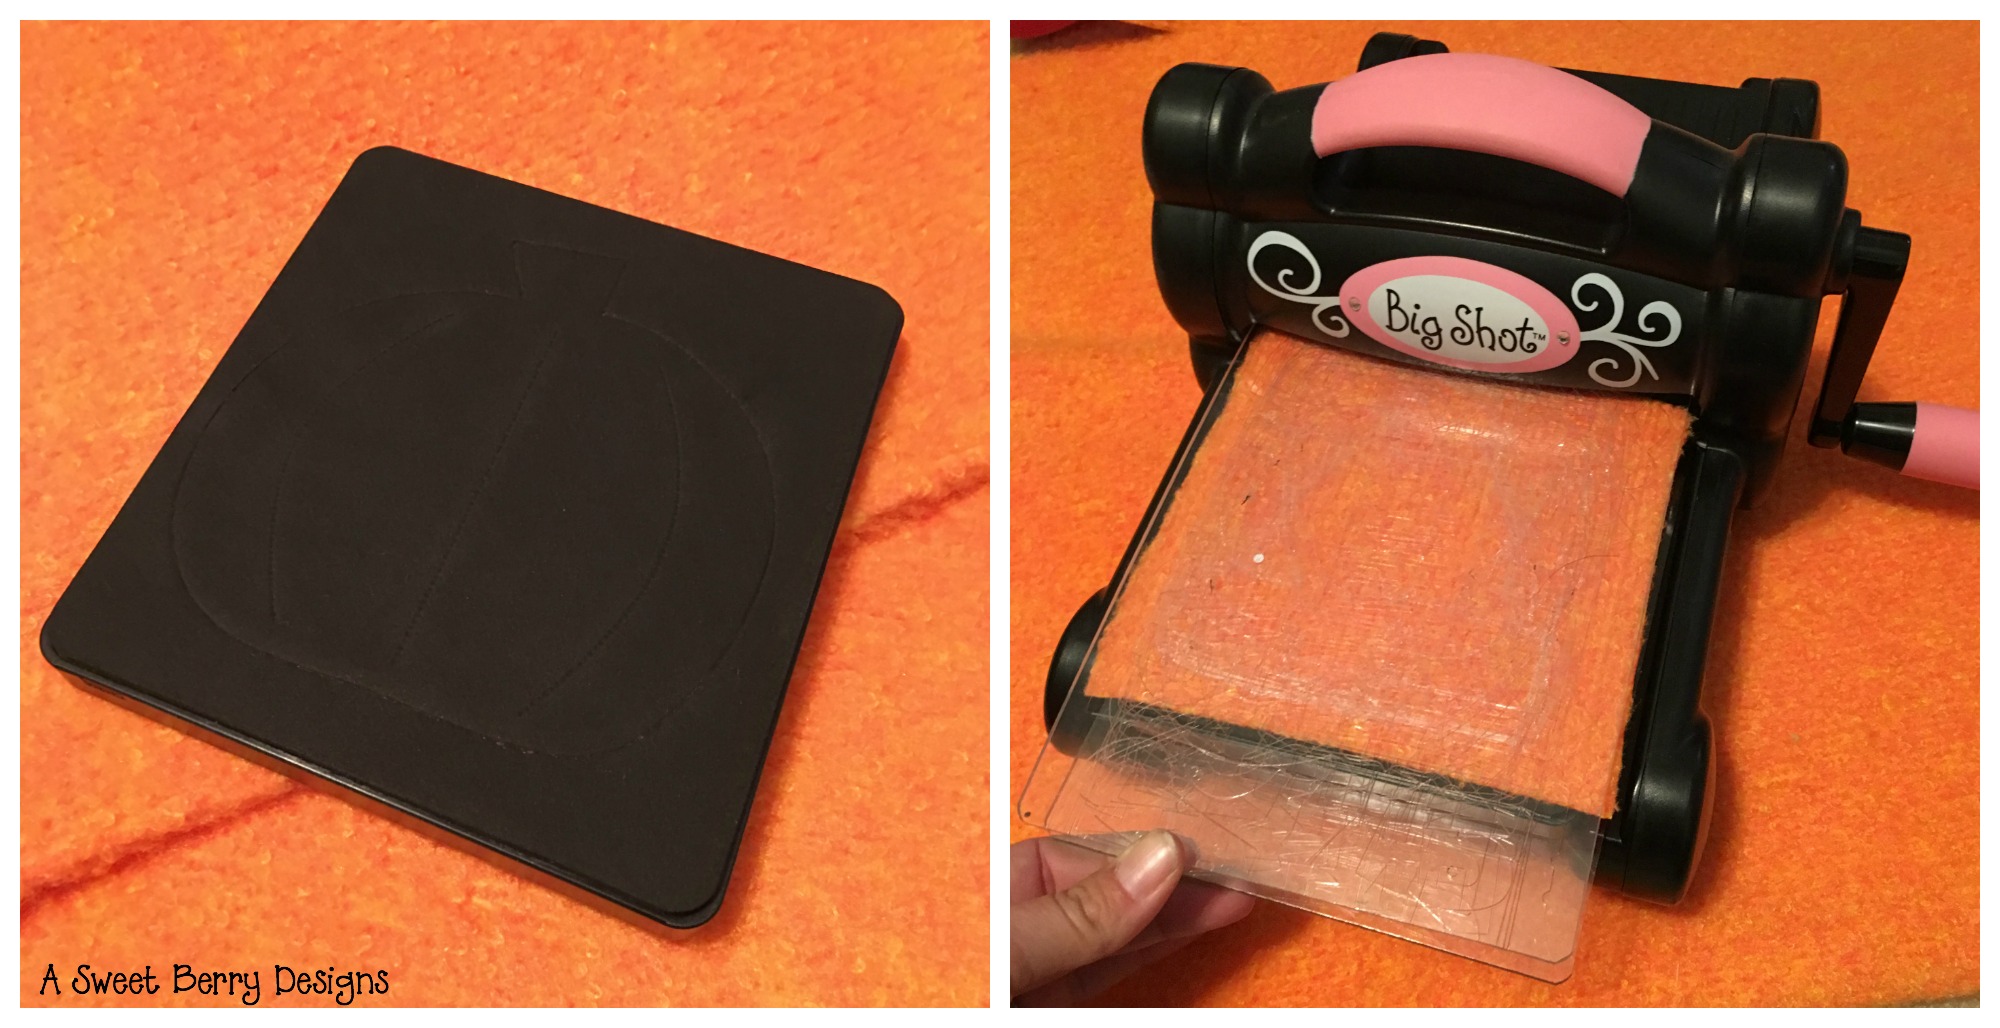
  1. First, I cut out all of the pieces needed for the banner.   The ShaggiChic felt is a little thicker so I cut them individually.  Sometimes you can cut multiple pieces in one run through of the Big Shot. 

pumpkin-die

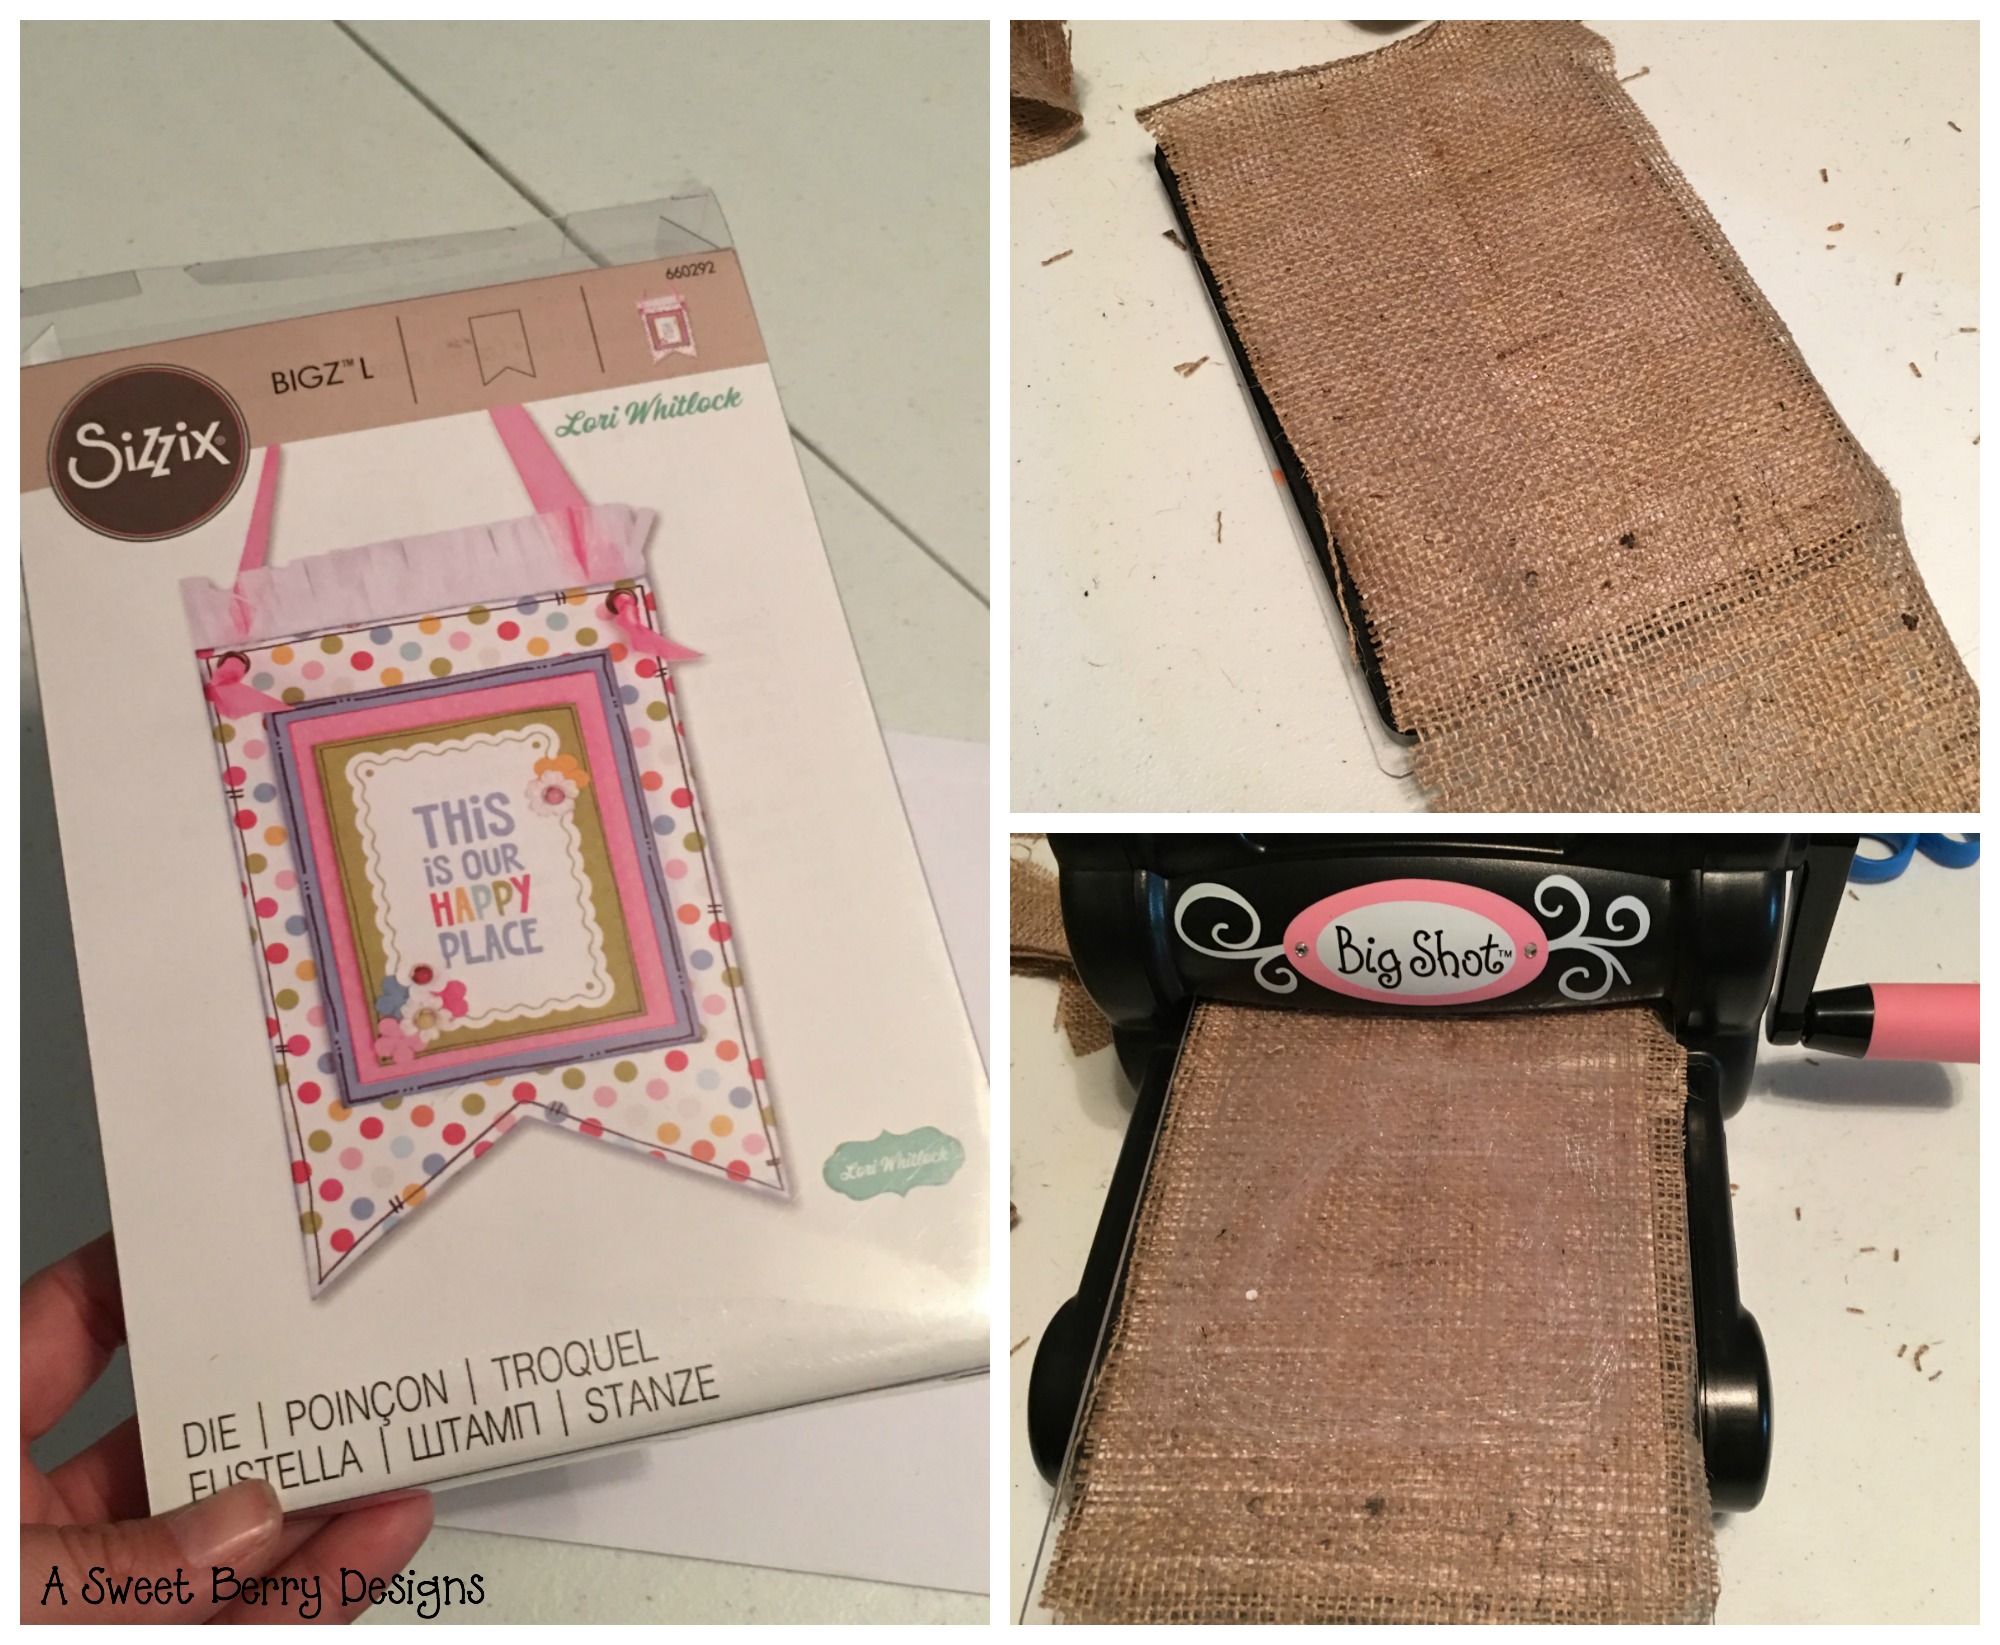
With the burlap I placed a piece of paper underneath the burlap each time I did a cut.  I didn’t want the fibers of the burlap to get all over the die.   Putting the paper underneath really helped.

banner-die

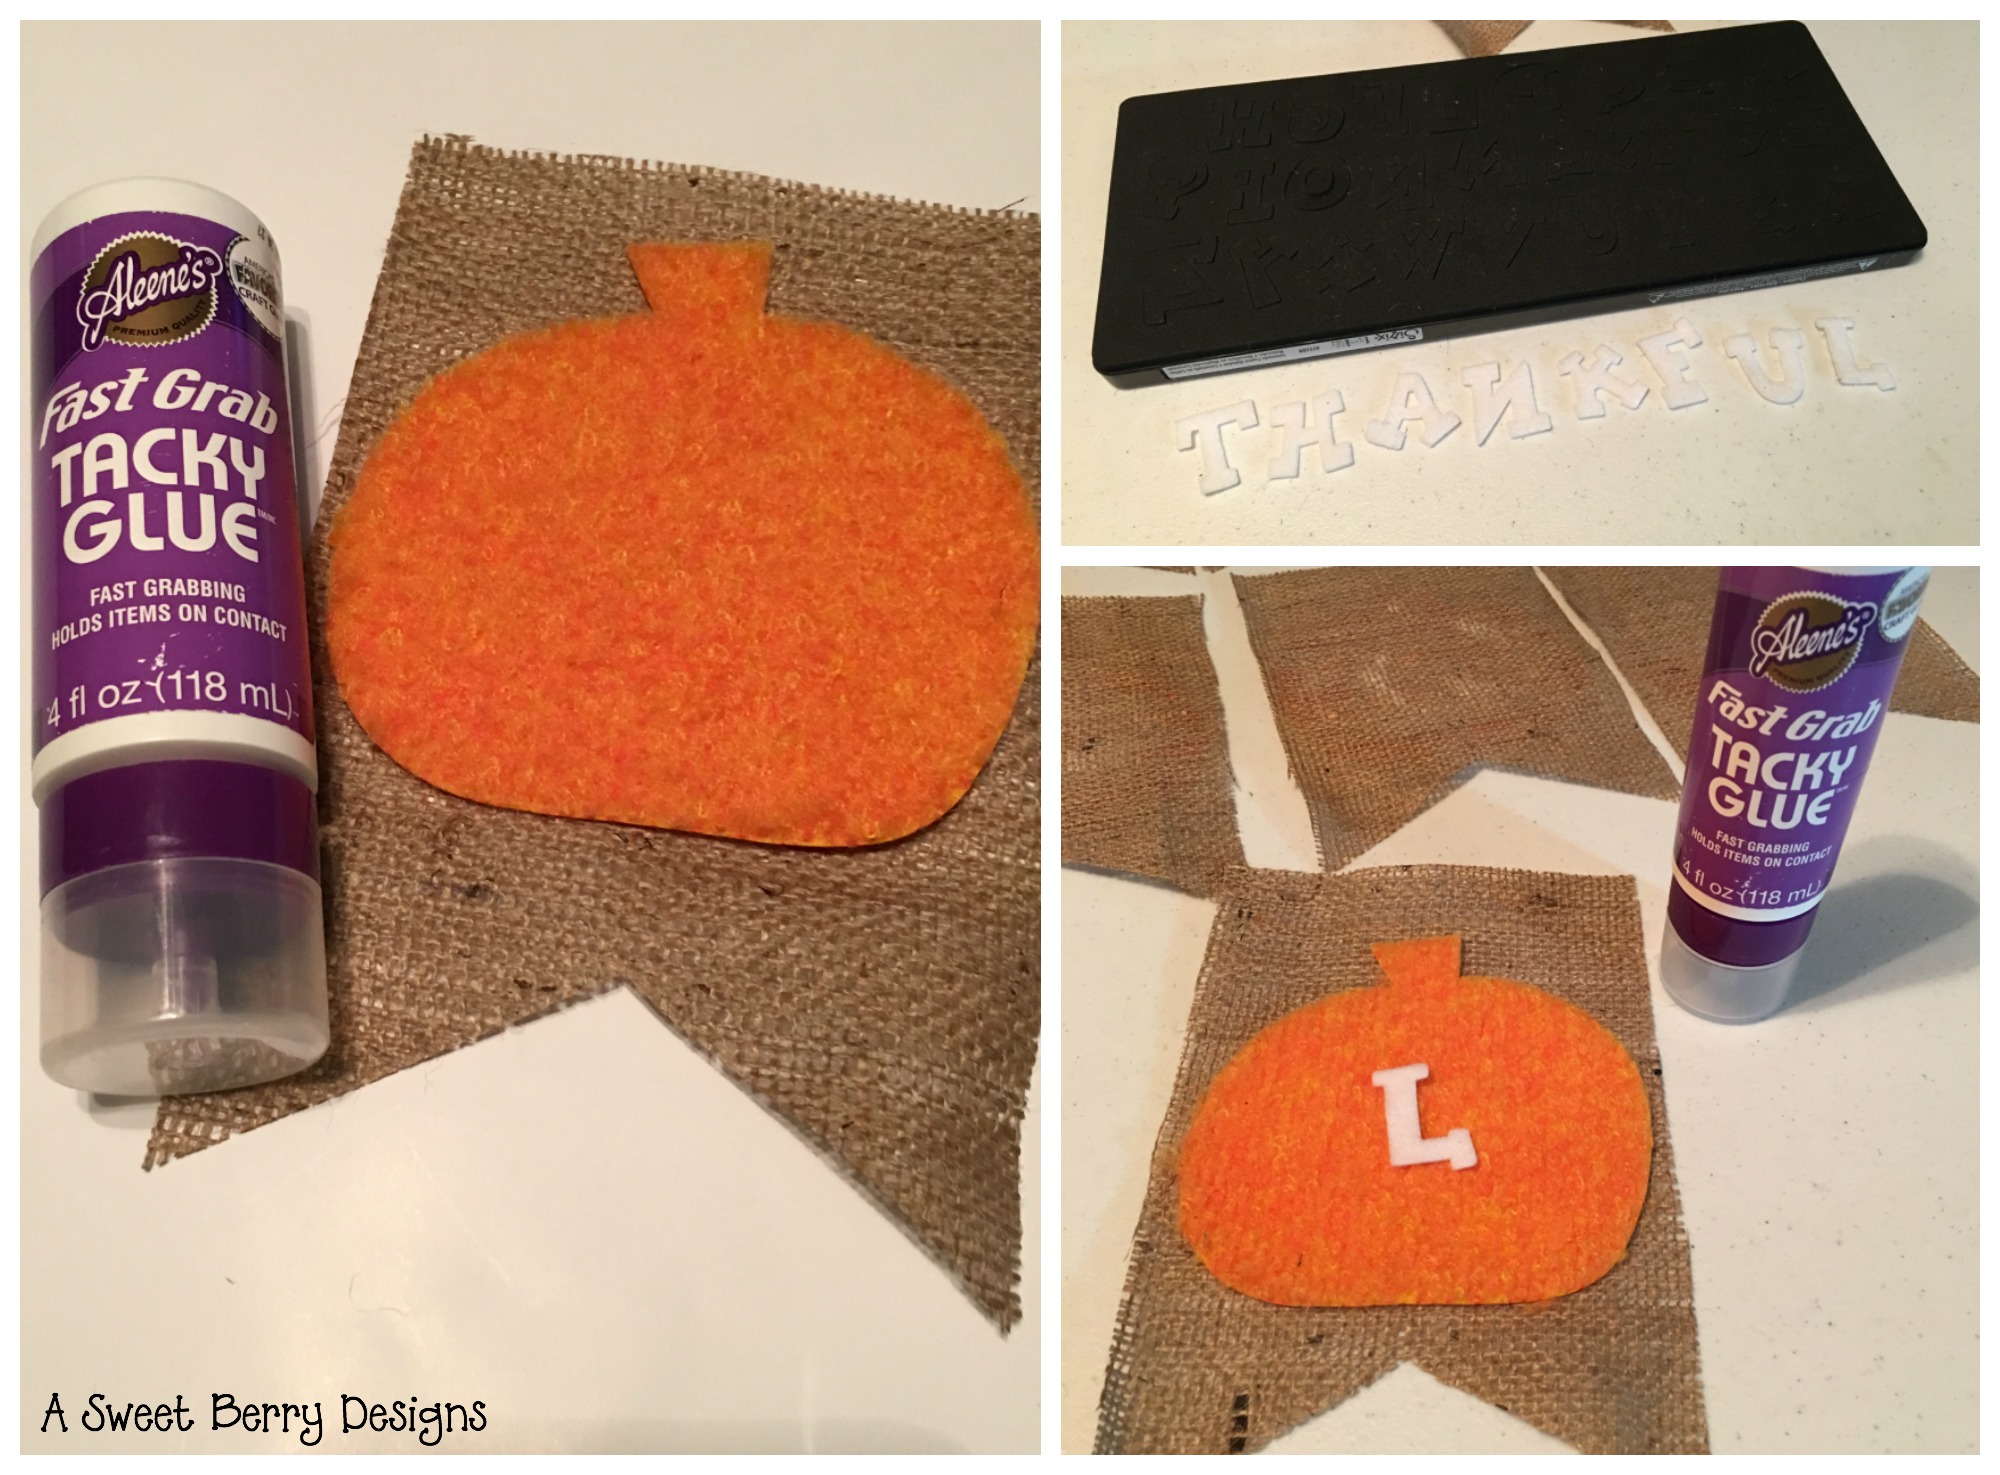
2.  Once all of my pieces were cut out, I started putting the banner together.  I glued the pumpkins to the burlap banner pieces.  Then I added the letter and the stem.

letters-and-gluing

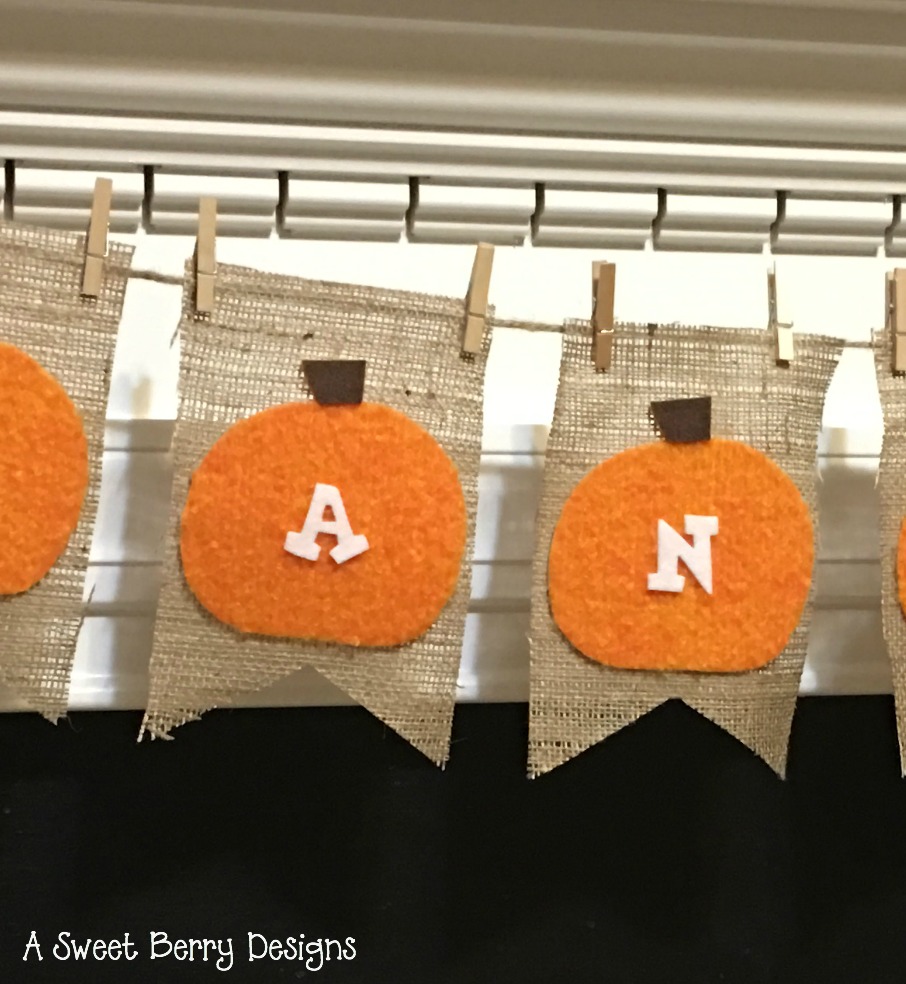
3.   Usually I like to use ribbon for my banners, but lately I’ve liked using jute rope.  Jute rope goes really well with the burlap!  And I love the natural look of the jute rope!

unclose

I hope you like my Thankful burlap and felt banner.   I love it so much that I want to keep it out longer than just the Thanksgiving season.  I hope that you and your family have a Happy Thanksgiving!

Katie-Signature-2

Teacher’s Name Banner featuring Laura Kelly’s Apple #2 Die from Sizzix

Disclosure:  I am a member of the Laura Kelly Design Team and received product to provide product reviews and to write about in blog posts.  

 
Final
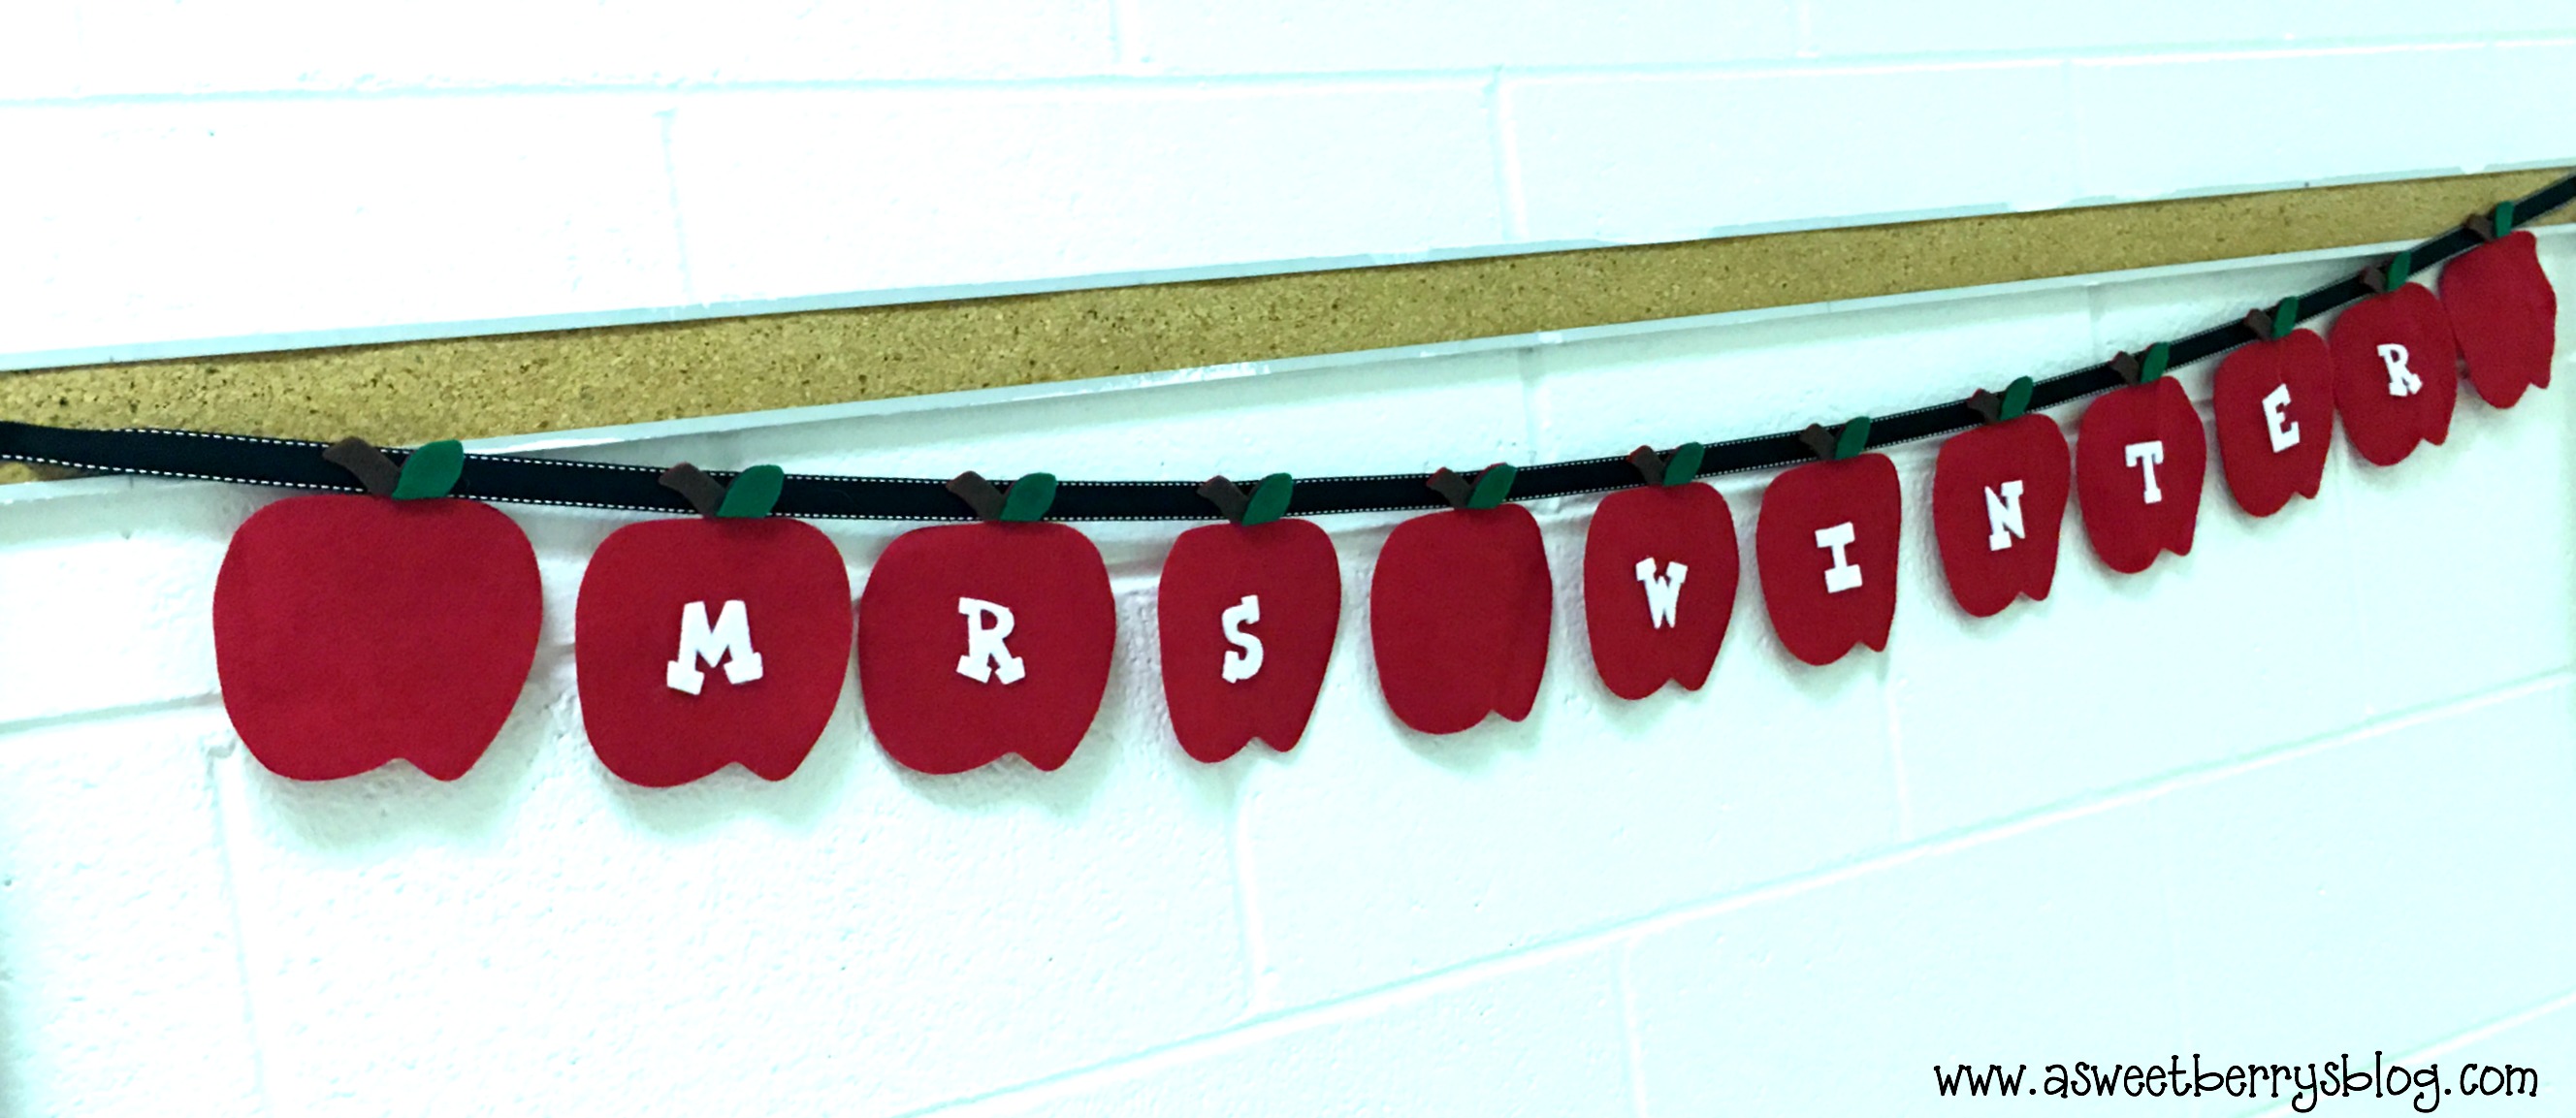
If your children aren’t in year round school like mine, it’s time for yours to go back to school!   I am excited to share this Teacher’s Name Banner that would be perfect for a teacher to hang in their classroom or right outside of the classroom.   It’s super simple and is a no sew project!  Your children could even help with cutting out the pieces!   I love making homemade crafts for my children’s teachers.  

Materials used:

Sizzix Big Shot
Laura Kelly’s Apple #2 Die from Sizzix
Laura Kelly’s Lemonade Capital Alphabet Die from Sizzix
Cutting Pads  (short and long)
Kunin Felt
Ribbon
Ad-tech Hot Glue Gun and Glue Sticks
Fiscar Scissors

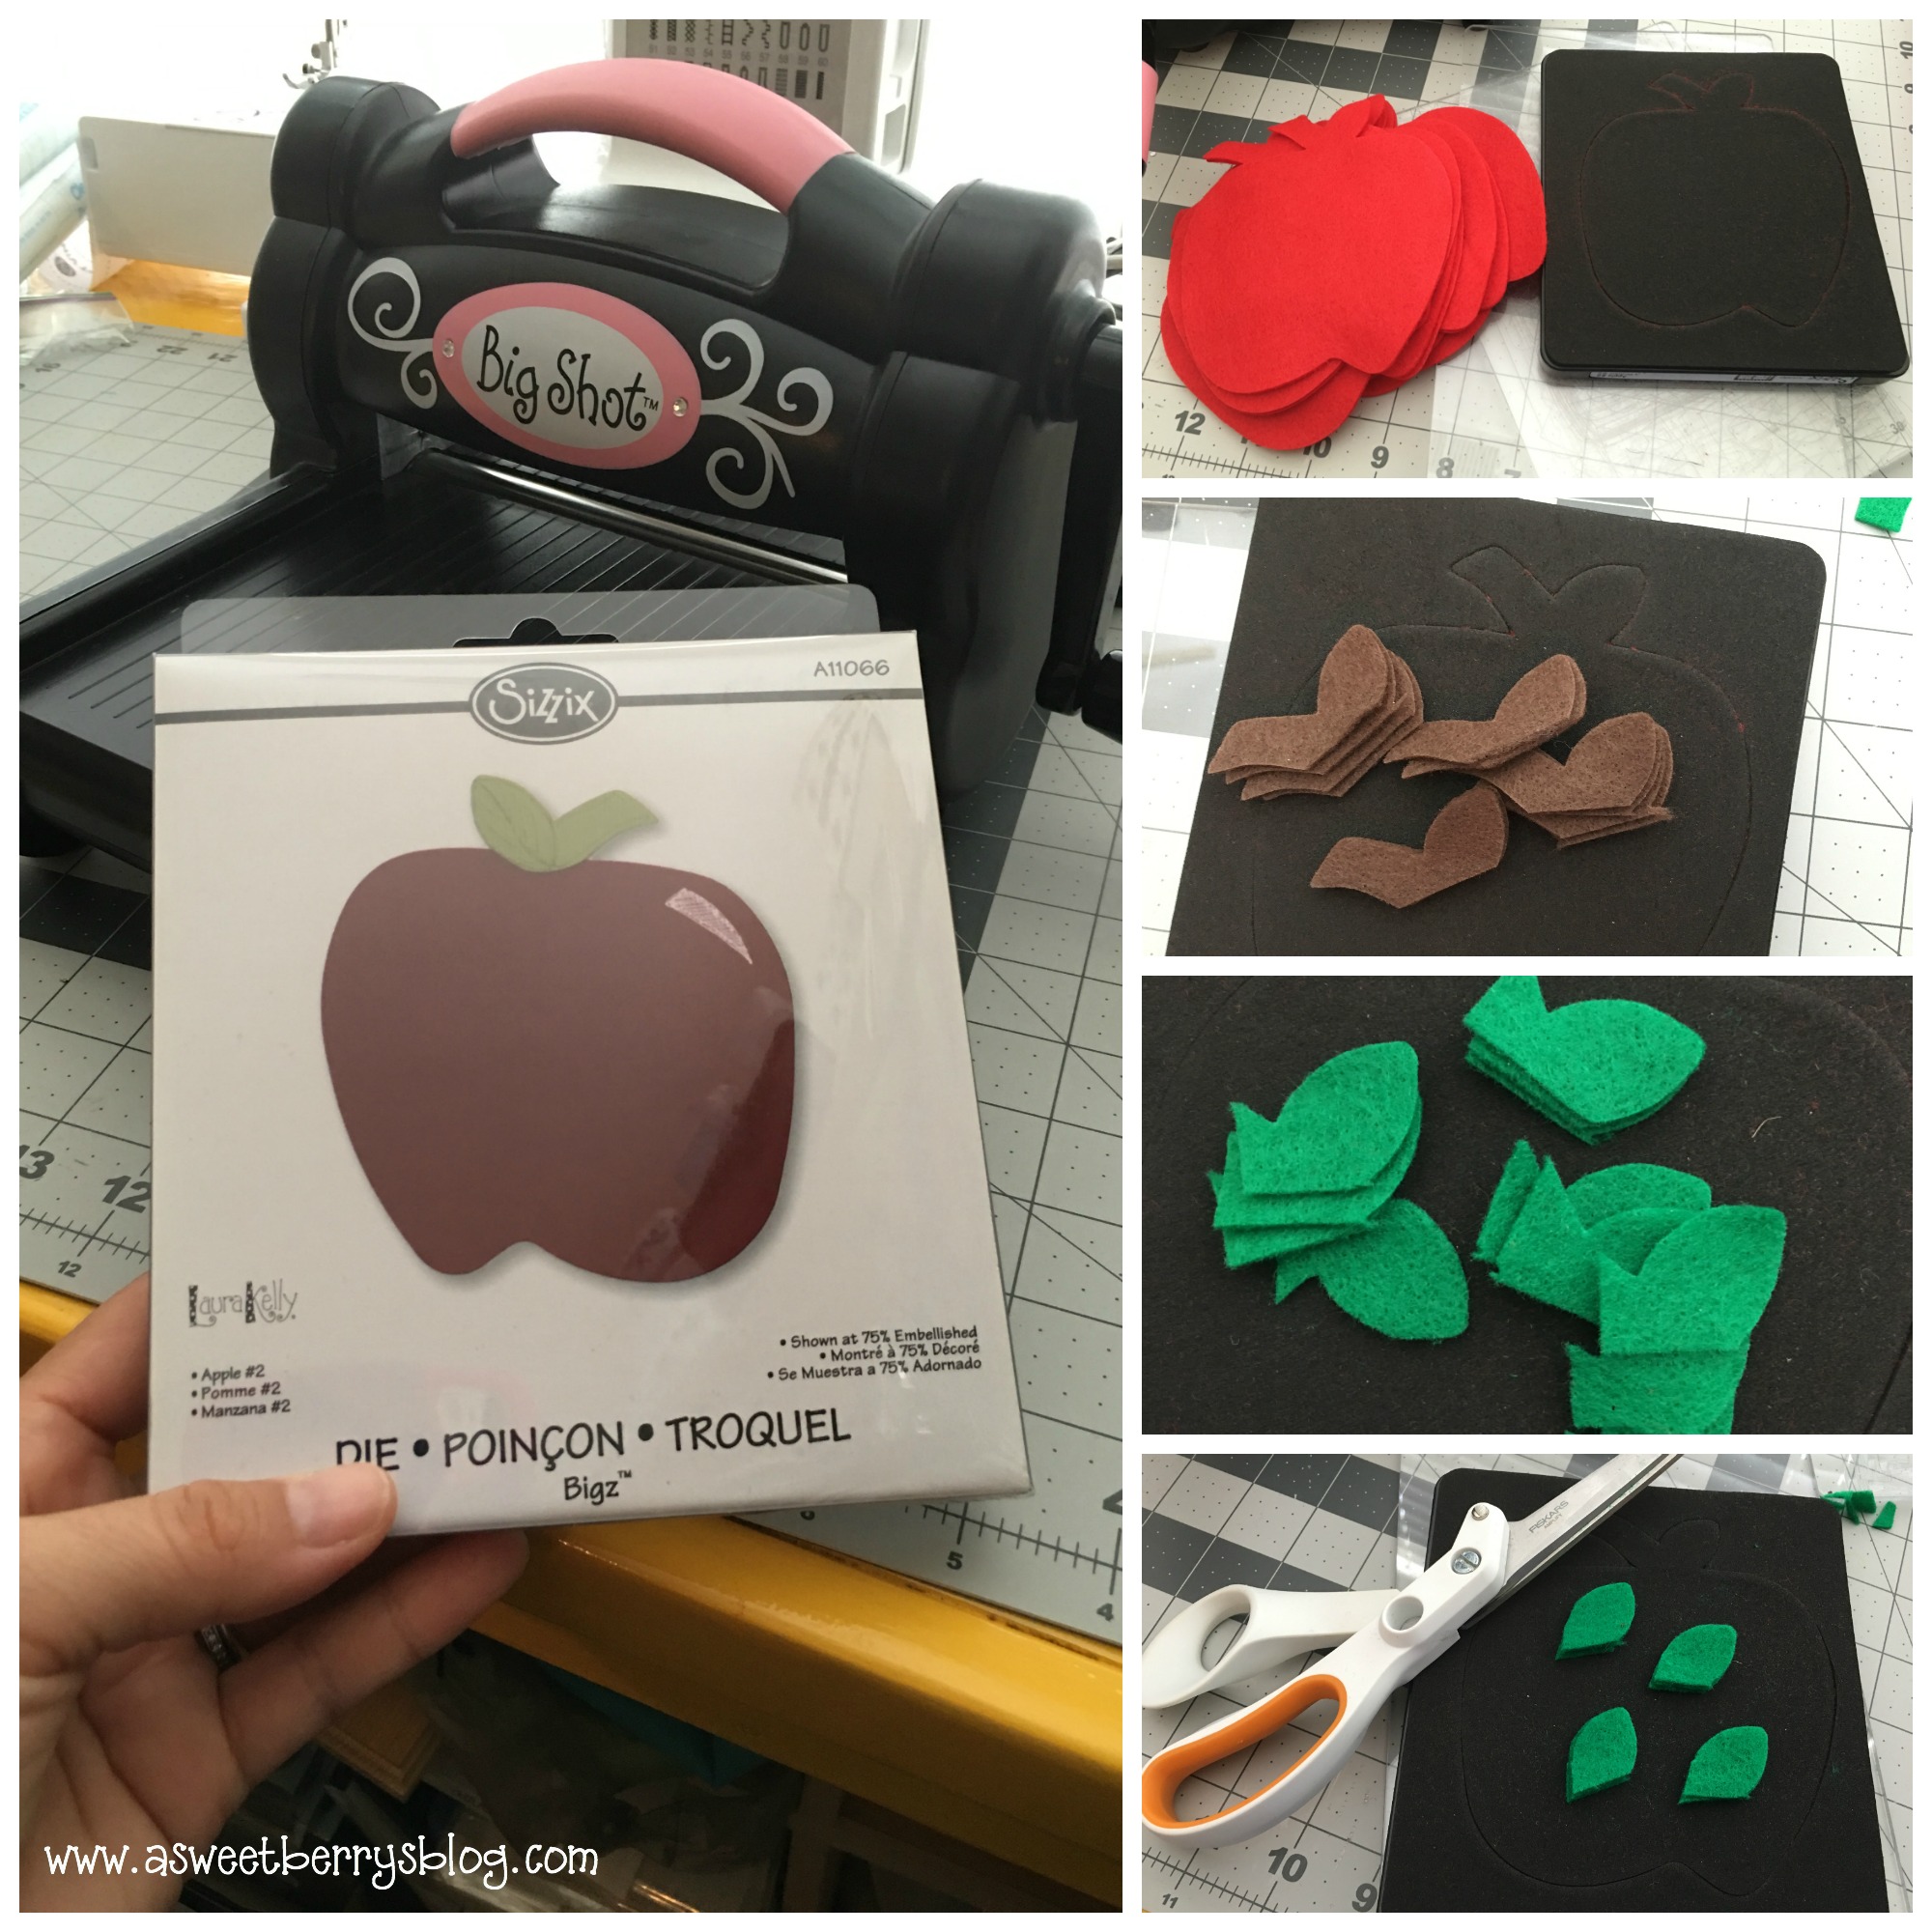
Die Cuts 1.  First, I use the Sizzix Big Shot, Cutting Pads, Felt and Apple Die to cut out all of my pieces.  I did a full cut for the apple and then for the stem and leaf, I just placed my felt over the steel blade and ran it through the Sizzix Big Shot.  

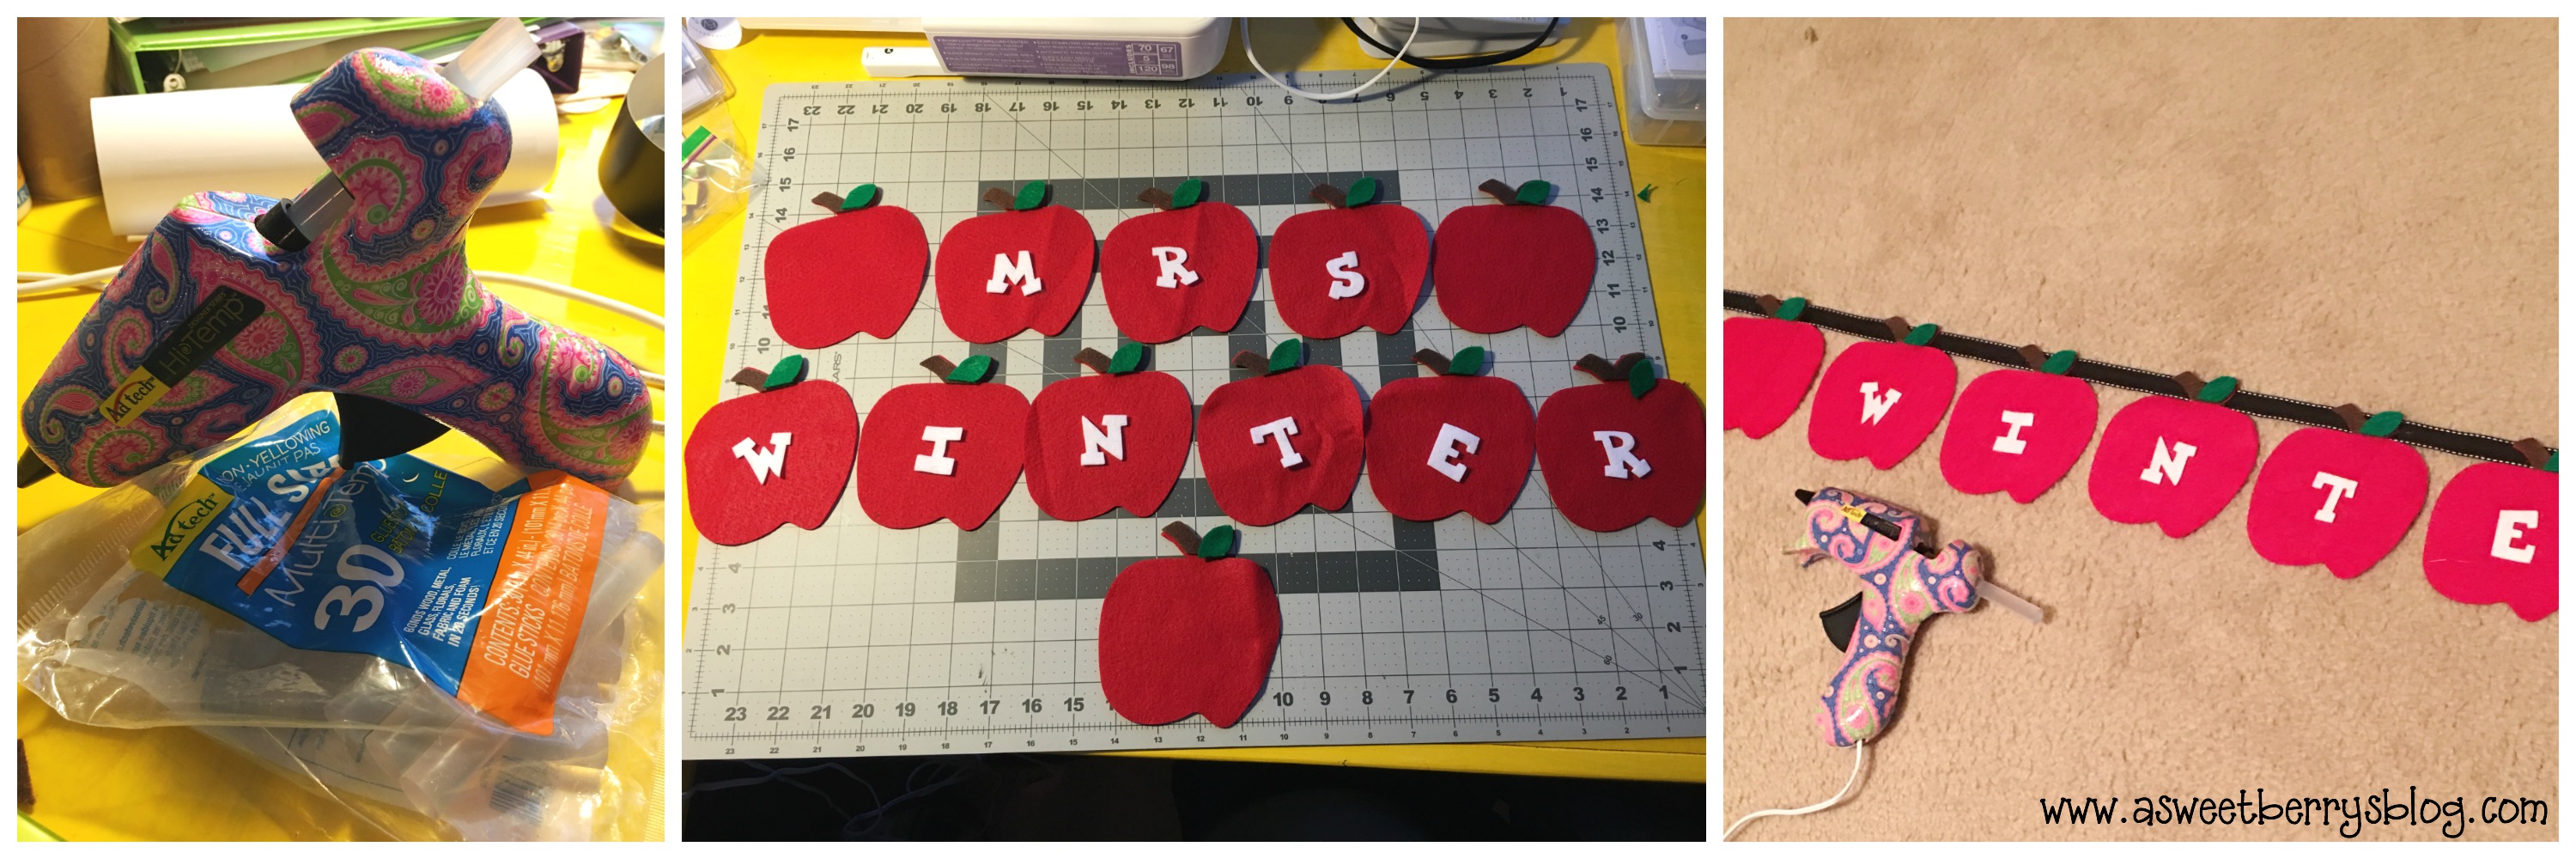
2.  Then, I used Laura’s Lemonade Alphabet Die and Long Cutting Pads to cut the letters (Mrs. Winter, one of our favorite teachers!!) Adtech 3.  Once everything was cut out, I used my Ad-tech Hot glue gun and glue sticks to glue the stem    and leaves down to the apples.  

4.  I then glued them to a long piece of ribbon. Hallway

I hope you like my Teacher’s Name Banner featuring Laura Kelly’s Apple Die #2.   I had so much fun making it.  

Until next time…..

Katie-Signature-2

Cherry Man Cherry Cream Cheese Rolls with Cherry Cream Cheese Frosting

Final

Disclosure:  This blog post is compensated and I also received product from CherryMan/Seneca Foods for this blog post.  All opinions are my own.  This recipe is also my own recipe.   This post is a part of the Laura Kelly Design Team.   There is also an Expressionery.com affiliate link in this post.

Cherries are very popular in our house with the boys, especially Maraschino Cherries.   And CherryMan has the best!   I am so excited to share this yummy recipe with you.   It is great for a special breakfast or for an afternoon snack!   It could also be for an after dinner dessert!  It’s a super easy recipe, only consisting of a few ingredients and is a great recipe for the children to help with!

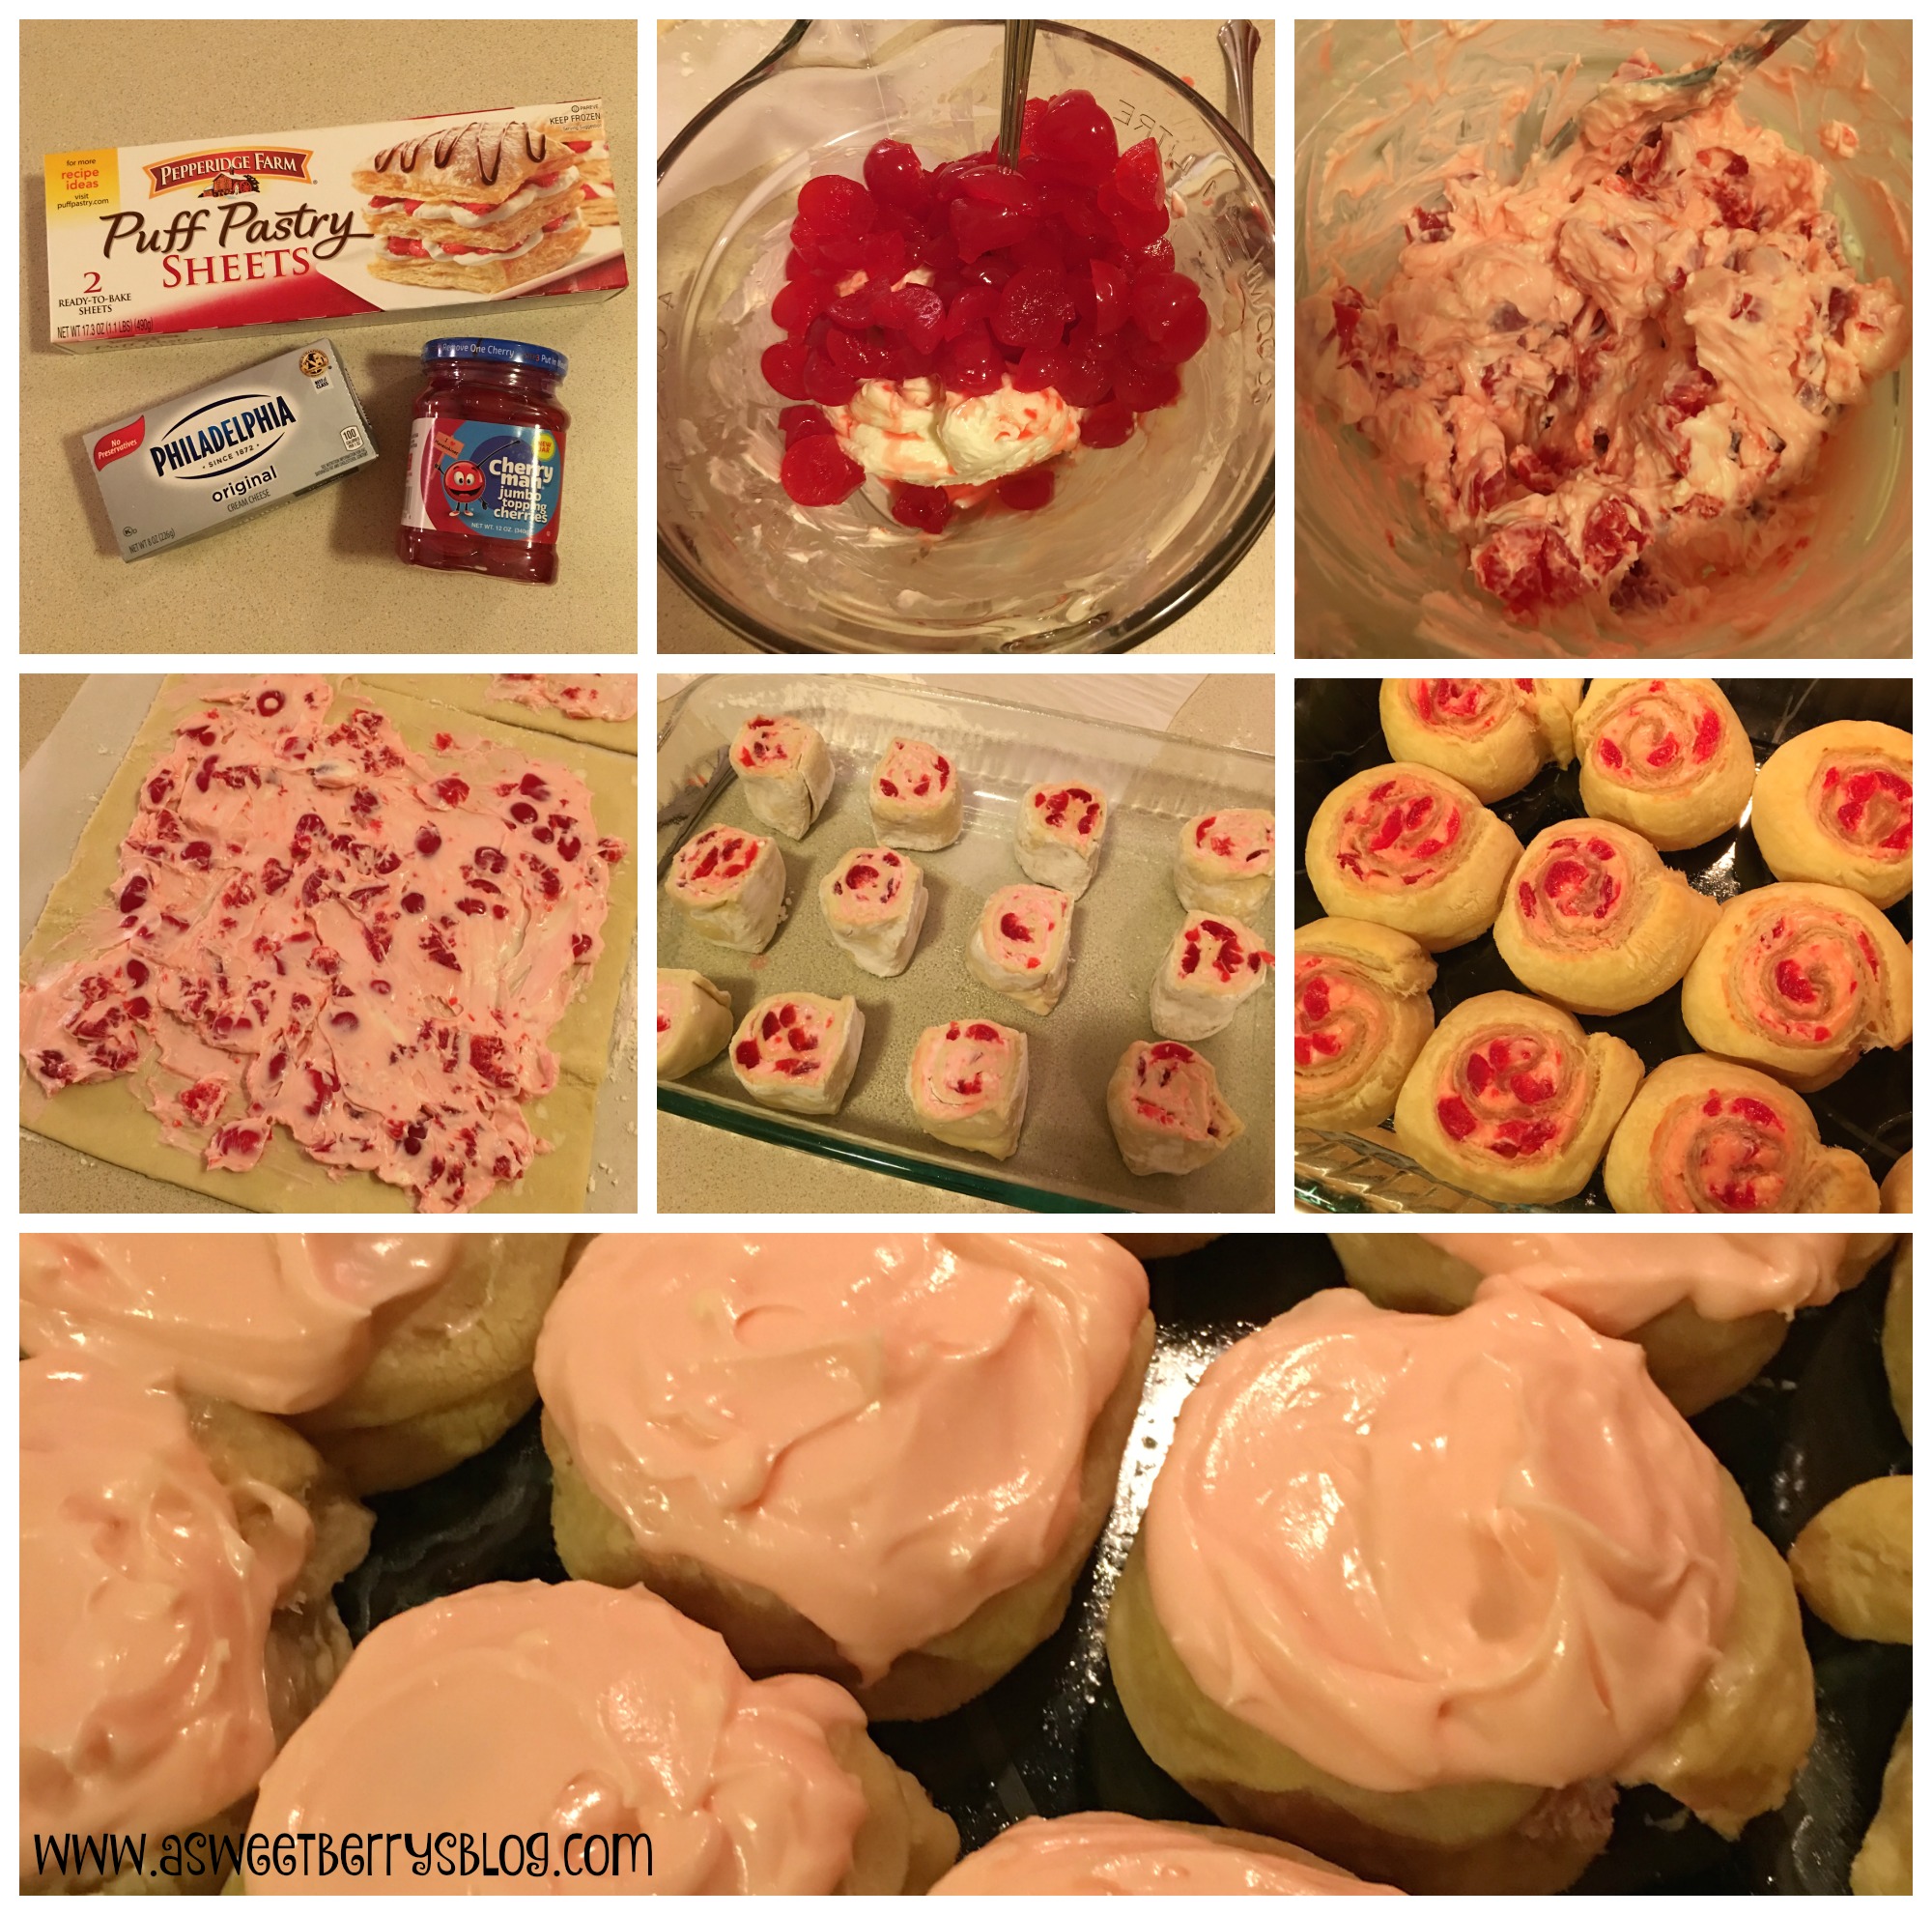
making of

Cherry Man Cherry Cream Cheese Rolls with Cherry Cream Cheese Frosting

Ingredients

  • Pepperidge Farms Puff Pastry Sheets (you will need 2 sheets)
  • 16 oz of Cream Cheese
  • 1 jar of CherryMan Maraschino Cherries with juice
  • 1.5 cups of Powder Sugar
  • 4 tbsp butter

Instructions

  1. Chop the cherries into quarters. You can save a few to add to the top on your frosted rolls. Make sure to save the jar of juice.
  2. Mix the cherries in with 8 oz of cream cheese.
  3. Roll the pastry sheets out onto a piece of parchment paper that has been lightly sprinkled with flour.
  4. Spread the Cherry Cream Cheese Mix out onto the pastry sheets.
  5. Roll the pastry sheets up and slice into rolls. I cut mine at about 1.5 inches, getting 6 out of each roll.
  6. Place in a lightly greased baking dish or pan.
  7. Bake at 400 degrees for 30 minutes.
  8. Let cool.
  9. In a mixing bowl, mix together 8 oz of cream cheese with butter until smooth.
  10. Add in the 1.5 cups of Powder Sugar.
  11. Add in 7-8 tsp of the cherry juice. You can add more or less, to your liking.
  12. Spread on cooled rolls.
  13. If you saved cherries for the top, add one to each roll.
Schema/Recipe SEO Data Markup by Yummly Rich Recipes
https://www.asweetberrysblog.com/2016/06/15/cherry-man-cherry-cream-cheese-rolls-with-cherry-cream-cheese-frosting/

You could also give these sweet treats out to friends or family.  Using my Sizzix Eclips2, I cut out a cute little square box with a lid that I purchased from the SizzixShapeStore.  Using a Tombow tape runner, I put it together with the instructions provided with the cutting file.  I cut out cherries, leaves and stems and added them to the sides of my box!  Once the box was complete, I used my Expressionery.com self-inking stamp designed by Laura Kelly to make a label for the top of my box.  You can get your own self-inking stamp here!!! box

I hope you decide to try this delish dessert!  It was adult and kid test and approved!  

Katie-Signature-2

As this post was a part of the Laura Kelly Design Team monthly post, there are many other CherryMan Cherry Recipes by some really great bloggers!  Be sure to check out those below.  Also, be sure to enter to win a CherryMan Prize Pack and $100 Gift Card!!!

a Rafflecopter giveaway


Until next time….


Sculpey Alien Magnets

aliens
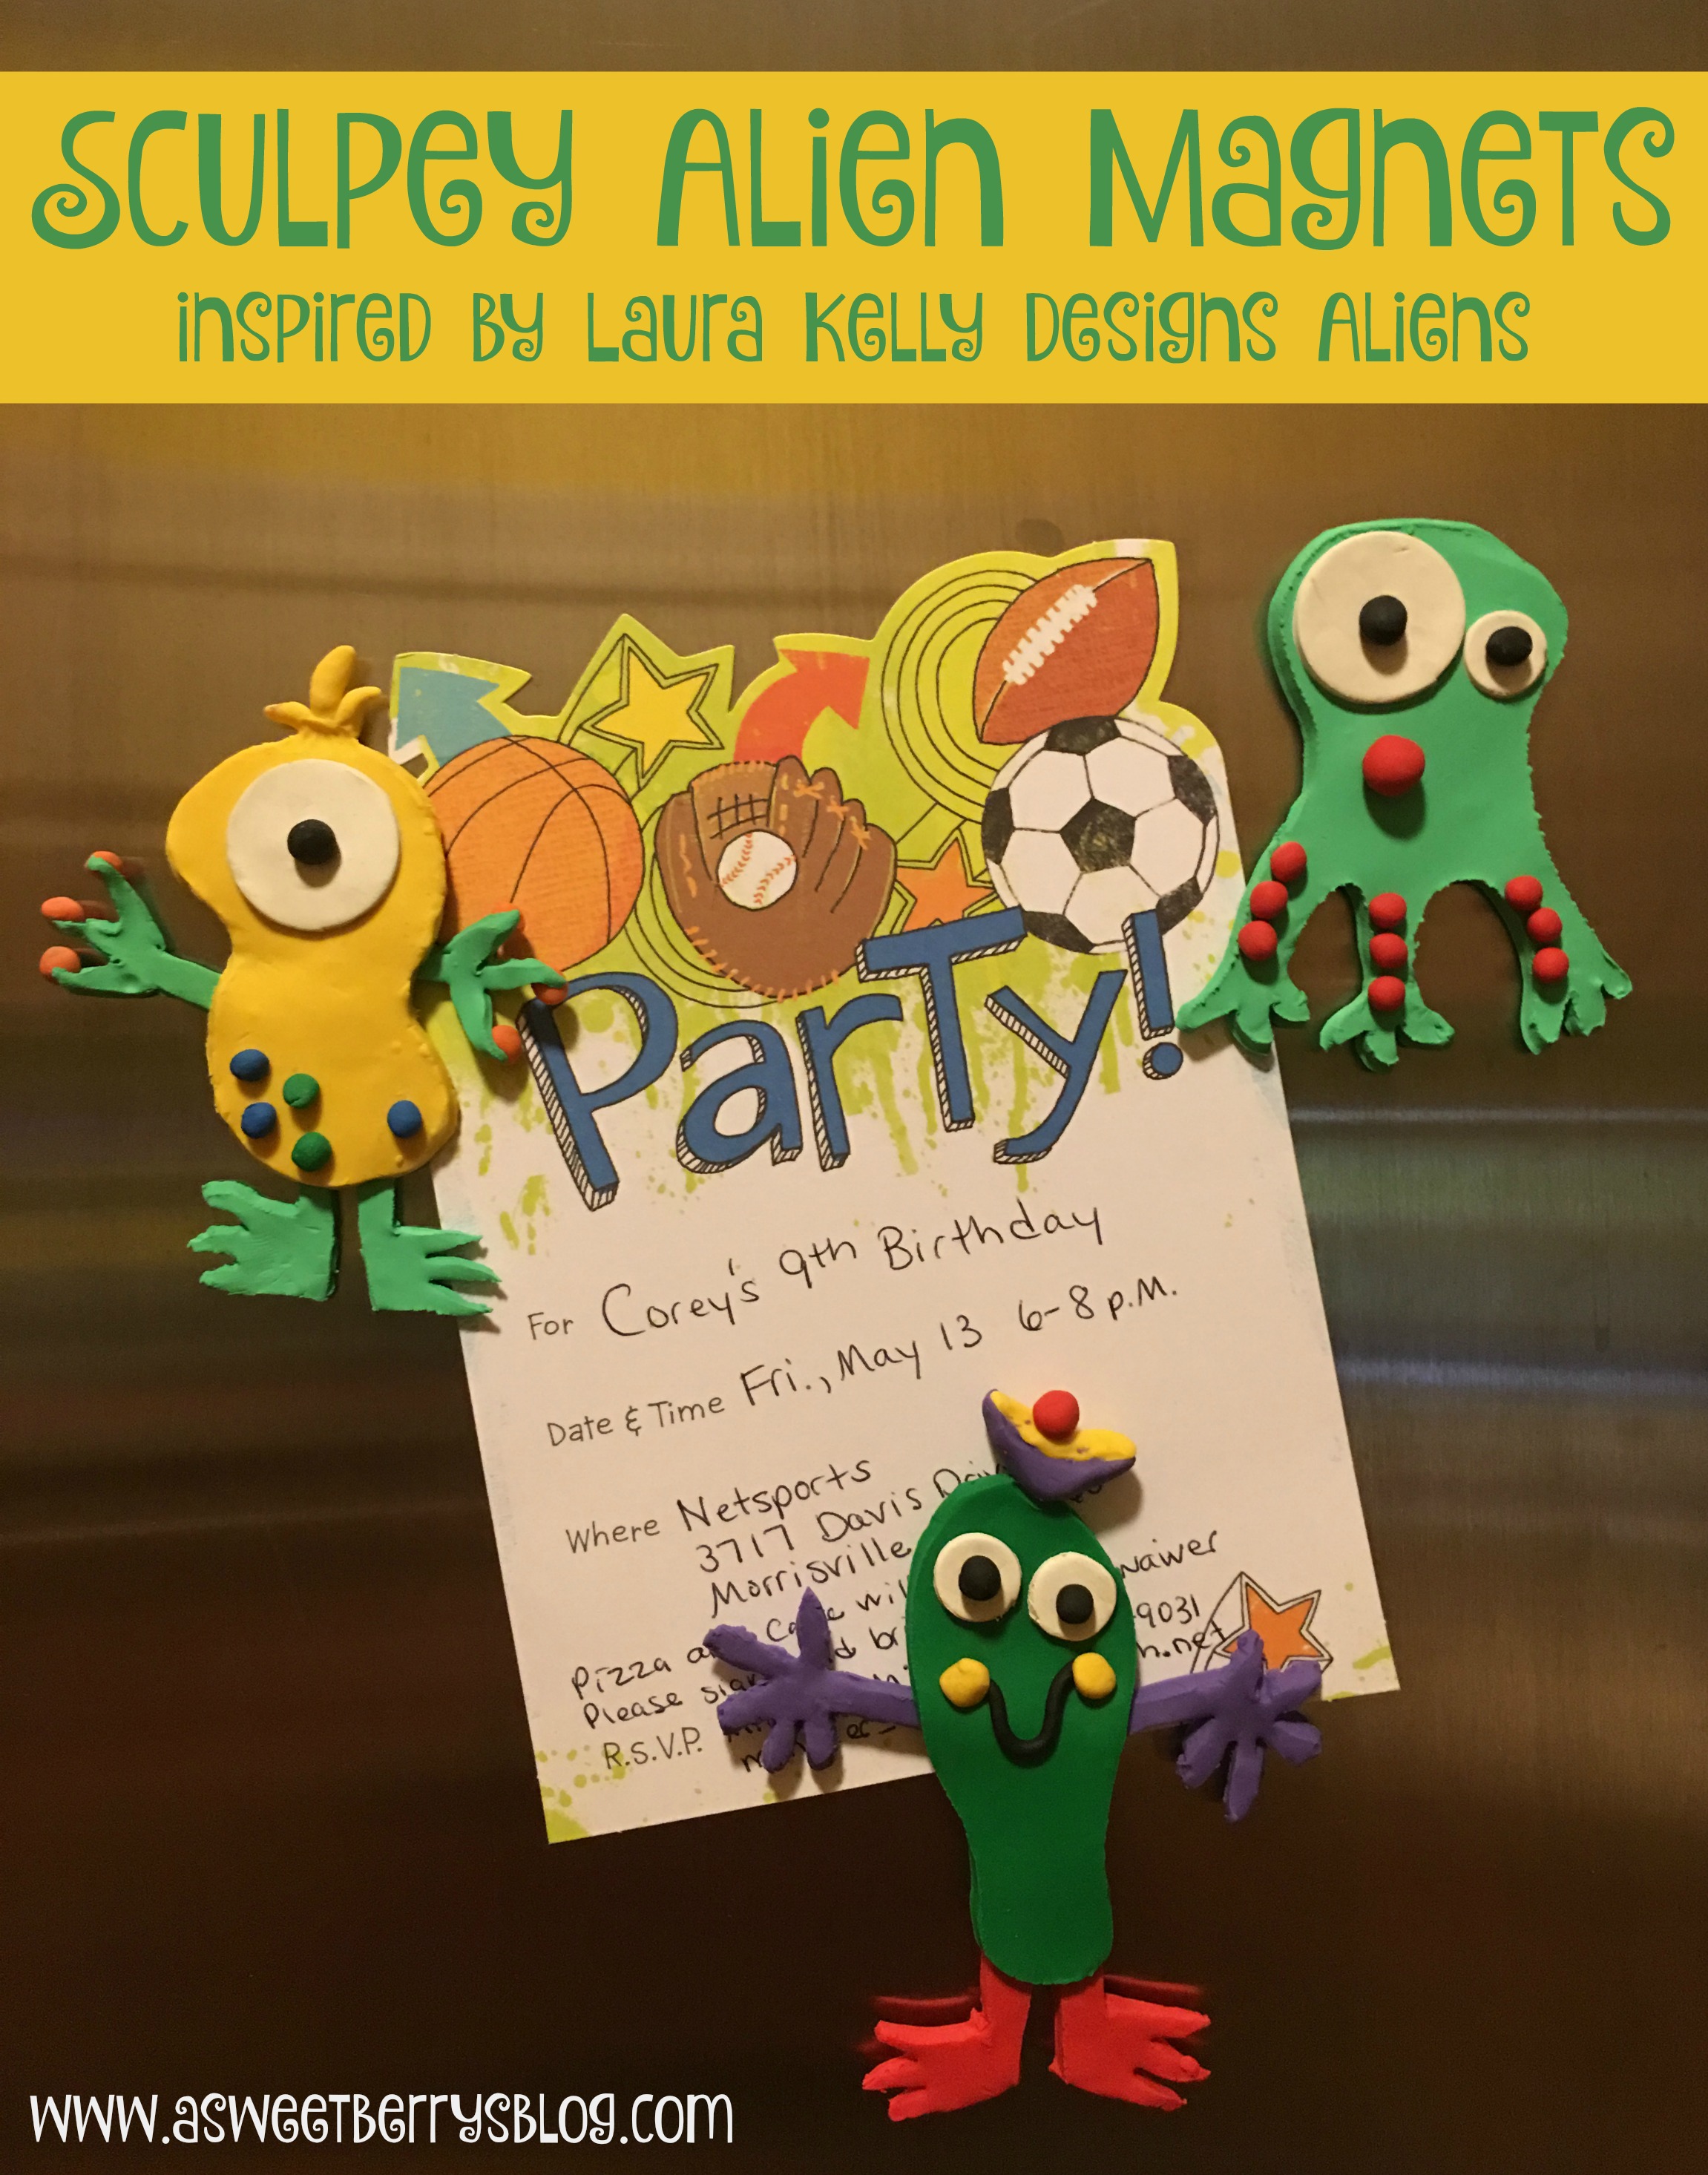
Everyone loves a good magnet, especially to hang up the kid’s art work!  I created these awesome Sculpey Alien Magnets inspired by Laura Kelly’s Alien and Cosmic Cafe Printables.  

Materials needed:
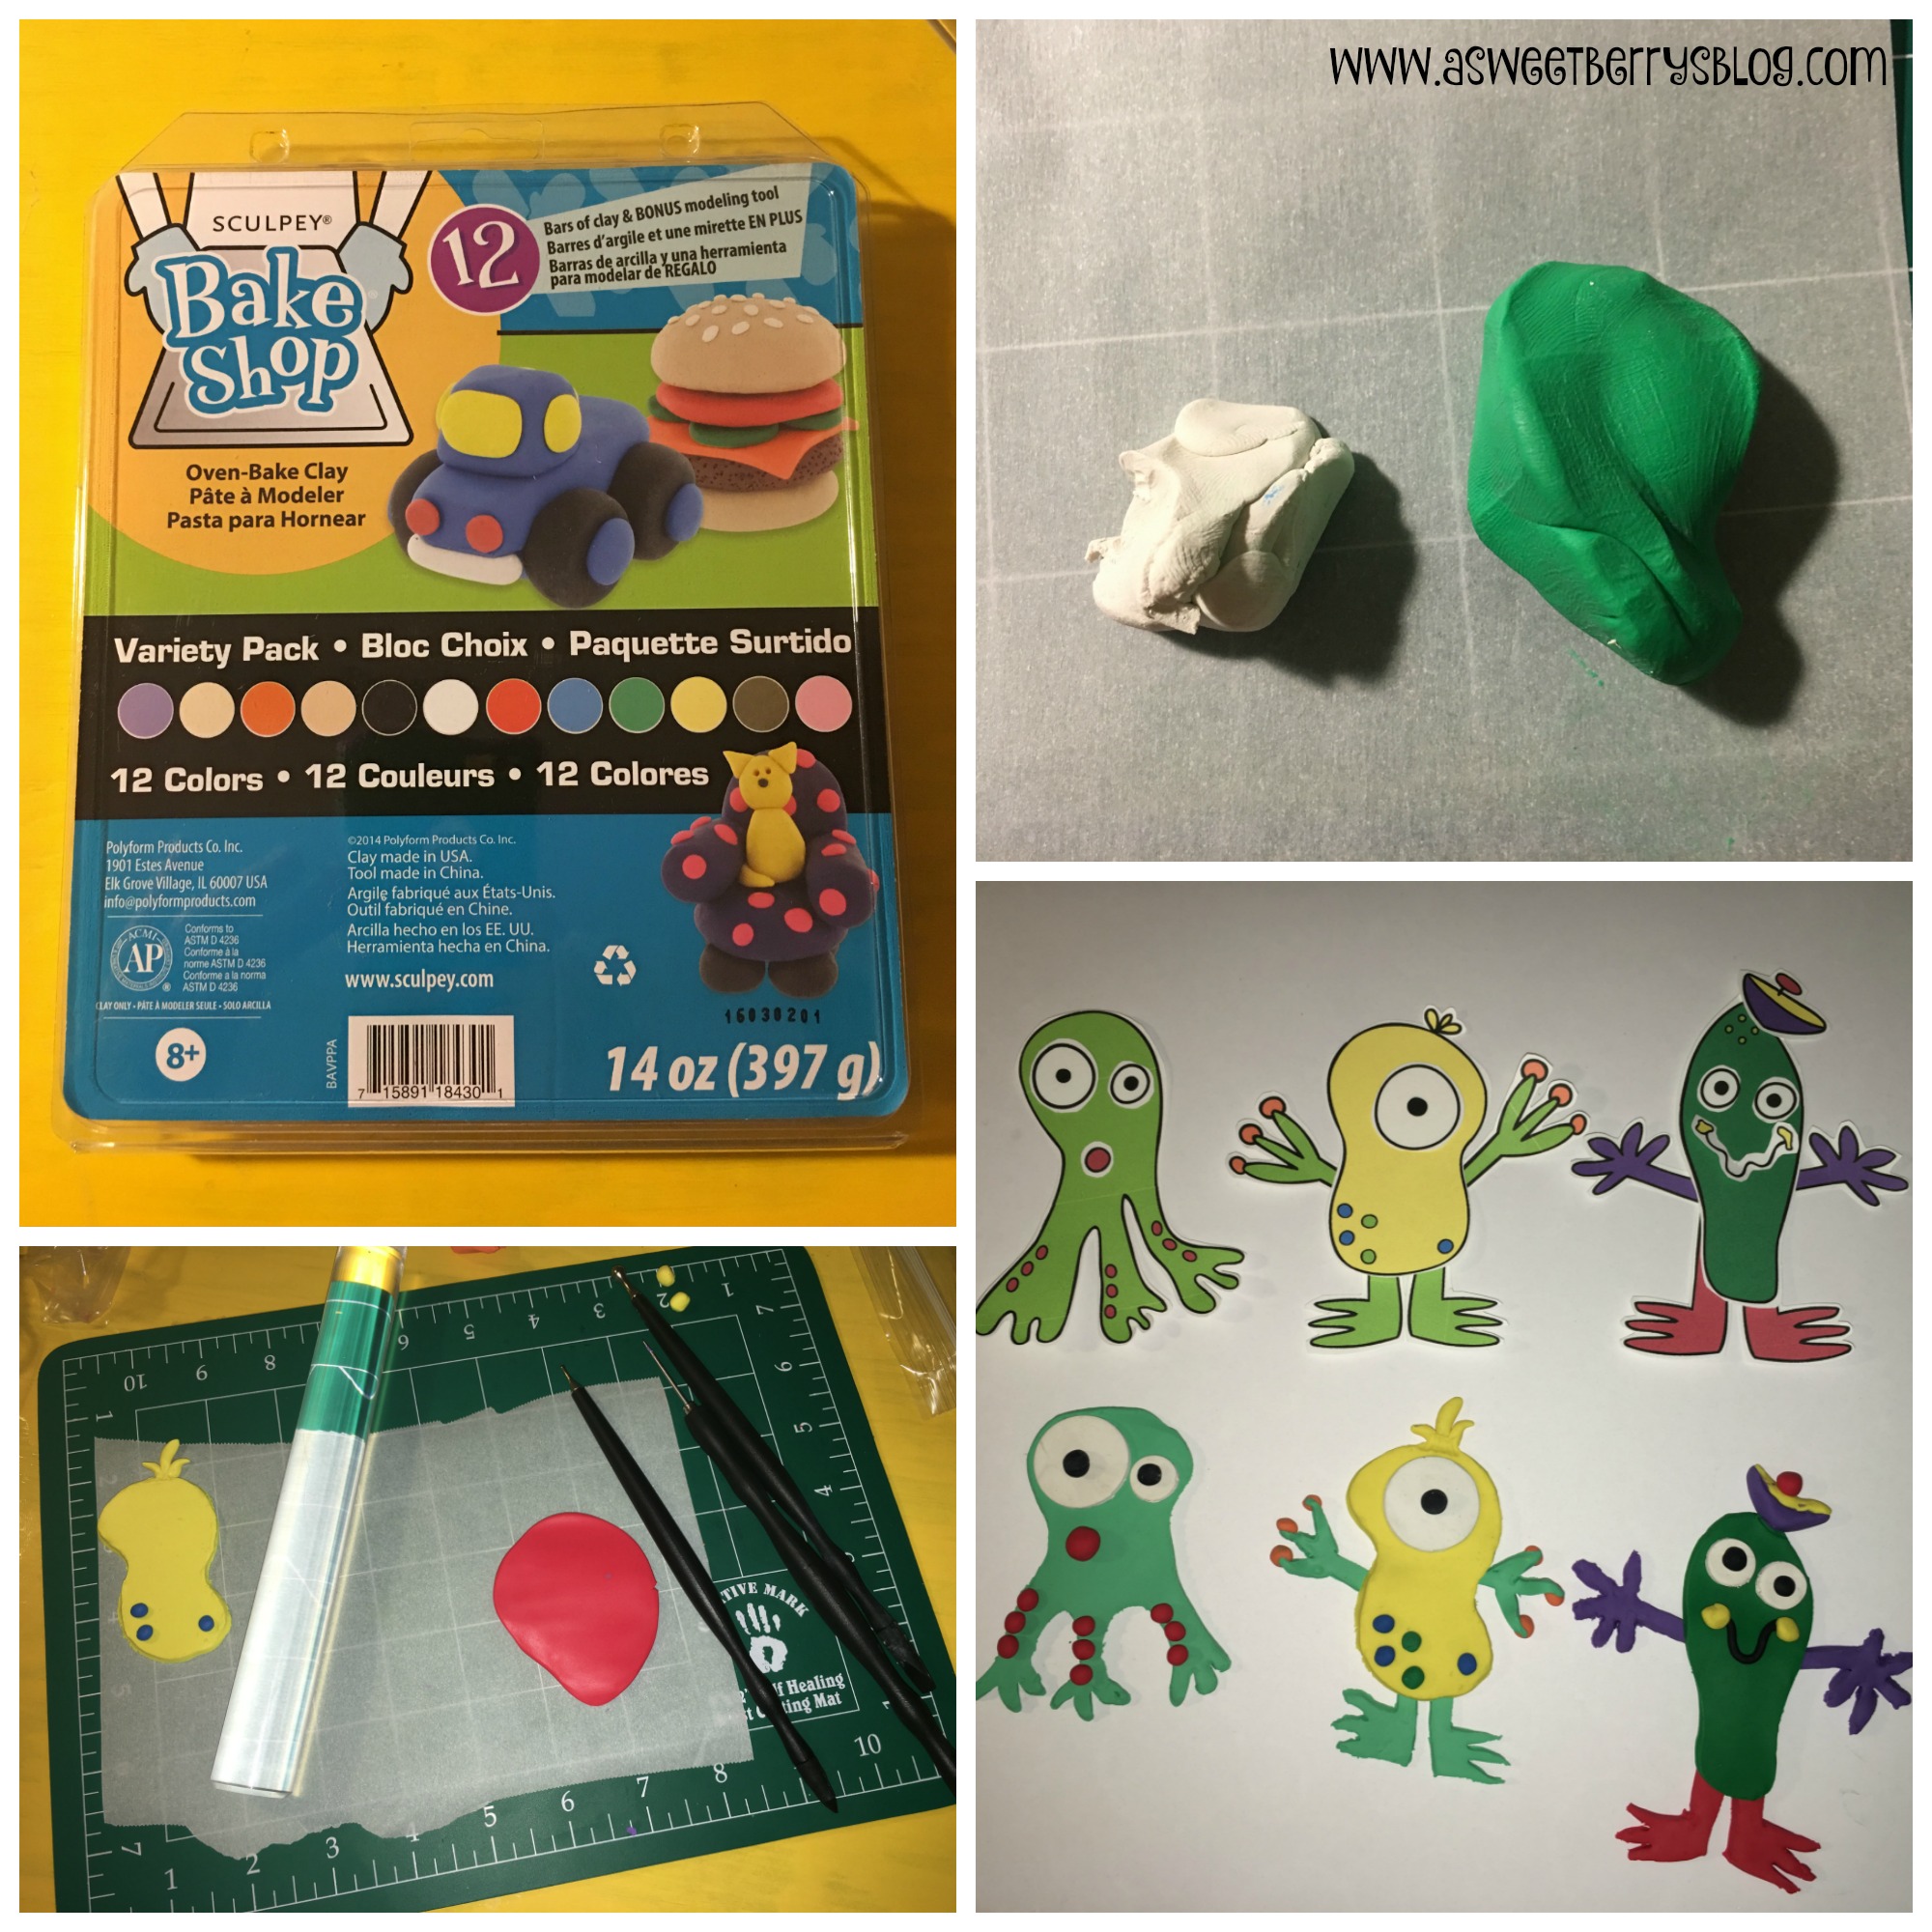
Sculpey (I prefer Bake Shop)
Clay tools
Laura Kelly’s Alien and Cosmic Cafe Printables
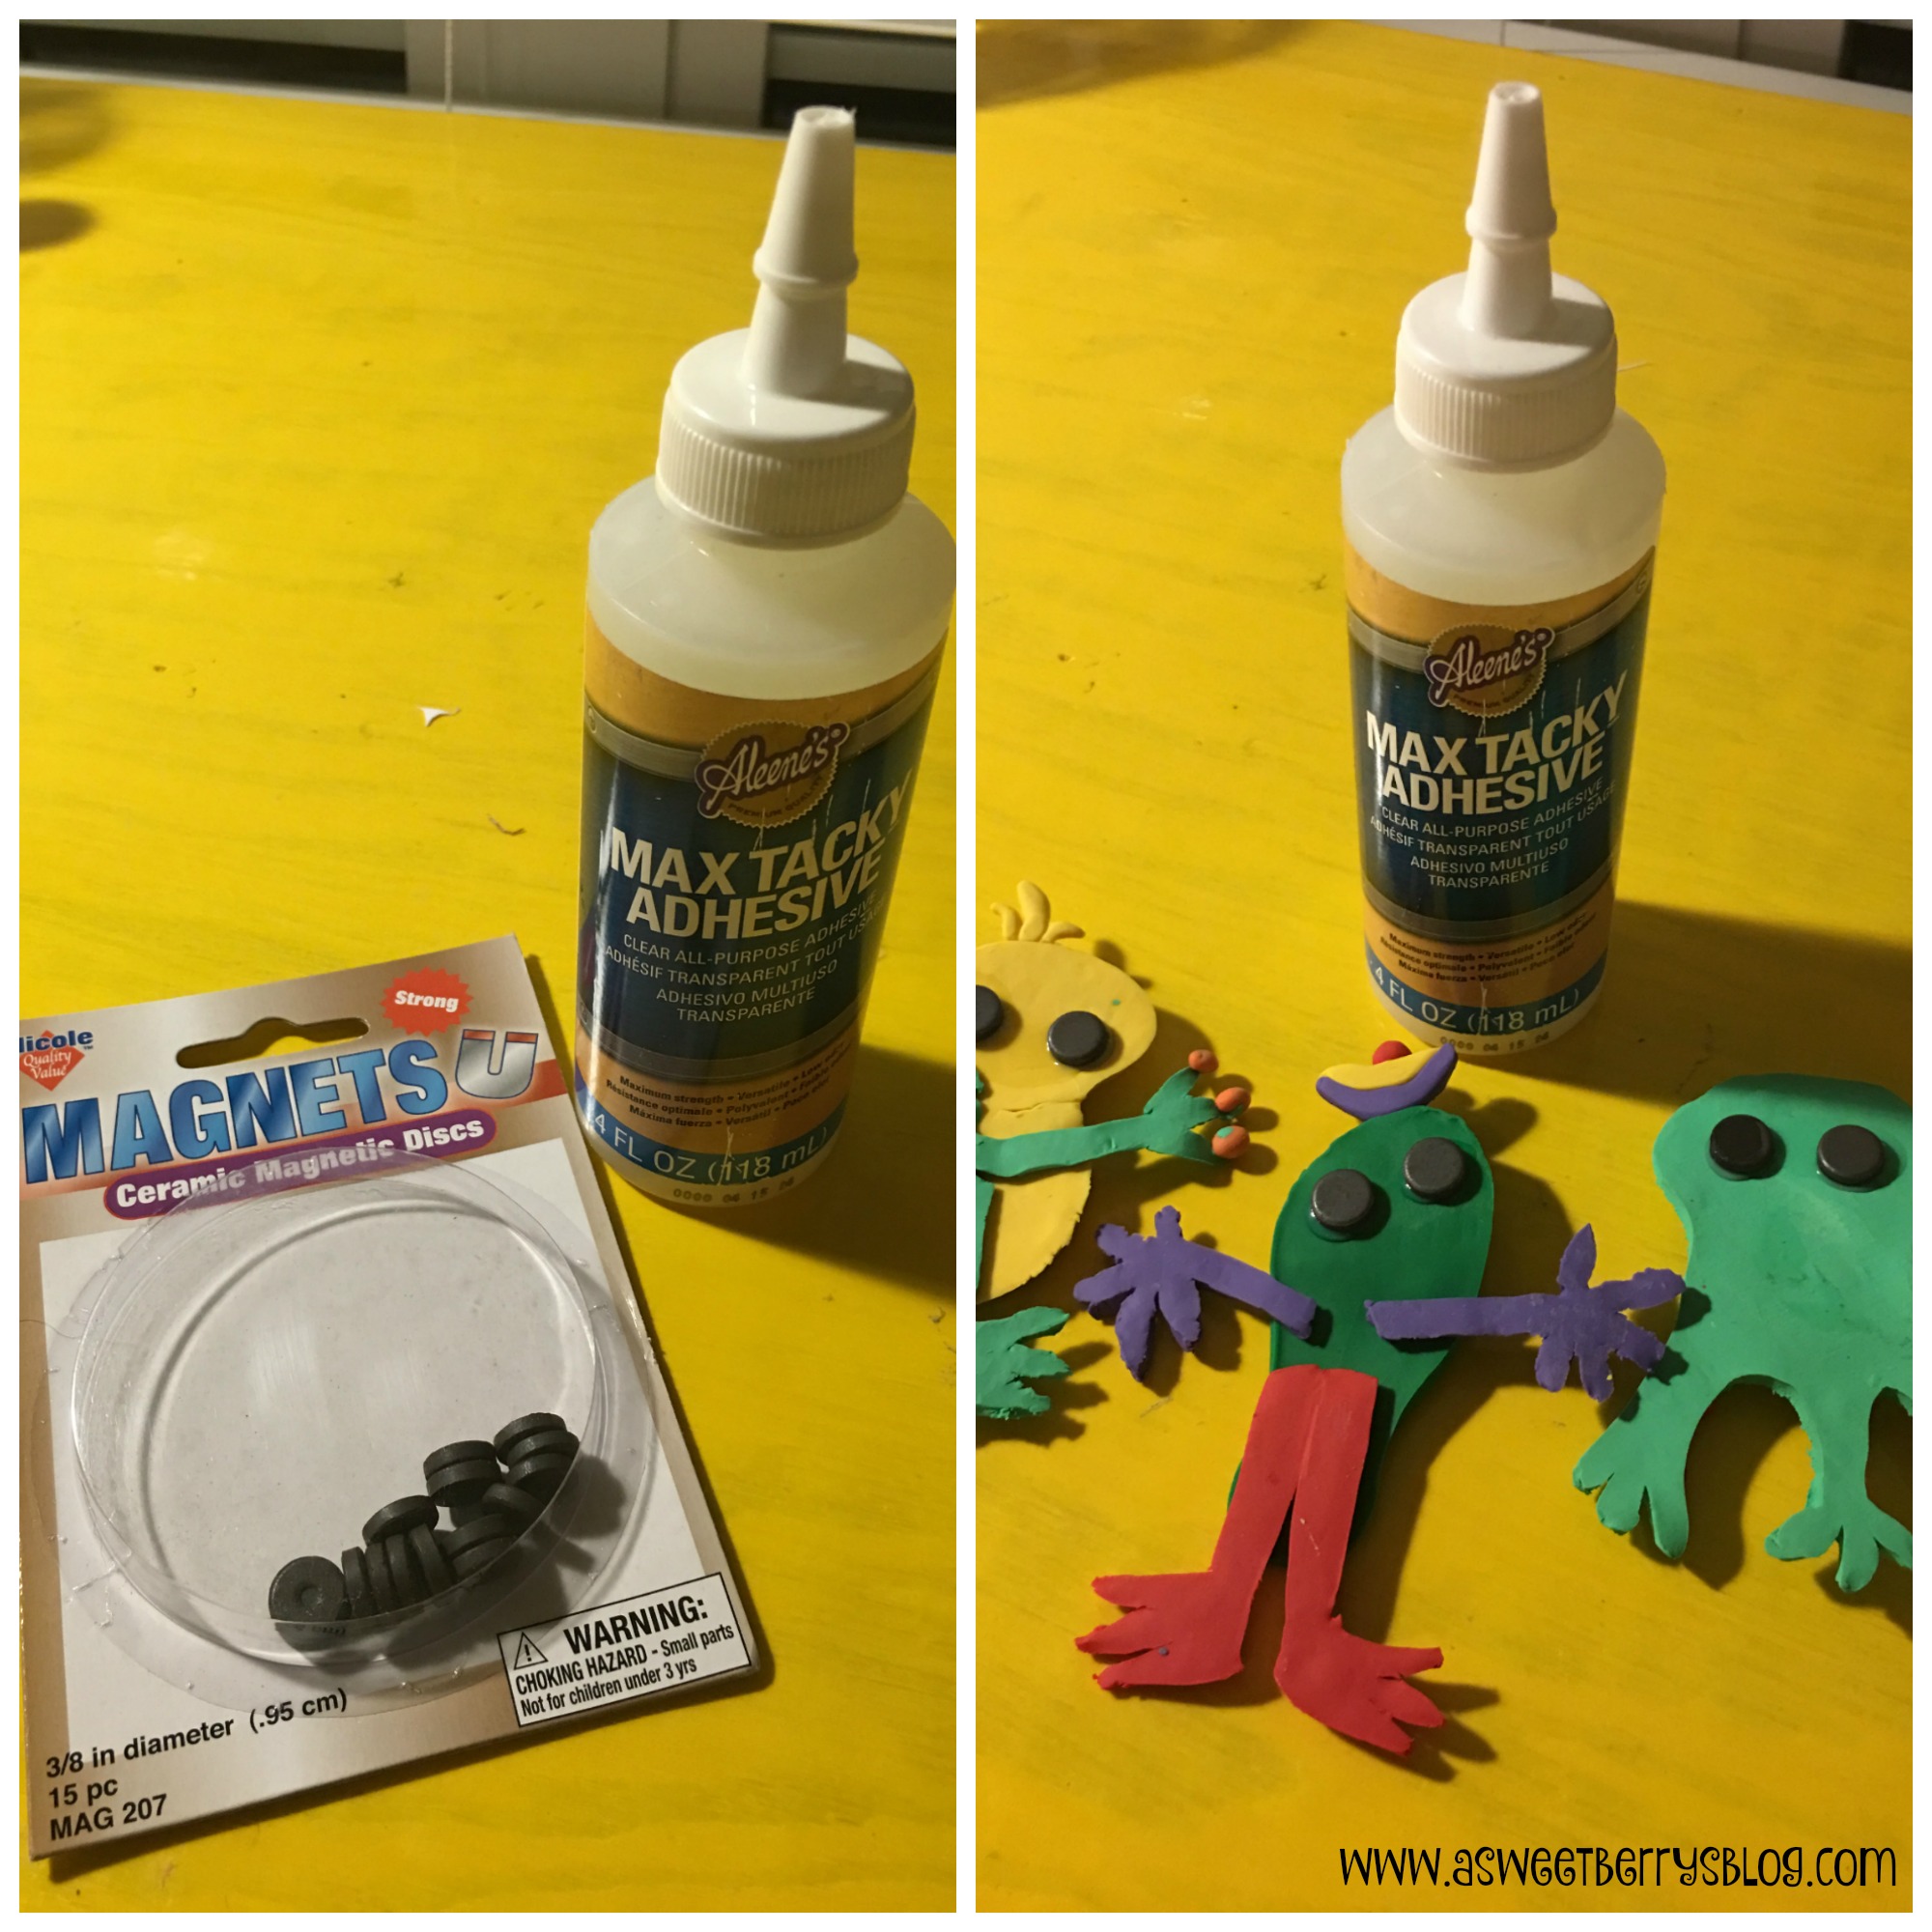
Magnets
Glue
printables
My friend Laura is an incredible artist.  She designed these Alien and Cosmic Cafe Printables.  You can get your own at www.shoplaurakelly.com.  I think they are absolutely adorable!

Sculpey’s Bake Shop Oven-Bake Clay is super fun and easy to work with!  And it doesn’t take long to bake and harden!  Using clay tools, I rolled out my clay and cut shapes that resembled a few of the aliens that I created with the printable.  I rolled out my dots and then put everything together!   I didn’t want two aliens that were the same color, so I added some white clay to my green to lighten it up.  
sculpey
Once my aliens were baked, hardened and cooled, I added magnets to the backs using Aleene’s Max Tacky Adhesive.  I let the glue dry and then hung my awesome Alien Magnets on the refrigerator!  
magnets
Hope you like my awesome Alien Magnets inspired by Laura Kelly’s Aliens!

Be sure to check out these other awesome Sculpey ideas!


And most definitely enter to win $50 worth of Sculpey and a $25 Walmart gift card!

a Rafflecopter giveaway

Until next time…….

Katie-Signature-2

LKDT-Badge-2

End of the School Year Banner

Before we know it, this school year will be ending and it will be Summer time!!!!  It’s hard to believe, but it’s true!   At our house, we are super excited about our summer vacation and the fun things that we get to do!   In honor of the End of the School Year, I made this adorable little “Happy Summer” banner using Laura Kelly’s Peep and Lemonade Alphabet Dies from Sizzix! 
banner
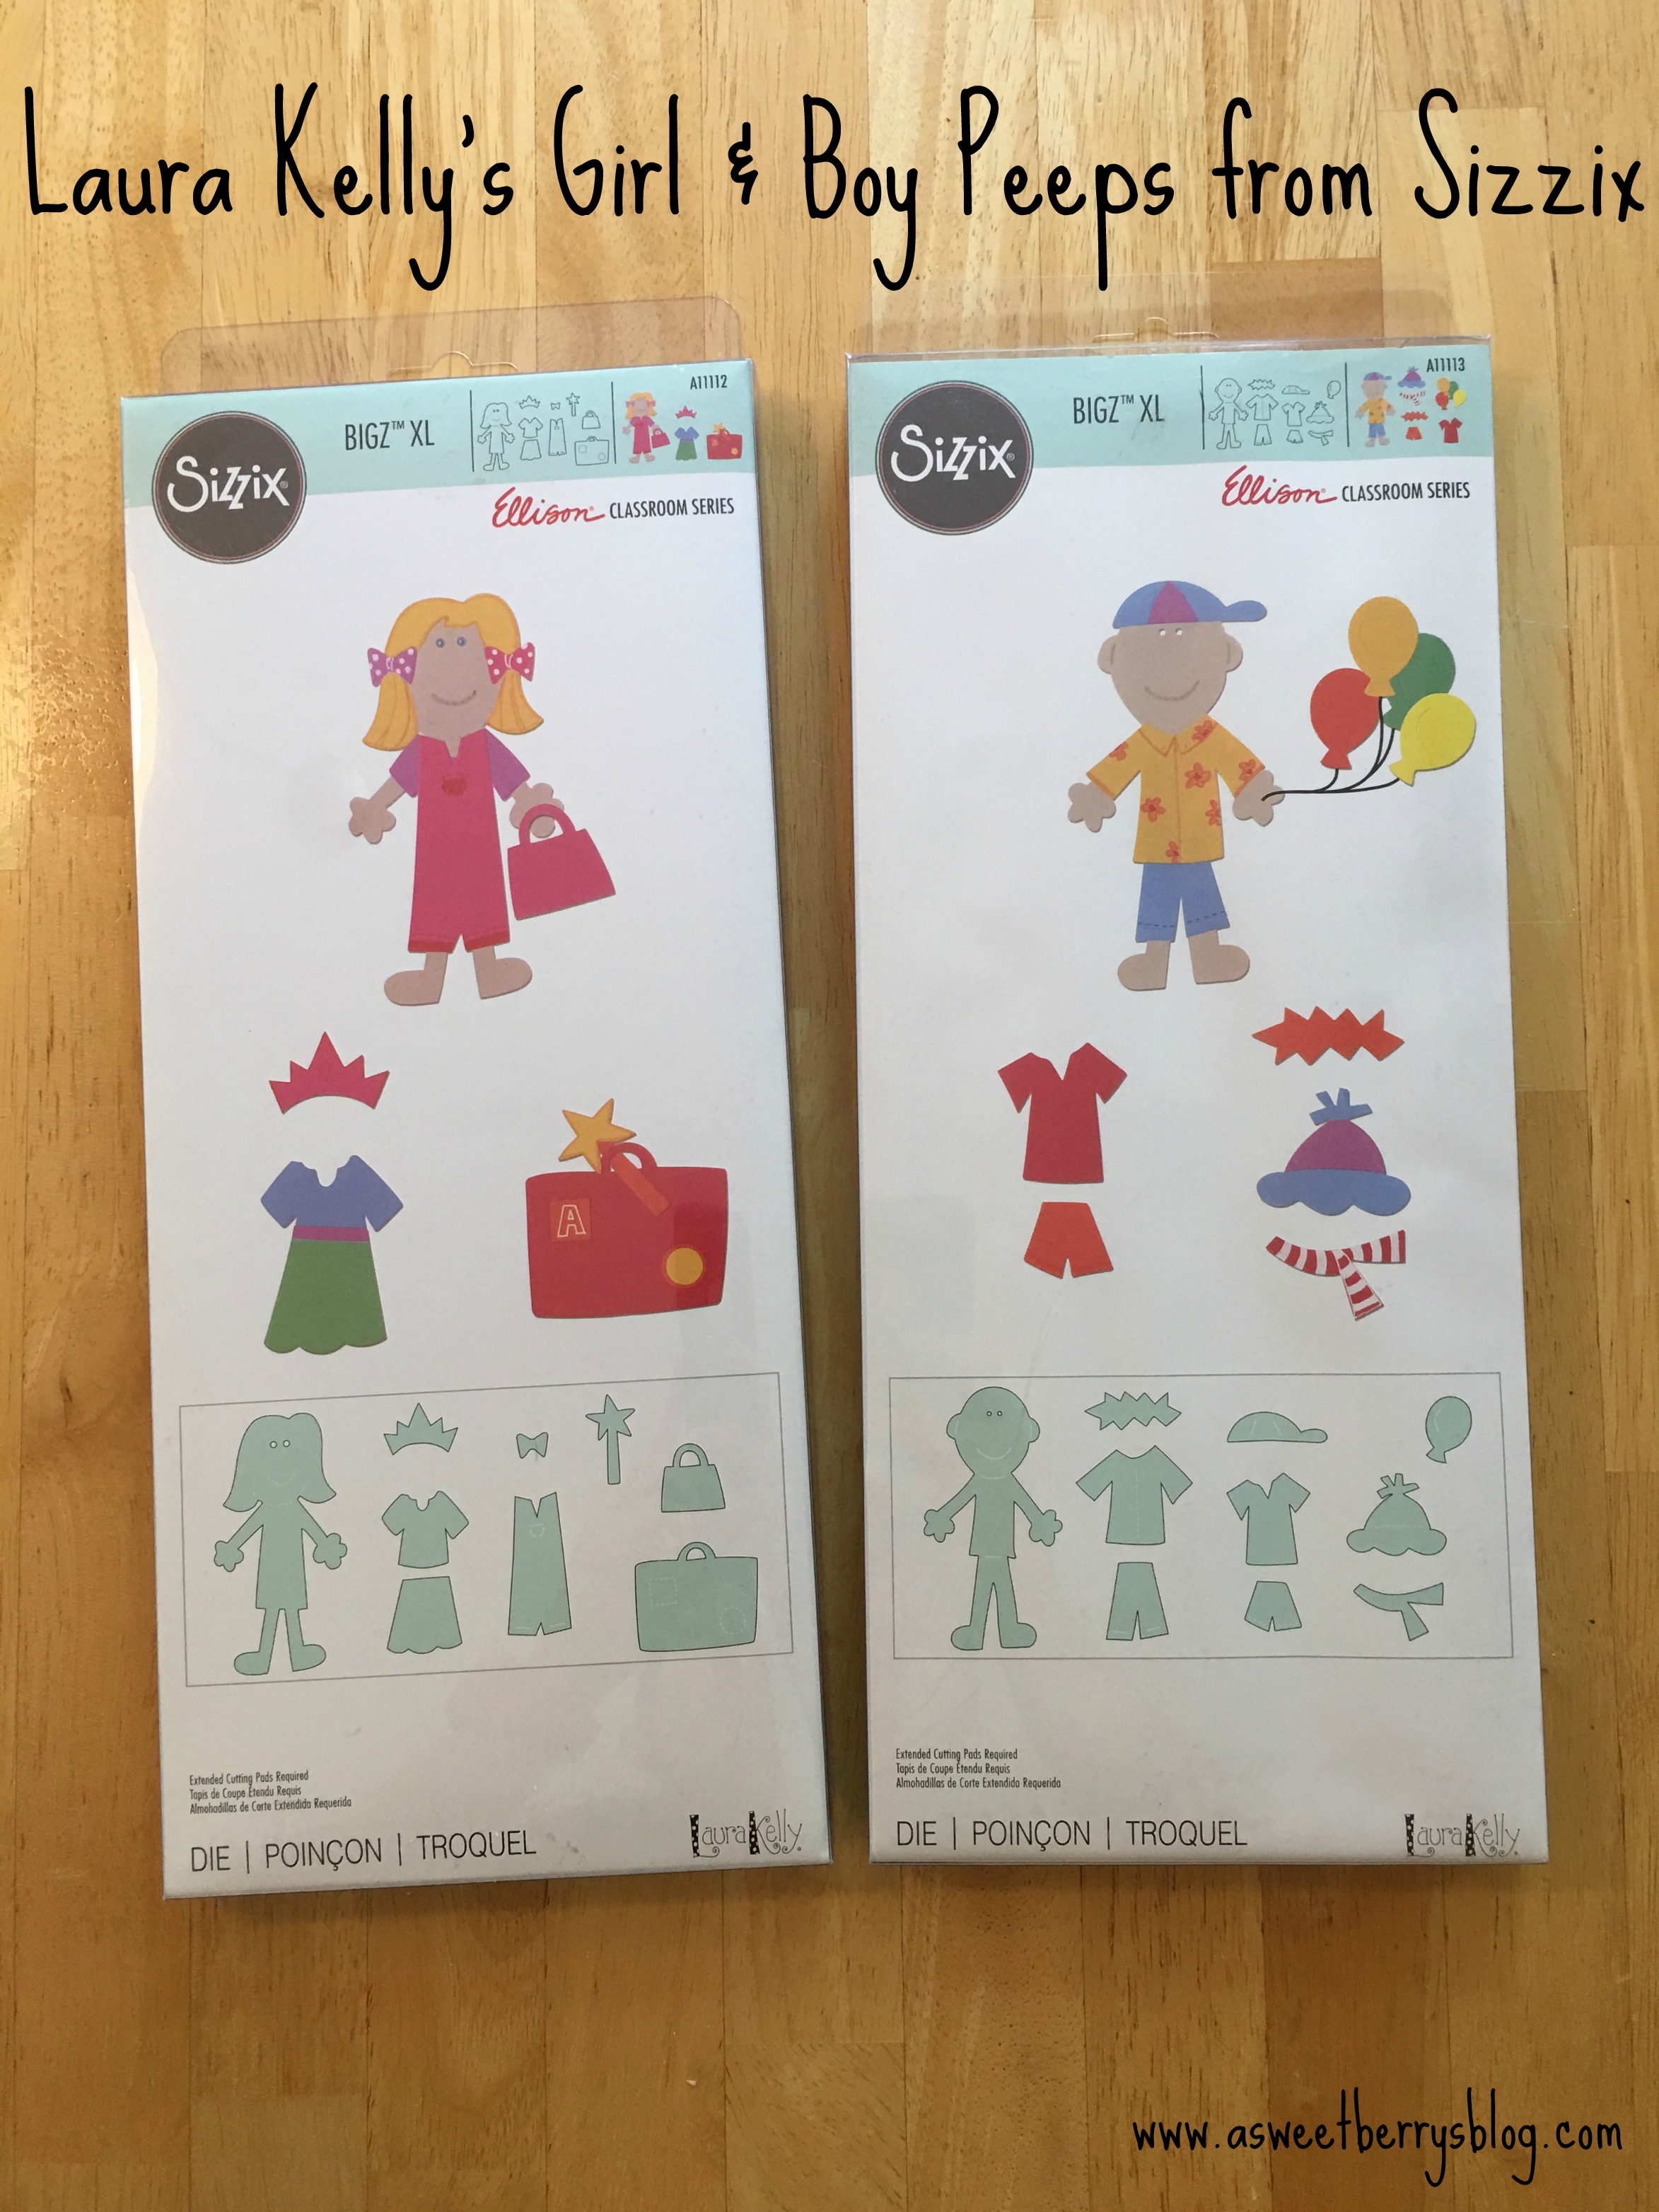
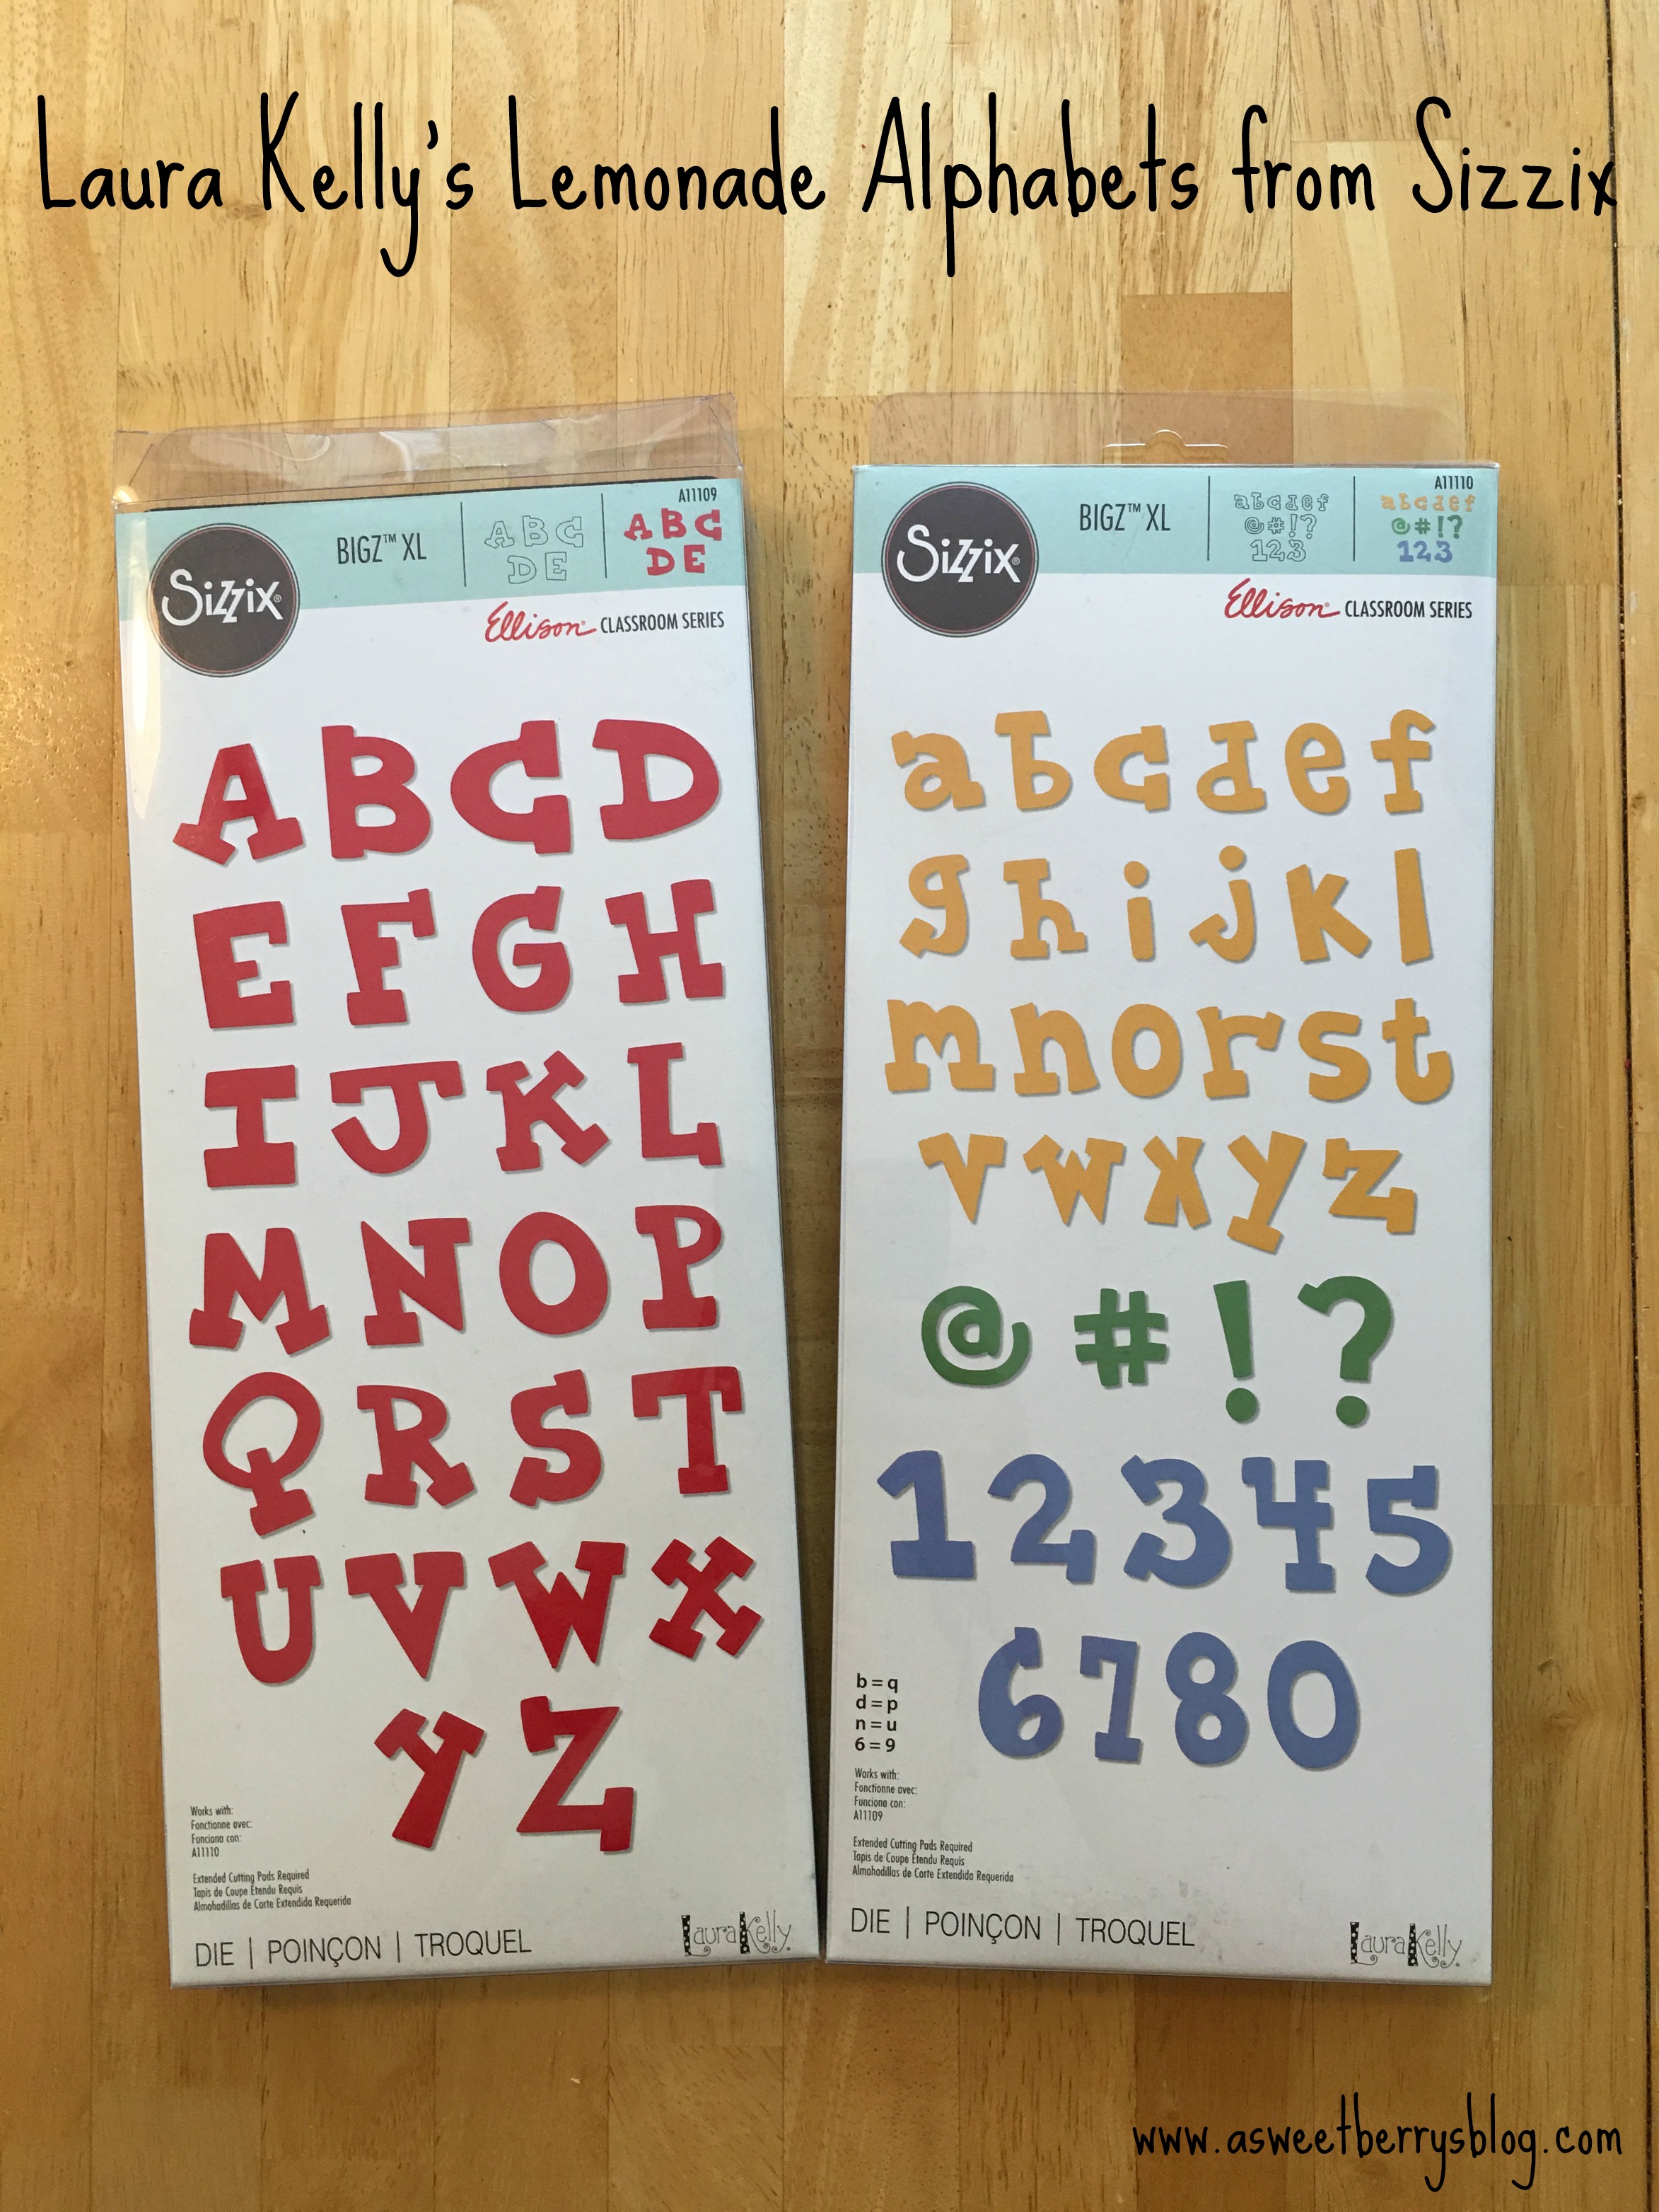
My friend Laura Kelly is such a creative lady and she has a great collection of dies with Sizzix.   These particular dies are a part of the Ellison Classroom Series.  Click the picture below to find the link to where you can get your own.
Girl and Boy Peeps
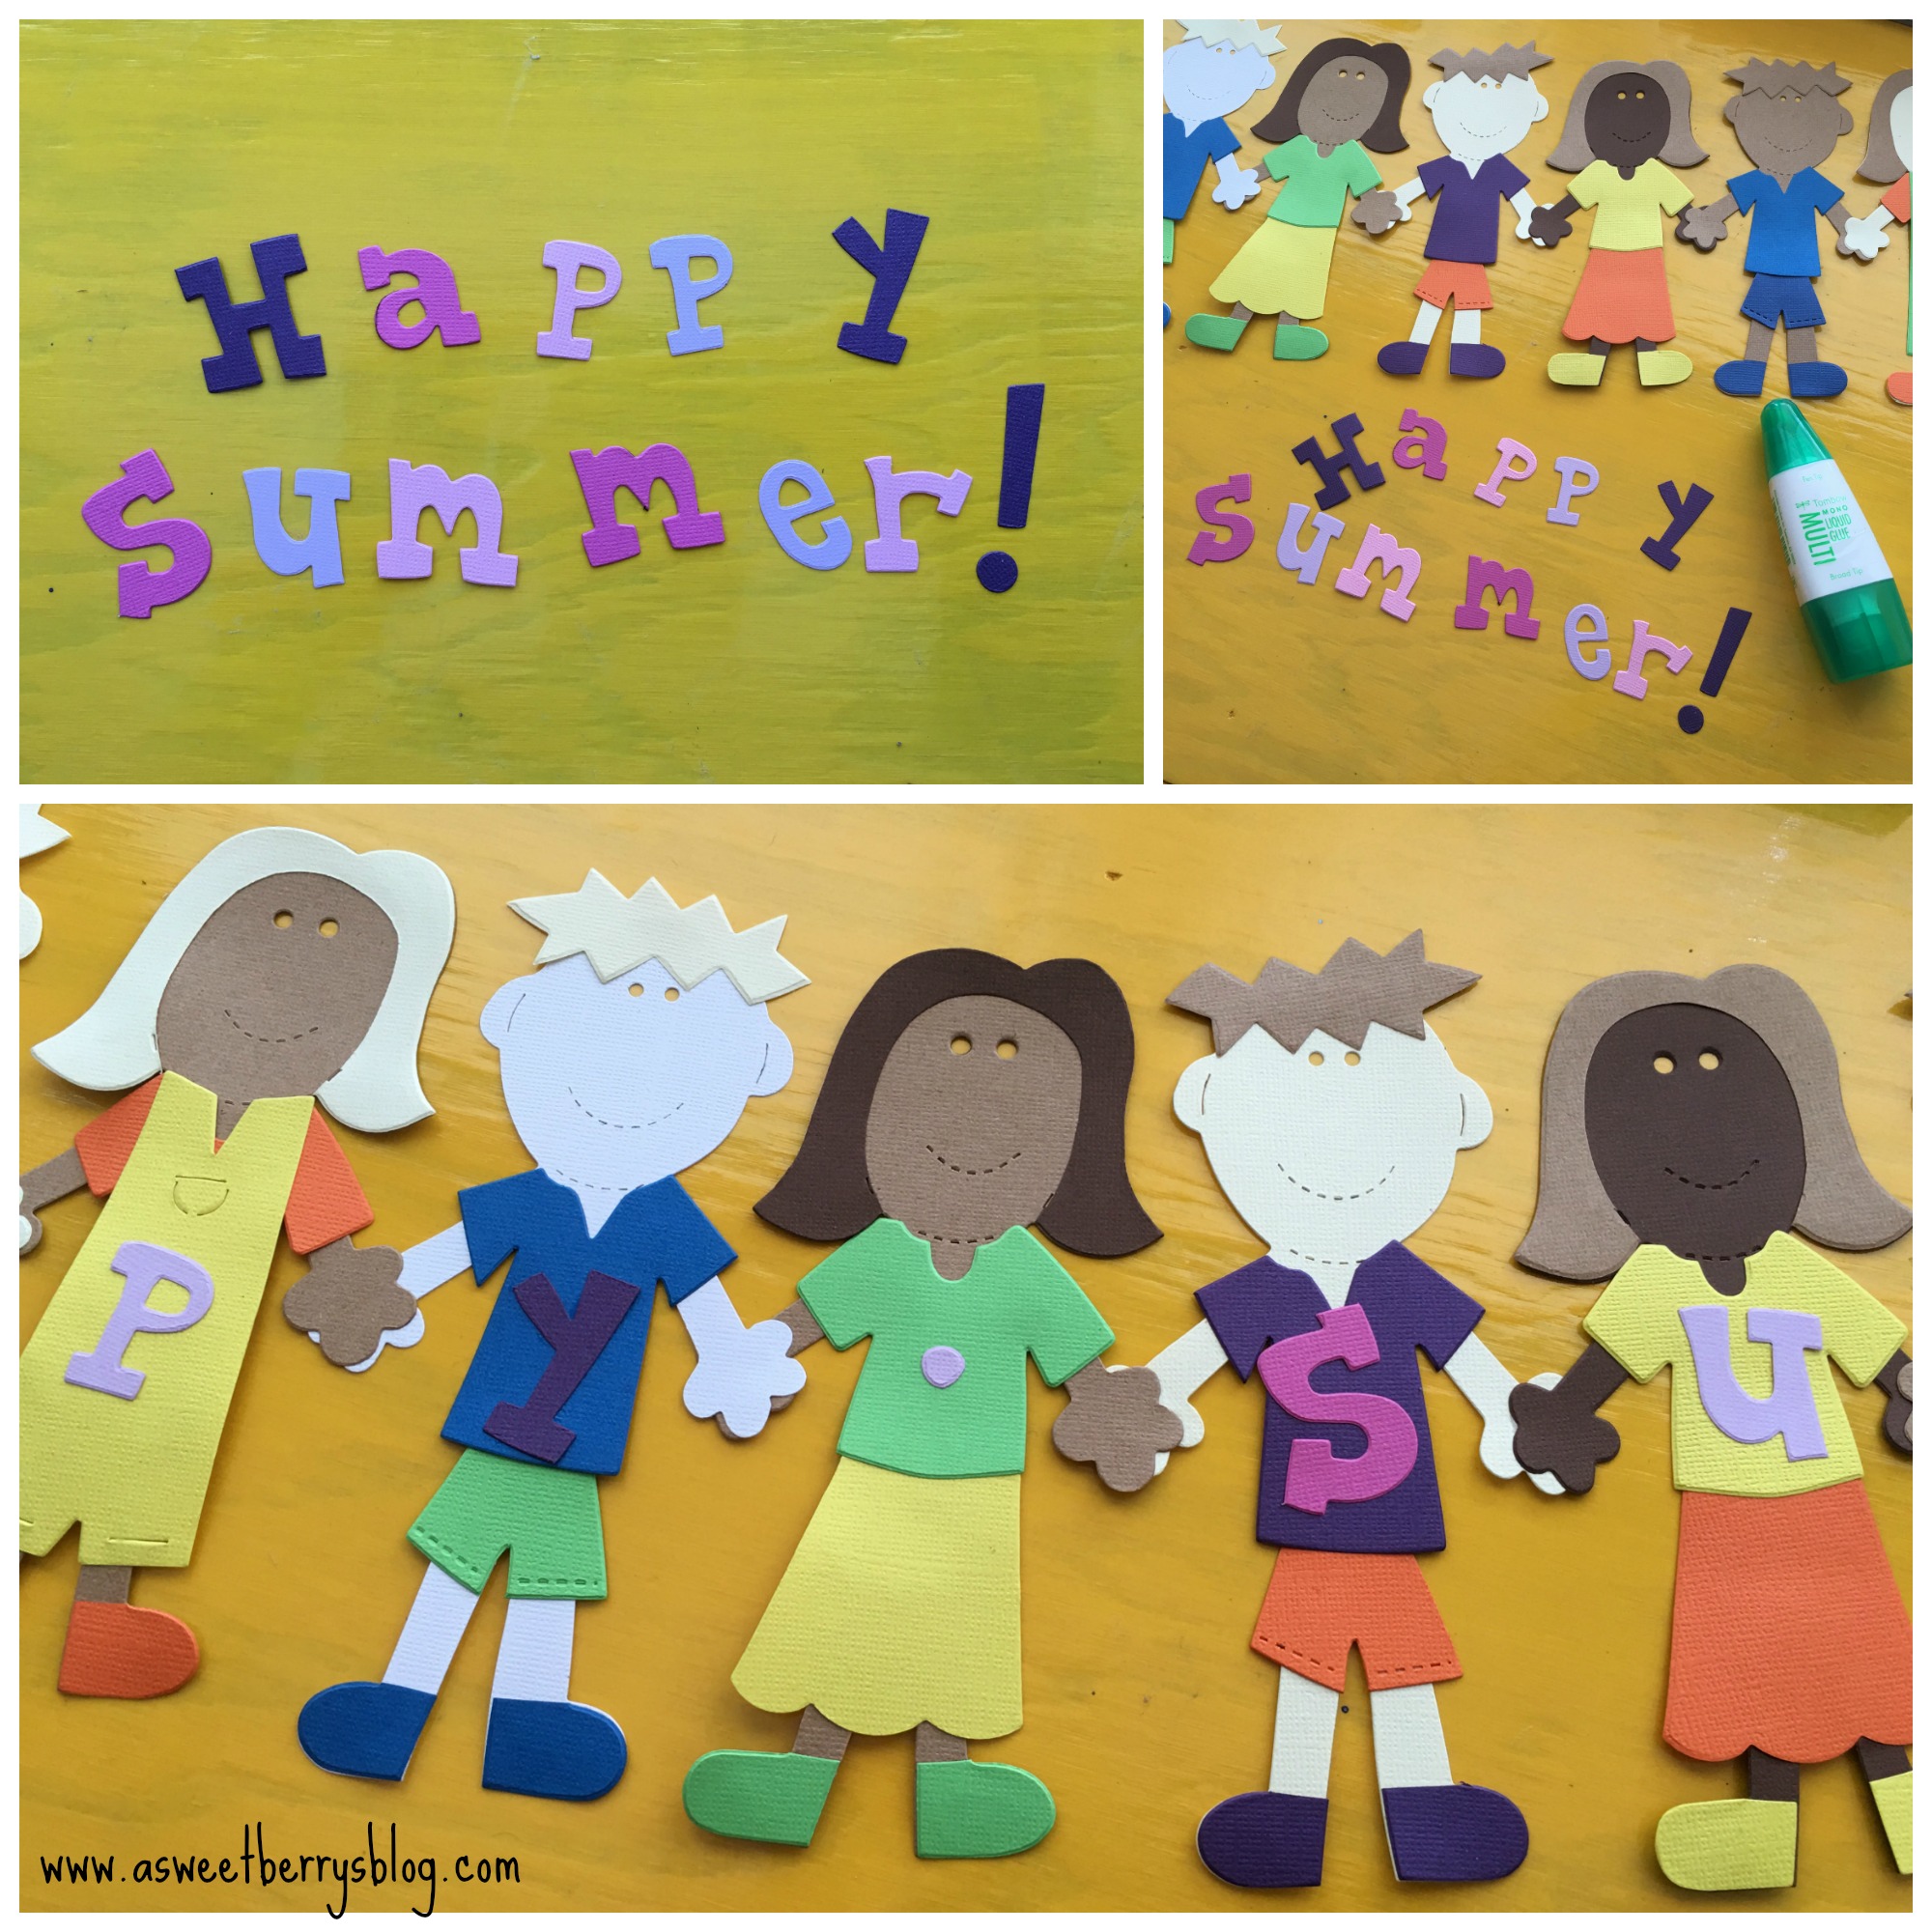
Alright, now on to how I made this adorable little banner.  Using my Sizzix BigShot, Boy and Girl Peep dies, and an extended cutting pad I cut the peeps using different flesh tones.  Using bright colors, I cut out all of the different clothes.  For the feet, I just cut out part of the legs and cut the feet part off.   For the hair of the girls, I just cut out extra heads and then cut the hair off of them.  

Once everything was cut out and organized (who was getting what clothes), I used Tombow Liquid Glue to glue all of the parts together.   Once they were all dried, I laid them out so that it looked like they were holding hands and then I glued them together.
glue
Once everyone was glued together, I used Laura Kelly’s Lemonade Upper Case and Lower Case Alphabets to add the words “Happy Spring”.   Click the photo below to go to the link where you can get your own!
alphabets
Again, using the Tombow Liquid Glue, I added the letters to each of my peeps.  I also added a dot between the words “Happy” and “Summer” just so that one of them wouldn’t be lonely!!!
adding letters
Once everyone was completely dry, I punched a hole in the first and last hand.  Then I tied baker’s twine to each hand so that I could hang it up! string
Hope you like my End of the Year – Happy Summer Banner!  
individual letters
Until next time……….

Disclosure:  I received product from Sizzix as a member of the Laura Kelly Design Team.  Laura Kelly is a licensed designer for Sizzix.  All opinions are that of Katie Berry.

Katie-Signature-2