Category Archives: Sizzix

Shark Week Shark Banner

Disclosure:   This post contains affiliate links.

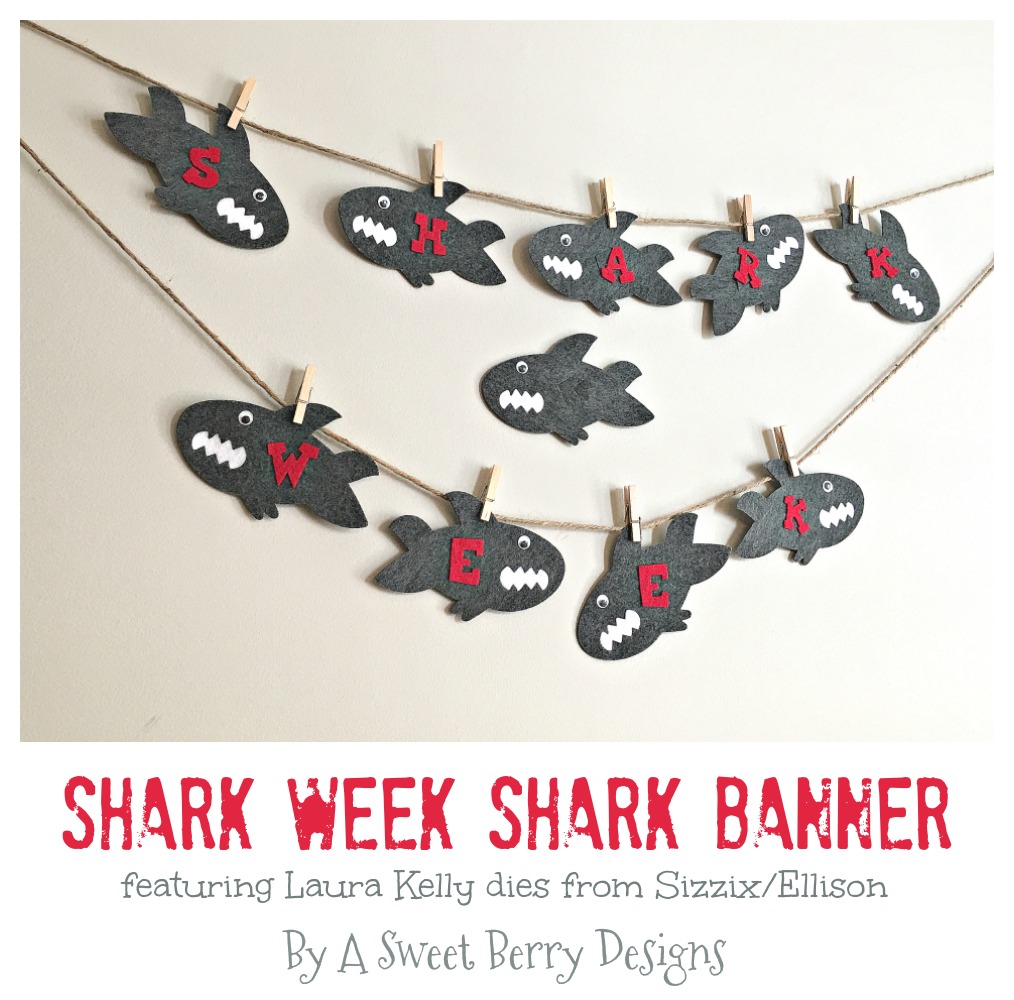
Shark week is next week and the Berry family is ready!  To get ready, I made this adorable Shark Week Shark Banner using my dear friend Laura Kelly’s dies from Sizzix/Ellison and felt from the Kunin Group!  It was super duper easy!  Check it out!  You can make you own!
Materials needed:

How I made it:

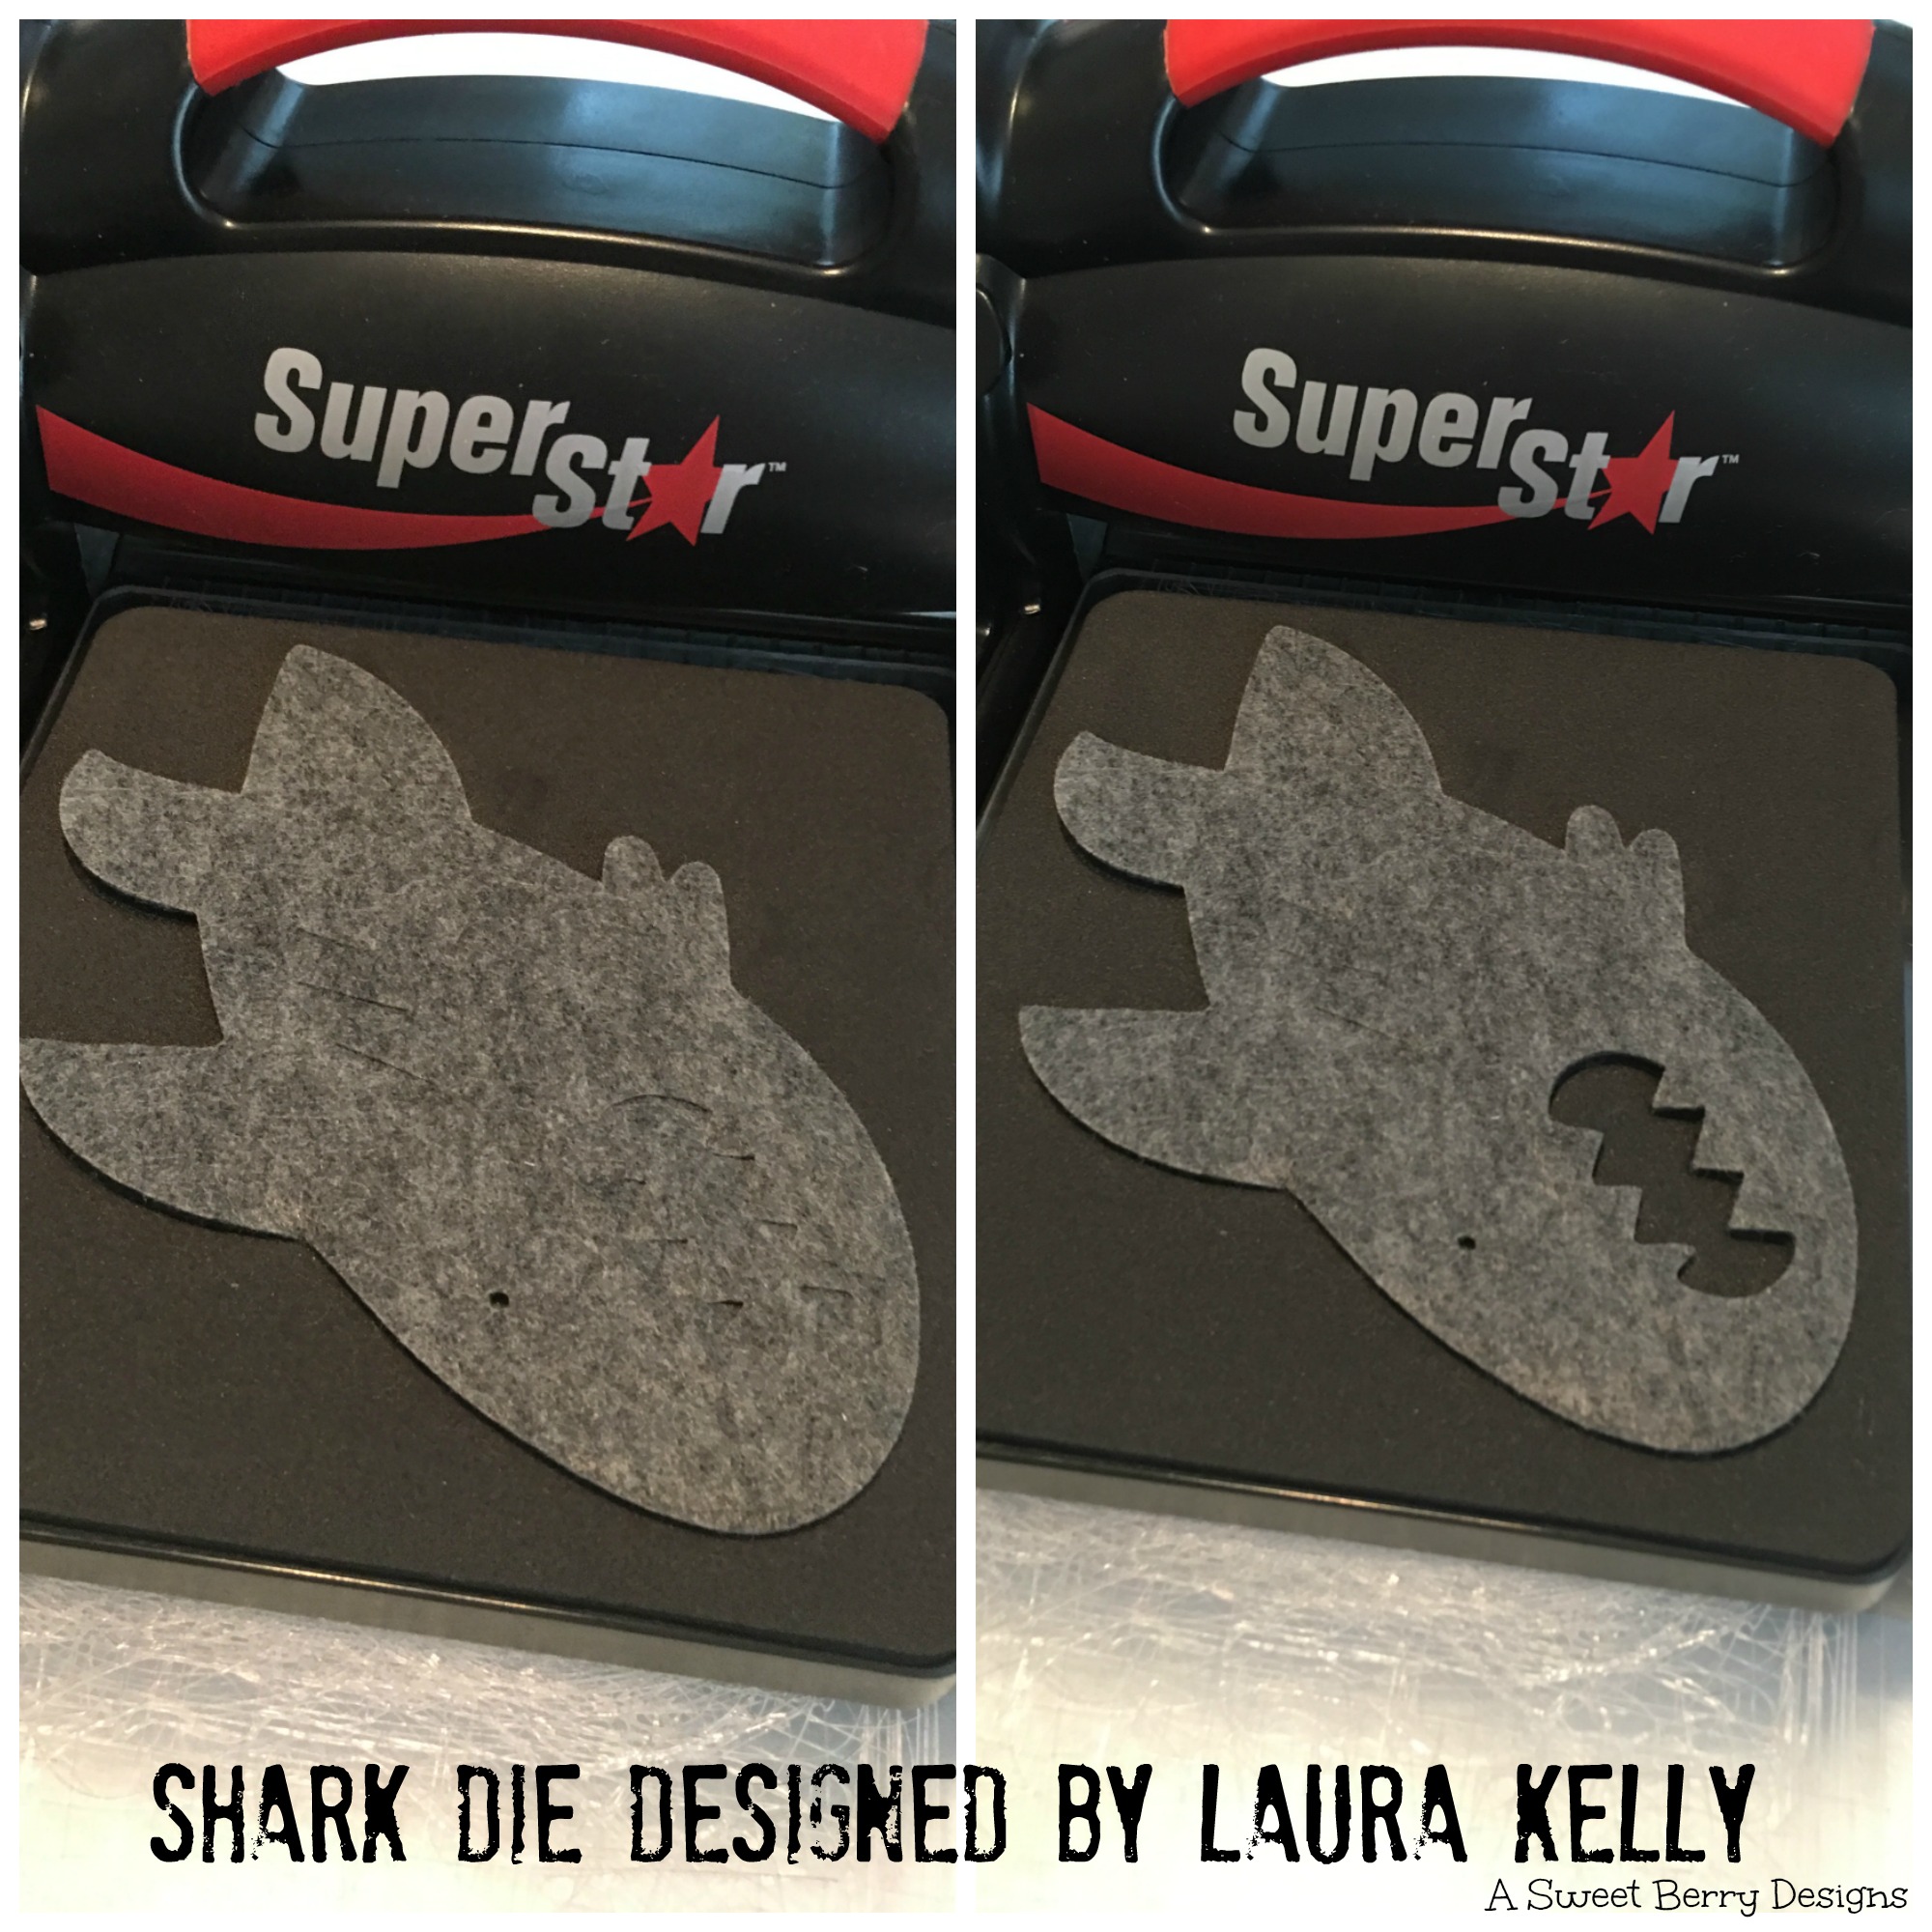
Using the Super Star Die Cutting Machine and Cutting Pads, I cut my felt sharks from Laura Kelly’s Shark Die.  I also cut the sharks teeth out of white felt.

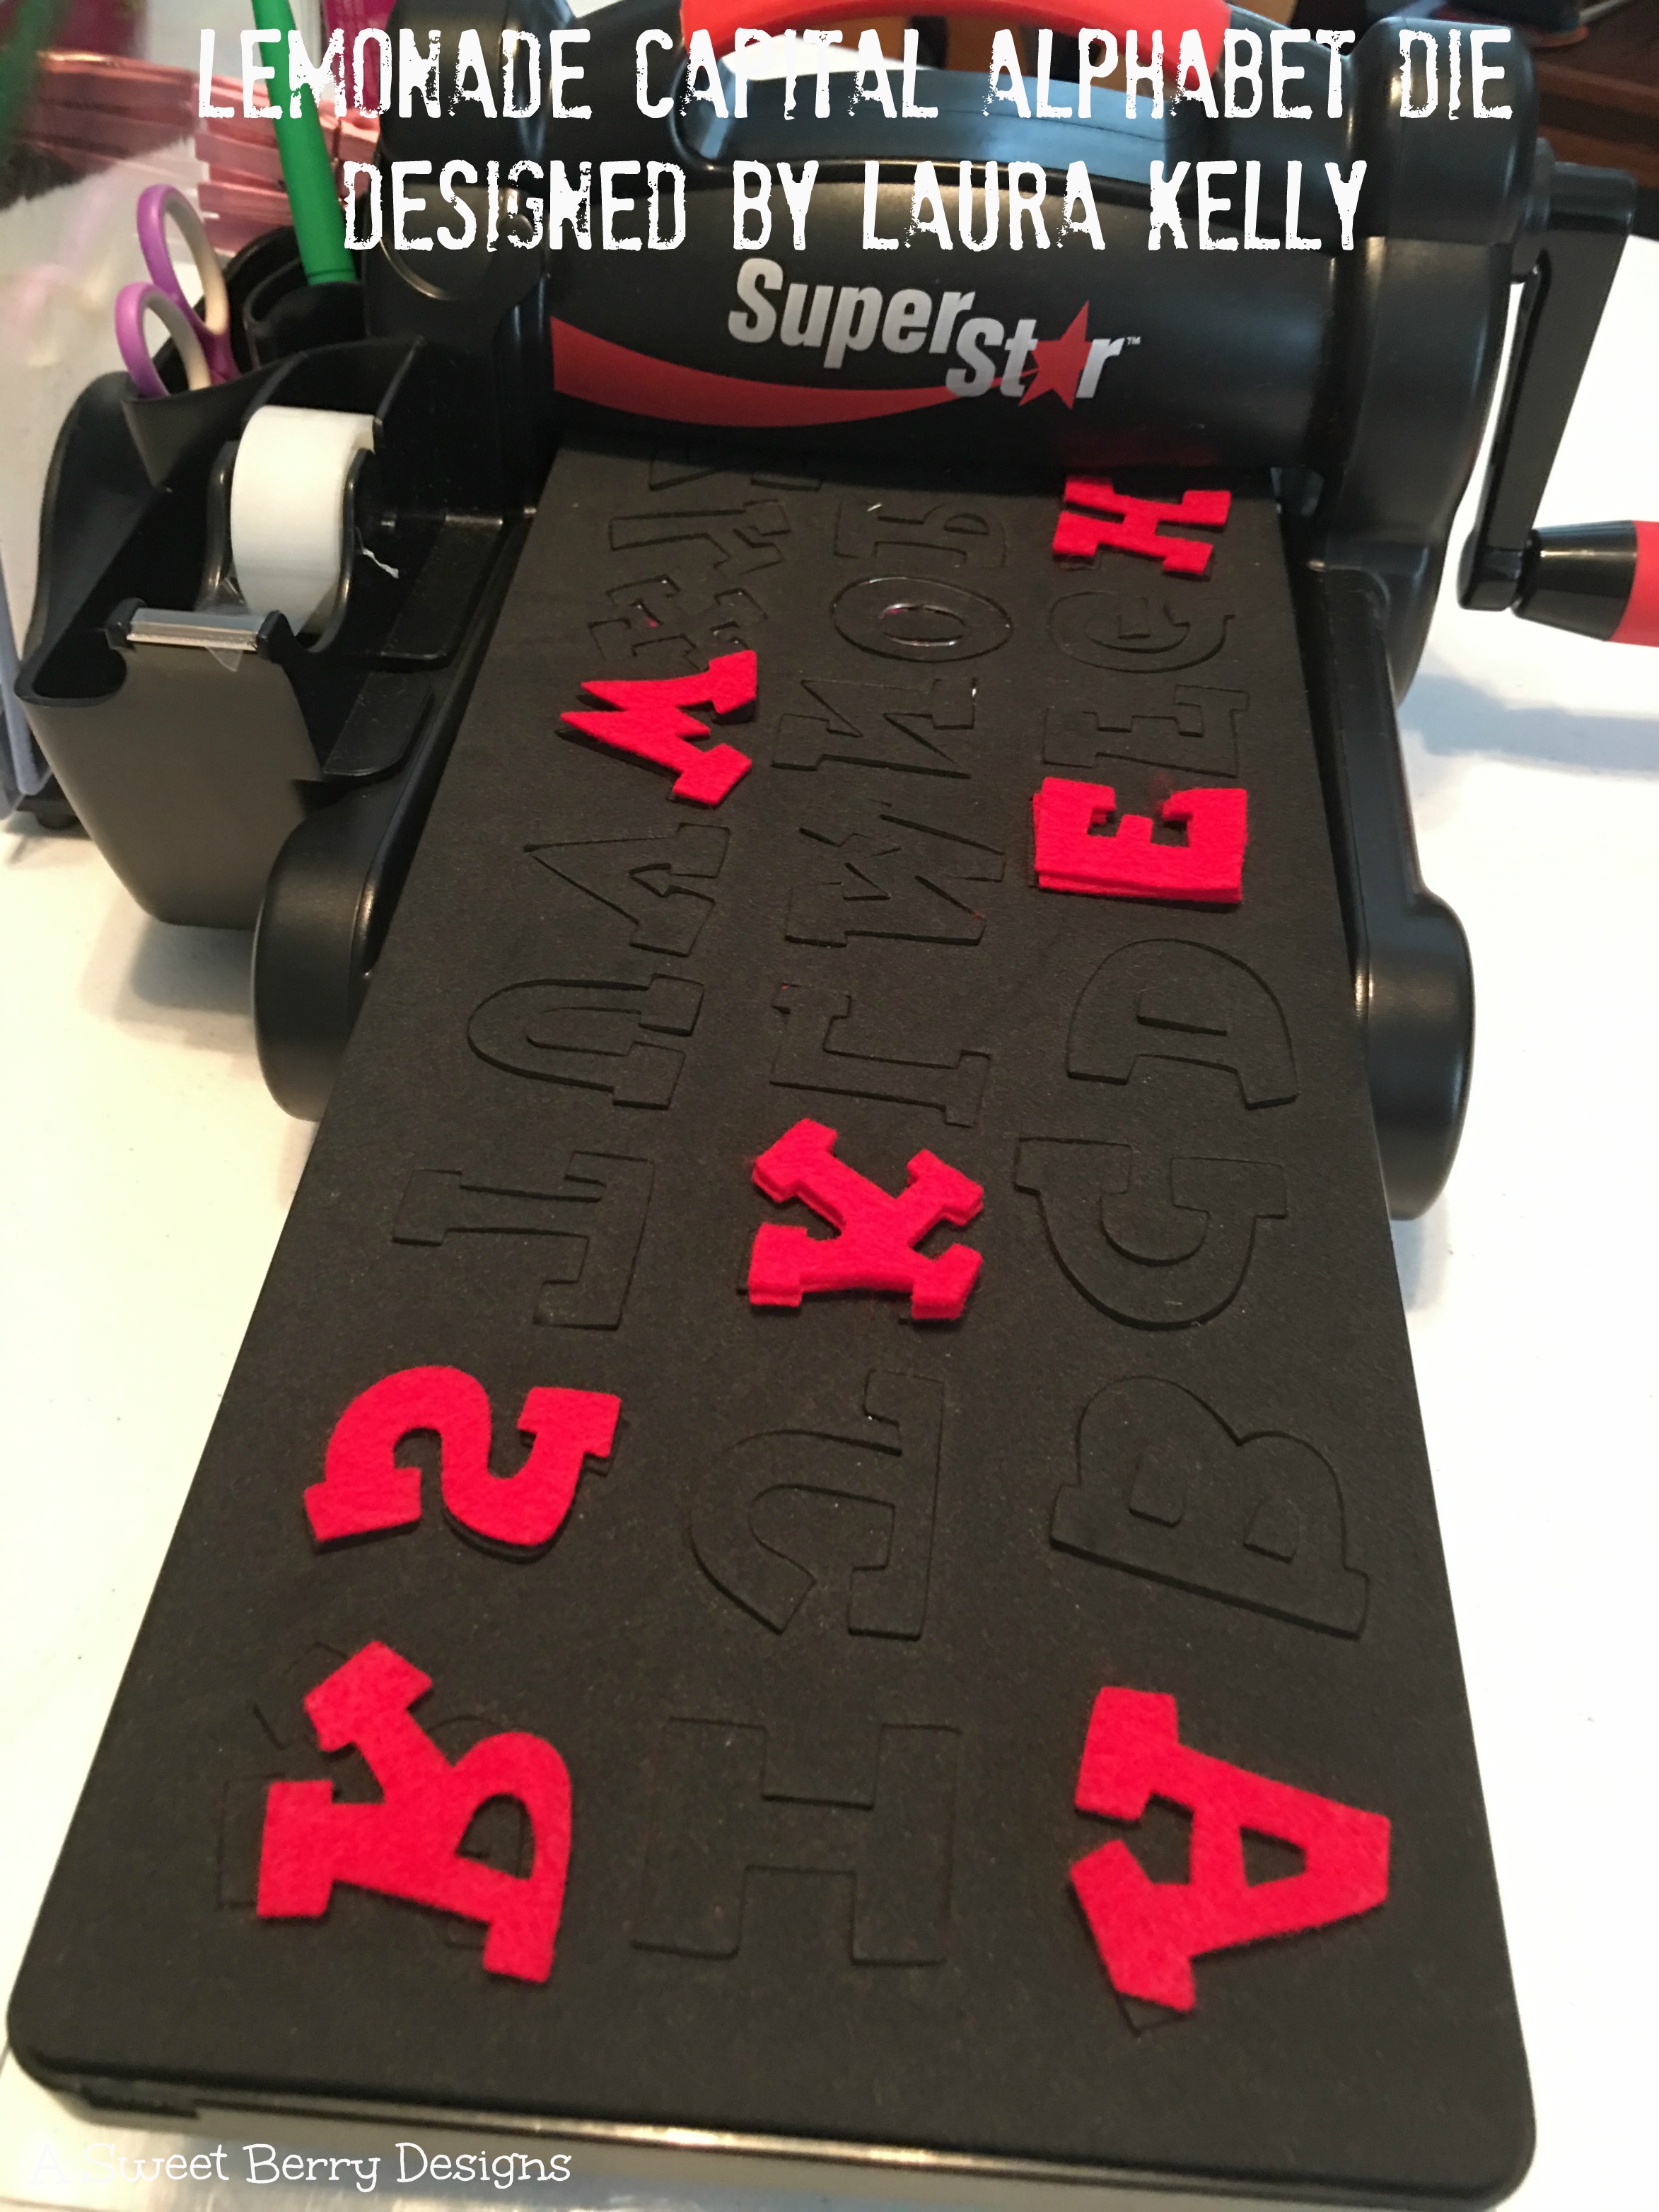
Then I cut out the letters “SHARK WEEK” from Laura Kelly’s Lemonade Capital Alphabet Die using red felt.

Once I had all of my pieces cut out, I used Beacon Felt Glue to put everything together!  I added wiggly eyes to make the sharks look silly!

Once everything was dry, I hung them up on two strands of jute rope!  I had an extra shark, so I added him to the middle!

Hope you like this super easy Shark Week Shark Banner!  I love using these dies and Kunin felt!

Mother’s Day Flower Bookmark

It’s time for Craft Lightning again!   I love quick and easy crafts and there are some great ones that can be done in 15 minutes or less.   The theme of this Craft Lightning is Mother’s Day!   As a mother, I love getting little handmade gifts from my boys.

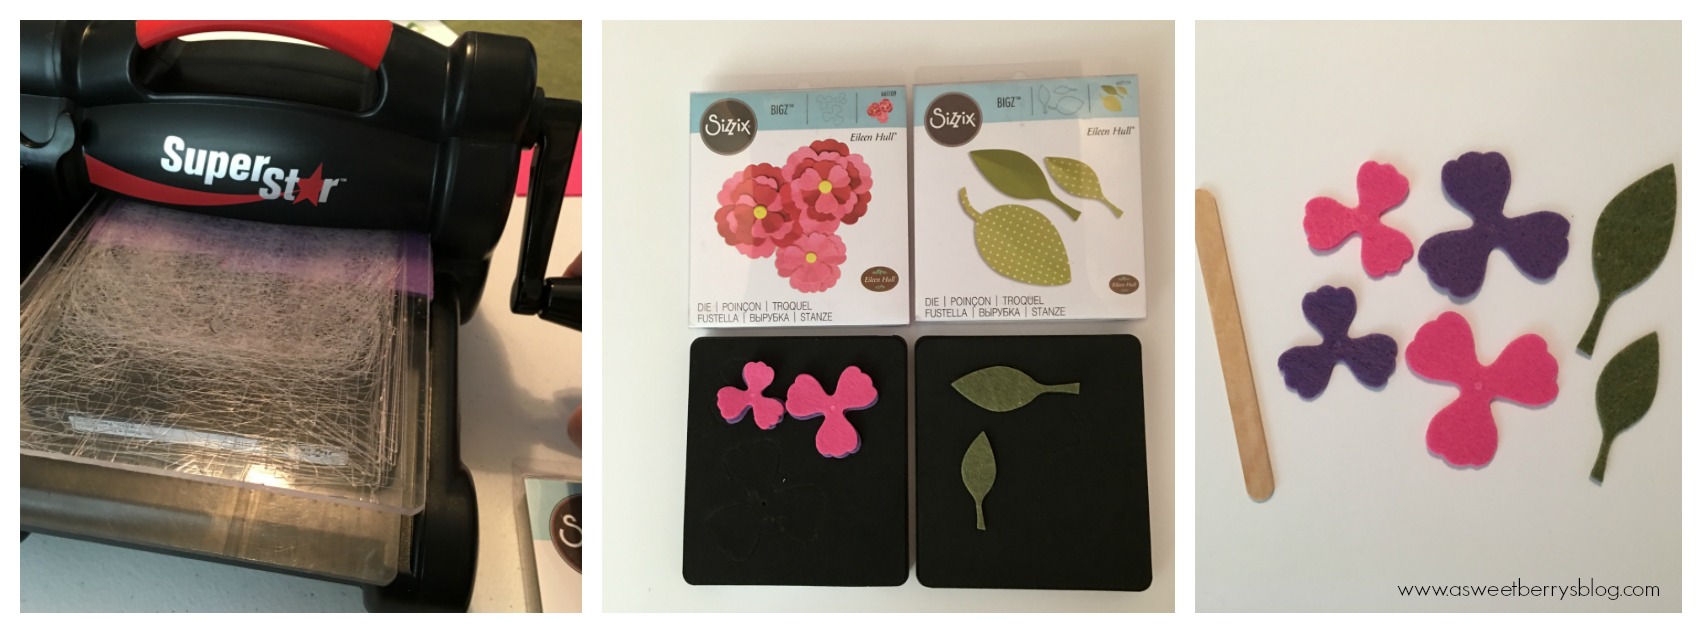
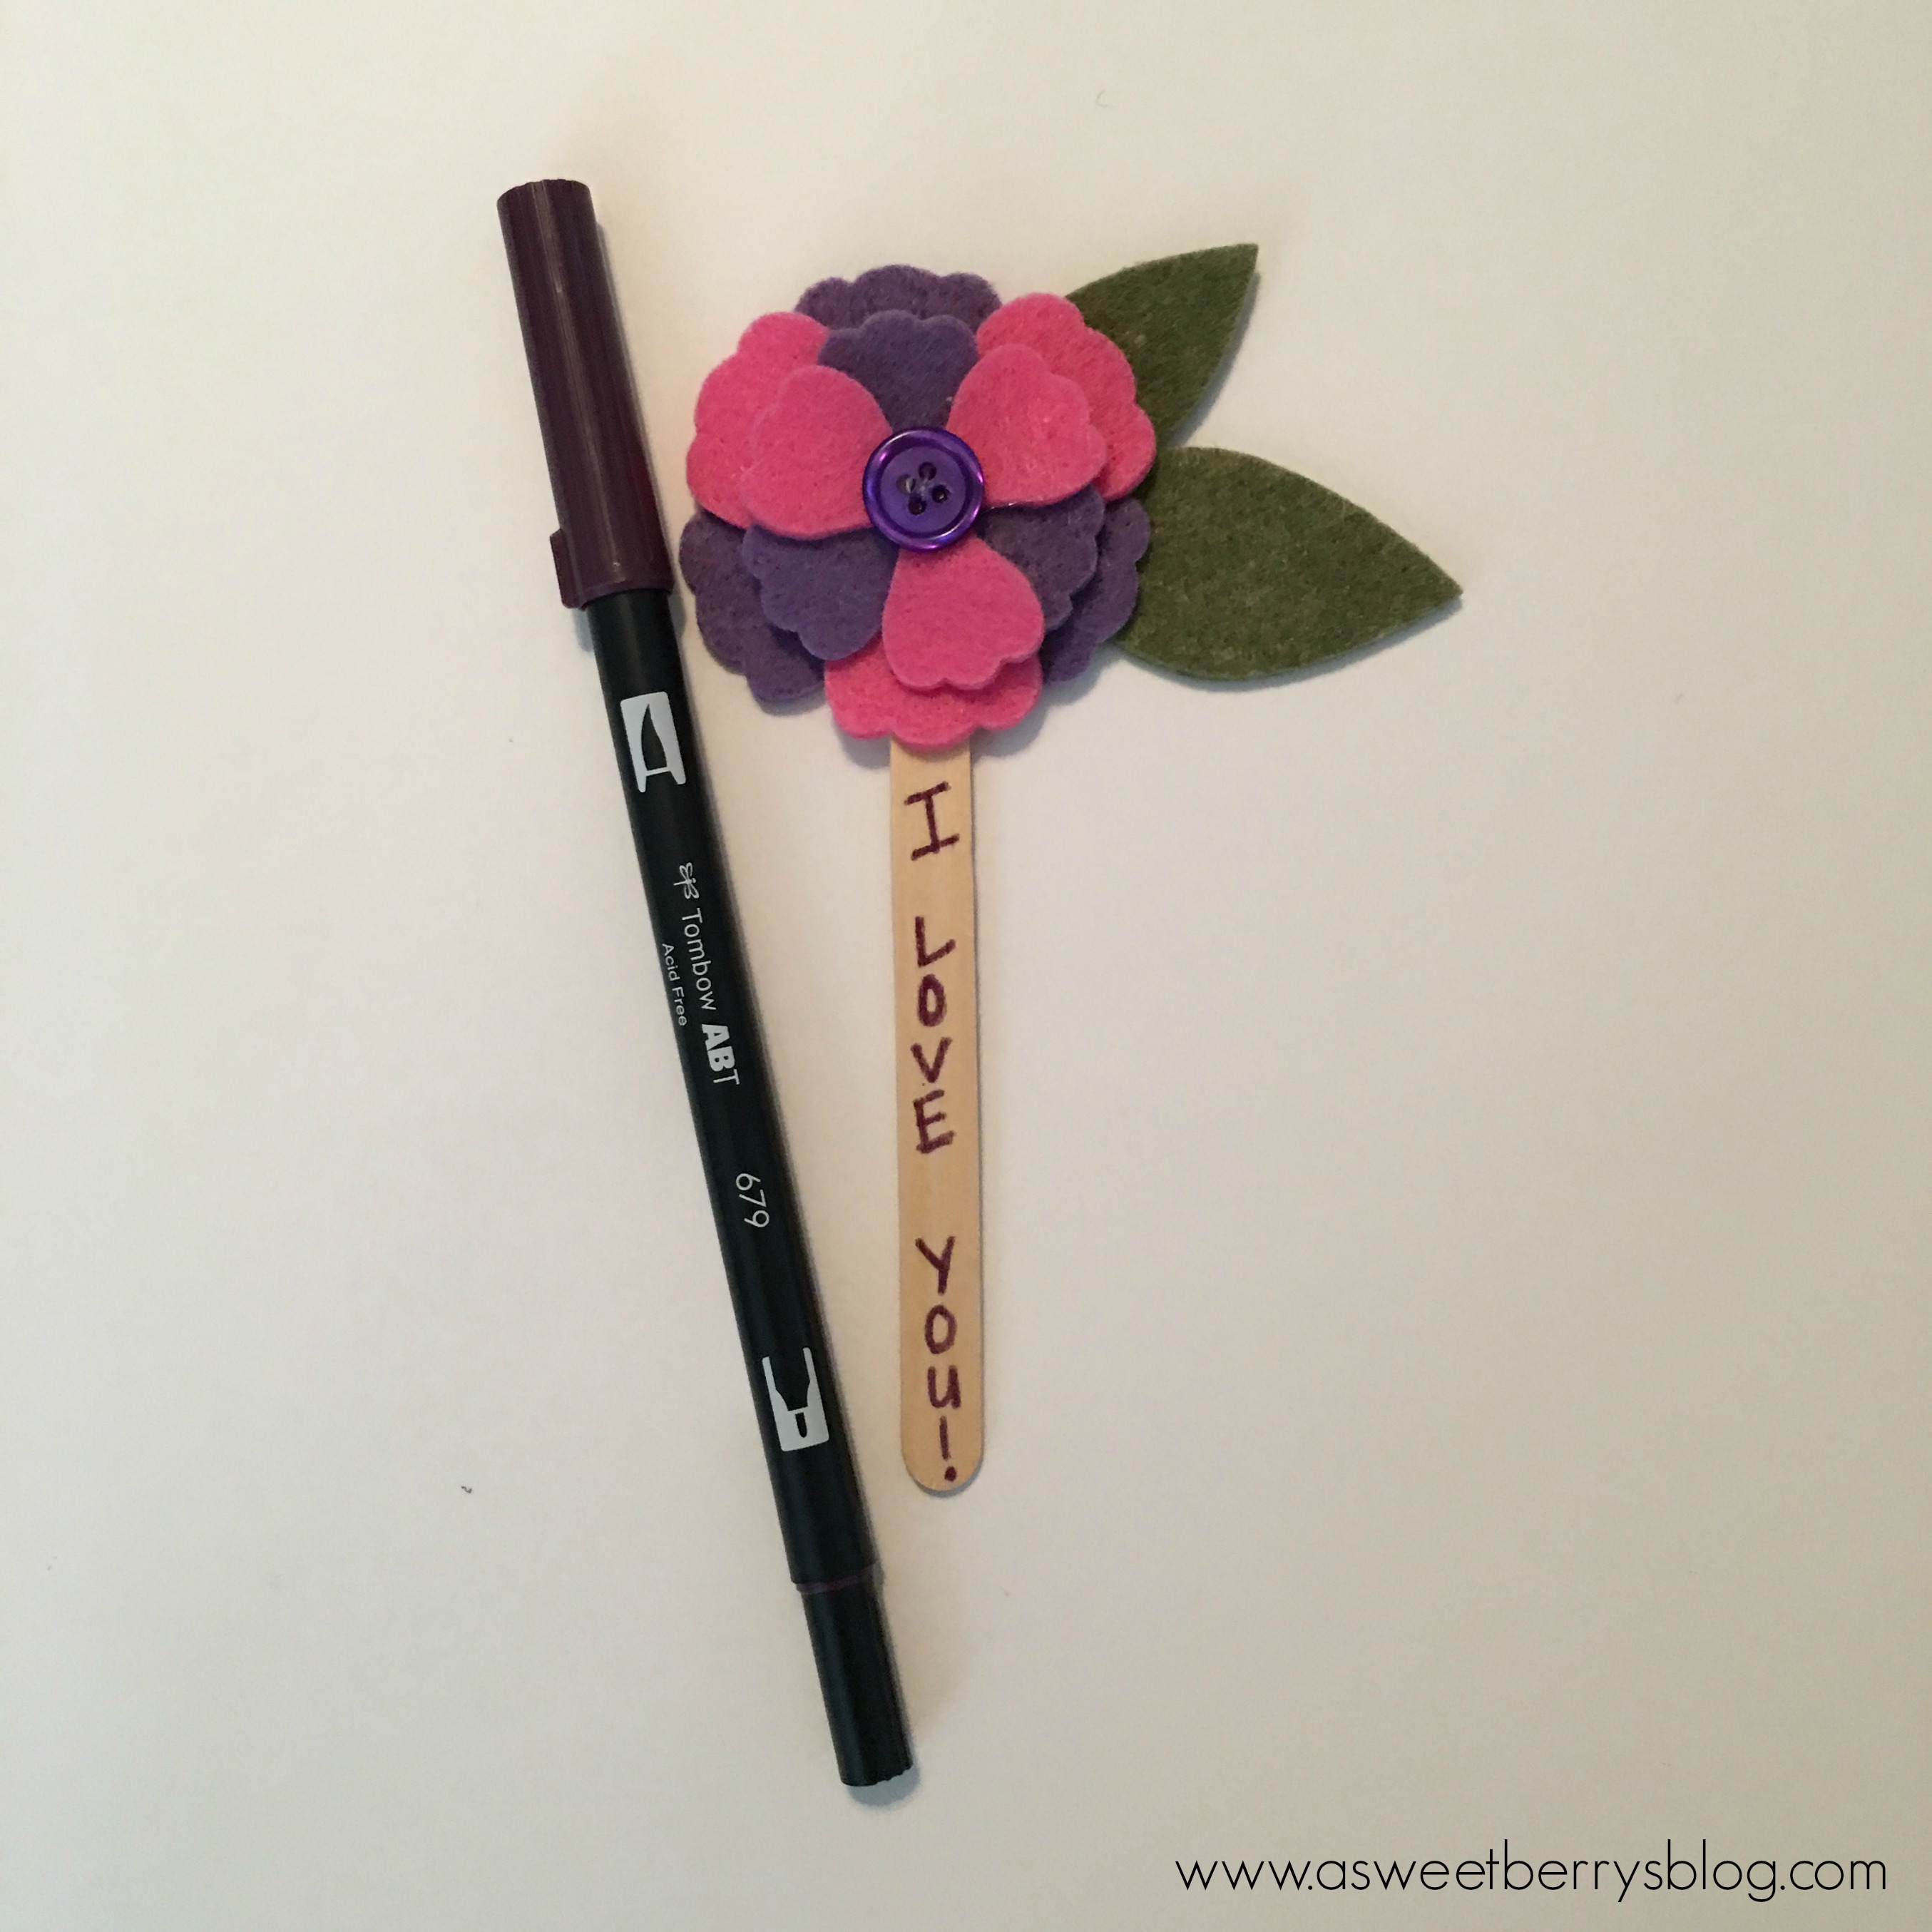
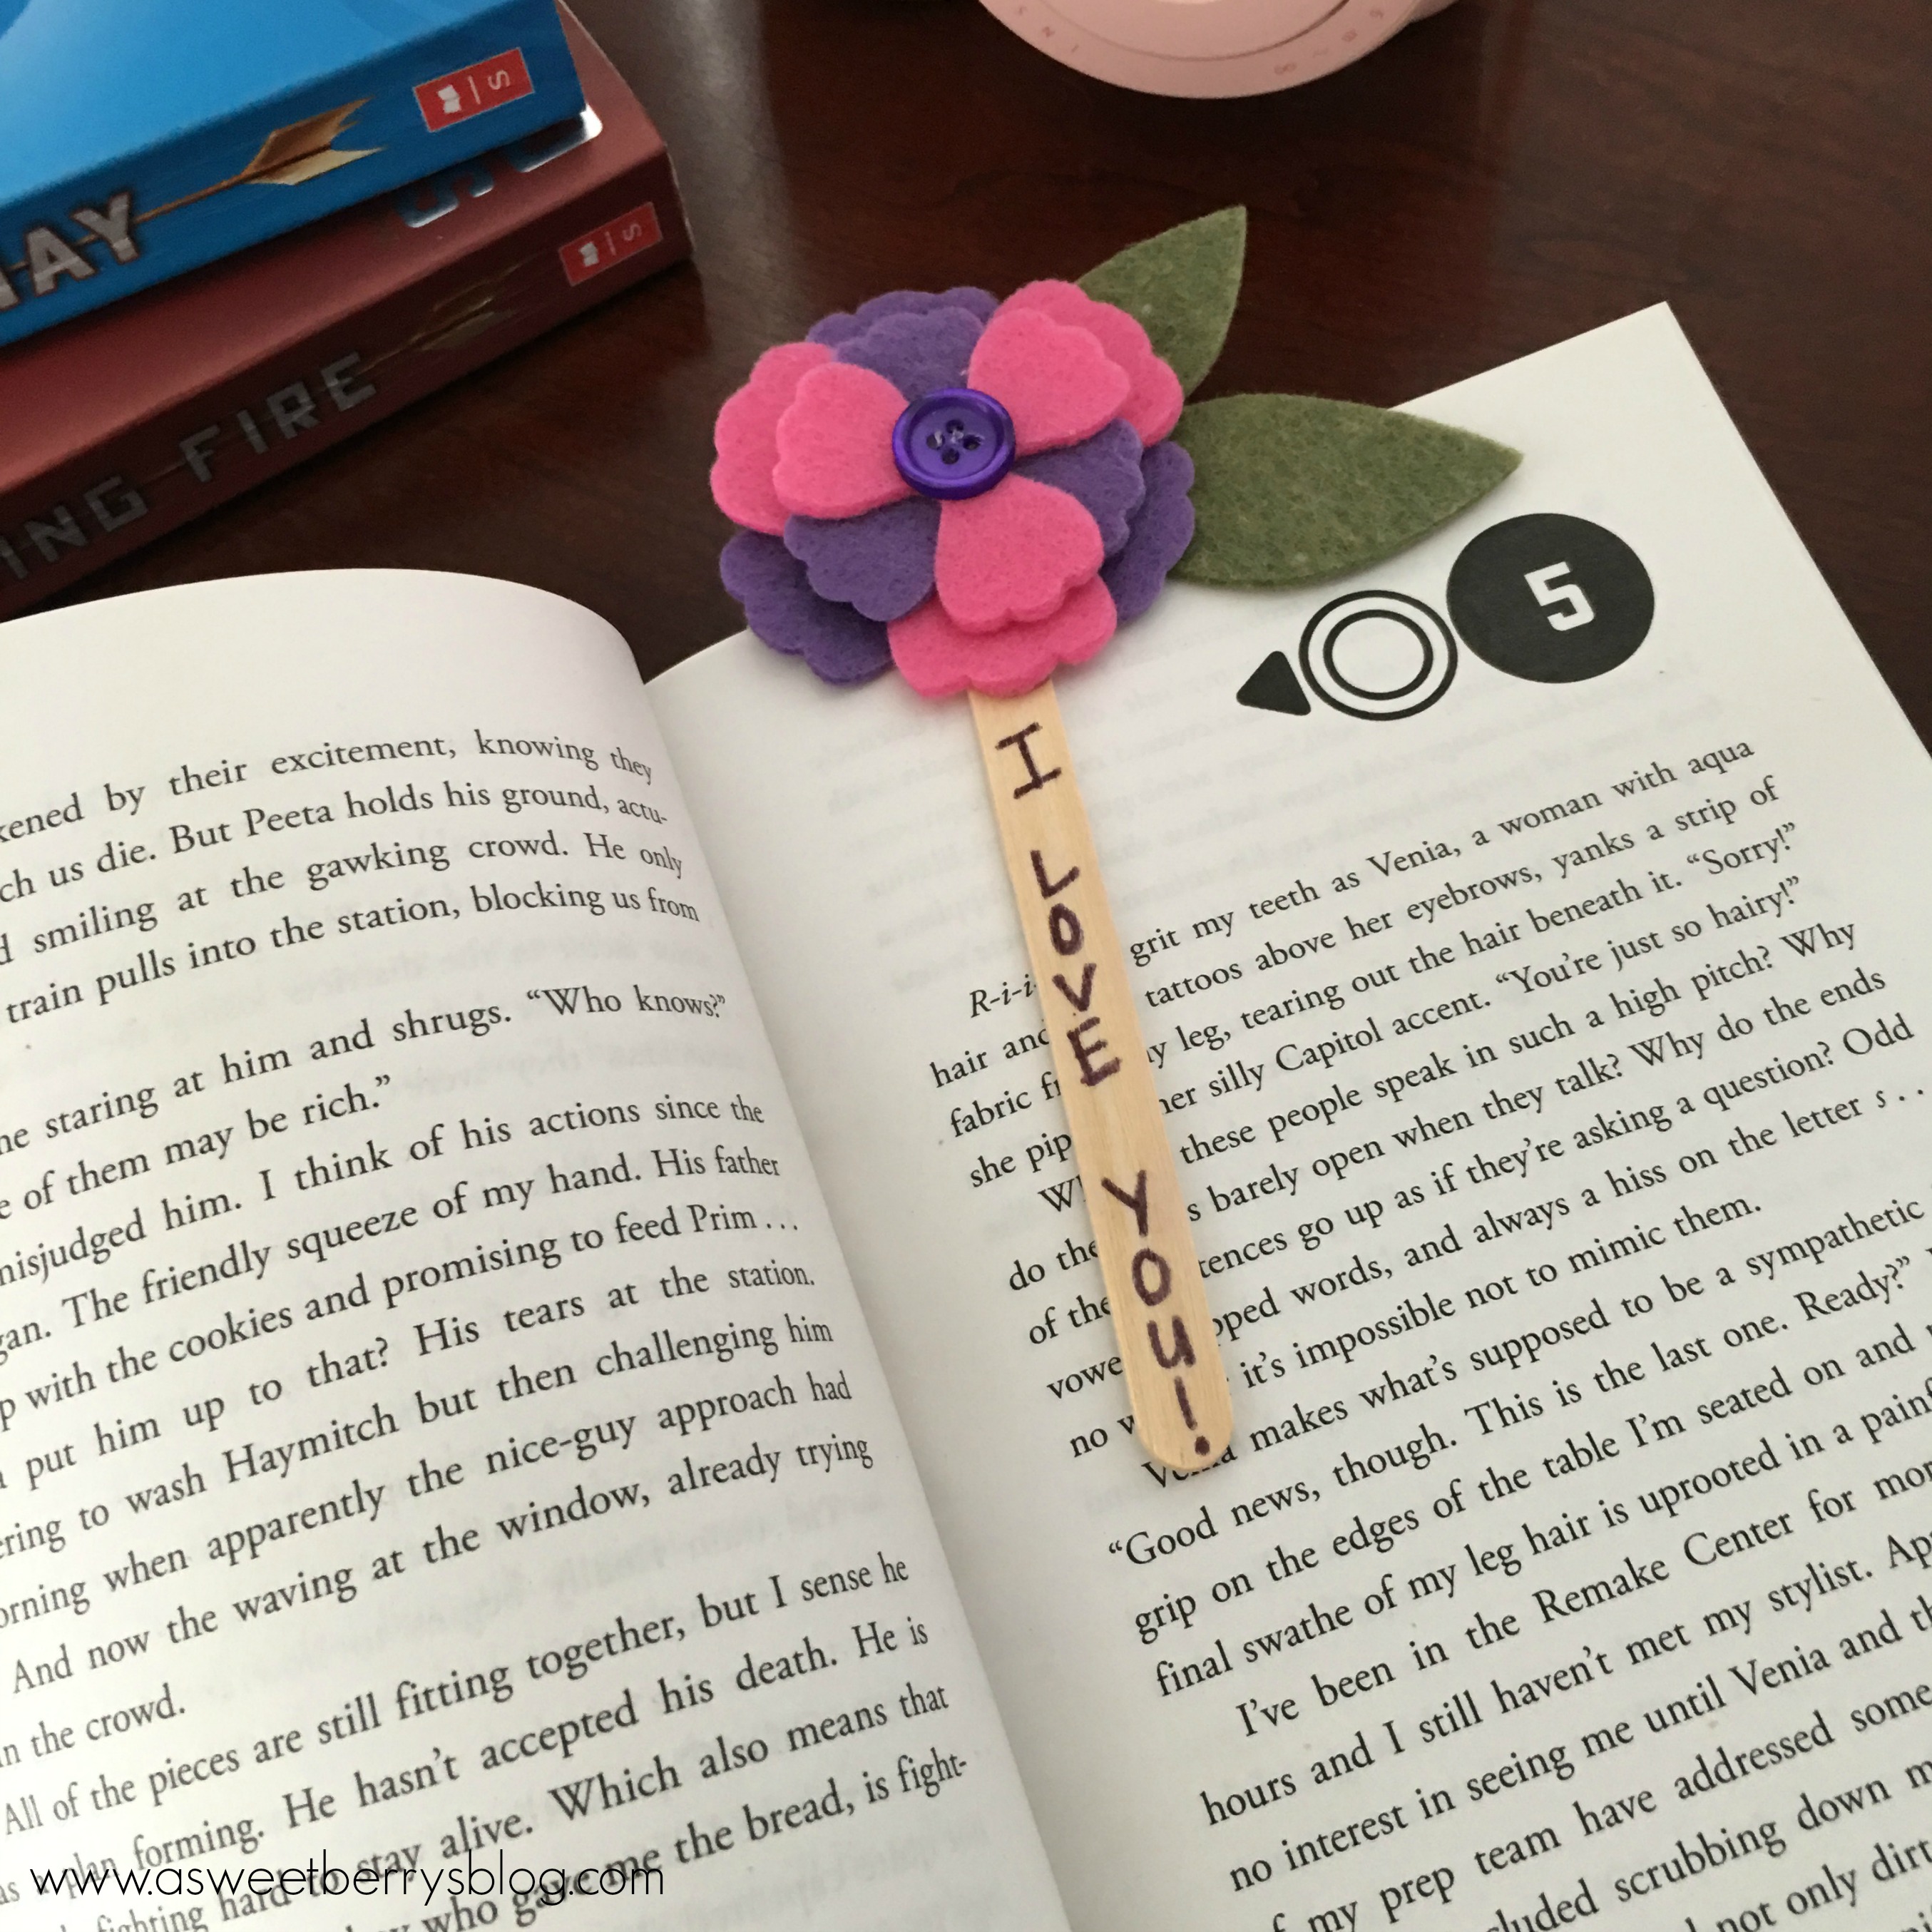
For my Craft Lightning craft, I did a Mother’s Day Flower Bookmark using Eileen Hull’s Pansy Flower die (which I am obsessed with) and Kunin Felt!  

Materials Used:

  • 12” x 18” craft cut of Kunin Premiumfelt™ (1) Violet Sky, (1) Olive, (1) Candy Pink
  • Ellison/Sizzix Die Cut Machine with cutting pads
  • Eileen Hull’s Pansy Flower and Leaf dies from Sizzix
  • Hot Glue Gun and Glue Stick
  • Popsicle Stick
  • Buttons


How to make it:

  1. Cut your felt pieces using the Sizzix/Ellison die cutting machine, cutting pads and the flower and leaf dies.

  1. Using a hot glue gun, layer the flower petals and glue them together in the center.
  1. Glue the leaves to the back of the completed flower.
  1. Glue the popsicle stick to the back of the flower.

  1. Glue a button to the center of the flower.
  1. Using a marker, write a little note on the popsicle stick.


Now you have a quick and easy Mother’s Day gift!

I hope you liked my Mother’s Day Flower Bookmark!
Be sure to check out other great Craft Lightning Mother’s Day crafts by clicking the picture below!

Until next time………

Kunin Felt Love Banner

Disclosure:   This blog post contains one or more affiliate links.

It’s time for the Valentine’s Day Craft Lightning series!   And since I’m obsessed with banners lately, this was an easy one for me!  It really takes less than 15 minute and even the kids can help out with it.

Banner

Materials needed:
Sizzix Cutting Machine (I use a Big Shot)
Kunin Felt
Dies:

Felt Glue (I use Beacon’s)
Jute Rope
Clothespins (I like the medium sized ones)

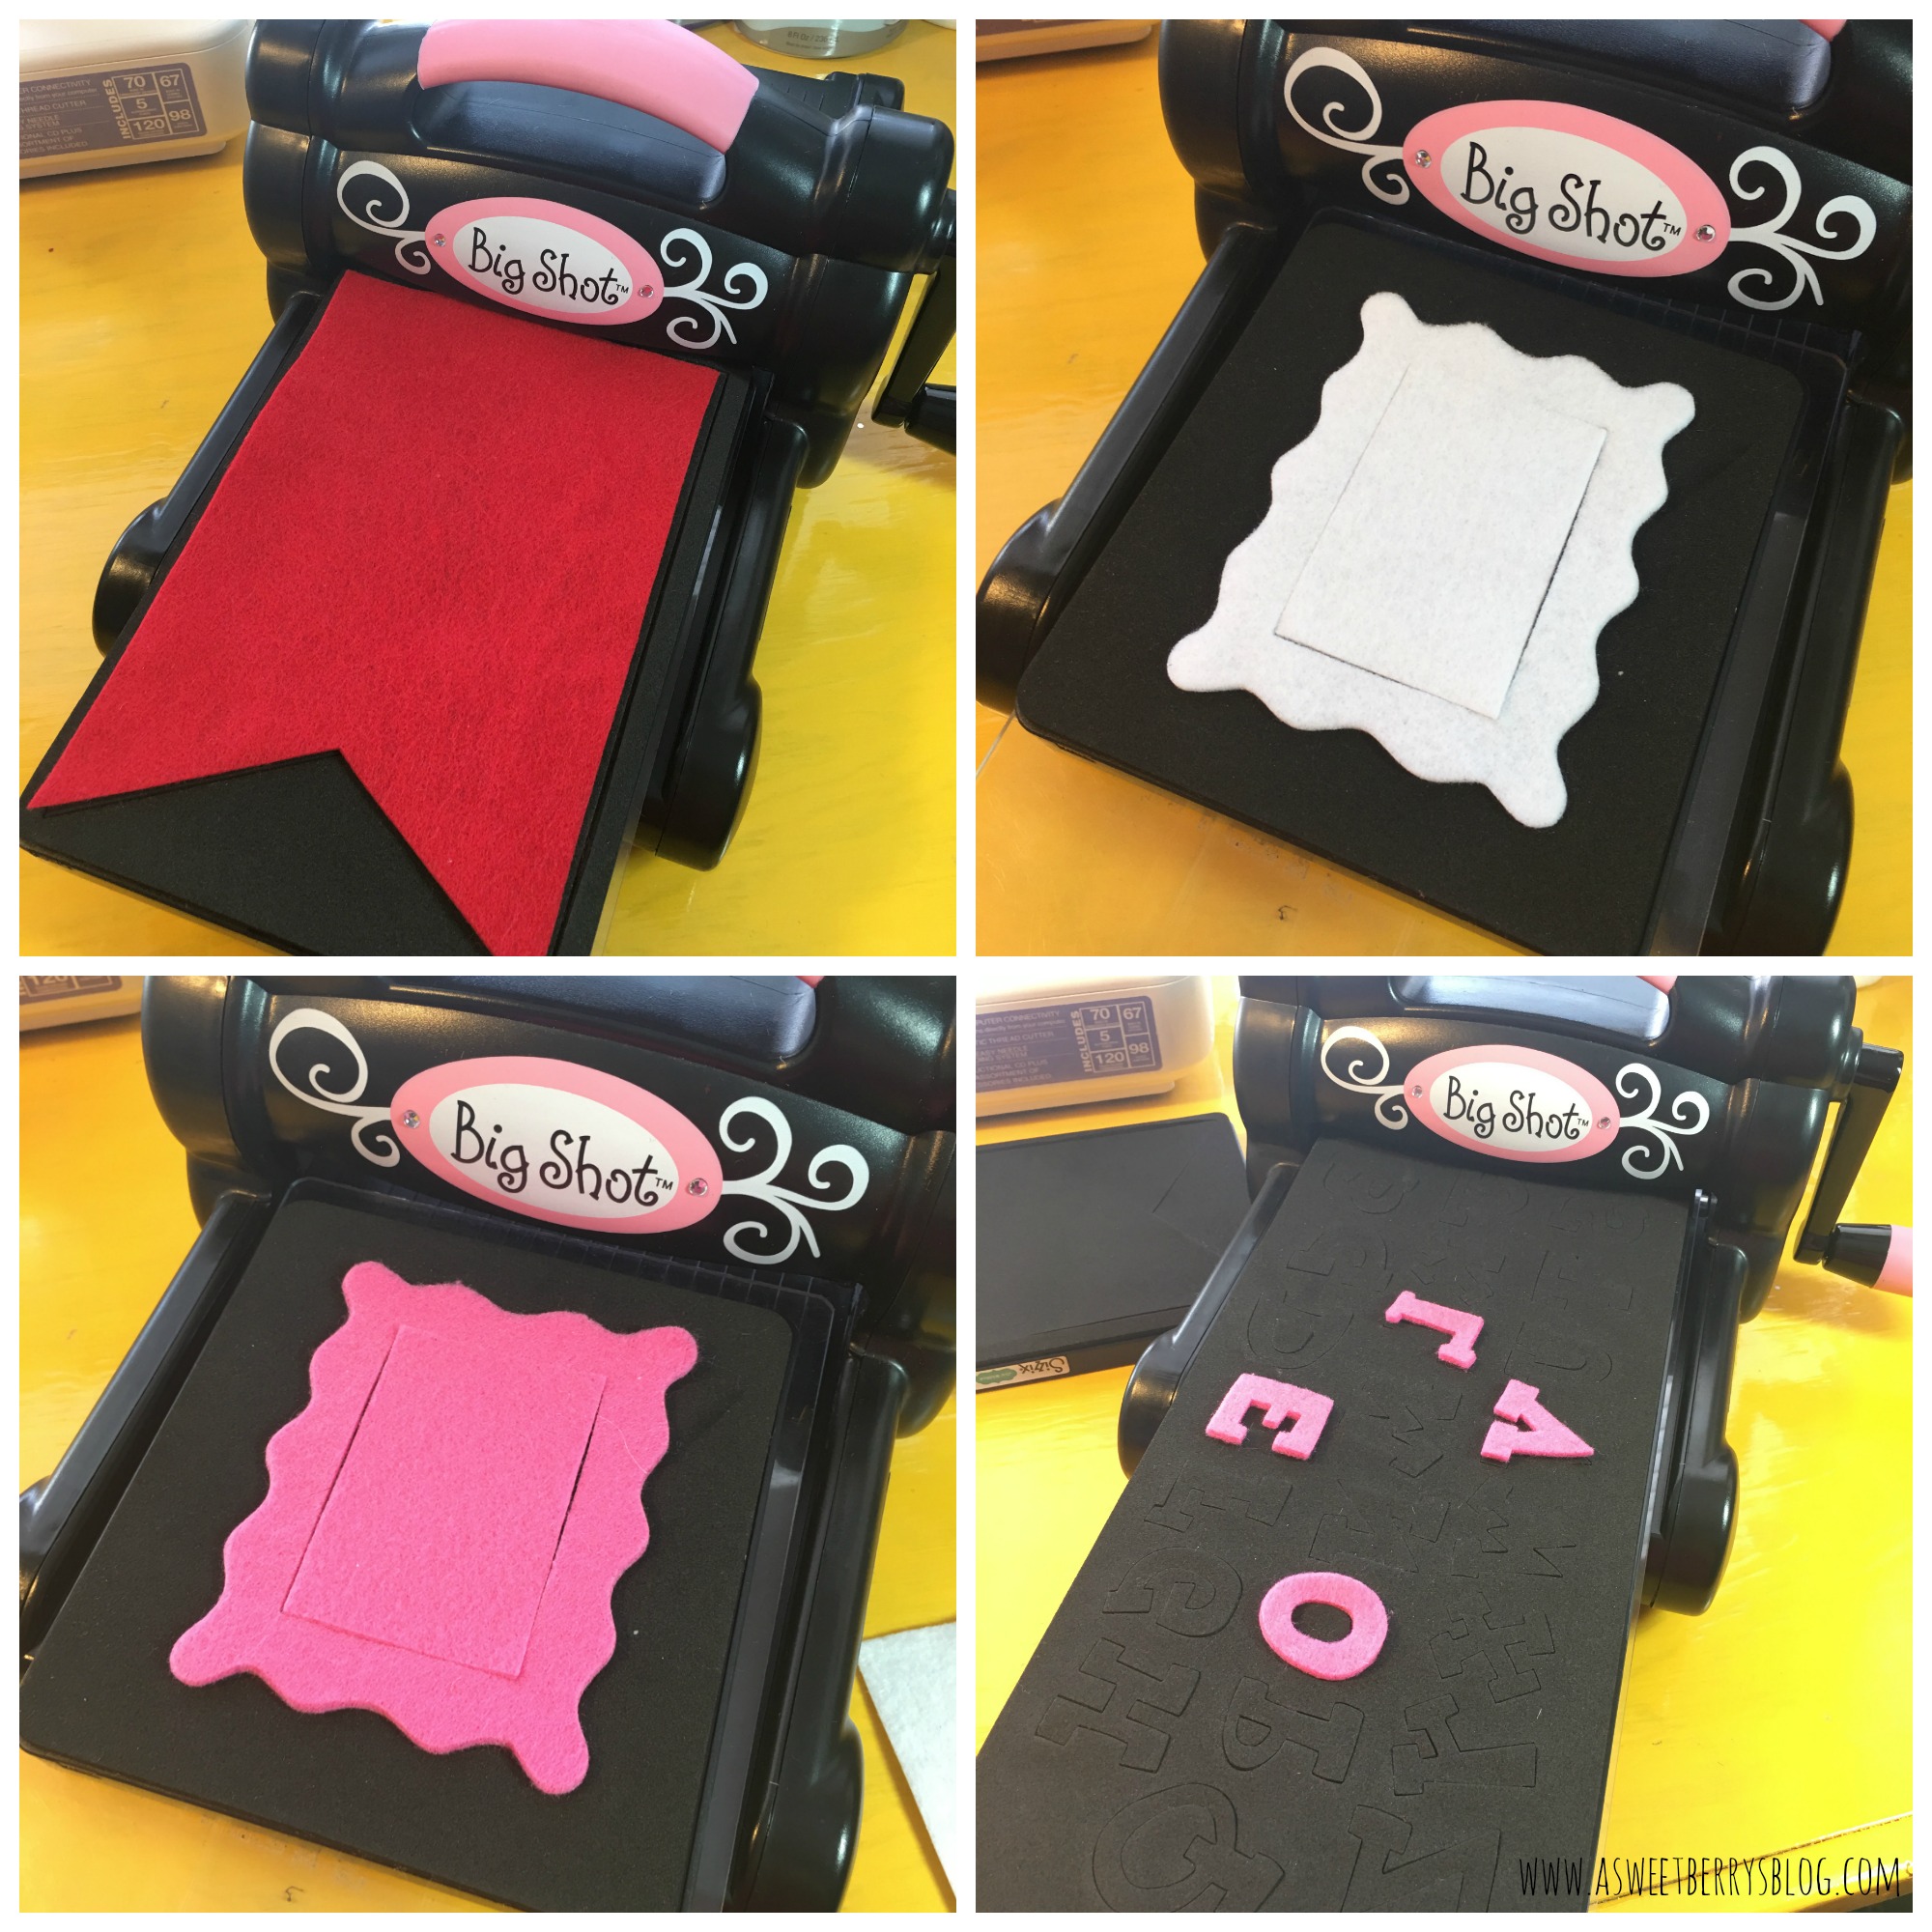
Step 1:  Using the Big Shot machine and dies, I cut all of my pieces.  Lori Whitlock’s Banner die is my favorite die ever, especially with the banner craze that I have right now!!!!   I also love Laura Kelly’s Lemonade Alphabet!   The Sizzix Wavy Frame is so versatile!   I cut the frame out in two different felt colors.  

dies

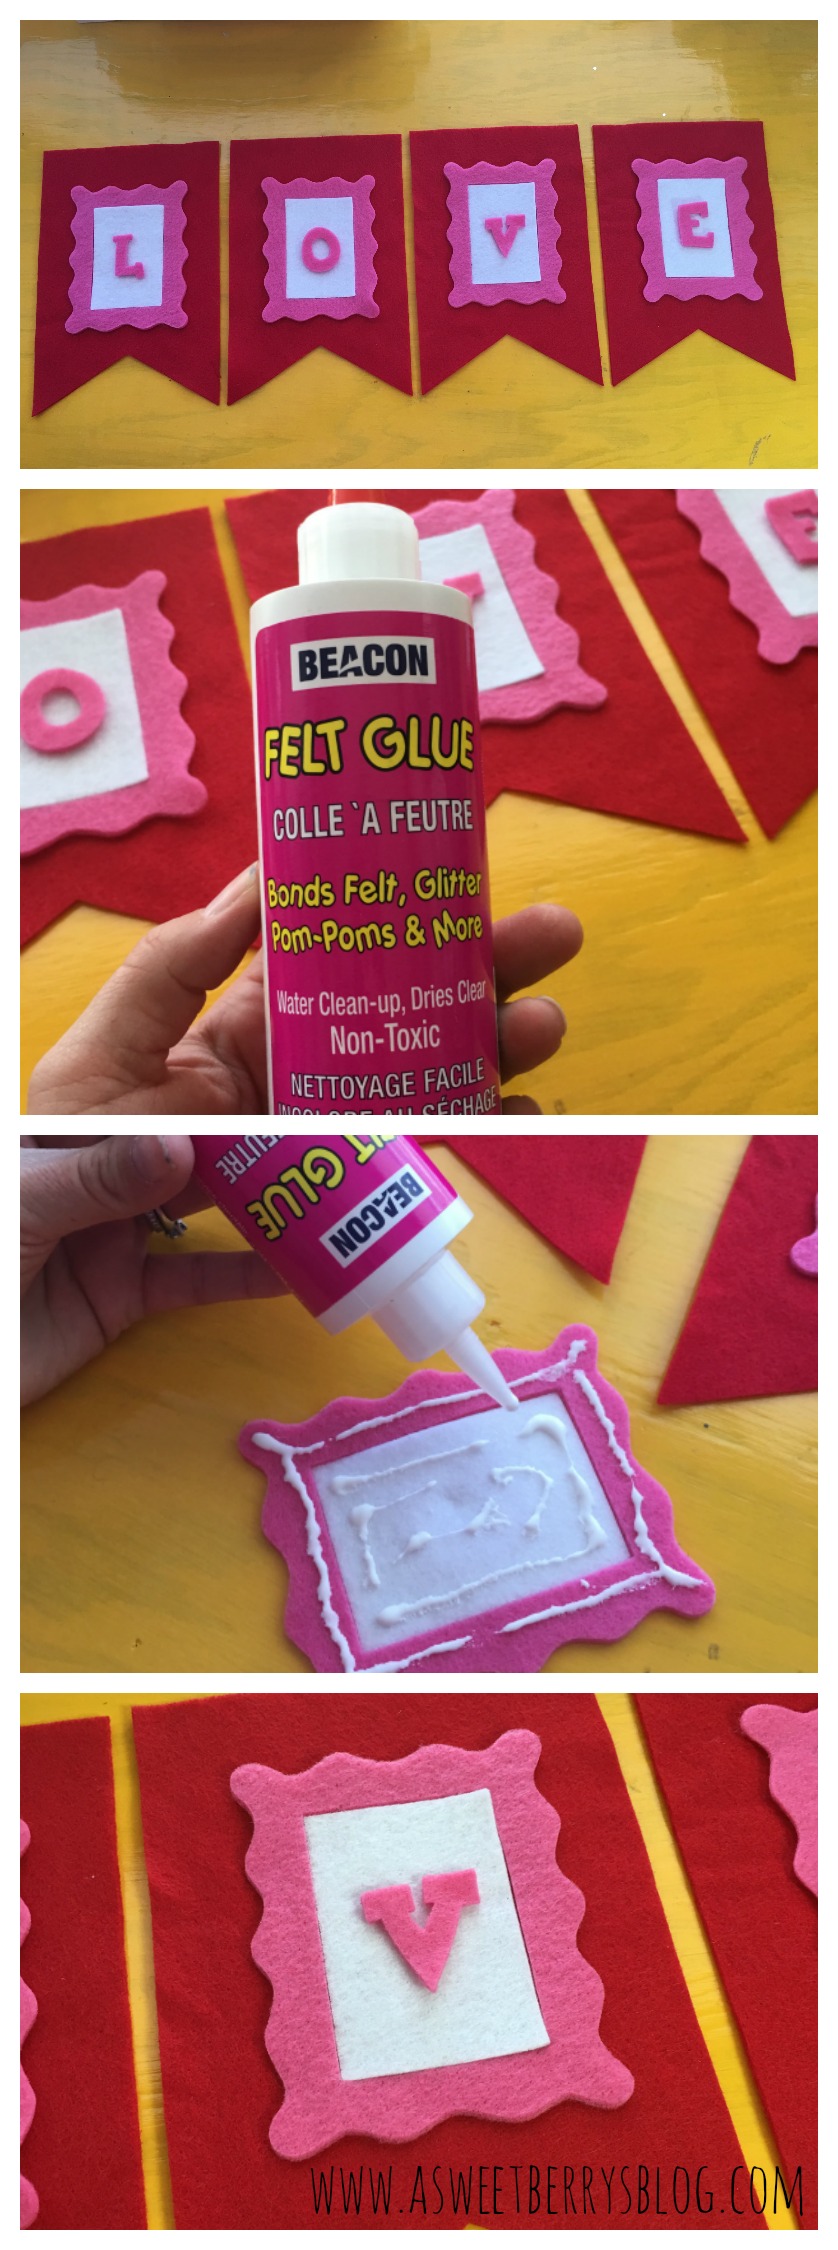
Step 2:   Lay your design out.  At first, I wasn’t going to add the inside of the frame piece, but then I decide to.  I like it!  Once you have it laid out the way you want it, glue it all down.  I glued the frames down first and then added the letters.

Glue Time

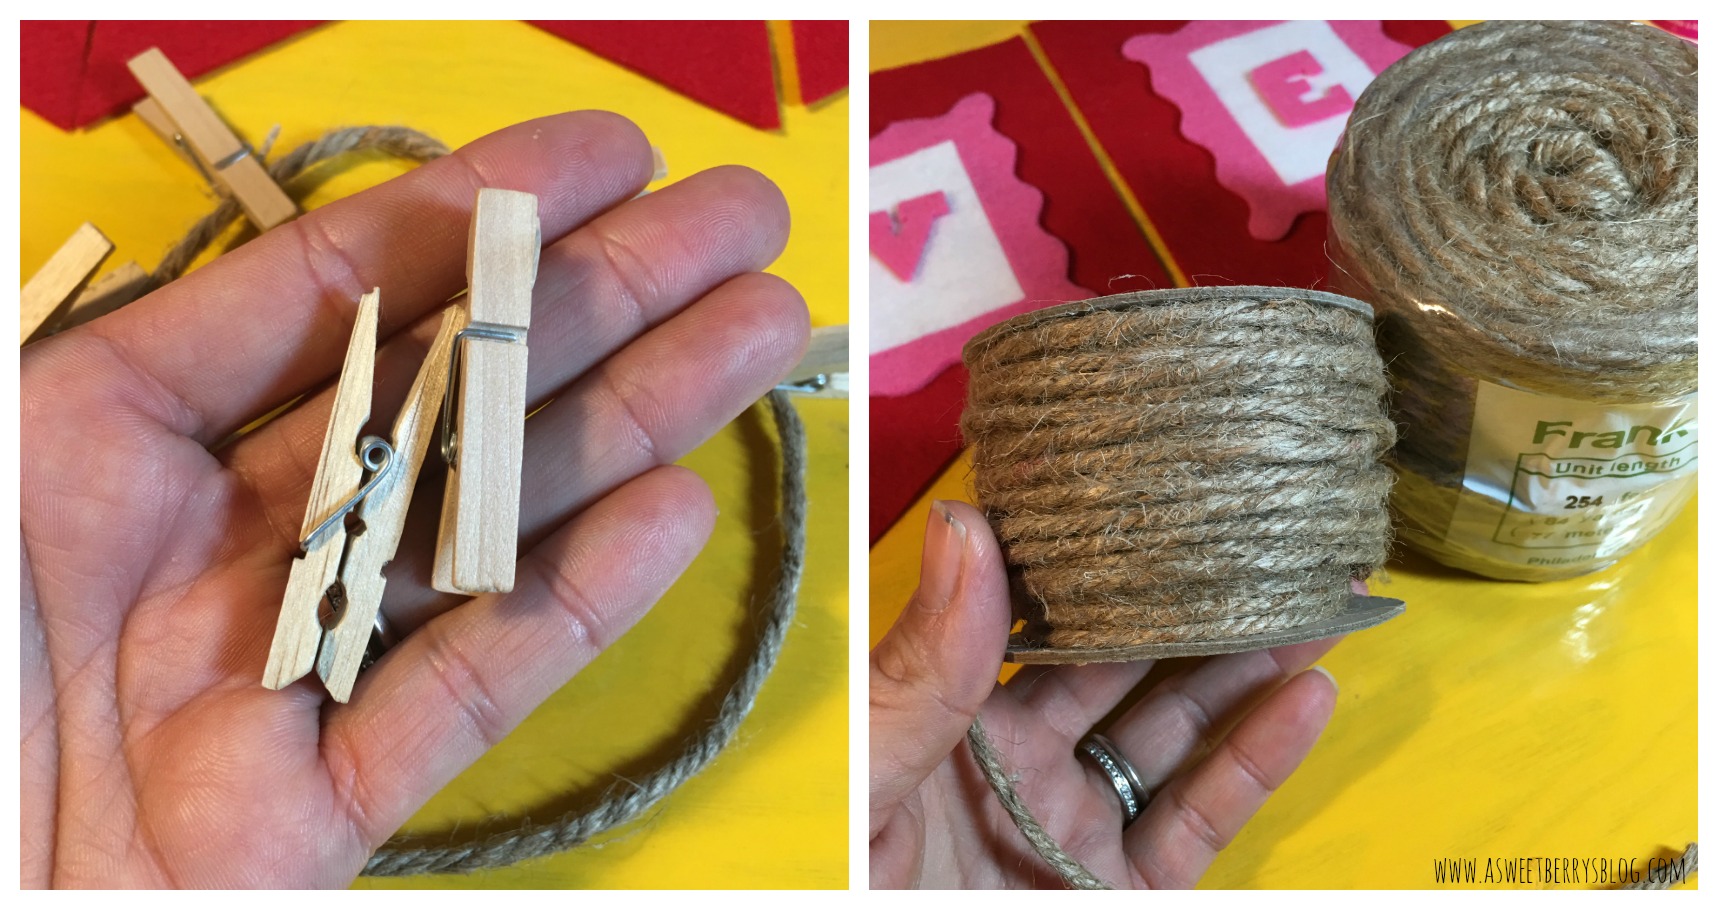
Step 3:  Let it dry and then add it to your jute rope using clothes pins.  Then hang it up!  Another option is to cut small cuts into the top of your felt banner and then slide it onto the jute rope.  I like the clothespins, simply for the fact that I like to make banners for different occasions and I can just switch them out!  I love to use Command Strips to hang up my banners.   They are easy to remove and you can put them wherever you want!

clips and rope

I hope you like this adorable LOVE banner made from Kunin Felt.  

Be sure to check out all of the other quick and easy Craft Lightning Valentine’s Day crafts by clicking the button below!!!


Katie-Signature-2

Thankful Burlap and Felt Banner

Disclosure:   As a member of the Laura Kelly Design Team, I received product from Sizzix/Ellison for use in my blog posts.  The opinions are my own.  This post may contain affiliate links.

Thanksgiving is upon us.  And I’m feeling really thankful this season.   I’m thankful for my family and my friends.  I’m thankful for a house to live in, food to put on the table and a bed to sleep in.  I’m thankful for a car to drive.  I’m thankful for my husband’s job and for my job.  I’m thankful for my church and church family.  I’m thankful that my children go to a great school.  And I’m thankful to be healthy!  My list of thankfulness could go on and on and on.

banner-final

Lately I’m obsessed with banners!  I love to make them as much as I love hang them in my house!  They are easy to make and you can make them any ways that you want!   They can really make a difference in your home, even if it’s just for a little color!

Just recently Sizzix sent me this amazing banner die designed by Lori Whitlock.  I used it, along with some of my favorite dies by Laura Kelly, to create this amazing Thankful banner!  This banner die might be one of my favorite dies ever!

Materials used:

Directions:

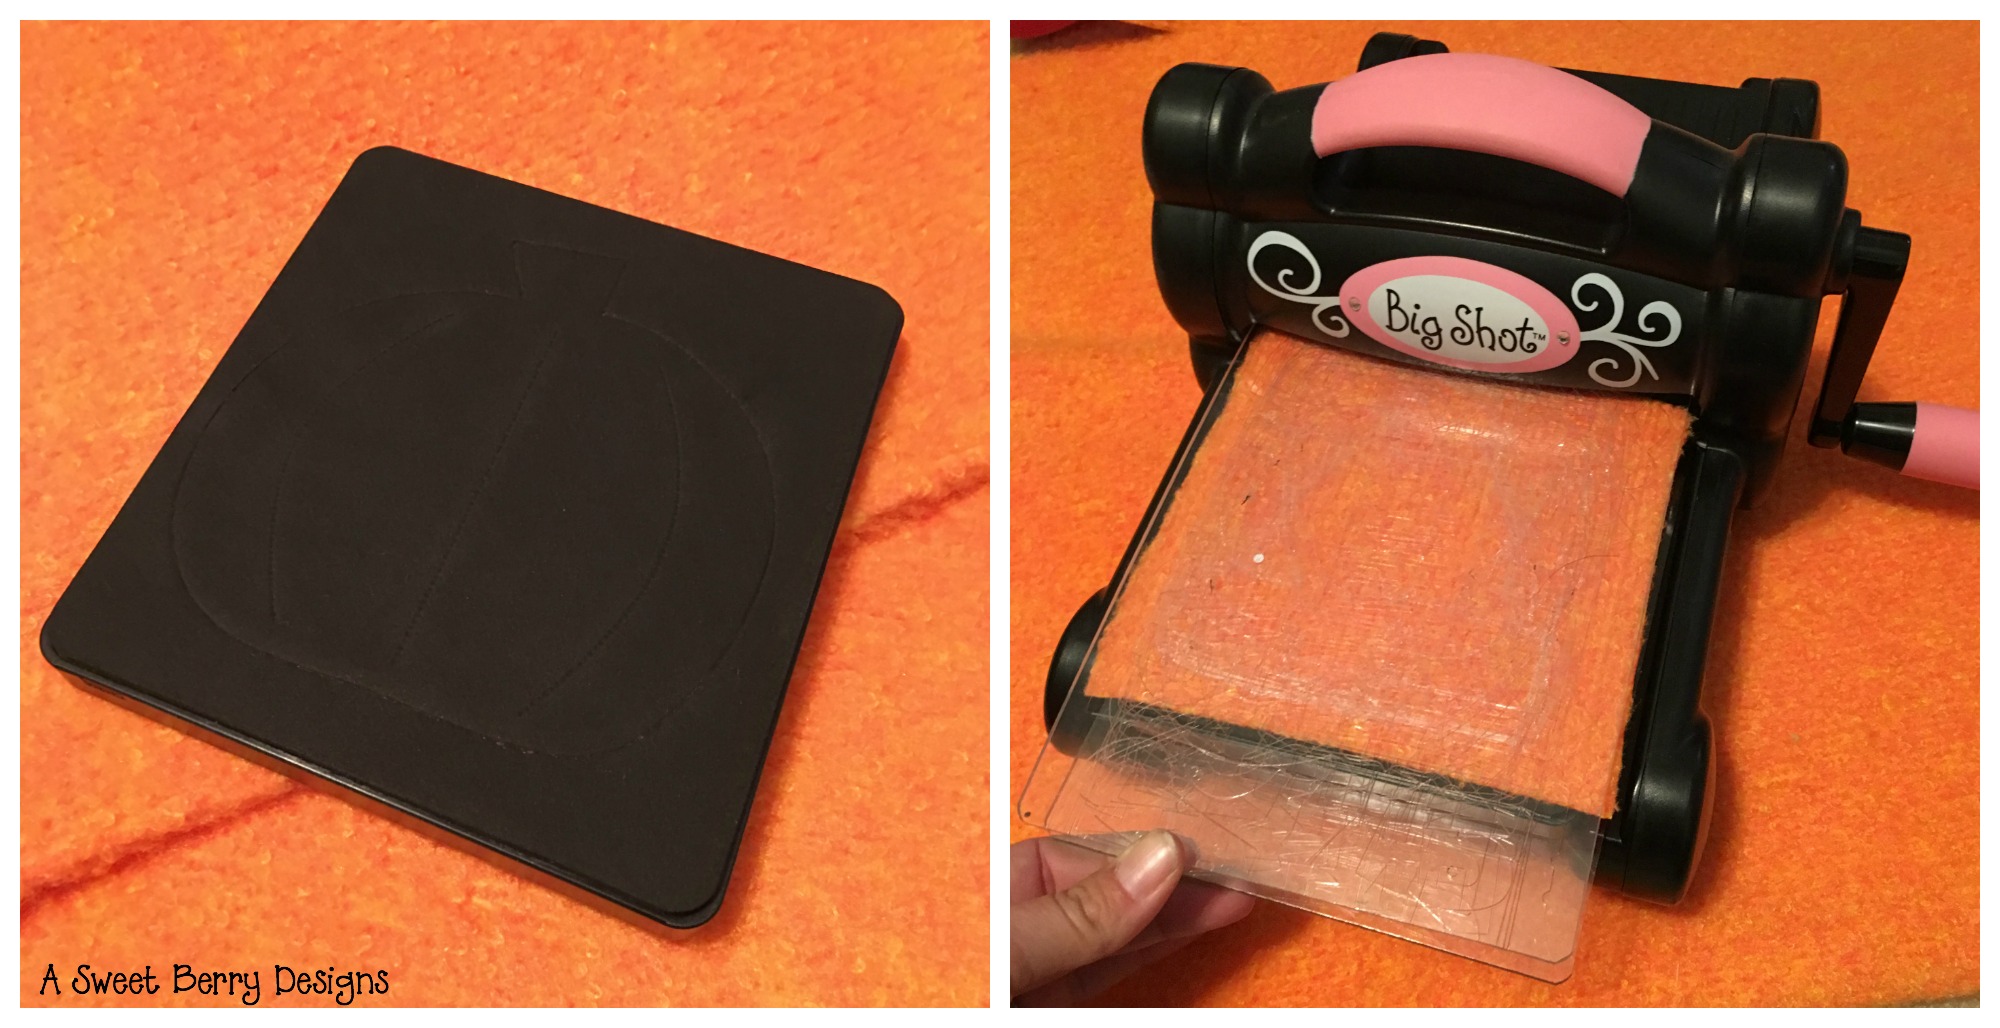
  1. First, I cut out all of the pieces needed for the banner.   The ShaggiChic felt is a little thicker so I cut them individually.  Sometimes you can cut multiple pieces in one run through of the Big Shot. 

pumpkin-die

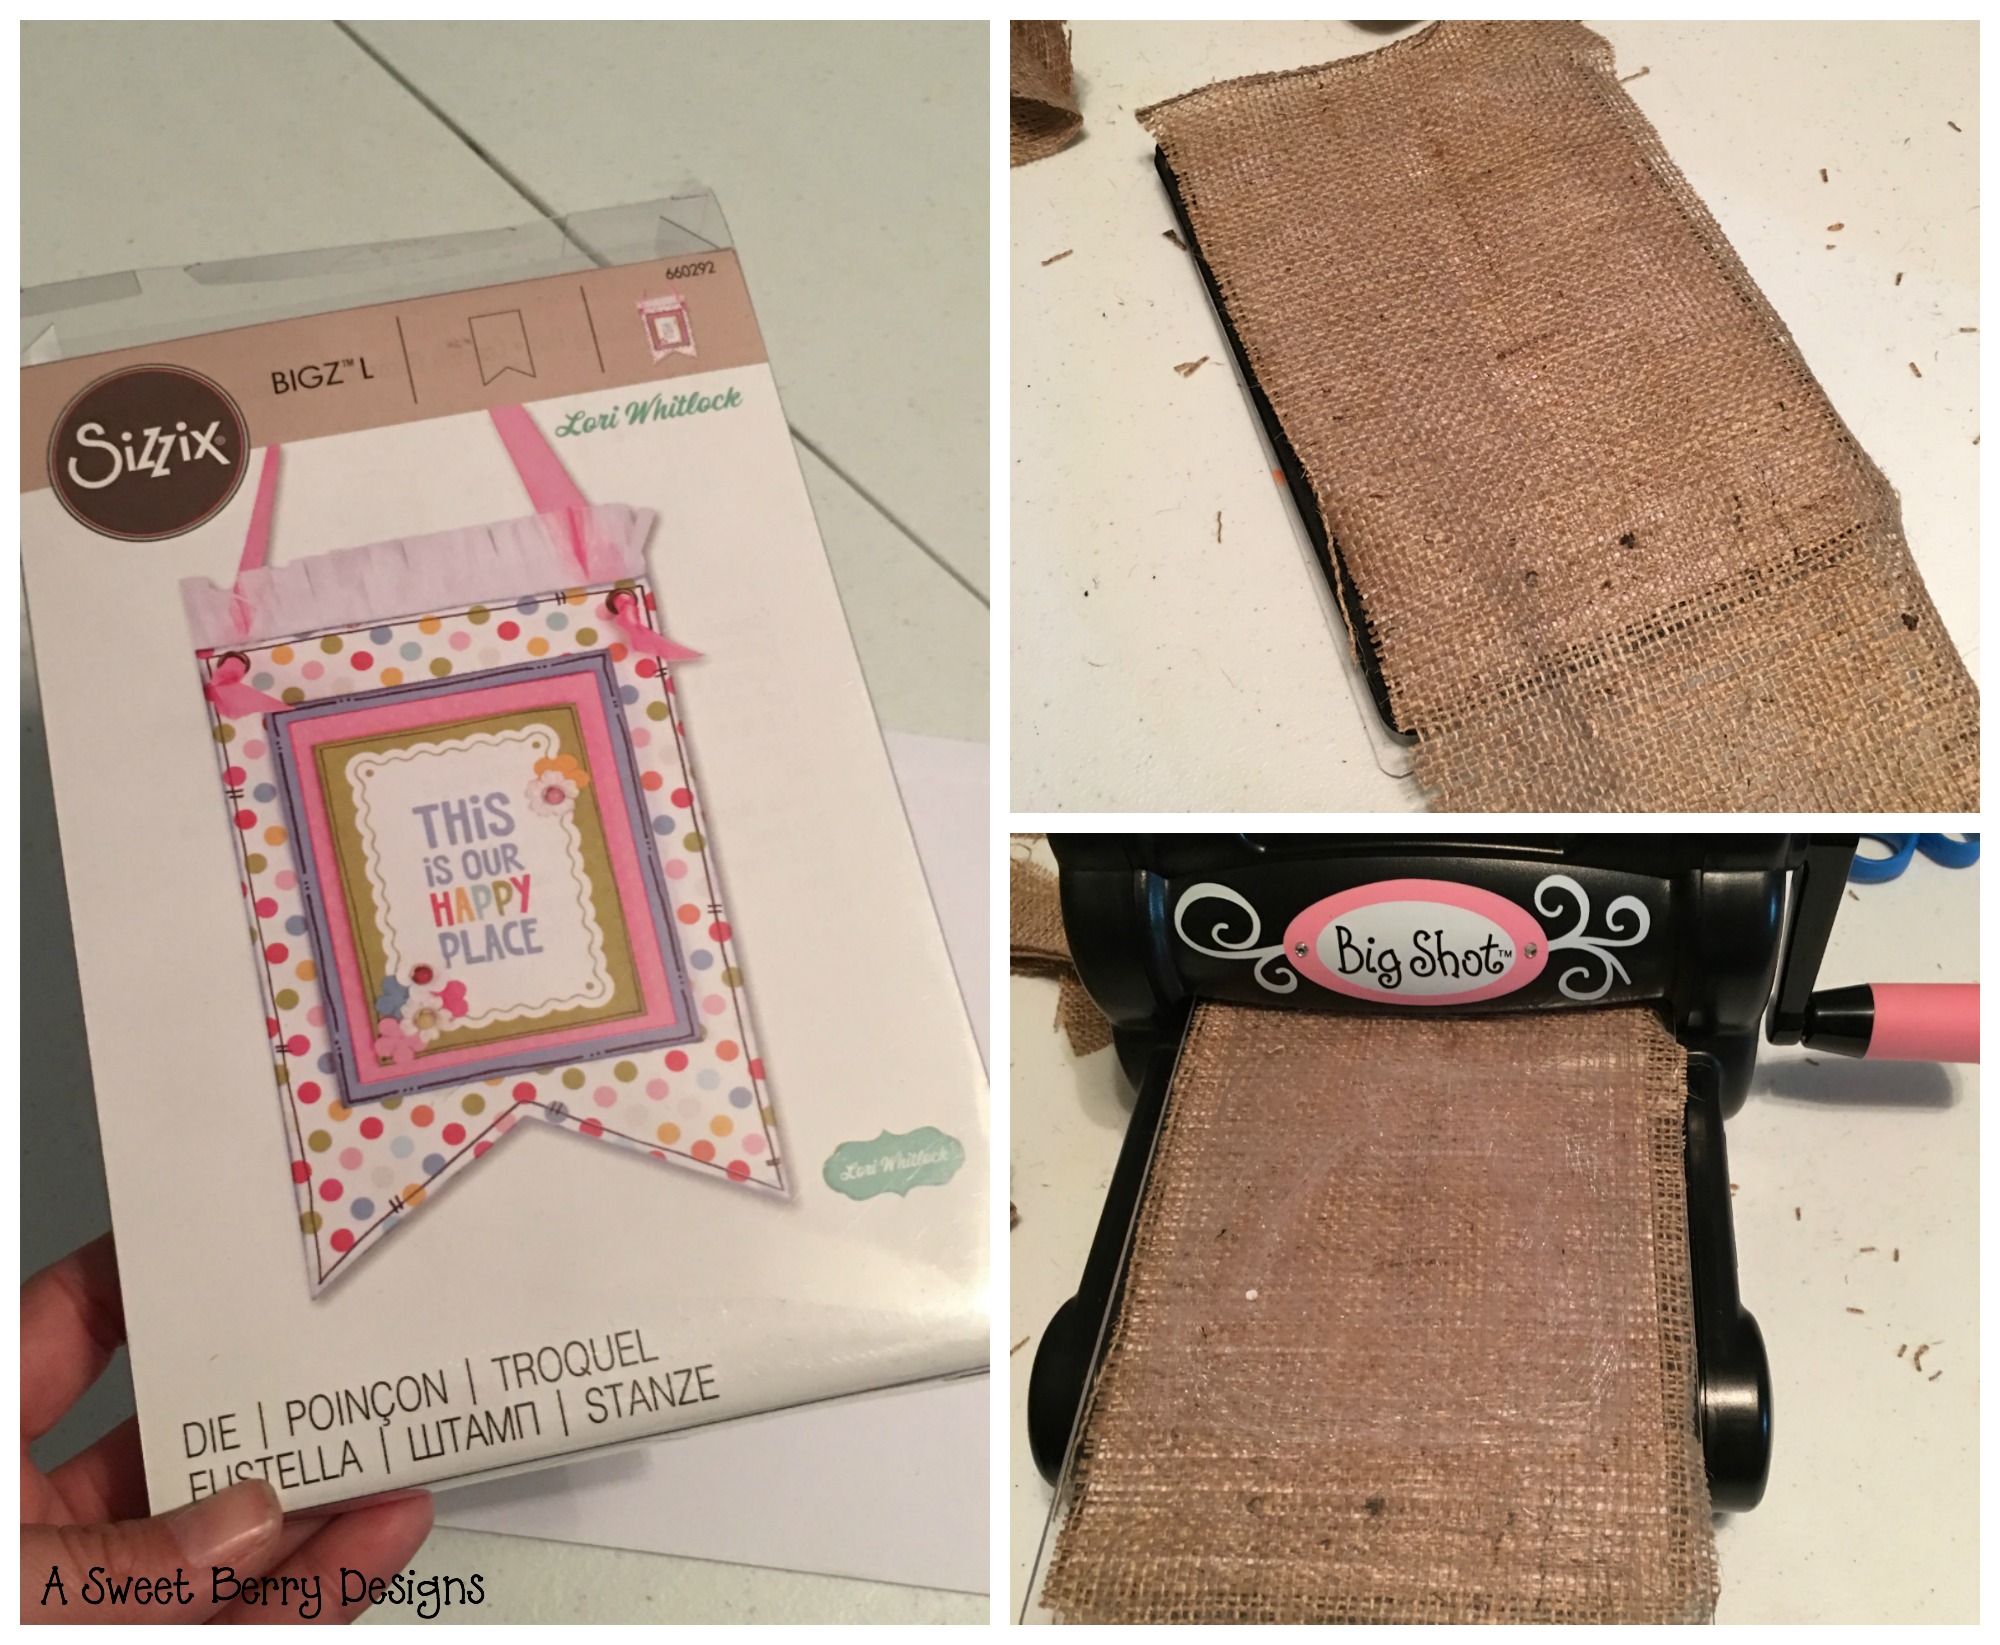
With the burlap I placed a piece of paper underneath the burlap each time I did a cut.  I didn’t want the fibers of the burlap to get all over the die.   Putting the paper underneath really helped.

banner-die

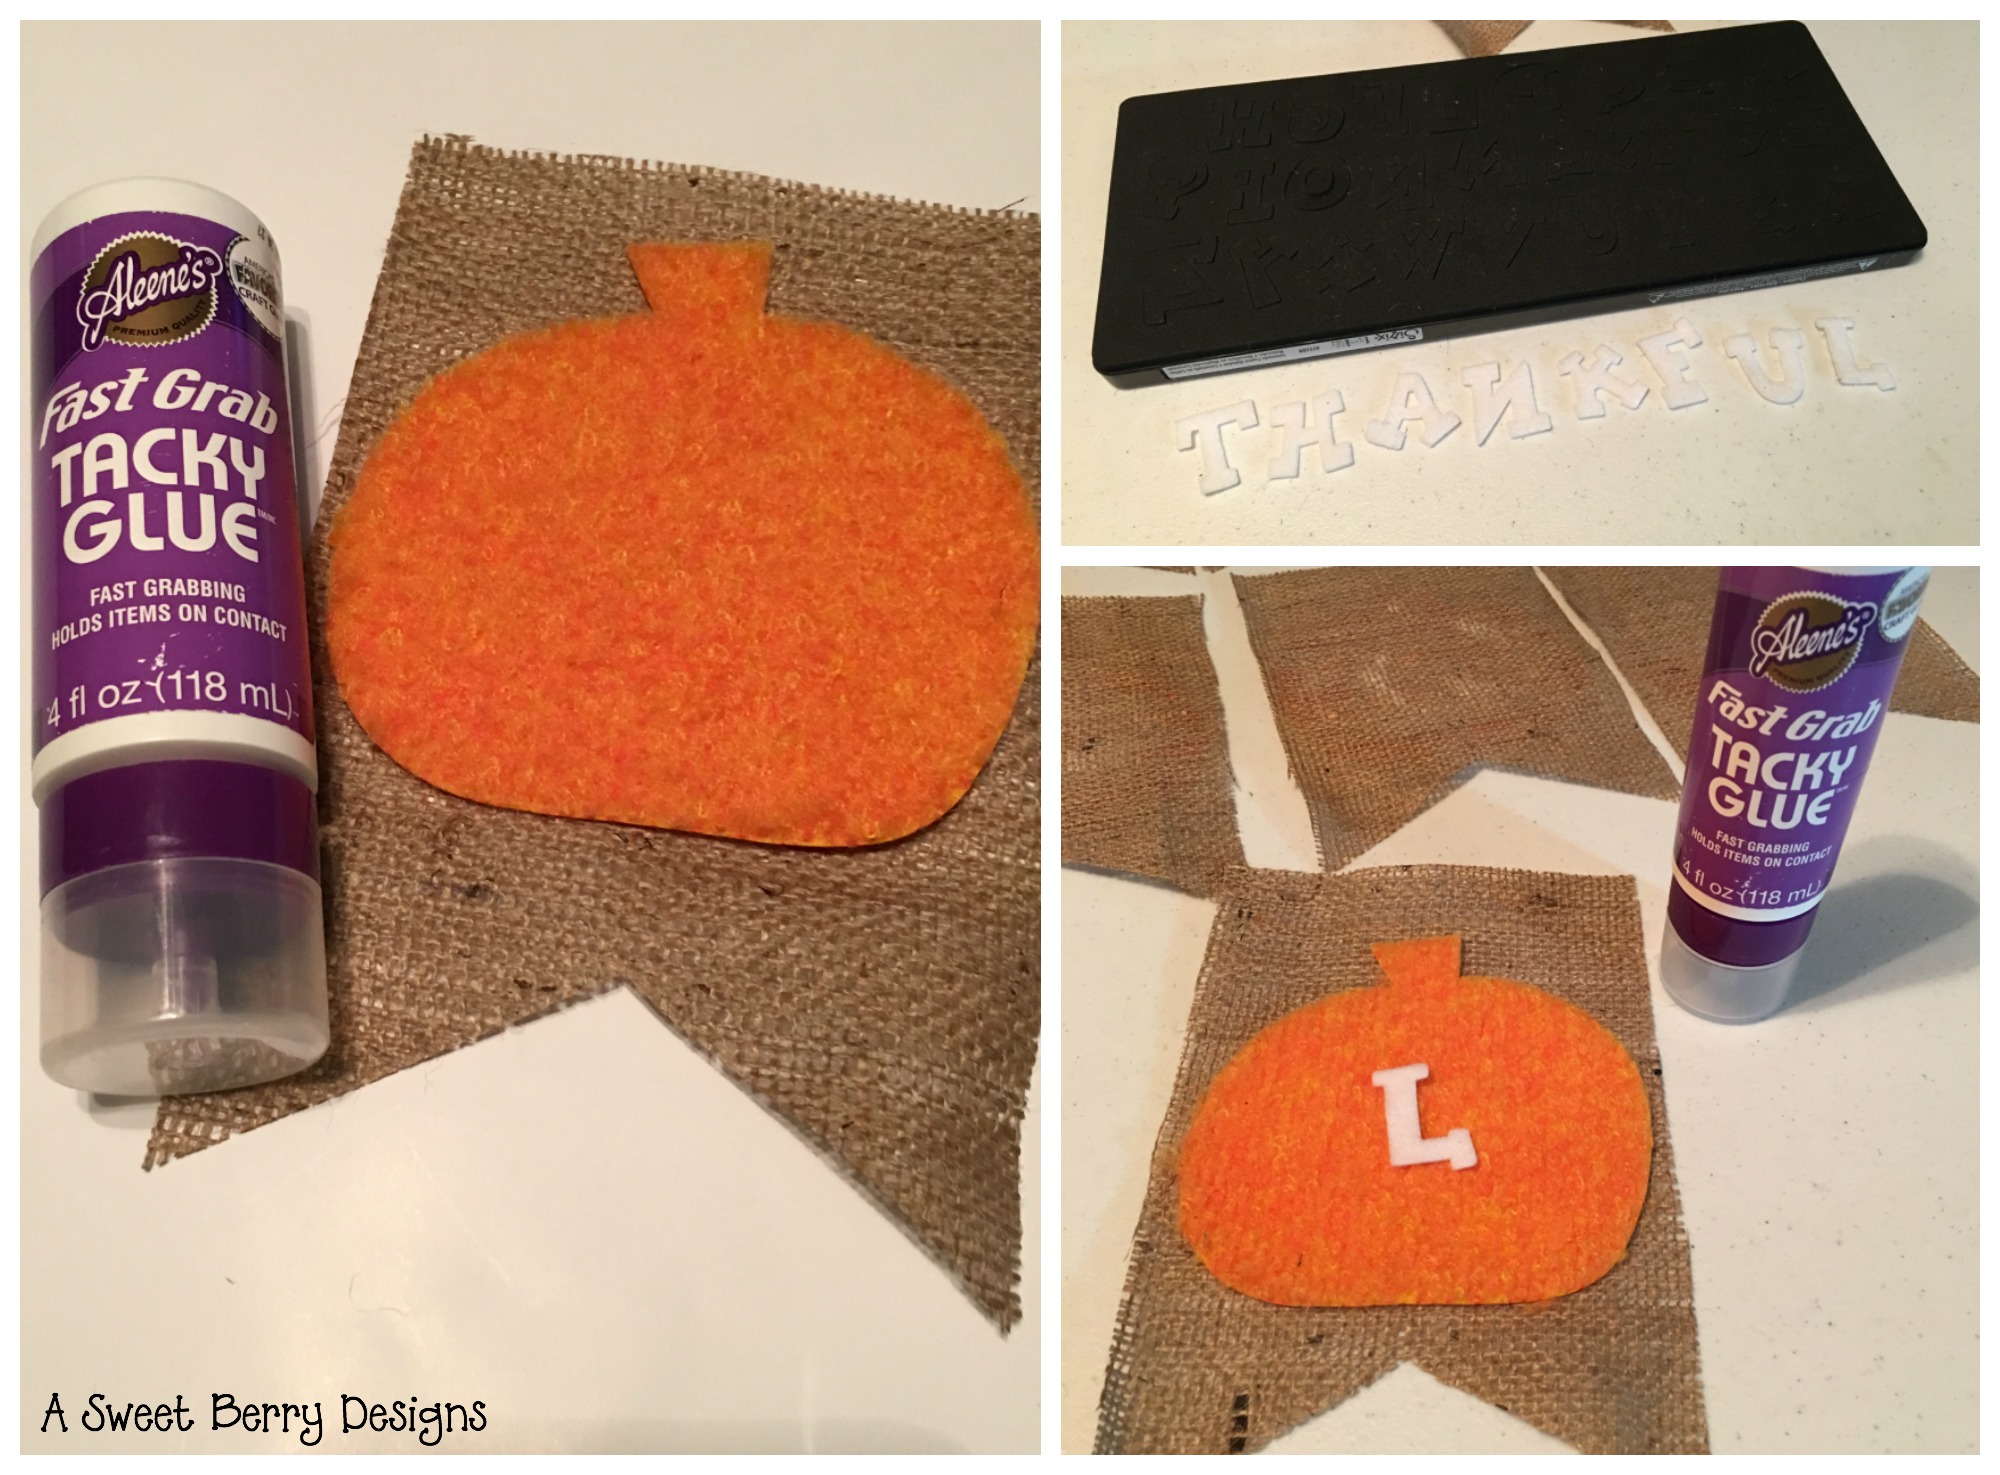
2.  Once all of my pieces were cut out, I started putting the banner together.  I glued the pumpkins to the burlap banner pieces.  Then I added the letter and the stem.

letters-and-gluing

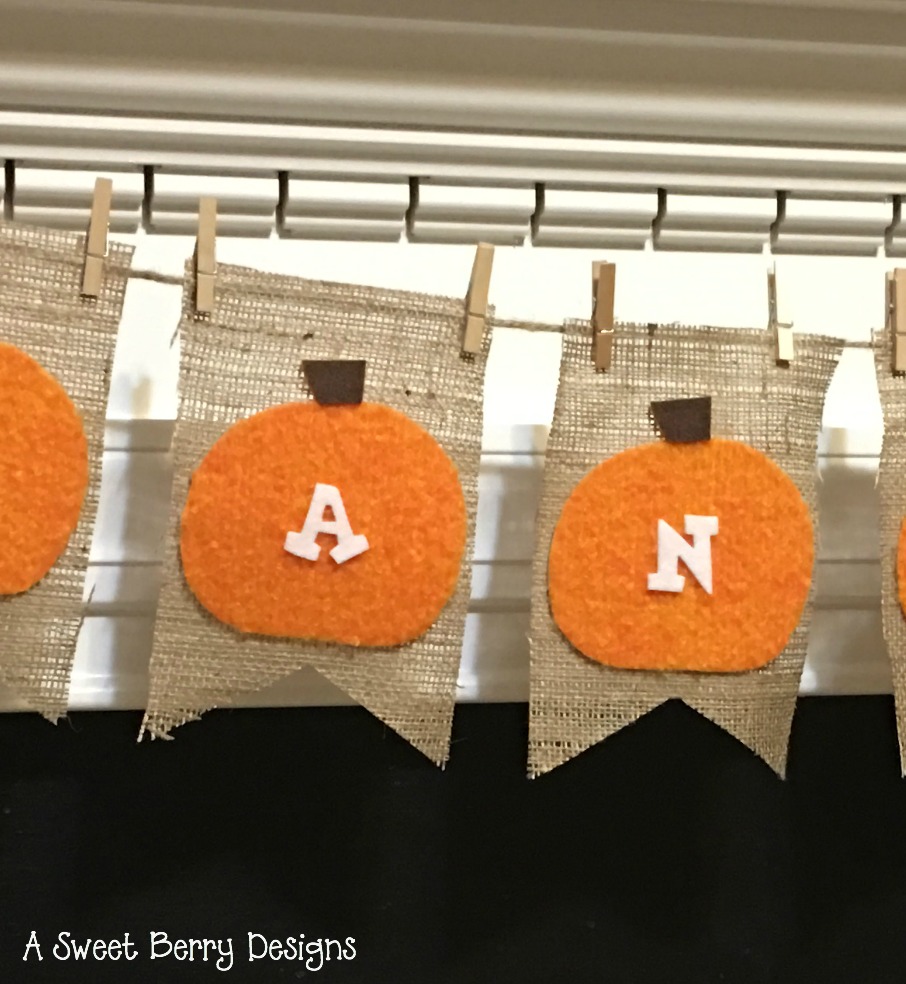
3.   Usually I like to use ribbon for my banners, but lately I’ve liked using jute rope.  Jute rope goes really well with the burlap!  And I love the natural look of the jute rope!

unclose

I hope you like my Thankful burlap and felt banner.   I love it so much that I want to keep it out longer than just the Thanksgiving season.  I hope that you and your family have a Happy Thanksgiving!

Katie-Signature-2

Teacher’s Name Banner featuring Laura Kelly’s Apple #2 Die from Sizzix

Disclosure:  I am a member of the Laura Kelly Design Team and received product to provide product reviews and to write about in blog posts.  

 
Final
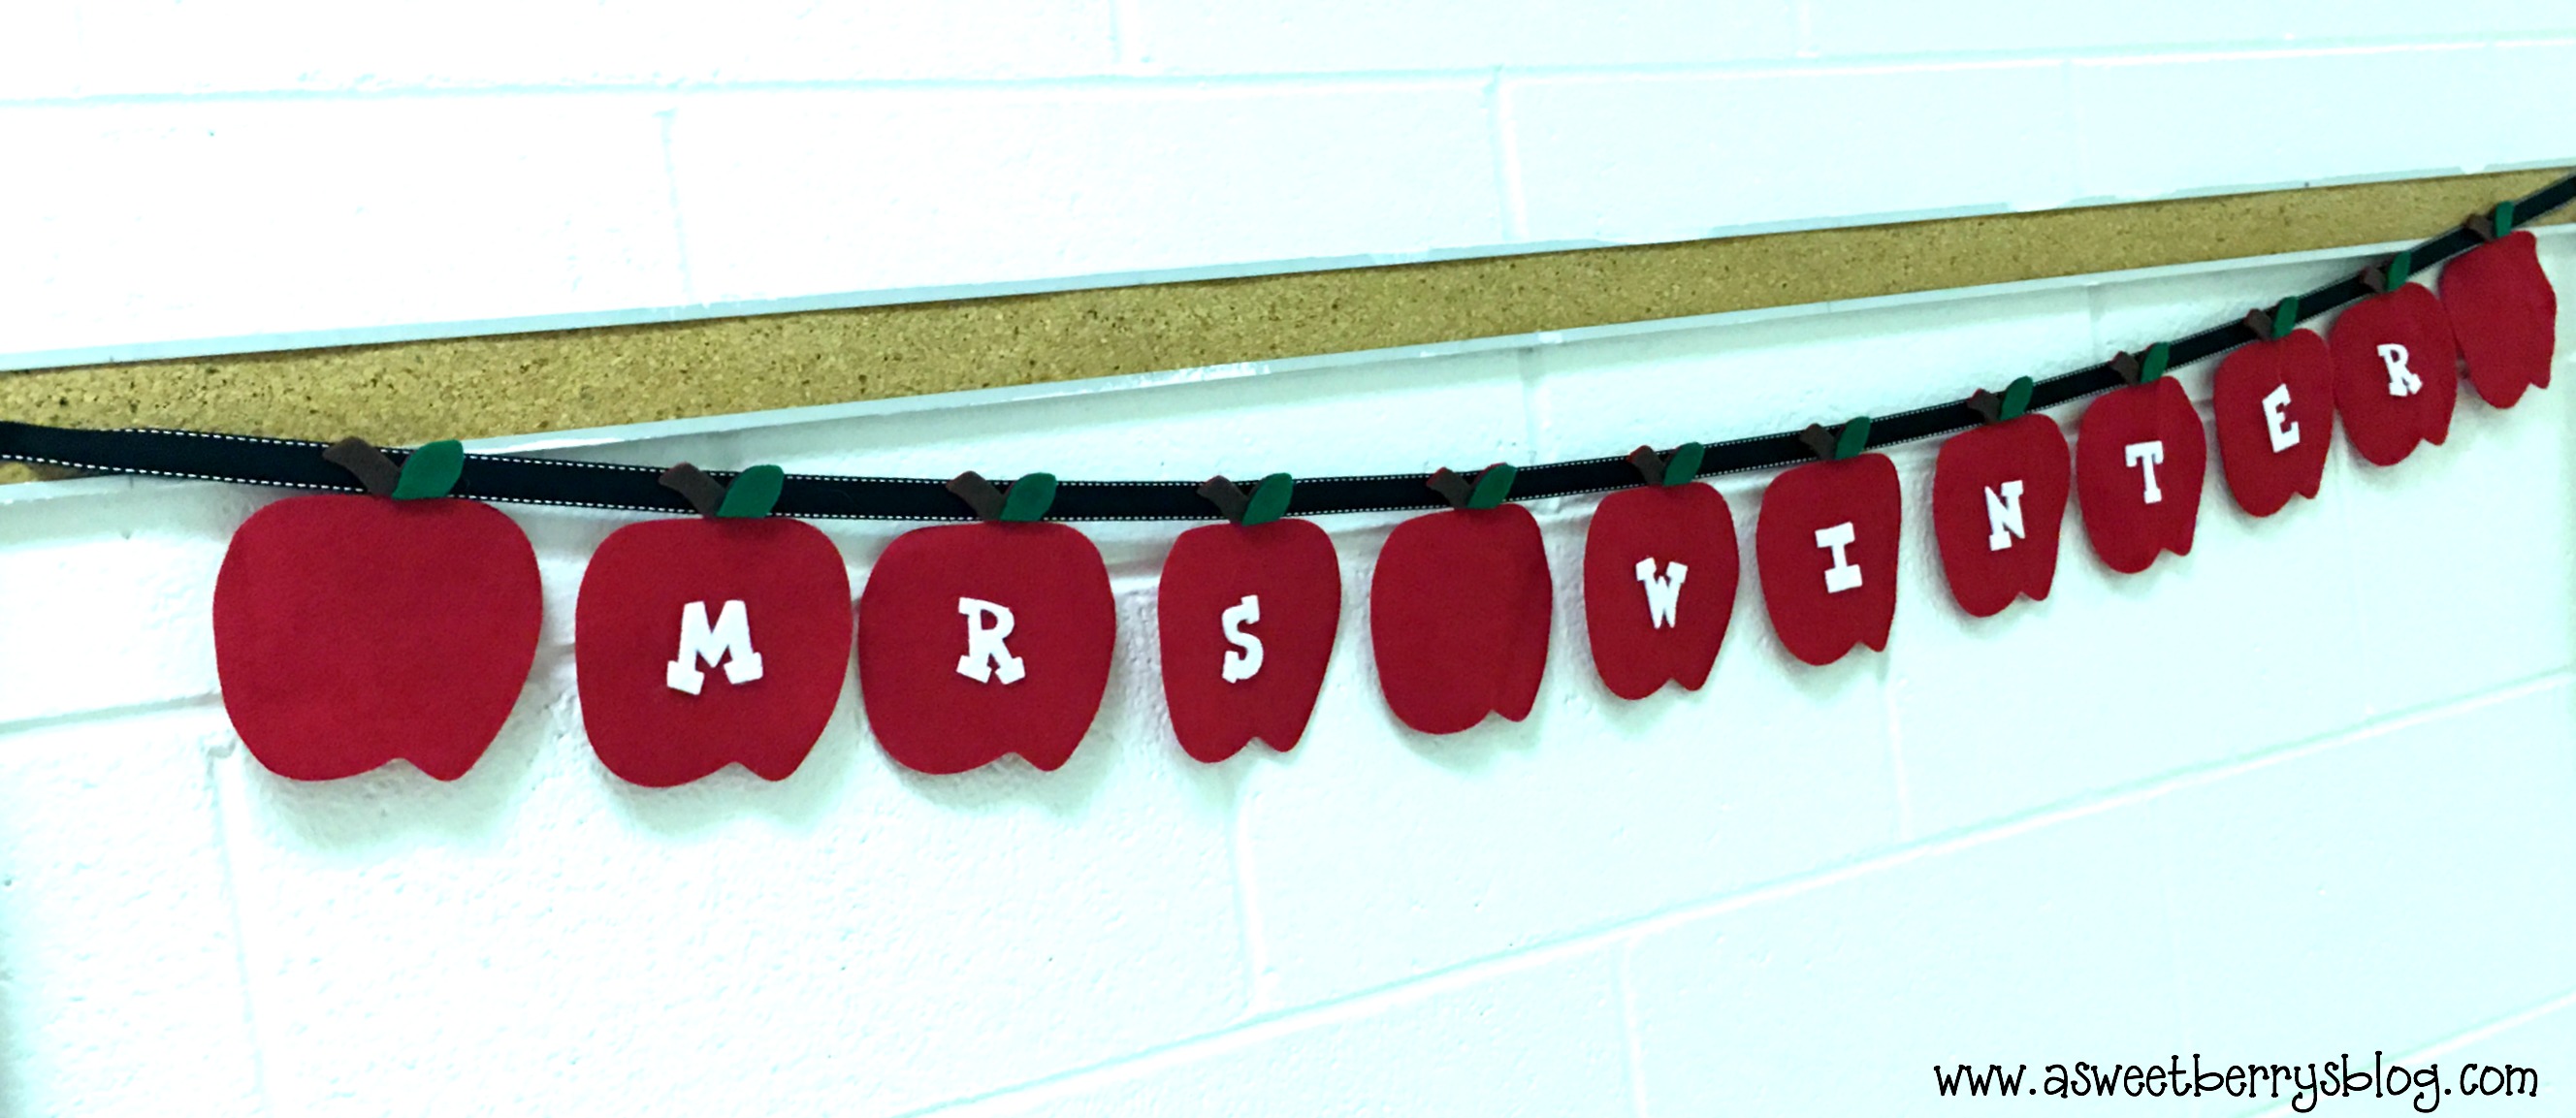
If your children aren’t in year round school like mine, it’s time for yours to go back to school!   I am excited to share this Teacher’s Name Banner that would be perfect for a teacher to hang in their classroom or right outside of the classroom.   It’s super simple and is a no sew project!  Your children could even help with cutting out the pieces!   I love making homemade crafts for my children’s teachers.  

Materials used:

Sizzix Big Shot
Laura Kelly’s Apple #2 Die from Sizzix
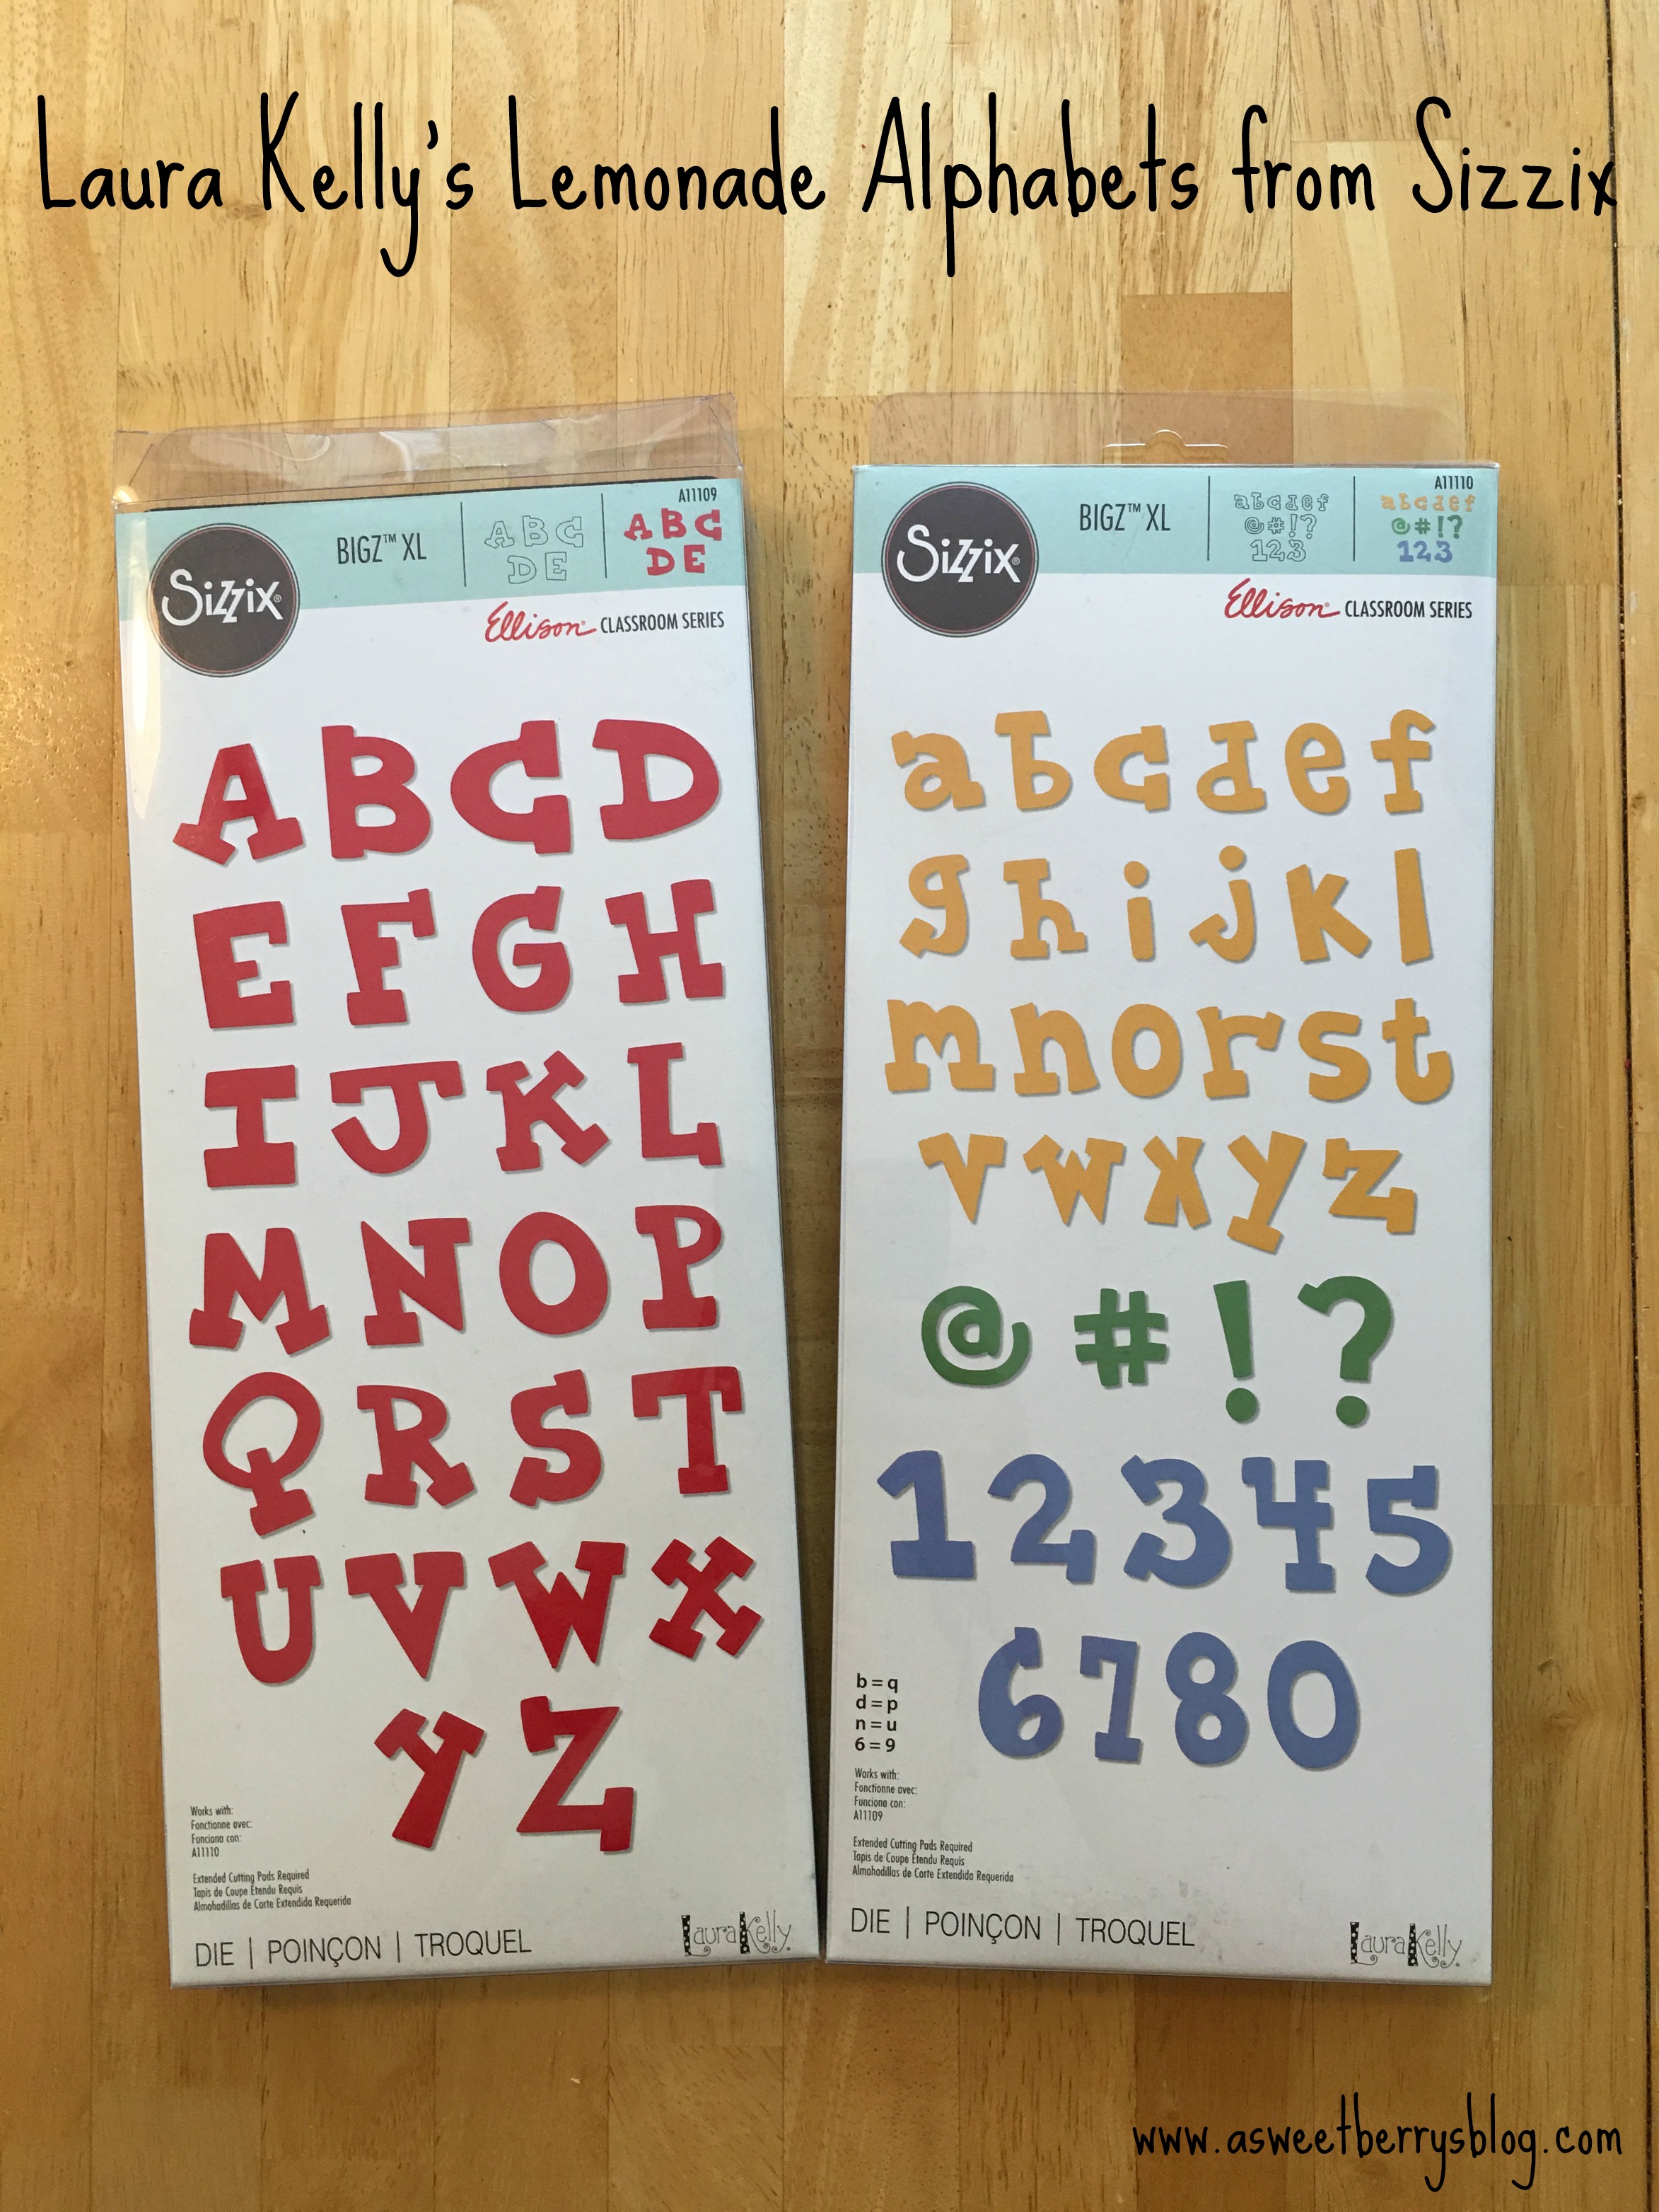
Laura Kelly’s Lemonade Capital Alphabet Die from Sizzix
Cutting Pads  (short and long)
Kunin Felt
Ribbon
Ad-tech Hot Glue Gun and Glue Sticks
Fiscar Scissors

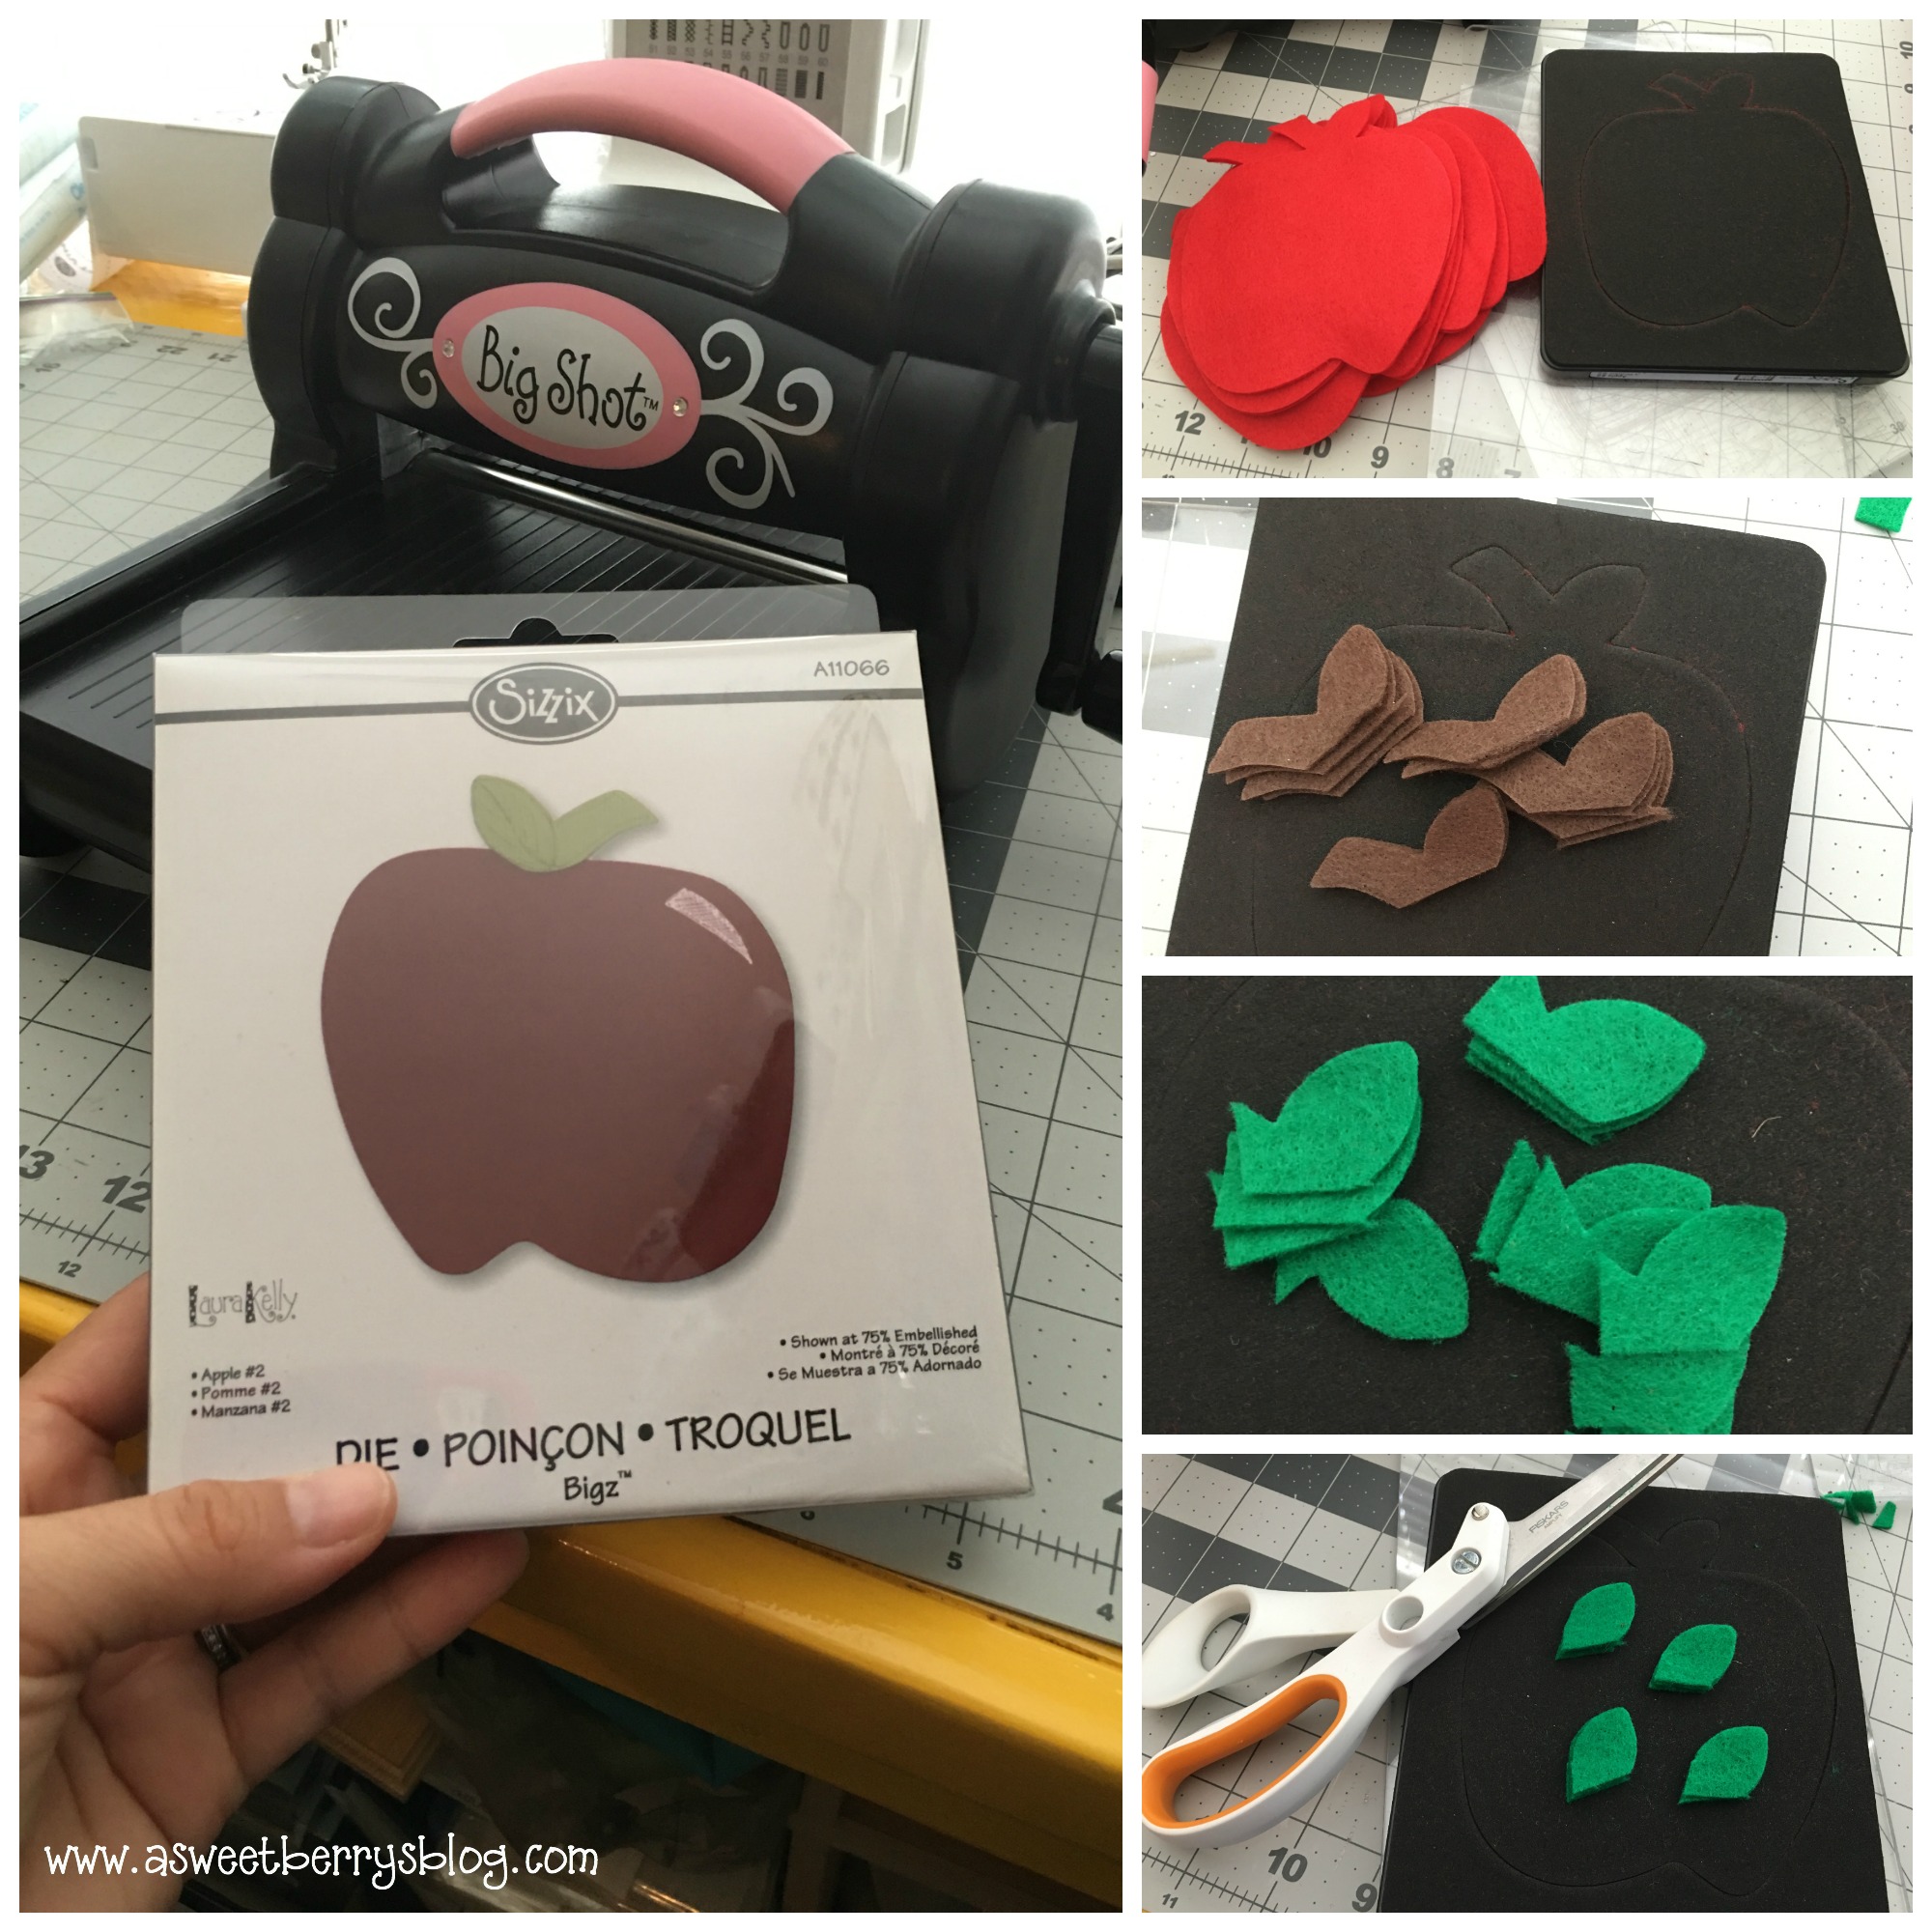
Die Cuts 1.  First, I use the Sizzix Big Shot, Cutting Pads, Felt and Apple Die to cut out all of my pieces.  I did a full cut for the apple and then for the stem and leaf, I just placed my felt over the steel blade and ran it through the Sizzix Big Shot.  

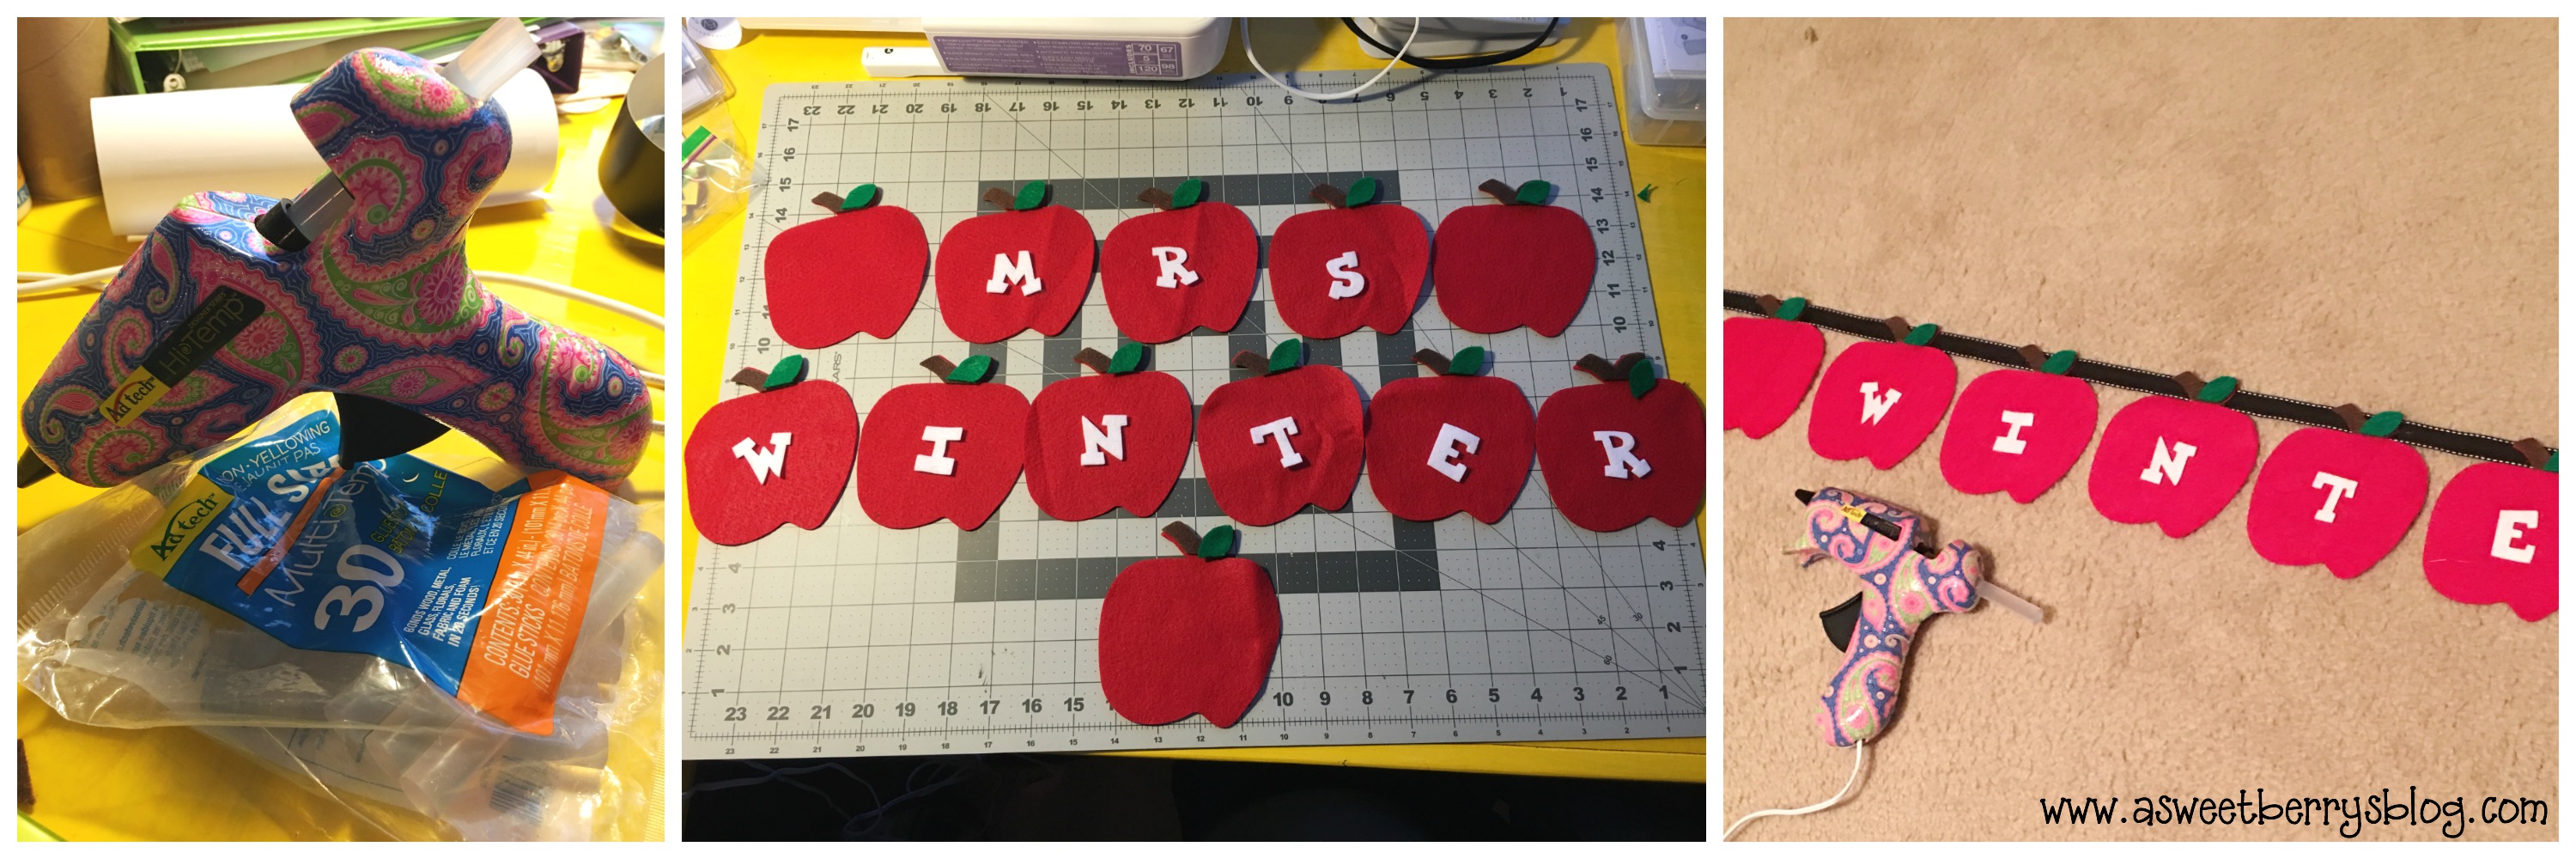
2.  Then, I used Laura’s Lemonade Alphabet Die and Long Cutting Pads to cut the letters (Mrs. Winter, one of our favorite teachers!!) Adtech 3.  Once everything was cut out, I used my Ad-tech Hot glue gun and glue sticks to glue the stem    and leaves down to the apples.  

4.  I then glued them to a long piece of ribbon. Hallway

I hope you like my Teacher’s Name Banner featuring Laura Kelly’s Apple Die #2.   I had so much fun making it.  

Until next time…..

Katie-Signature-2

End of the School Year Banner

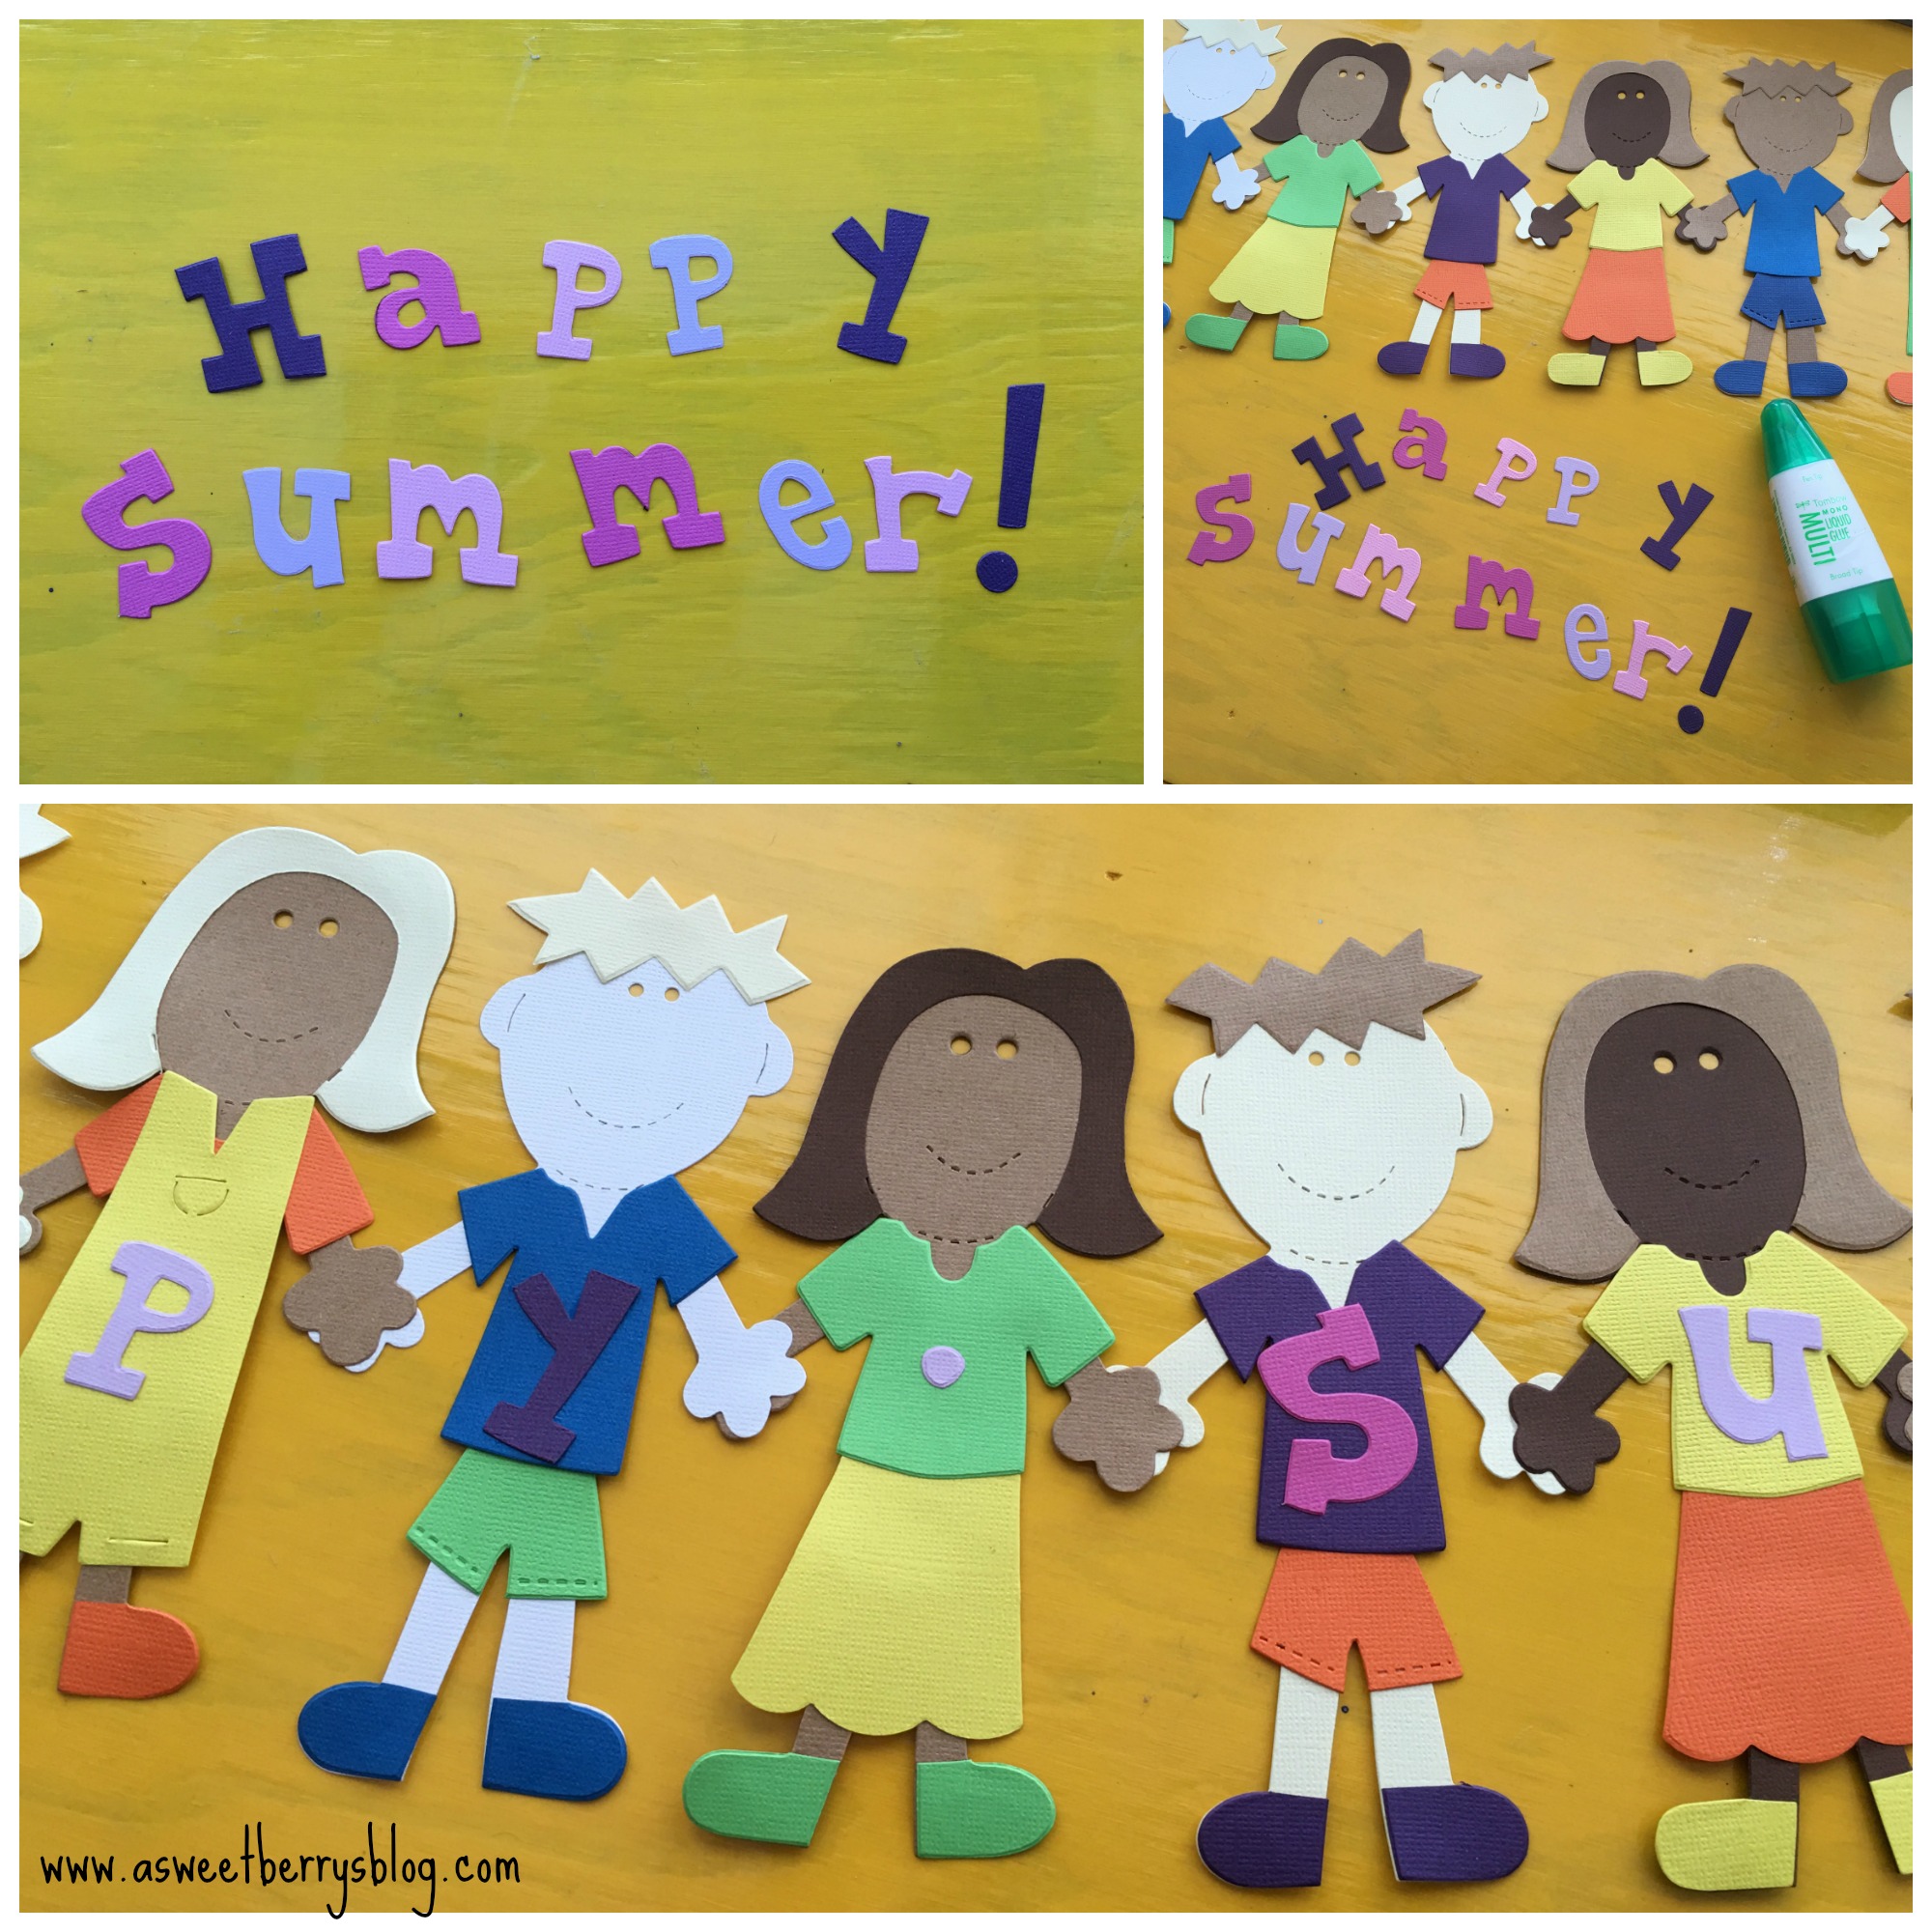
Before we know it, this school year will be ending and it will be Summer time!!!!  It’s hard to believe, but it’s true!   At our house, we are super excited about our summer vacation and the fun things that we get to do!   In honor of the End of the School Year, I made this adorable little “Happy Summer” banner using Laura Kelly’s Peep and Lemonade Alphabet Dies from Sizzix! 
banner
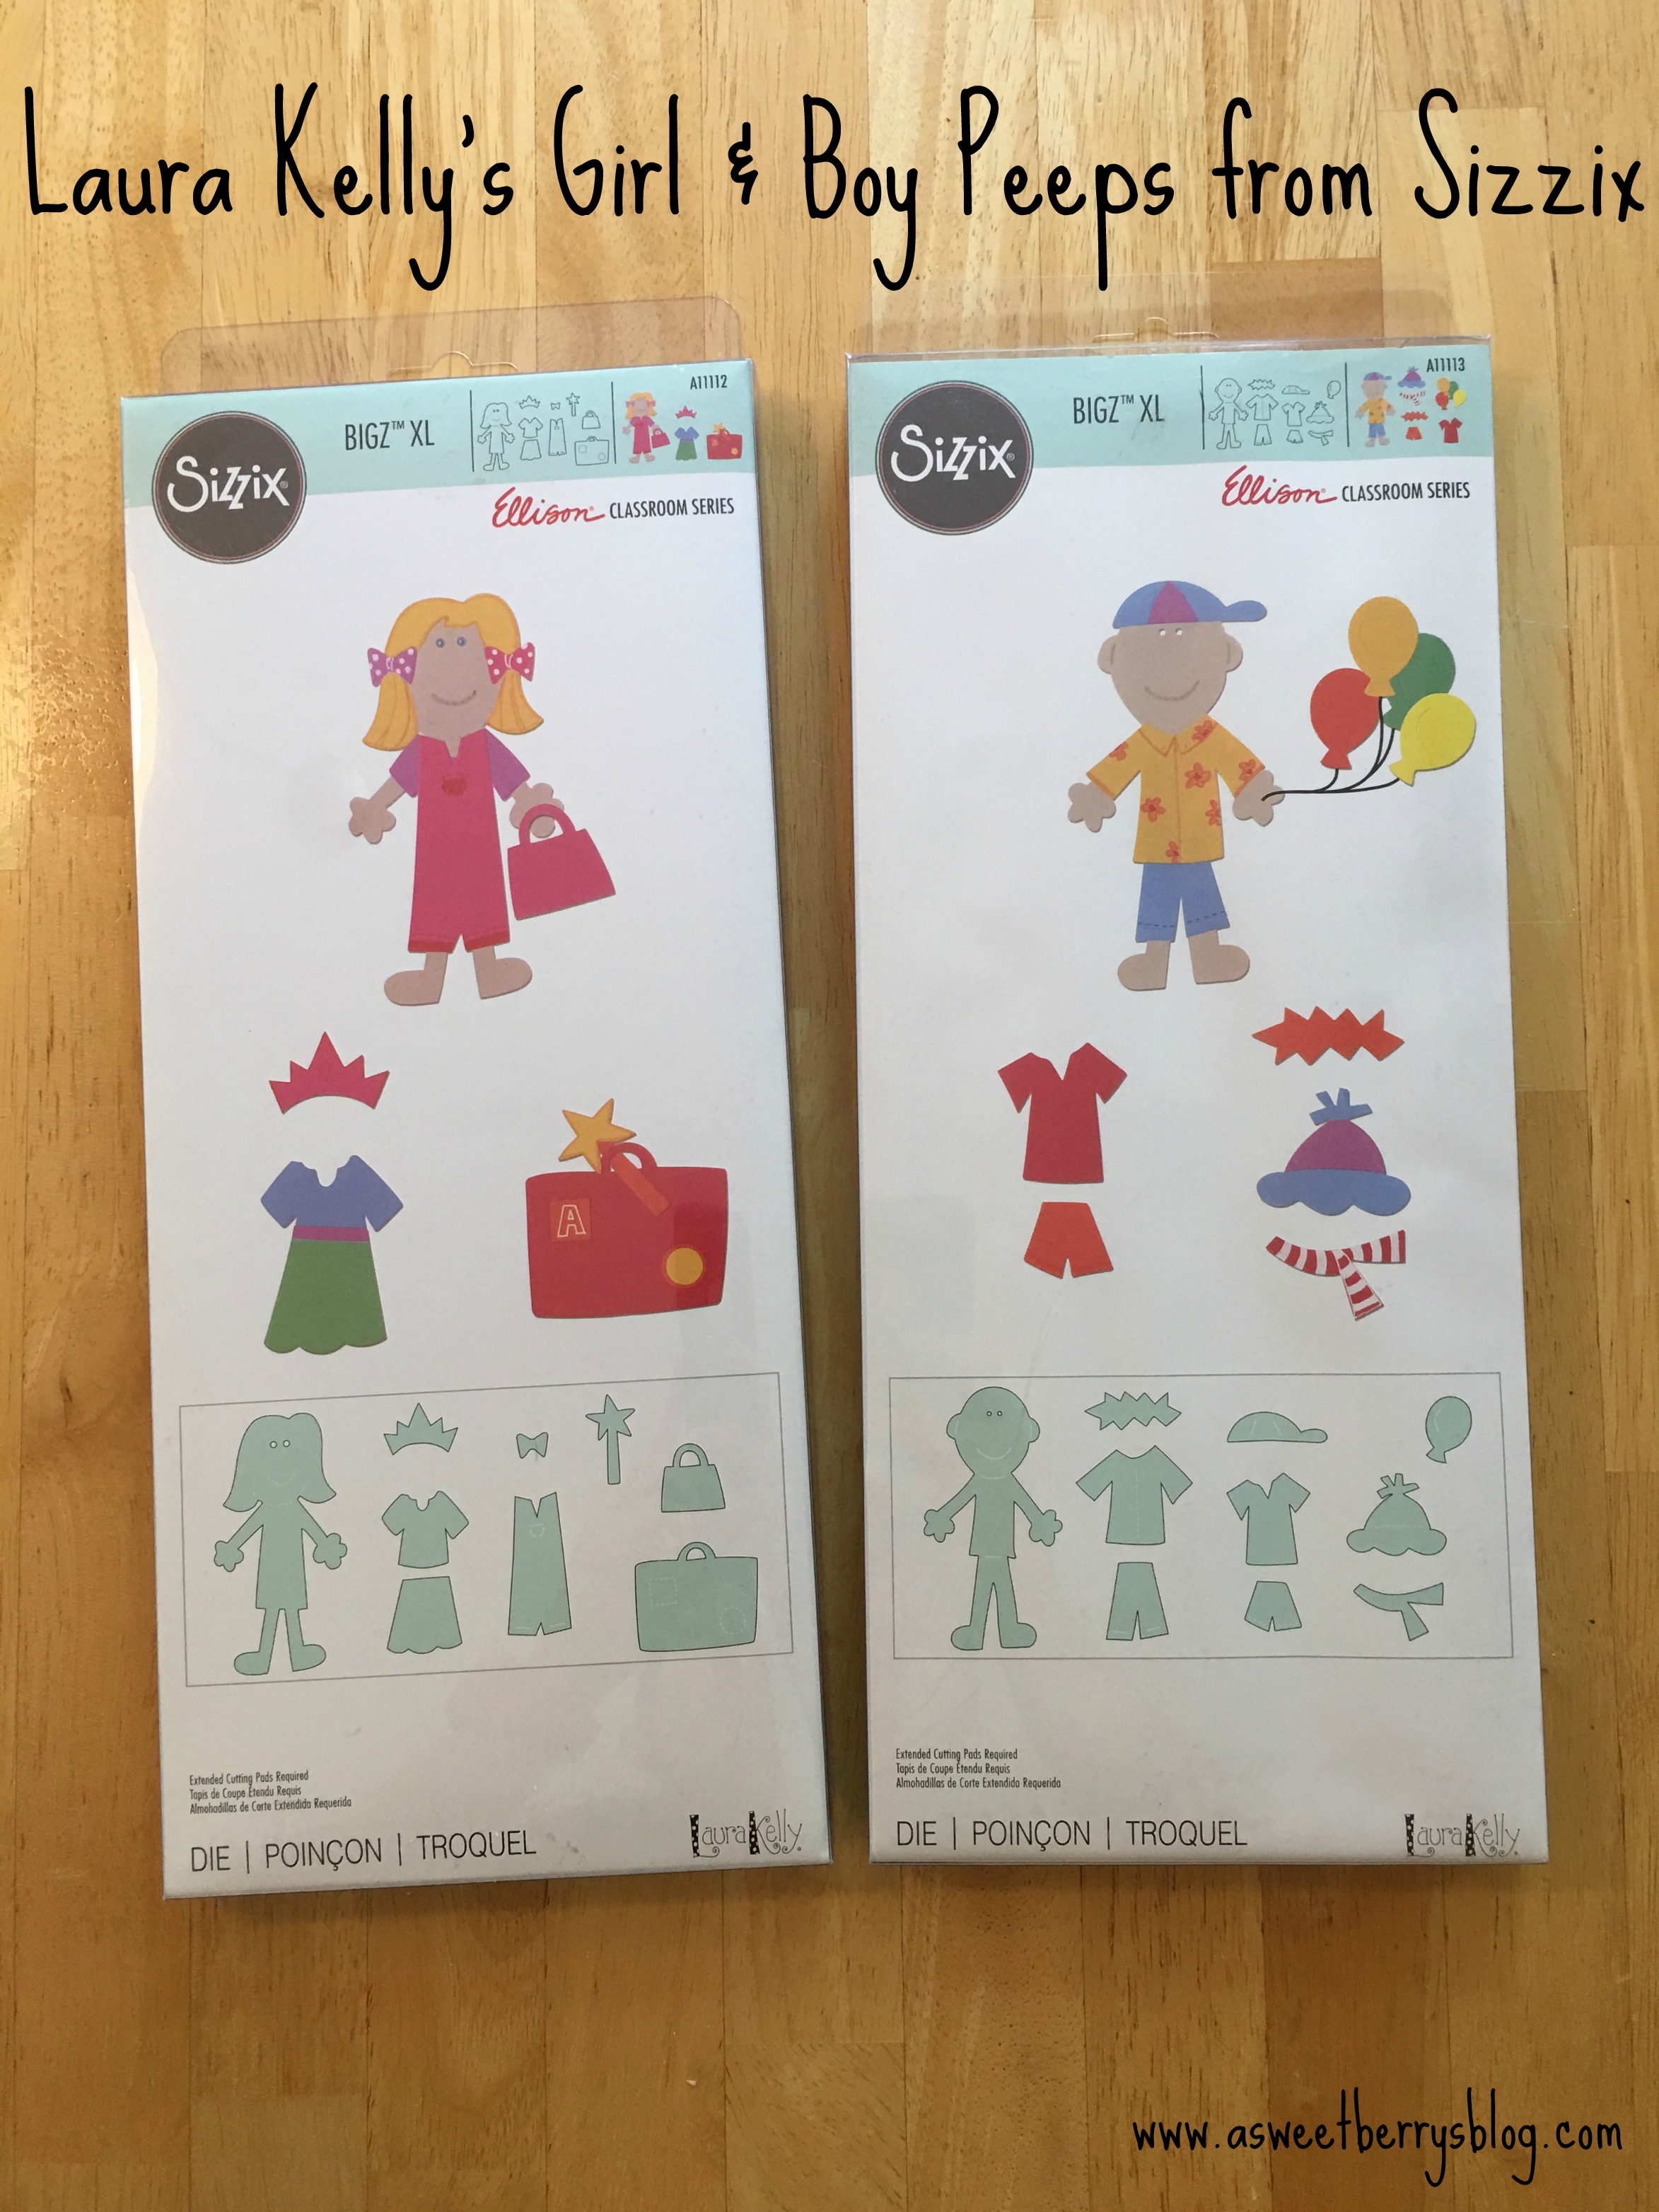
My friend Laura Kelly is such a creative lady and she has a great collection of dies with Sizzix.   These particular dies are a part of the Ellison Classroom Series.  Click the picture below to find the link to where you can get your own.
Girl and Boy Peeps
Alright, now on to how I made this adorable little banner.  Using my Sizzix BigShot, Boy and Girl Peep dies, and an extended cutting pad I cut the peeps using different flesh tones.  Using bright colors, I cut out all of the different clothes.  For the feet, I just cut out part of the legs and cut the feet part off.   For the hair of the girls, I just cut out extra heads and then cut the hair off of them.  

Once everything was cut out and organized (who was getting what clothes), I used Tombow Liquid Glue to glue all of the parts together.   Once they were all dried, I laid them out so that it looked like they were holding hands and then I glued them together.
glue
Once everyone was glued together, I used Laura Kelly’s Lemonade Upper Case and Lower Case Alphabets to add the words “Happy Spring”.   Click the photo below to go to the link where you can get your own!
alphabets
Again, using the Tombow Liquid Glue, I added the letters to each of my peeps.  I also added a dot between the words “Happy” and “Summer” just so that one of them wouldn’t be lonely!!!
adding letters
Once everyone was completely dry, I punched a hole in the first and last hand.  Then I tied baker’s twine to each hand so that I could hang it up! string
Hope you like my End of the Year – Happy Summer Banner!  
individual letters
Until next time……….

Disclosure:  I received product from Sizzix as a member of the Laura Kelly Design Team.  Laura Kelly is a licensed designer for Sizzix.  All opinions are that of Katie Berry.

Katie-Signature-2

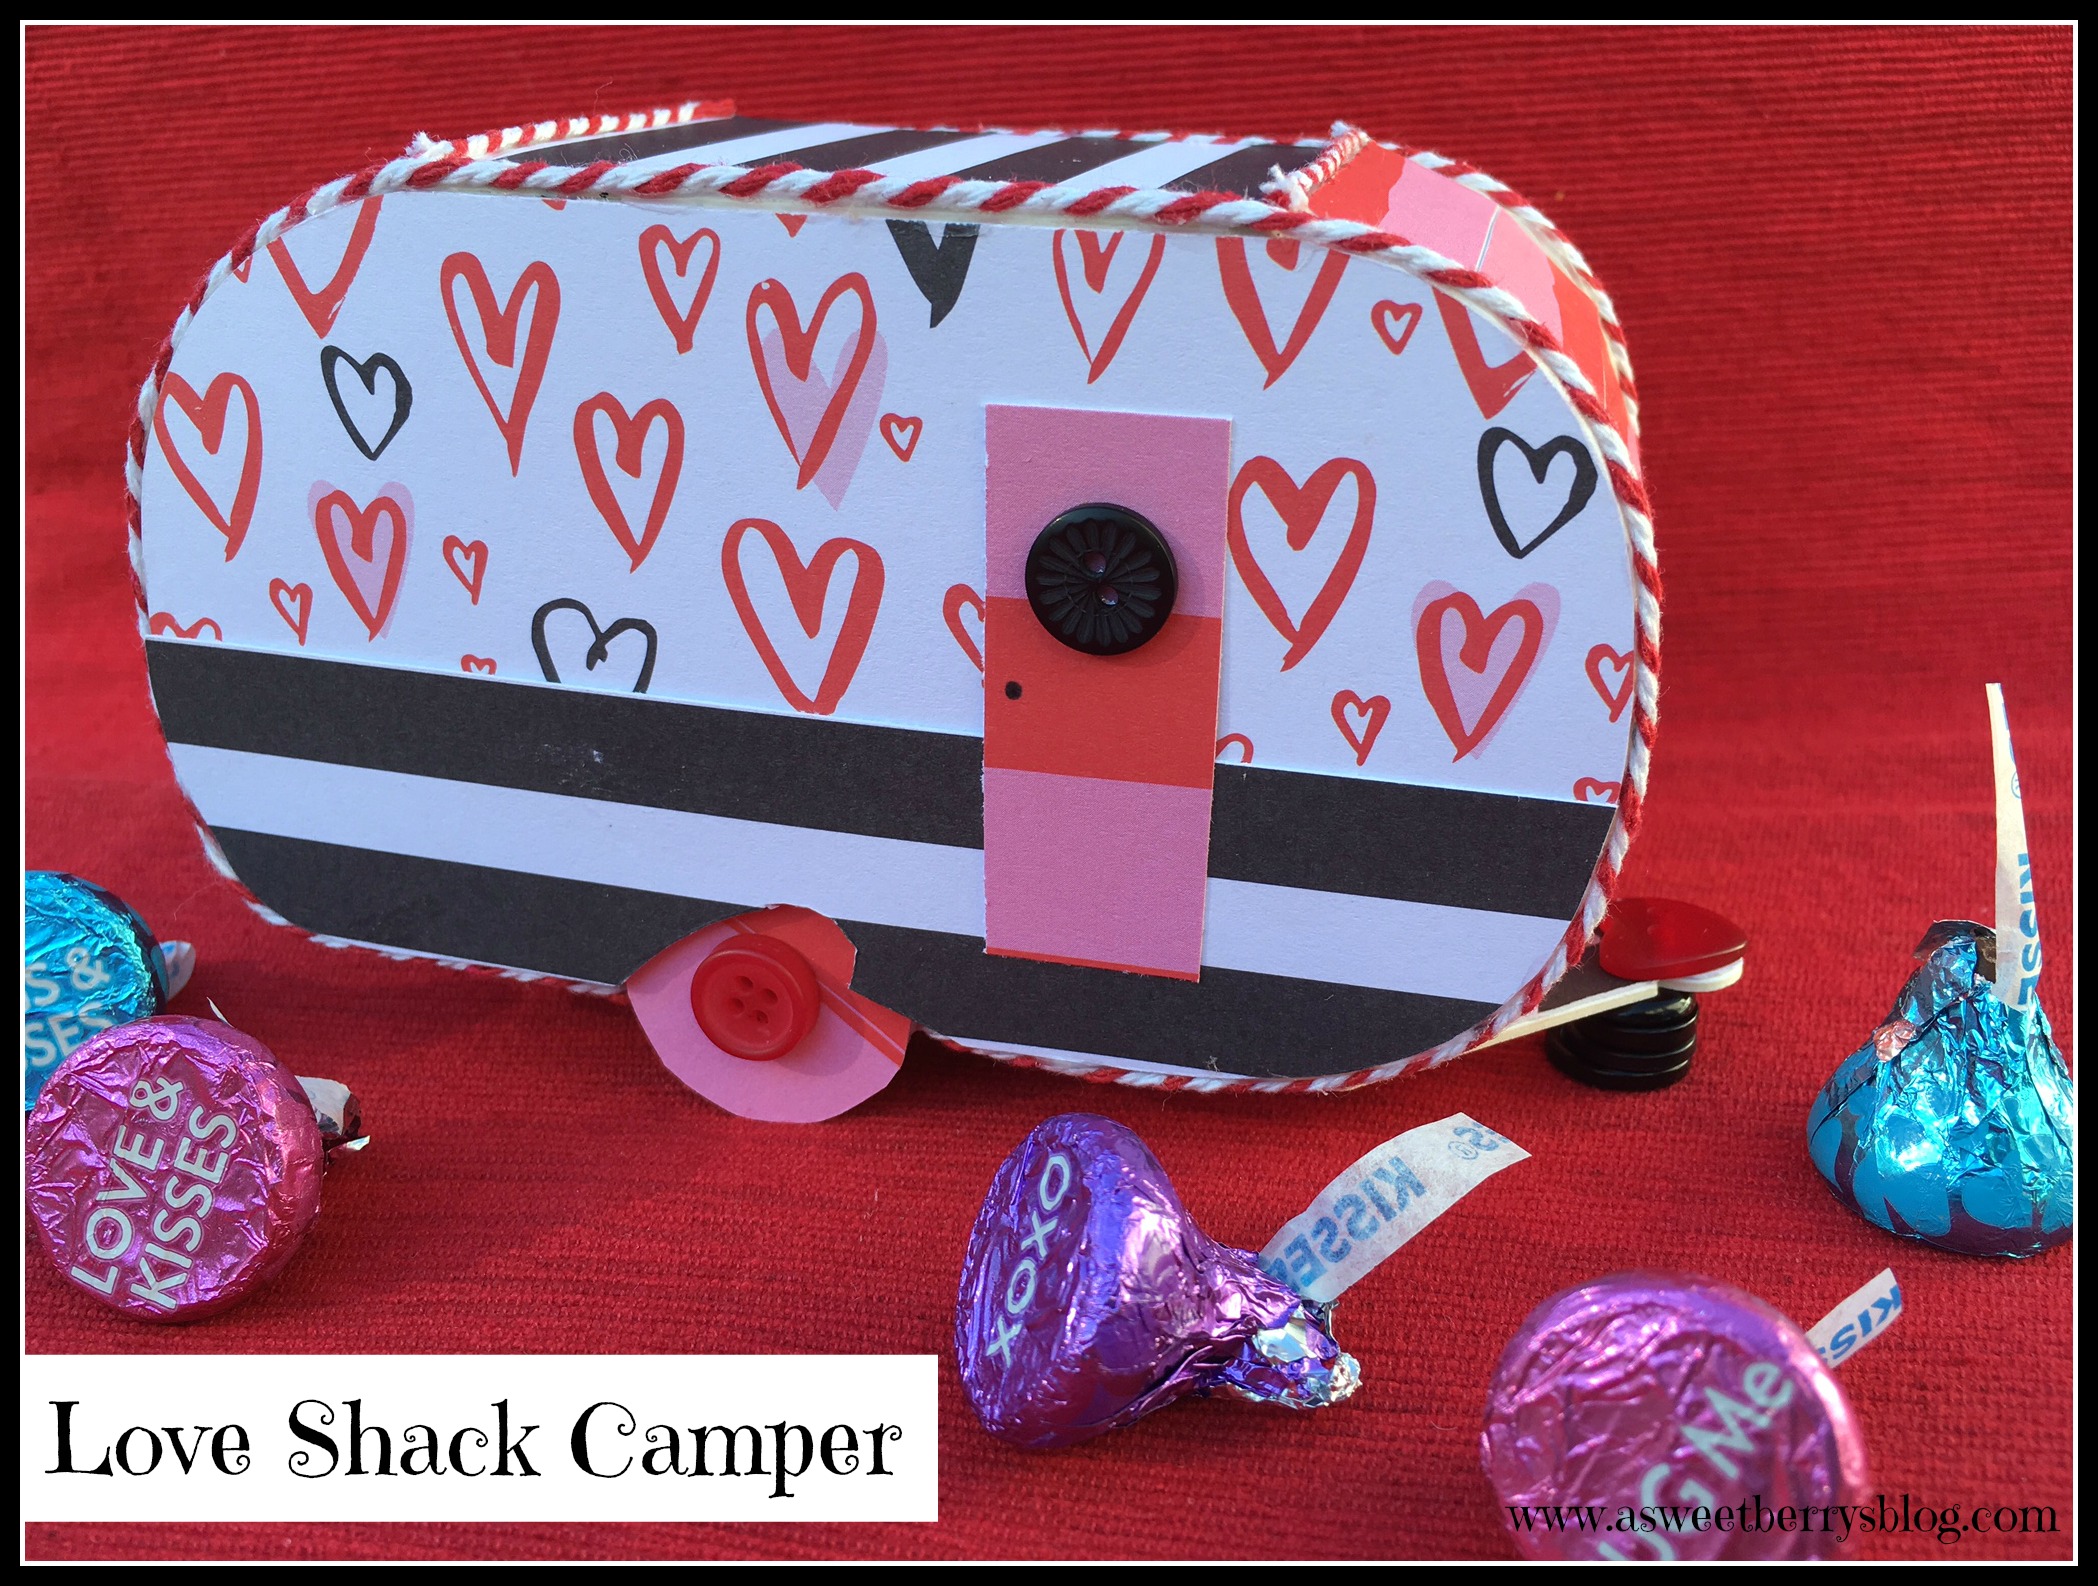
Love Shack Camper

camper

Eileen Hull is one of the coolest people I know!  She has a travel trailer named Scotty that she travels across the country in going to different scrapbooking stores on her Paper Trail.    Eileen also has a die cut line with Sizzix.   I’ve gotten to know Eileen over the years from events like CHA (Craft and Hobby Association Mega Show) and SNAP (blogging conference) and I am amazed at her creativity.  One of my favorite dies by Eileen is her Travel Trailer.  My friend Rina, also known as Mothership Scrapbook Gal, is on Eileen’s Inspiration Team and sent me the trailer die cuts so that I could have fun designing my own Travel Trailer!  The trailer is cut from Matboard, which is a thick paper material and is very sturdy and great for 3D projects.  I decided that I wanted mine to be a Love Shack!

materials

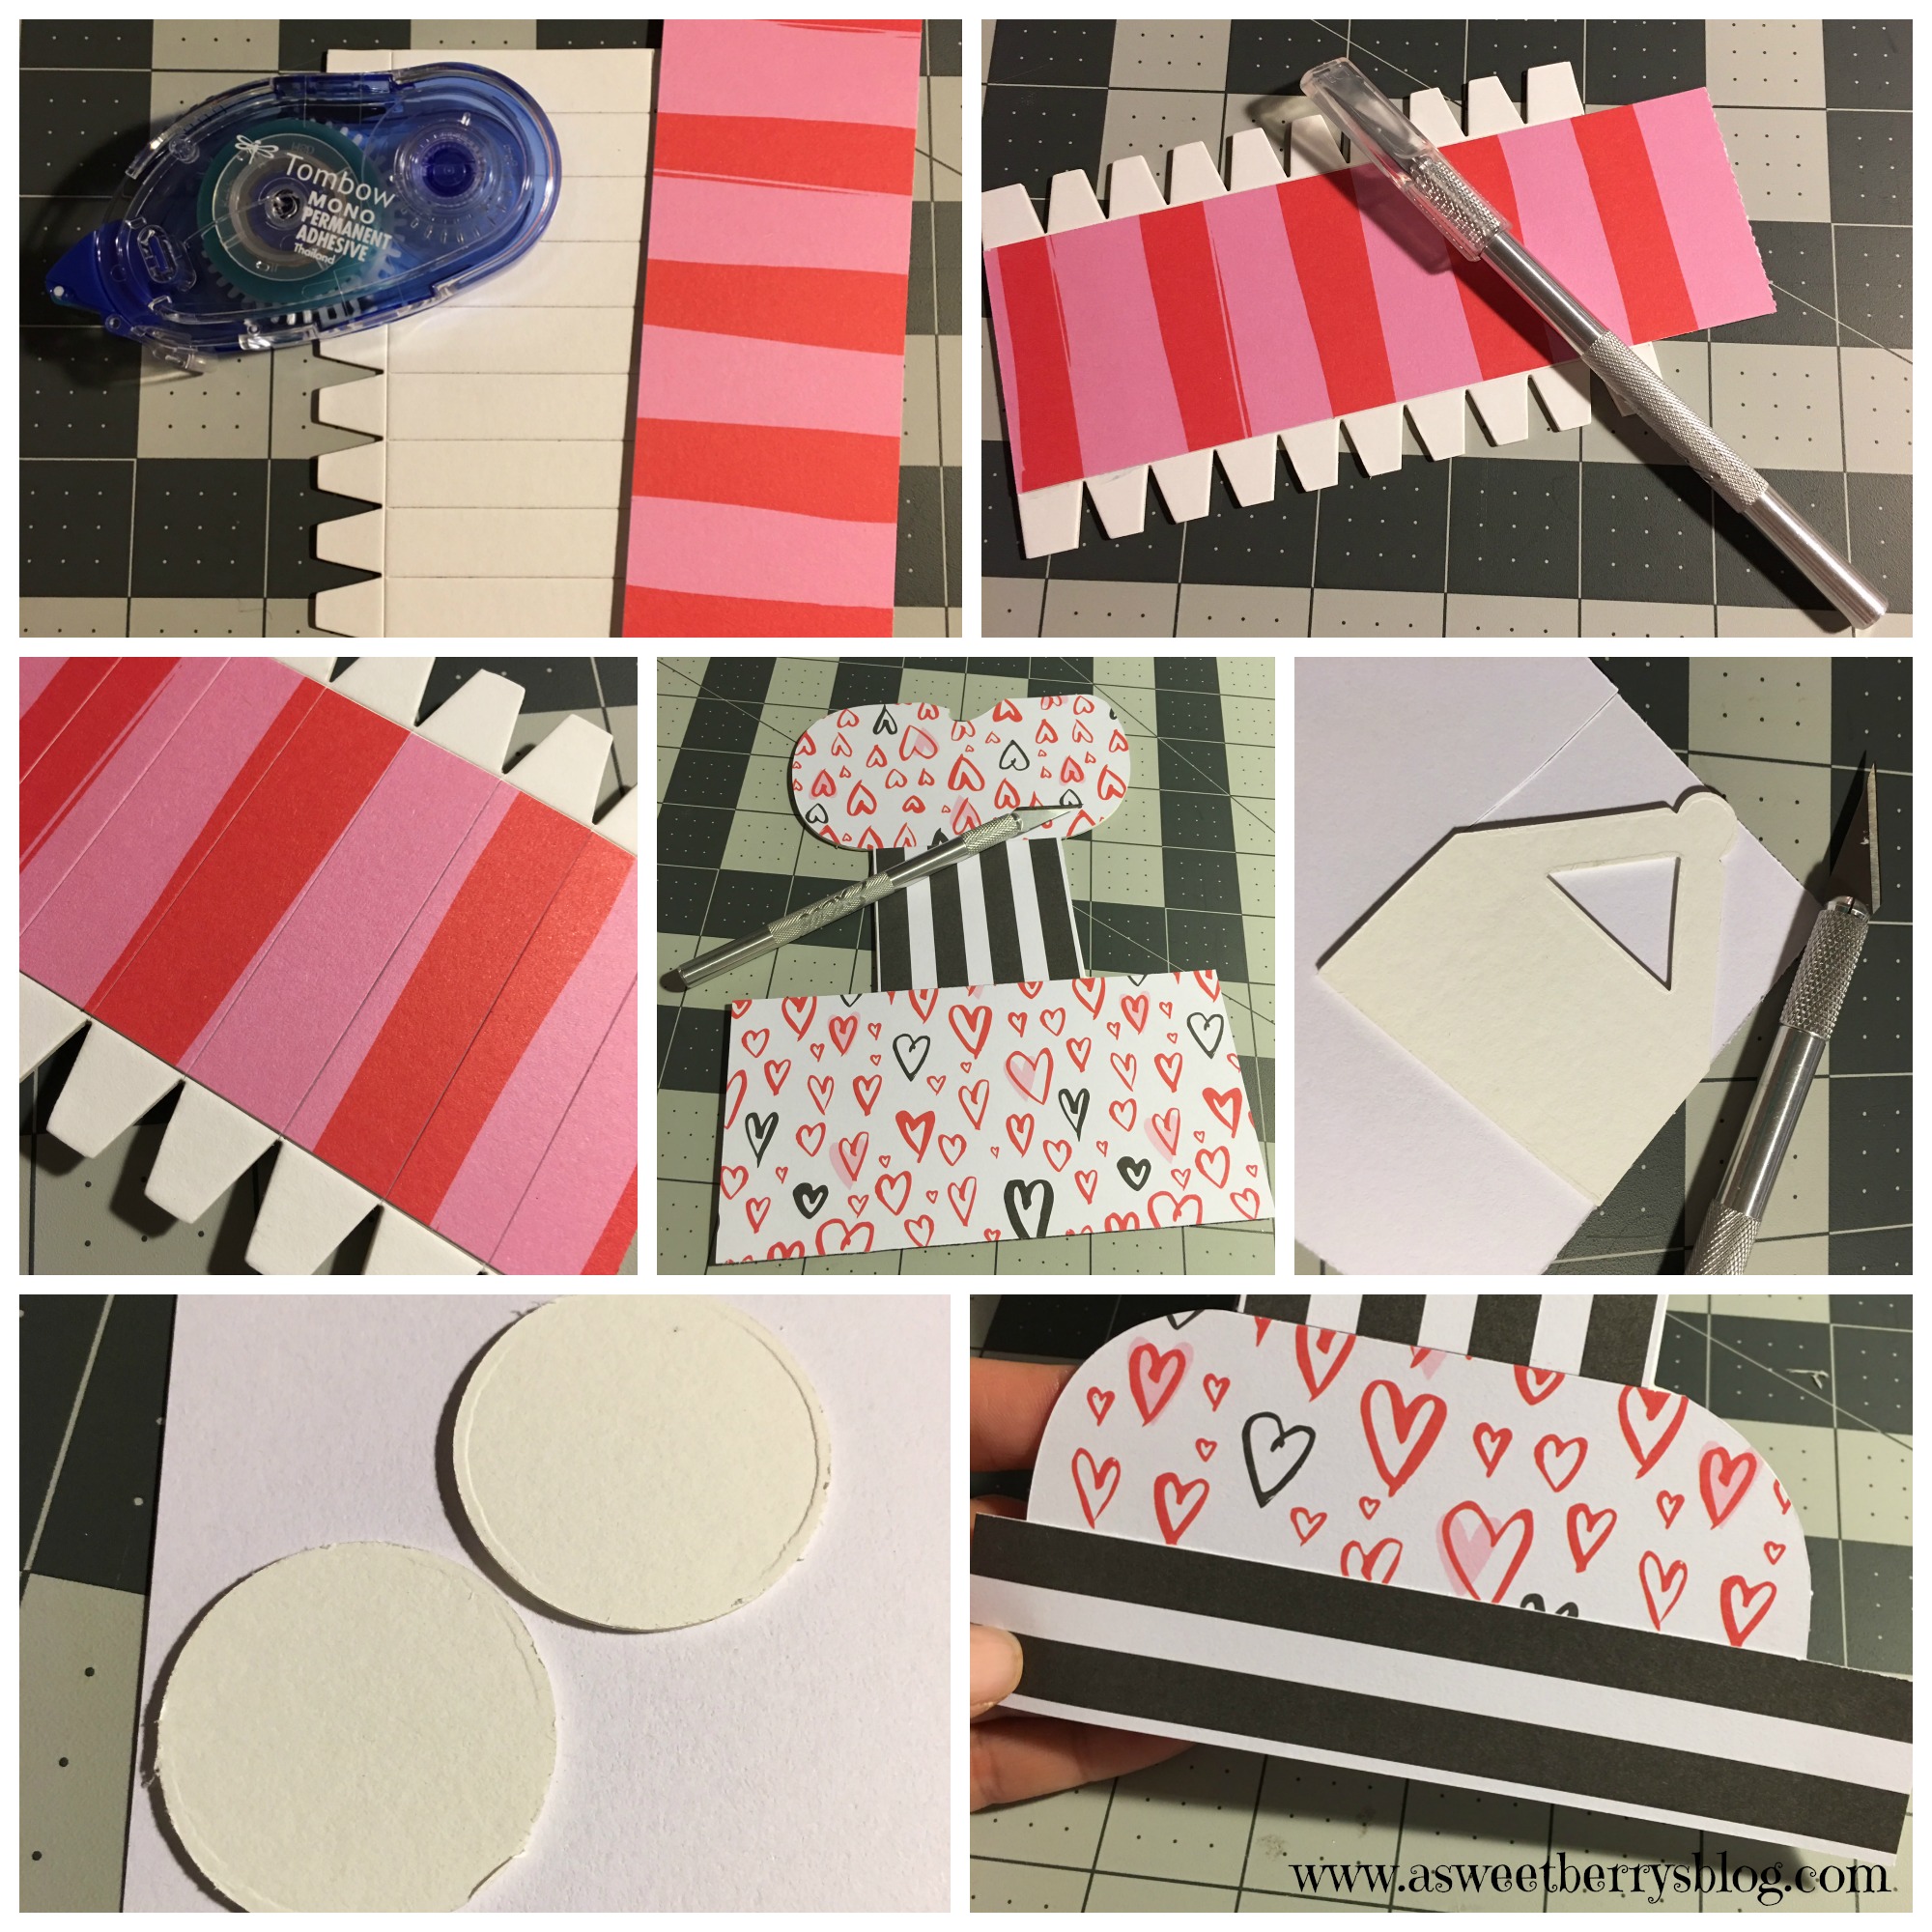
Using American Crafts Valentine paper that I purchased from AC Moore and my exacto knife, I did some measurements and cut my paper selections to the size of the die cut outs.  I used Tombow Mono Permanent Adhesive to adhere the paper to the trailer pieces.

covering with paper

After all of my paper pieces were on my die cut pieces, I constructed the trailer.  Instructions on how the camper was put together can be found here on the Sizzix website.

Hope you like my little Love Shack!  It’s perfect for a Valentine’s decoration!  Happy Valentine’s Day!

Until next time…….

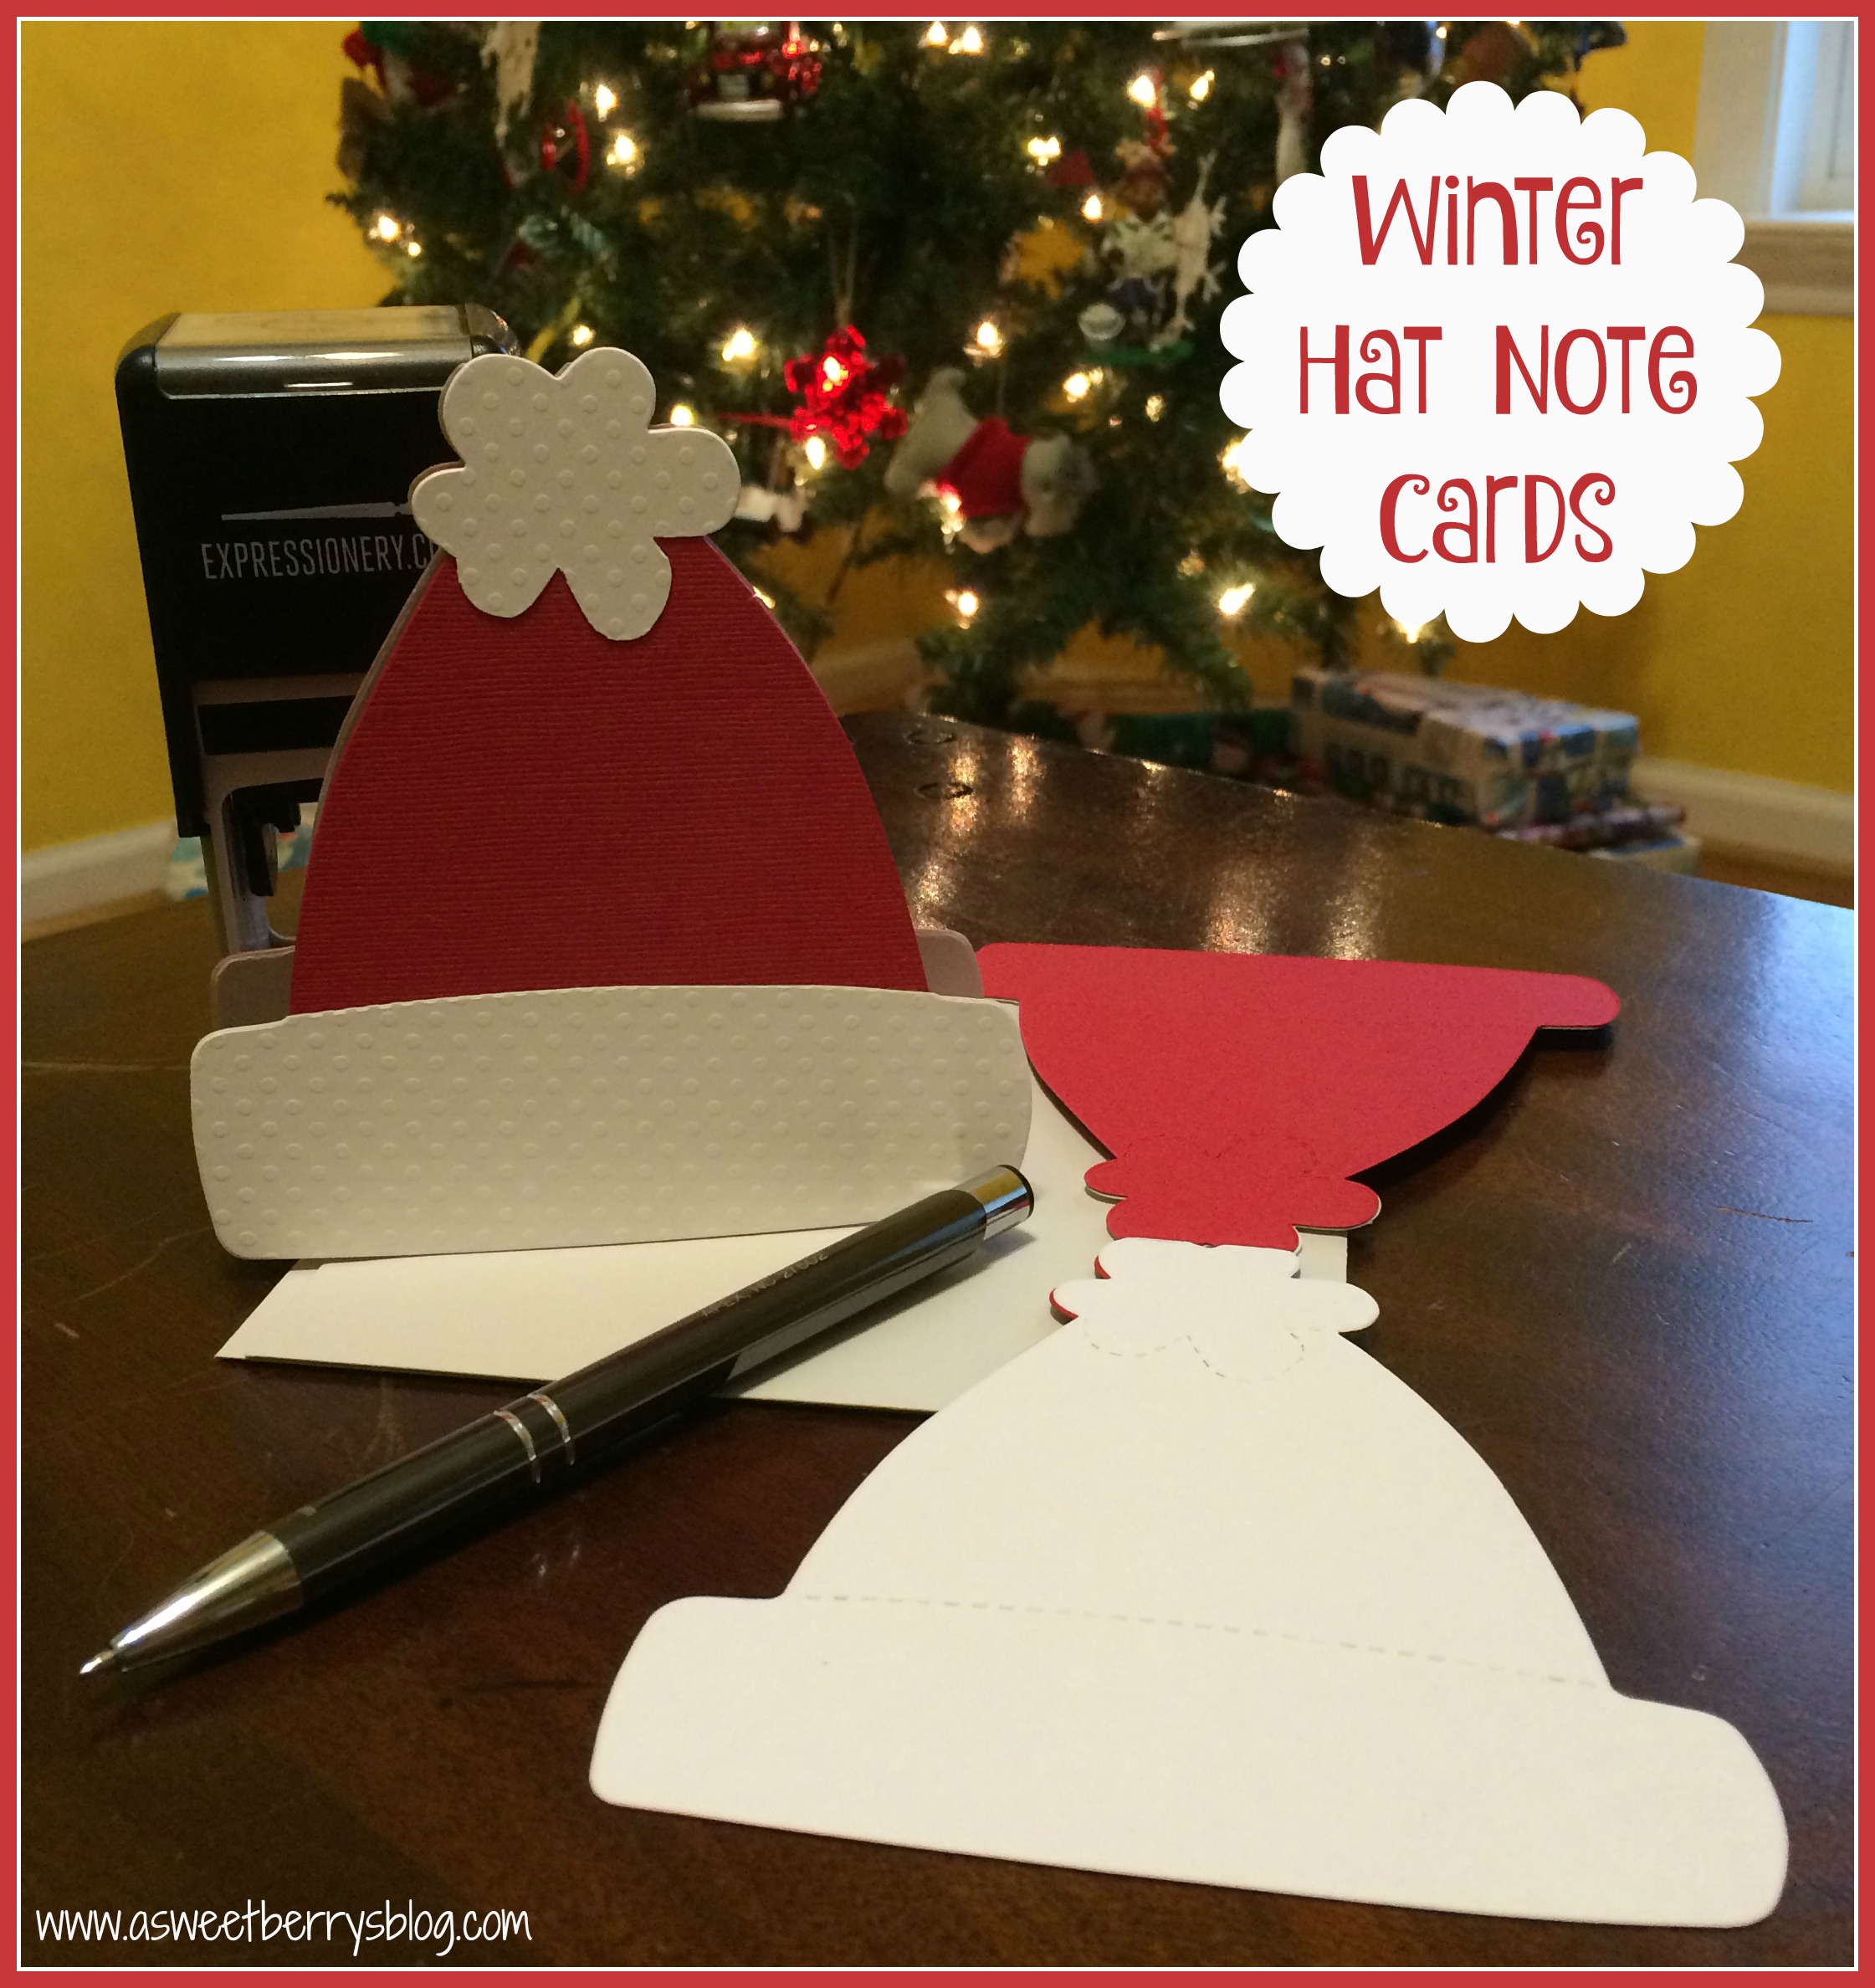
Winter Hat Note Cards

This is the perfect time for an adorable little Winter Hat Note Card.  The weather is getting colder and the holiday gift giving has started.  This cute little note card would be perfect for attaching to a gift to give to someone special! Winter Hat Note Cards
This is how I made them!
Materials:
Sizzix Big Shot
Laura Kelly’s Snow Hat Sizzix Die
Cardstock
Aleene’s Tacky Line Runner or other glue
Plain white printer paper 

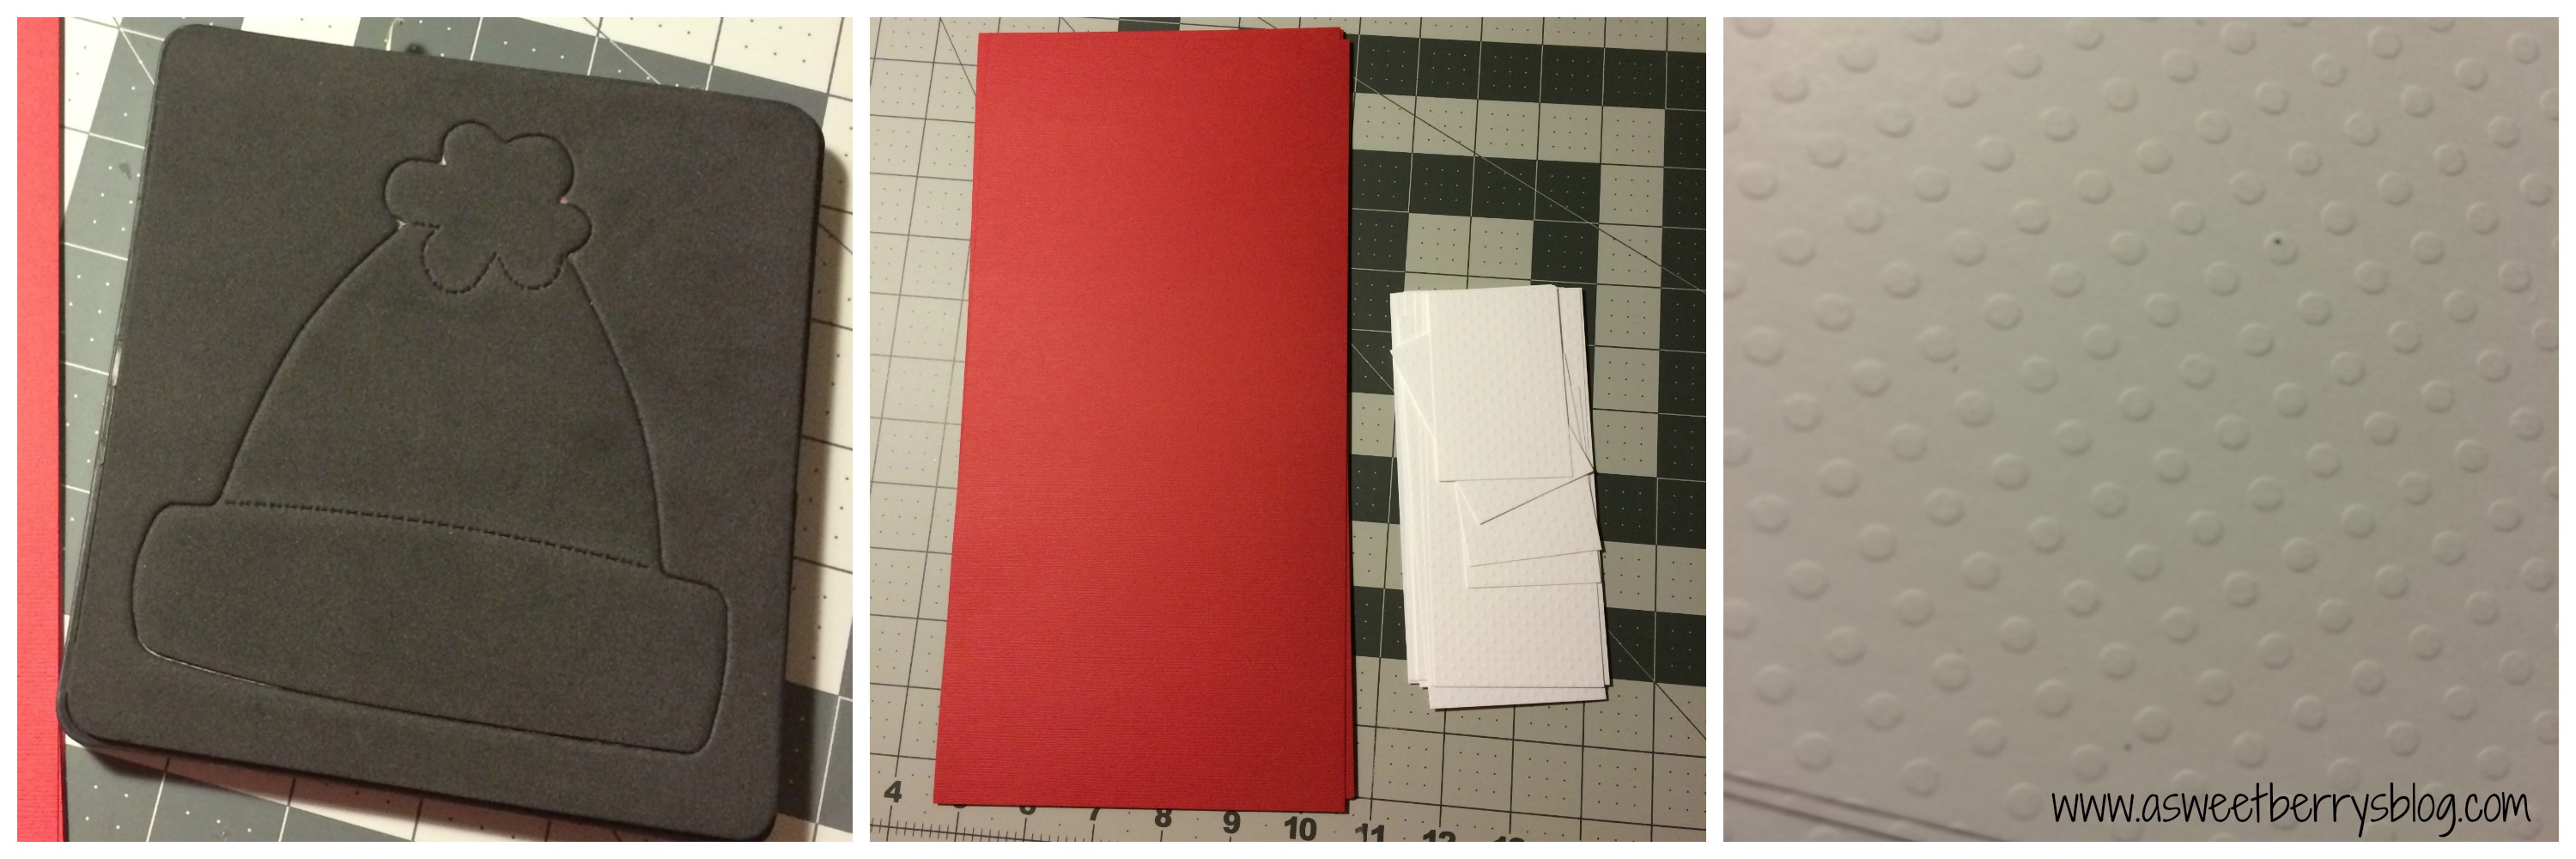
  1.  I cut my red paper to 12″x6″.  For my white paper, I cut it to 2″x6″ and roughly 2″x2″.

die and papers
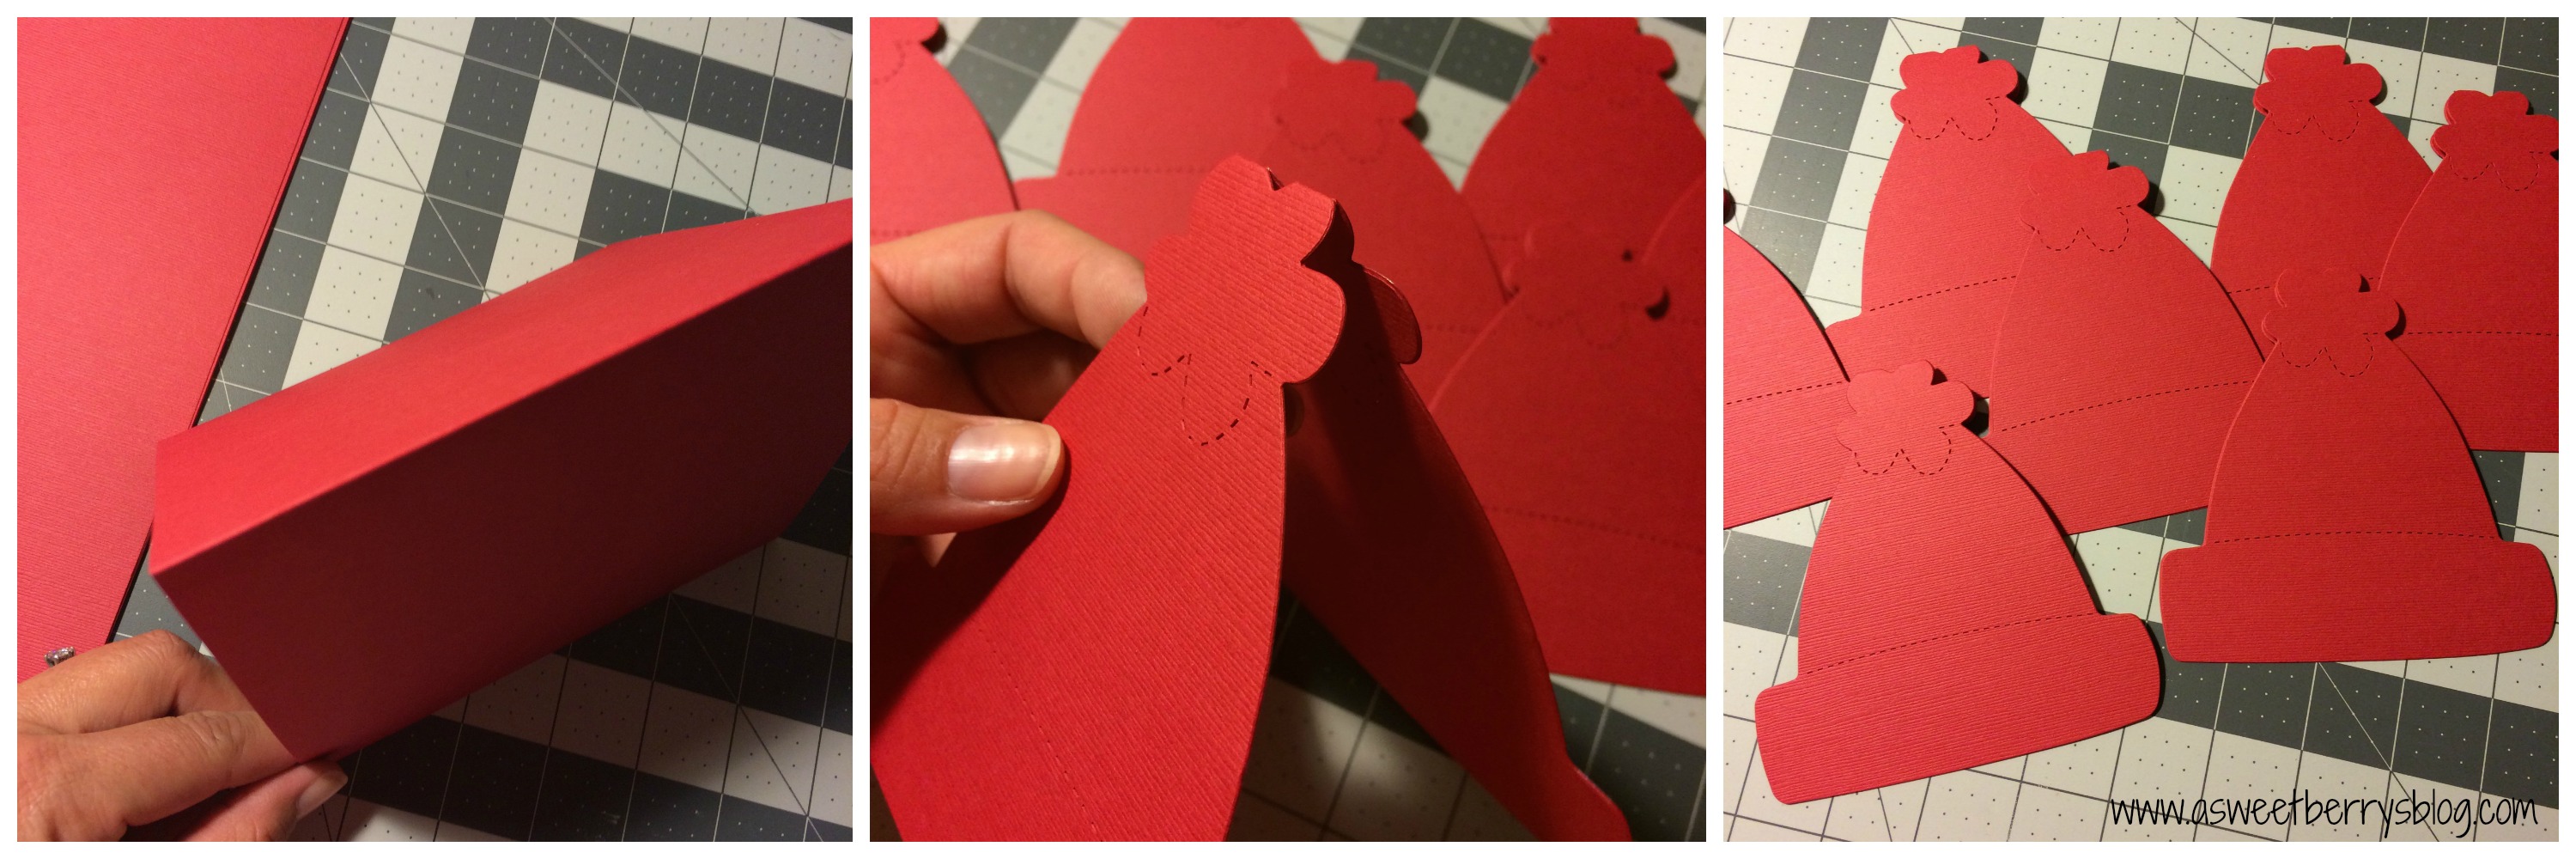
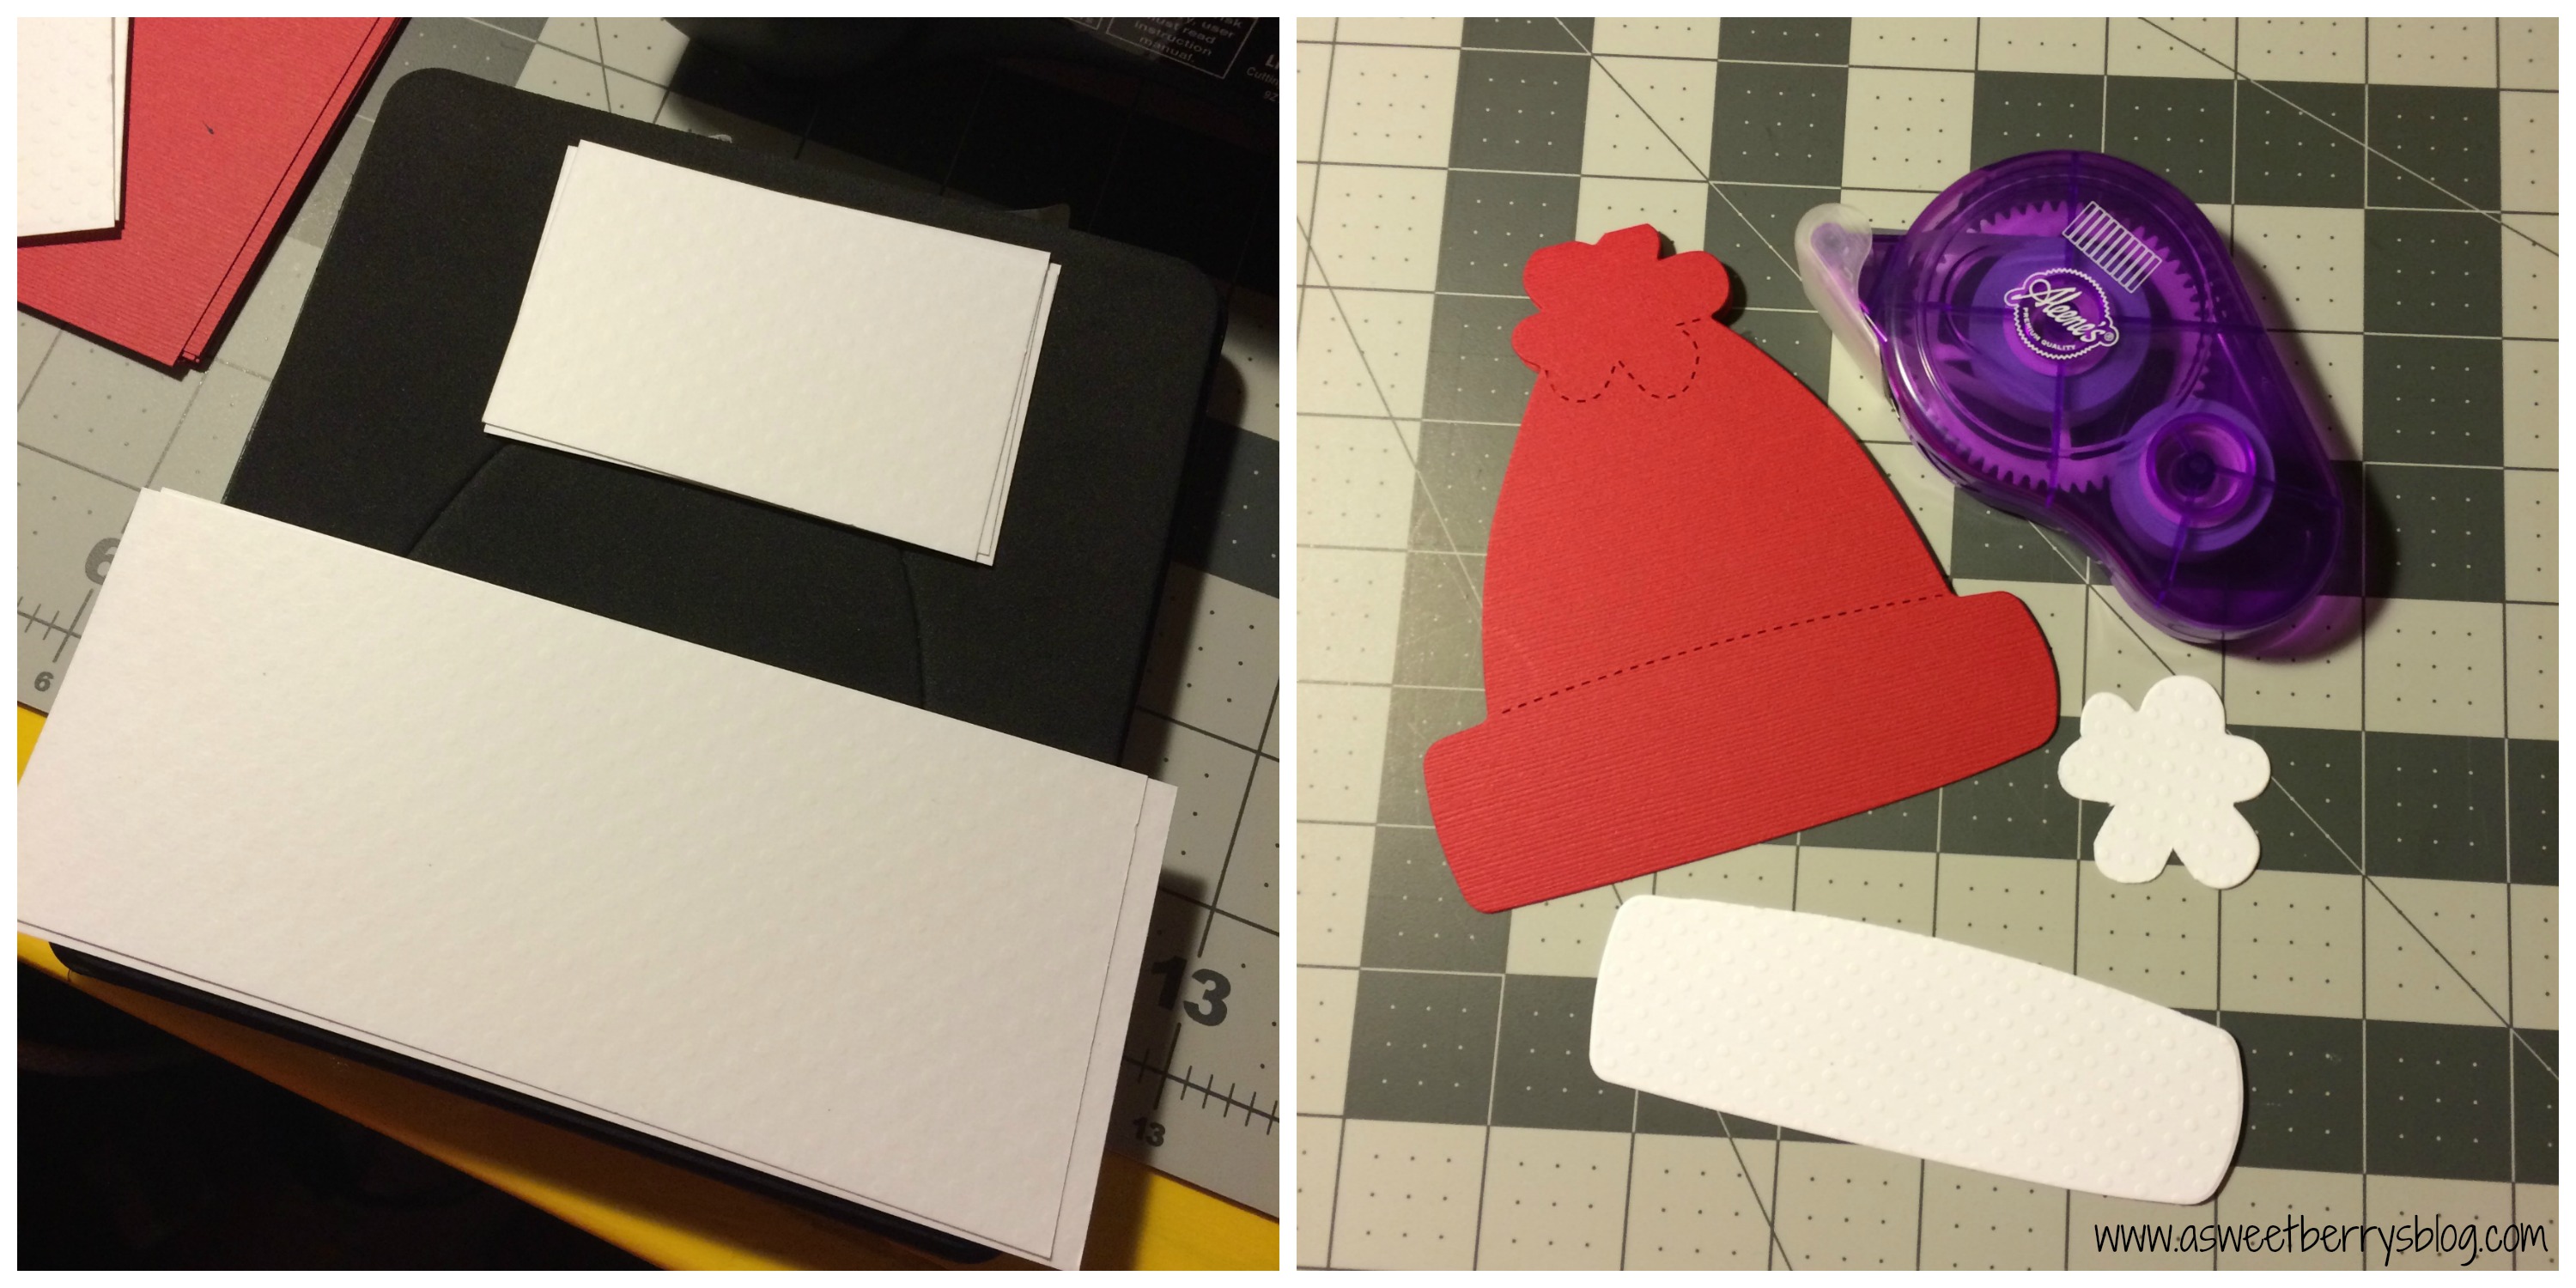
2.  I folded the red pieces in half and placed it on the hat die just at the top edge of the pompom so that it cut just a little “v” into the top of the hat, but didn’t cut all the way through the top curves of the pompom.   red cardstock 3.  Using my little white pieces of paper, I cut just the pompom and the bottom of the hat out.  Then I trimmed at the perforation marks, leaving just the bottom of the hat and the pompom.   
4.  Using my Aleene’s Tacky Line Runner, I attached the bottom of the hat and the pompom to the folded piece.
bottom of hat and puff
5.  Using regular white printer paper, I folded and cut it the same way that I cut the red folded hat.   Once it was cut, I opened it and cut it it in half so that I had half of the cut out.
6.  Using the Aleene’s Tacky Line Runner, I attached the printer paper cut out on the inside of the card.   The white printer paper is to have a place to write your note!
inside
I hope you like these adorable little Winter Hat Note Cards!  I love them.  They were perfect little gifts for my children’s teachers.
Winter Hat Note Cards

You can buy them in my Etsy Shop!   Click HERE!!!
Happy Holidays!!!

Until next time……….

Easy Christmas Gift Tags

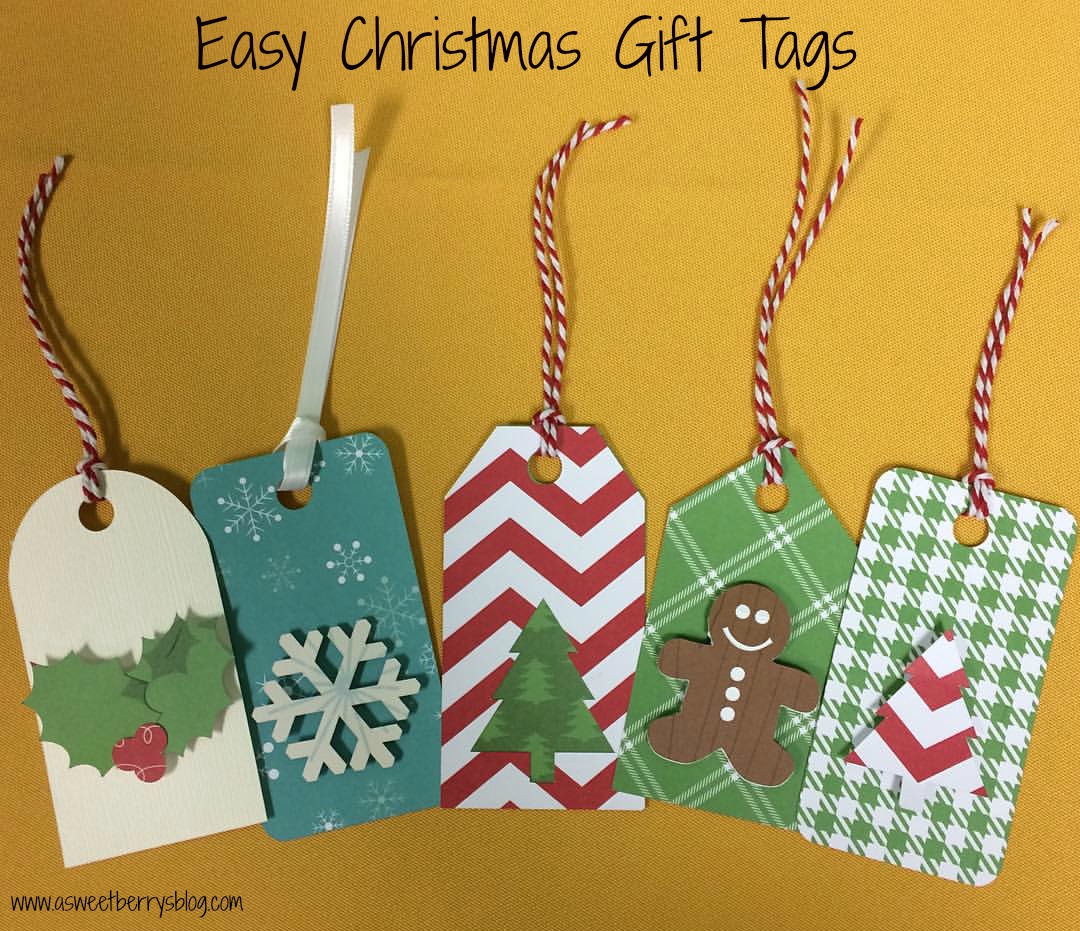
Christmas Tags

Christmas is upon us and the shopping has begun! These adorable and super easy gift tags are going to look awesome on the gifts below my Christmas tree!   If you have a Sizzix Eclips2, then you most likely use Sure Cuts A Lot eCAL2 for your software.  Well, if you do then all of these cut outs are included in the software.

collage

The process was pretty easy……

The snowflake:  I just cut the tag and snow flakes out separately.  I used a foam dot to get the snowflake a little dimension.  Then, I added a white ribbon.

The Christmas tree cutout:  I cut the tags with the Christmas Tree Cut out together and then cut the same tag, minus the tree.  I put them together using an Aleene’s tape runner.  Then, I added a piece of twine.

The Gingerbread Man:  I cut out a tag.  Then I cut out the gingerbread man on brown card stock.  Then, in the software, I removed the face and buttons from the gingerbread man and just cut out the outline on white card stock.   Using the tape runner, I attached the white gingerbread man cut out to the back of the brown one.  Then using a foam dot, I added it to the tag.  To finish it up, I added a piece of twine.

The Raised Christmas Tree:  I cut out some tags.  Using the Christmas Tree scraps from the Christmas Tree cutout tag, I just added a foam dot to the back of the tree and added it to the tag. Then, I added a piece of twine.

The Holly Tag:   I cut out some tags.  Cut the Holly leaves and berries out and used a foam dot on each piece and then attached it to the tag.   Then I added a piece of twine.

Christmas Tags

I hope you like these adorable little Christmas Tree Tags!   I made some last week and sold them at an Artisan Fair that my Church was hosting and everyone loved them!

Until next time………..

Scotch Tape Pumpkin Banner

Halloween is right around the corner!  It’s one of my favorite times of year.  I made this super cute Scotch Tape Pumpkin Banner to hang in my house!  The good thing is…..it can stay up until Thanksgiving! Final
Materials used:
Scrap pieces of paper (at least 6″x6″)
Scotch Expressions Masking Tape and Washi Tape 
Laura Kelly’s Pumpkin die from Ellison/Sizzix
Sizzix Big Shot supplies
Placing my 6″x6″ pieces of paper, I put them on top of the pumpkin die to gauge where the stem of the pumpkin was and how much tape I needed to place on the paper.  Once I got the tape down, I used the Sizzix Big Shot and the pumpkin die to cut out my pumpkins.
pumpkin
Using small clothes pins, I added them to a piece of ribbon to make this cute little pumpkin banner!
Final
Hope you like my adorable Scotch Tape Pumpkin Banner!  It was super easy and super fun!

Until next time……