Category Archives: Tulip

Tulip Paint Decorated Gift Bags

Christmas is just days away and I know that everyone is busy doing some last minute wrapping!   Here is a super easy way to spiff up some plain gift bags!    Final
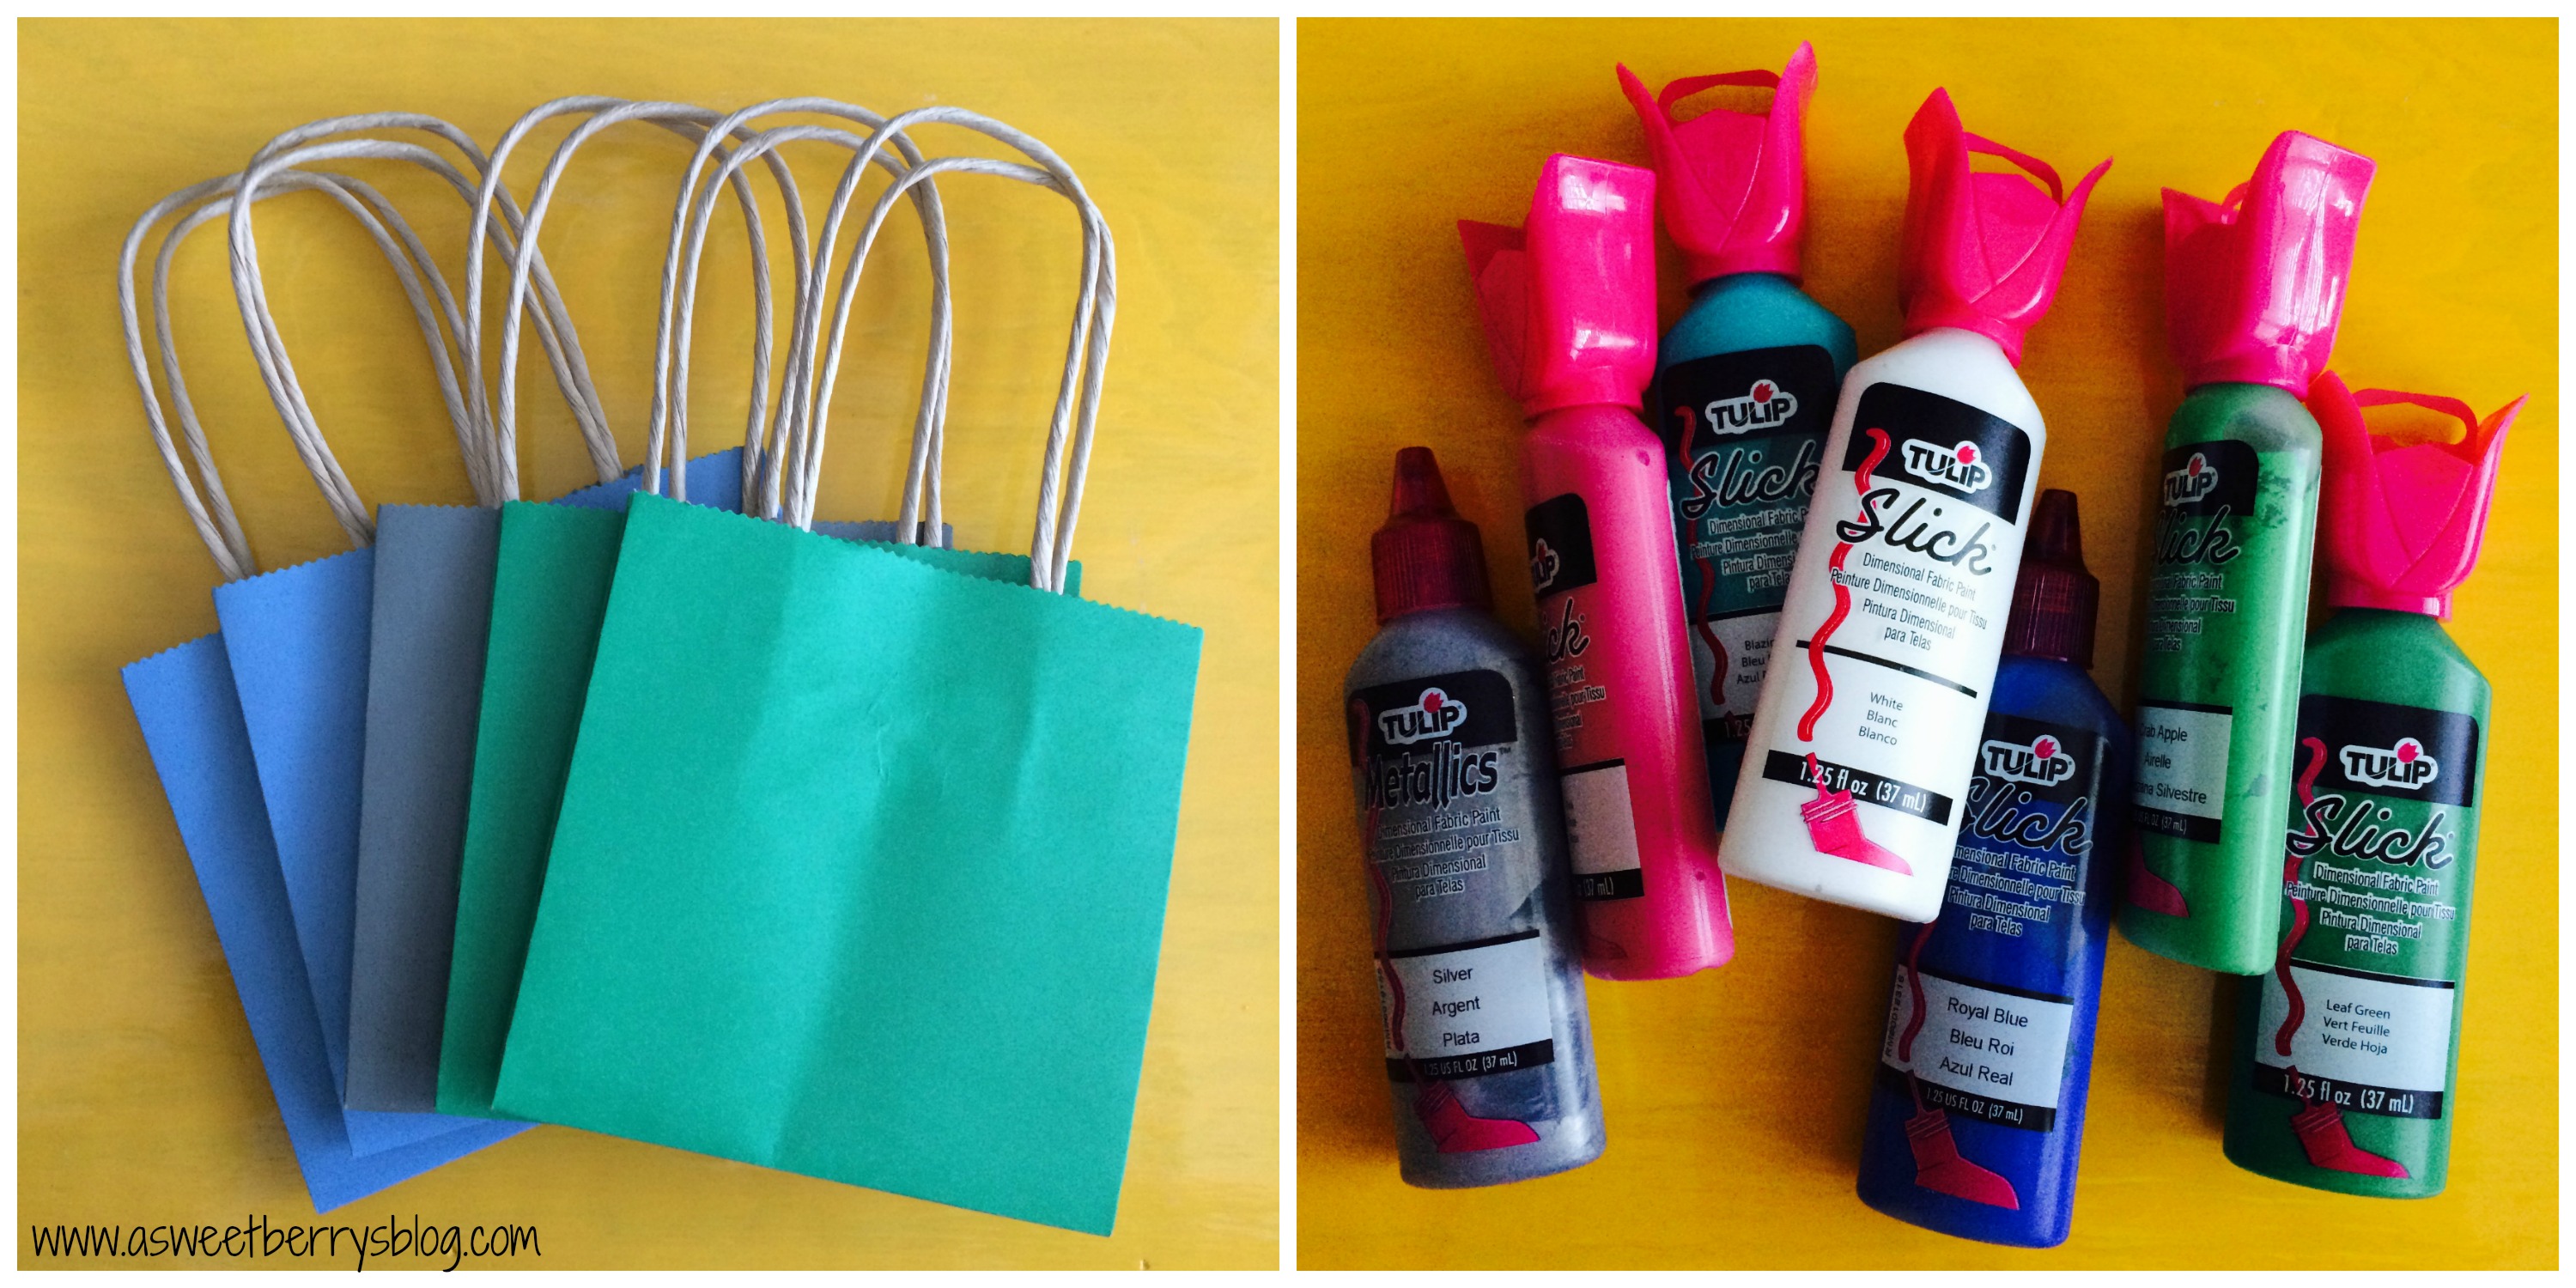
I got these adorable little gift bags from World Market.  They came in a pack of six and are perfect for small gifts.  I used Tulip Slick Dimensional Fabric Paint to decorate them with a monogram and snowflakes and holly!   Super easy! 
bags and paint
The decorated gift bags were perfect for these ornaments I made using my Sizzix Eclips2, a glass ornament and vinyl.   ornaments
Hope you enjoyed this quick and easy gift bag decorating idea!    Merry Christmas!

Until next time……..

Kunin Felt Easter Egg Bunting

Easter is right around the corner!   Why not brighten up your decor with this adorable KuninGroup Felt Easter Egg Bunting!   It was super easy and super fun! Final
I love using my Sizzix Eclips2 to cut out patterns for fabric or felt!   cutting
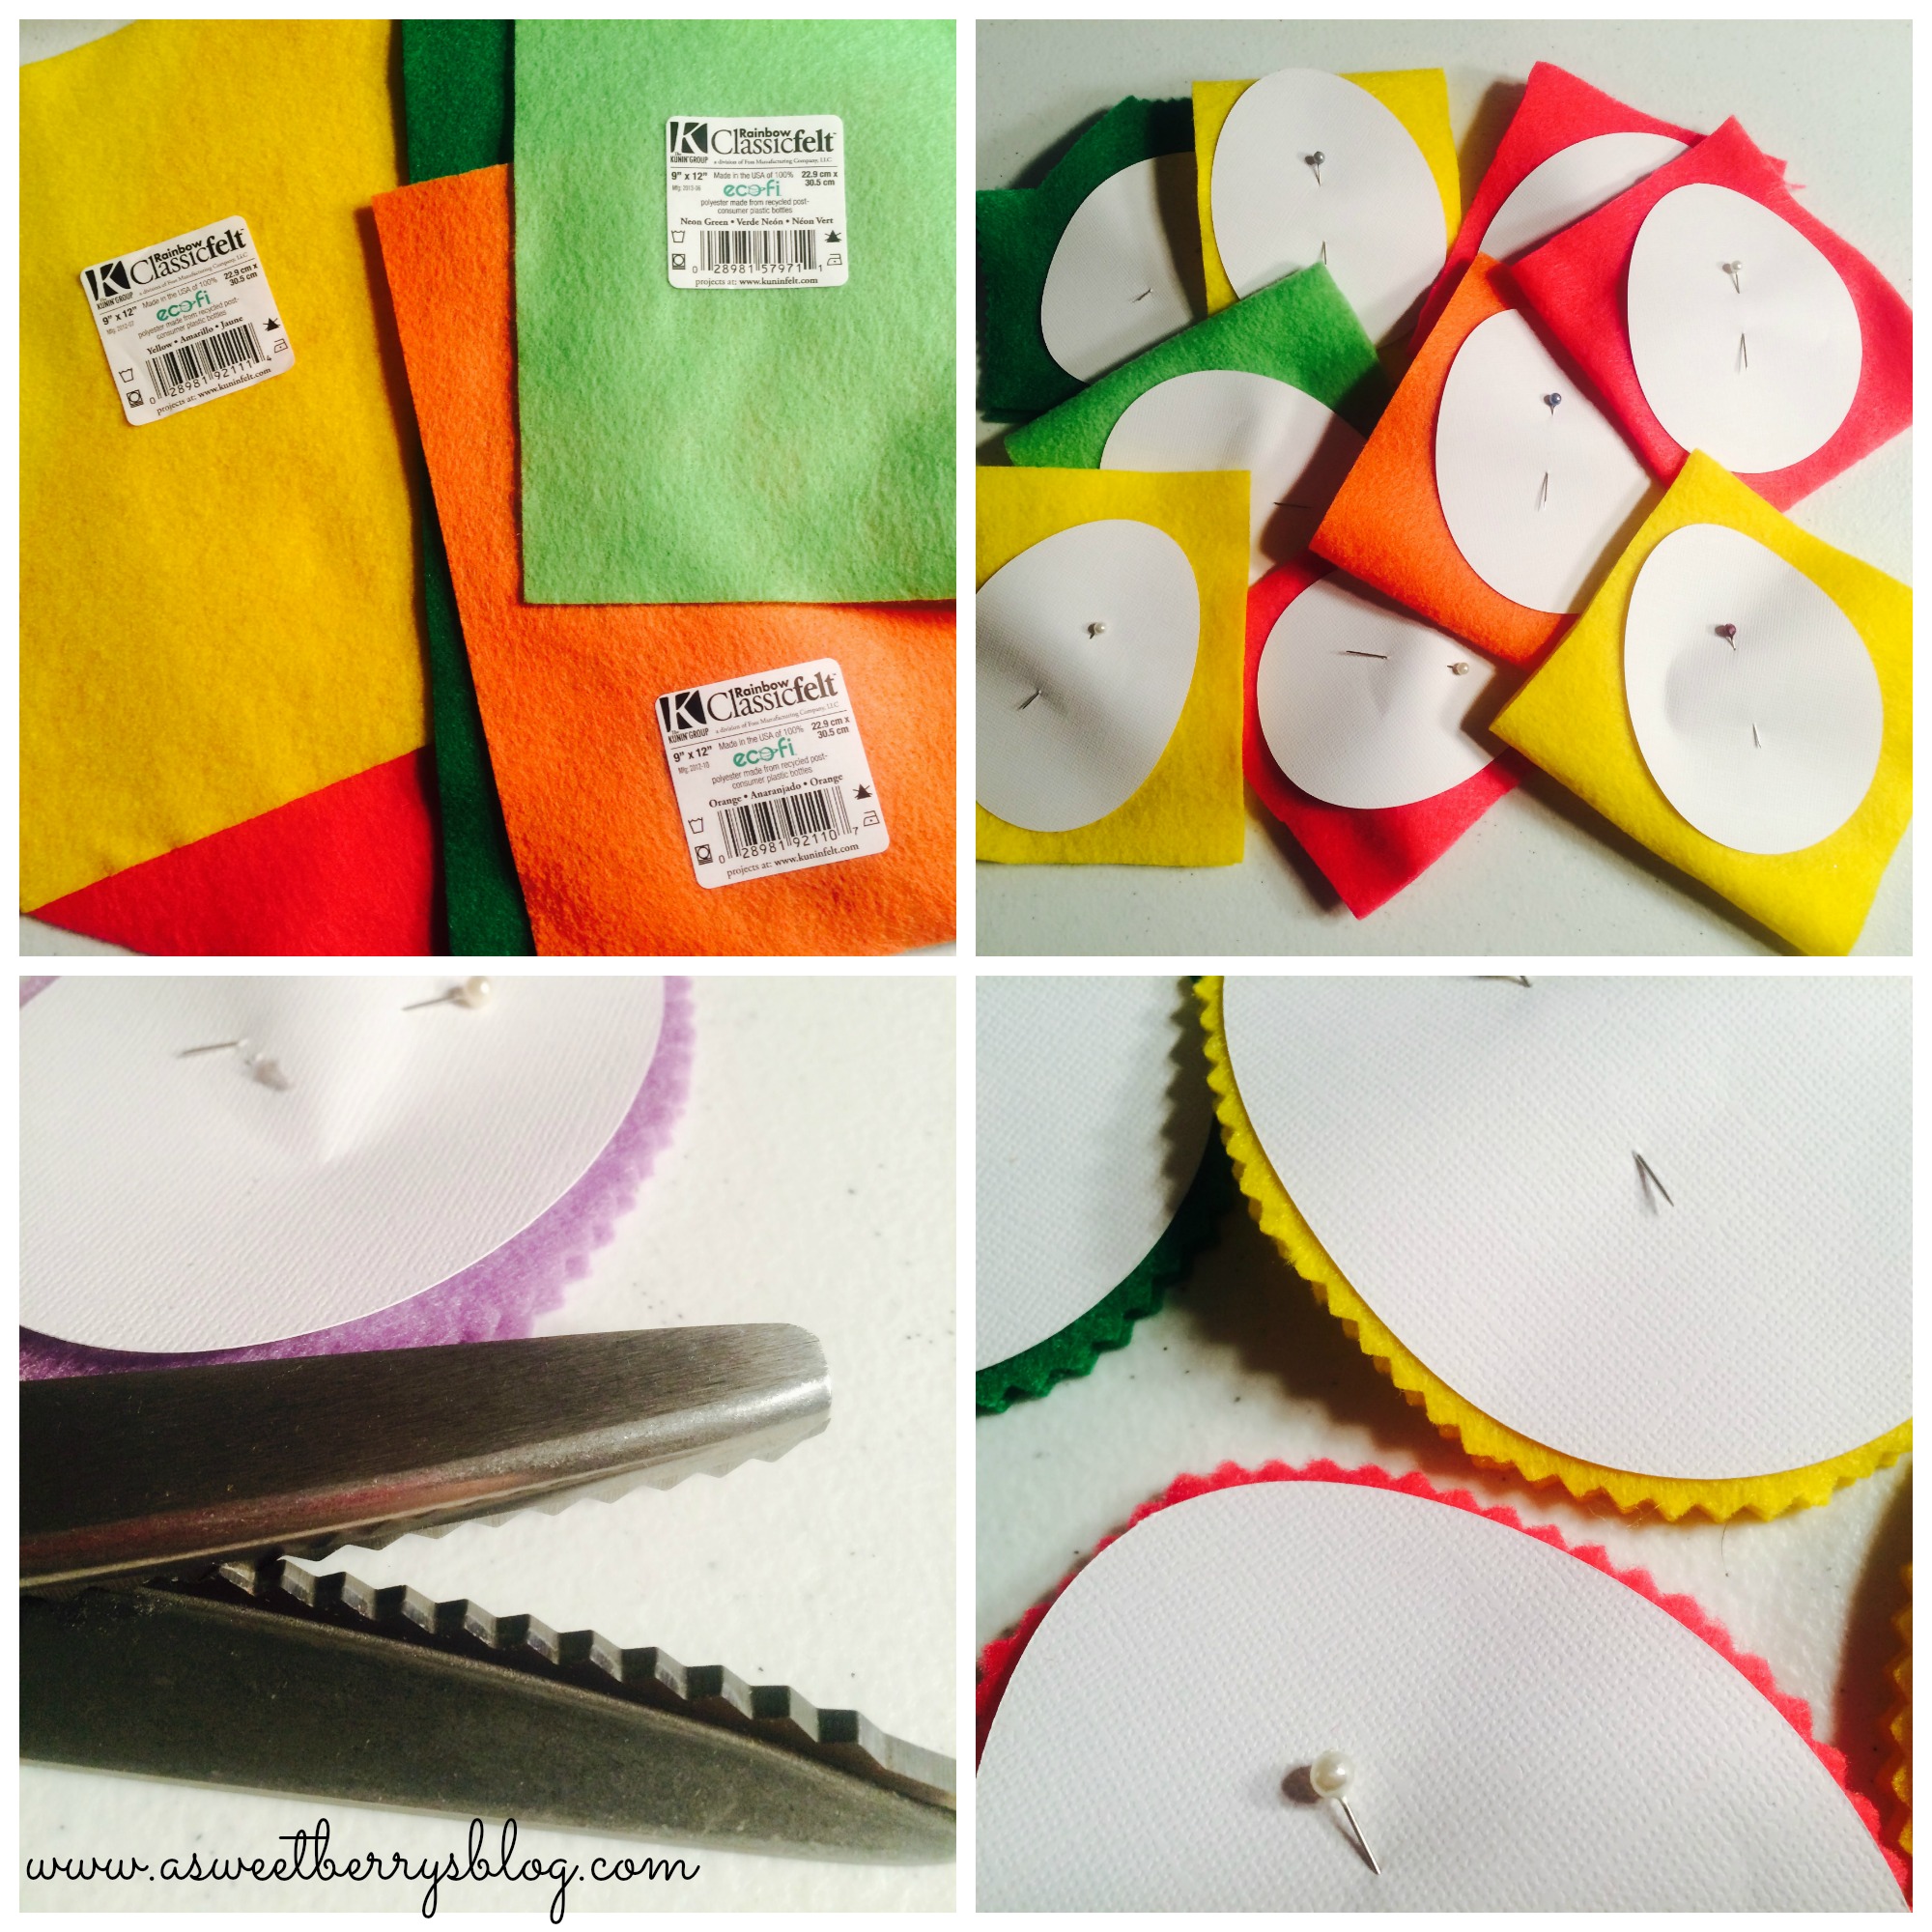
Once my patterns were cut out, I pinned them to my KuninGroup felt and then went to cutting!  I used pinking shears to give the eggs zigzag edges! cutting out felt
Then, it was time to sew them!  I decided to stuff them while they were still under the sewing foot.   I sewed all but about 2 inches, stuffed them, realigned my edges and finished sewing! sewing
Once they were all sewn, I used Tulip Fabric Paint to add decorations to them!   I think they turned out egg-tastic!  🙂 tulip fabric paint
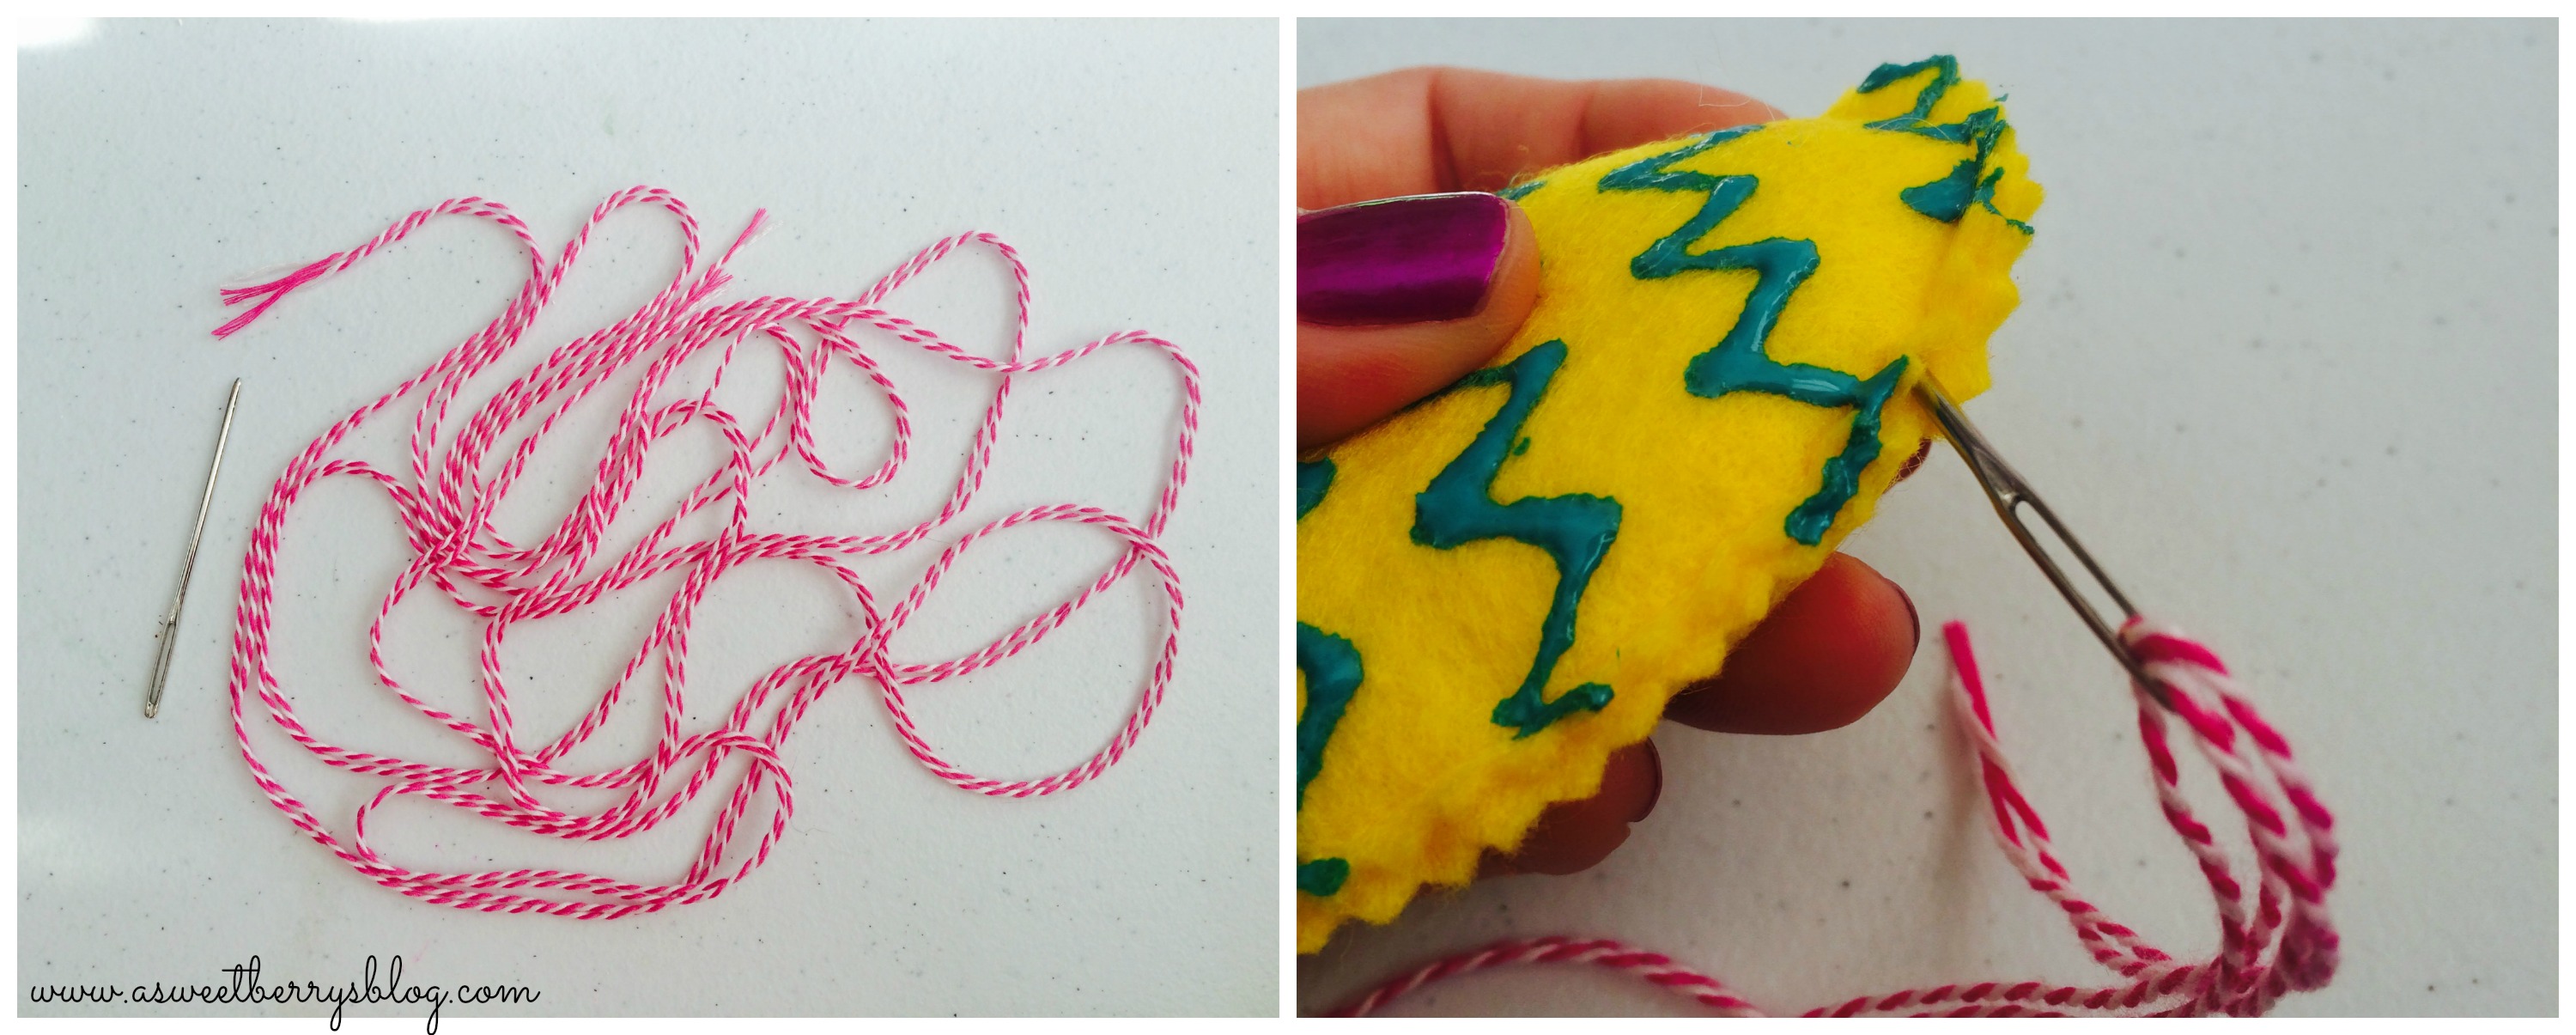
Using bright pink baker’s twine and a big needle, I threaded the twine through the top part of the egg, making sure to go between the felt and stitches. twine
And then, it was complete!!!  It is absolutely adorable!   Final
Hope you like my Kunin Felt Easter Egg Bunting!

Until next time…..

Burlap Love Wreath

It’s February and the month of Love!  This Burlap Love Wreath makes me think of Love! wreath
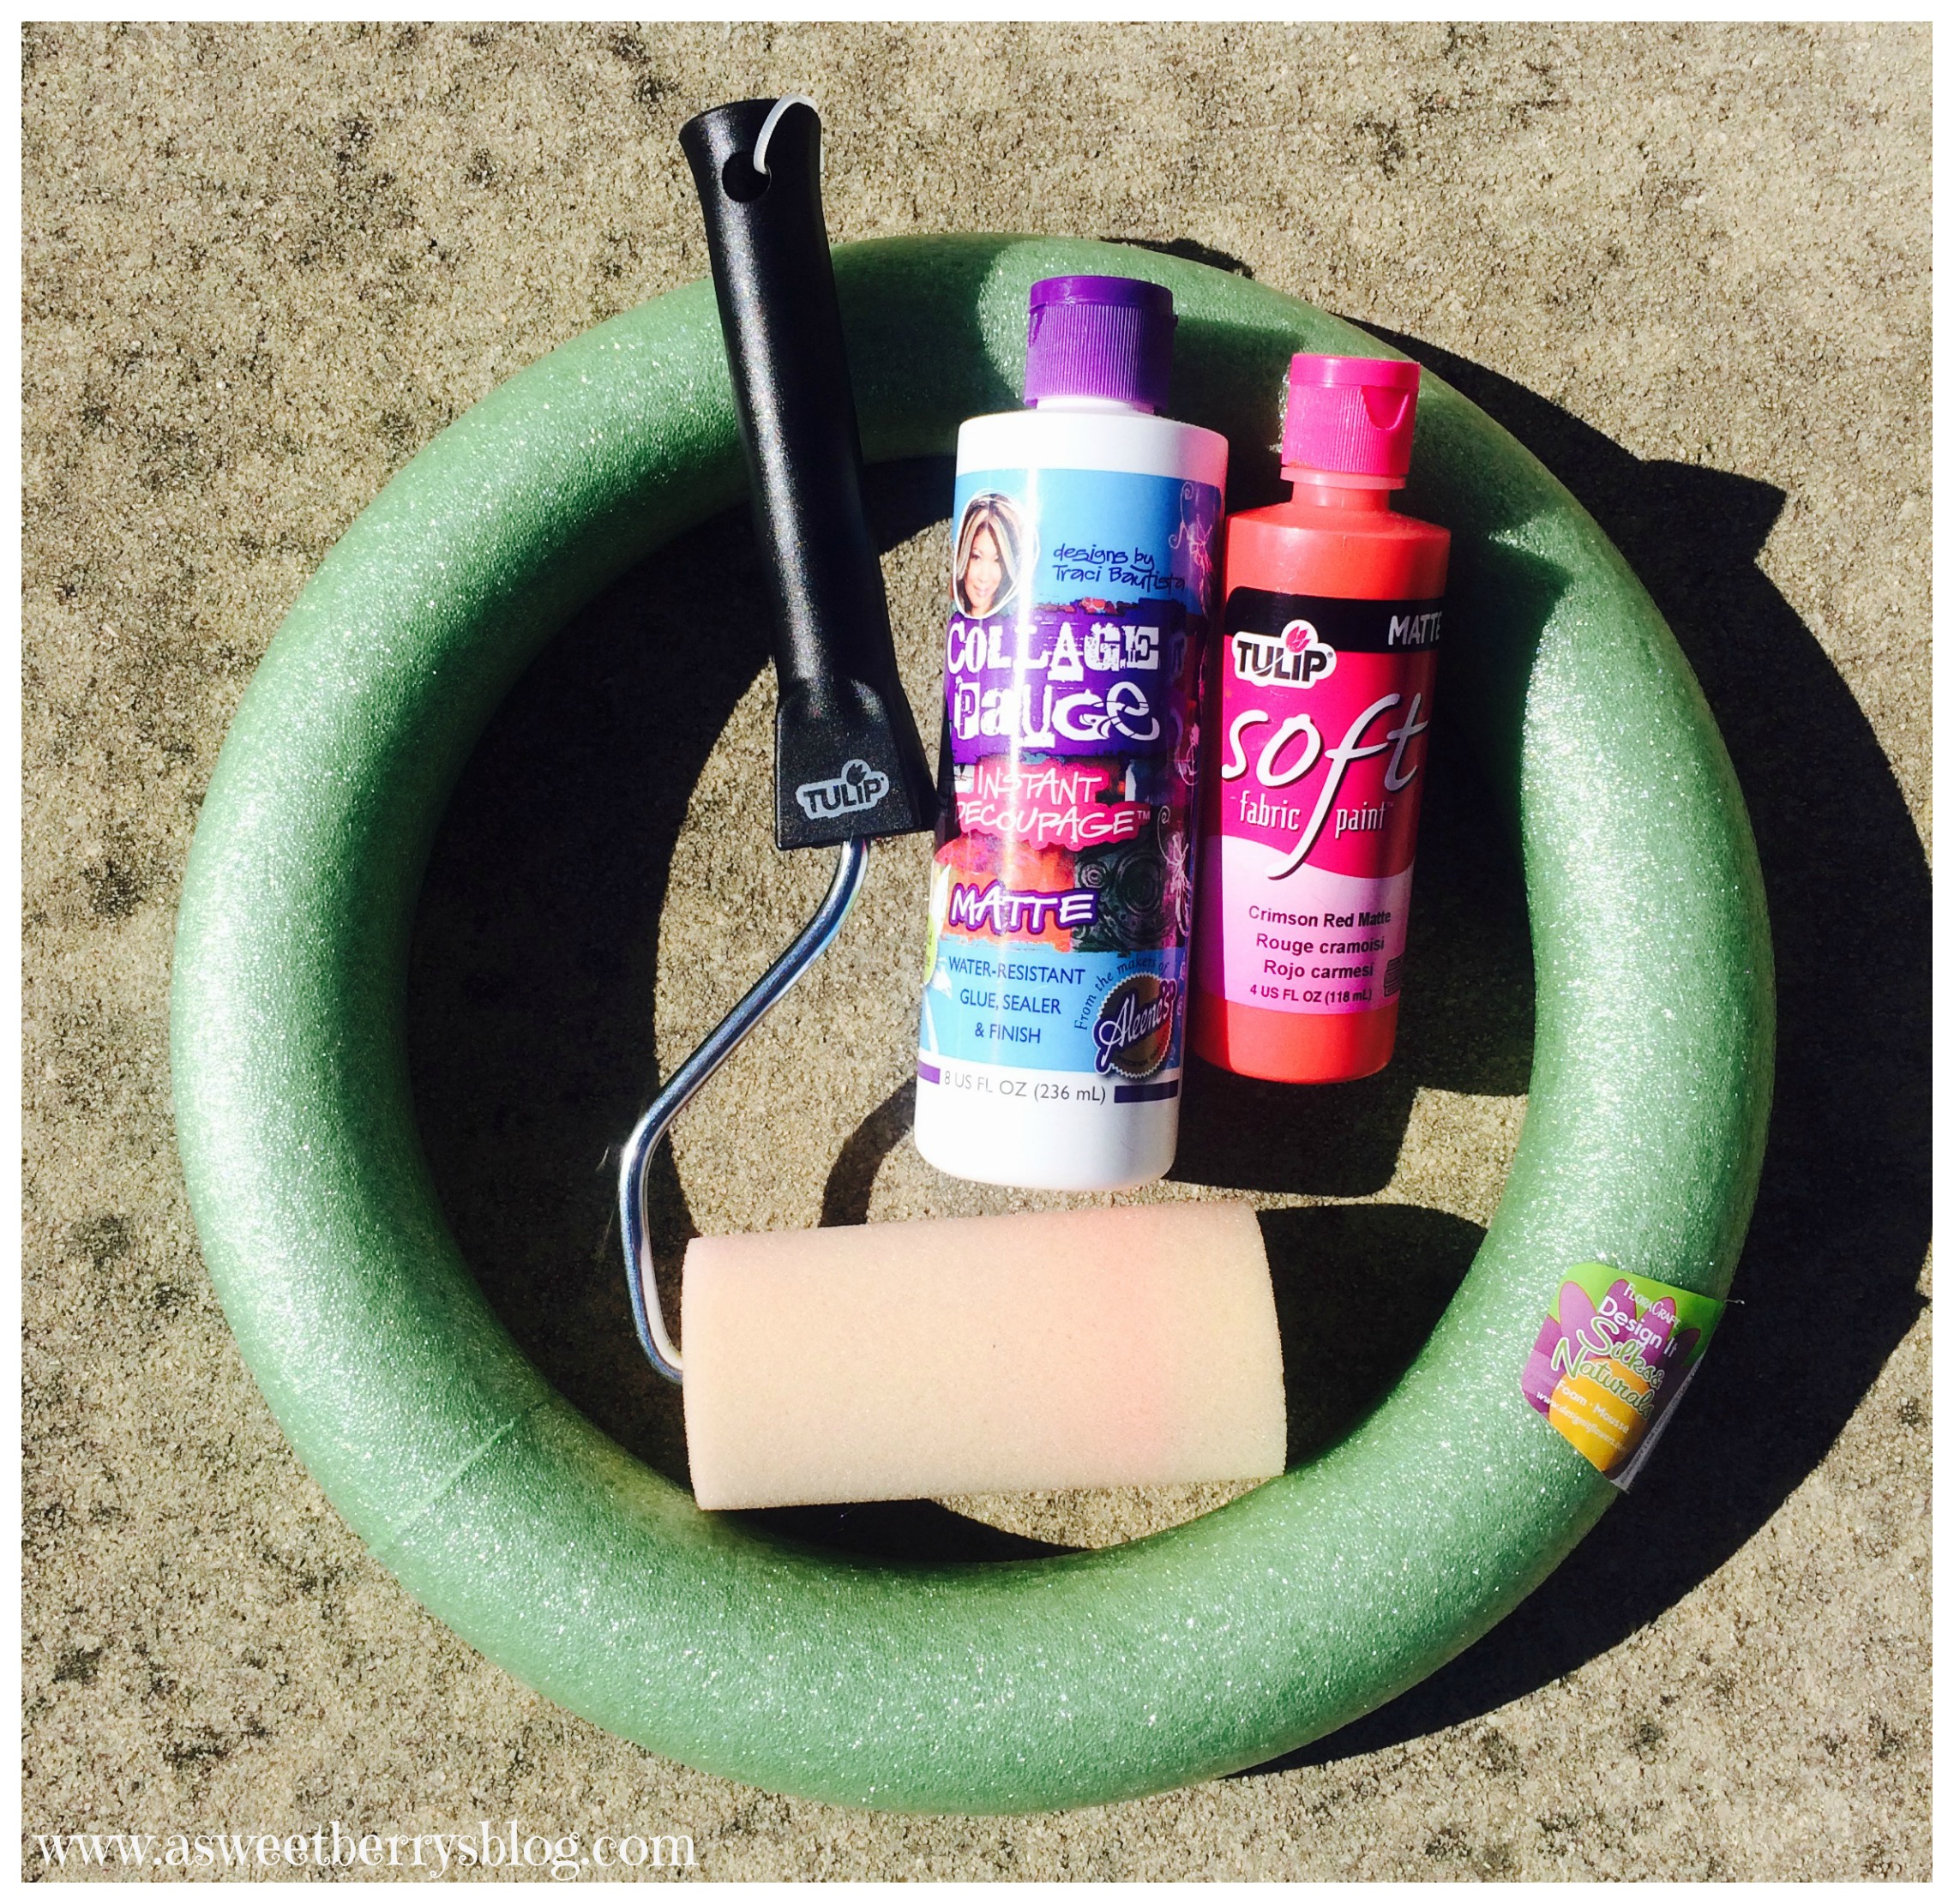
Materials used:
A FloraCraft Foam Wreath
Burlap Ribbon
A 12×12 inch piece of burlap
Aleene’s Collage Pauge
Tulip Soft Fabric Paint
A Tulip Paint Roller
Red Coats & Clark Embroidery Floss and Needle
White Buttons from Buttons Galore
wreathandpaint
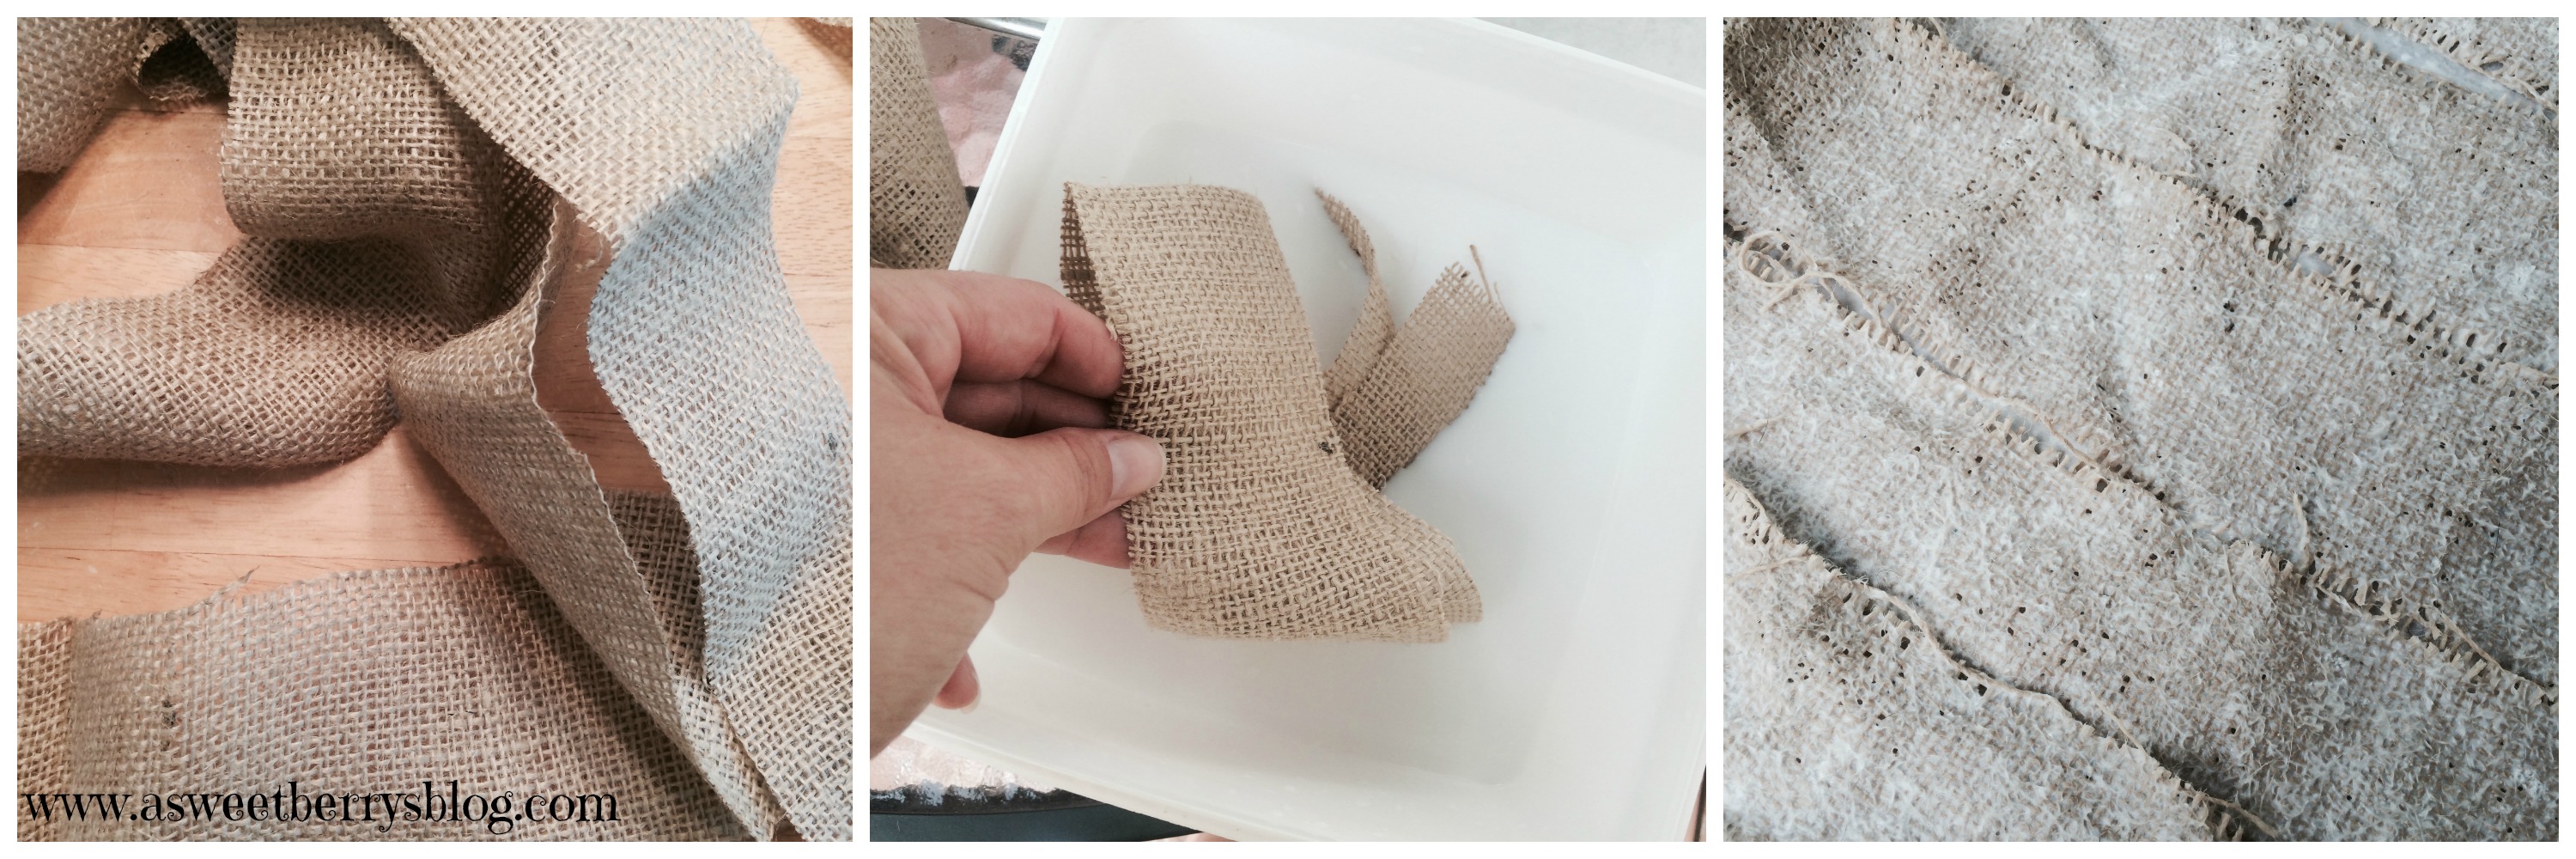
Using Aleene’s Collage Pauge and water, I added 3/4 Collage Pauge to 1/4 water to a plastic container.  It’s the formula usually used for Paper Mache.  I wanted to stiffen the burlap a little and to help it to keep from unraveling.  Once I soaked all of my pieces, I let them dry. burlap
Using a Tulip Foam Roller and Tulip Soft Fabric Paint, I painted the 12×12 inch piece of burlap.  I then let that dry. painting
Once my paint dried, I cut out two hearts.  I basically folded the fabric in half, cutting two hearts at once.  Using Embroidery floss and a needle, I sewed the two hearts together, paint sides out.  Before I sewed the heart all the way, I stuffed it with some felt scraps that I had left over from another project.  Then, I closed up the heart by sewing all the way around. heart
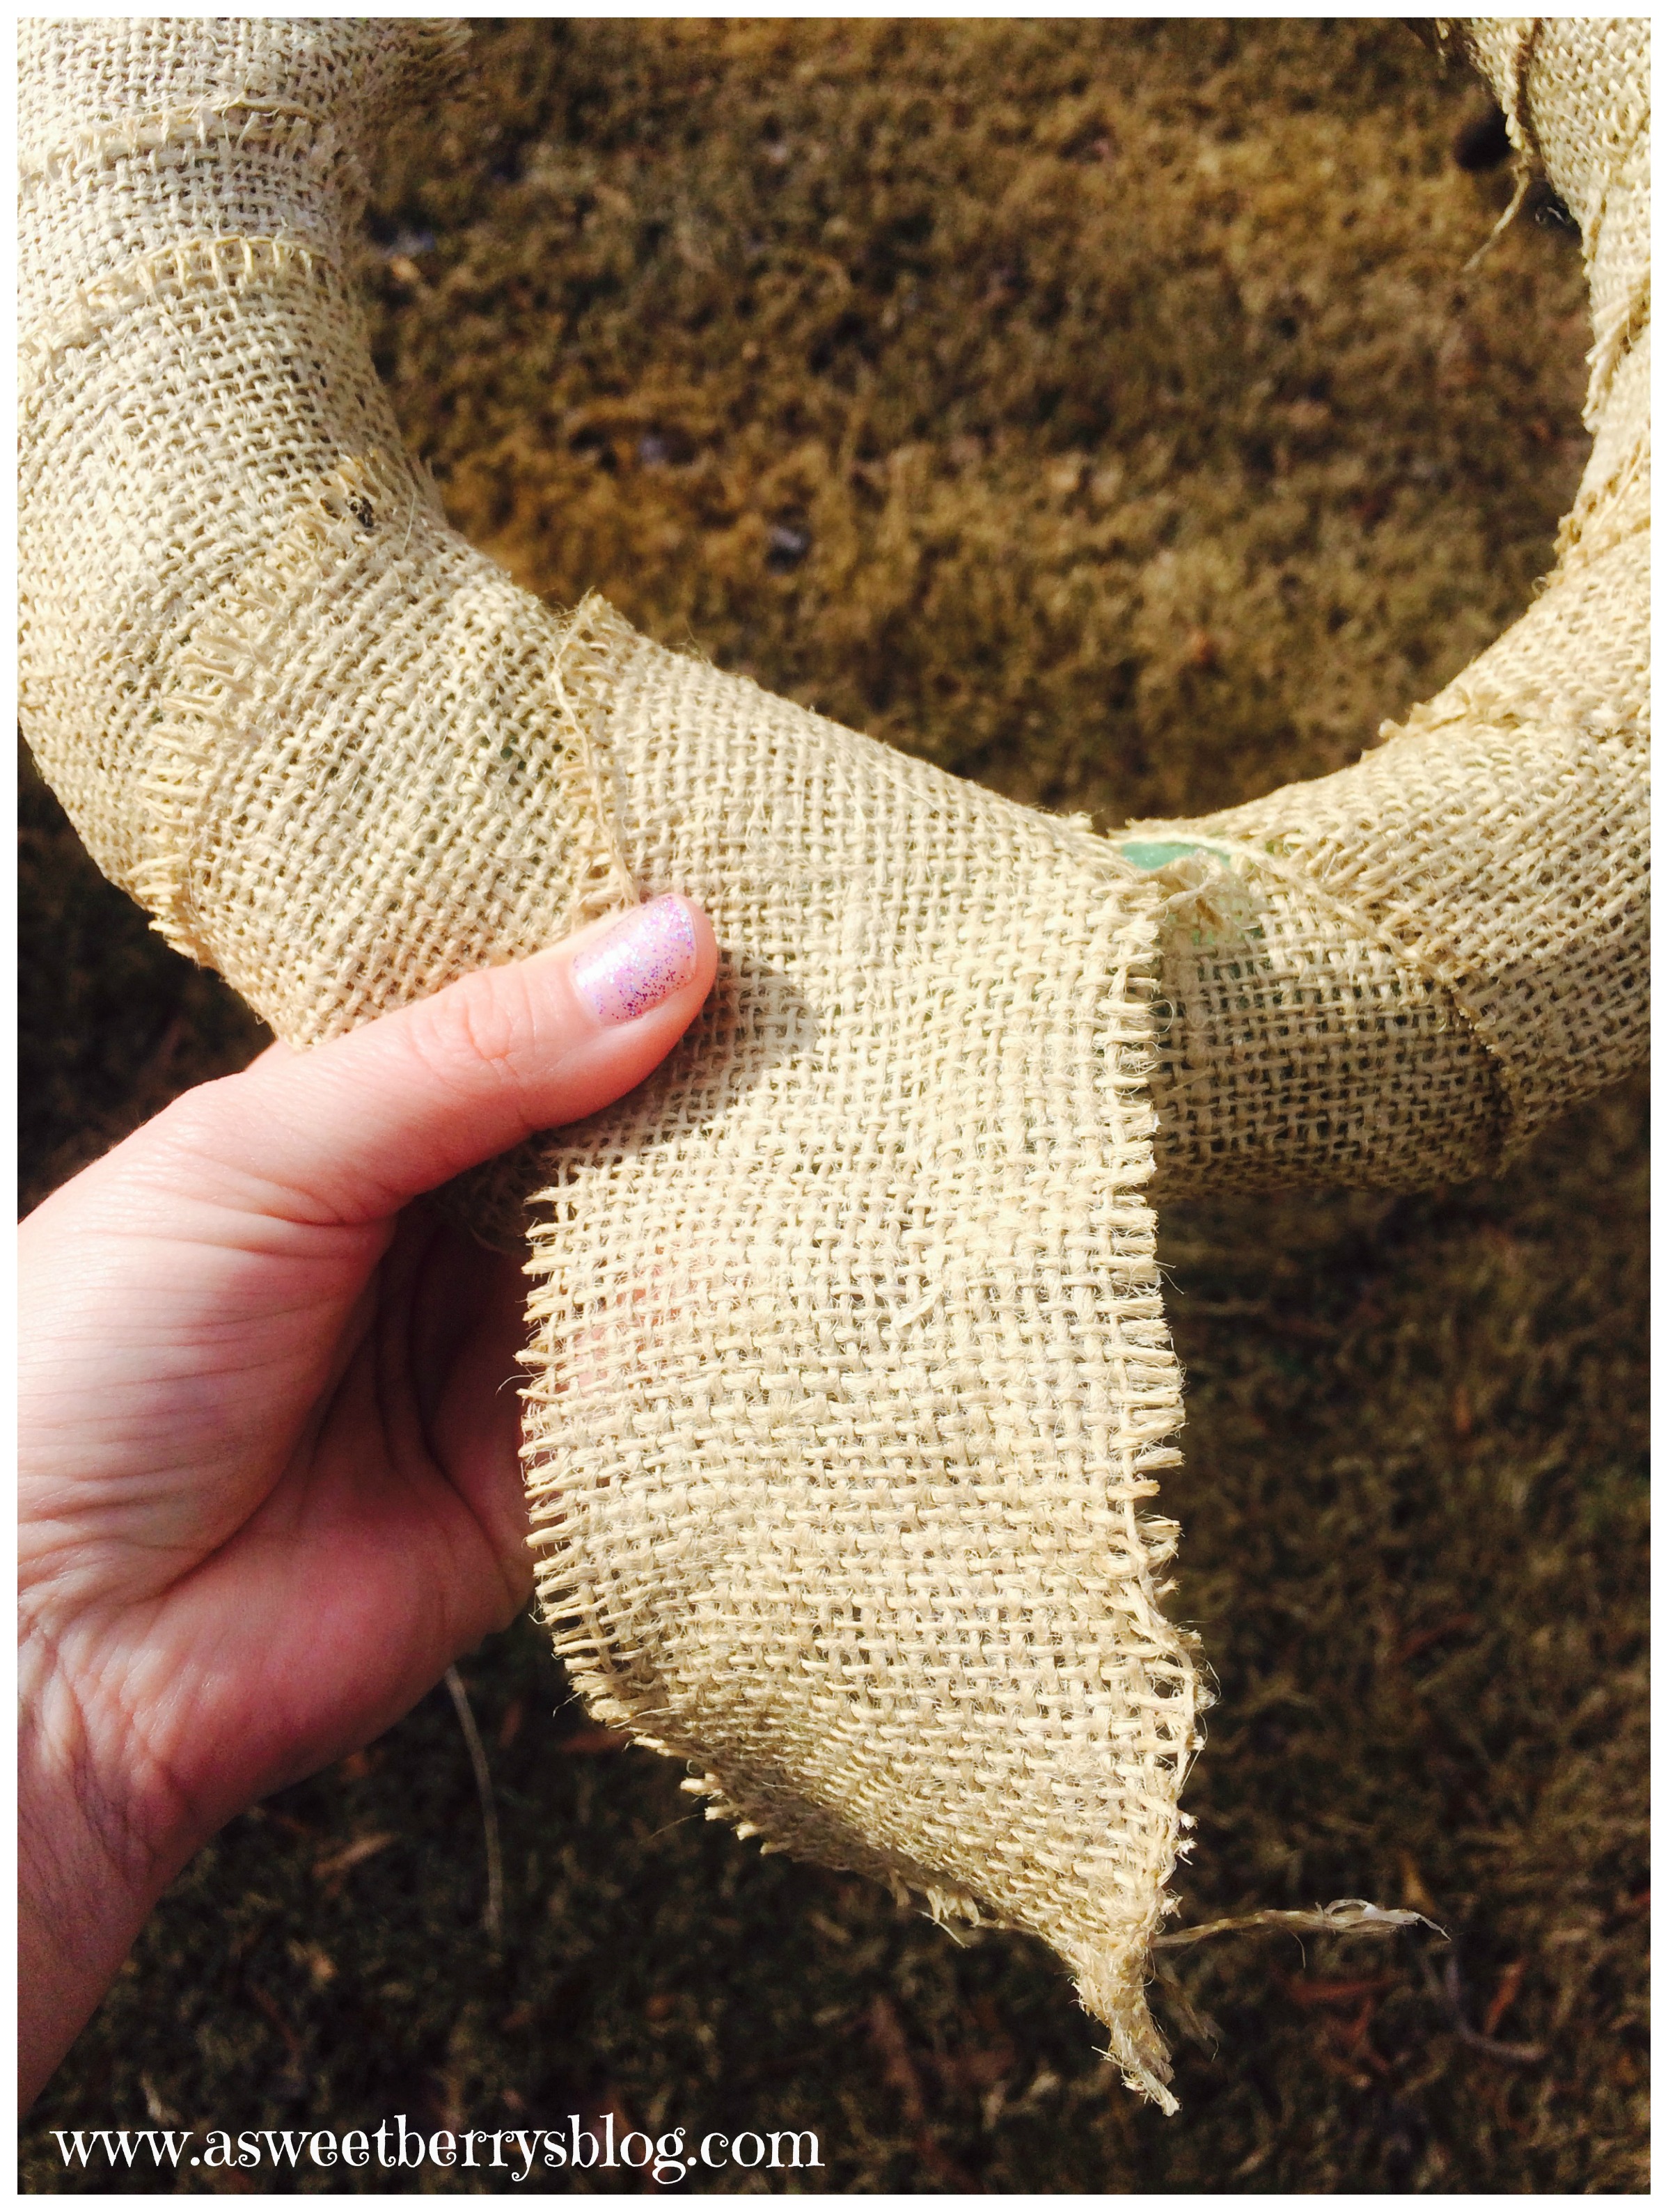
Using the burlap ribbon, I wrapped it around the foam wreath and used embroidery floss to sew the end of the ribbon to the the beginning to hold it in place. burlapwrap
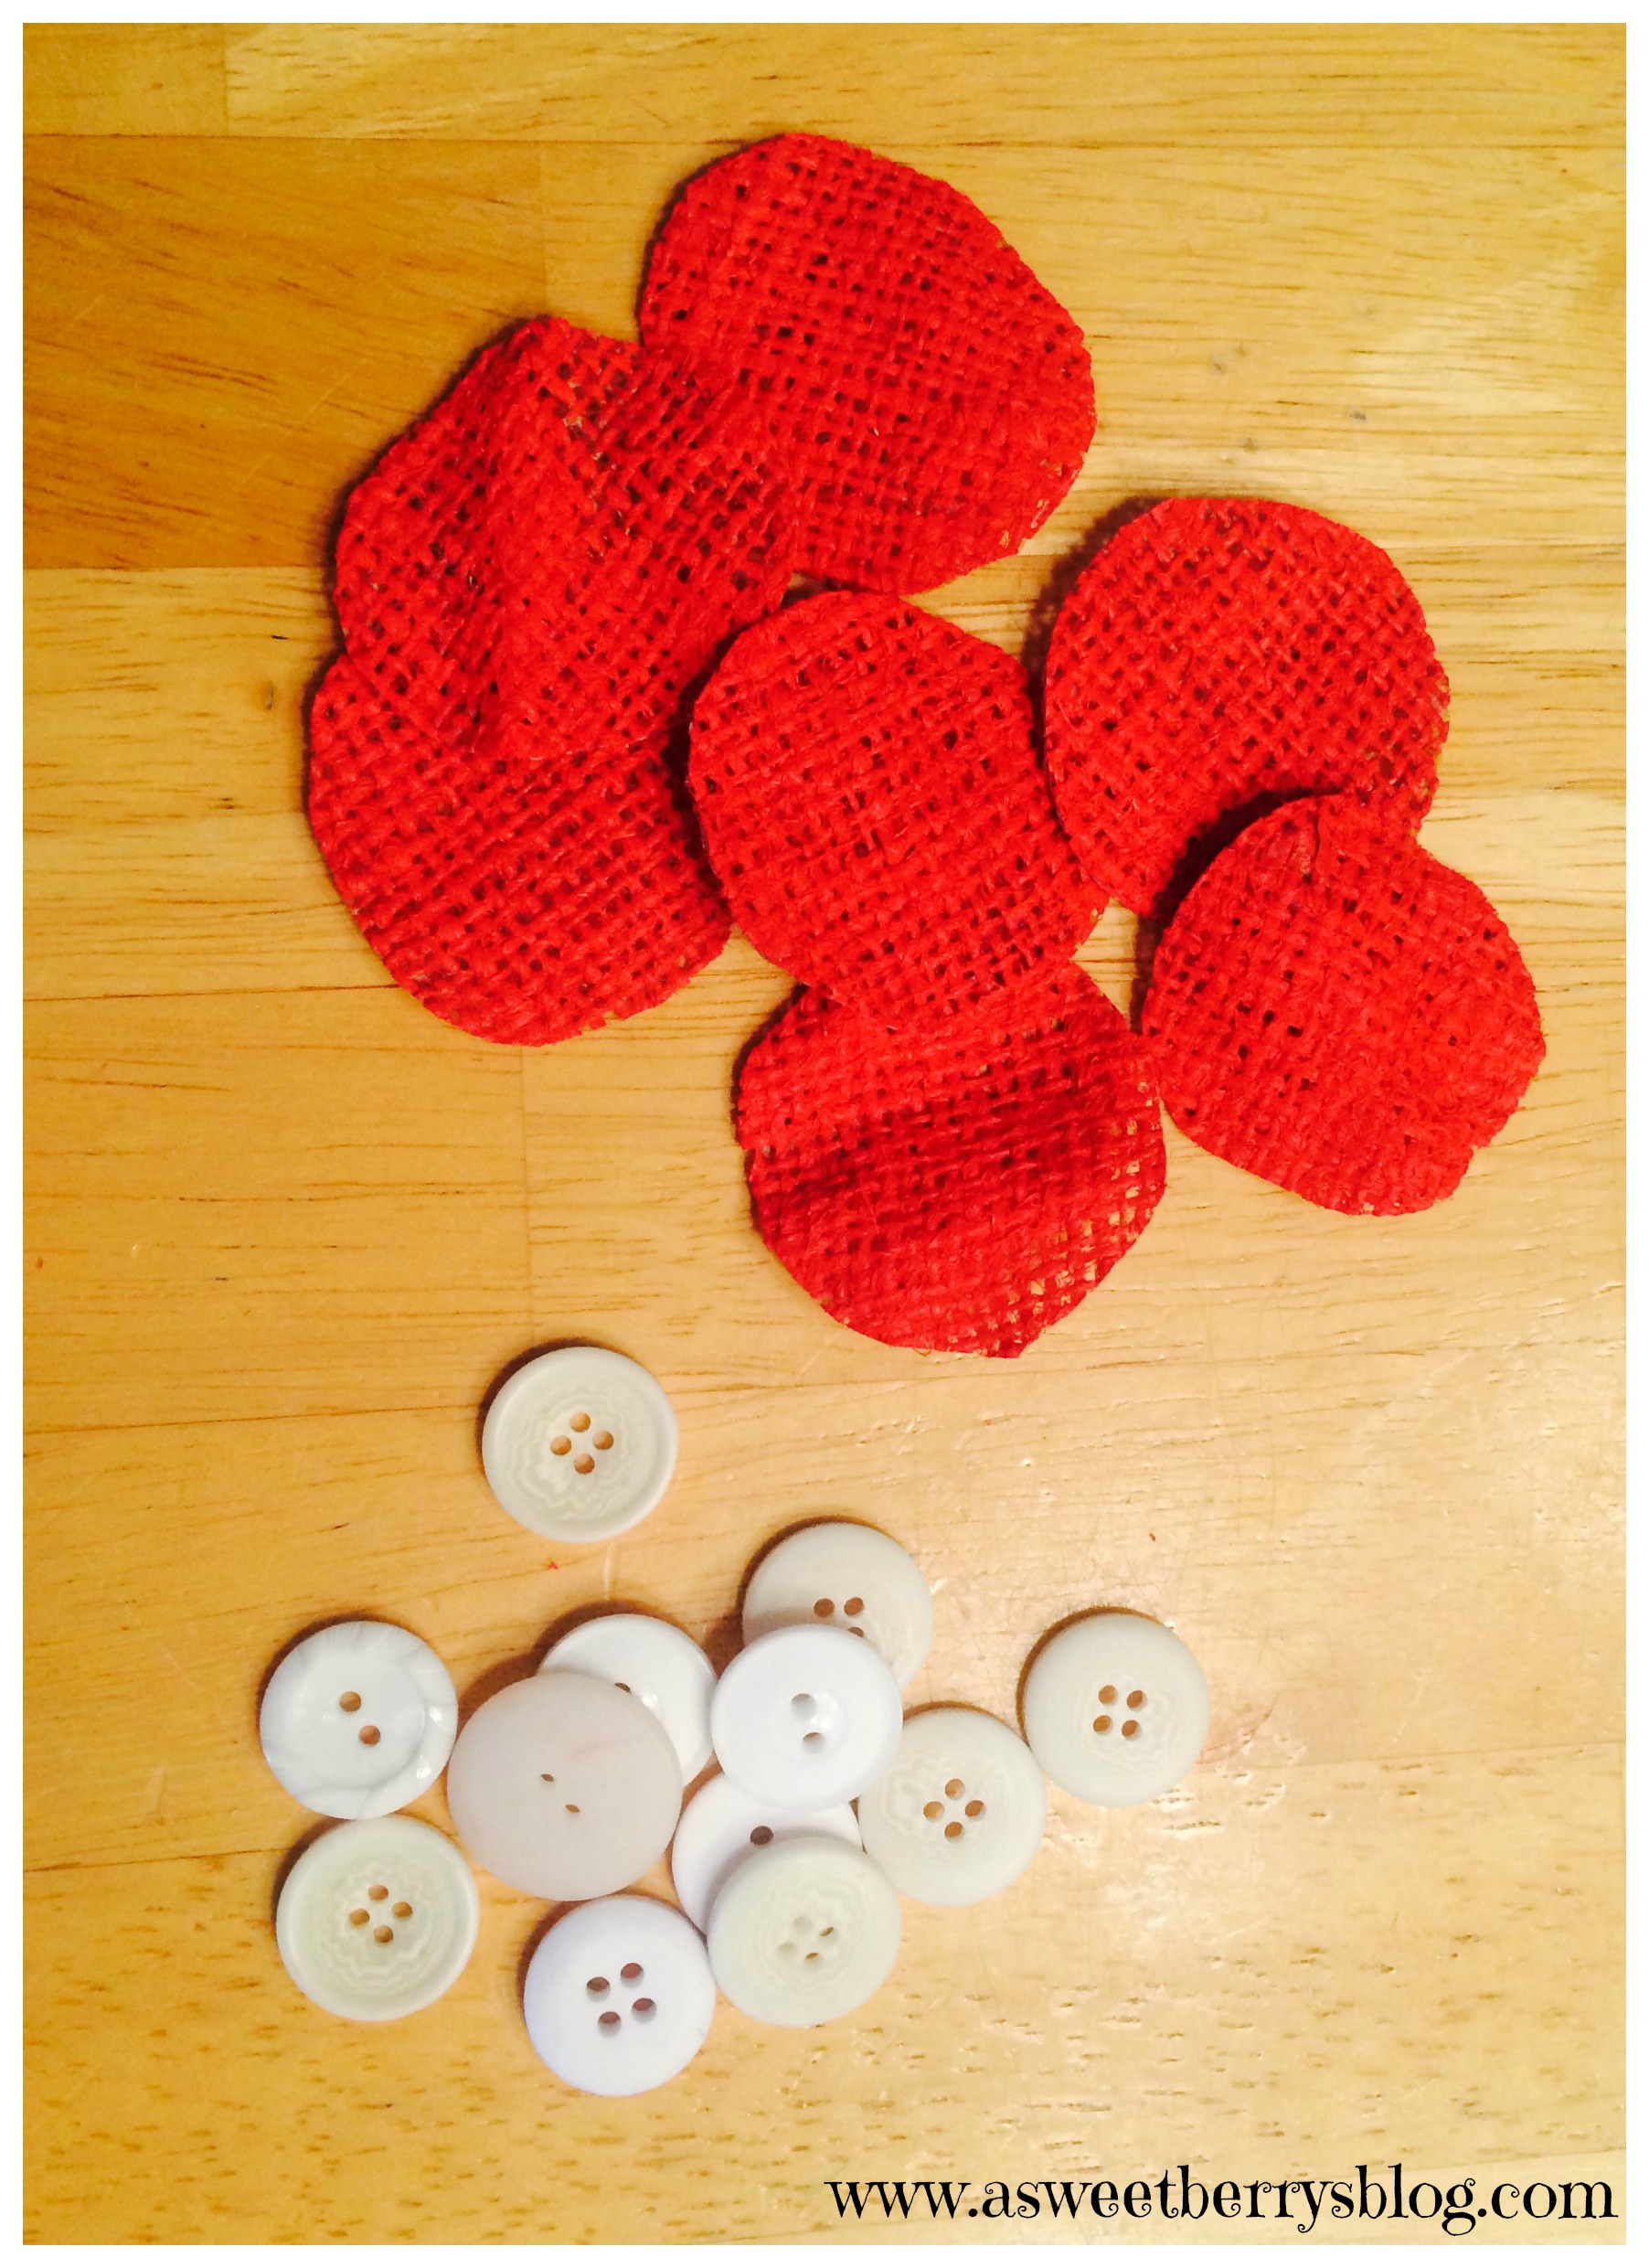
From the scraps of painted burlap, I cut out red circles.  Using the embroidery floss, I added the white buttons to the center of the red pieces and attached them to the burlap on the wreath.  I tied them off on the front adding just a little color to the white buttons. dotsandbuttons
This lovely wreath is now hanging on my front door!  And I LOVE that it reminds me of LOVE!!! wreath
I hope that your February is filled with lots of love!  And I hope that you like my Burlap Love Wreath!

Until next time……

XOXO

Tulip For Your Home

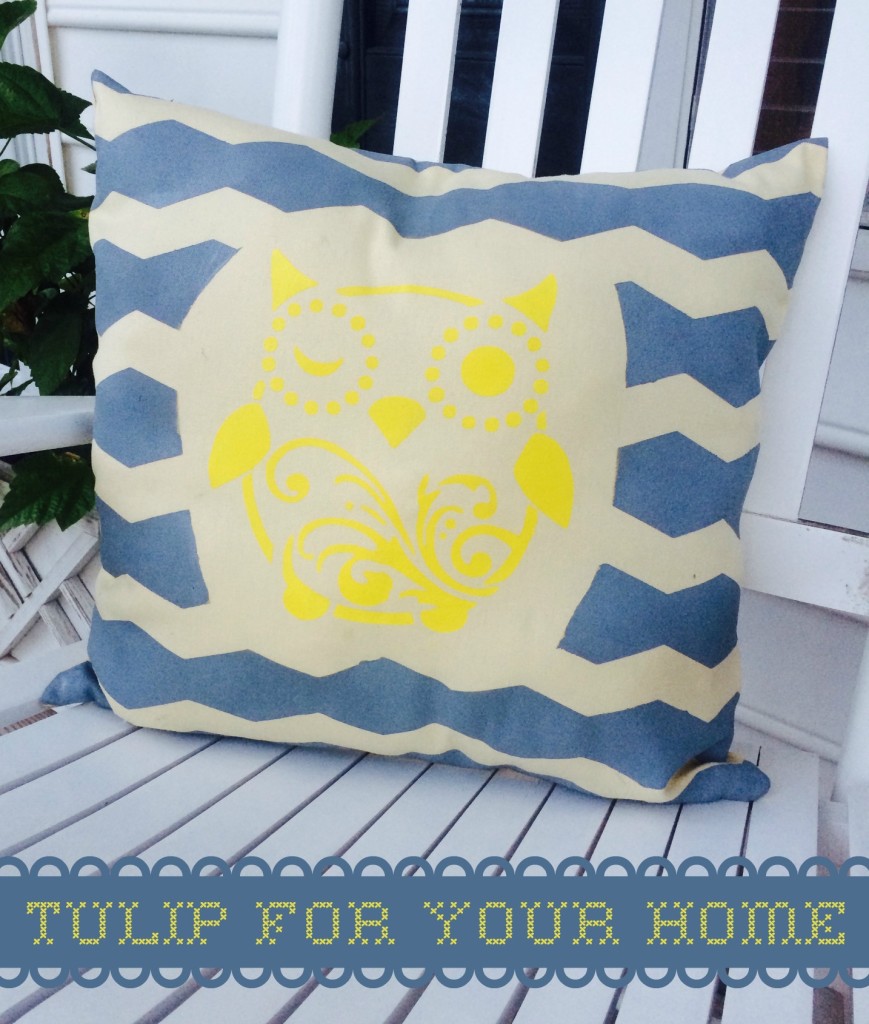
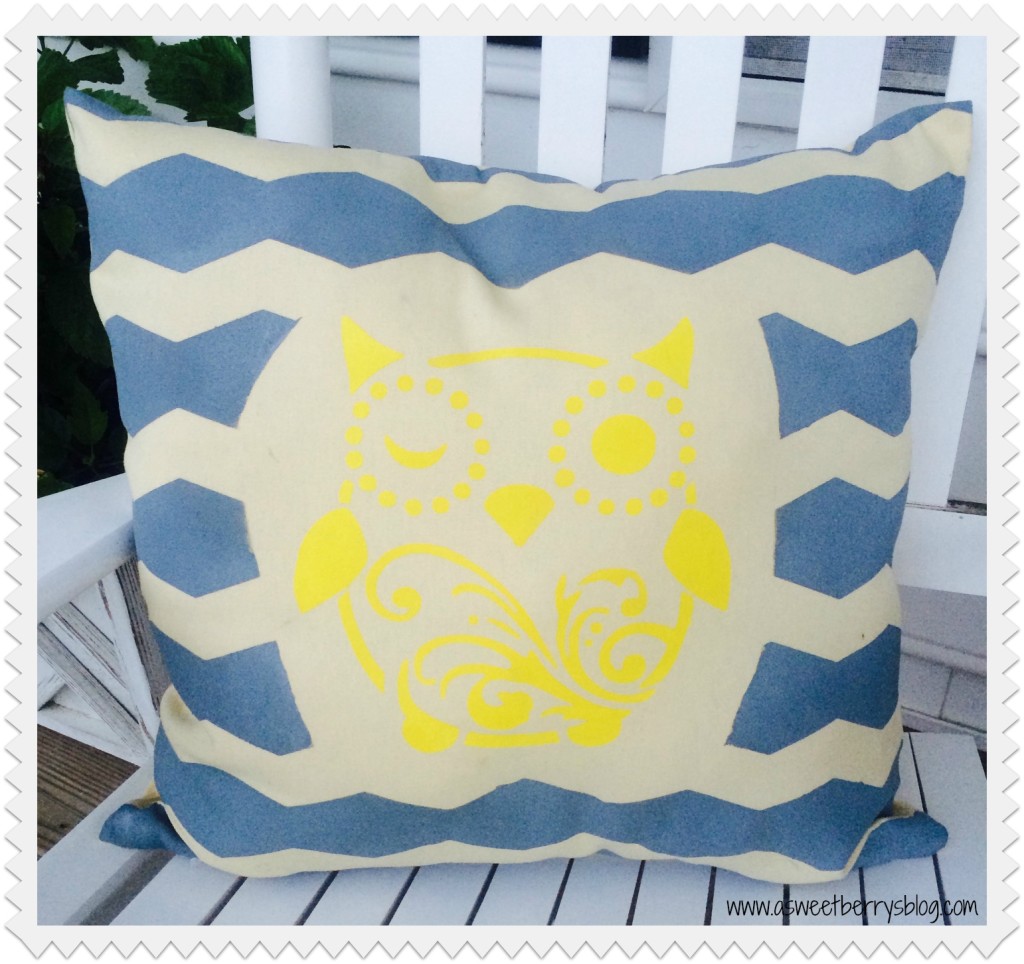
pillow
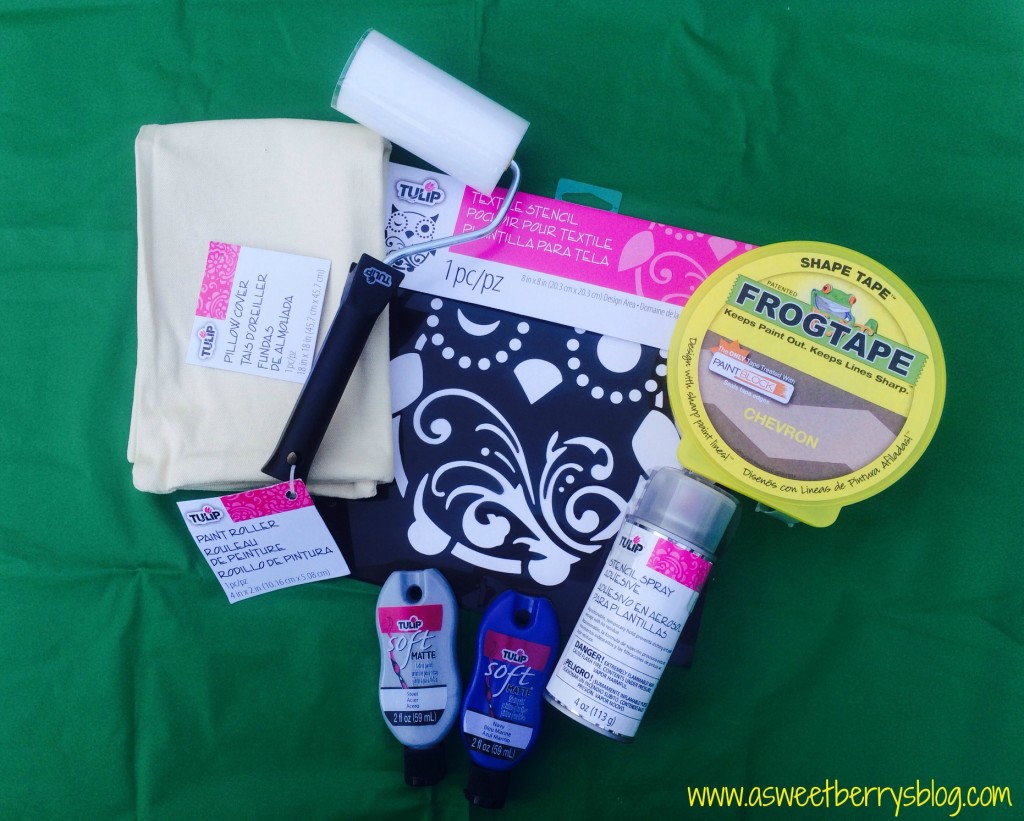
I love Tulip brand by ilovetocreate!  I have been using this brand forever!  This project is a Tulip For Your Home project. It is a pillow that I decorated with a Tulip stencil and Tulip Soft Fabric Paint.   Below is a photo of everything that I used for this project, with the addition of FrogTape to help create my Chevron background.
Materials:
Tulip Pillow Cover
Tulip Paint Roller
Tulip Textile Stencil
Tulip Stencil Spray Adhesive
Tulip Soft Matte Fabric Paint
FrogTape
materials
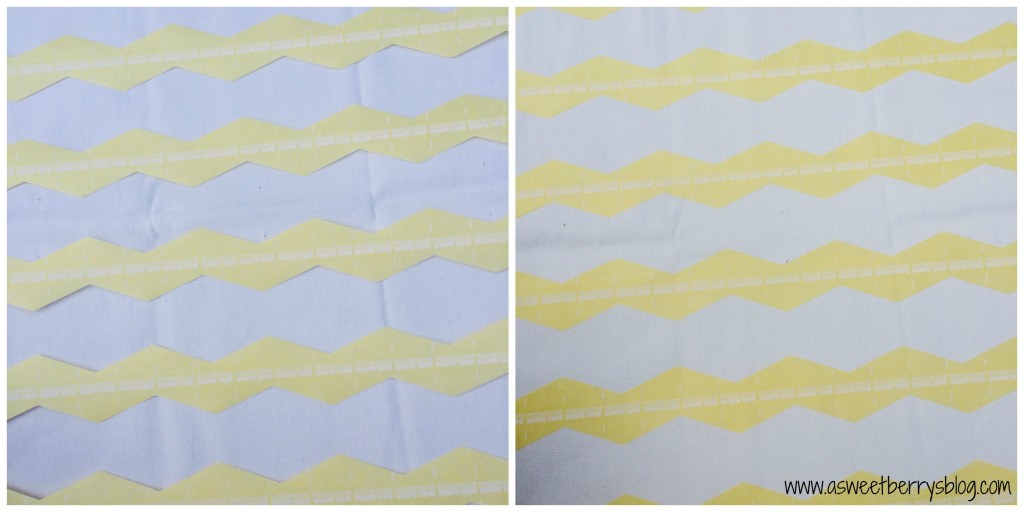
So, using the Chevron FrogTape, I created a Chevron pattern.  I did my placing with the backing still on before I actually removed the paper and stuck it to my pillow. FrogTape
Once I was done placing my chevron pattern, I laid the owl stencil onto and then marked where my owl overlapped the FrogTape.  I only marked the tape, not the pillow.  After I made my marks, I removed the stencil and cut a section of the tape out so that I’d not have the chevron pattern behind my owl. owl cutout
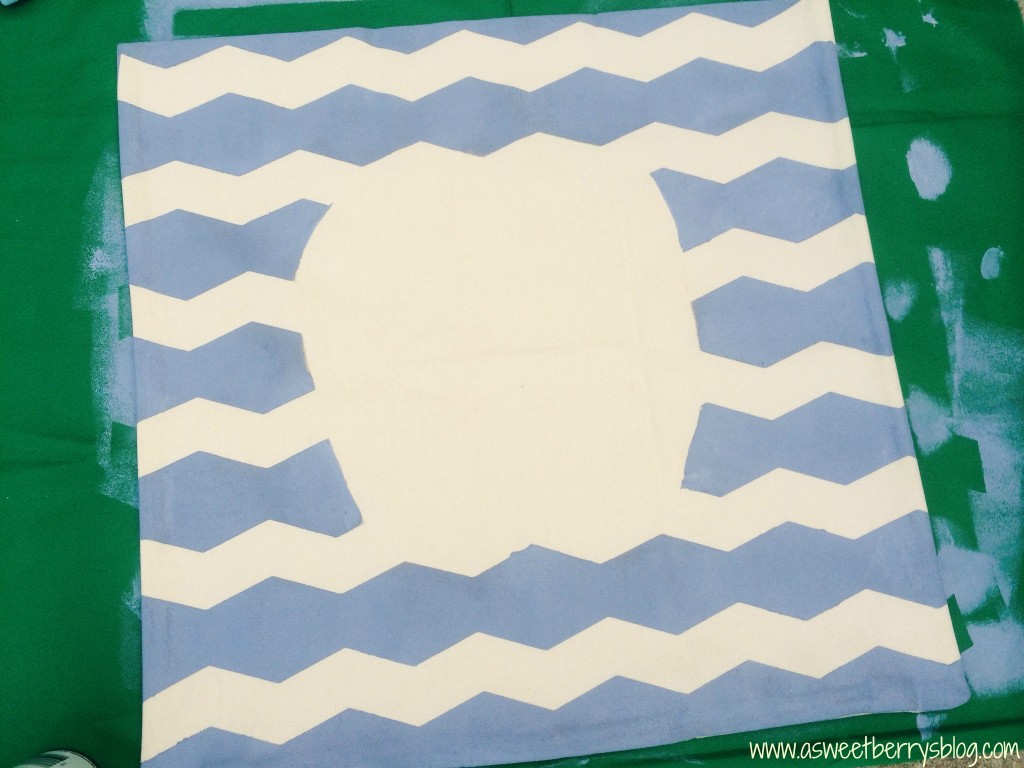
Using my roller, I applied the fabric paint around the cut out where my owl will be placed. painting chevron
After the paint dries, I removed the chevron FrogTape. readyforowl
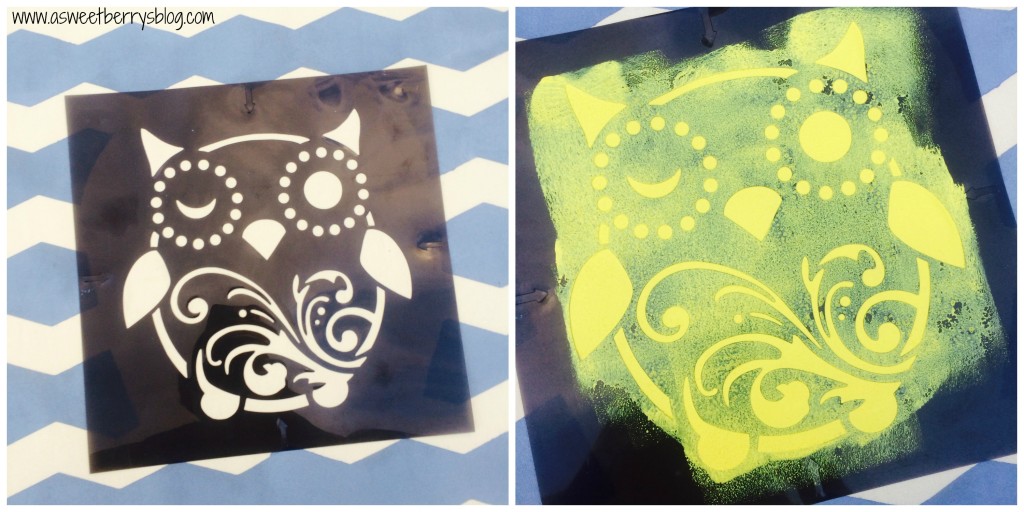
Using my Tulip Stencil Spray Adhesive, I sprayed it on the back of the stencil and placed it in the open space on the pillow.   Don’t worry if you misplace it, the spray allows you to reposition the stencil.  Then it was time to paint the owl.   I did this using the roller after I cleaned it. painted owl
Instead of using a pillow to insert into the cover, I used some Poly-fil that I had at home! polyfil
I am totally obsessed with the results of my decorative Tulip pillow!  It was super easy and super fun!   So, why not create your own fun decorative pillows instead of buying them!!! IMG_4768
I hope you liked my Chevron Owl Pillow made using Tulip For Your Home!