Tag Archives: Ad-Tech

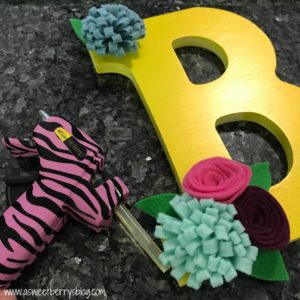
Decorated Letter Decor

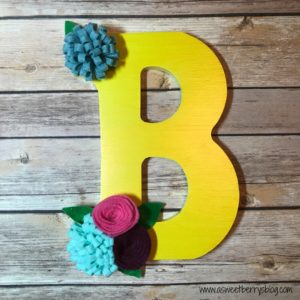
Craft Lightning is happening and the theme this month is Wood.  Wood is my favorite material to work with.   I usually like to do the cutting and designing, but today I’m using a wooden letter that I got from my local craft store.

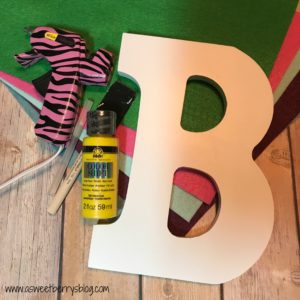
Materials used:

Wooden Letter
Paint (I used Plaid’s FolkArt Color Shift in Yellow Flash)
Paint Brush
Felt (I use KuninFelt)
Hot Glue Gun and Hot Glue Stick
Scissors

How I decorated it:

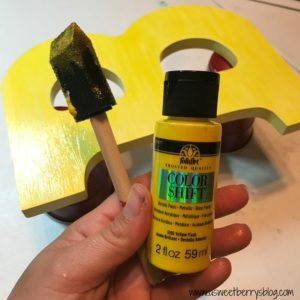
I applied two coats of paint to the letter, allowing the first coat to dry before applying the second coat.

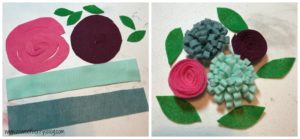
I cut the felt for my felt flowers.  I just used a simple tutorial that I found online.

Then I put the flowers together using the hot glue gun.

I glued the flowers to the letter.

And then it was time to hang it up!!!!   This particular letter had a hanging hole on the back but you could also hang it by using ribbon or jute rope! 

This decorated flower decor took less than 15 minutes, excluding the drying time.  This would be a super easy project for a kids party or a girls night in!

Be sure to click the photo below for more Craft Lightning Wood projects!

Until next time….


Patriotic Hoop Art

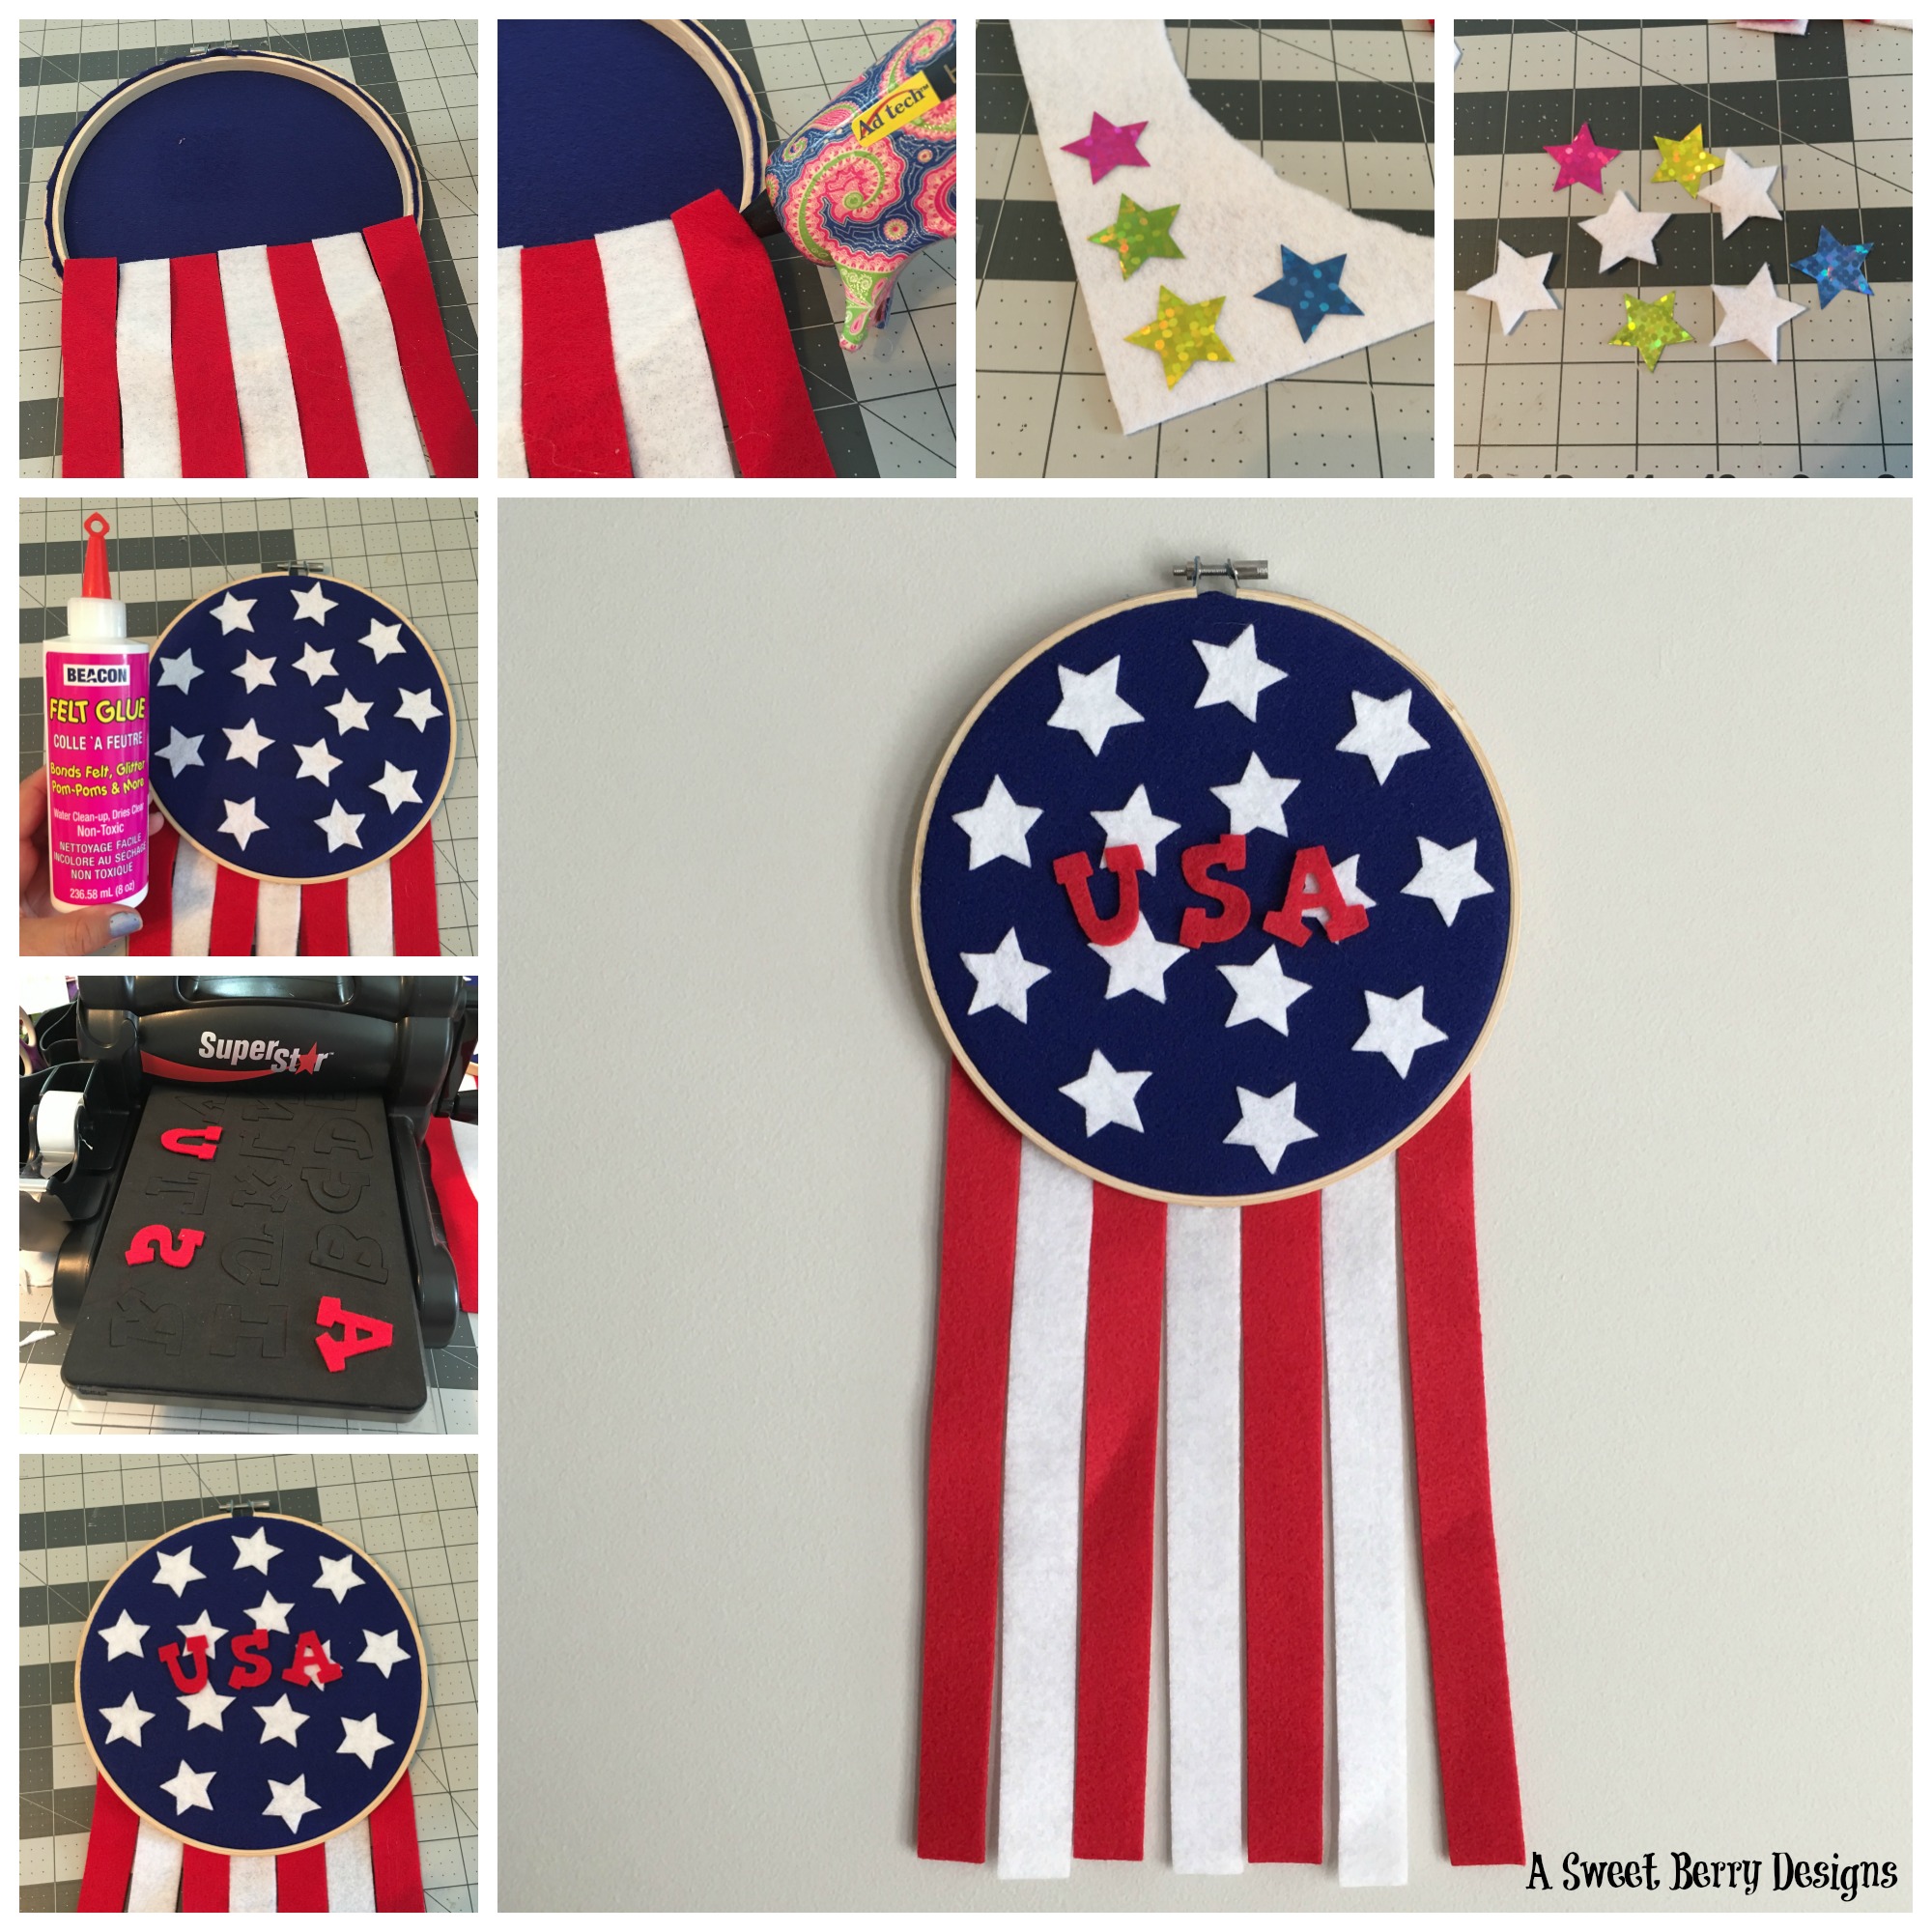
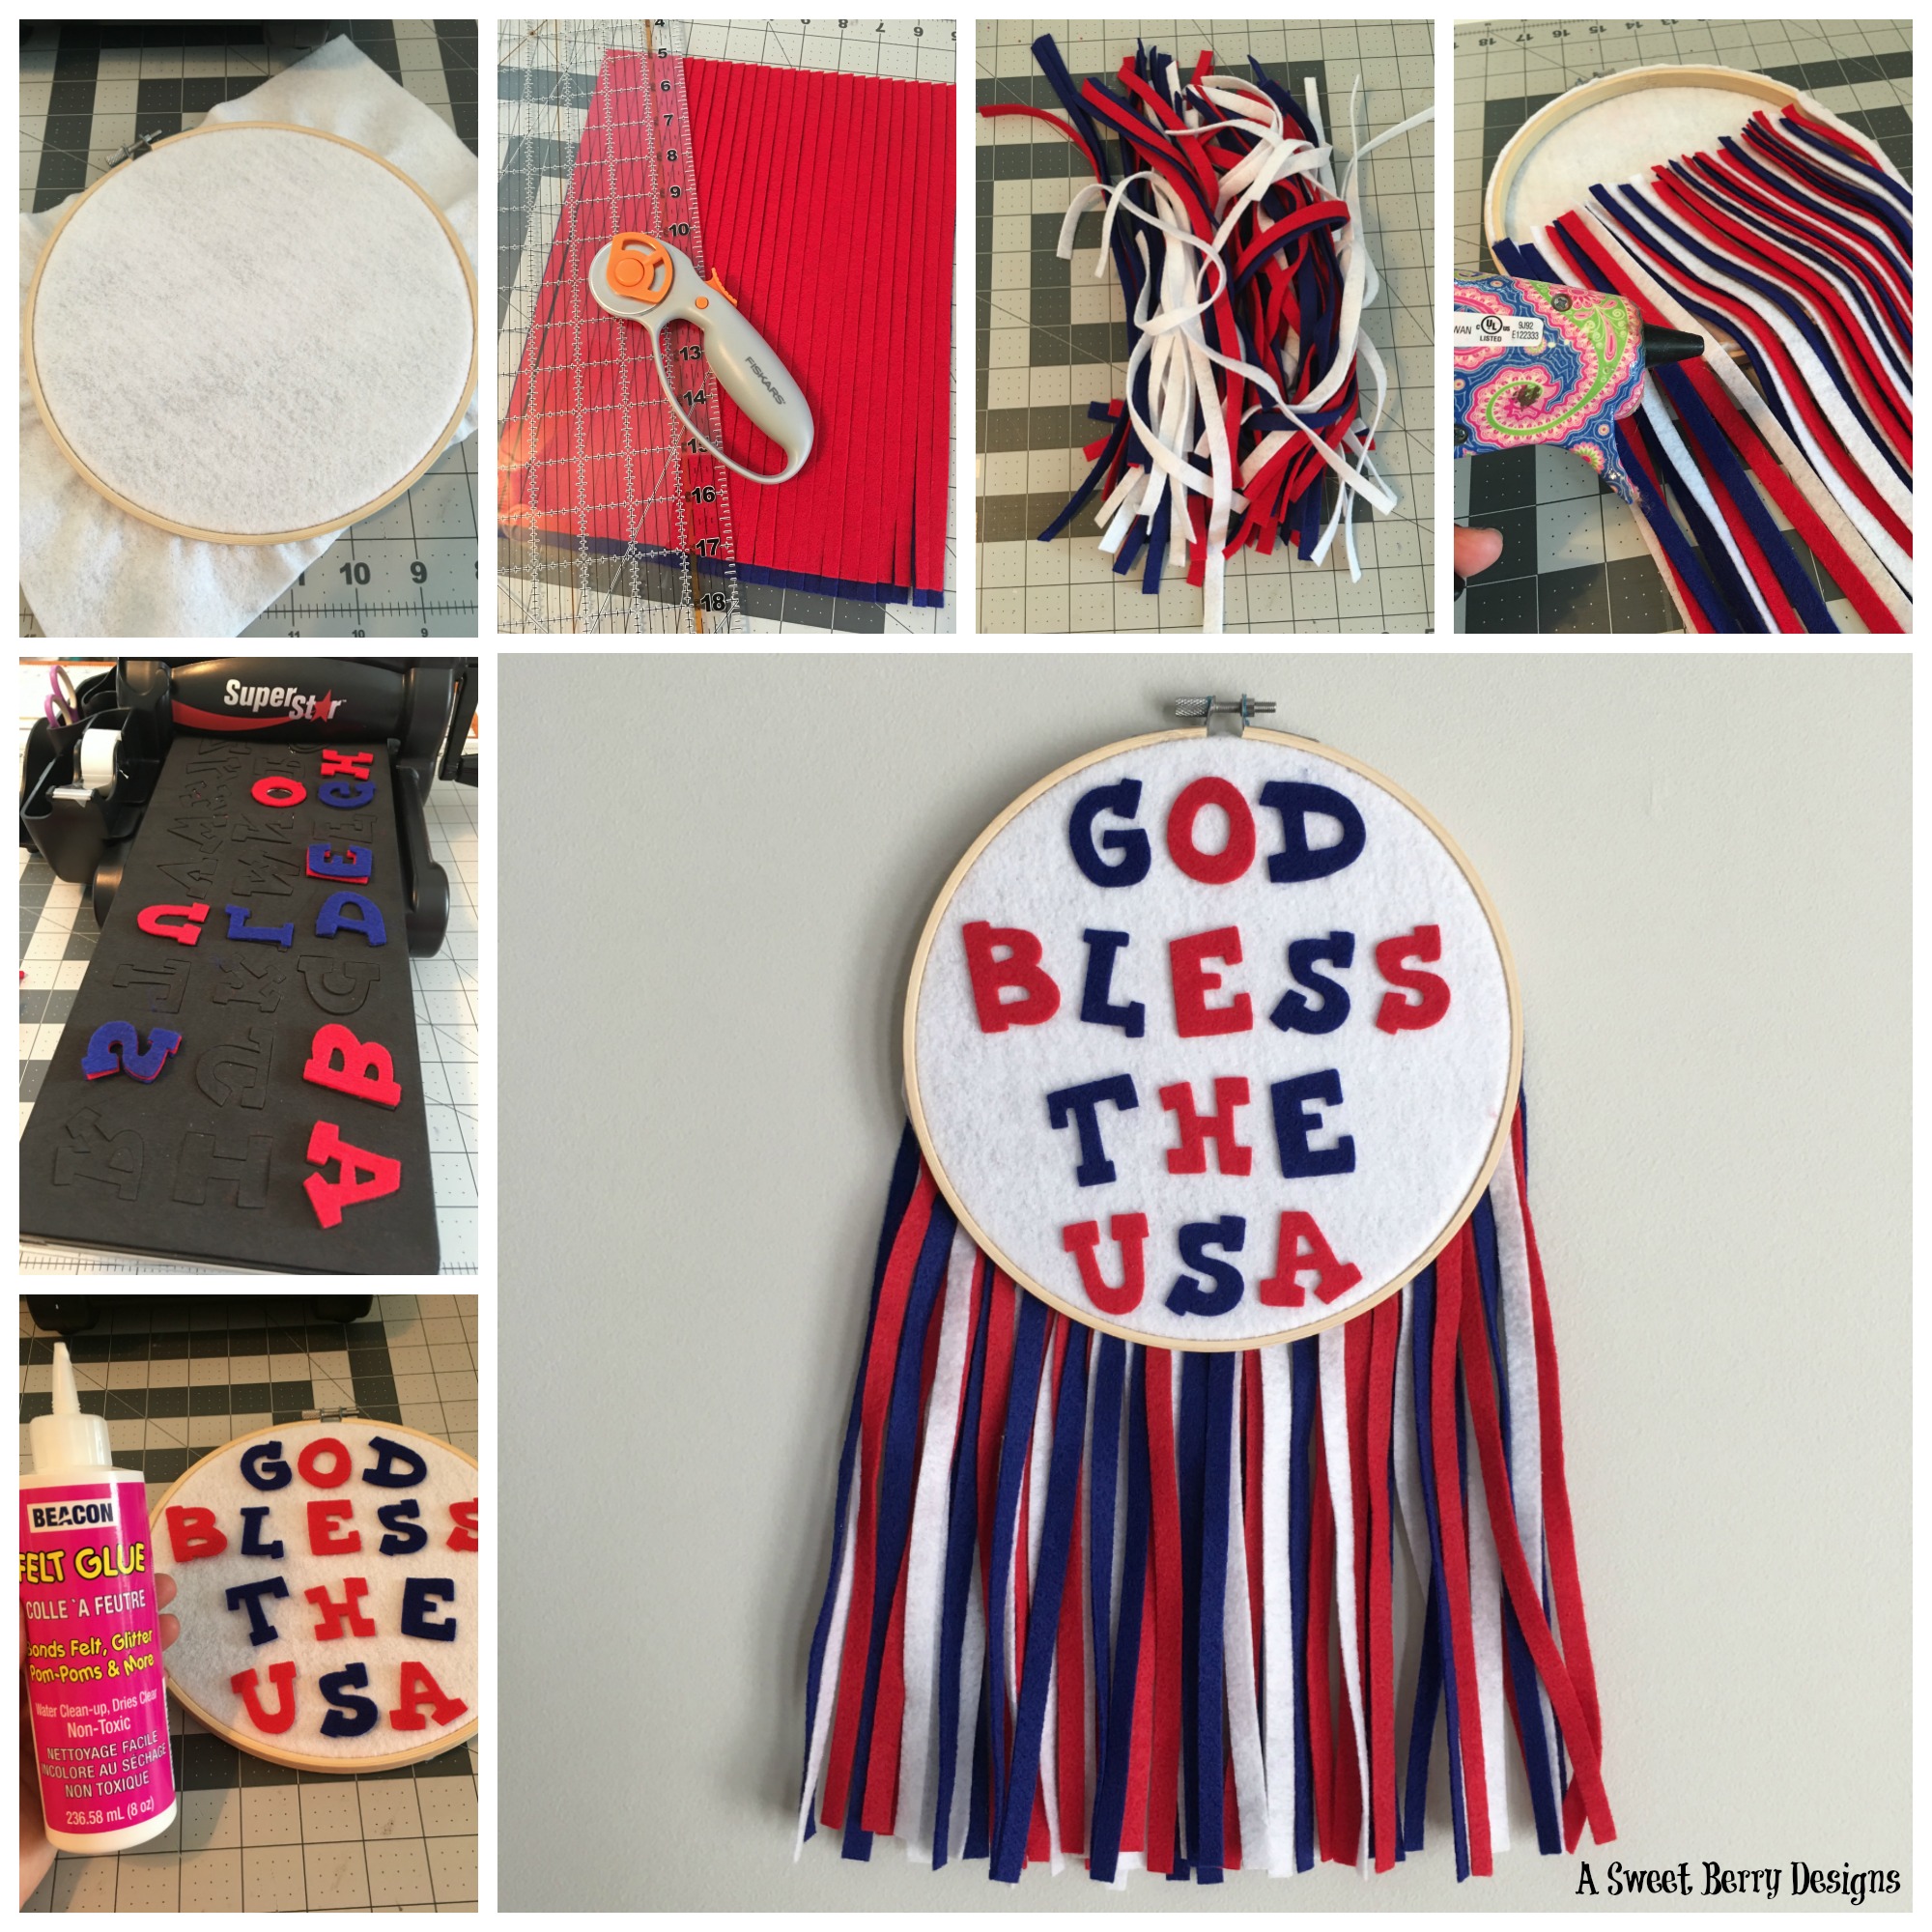
Happy 4th of July to everyone!  I hope that everyone is having a great time celebrating the birth of our country!  To help celebrate and decorate for the 4th, I made these Patriotic Hoops!  

Materials needed:

  • 9” x 12” craft cut of Kunin Classicfelt™ Royal Blue, Red, and White
  • 8 inch Embroidery Hoops
  • Felt Glue
  • Hot Glue Gun and Glue Sticks
  • Sizzix/Ellison Die Cutting Machine and Cutting Pads
  • Laura Kelly’s Lemonade Capital Alphabet Die
  • Cutting Mat, Rotary Cutter, Ruler
  • Star Stickers

How to Make it:

  1.  Take the embroidery hoop apart, place a sheet of felt in the hoop and replace the top hoop.
  2. Cut the excess felt from the back.  
  3. Cut strips of felt (1″x12″ for the USA Stars and Stripes and .25″x12″ for the God Bless The USA hoop).
  4. Glue the strips to the back of the hoop and cut the excess from the top.
  5. For the stars on the USA hoop, I used stickers as patterns.  I placed the stickers on the white felt and then cut around them.
  6. Using the Sizzix/Ellison Die Cutting Machine, the cutting pads and the alphabet die, I cut all of the letters needed.
  7. Glue the letters down using felt glue.

I hope you like these Patriotic Hoop Art pieces!  They are so festive and are perfect for the 4th of July!

HAPPY 4TH OF JULY!!!

Until next time….


Mason Jar Lid Fabric Wreath

Yay!  It’s Craft Lightning time again!   And this one is Christmas and Holiday crafts!  Christmas is one of my favorite times of the year!  Especially now that I have kids!  This Mason Jar Lid Fabric Wreath could even be done with the kids! final
Materials:
Green Fabric
Mason Jar Lid
Fiskars Scissors
Ad-tech Hot Glue Gun
Holly Berries (I got these from A.C. Moore)
Ribbon
materials
The steps for this Mason Jar Lid Fabric Wreath are pretty easy!  And it only took about 15 minutes to do!
putting-it-together
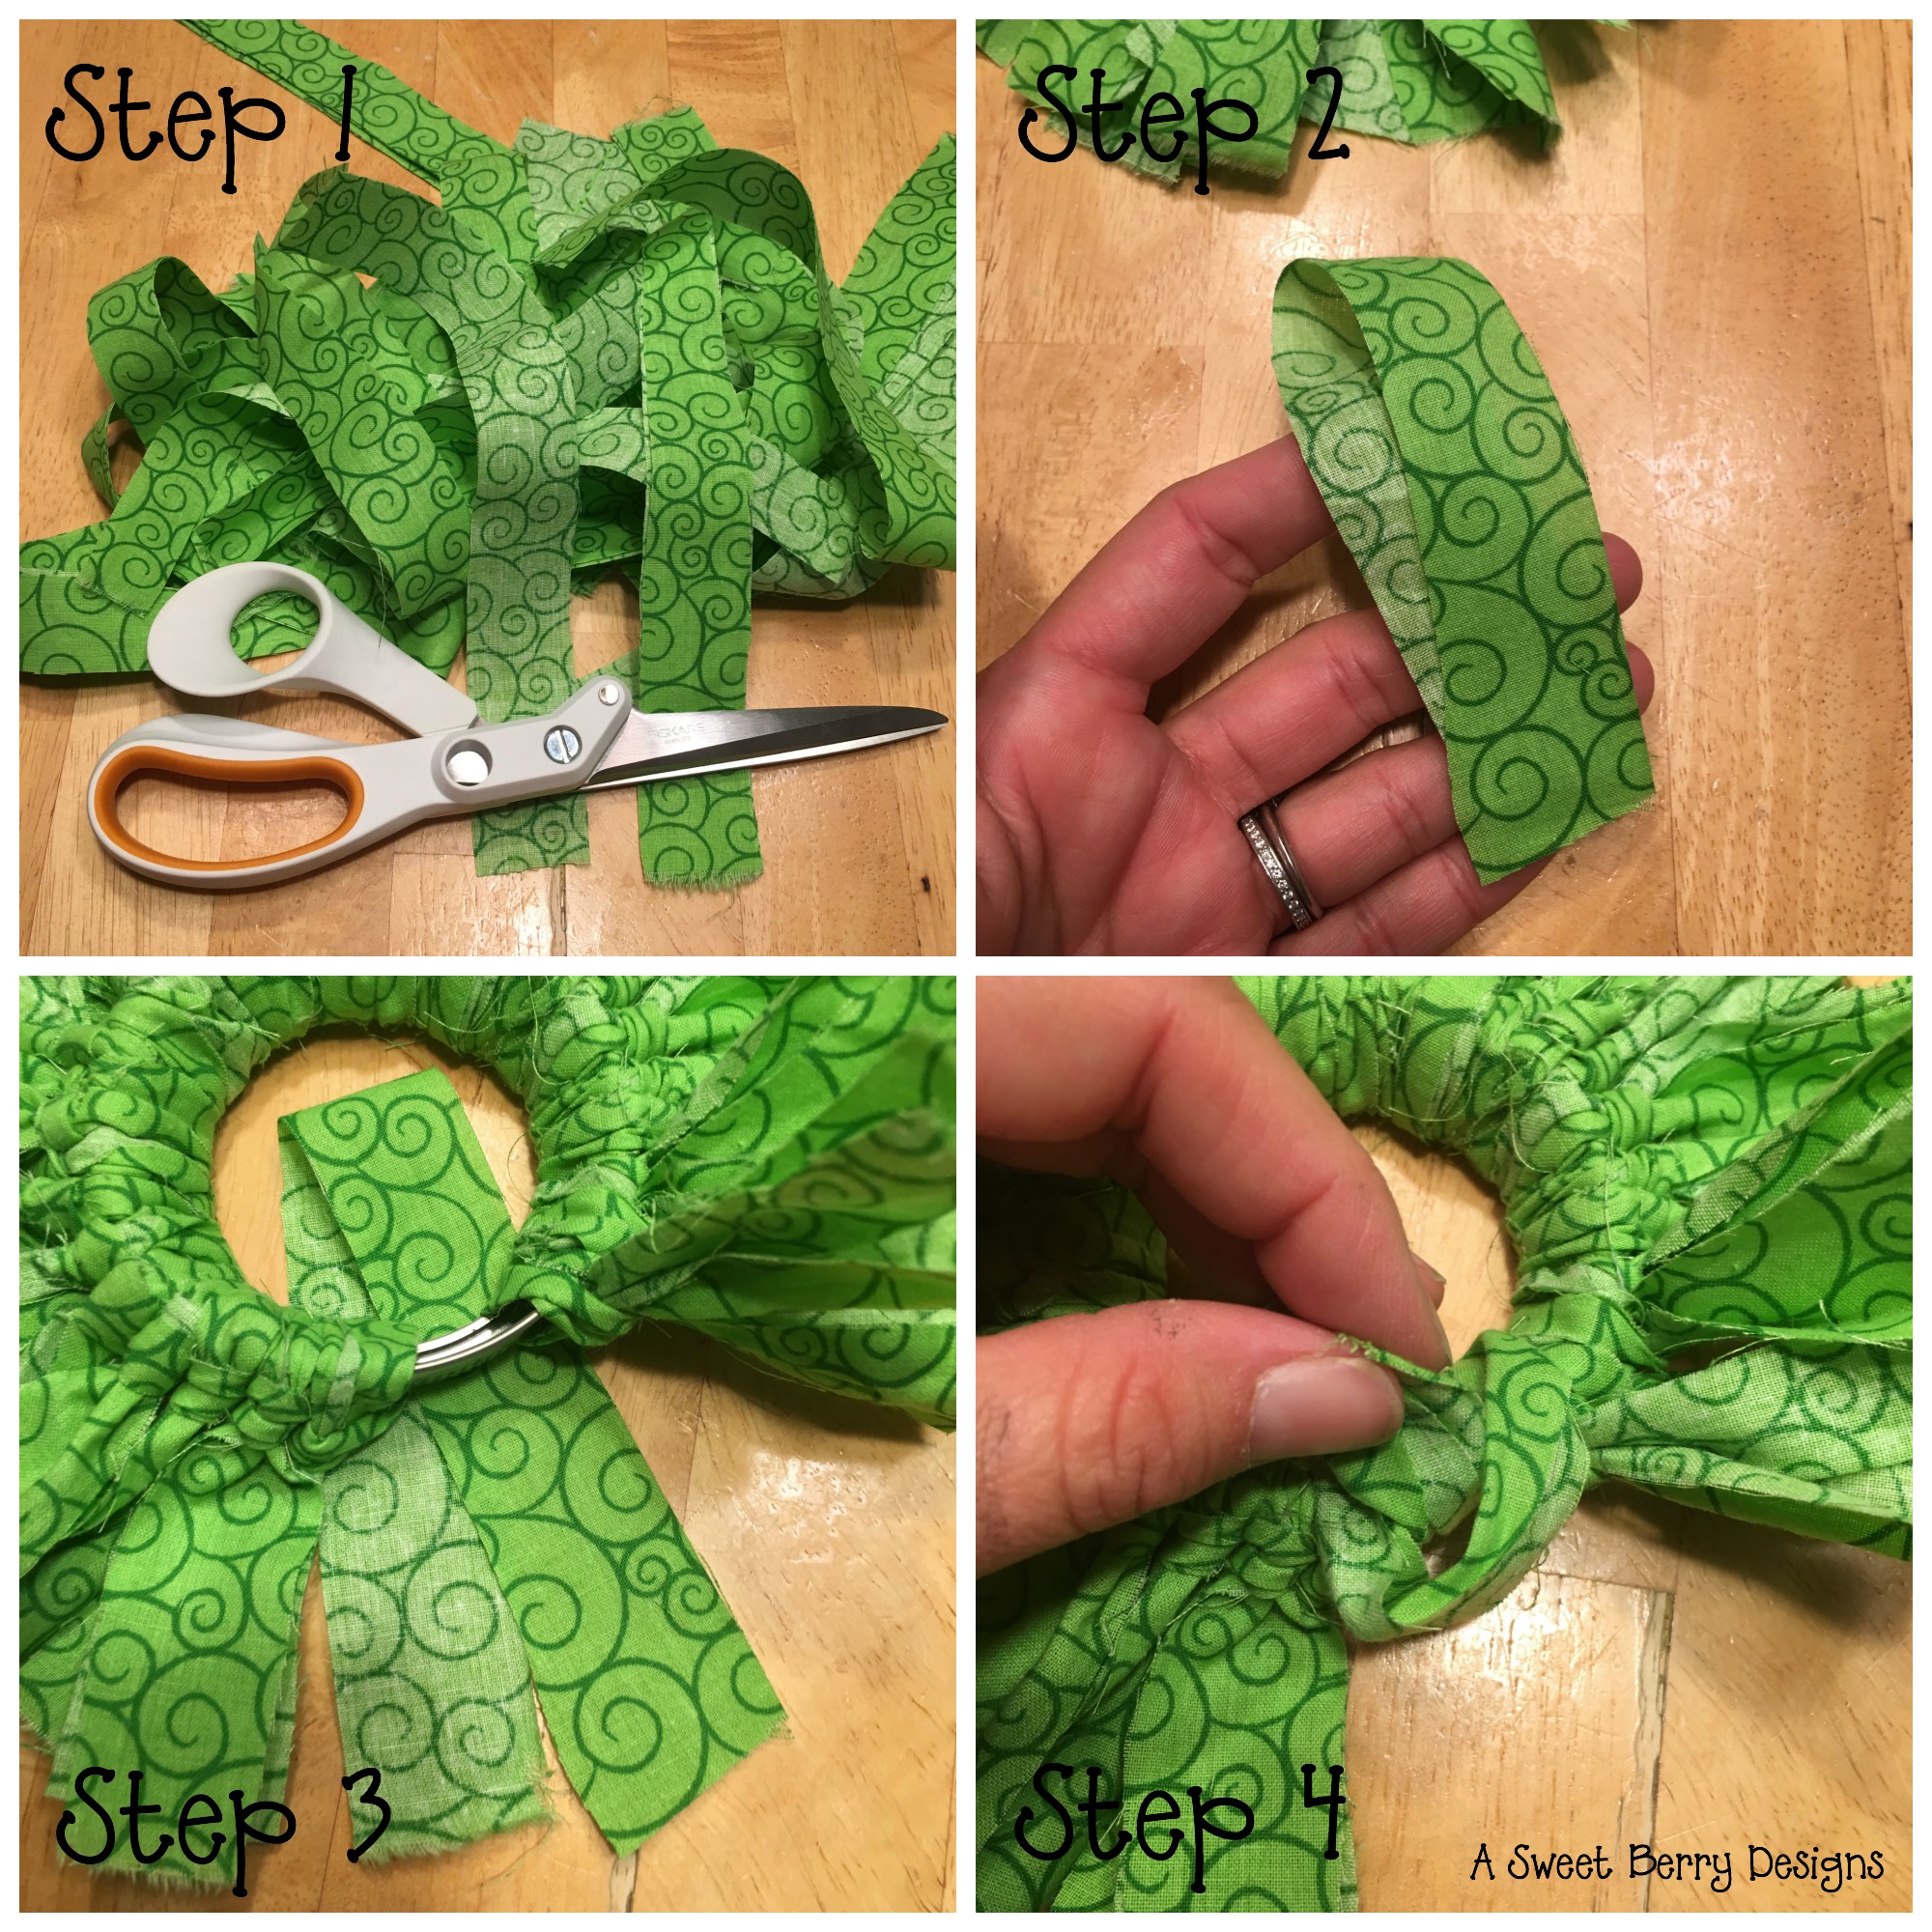
Step 1 – Cut your fabric into strips.  I just did a rough cut making the strips about 10 inches long and .75 – 1 inch wide.
Step 2 – Fold the pieces in half.
Step 3 – Place the folded strip under the lid.
Step 4 –  Feed the lose ends through the folded end and pull tight.
last-steps
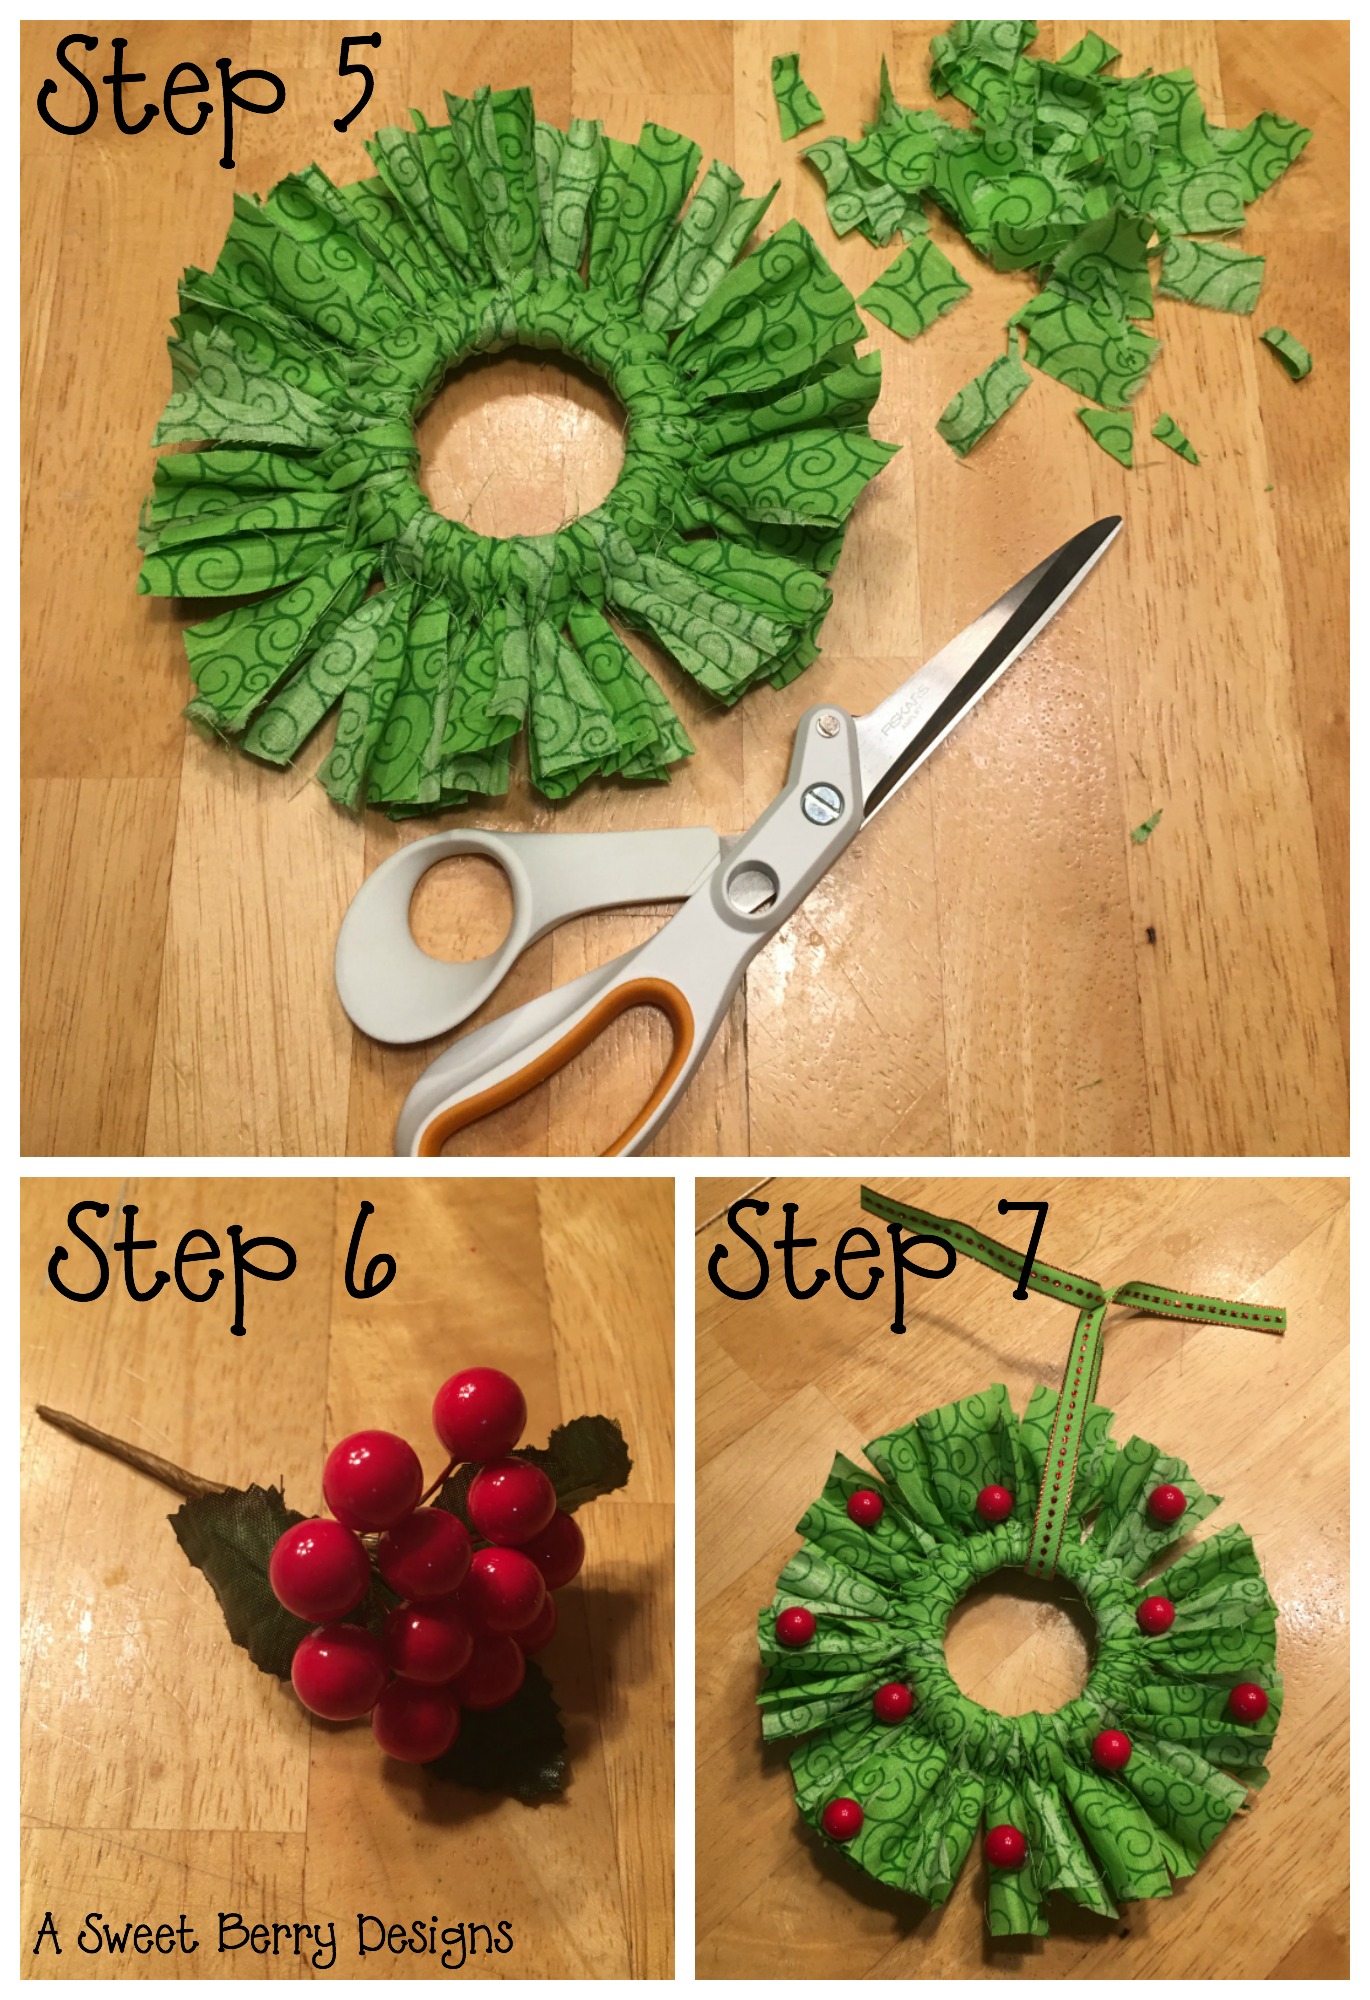
Step 5 – Trim your wreath to your liking!  I trimmed my wreath so that it wasn’t so big.
Step 6 – Remove the berries from the stem.
Sept 7 – Hot glue the berries onto the wreath!  Parents, do this if you are doing this project with the kids.

I added a piece of ribbon to hang it on the tree!
wreath
I hope you enjoyed my Mason Jar Lid Fabric Wreath!

Be sure to click below and check out other Craft Lightning Crafts!

Until next time……

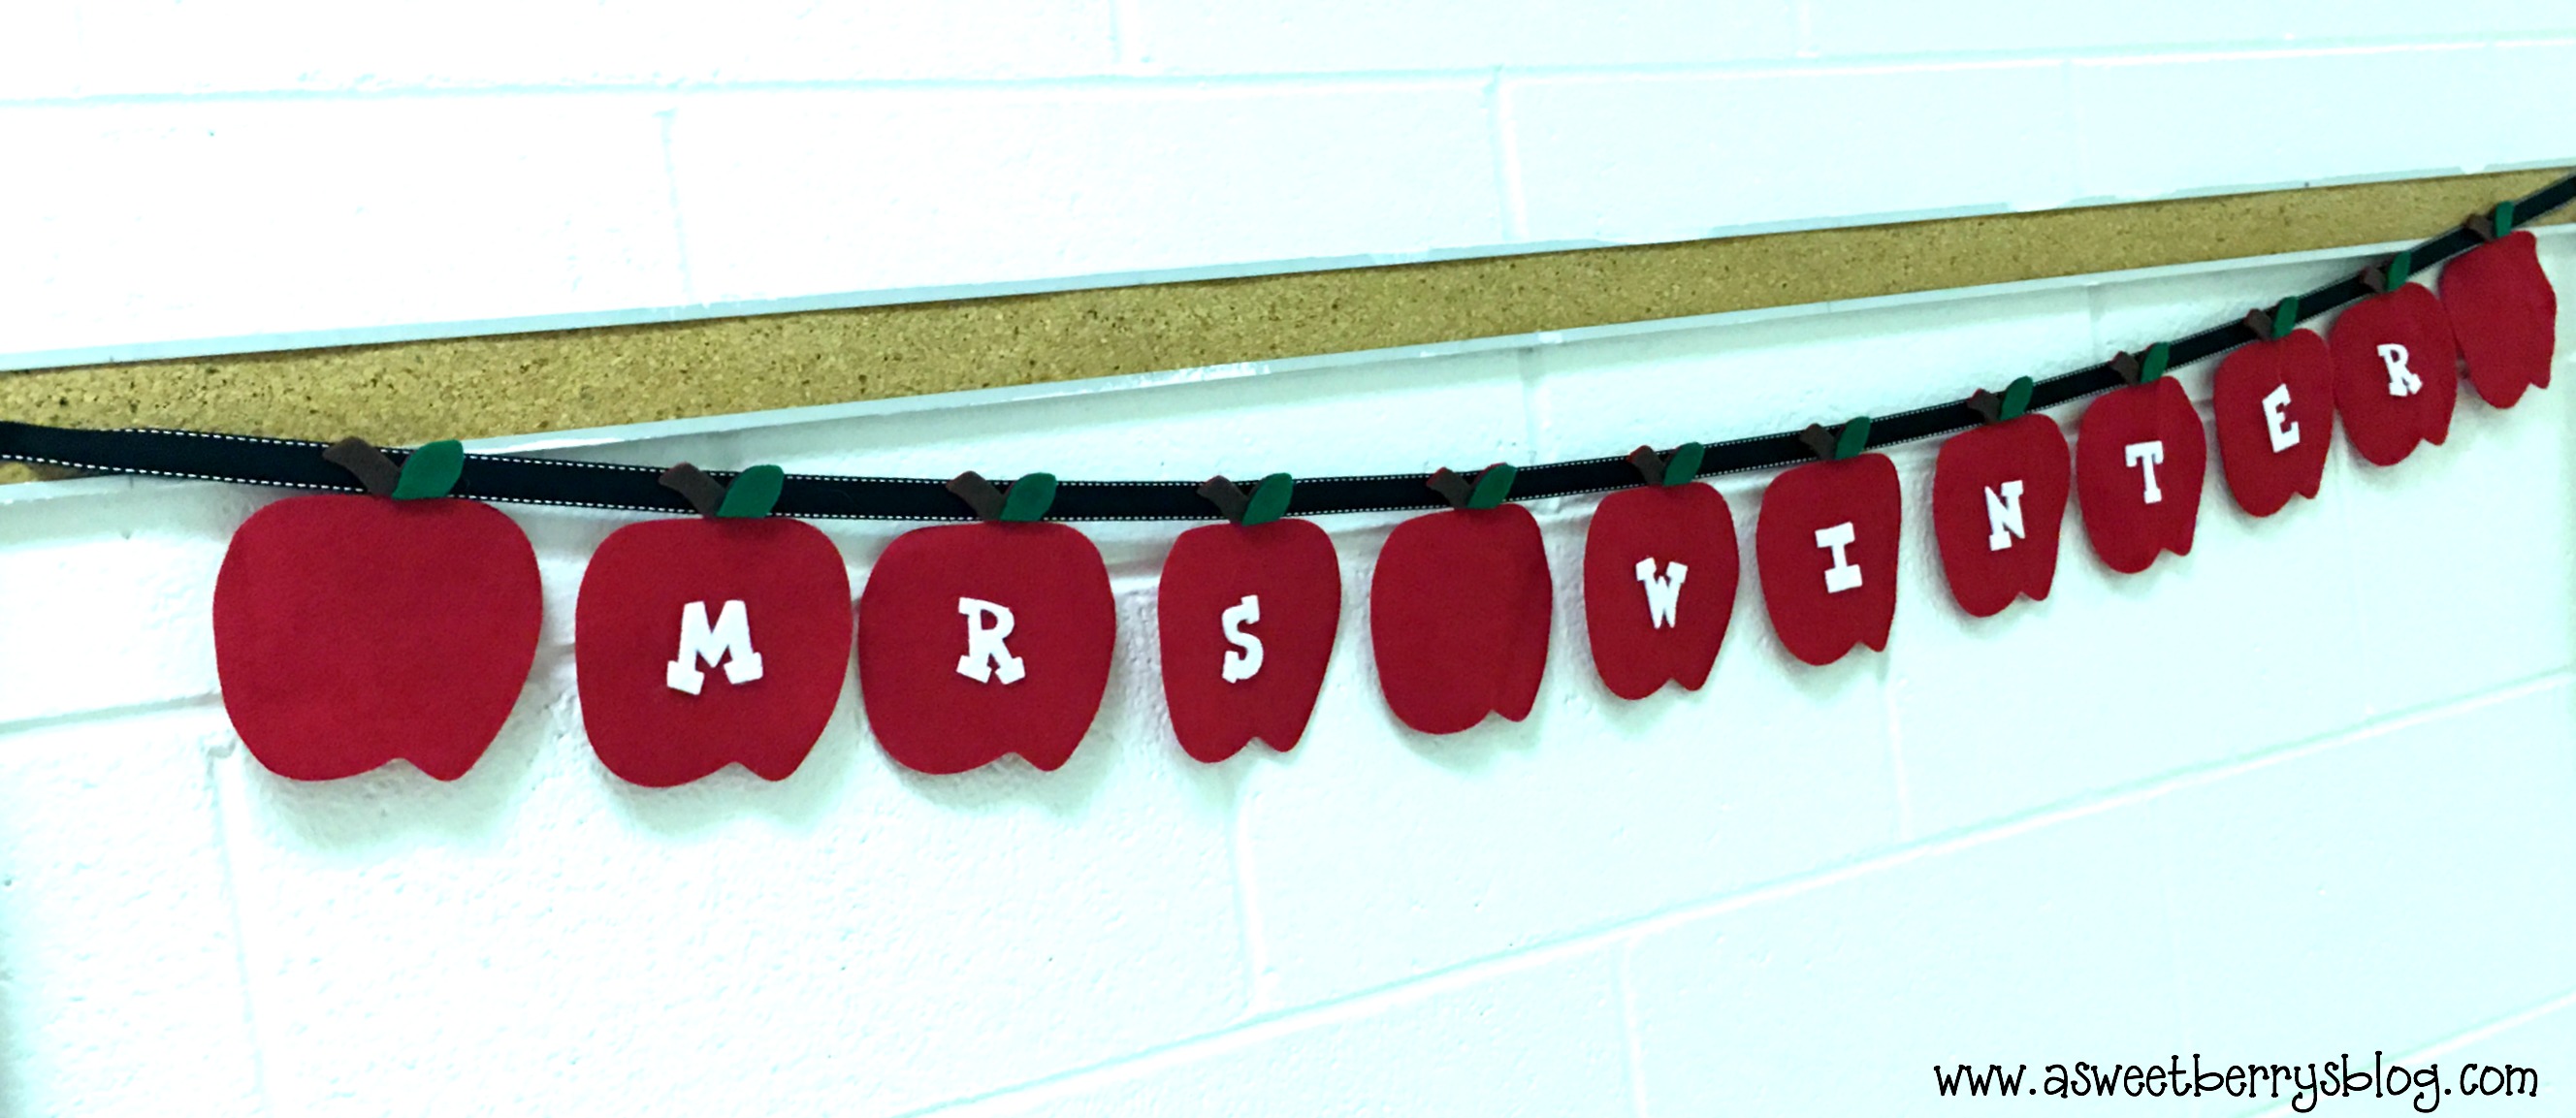
Teacher’s Name Banner featuring Laura Kelly’s Apple #2 Die from Sizzix

Disclosure:  I am a member of the Laura Kelly Design Team and received product to provide product reviews and to write about in blog posts.  

 
Final
If your children aren’t in year round school like mine, it’s time for yours to go back to school!   I am excited to share this Teacher’s Name Banner that would be perfect for a teacher to hang in their classroom or right outside of the classroom.   It’s super simple and is a no sew project!  Your children could even help with cutting out the pieces!   I love making homemade crafts for my children’s teachers.  

Materials used:

Sizzix Big Shot
Laura Kelly’s Apple #2 Die from Sizzix
Laura Kelly’s Lemonade Capital Alphabet Die from Sizzix
Cutting Pads  (short and long)
Kunin Felt
Ribbon
Ad-tech Hot Glue Gun and Glue Sticks
Fiscar Scissors

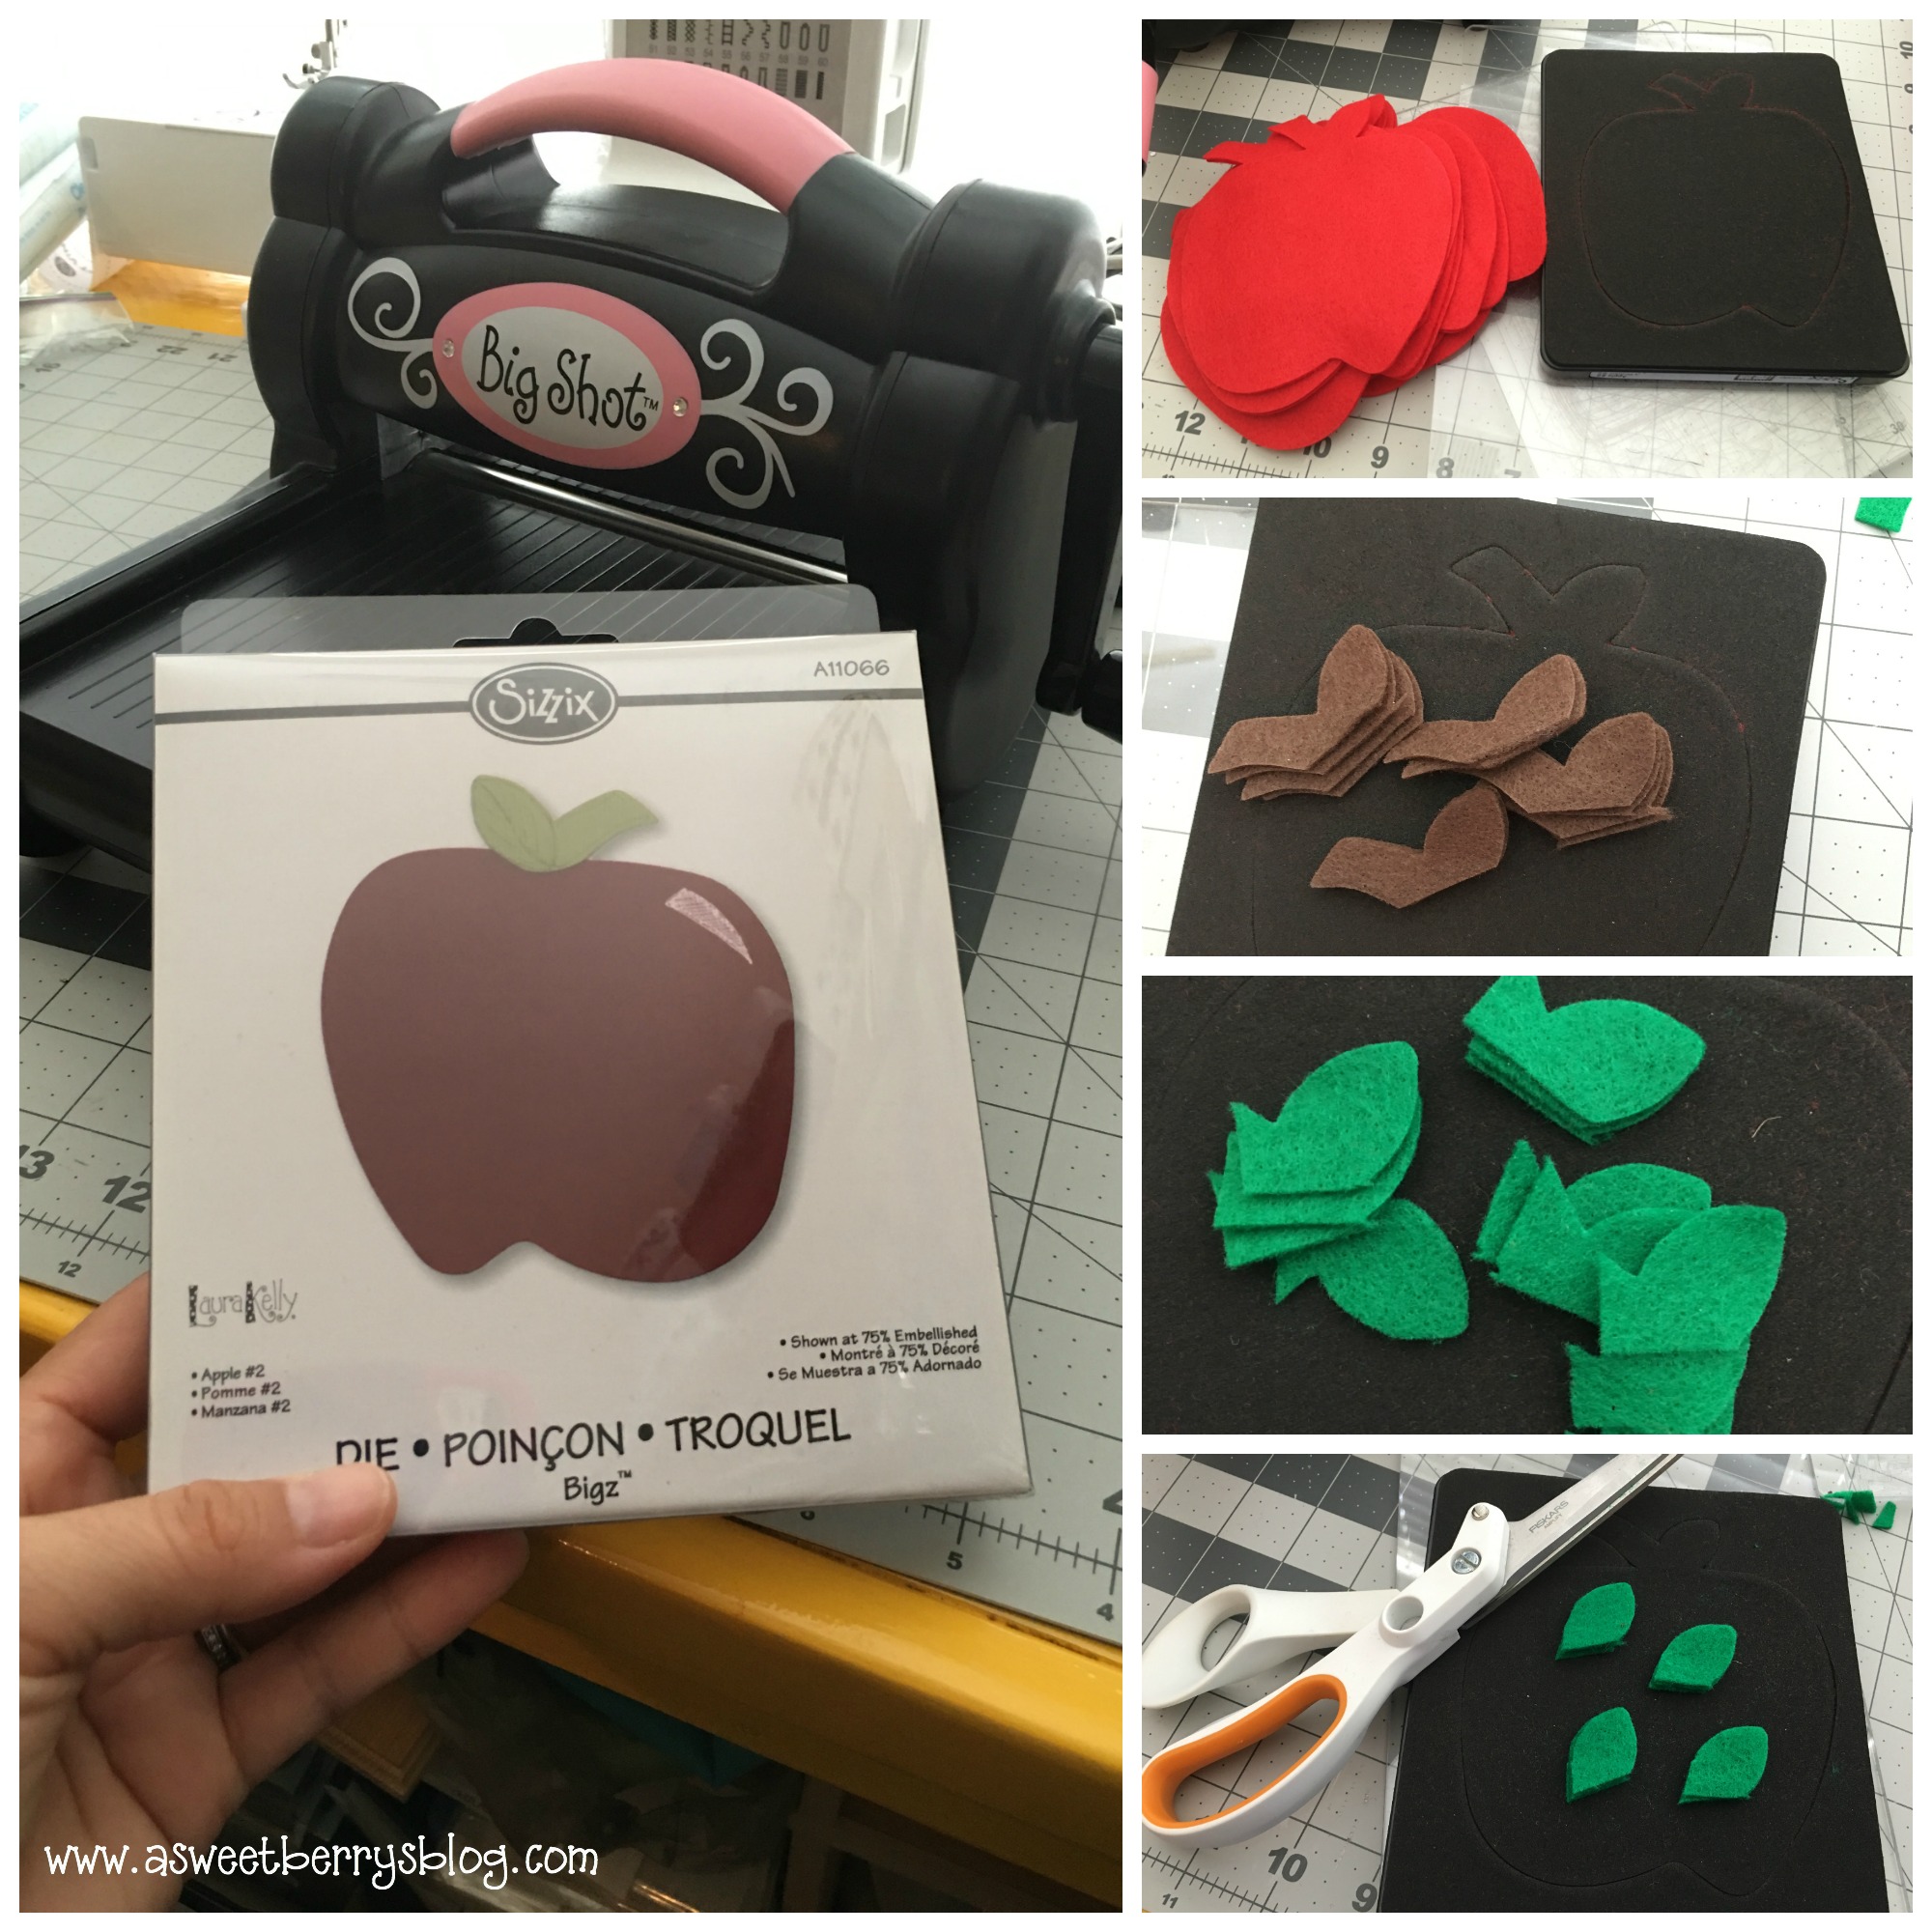
Die Cuts 1.  First, I use the Sizzix Big Shot, Cutting Pads, Felt and Apple Die to cut out all of my pieces.  I did a full cut for the apple and then for the stem and leaf, I just placed my felt over the steel blade and ran it through the Sizzix Big Shot.  

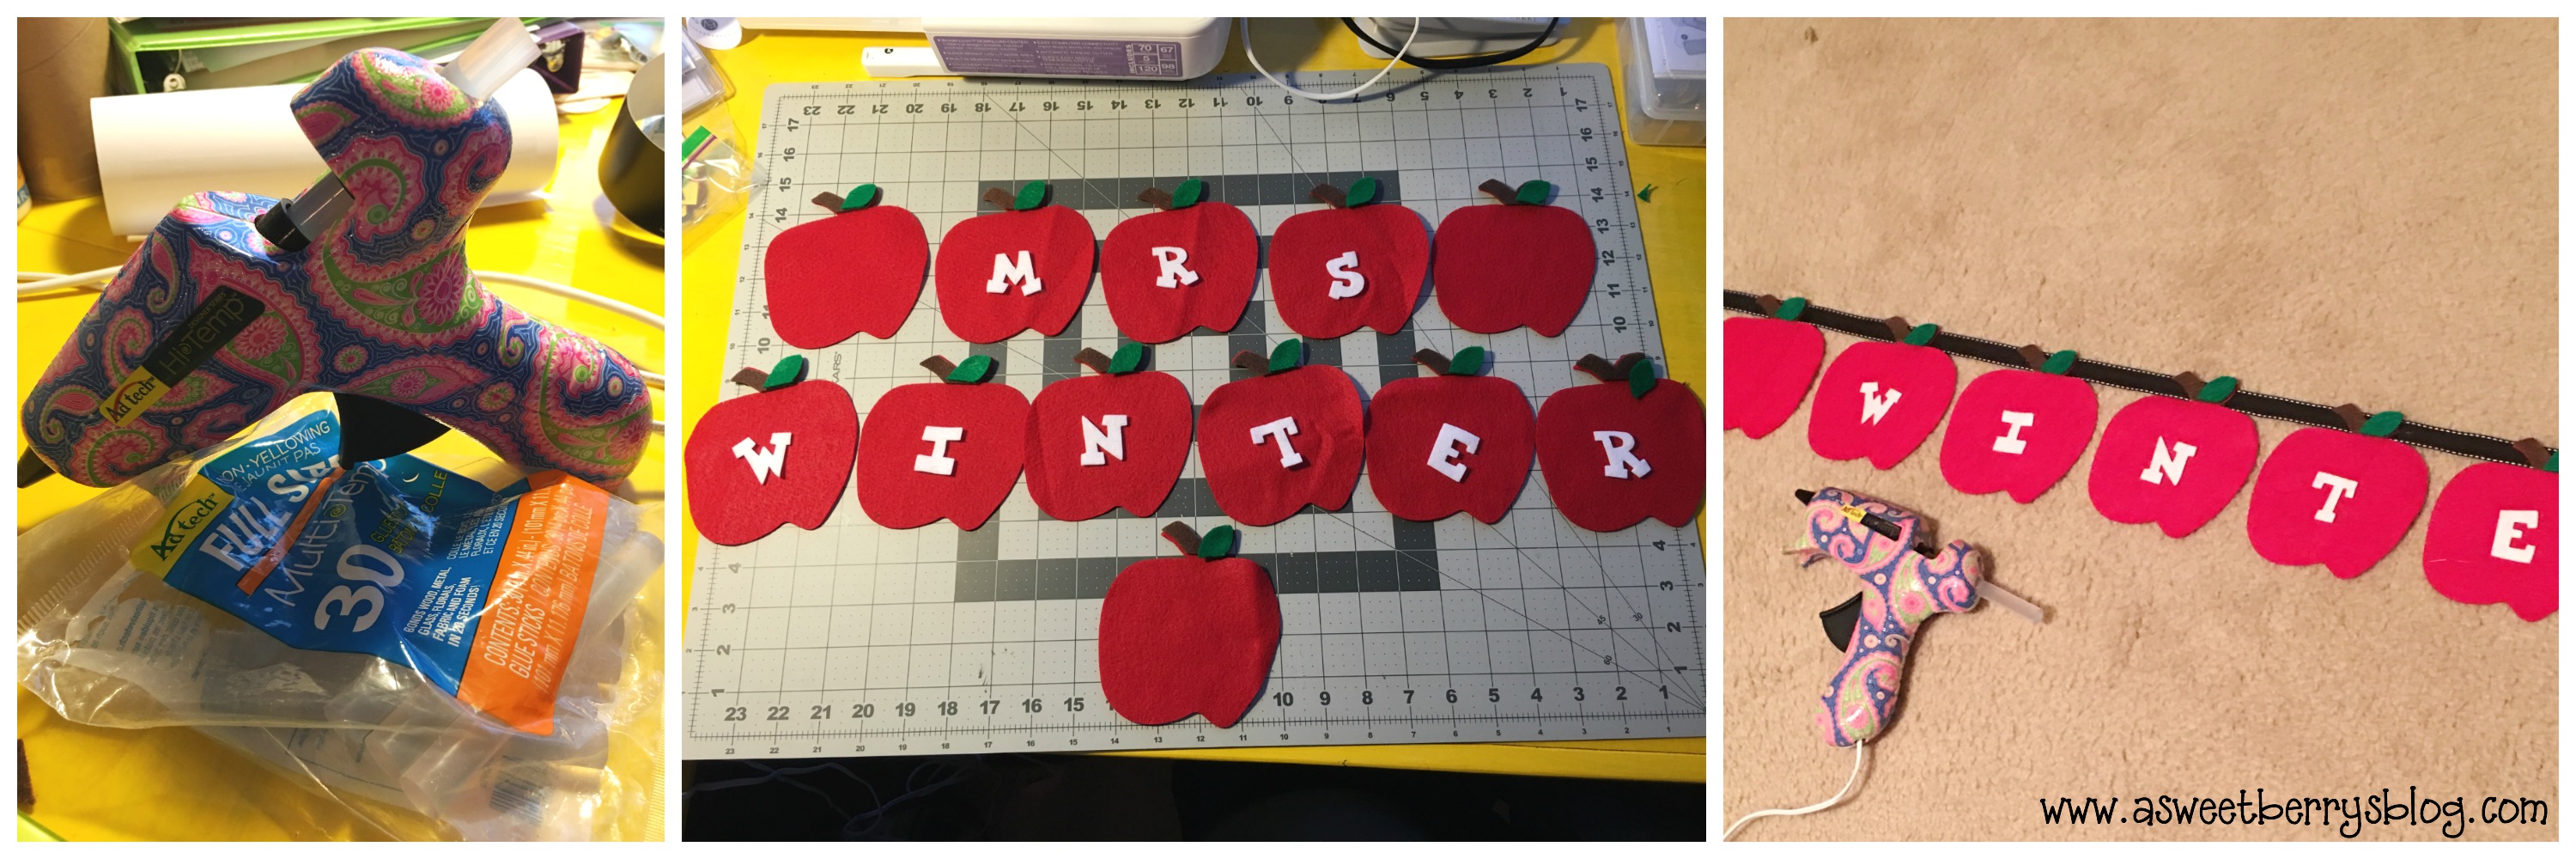
2.  Then, I used Laura’s Lemonade Alphabet Die and Long Cutting Pads to cut the letters (Mrs. Winter, one of our favorite teachers!!) Adtech 3.  Once everything was cut out, I used my Ad-tech Hot glue gun and glue sticks to glue the stem    and leaves down to the apples.  

4.  I then glued them to a long piece of ribbon. Hallway

I hope you like my Teacher’s Name Banner featuring Laura Kelly’s Apple Die #2.   I had so much fun making it.  

Until next time…..

Katie-Signature-2

Initial Cork Boards

Sometimes cork boards can look boring and blah.  I decided to brighten them up!  These Initial Cork Boards were super easy and turned out super cool!

Complete
Materials:
4 Cork Tiles
Letter Stencils
Exact-o Knife
Pins to hold the letters in place
Spray Paint
Command Strips
cutting
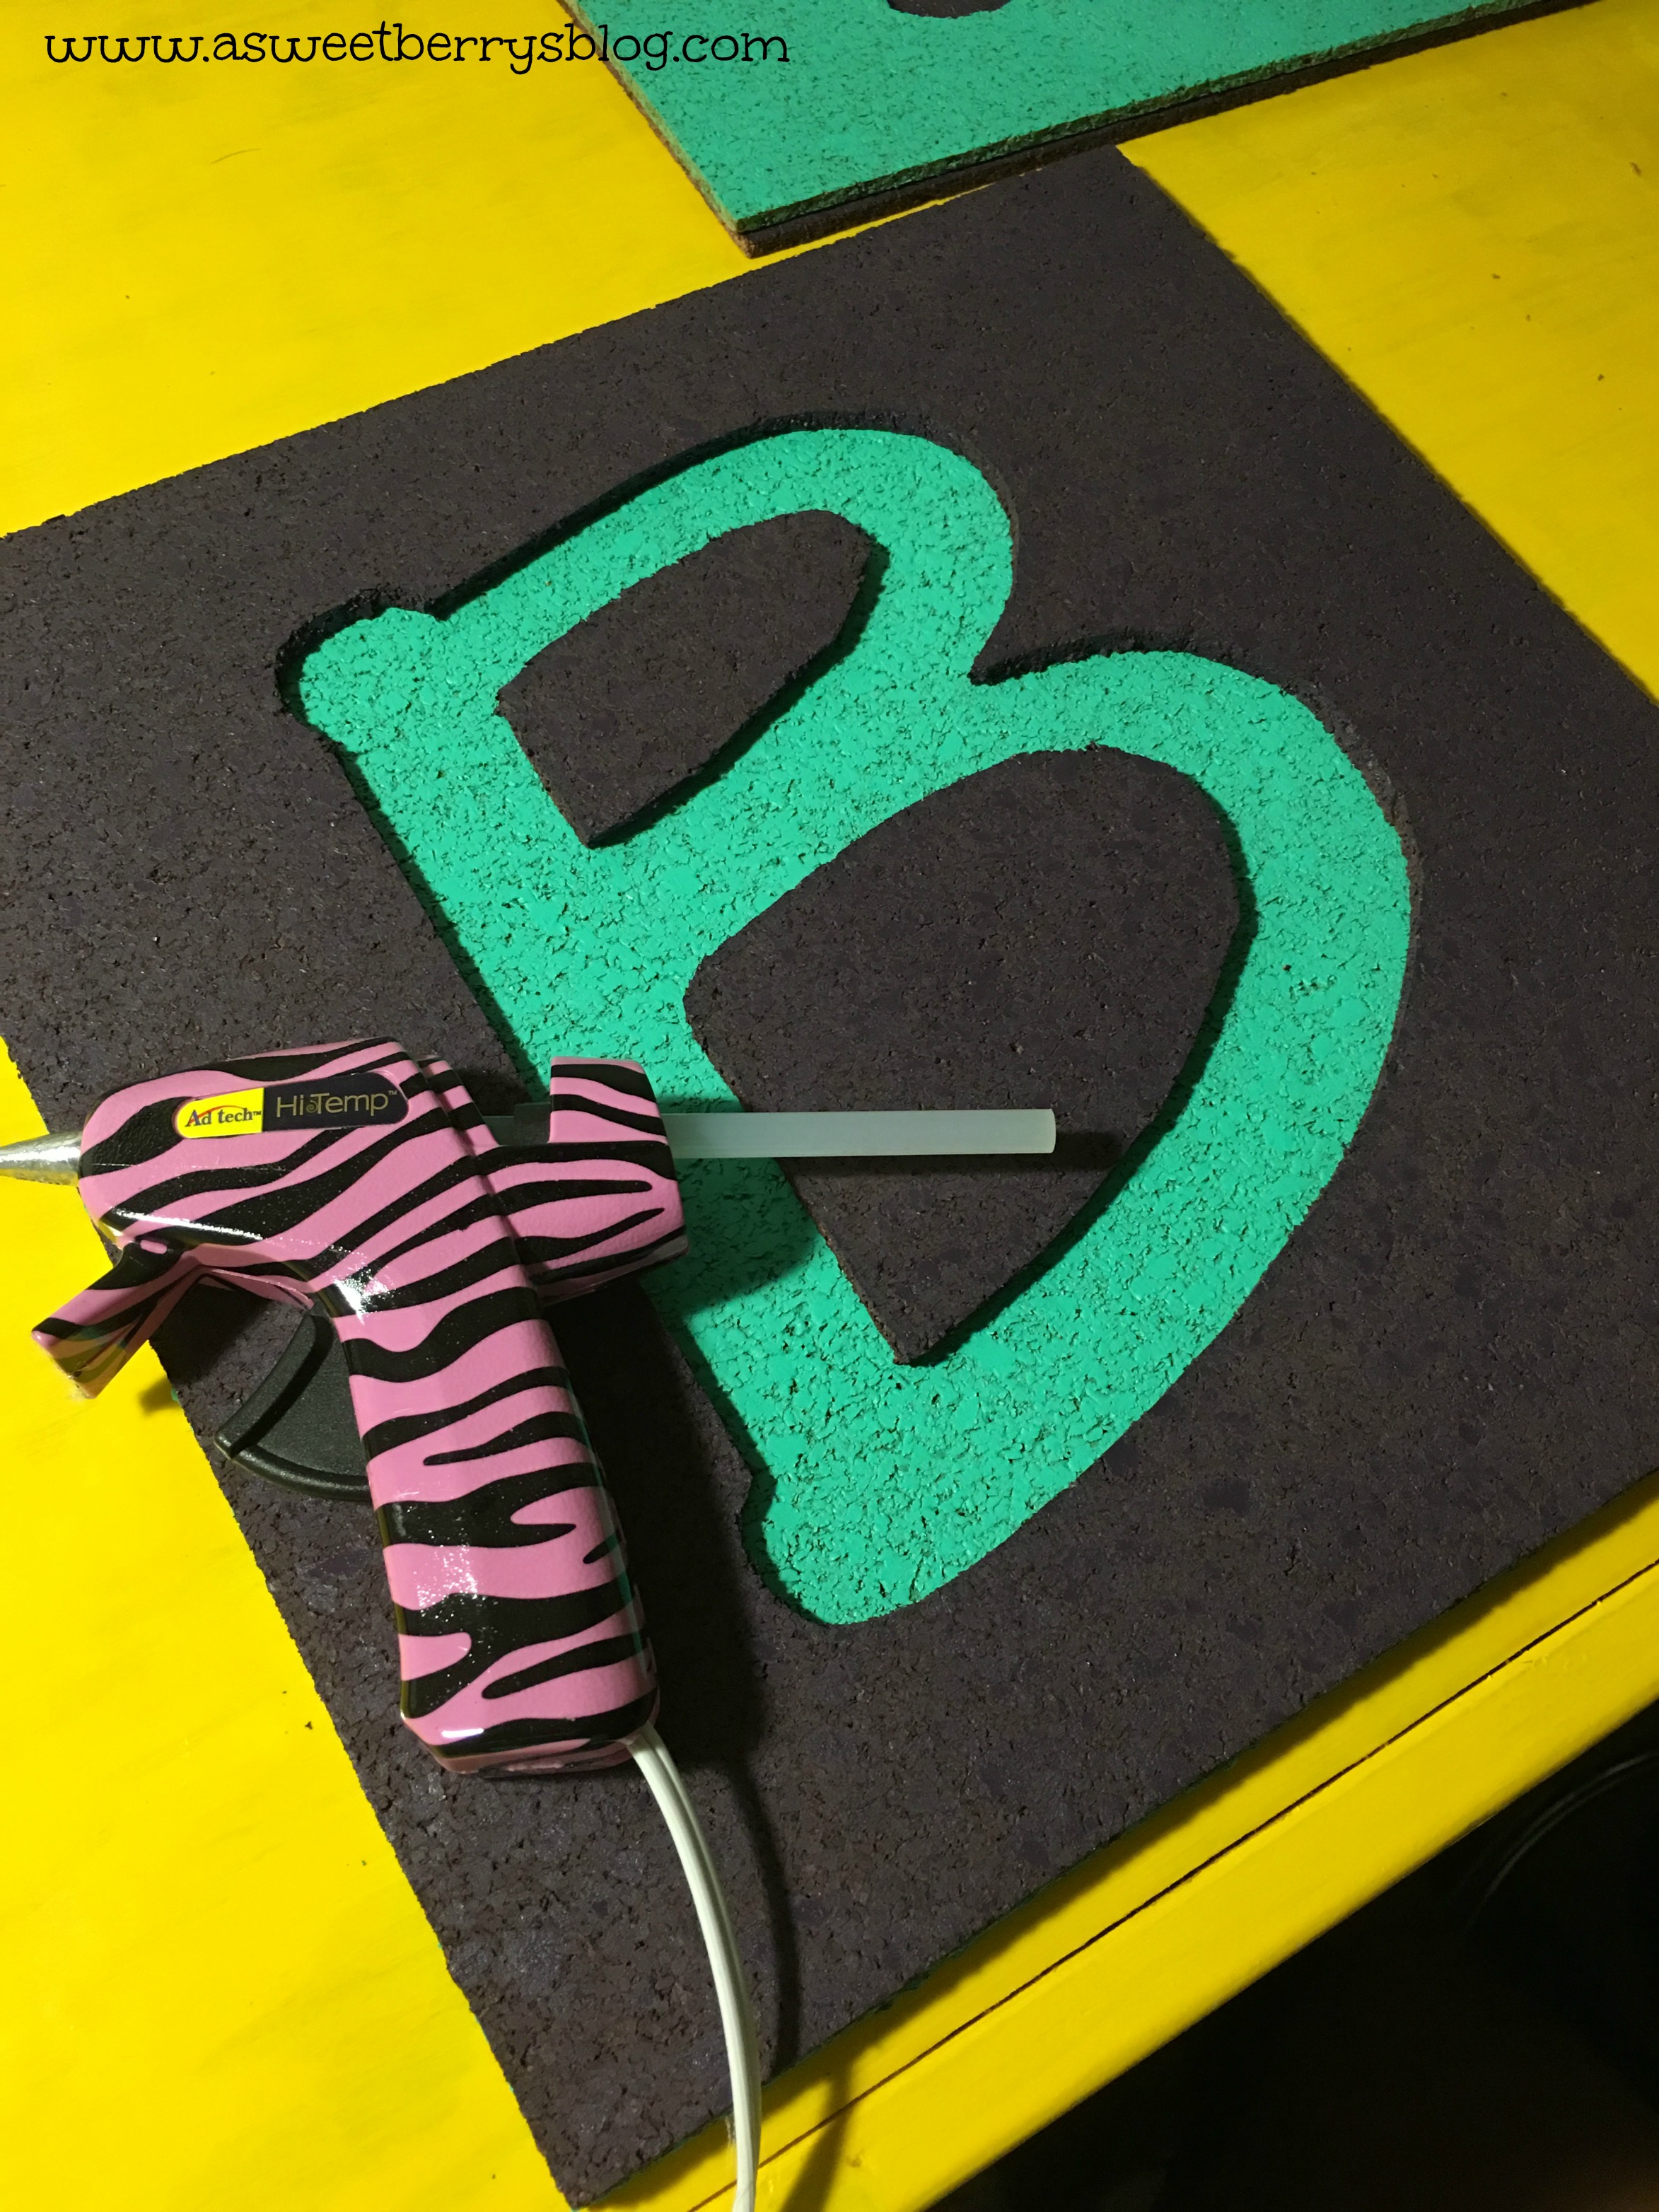
Using my Sizzix Eclips2, I cut out the letters “K” and “B”.  Using pins, I placed my letters on the cork boards.  Then, I used an Exact-o Knife to cut the letters out.
painting
I chose two different colors of Krylon and spray painted the boards.  Krylon is by far my favorite brand of spray paint and these two colors are from the 2015 color palette!  
hot glue
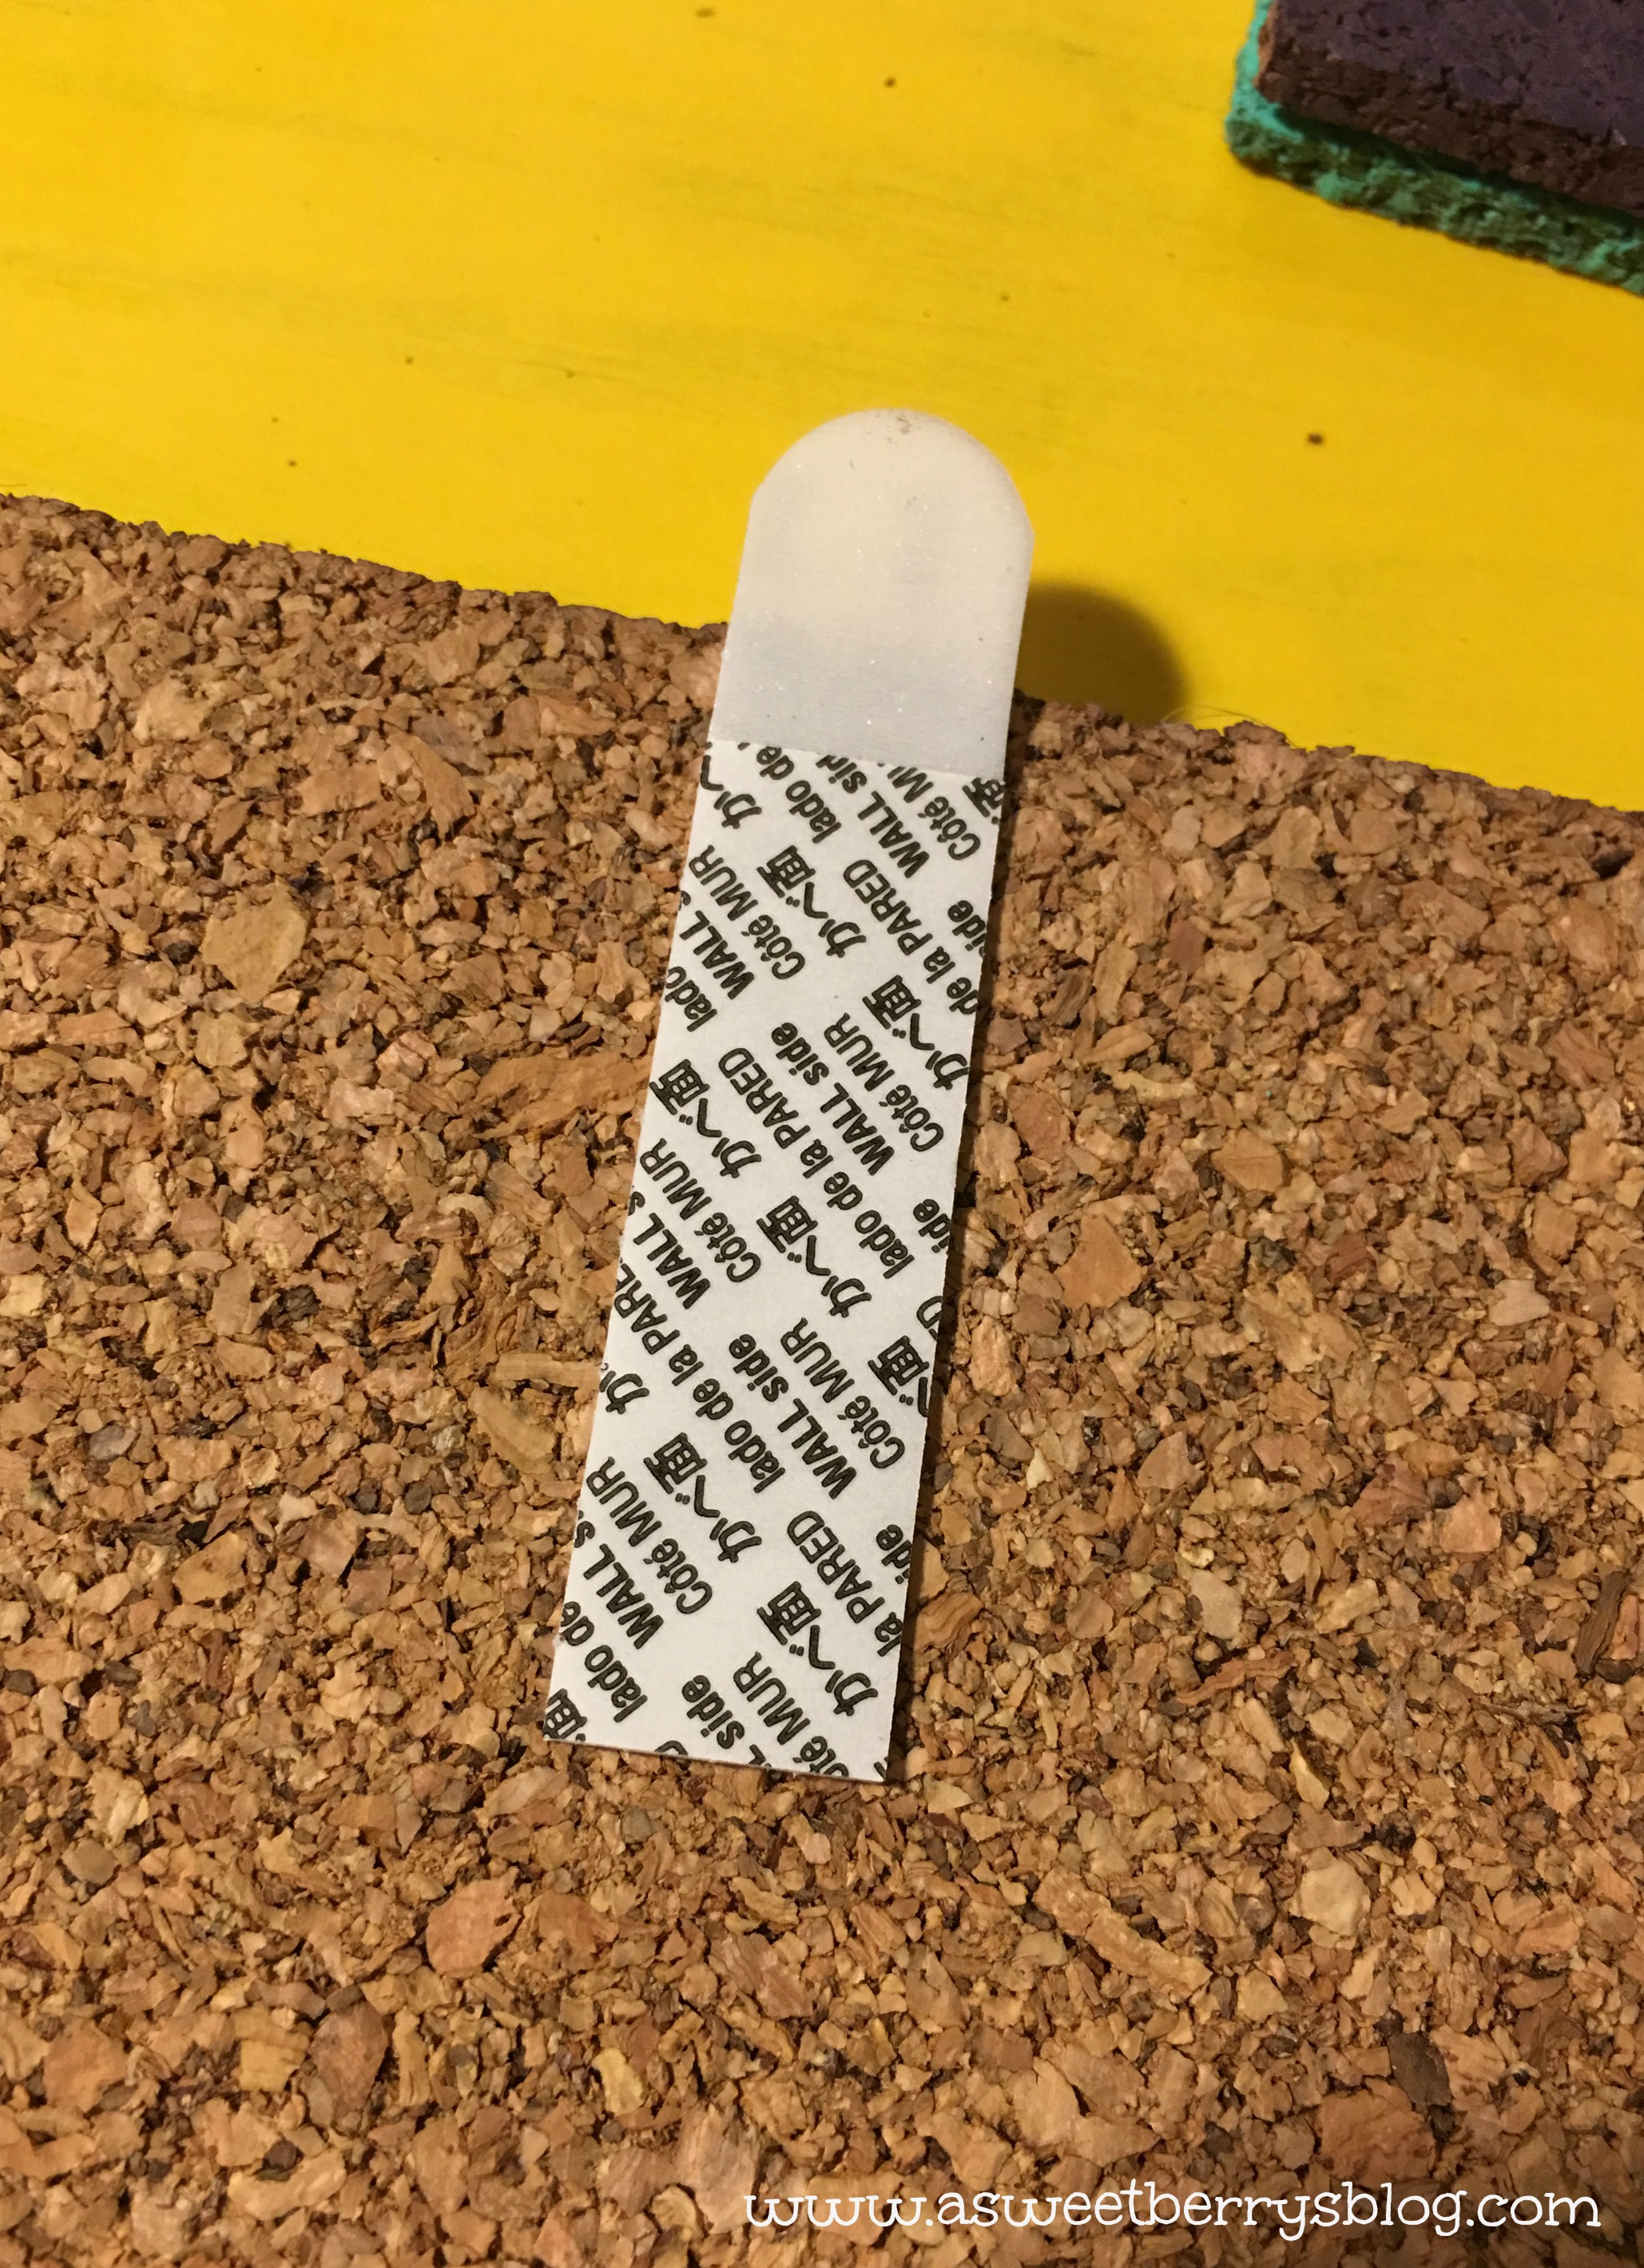
Once my boards were dry, I used my hot glue gun to glue the letter boards to the solid ones.  Then I attached a Command Strip to the back and hung them on the wall.
command strip
These cork boards added a nice pop of color to my workspace!  Hope you like!

Until next time……

Felt Christmas Tree

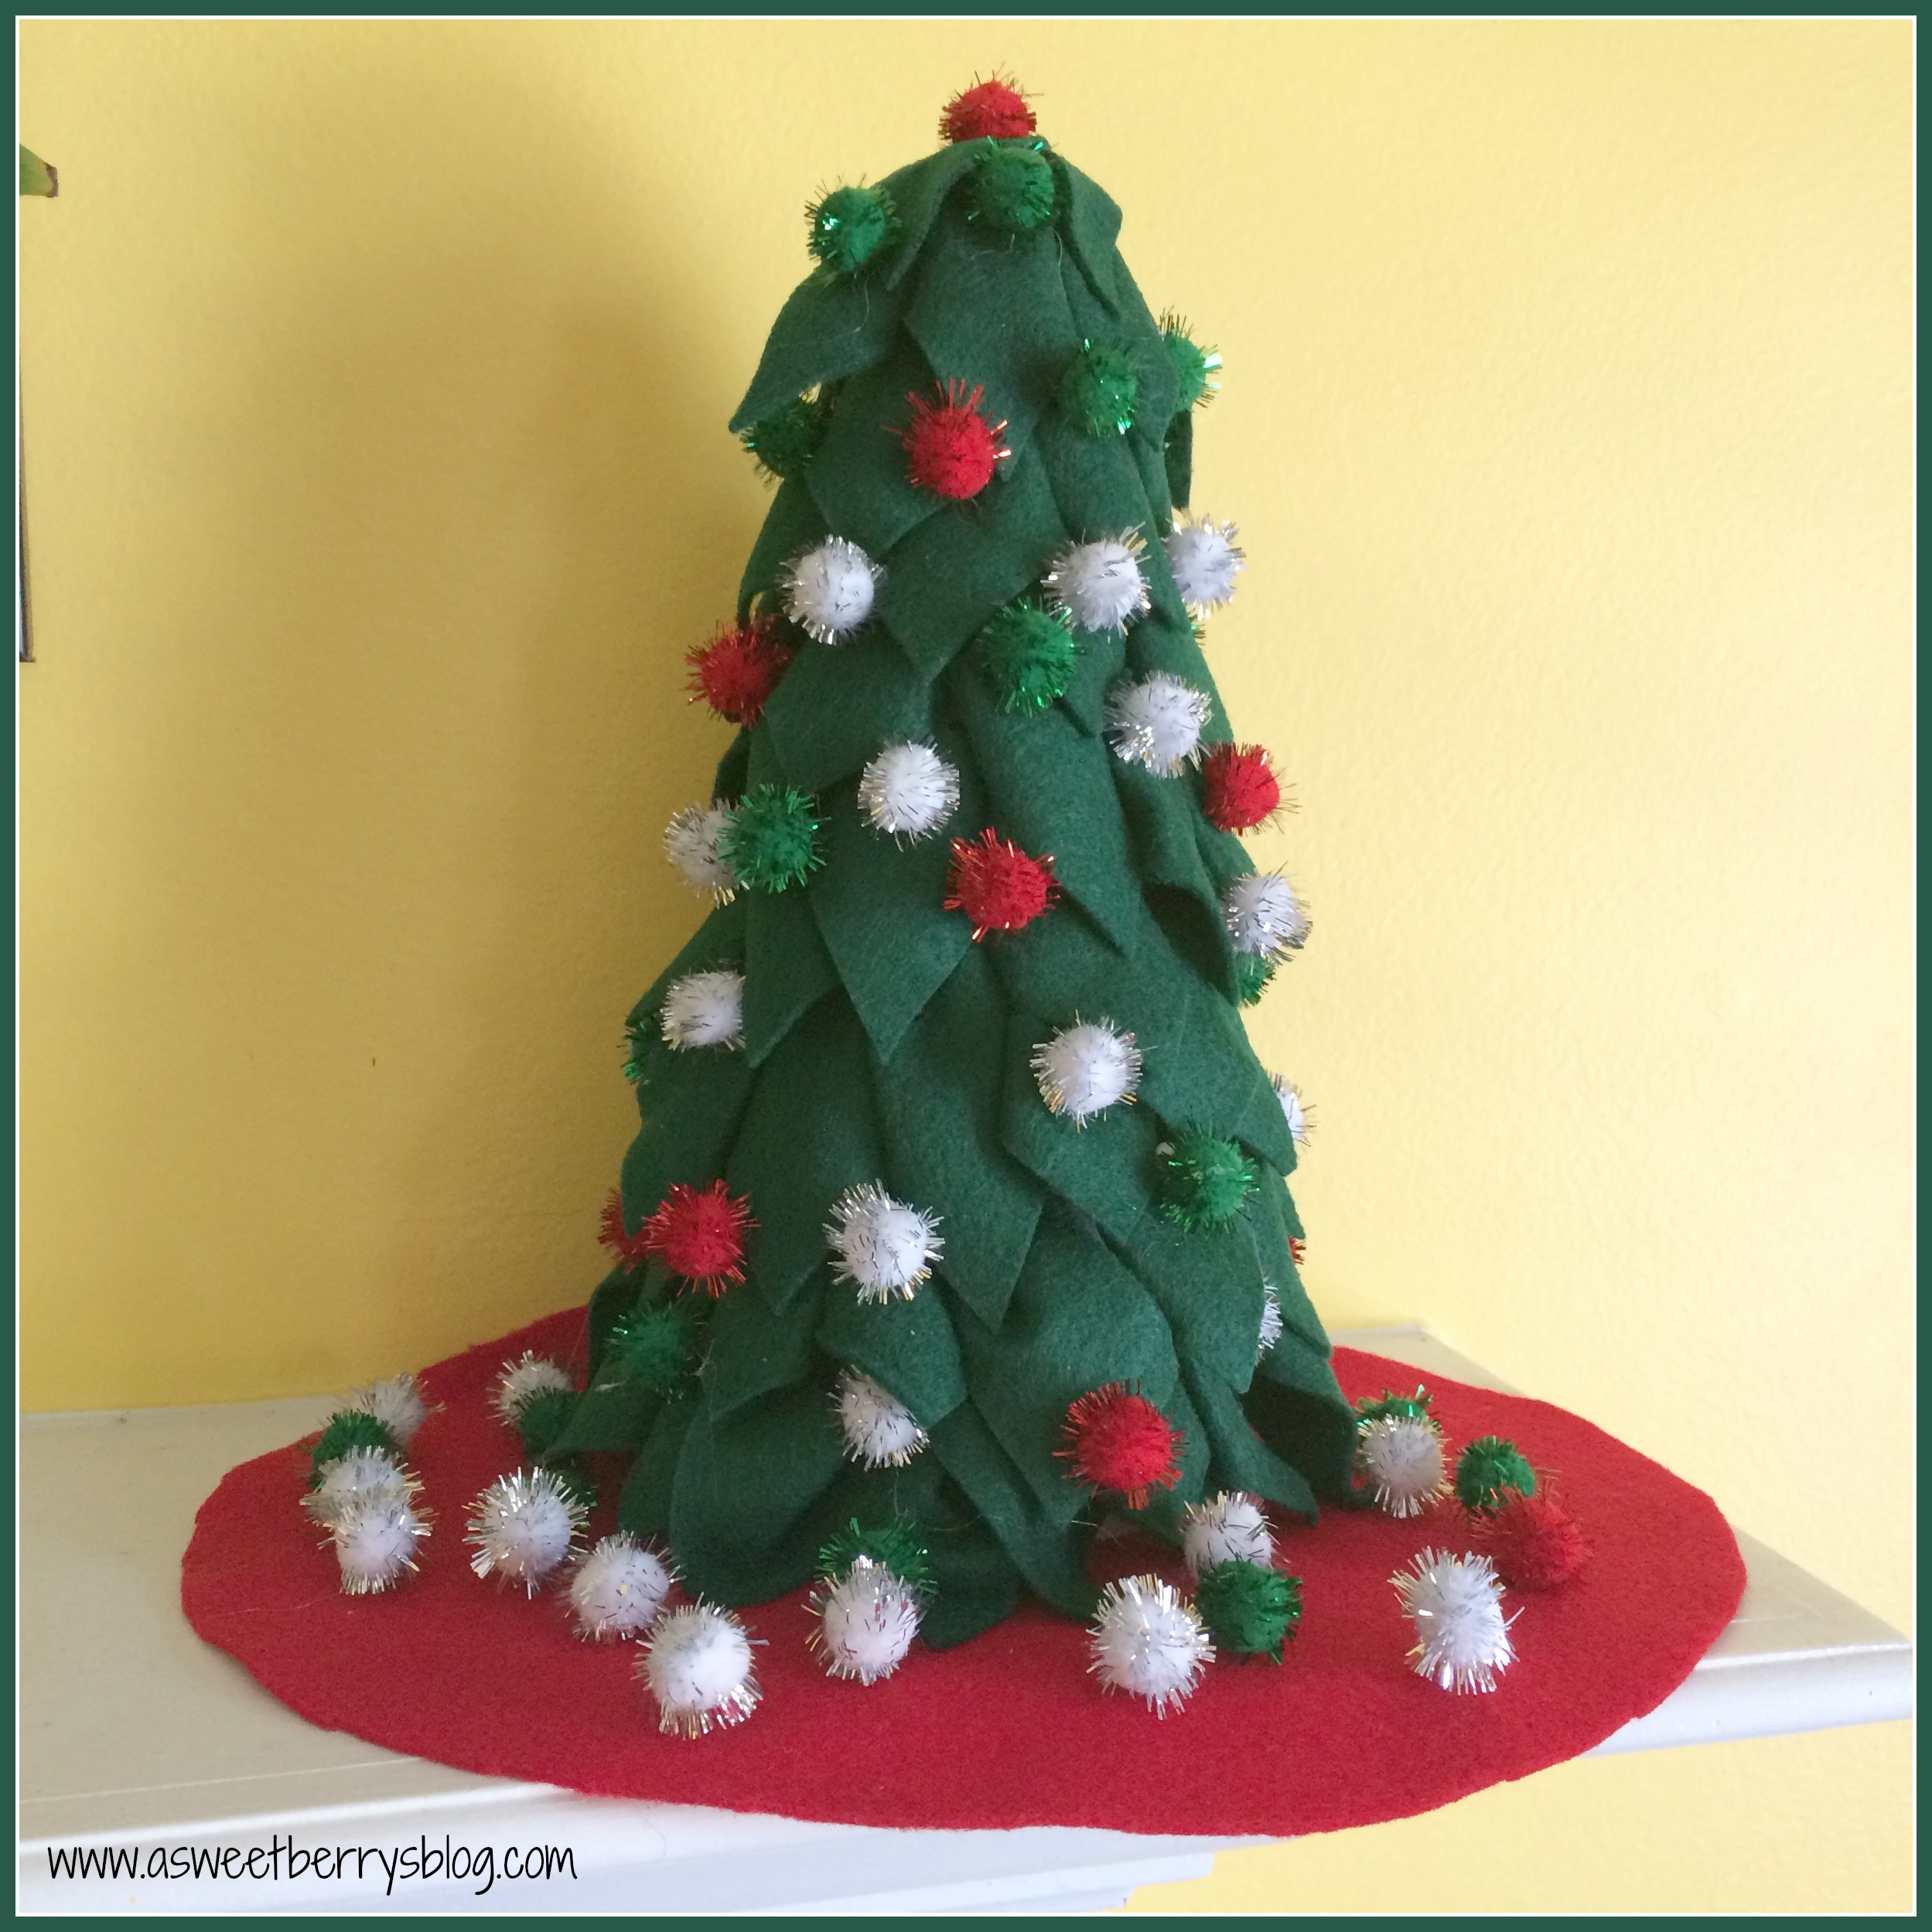
It’s Craft Lightning time again!  And this time it’s a 15 minute Christmas craft!   This super easy and super quick Felt Christmas Tree is an awesome little decoration for the mantel or even the middle of your kitchen table! Main Photo
Supplies:
FloraCraft Styrofoam Cone
Kunin Felt
Hot Glue Gun
Pom Poms 
Rotary Cutter and Cutting Board
Pins
supplies
First, I did a quick cut of some felt, cutting it into strips.  Then I did a super quick cut of triangles.   Folding the triangles in thirds, I added a pin and then stuck it right into the styrofoam.  I started it at the bottom and worked my way up.
process
Using my Pom Poms and my hot glue gun, I added the green, red and white pom pons to cover the pins and added a couple of more to fill in the gaps!
Main Photo
Be sure to check out other creative Craft Lightning ideas by click the Button below!

Hope you like this quick Felt Christmas Tree! 

Until next time………..

Back To School Picture Frame

It’s time for Back To School at our house!  Everyone takes the “First Day of School” photos of their kids, so I thought I’d jazz up our first day of school photos.   I made this super easy “My first day of….” Photo Frame.  My children go to a year round school, so they are back at school this week.   My oldest is off to 3rd grade and my youngest is starting Kindergarten.   final
Materials:
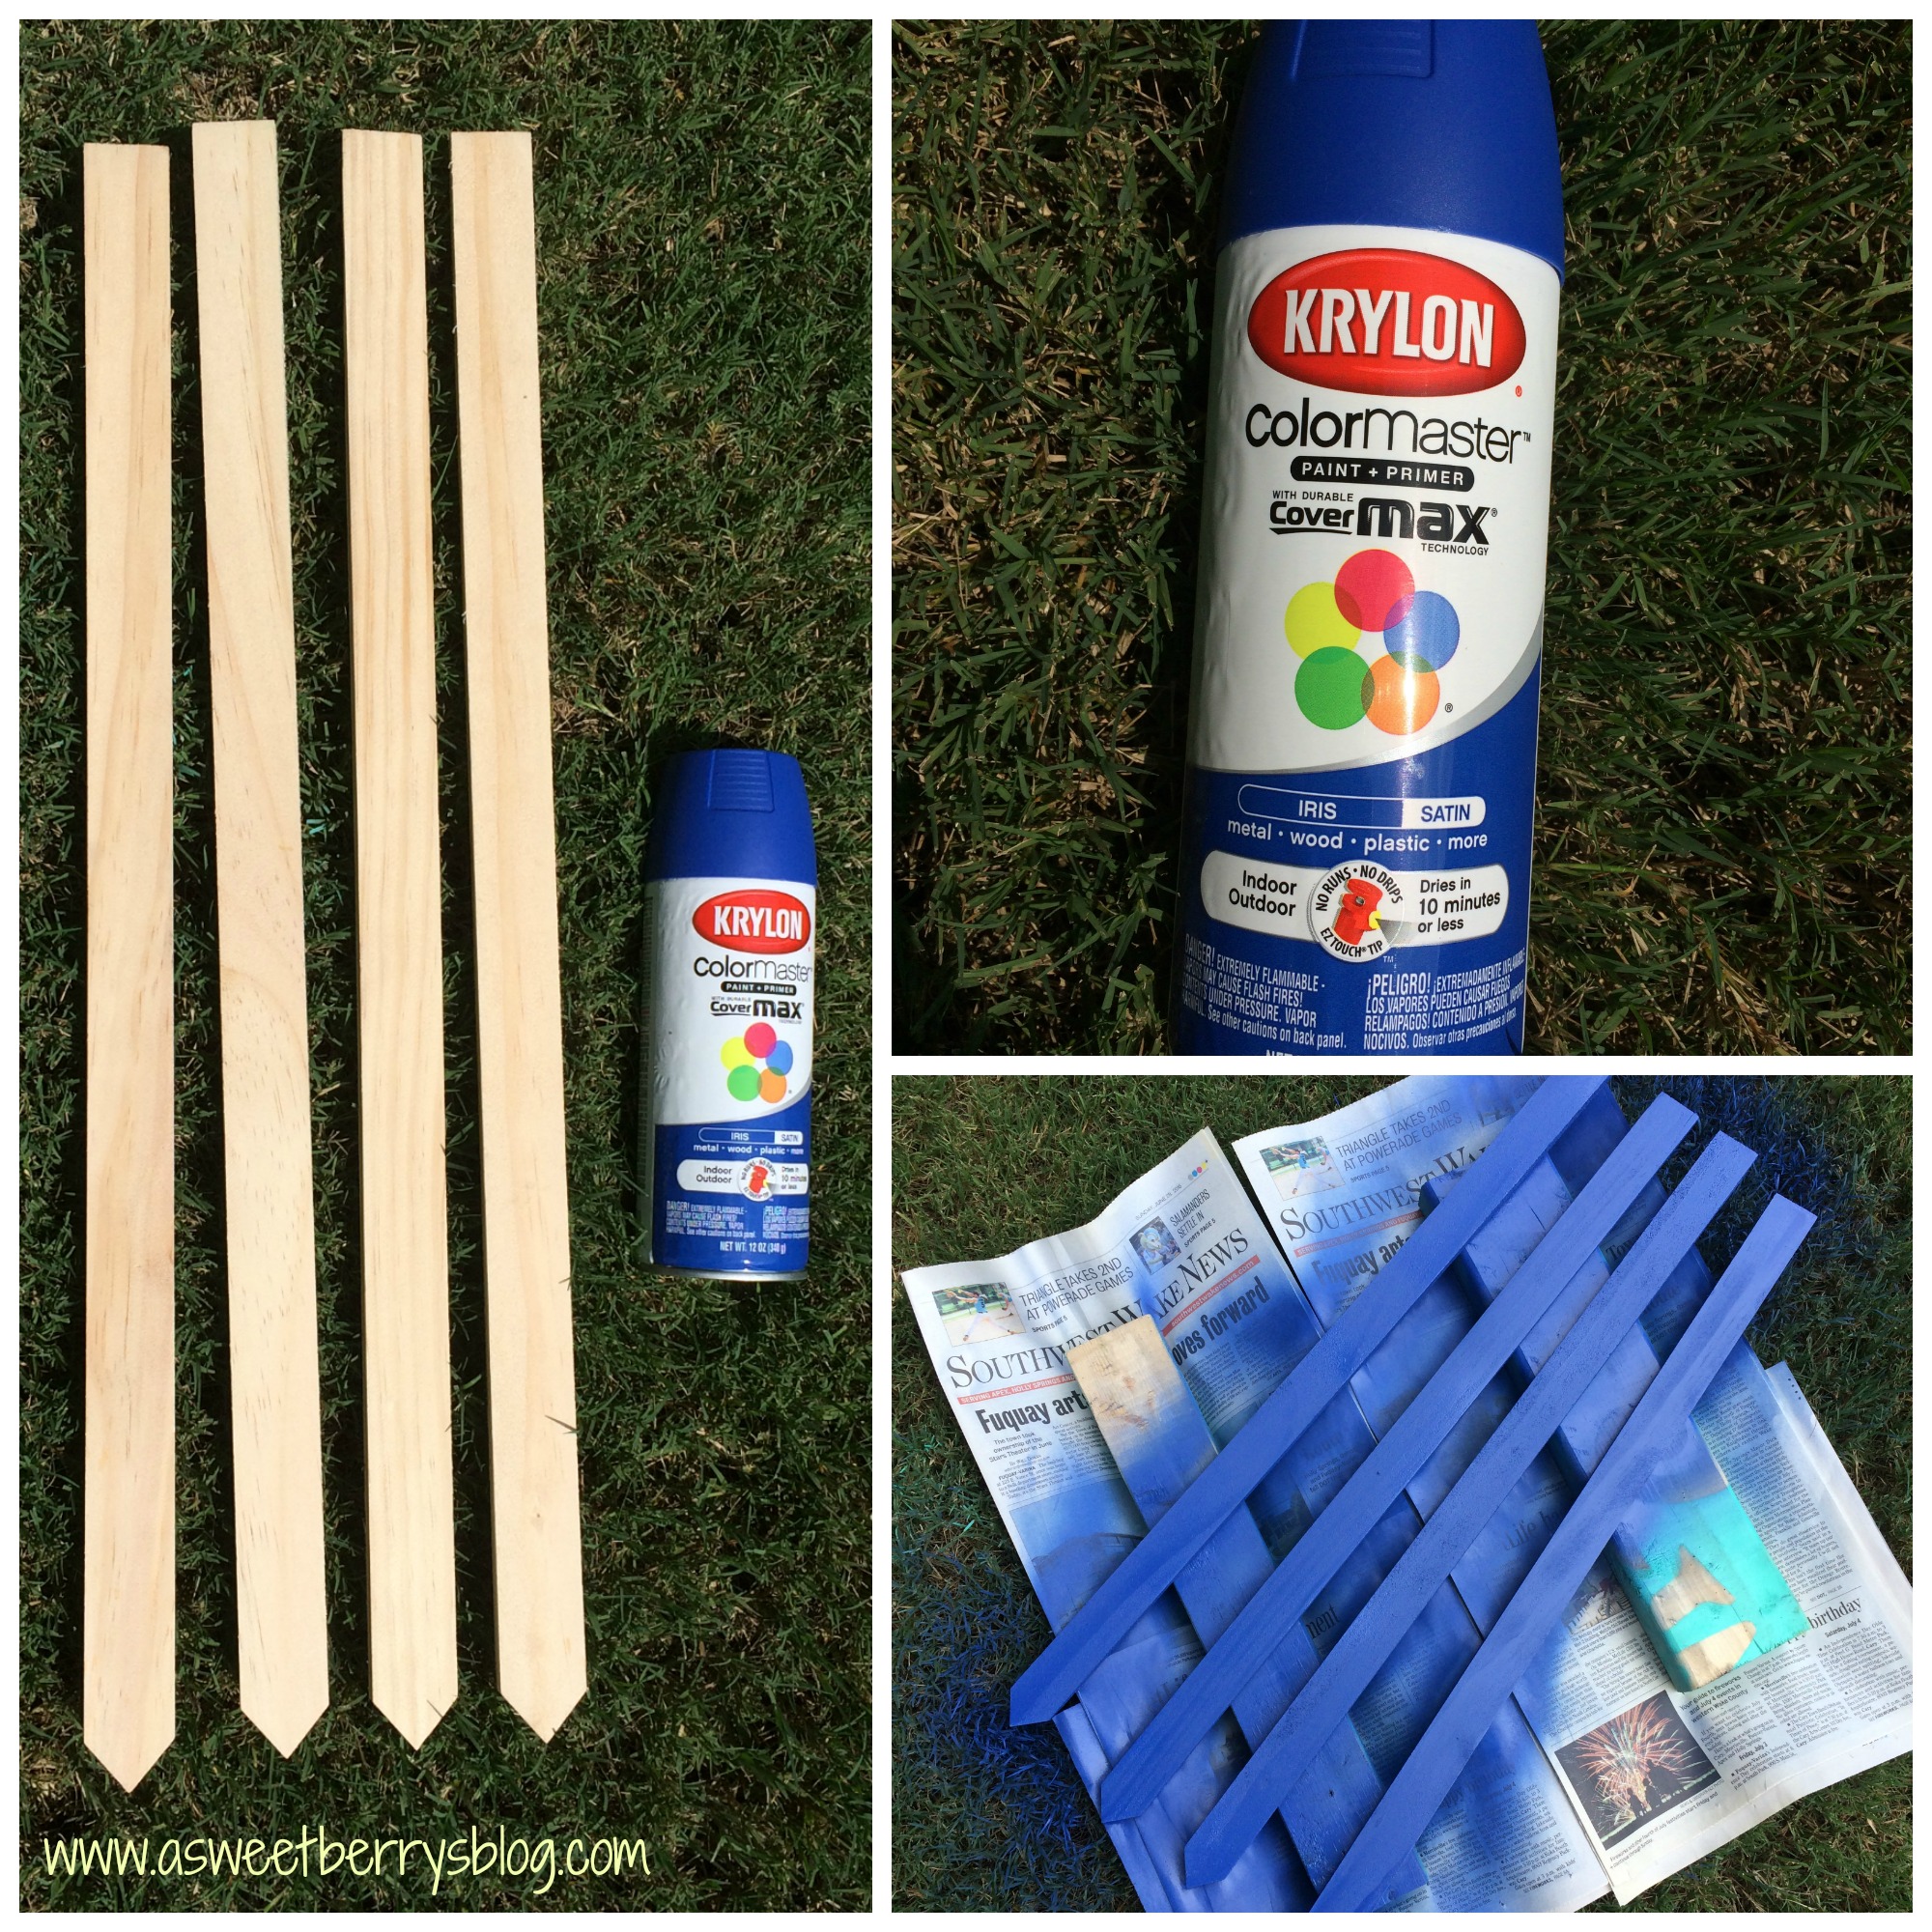
Stakes (I purchased these from ACMoore in the wood department)
Krylon ColorMaster Paint+Primer (Benjamin picked the color Iris)
Adtech Hot Glue Gun and Glue Sticks
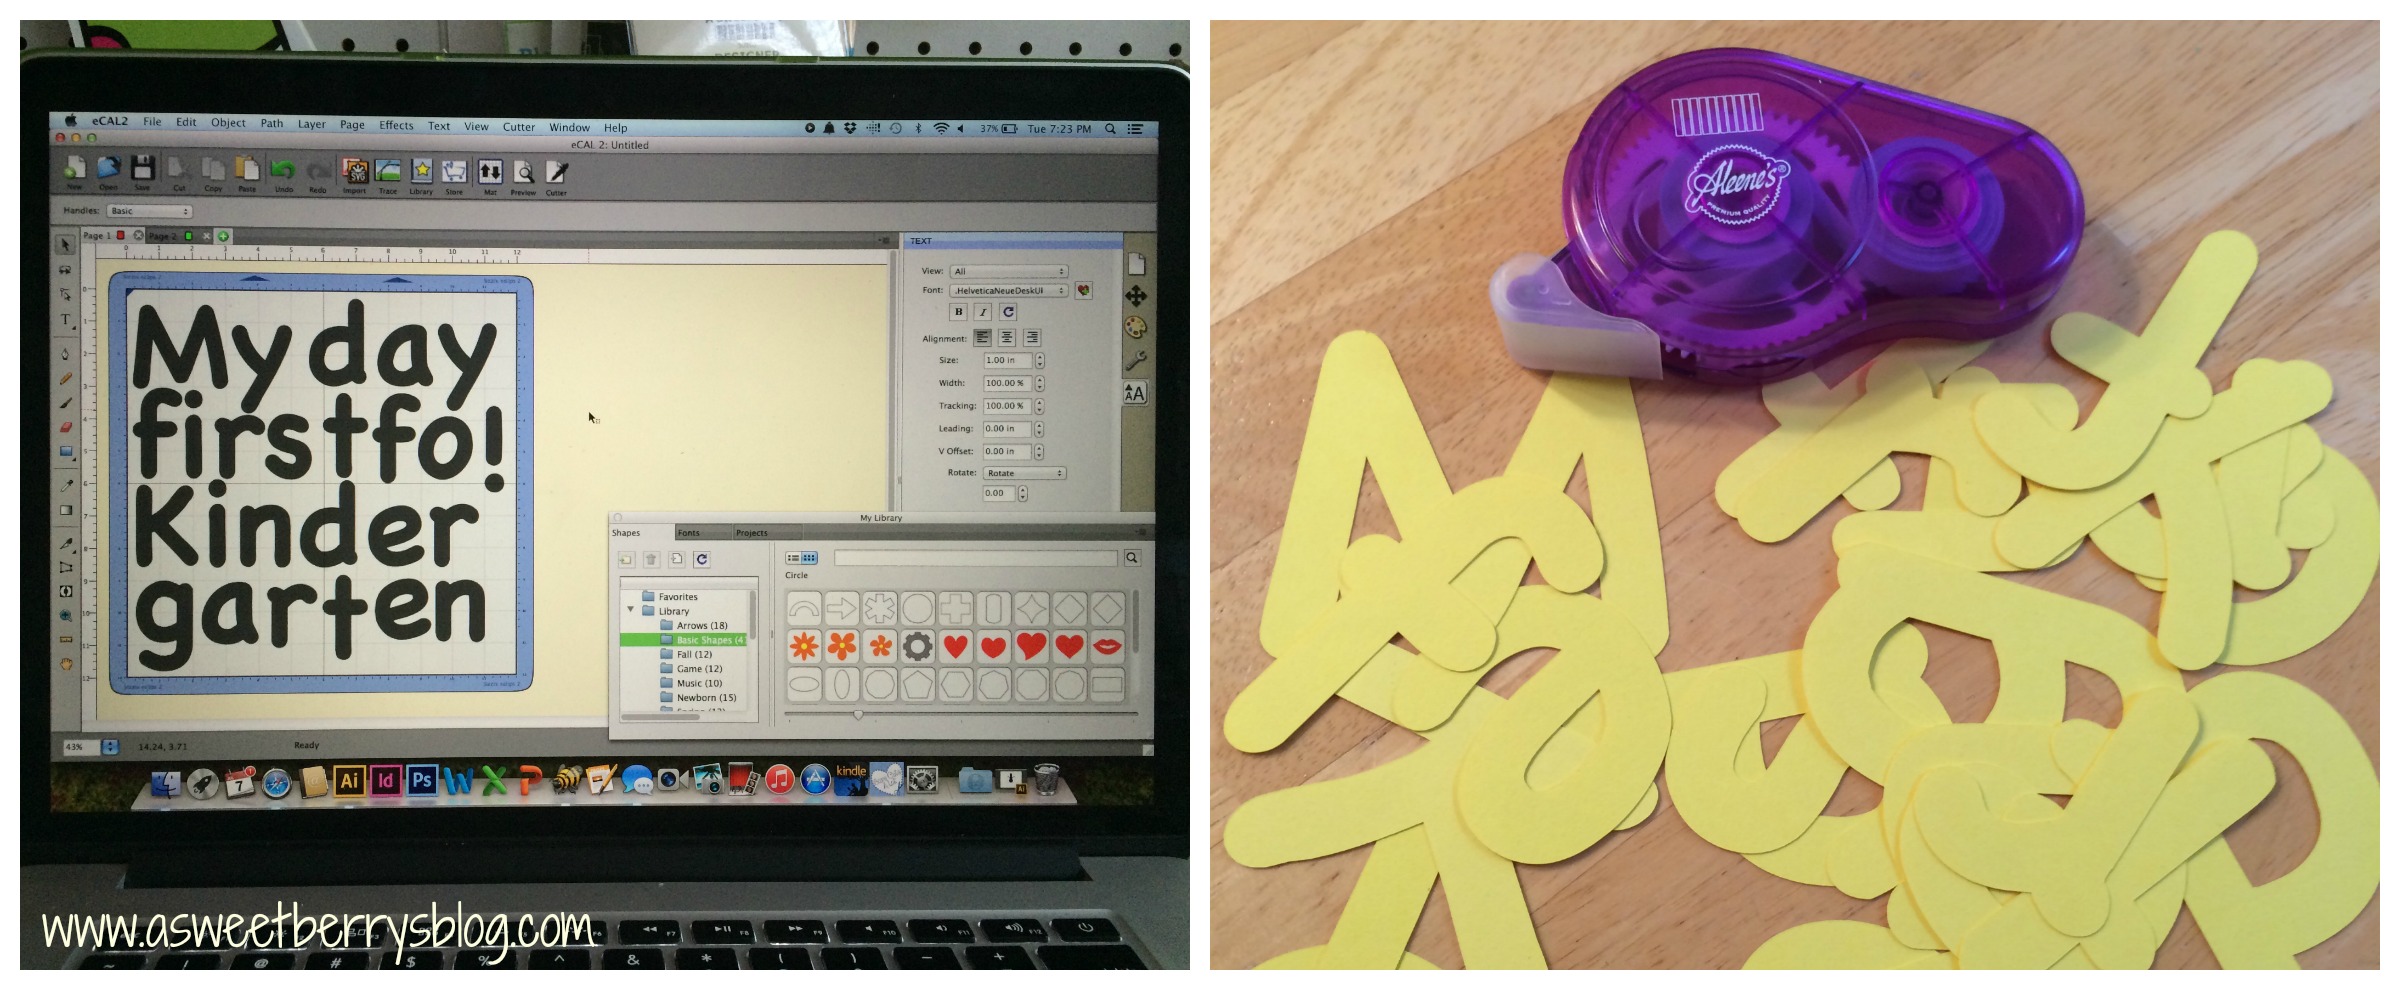
Letters & Aleene’s Tacky Line Runner

Using the color Iris from Krylon’s 2015 color palette, I spray painted my stakes.  I did two coats.

Krylon
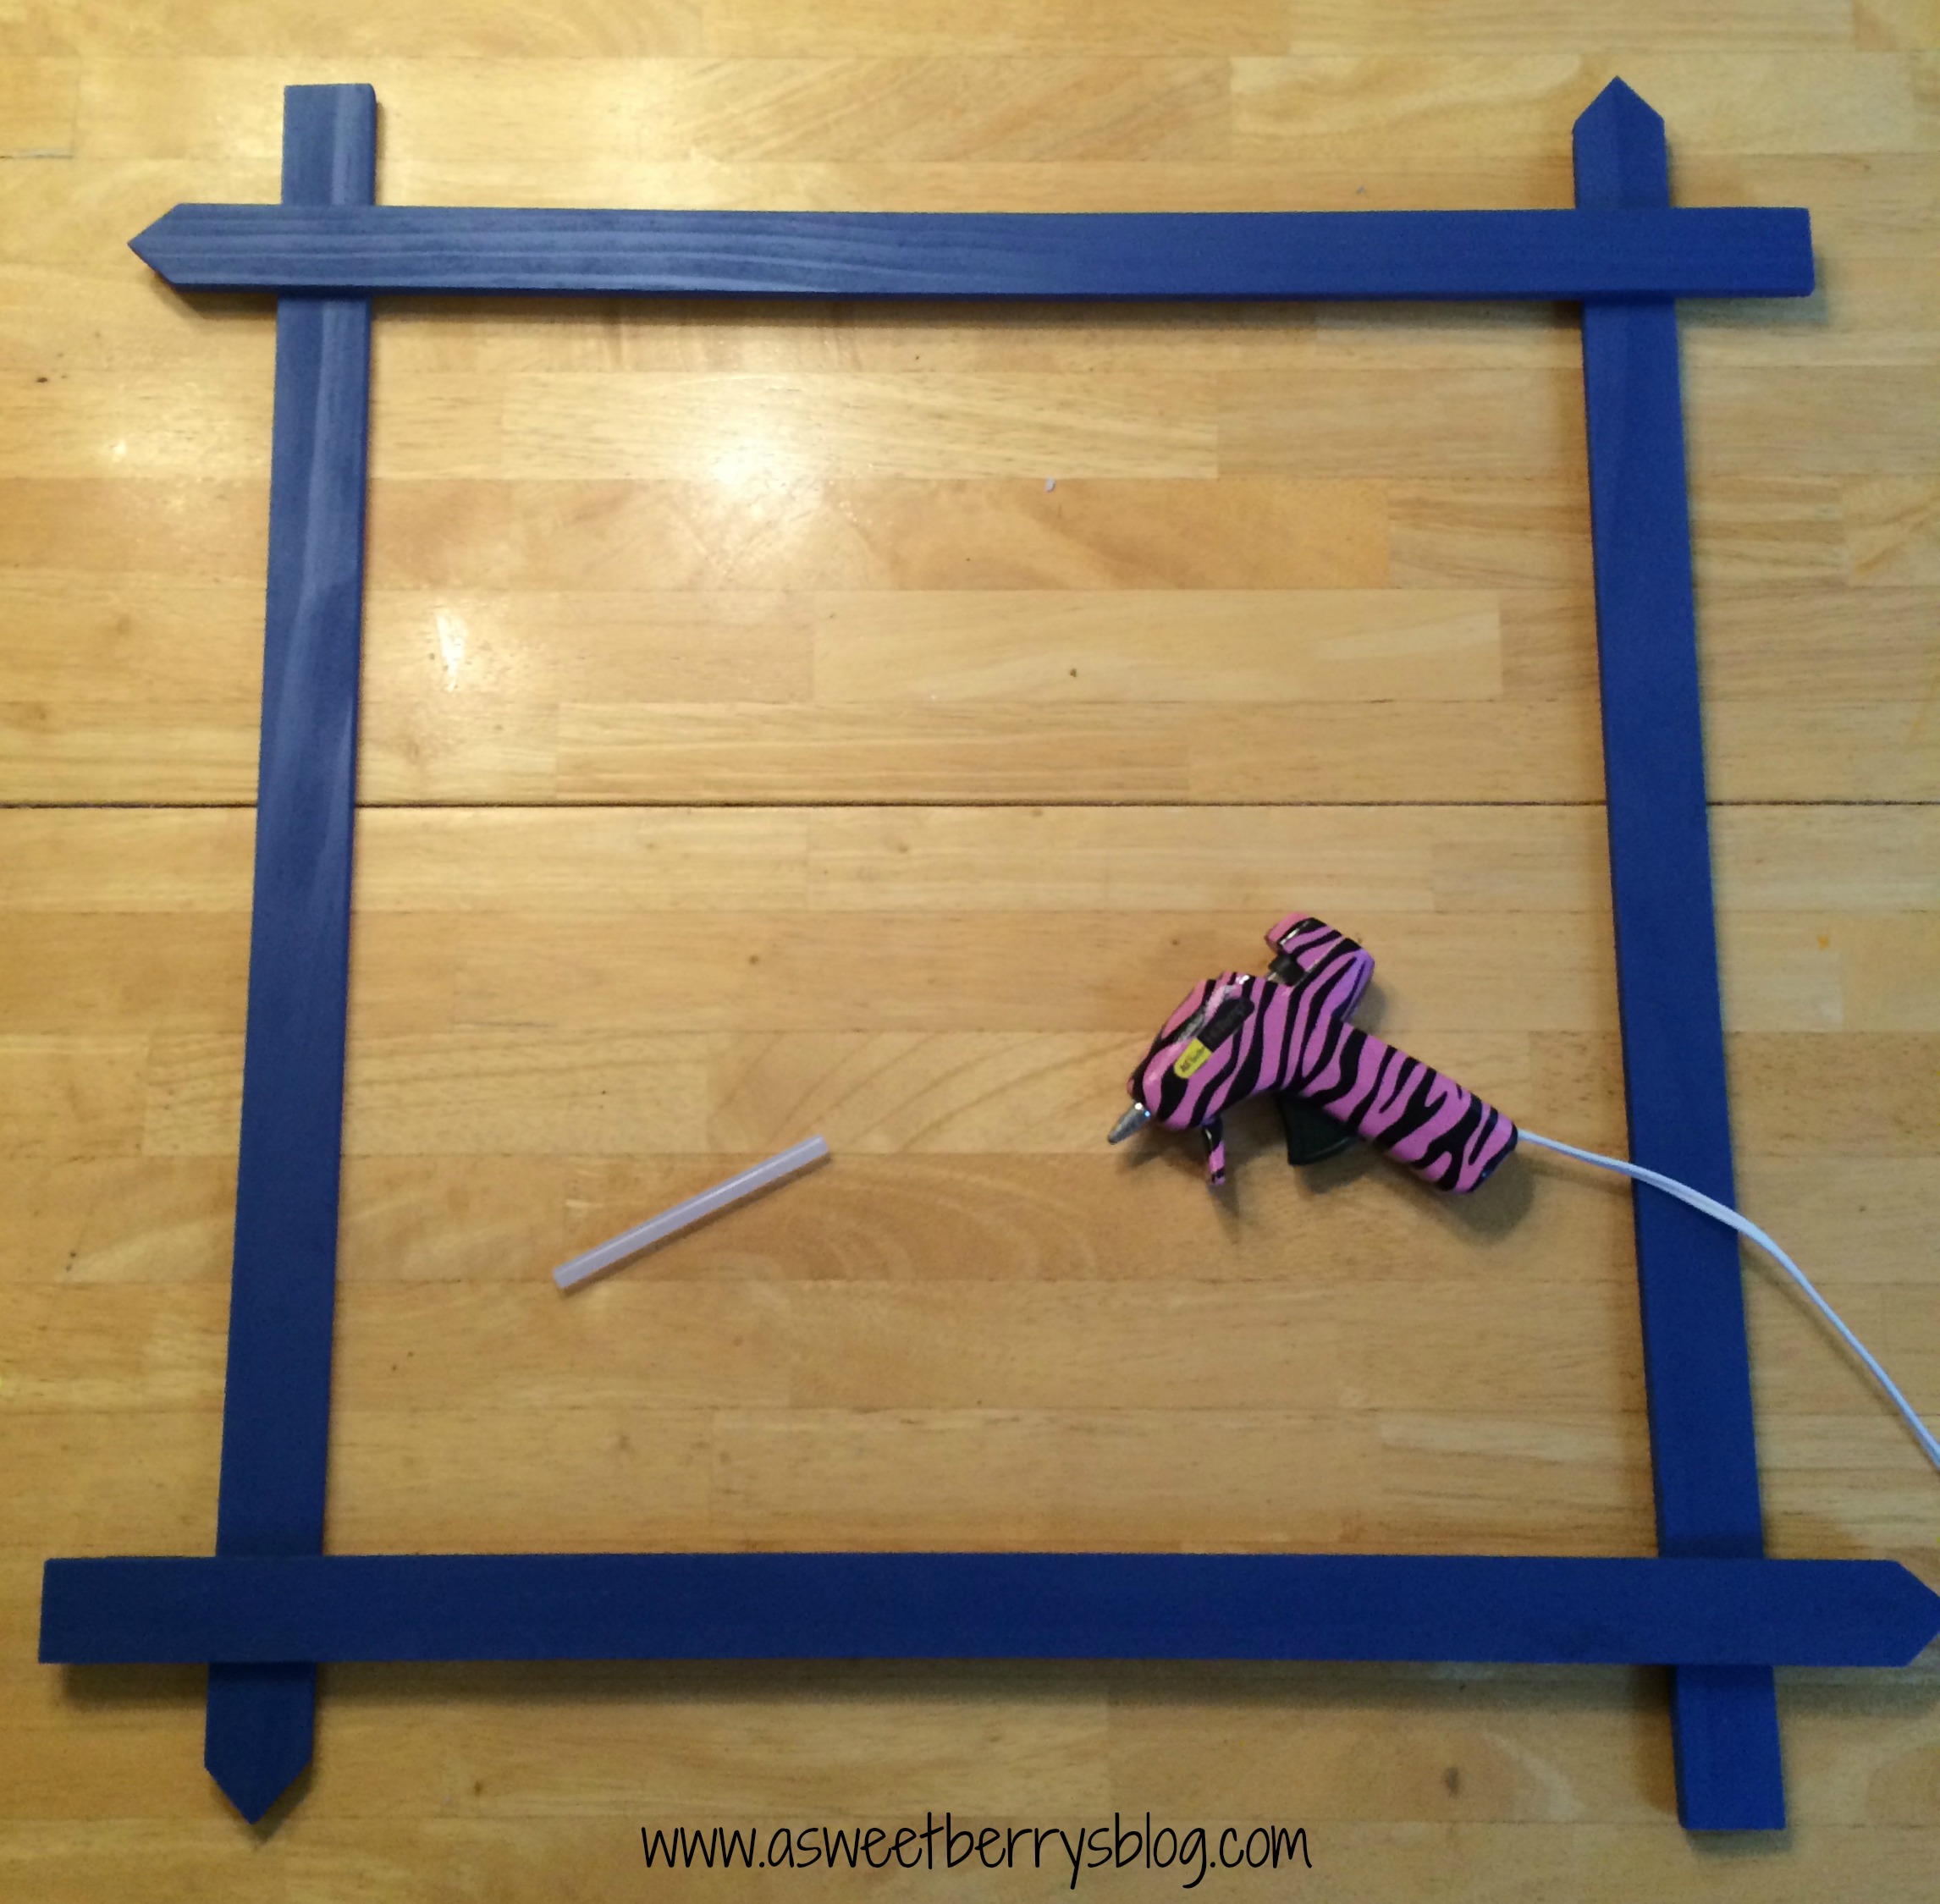
Once my stakes were dry, I used my hot glue gun to glue my stakes together.   AdtechAndFrame
For the letters……you can use any store bought letters, cut your own by hand, or do what I did and use an electronic cutting machine.   I absolutely love my Sizzix Eclips2 and am constantly cutting letters!   I then used Aleene’s Tacky Line Runner to attach my letters to my frame. Letters
Once my letters were attached, it was time for the Kindergartener, Benjamin, to get behind the frame!
final
Once the school year is over, I remove the “first” and replace it with “last”.   And then, the next year, I change out the grade and replace “last” with “first” again.

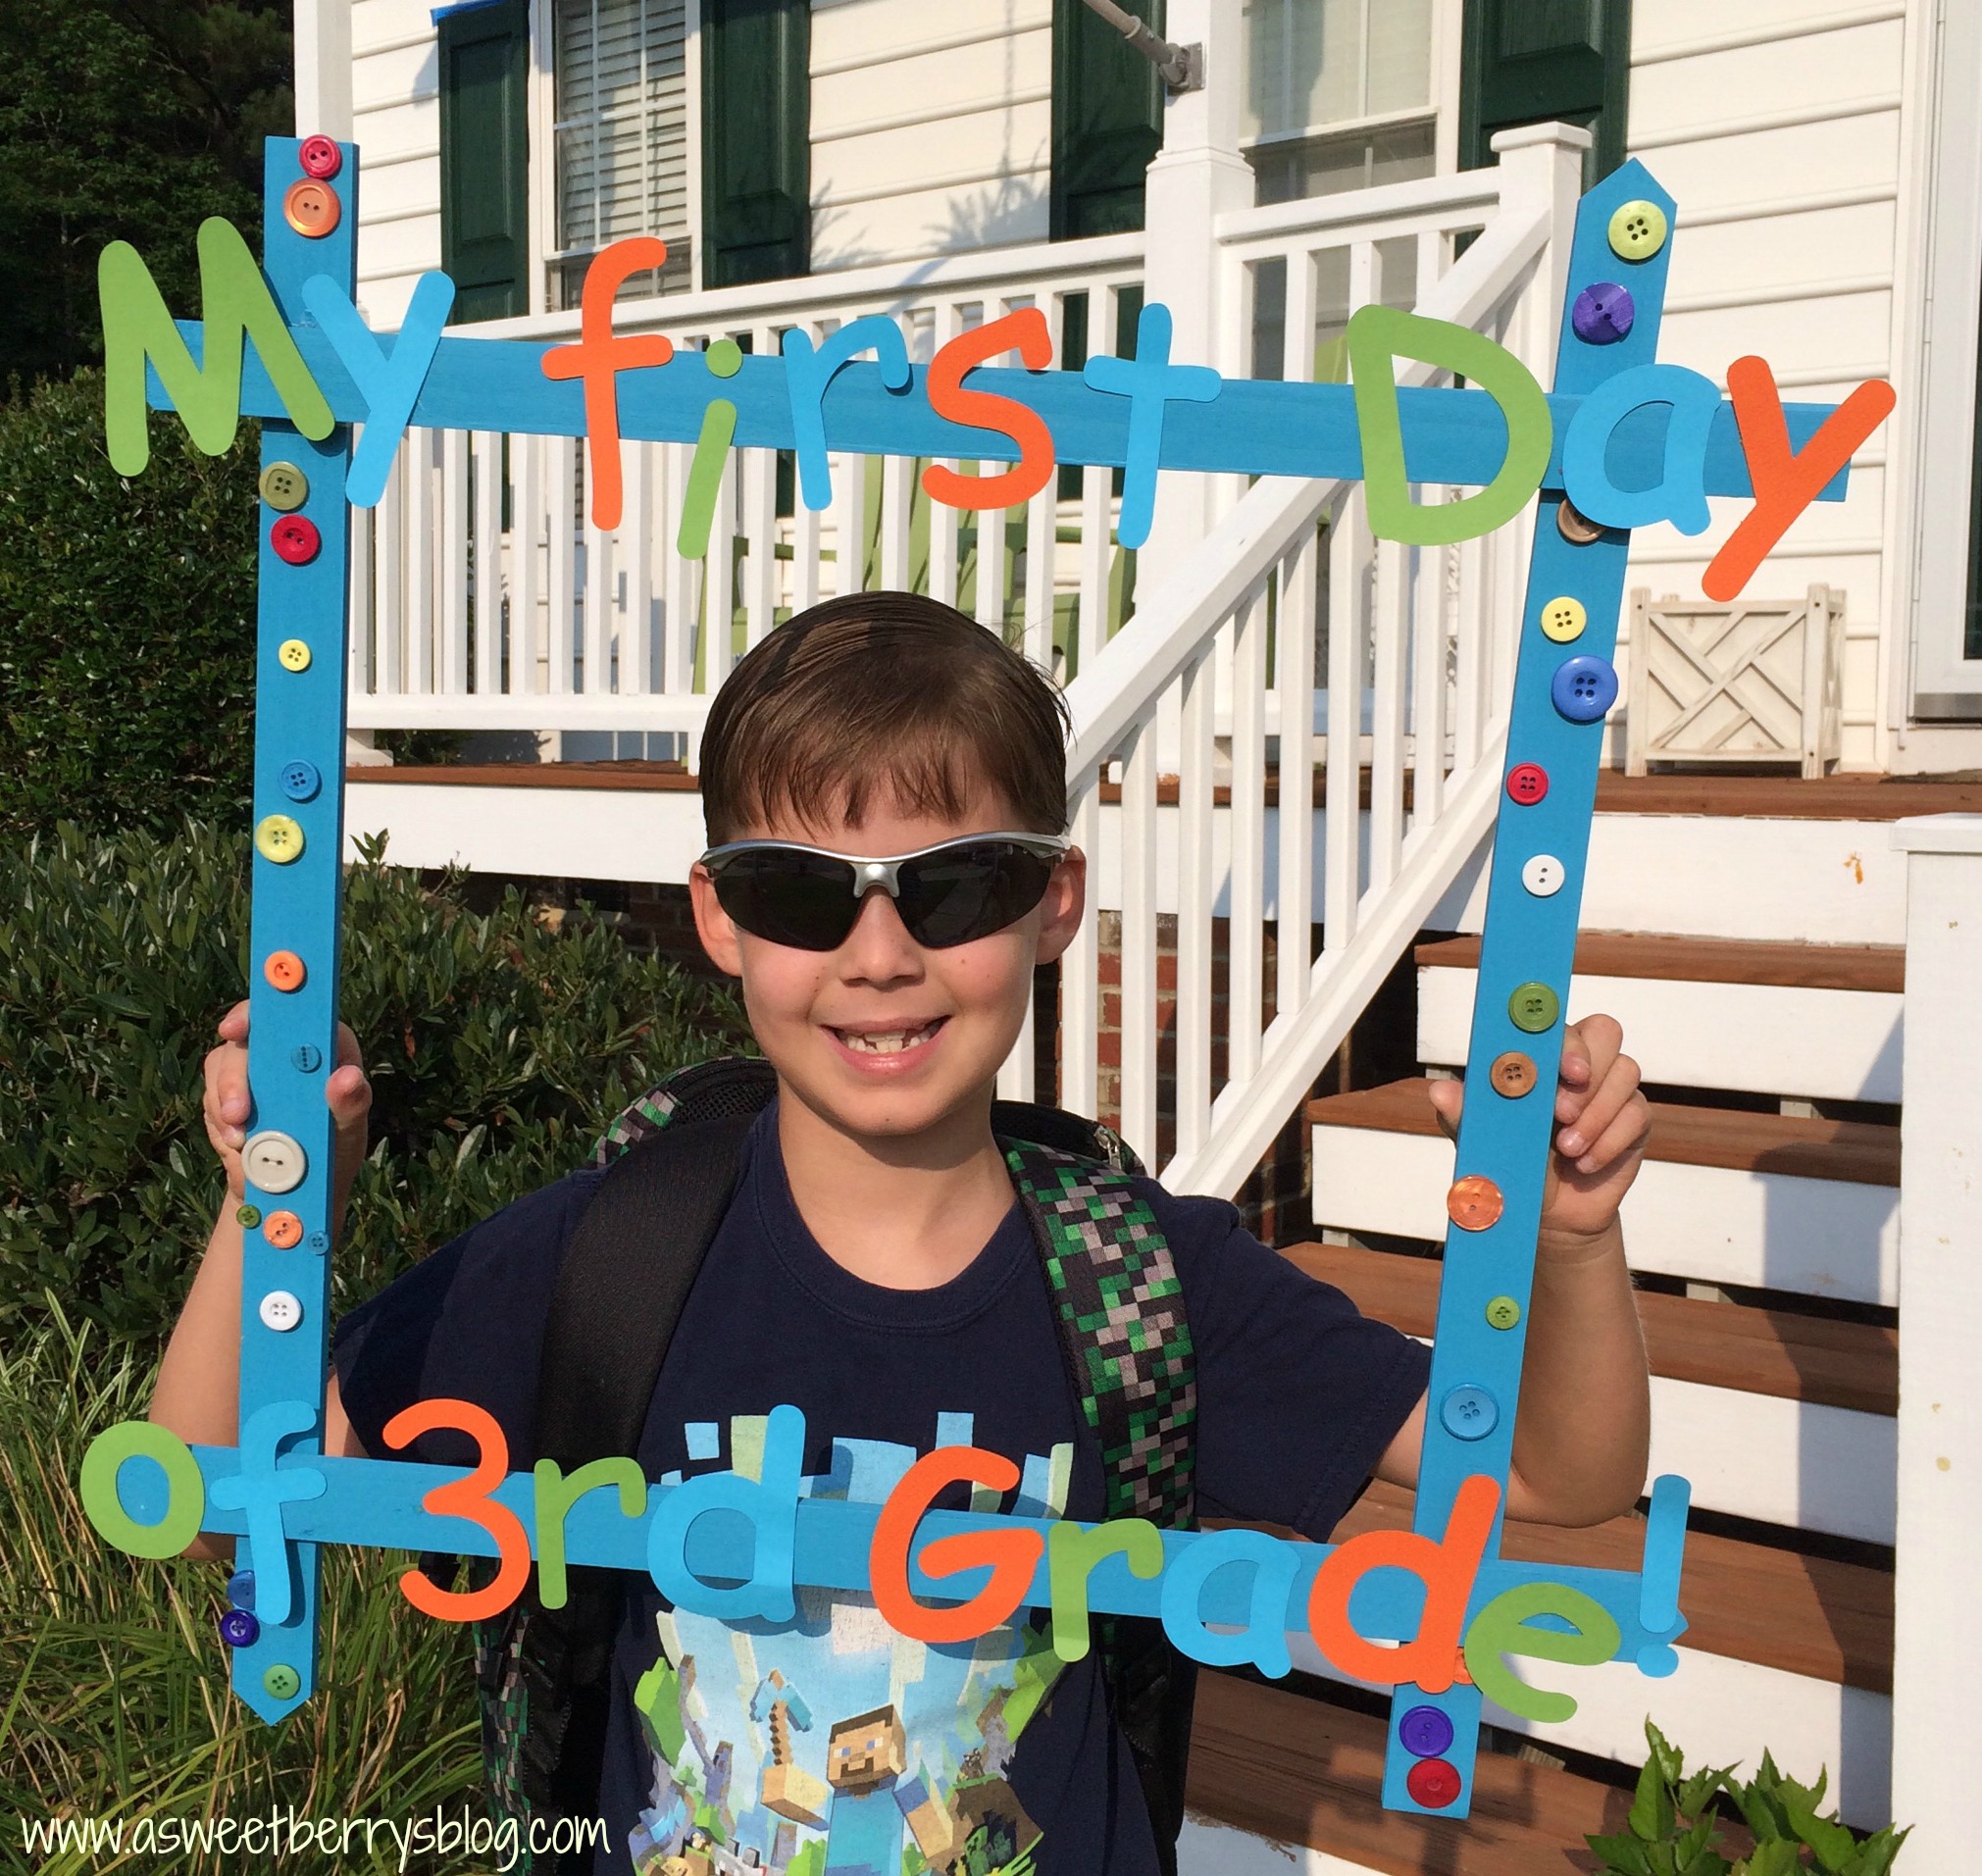
Here is the one I made for my oldest son, Landon!
Landon
This project was made in 15 minutes or less for the Craft Lightning Back to School Blog Hop.  Click the Craft Lightning Button to check out some other 15 minutes or less Back to School Crafts!

Hope you liked my “My first day” Frame!

Until next time……

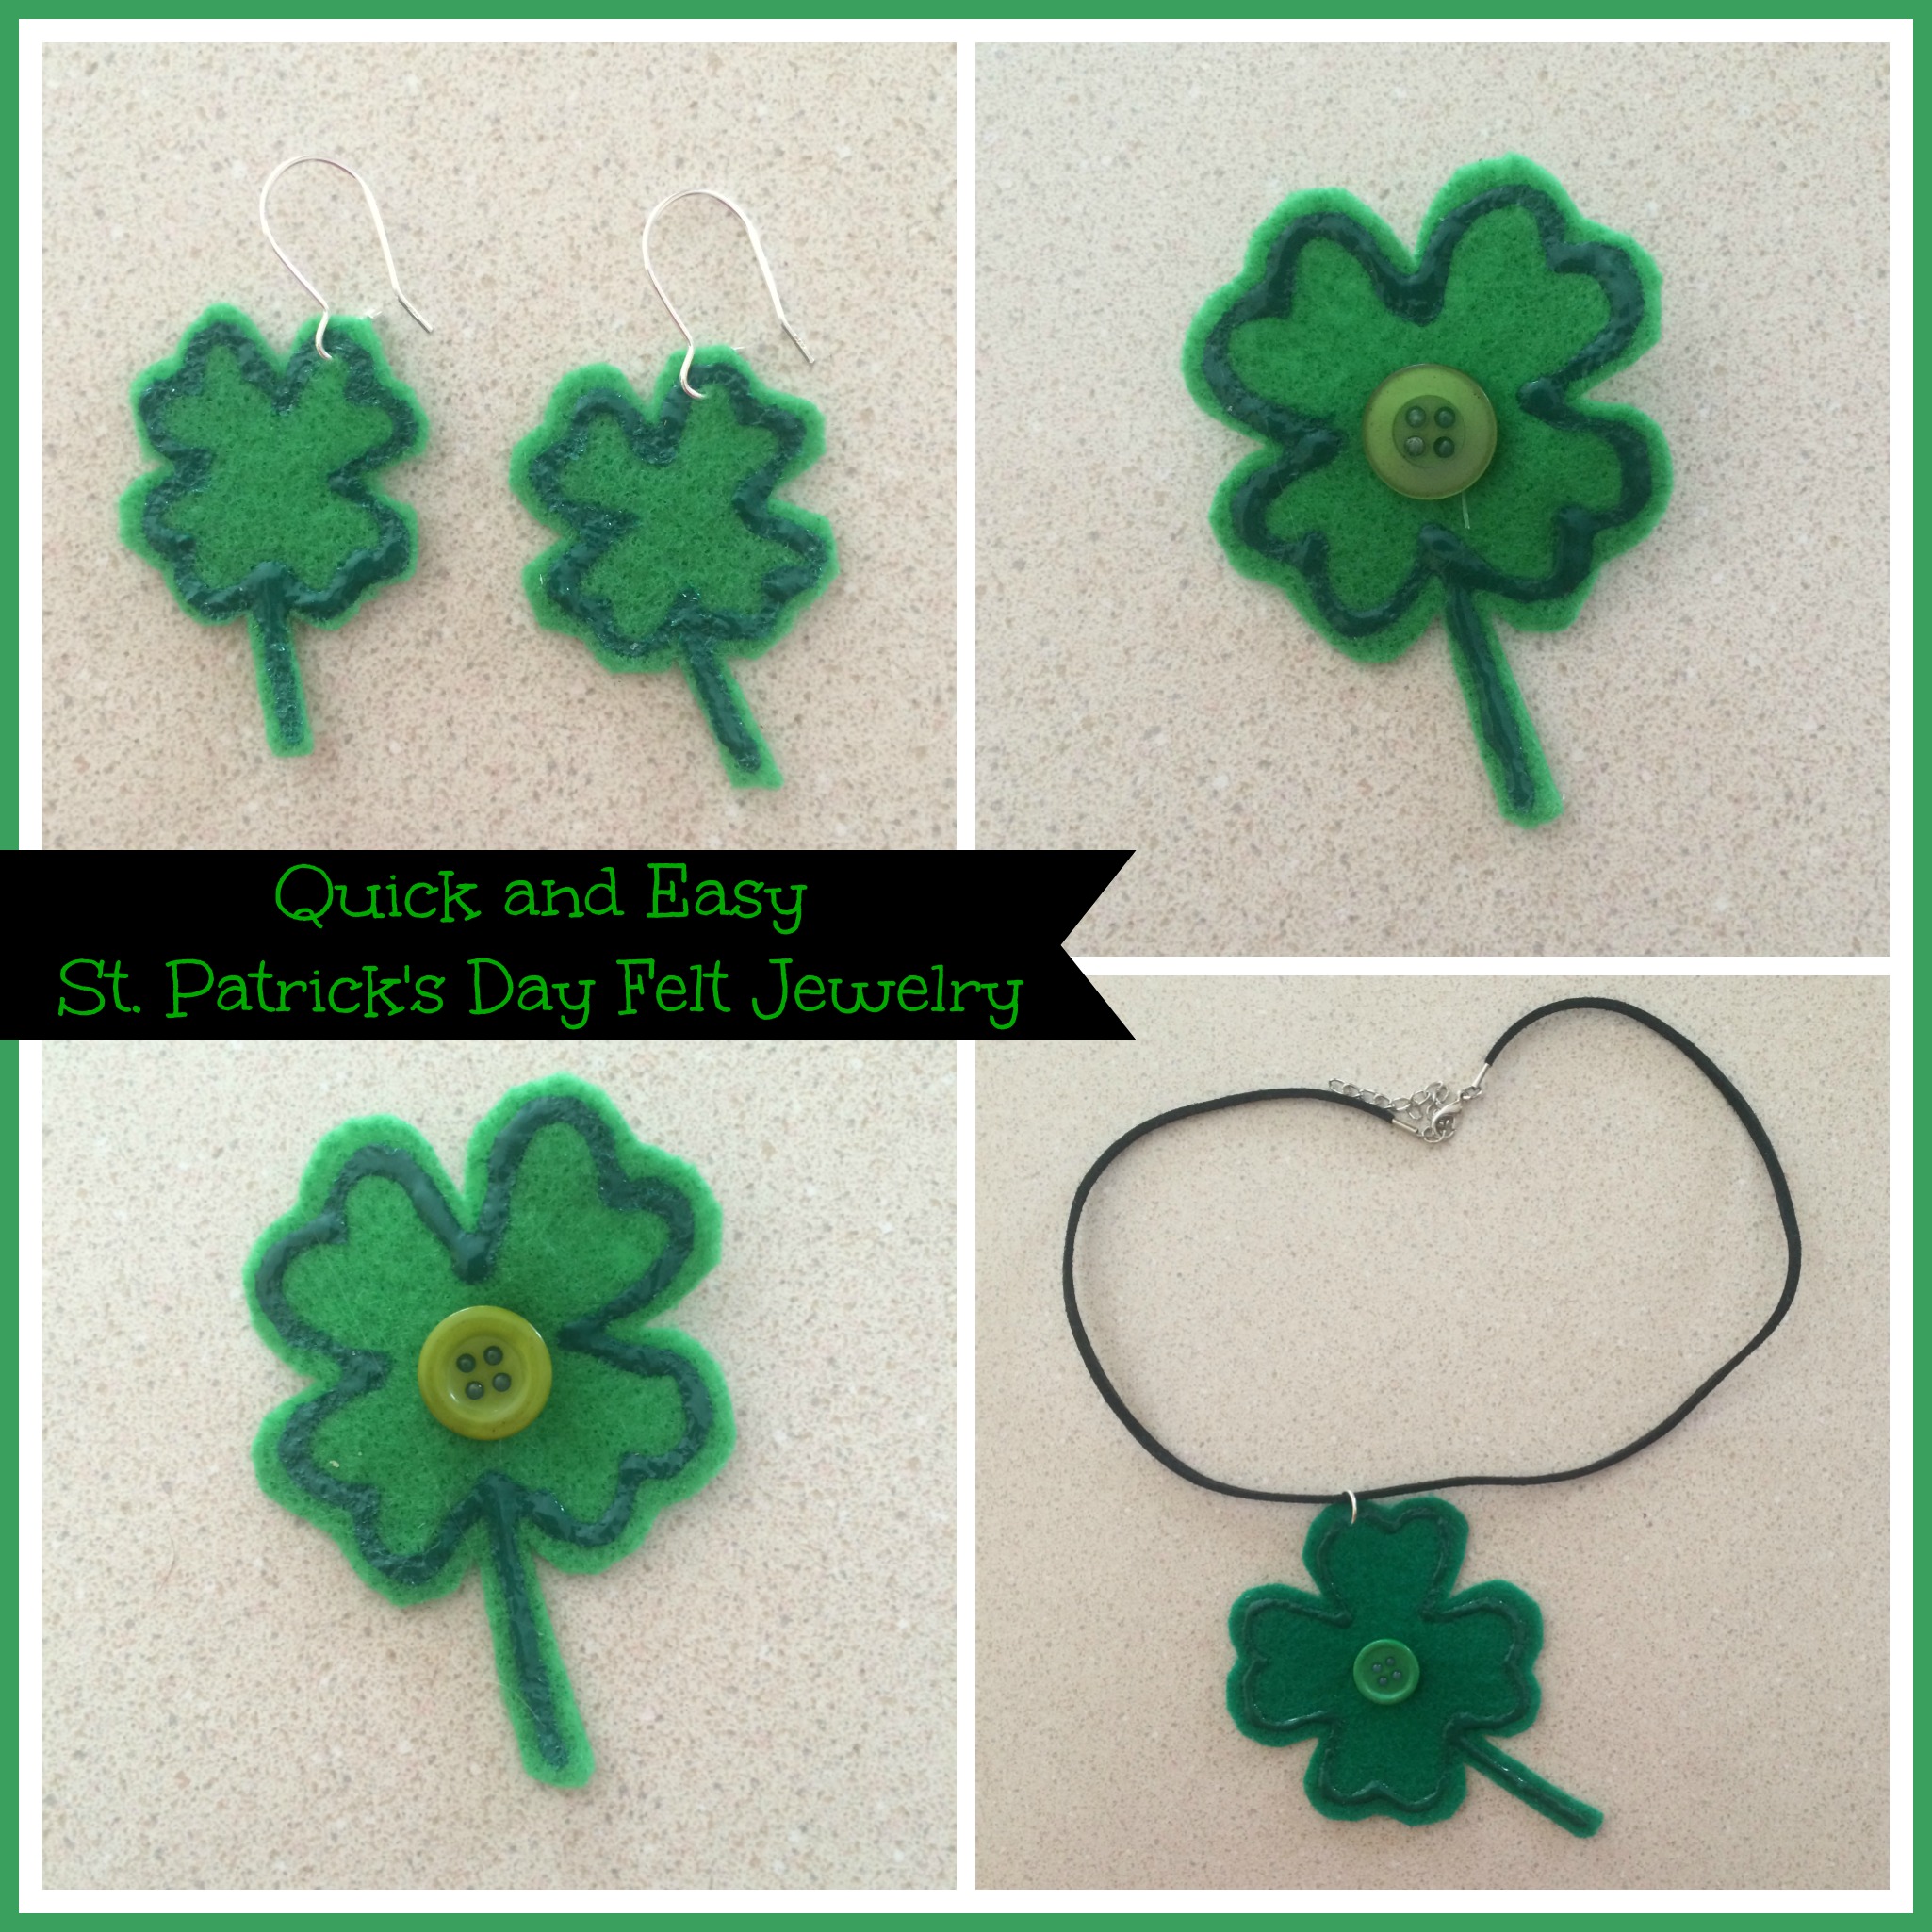
Quick and Easy Felt St. Patrick’s Day Jewelry

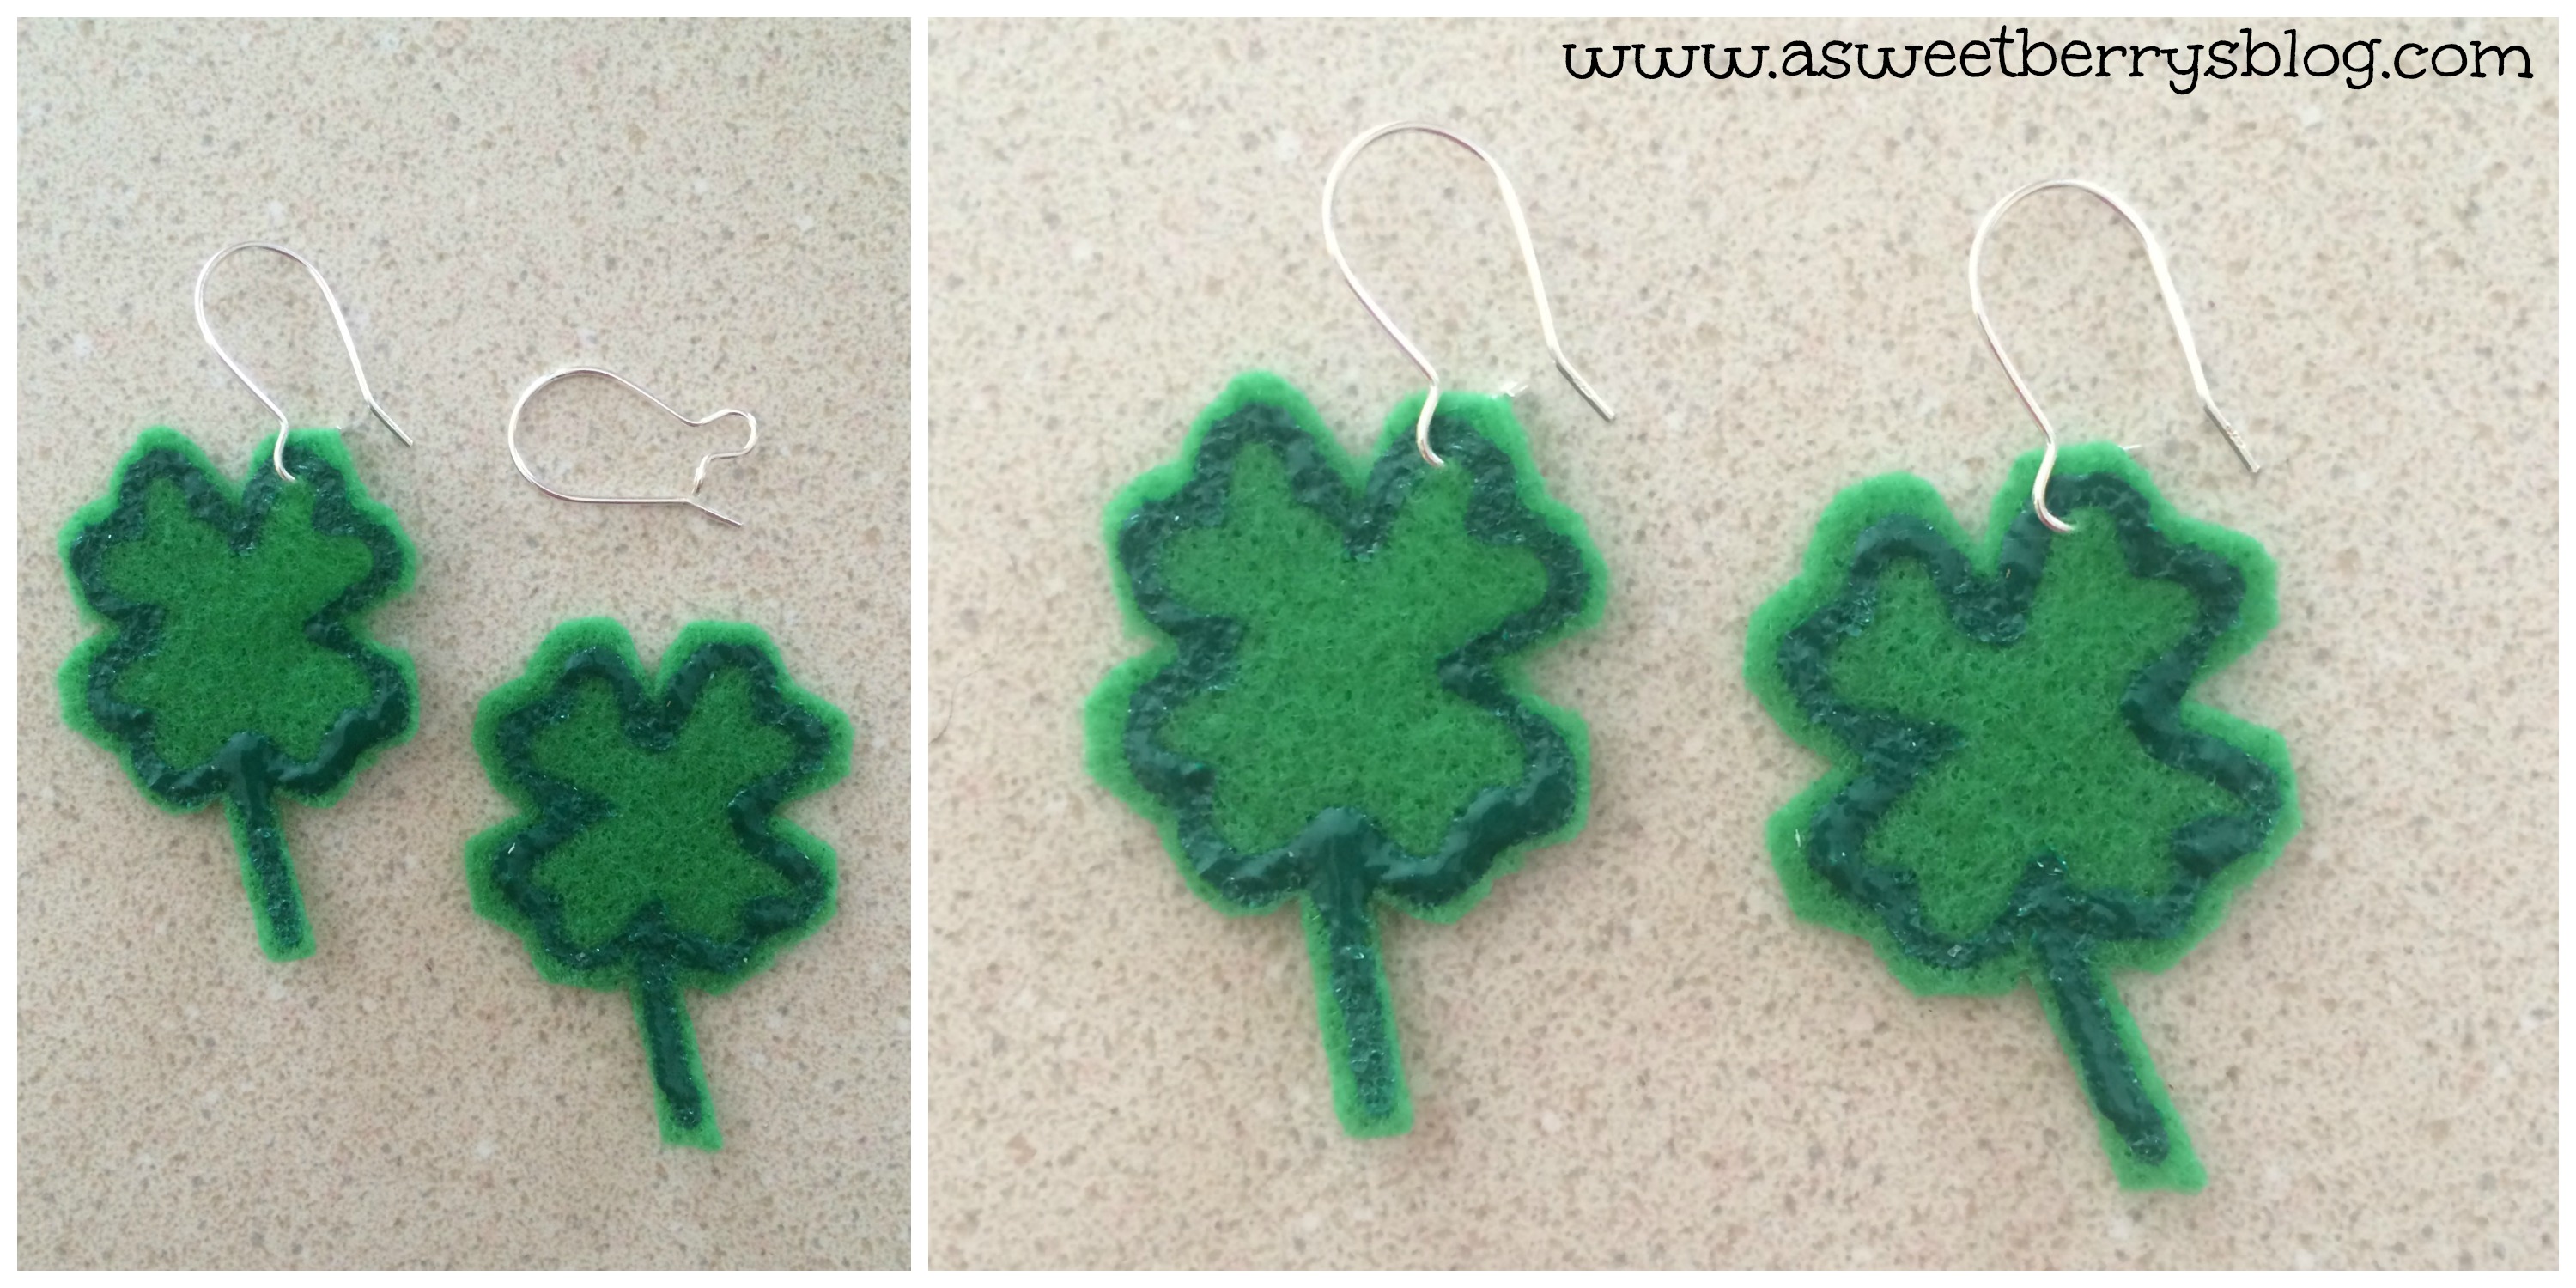
Worried about getting pinched on St. Patrick’s Day?  This quick and easy felt jewelry can help keep you from getting that unfriendly pinch! Felt Jewelry
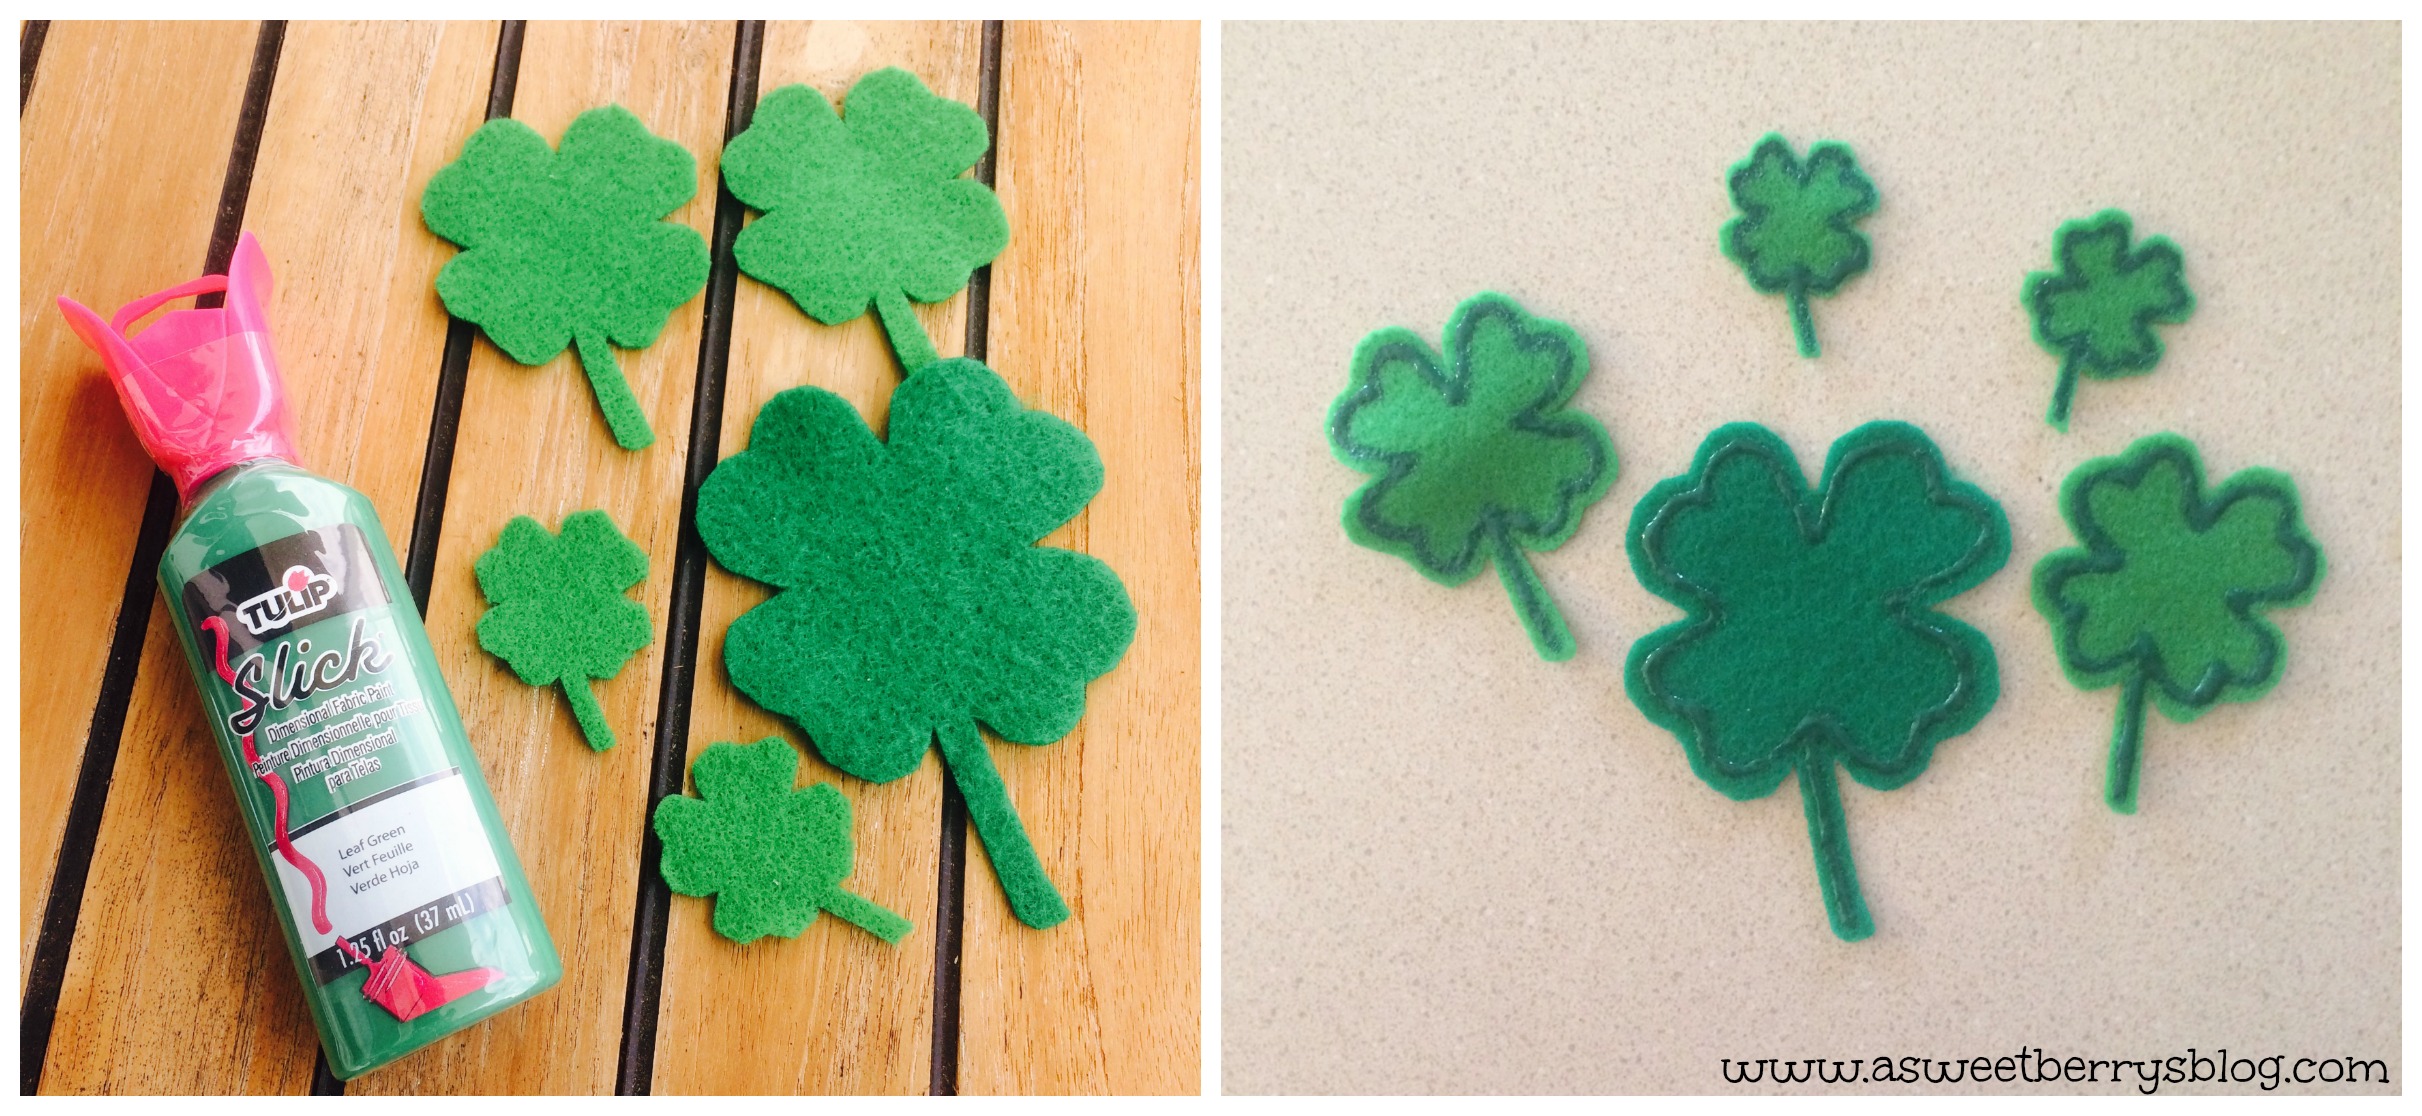
Using my Sizzix Eclips2 and a free shamrock template included in the software, I cut different size shamrocks for templates.  Once they were cut, I pinned them to my green felt and then cut them out.   eclips2
Using Tulip Slick Fabric Paint, I drew along the edges of the shamrocks just give it a little something extra!
tulip
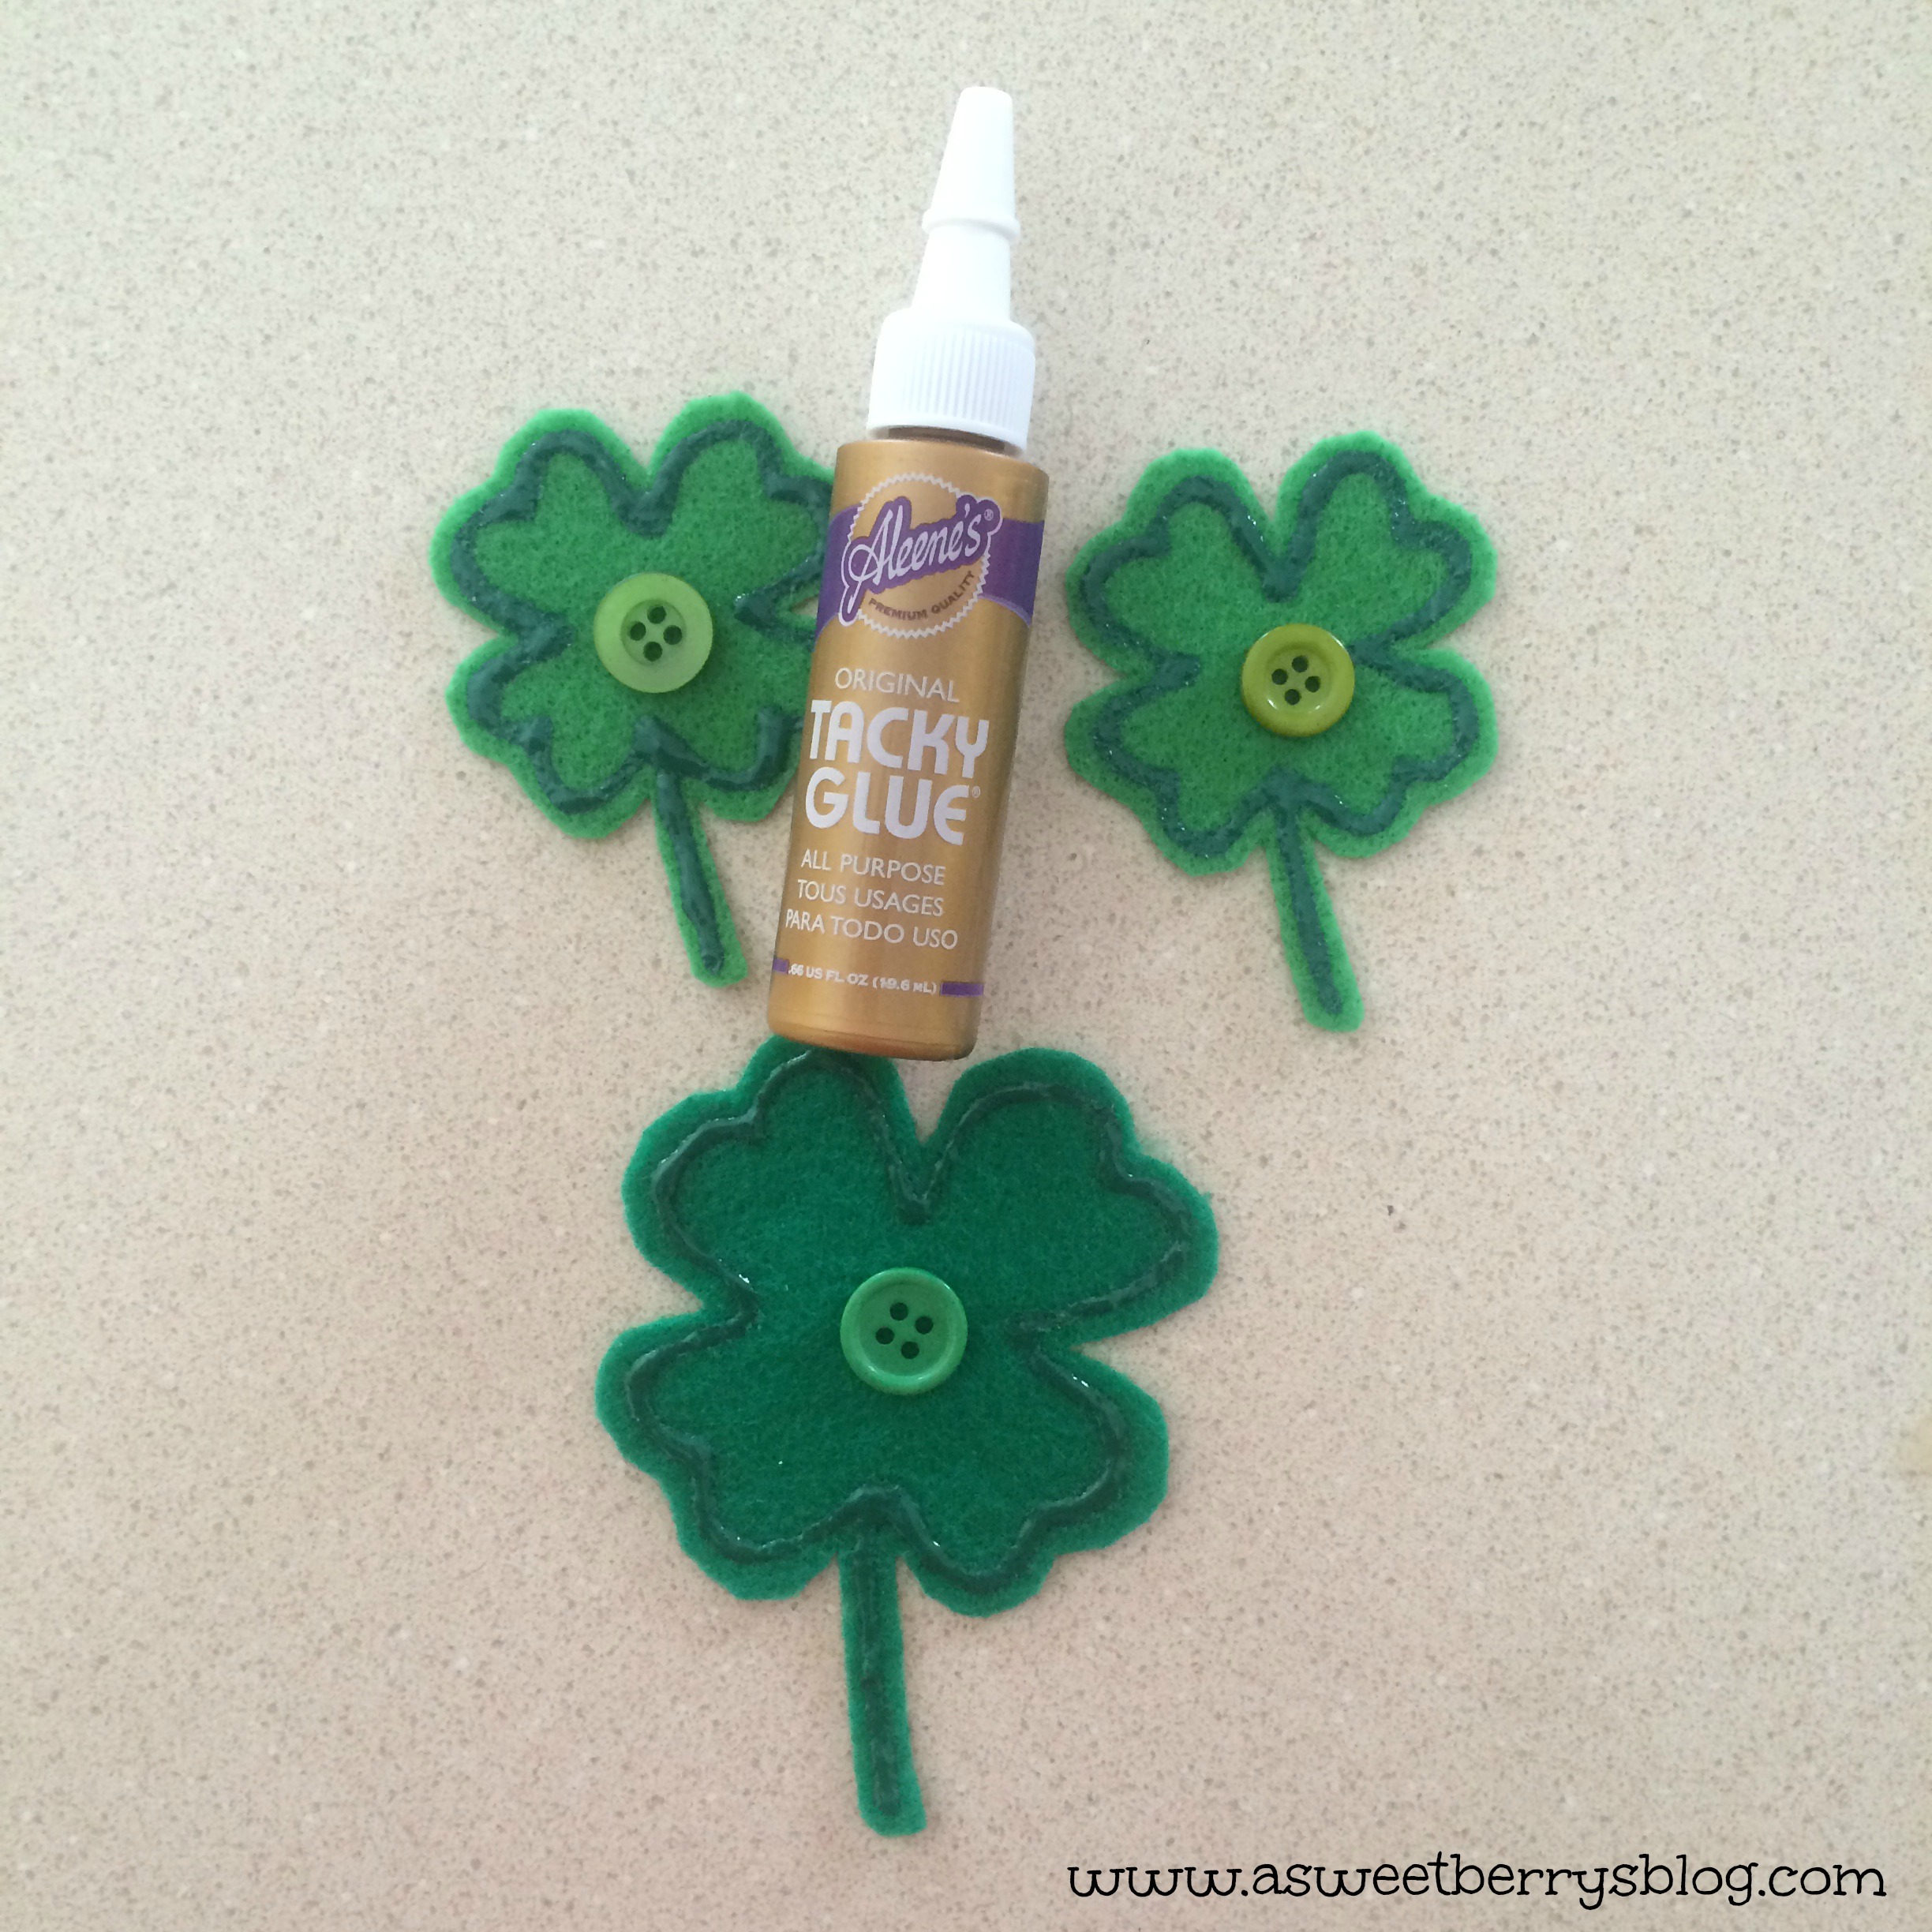
Once the fabric paint was dried, I glued some of Laura Kelly’s green buttons from Buttons Galore & More to the middles using Aleene’s Tacky Glue. buttons and tacky glue
I knew that I wanted to make a necklace, a hair clip, a broach type pin and some earrings, so I gathered the materials needed for those pieces. pieces
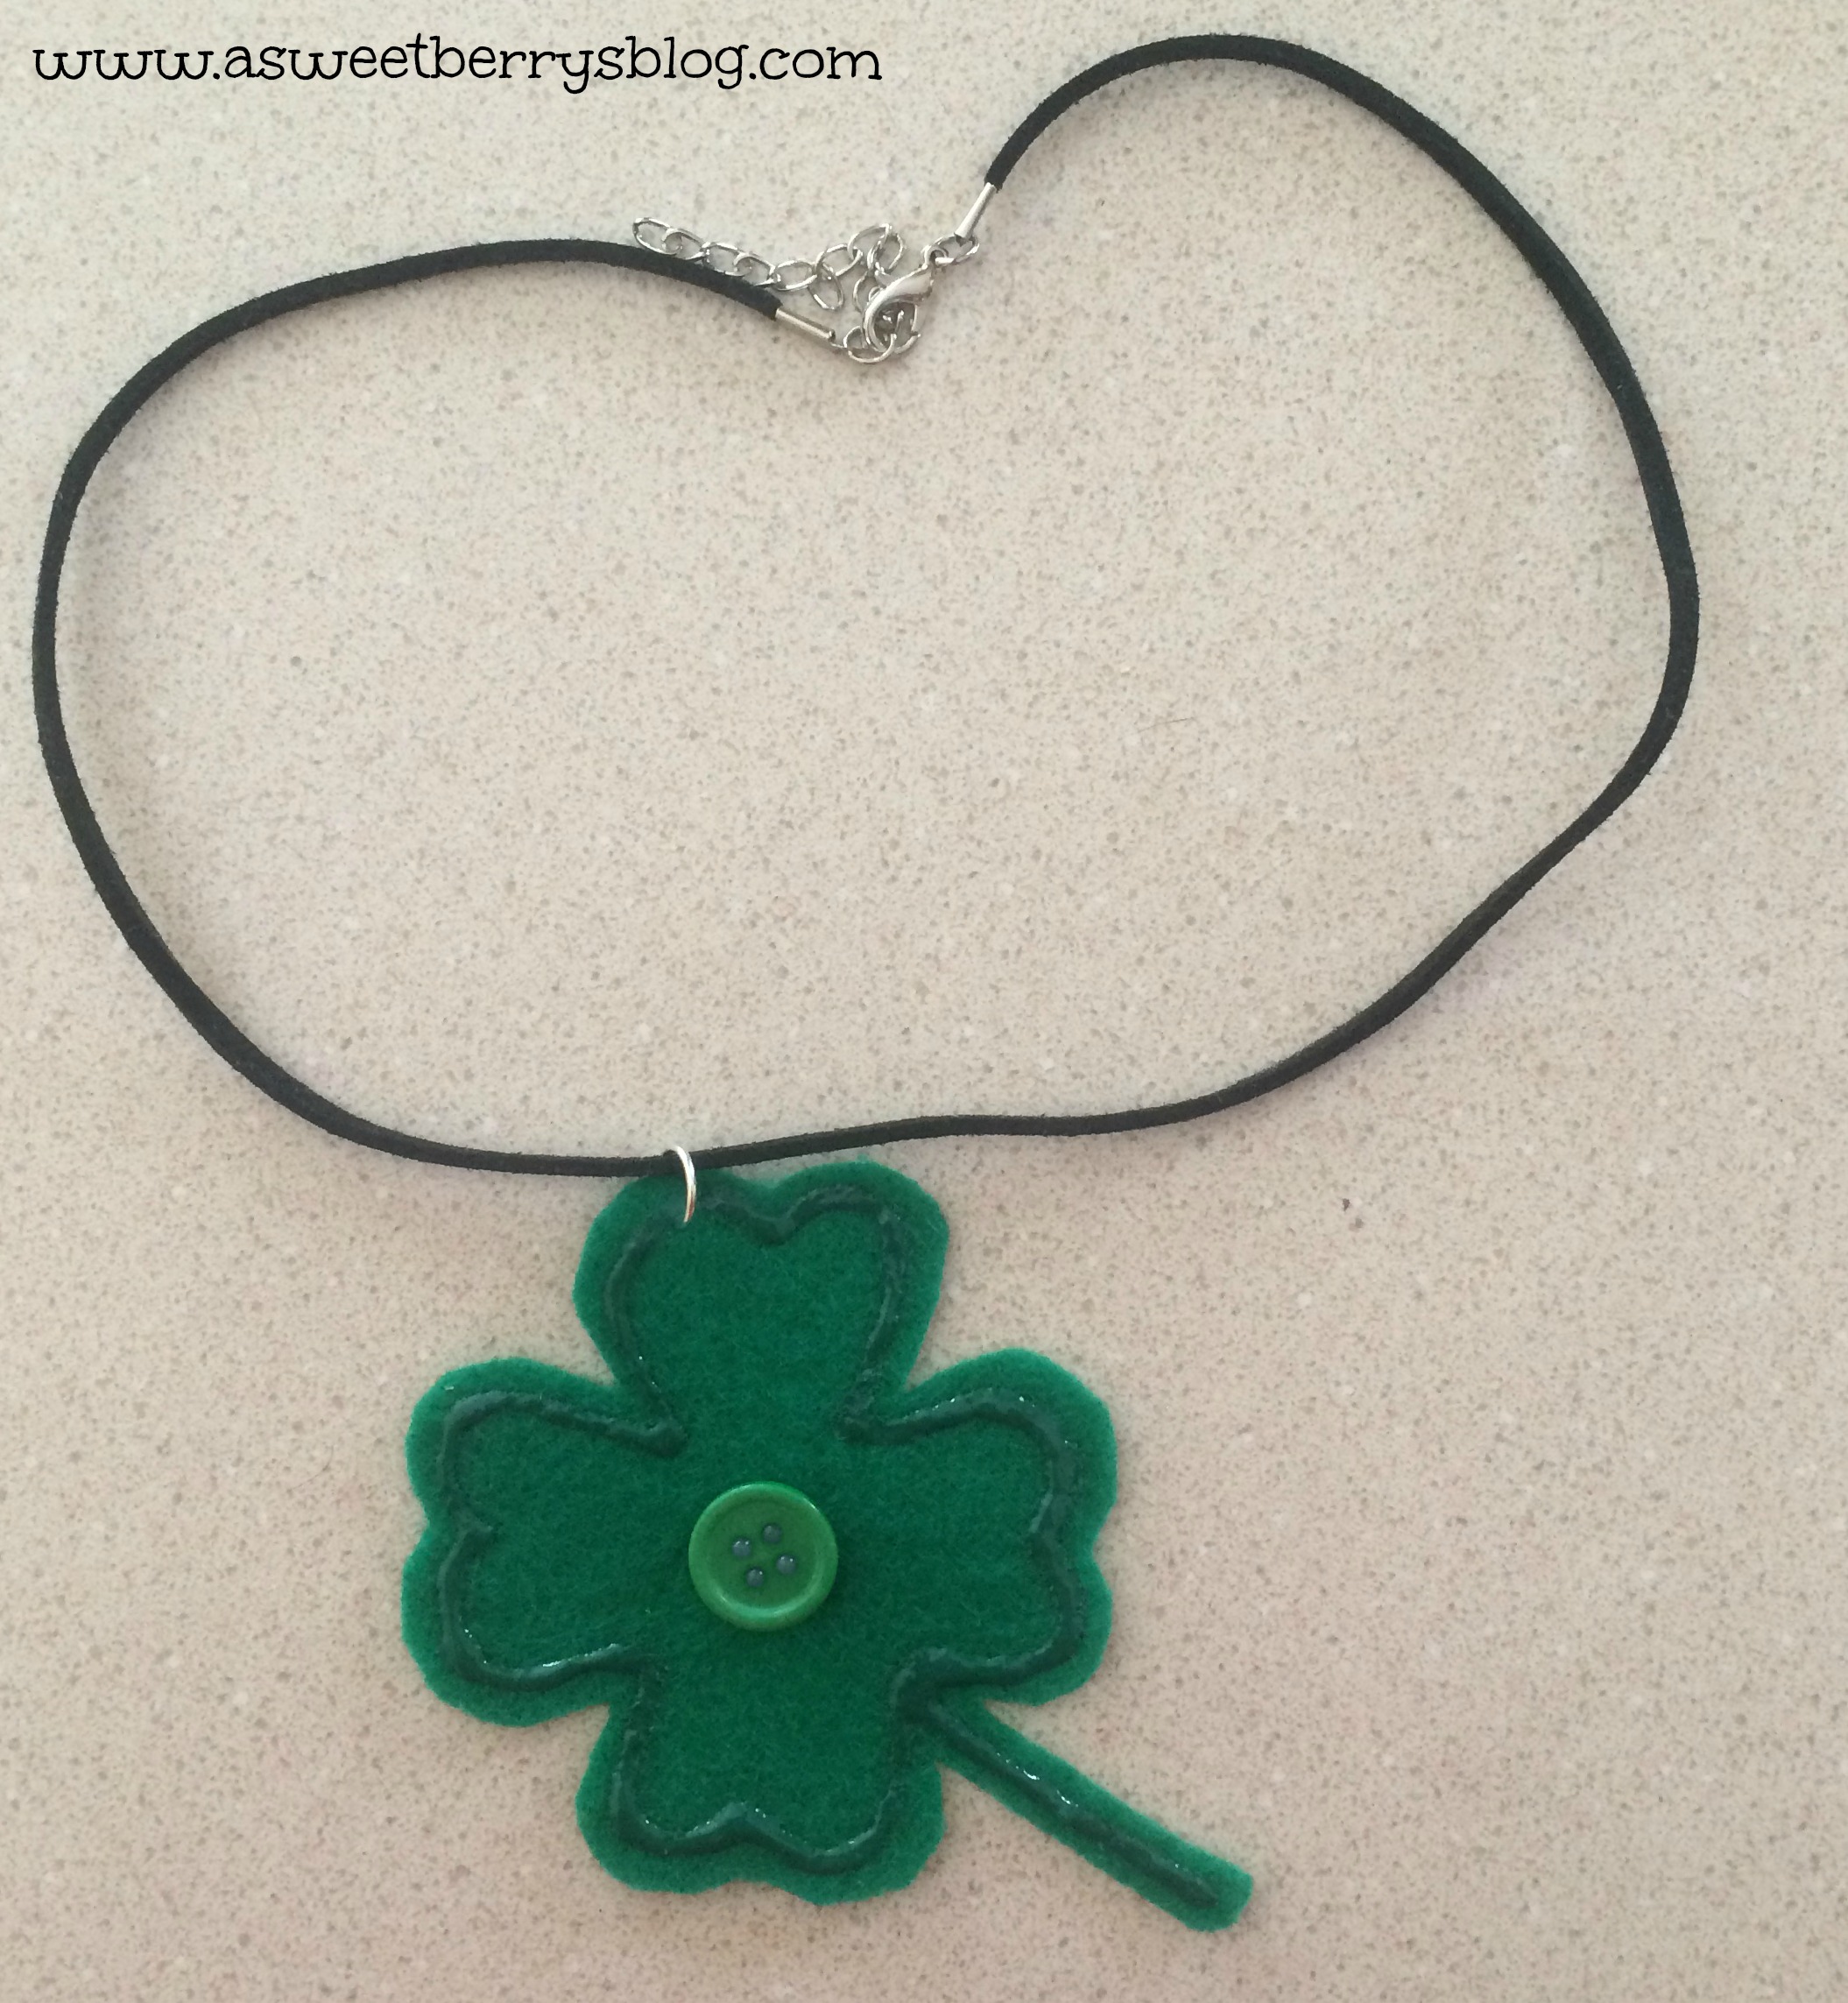
Using a jump ring, I opened it and stuck it through the top of my largest shamrock.   I used pliers to close the jump ring and then threaded the necklace through. necklace
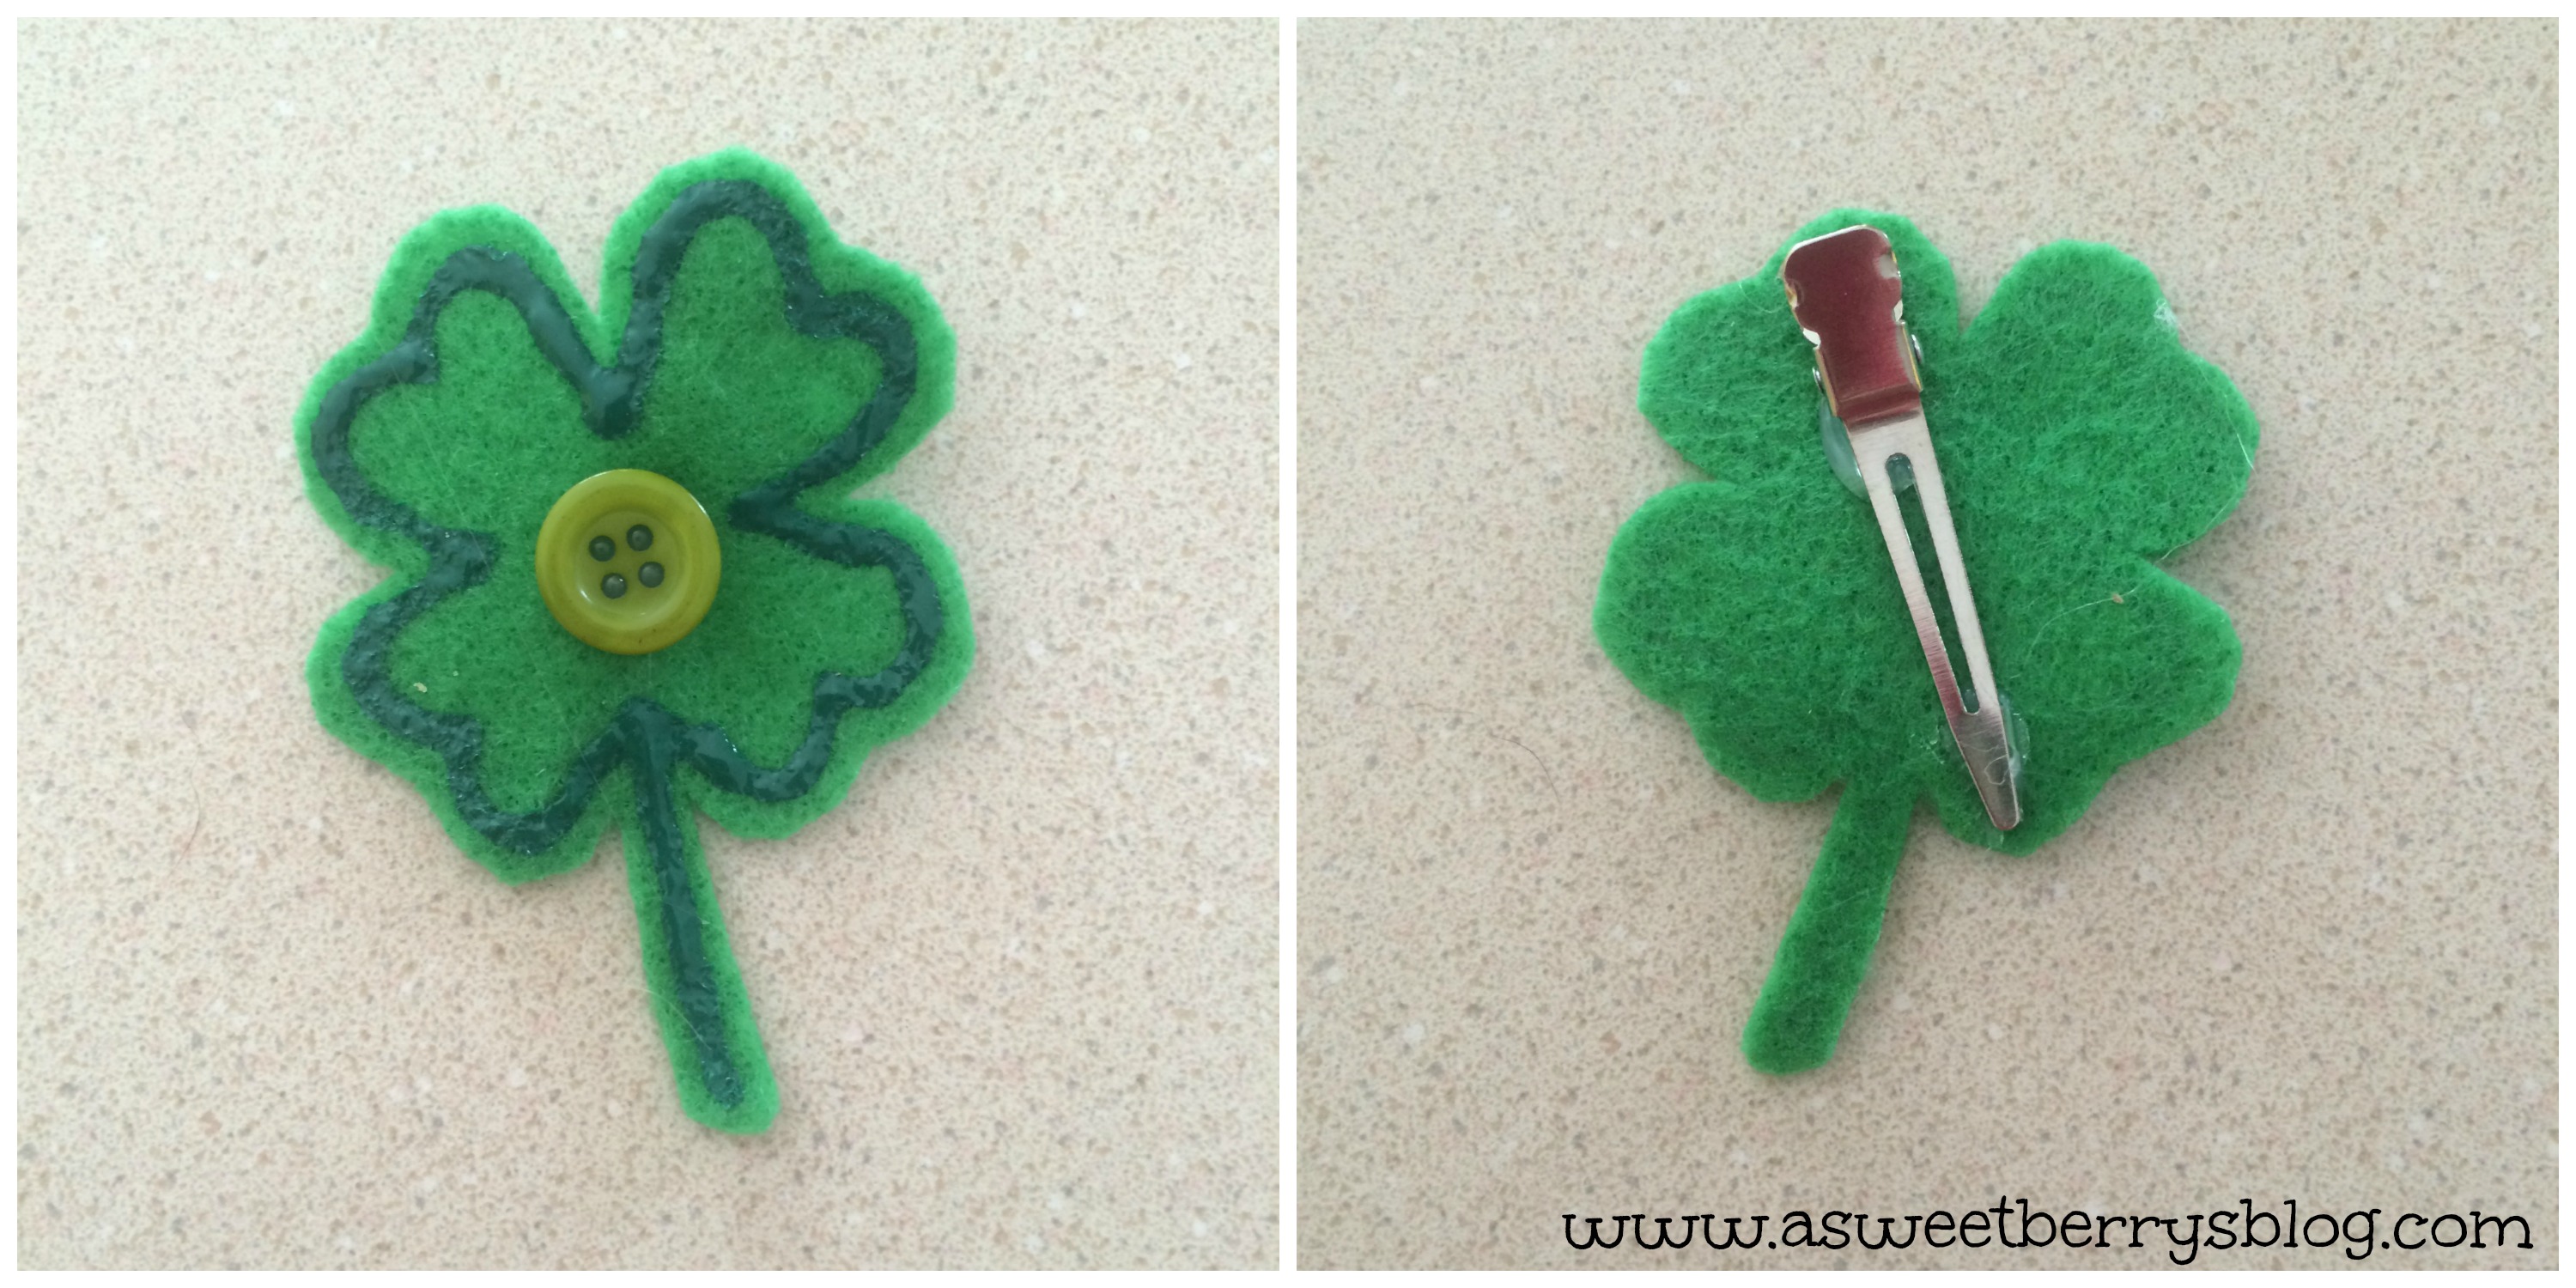
Using hot glue, I attached the alligator clip to the back of one of the middle sized shamrocks. hairbow
And I did the same with the pin back…. pin
Using earrings that I had in my jewelry making stash, I poked a hole through the felt with the end.  No jump rings necessary! earrings  Now, I know that I won’t be pinched on St. Patty’s Day!   Hope you like my quick and easy St. Patrick’s Day Jewelry!
Until next time…..

Kunin Felt Advent Calendar

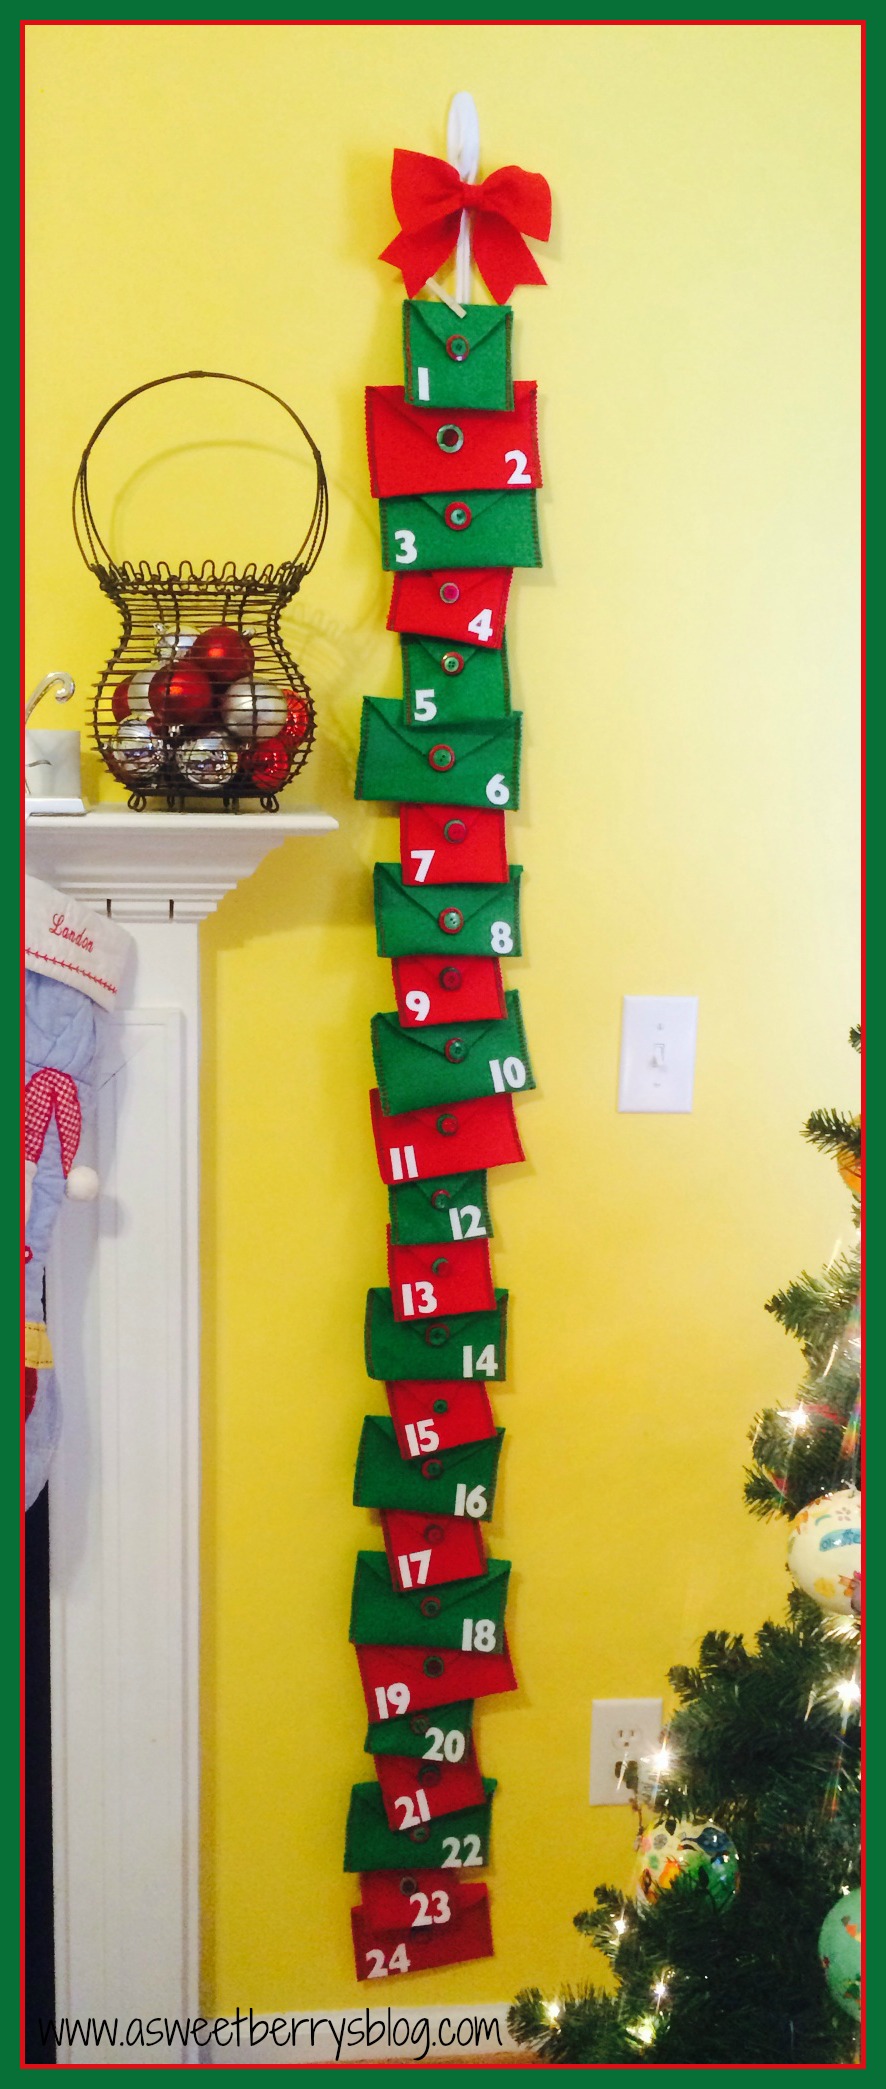
No December is complete without an Advent Calendar!   This year, I created my Advent Calendar using Felt from The Kunin Group!   My kids are super excited for December to arrive so that we can start opening them!

FINAL

materials
Materials used:
Felt from The Kunin Group (red, green, glitter white)
Sewing Machine with coordinating thread (green and red)
Envelope Patterns that I created using Adobe Illustrator
Letters that were reflected vertically that I created using Adobe Illustrator
Aleene’s Turbo Tacky Glue
Velcro
Laura Kelly Buttons from Buttons Galore & More
Heat & Bond
Pinking Shears
Scissors
Small clothes pins
Rope purchased from ACMoore

cutting
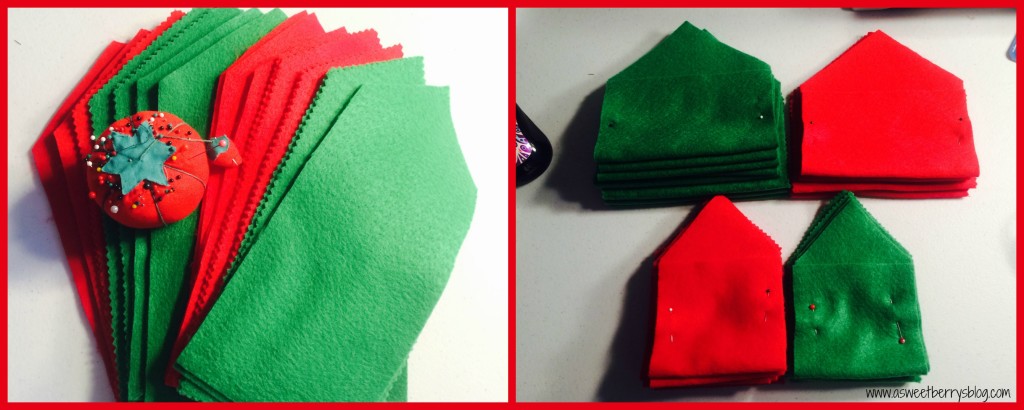
Using my envelope patterns, I cut out 24 envelopes.   I used both my regular scissors and my pinking shears just to change up the look.    Once I had them all cut out, I folded and pinned the sides to get them ready for sewing. pinning
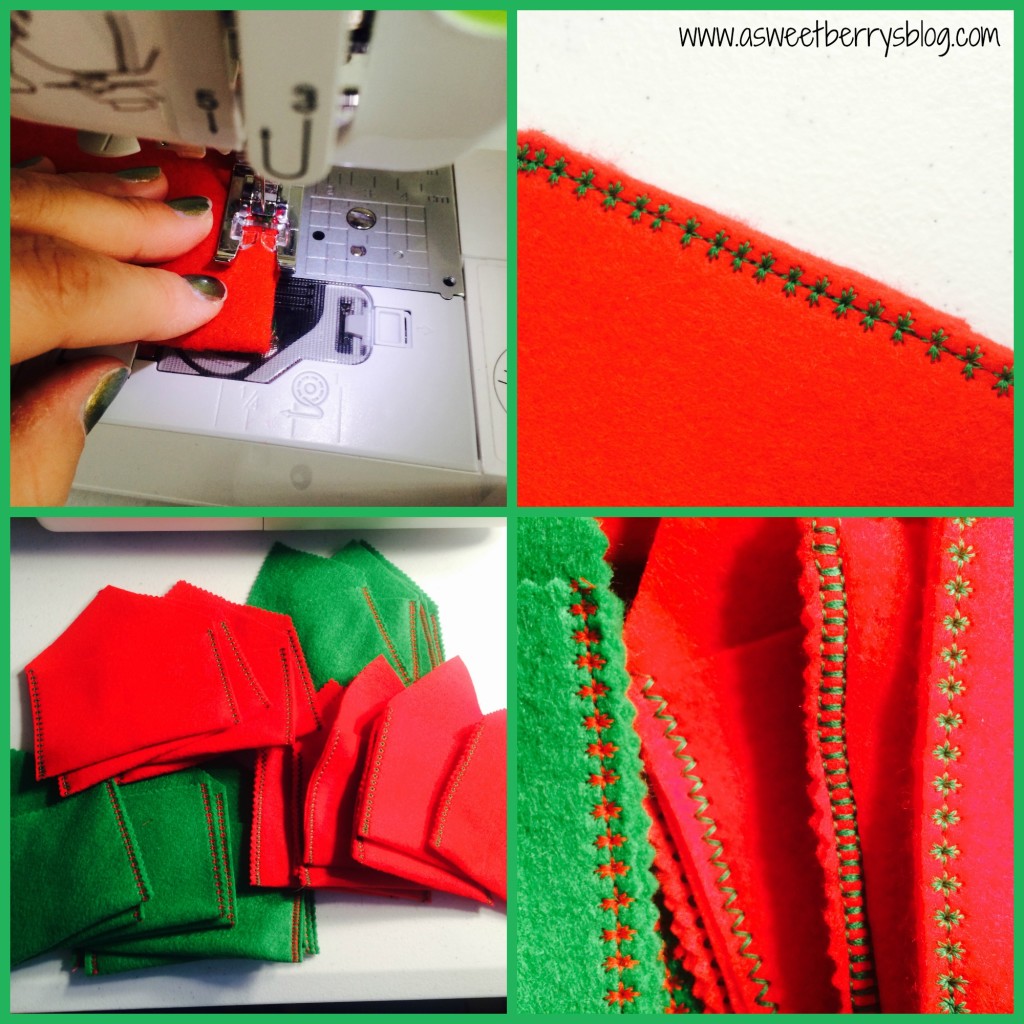
My sewing machine does all kinds of cute little patterns, so I chose a couple of designs and sewed up the sides only to the top of the sides. sewing
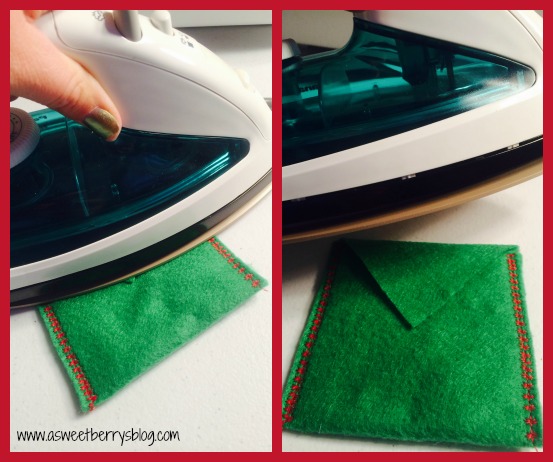
Once they were all sewn up, I used my iron to help the flap on my envelopes to stay down. ironing
I didn’t think that a whole piece of velcro was needed, so I cut them into quarters and applied them to the inside of the flap.   Keeping the velcro pieces together, I closed my envelope so that they would line up.
velcro
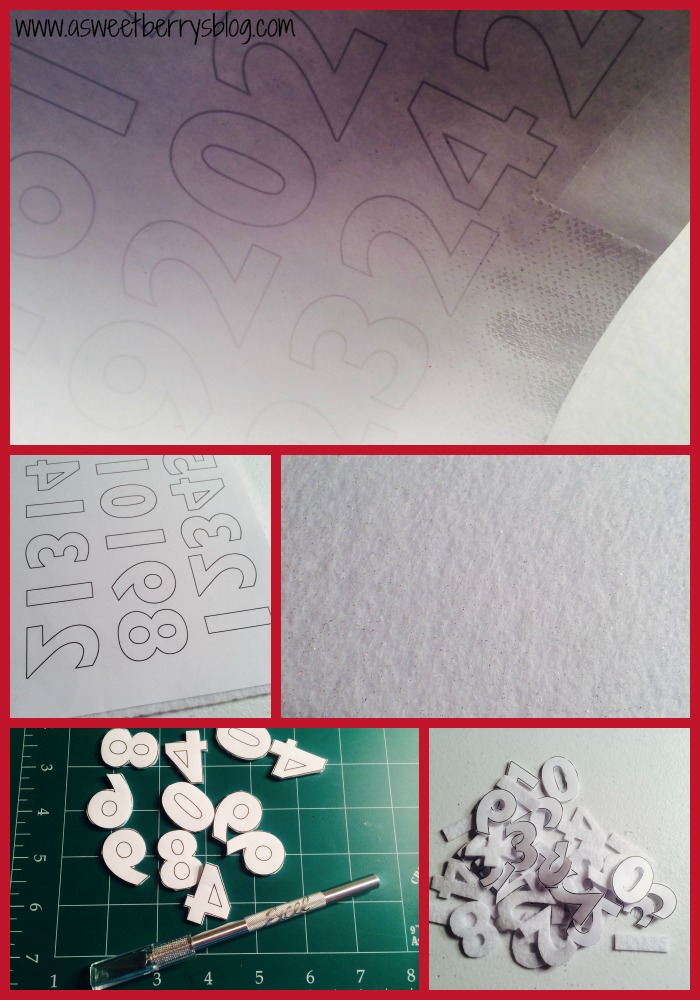
Next, I was ready to cut out my numbers!   Using Heat & Bond, I ironed it to the back of my sheet of numbers, removed the backing and then ironed it to the back of the sheet of glitter white felt.  And then they were ready to cut out!  Once they were all cut out, I used an Excel knife to cut out the inside pieces of the numbers.
numbers
I really love Laura Kelly’s buttons from Buttons Galore & More and she has a great set of Christmas colors.   I chose a read and green for each envelope, glued them using Aleene’s Turbo Tacky Glue and then glued them to the flap of the envelope.  I also glued the numbers to the envelopes.
ButtonsAndGlue
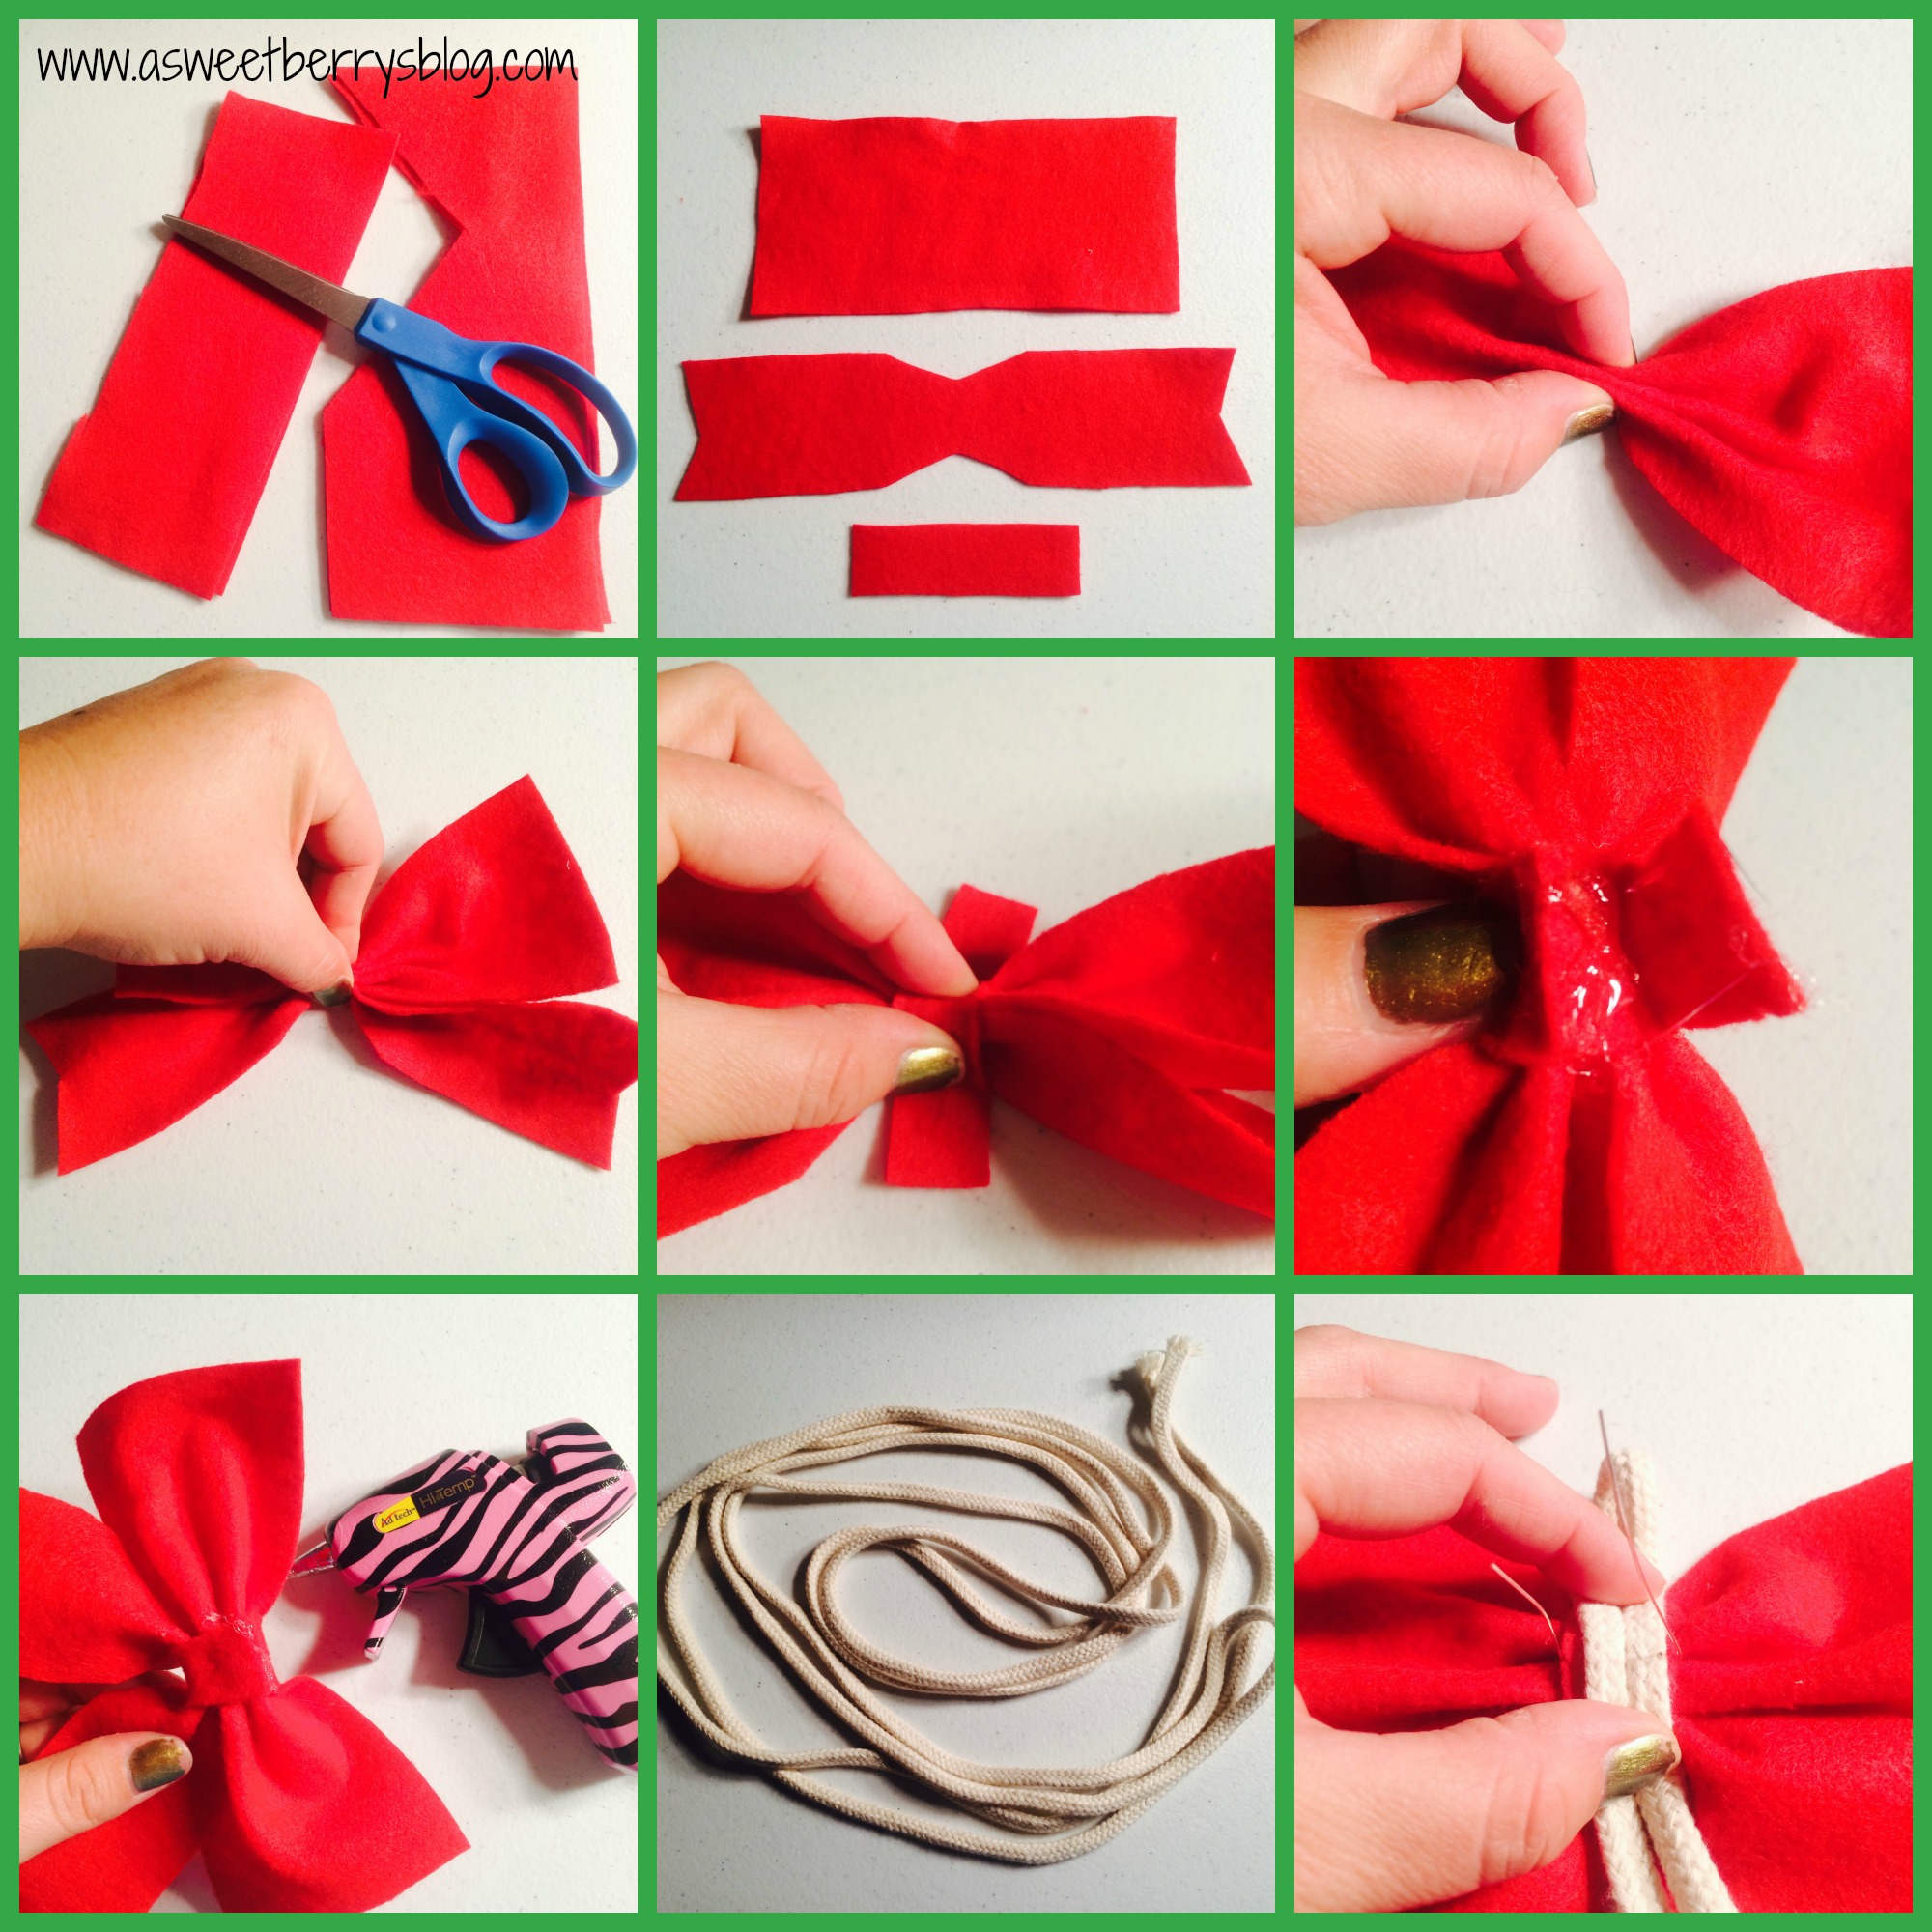
After all of my envelopes were done, I decided to make a felt bow to attach to the string where I was going to clip my envelopes. BowAndRope

Once I was done, I attached the envelopes to the rope and hung it up! advent calendar

BrokenUp

   Ready for December!   And until next time…..

Surfs Up Magnet – Sculpey Fun

As a kid, I used to love playing with clay.  Through the years, I have found several clay cups, jewelry holders, and Christmas ornaments that I made as a kid.  But I have to say, I still love working with clay as an adult.  And I love working with my kids with clay.  My favorite brand of clay is Sculpey!  Sculpey is so easy to work with, even for the kids!

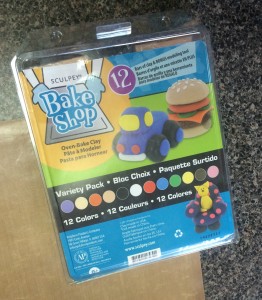
One of my favorite Sculpey products is their Bake Shop collection.  It’s super soft and easy for little fingers, such as Landon and Benjamin’s to use!  And it has a great variety colors!!

Bake Shop

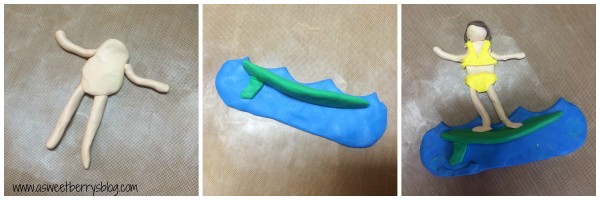
I used the Bake Shop Sculpey to create a Surfer Girl Magnet to put on my refrigerator to remind me of summer!!!!  She was super easy to create!

Steps

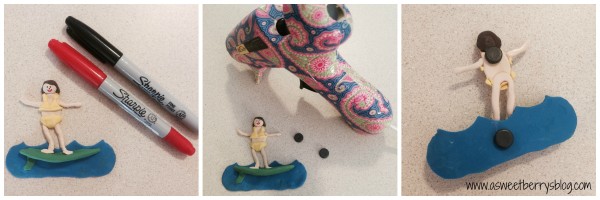
After I finished her, I baked her in the oven 275 degrees for 15 minutes, I let her cool.  Then, I drew on a face using Sharpie‘s and then using my Ad-tech glue gun, I added magnets. magnets

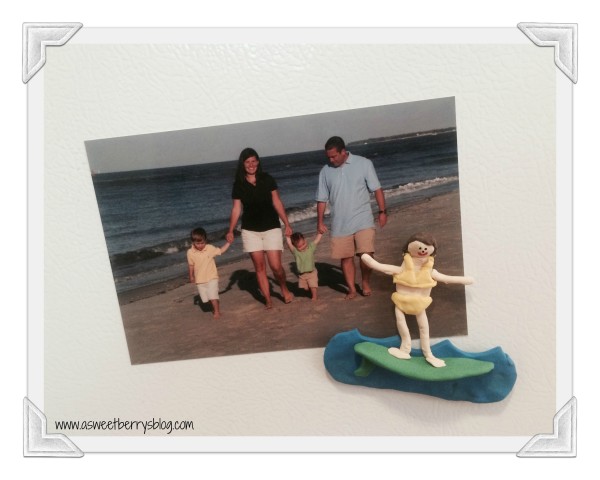
Then, I stuck my awesome yellow bikini clad surfer girl on the refrigerator with a  family beach picture.  Now I can think about the beach all year long!!!!

Final

Until next time…….