Tag Archives: Beacon

Decoupage Make A Wish Jar

Craft Lightning is here and it’s all about Decoupage! People have been using Decoupage for years and years and years. My grandmother was a big crafter and used Decoupage a lot. She is where I got my love of crafting from. I’m joining in with others to create quick and easy Decoupage projects.
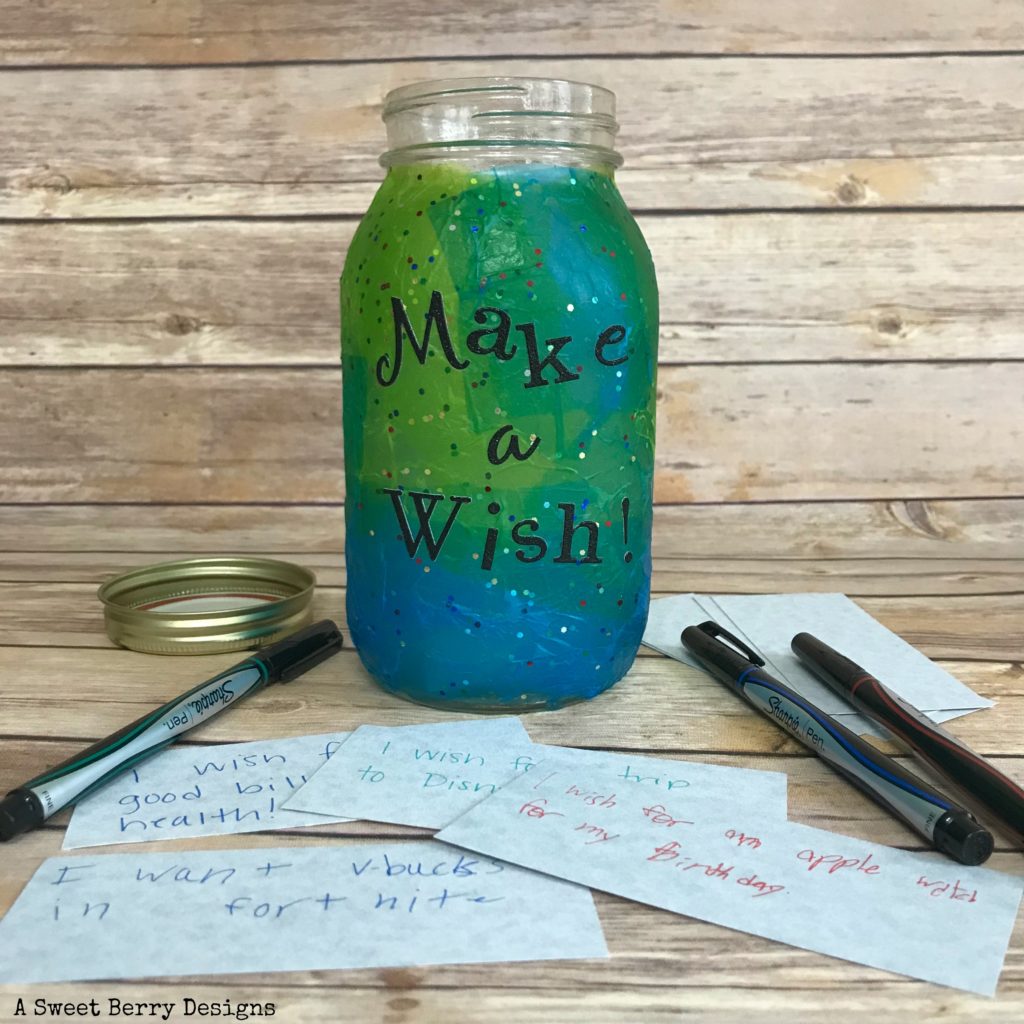
Materials used:

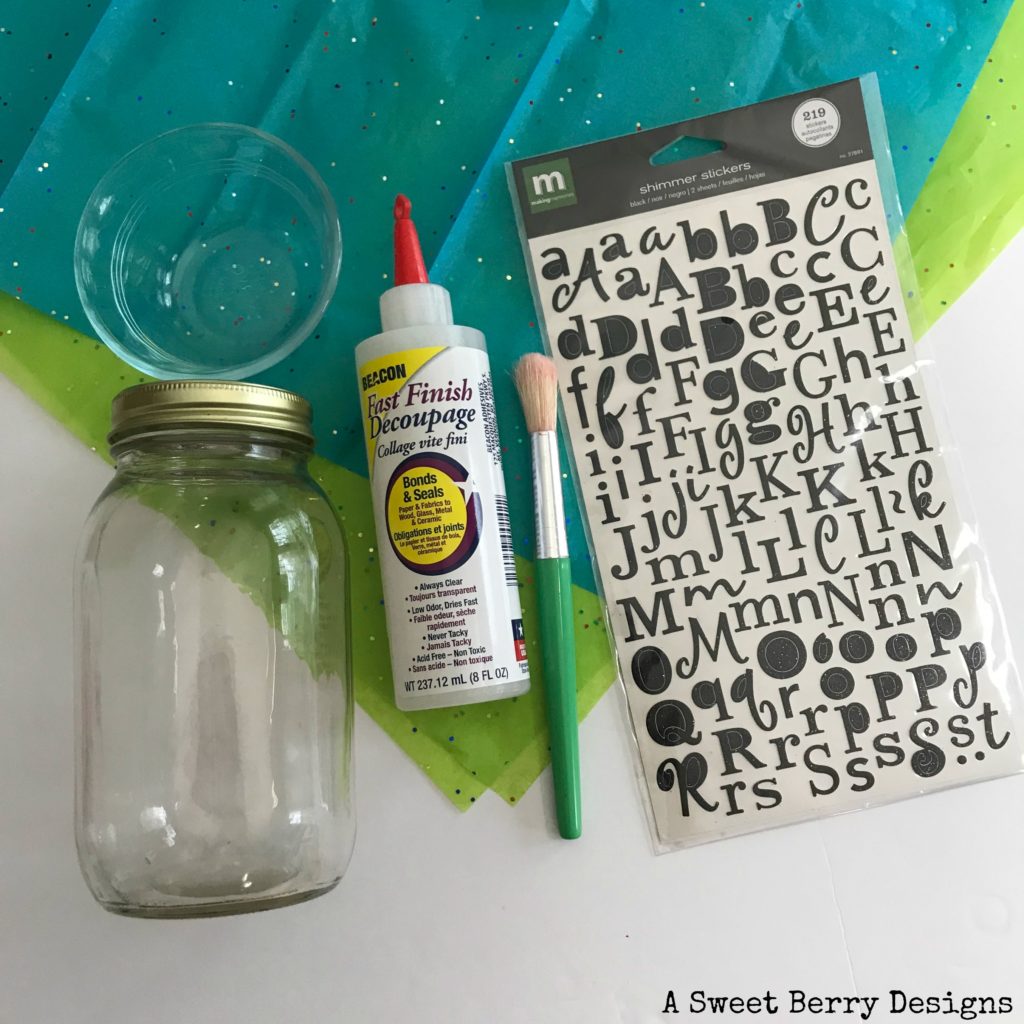
  • Mason Jar
  • Beacon’s Fast Finish Decoupage
  • Bristle Brush
  • Colorful Tissue Paper
  • A tray or bowl for your decoupage
  • Sticker or Cut Out Letters
  • Table Cloth or Paper to protect your workspace
  • Small pieces of paper and pens for wishes!
How I made it:

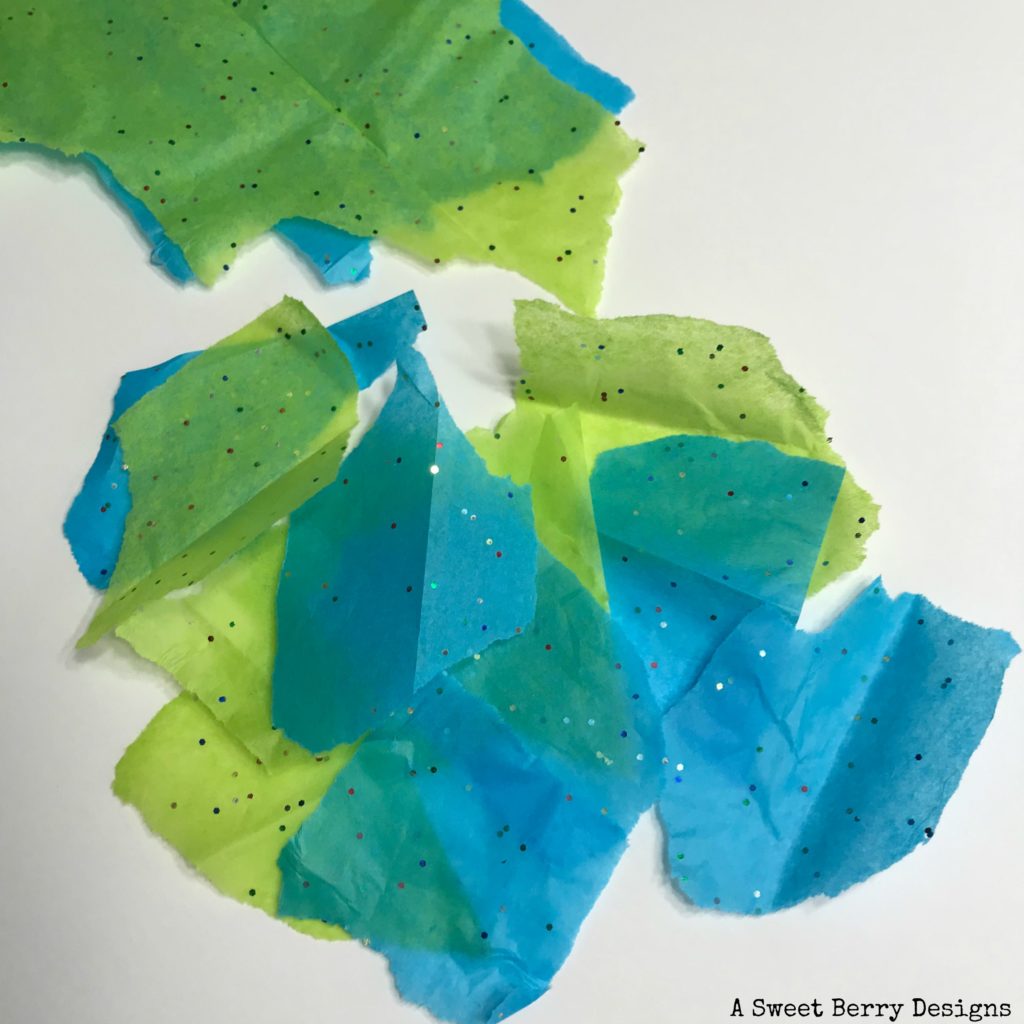
Make sure your mason jar is clean and dry. Tear your tissue paper into small pieces.
Pour Decoupage into your tray or bowl. Lightly dampen your bristle brush with water and apply a layer of the Beacon’s Fast Finish Decoupage to the jar. TIP: Do not cover the threads of the jar for the lid.

Place the small pieces of tissue paper onto the wet surface of the jar.
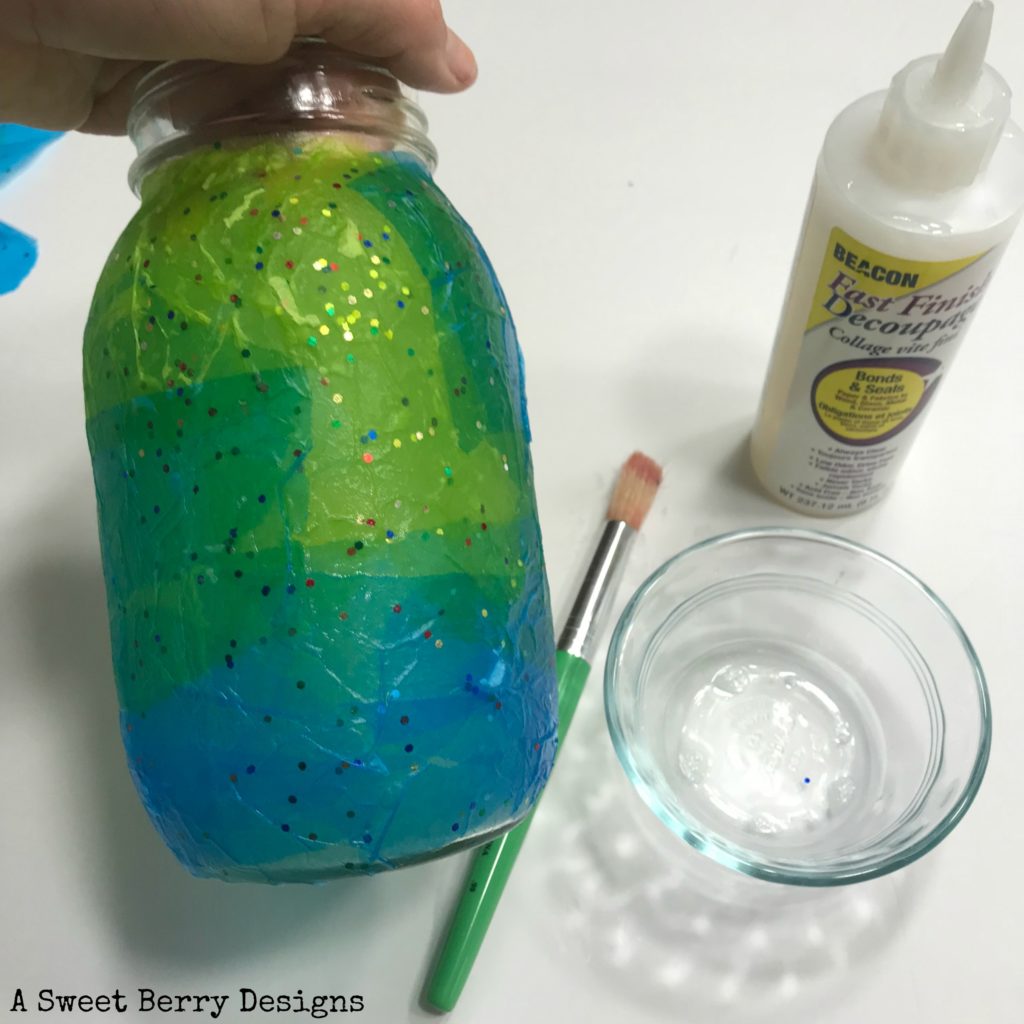
You can do one of two things…..You can take this time to apply your sticker or cut out letters or you can wait until the end. If you choose to apply them now, place them where you’d like to and then apply another layer of Decoupage over the letters and the tissue paper. If you want to apply them at the end, apply the Decoupage all over the tissue paper and allow to dry before you place the letters on the jar.

Set your jar aside to dry.
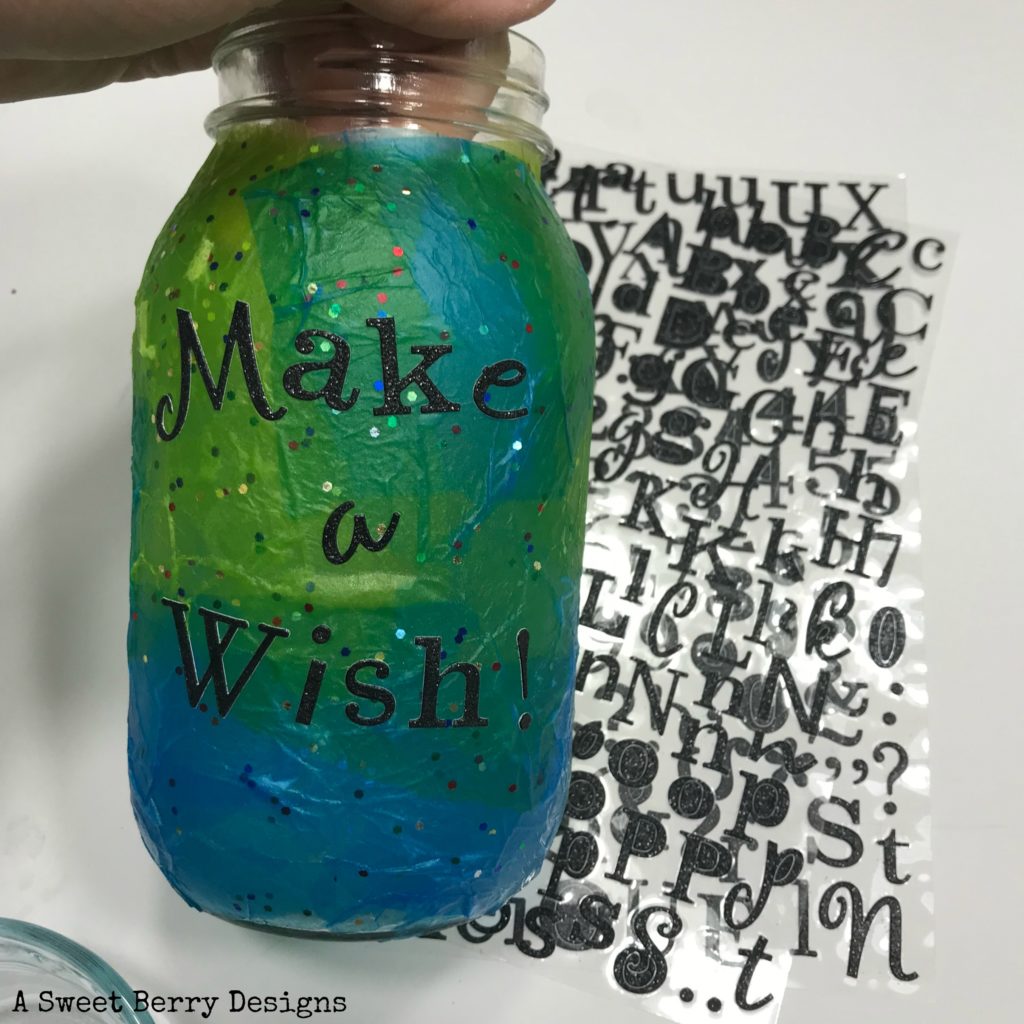
I hope you enjoyed seeing how I made this awesome Make a Wish! Wishing Jar! This was super easy and super quick. The kids could even jump in on helping make it and decorate it however! They can help cut up pieces of paper to added their wishes to! Lots of fun for the whole family and everyone can add their wishes to the jar!

Be sure to click the photo below to see other Craft Lightning Decoupage projects!


Until next time…..

Kunin Felt Love Banner

Disclosure:   This blog post contains one or more affiliate links.

It’s time for the Valentine’s Day Craft Lightning series!   And since I’m obsessed with banners lately, this was an easy one for me!  It really takes less than 15 minute and even the kids can help out with it.

Banner

Materials needed:
Sizzix Cutting Machine (I use a Big Shot)
Kunin Felt
Dies:

Felt Glue (I use Beacon’s)
Jute Rope
Clothespins (I like the medium sized ones)

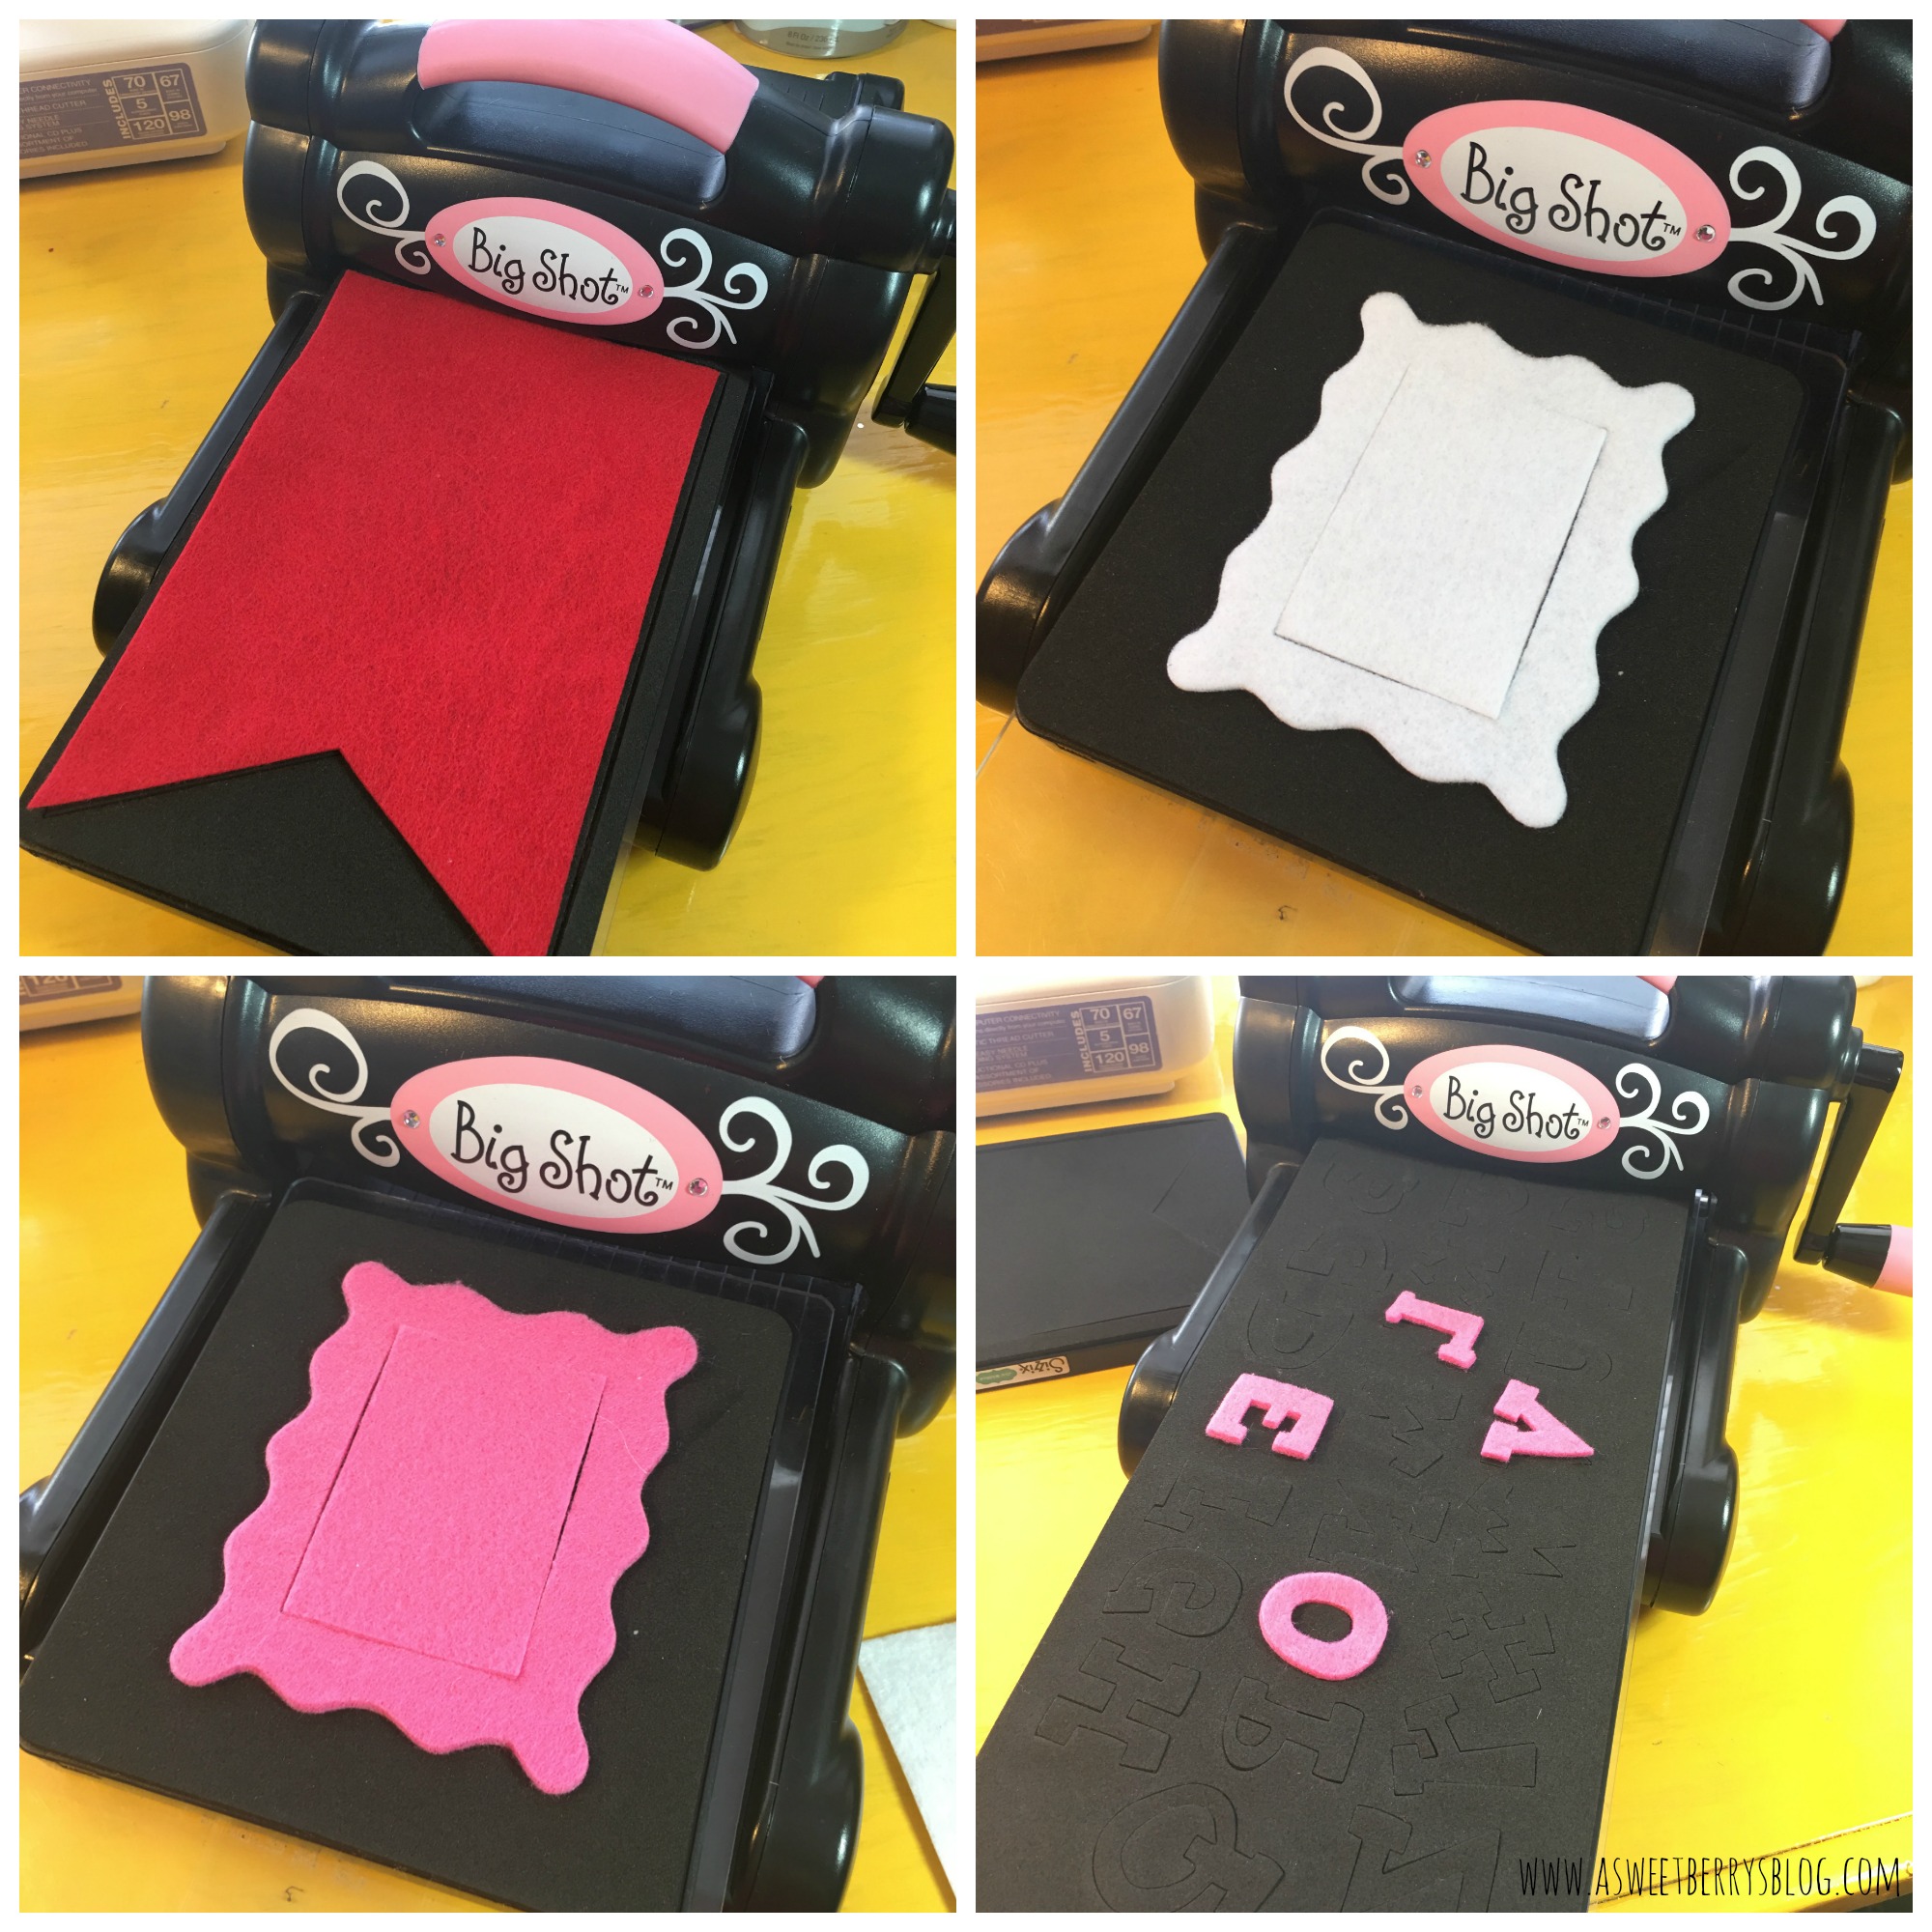
Step 1:  Using the Big Shot machine and dies, I cut all of my pieces.  Lori Whitlock’s Banner die is my favorite die ever, especially with the banner craze that I have right now!!!!   I also love Laura Kelly’s Lemonade Alphabet!   The Sizzix Wavy Frame is so versatile!   I cut the frame out in two different felt colors.  

dies

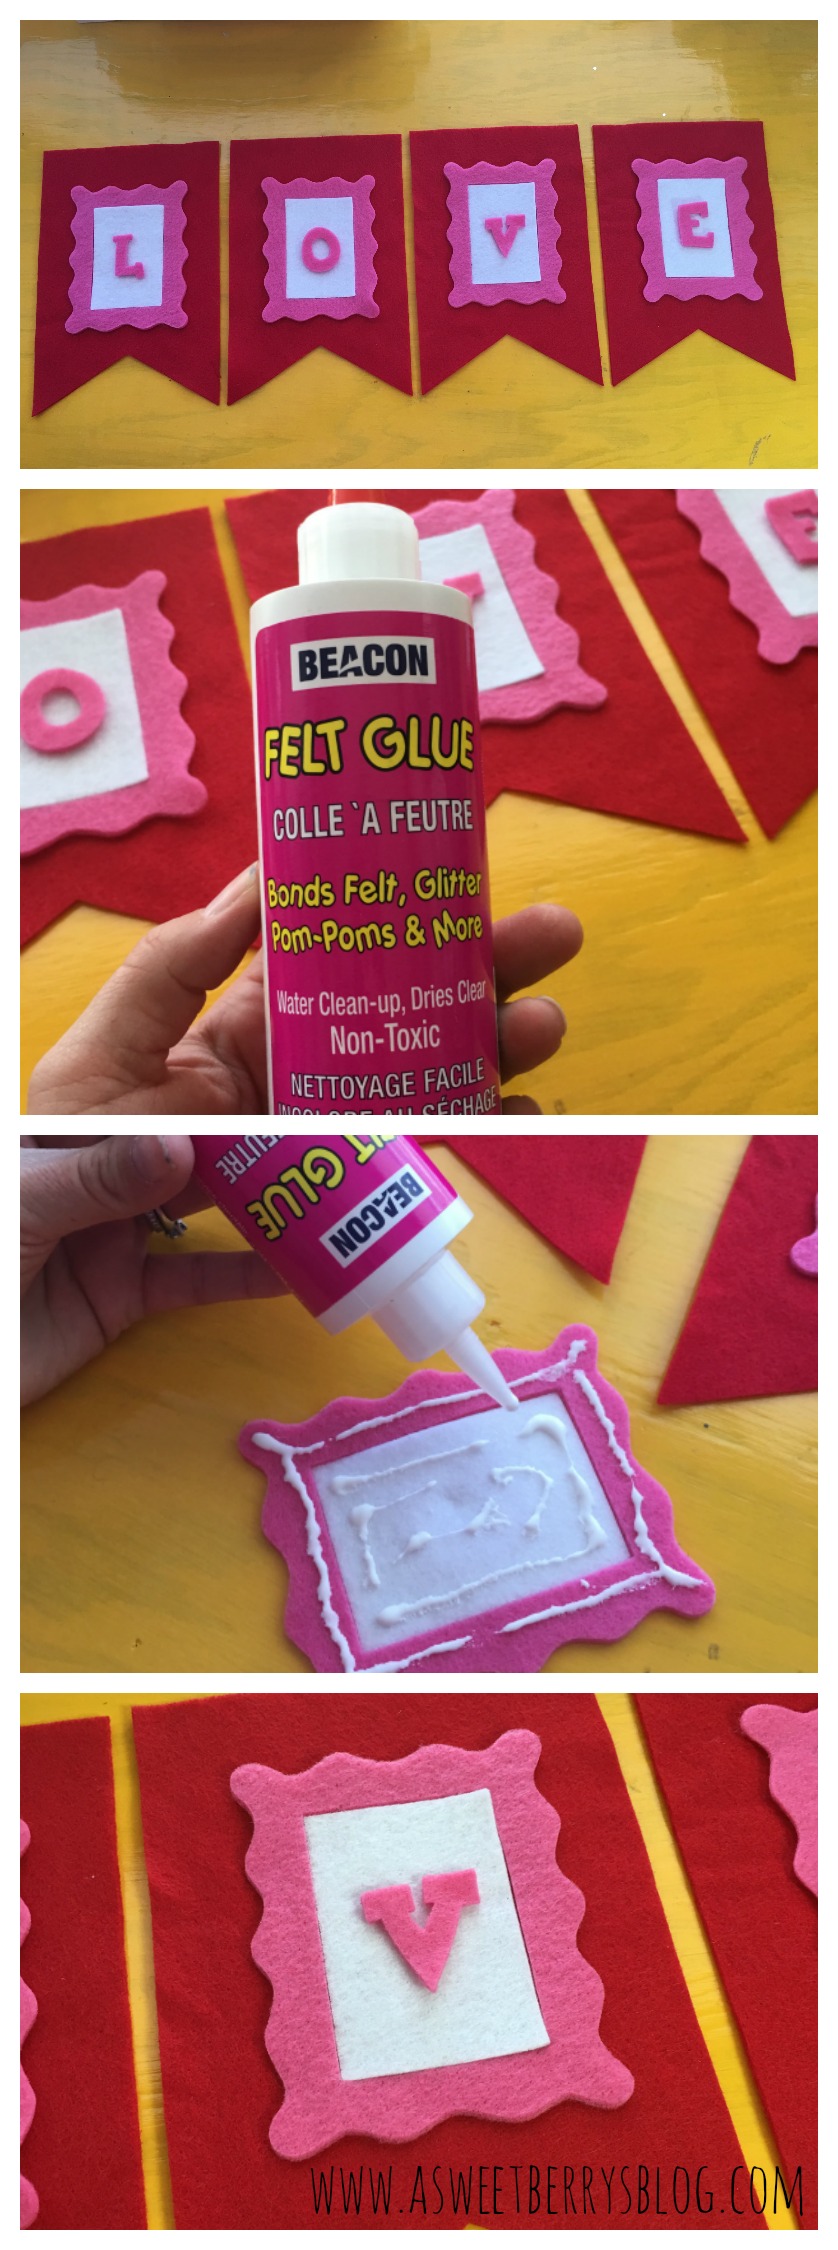
Step 2:   Lay your design out.  At first, I wasn’t going to add the inside of the frame piece, but then I decide to.  I like it!  Once you have it laid out the way you want it, glue it all down.  I glued the frames down first and then added the letters.

Glue Time

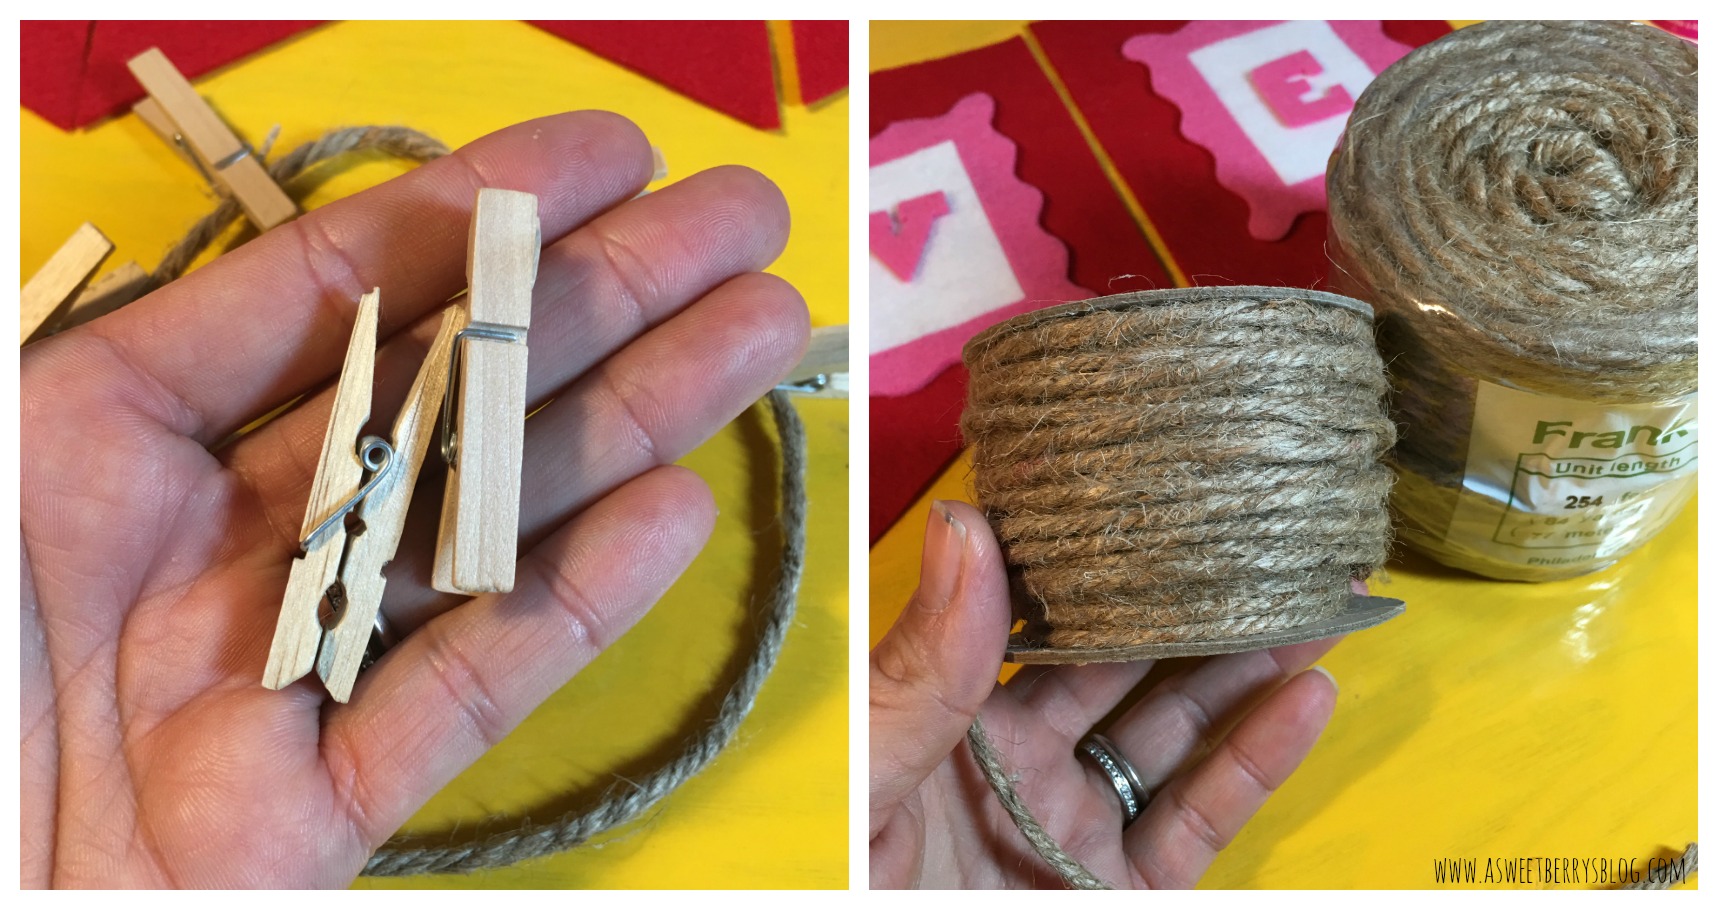
Step 3:  Let it dry and then add it to your jute rope using clothes pins.  Then hang it up!  Another option is to cut small cuts into the top of your felt banner and then slide it onto the jute rope.  I like the clothespins, simply for the fact that I like to make banners for different occasions and I can just switch them out!  I love to use Command Strips to hang up my banners.   They are easy to remove and you can put them wherever you want!

clips and rope

I hope you like this adorable LOVE banner made from Kunin Felt.  

Be sure to check out all of the other quick and easy Craft Lightning Valentine’s Day crafts by clicking the button below!!!


Katie-Signature-2

Buttons Galore & More Creations Pendant Kit


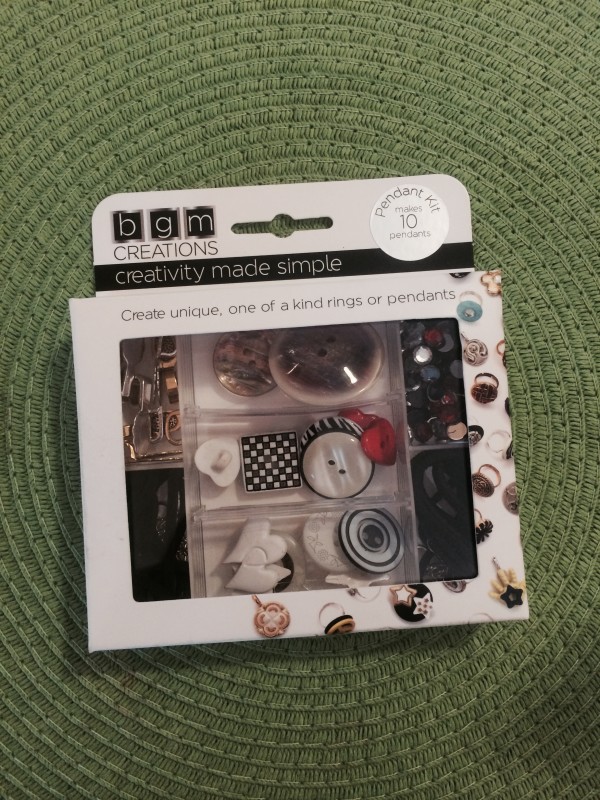
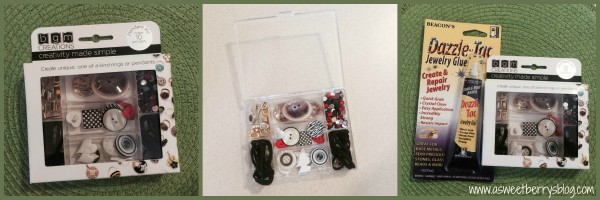
Buttons Galore & More has these really convenient Do it yourself jewelry making kits that are simple and fun!  This particular kit makes up to ten pendants for necklaces.  Everything is included except for the adhesive!  And the kit comes in a clear reusable box.

IMG_1440

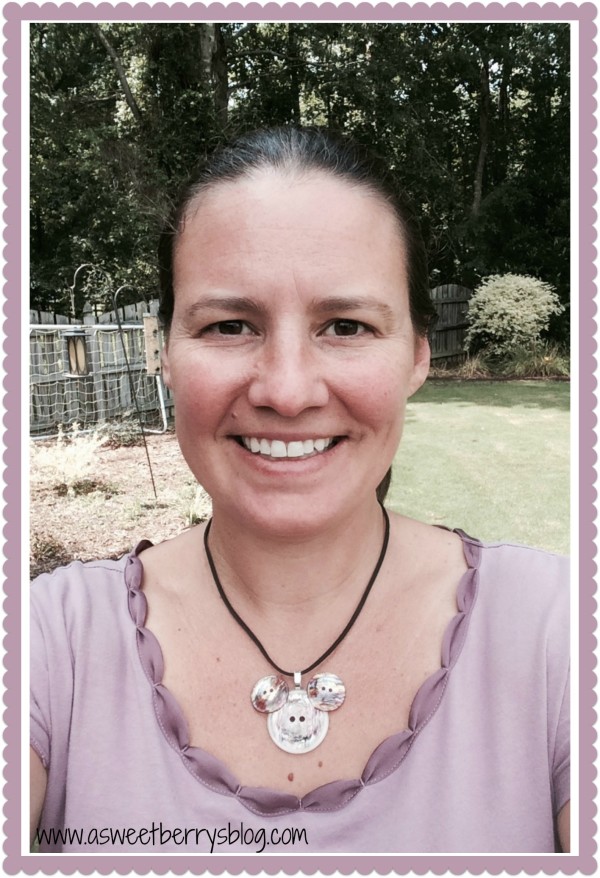
We are gearing up to go to Disney in the fall and I used that as my inspiration for the pendants that I created!

Final with me

The adhesive that I used was Beacon’s Dazzle-Tac Jewelry Glue.

BGM Kit pics

First, I came us with the pendants that I wanted to create.

before

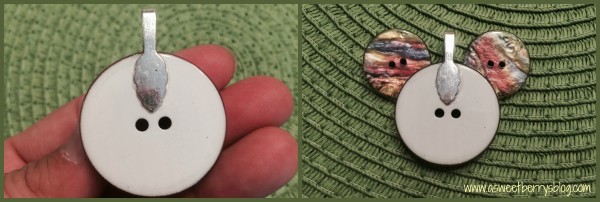
Using the adhesive, I attached the silver bail to the back of the buttons.   For this pendant, I added two buttons to the front of the big button to make it look like Mickey Mouse!!!

process

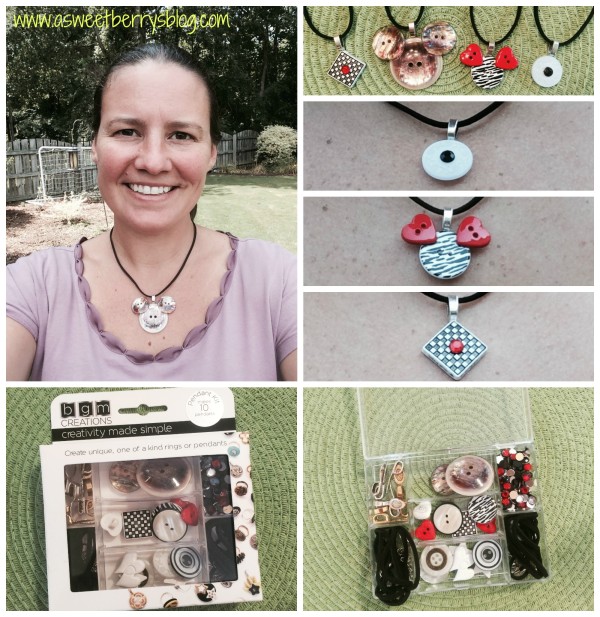
Check out the pendants that I came up with!   Two Mickey Mouse inspired pendants and two simple pendants!   Then I added them to the black cords that were included!

BGM Kit

Until next time……..

katie-asweetberry

Halloween Popcorn Blog Hop

Halloween is just around the corner and will be here before we know it!

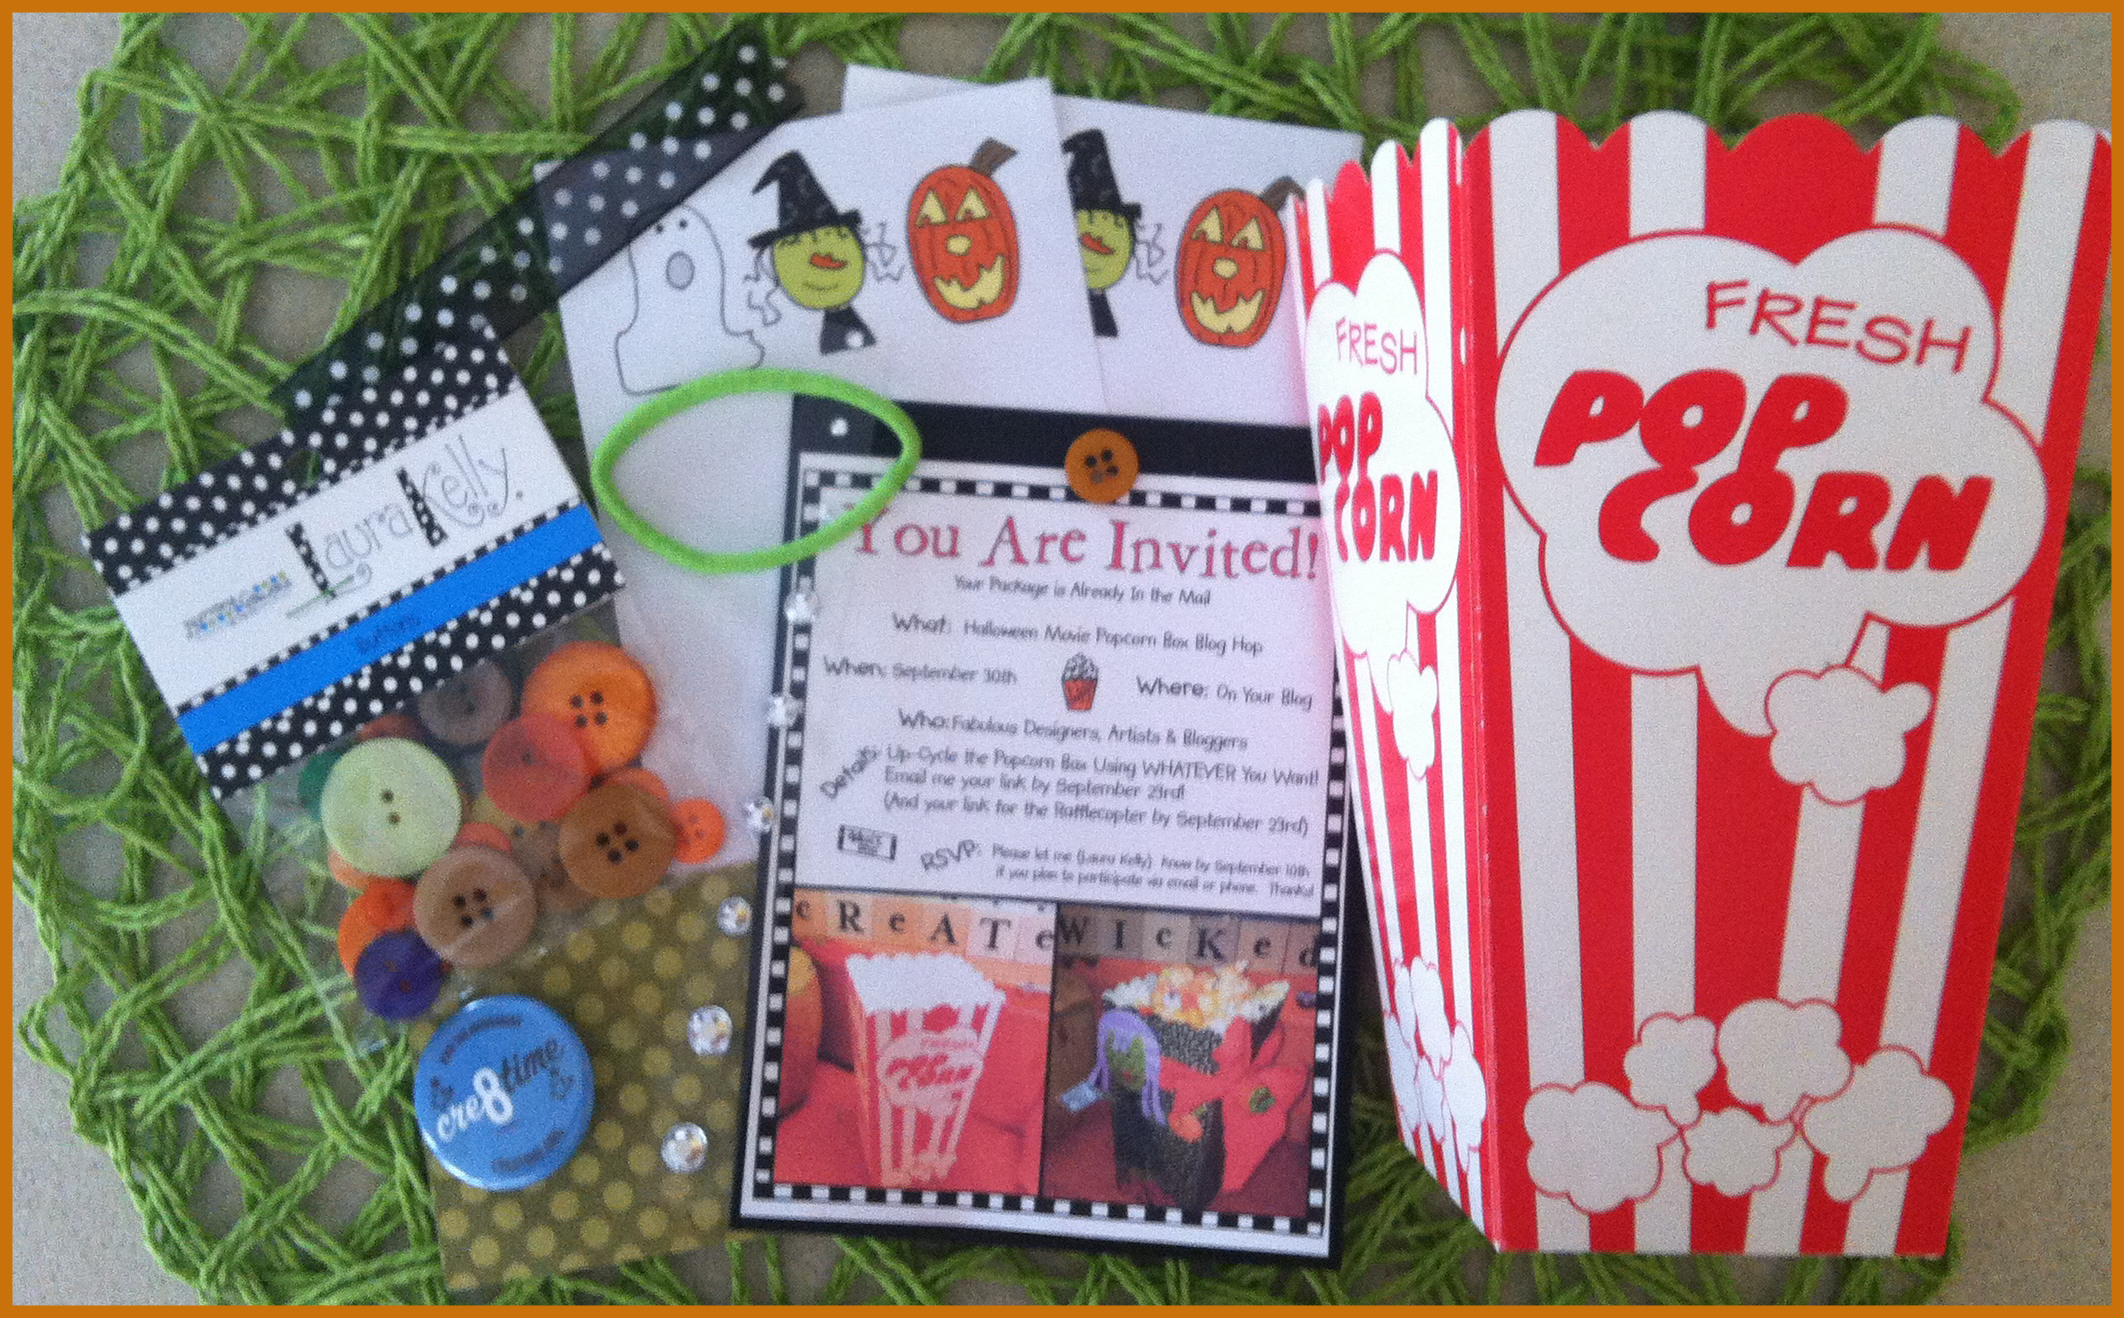
My friend, Laura Kelly put together this cute and creative blog hop, sending out an envelope of goodies which included a popcorn box and some embellishments to go with it.  package
In our directions for this blog hop, it said:

“The objective is to create in whatever way you like best with whatever products you like to feature and simply be a part of something fun…something that connects your passion to those passions of others.”

So, with that being said, I decided to use some things I had lying around in my craft area.

picstitch3

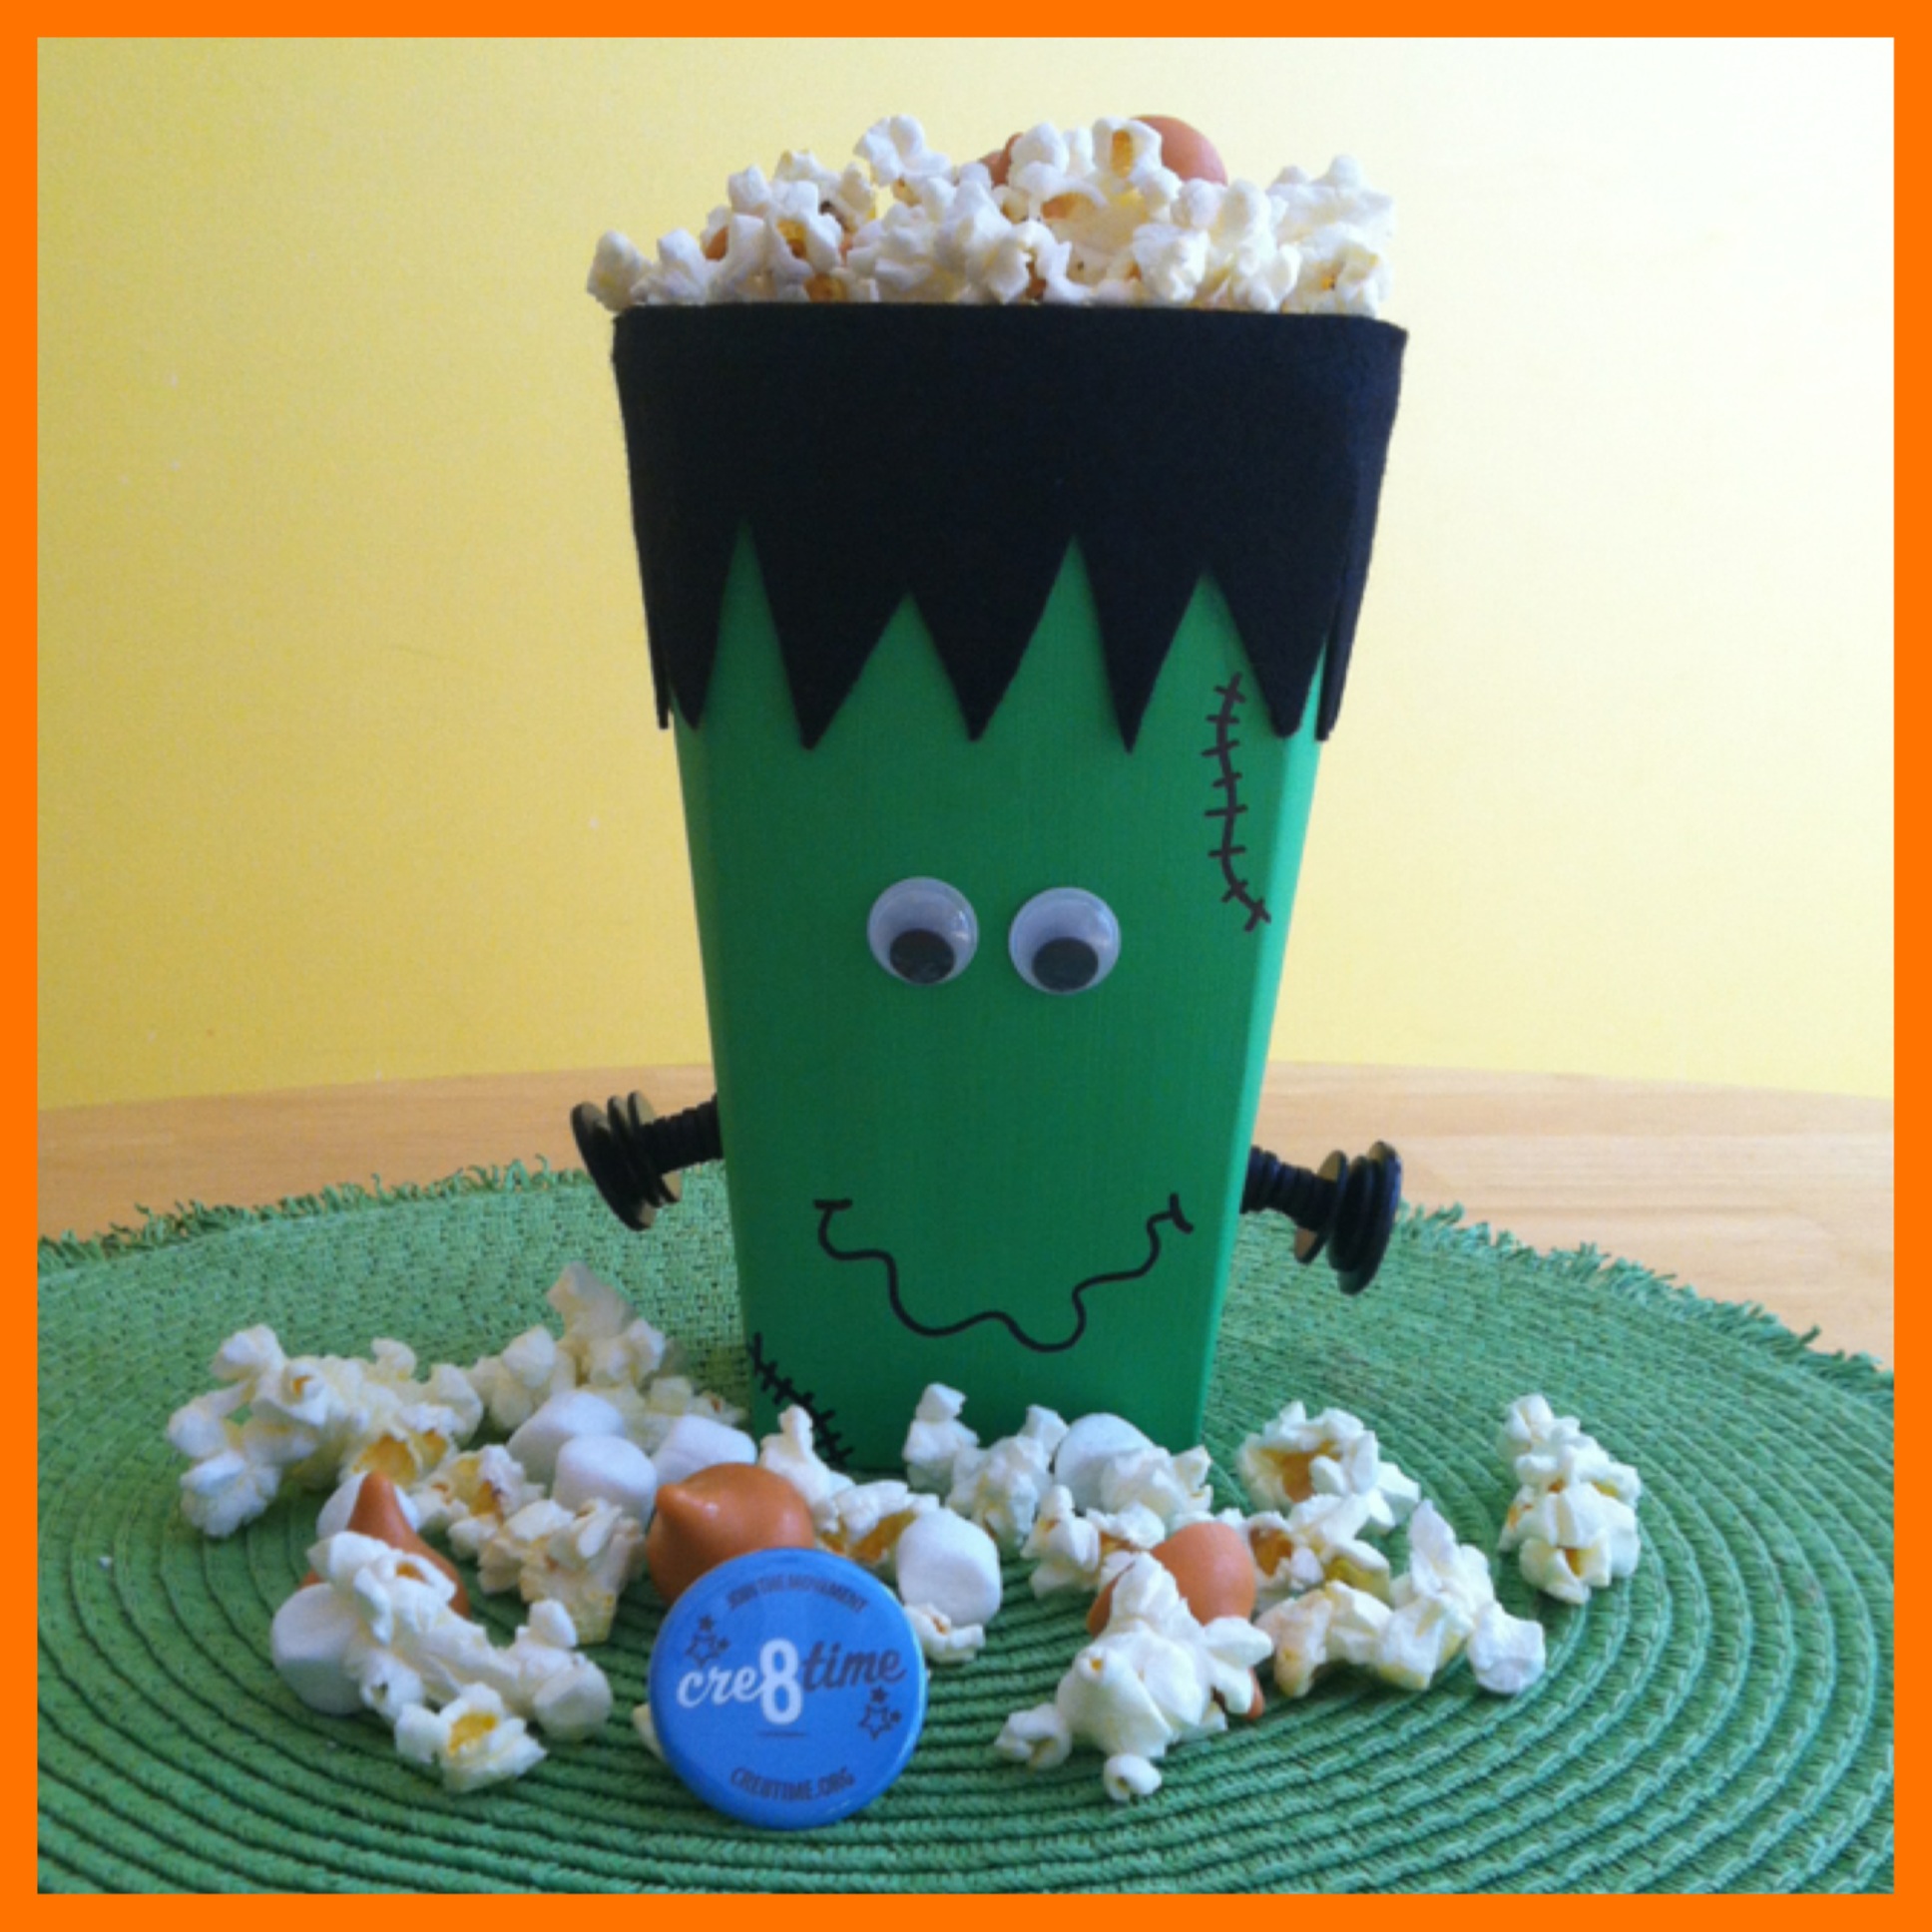
I decided to make a Frankenstein Popcorn Box!

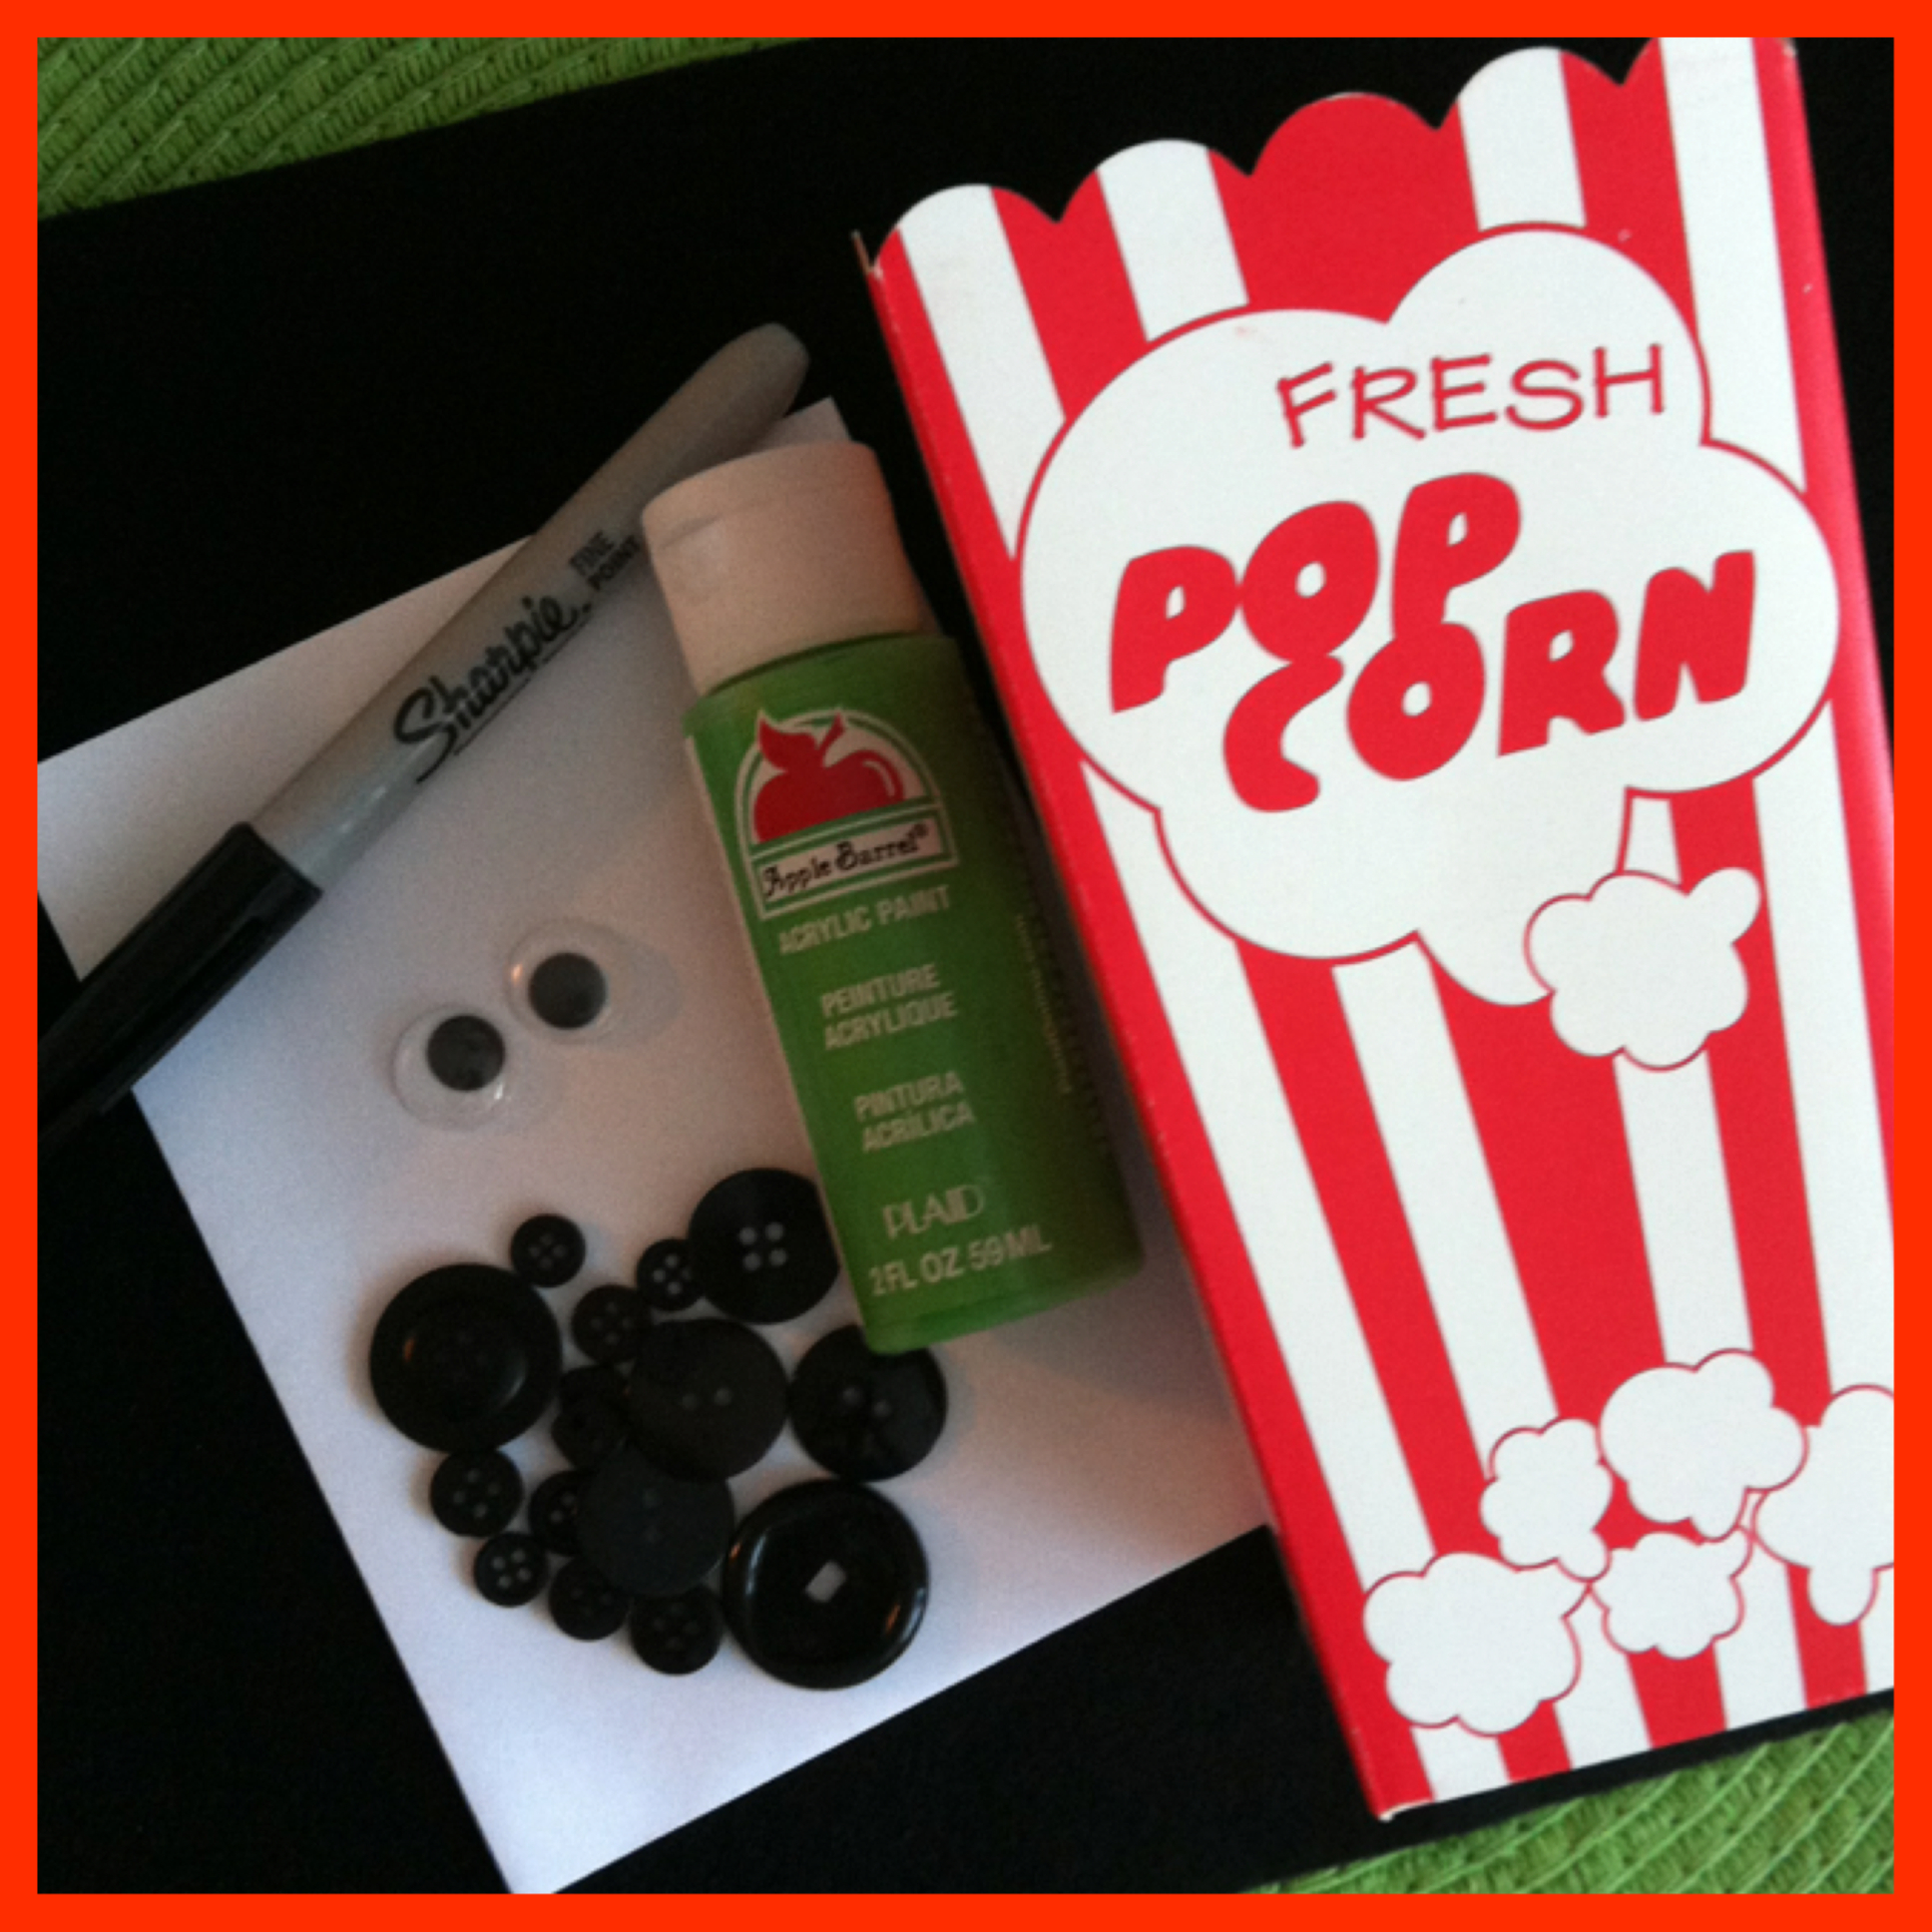
Materials used:

The Popcorn box, provided by Laura

Black Buttons from Laura Kelly’s mix buttons from Buttons Galore & More

Apple Barrel Spring Green Acrylic Paint by Plaid

Googly eyes

Black felt, purchased from JoAnn Stores

Beacon’s 527 Multi-use Glue

Mini Glue Dots

Fiskars Scissors

Black Sharpie Marker

a paint brush

Instructions:

1.  I painted the popcorn box green.  I did three coats (letting it dry between coats) to make sure everything on the box was covered up.

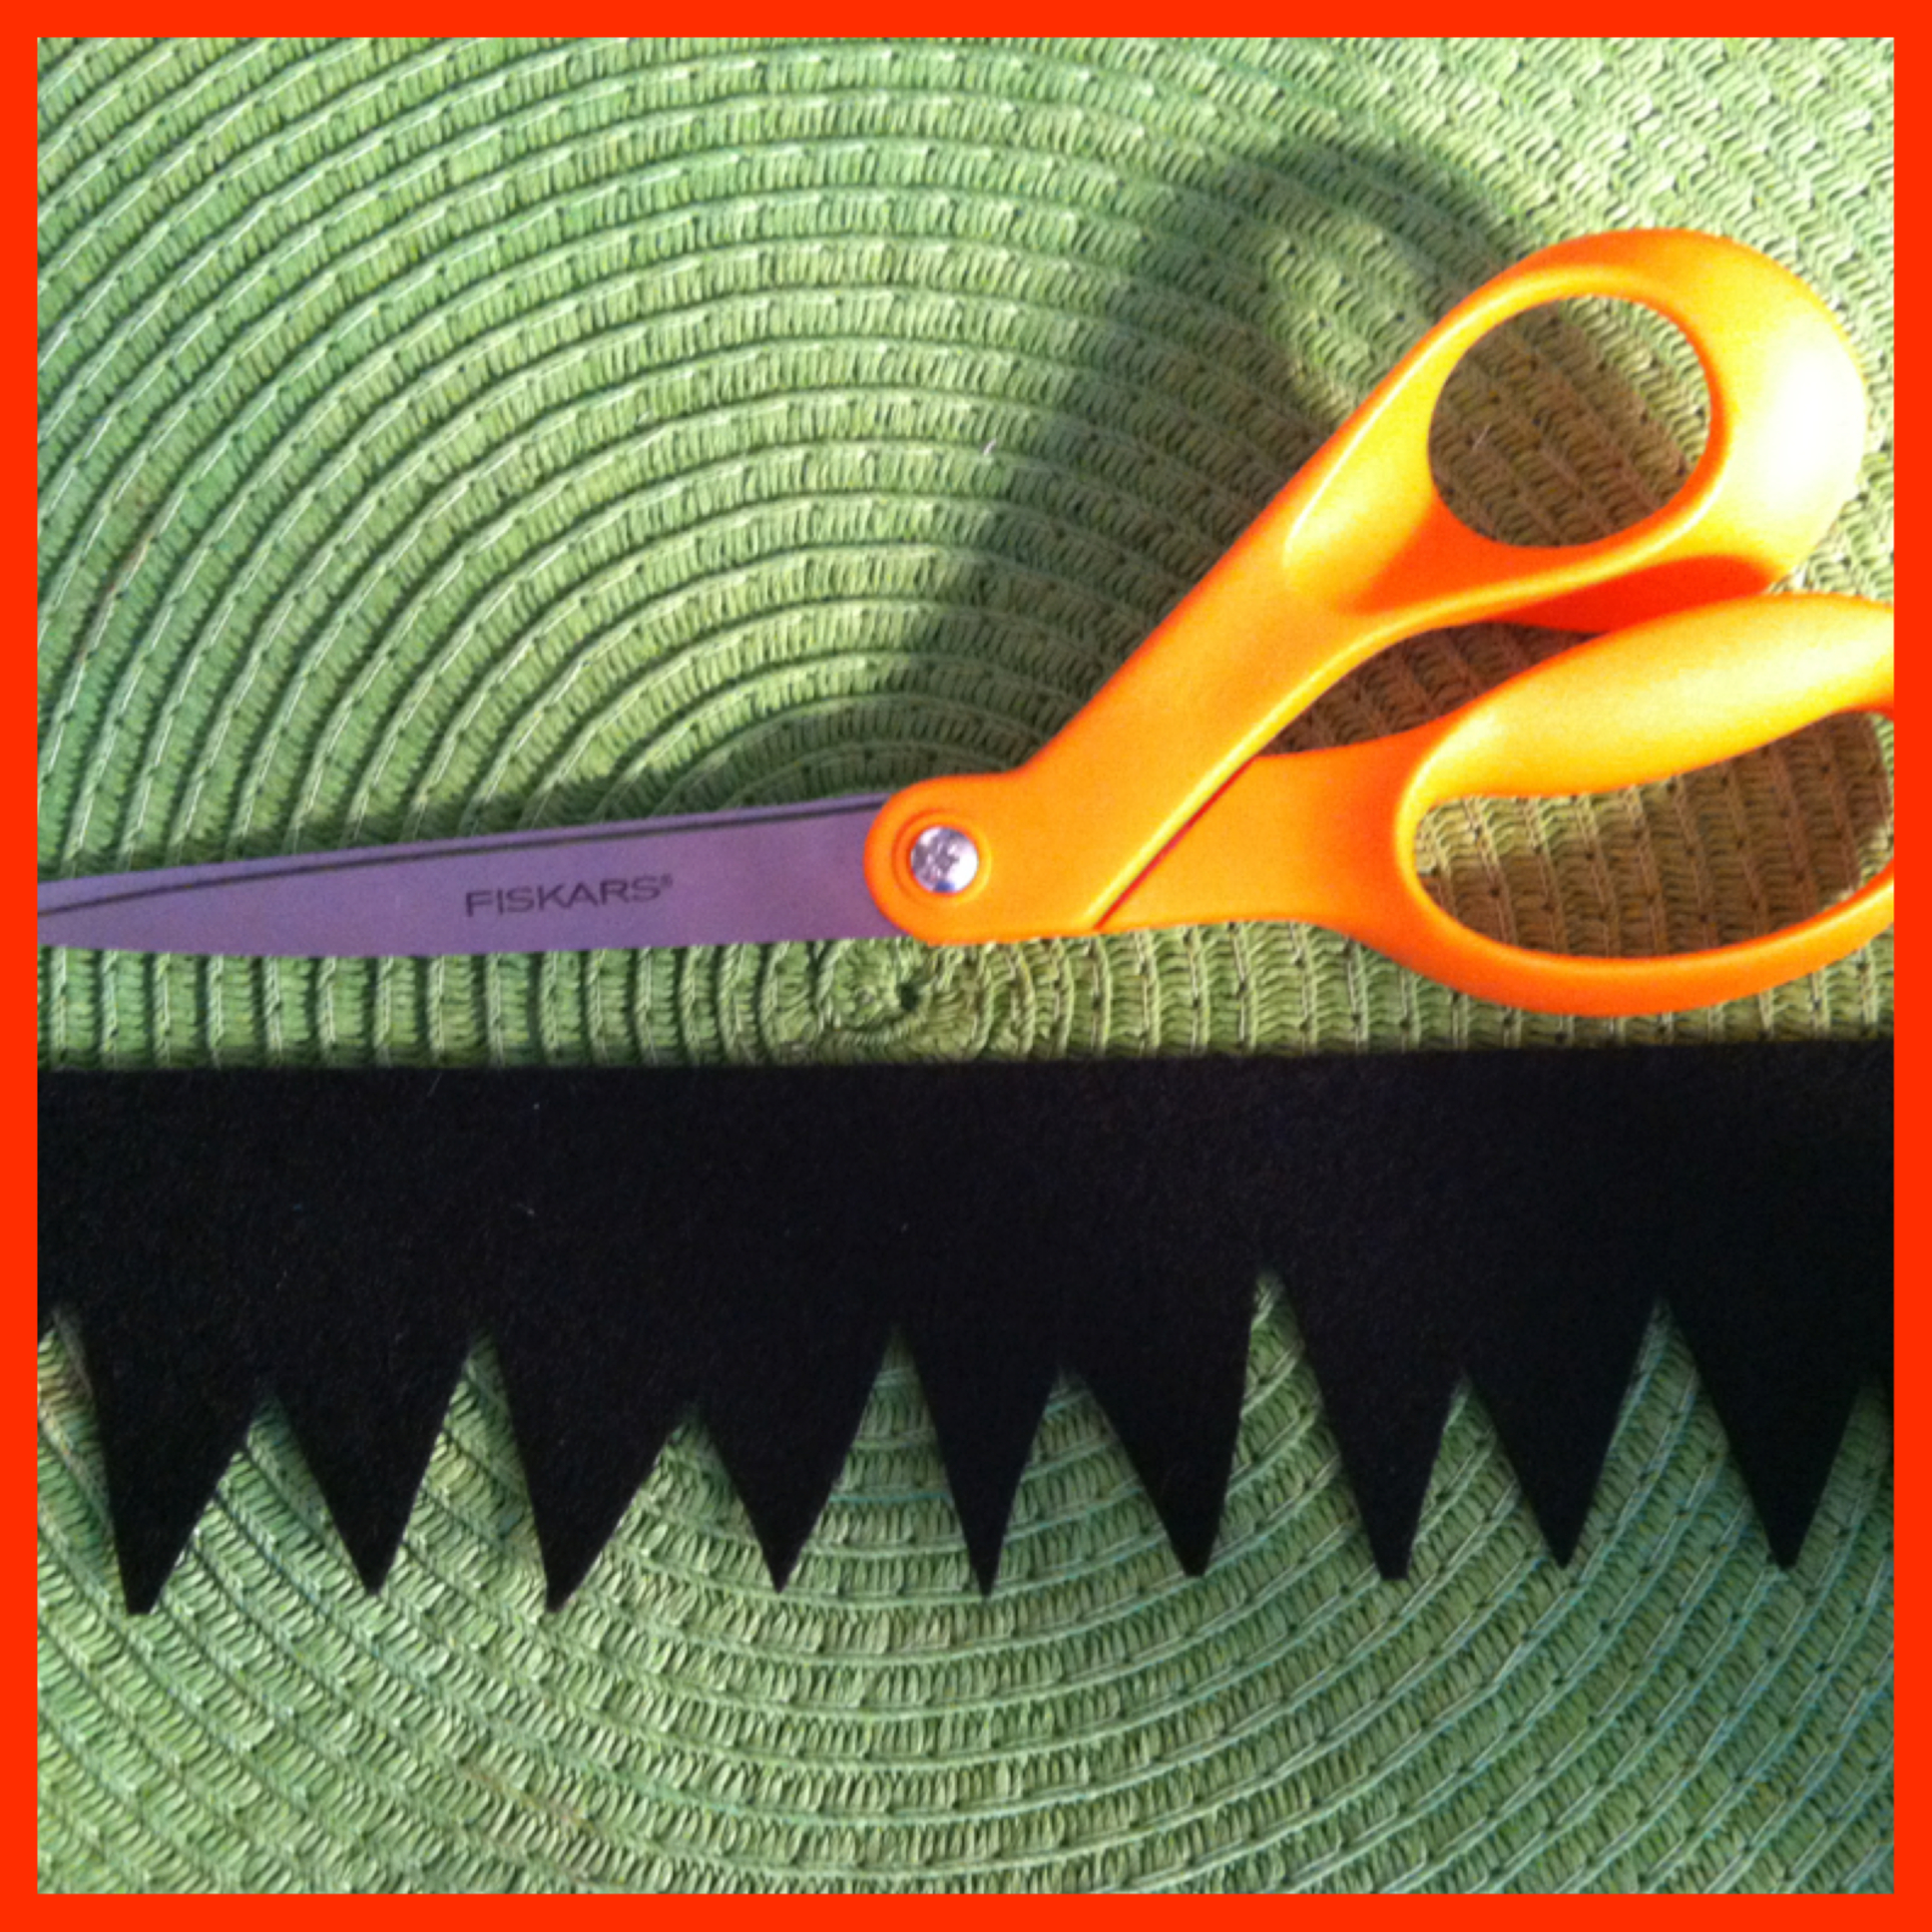
2.   I cut two strips from the black felt and then cut triangles out of one side of the strips to make it look like hair.  Then I glued it on to the top of the box using the Beacon’s 527 multi-use glue.

picstitch2

3.  Using glue dots, I glued the black buttons together to make them look like bolts.   I used about 6 small buttons and three larger ones for the bolt heads.  I then used glue dots to attach the bolts to the sides of the box.

picstitch4

4. Using a black Sharpie marker, I drew on the mouth and the stitches.

5.  Then I glued the googly eyes on.

Super easy and so much fun!   And he got filled with yummy goodness of popcorn, marshmallows and Pumpkin Spice flavored Hershey kisses!   🙂

photo

My children love Halloween just as much as I do!  And they love popcorn too!   So when I got to making my Halloween Popcorn Box for this blog hop, they were loving it!   And since I only made one, I now have to go buy the contents to make another one, unless Laura has any extra boxes lying around!!!!  🙂

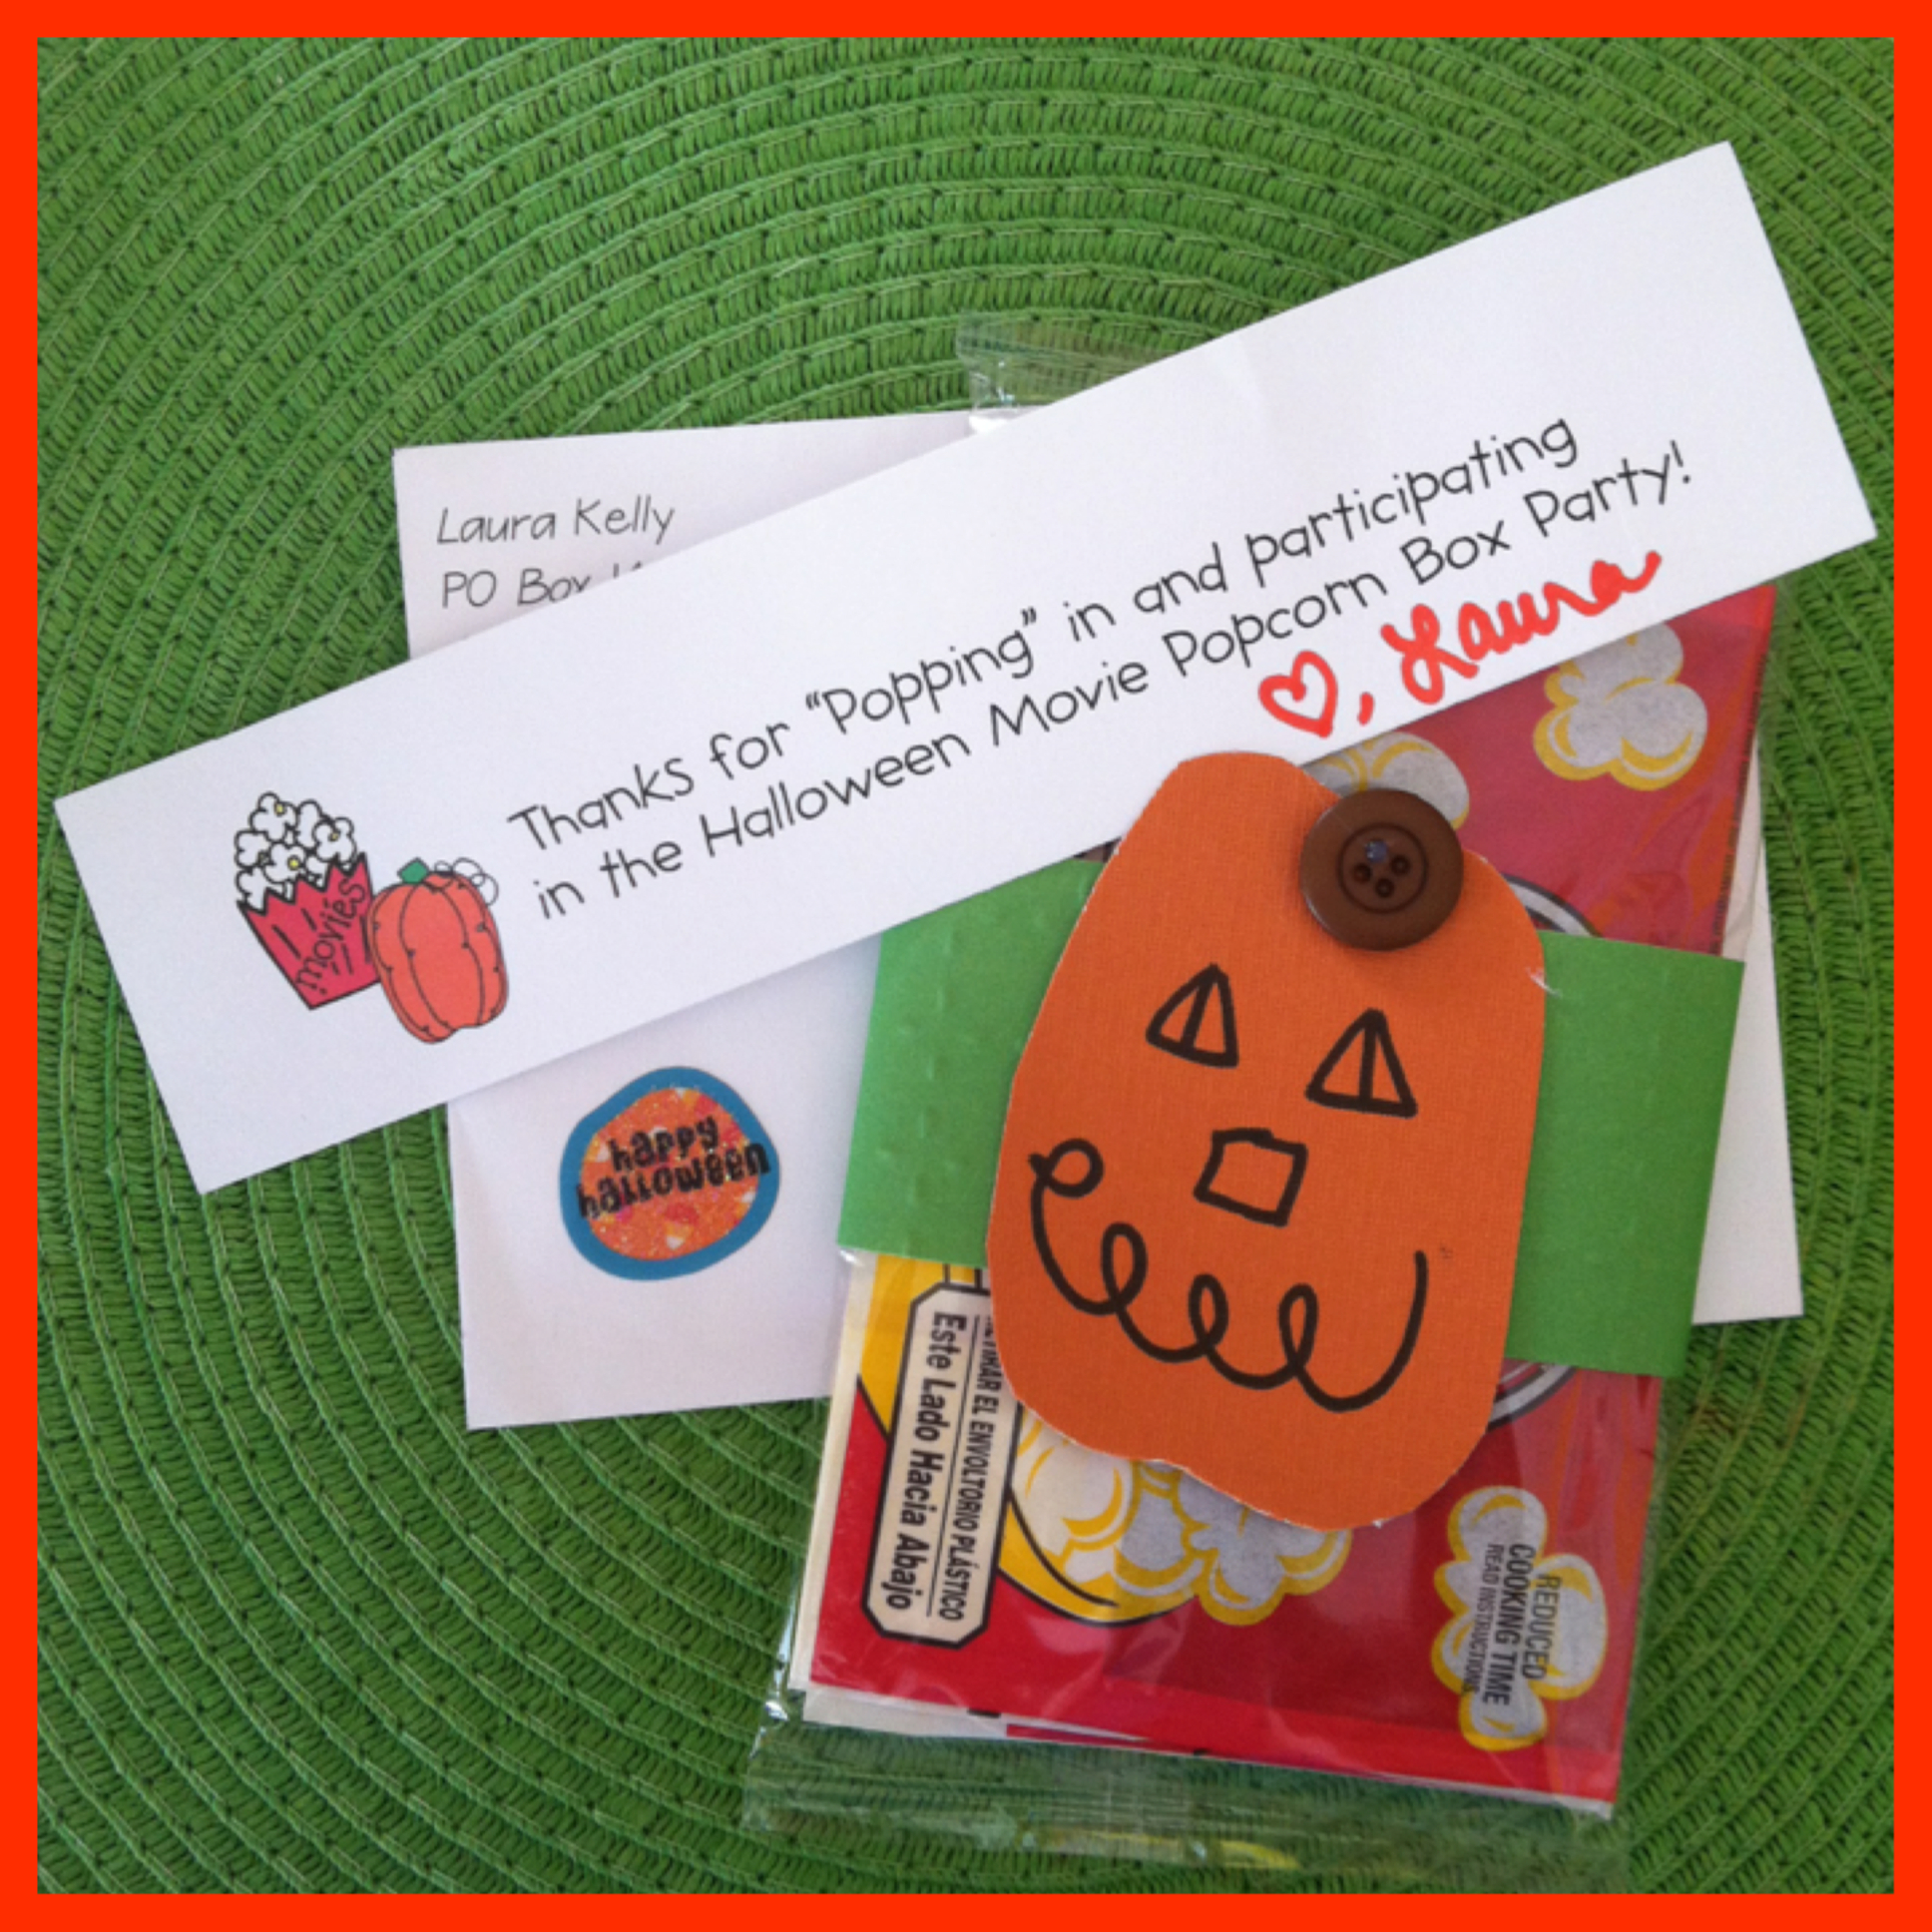
This past week, Laura sent out a special little thanks for being a part of this blog hop!   She is super sweet!     Thanks my friend!  🙂

picstitch1

There were quite a few other blog hoppers that joined in on this blog hop, so hop over to Laura Kelly’s blog to check out the rest of the participants!!  A special thanks to Cre8time for supporting the Halloween Popcorn Box Blog Hop!  And to Laura Kelly for allowing me the chance to participate!

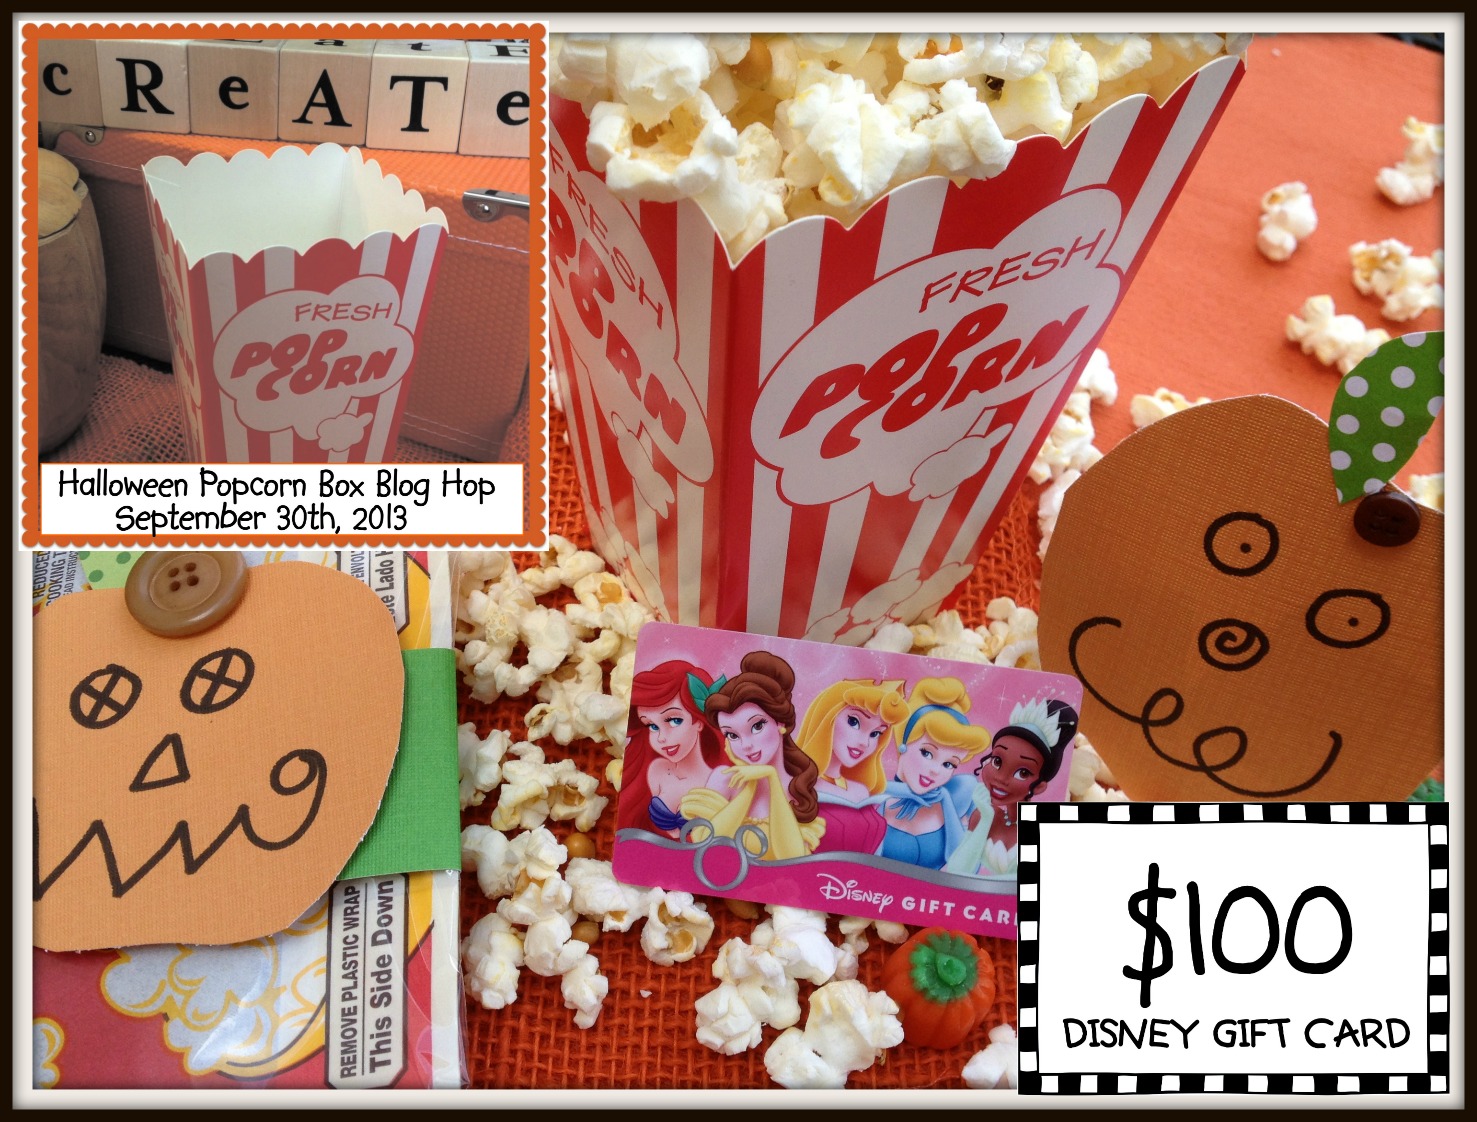
Be sure to click on the picture below for a chance to win a $100 gift card to Disney (park, store, or online)!!PopcornBlogHopPrize

I hope you like my Frankenstein Popcorn Box!  I’d love to hear what you think in my comments section!!

And until next time……

katie-asweetberry