Tag Archives: Christmas

Creative Christmas Crafting featuring Sculpey

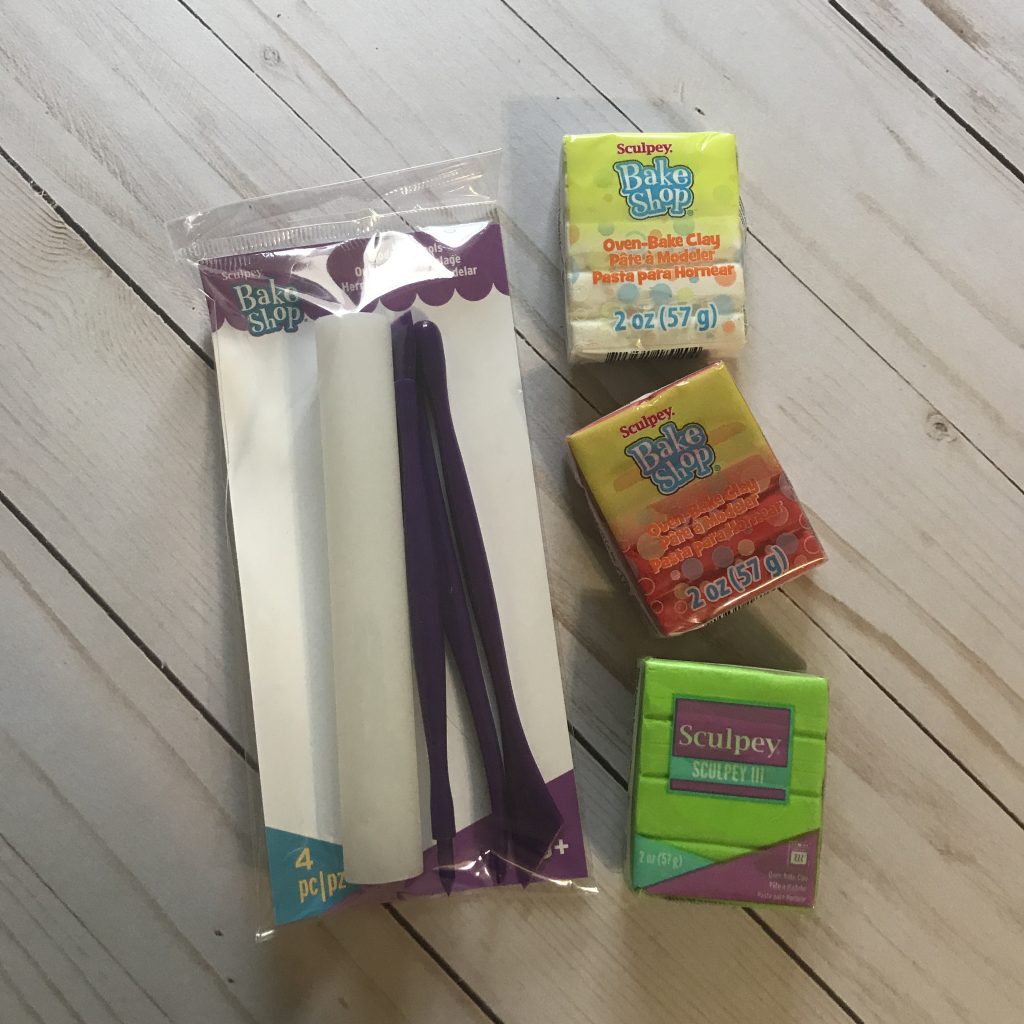
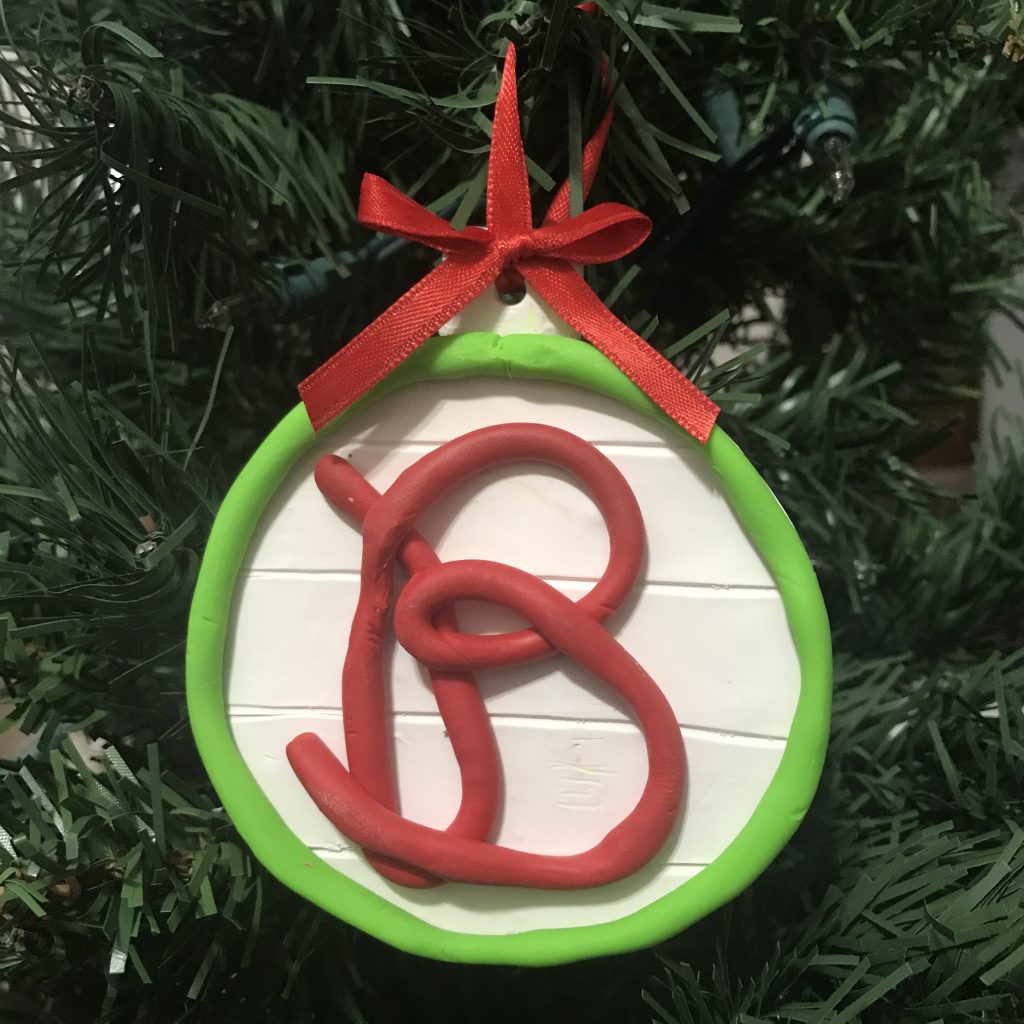
It’s time for the Creative Crafts Christmas Edition and together with Sculpey, we are creating for the holidays! Sculpey is the perfect medium to make Christmas ornaments with. Here in the south, monograms are all the rage and everyone loves a monogram. Sculpey® provided me with with Sculpey III and Sculpey Bake Shop clay and a modeling tool kit to create this adorable monogram ornament. This ornament could be attached to a gift and then placed on the tree afterwards!

Materials:

  • Sculpey® Clays: Sculpey III in Granny Smith, Sculpey Bake Shop® in White and Red
  • Sculpey Bake Shop® Modeling Tools
  • Round Cookie Cutter
  • Parchment Paper
  • String or Ribbon
  • Oven or Toaster Oven

How I made it:

I started by cutting the amount of clay that I thought I would need from each block and kneading it to soften it.

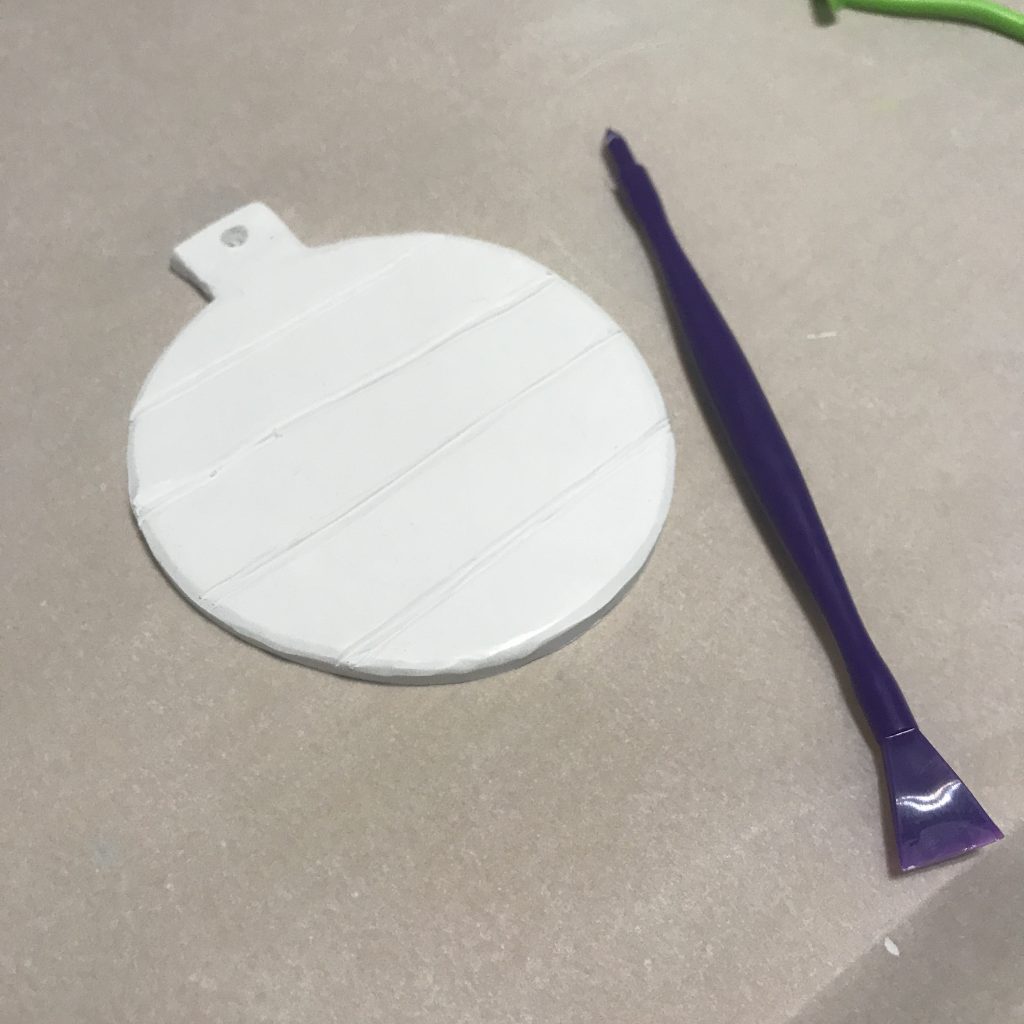
Once the clay was soft and easy to work with, I rolled out the white clay until it was about 1/4″ thick using the roller that came in the modeling tools pack. I also cut a small square piece to create the top of the ornament.
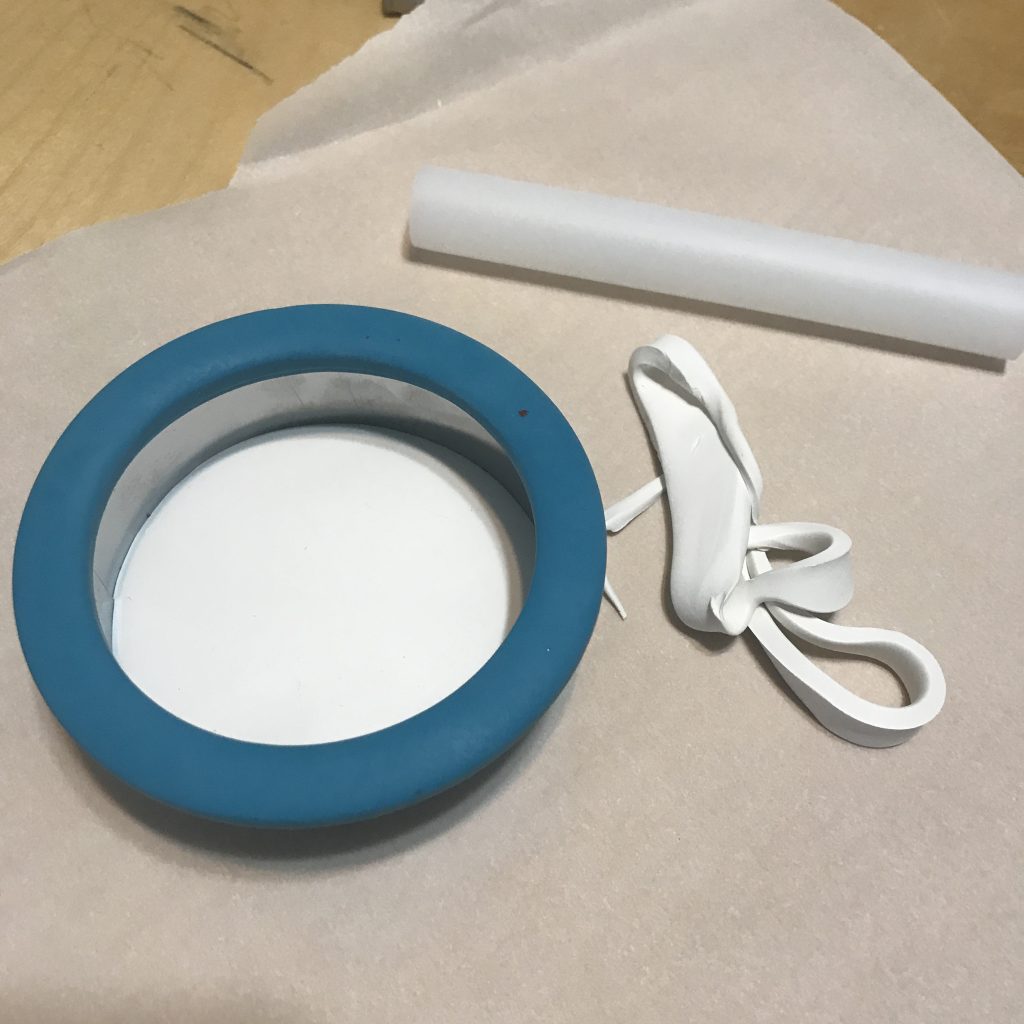
Using the pointed tool stick, I created a hole in the top part and then I scored the ornament to give it a shiplap look.
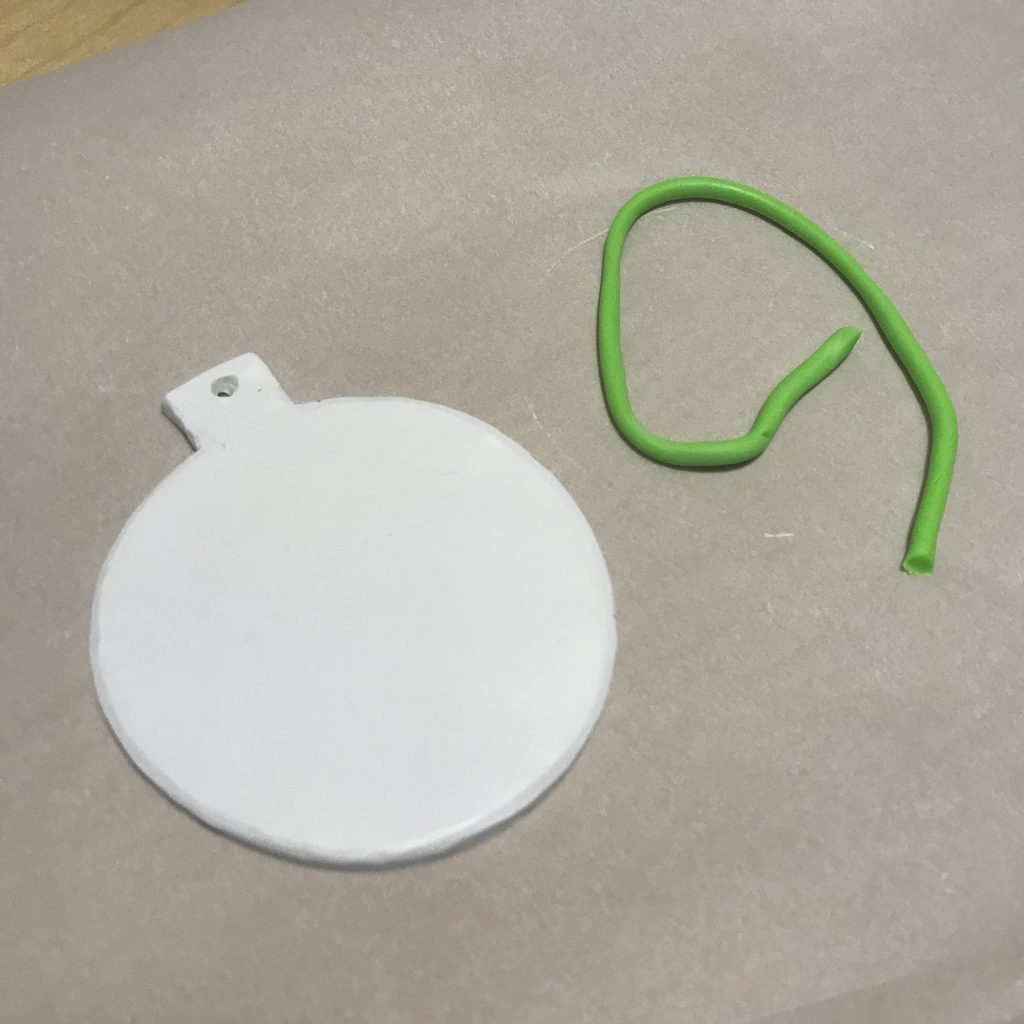
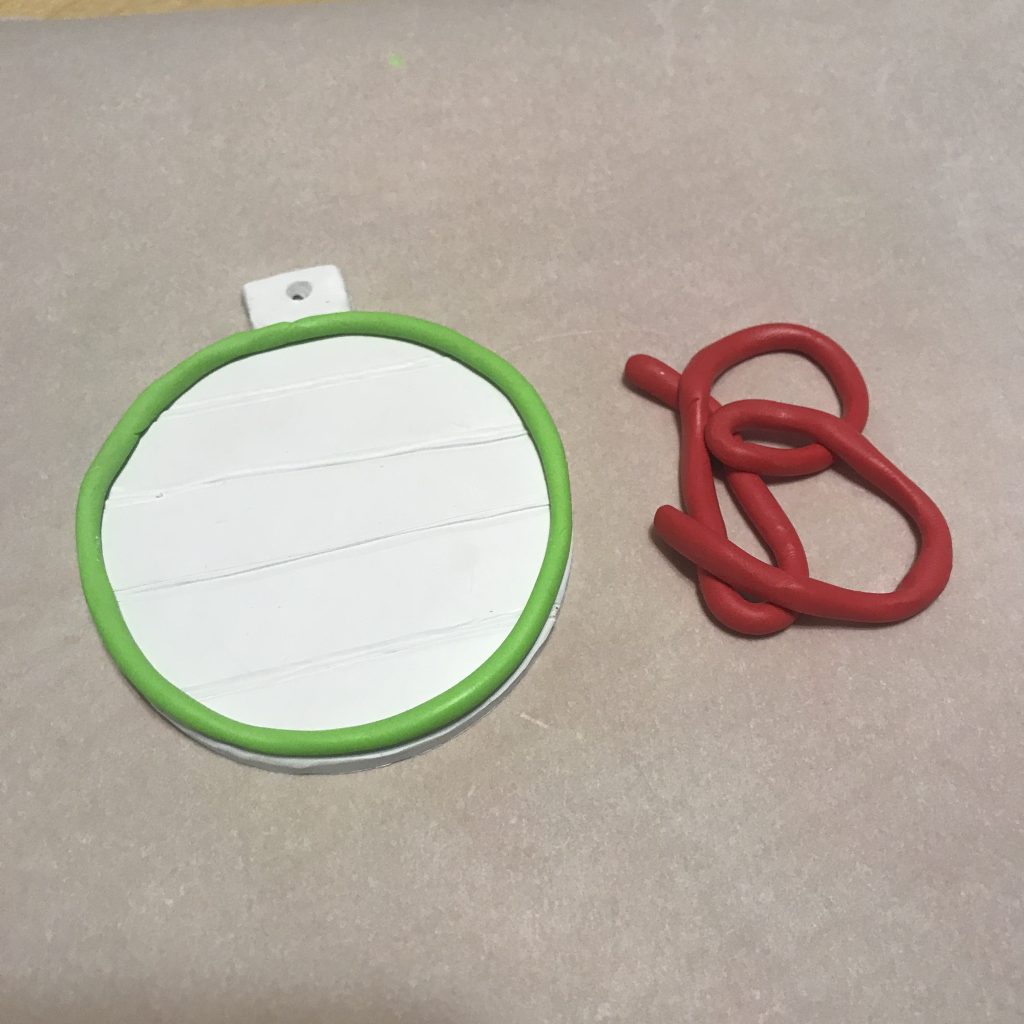
I then rolled out the green clay to create the border and then the red clay to create the monogram. I then added them to the white clay and pressed them down gently so that they stuck.
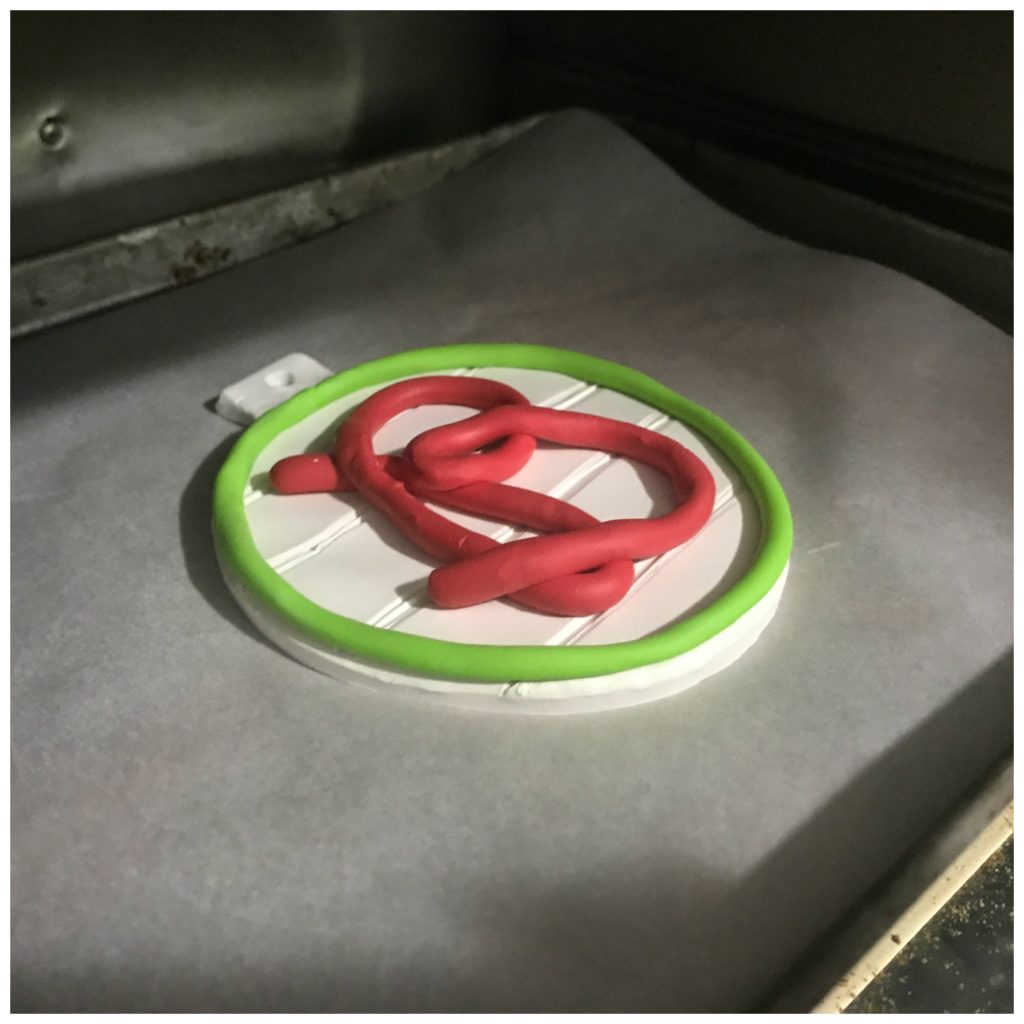
I preheated my toaster oven to 275 degrees and baked my clay for about 15 minutes per the instructions. Then I let it cool and added the ribbon.
Be sure to click the Creative Christmas Crafts button below to check out other Christmas crafts!

Happy Crafting! Until next time…..

Christmas Countdown Banner

It’s Holiday Craft Lightning time!  Can you believe it’s time to start thinking about Christmas?!?!?!   For this Craft Lightning, I decided to make a quick and fun Christmas Countdown Banner.  The kids love counting down the days until Christmas!  Me, I love counting down the days that I have left to shop!!!!

Materials:  
12” x 18” craft cut of Kunin Premiumfelt™ (1) Smoke
9” x 12” craft cut of Kunin Corduroy™ (1) Pirate Green
9” x 12” craft cut of Kunin ClassicFelt™ (1) Yellow, (1) Red, (1) Royal Blue, (1) Fuchsia 
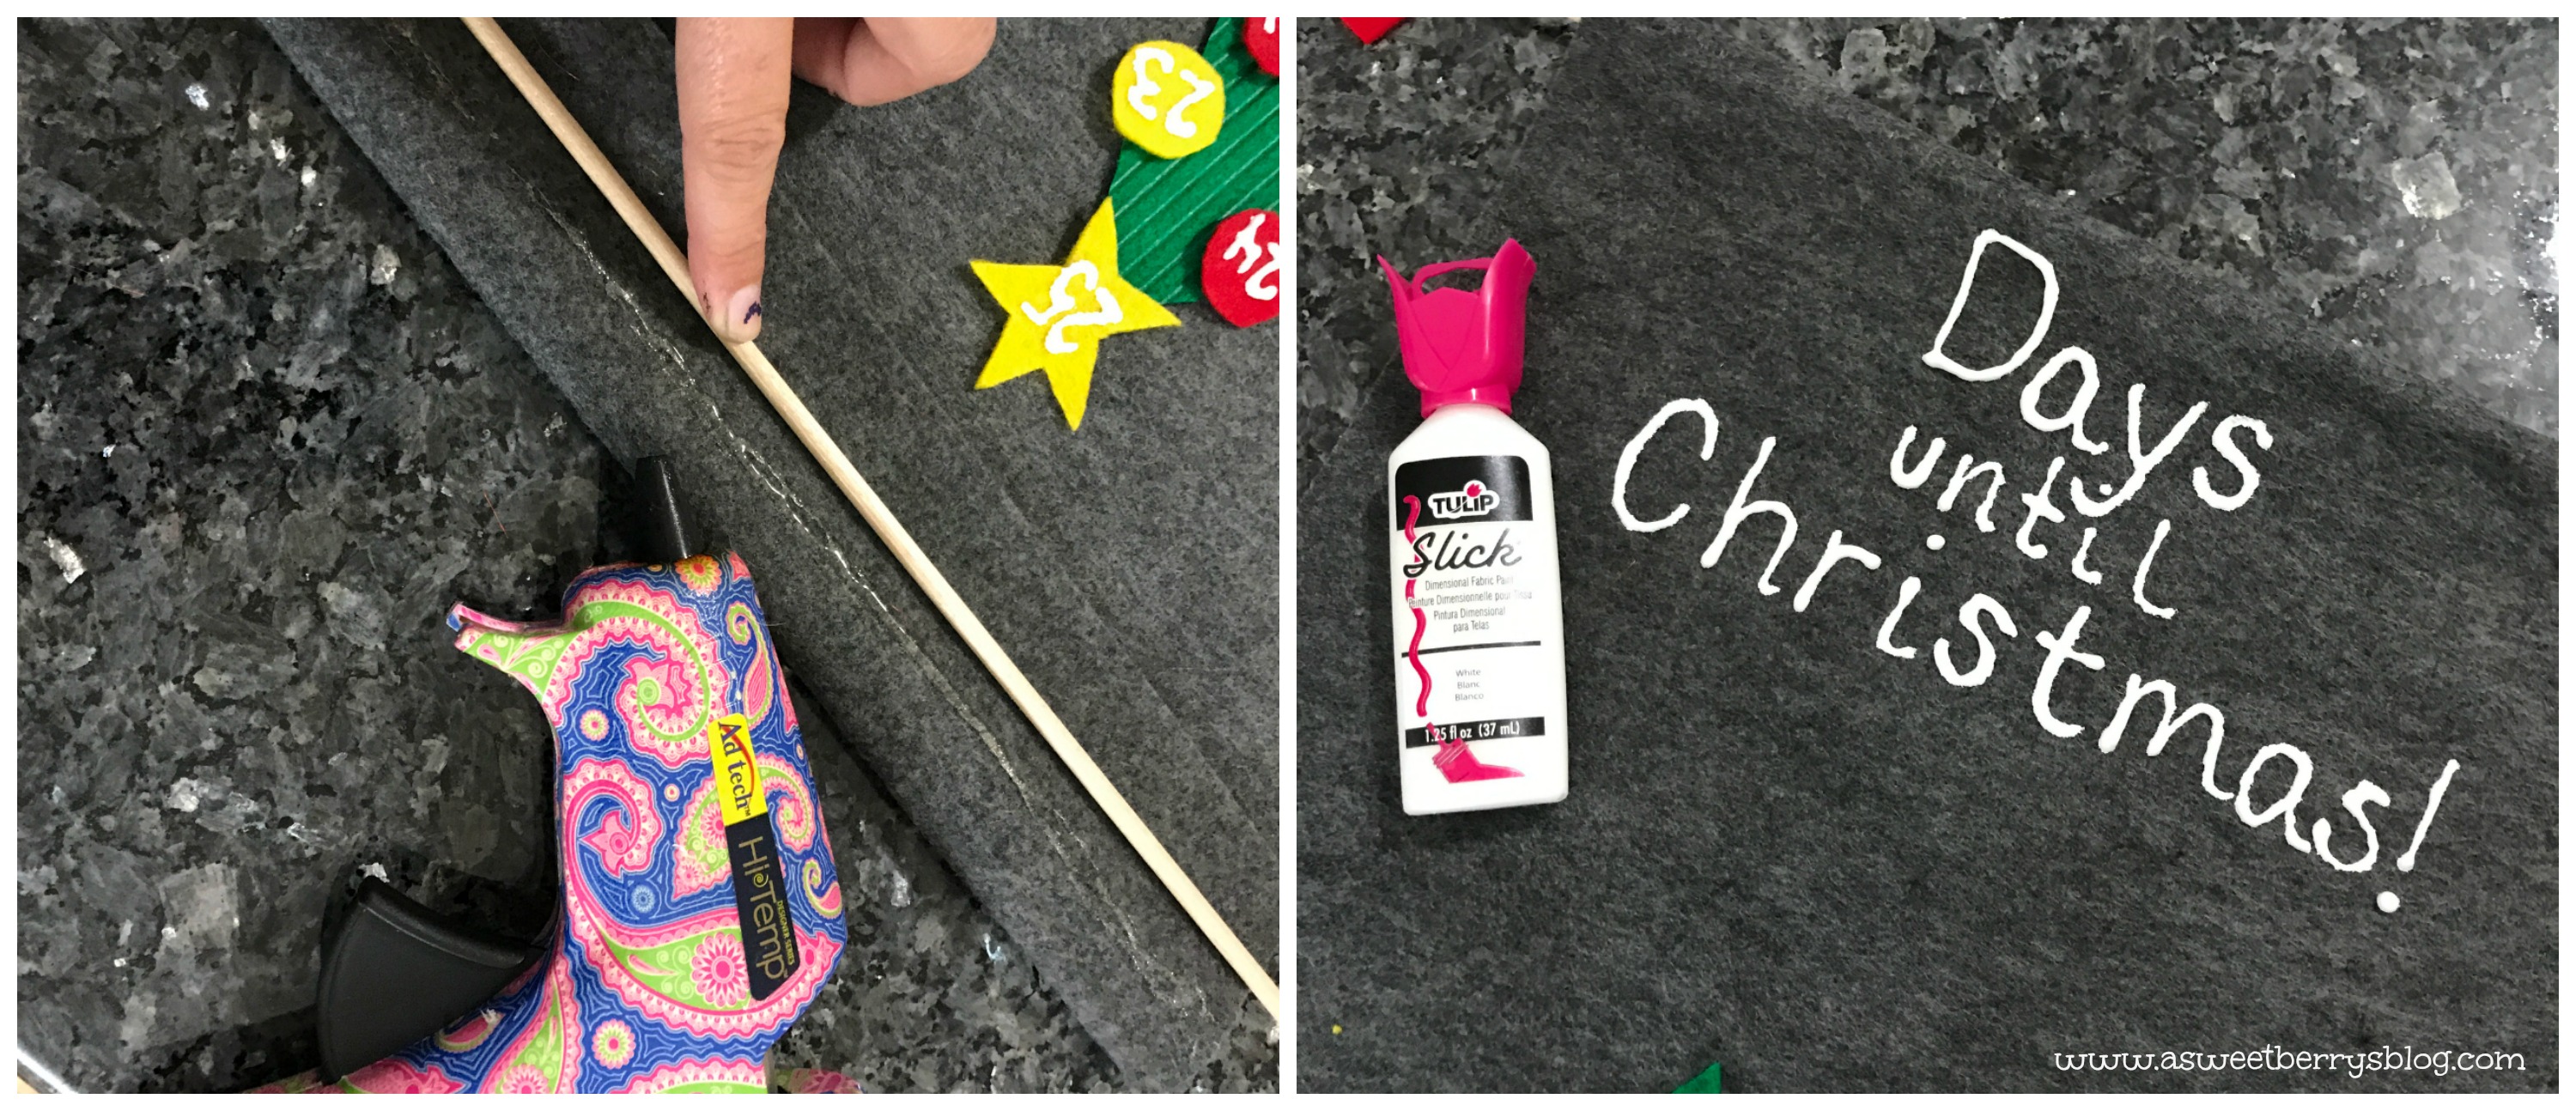
Wooden Rod
Ribbon
Hot Glue Gun and Hot Glue
Sharpie or any marker
Tulip Slick Dimensional Fabric Paint
Scissors
Velcro pieces that have the hooks

  1.  First, cut out your tree, the ornaments and a star.  I folded my green felt in half and just freehand drew a tree.  I cut the ornaments and the star freehand.  You could definitely make a pattern for it.   I wasn’t overly concerned about my ornaments being round.  

2.  I cut up velcro dots and squares to go onto the back of the ornaments and star.  I then hot glued them to the back of the dots.

3.  Add numbers to the dots.  I put 25 on my star, so that the star gets put on the tree first!!!!  You could do it the opposite way and put the number 1 on the star so that it gets put on last!

3.  Position your wooden rod on the backside of the banner, fold over the felt and then hot glue the flap down on the backside.

4.  Using the Tulip Slick, write the works “Days until Christmas!” at the top, making sure you leave room for the tree and star!

This is super fun for the kids and they can help out as well!   You could let them cut our the ornaments!

Be sure to check out other Craft Lightning Holiday ideas by clicking the box below!

Until next time……

Easy Christmas Gift Tags

Christmas Tags

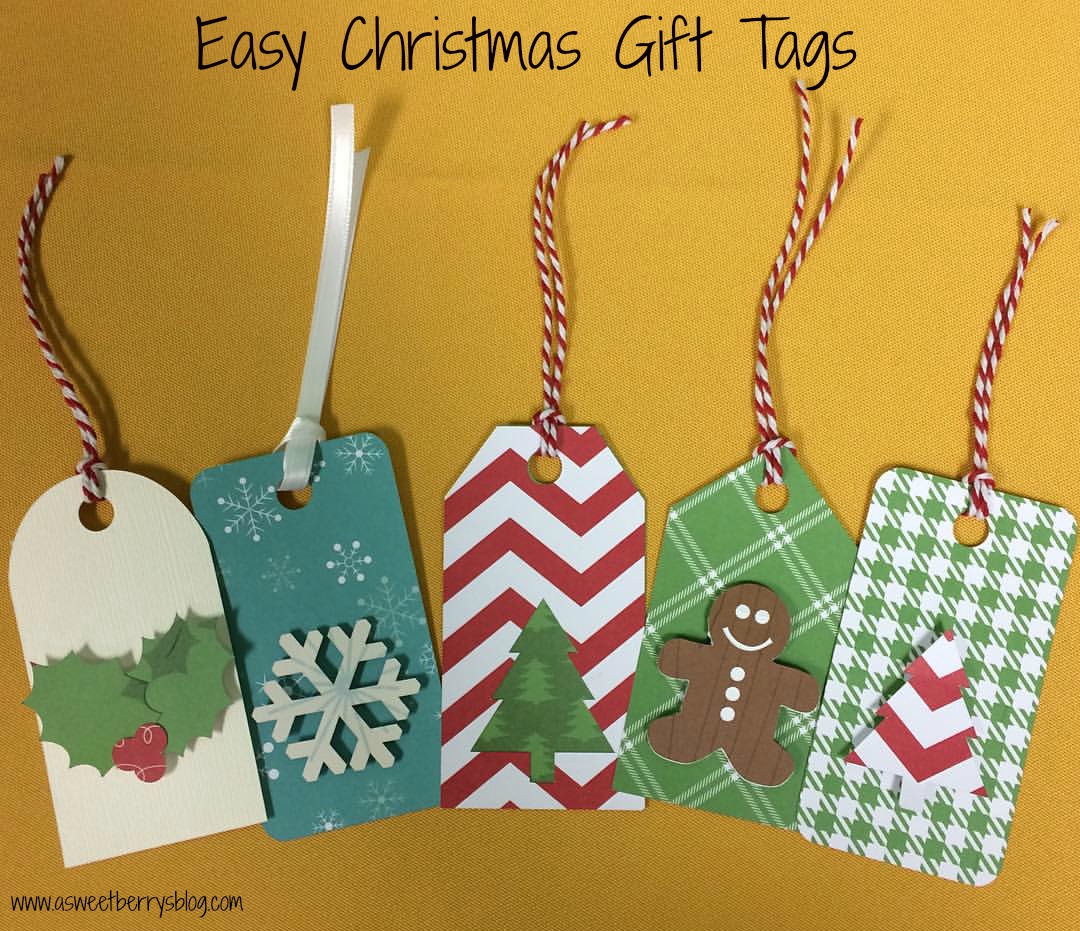
Christmas is upon us and the shopping has begun! These adorable and super easy gift tags are going to look awesome on the gifts below my Christmas tree!   If you have a Sizzix Eclips2, then you most likely use Sure Cuts A Lot eCAL2 for your software.  Well, if you do then all of these cut outs are included in the software.

collage

The process was pretty easy……

The snowflake:  I just cut the tag and snow flakes out separately.  I used a foam dot to get the snowflake a little dimension.  Then, I added a white ribbon.

The Christmas tree cutout:  I cut the tags with the Christmas Tree Cut out together and then cut the same tag, minus the tree.  I put them together using an Aleene’s tape runner.  Then, I added a piece of twine.

The Gingerbread Man:  I cut out a tag.  Then I cut out the gingerbread man on brown card stock.  Then, in the software, I removed the face and buttons from the gingerbread man and just cut out the outline on white card stock.   Using the tape runner, I attached the white gingerbread man cut out to the back of the brown one.  Then using a foam dot, I added it to the tag.  To finish it up, I added a piece of twine.

The Raised Christmas Tree:  I cut out some tags.  Using the Christmas Tree scraps from the Christmas Tree cutout tag, I just added a foam dot to the back of the tree and added it to the tag. Then, I added a piece of twine.

The Holly Tag:   I cut out some tags.  Cut the Holly leaves and berries out and used a foam dot on each piece and then attached it to the tag.   Then I added a piece of twine.

Christmas Tags

I hope you like these adorable little Christmas Tree Tags!   I made some last week and sold them at an Artisan Fair that my Church was hosting and everyone loved them!

Until next time………..

Felt Christmas Tree

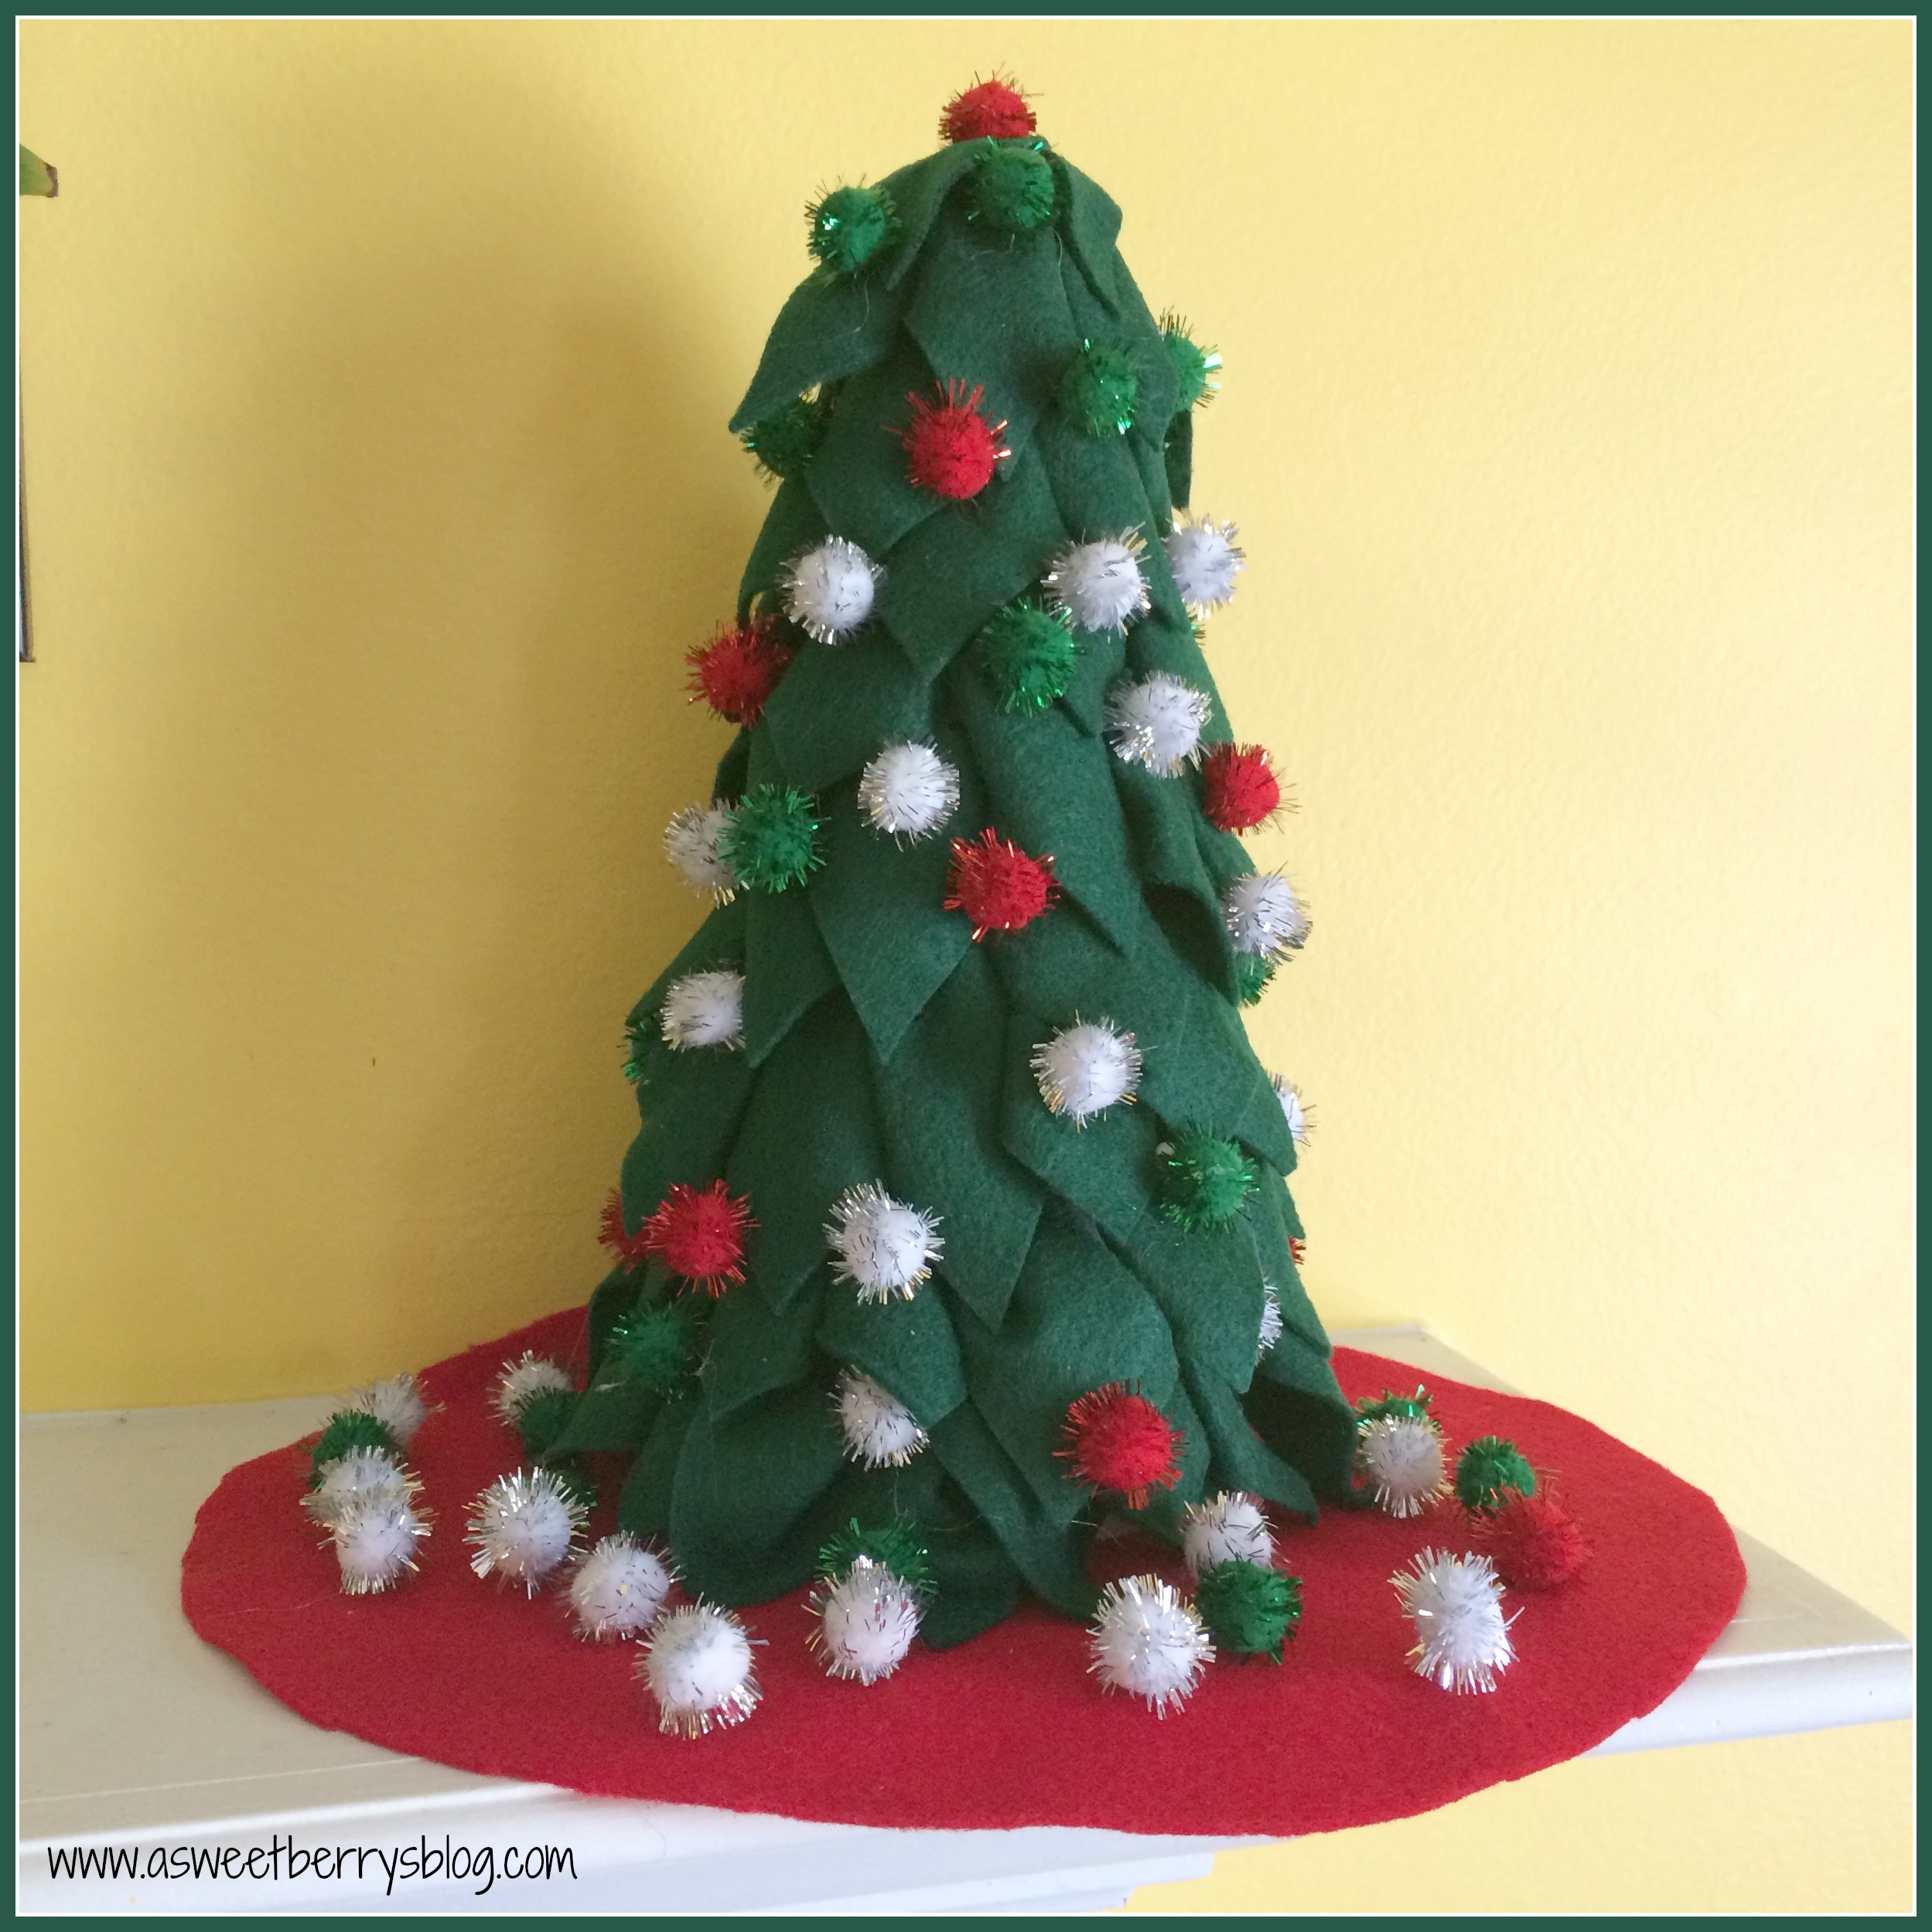
It’s Craft Lightning time again!  And this time it’s a 15 minute Christmas craft!   This super easy and super quick Felt Christmas Tree is an awesome little decoration for the mantel or even the middle of your kitchen table! Main Photo
Supplies:
FloraCraft Styrofoam Cone
Kunin Felt
Hot Glue Gun
Pom Poms 
Rotary Cutter and Cutting Board
Pins
supplies
First, I did a quick cut of some felt, cutting it into strips.  Then I did a super quick cut of triangles.   Folding the triangles in thirds, I added a pin and then stuck it right into the styrofoam.  I started it at the bottom and worked my way up.
process
Using my Pom Poms and my hot glue gun, I added the green, red and white pom pons to cover the pins and added a couple of more to fill in the gaps!
Main Photo
Be sure to check out other creative Craft Lightning ideas by click the Button below!

Hope you like this quick Felt Christmas Tree! 

Until next time………..

Merry Christmas!

Merry Christmas to you and your family!

As I sit here now that everyone has gone to sleep, I am reflecting on this joyous day! It was filled with excitement, a couple of meltdowns, great food and lots of family time! Christmas is my favorite time of the year! The look on the children’s faces once they see what the Jolly Ole Guy has left under the tree is worth all of the stress of the whole year!   As I laid awake in my bed from about 5:30am until I heard the kids start to move around in their beds, I quickly jumped up as soon as I heard a foot hit the floor.  I was almost too late to catch this picture so it’s a little blurry!  I love trying to get a picture of them as they come down the stairs once they see what Santa has left for them!

stairs

Now, I know that everyone has their traditions.  As I was growing up, Santa never wrapped his gifts.  They were always laid out on the couches, my pile on one and my brothers on the other!  Santa always wrapped Bruce’s!  For our kids, Santa has always wrapped his gifts!   What does Santa do for your family?

tree

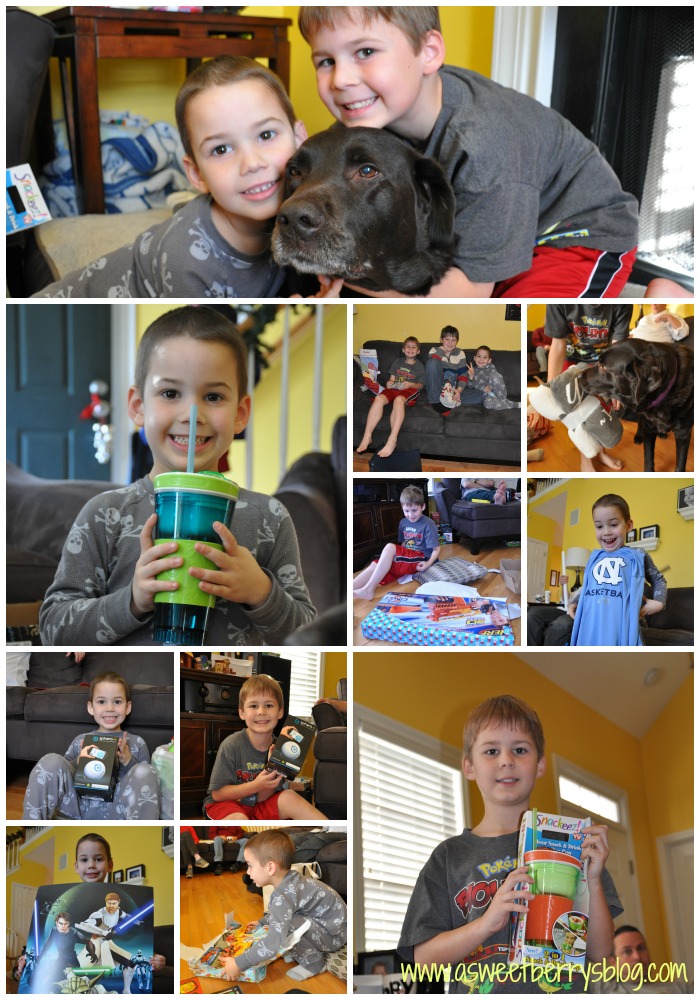
Our day in a nut shell…….After the kids woke up, we let them open one gift.  We had to wait for Uncle Rhett, Cousin Jory, Grandma and Grandpa to arrive.  I put a sausage and egg casserole in the oven!  Once they were all here, everyone opened one gift!  Breakfast of casserole, pancakes (Berry family tradition and now cooked by Bruce), and fruit were served!   And coffee too!!!   After breakfast was done, the present opening was on!  Trying to keep our anxiety under control, we opened one gift at a time!  Yes, this took a while.    Here are a few of our favorites:

Santa

After all of the presents were unwrapped, it was time for lunch!   Then it was time for some down time.  Everyone left and we just hung out as a family of four, put together some legos, opened all of the packages (those annoying plastic things….ugh) and just sat around.  Then it was off to Grandma and Grandpa’s house for more presents and a yummy dinner of a Rochester, NY Sausage Soup!  And then home for bed!

Hmmm….not sure that was entirely a nut shell, but it wasn’t too long!  

I know Christmas Day isn’t only about the presents.  Thankfully, my children know and understand why this day is special, the day that Jesus was born to Mary and Joseph!   And we are blessed and feel very fortunate!   

I also sit here and think about those that are no longer here with us, but look down on us from Heaven.  And I think about the friends and family that we have all over the country and how much we miss you all.

So, I hope that you had a great Christmas and that Santa was good to you!  And I hope that you all have a “Berry” Happy New Year!!!

Peace and Love!

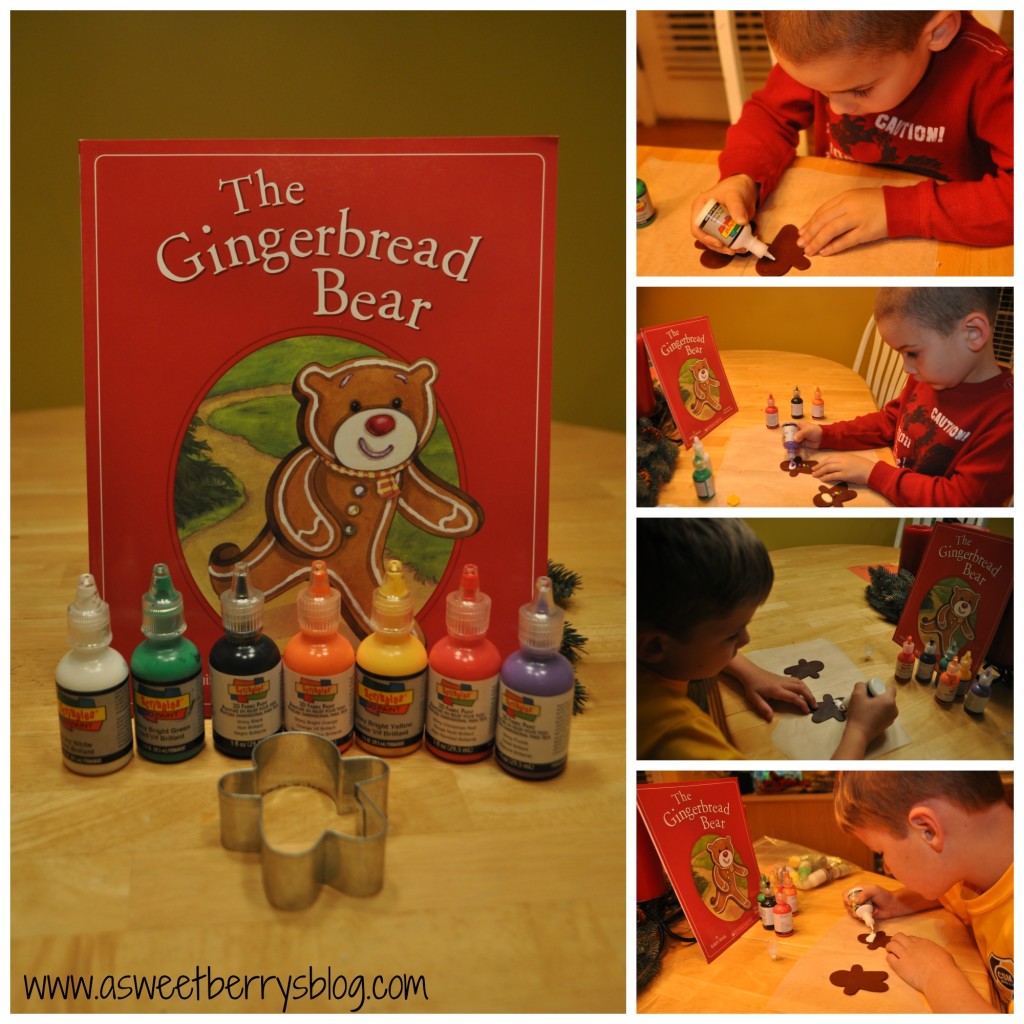
The Gingerbread Bear Book and Sculpey and Scribbles Ornament

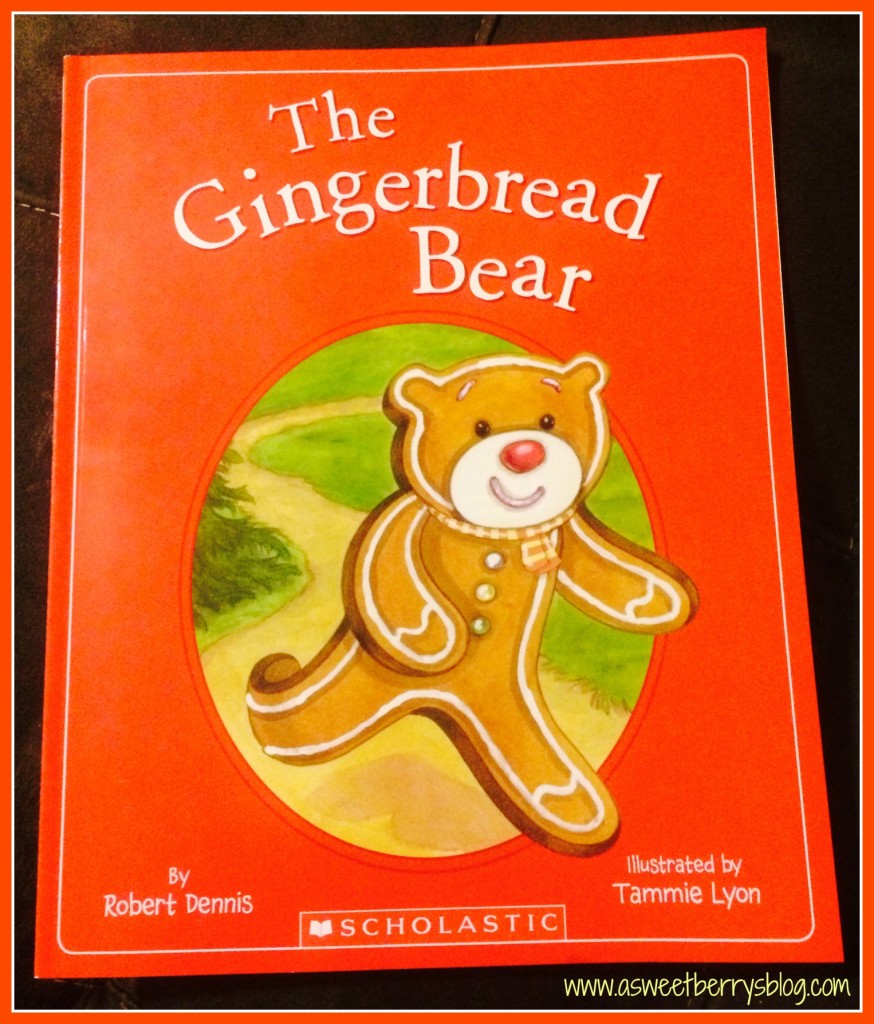
While walking through the Scholastics Book Fair at my oldest son’s school, I stumbled across The Gingerbread Bear book by Robert Dennis and Illustrated by Tammie Lyon.
book
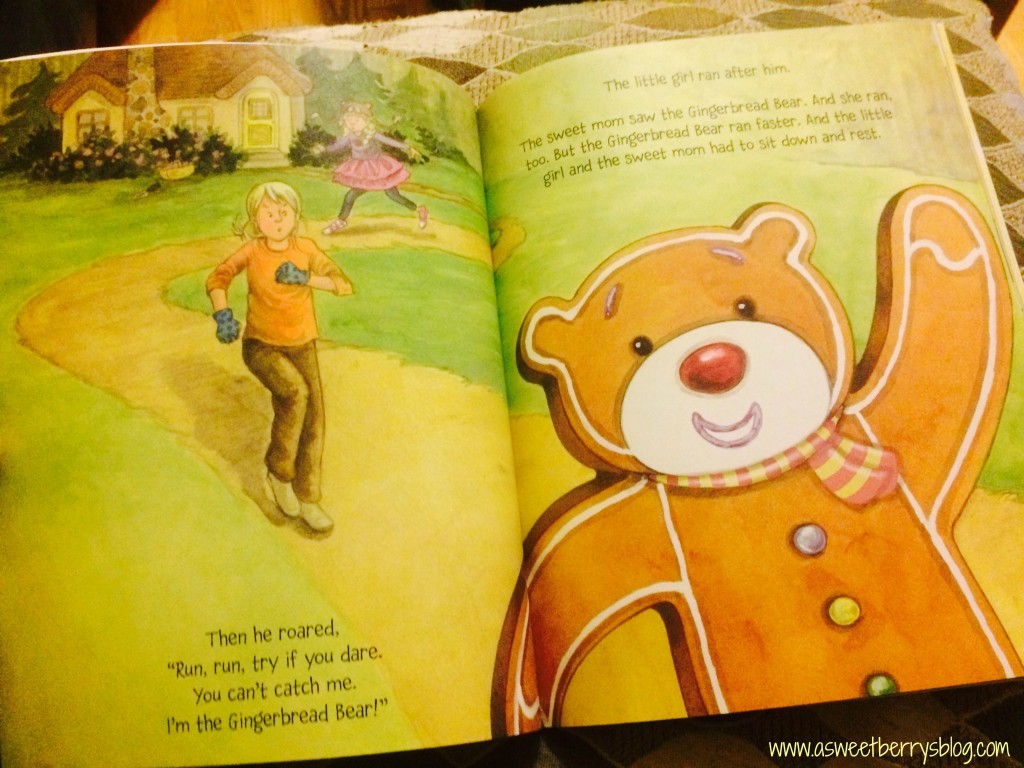
In the story, a little girl and her mother are baking a gingerbread bear.  After daddy goes to work, mom goes into the garden to do some work and the little girl is left to watch after the oven.  Out of curiosity, the little girl opens the oven to have a look, and guess what happens?   Out jumps the Gingerbread Bear!   And away he runs……

Of course, no one can catch him, because after chanting “Run, Run, try if you dare.  You can’t catch me.  I’m the Gingerbread Bear!”, he runs away.  Throughout the book he runs into different people and animals that think they can catch him.  Gingerbread Bear is much to quick for them.
insidebook
You have to read the book to find out what happens at the end!   What a cute little change up to the Gingerbread Man.   My boys loved it!  The illustrations were awesome!

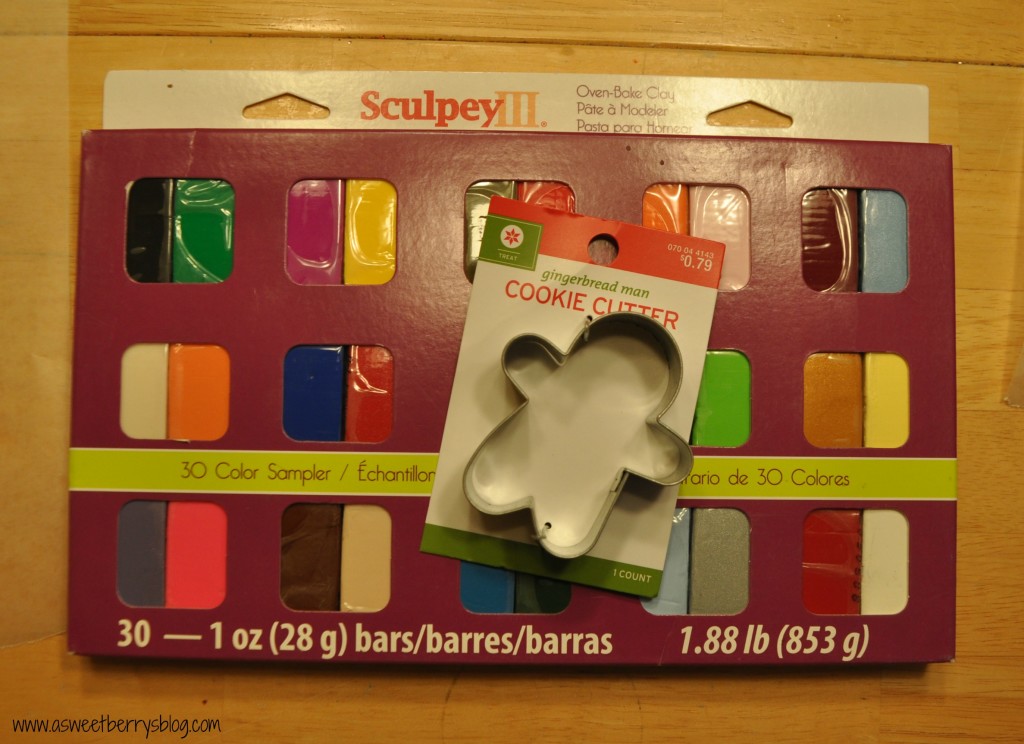
After we read the book, we decided to make our own Gingerbread Bears, using Sculpey clay and Scribbles paint.
sculpey
We picked out a brown Sculpey clay, ran it through the clay conditioning machine and then used our gingerbread man cookie cutter to cut them out.   After we had them cut out, I used a sharp pick to punch a whole in the top of their heads for ribbon.  Then it was time to bake them.  I stuck them in the oven for about 13 minutes. gingerbreadbear
Once they came out of the oven and cooled, We used Ilovetocreate’s Scribbles Fabric Paint (yes, I know it’s fabric paint, but it works on other things too!) to decorate our gingerbread bears! Scribbles
Once they were dry, they were ready for ribbon and then to be hung on the tree! 🙂 complete So, go out and pick up this adorable book.   The kids are sure to love it!   And then go get some Sculpey clay and a gingerbread man cookie cutter and create your own Gingerbread Bear!

Check out these other Christmas time books to read with kids:

  And the enter to win a great prize! a Rafflecopter giveaway
Until next time…….

Adorable Little Ornaments Blog Hop!!!!

SculpeyButtonButton

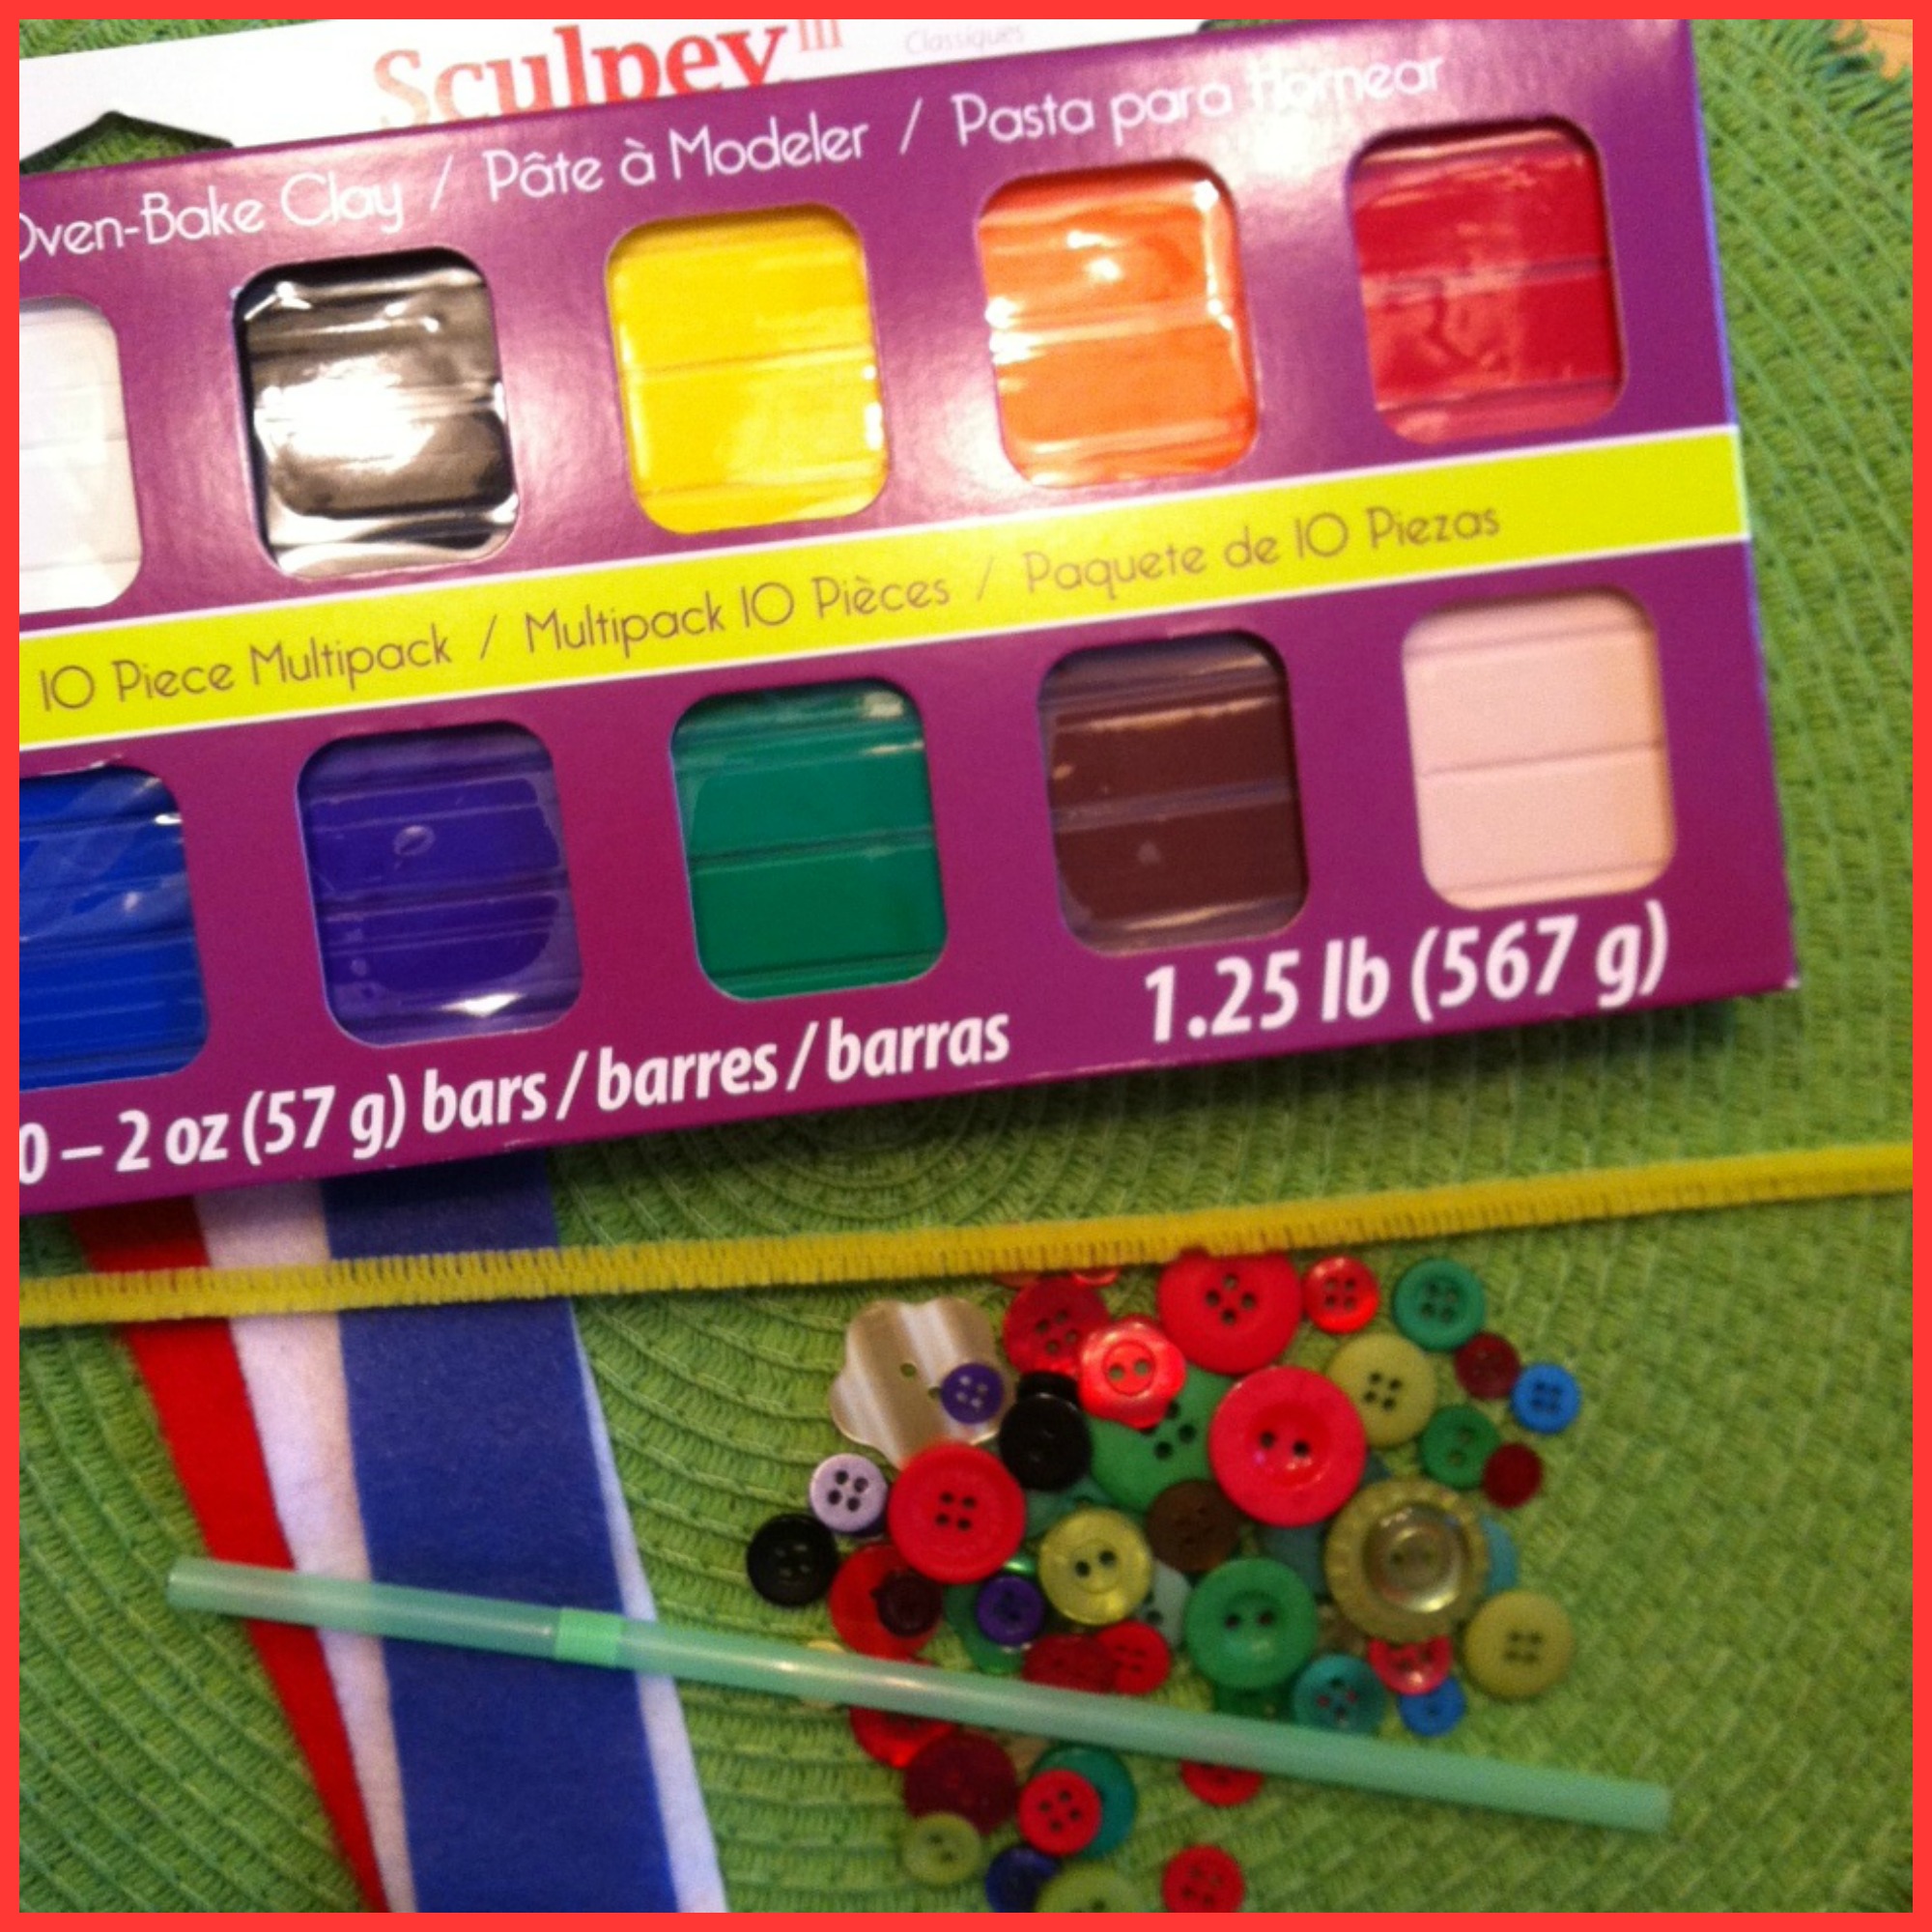
I have to say that after making ornaments with Sculpey Clay, I am in love!!!!   So, what better way to have some fun than to add buttons from Laura Kelly’s collection from Buttons Galore & More?!?!   I had fun creating and so did my six year old son, Landon!!!    I created some traditional style ornaments with the clay and added buttons to embellish!!

Materials Needed:

Sculpey Clay

Laura Kelly Buttons

Felt (for the scarf)

A straw (to make a hole for the hook)

Pipe Cleaner

Materials

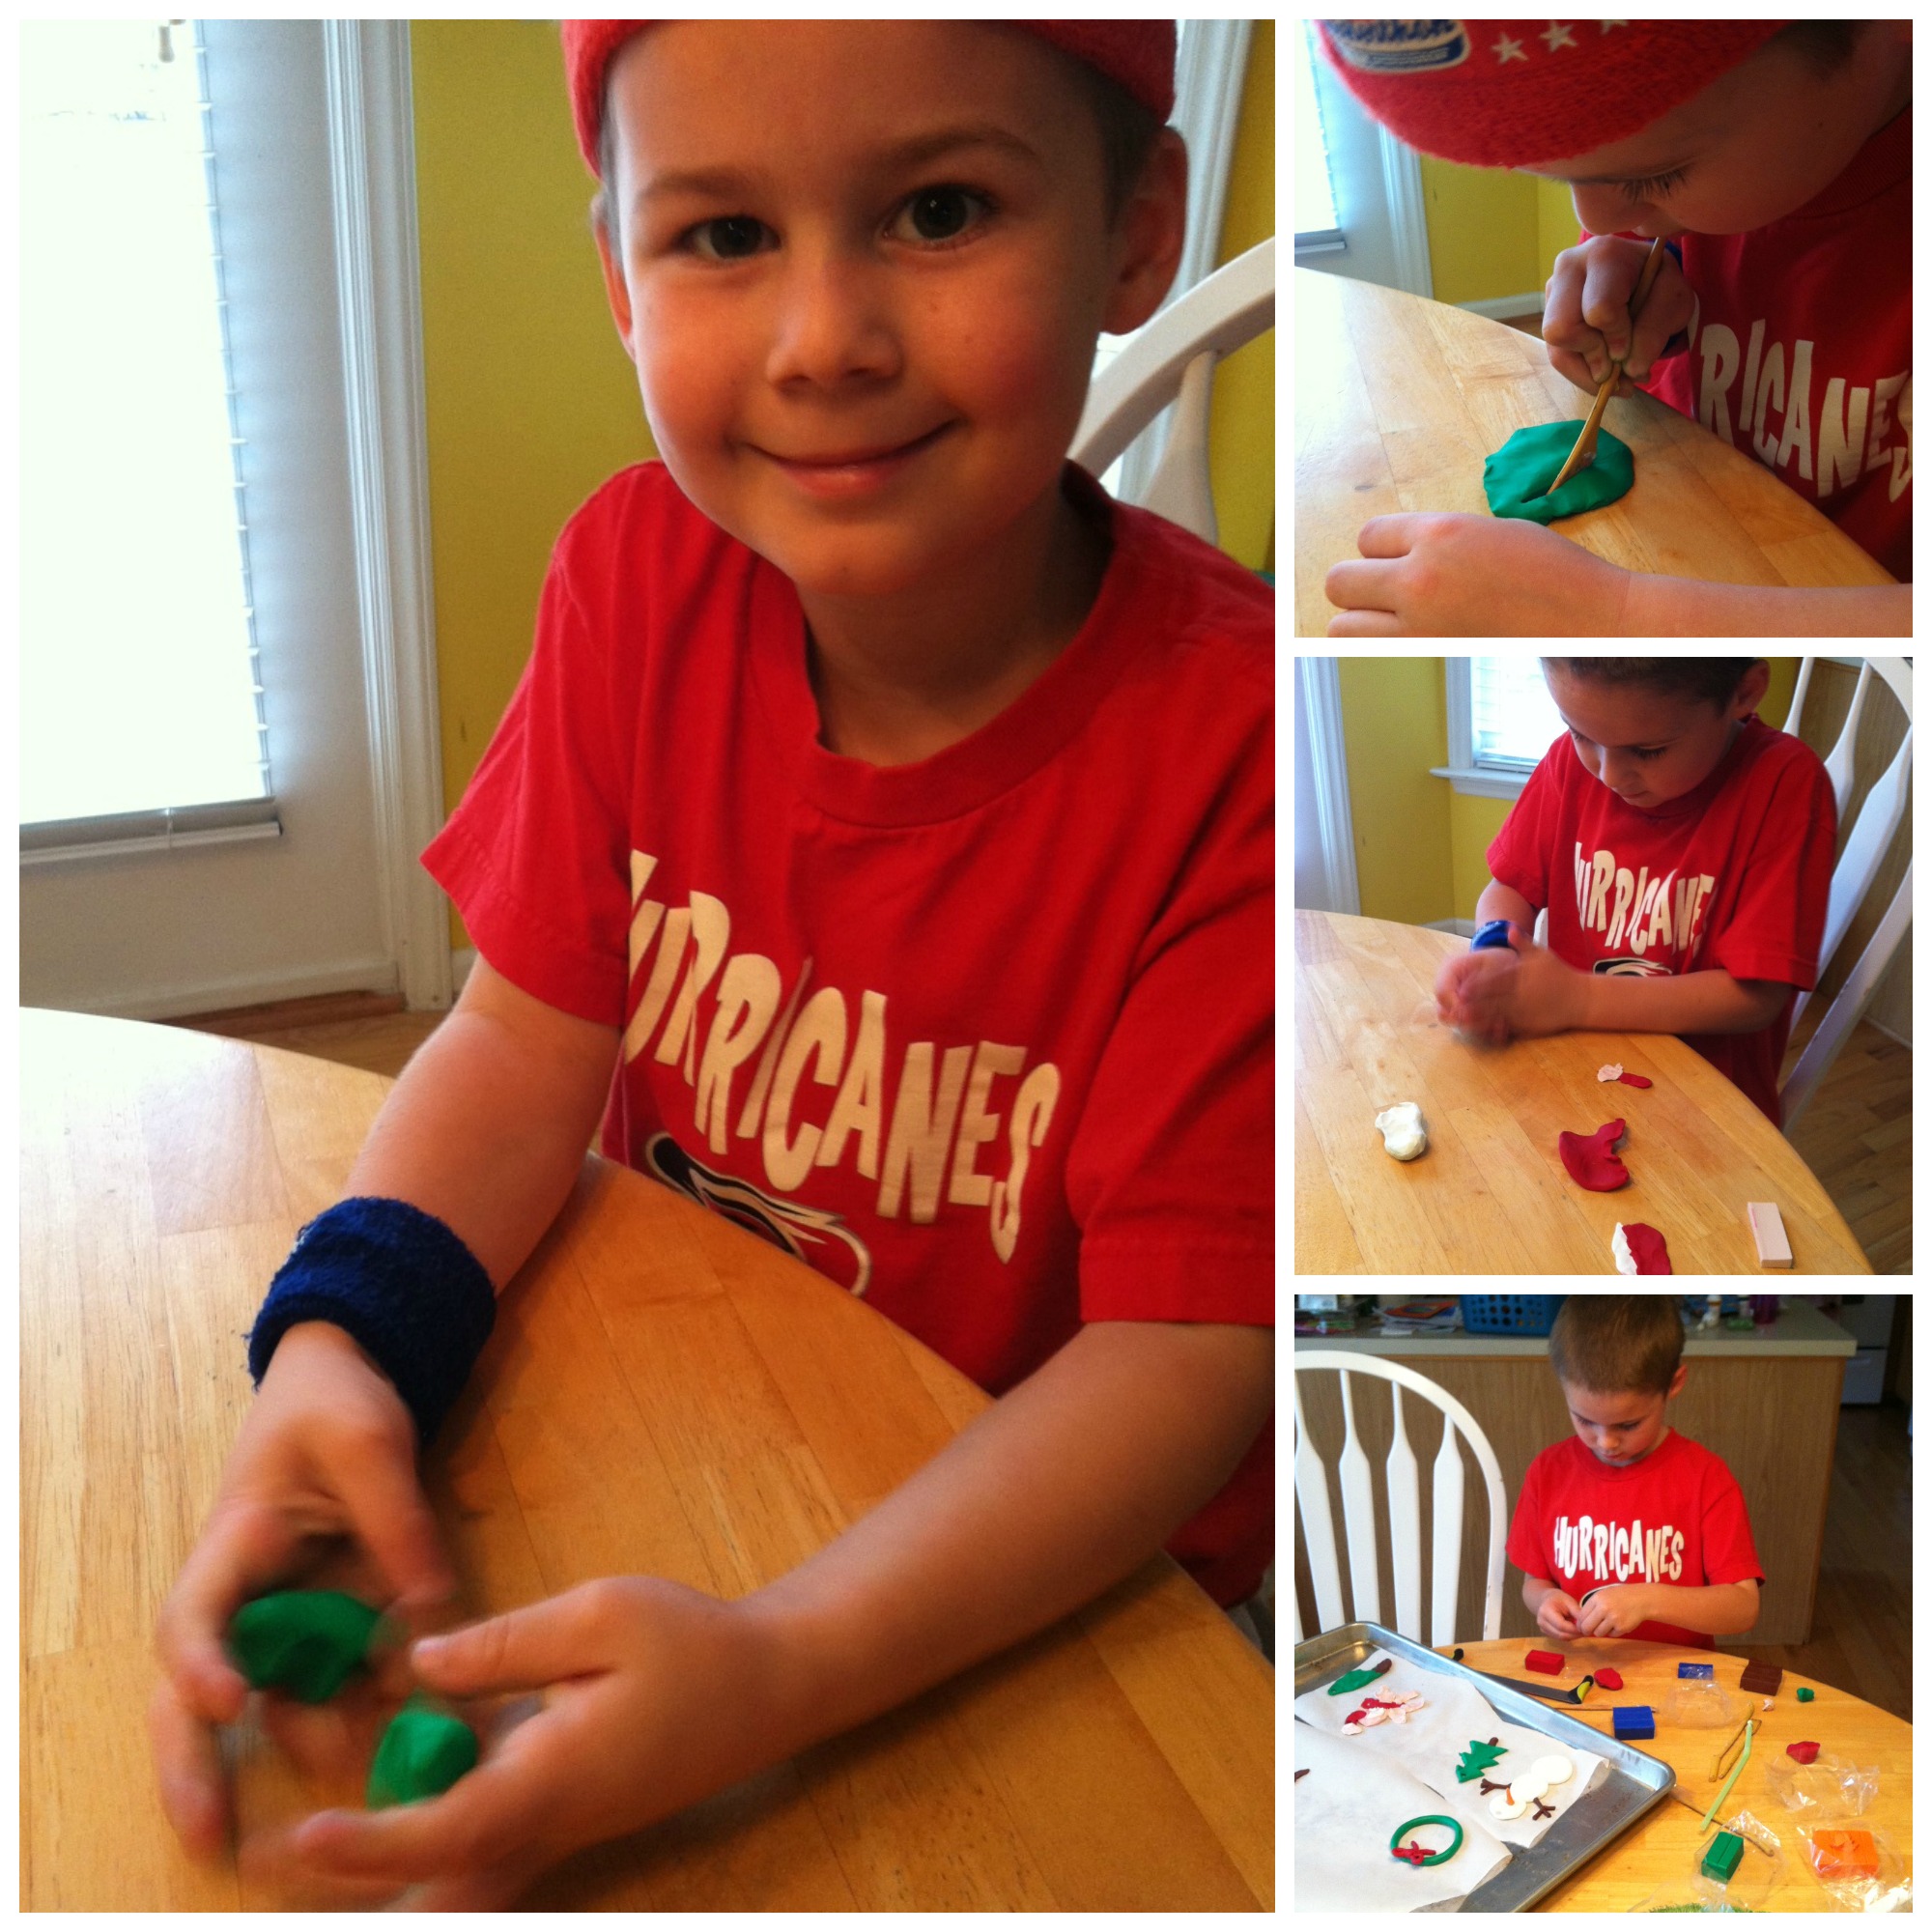
While I was making my ornaments with Sculpey clay, Landon wanted to make some too!   I love his creative ideas!

Landon

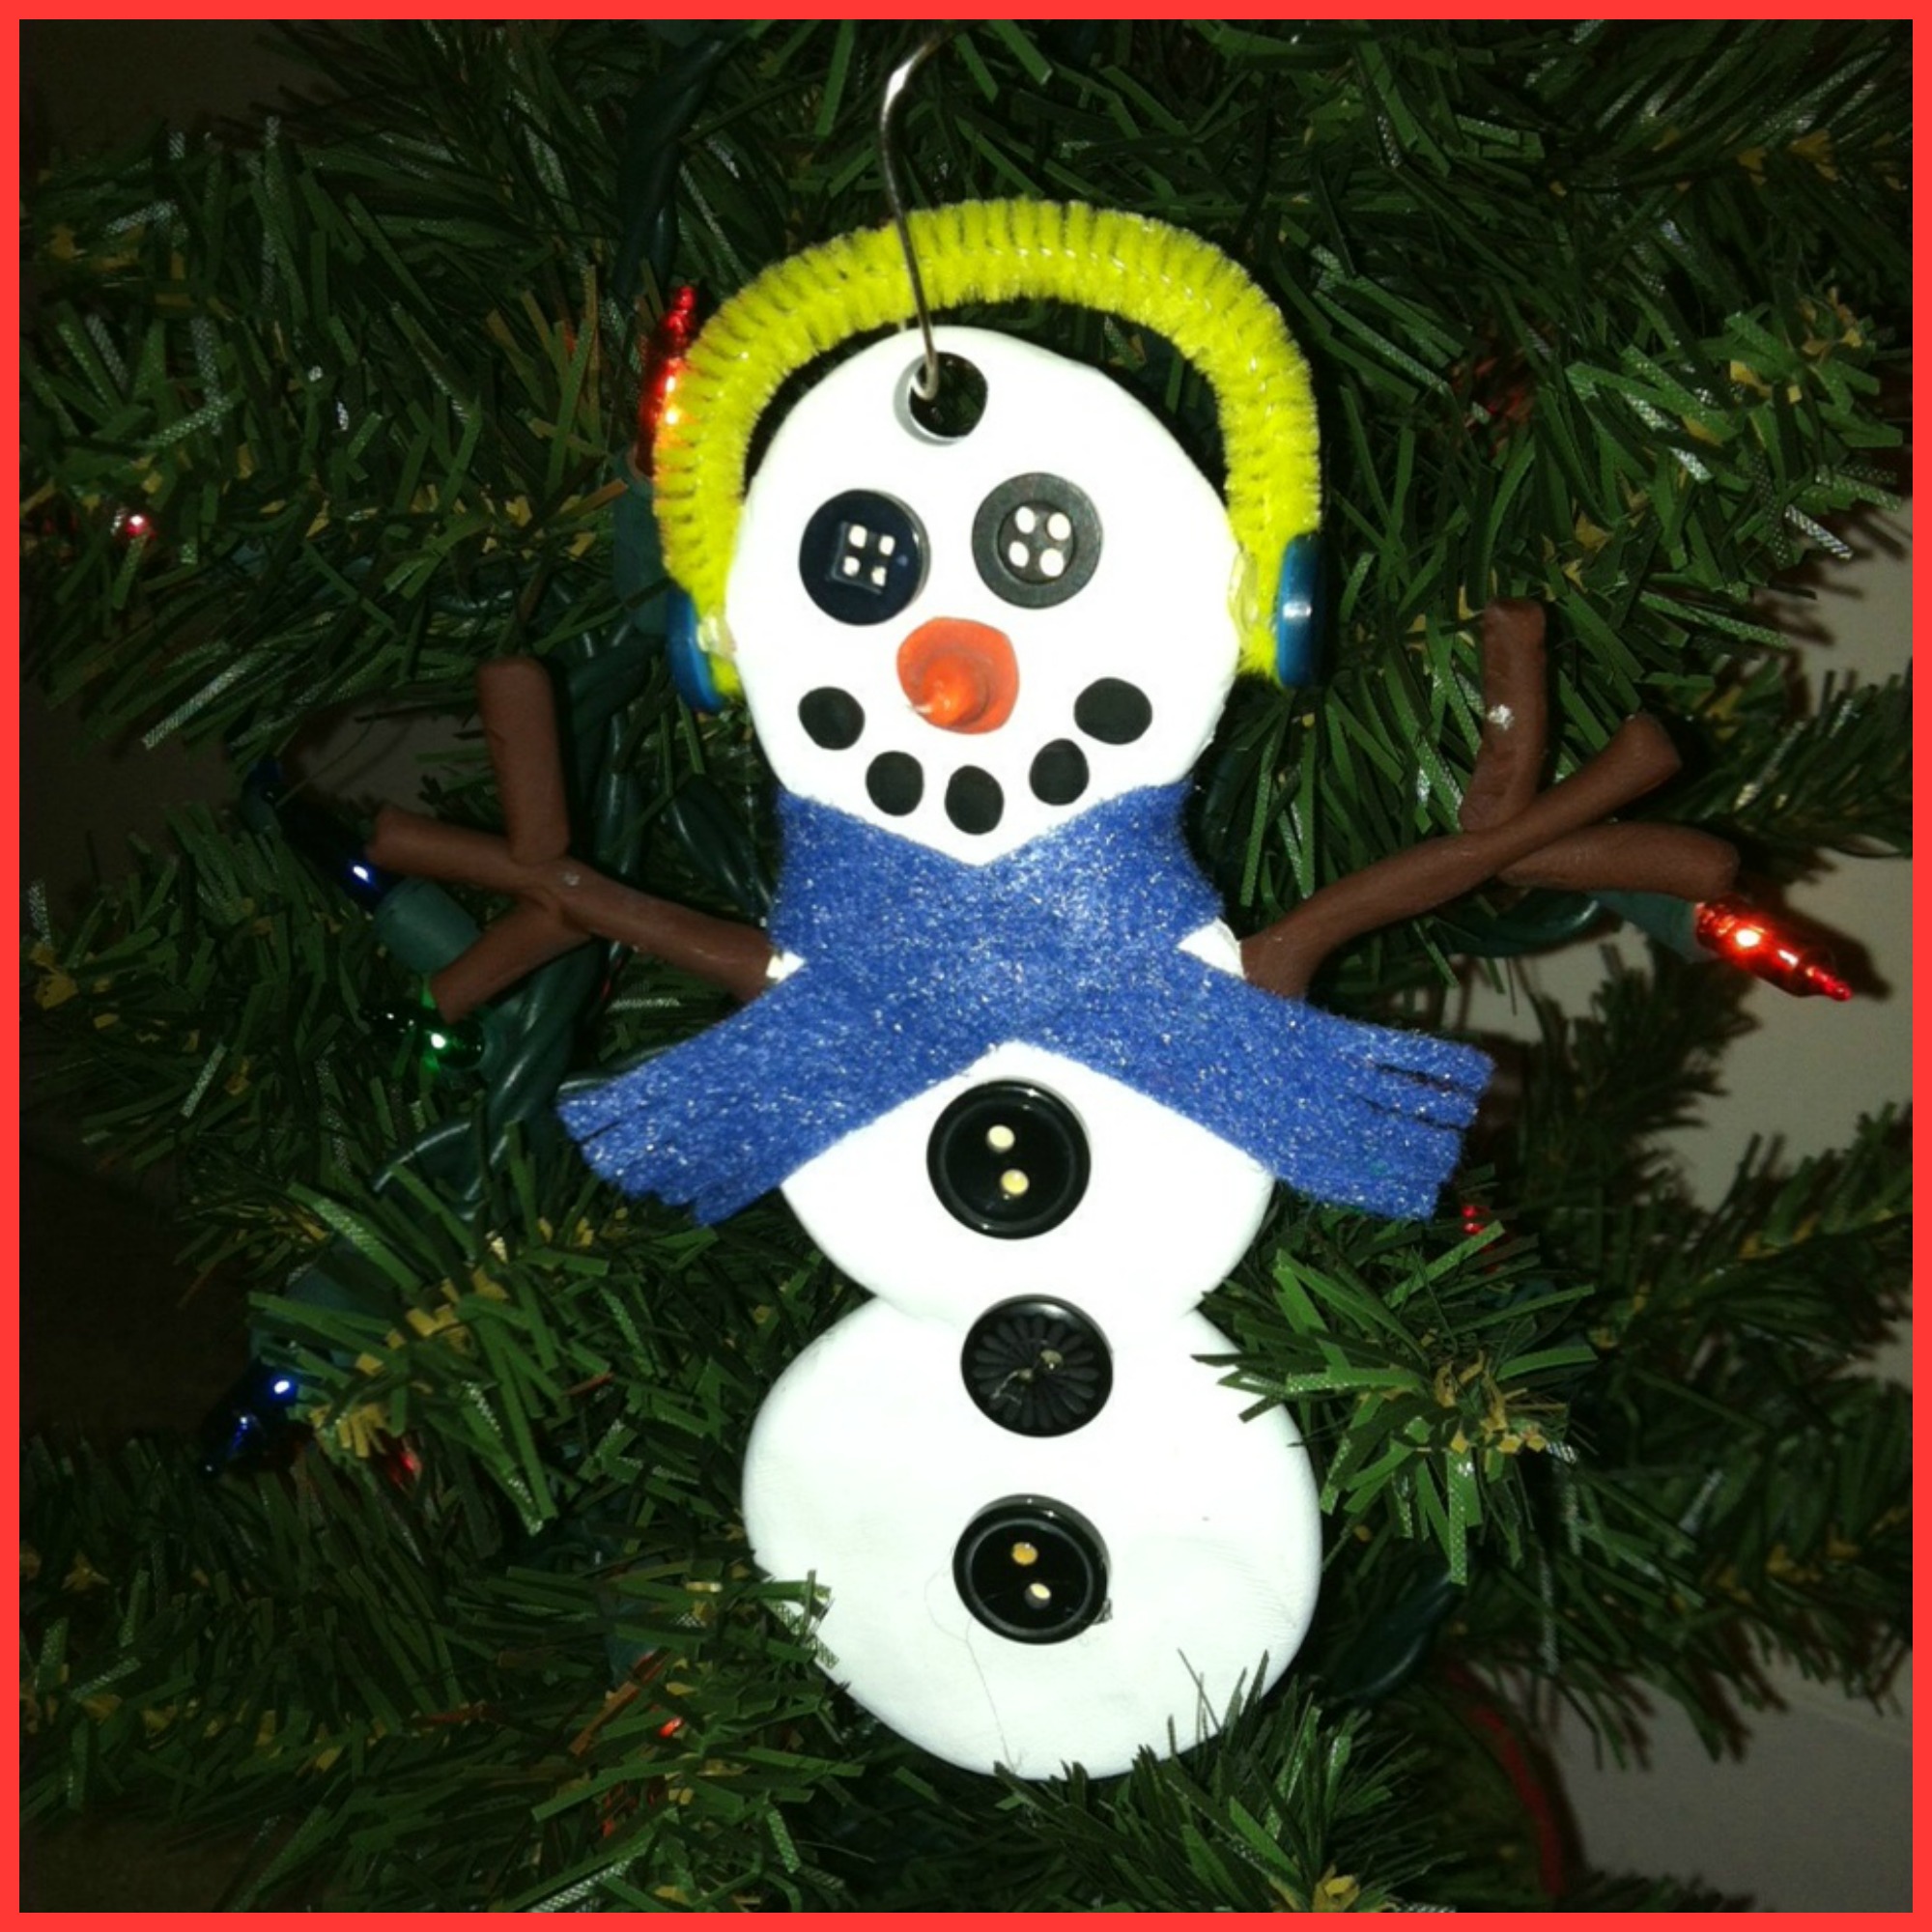
One of my favorite ornaments is a snowman.  Who doesn’t love a snowman?!?!  They are simple and just too cute!

snowman

After I was all done with my snowman and he was baked at the recommended baking time and temperature, I decided to give him some earmuffs!!

snowmanfinish

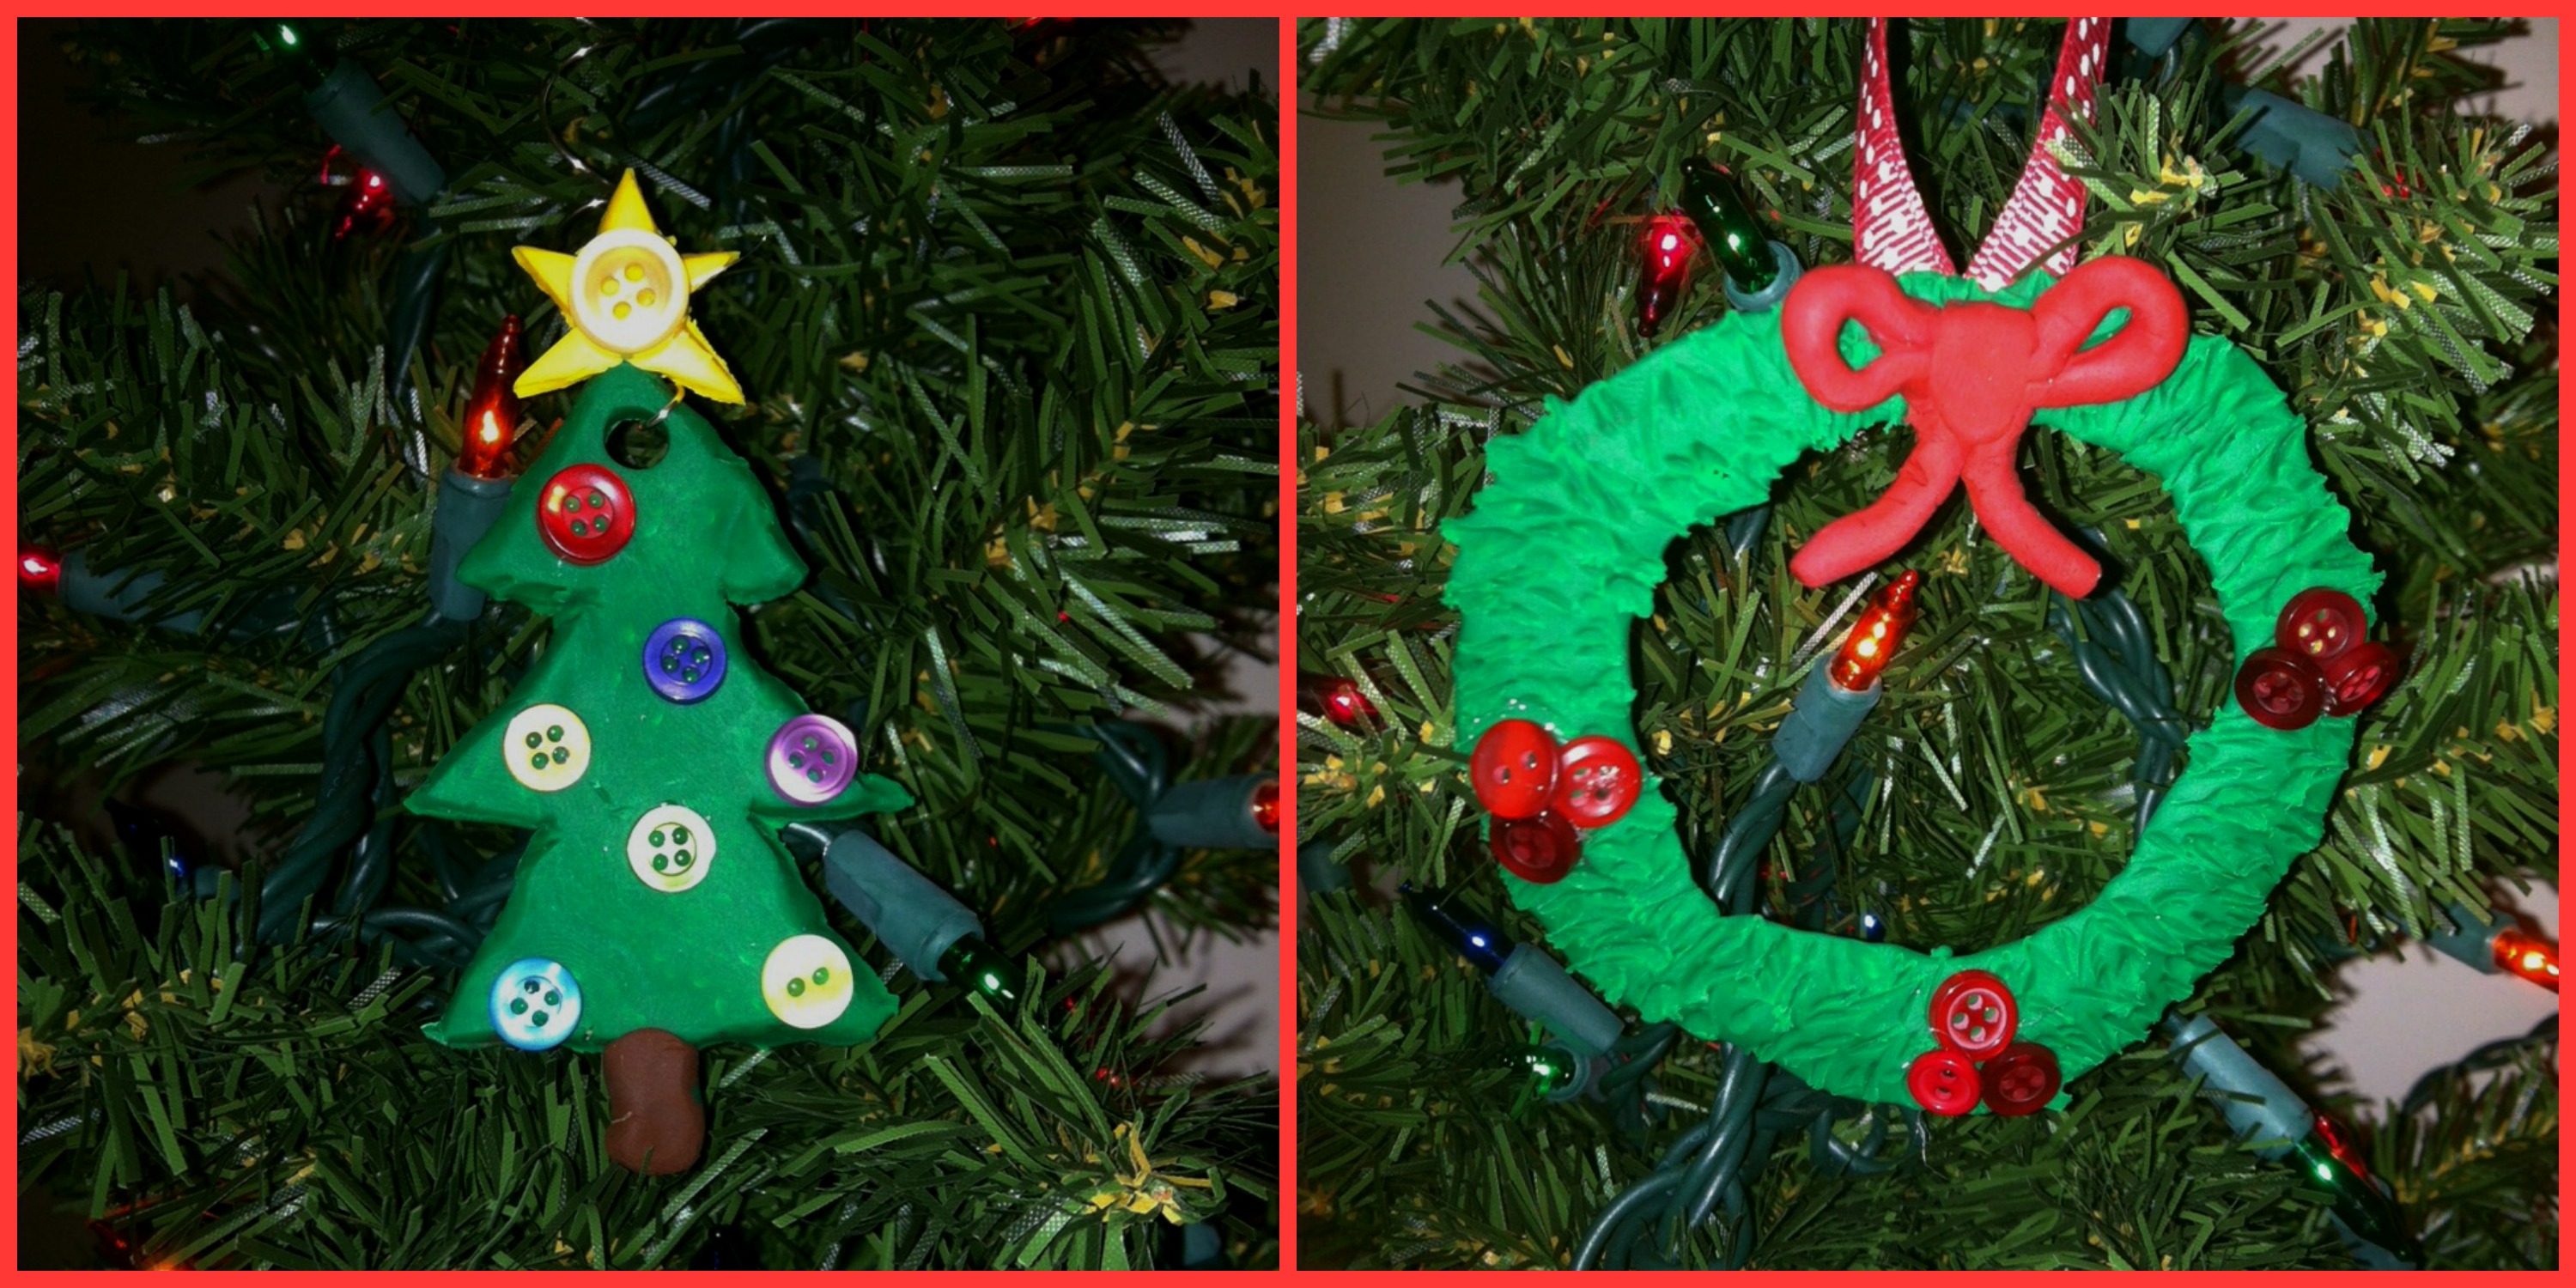
Here are two other cute ornaments I made:

treeandwreath

I always have fun participating in blog hops!  They are so much fun and it’s great to see how creative others are!  I hope you like my ornaments!

Hop over to Laura Kelly’s blog to check out other ornaments for the Adorable Little Ornament Blog Hop!!!

ENTER this RaffleCopter for a chance to win Scupley Clay and Buttons for Kids!!!