Tag Archives: Eclips2

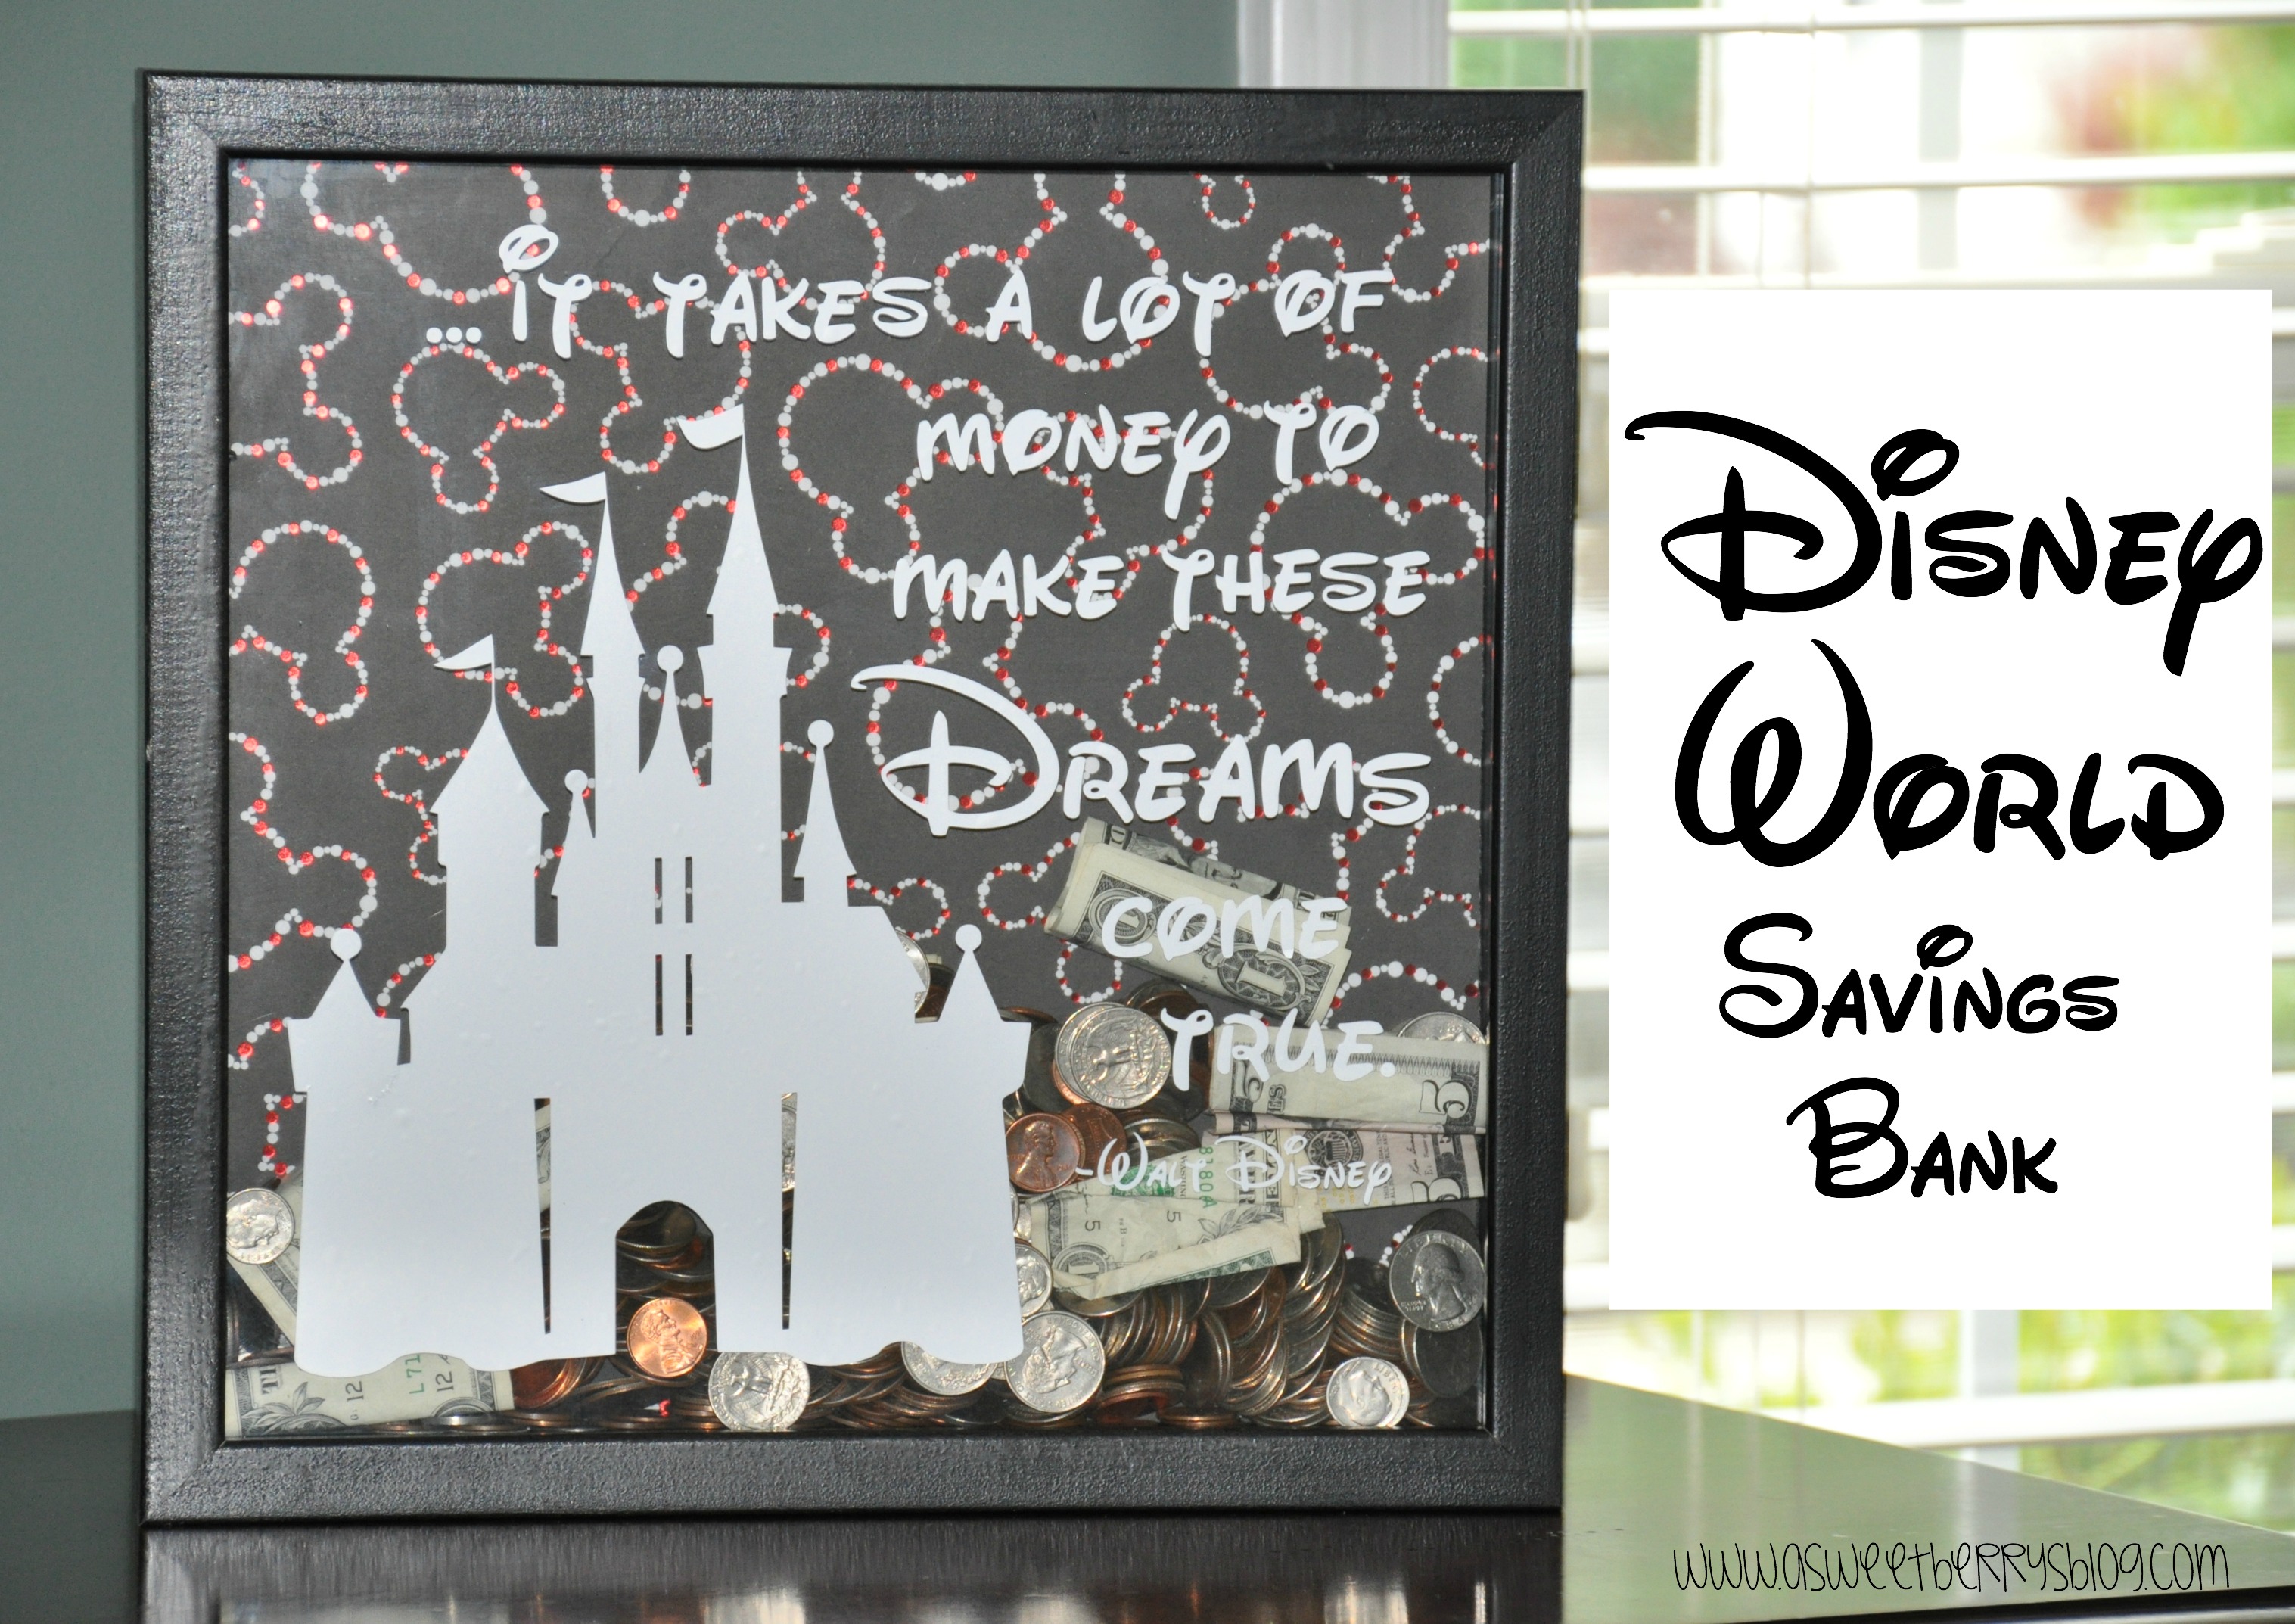
Disney World Savings Bank

Disney Bank Final

Kids just do not realize how much Disney World costs, especially when you don’t live there and you have to get a place to stay.   And if you are like us, we like to stay on the Disney property.   We have worked really hard to help our children learn about saving and spending money.   They’ve learned that if they want something, they have to save their money for it.  

Well, in preparation for an upcoming trip to Disney, I decided to make my boys a Disney World Savings Bank!  Aside from their allowance money, we’ve decided that every cent or dollar that we have will go into our Savings Bank.   We will use this money for fun things like souvenirs and extra treats!   So, the more they save, the more money they have to spend!  We are fortunate that we are going at a time that they offer the free dining plan.  That is helping to save A LOT of money!

Now, I will tell you the steps I took to making this fun and easy Disney World Savings Bank!

Materials needed:

-A Shadow Box Frame

-A fun piece of scrapbook paper (I used this cute Mickey paper, but you could use any kind that you want if you are making it for something other than Disney!)

-A drill

-Black Paint and a paint brush

-Glue Runner

Vinyl (affilate link)

-Electronic Cutting Machine (I used the Sizzix Eclips2 (affiliate link)

-Design/Cutting Software

-Money!!!!!!

Steps:

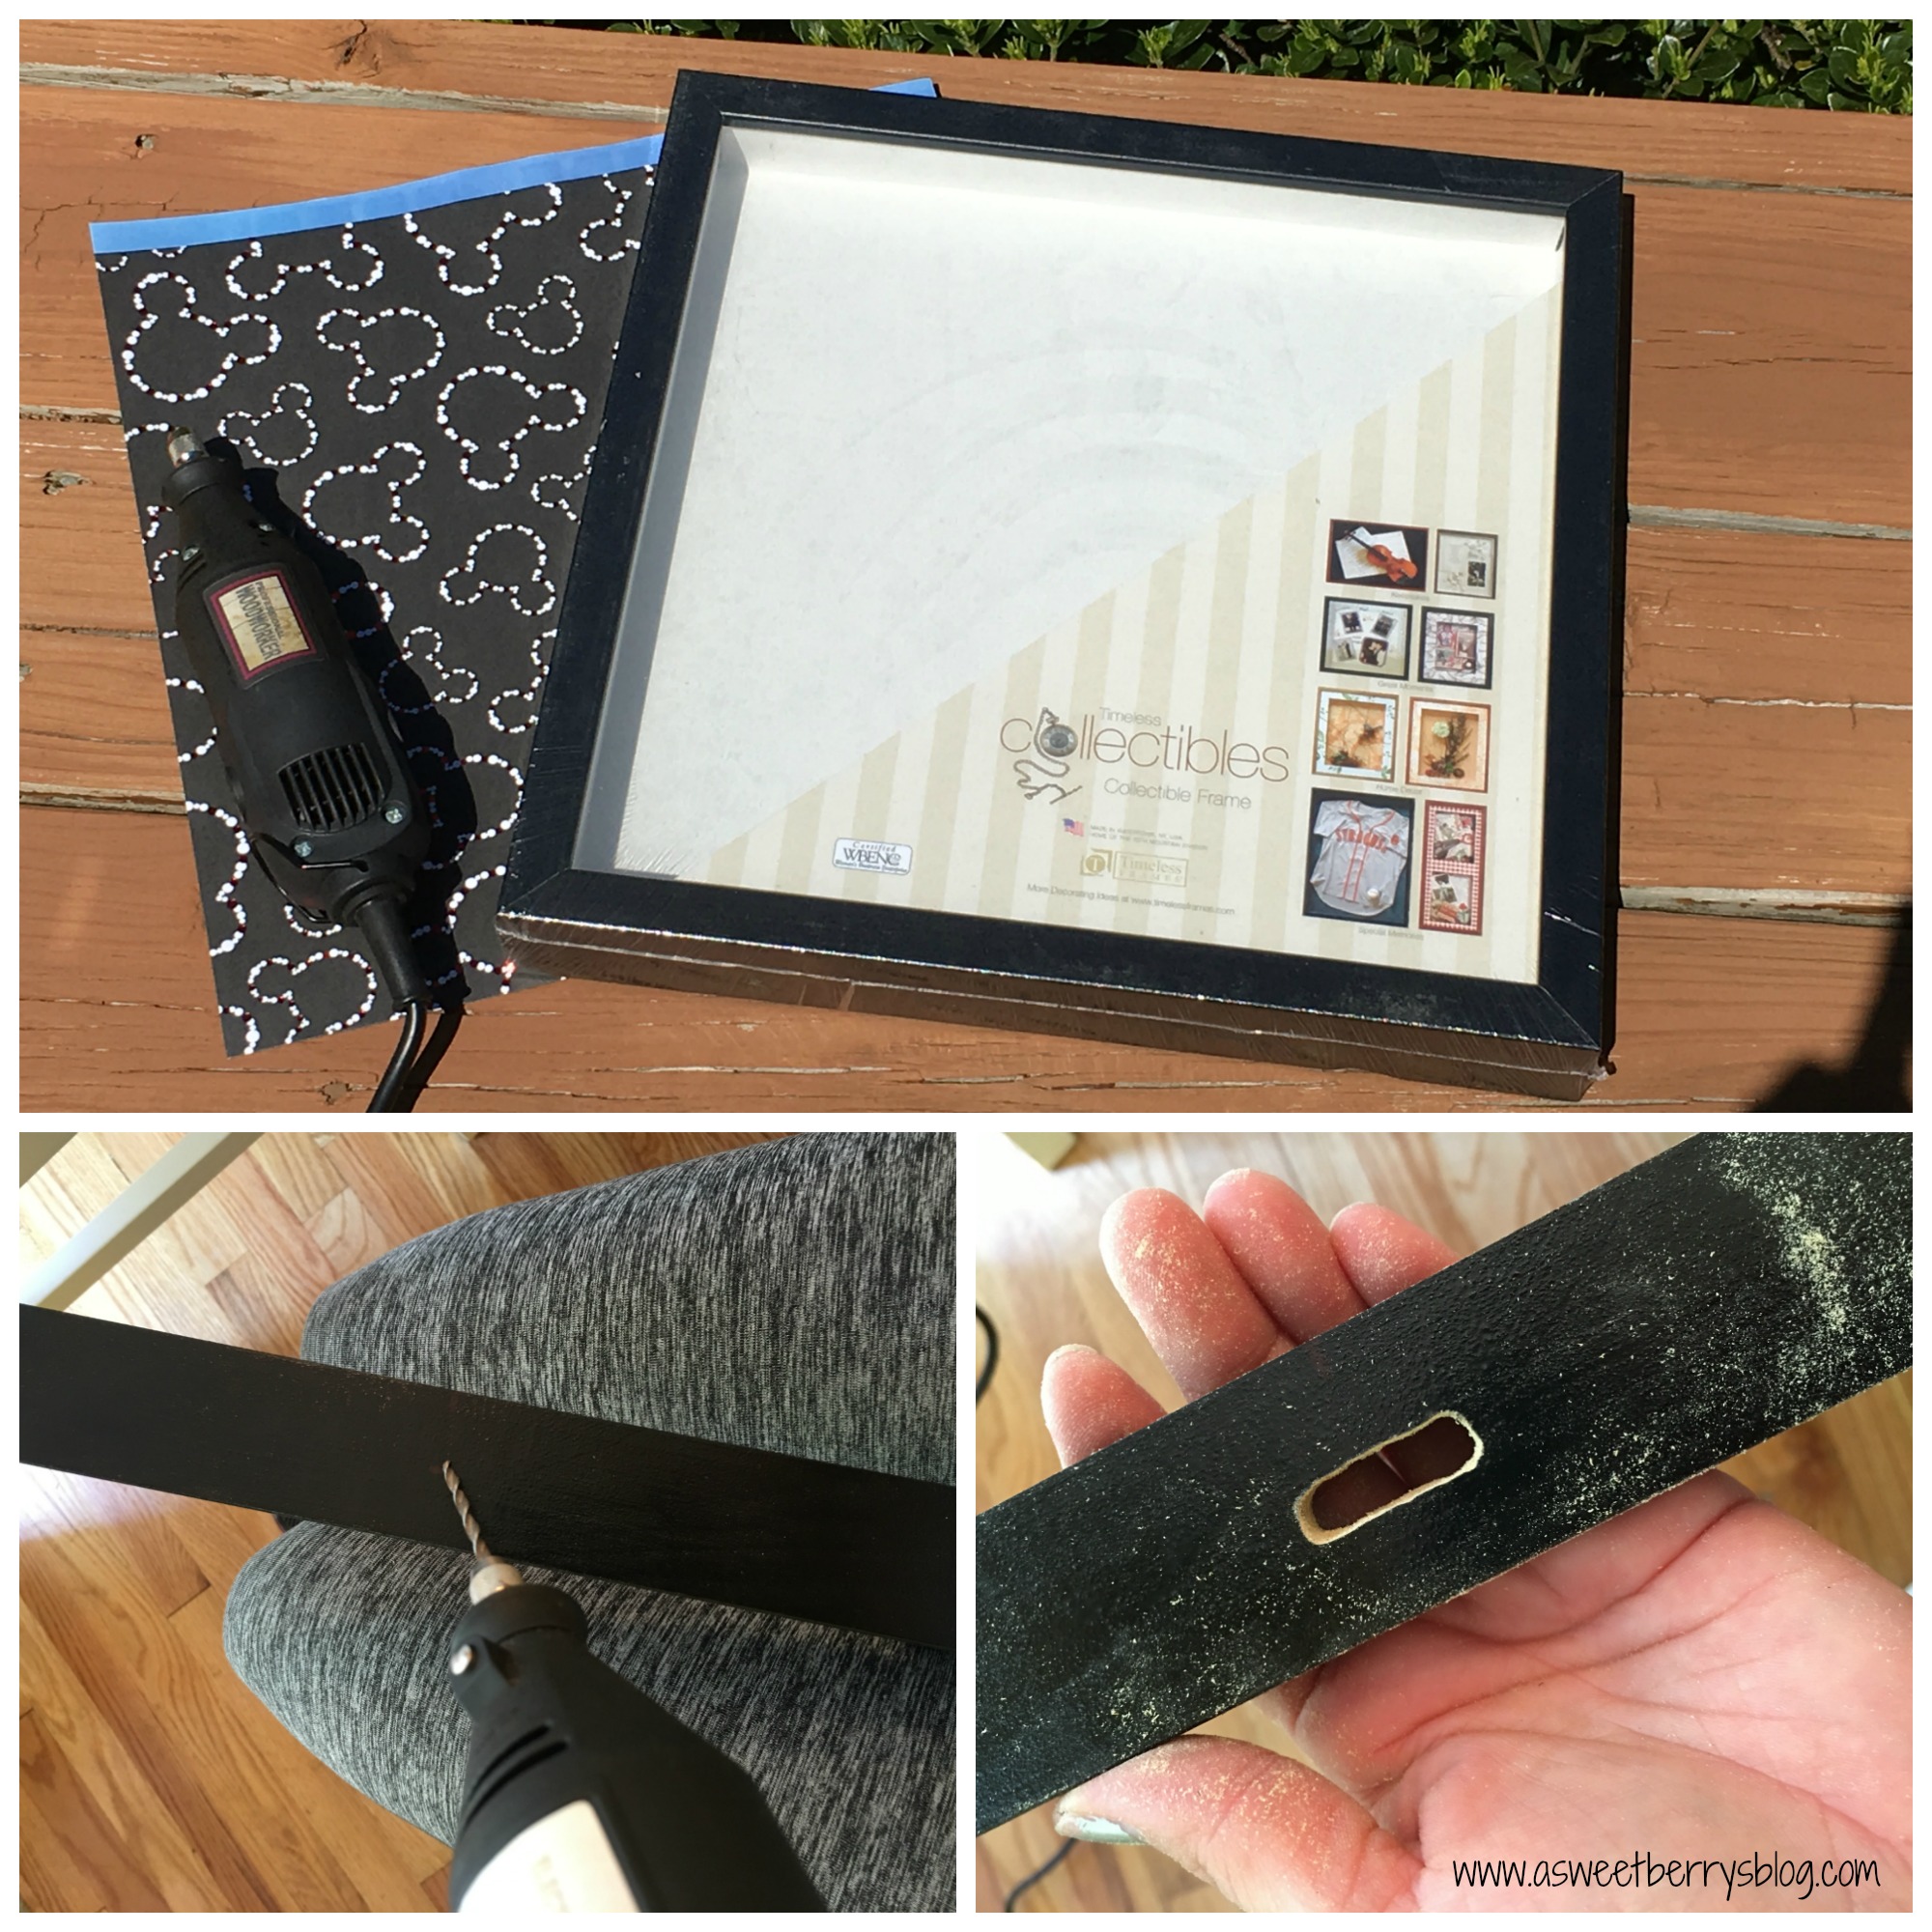
  1.  I removed the glass and cardboard backing from the frame and then drilled a hole in the top big enough for money to fit through.

Frame and Drill

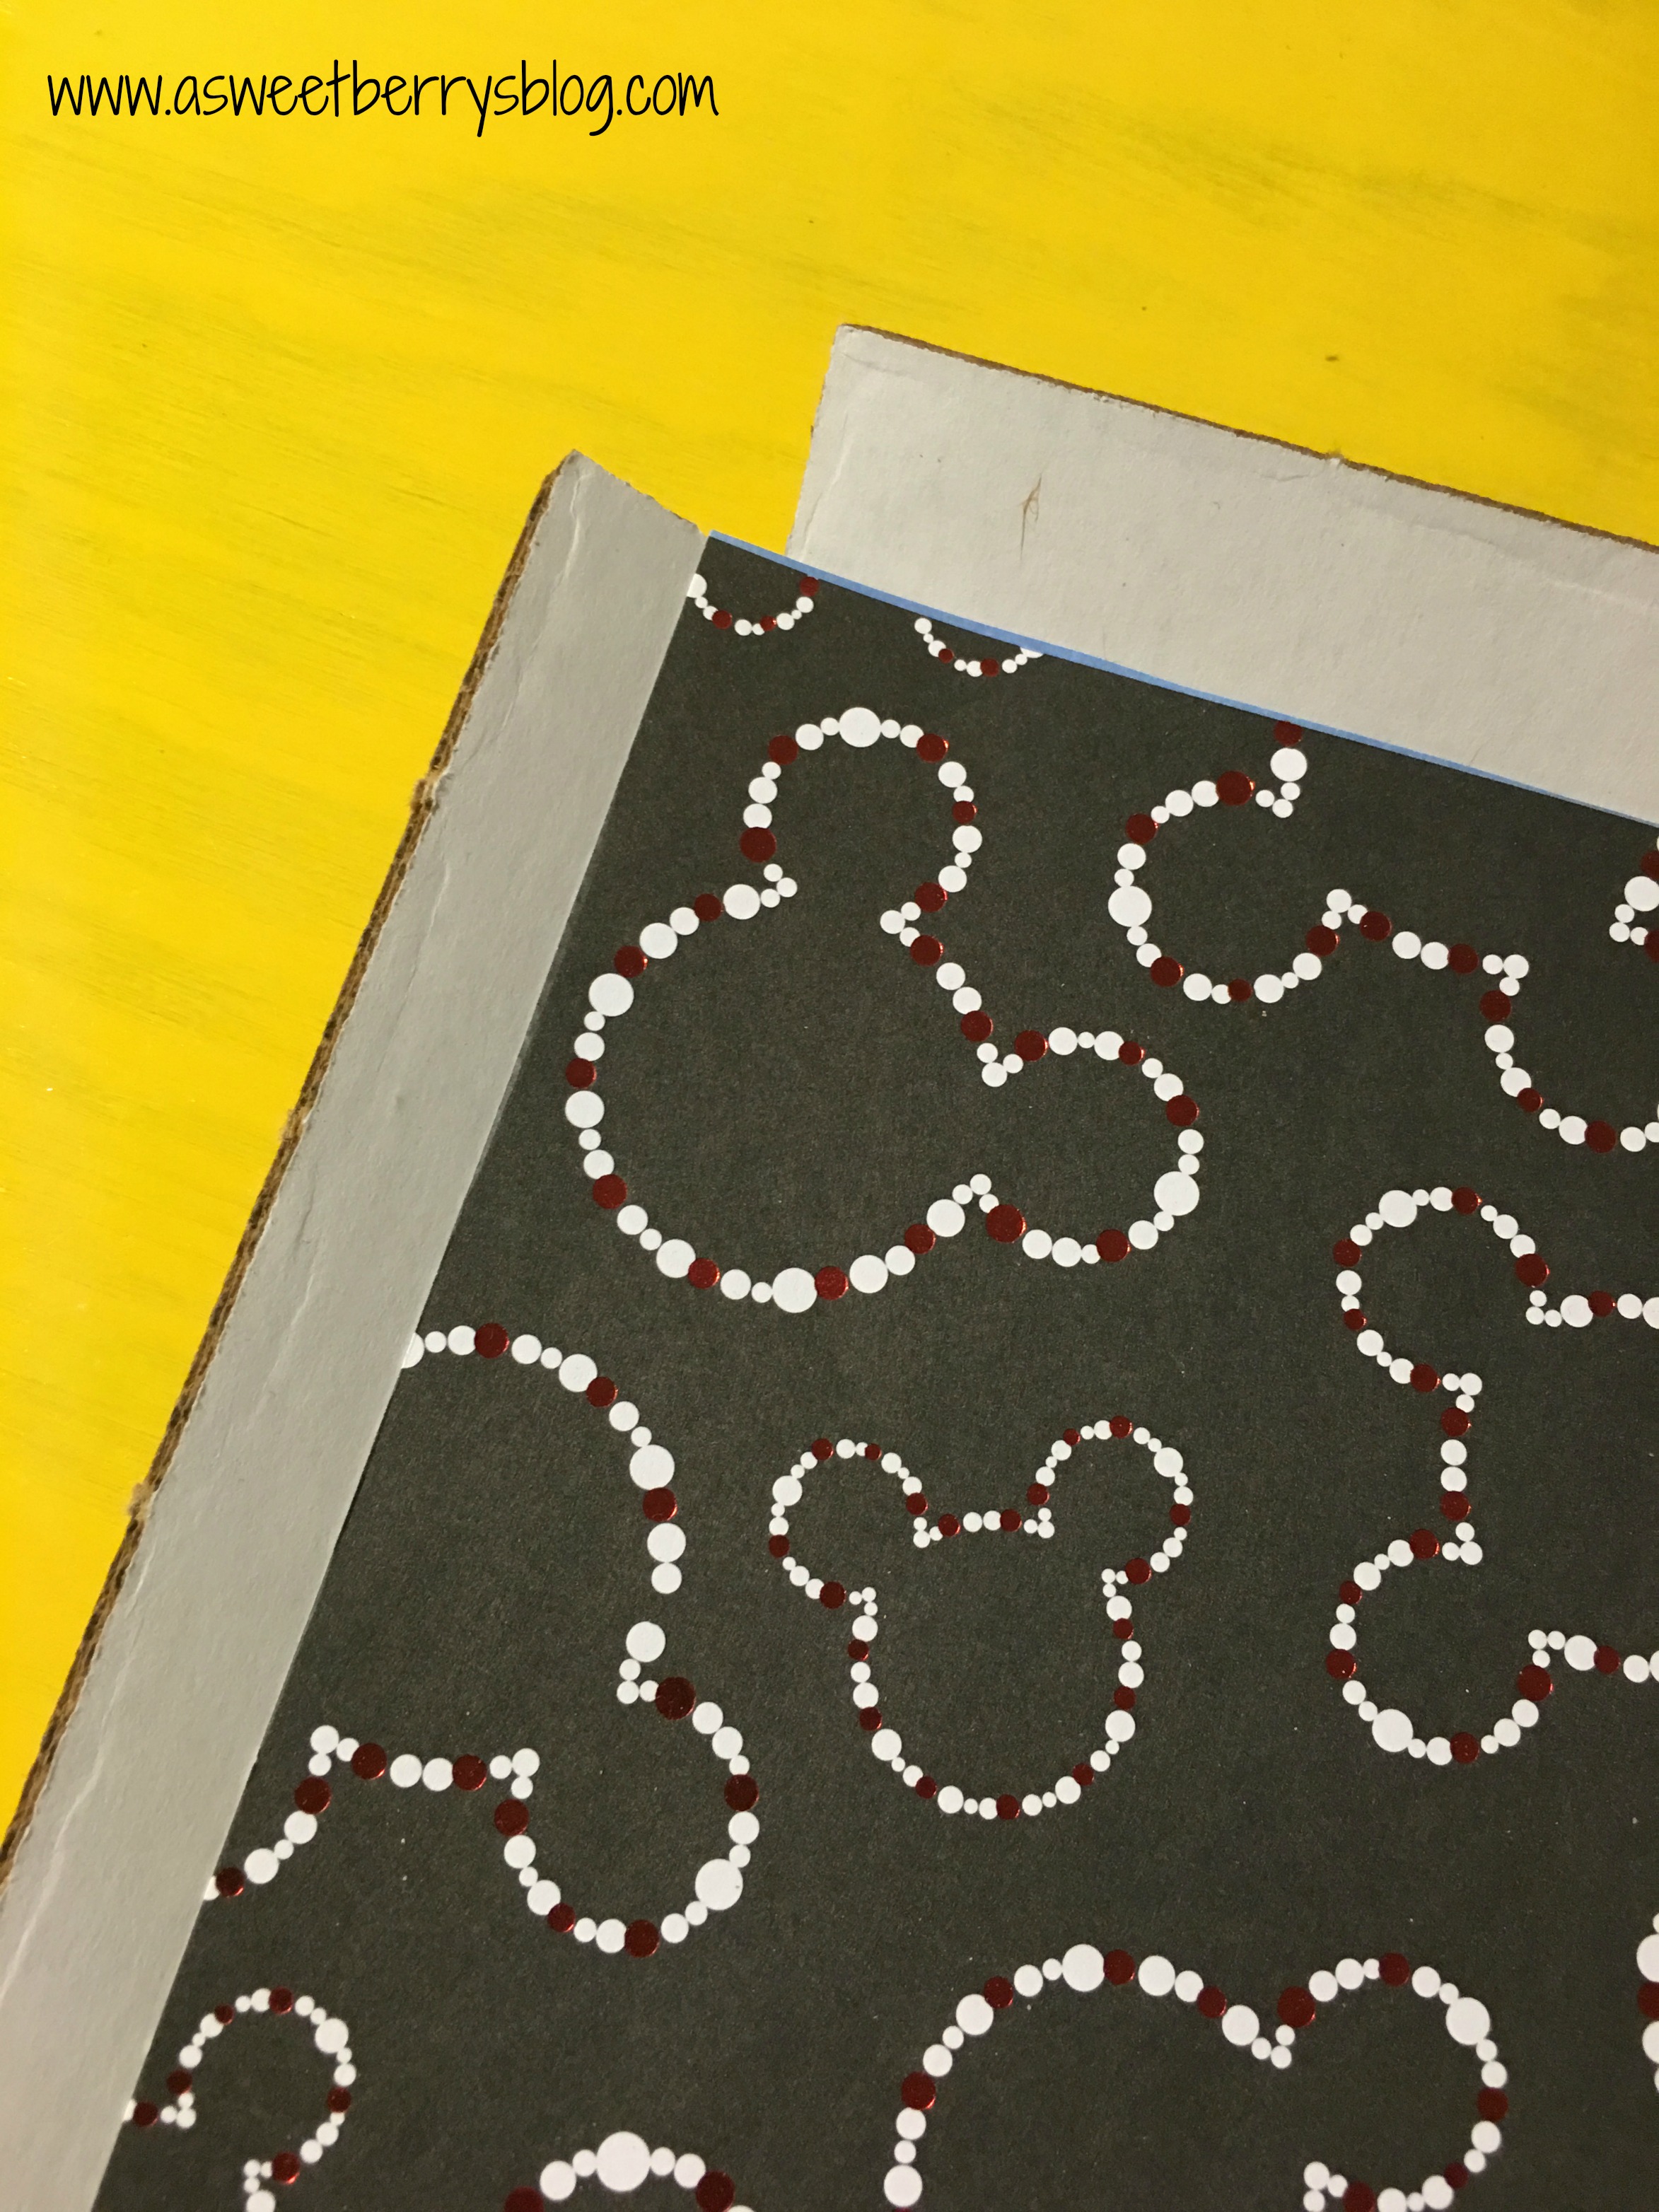
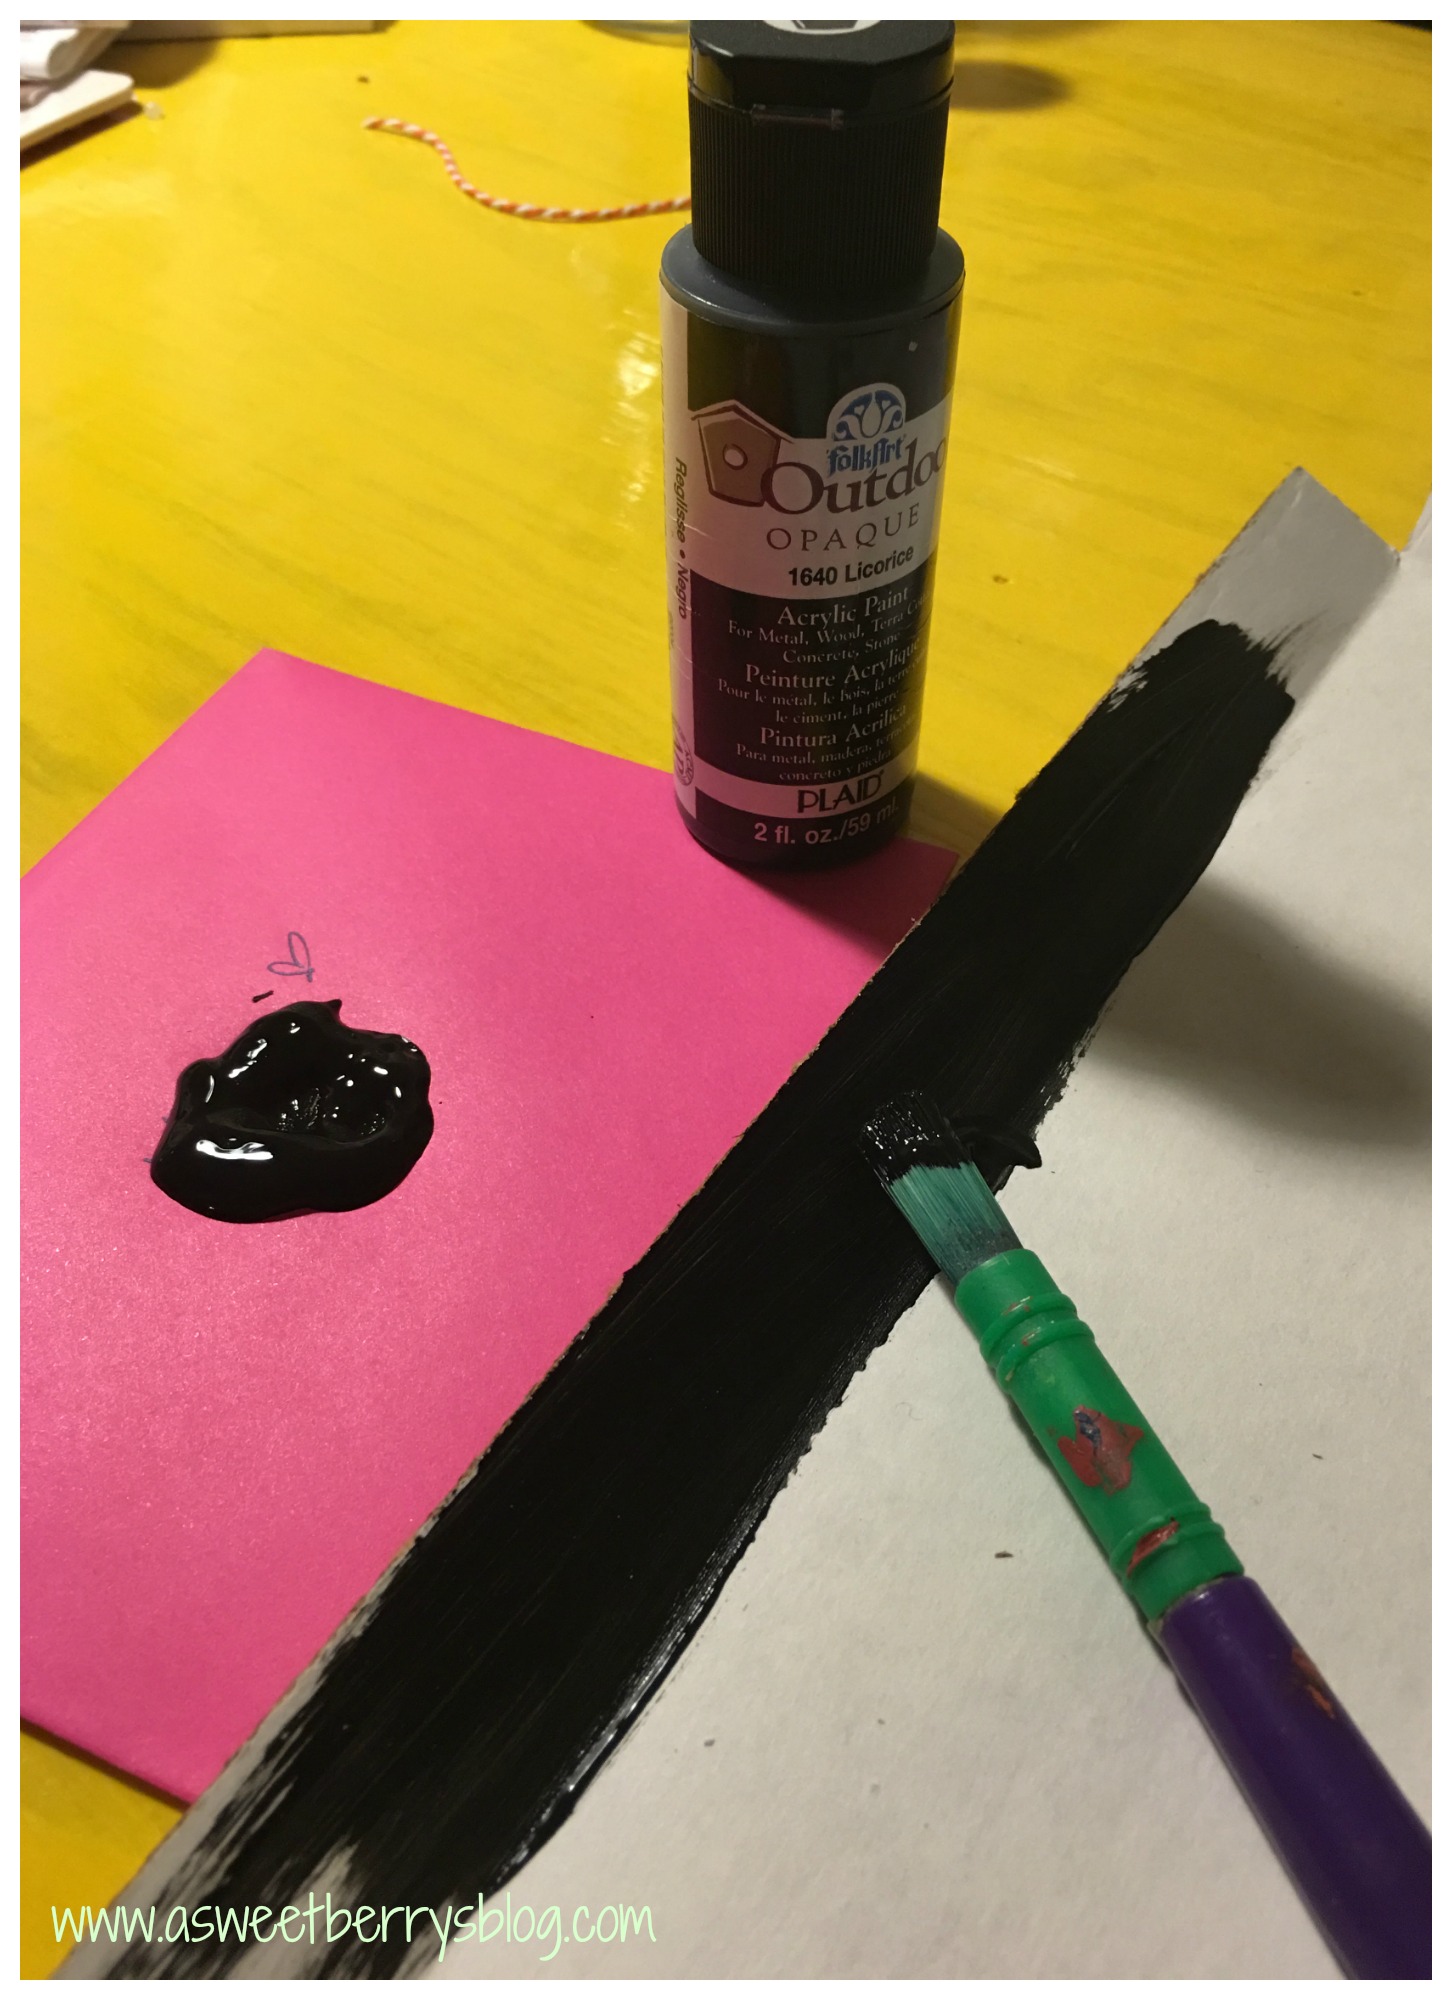
2.  I measured my scrapbook paper to fit to the cardboard backing.  Then I painted the edges of the cardboard backing with the black paint.   Once the paint was dry, I put the cardboard backing into the frame and used a pencil to trace the hole that I cut from the frame.  I removed the cardboard backing and drilled a hole making it a little bigger than the lines.   

adding paper         painting cardboard

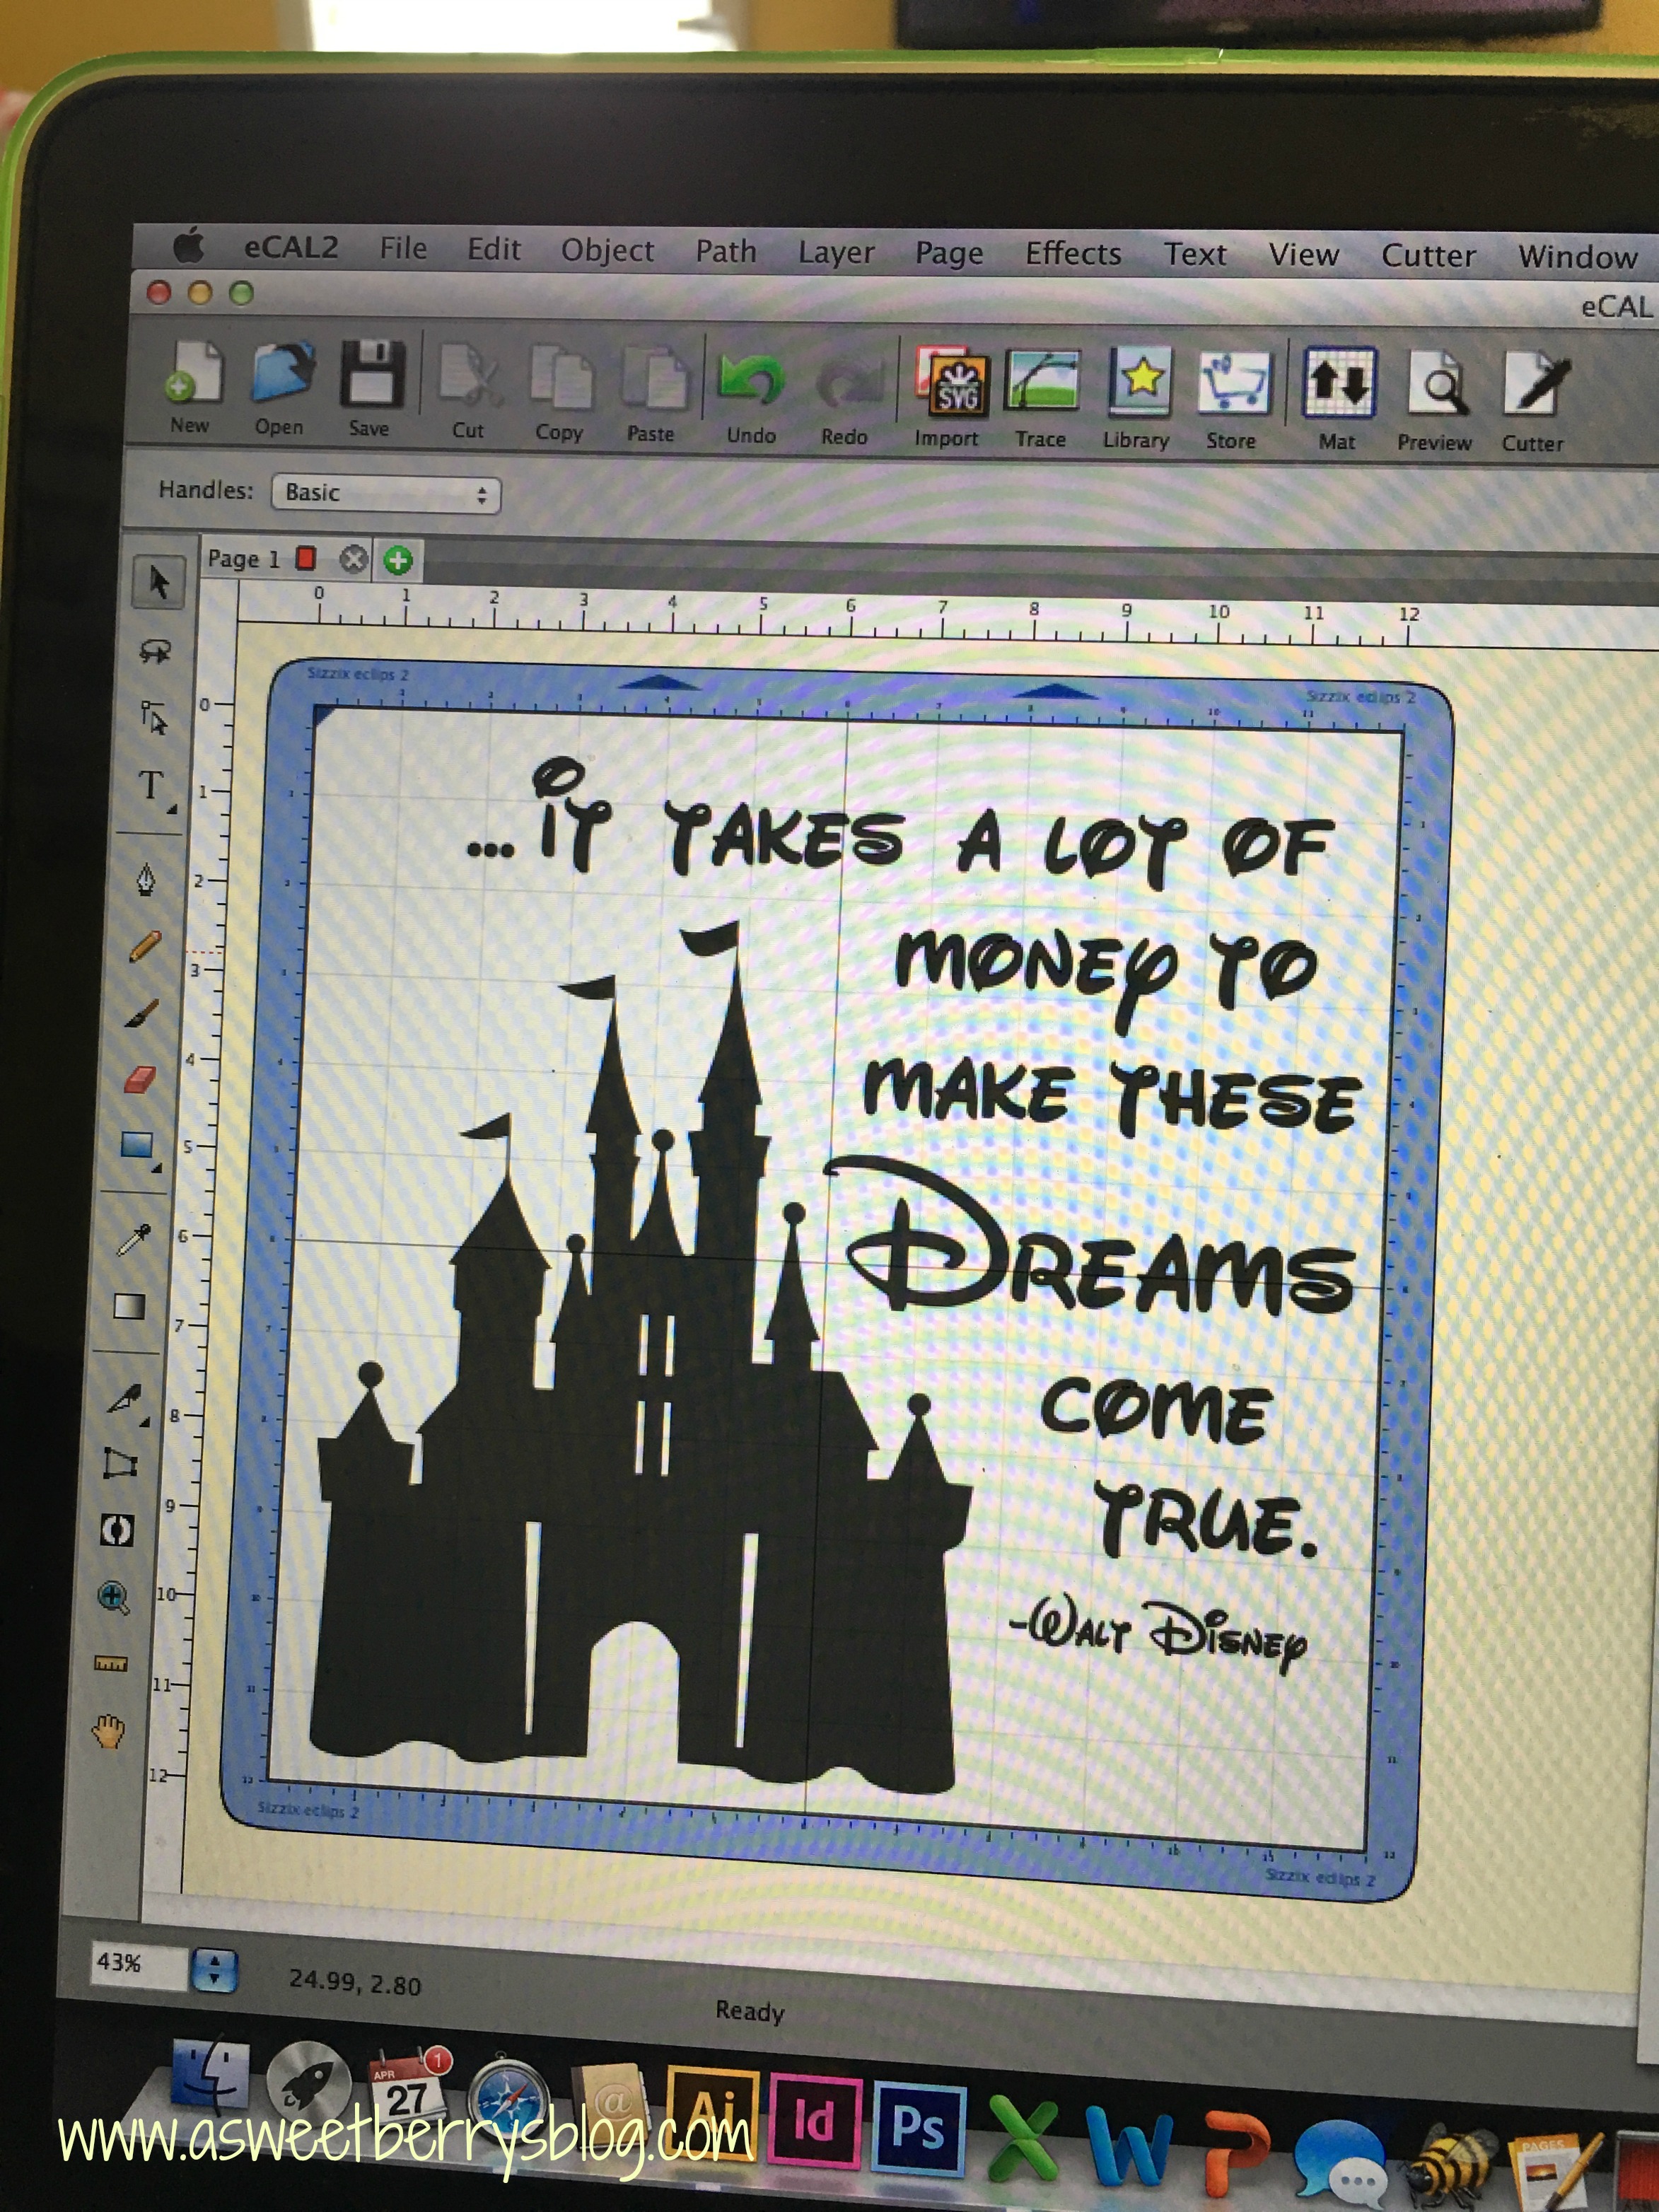
3.  Using eCAL2, I used a castle .svg file and a quote about money from Walt Disney.  I know that the quote had a different meaning than the saving of money for a trip to Disney, but I still like the quote and well……”It takes a lot of money to make these Dreams come true.”  That quote helps put into perspective for the kids that it does indeed take a lot of money to go to Disney!   I then cut it out with white vinyl.

eCal2

4. After the vinyl was cut, I weeded the excess vinyl.  I have to say that there is something very relaxing about weeding vinyl!   Using the hinge method, I placed the vinyl on the glass.

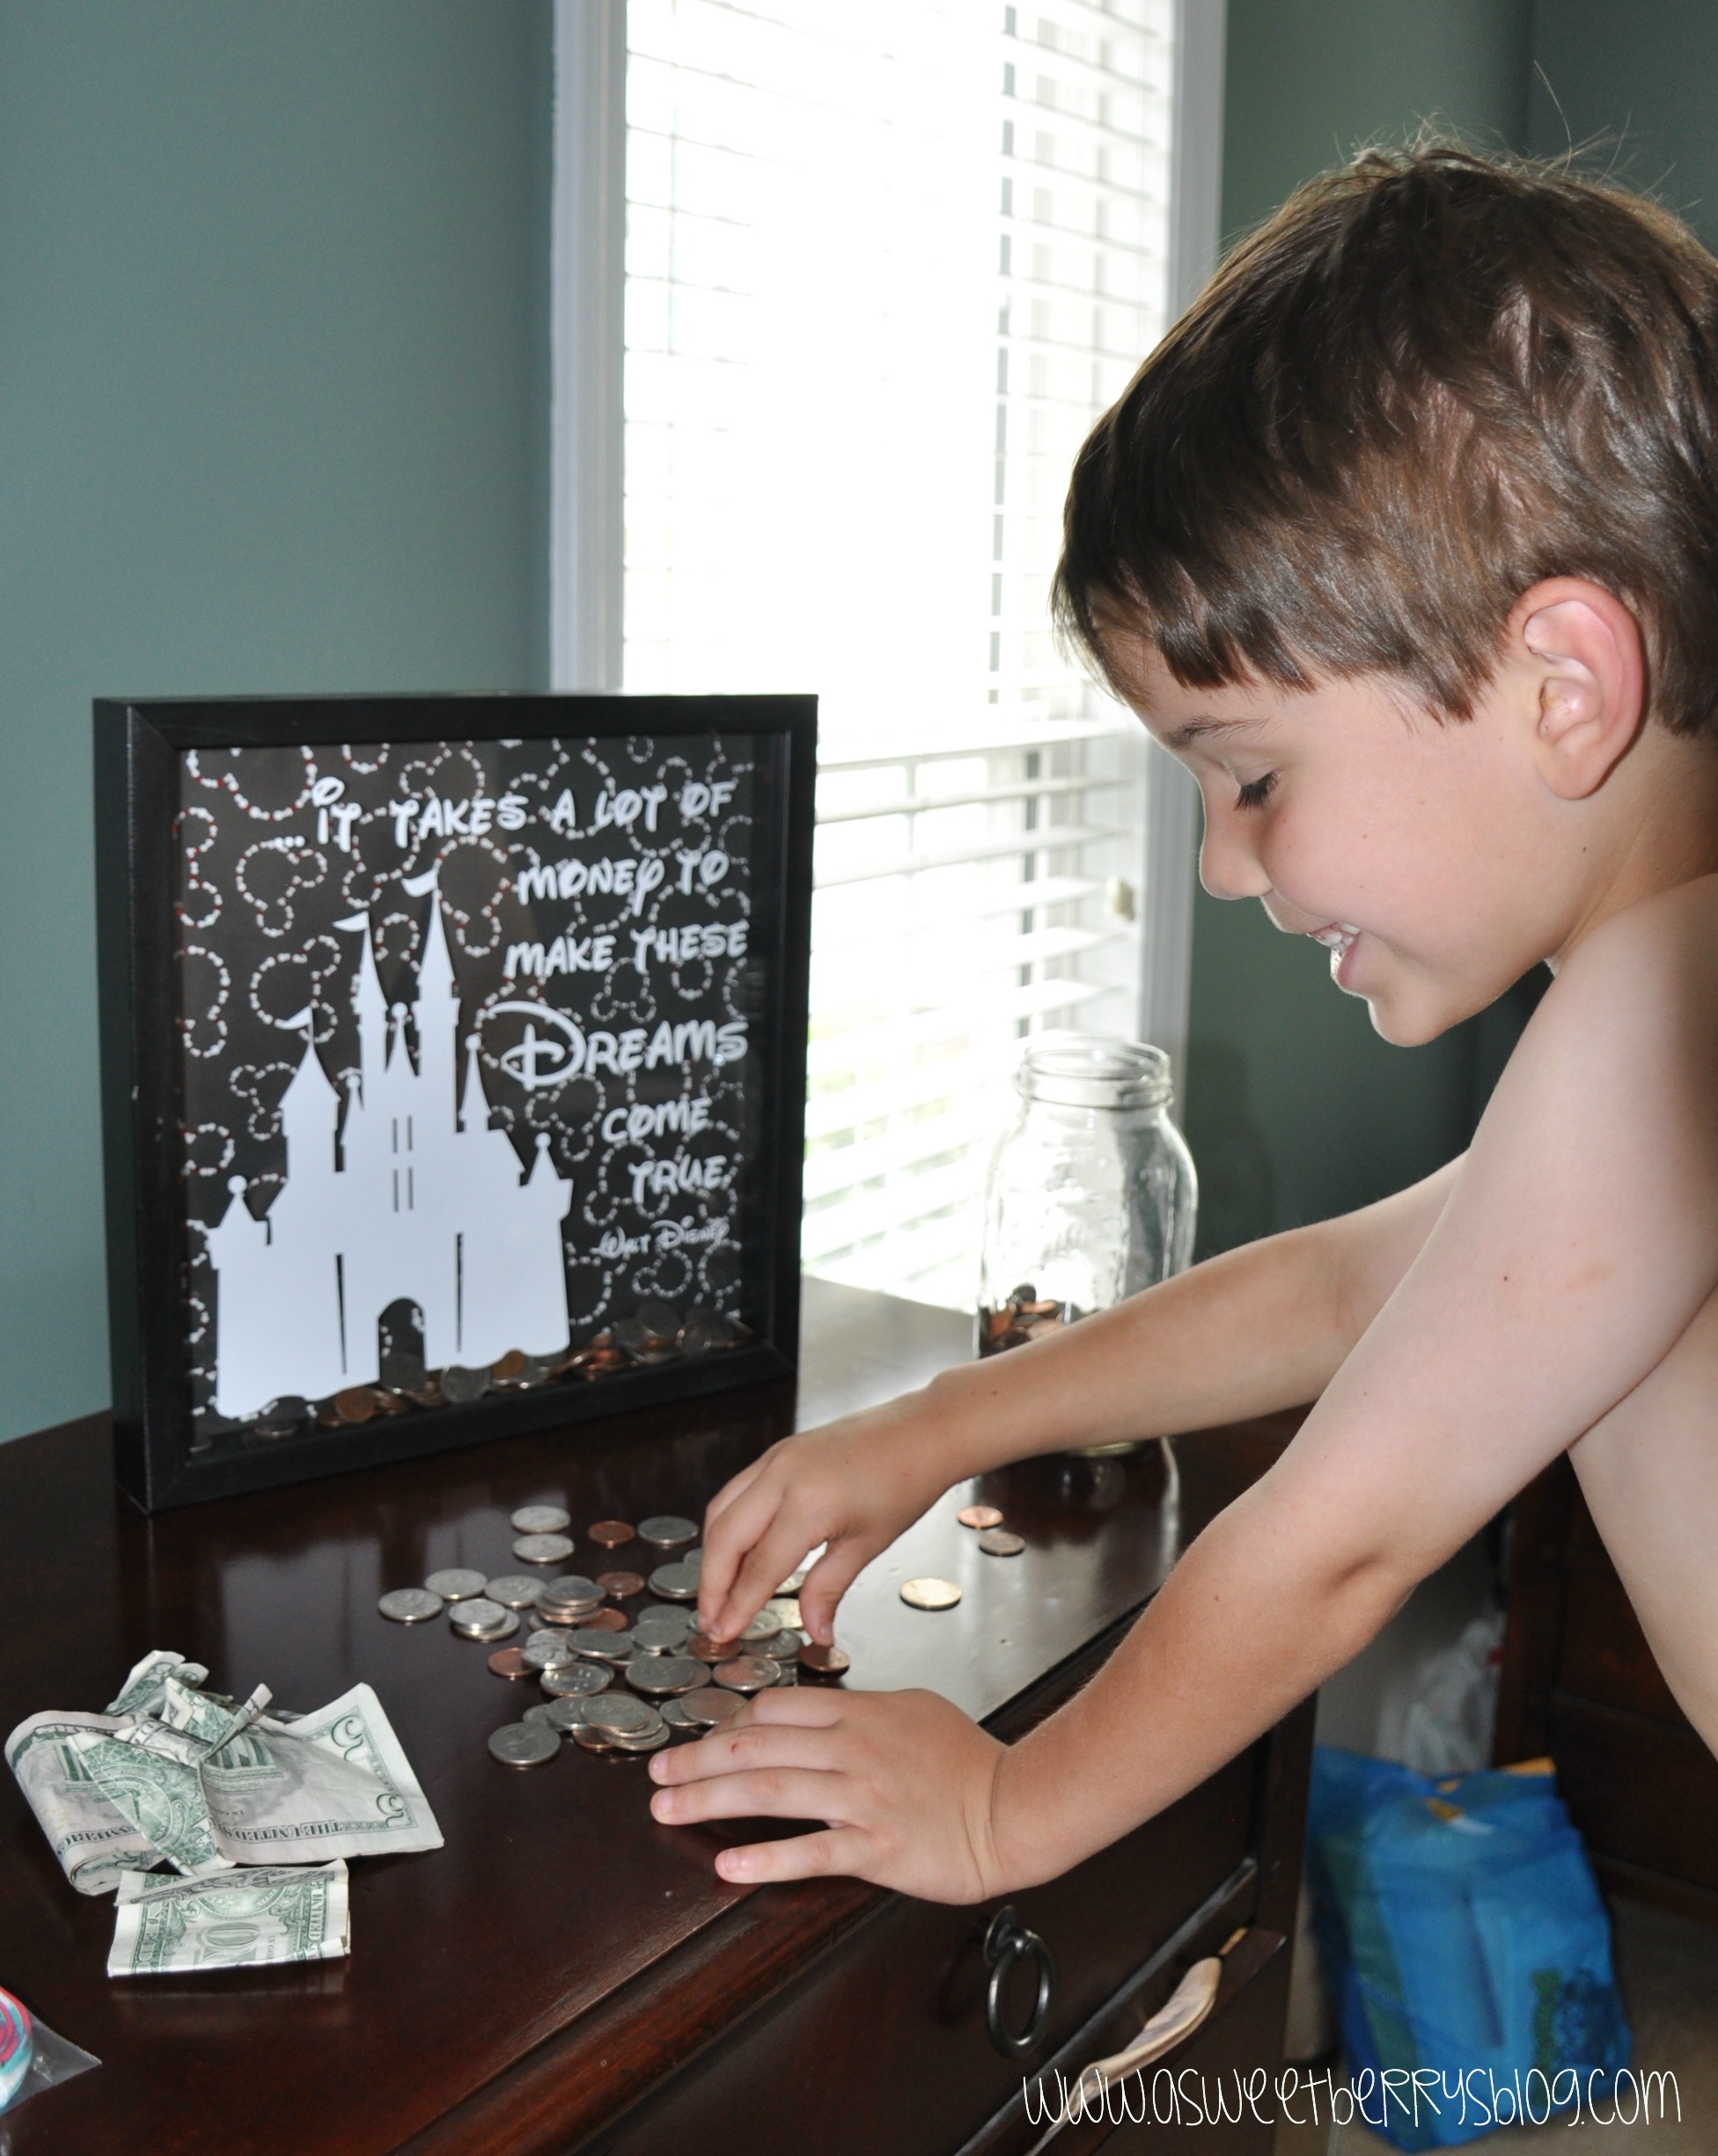
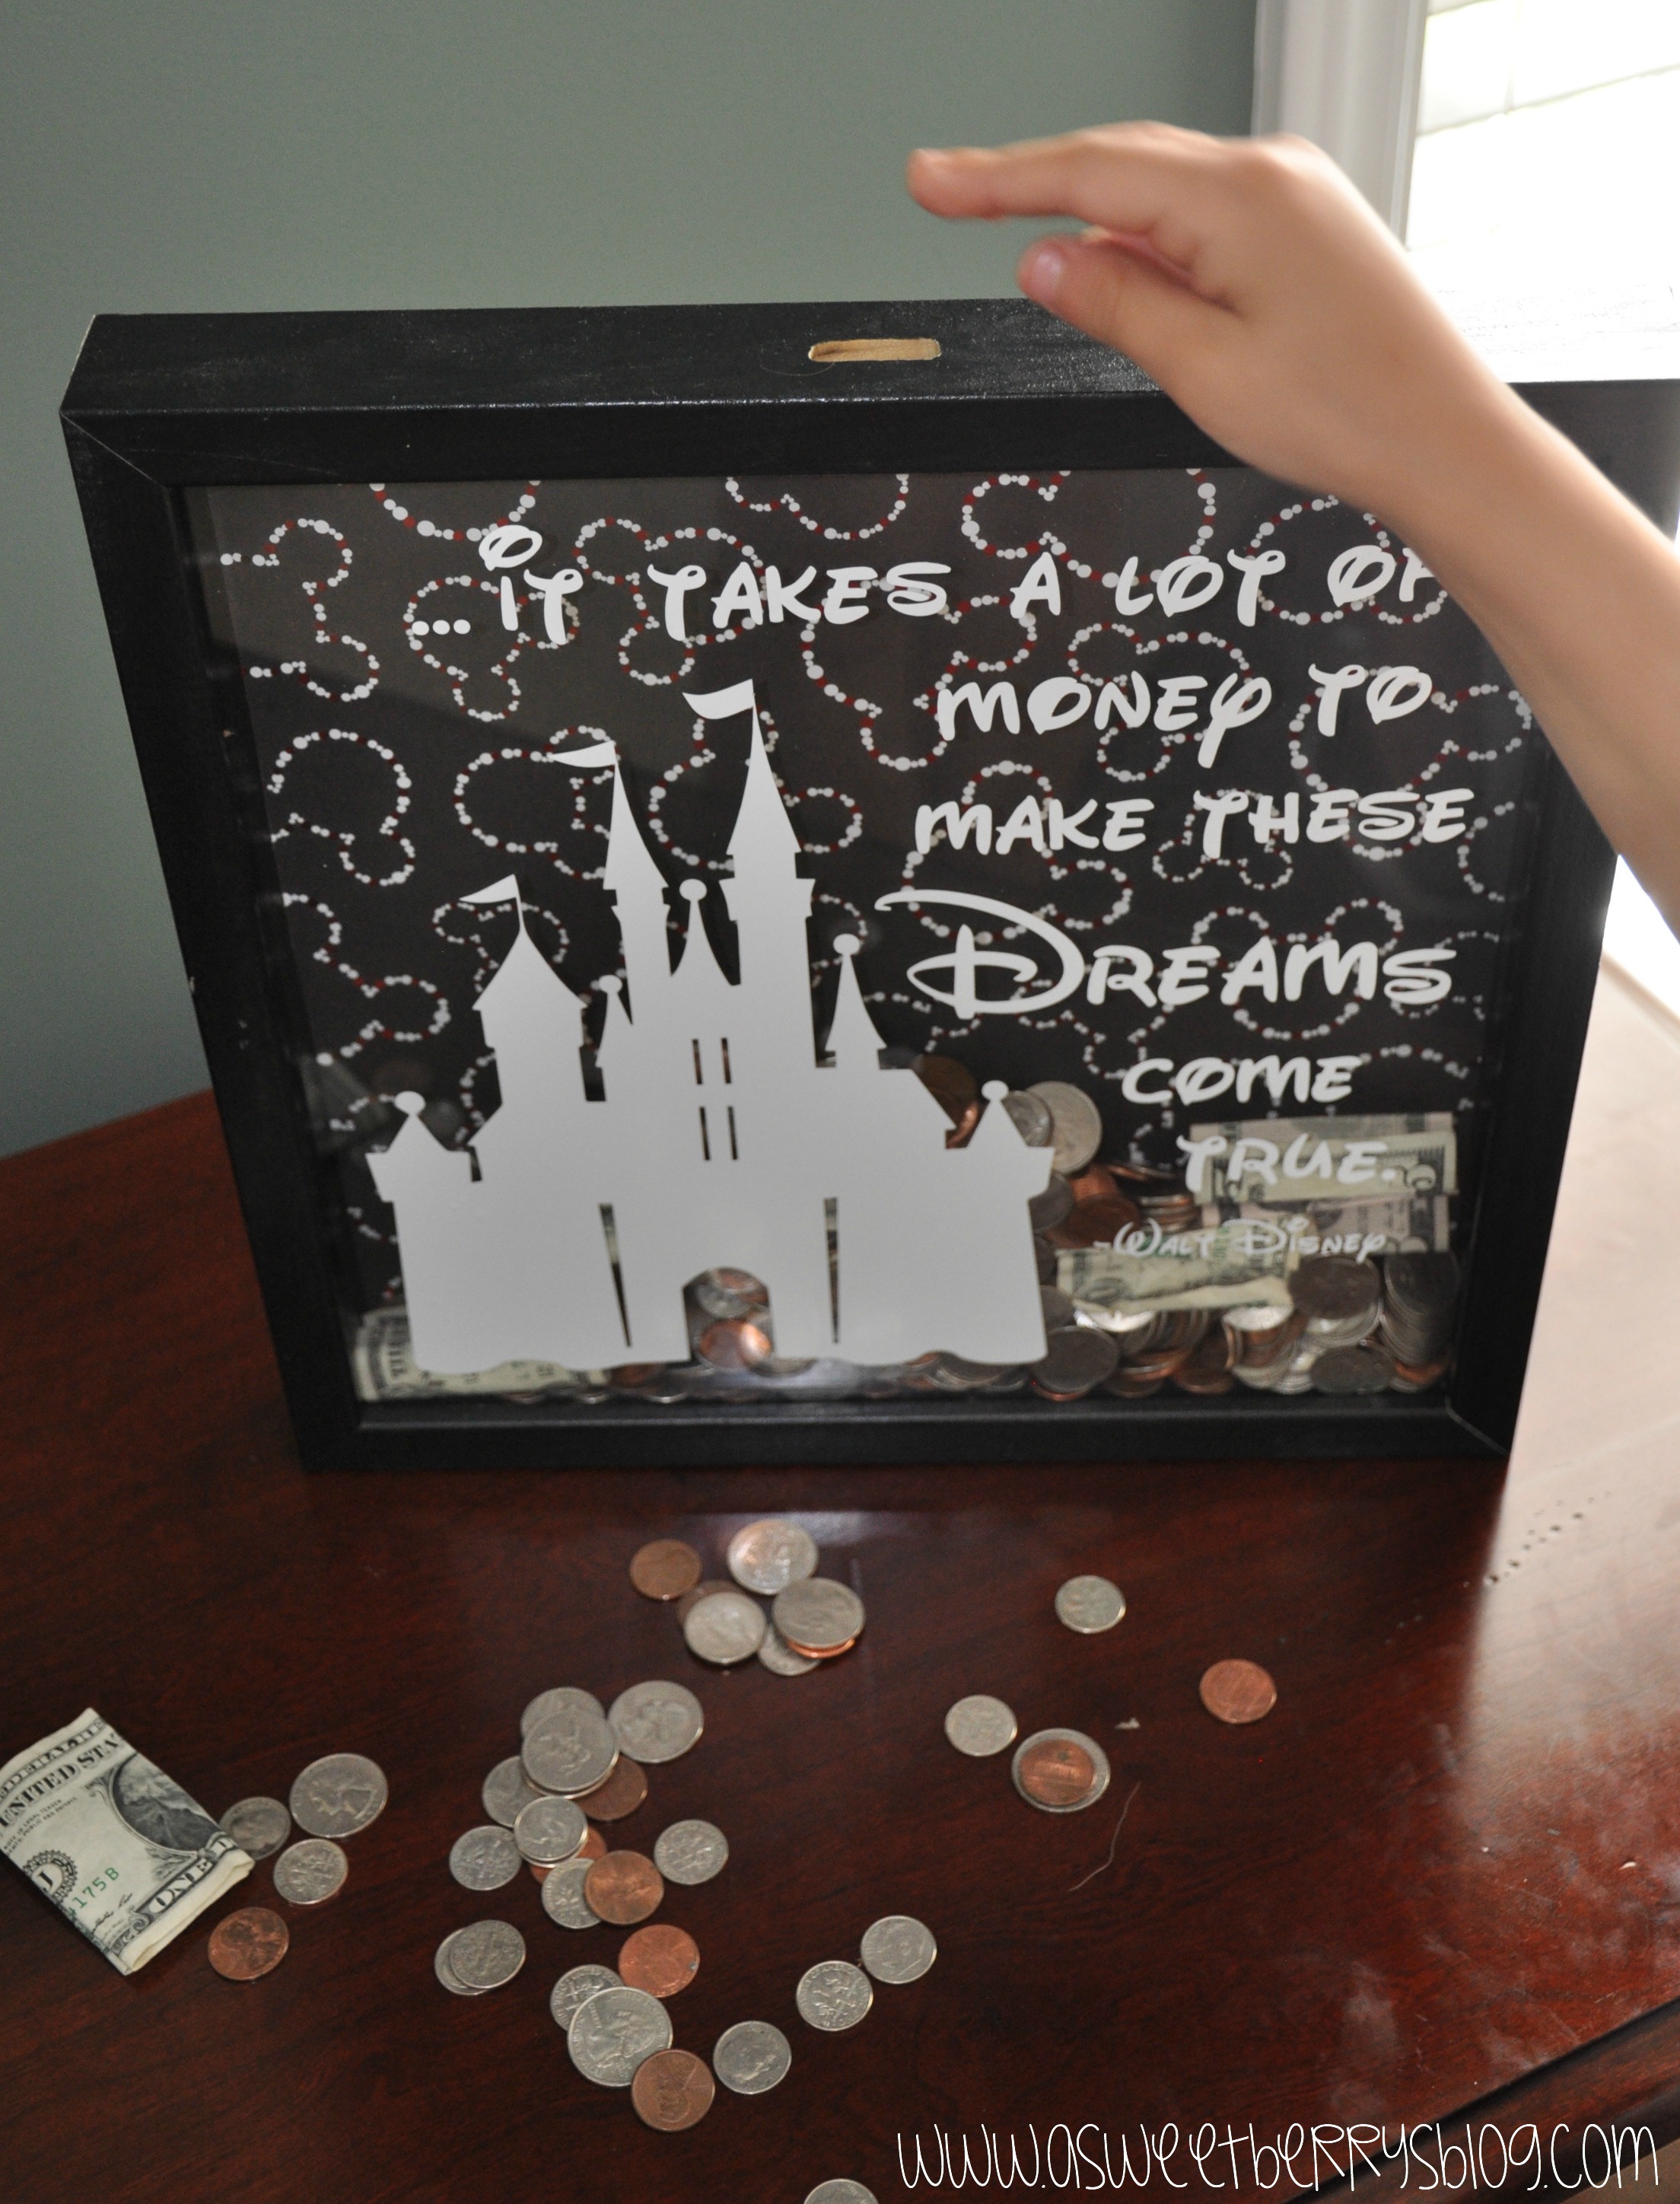
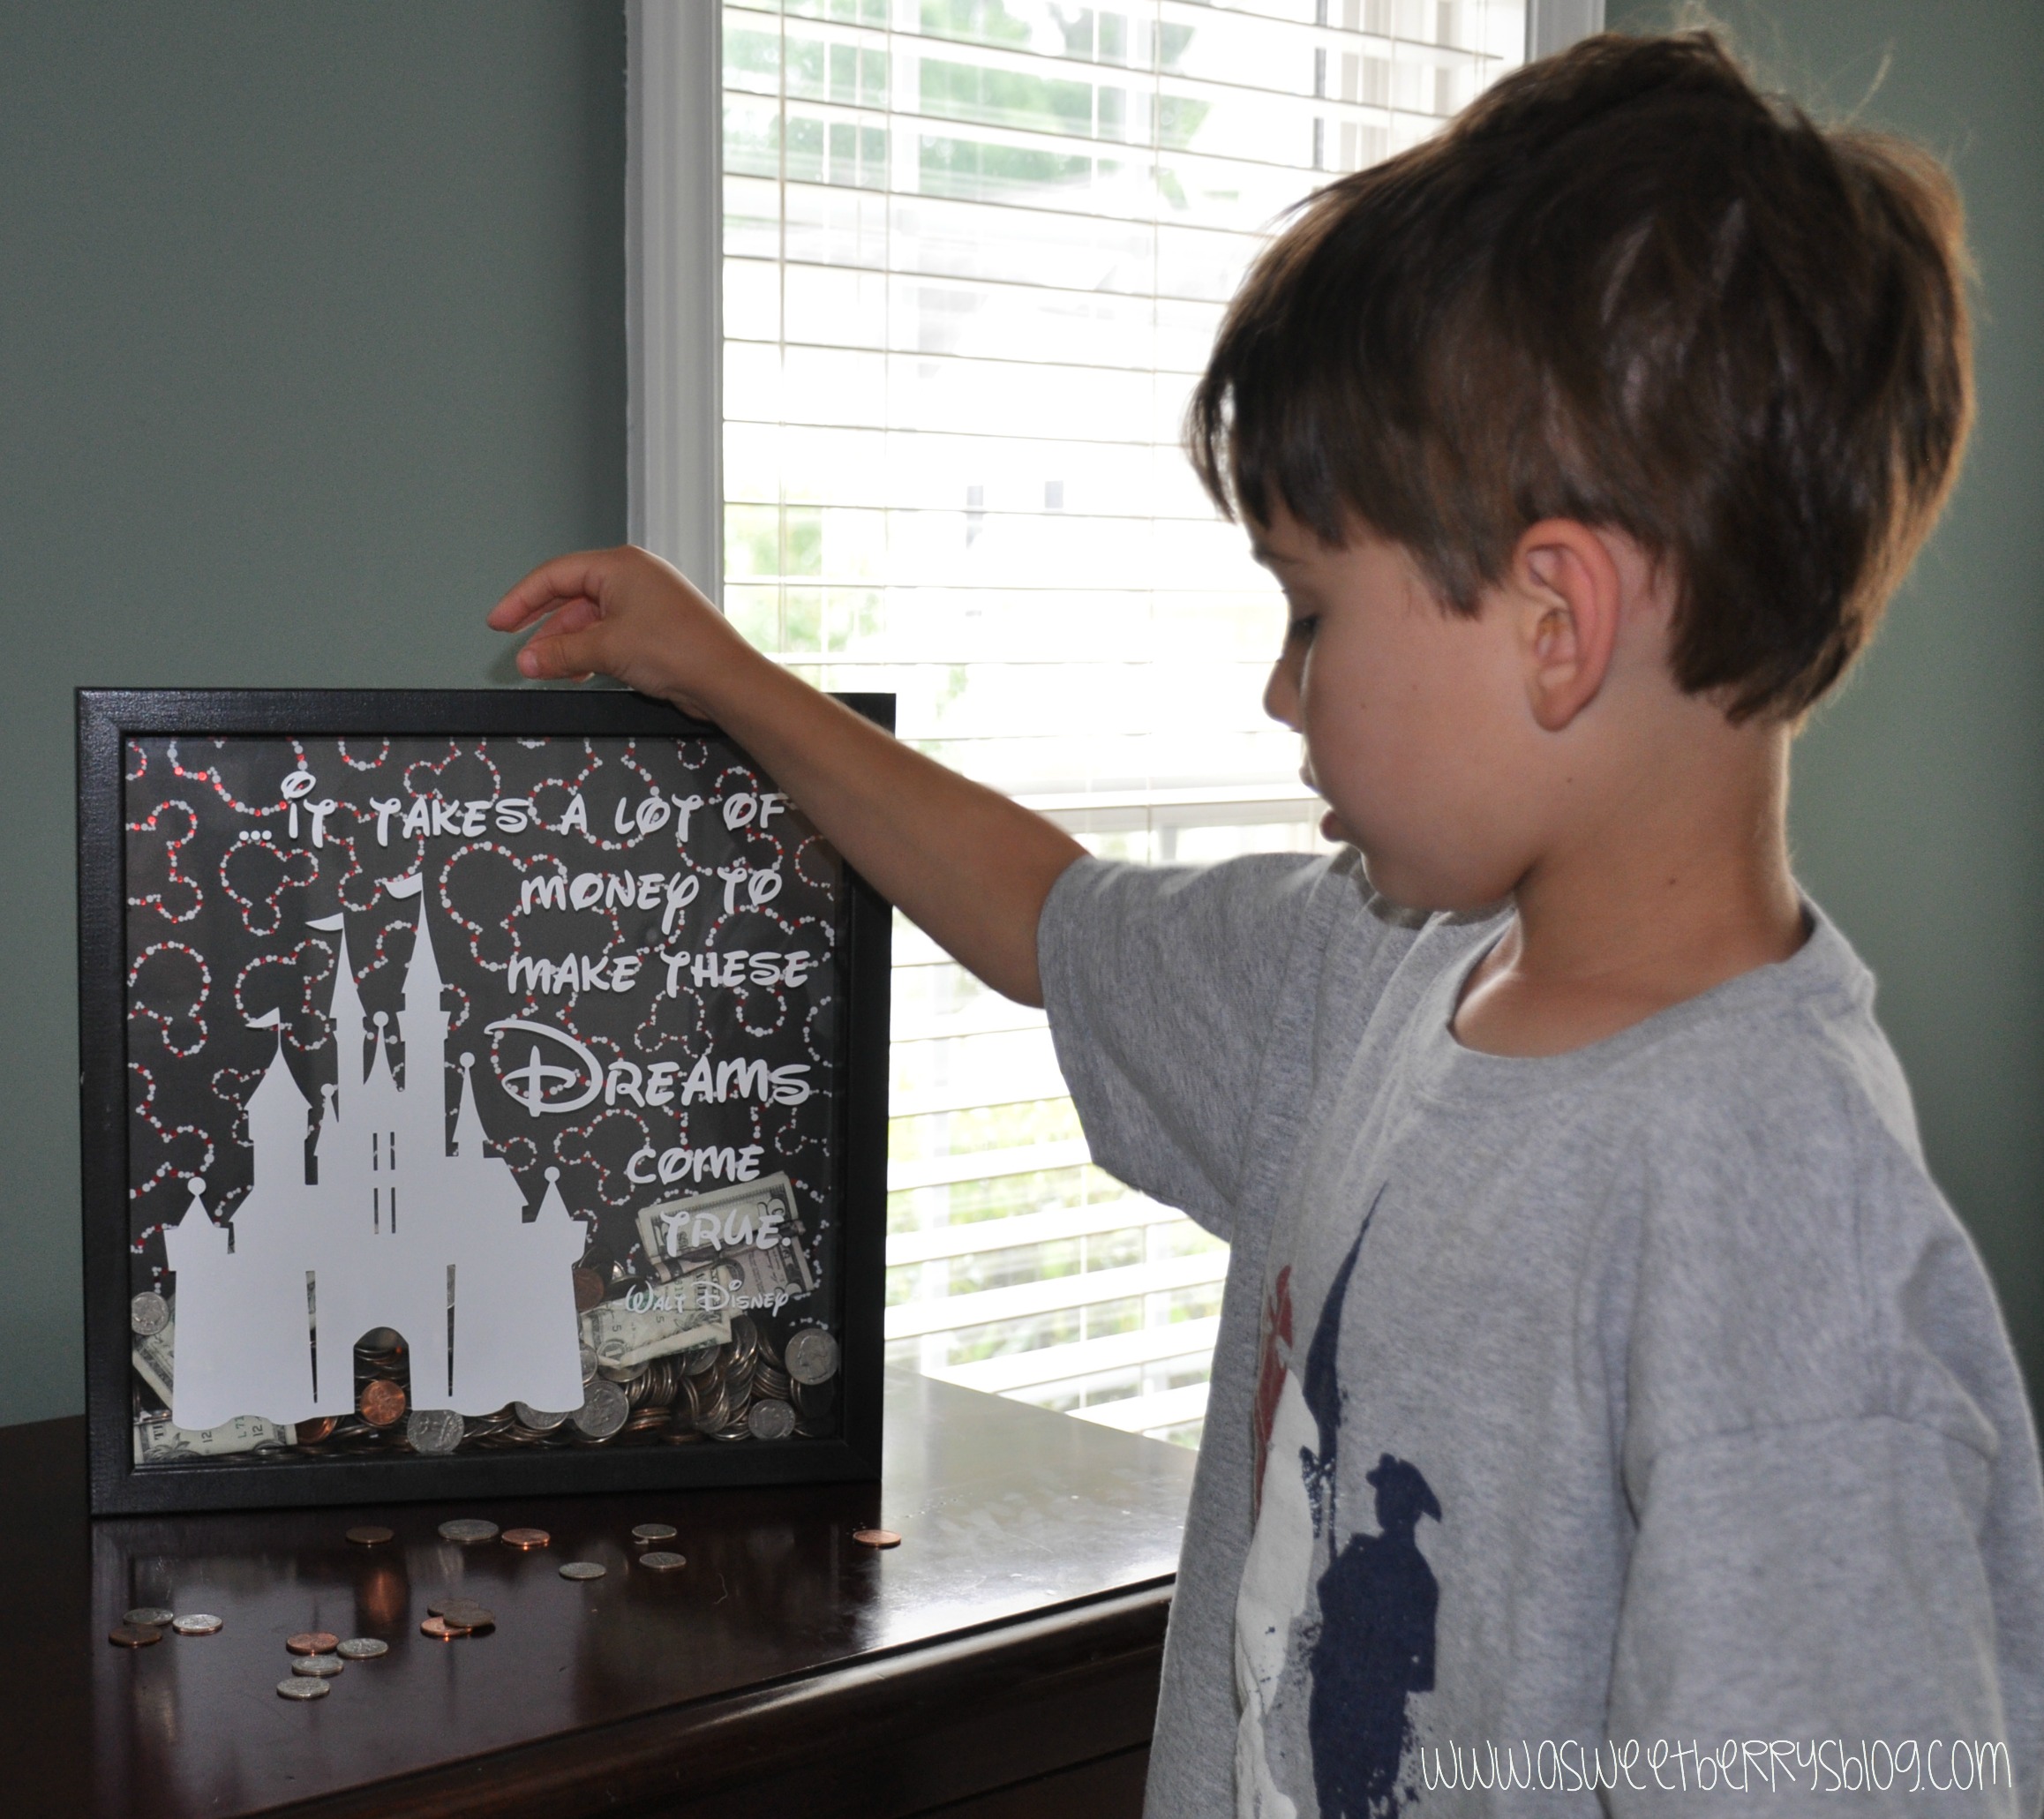
5.   I put everything together, making sure that I lined the holes up.  Then, I gave Benjamin all of the money that was in our change jar.   He went to town on putting all of the money in the Disney World Savings Bank!  

     Benjamin filling frame          filling high

Benjamin

Hope you like my Disney World Savings Bank idea!!!   It was fun to make and the boys love putting their extra money in there.   Every so often, they want to count the money to see how much is in it and then they have fun putting the money in it again!   

Until next time…….


Meet eClips2

Tulip Paint Decorated Gift Bags

Christmas is just days away and I know that everyone is busy doing some last minute wrapping!   Here is a super easy way to spiff up some plain gift bags!    Final
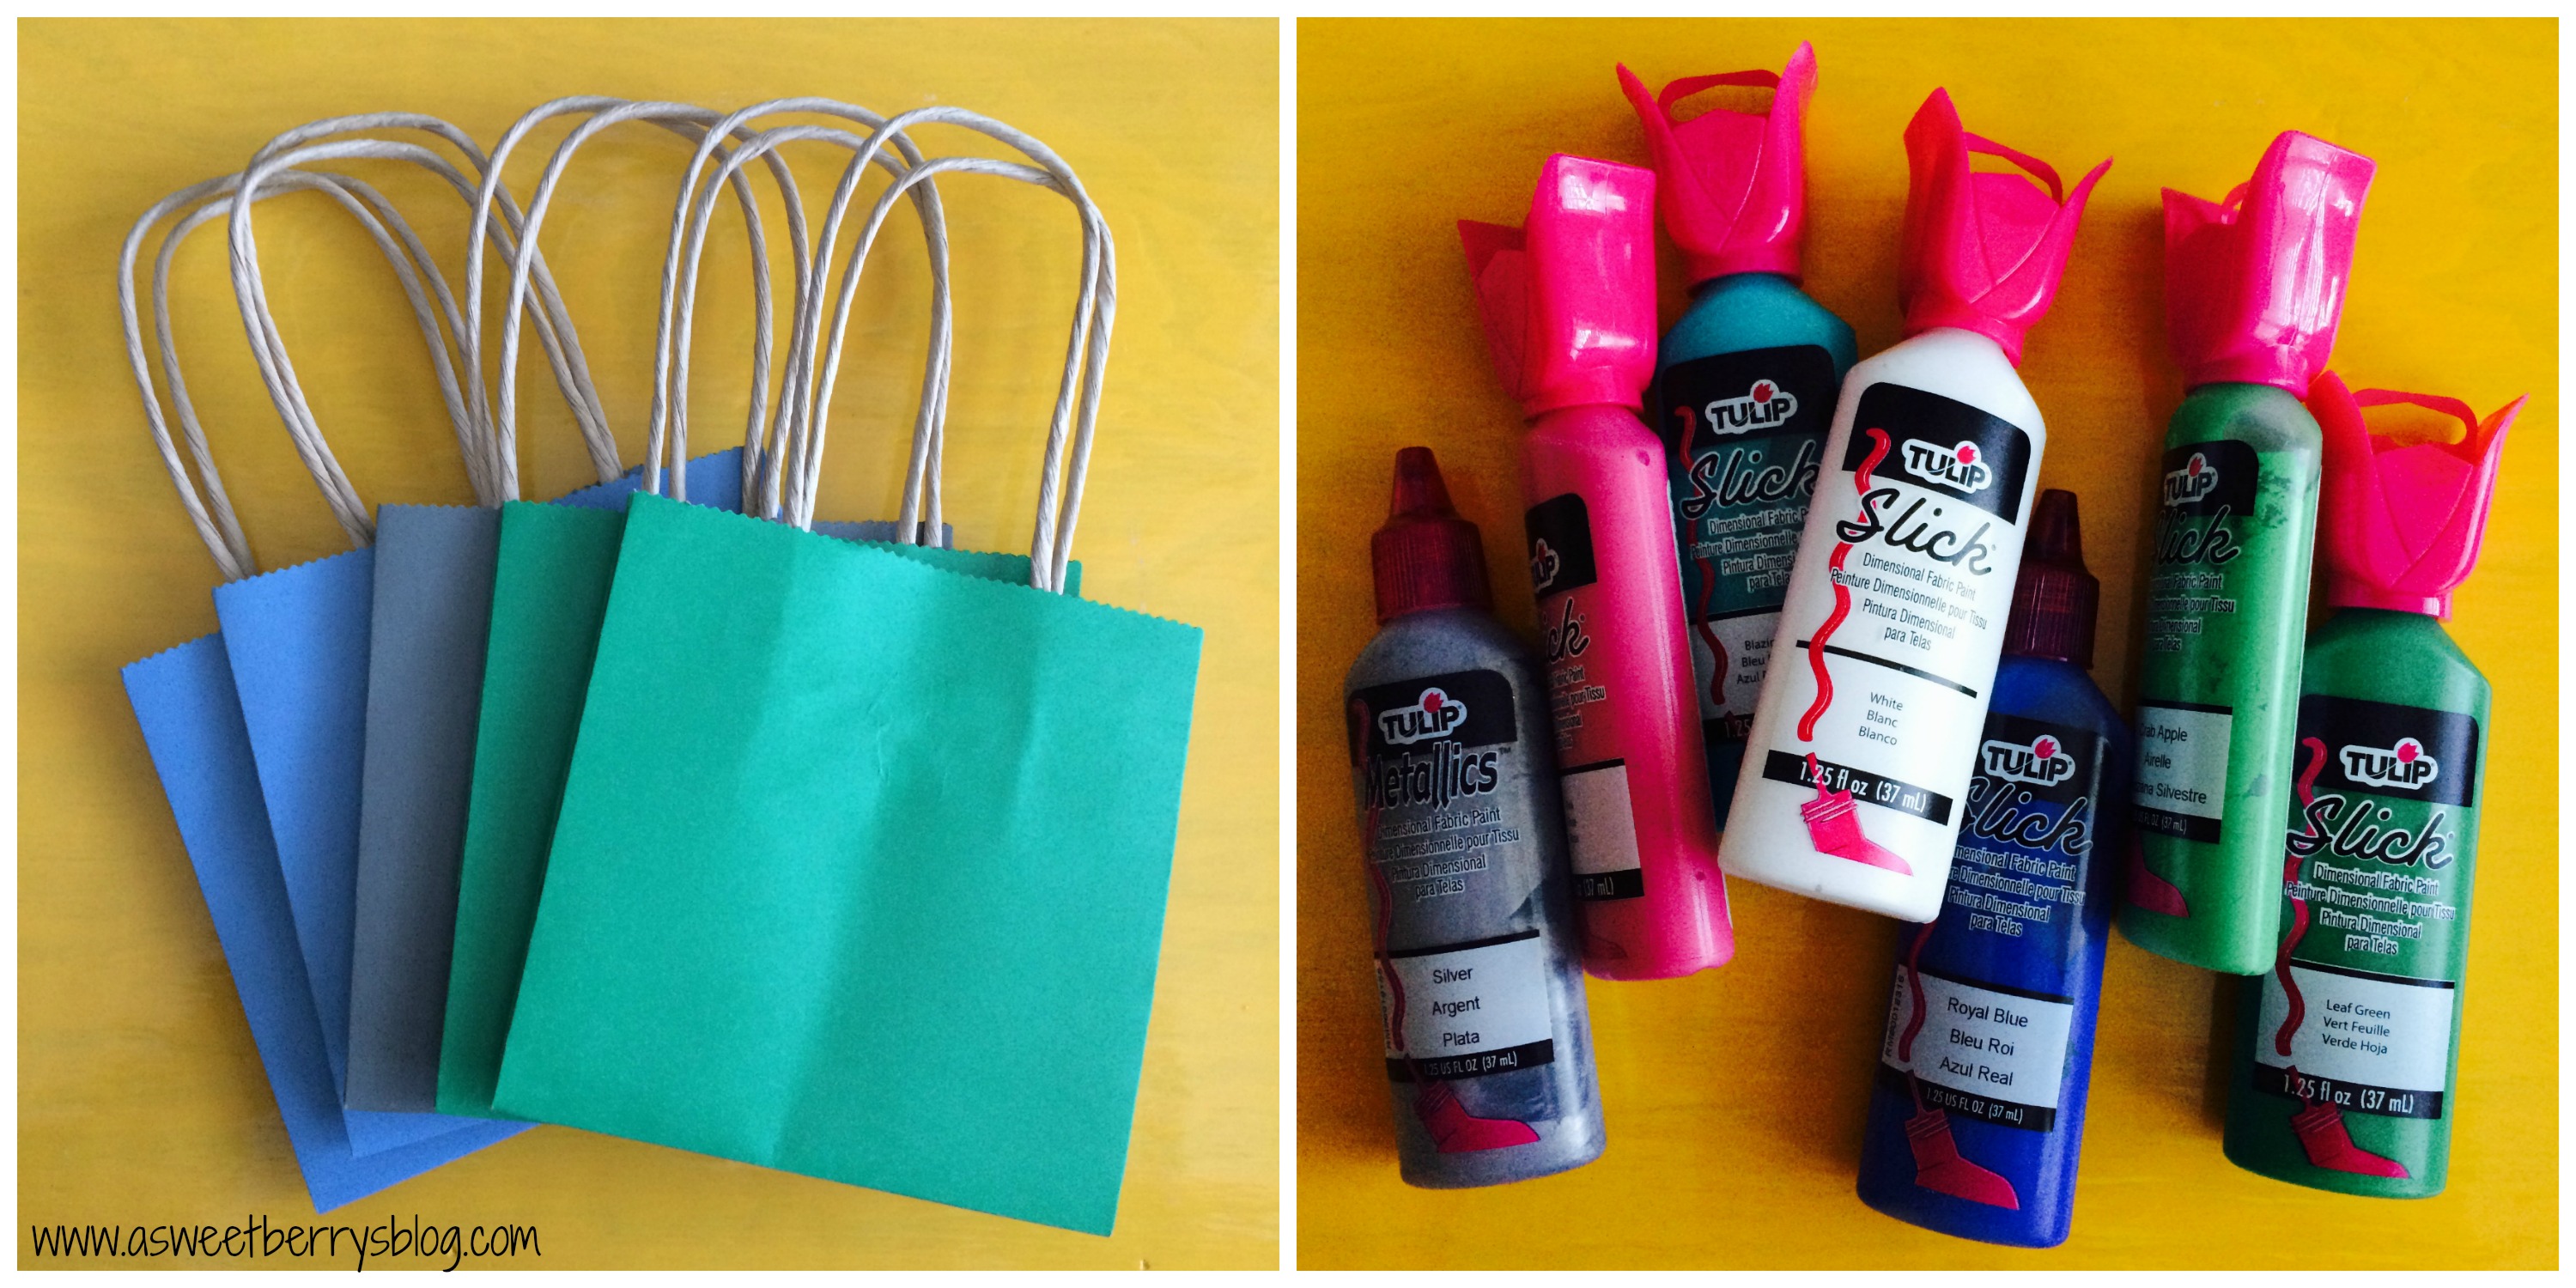
I got these adorable little gift bags from World Market.  They came in a pack of six and are perfect for small gifts.  I used Tulip Slick Dimensional Fabric Paint to decorate them with a monogram and snowflakes and holly!   Super easy! 
bags and paint
The decorated gift bags were perfect for these ornaments I made using my Sizzix Eclips2, a glass ornament and vinyl.   ornaments
Hope you enjoyed this quick and easy gift bag decorating idea!    Merry Christmas!

Until next time……..

To Talk or To Not Talk

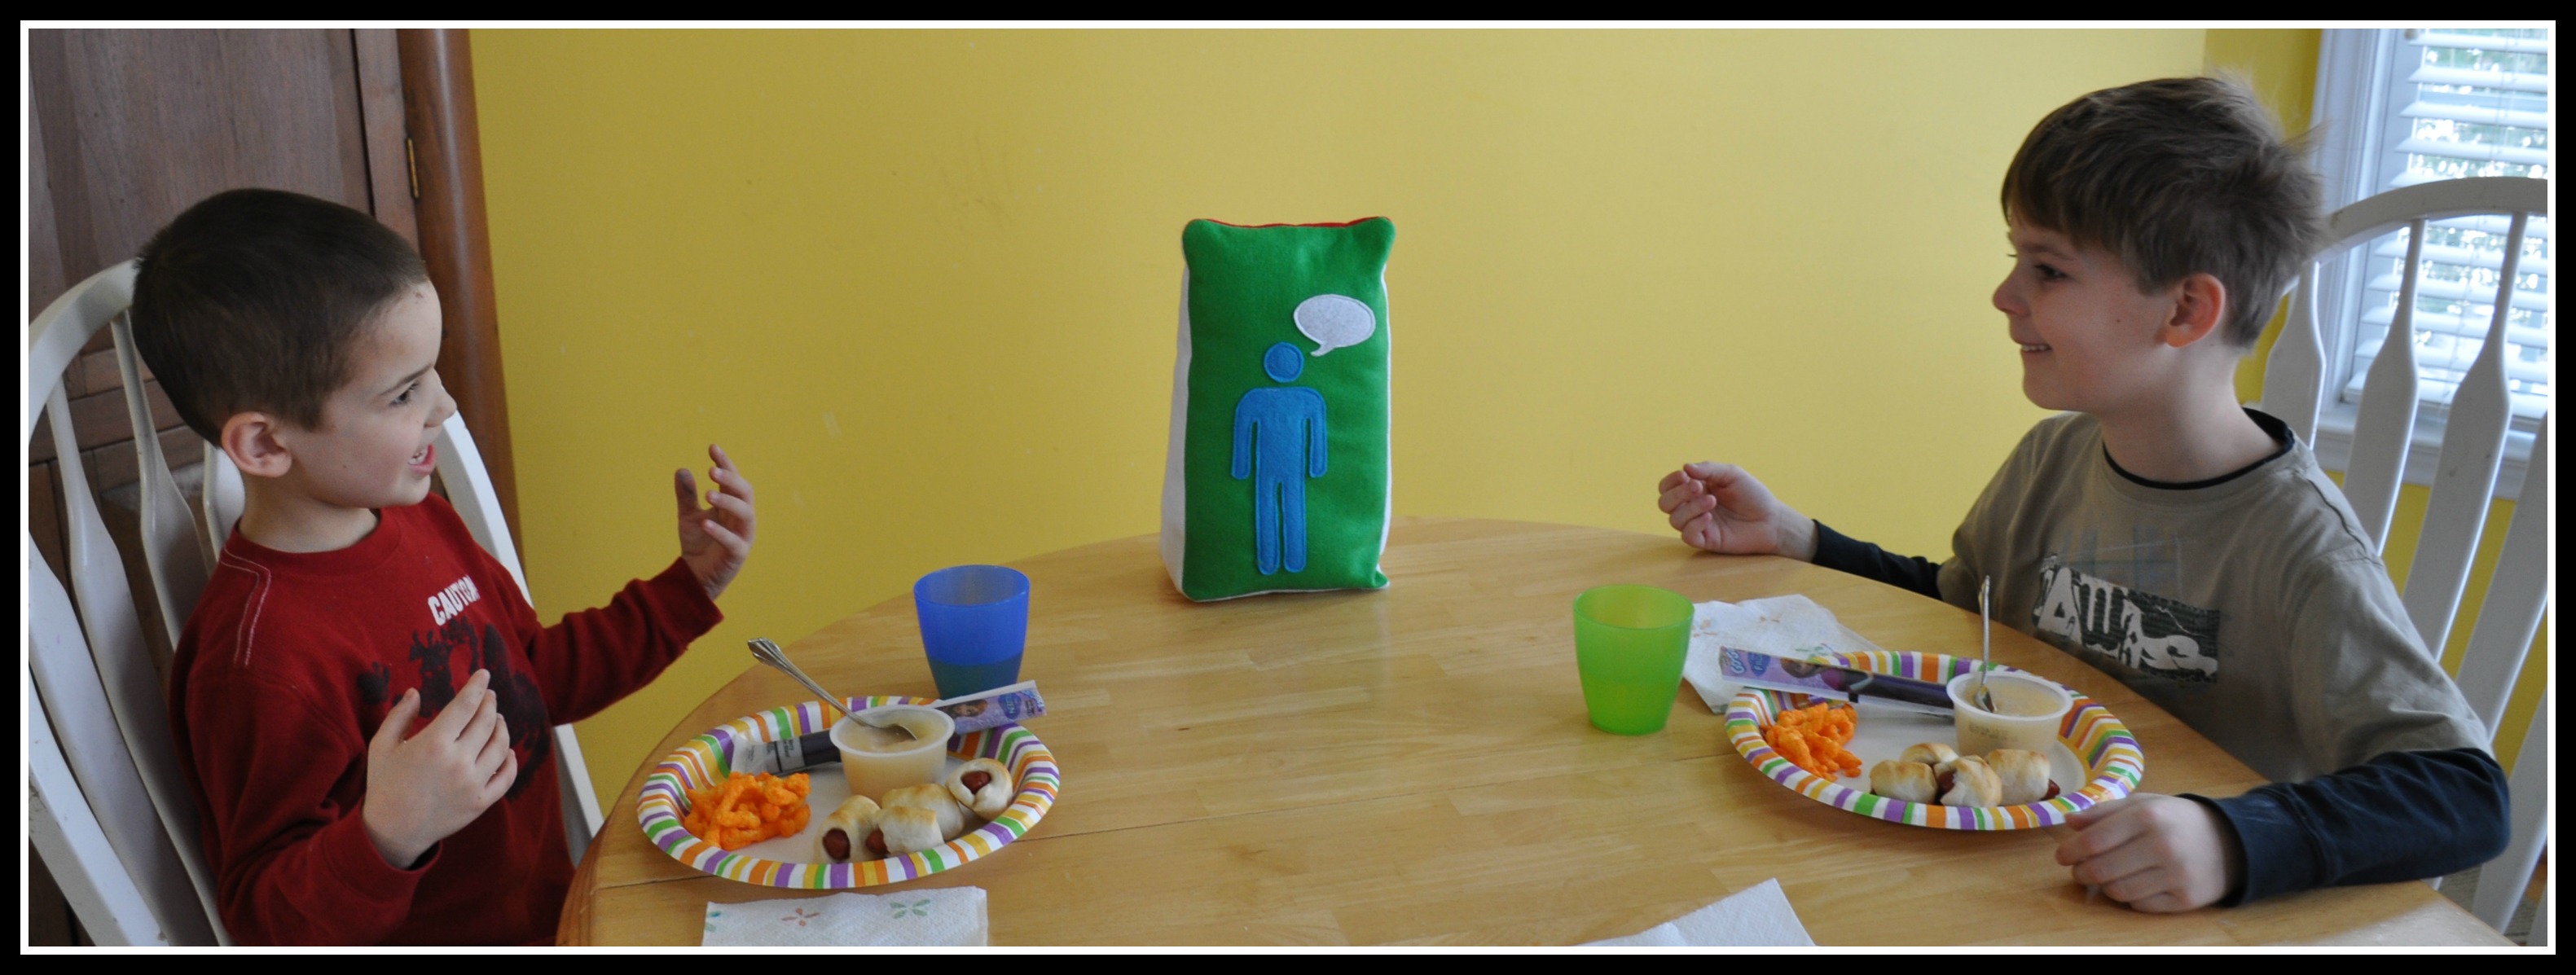
Do you have little ones that love to talk and not eat when it comes to meal time?  Mine love to talk and not eat and we sometimes find ourselves still sitting at the table an hour later because the children aren’t done.

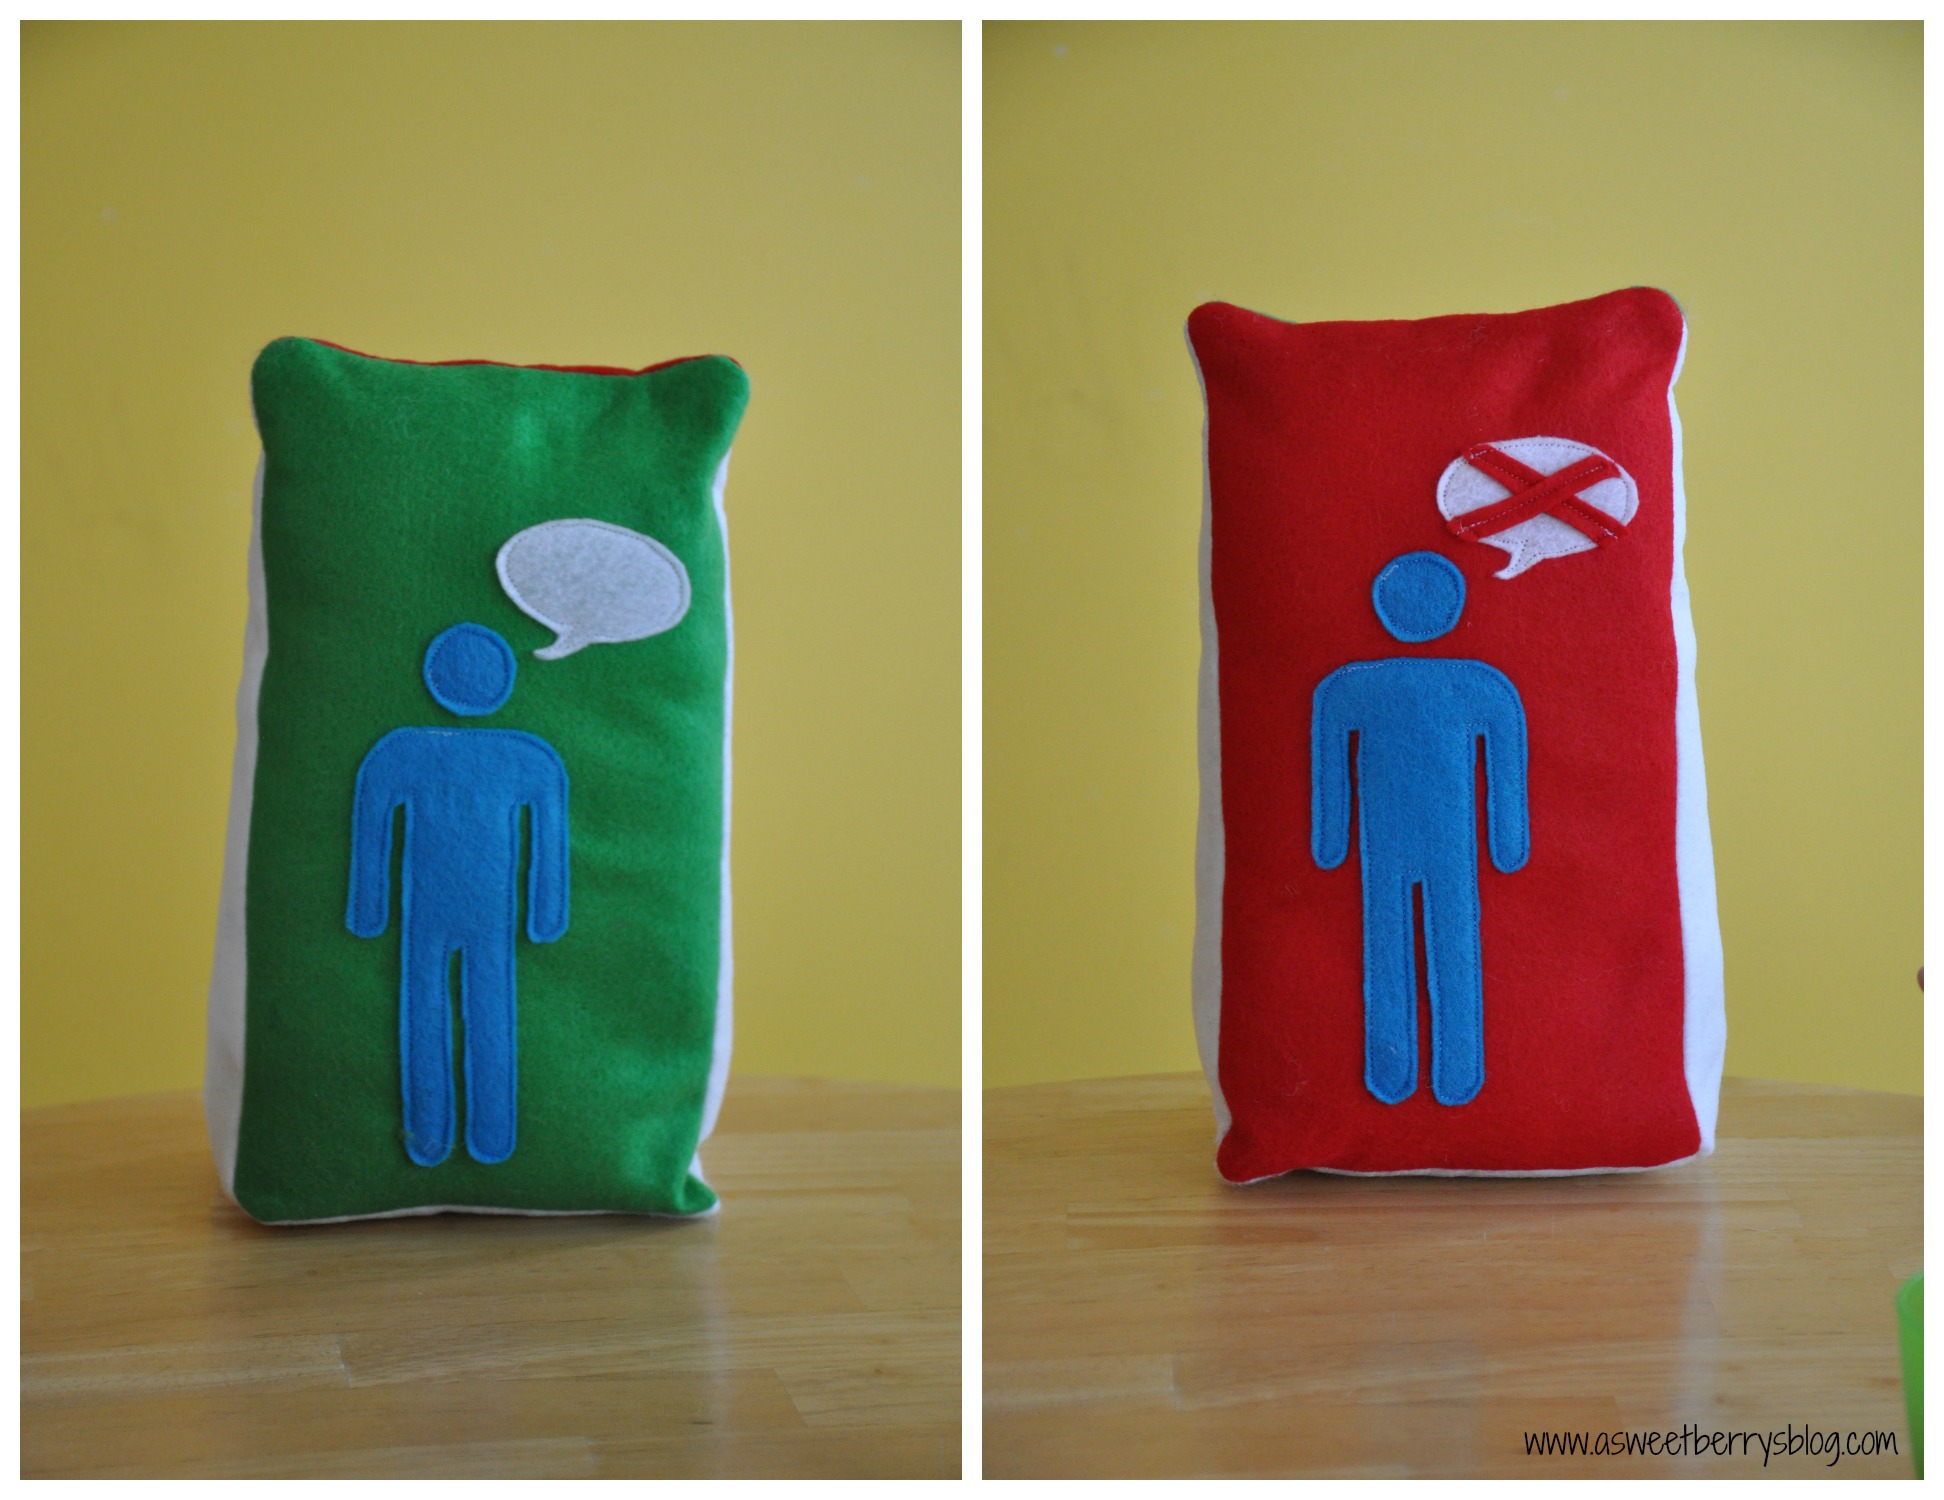
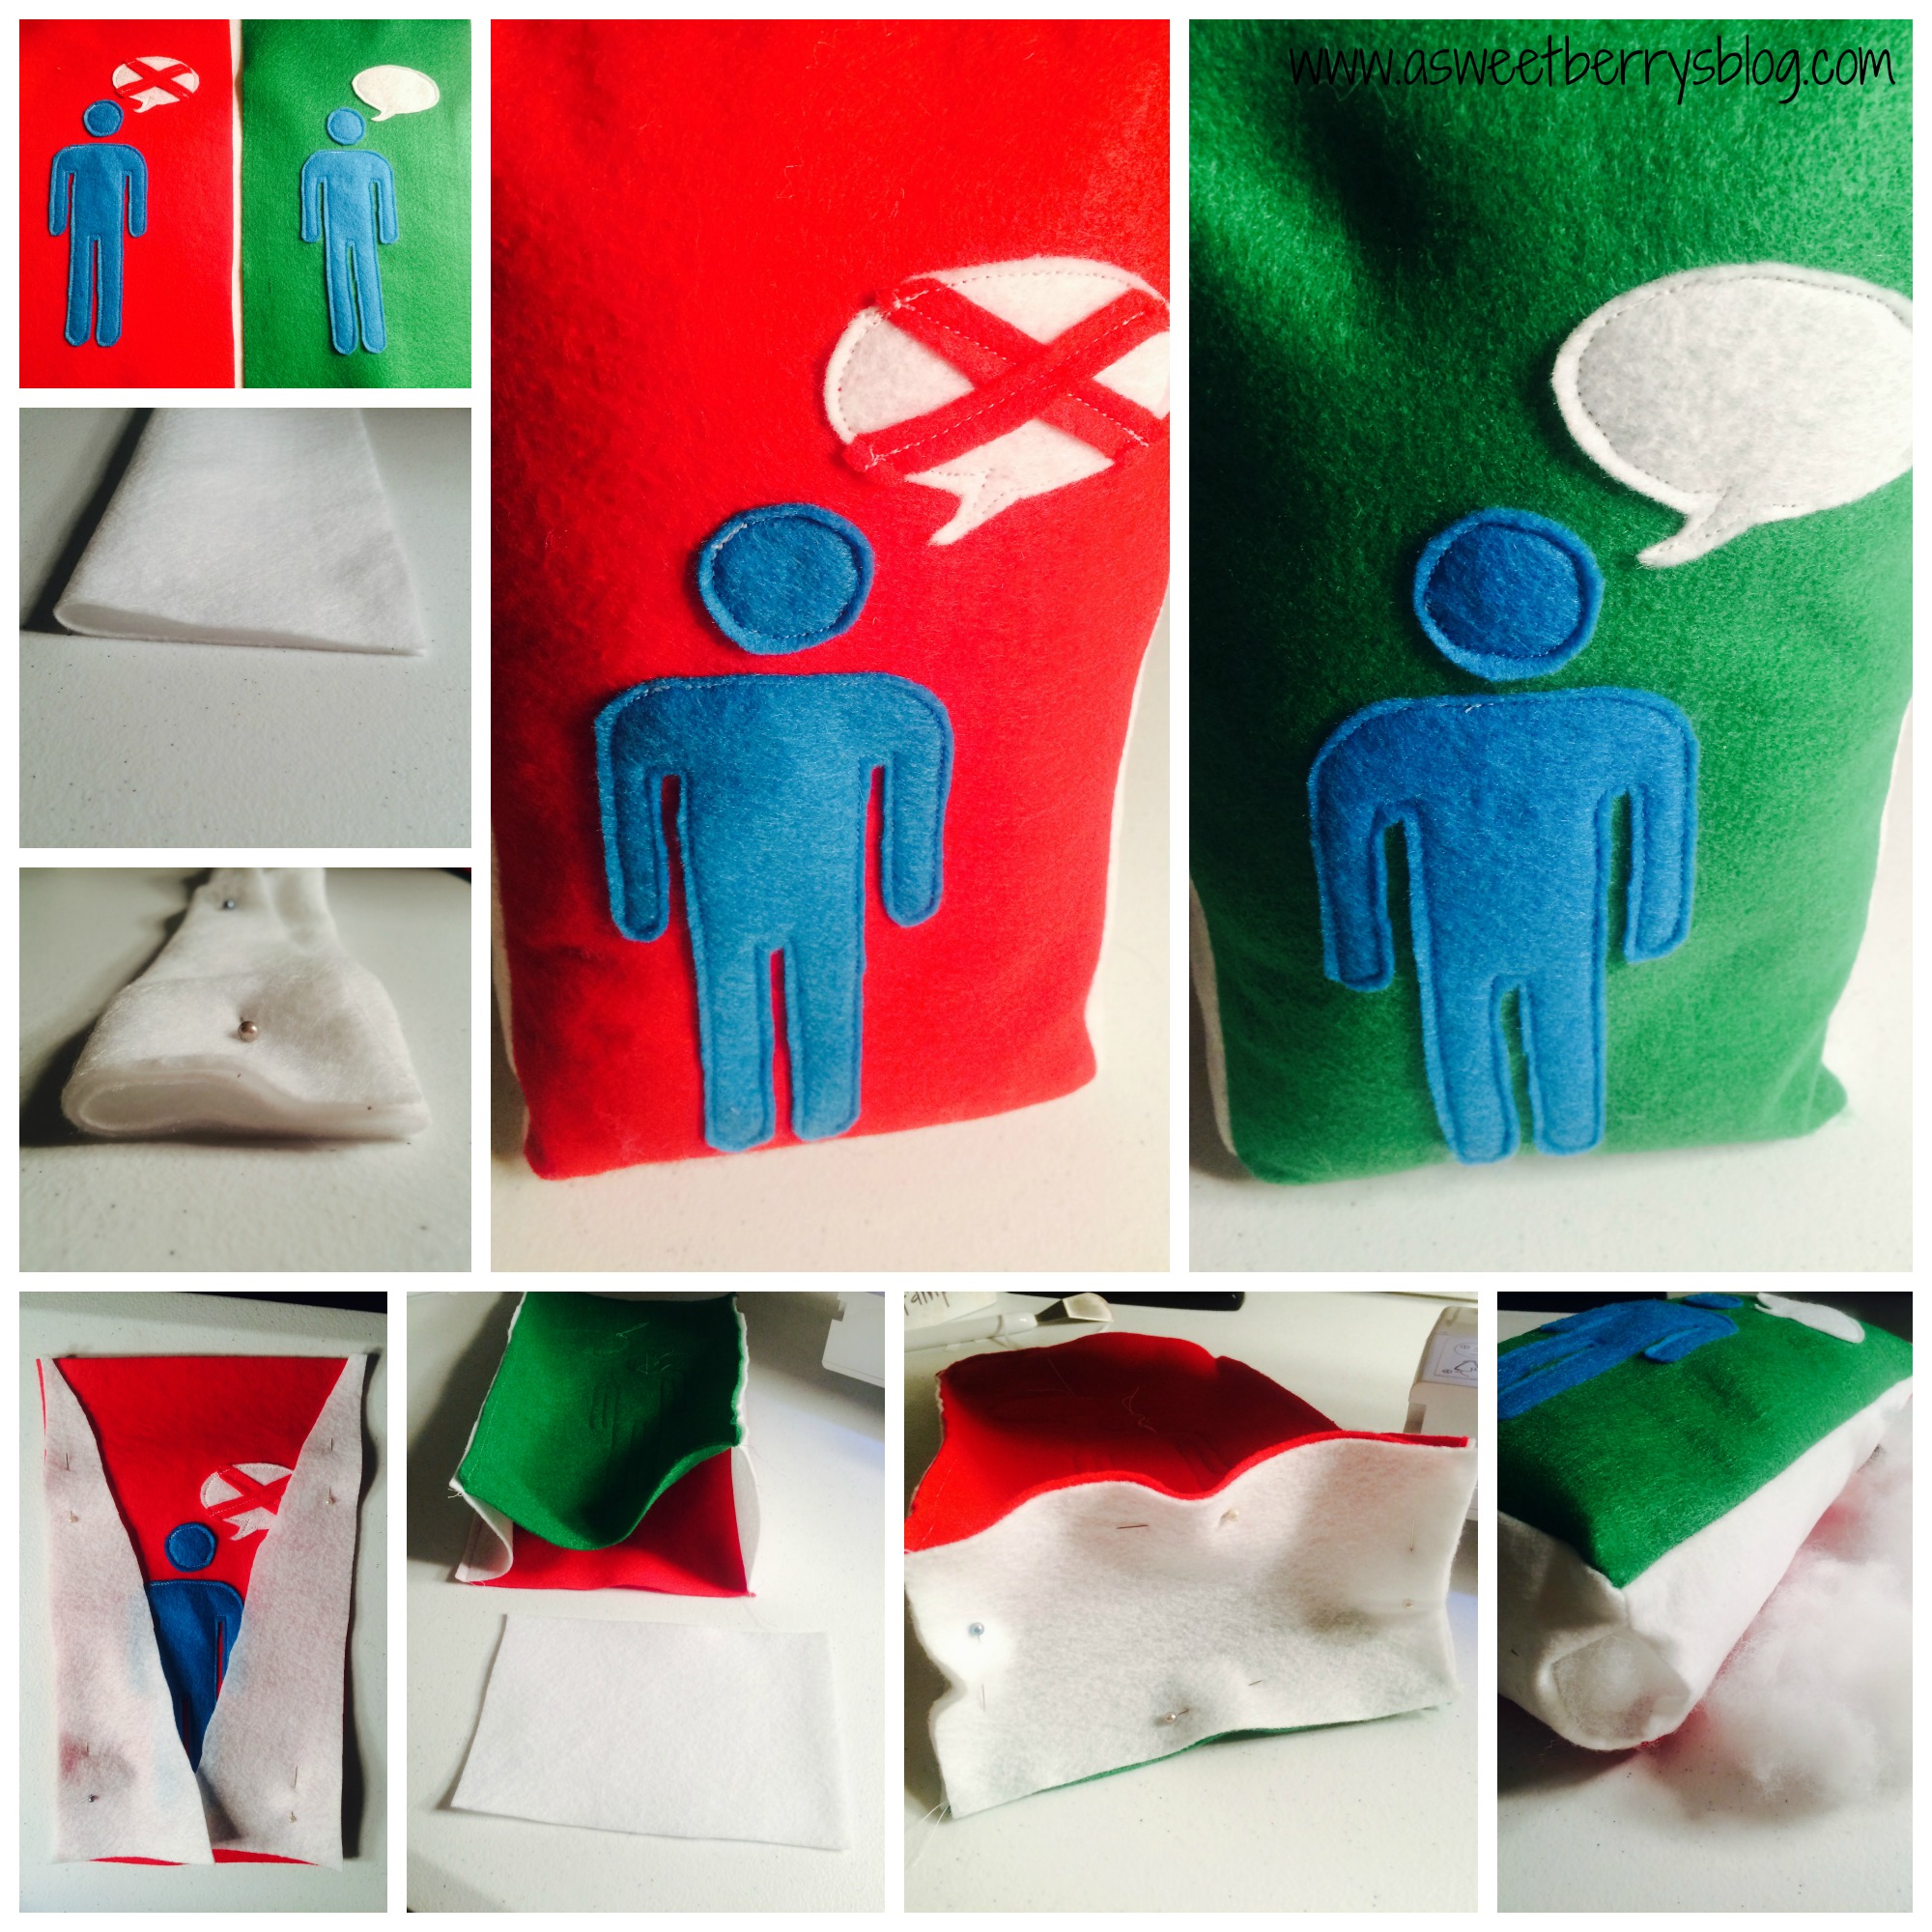
My oldest is in elementary school.  I’ve noticed that when I go there to have lunch with him, that they have a period of time at the beginning of lunch that they can not talk.  At the end of the table is a little stand that has a green side and a red side.  When the red side is facing them, they can’t talk and must eat.  When it gets turned to the green side facing them, they can talk quietly with their friends.   And it’s never quiet in the cafeteria when it’s time to talk!

So, since we have a hard time getting our food eaten within an hour, my husband suggested that we make a very similar stand for our table!  I decided to make mine with Kunin Felt!

Talking Side

Both Sides

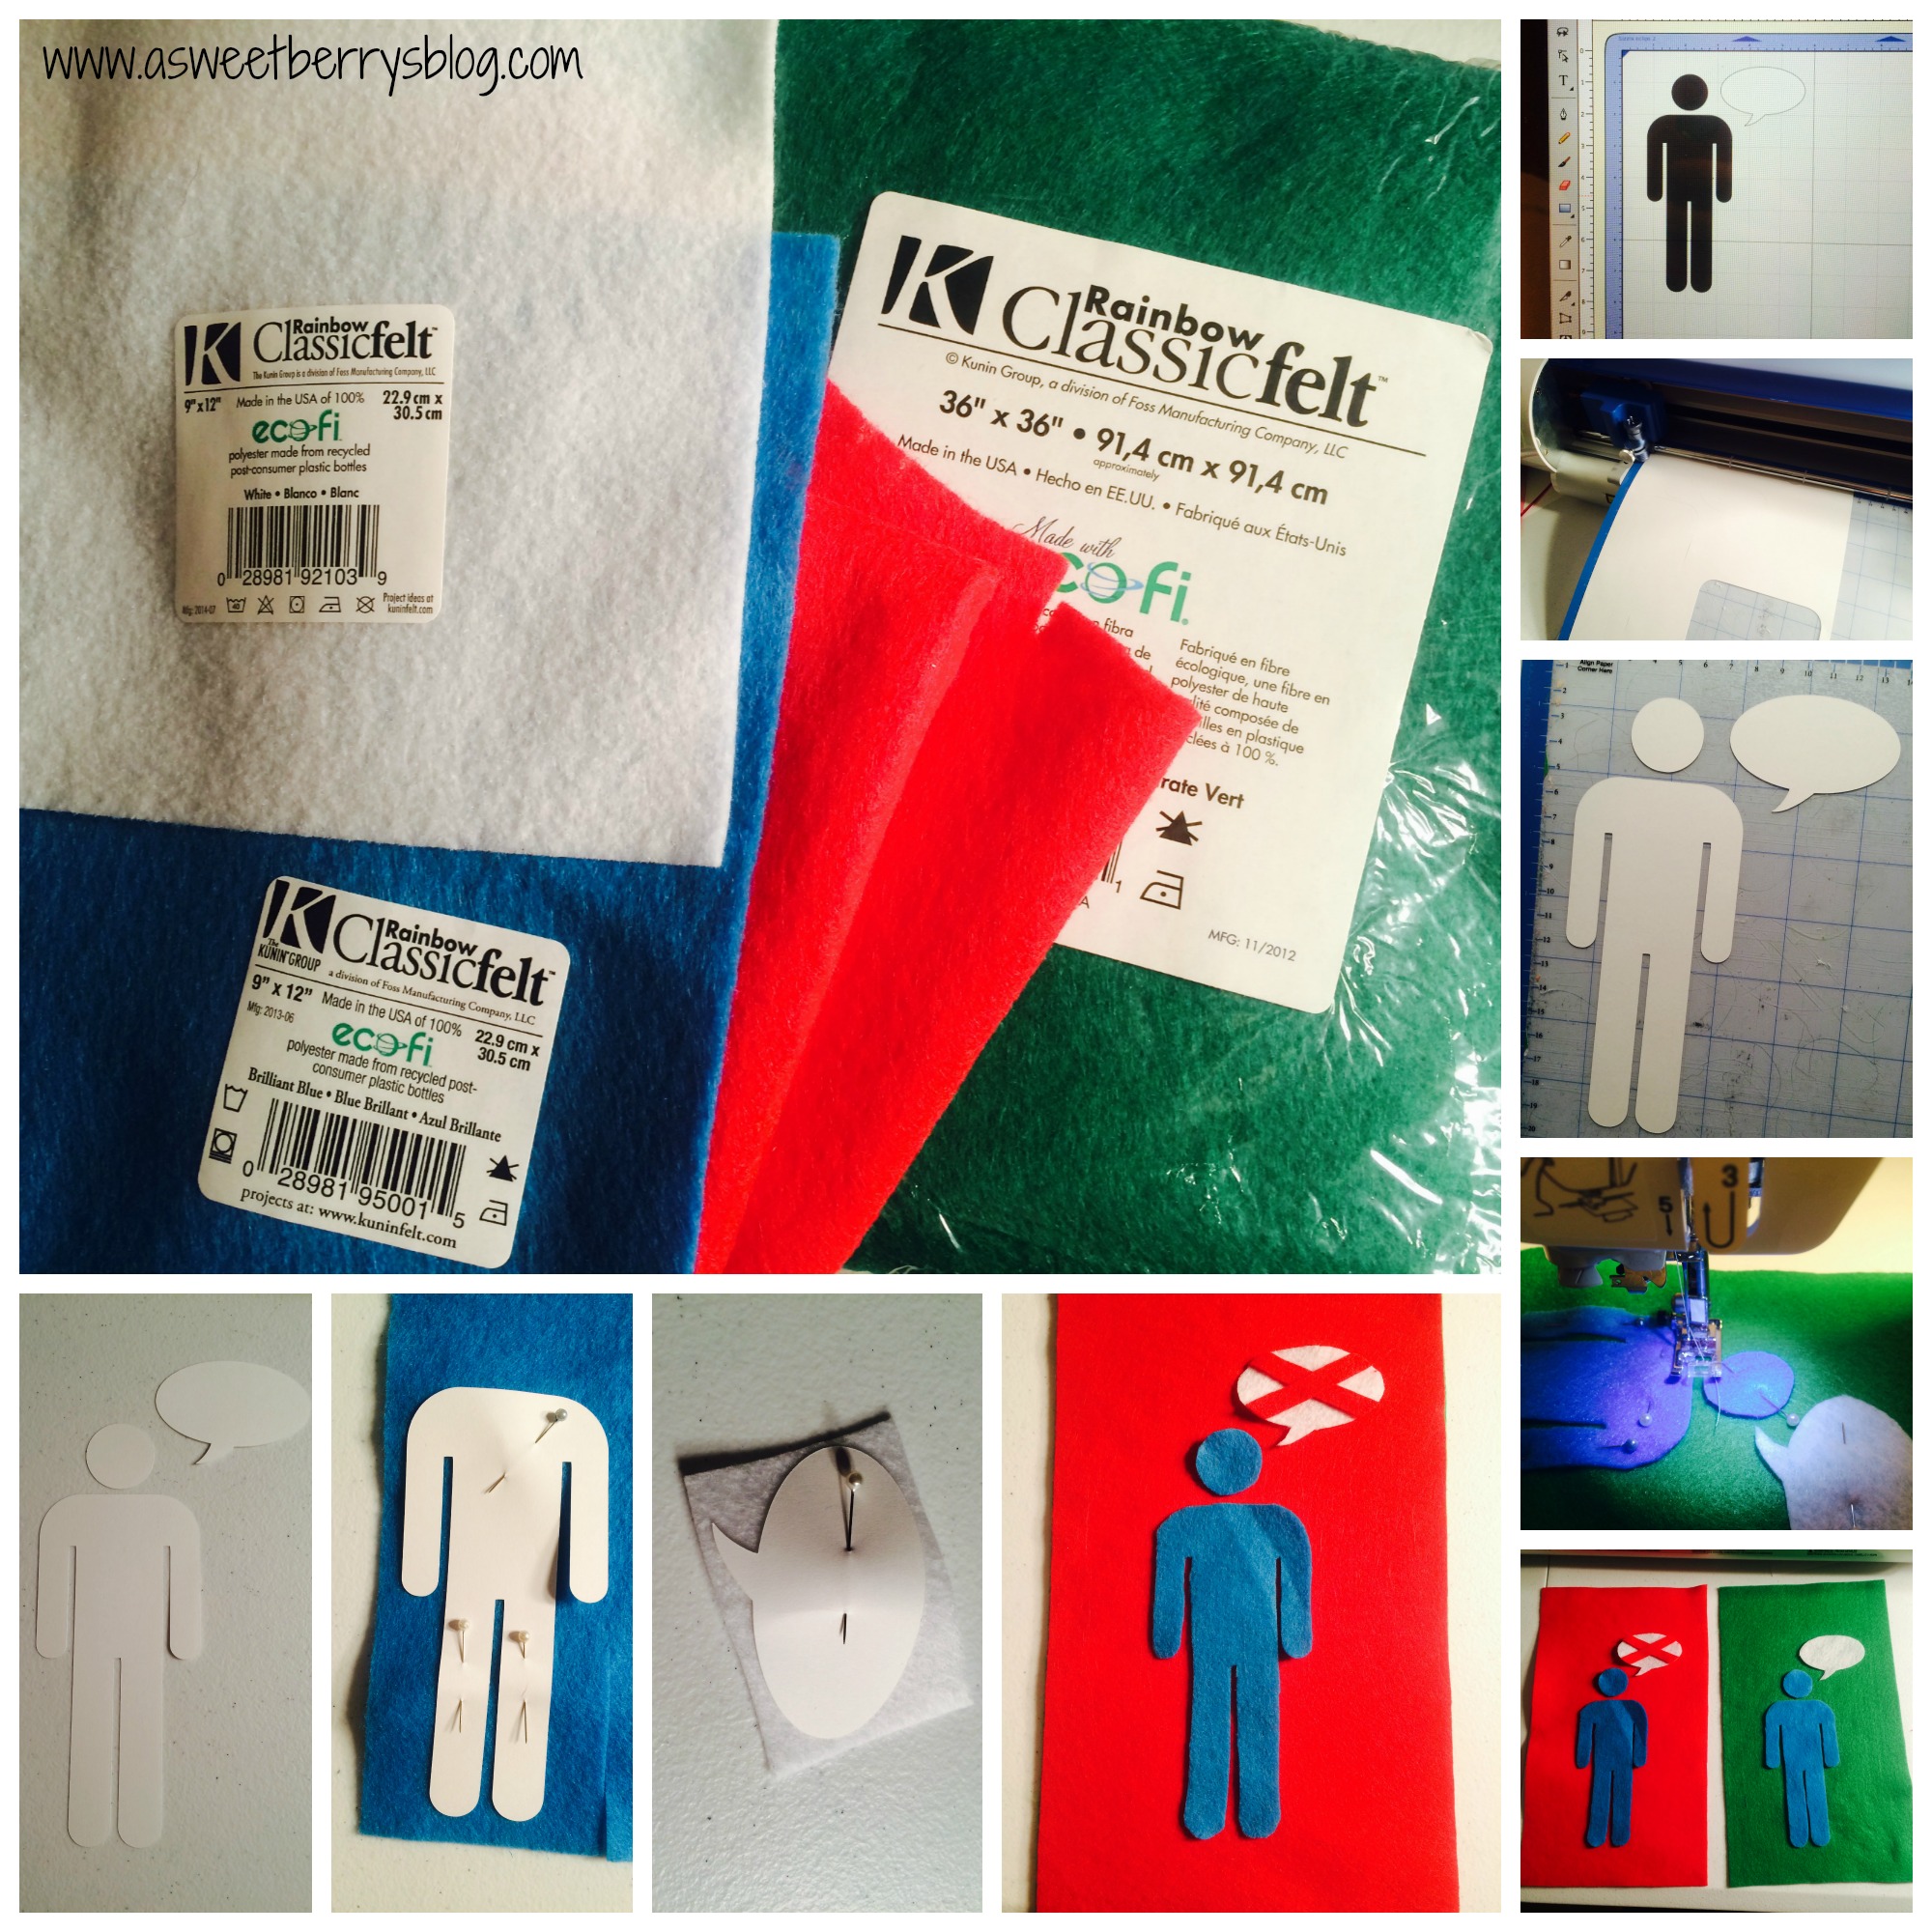
Using my Sizzix Eclips2, I cut out a person and a talk bubble out of cardstock.  These two items were included in the Sure Cuts A Lot software that is used for the Eclips2.  Then, I used pins to attached the patterns to the felt and cut out two of each!  I ended up cutting out two small strips of red to put into one of my talk bubbles to symbolize “no talking”.  I then cut out a red and green rectangle, probably 6×10 inches.  Using my sewing machine, I sewed the people and bubbles onto the rectangle pieces. FeltCutSew

Using a strip of white felt (3×10 inches), I folded it into half and then in half again.  Using scissors, I cut a right triangle, so that when it was unfolded it was a triangle.  I pinned it to one of my rectangles with the right side up.  I sewed them to the rectangle and repeated with the other rectangle.  I then cut out a 3×6 inch rectangle from white for the base of my stand.  I pinned it and sewed it to the top part of my felt stand, leaving a 2 inch opening for turning it inside out and stuffing it.  Once it was stuffed, I sewed it up from the outside using my sewing machine.  You could also hand stitch. sewingandstuffing

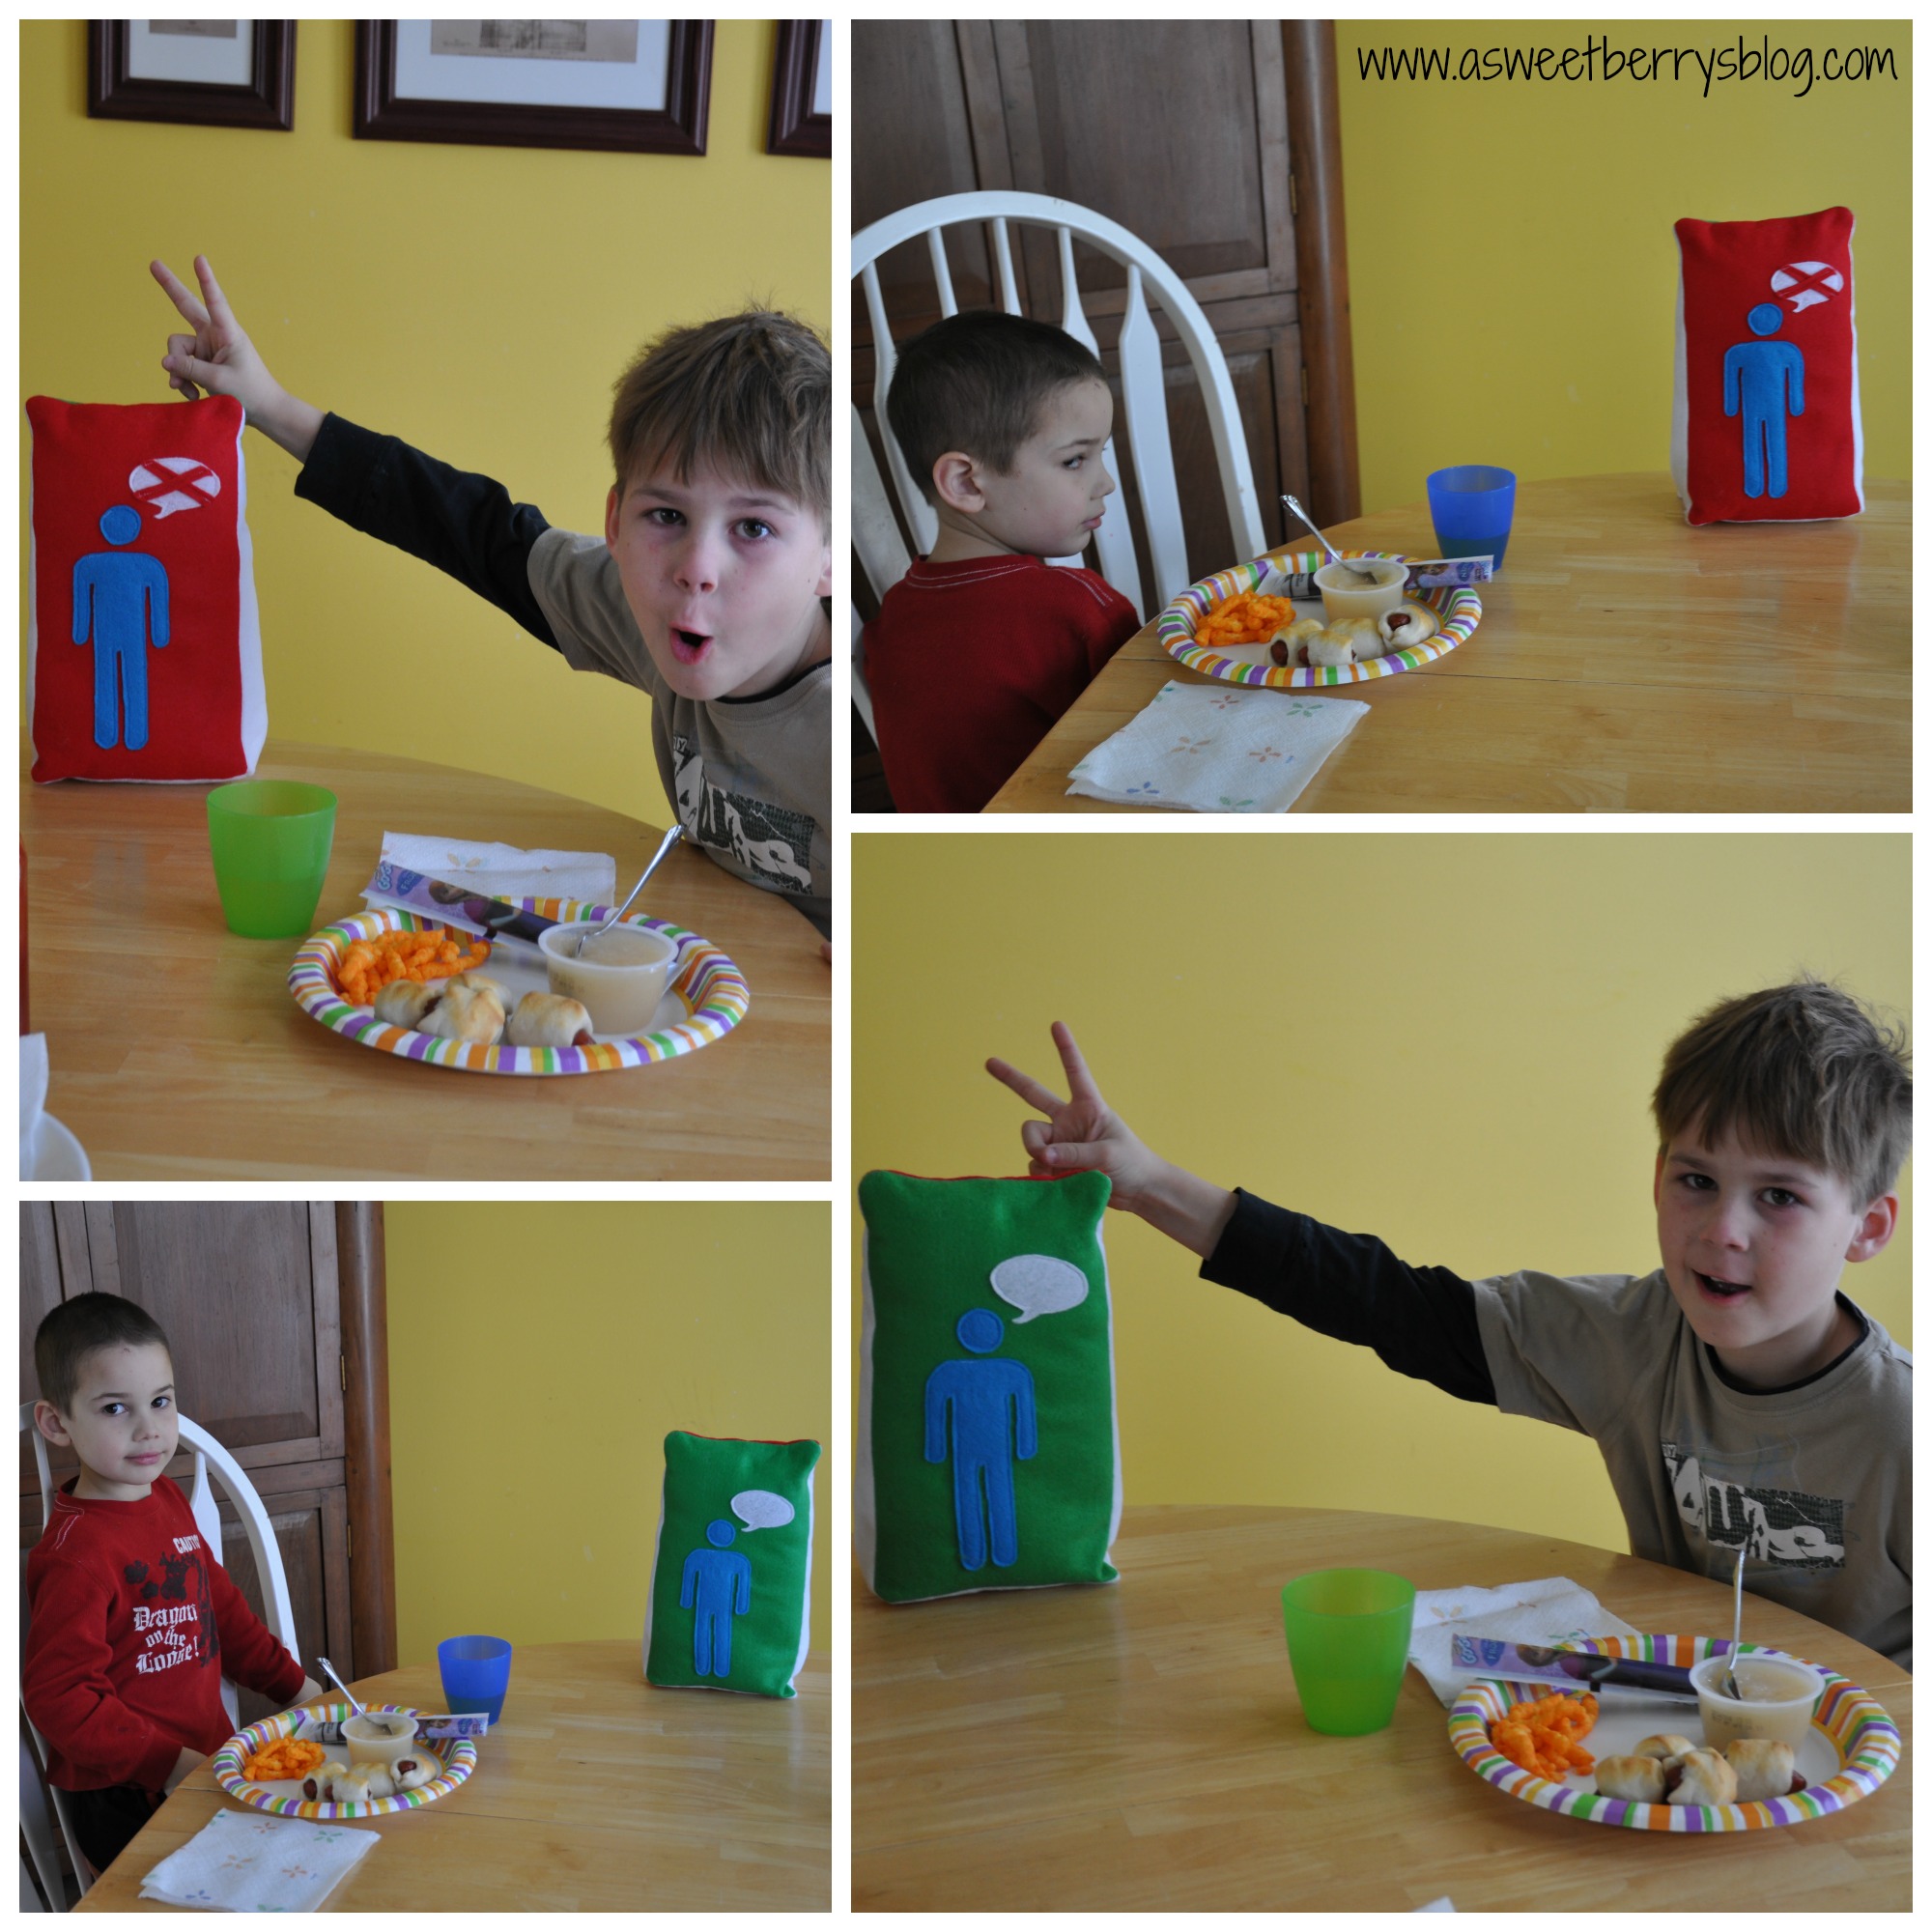
One of my kids thought it was cool and one wasn’t so happy about it, well until it was turned to the talking side!   Usually we start our meal by saying a blessing and talking about what we are thankful for that day.  Now, we say our blessing, set the timer for our 10 minutes of no talking, and then we can talk about what we are thankful for that day. meal time

Benjamin actually ended up like the talking/no talking stand.  He wanted to snuggle and sleep with it!  He carried it around for a little while before it went back to the table. Benjamin Now, just so you know……we aren’t doing this to be mean.   We just have an every day issue with a little too much talking at the table and very little eating.  And after trying it, it has actually helped!  Benjamin will be going to Kindergarten in July, so this also helps get him ready for what lunch time will be like for him at the elementary school!

Hope you like my Talking/No Talking Felt Stand!

Until next time………..