Tag Archives: Holidays

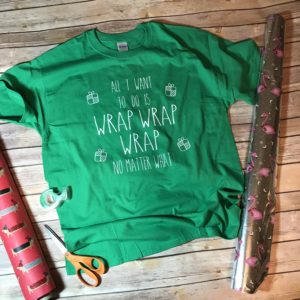
All I Want To Do Is Wrap! Shirt featuring Cricut!

Christmas is around the corner and it will soon be time to wrap up all of the gifts that you purchase!  How about making a shirt to wear while you are doing the wrapping!!!

Materials:

Cricut
Cricut Cutting Mat
Cricut Iron-on
Cricut weeding tool
Cricut EasyPress
Shirt
SVG File
Towel

Directions:

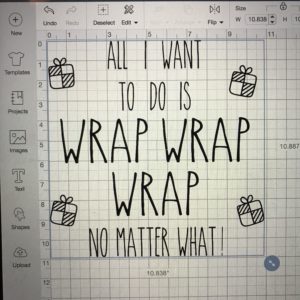
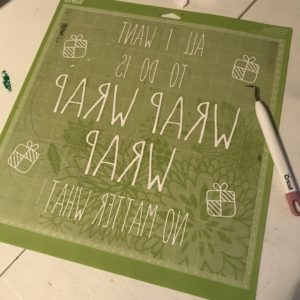
Upload the svg file to your Cricut Design Space.  Size it to your liking.

Make sure to attach the file so that it cuts just like it is on the screen.

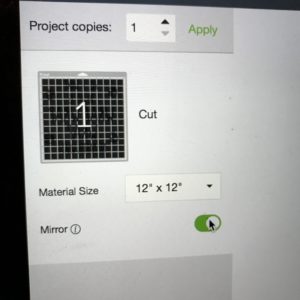
Also make sure that you mirror the image.

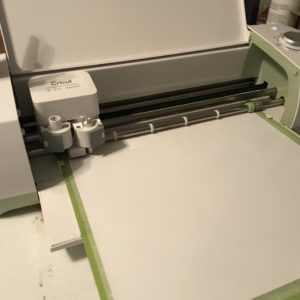
Add the Cricut Iron-on to your mat, shiny side down.  Insert the mat into your cricut and cut!

Once the file is completely cut out, remove it from the Cricut and weed the excess Iron-on.

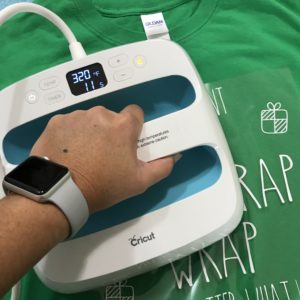
Heat the EasyPress to 320 degrees.  Place a towel below your shirt.  Warm the shirt before adding the Iron-on.  Place the Iron-on with the design side down and the shiny side up.   Using the EasyPress, apply pressure to the Iron-on and set the timer for 30 seconds.

And now it’s time to wear!!!

Click the photo below and check out other Cricut Holiday Projects!


Until next time……

Christmas Countdown Banner

It’s Holiday Craft Lightning time!  Can you believe it’s time to start thinking about Christmas?!?!?!   For this Craft Lightning, I decided to make a quick and fun Christmas Countdown Banner.  The kids love counting down the days until Christmas!  Me, I love counting down the days that I have left to shop!!!!

Materials:  
12” x 18” craft cut of Kunin Premiumfelt™ (1) Smoke
9” x 12” craft cut of Kunin Corduroy™ (1) Pirate Green
9” x 12” craft cut of Kunin ClassicFelt™ (1) Yellow, (1) Red, (1) Royal Blue, (1) Fuchsia 
Wooden Rod
Ribbon
Hot Glue Gun and Hot Glue
Sharpie or any marker
Tulip Slick Dimensional Fabric Paint
Scissors
Velcro pieces that have the hooks

  1.  First, cut out your tree, the ornaments and a star.  I folded my green felt in half and just freehand drew a tree.  I cut the ornaments and the star freehand.  You could definitely make a pattern for it.   I wasn’t overly concerned about my ornaments being round.  

2.  I cut up velcro dots and squares to go onto the back of the ornaments and star.  I then hot glued them to the back of the dots.

3.  Add numbers to the dots.  I put 25 on my star, so that the star gets put on the tree first!!!!  You could do it the opposite way and put the number 1 on the star so that it gets put on last!

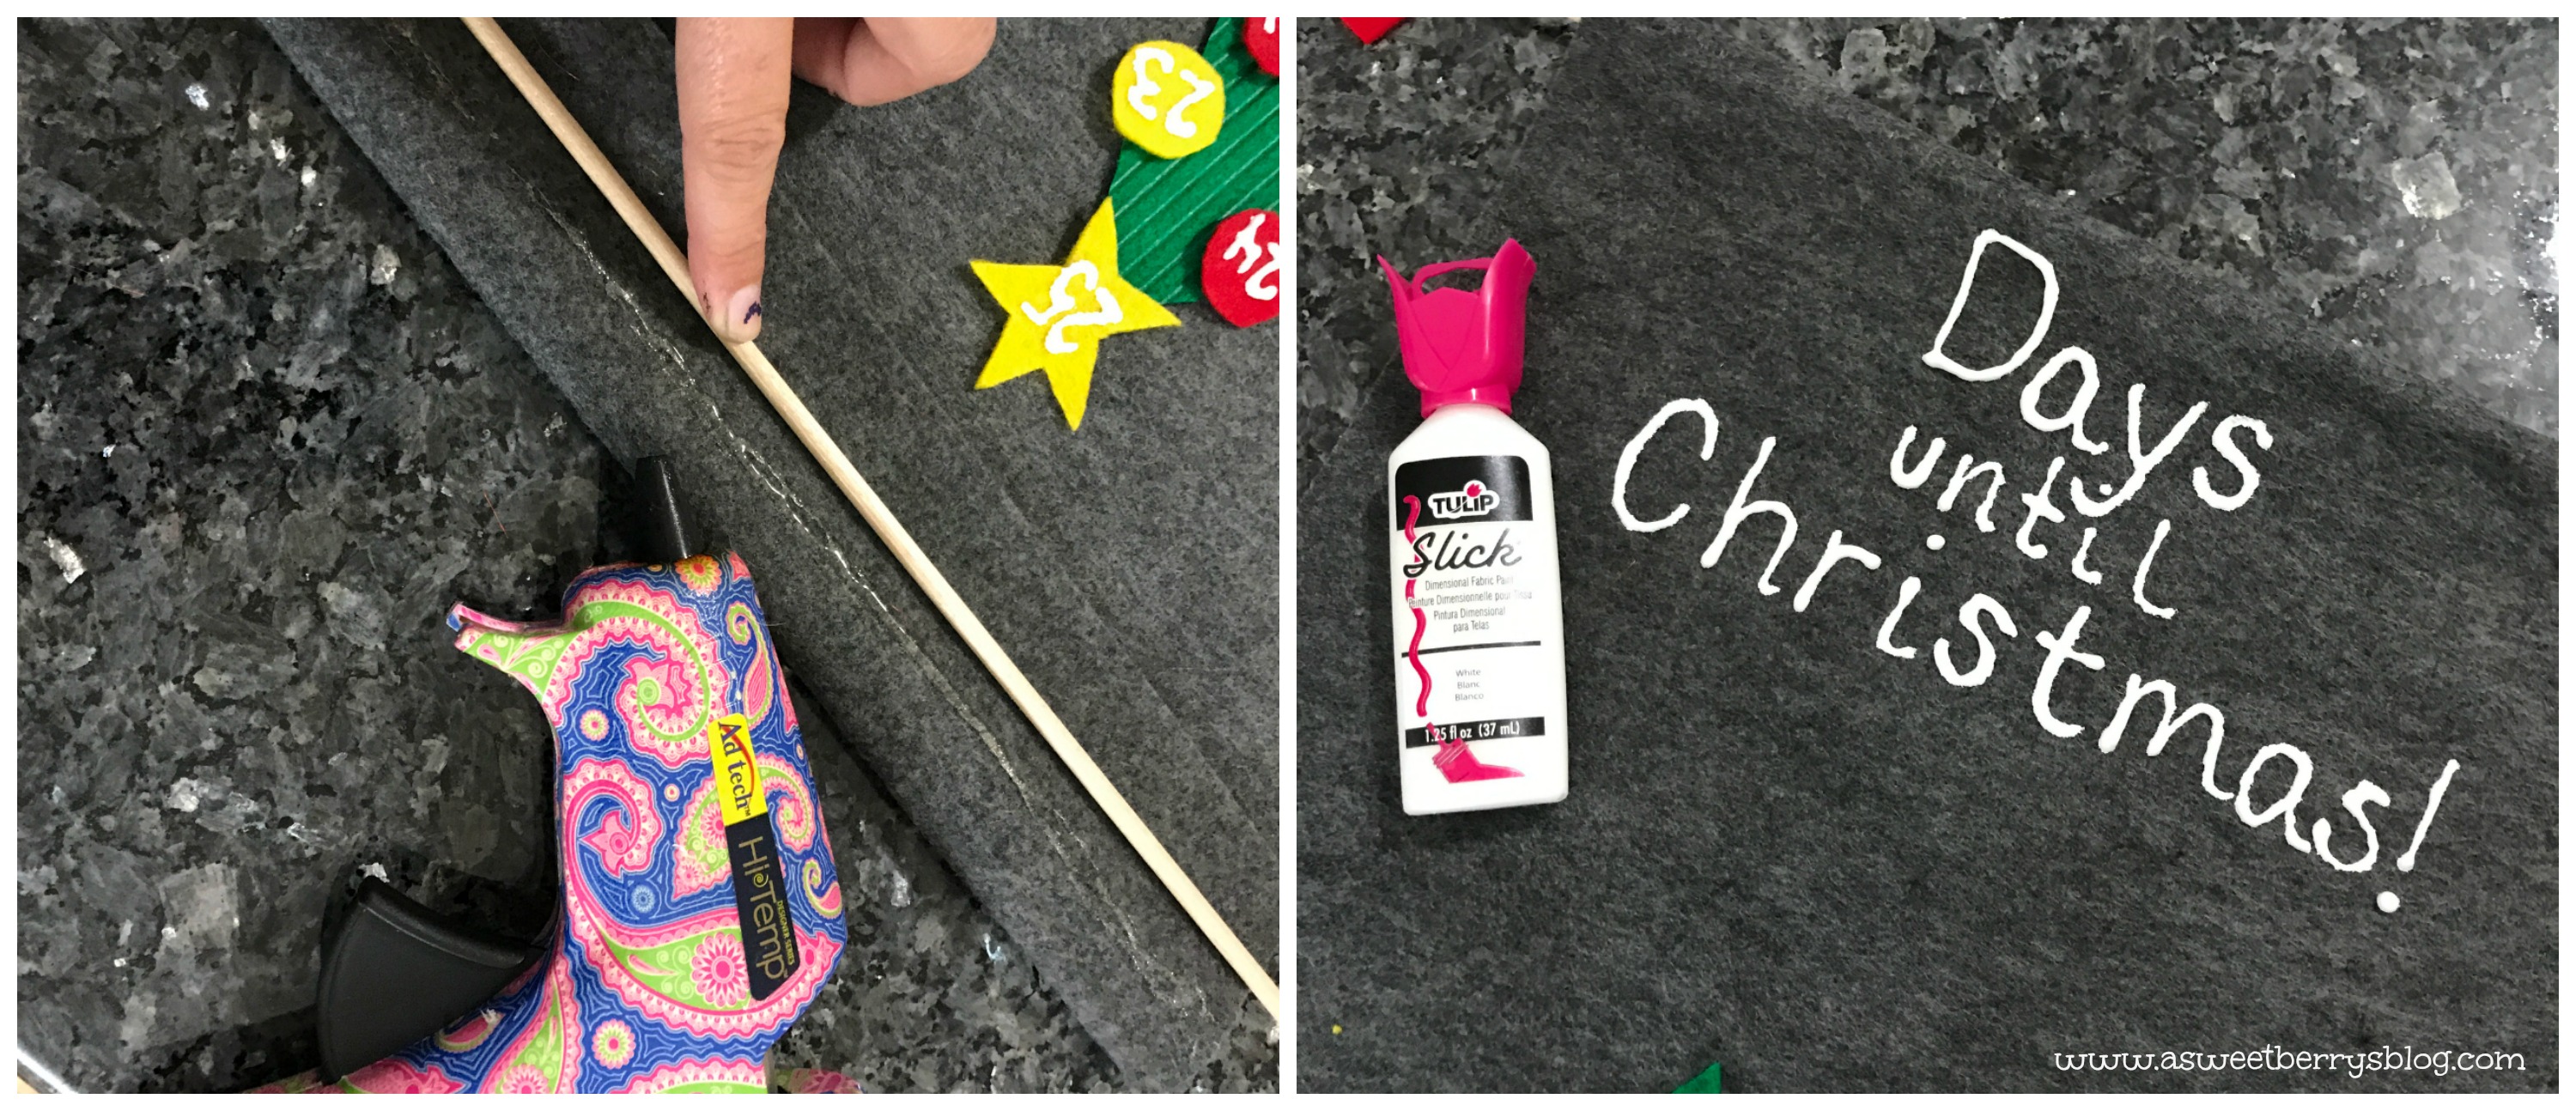
3.  Position your wooden rod on the backside of the banner, fold over the felt and then hot glue the flap down on the backside.

4.  Using the Tulip Slick, write the works “Days until Christmas!” at the top, making sure you leave room for the tree and star!

This is super fun for the kids and they can help out as well!   You could let them cut our the ornaments!

Be sure to check out other Craft Lightning Holiday ideas by clicking the box below!

Until next time……