Kids just do not realize how much Disney World costs, especially when you don’t live there and you have to get a place to stay. And if you are like us, we like to stay on the Disney property. We have worked really hard to help our children learn about saving and spending money. They’ve learned that if they want something, they have to save their money for it.
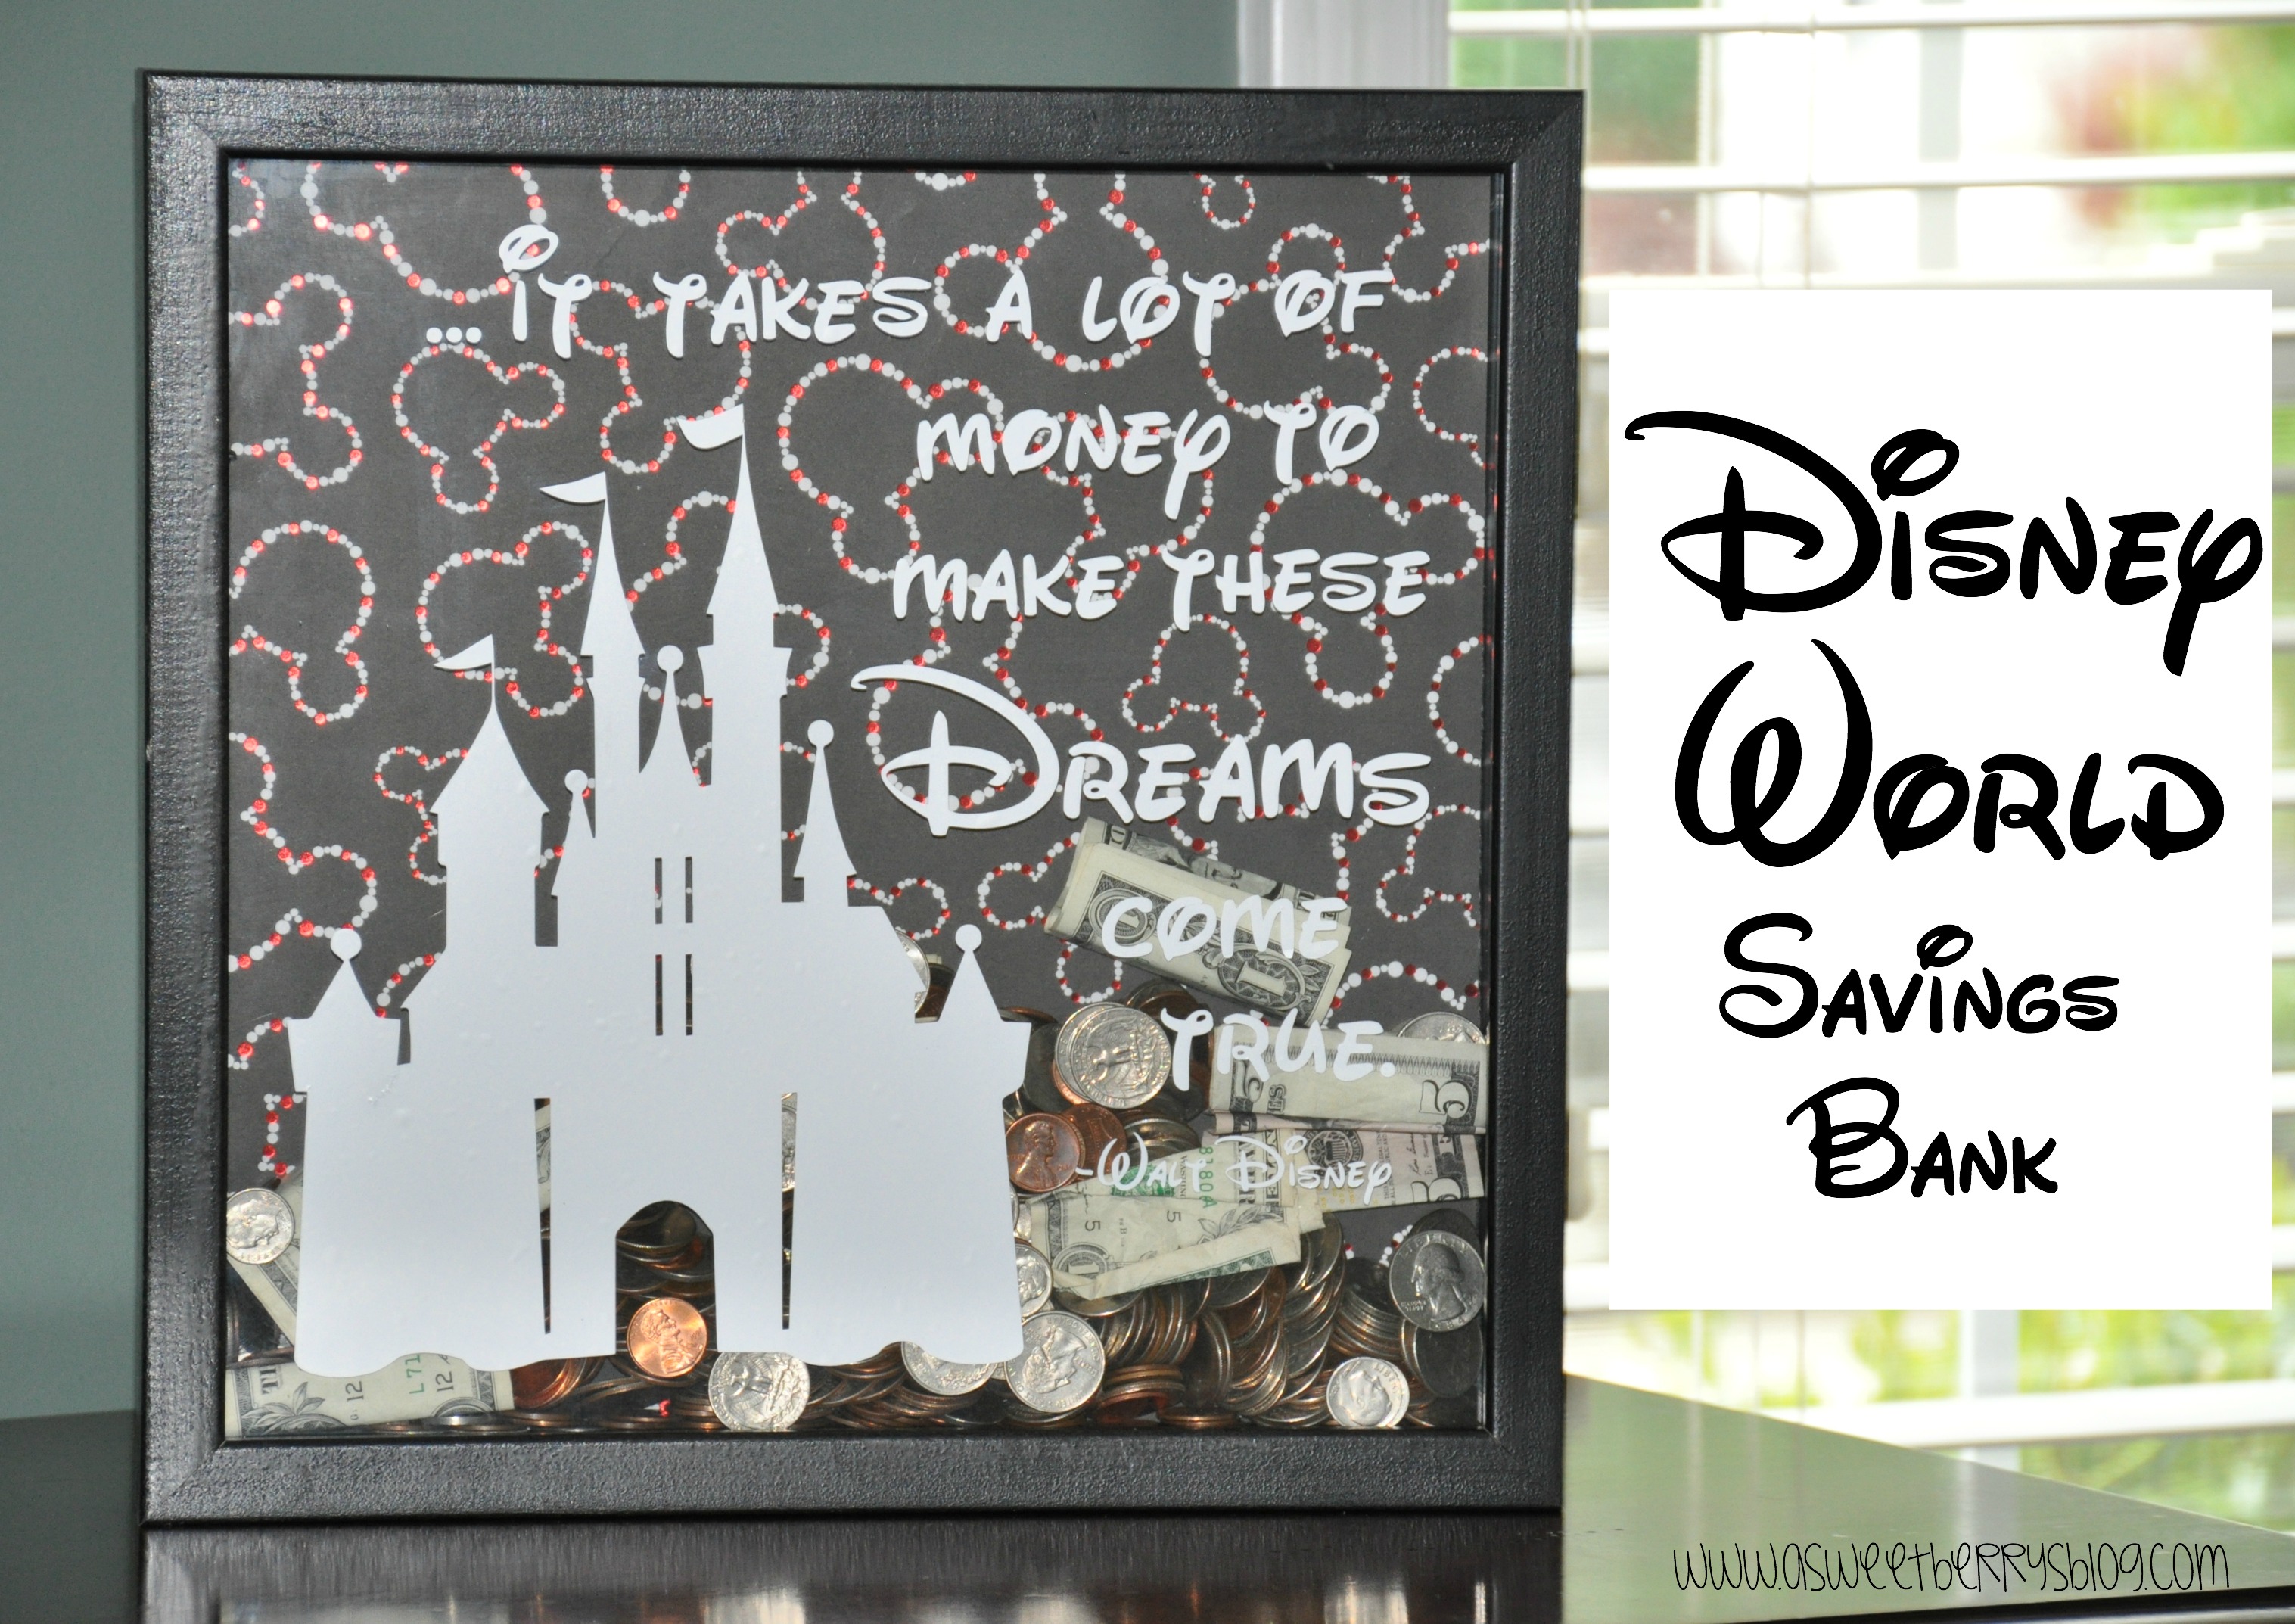
Well, in preparation for an upcoming trip to Disney, I decided to make my boys a Disney World Savings Bank! Aside from their allowance money, we’ve decided that every cent or dollar that we have will go into our Savings Bank. We will use this money for fun things like souvenirs and extra treats! So, the more they save, the more money they have to spend! We are fortunate that we are going at a time that they offer the free dining plan. That is helping to save A LOT of money!
Now, I will tell you the steps I took to making this fun and easy Disney World Savings Bank!
Materials needed:
-A Shadow Box Frame
-A fun piece of scrapbook paper (I used this cute Mickey paper, but you could use any kind that you want if you are making it for something other than Disney!)
-A drill
-Black Paint and a paint brush
-Glue Runner
–Vinyl (affilate link)
-Electronic Cutting Machine (I used the Sizzix Eclips2 (affiliate link)
-Design/Cutting Software
-Money!!!!!!
Steps:
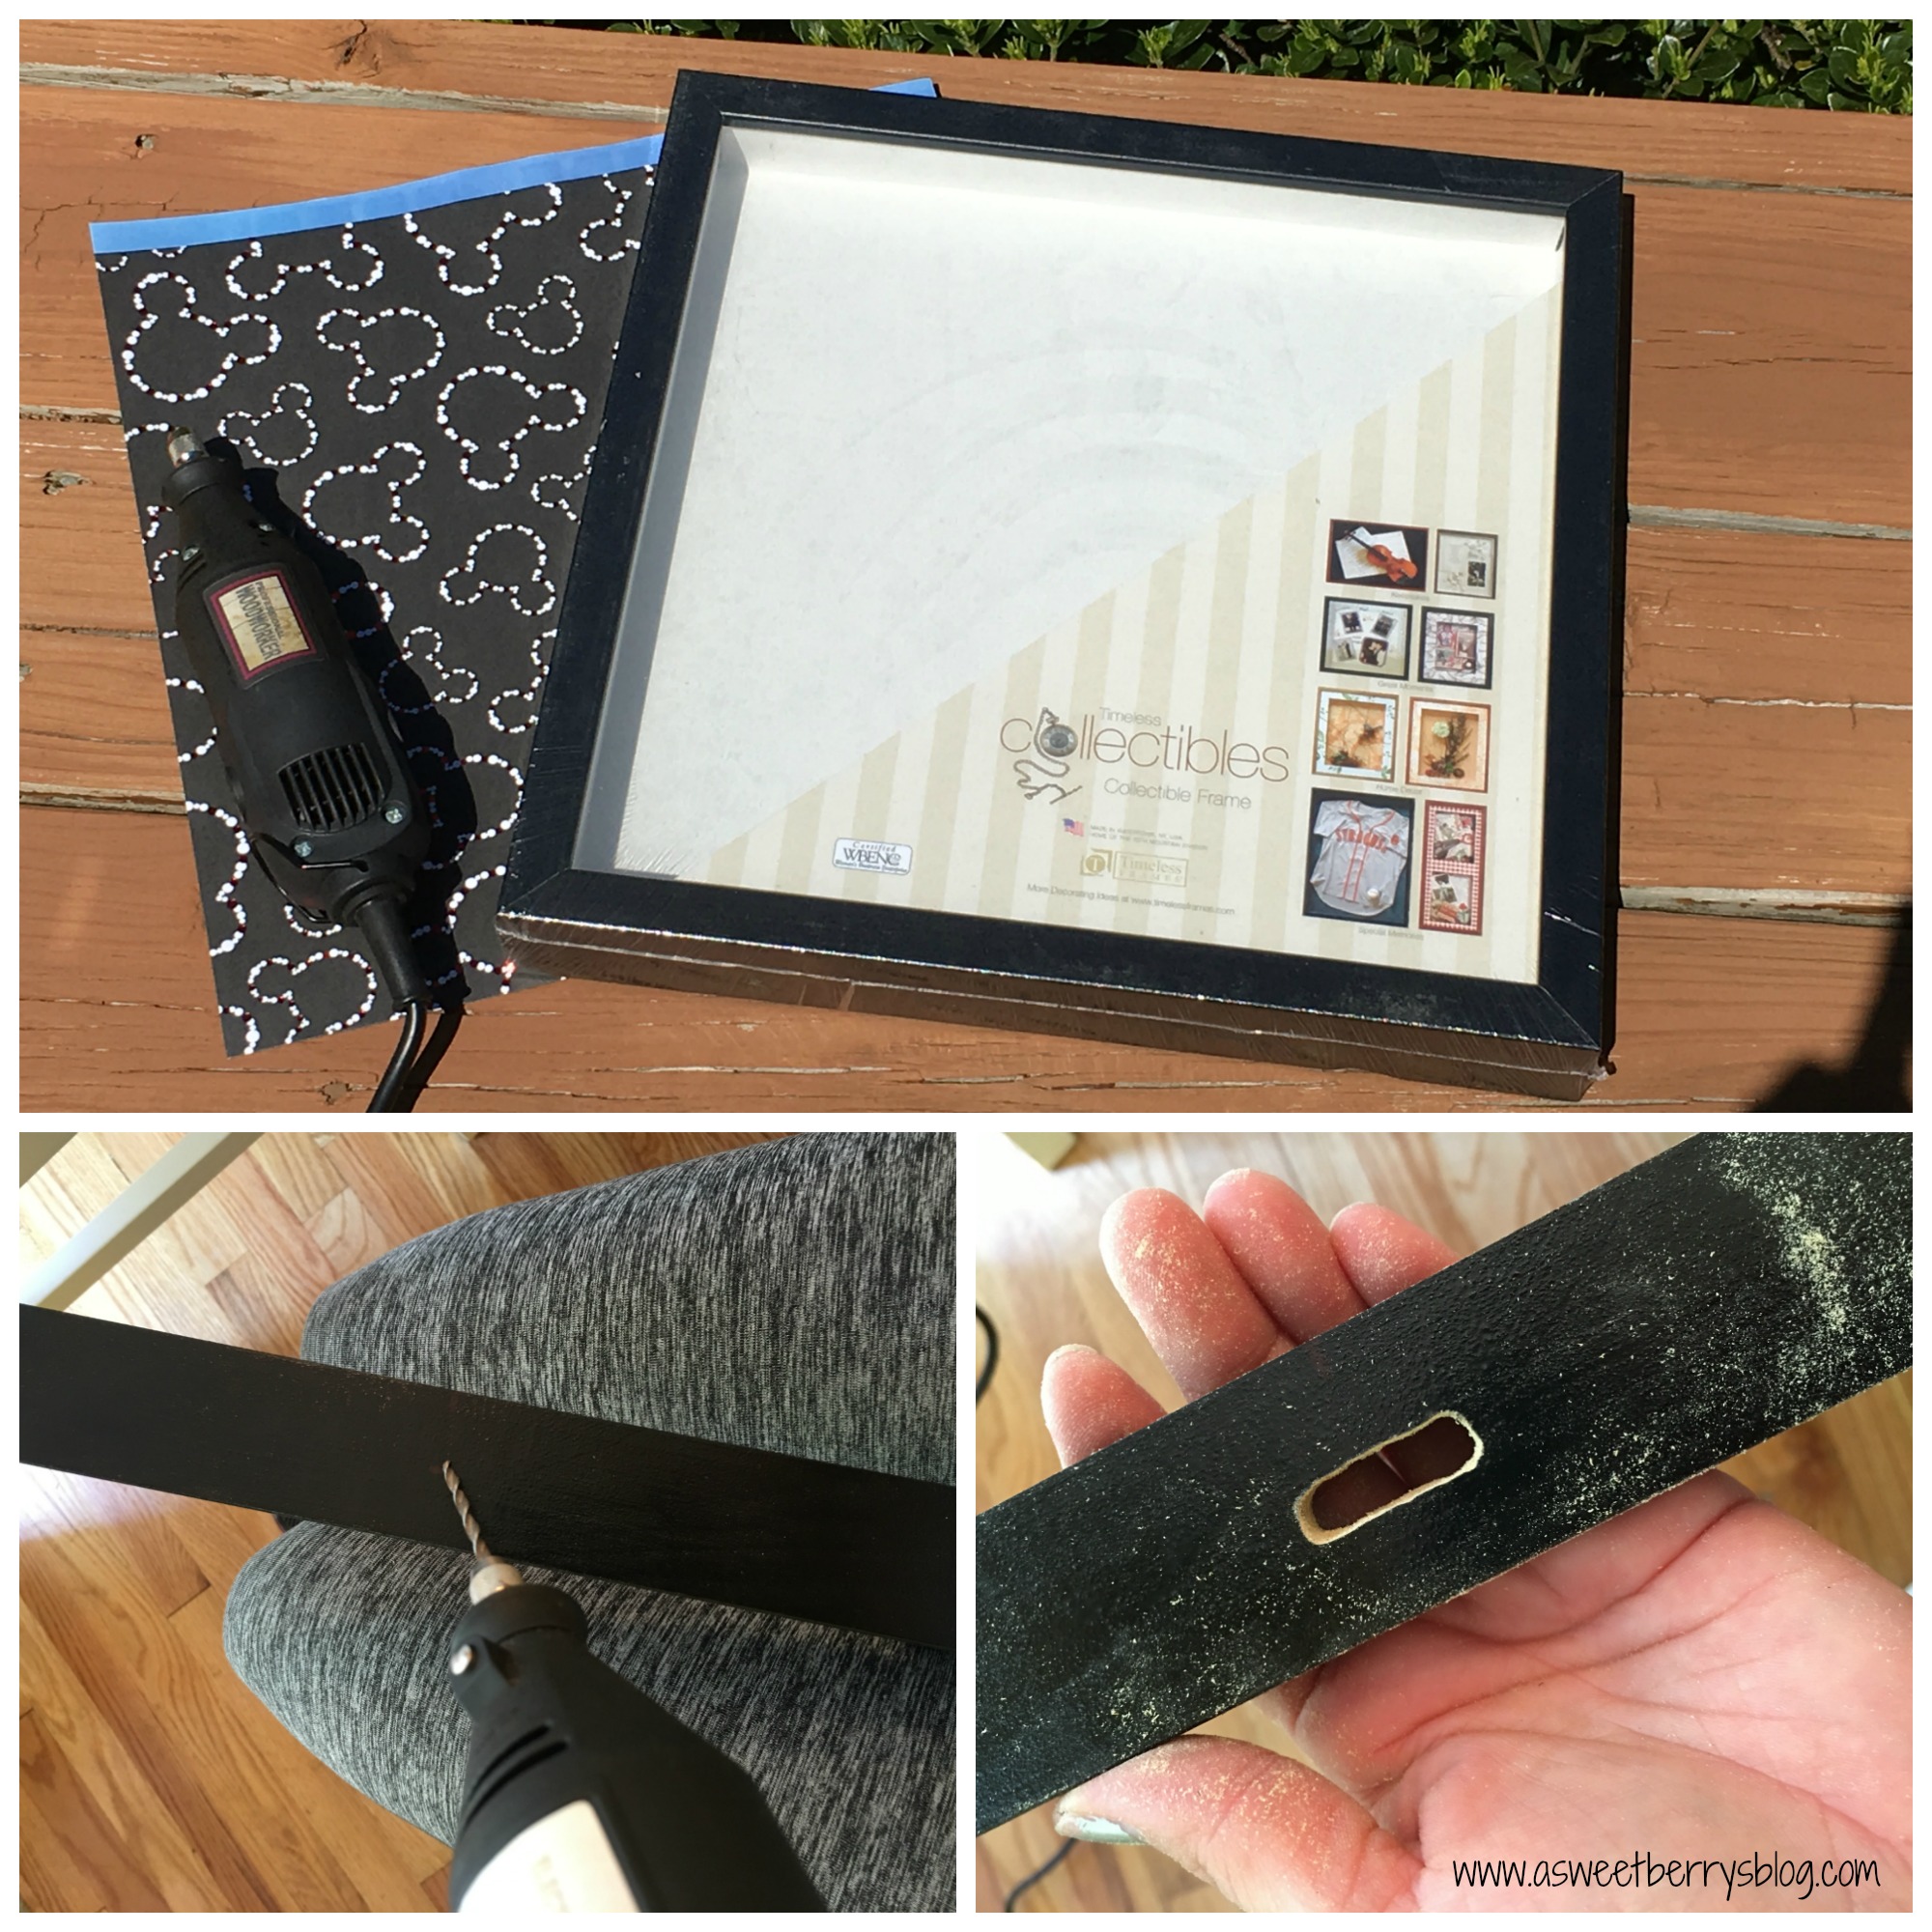
- I removed the glass and cardboard backing from the frame and then drilled a hole in the top big enough for money to fit through.
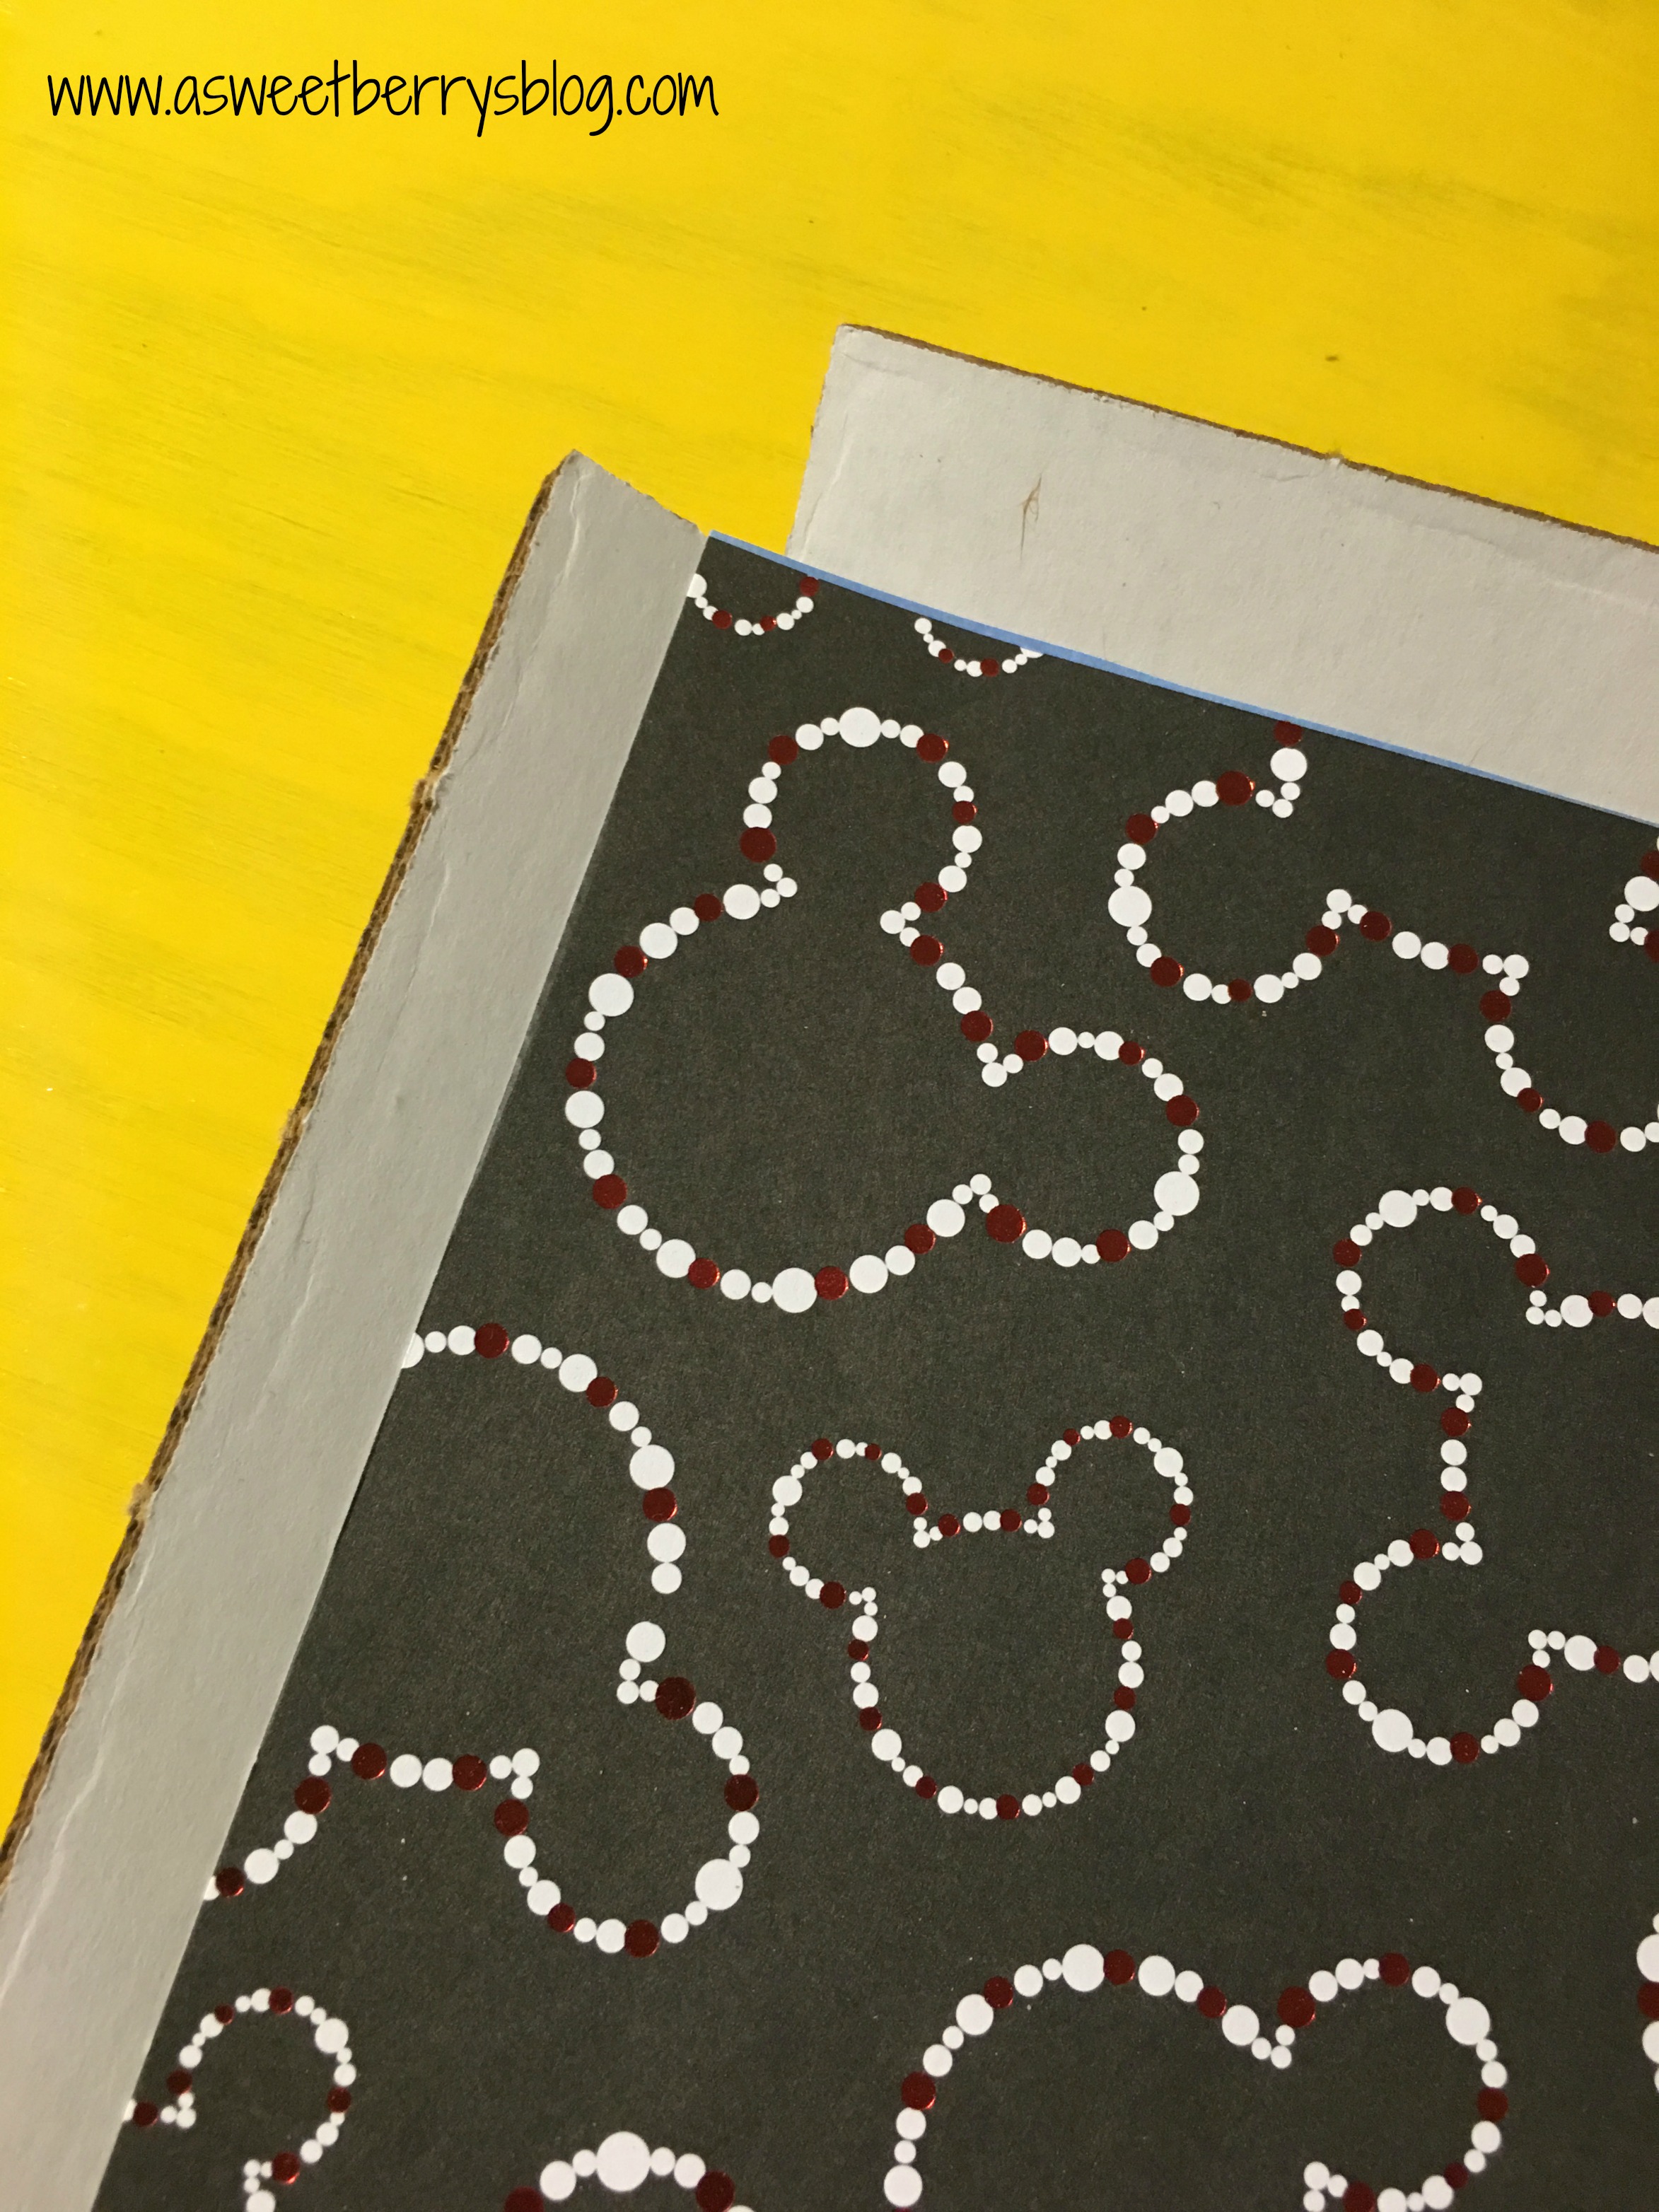
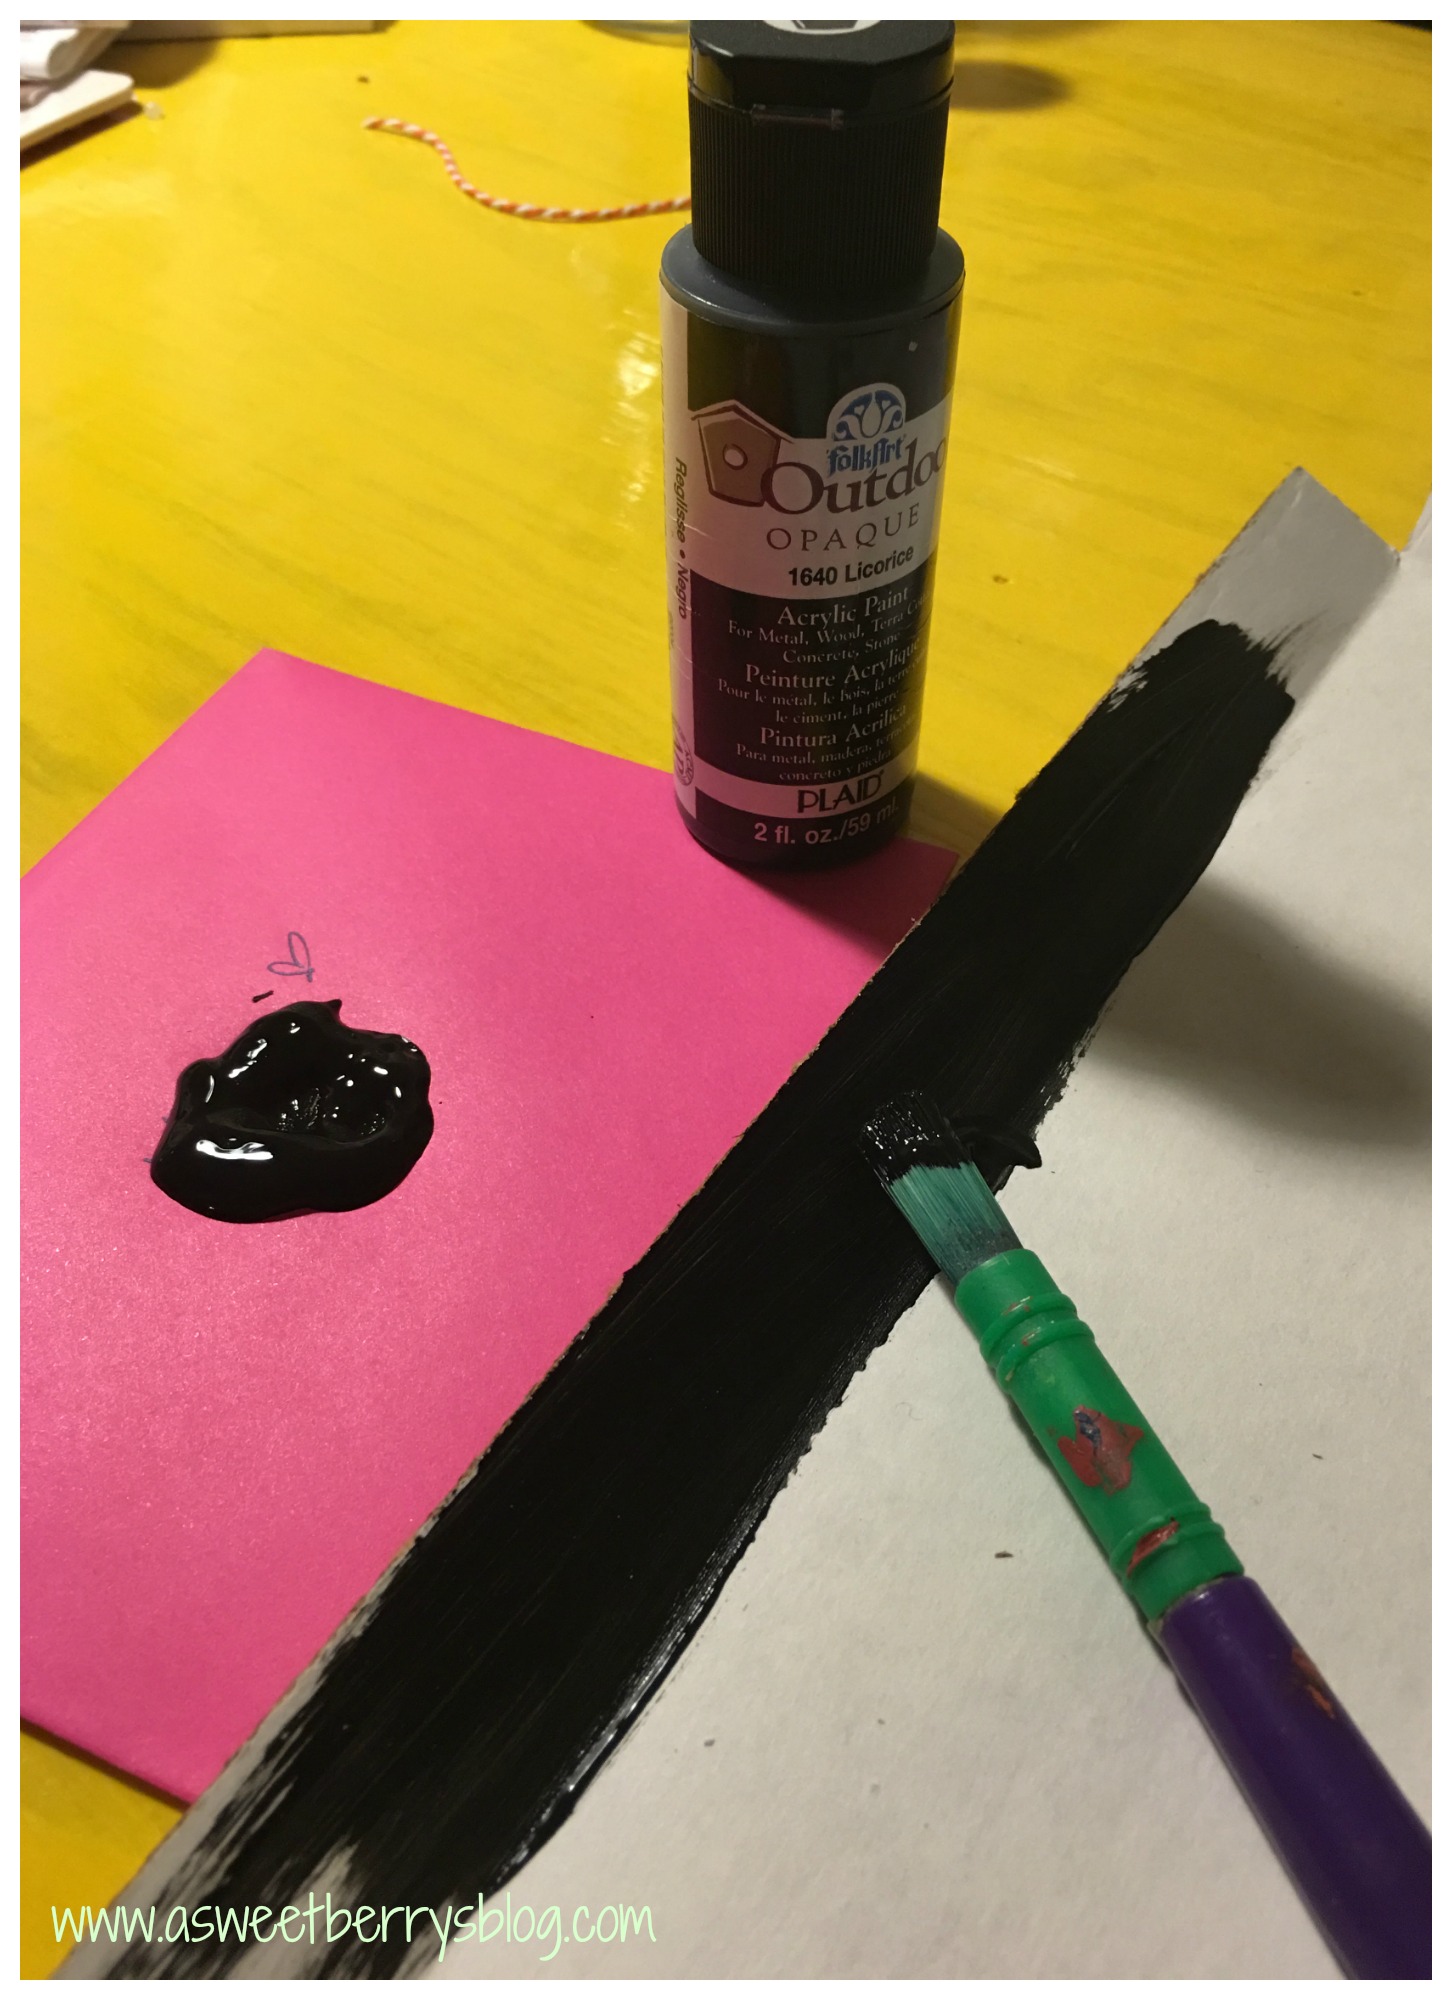
2. I measured my scrapbook paper to fit to the cardboard backing. Then I painted the edges of the cardboard backing with the black paint. Once the paint was dry, I put the cardboard backing into the frame and used a pencil to trace the hole that I cut from the frame. I removed the cardboard backing and drilled a hole making it a little bigger than the lines.
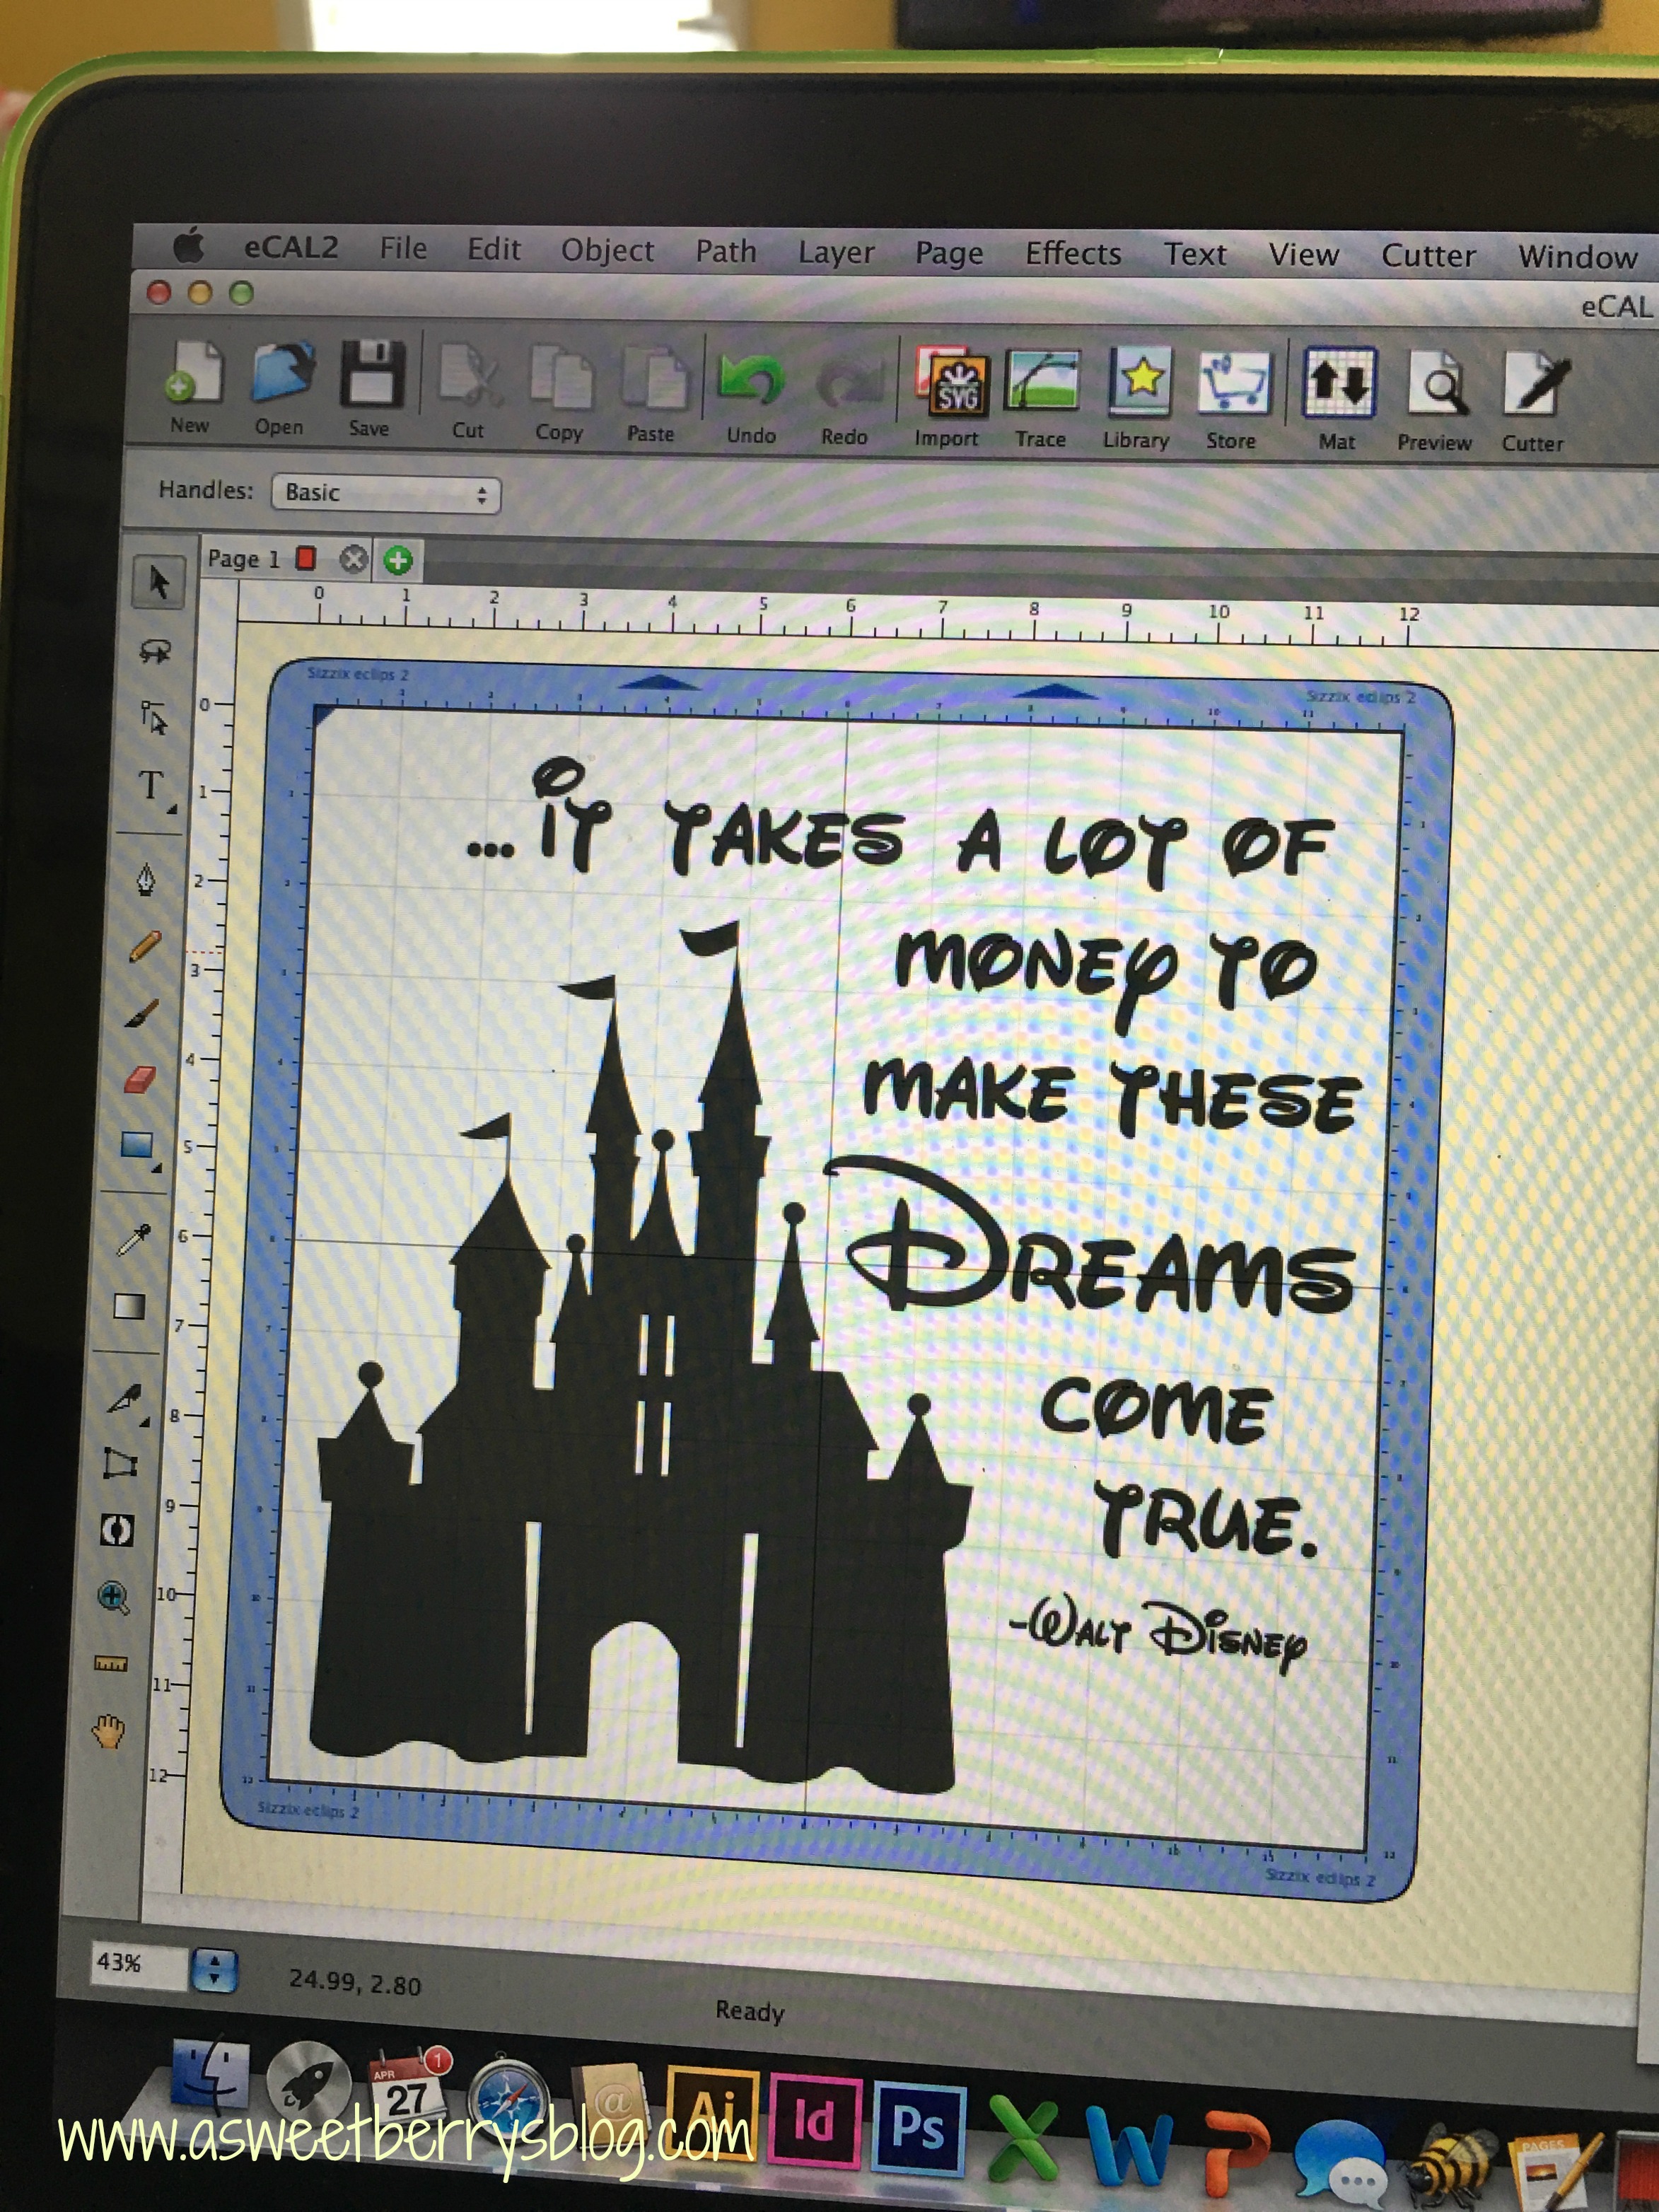
3. Using eCAL2, I used a castle .svg file and a quote about money from Walt Disney. I know that the quote had a different meaning than the saving of money for a trip to Disney, but I still like the quote and well……”It takes a lot of money to make these Dreams come true.” That quote helps put into perspective for the kids that it does indeed take a lot of money to go to Disney! I then cut it out with white vinyl.
4. After the vinyl was cut, I weeded the excess vinyl. I have to say that there is something very relaxing about weeding vinyl! Using the hinge method, I placed the vinyl on the glass.
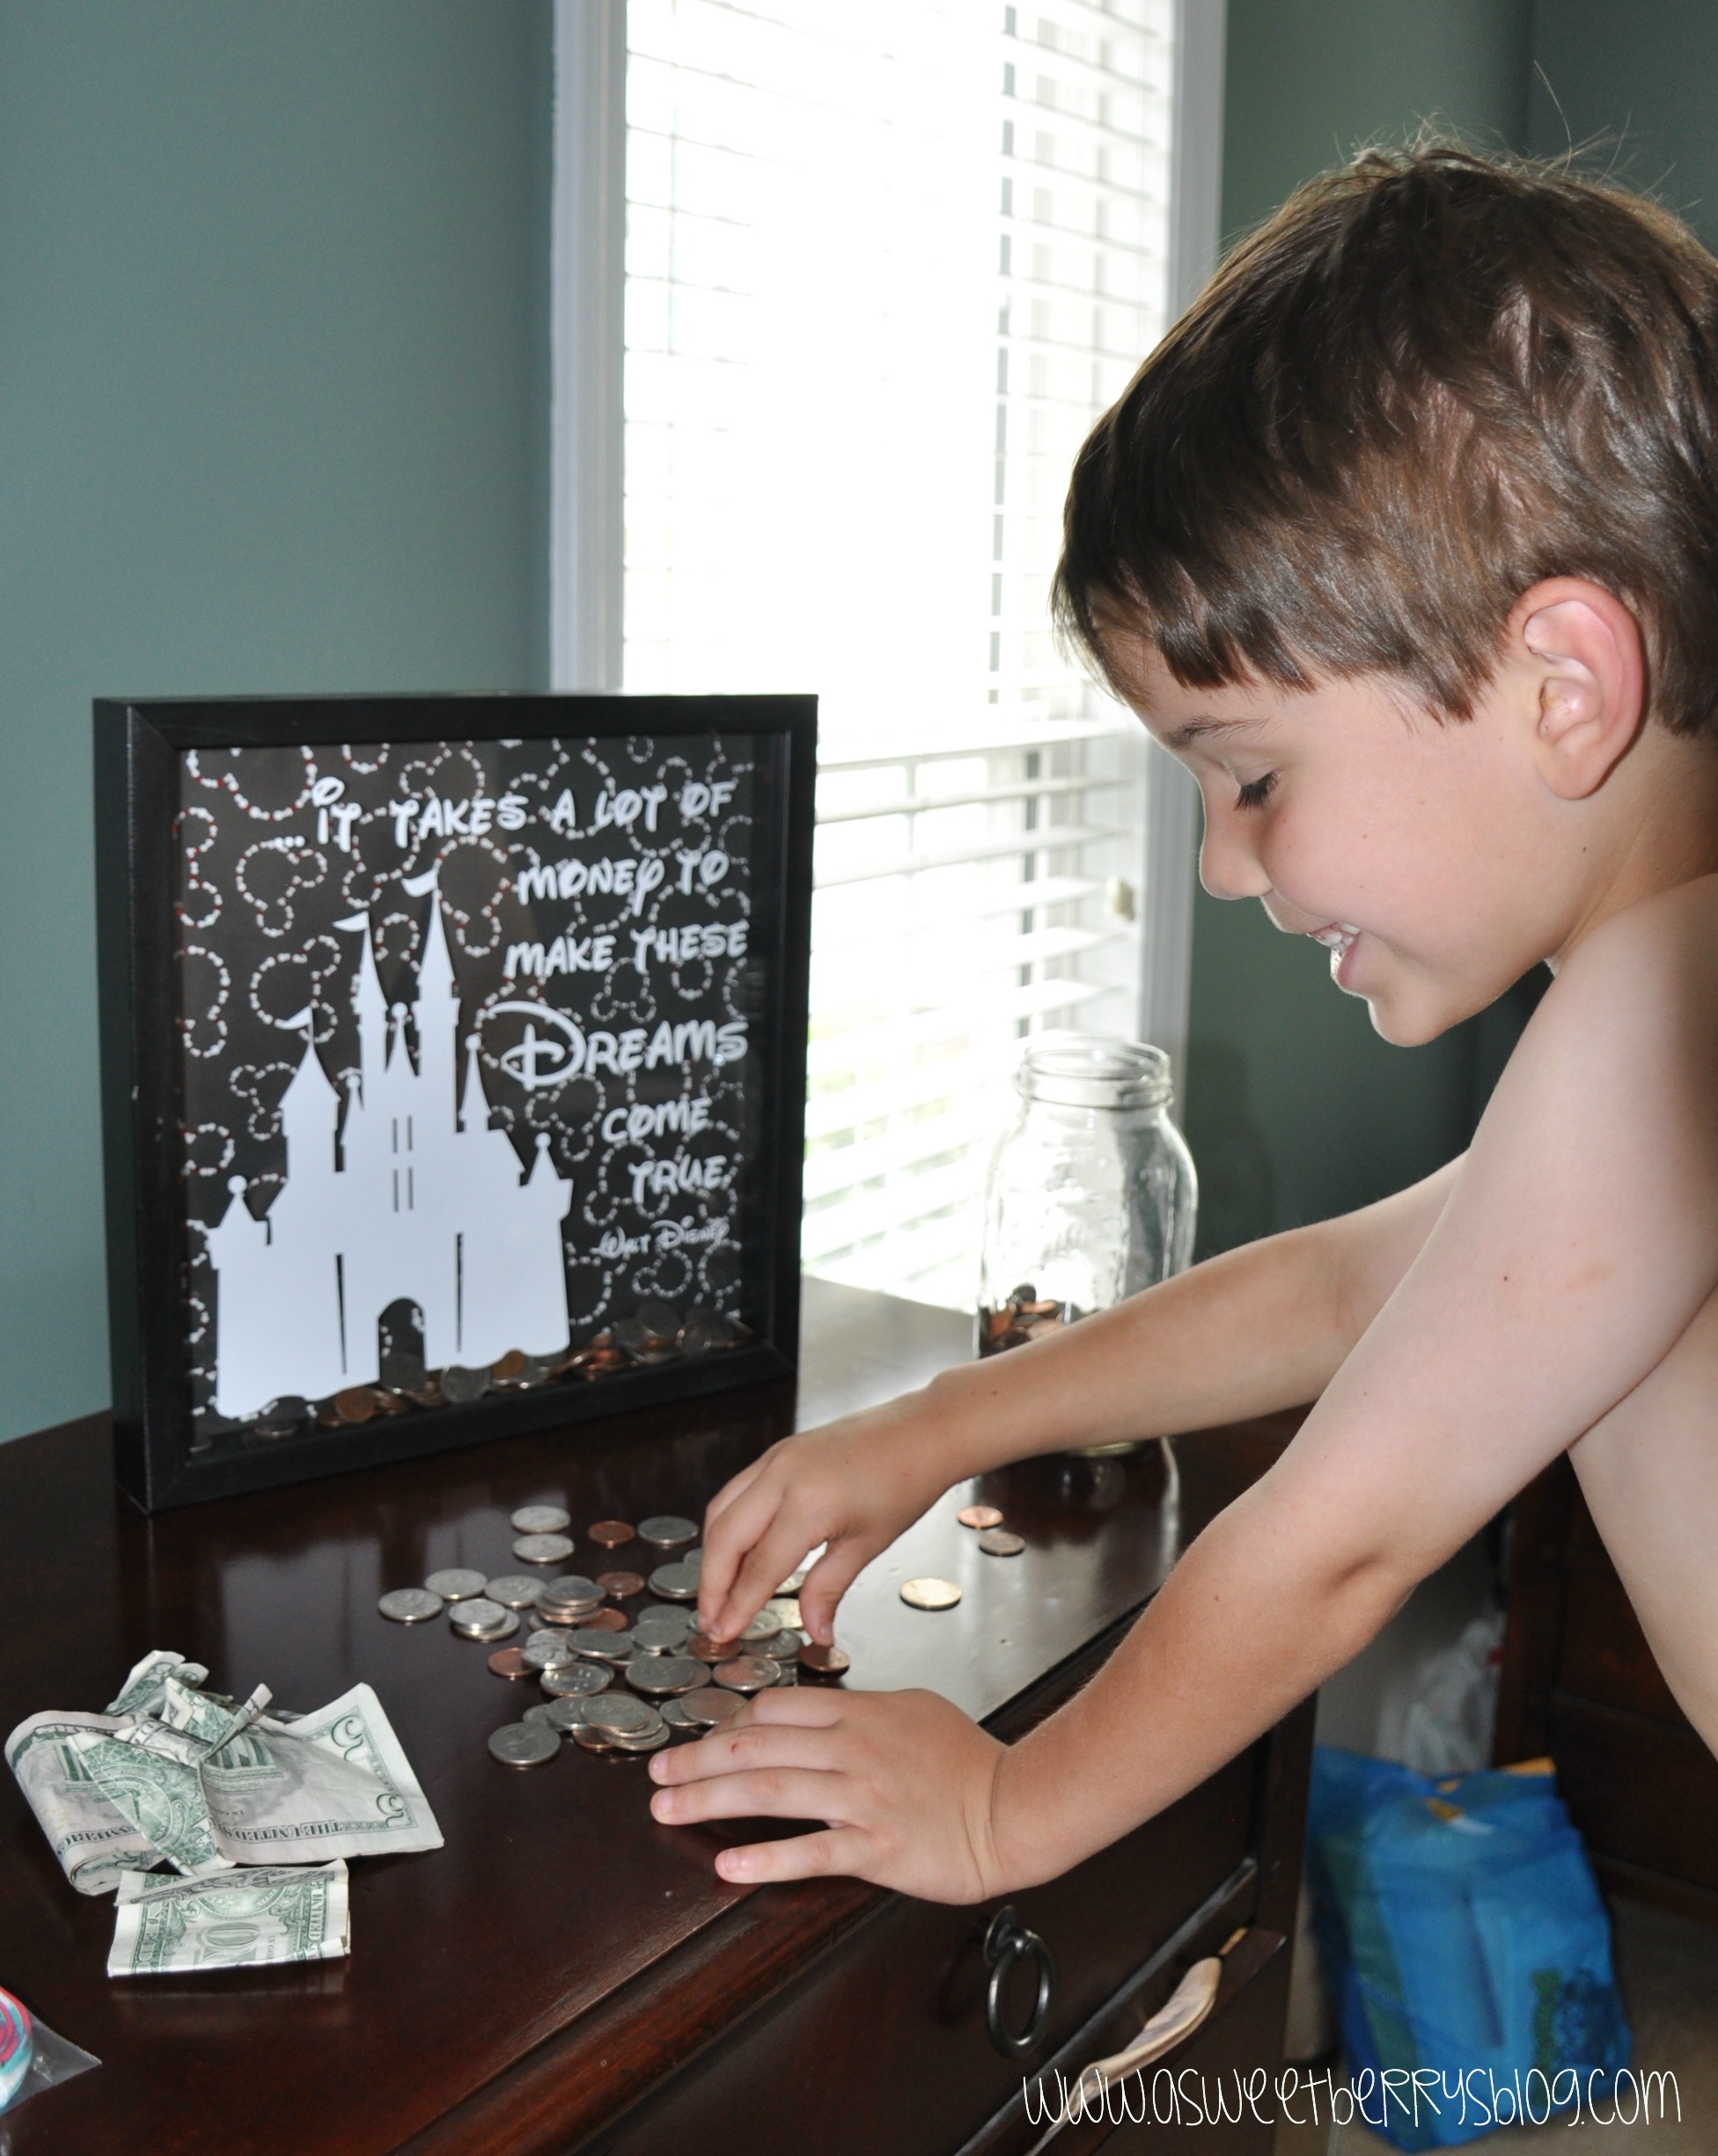
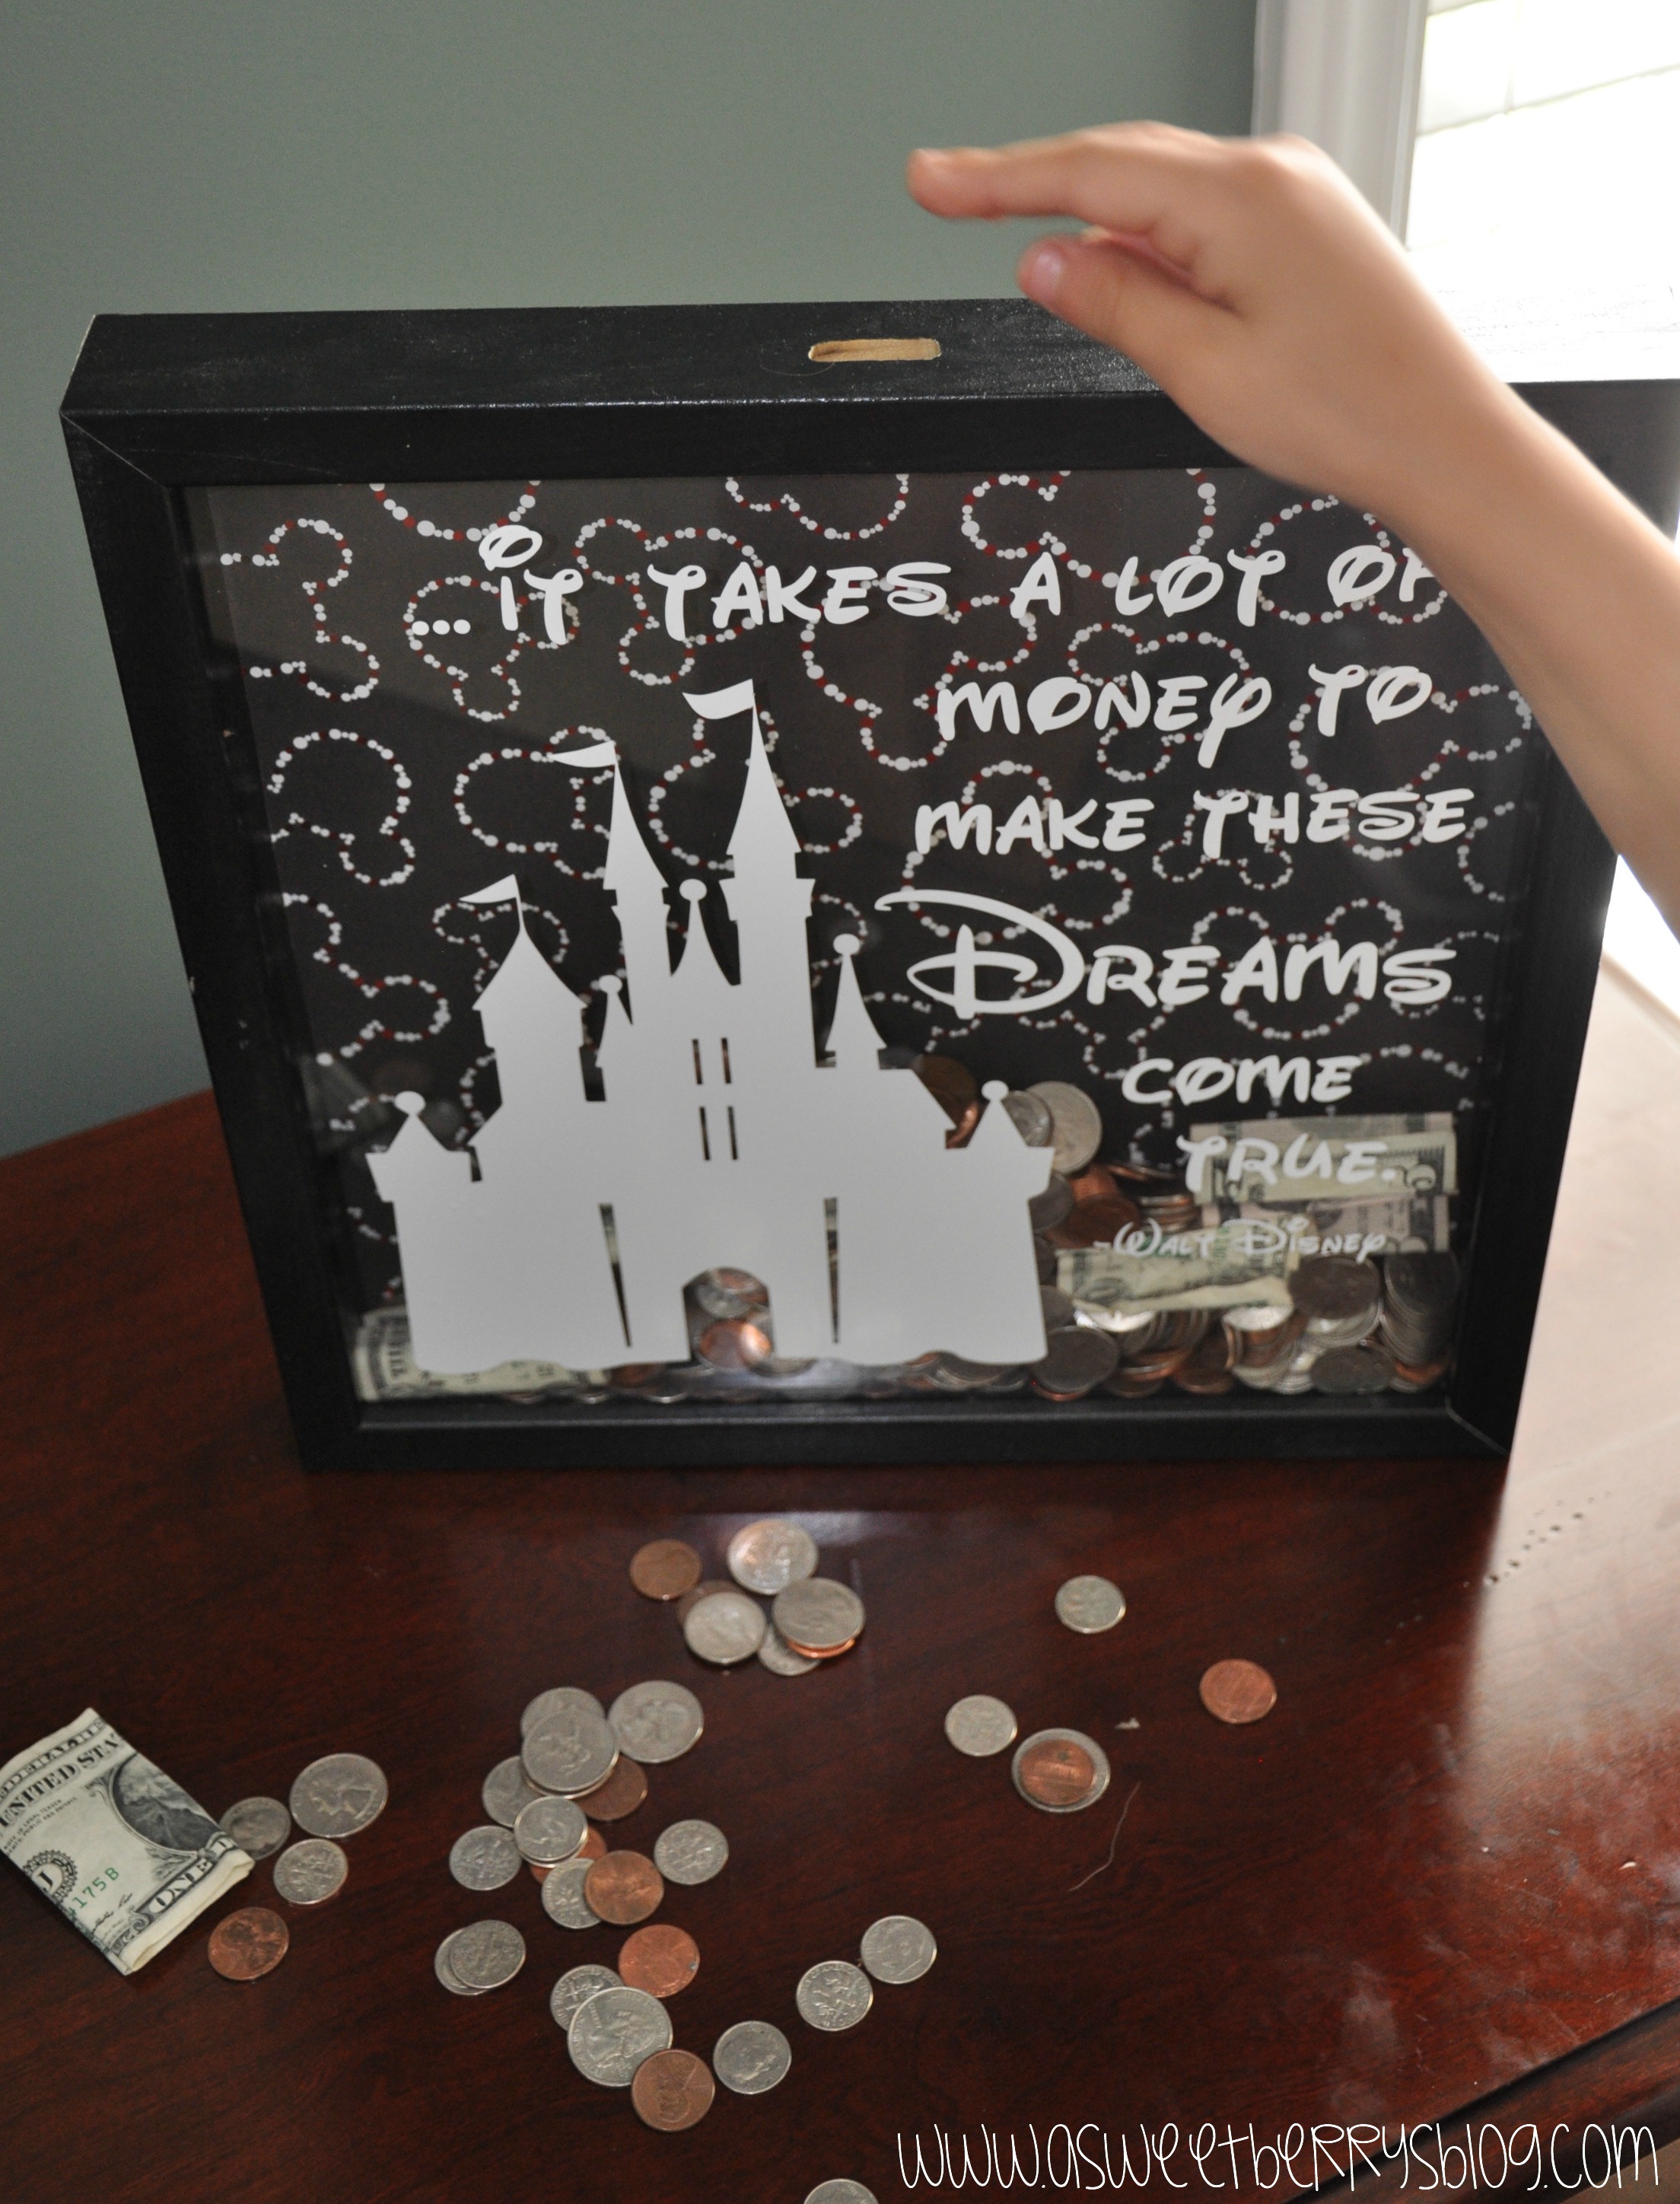
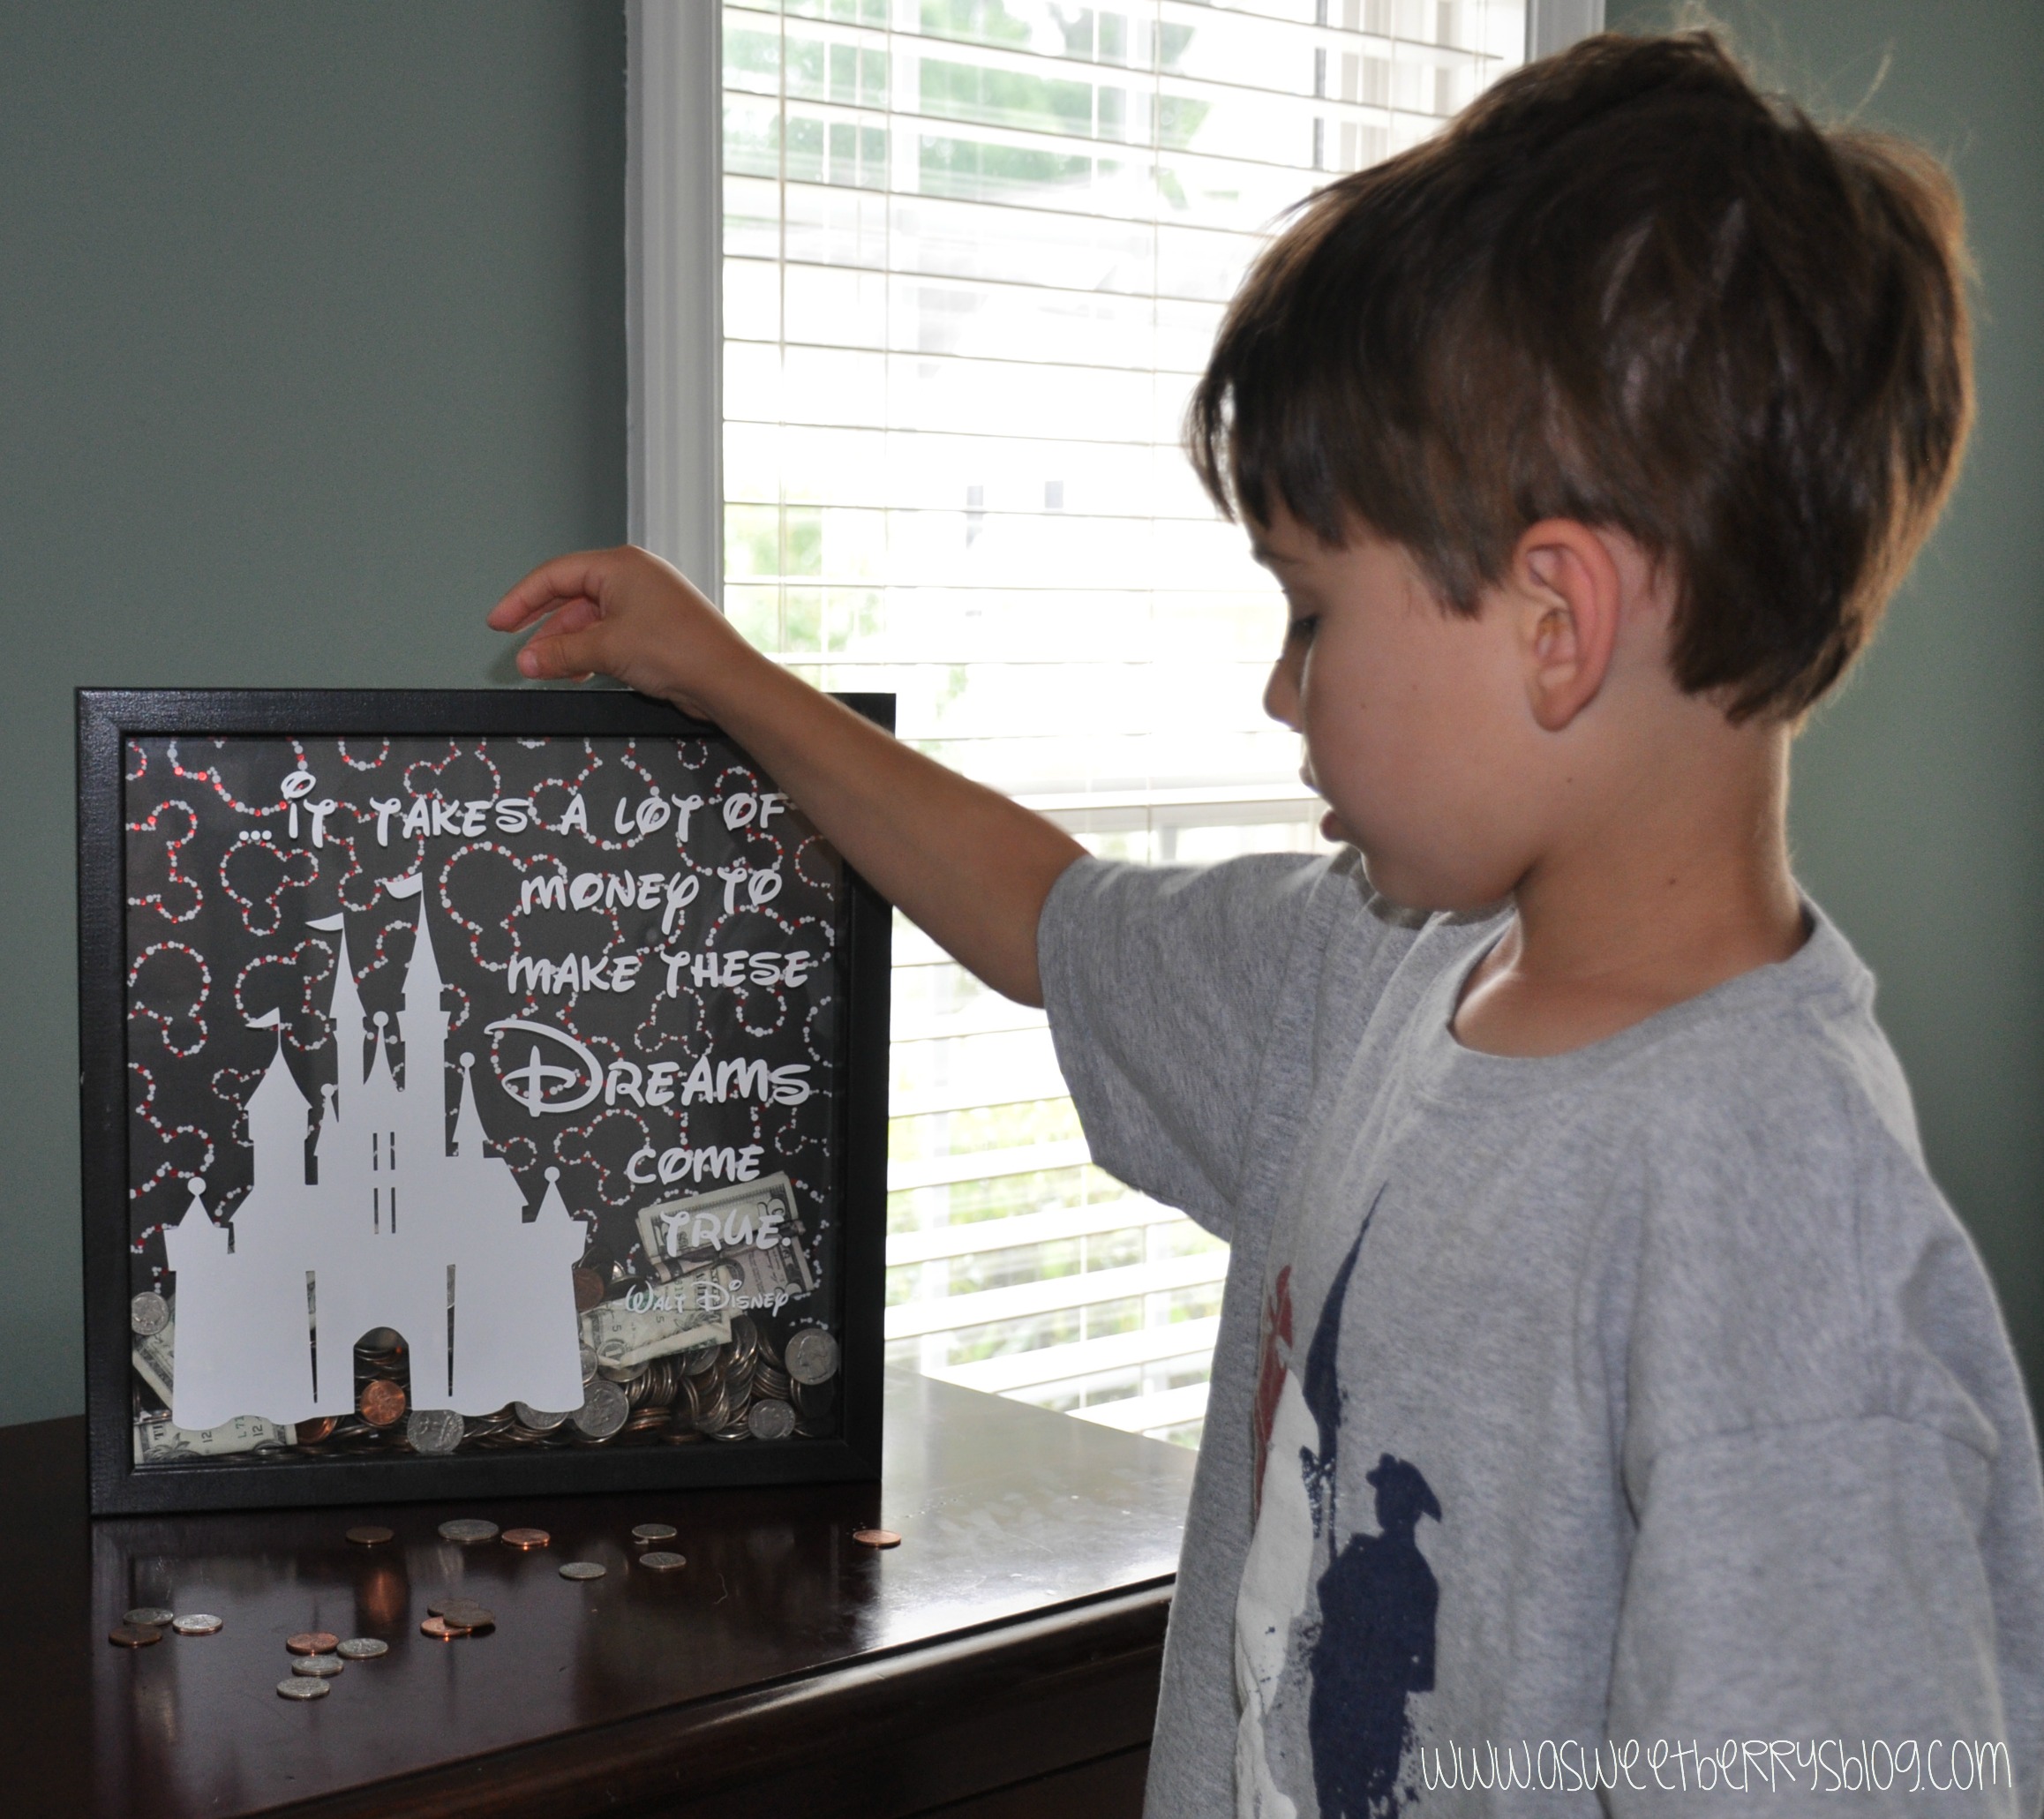
5. I put everything together, making sure that I lined the holes up. Then, I gave Benjamin all of the money that was in our change jar. He went to town on putting all of the money in the Disney World Savings Bank!
Hope you like my Disney World Savings Bank idea!!! It was fun to make and the boys love putting their extra money in there. Every so often, they want to count the money to see how much is in it and then they have fun putting the money in it again!
Until next time…….

