Tag Archives: Sharpie

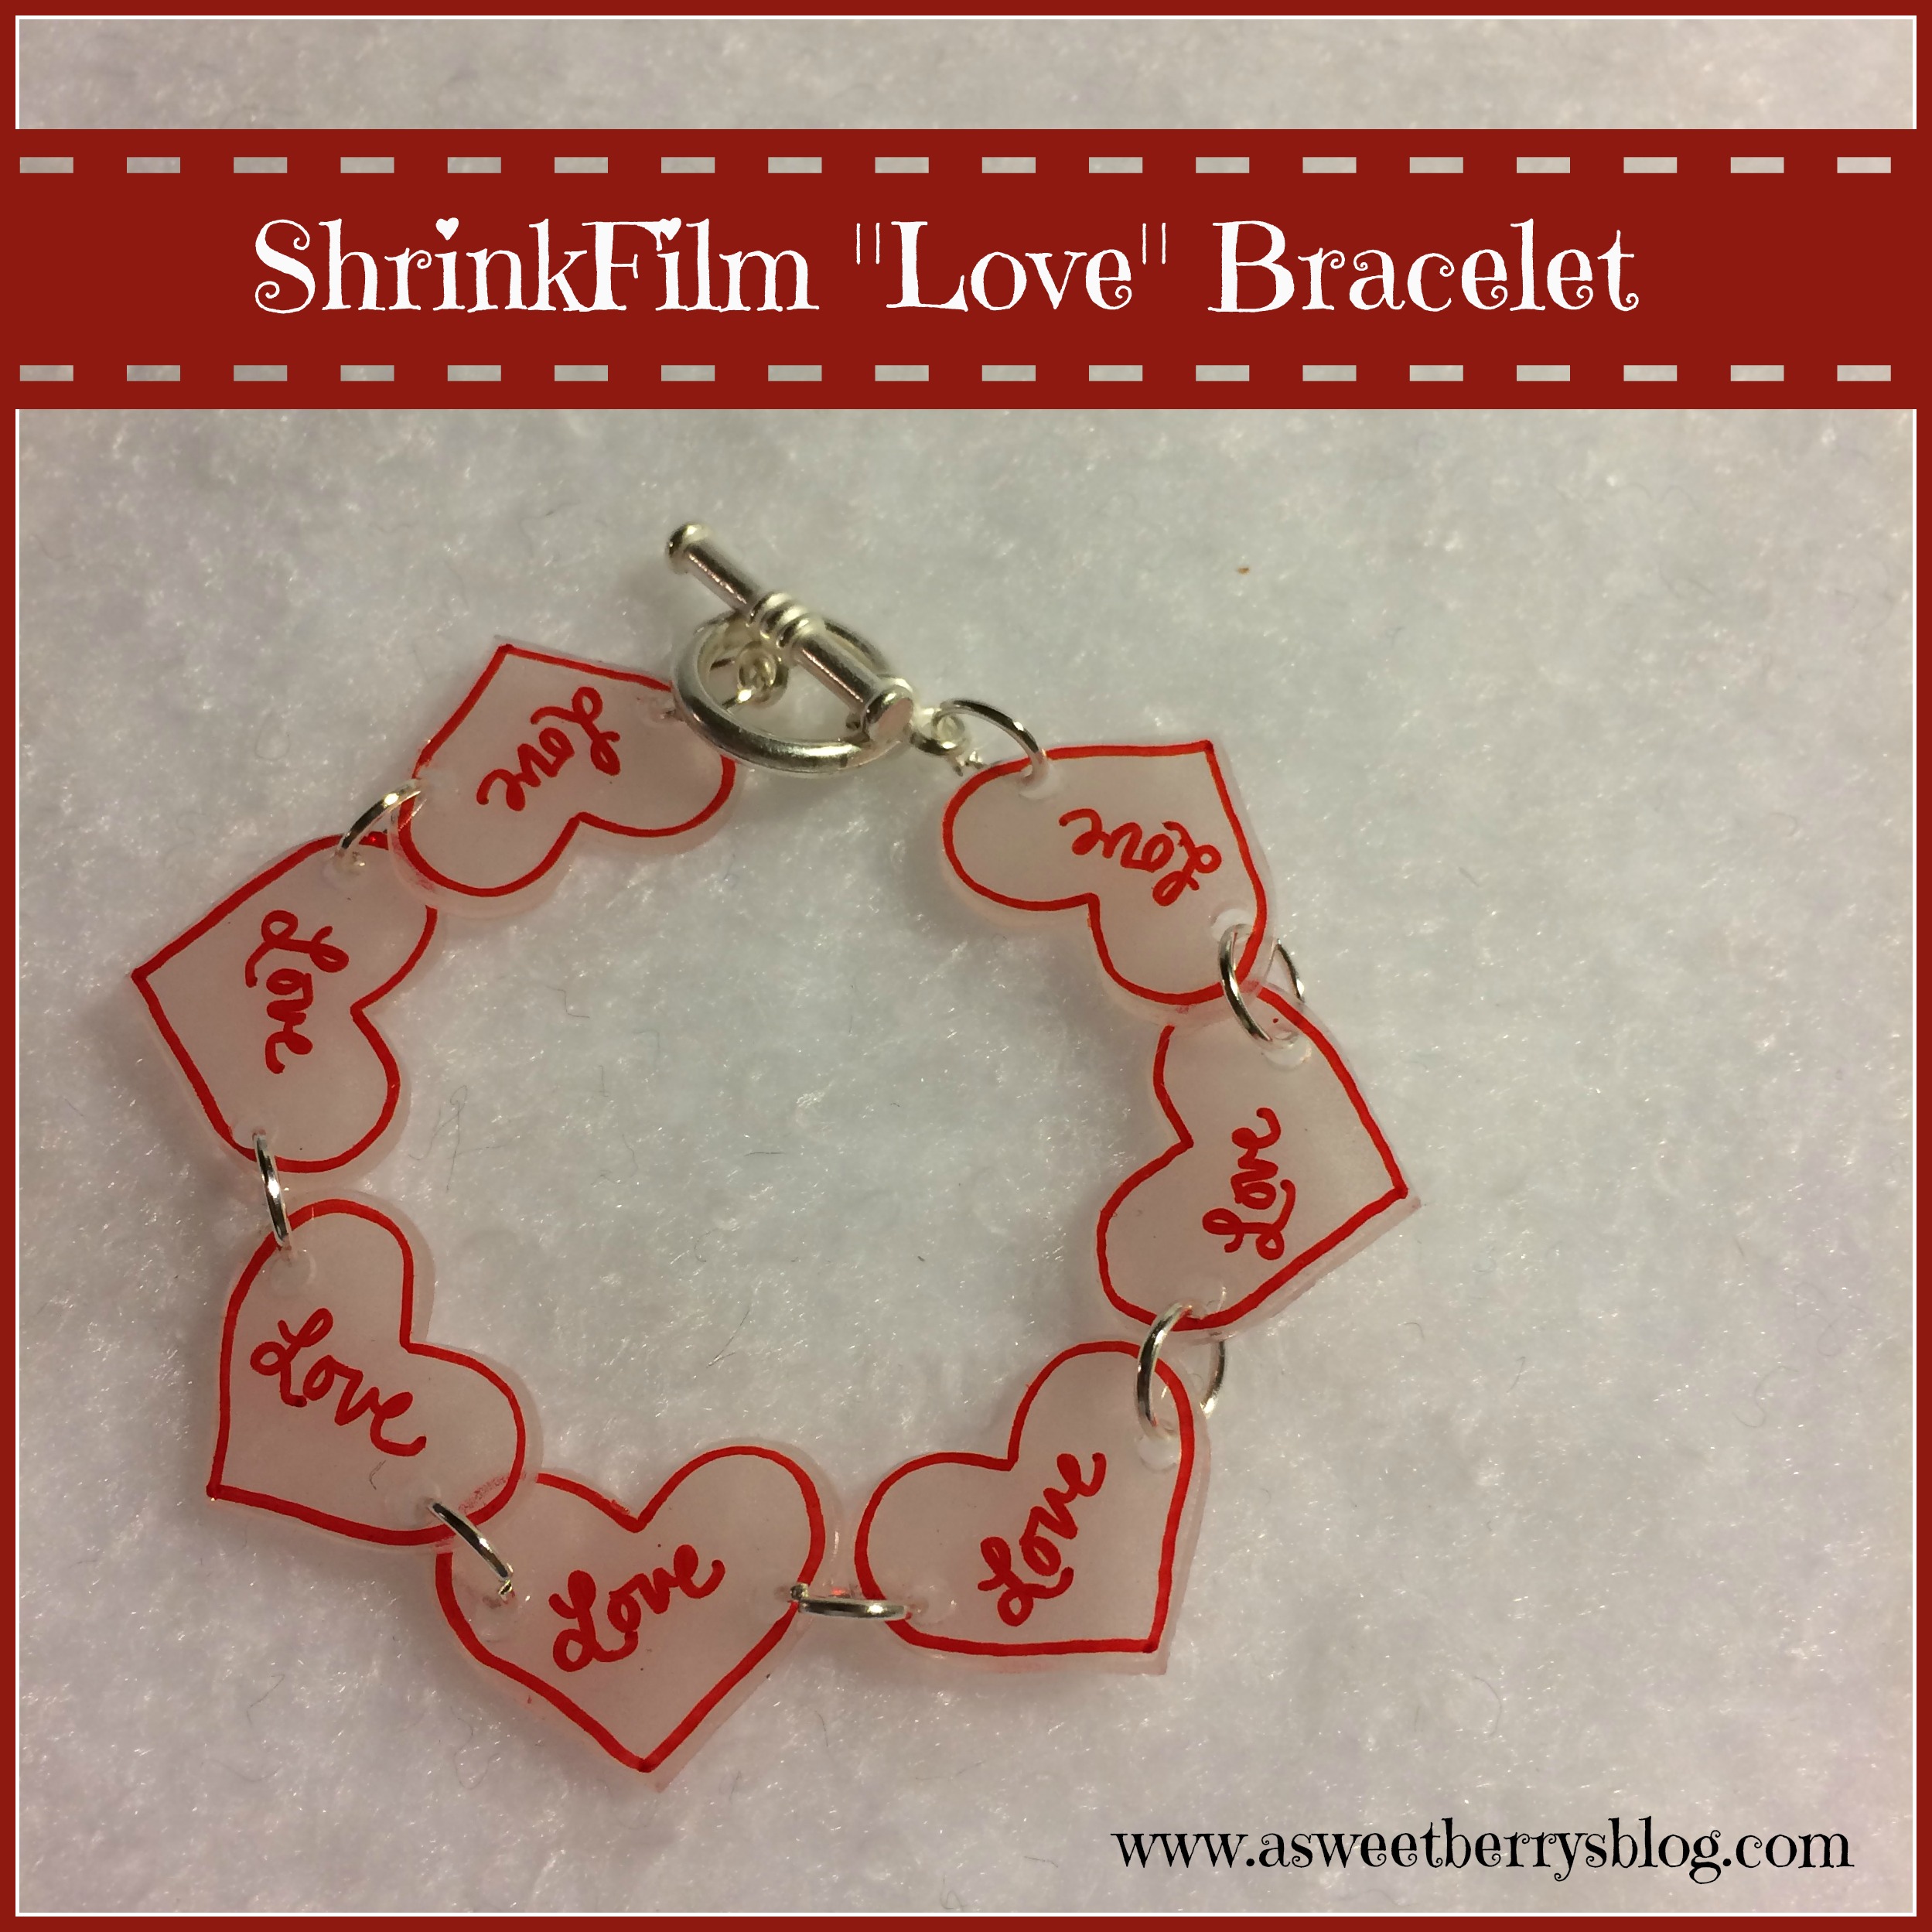
ShrinkFilm “Love” Bracelet

Valentine’s Day is the Day of Love!   This ShrinkFilm “Love” Bracelet is perfect to wear for the day or to even give to a friend or Love as a gift!   bracelet final
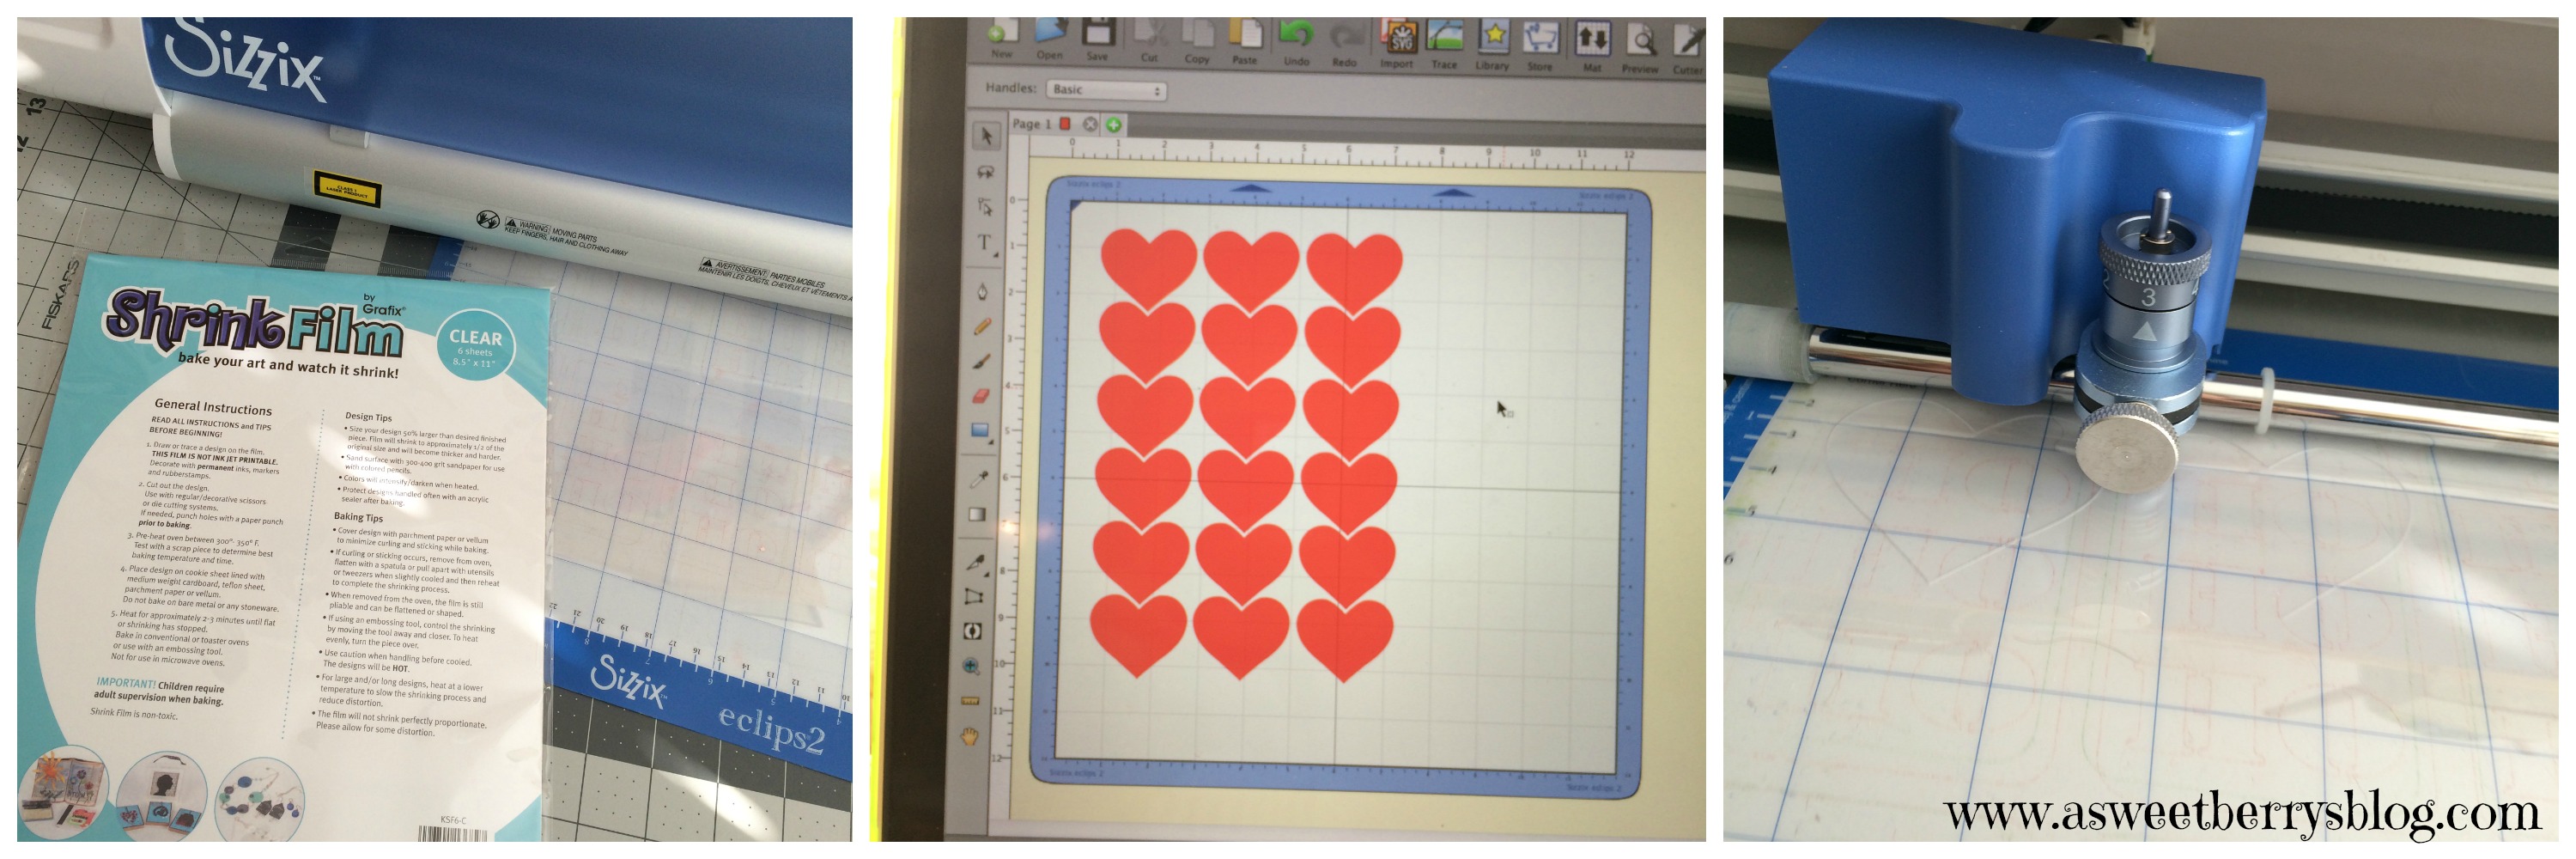
Like with my ShrinkFilm “Love” Earrings, I used my Sizzix Eclips2 and ShrinkFilm that I purchased from A.C.Moore to cut my hearts out.  It was easy, quick and all of my hearts were the same size!
shrink film
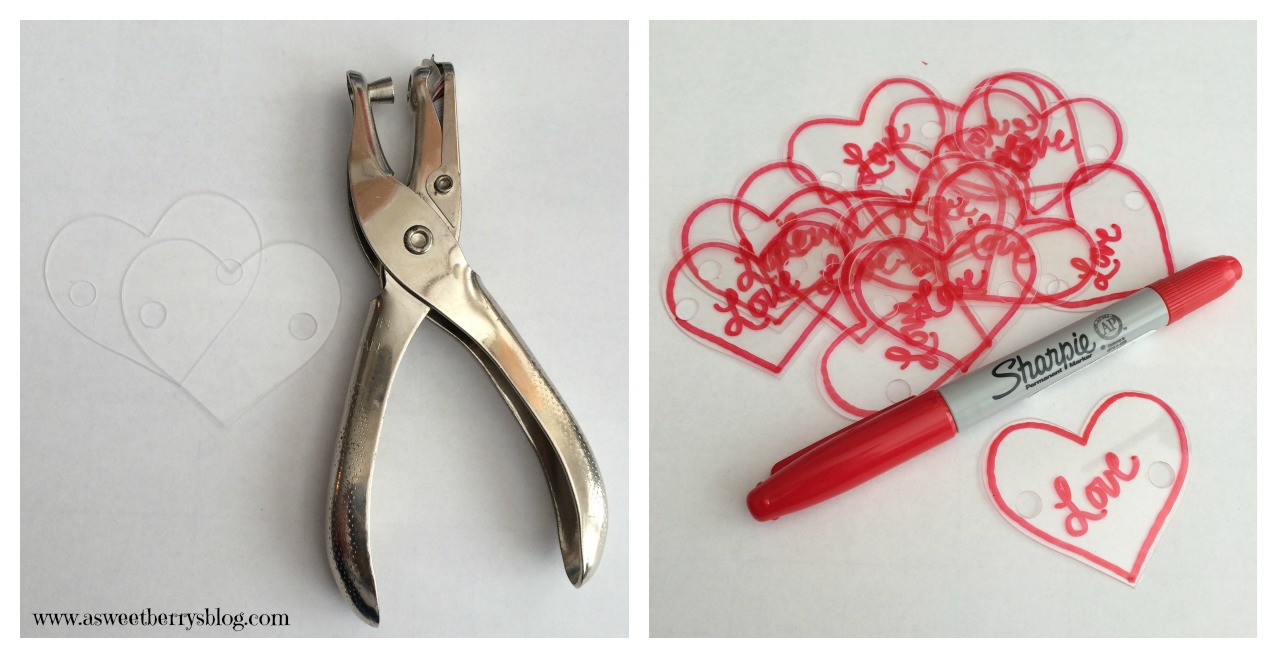
Using a hole punch, I cut two holes from my hearts, one on each side.  Then with a Sharpie permanent marker, I drew and outline and wrote the word Love.  Once they were all colored, I placed them in the toaster oven for 2-3 minutes and then they were ready to be put together as a bracelet.
coloring - bracelet
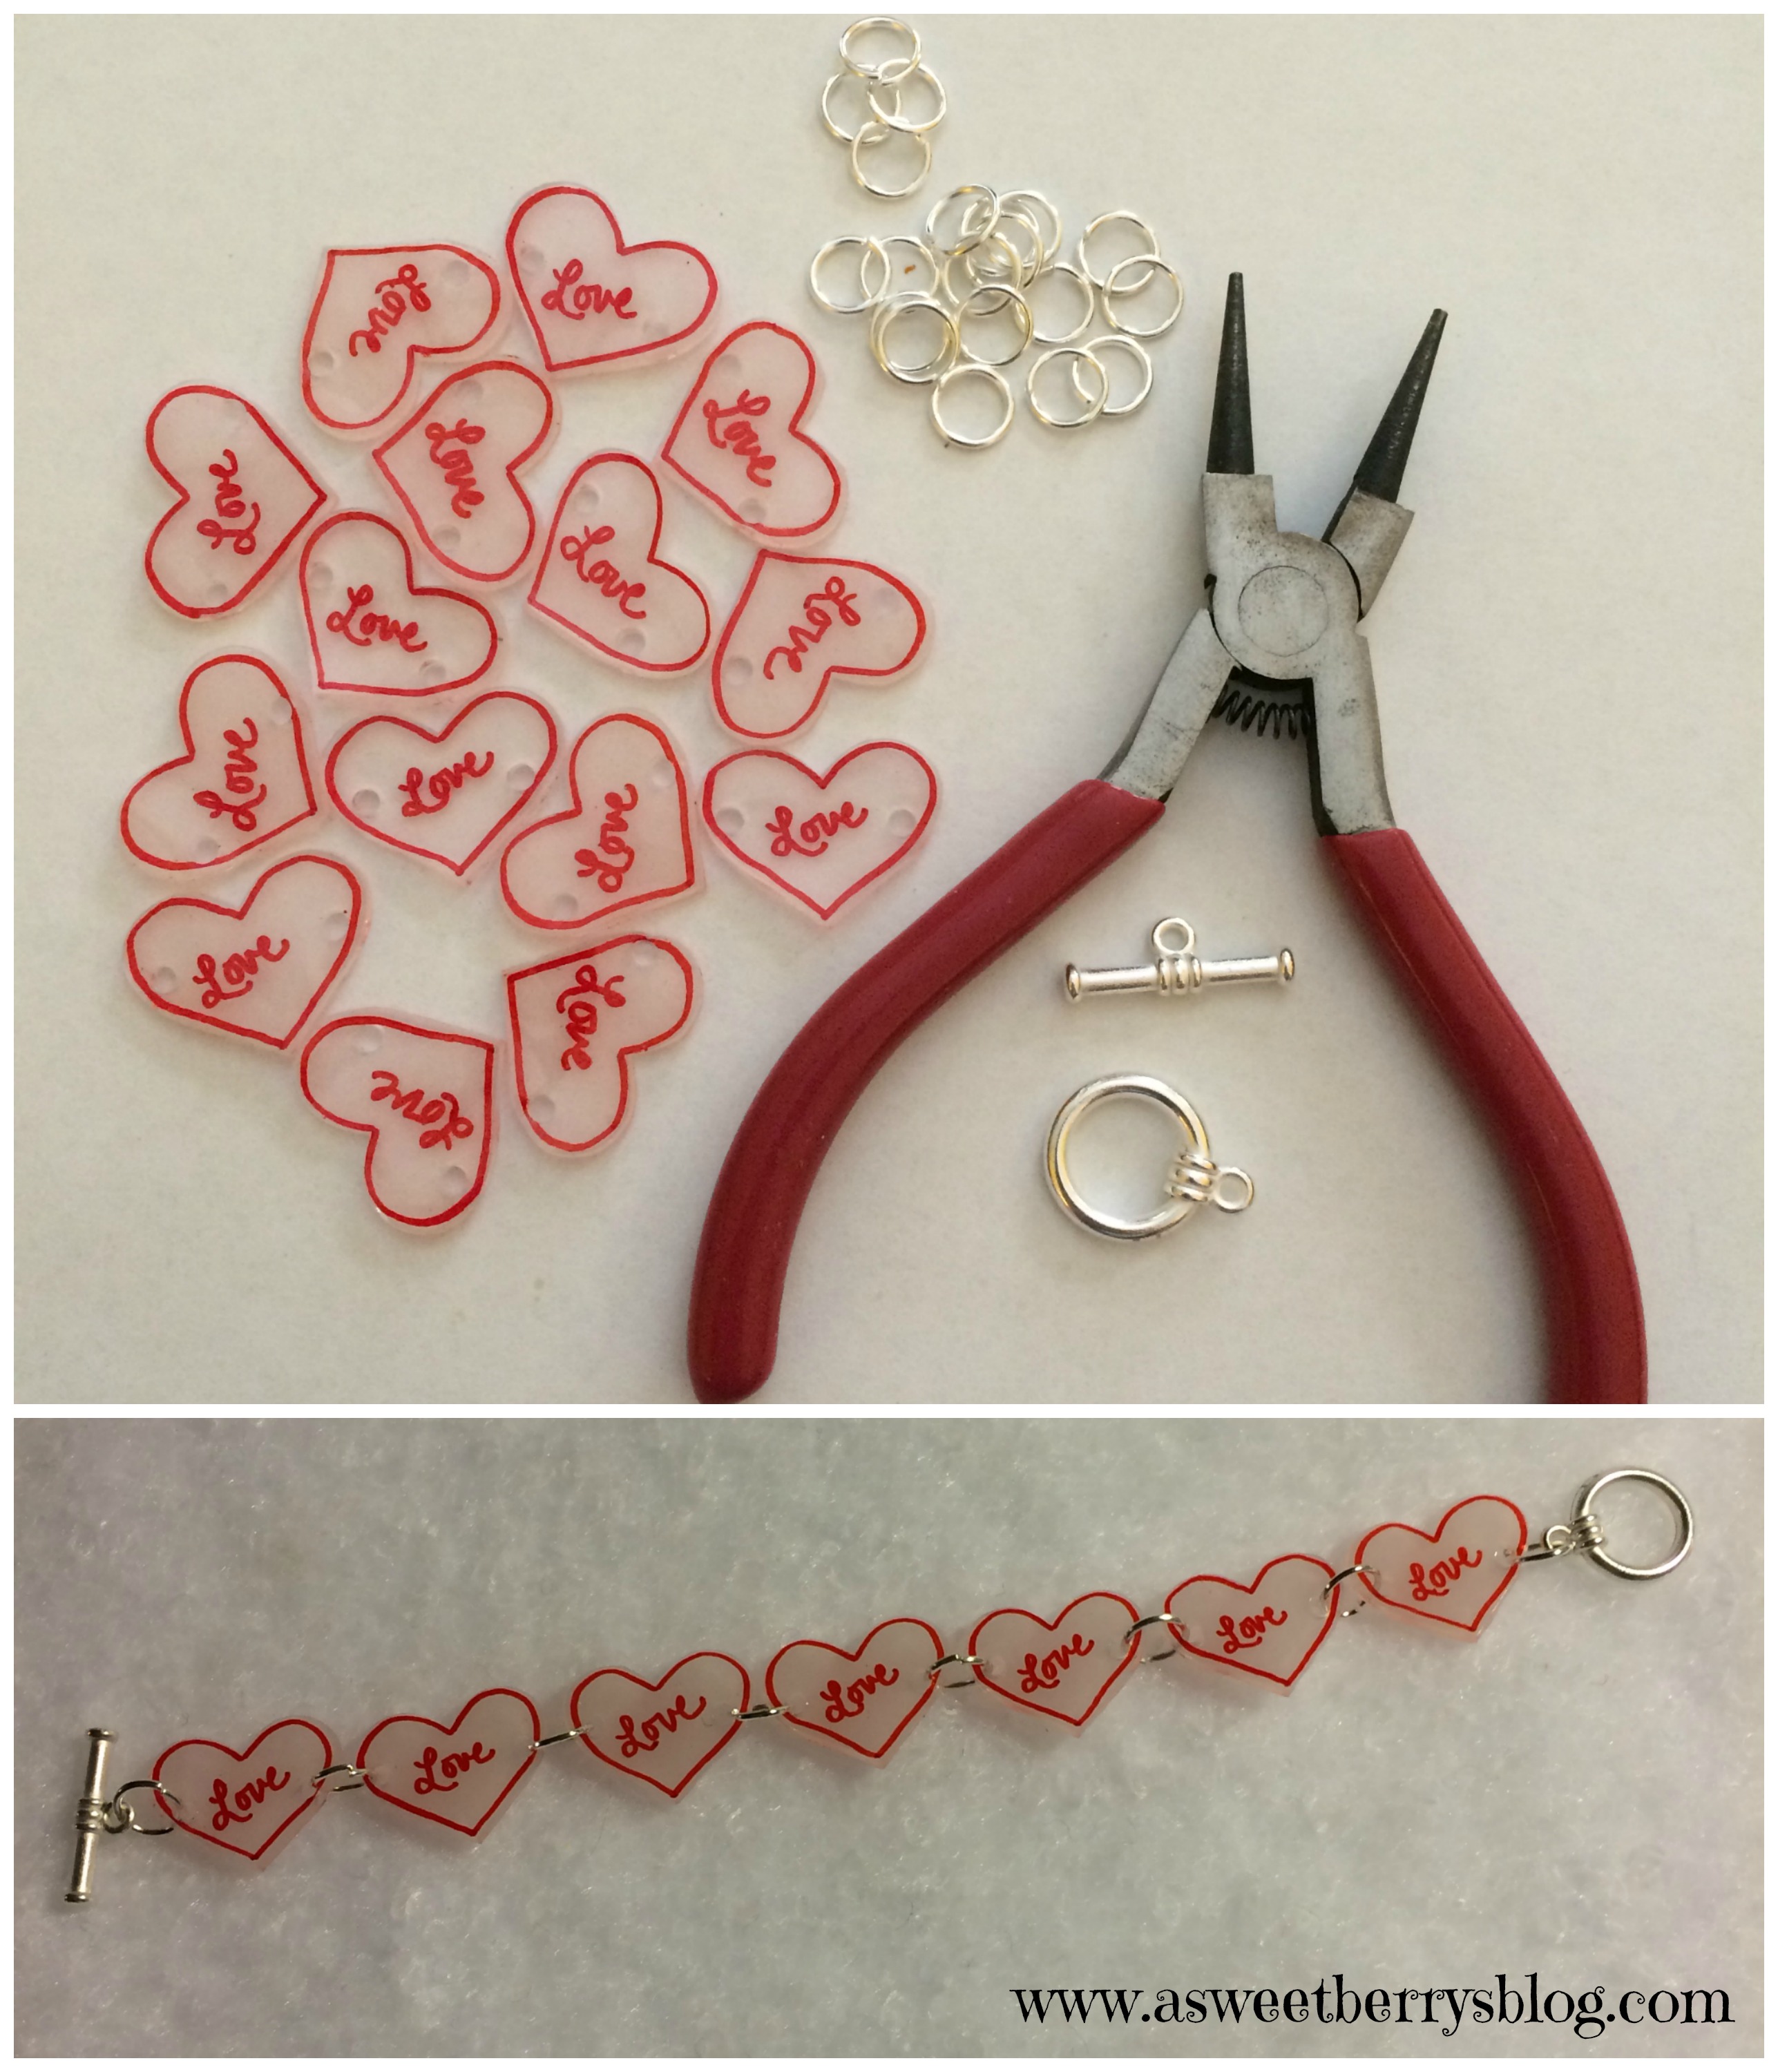
Using larger jump rings and my round nose pliers, I attached each heart to together forming a bracelet.  On each end, I added a toggle piece.  For it to fit my wrist correctly, I added and then removed a heart just to make sure it wasn’t too big or too small.
putting together bracelet
Hope you like my “Love” Bracelet.   I “LOVE” it!  Be sure to click here to check out my ShrinkFilm “Love” Earrings that match!

Until next time……

Surfs Up Magnet – Sculpey Fun

As a kid, I used to love playing with clay.  Through the years, I have found several clay cups, jewelry holders, and Christmas ornaments that I made as a kid.  But I have to say, I still love working with clay as an adult.  And I love working with my kids with clay.  My favorite brand of clay is Sculpey!  Sculpey is so easy to work with, even for the kids!

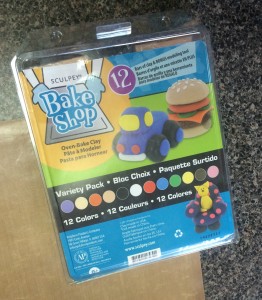
One of my favorite Sculpey products is their Bake Shop collection.  It’s super soft and easy for little fingers, such as Landon and Benjamin’s to use!  And it has a great variety colors!!

Bake Shop

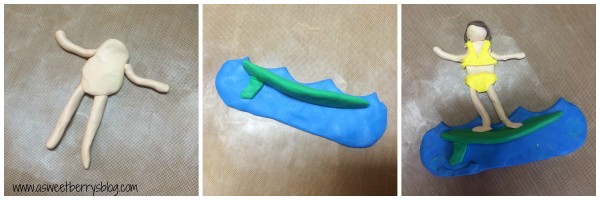
I used the Bake Shop Sculpey to create a Surfer Girl Magnet to put on my refrigerator to remind me of summer!!!!  She was super easy to create!

Steps

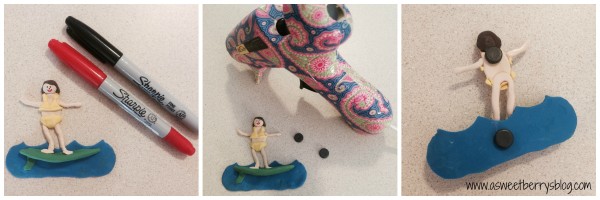
After I finished her, I baked her in the oven 275 degrees for 15 minutes, I let her cool.  Then, I drew on a face using Sharpie‘s and then using my Ad-tech glue gun, I added magnets. magnets

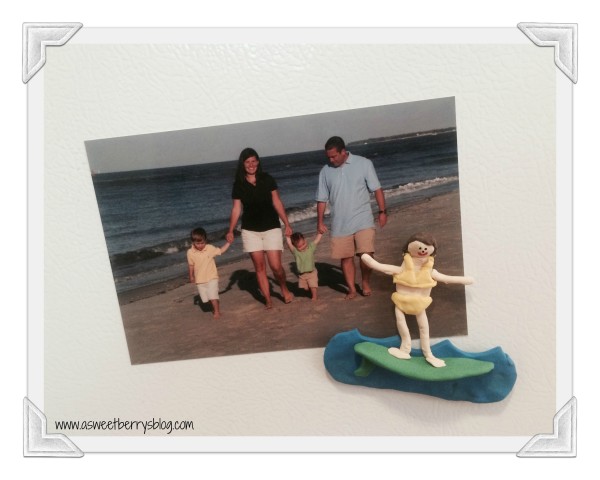
Then, I stuck my awesome yellow bikini clad surfer girl on the refrigerator with a  family beach picture.  Now I can think about the beach all year long!!!!

Final

Until next time…….

Expressionery Blog Hop Fun

One of my favorite daily things to do is check the mail.  With all of the modern technology, I could easily send a text or an email, or even a Facebook message.  But, hand written notes are my favorite.

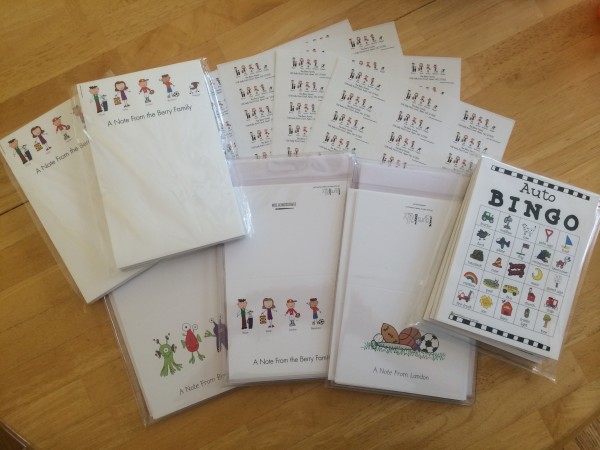
When I received a package in the mail, opened it and found Expressionery Stationary with Laura Kelly’s designs on them, I was in Heaven!  Not only was there stationary in the box for me, but there was also stationary for both of my sons!  And there were some awesome road trip games!

IMG_0241

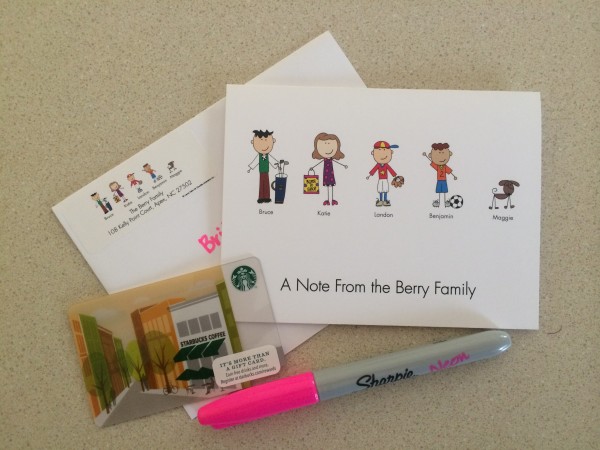
Our family notecards, notepads and address labels were customized using Laura Kelly’s collection of Me & My Peeps.   And it fits us perfectly, all the way to our brown dog!!  Our dog sitter is getting your very first one, along with a Starbucks gift card as a thank you for watching our sweet Maggie while we were at the beach!  And I almost always use Sharpie’s to write my notes!

IMG_0819

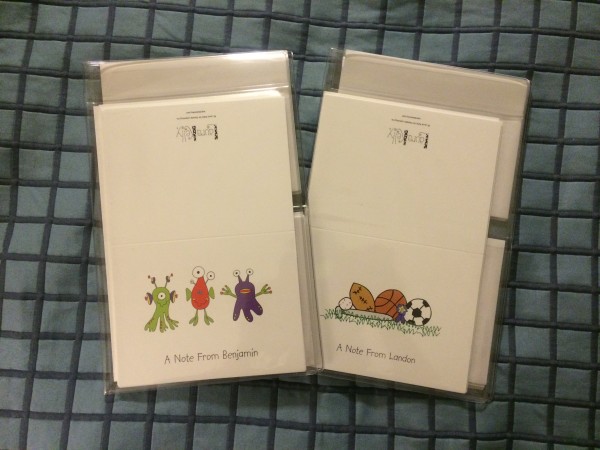
The boys notecards are Laura’s designs, Superstar and Alien Invasion!  They boys love theirs.  Landon is using his to write thank you notes from his birthday party!  Benjamin is using his to write notes to invite friends over for playdates!

IMG_0631

A Re-Purposing Project

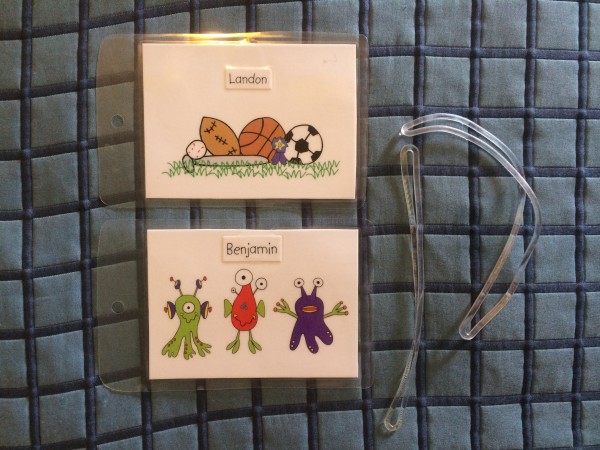
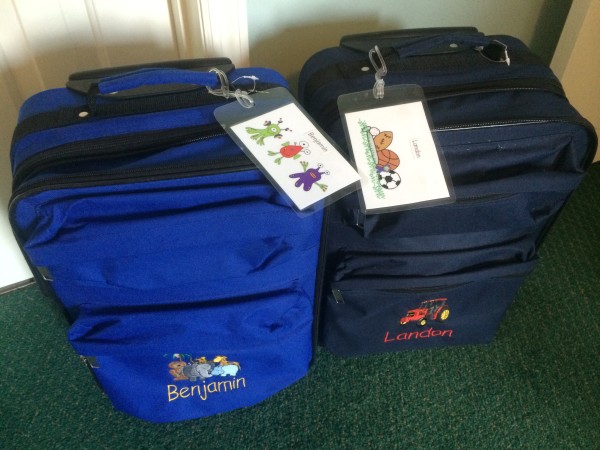
I love the idea of using this custom stationary for a repurposing project, so I did just that!   We were due to leave a week after receiving our Expressionery package, to head to the beach.  I decided to make the kids luggage tags for their suitcases using a notecard from each of their sets.   I cut the cards up, also cutting away their name from the bottom.  I glued their name to the top of the cutout.   Using my computer, I typed up the back of the label with Name, Address, and Phone number.  After printing it, I glued it to the back of the notecard, lamenated it, punched a hole in it and using the Plastic Worm Loops, I attached it to their luggage.

Luggage Tag

IMG_0621

IMG_0628

Leave a comment for a chance to wine a $20 Giftcard to Expressionery.com!!!!

Hop on over to some fellow bloggers participating in this blog hop!!!

Enter for a chance to win a $200 Amazon gift card and an Expressionery.com gift set!!!! a Rafflecopter giveaway

Halloween Popcorn Blog Hop

Halloween is just around the corner and will be here before we know it!

My friend, Laura Kelly put together this cute and creative blog hop, sending out an envelope of goodies which included a popcorn box and some embellishments to go with it.  package
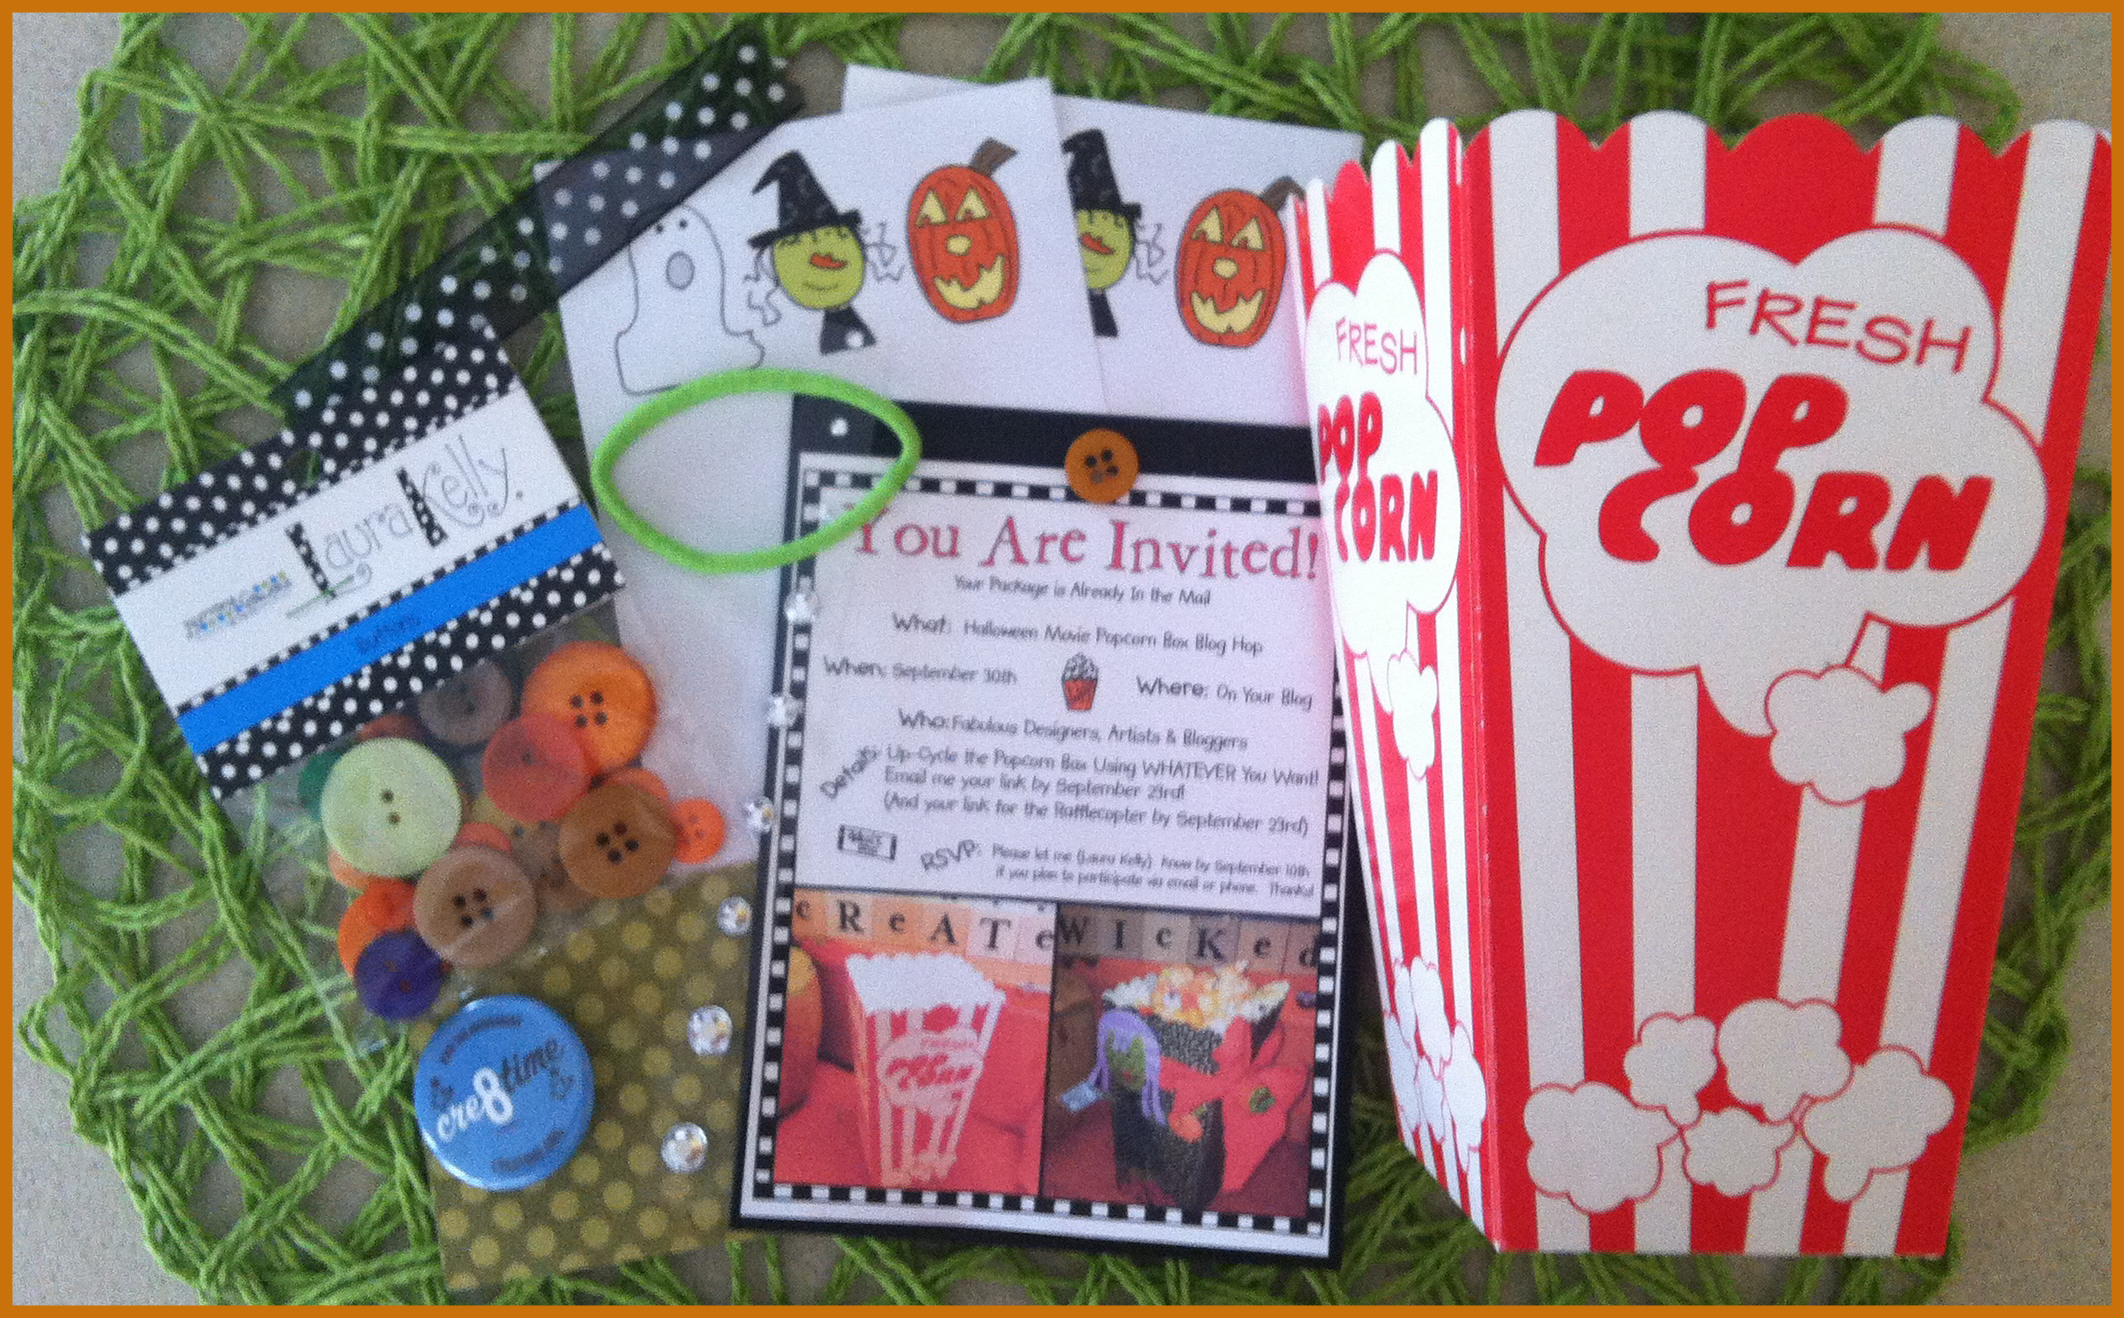
In our directions for this blog hop, it said:

“The objective is to create in whatever way you like best with whatever products you like to feature and simply be a part of something fun…something that connects your passion to those passions of others.”

So, with that being said, I decided to use some things I had lying around in my craft area.
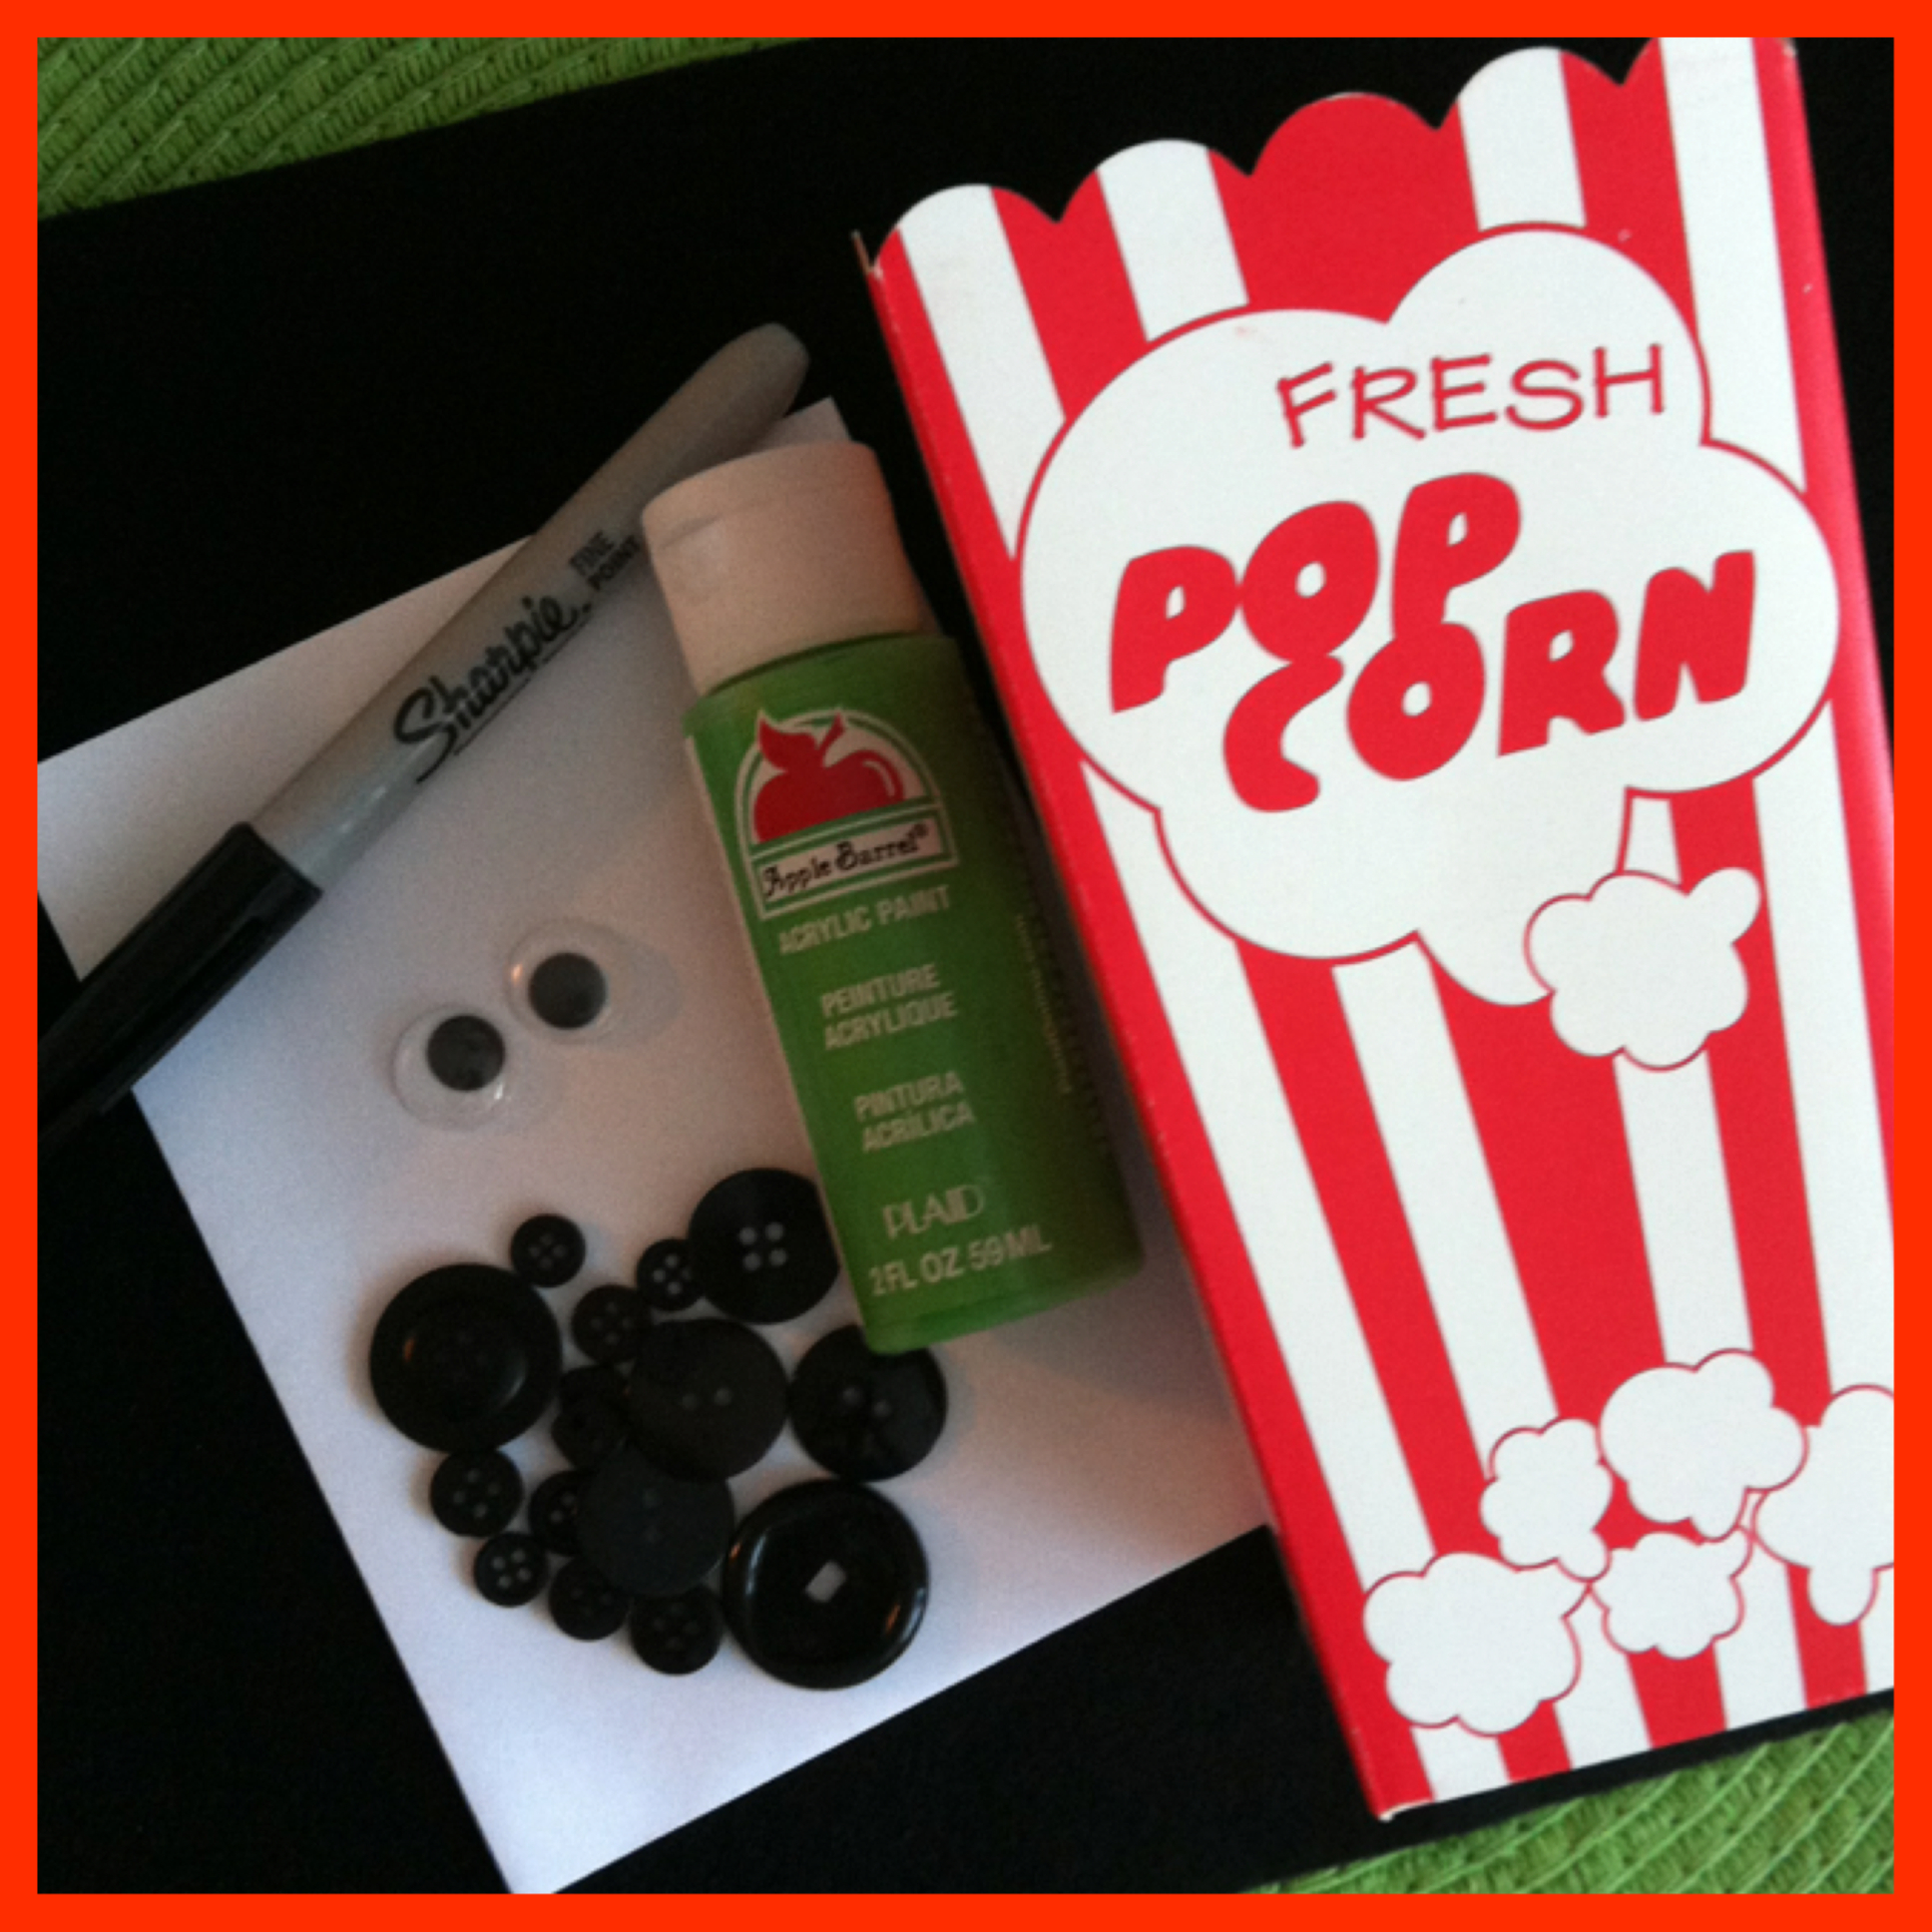
picstitch3

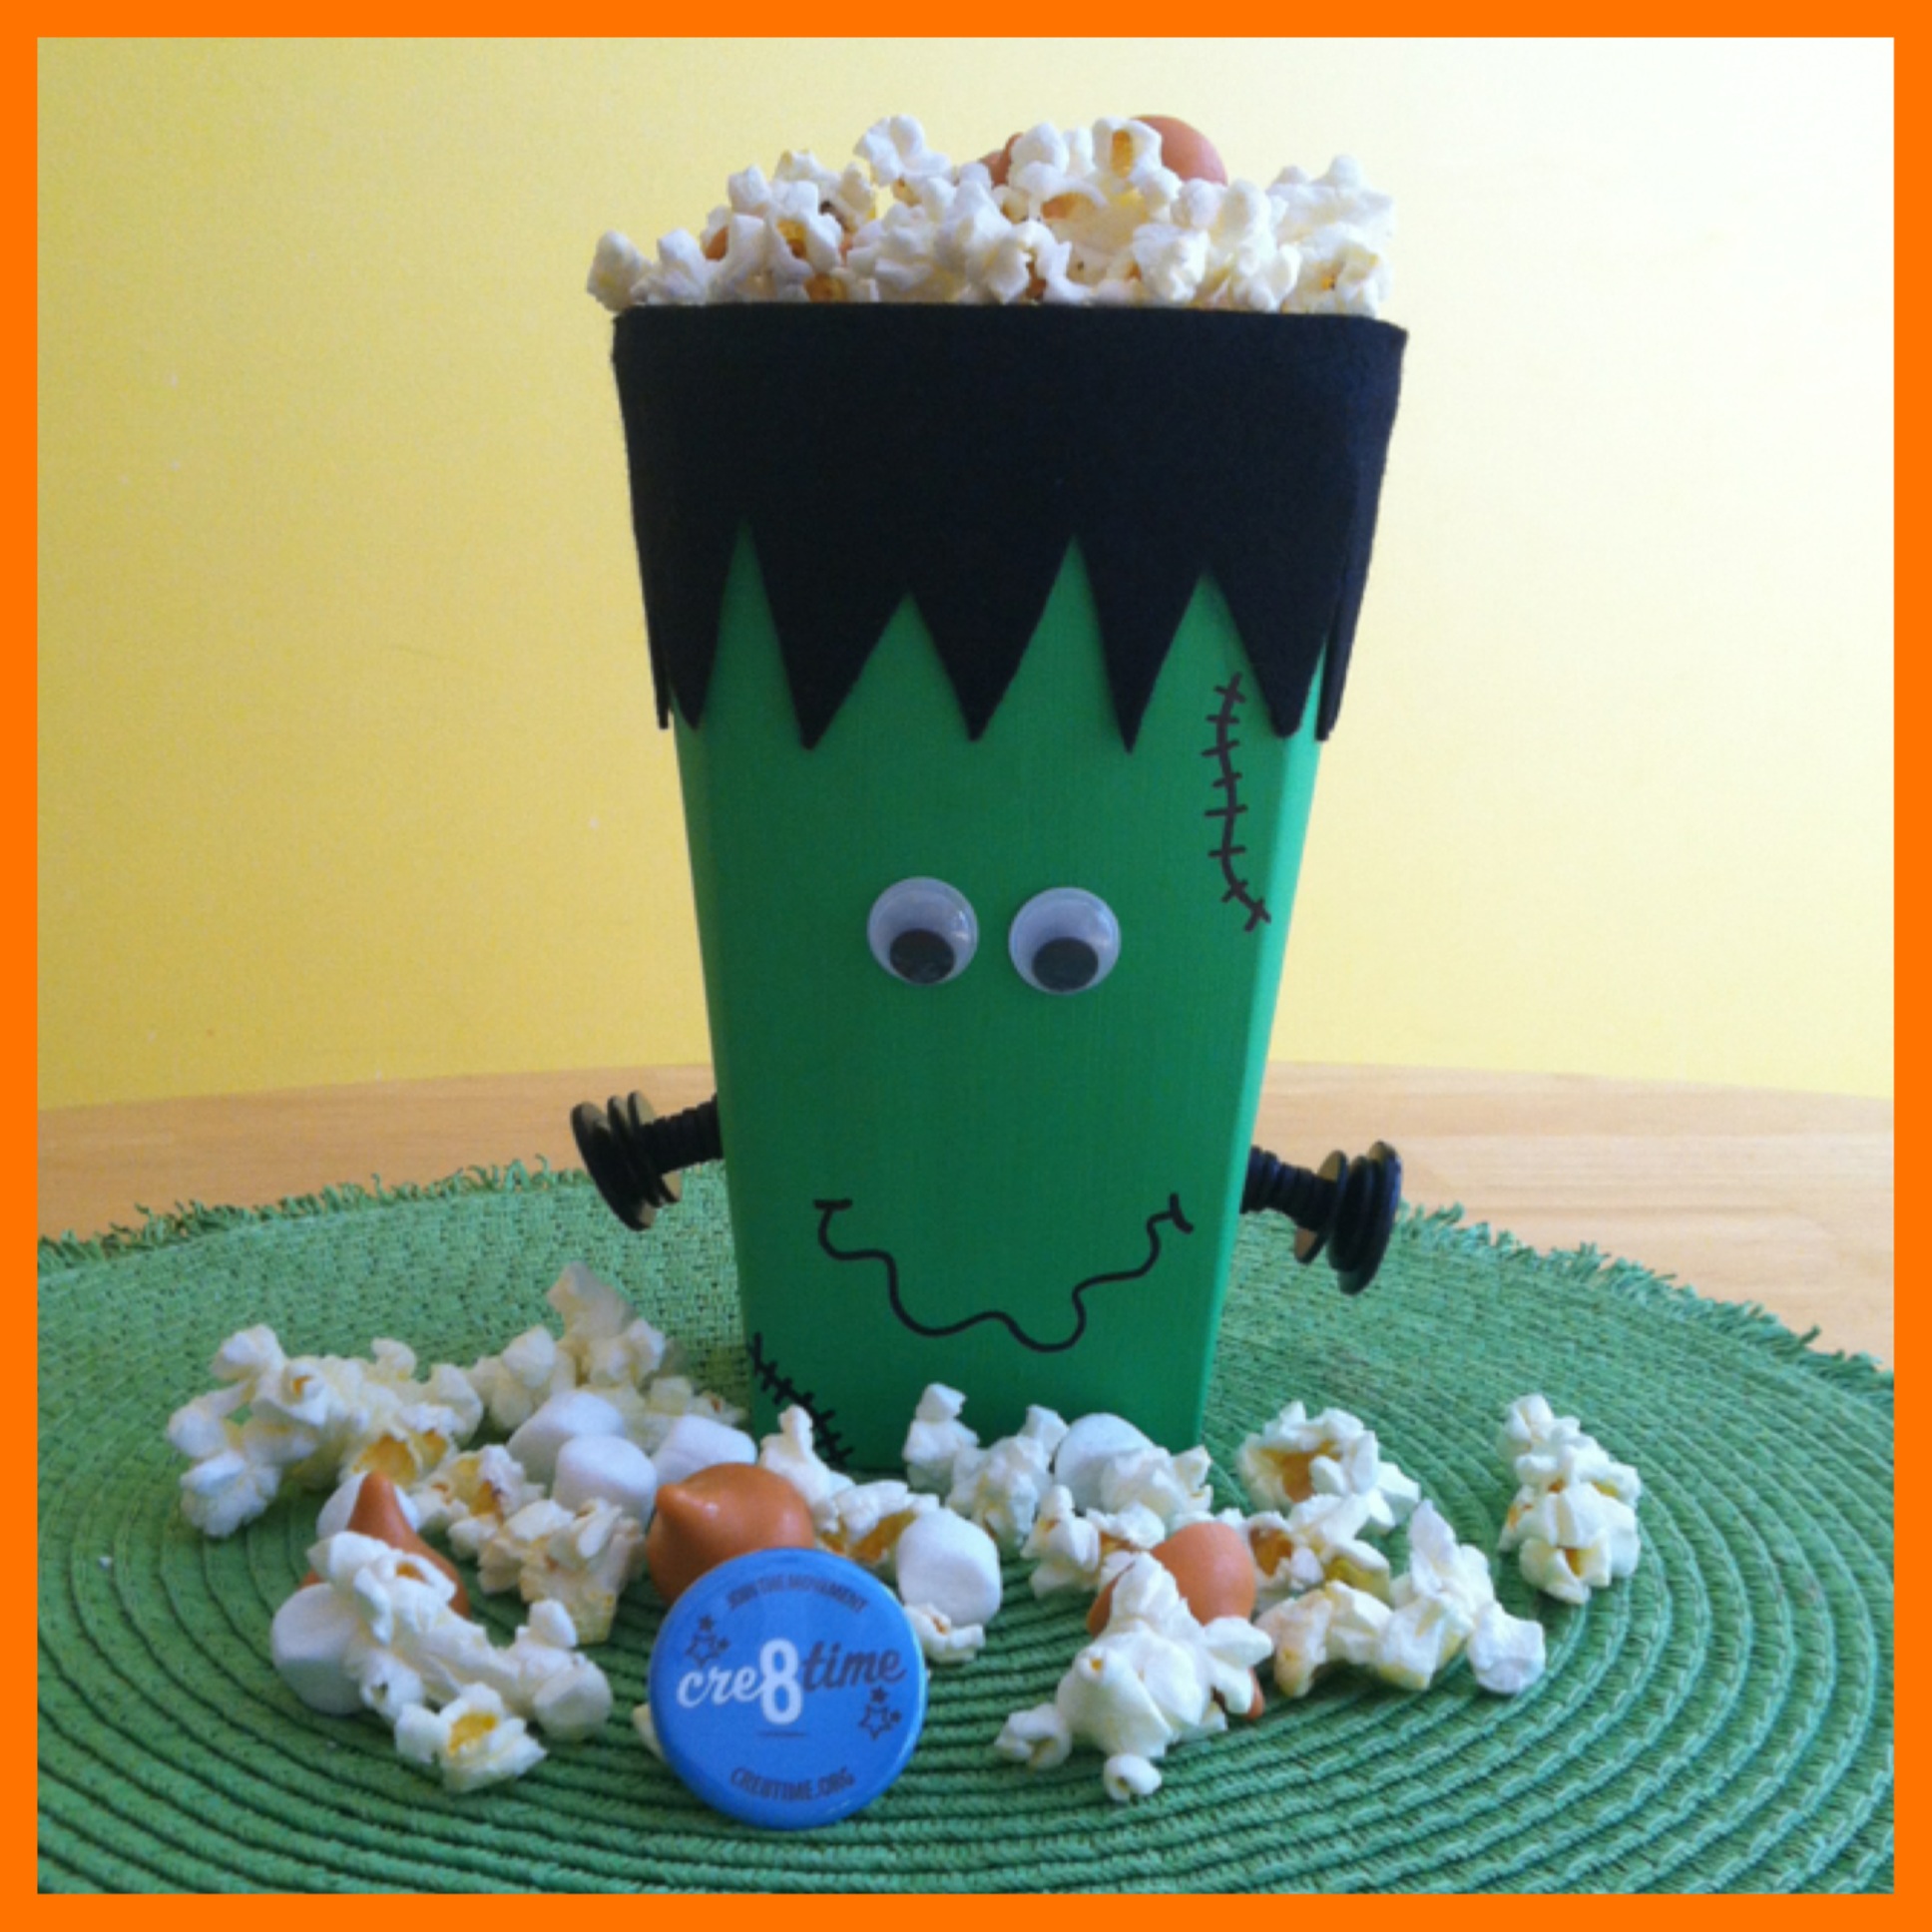
I decided to make a Frankenstein Popcorn Box!

Materials used:

The Popcorn box, provided by Laura

Black Buttons from Laura Kelly’s mix buttons from Buttons Galore & More

Apple Barrel Spring Green Acrylic Paint by Plaid

Googly eyes

Black felt, purchased from JoAnn Stores

Beacon’s 527 Multi-use Glue

Mini Glue Dots

Fiskars Scissors

Black Sharpie Marker

a paint brush

Instructions:

1.  I painted the popcorn box green.  I did three coats (letting it dry between coats) to make sure everything on the box was covered up.

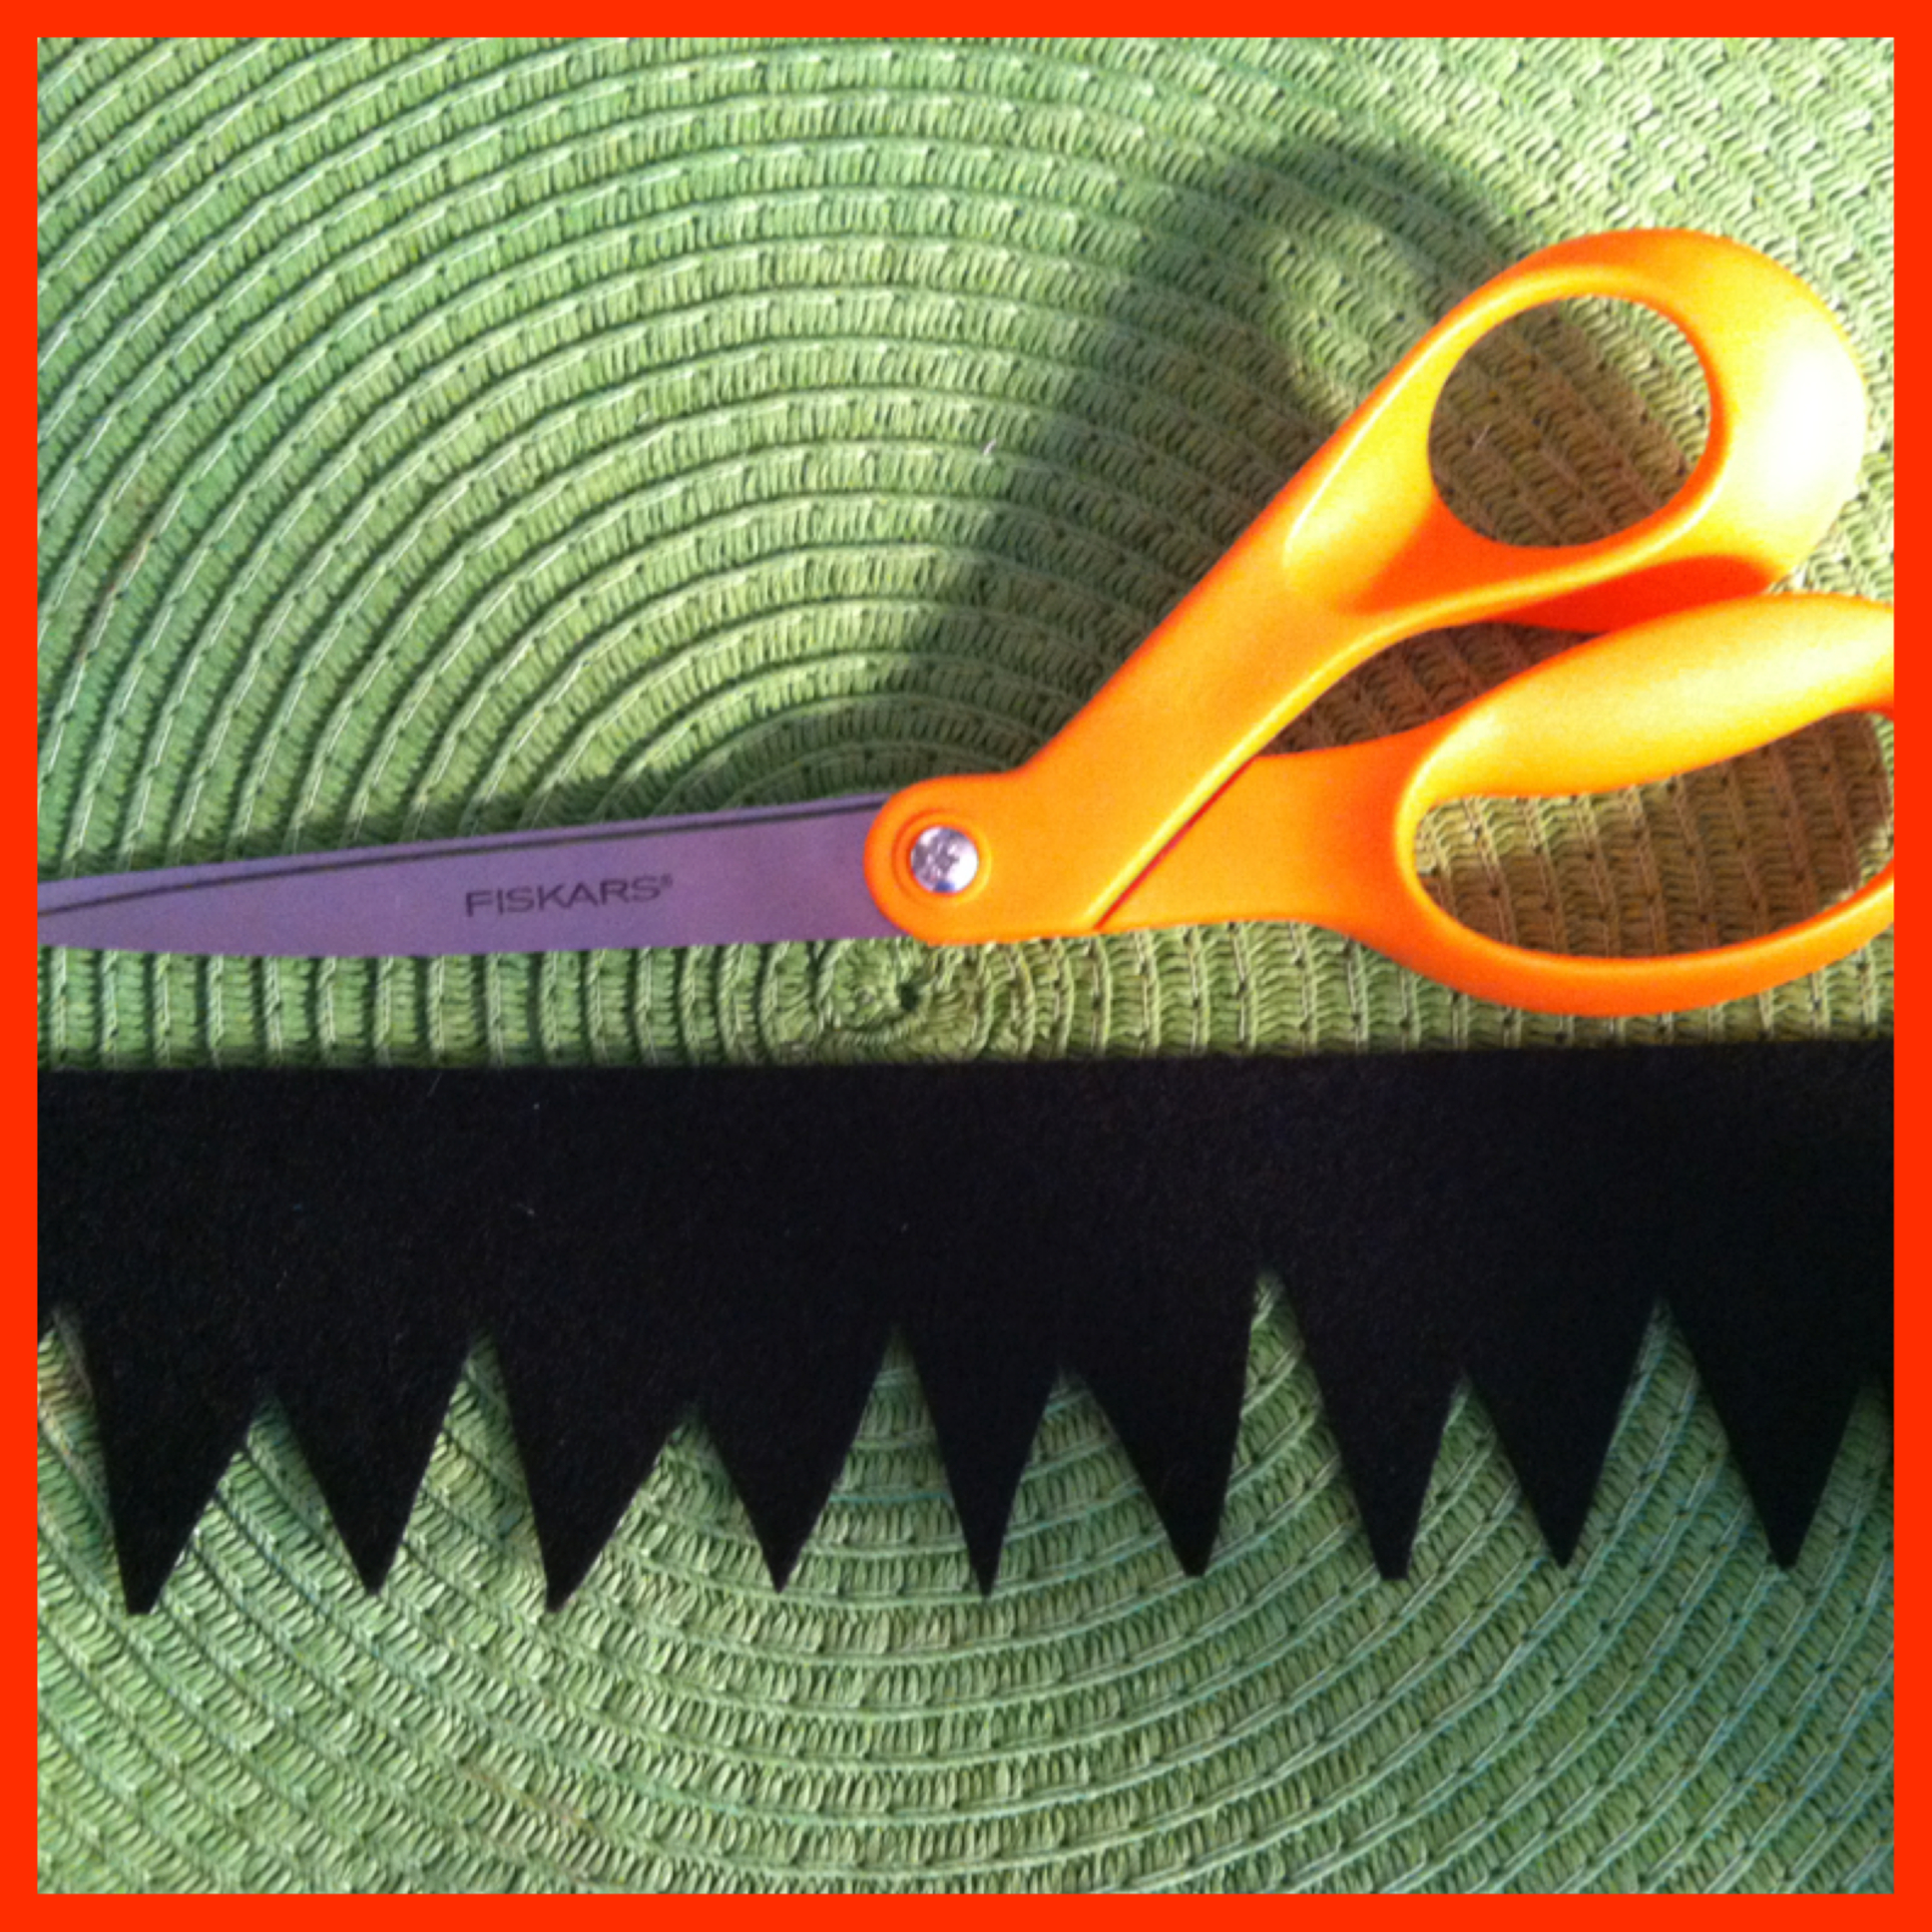
2.   I cut two strips from the black felt and then cut triangles out of one side of the strips to make it look like hair.  Then I glued it on to the top of the box using the Beacon’s 527 multi-use glue.
picstitch2

3.  Using glue dots, I glued the black buttons together to make them look like bolts.   I used about 6 small buttons and three larger ones for the bolt heads.  I then used glue dots to attach the bolts to the sides of the box.

picstitch4

4. Using a black Sharpie marker, I drew on the mouth and the stitches.

5.  Then I glued the googly eyes on.

Super easy and so much fun!   And he got filled with yummy goodness of popcorn, marshmallows and Pumpkin Spice flavored Hershey kisses!   🙂
photo

My children love Halloween just as much as I do!  And they love popcorn too!   So when I got to making my Halloween Popcorn Box for this blog hop, they were loving it!   And since I only made one, I now have to go buy the contents to make another one, unless Laura has any extra boxes lying around!!!!  🙂

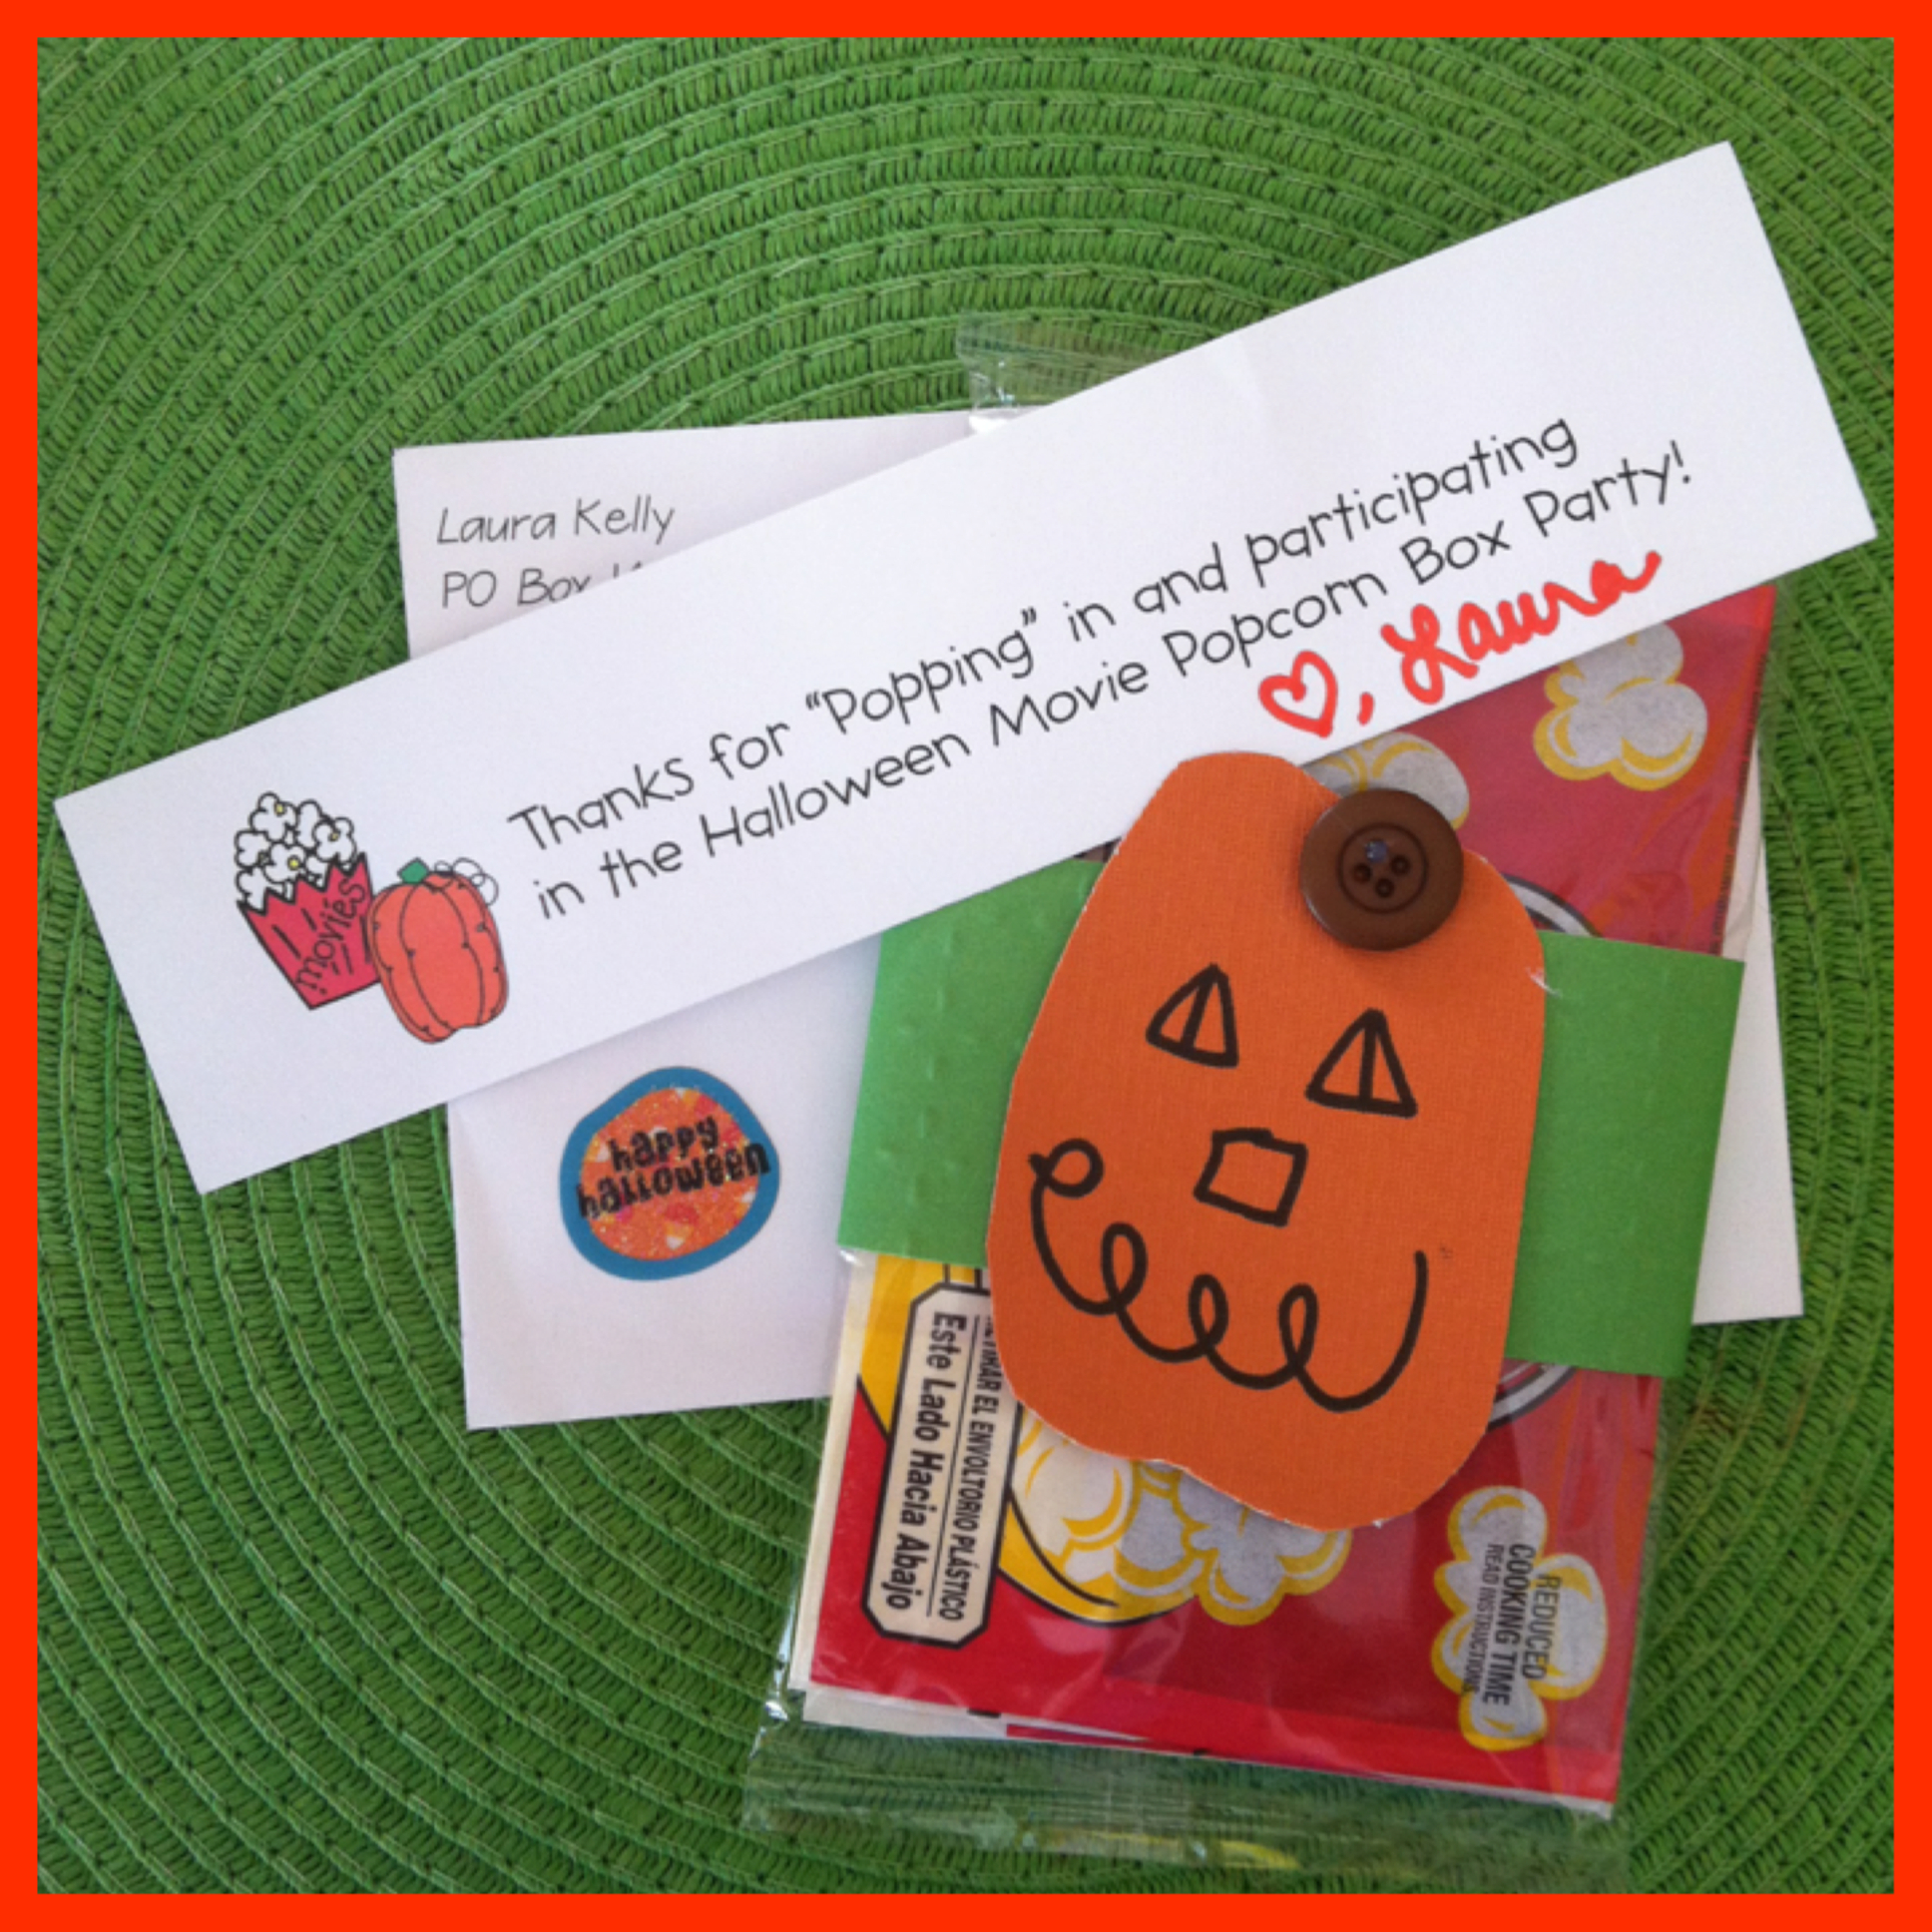
This past week, Laura sent out a special little thanks for being a part of this blog hop!   She is super sweet!     Thanks my friend!  🙂
picstitch1

There were quite a few other blog hoppers that joined in on this blog hop, so hop over to Laura Kelly’s blog to check out the rest of the participants!!  A special thanks to Cre8time for supporting the Halloween Popcorn Box Blog Hop!  And to Laura Kelly for allowing me the chance to participate!

Be sure to click on the picture below for a chance to win a $100 gift card to Disney (park, store, or online)!!PopcornBlogHopPrize
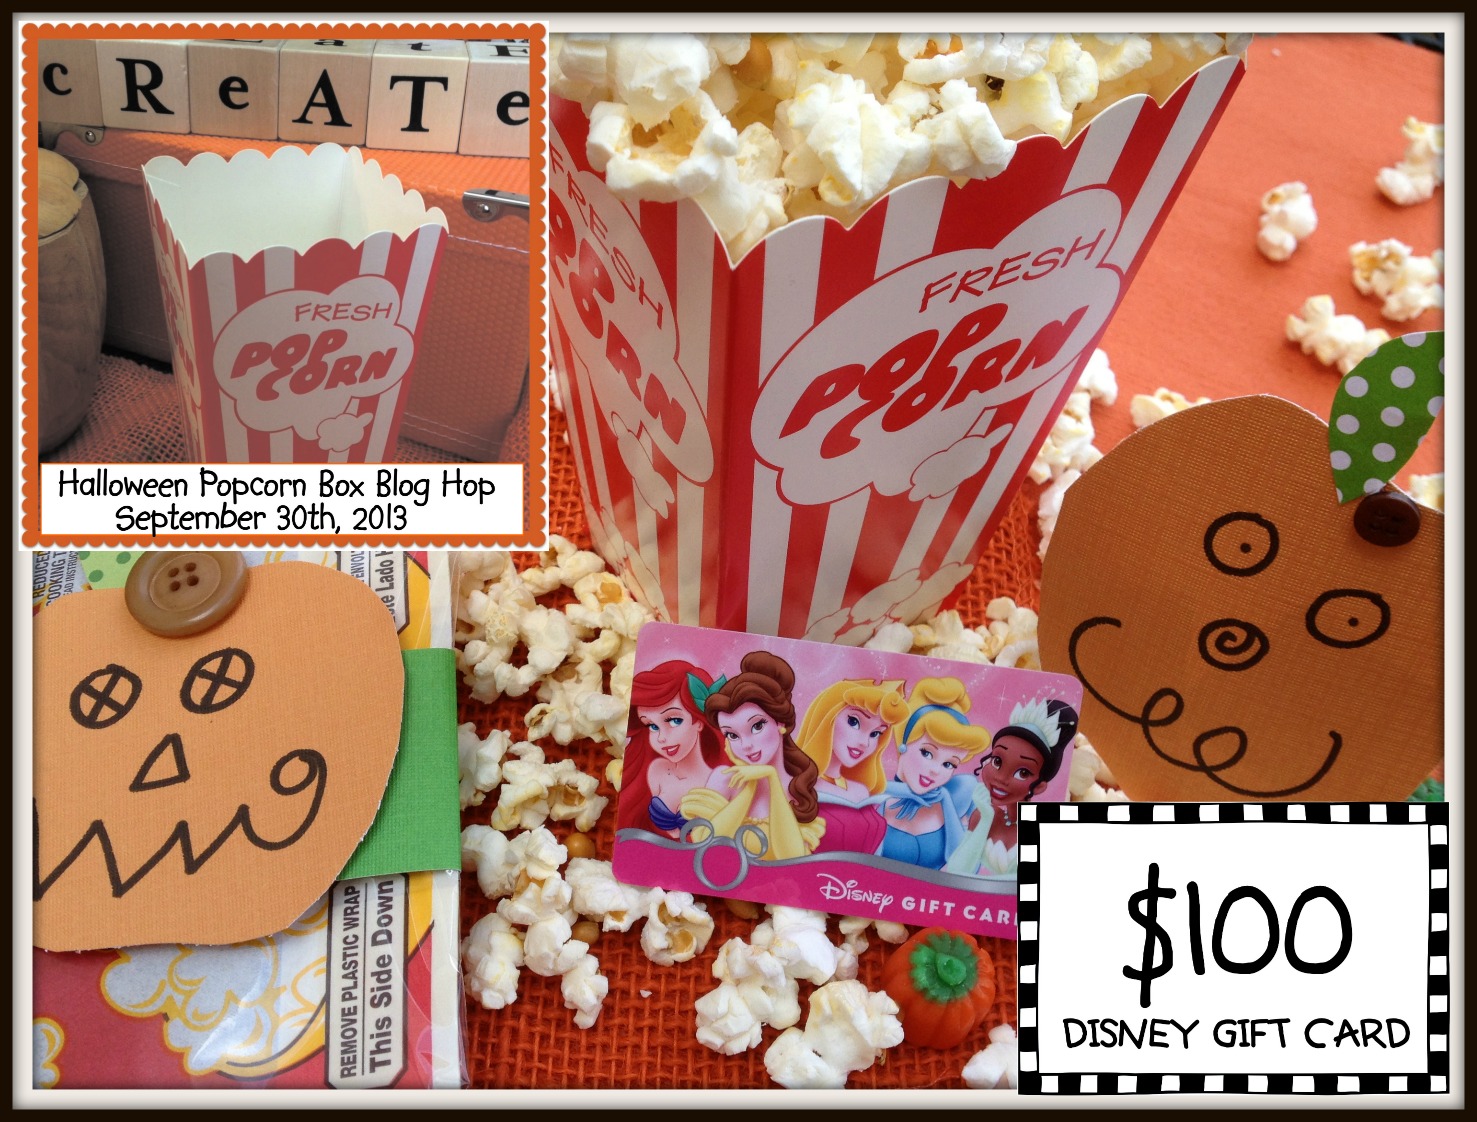
I hope you like my Frankenstein Popcorn Box!  I’d love to hear what you think in my comments section!!

And until next time……
katie-asweetberry

Turning Six…..

This year Landon and I got to share a special day together.  His birthday is May 12th and this year it just happened to fall on Mother’s Day!!   But, so that everyone could spend the day with their moms, we had his birthday party the day before!

When it comes time for birthday parties, I usually let the boys pick their themes.  Well, for Landon’s sixth birthday, he wanted to take all of his friends fishing.  Now I love to fish but I am not sure that I wanted to go fishing with a bunch of little kids.  Could you imagine what that would be like?  I can only imagine kids getting hooked by the hook, the lines becoming a big tangled mess and maybe even some boredom!!

So, I brought the fishing to him with some cute little fishing themed goodies!

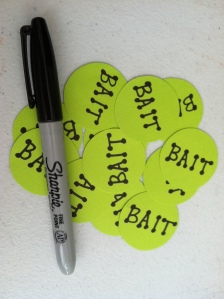
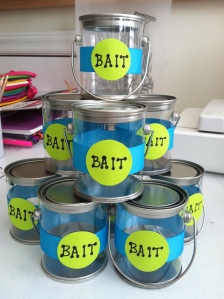
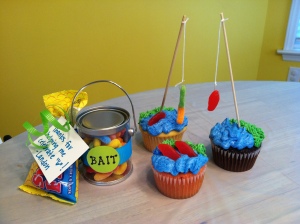
For the party favors, I made a can of worms for bait and tied a bag of Swedish Fish to the can for the Catch!

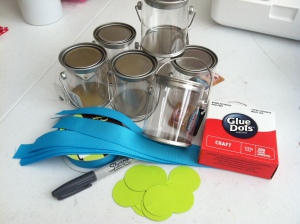
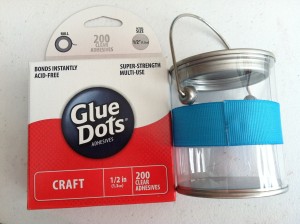
I found these cute little clear plastic paint cans at ACMoore, used blue grosgrain ribbon, cut out some little green circles, and used glue dots to attach everything to the bucket.

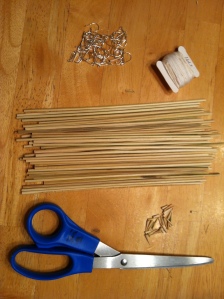
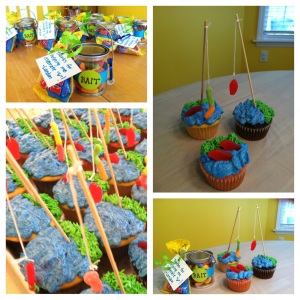
IMG_6596IMG_6598IMG_6601IMG_6609I then filled the cans with Trolli Sour Brite Crawlers!   I used some curly ribbons to attach the bag of fish to the can handles and attached a little Thank You Note from Landon!  So, I debated on what to use as a fishing pole for my cupcake toppers.  So I stuck with stuff I had at home…wire for jewelry making, skewers that I cut the sharp ends off of and some embroidery floss for the fishing line.

IMG_6673

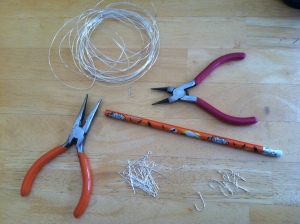
Using some jewelry making tools, I cut the wire into small pieces and curled them to create a hook.

IMG_6625

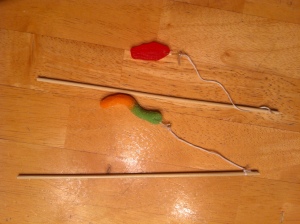
I put the fishing pole together and then added either a Swedish Fish or a Sour Brite Crawler.  The hooks weren’t too sharp and I did the warn the parents before the cupcakes were given to the kids!  The kids really liked eating the worms and fish off of the fake hooks though!

IMG_6676

My cupcakes were decorated to look like the edge of a pond or lake.  I even added some fish to the water on some of them.

IMG_6692

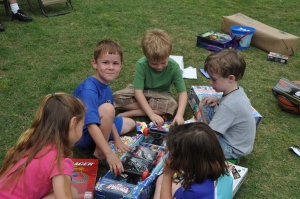
I think the kids really enjoyed all of the fishing goodies!  I had a lot of fun making them, but I always enjoy making the kids birthday cakes or cupcakes.  And I really liked how the party favors turned out!

IMG_6716

The Six Year Old had a great birthday this year!  He got lots of great gifts including a skate board with all of the protective gear, lots more Legos and a new set of golf clubs!!!  He’s such a wonderful kid (and so is Benjamin)!!!  It’s just really hard to believe that he is already six.  I remember the day he was born like it was yesterday!

DSC_0996

Until next time, have a great day!!!